
After the sewing whirlwind that is Me Made May, June is usually a pretty low key month for me but this year the frenzy continued. During June I sewed two versions of the massively popular Zadie Jumpsuit and decided to tackle the pile of partially sewn projects dating as far back as 2015 (Oh my word). There were 8. They are now finished!
What happens to me is that I get started on something or a couple of somethings because I like to cut out more than one version of a pattern at a time and then a new pattern launches and I get distracted or life gets busy and I have no time to sew and then the weather changes. I am so glad I rescued these.
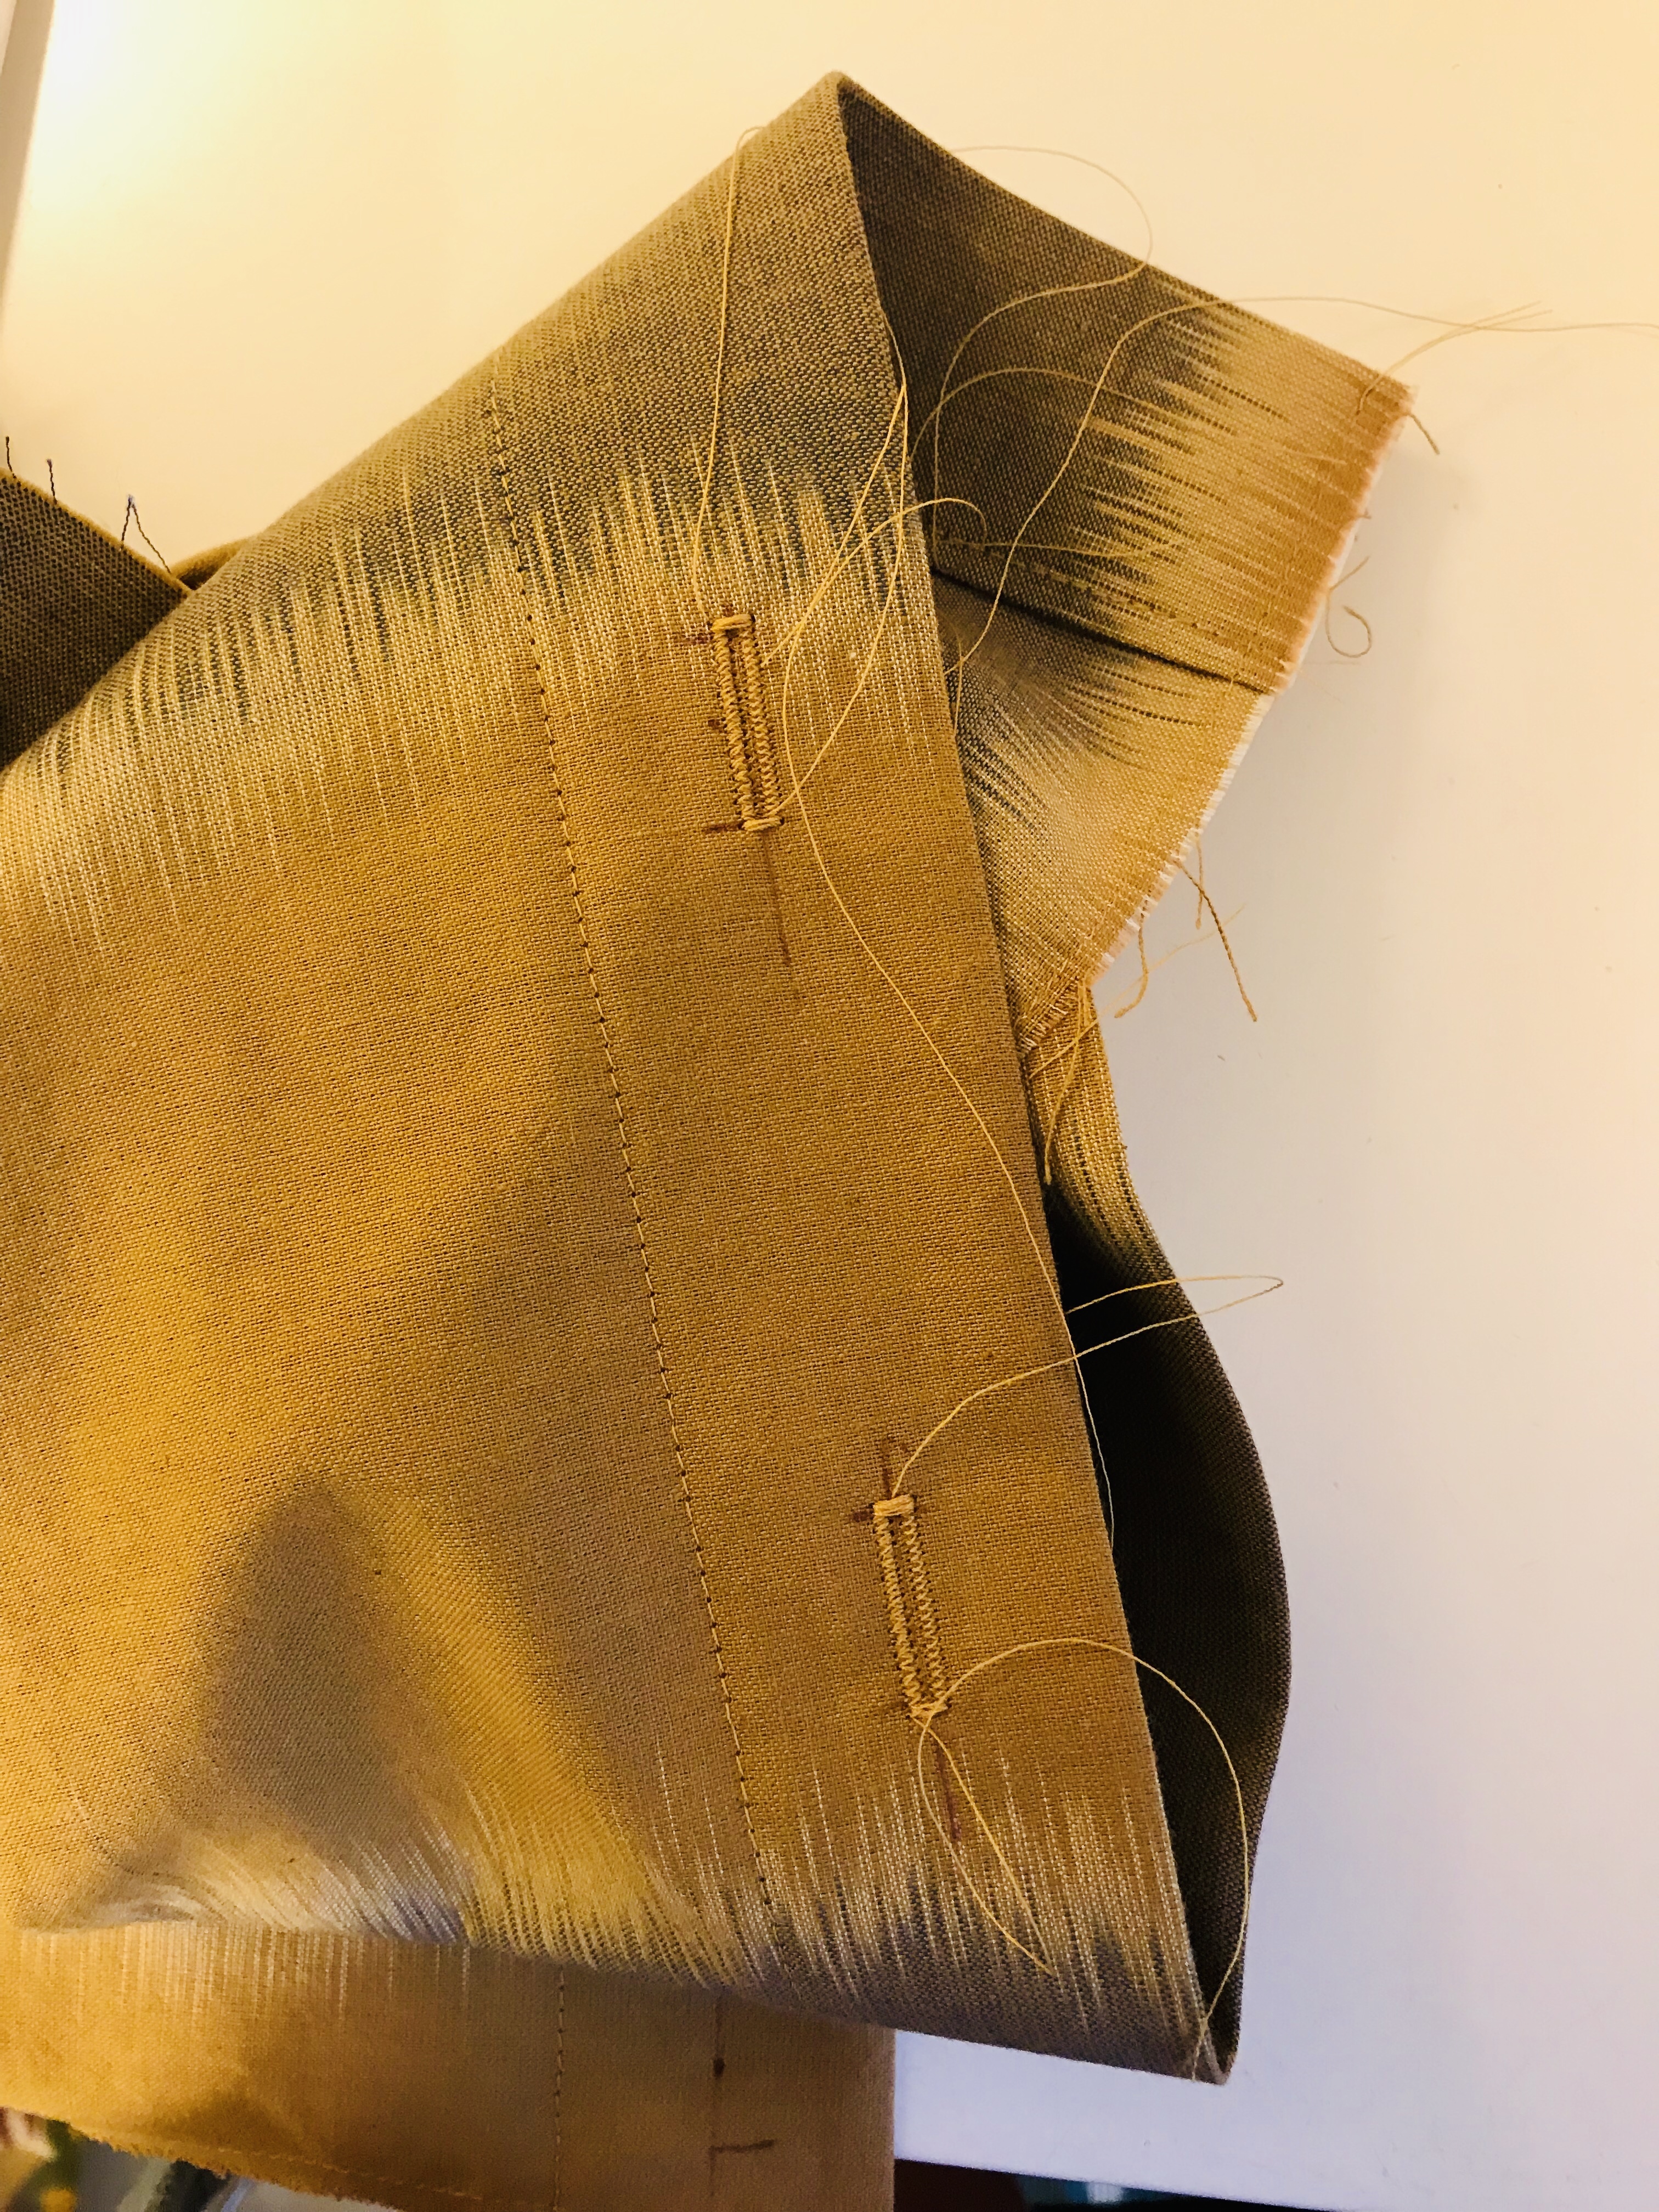
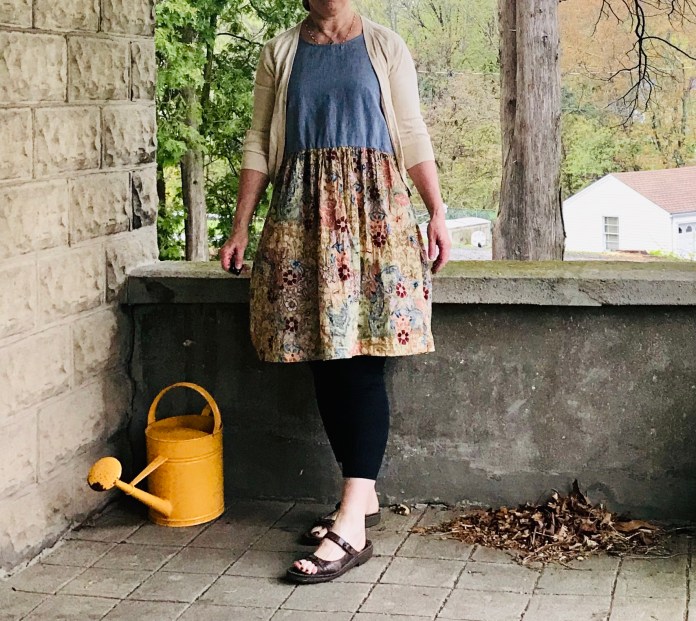
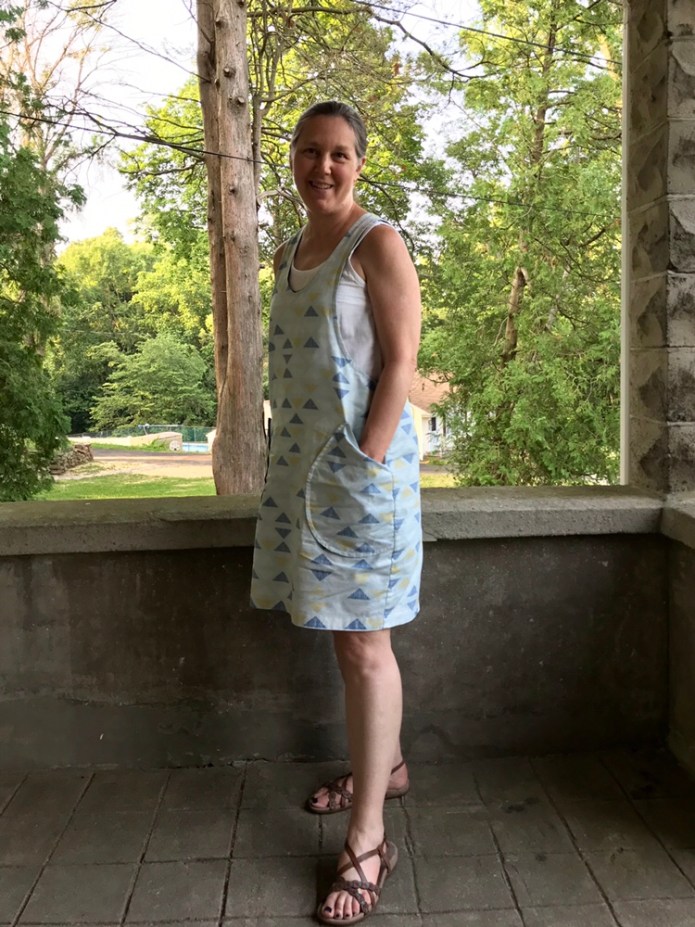
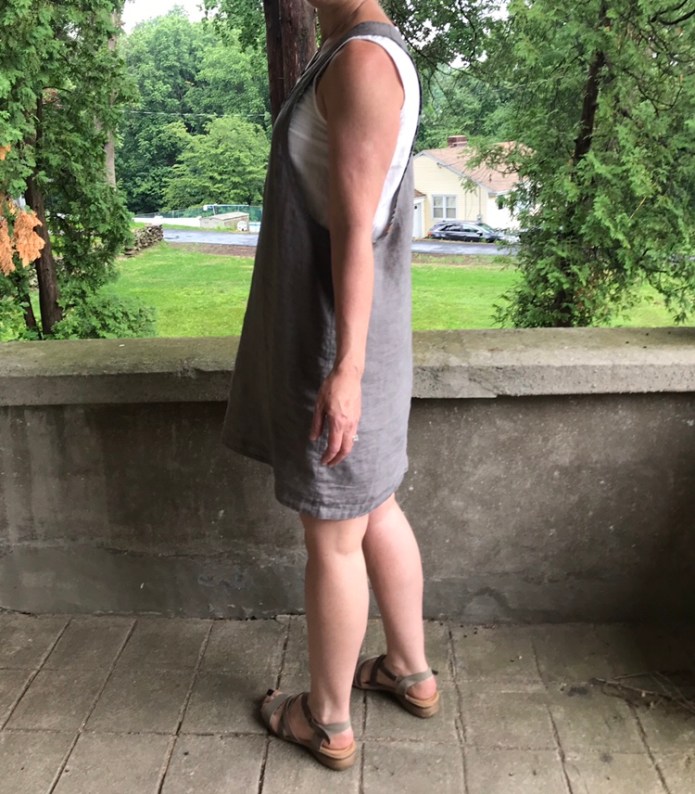
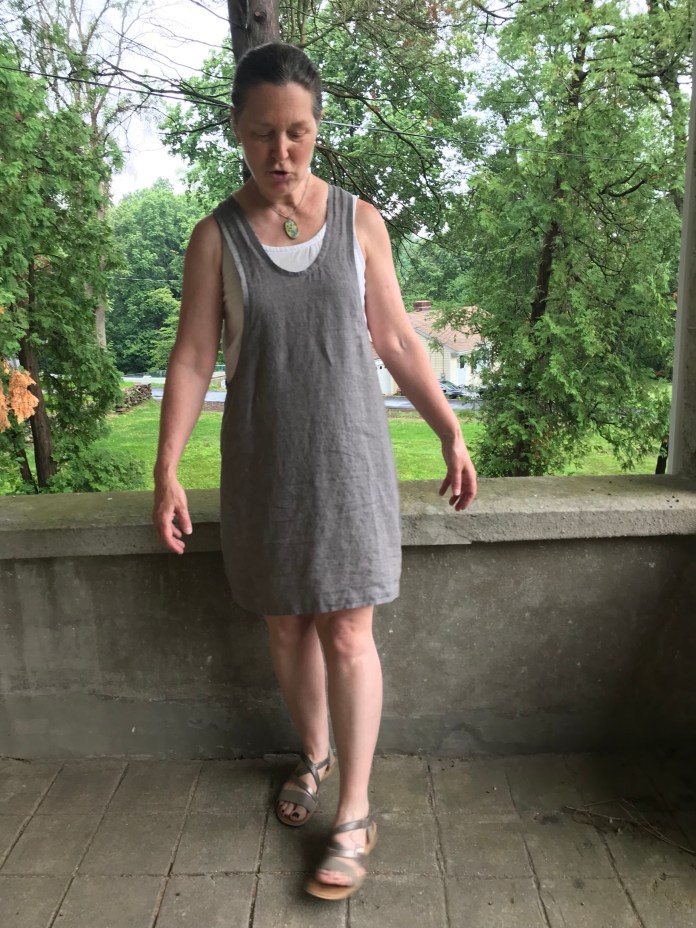
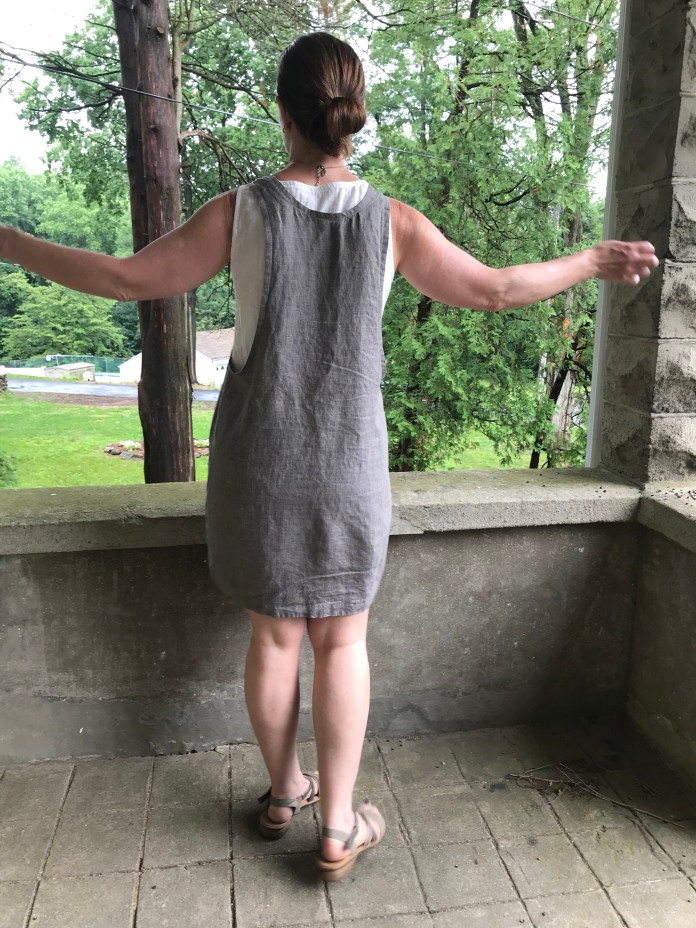
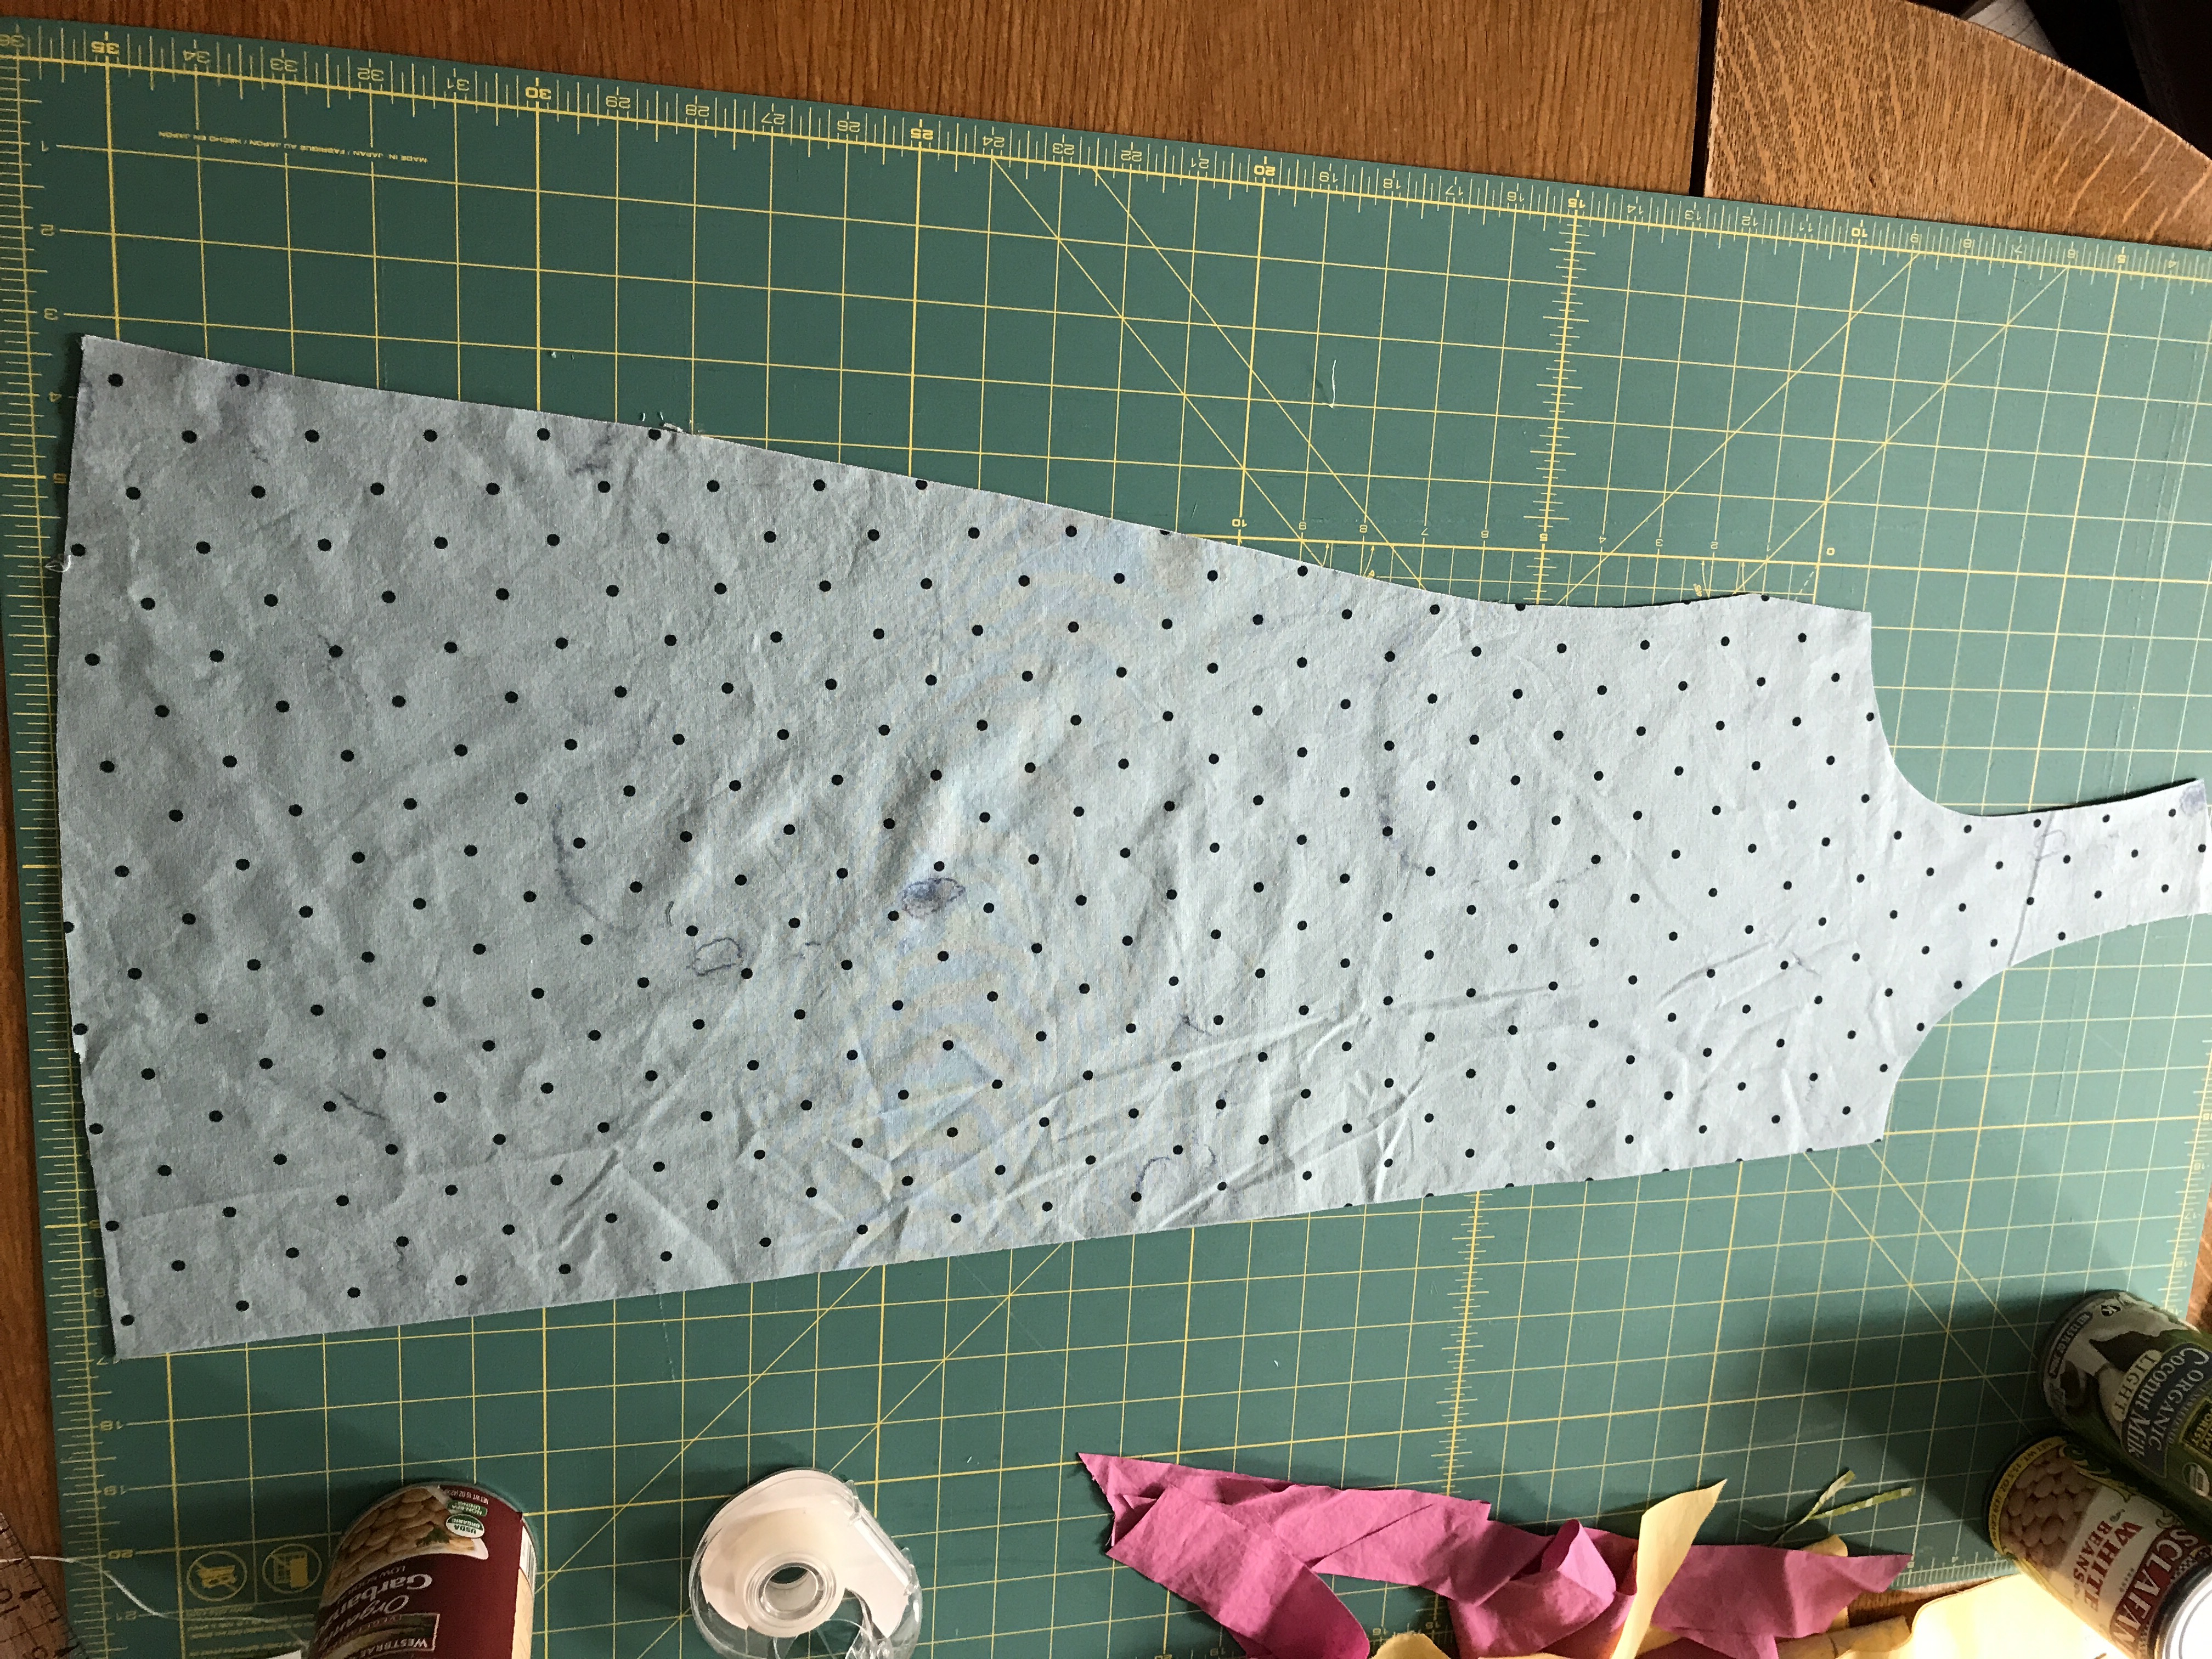
First: three versions of the Made by Rae Beatrix Blouse. The first is made with the leftover fabric from a blue linen York pinafore that I sewed in May.

I had just enough leftover fabric. I cut one of the sleeves on the cross grain and used other scraps for facings.
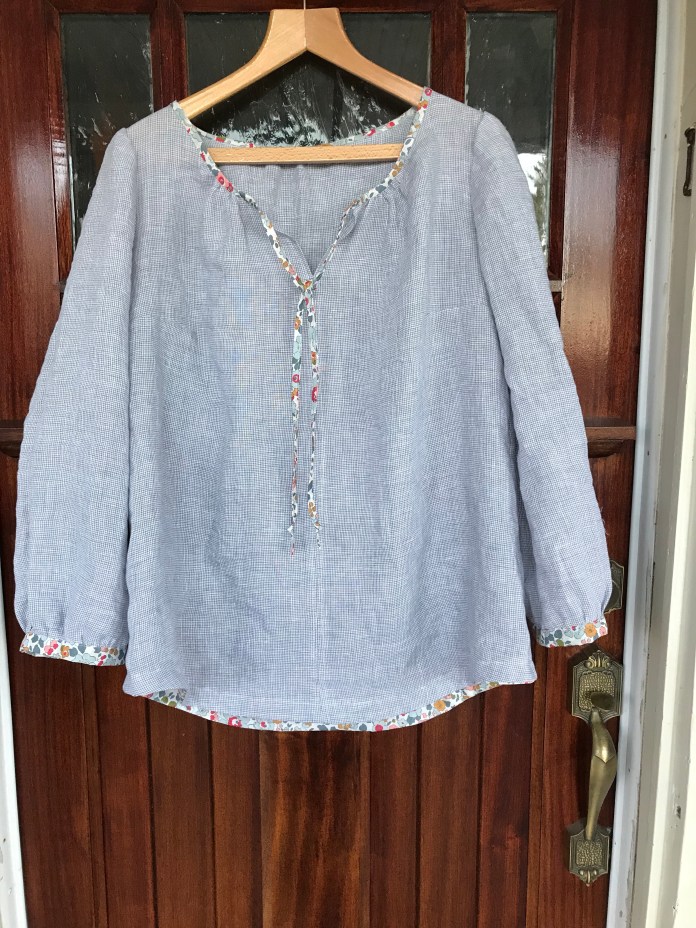
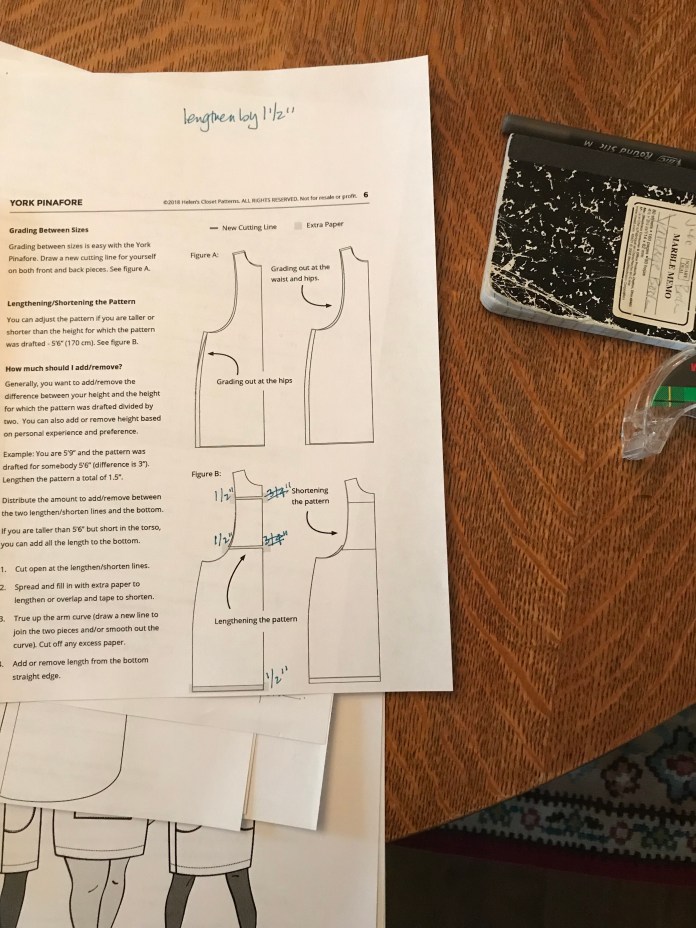
I had started this last year to go with the brown corduroy York pinafores that I sewed last fall and then life got busy and the button placket felt overwhelming which is actually silly because it was very quick.

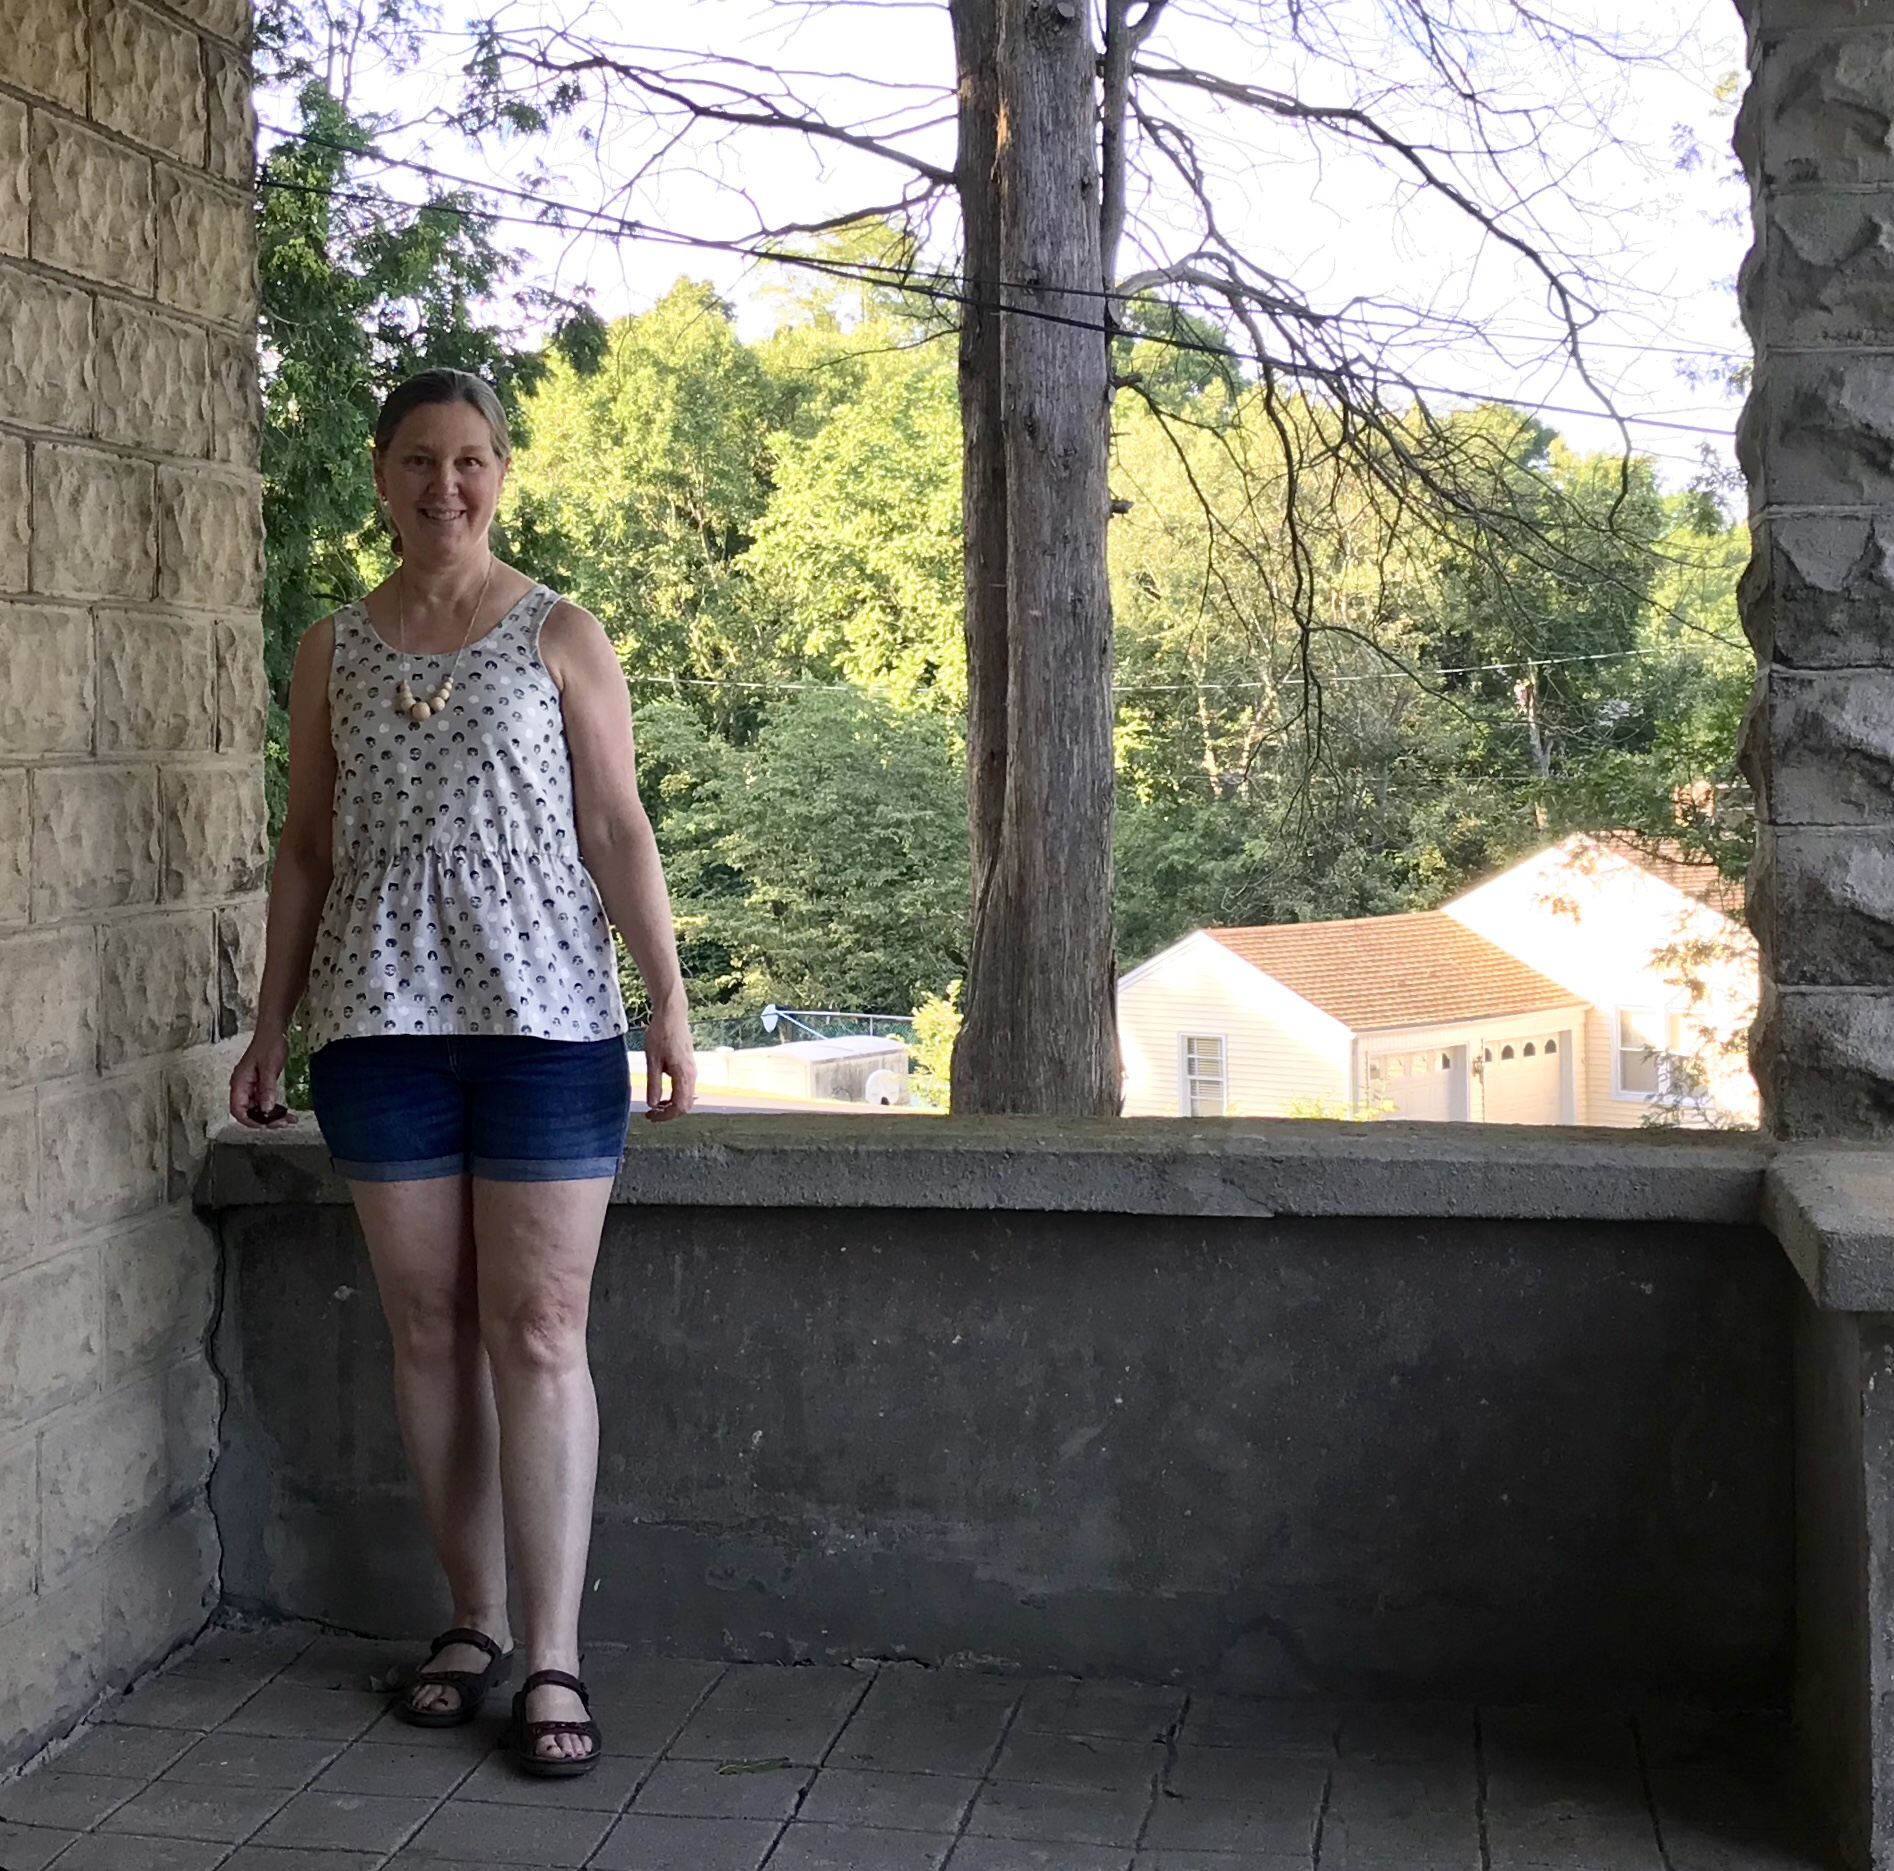
After I finished this in short order, I sewed the two sleeveless versions I cut out four years and two years ago respectively. I love this beautiful Melody Miller cotton lawn. I am so glad I finally sewed it up! Look at those button holes! Such a confidence boost when they come out well. The buttons are antique from a button jar I found at a tag sale 25 years ago.

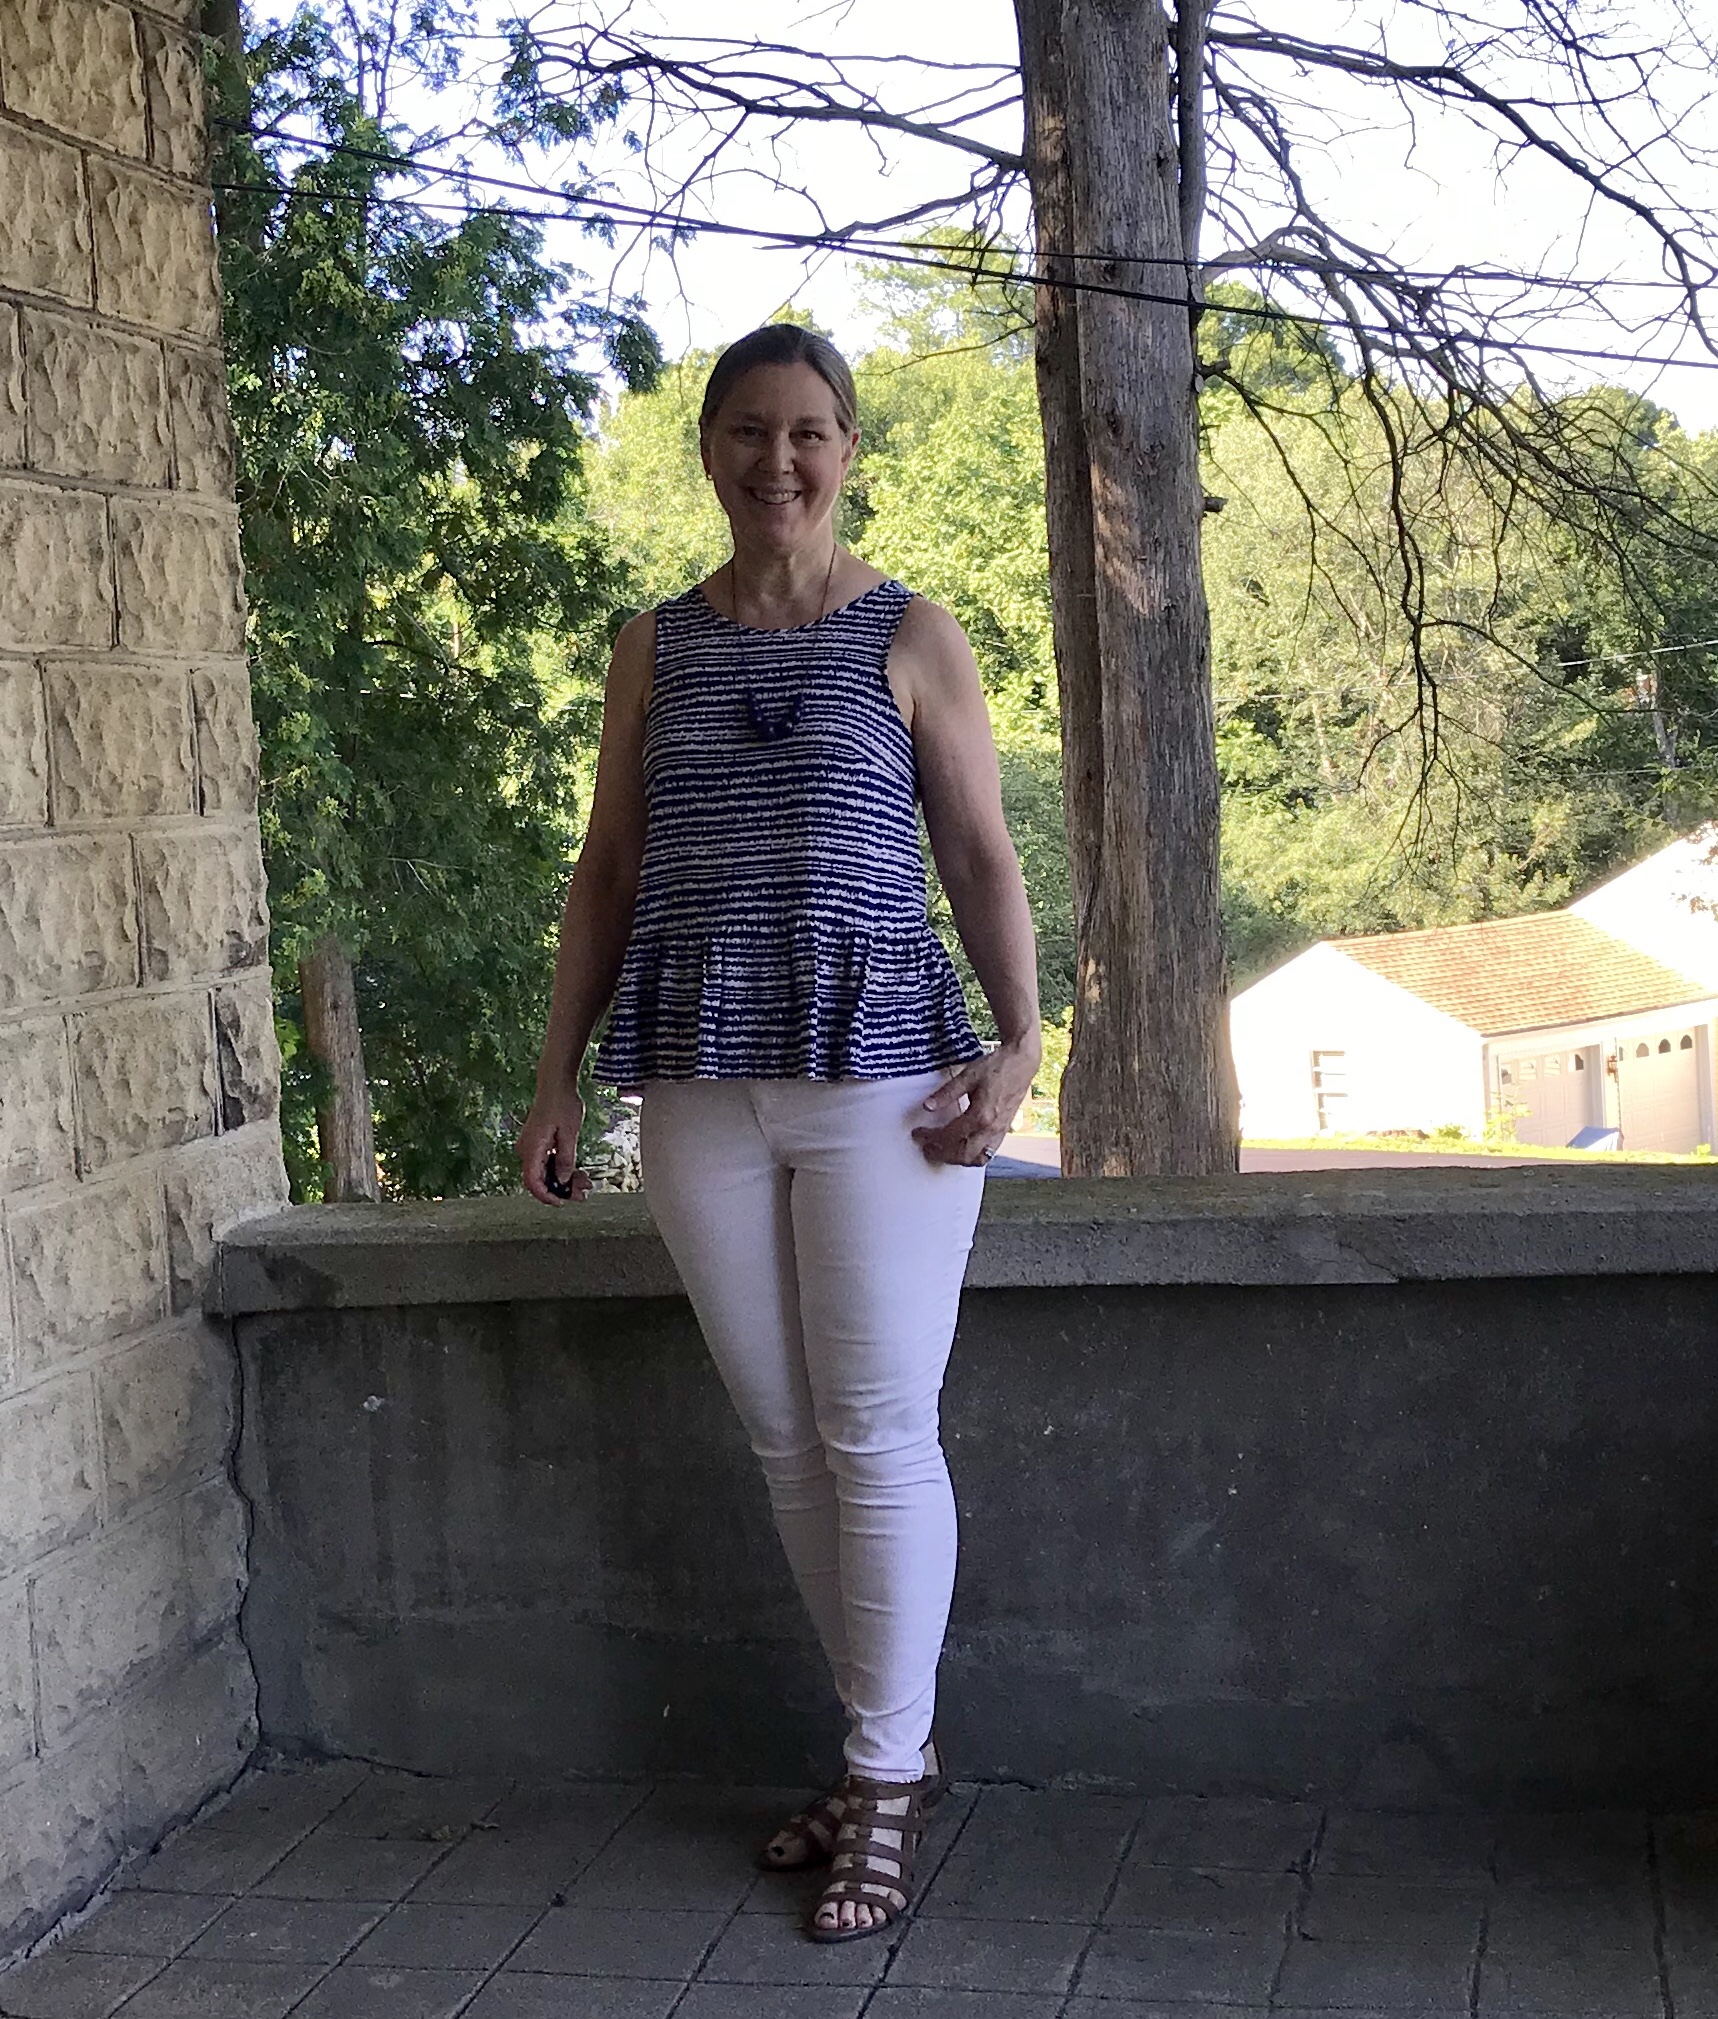
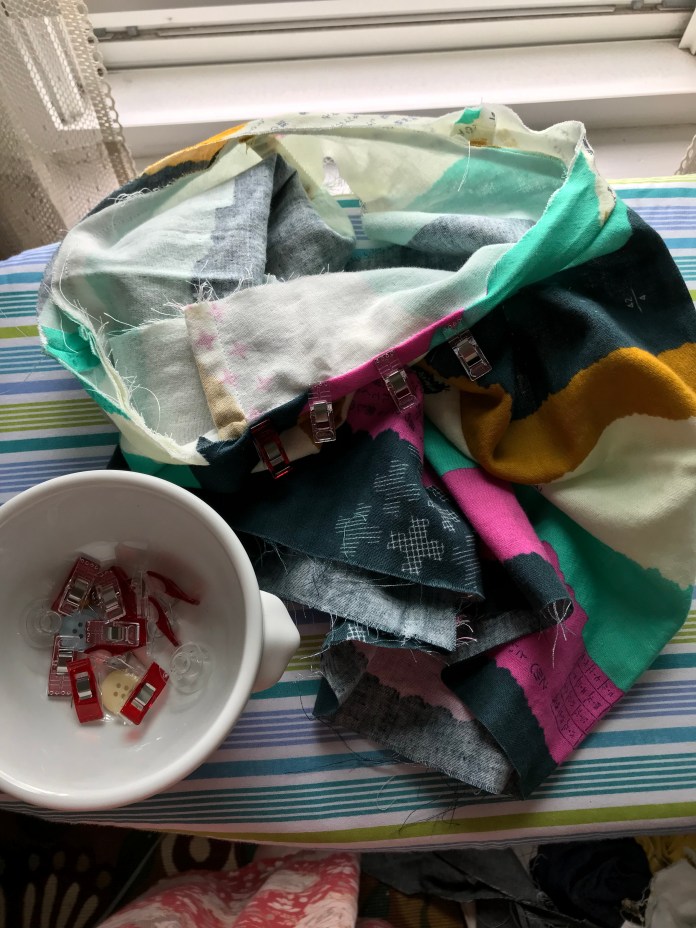
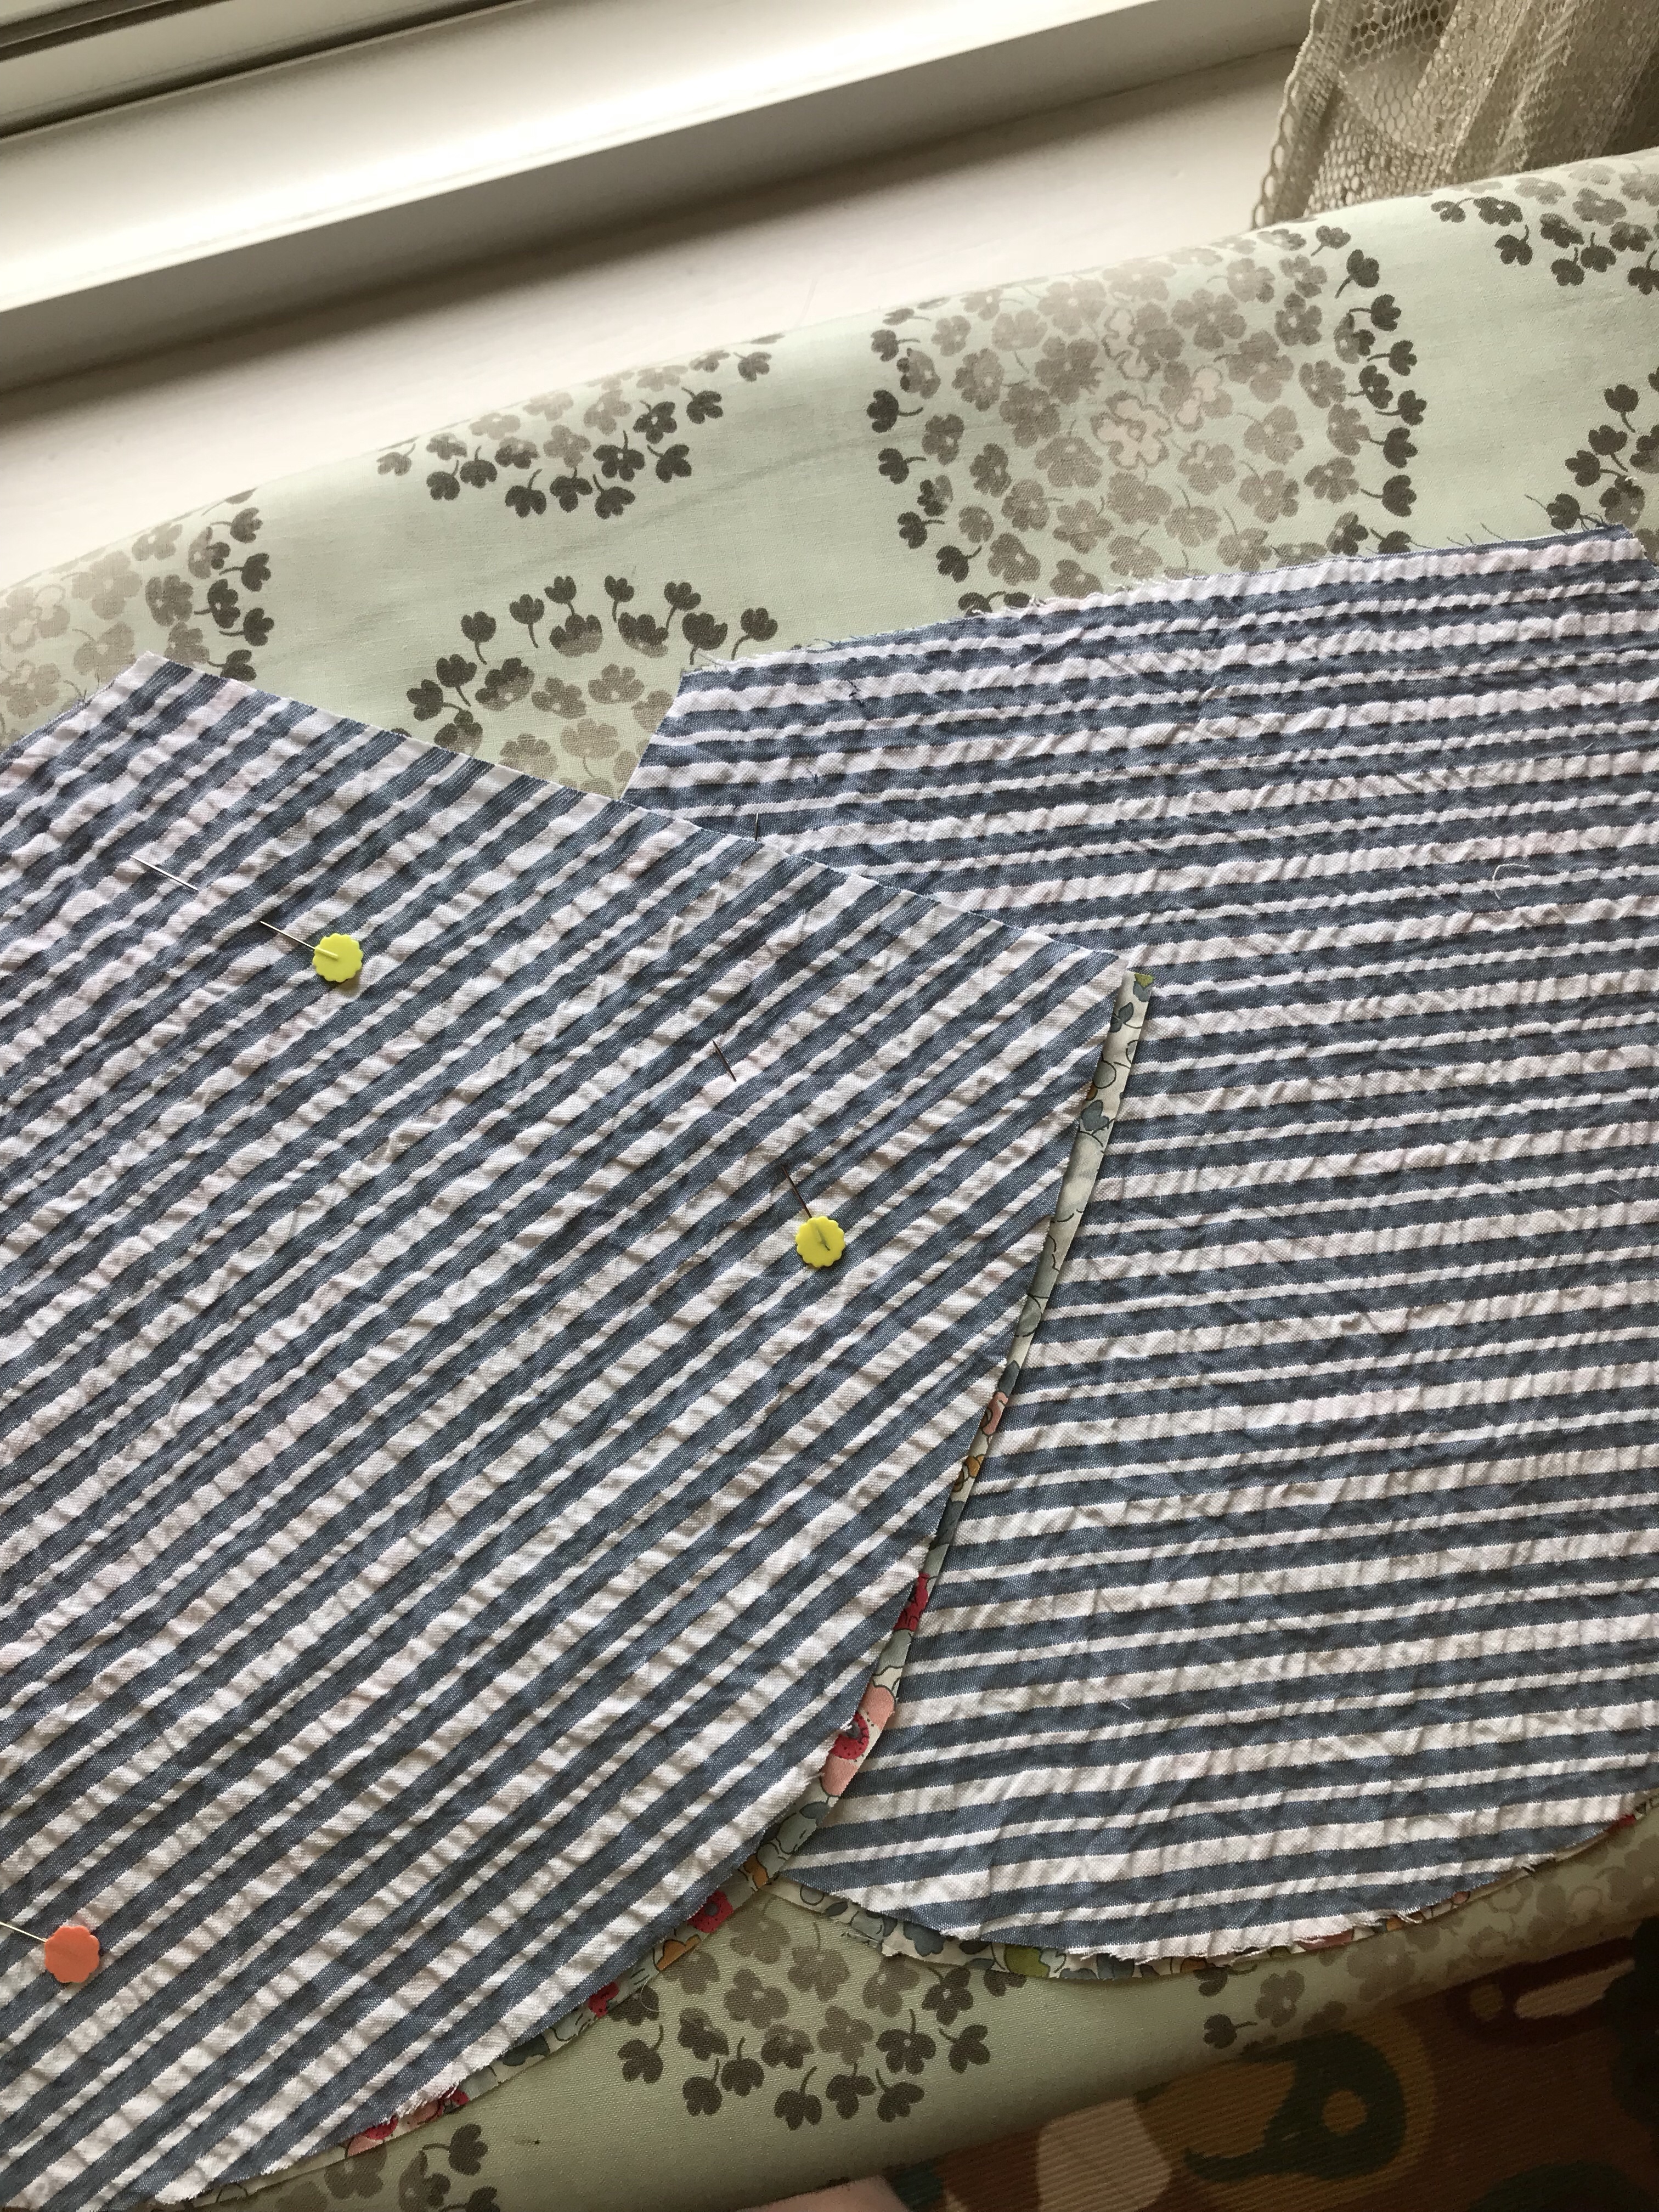
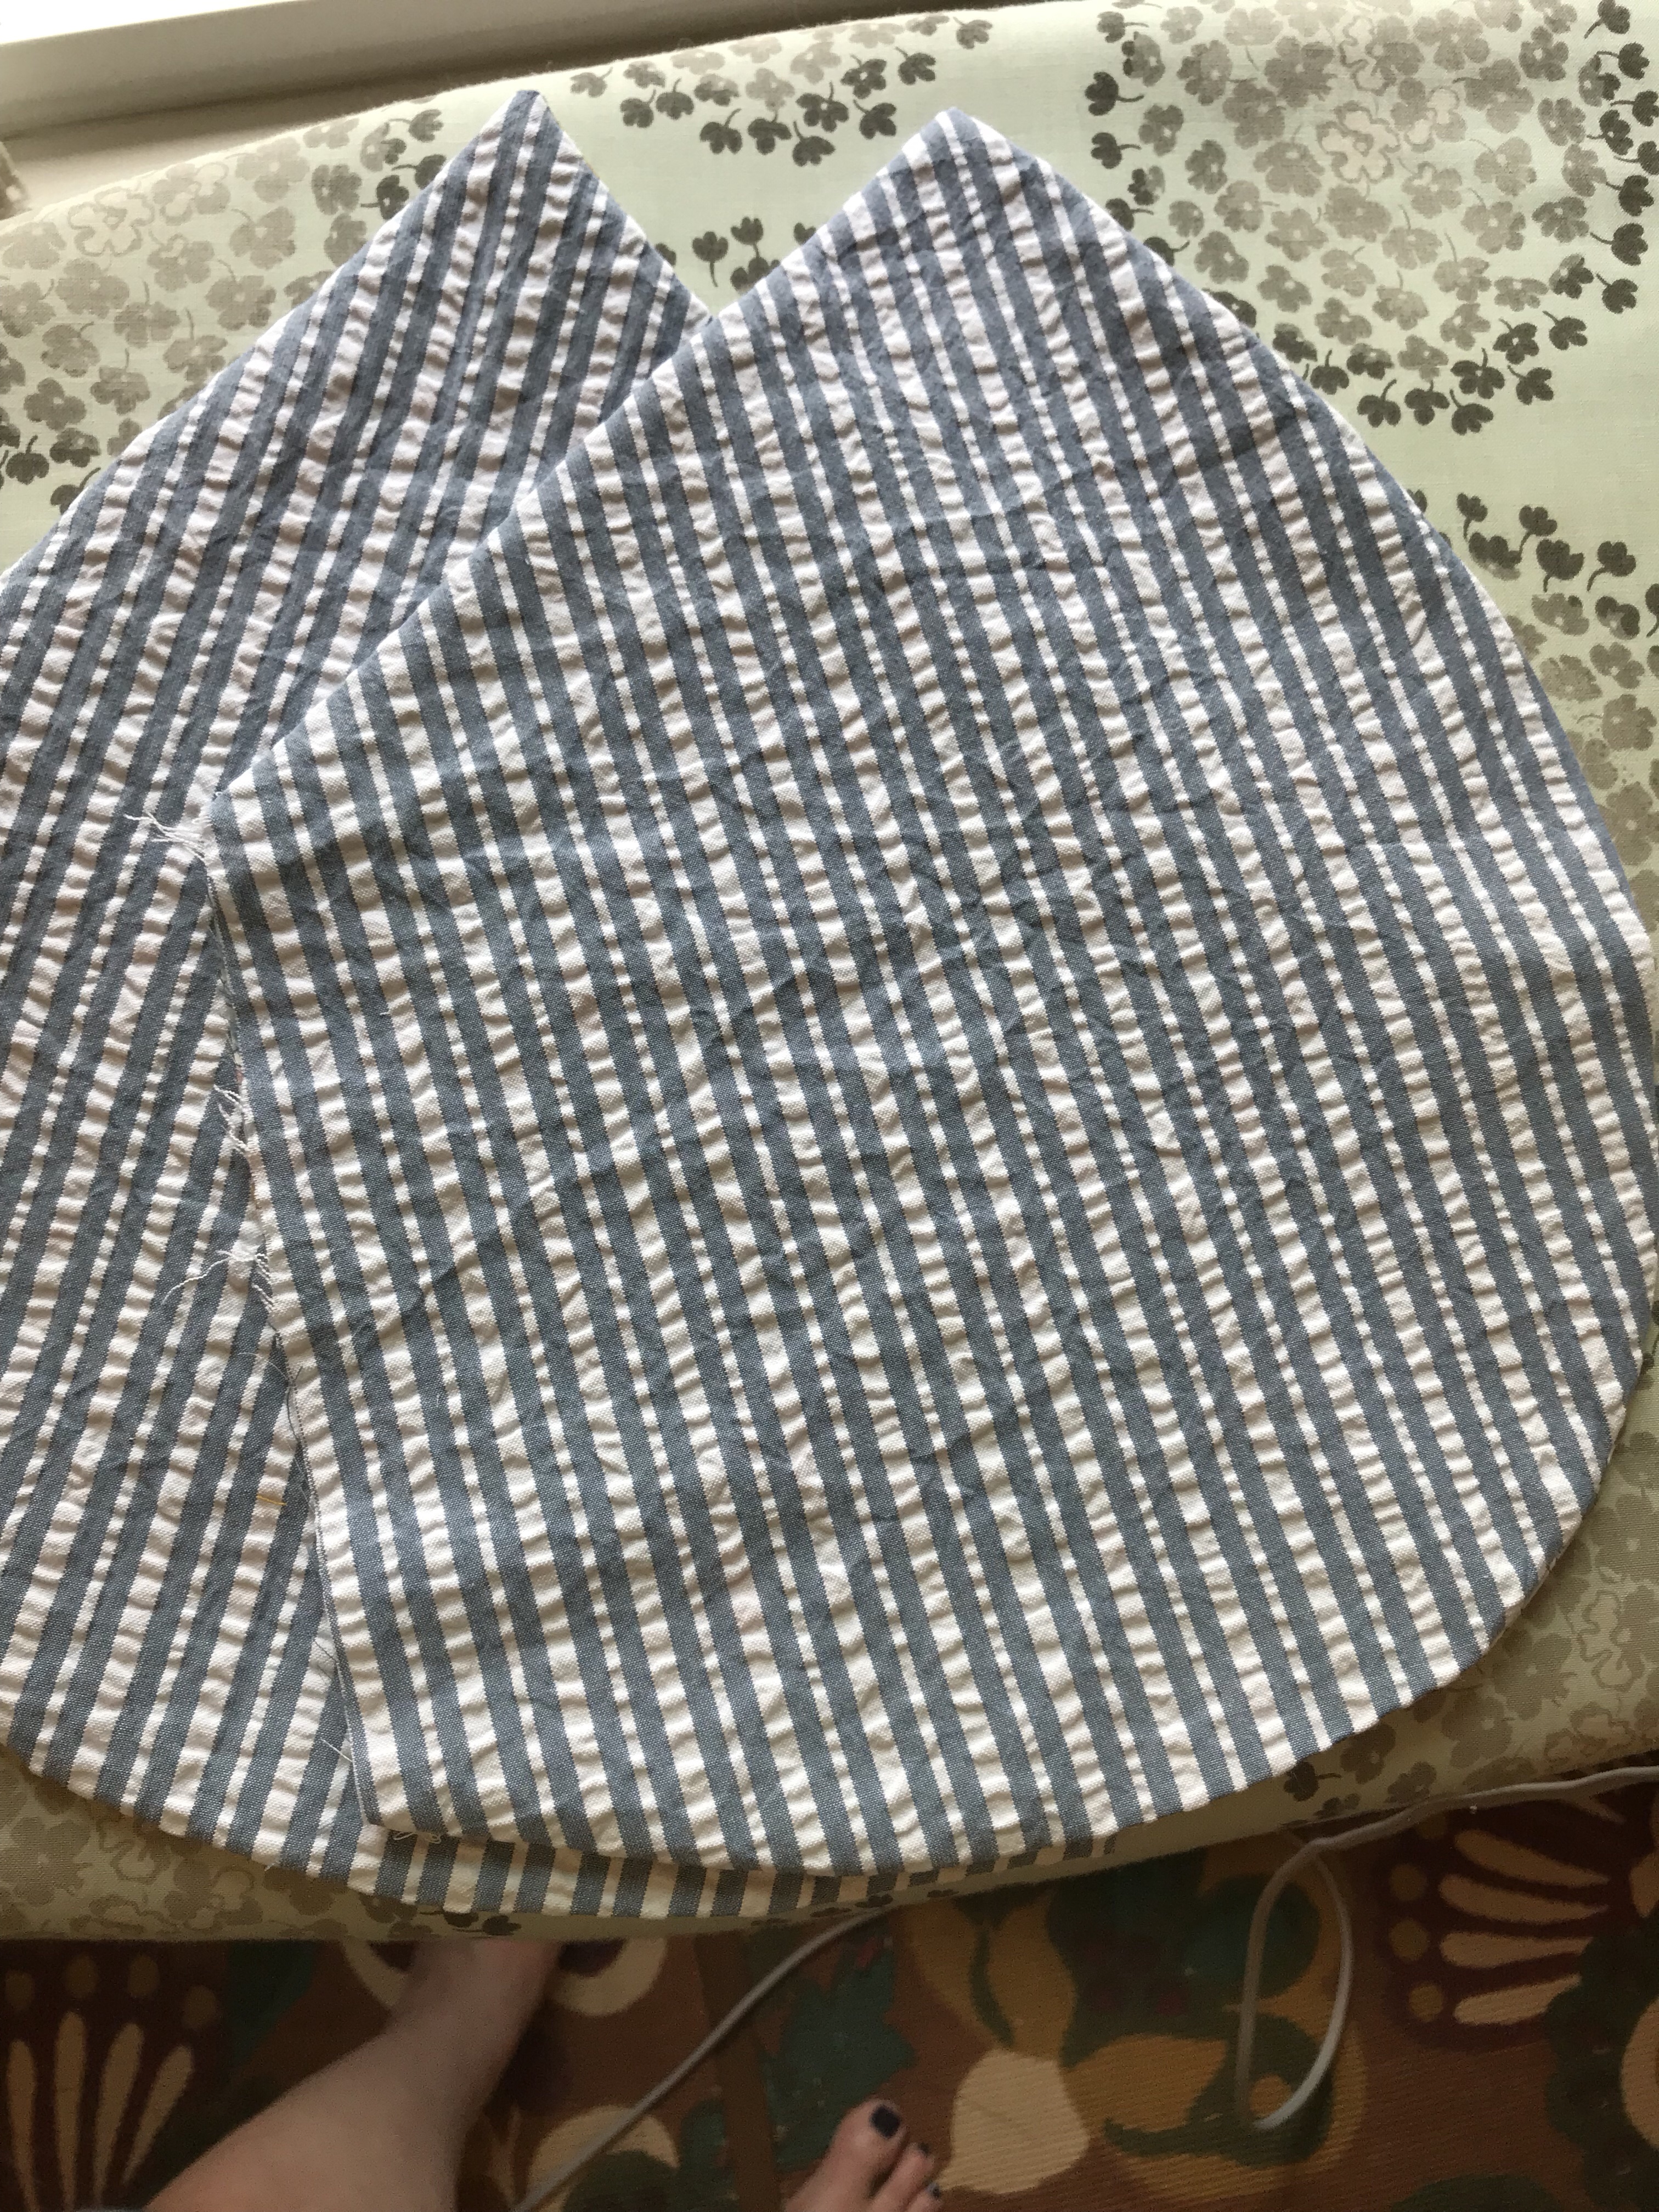
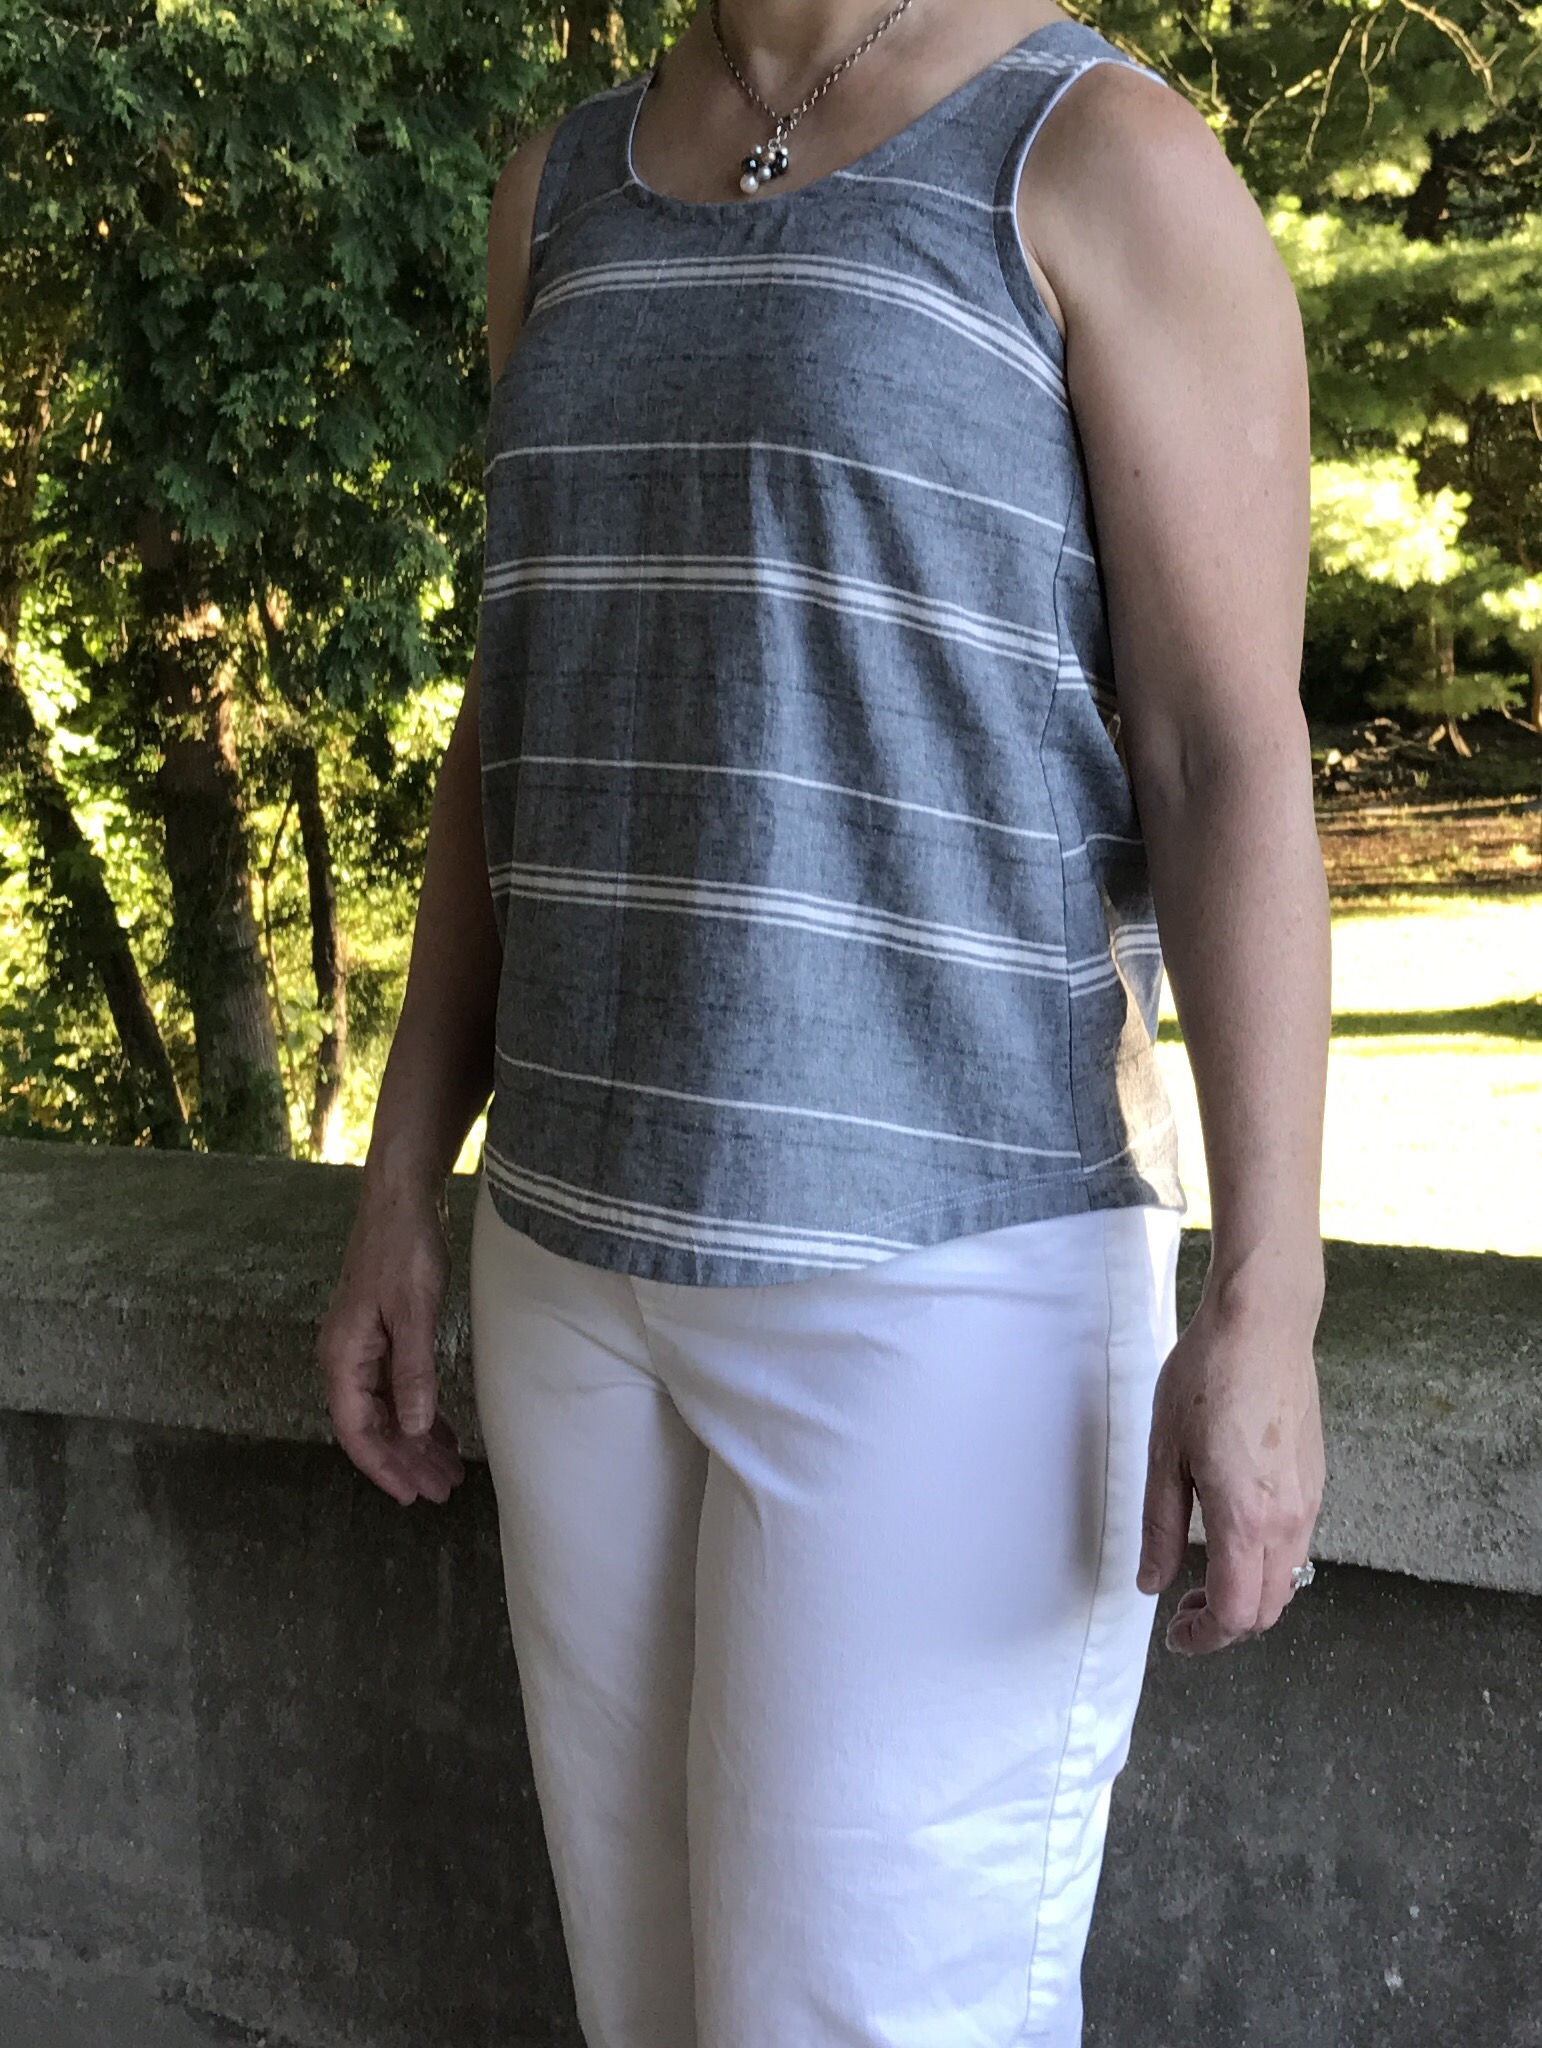
And another version in this beautiful woven lightweight cotton fabric. I had planned on the sleeved version but I wasn’t happy with how the stripes lined up and I cut off the sleeves and used bias binding to make a sleeveless version. I used elastic thread to gather the sleeves. It works really well but after you sew the sleeve in, it is important to take out, or at least cut the elastic stitches in several places or it will cause your garment to have puckers as you can see in the sleeved version. I realized this again when I made one of my ruffle Gemmas. More button holes below. I use a disappearing marker to mark them first. It works really well for me. The navy buttons are recycled buttons that I got at Fab Scrap.
With sleeves (notice the puckers-I could have gotten rid of them but I decided I wasn’t happy with the way the stripes lined up)

Sleeveless version:


I love that the same pattern can give you such different looks.
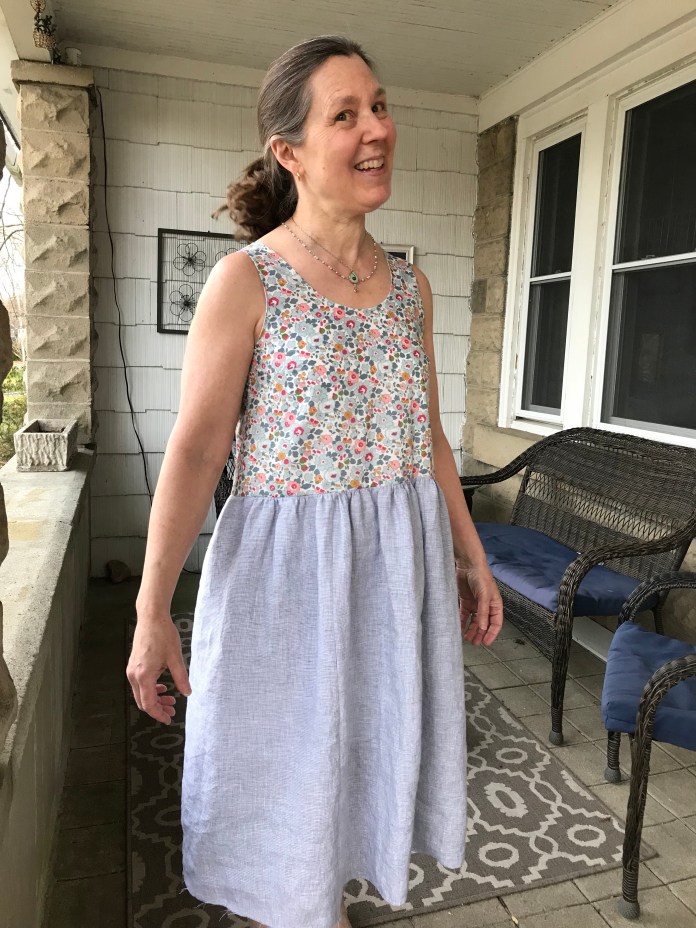
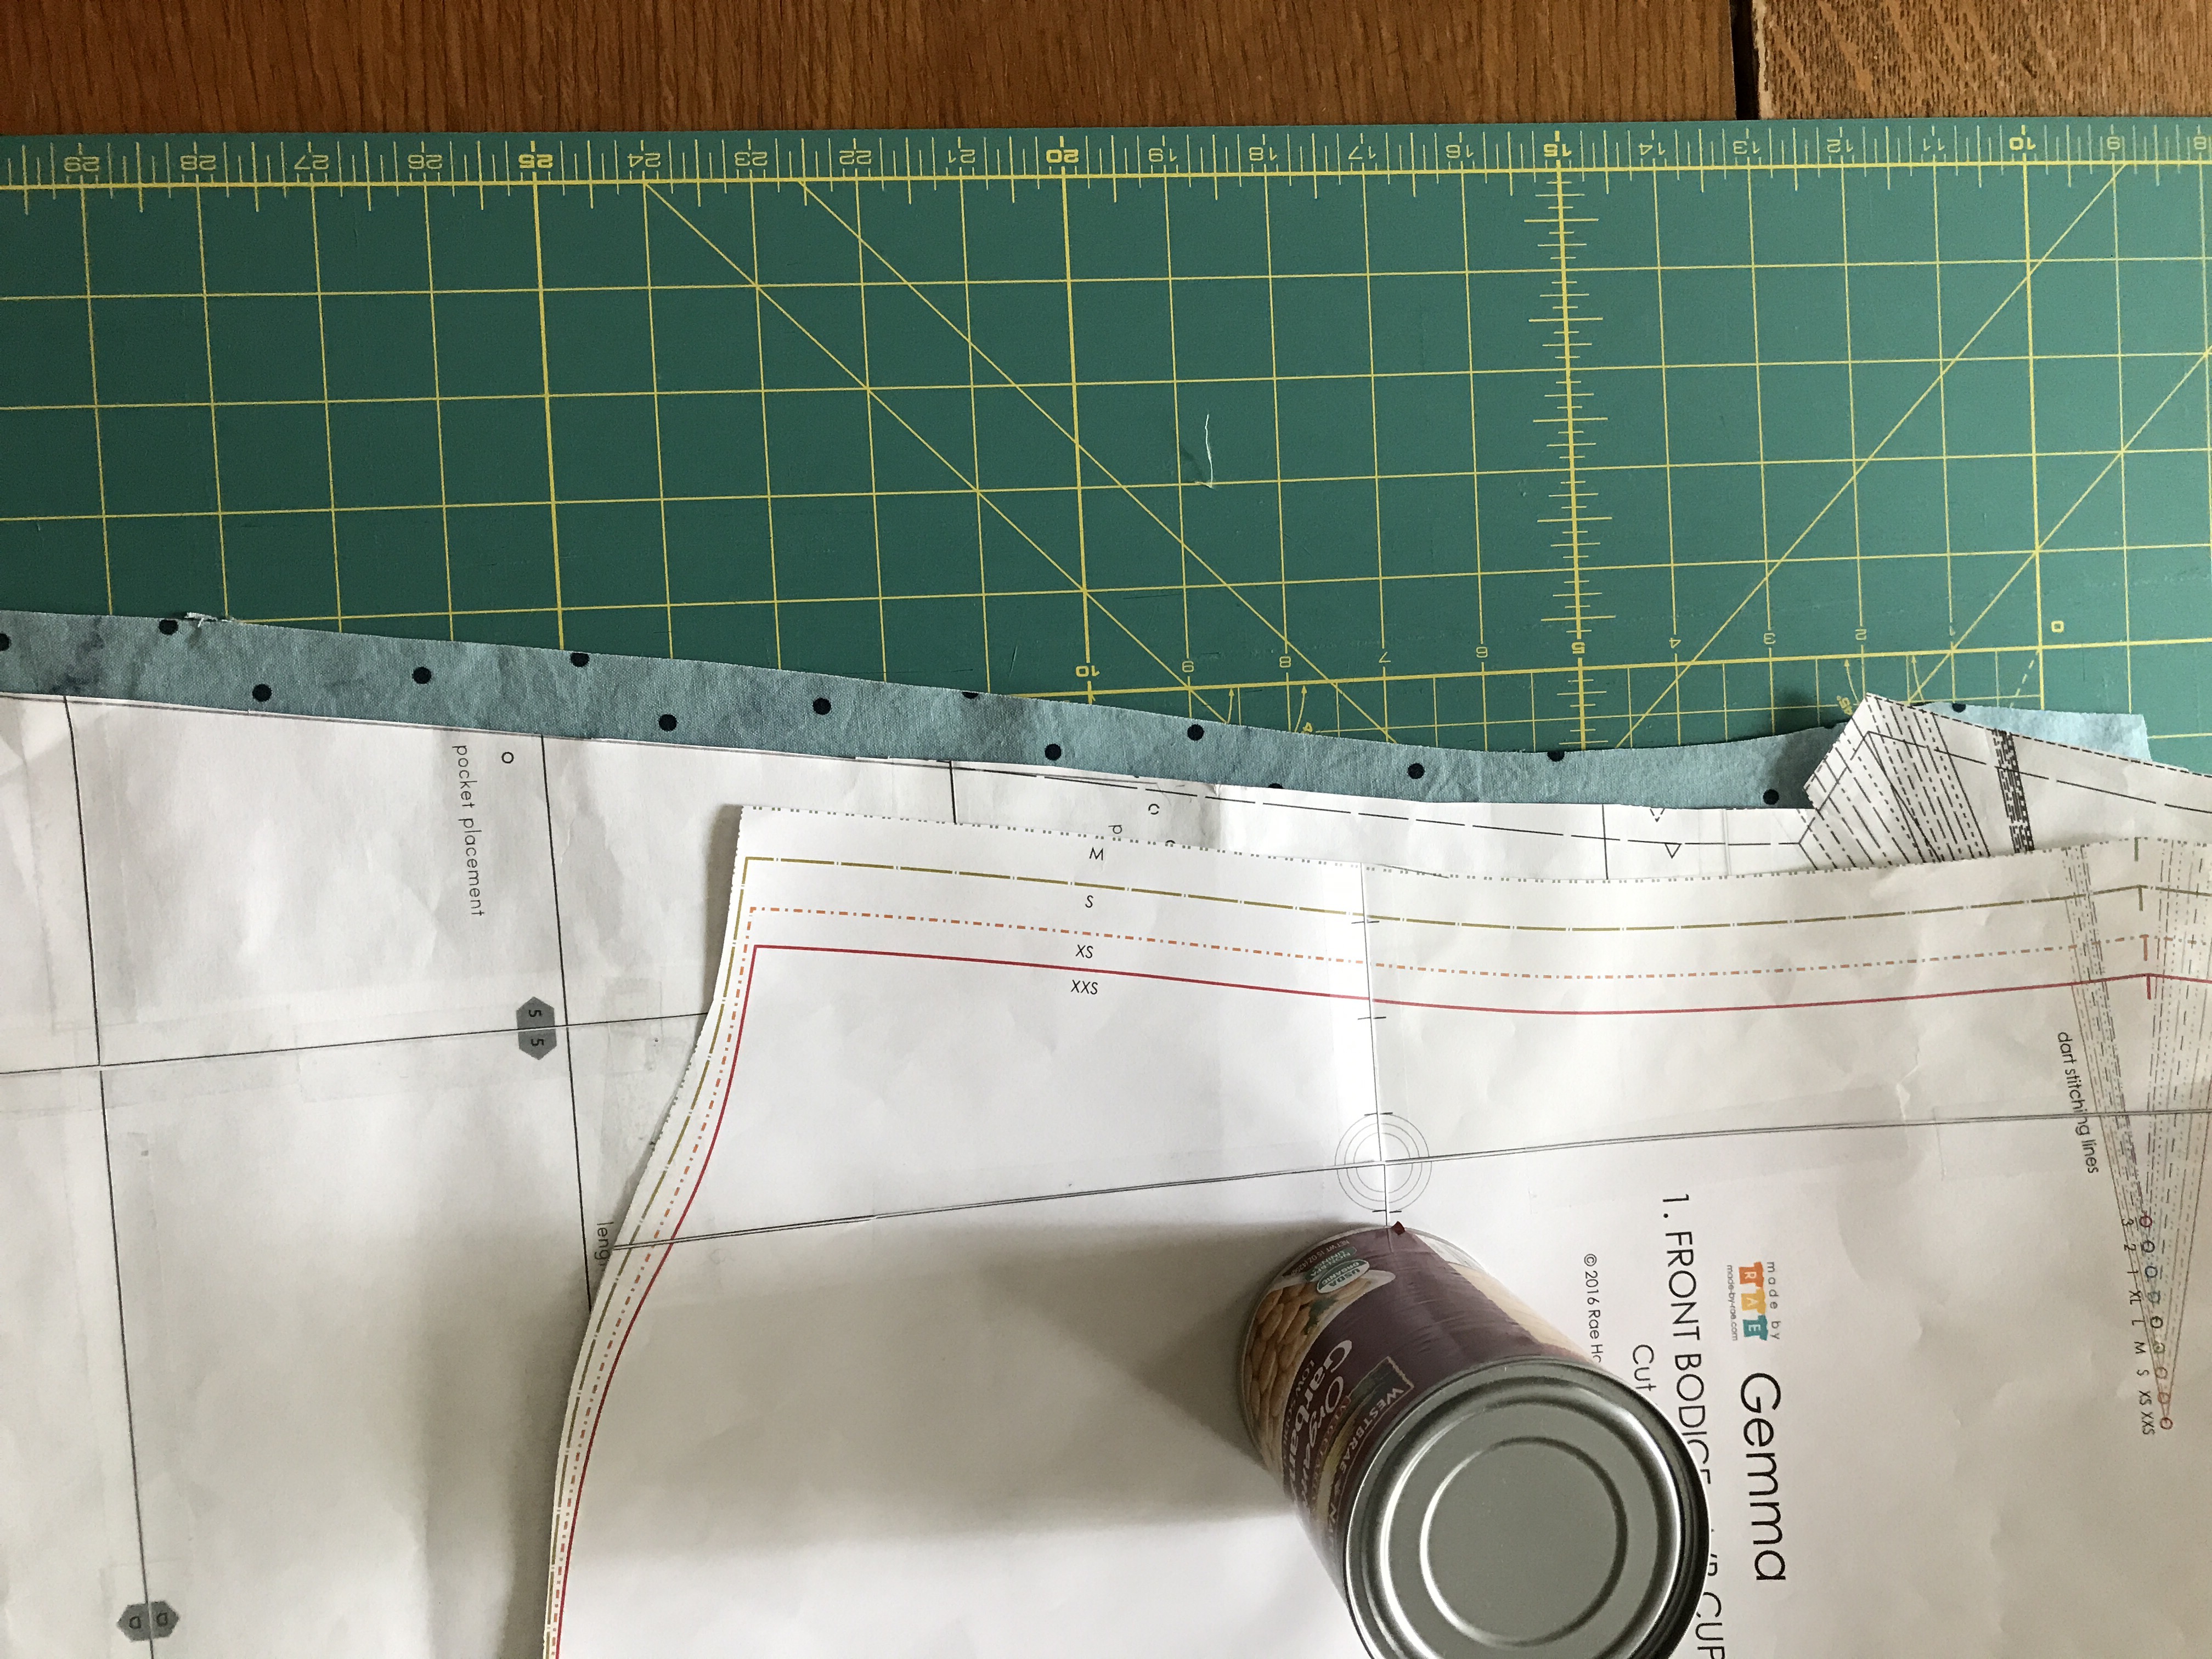
Second: I had a summer dress idea for a Gemma tank with a skirt. I was really successful with this approach when I sewed this double gauze version
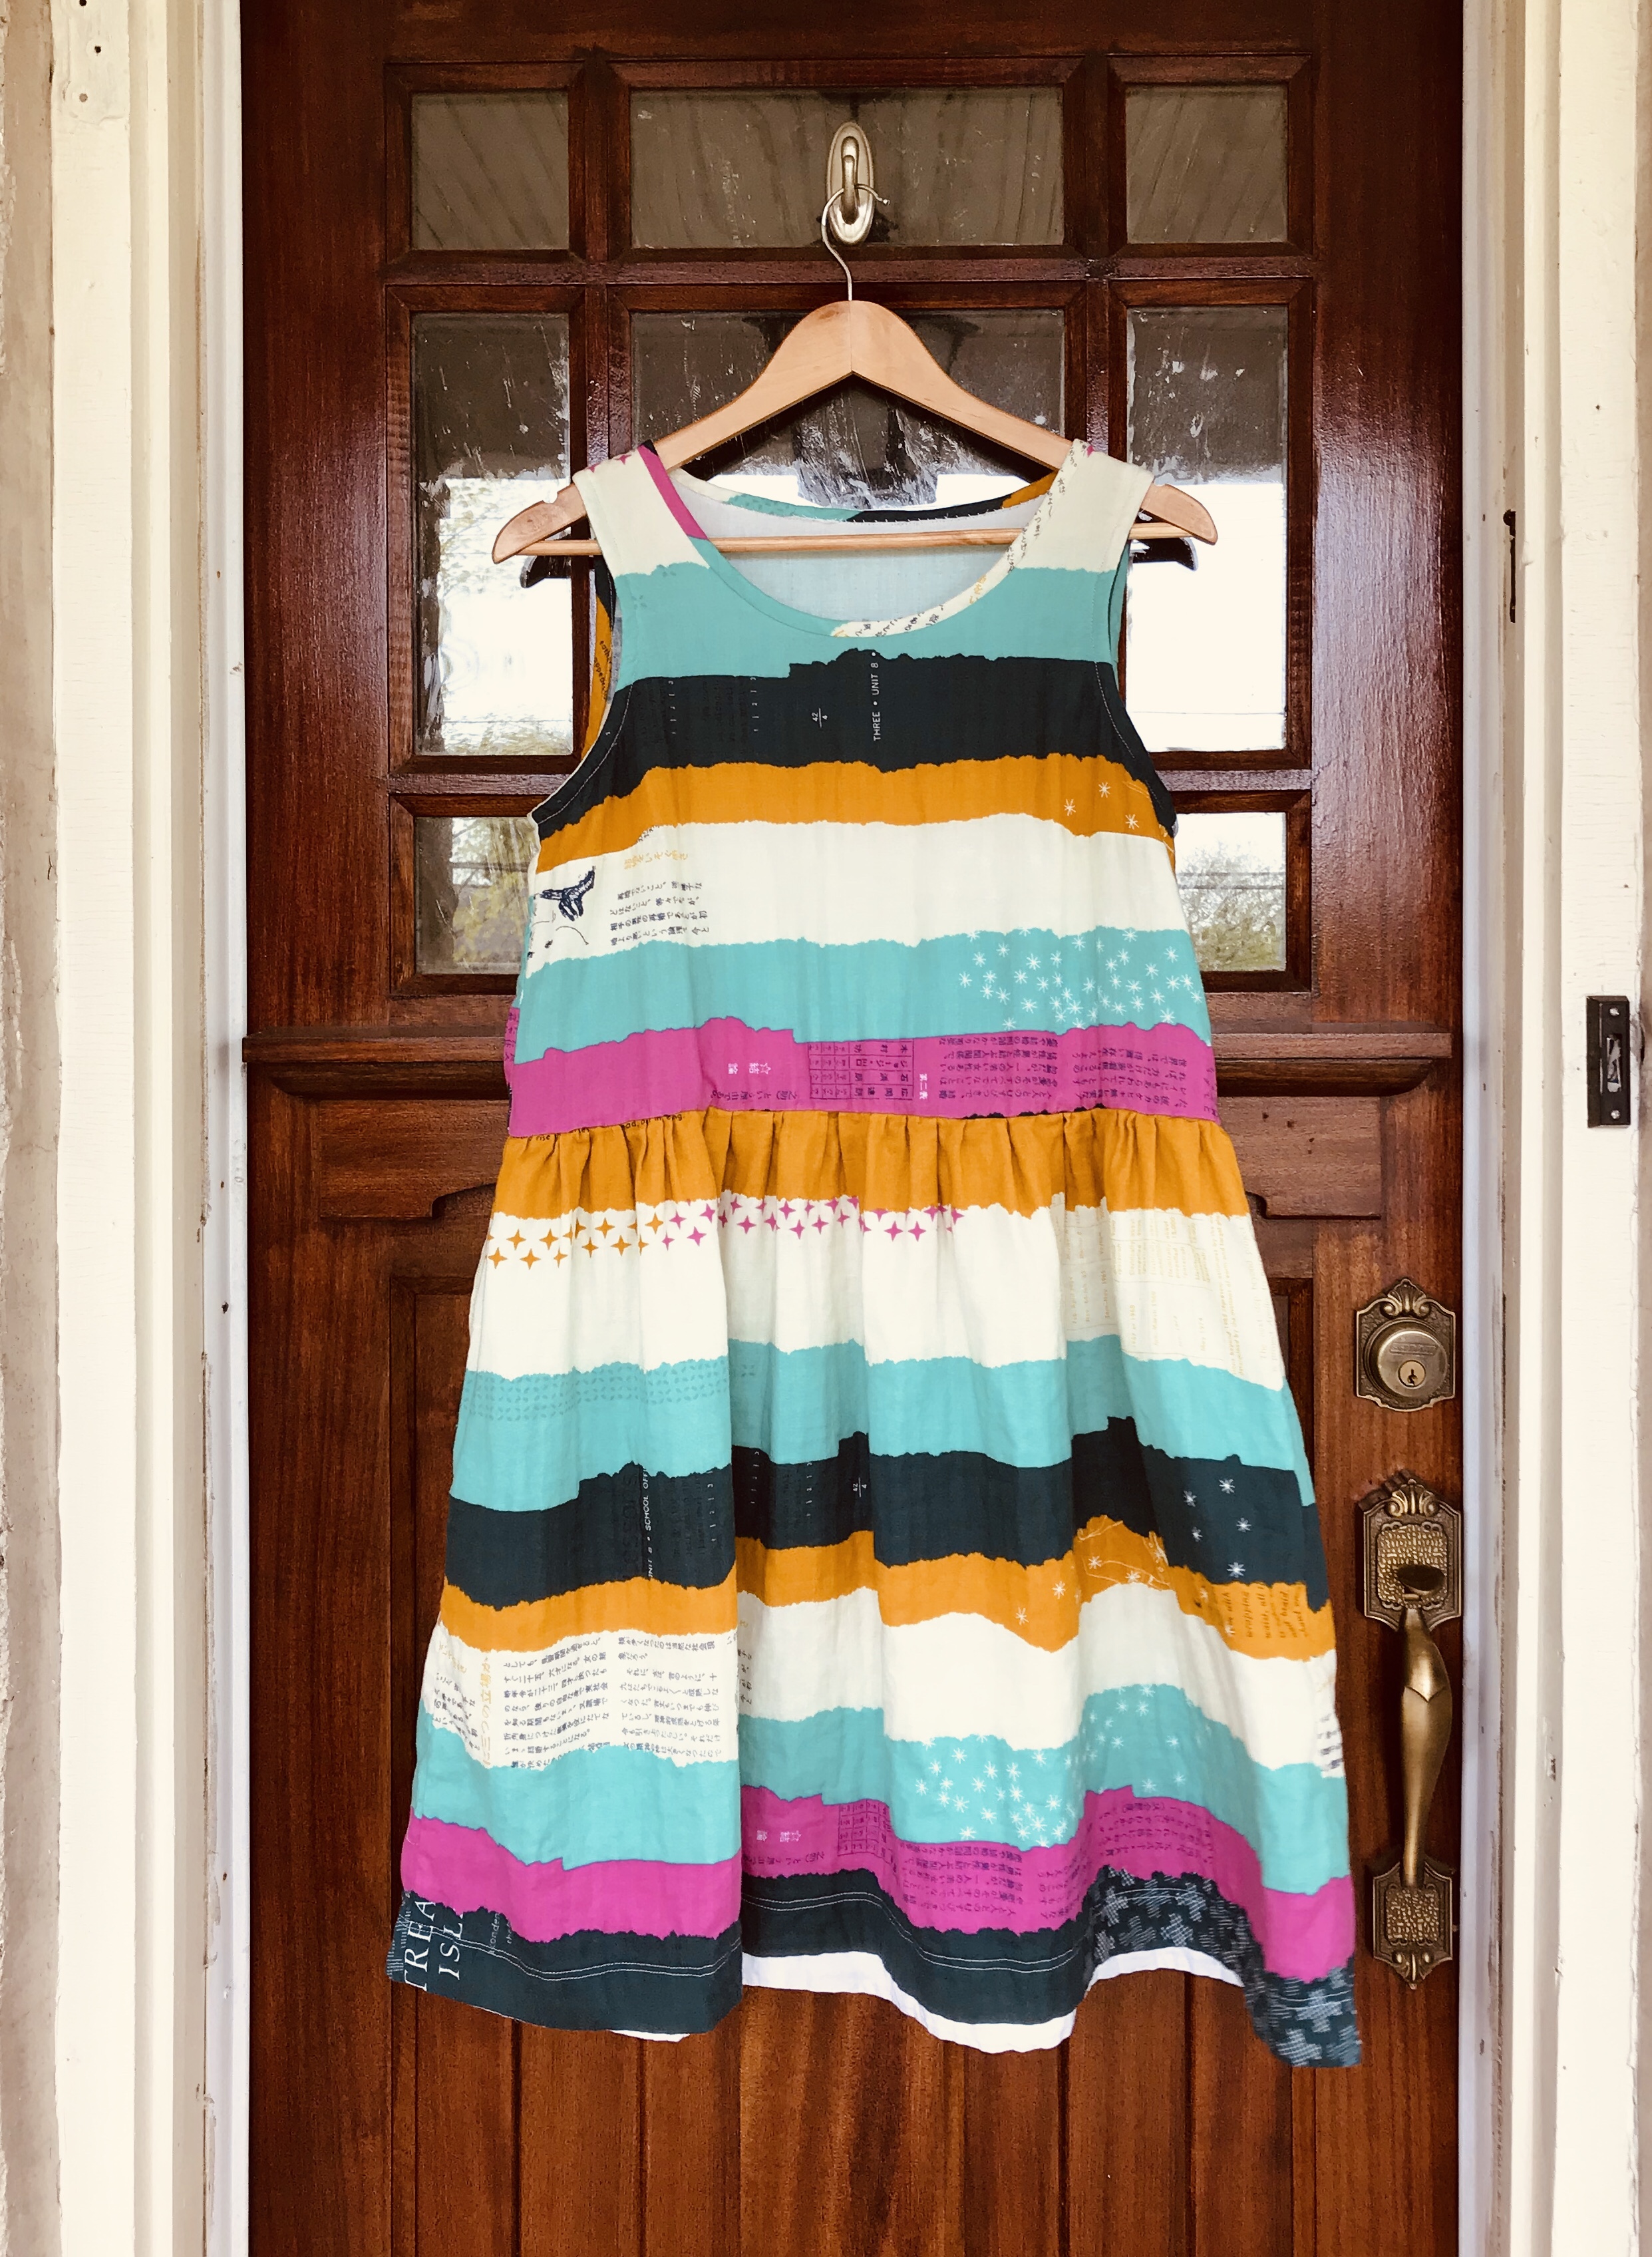
but when I started a green Loominous version last summer I cut the bodice too long and the whole effect was frumpy. I had already gathered the skirt and didn’t feel like unpicking the whole thing so I took a chance and sewed a second seam joining the bodice to the skirt to effectively shorten the bodice and then I shortened the skirt. Amazingly, it worked. Now I love it.

As worn:
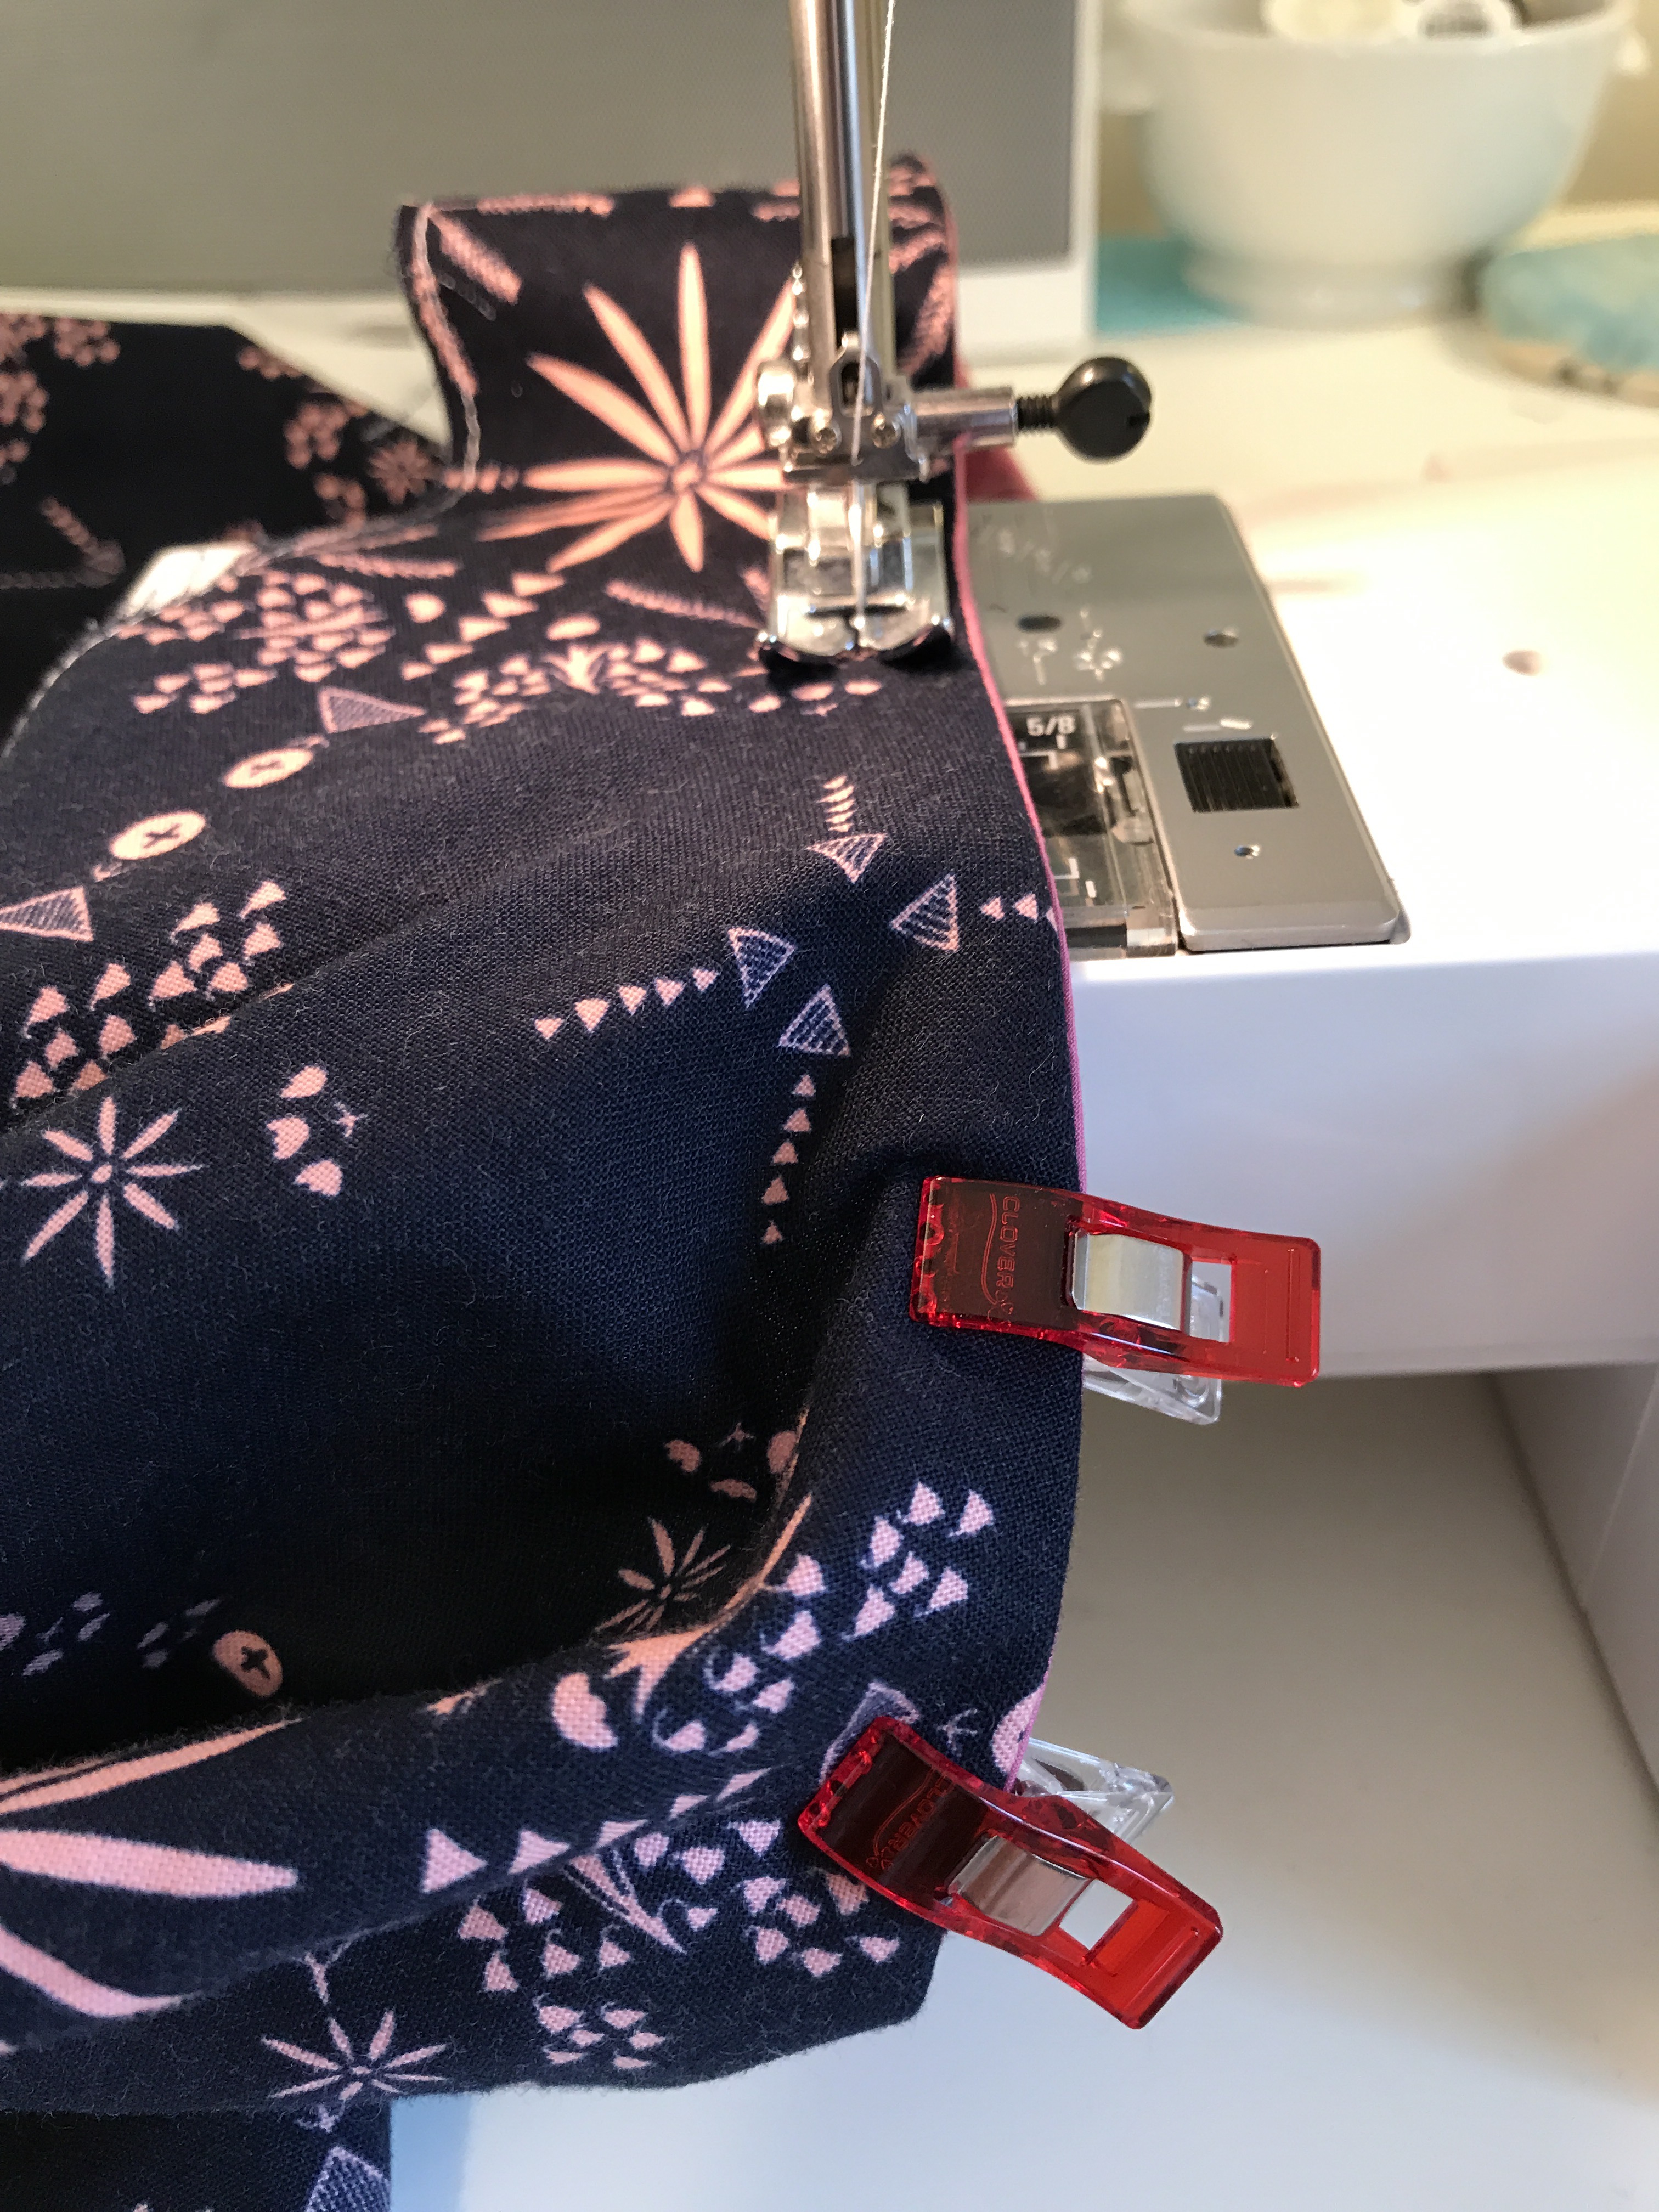
I had also started a rayon version of the Gemma peplum tank last year with a tiny remnant of striped rayon. I loved this fabric and knew it would be perfect for this pattern but the rayon was slippery and bias binding the neck temporarily overwhelmed me and there it sat. I tackled it this past weekend, hand basting the neck binding before machine sewing it and used scraps of cotton lawn in solid colors for the arm bindings and the hem binding. I love it! The rayon has a beautiful drape and the stripes look just the way I had hoped they would.

I wore it to work with pink jeans! 10 years and 25 lbs. lighter ago, I would never have worn pink jeans because they didn’t seem slimming. Silly me! Getting to the ripe age of almost 60 has made me appreciate having a healthy, strong body. All those wasted years of worrying about a couple of pounds. (sigh) I am hoping to tackle sewing myself a bathing suit this summer. Stay tuned.
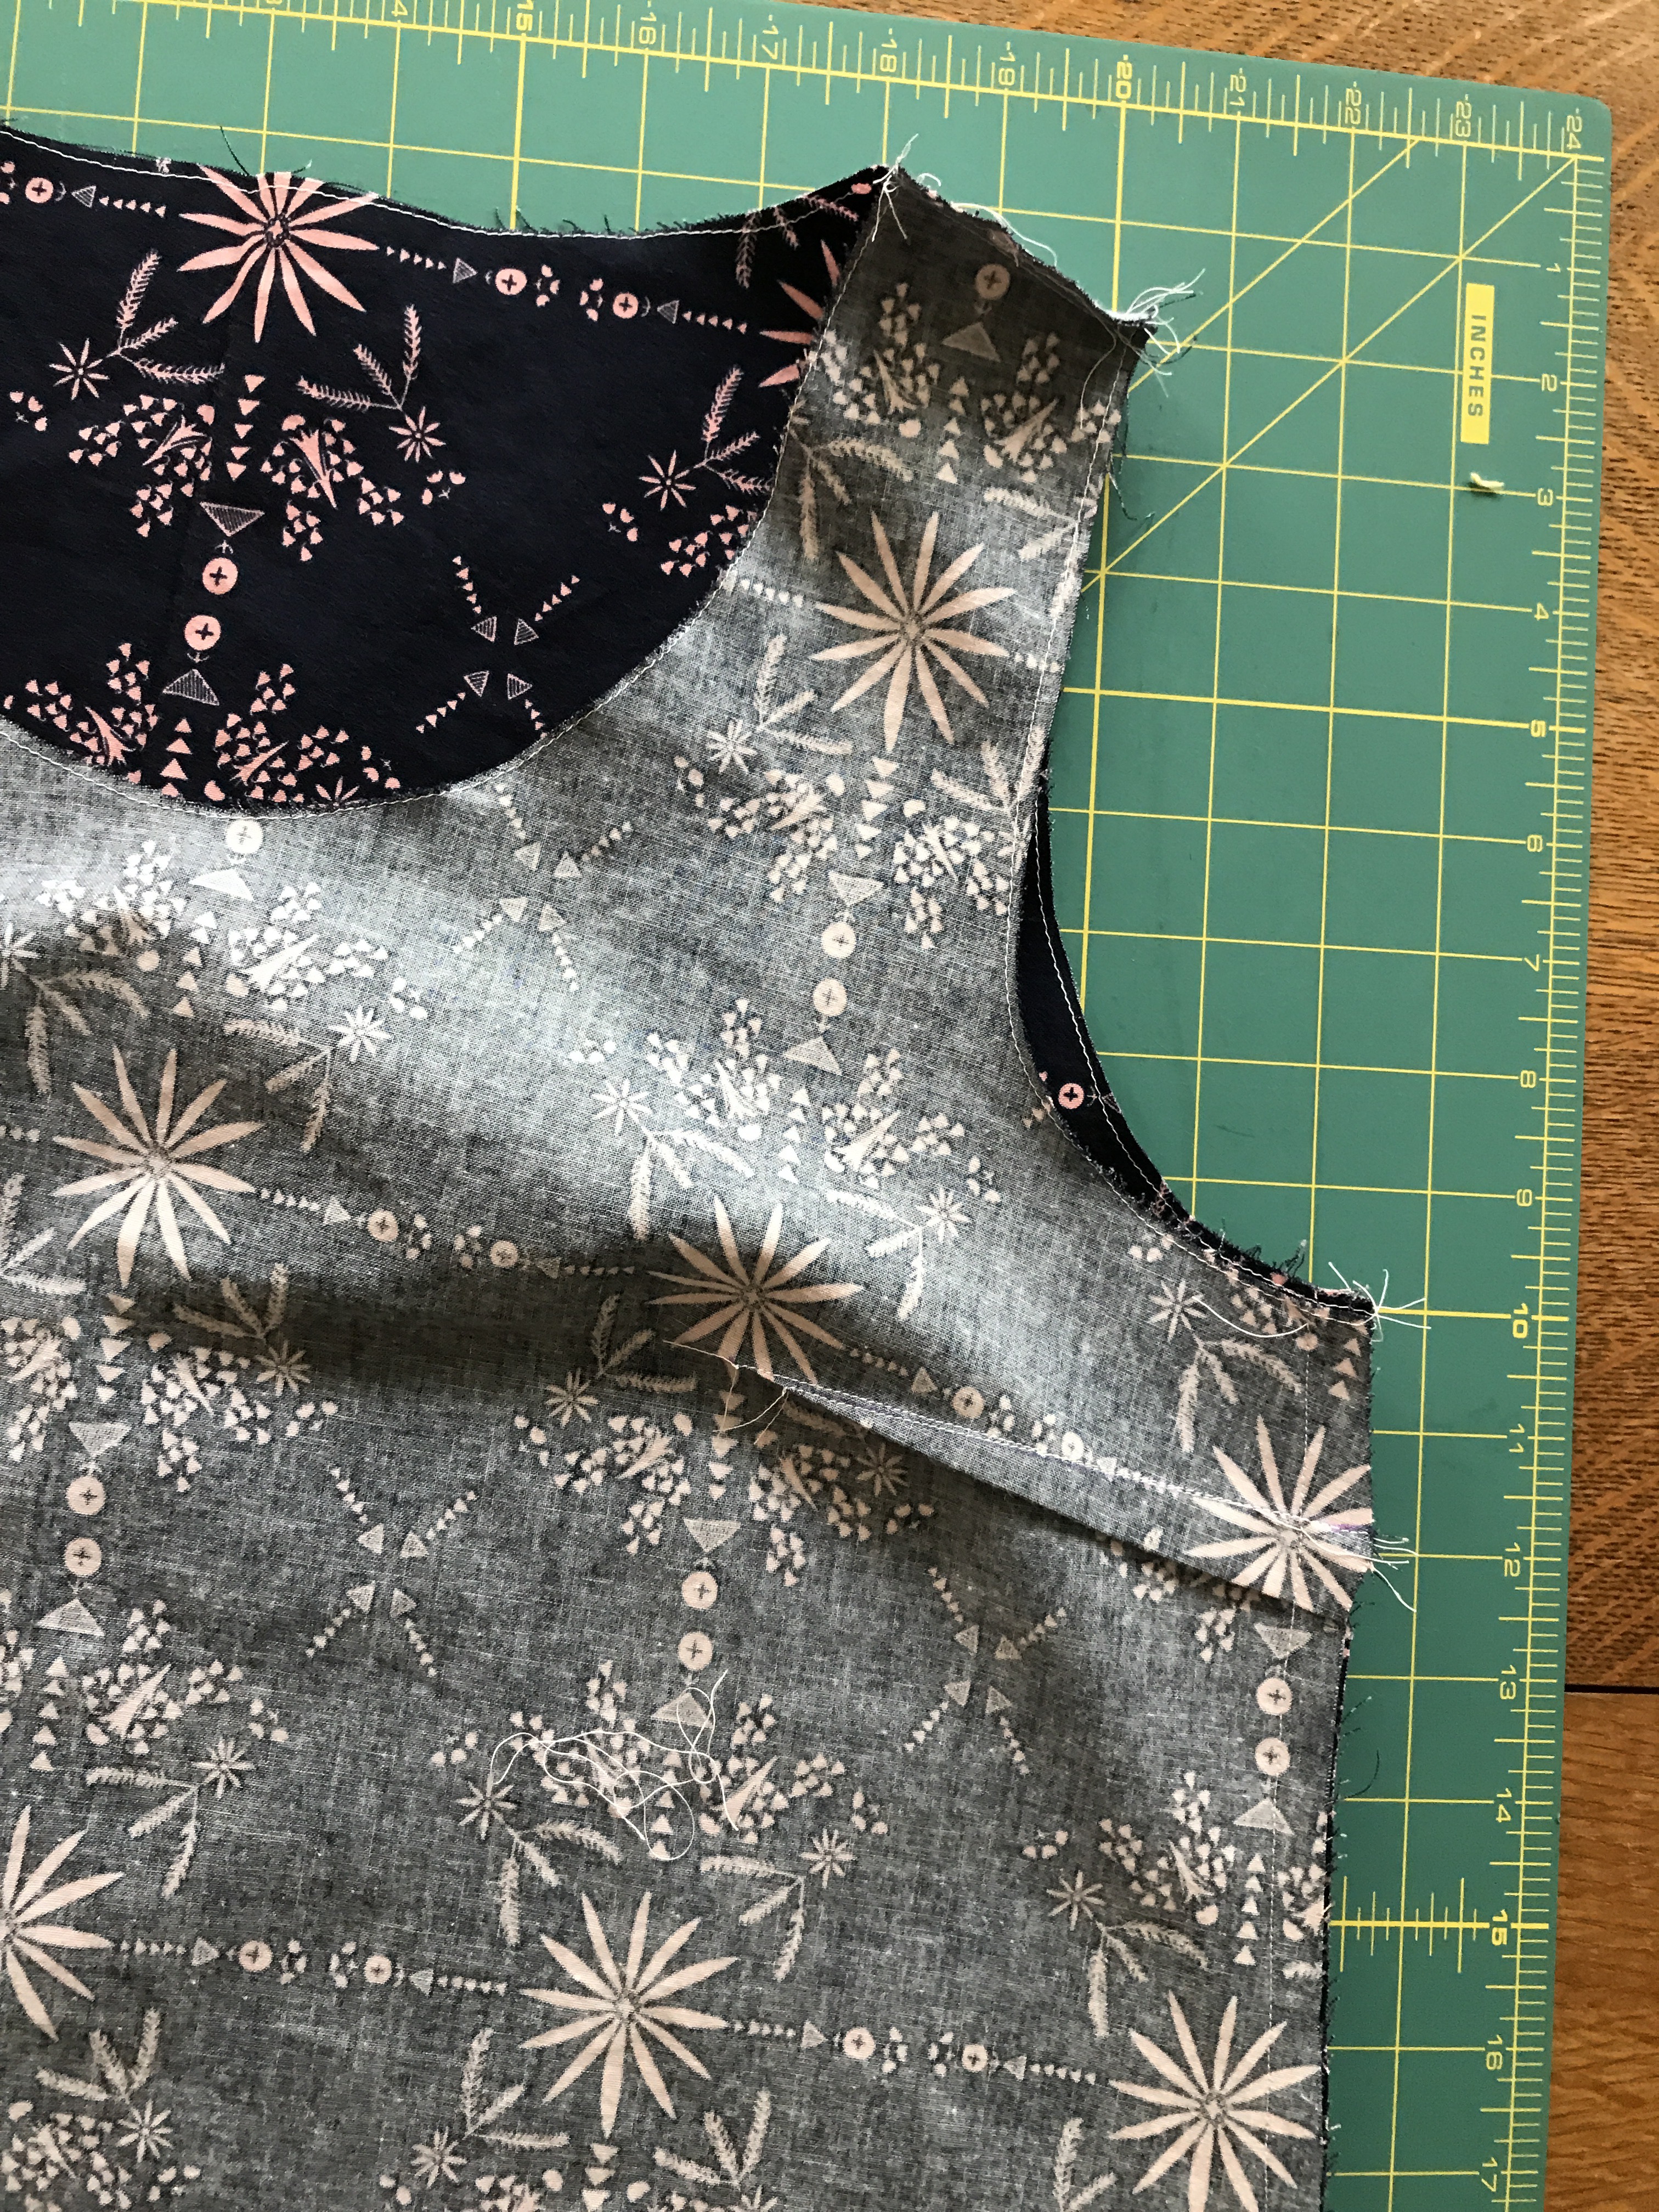
I also finished a solid navy lawn Gemma that I will wear all the time. It is perfect with all of my York Pinafores and all of the Cleo skirts that I have made and plan to make. A great basic.
I also refashioned this dress that didn’t really flatter me into another Gemma ruffle tank.
These are so great for the really hot days. I actually cheated and used the already hemmed part of the dress for the ruffle to save time. Winning!
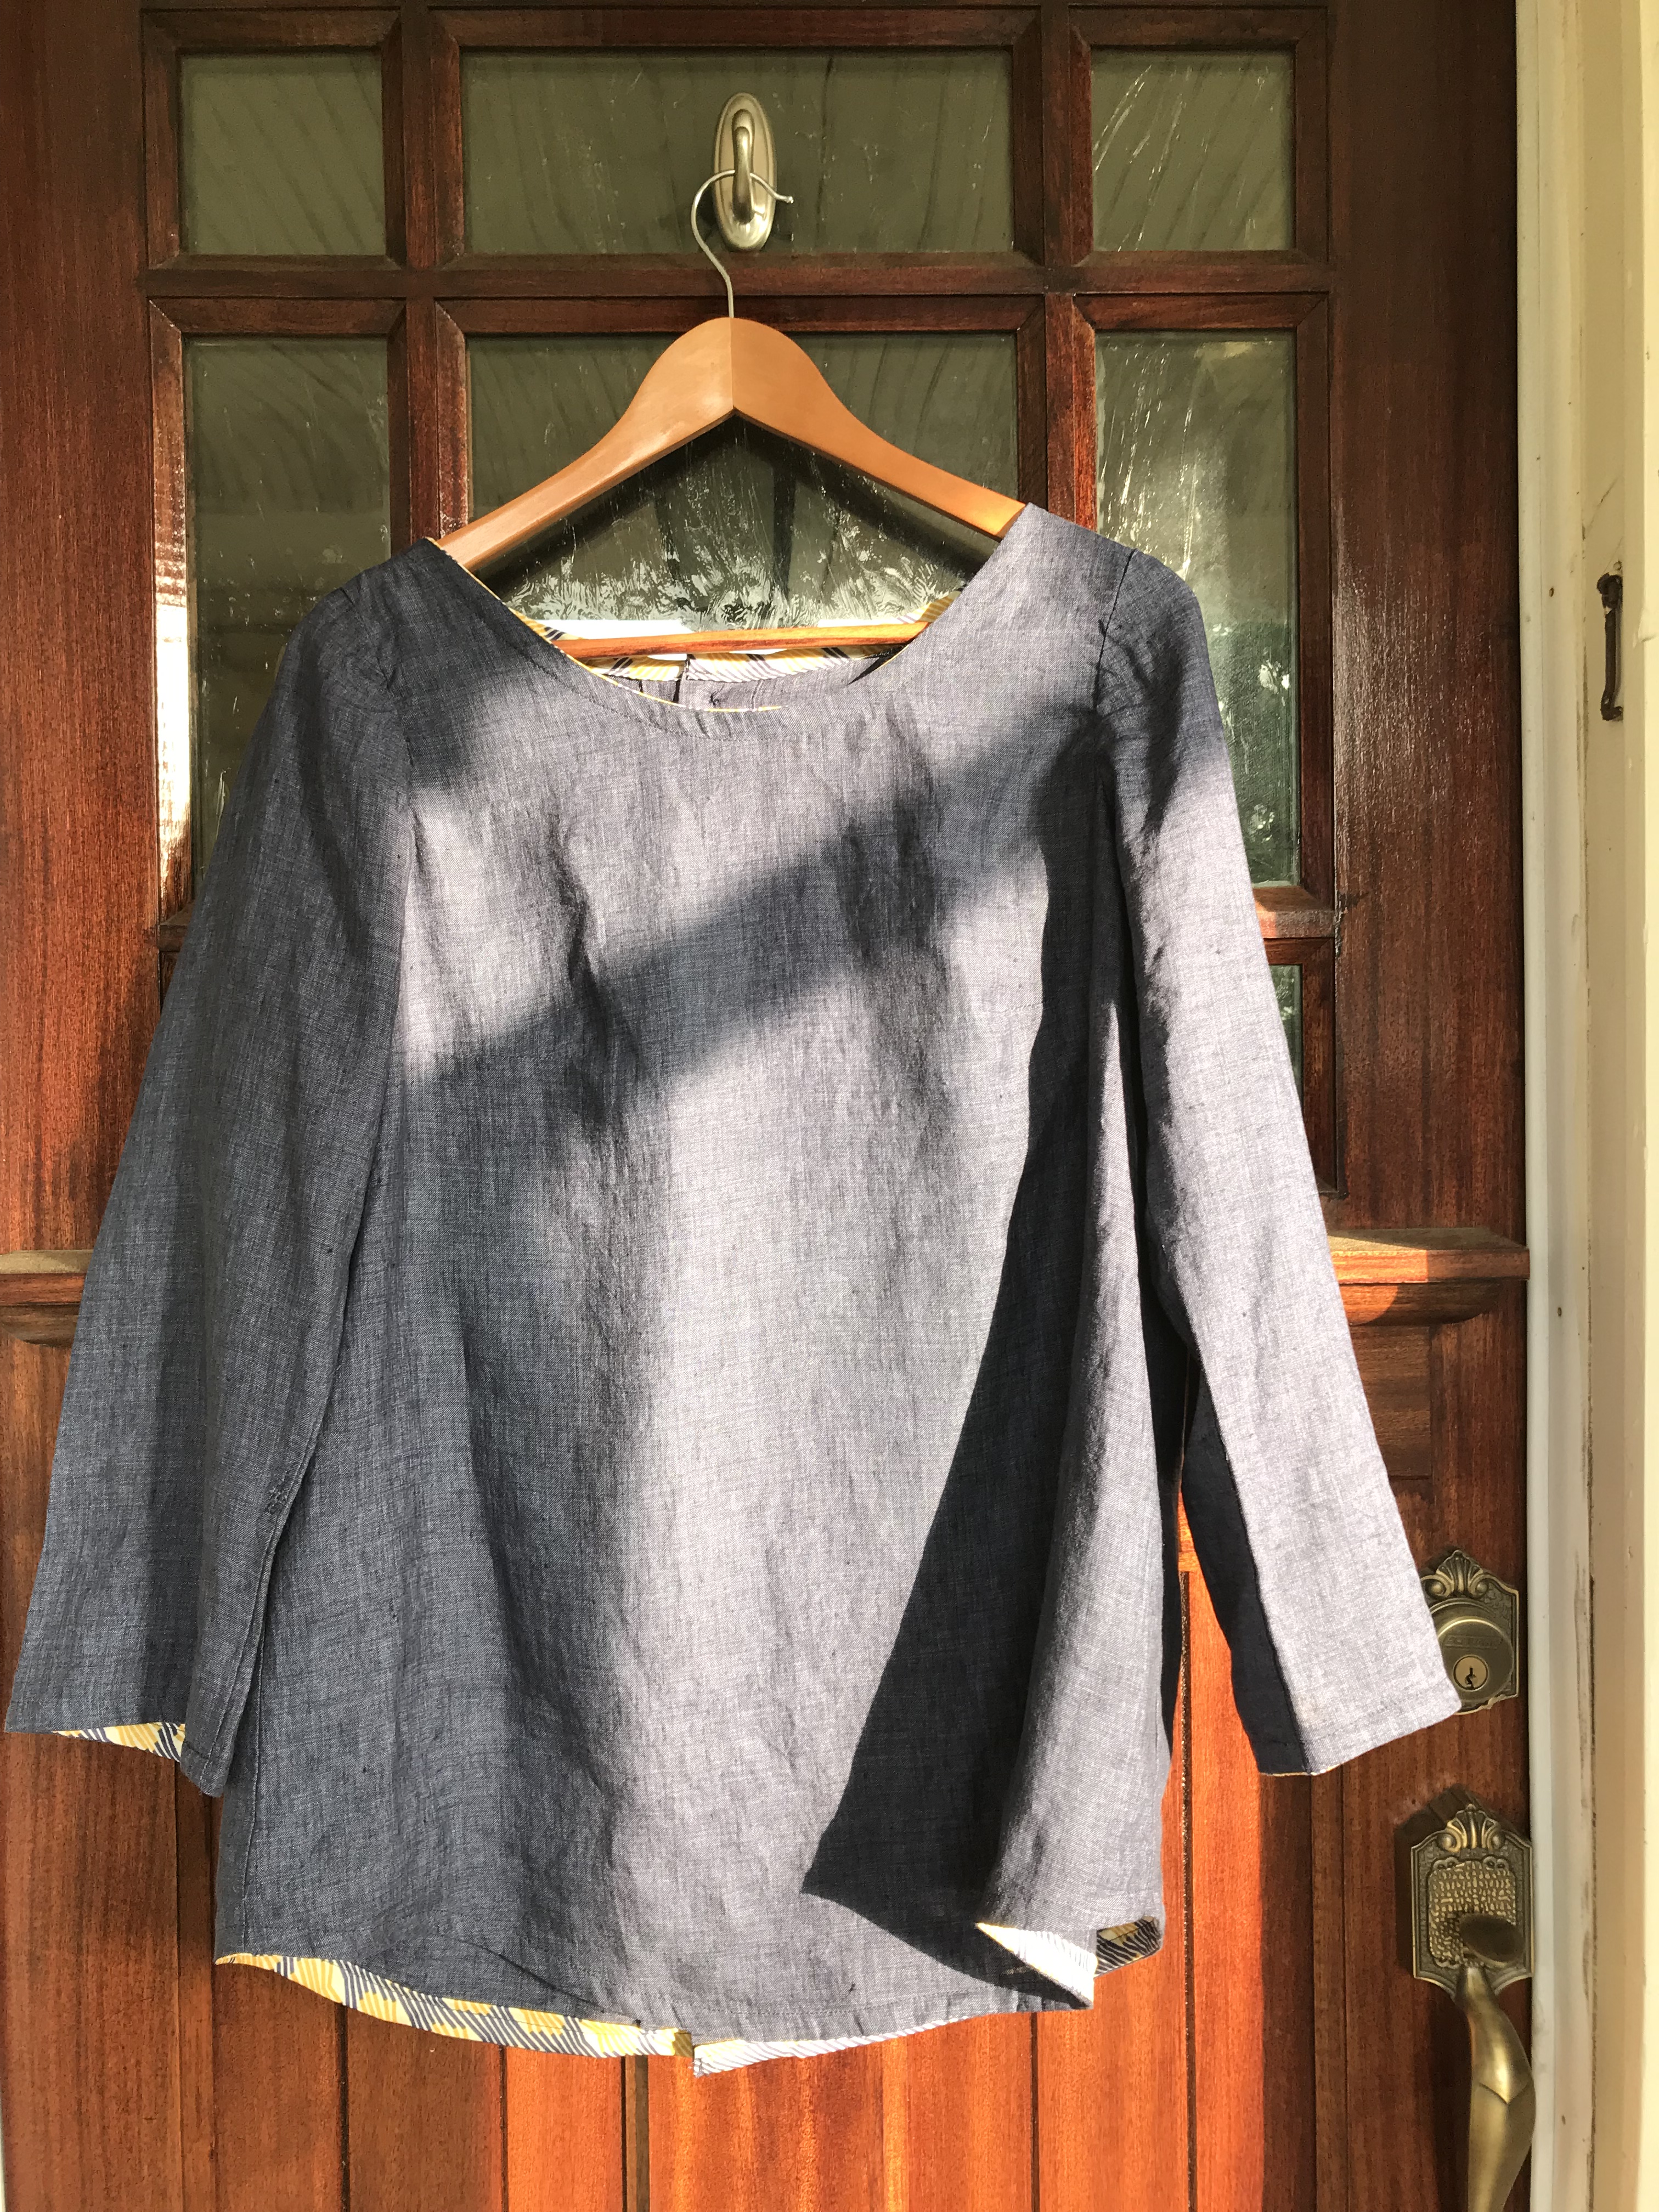
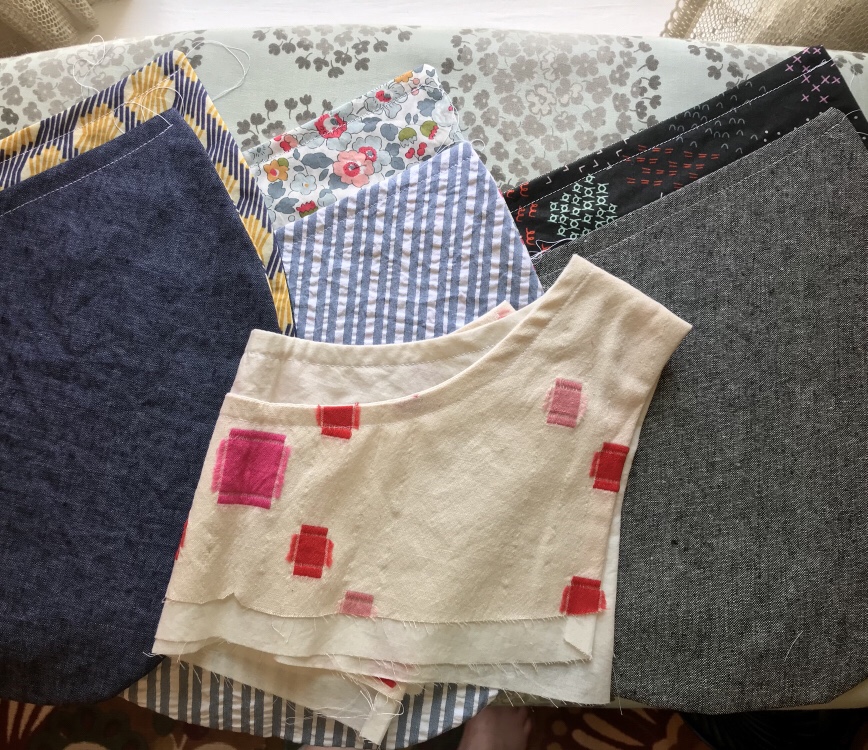
Then I finally finished a Ruby blouse that I started in 2015. I batch sewed some bodices the first year I started sewing my own clothes with some quarter yards of quilting cotton. You can see them in this post.
I have since used white double gauze to make several blouses for my daughter and a friend. I used this one to make one for me. I have sewn two other double gauze Ruby’s that I have worn to death. They are the best! You can see them here and here.

This is a very neutral top that I know will just get more comfortable with washing and wearing. The cotton double gauze is great for hot weather-very breezy.
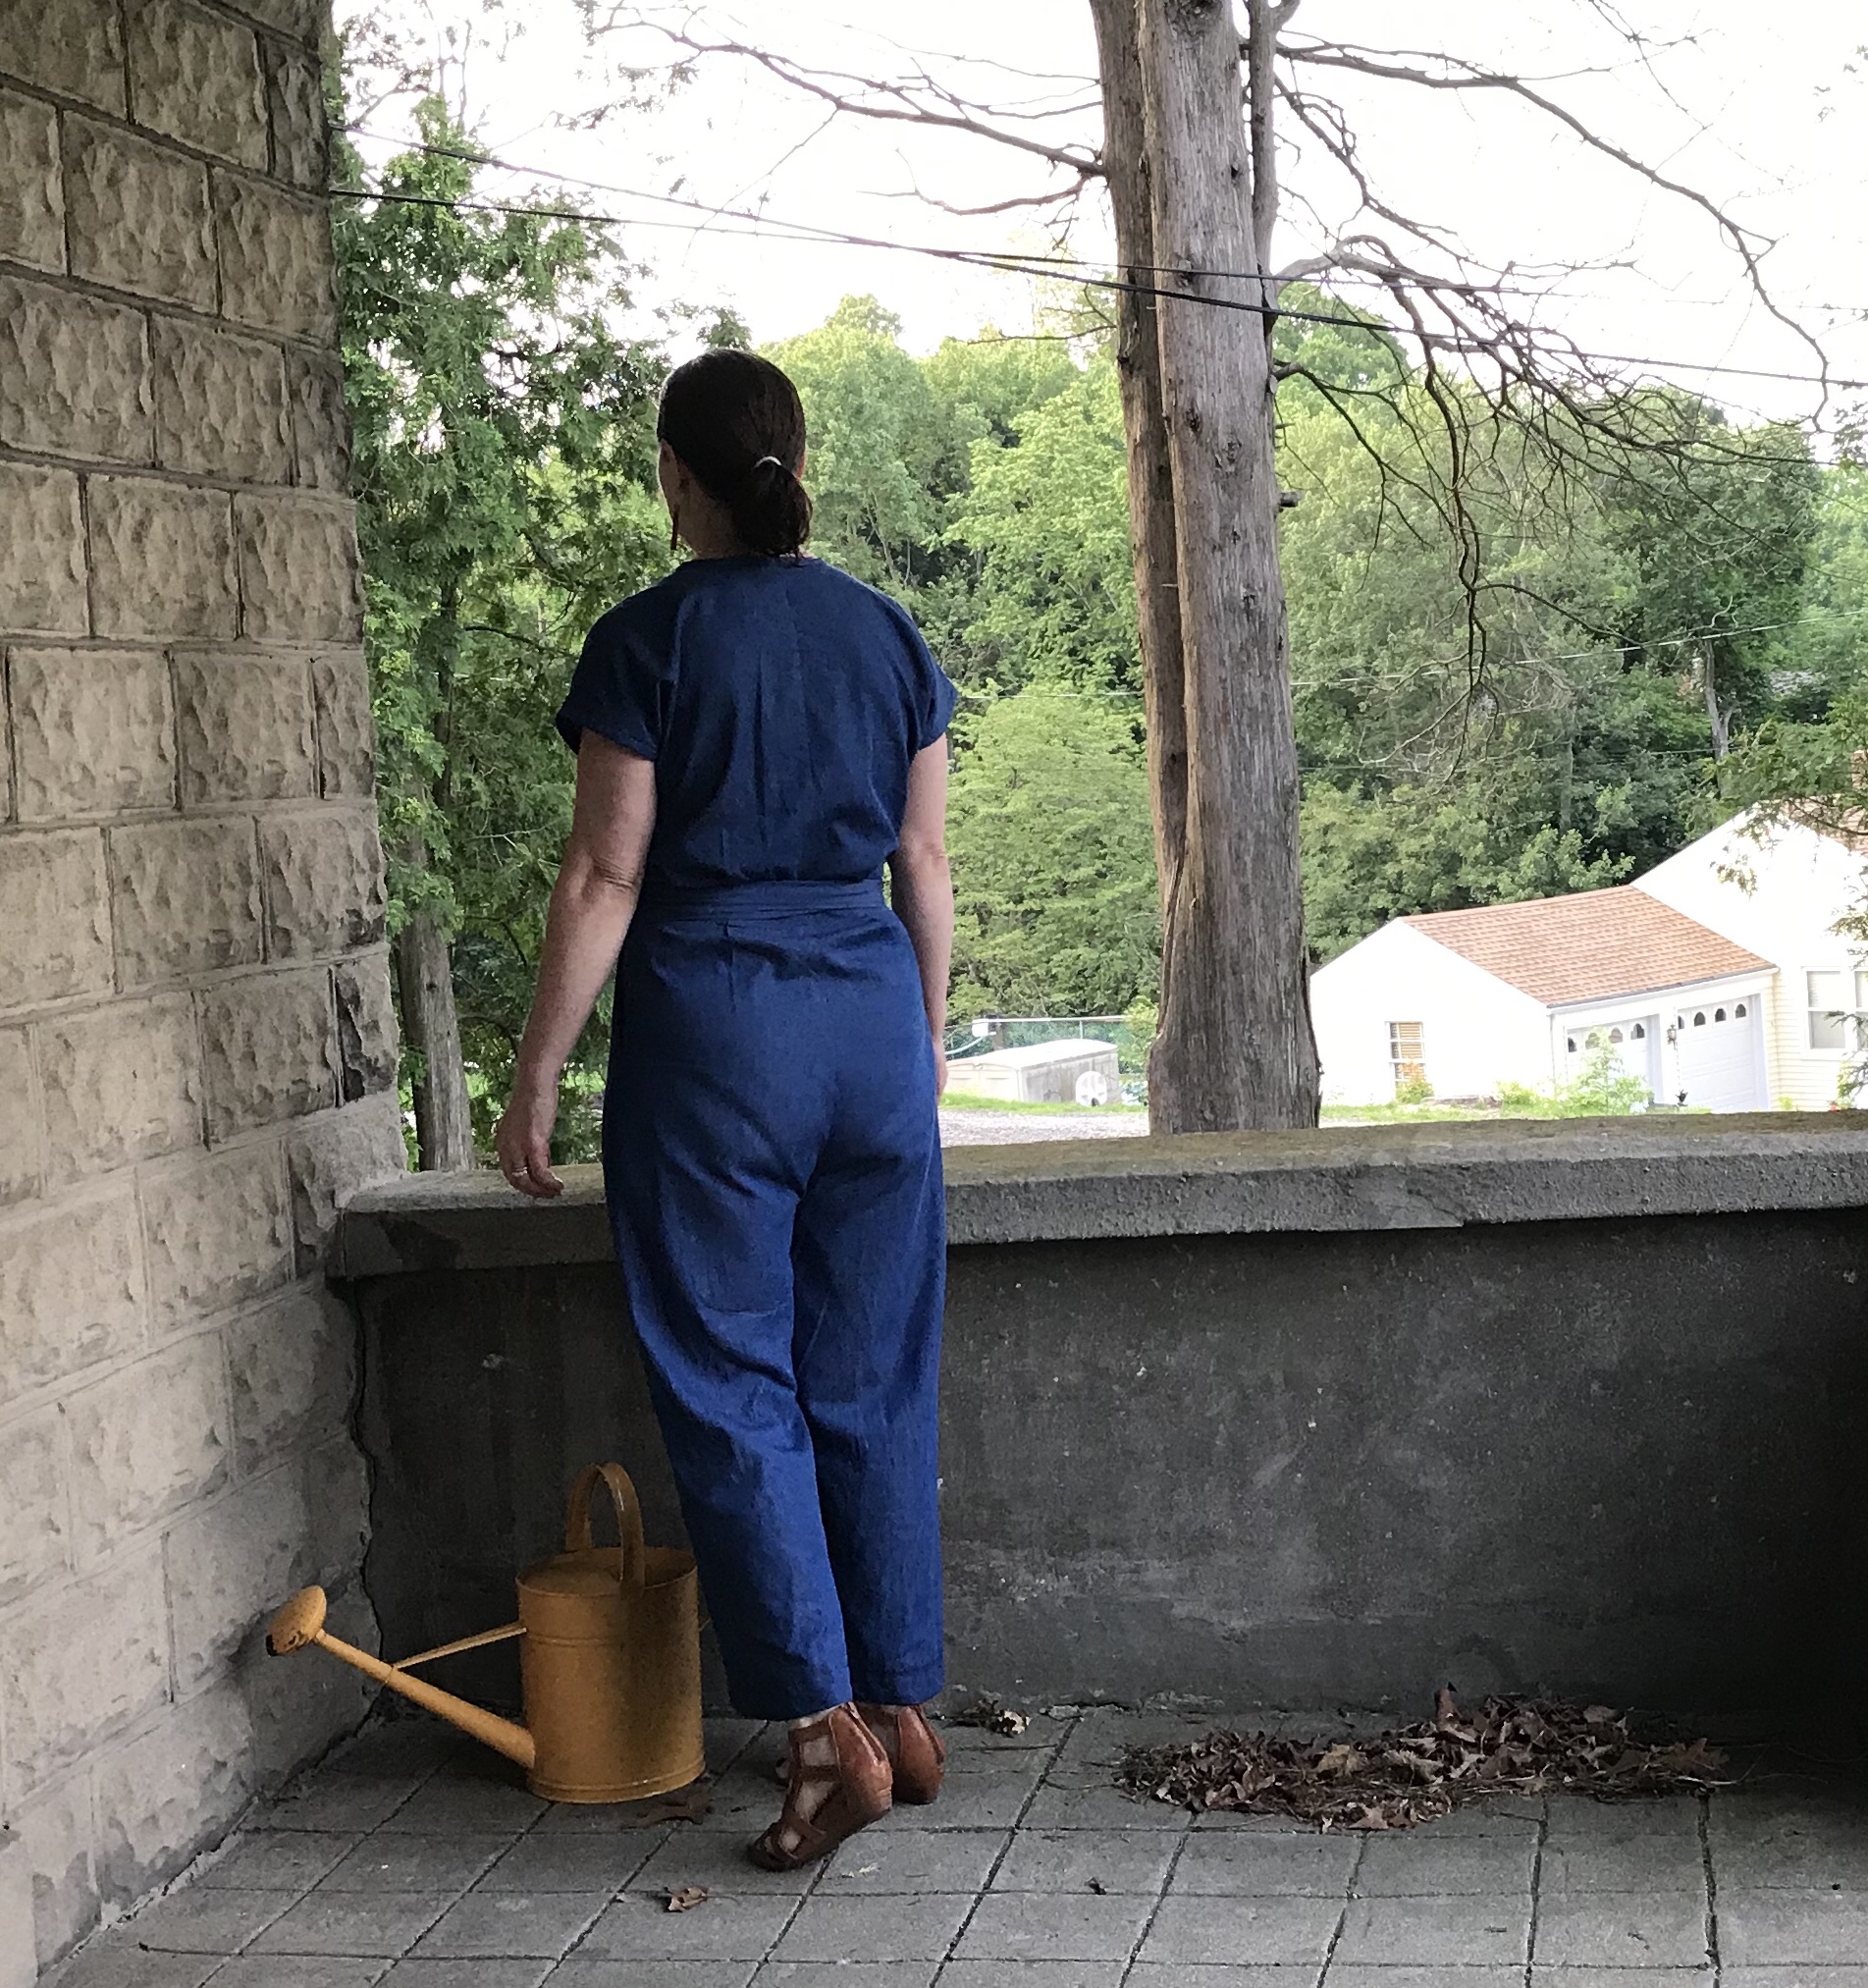
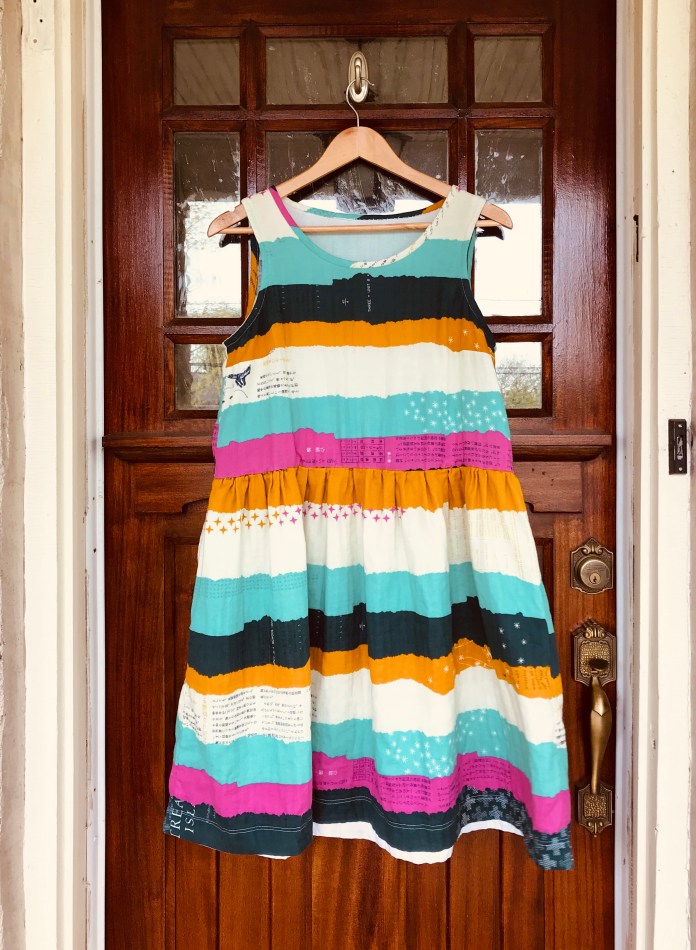
I bookended the month with a pair of Zadies. I sewed the lightweight denim jumpsuit in a day on June 1st to be able to have it to wear to the New Haven Documentary Film Festival.

We went to see Pizza, A Love Story. So fun. The Zadie was so quick to sew-I was really surprised. Great directions. I bought the fabric at Joanne’s and thought it would be my wearable muslin but I am so happy with how it turned out that I don’t feel the need to make another version right away. I will definitely make a linen version at some point, probably next summer, just for fun, but for now, this one is perfect! It is so comfortable. I love it! I added two inches to the bodice length and a couple of inches to the pant length (I am 5’9″) and otherwise it is a straight 12. My measurements are 37 bust, 32 waist, 42 hip.
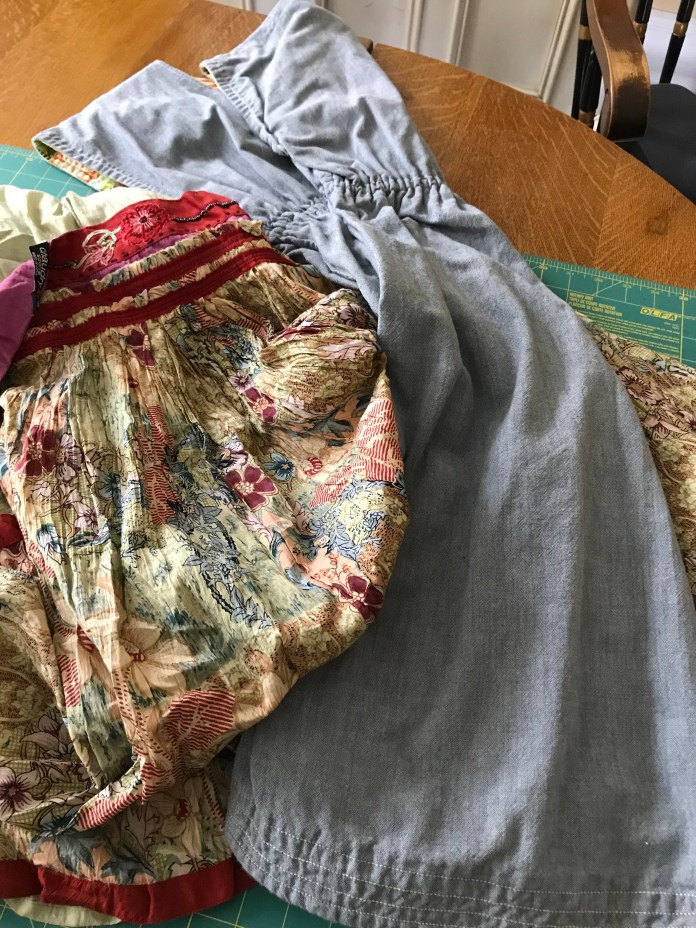
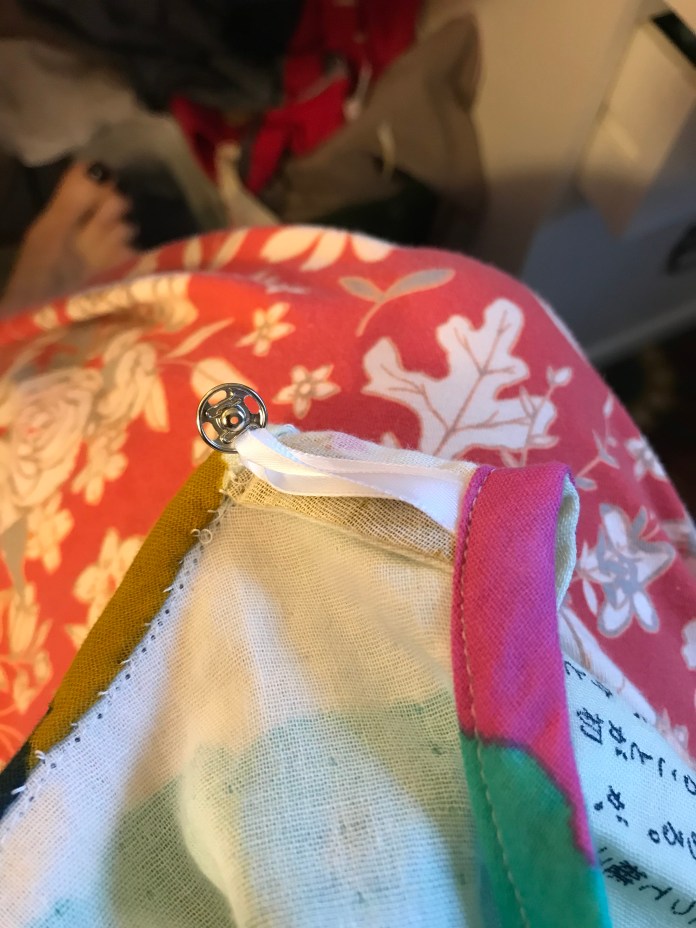
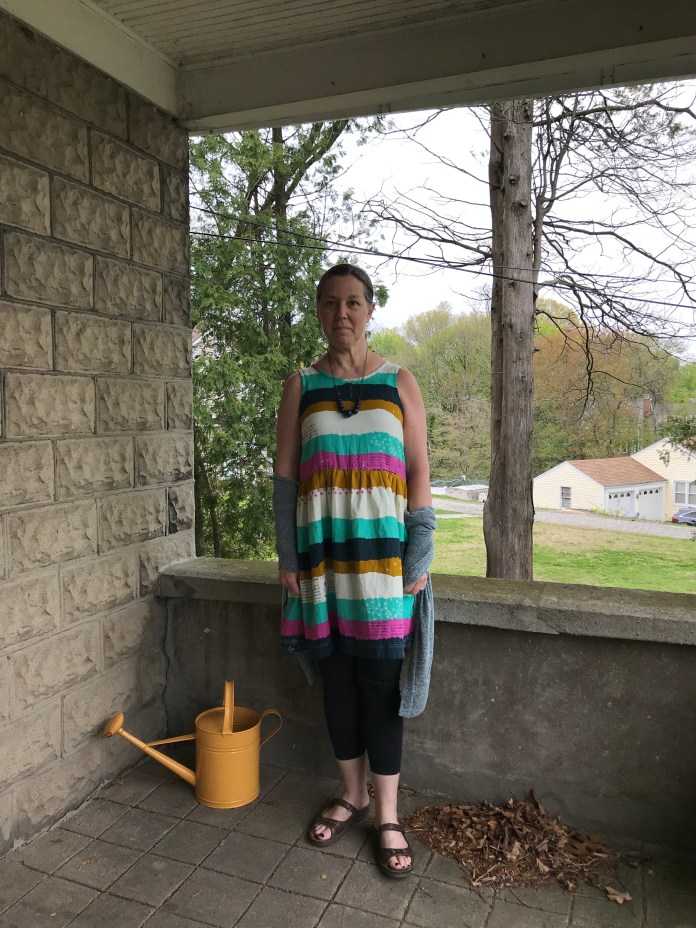
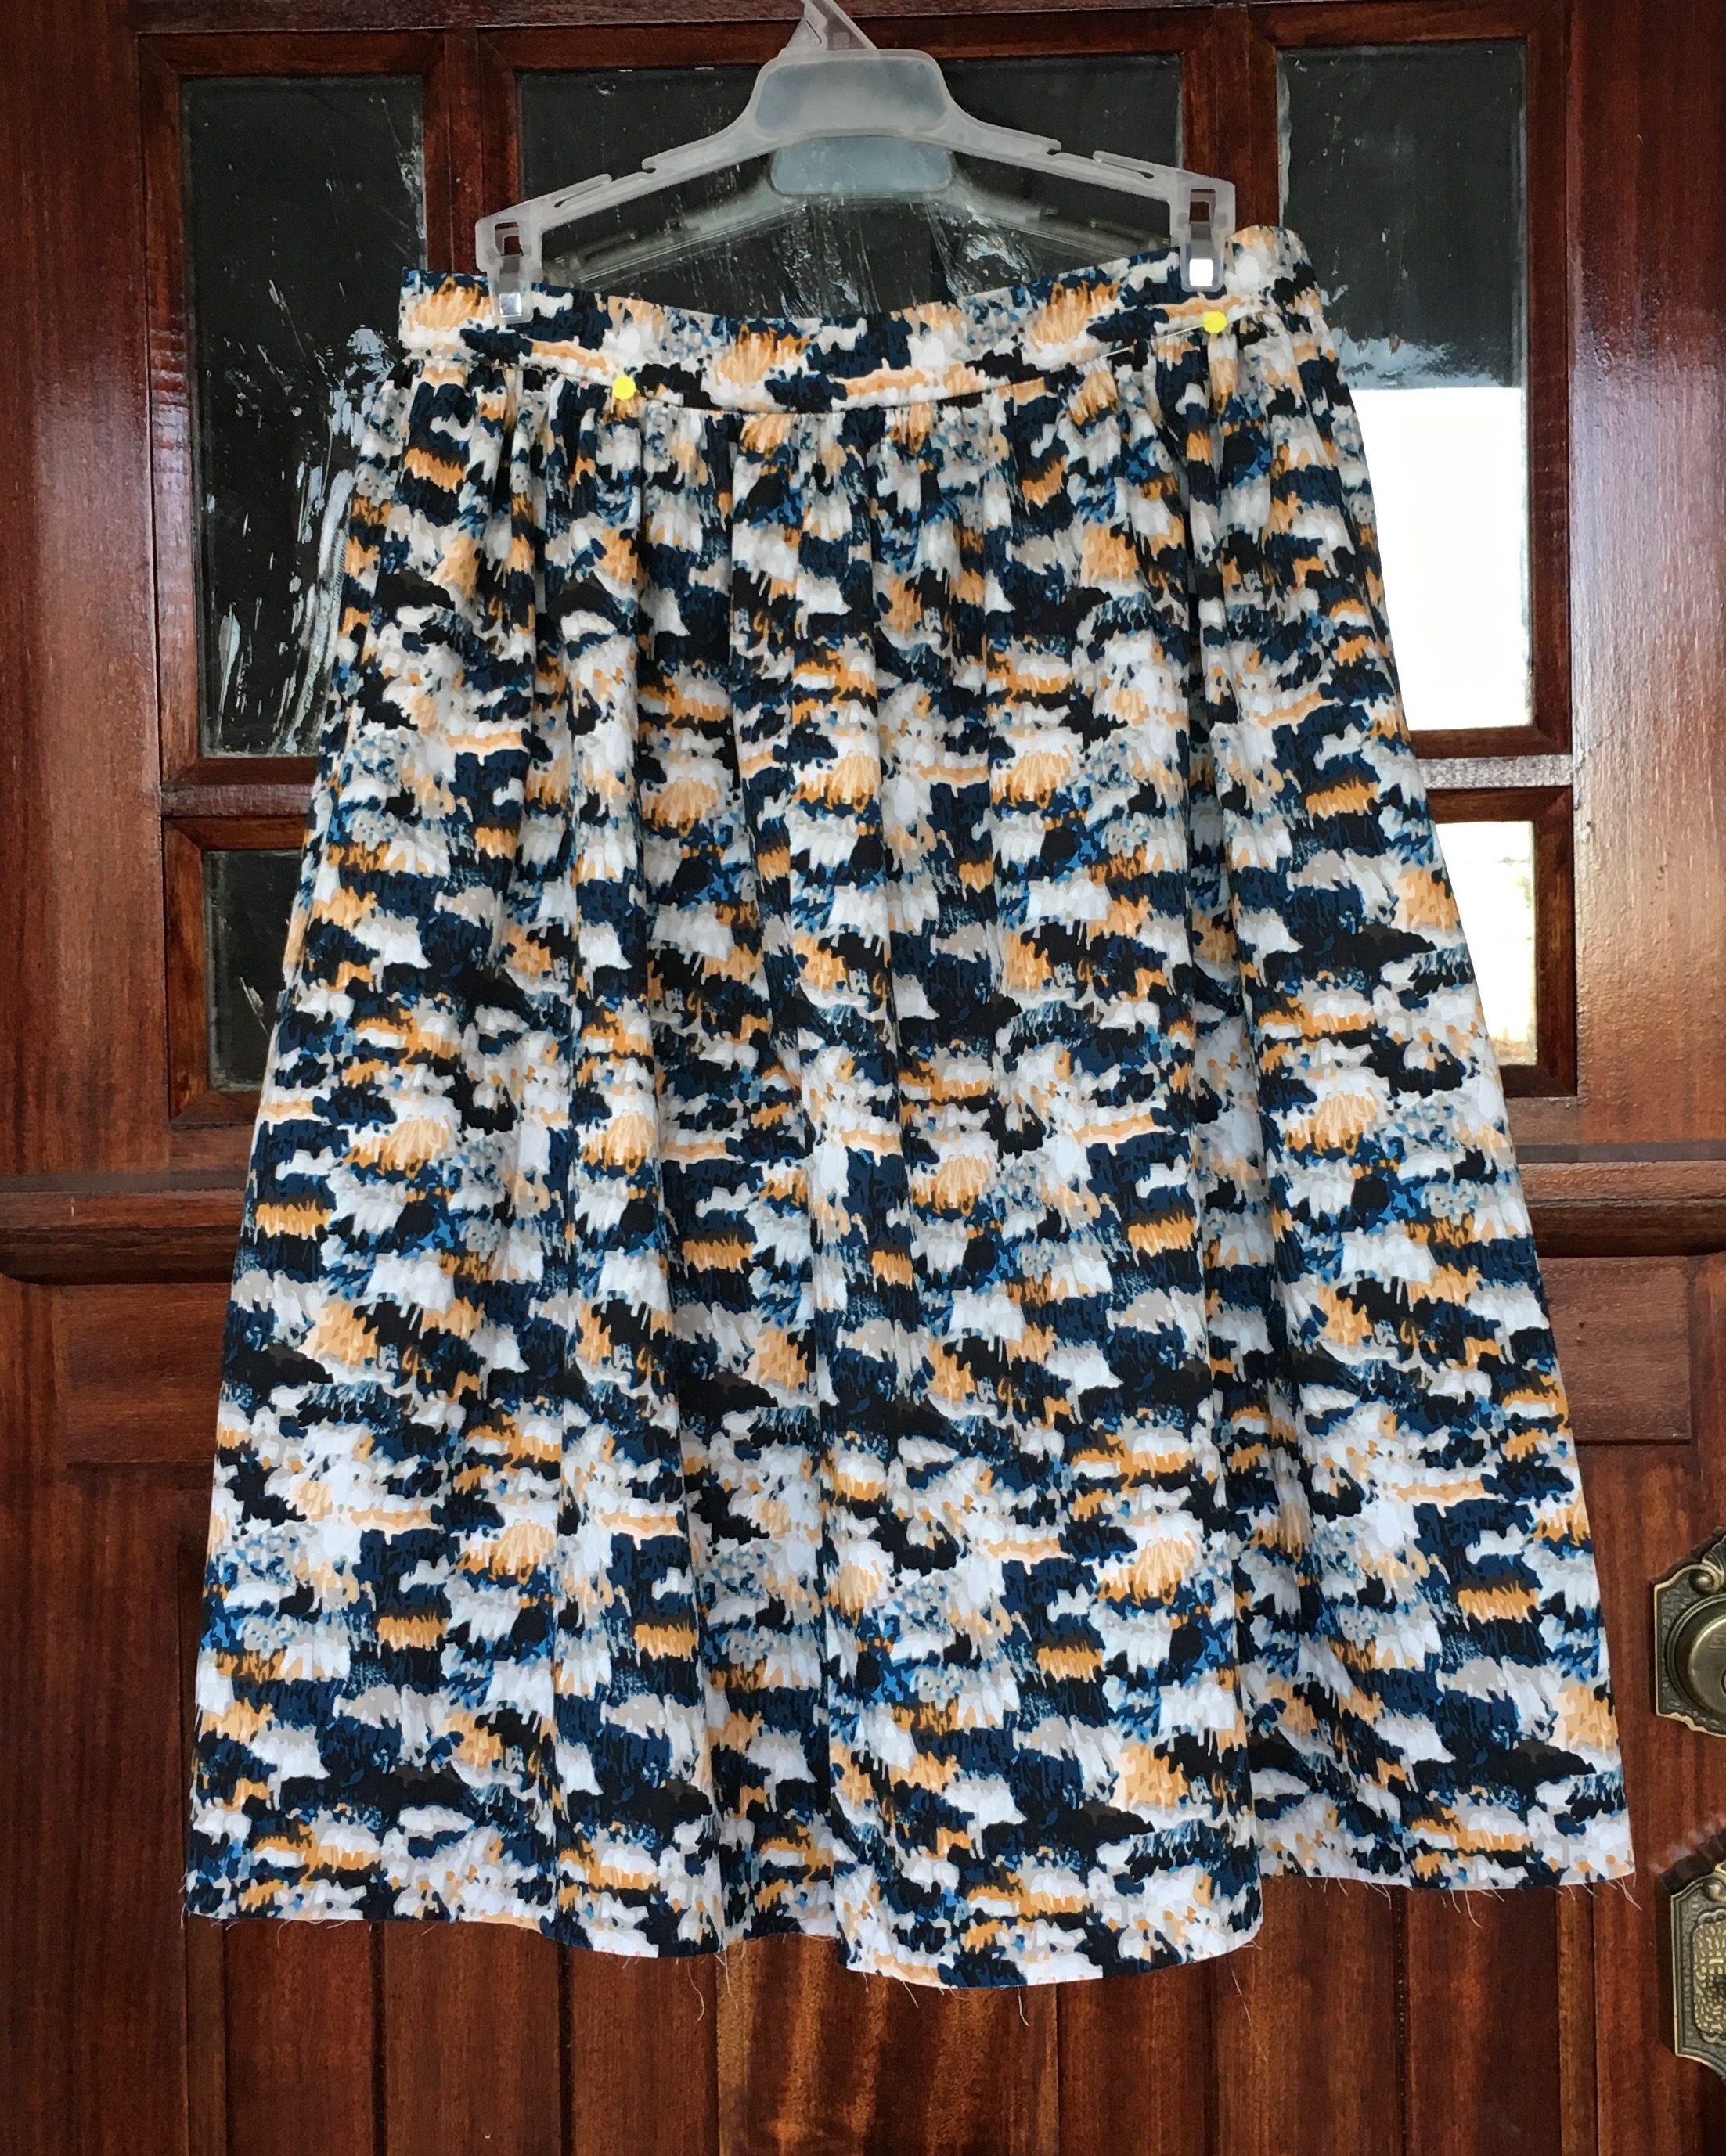
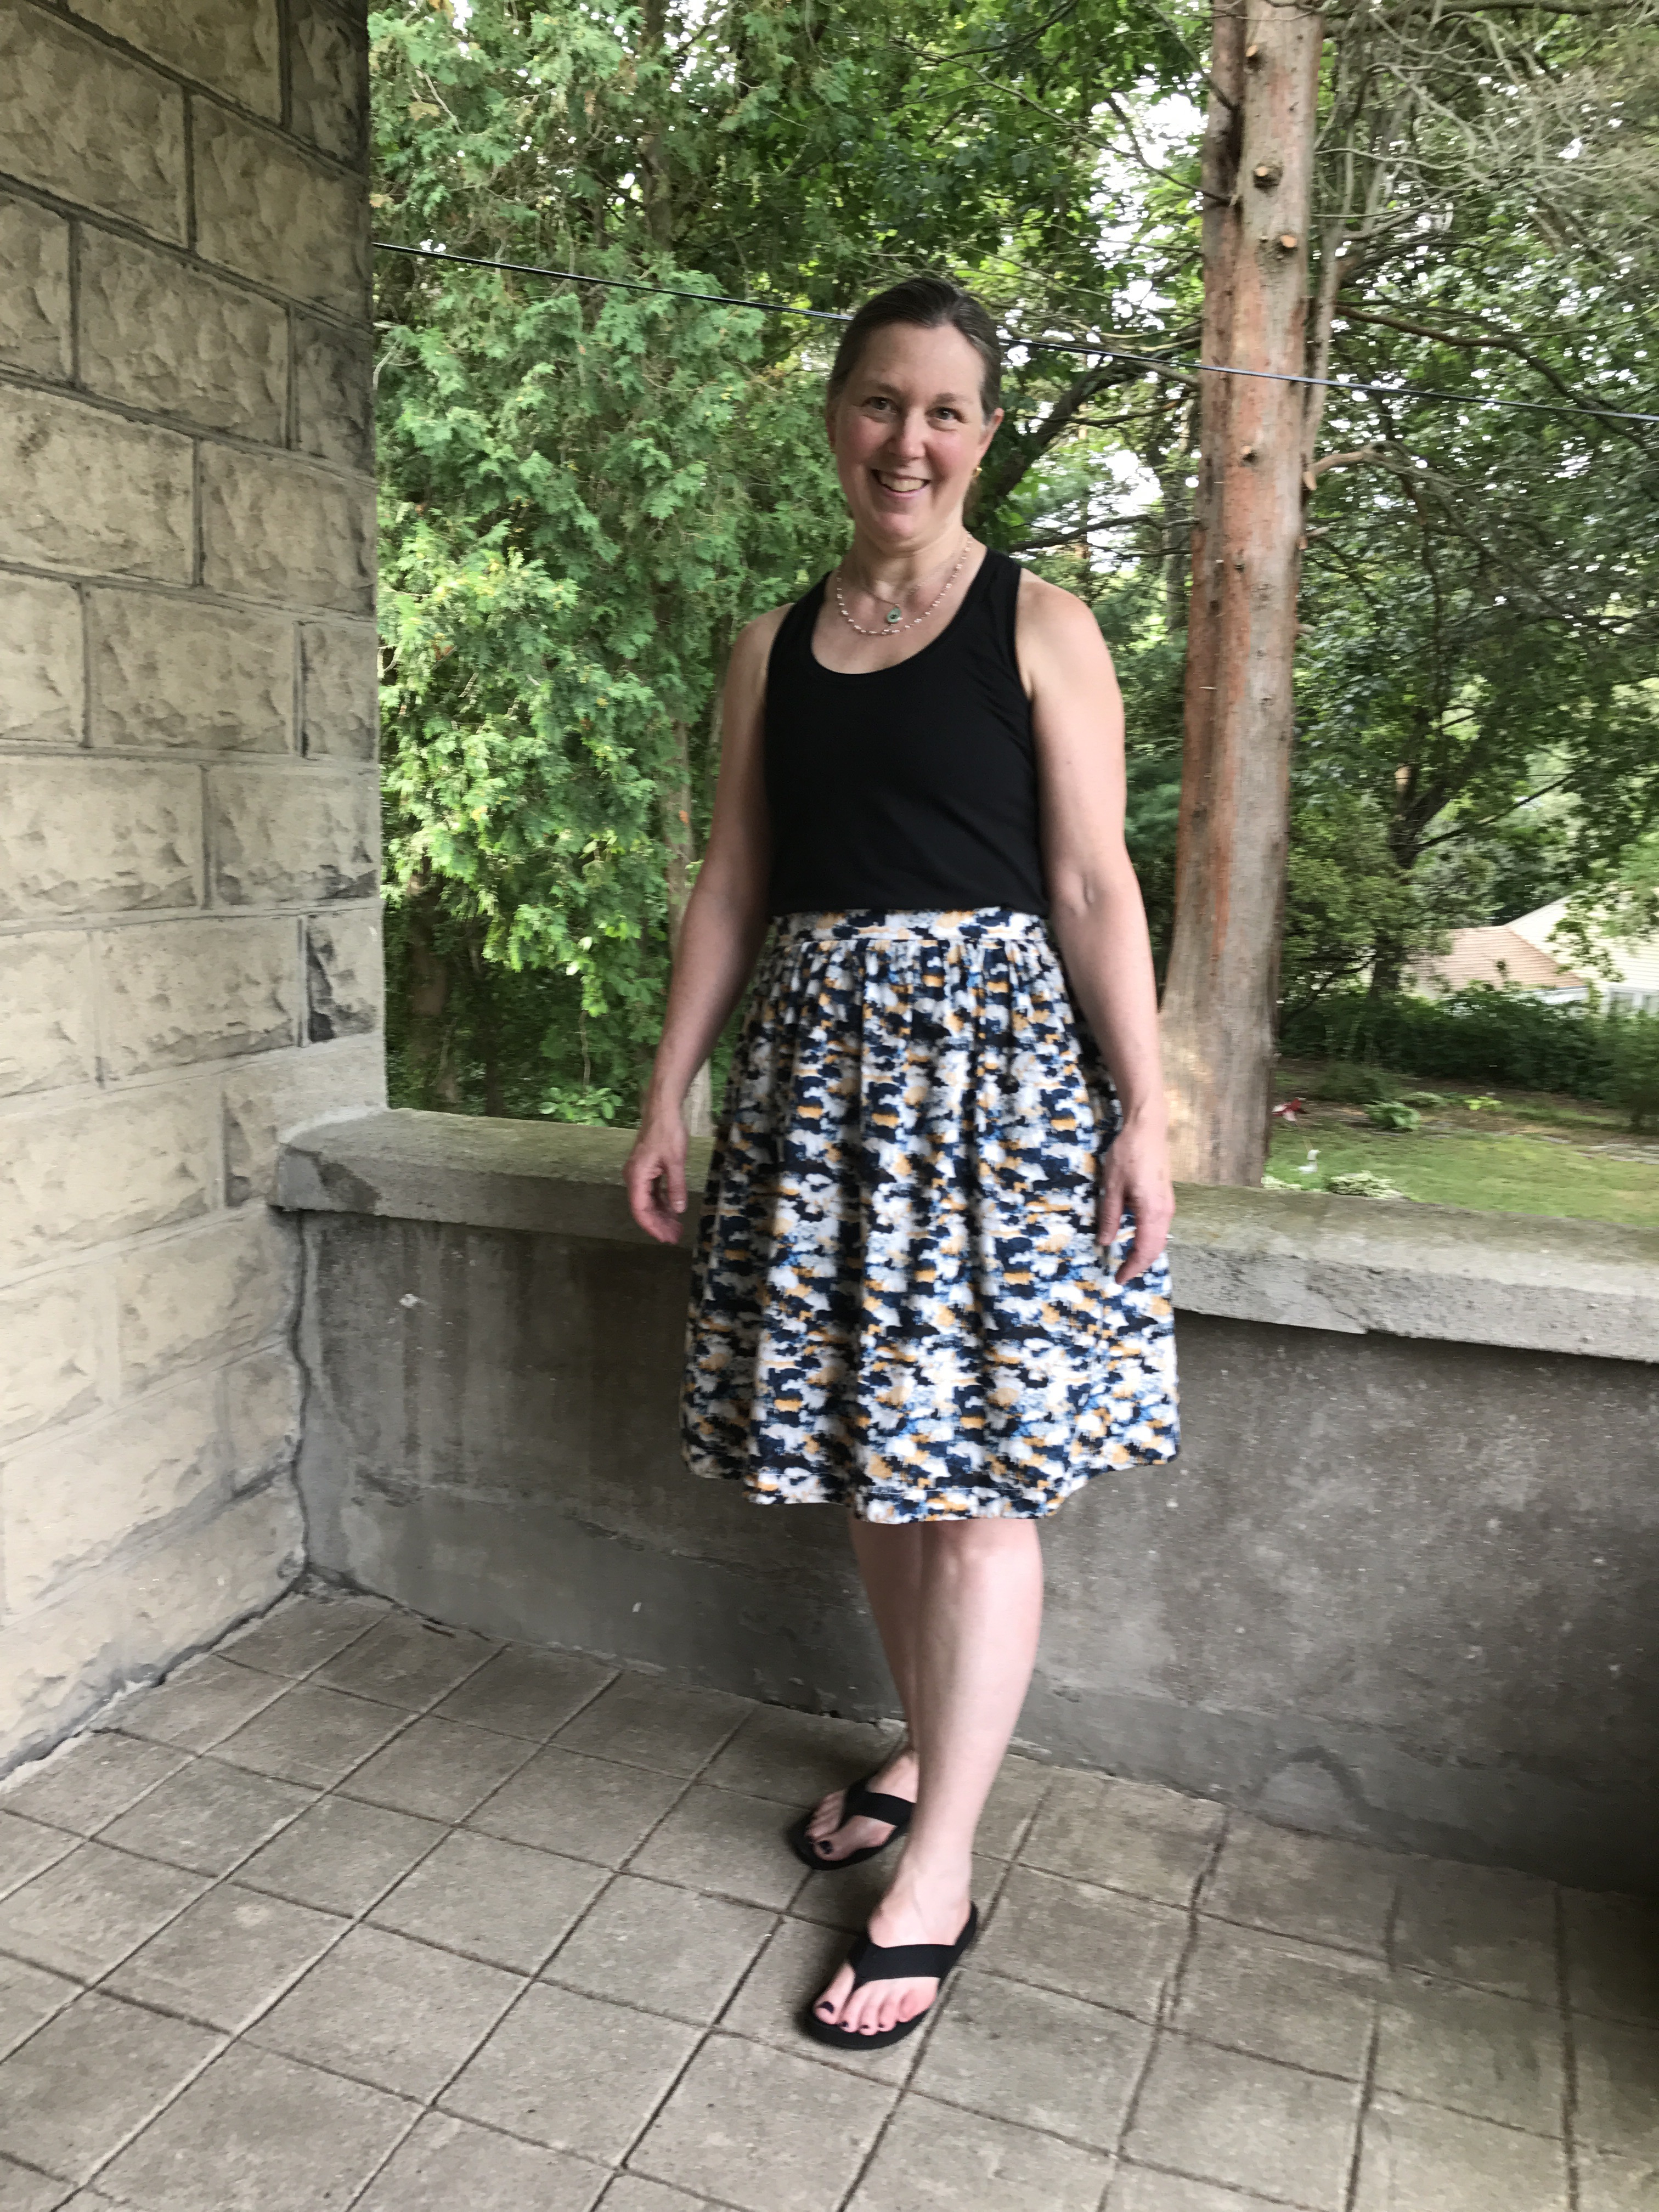
I had been seeing several dress versions of the Zadie popping up on Instagram so I made a version in double gauze from my stash using a gathered skirt. I lined the bodice with white cotton batiste.

I ended up hand sewing the lining in. Then I sewed a line of machine stitching to the edge of the bias binding to secure everything.

It was a pain but it worked well in the end. It isn’t my usual style but I like it.

Other things I have enjoyed this month. These books:
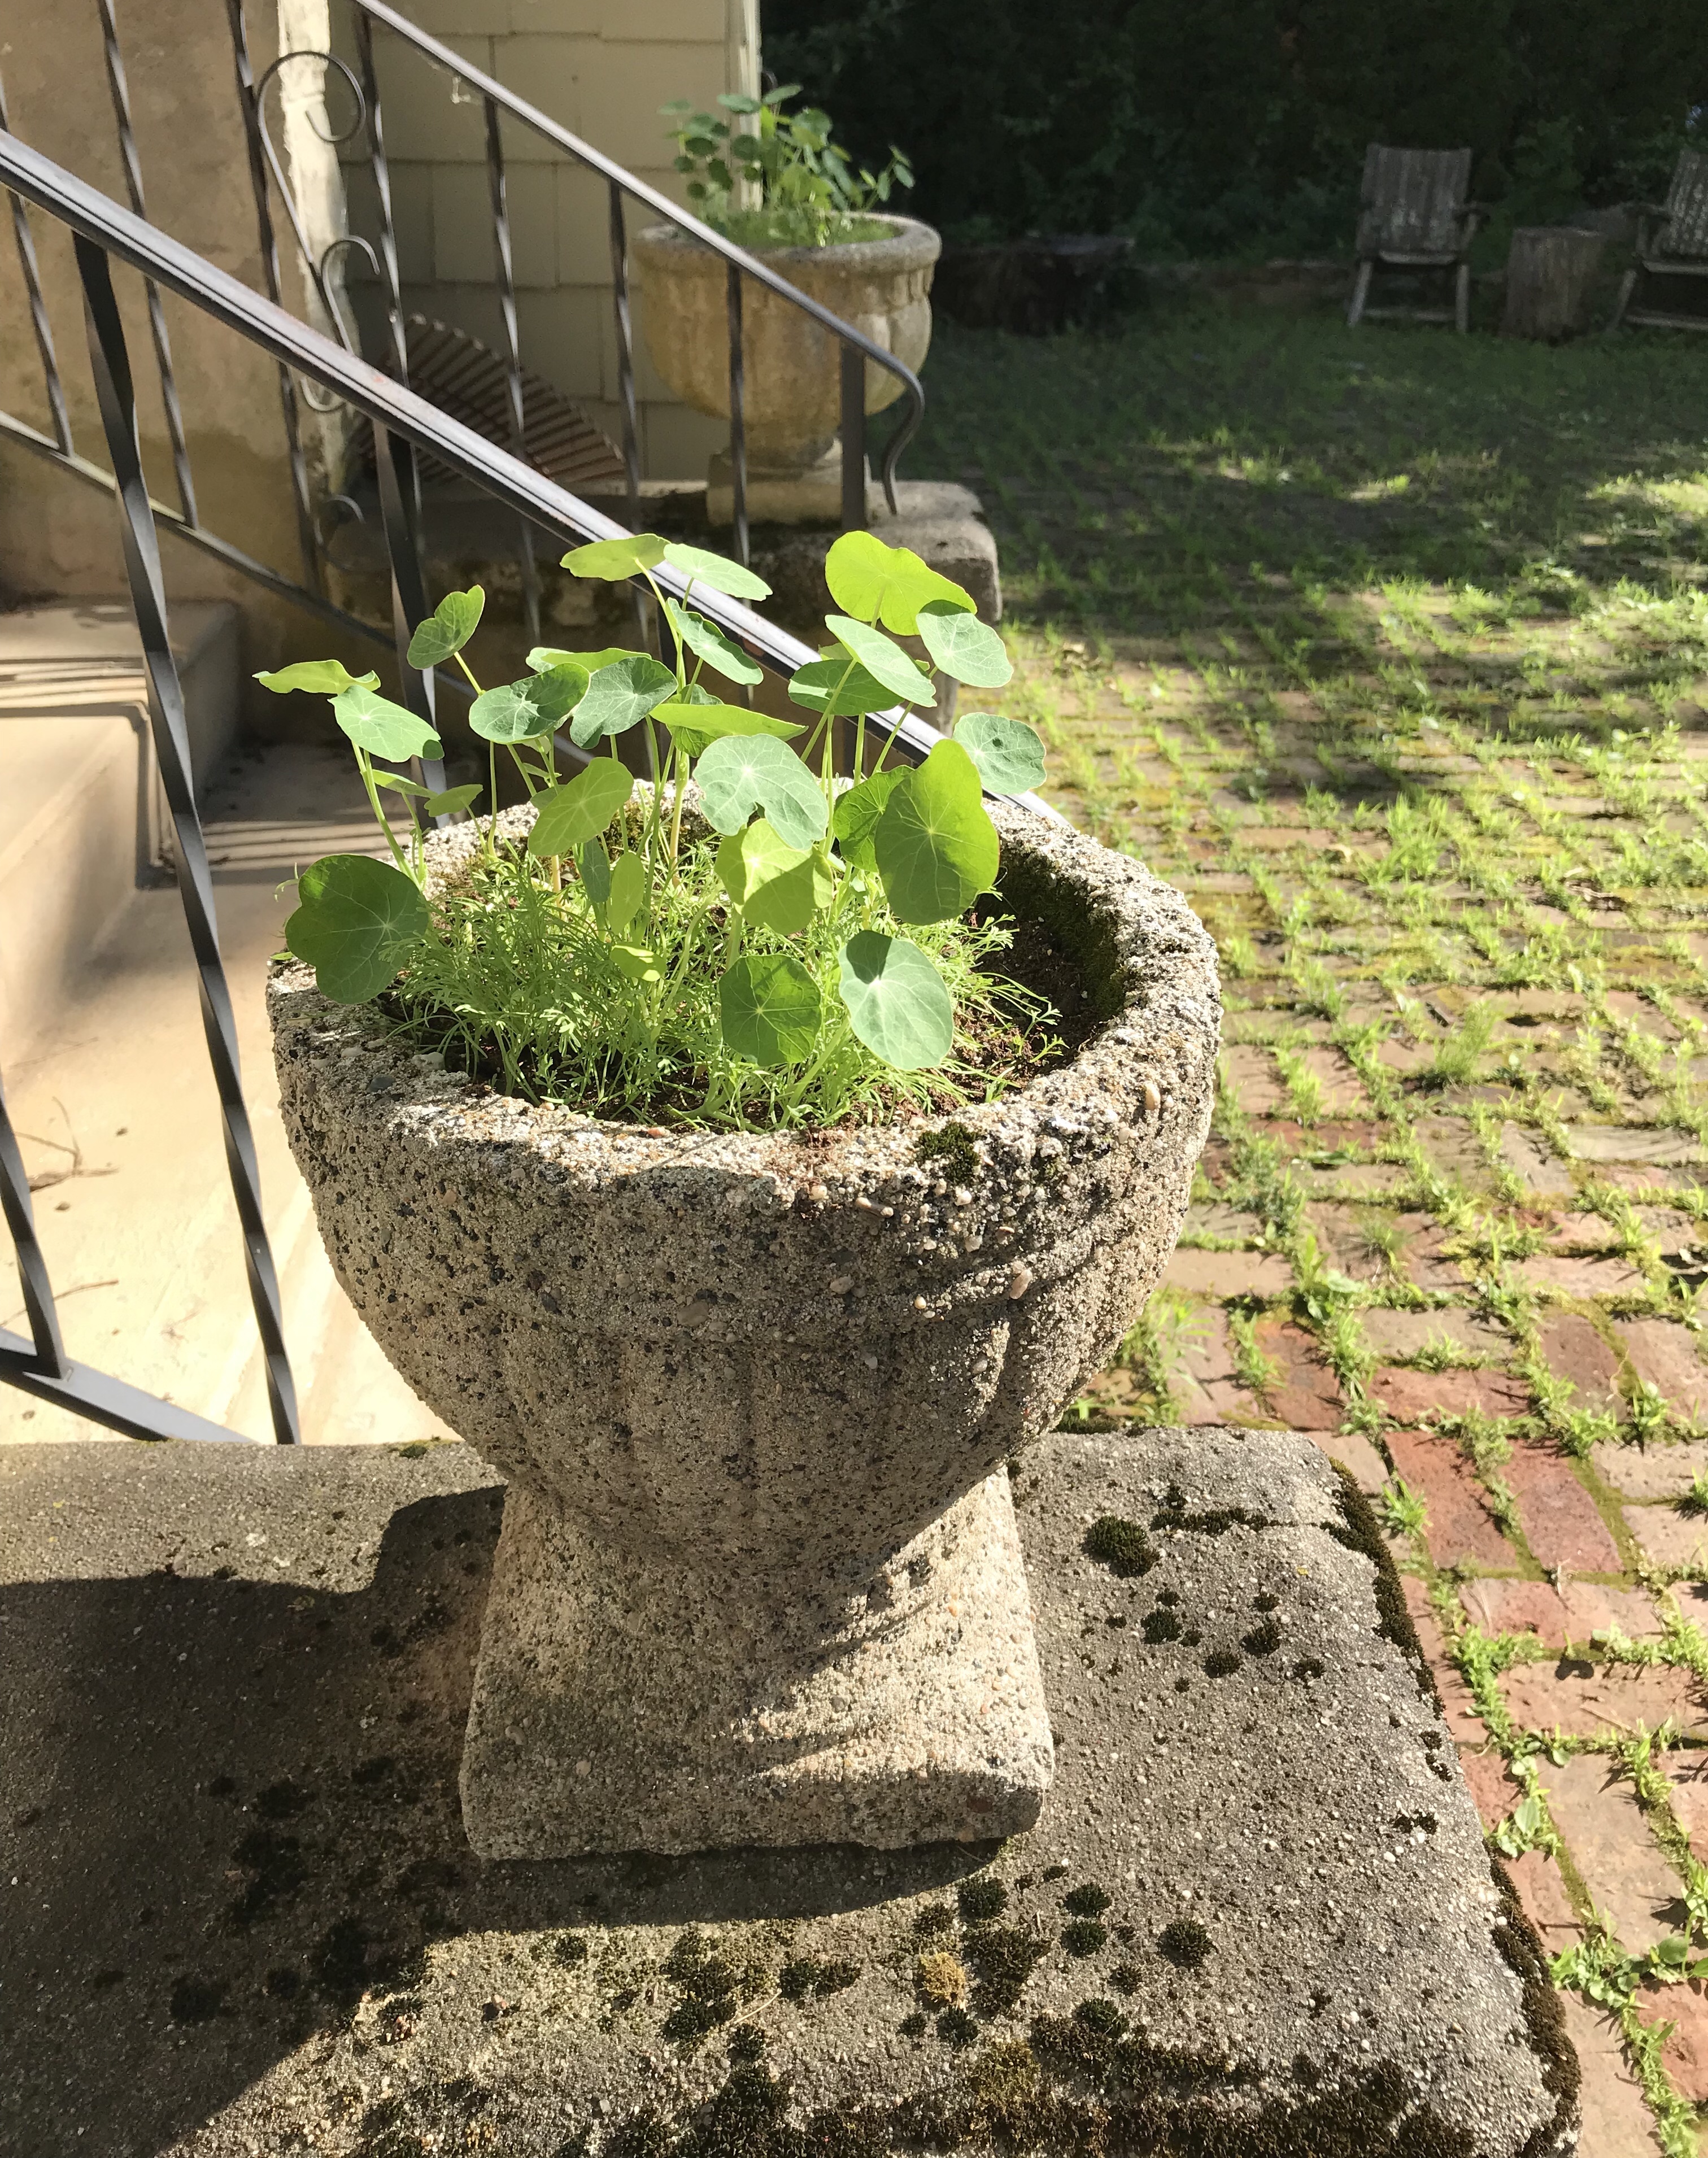
And some lovely summer days and greenery after SO MUCH RAIN! I took advantage of the rain in the northeast to plant seeds in my planters. It is my cheap and easy way to have blooming things in the summer. One packet of seeds per planter at a cost of $1.50 a packet. Nasturtiums are my favorite.
Now that I am mostly caught up with my backlog of sewing projects, I have a short list of clothing projects that I want to sew but will also be turning my focus to quilts. I have a goal to sew a quilt for each child by the end of the year. There are 5 of them so must get going!
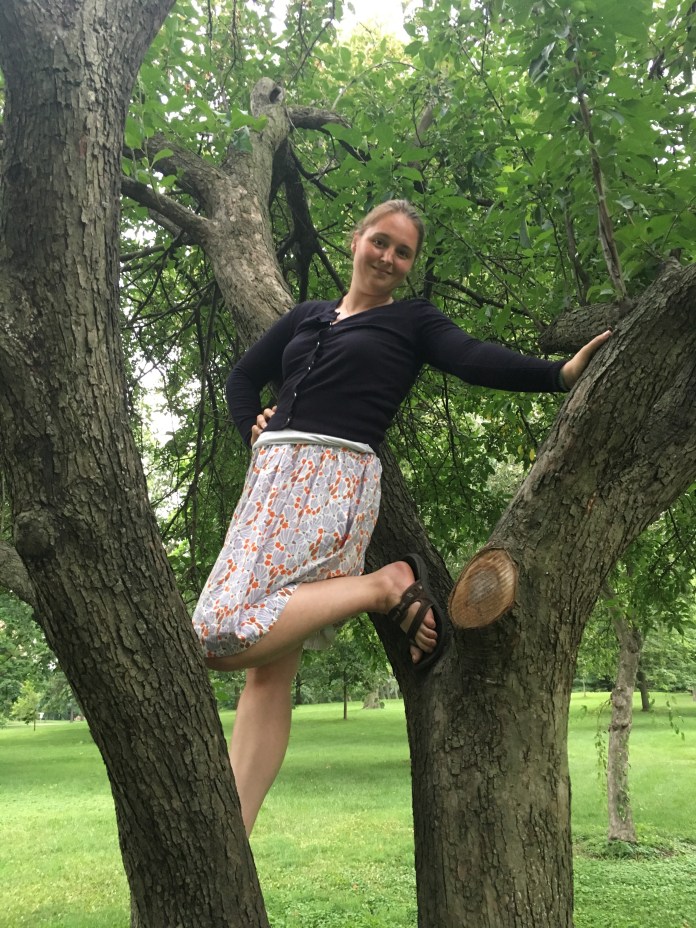
This picture sums up how I feel about summer sewing. Taking your own picture while jumping. My new superpower!


 Ever since I saw


 I had altered


 I was a bit disappointed but I chalked it up to a learning experience and figured I would try washing it and see if the fabric would soften up a bit.


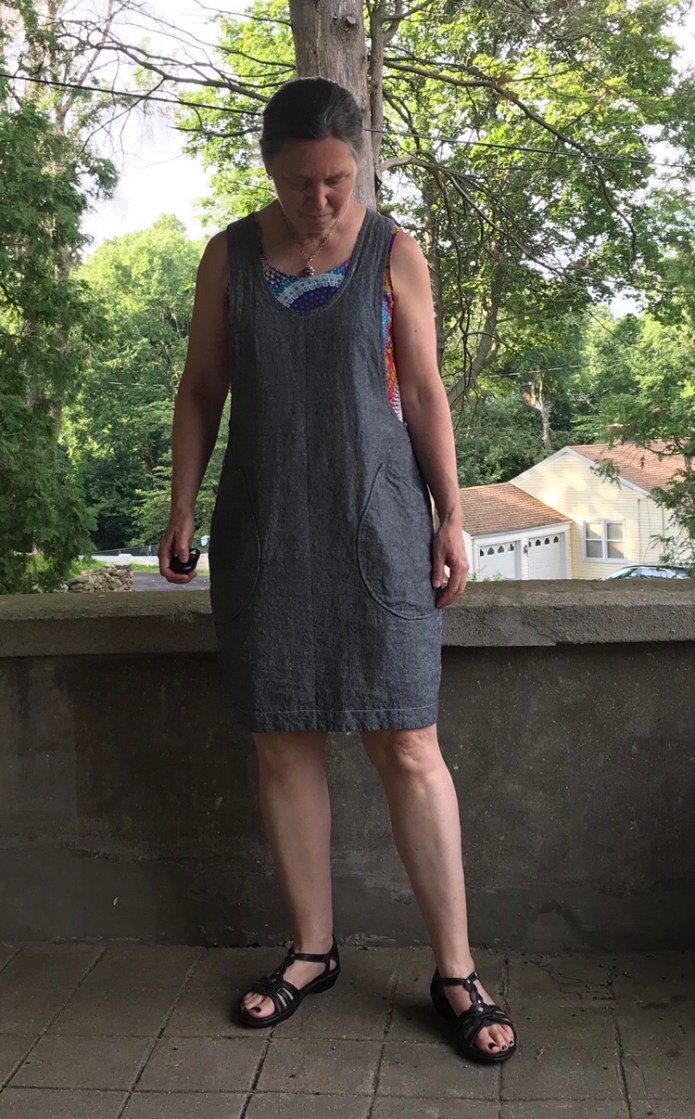
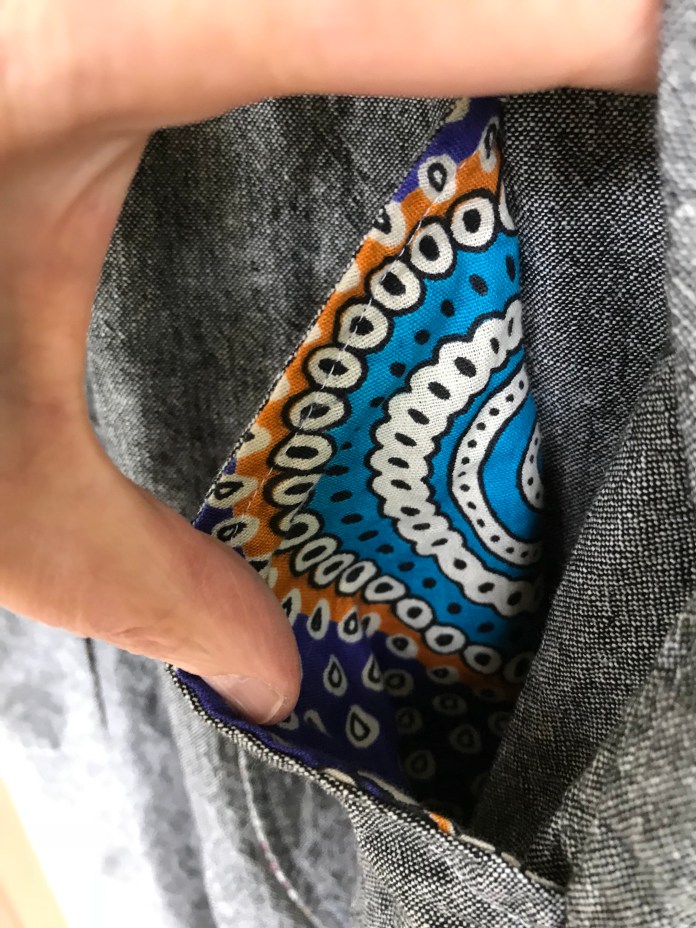
 So maybe the fabric I cut out hadn’t been pre-washed (although I am almost positive I had washed it before I put it away last year) or maybe this linen-cotton blend really shrinks a lot? Either way, I am thrilled because after taking the time to line the pockets


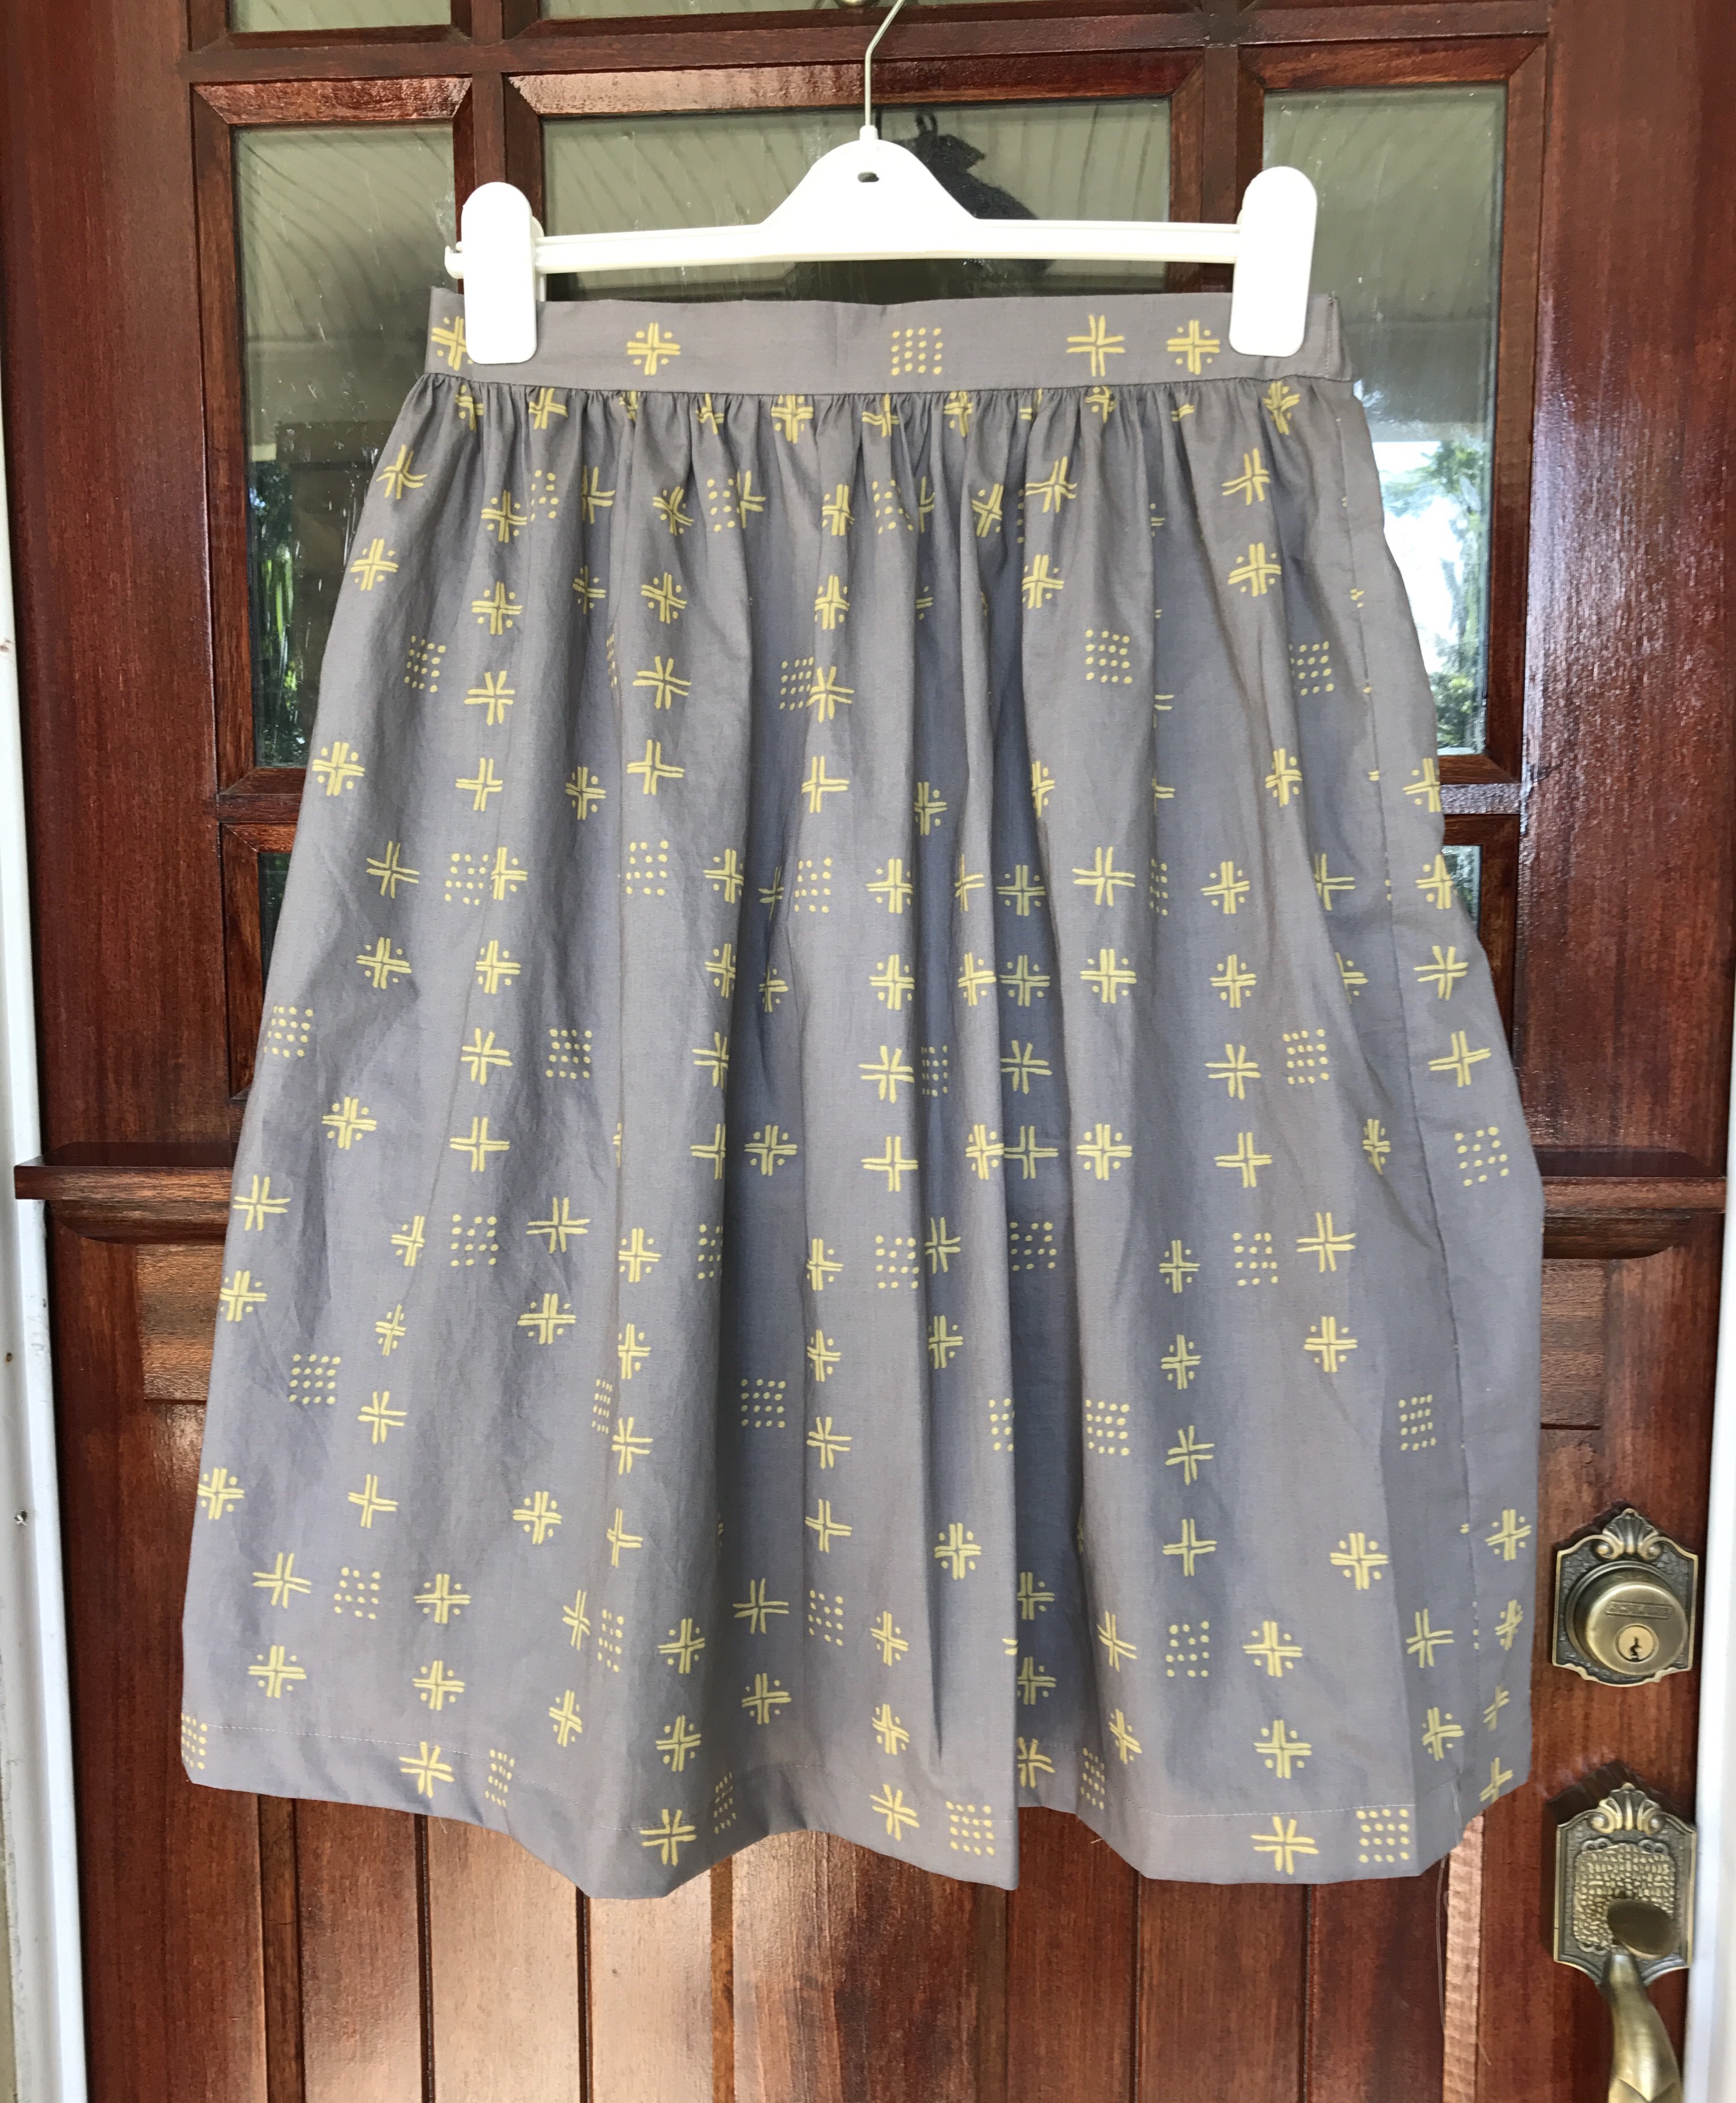


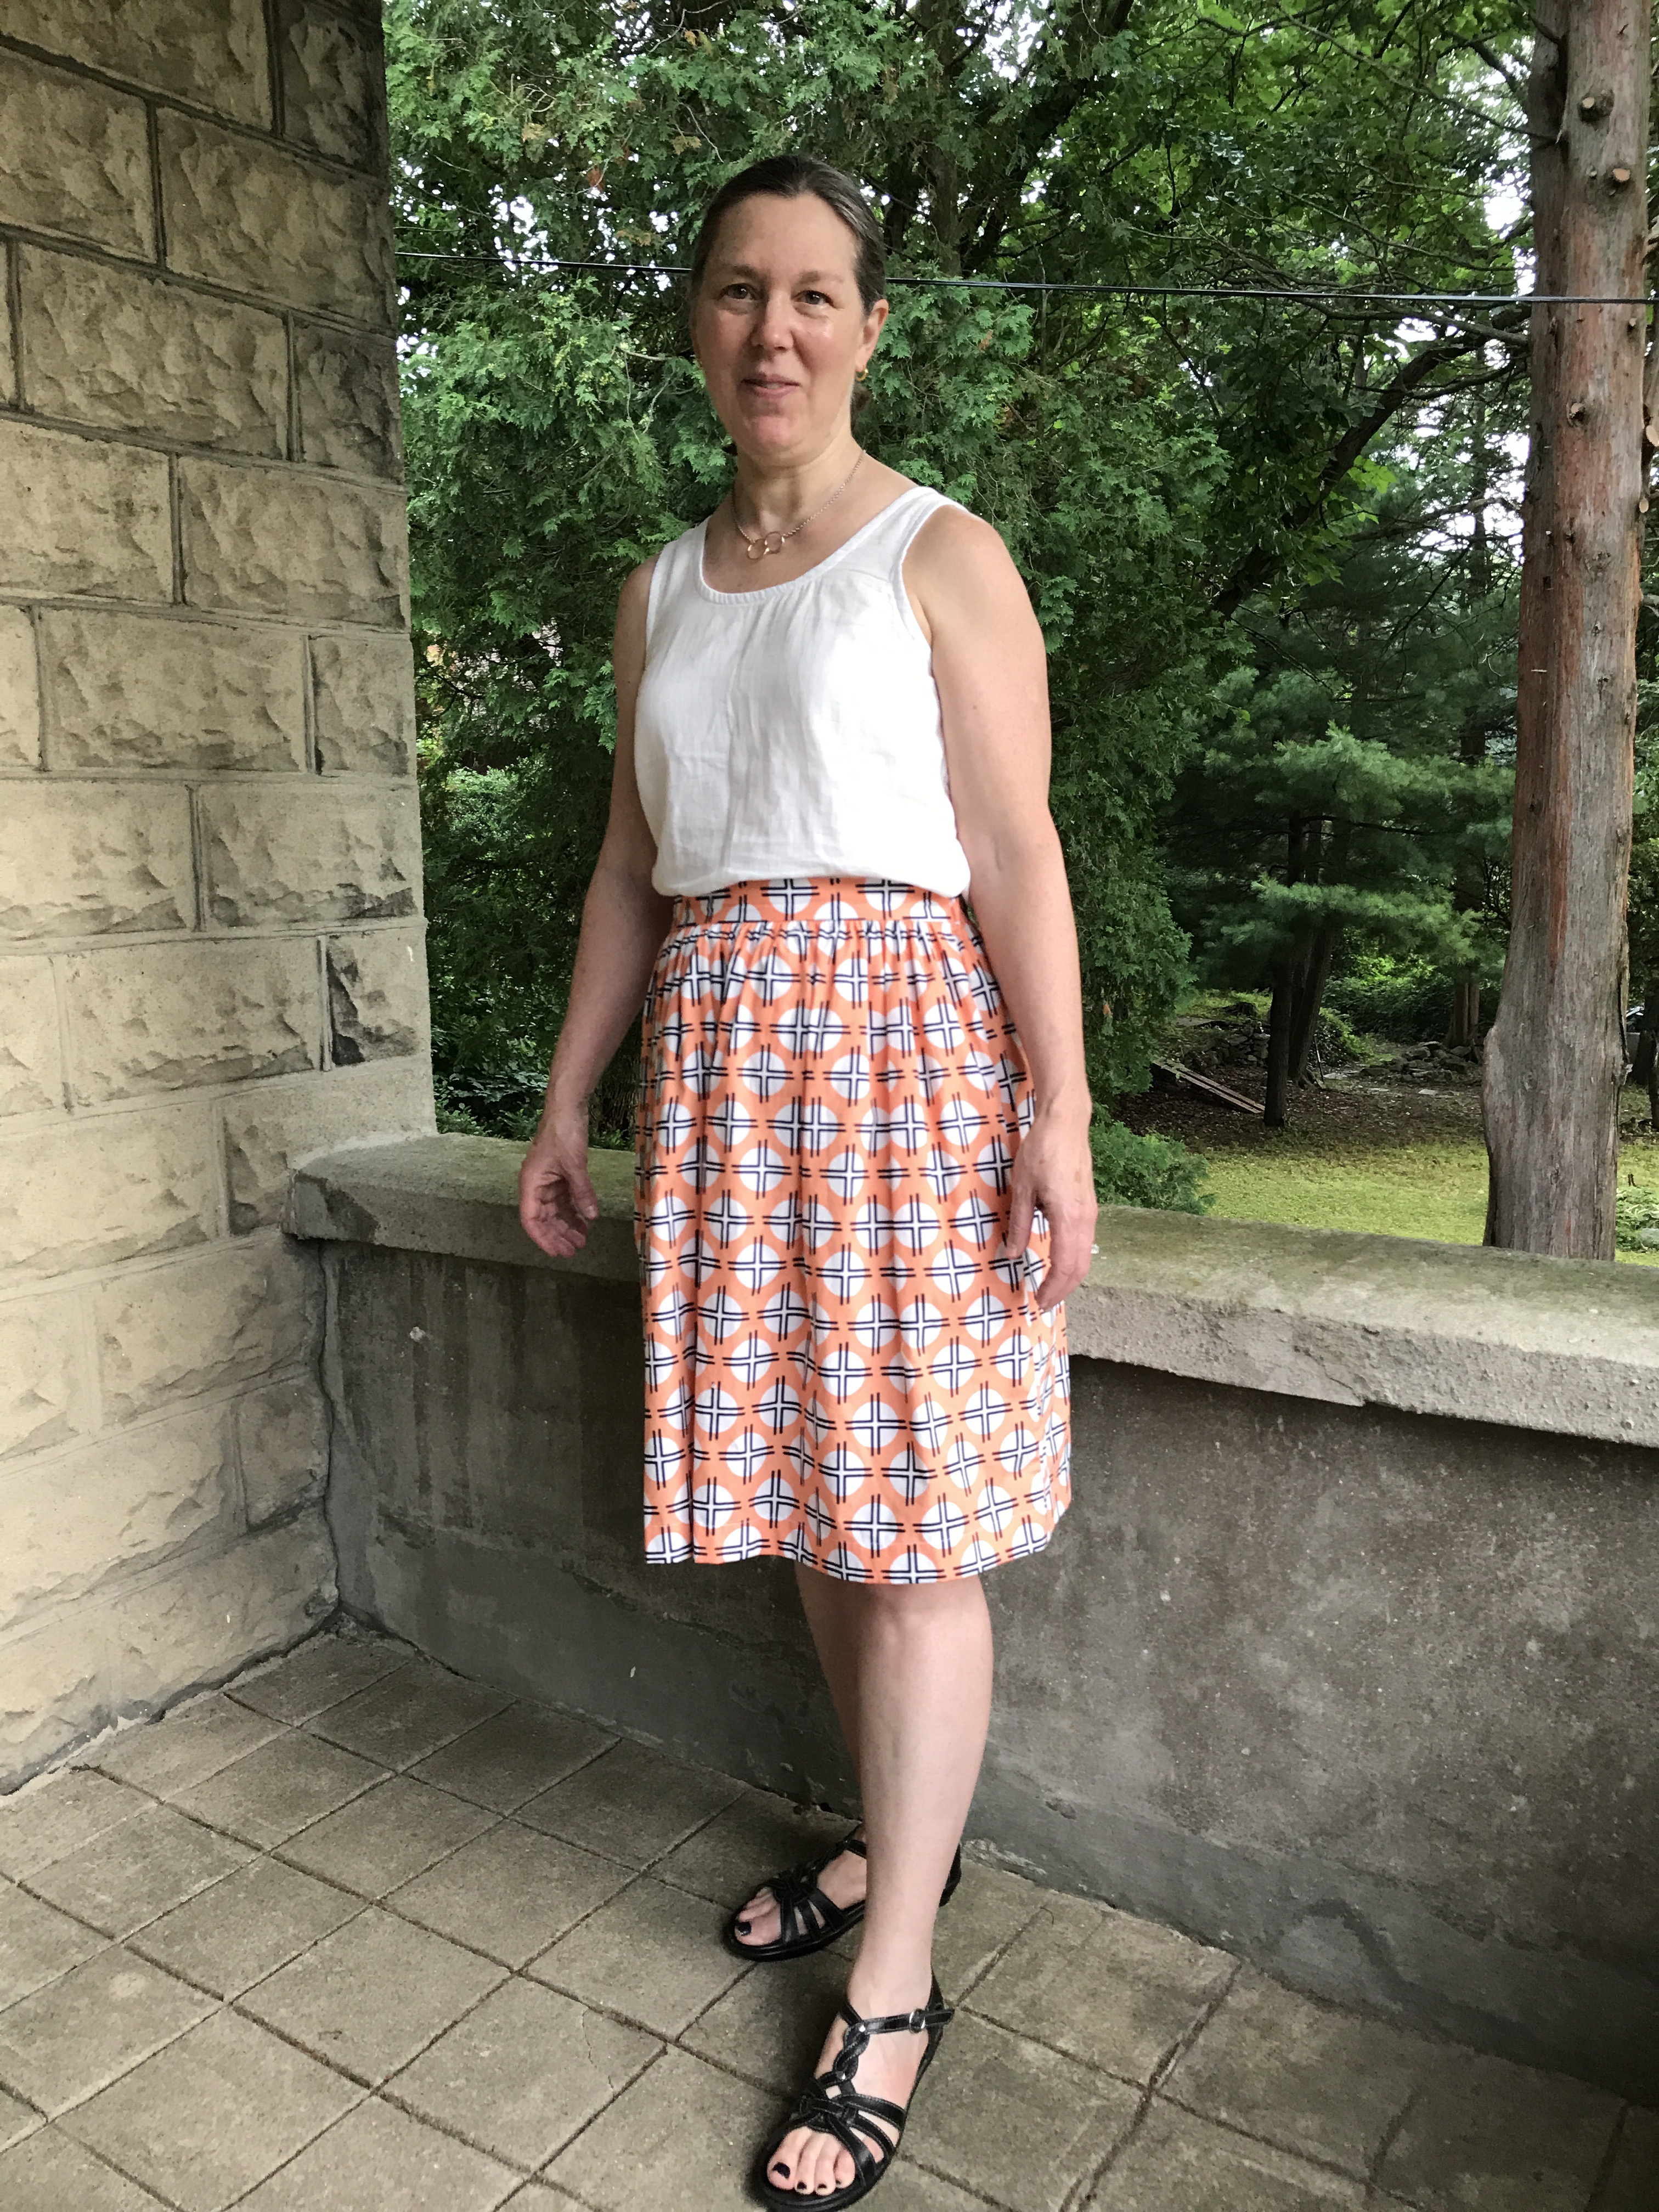
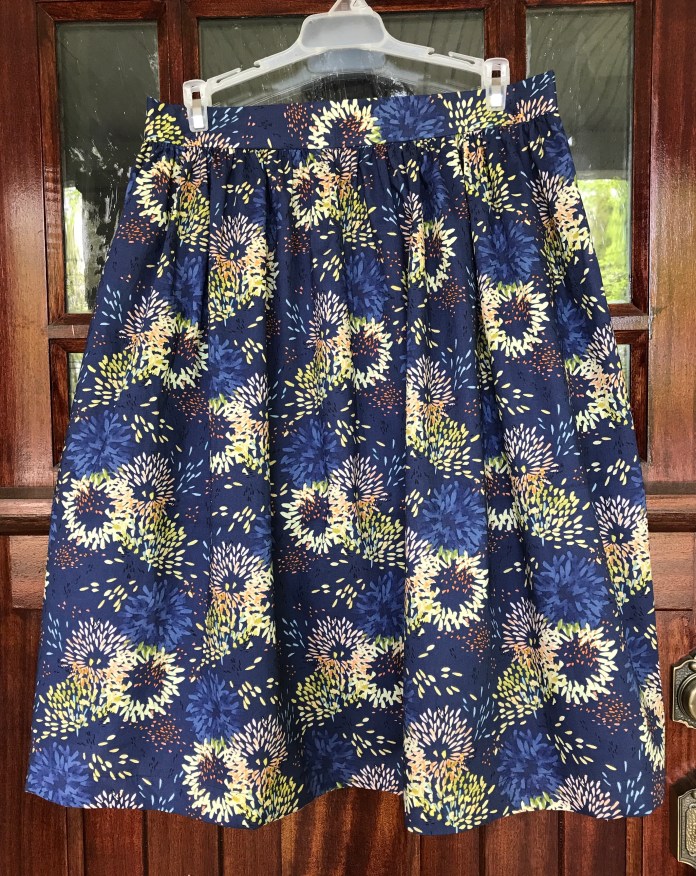 Version 2:
 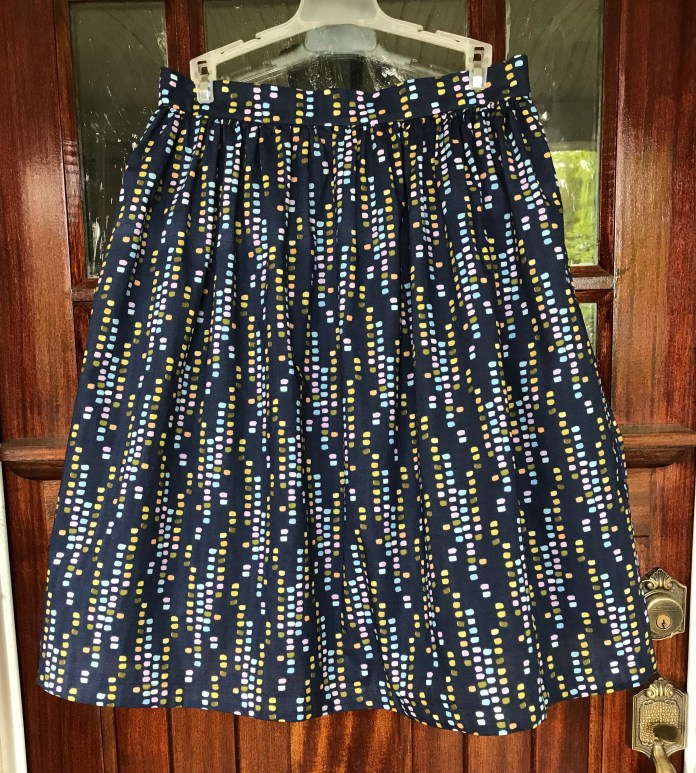 I couldn’t decide which fabric to buy so I bought them both and I love both skirts. This fabric is lightweight and swishy. It was easy to sew with. It drapes beautifully. I am a total fan.
 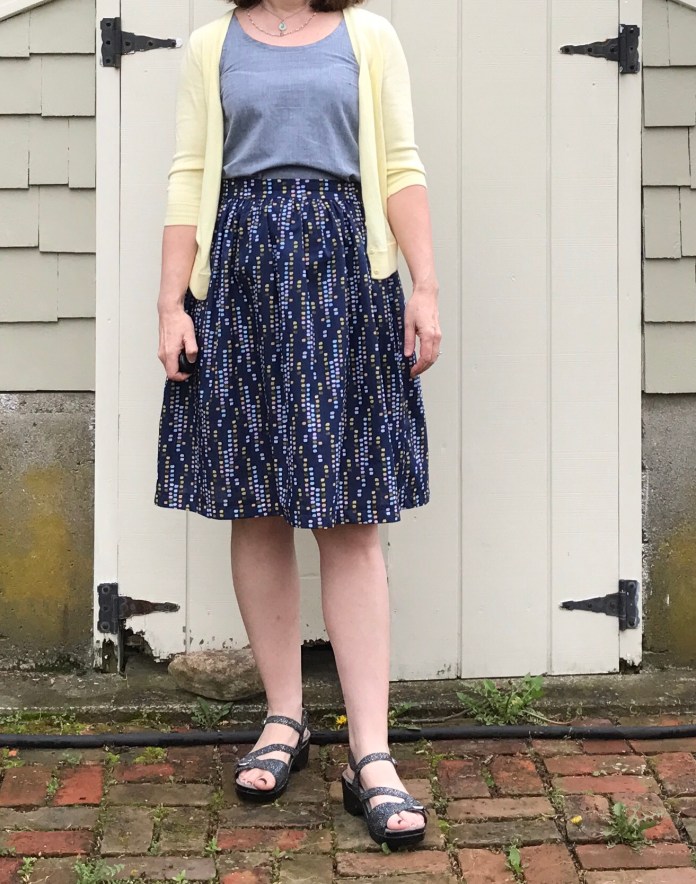 They are both perfect with my
 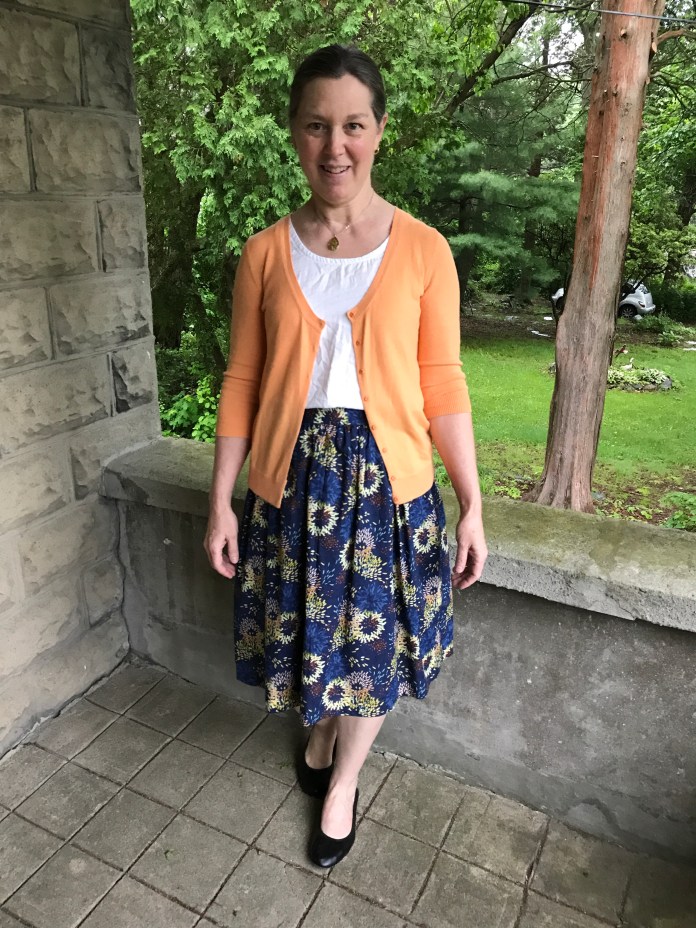 My
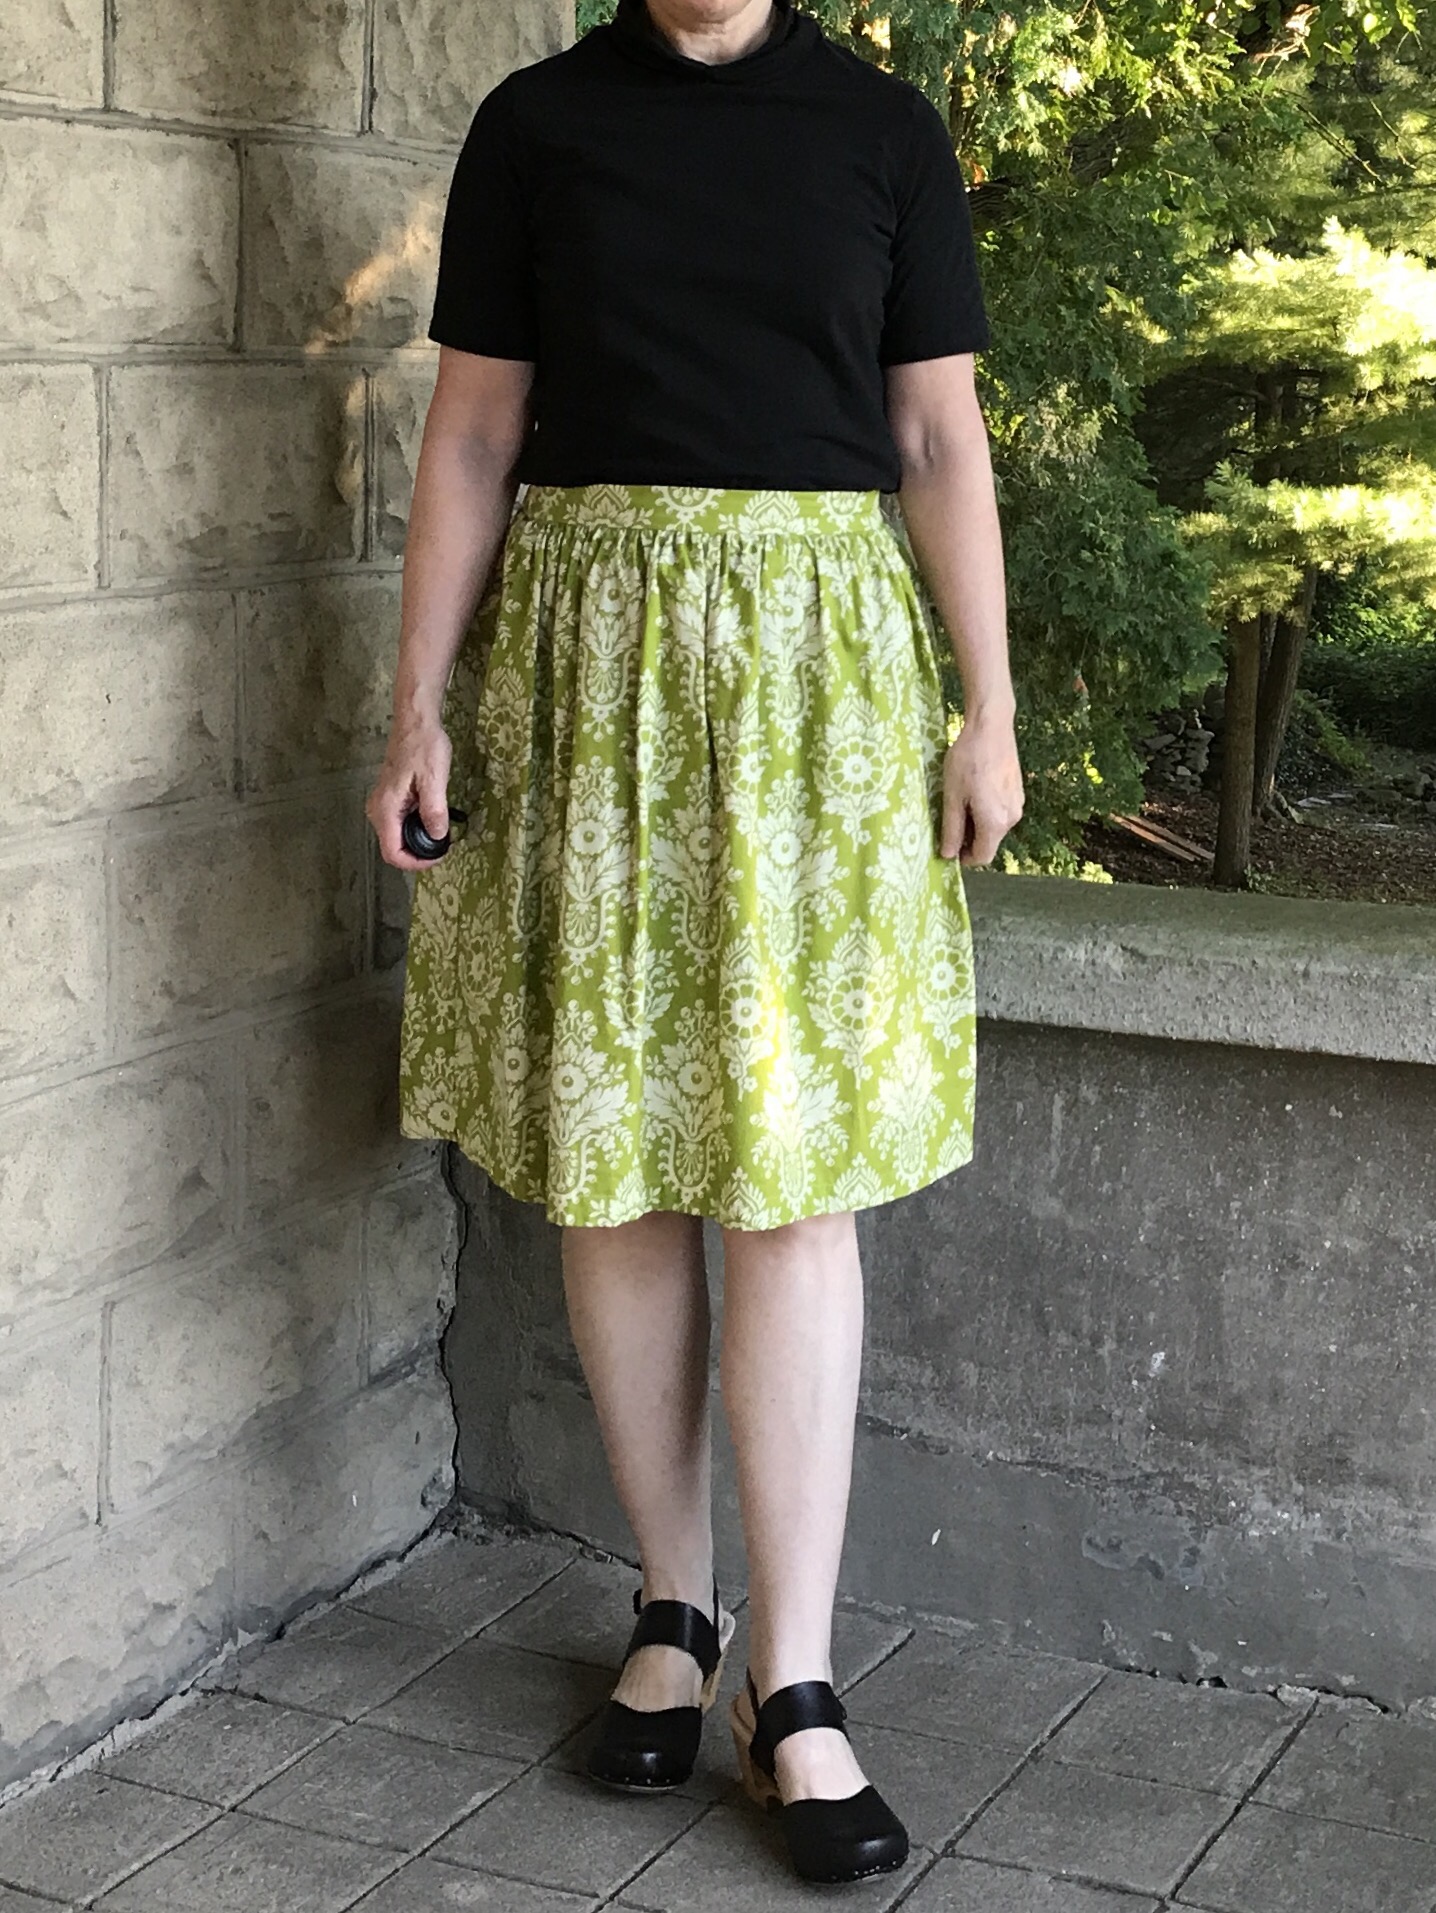
My 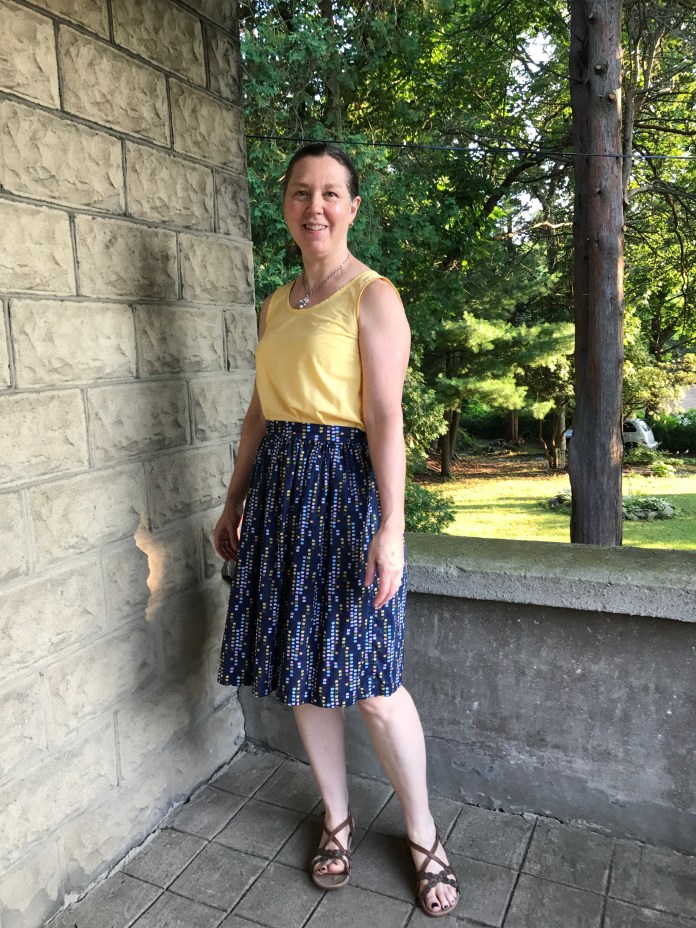 I used scraps of the yellow for a facing for the hems for all three of my voile and lawn Cleos. The
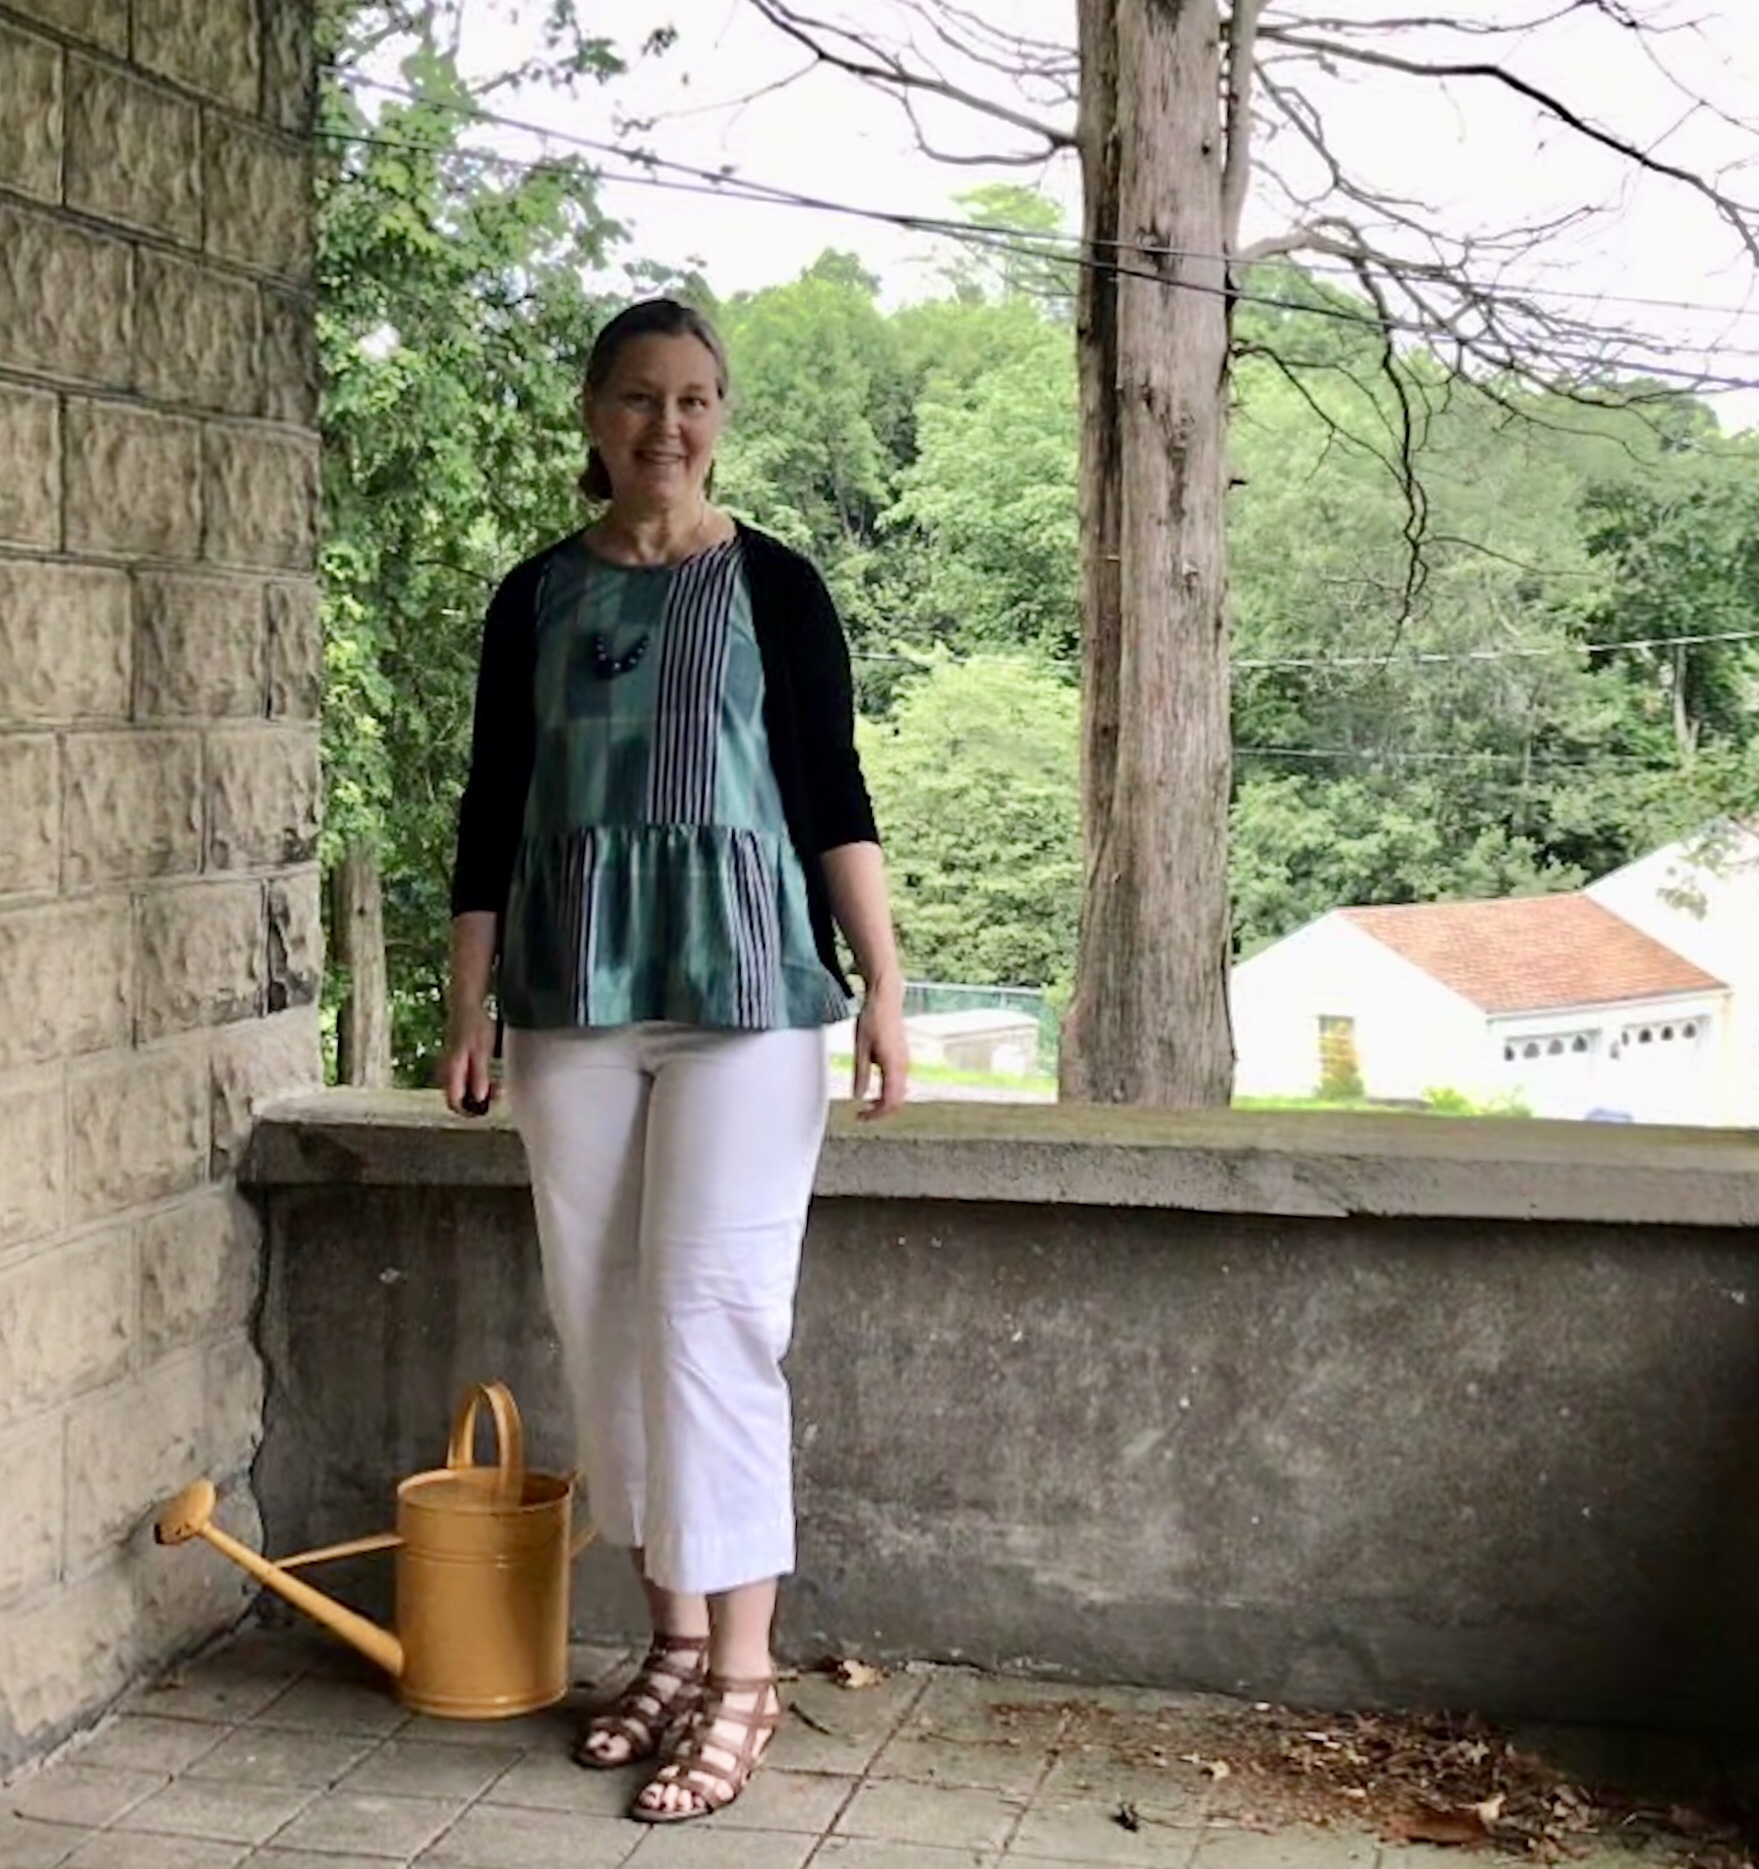
  The Cleo is also great in lightweight woven fabrics. I made this version with a woven cotton-linen blend from Joanne Fabric. I also made a matching Gemma Tank which I love although I like them better worn separately.
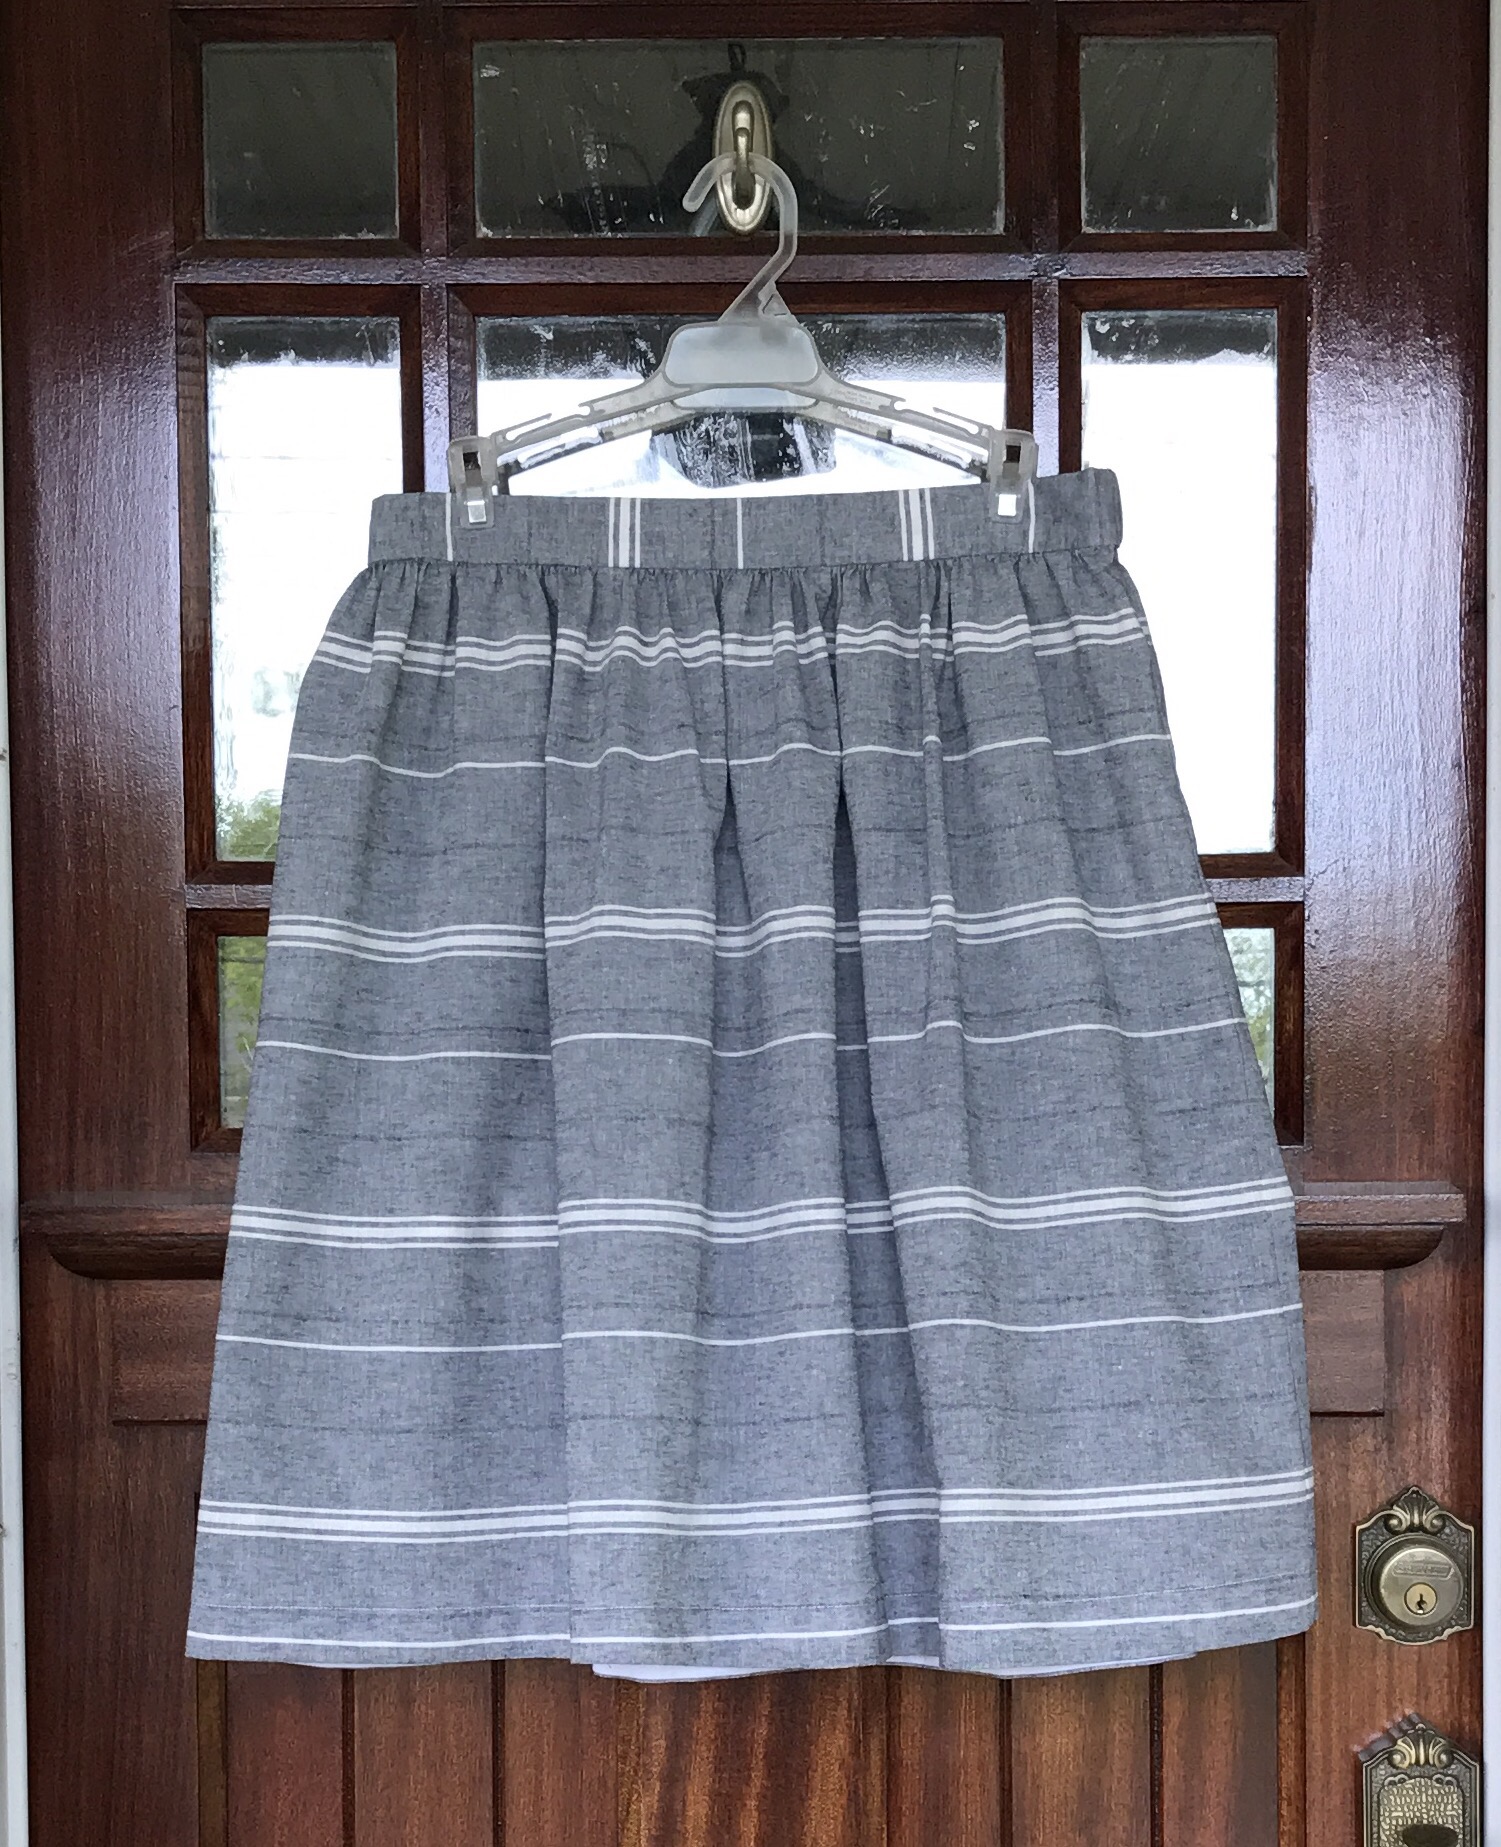


 I have really enjoyed wearing it this summer. It is perfect for hot summer days. This is a bit rumpled right out of the dryer and I don’t even care.
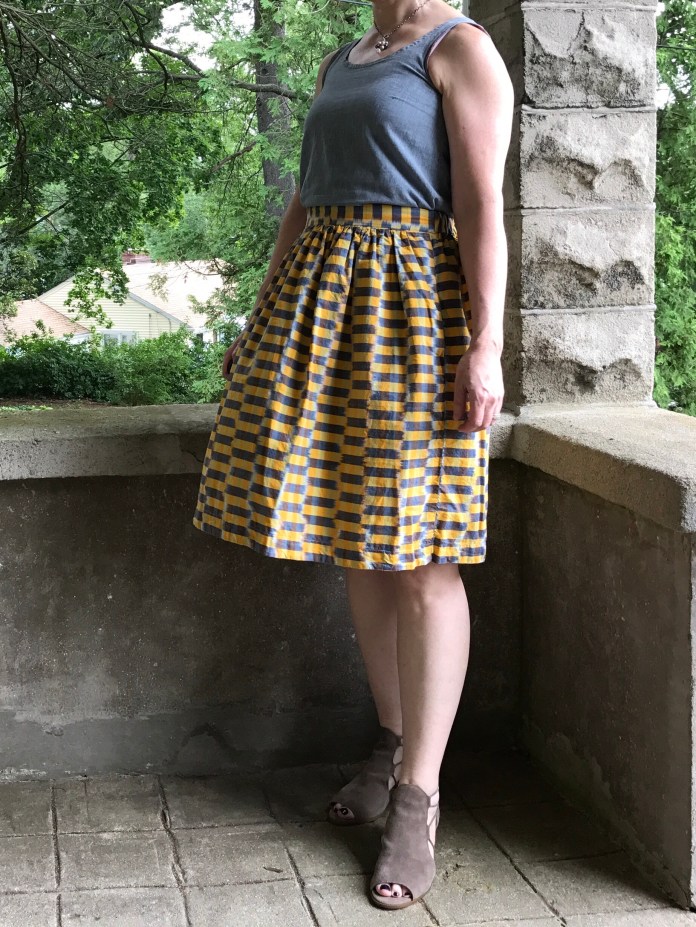 I also sewed several versions of the Cleo in quilting cotton. I saw a beautiful Ruby dress on Instagram made with

 I enjoy experimenting with designs and patterns and I had this fabric in my stash. It is from the Arizona collection also from April Rhodes. I had fun sewing this skirt and seeing how this pattern looks with the gathers. This fabric is now available in a
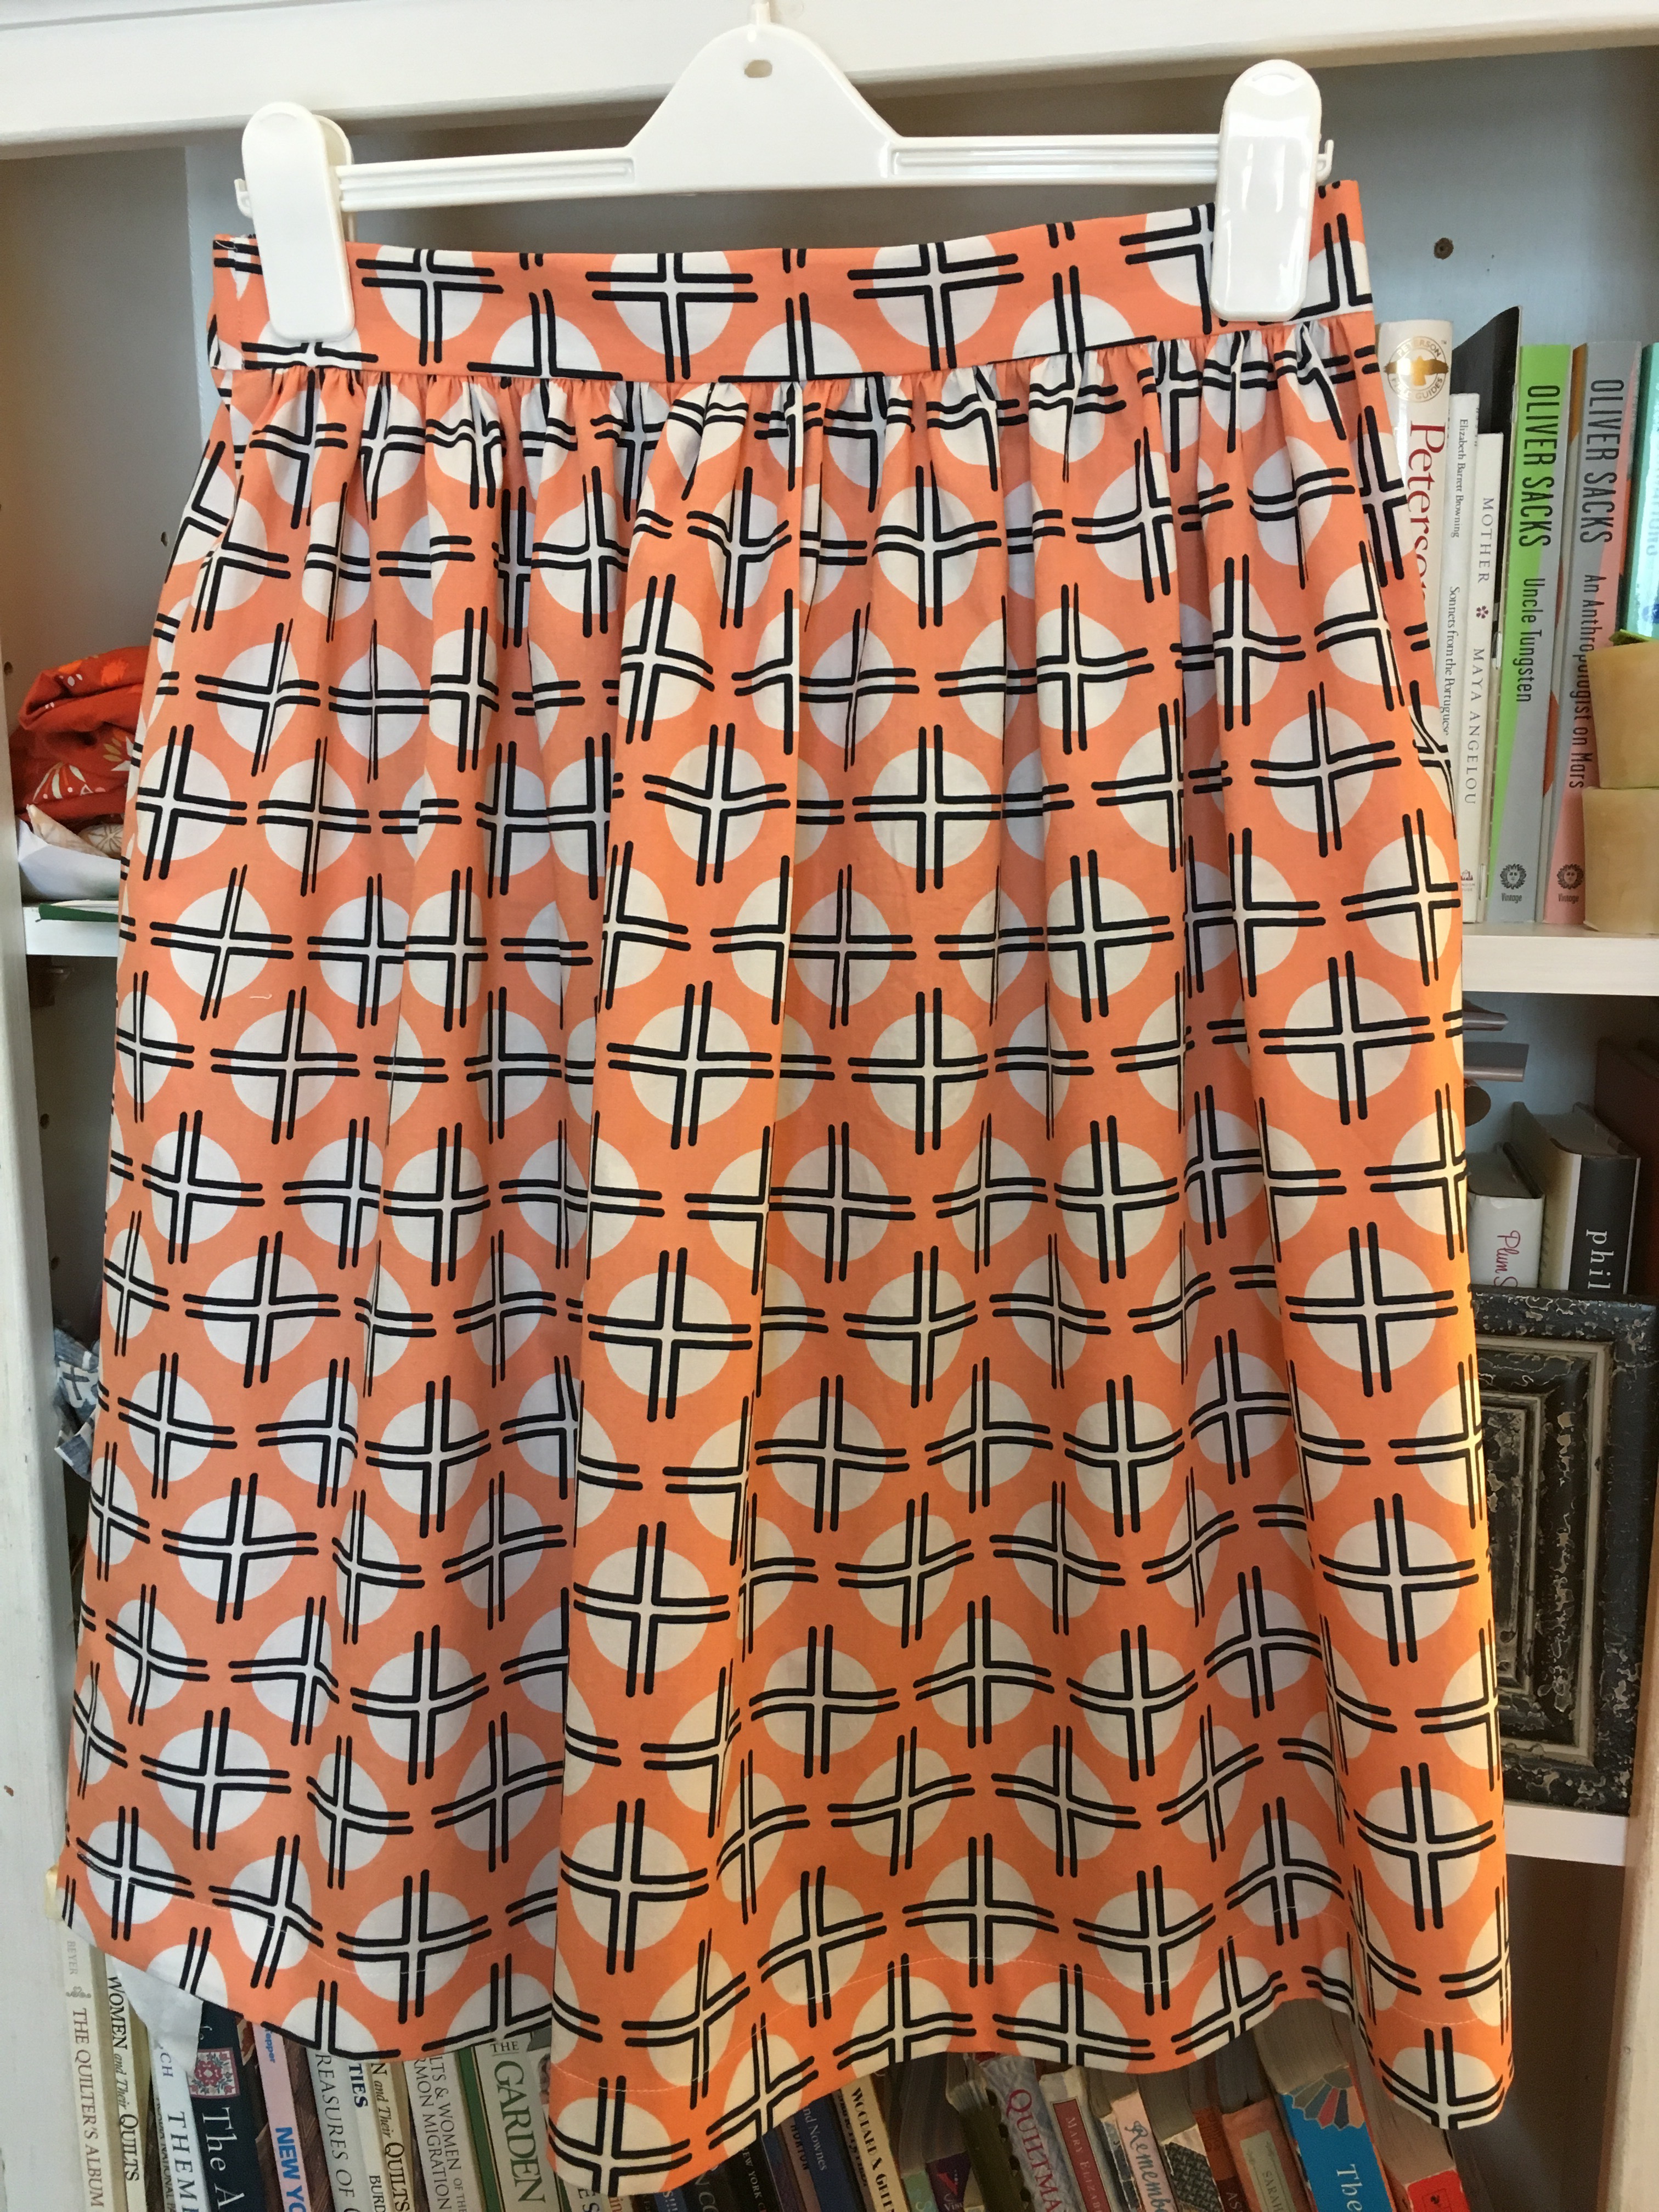


 The Cleo would also be amazing in


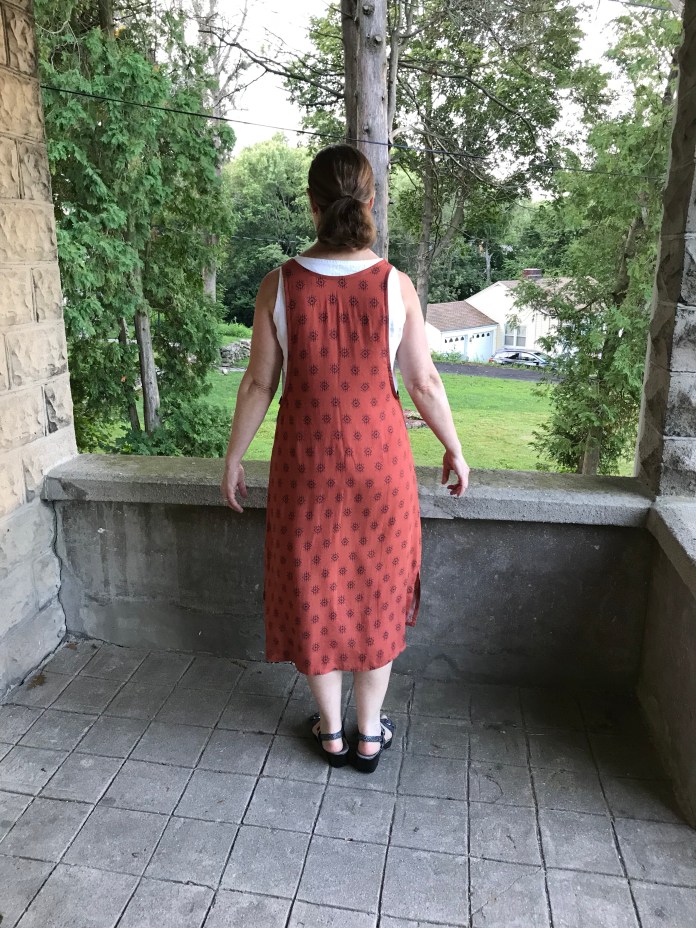
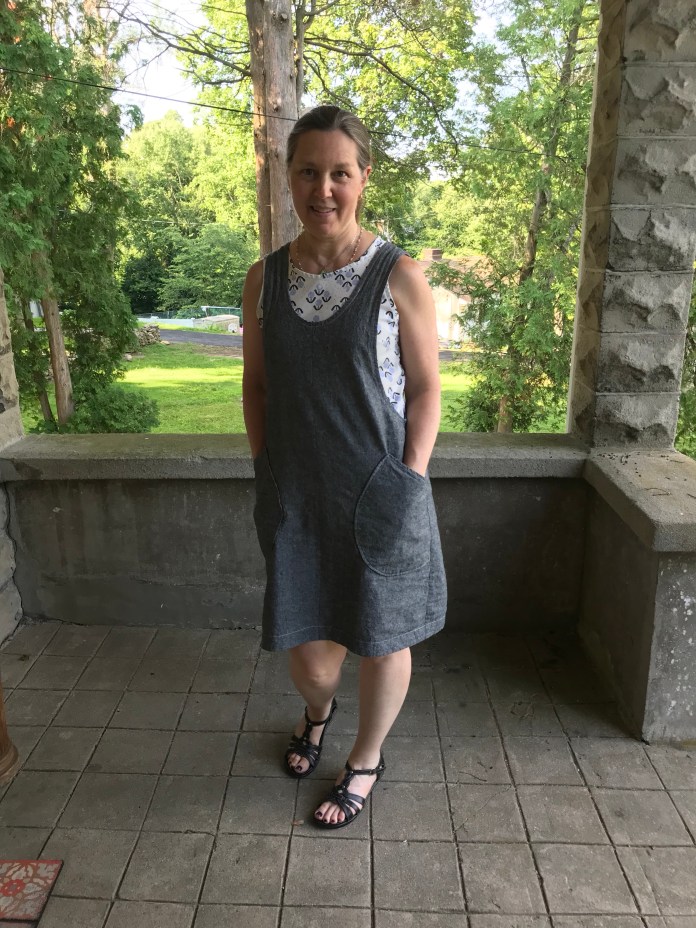
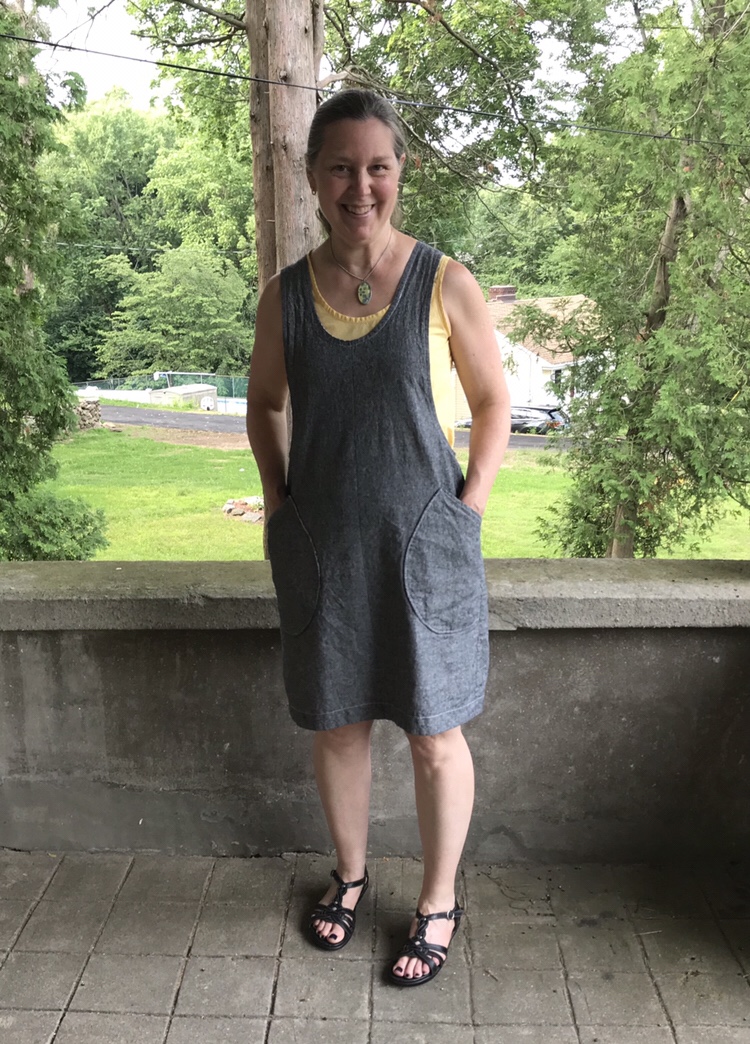
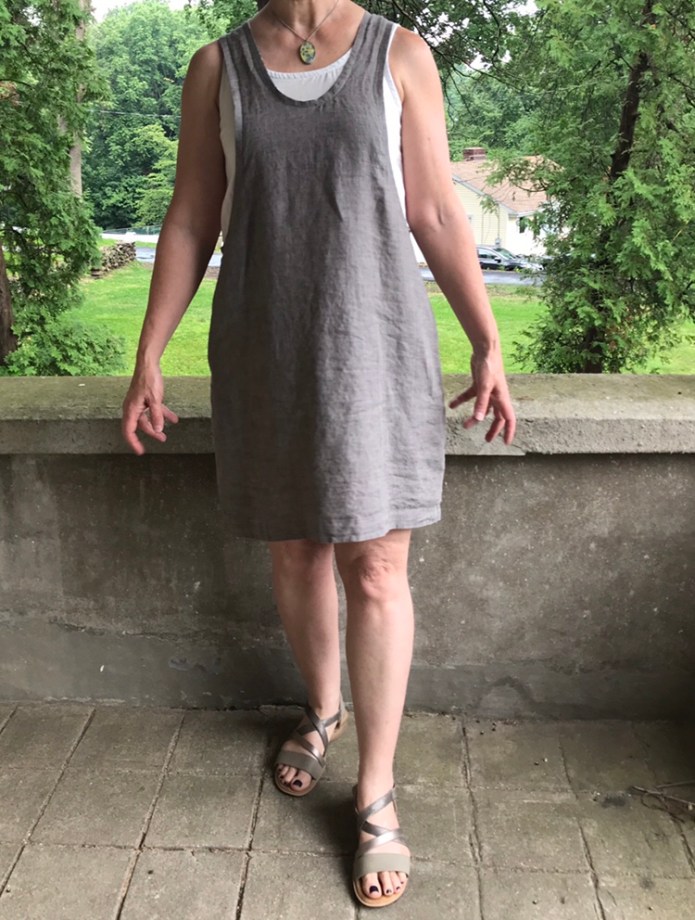
 I had been wanting to try making a


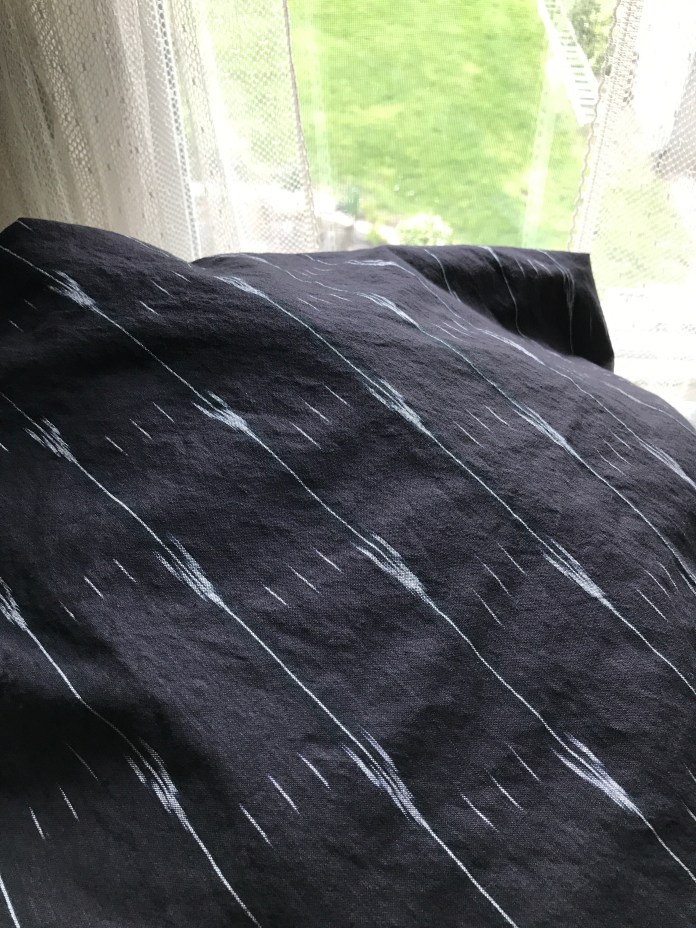 I wasn’t sure which direction the design was supposed to go but my husband felt that the design looked like arrows and should point up so that is what I did. I have to be careful with this type of pattern because it is so subtle that it is easy for me to forget and cut one of the pieces the wrong direction. I made a size that is halfway between a Medium and a Large based on my measurements around the hips and then graded back down to a medium at the ankle. I made them quick quick quick. I did not sew french seams although I probably should have but I decided to just sew my seams as I usually do and finish them with a zig zag stitch which is my fast and easy technique. If I ever make these in double gauze it will be french seams all the way. I did make the pockets which are really well drafted the way that they are sewn into the waistband. Love them!
 I cut this out and sewed it in an afternoon and I don’t really have pictures of the process but my other
 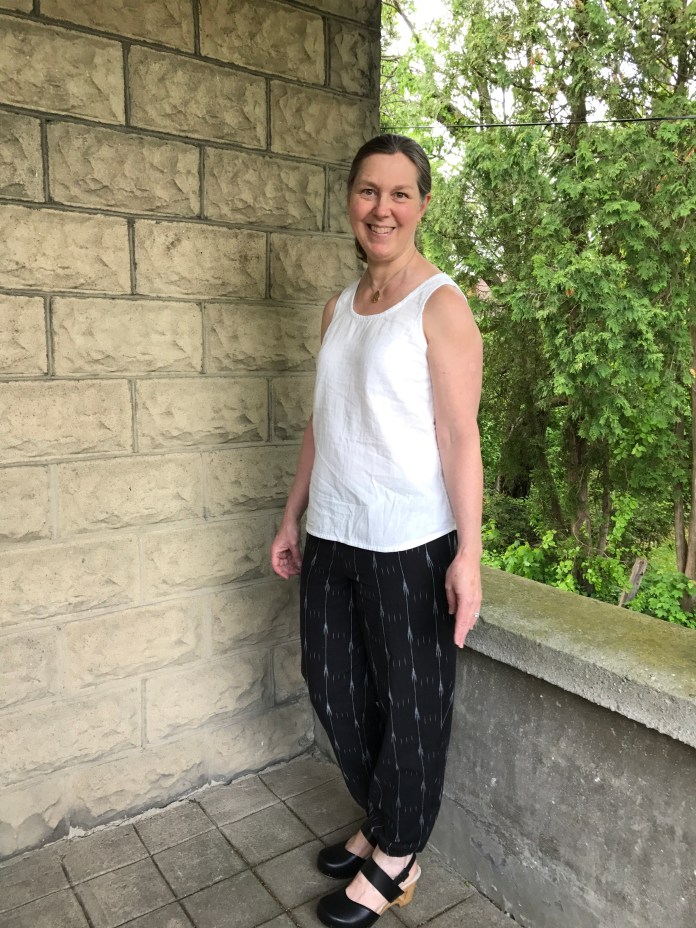 I tried them with a slightly higher heeled clog for a more dressy look.
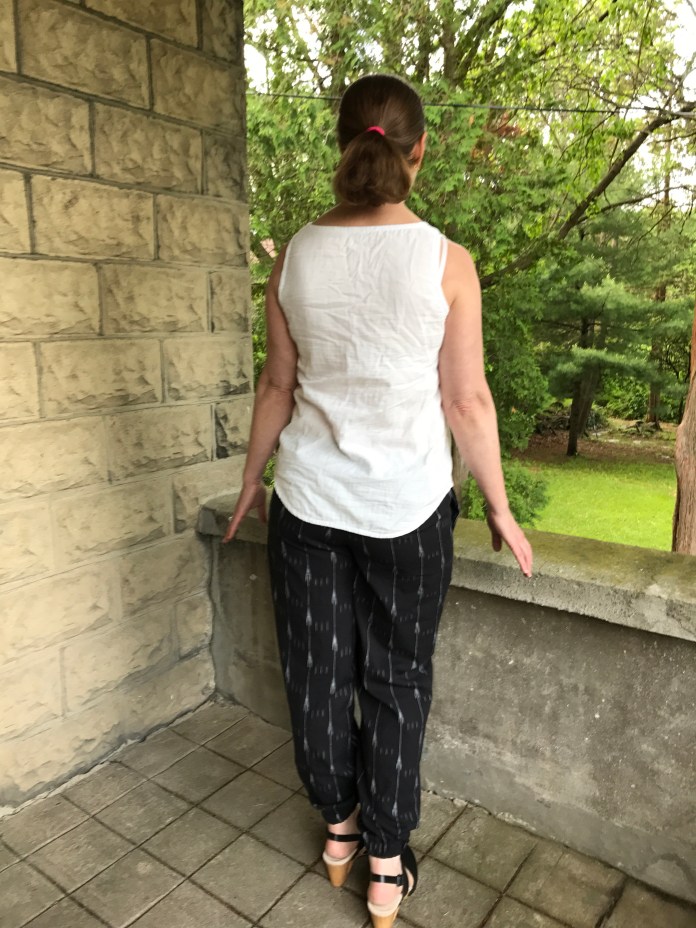 My husband got much better at taking pictures as the days of Me Made May went by.
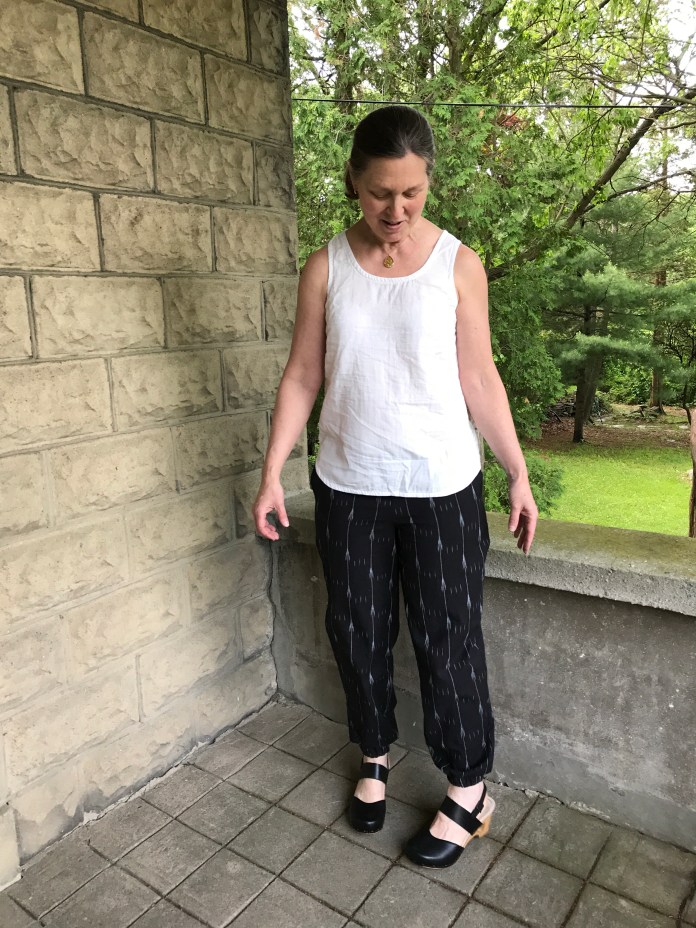 They are great with my trusty 20 year old jeans jacket.
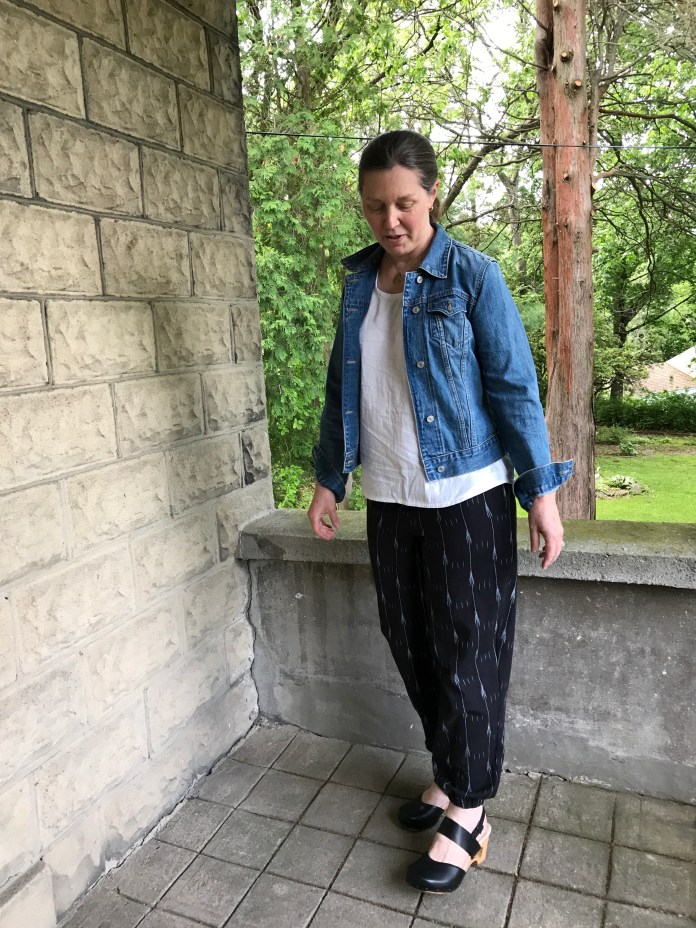 And as I will usually wear them with flip flops and a cardigan.
 One funny thing happened as a sewed. I didn’t realize that I left a pin in where I couldn’t see it and I sewed it right into the seam. I ended up having to cut the thread to free the pin and resew that section of the seam.
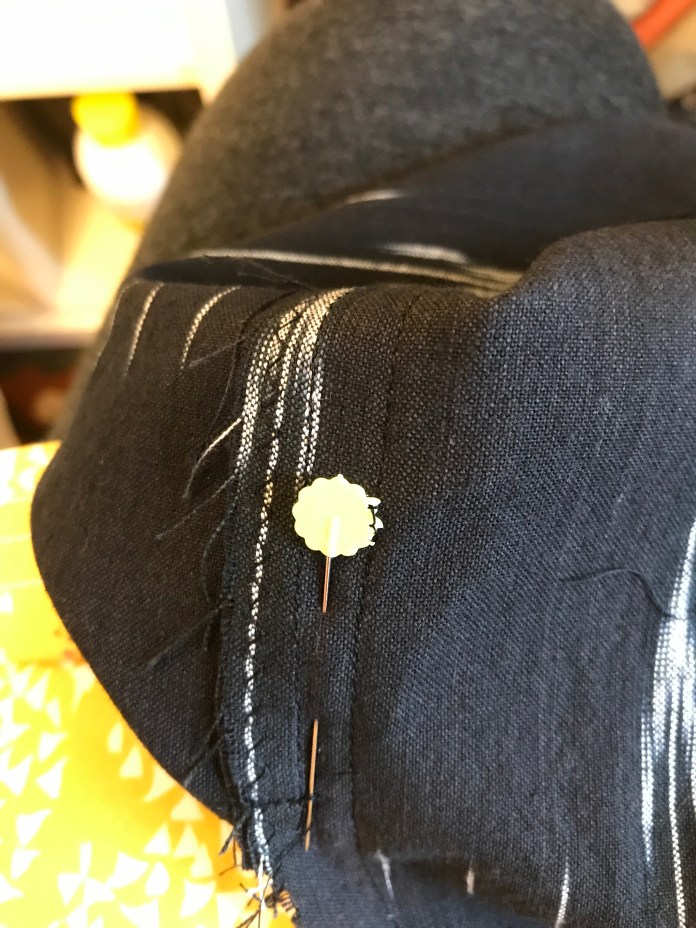 I realized that I was using the previously sewn pin later that month when I pinned another project.
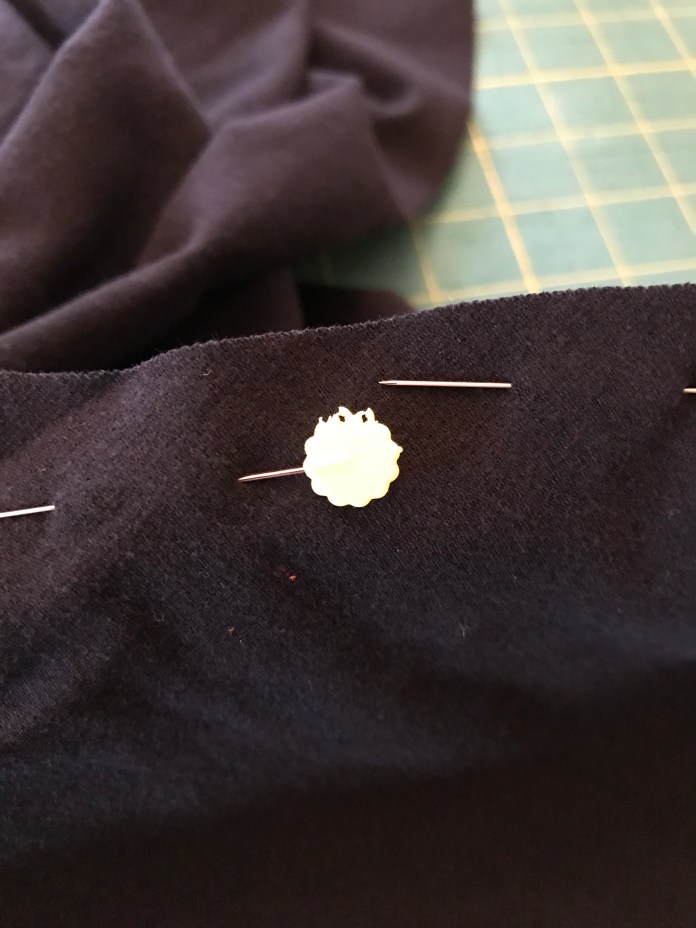 I highly recommend this pattern. It is even more wonderful in this softer loose weave fabric. I will be wearing them all summer.
 Also highly recommended is Rae’s Luna Pants
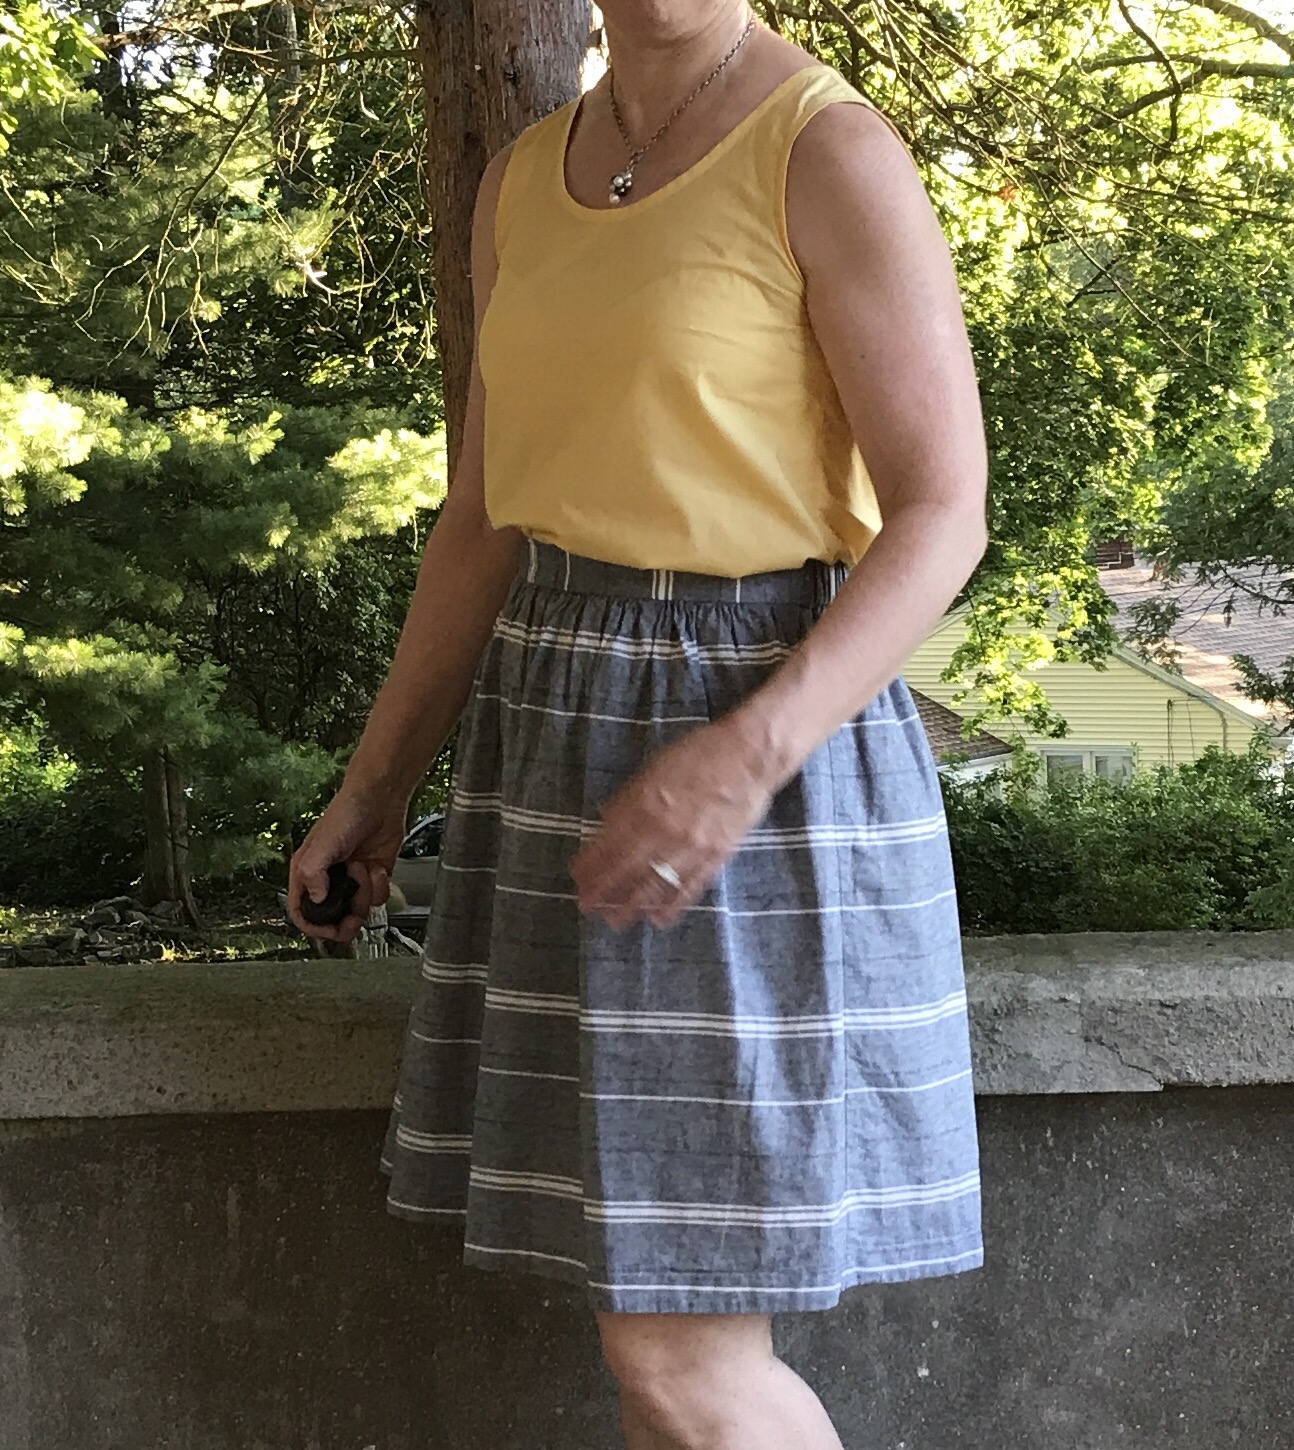
  I cut Mediums in both the skirt and tank and added a bit to the length for the tank as I am tall. I don’t actually lengthen the pattern, I just eyeball it and add about an inch to an inch and a half. I cut view B of the Cleo shortened to just below the midpoint of the knee which I find is the best length for me.
 In preparation for the bias binding, I cut bias strips of the leftover lawn and also some wider strips on the grain to use as a hem facing for the two skirts.
 Both fabrics were great to work with. Not too slippery but very light and flowy. To save time since I was planning on making several skirts, I eliminated the pocket. I actually love the pockets on the Cleo skirt but since I almost always wear a lab coat at my job as a nurse practitioner, I never use skirt pockets since I have large built in pockets already. I wouldn’t recommend this for most sewists because the pockets are a great design feature.
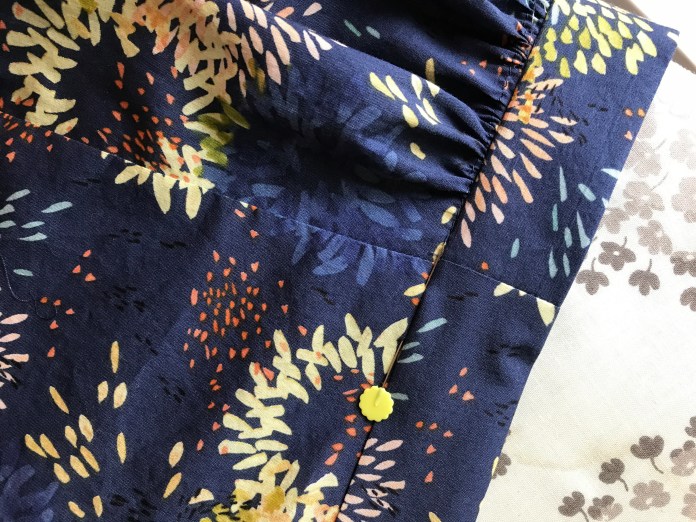 Since I was making more than one, I basically sewed each step and then repeated the step on the next skirt, etc. They came together pretty quickly. Finished skirt #1 below in Brushed Peony.


 I used a lightweight white cotton batiste for this hem facing and matched the stripes on the side seams. I cut the waistband across the grain for more visual interest as I did when I made this


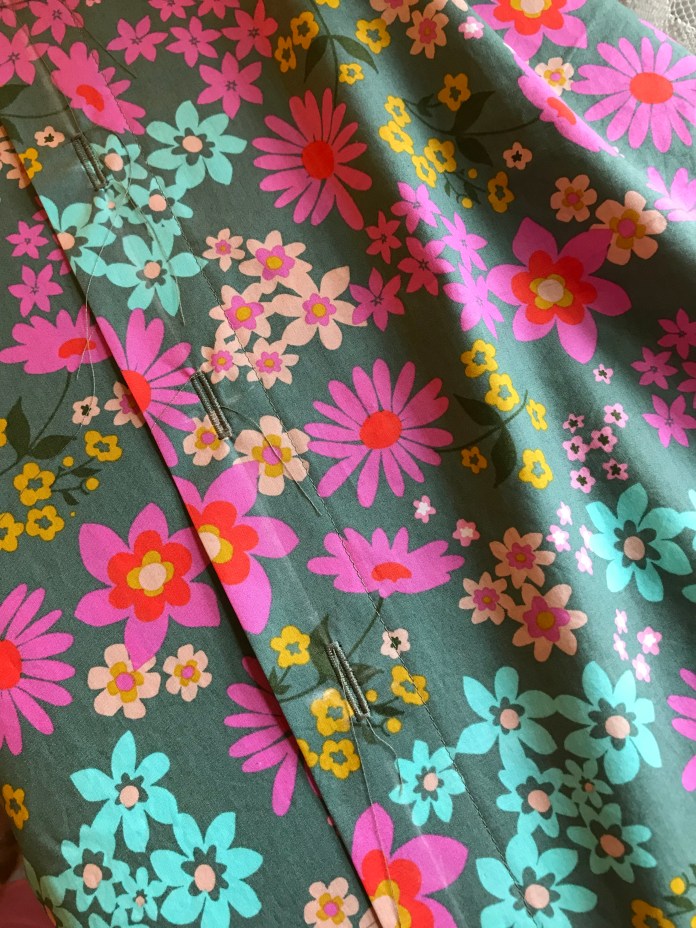
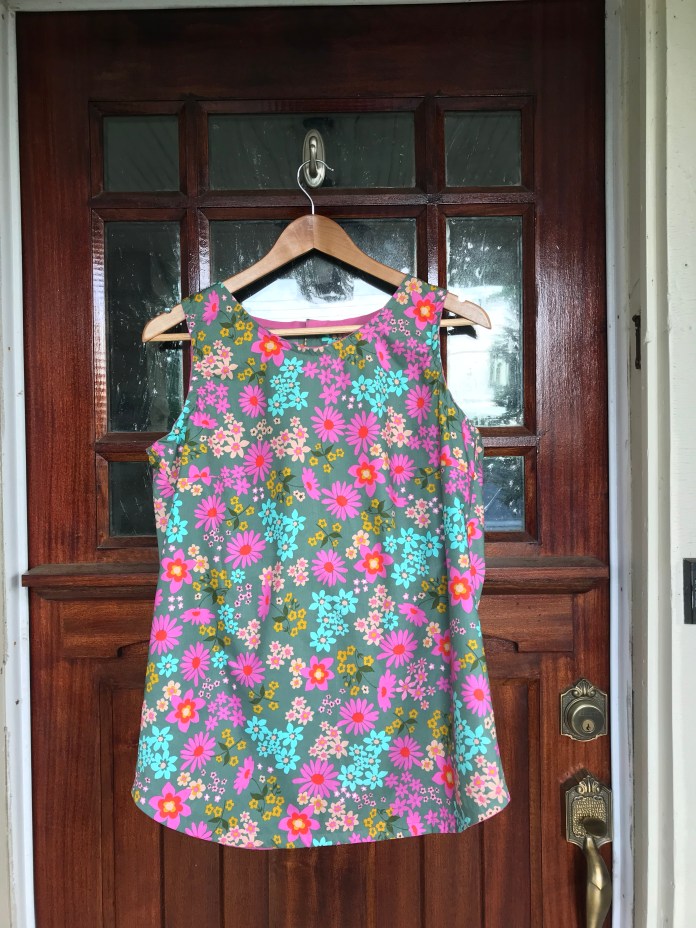
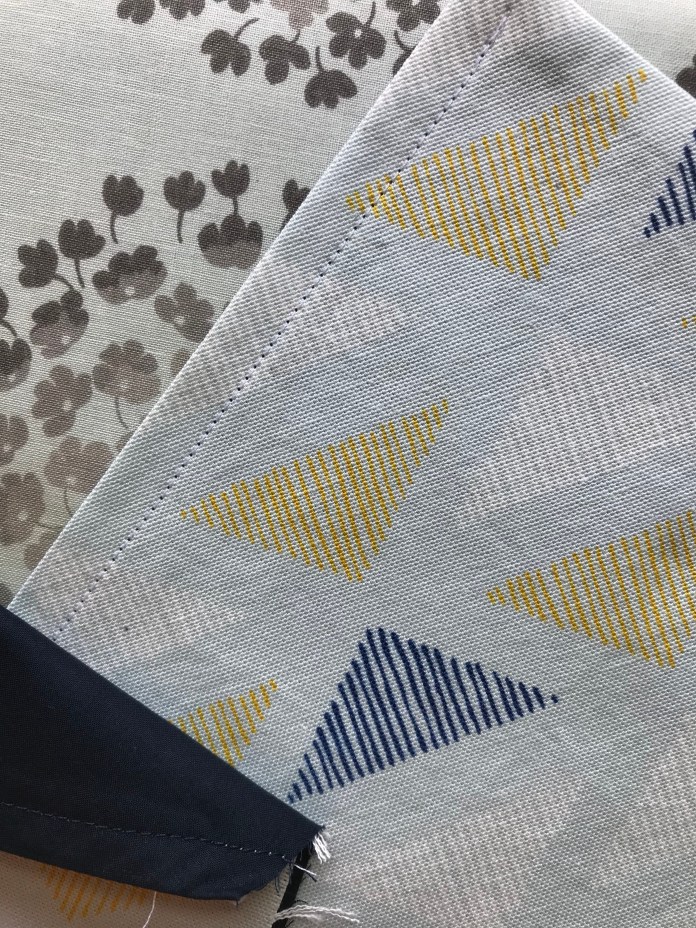
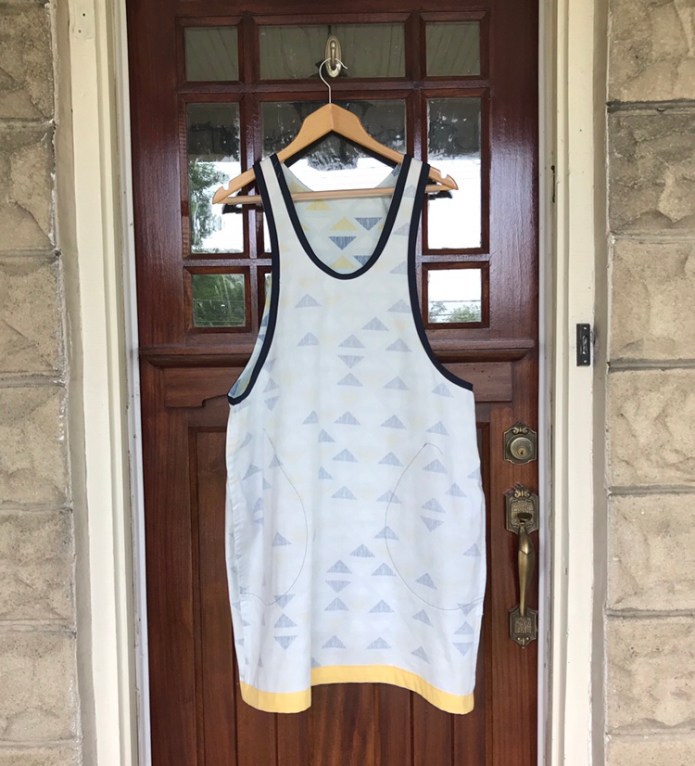
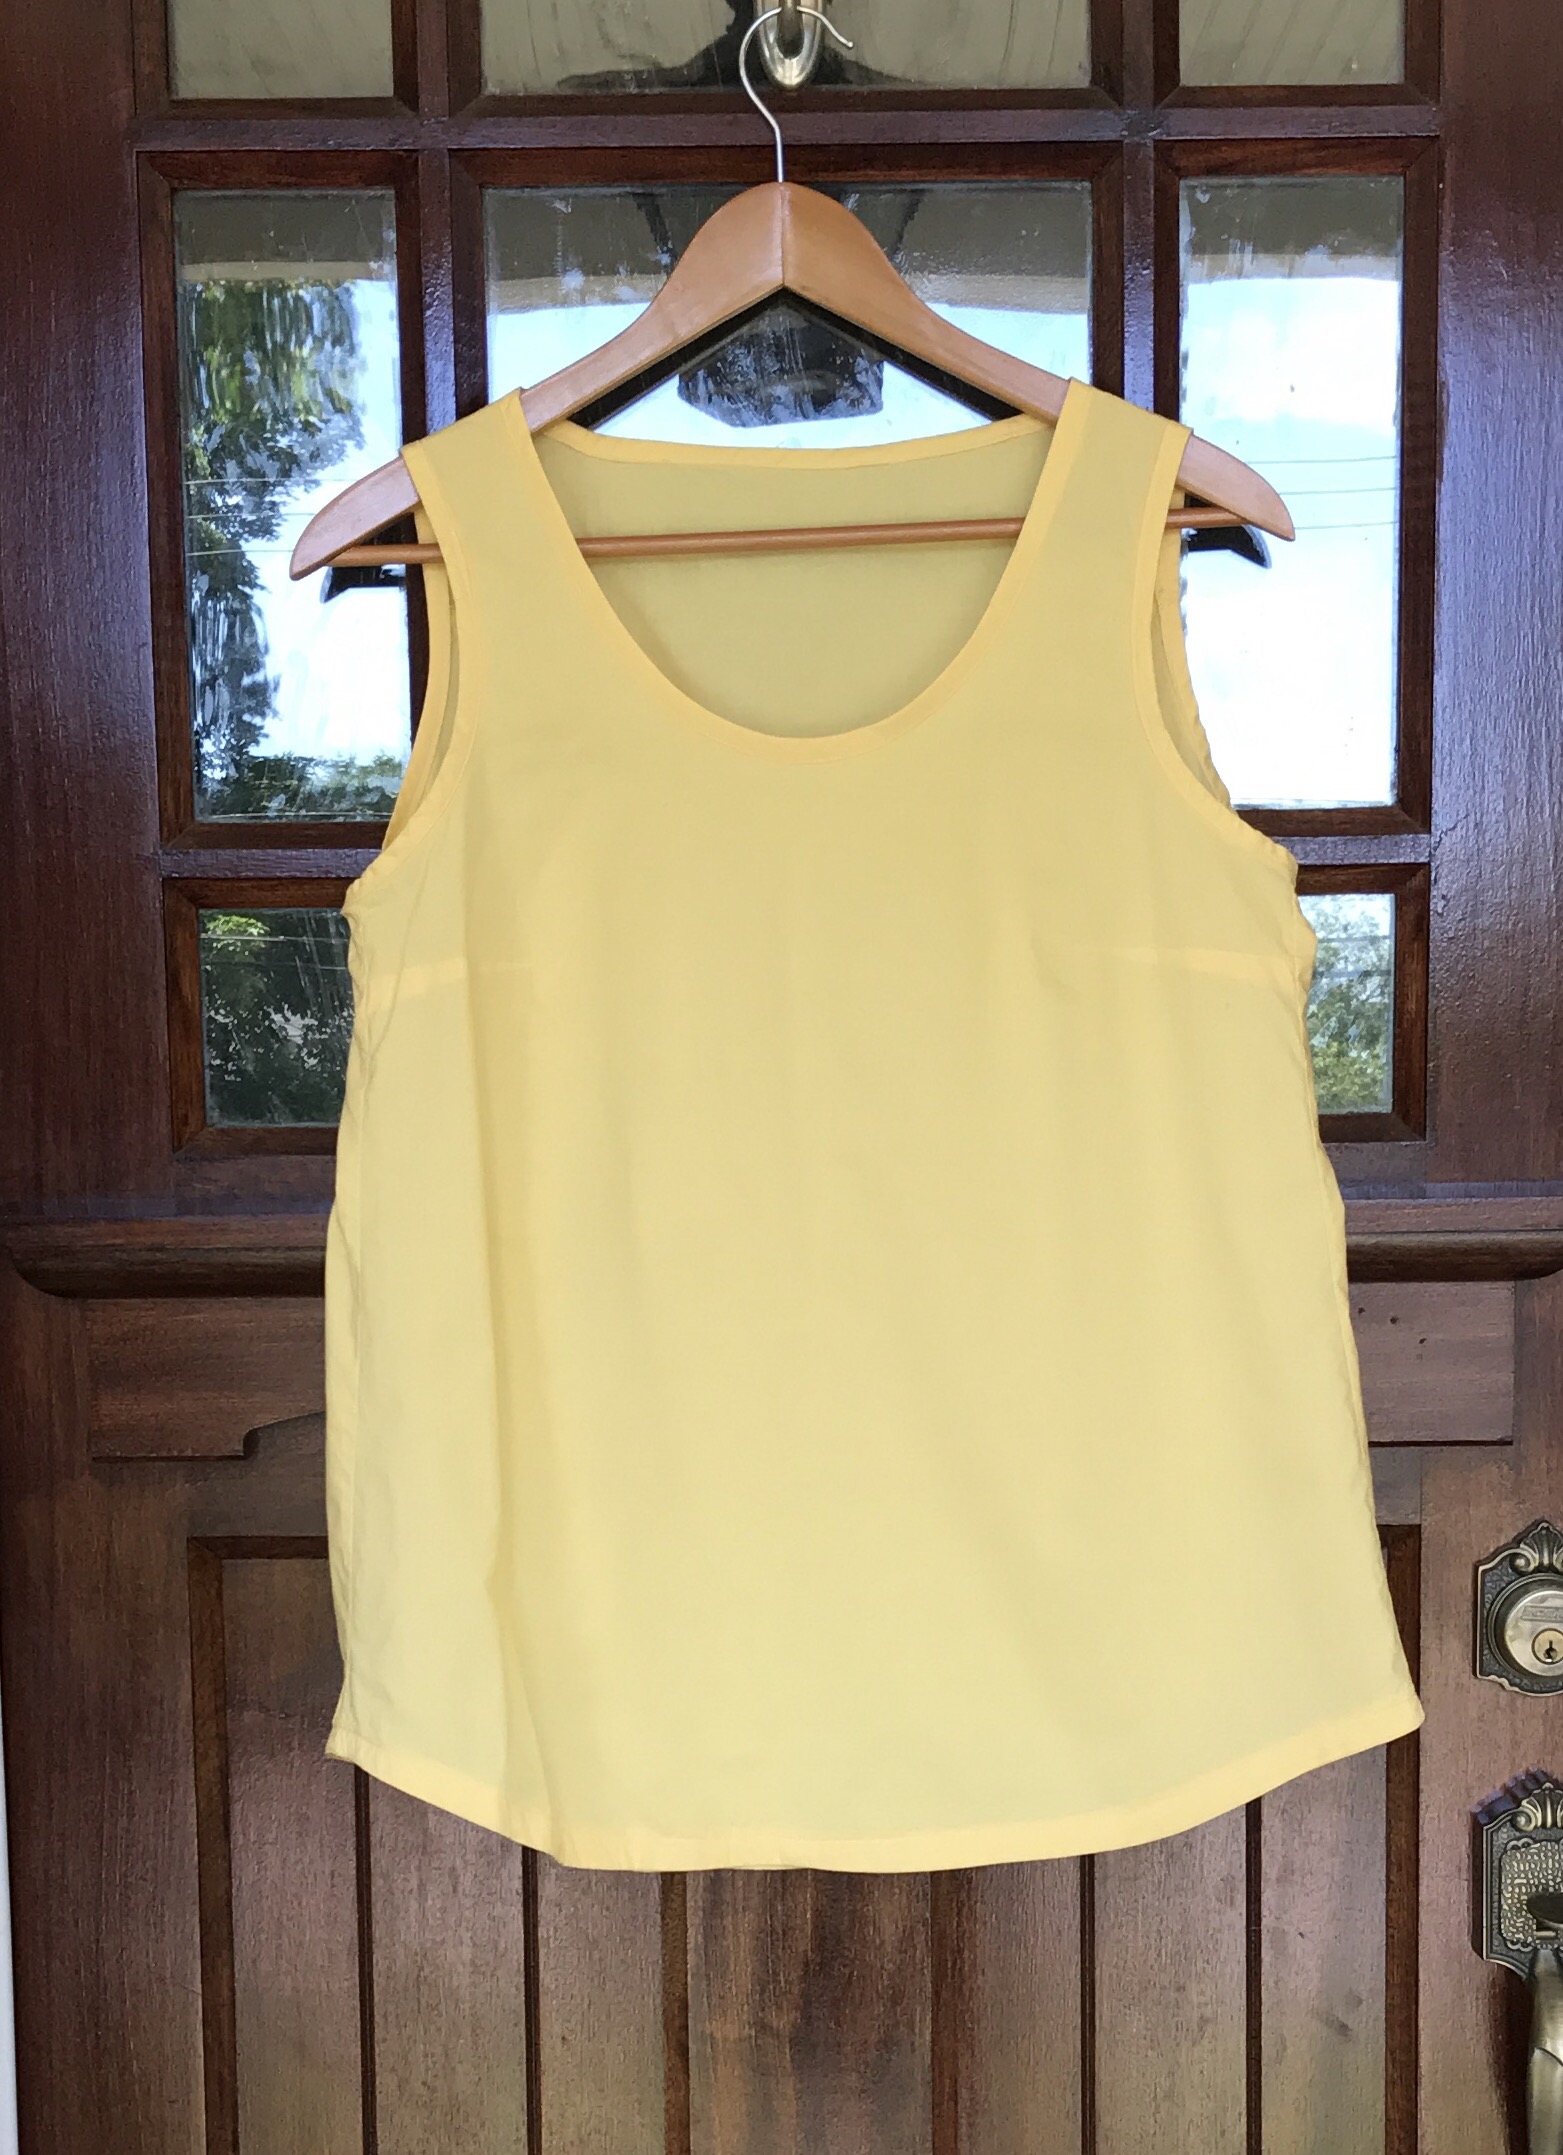
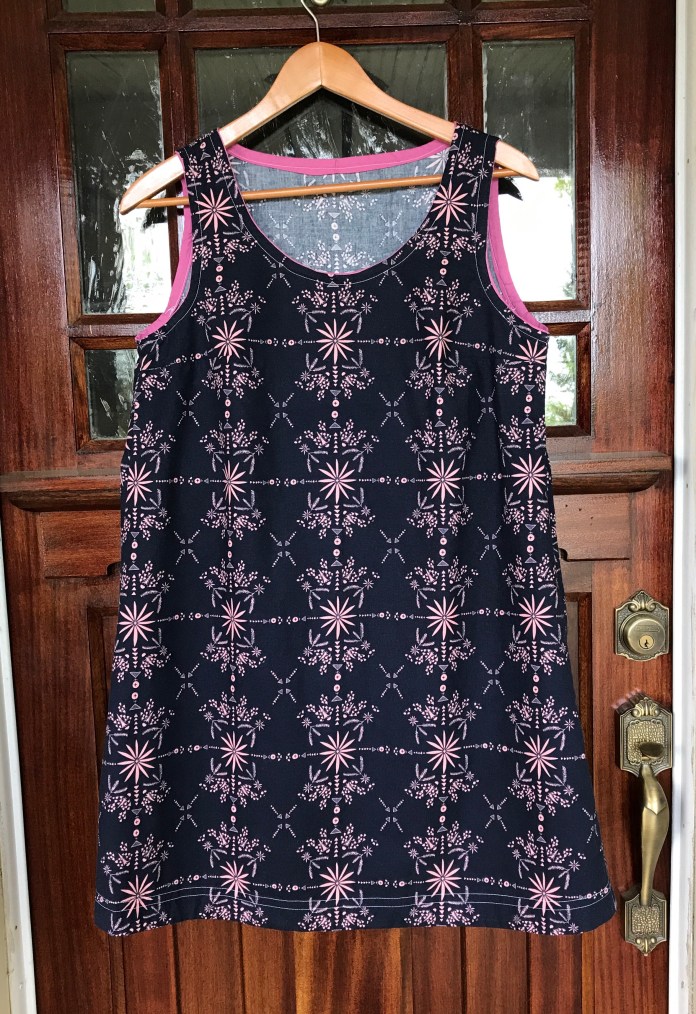
 I did actually finish a Gemma Tank that had been mostly finished since last summer (just needed the bias binding). Ironically, when the yellow bias strips were on my ironing board, they were also right next to this Allison Glass Gemma
 and I realized that the yellow would make a great contrasting binding for this tank so I finished it
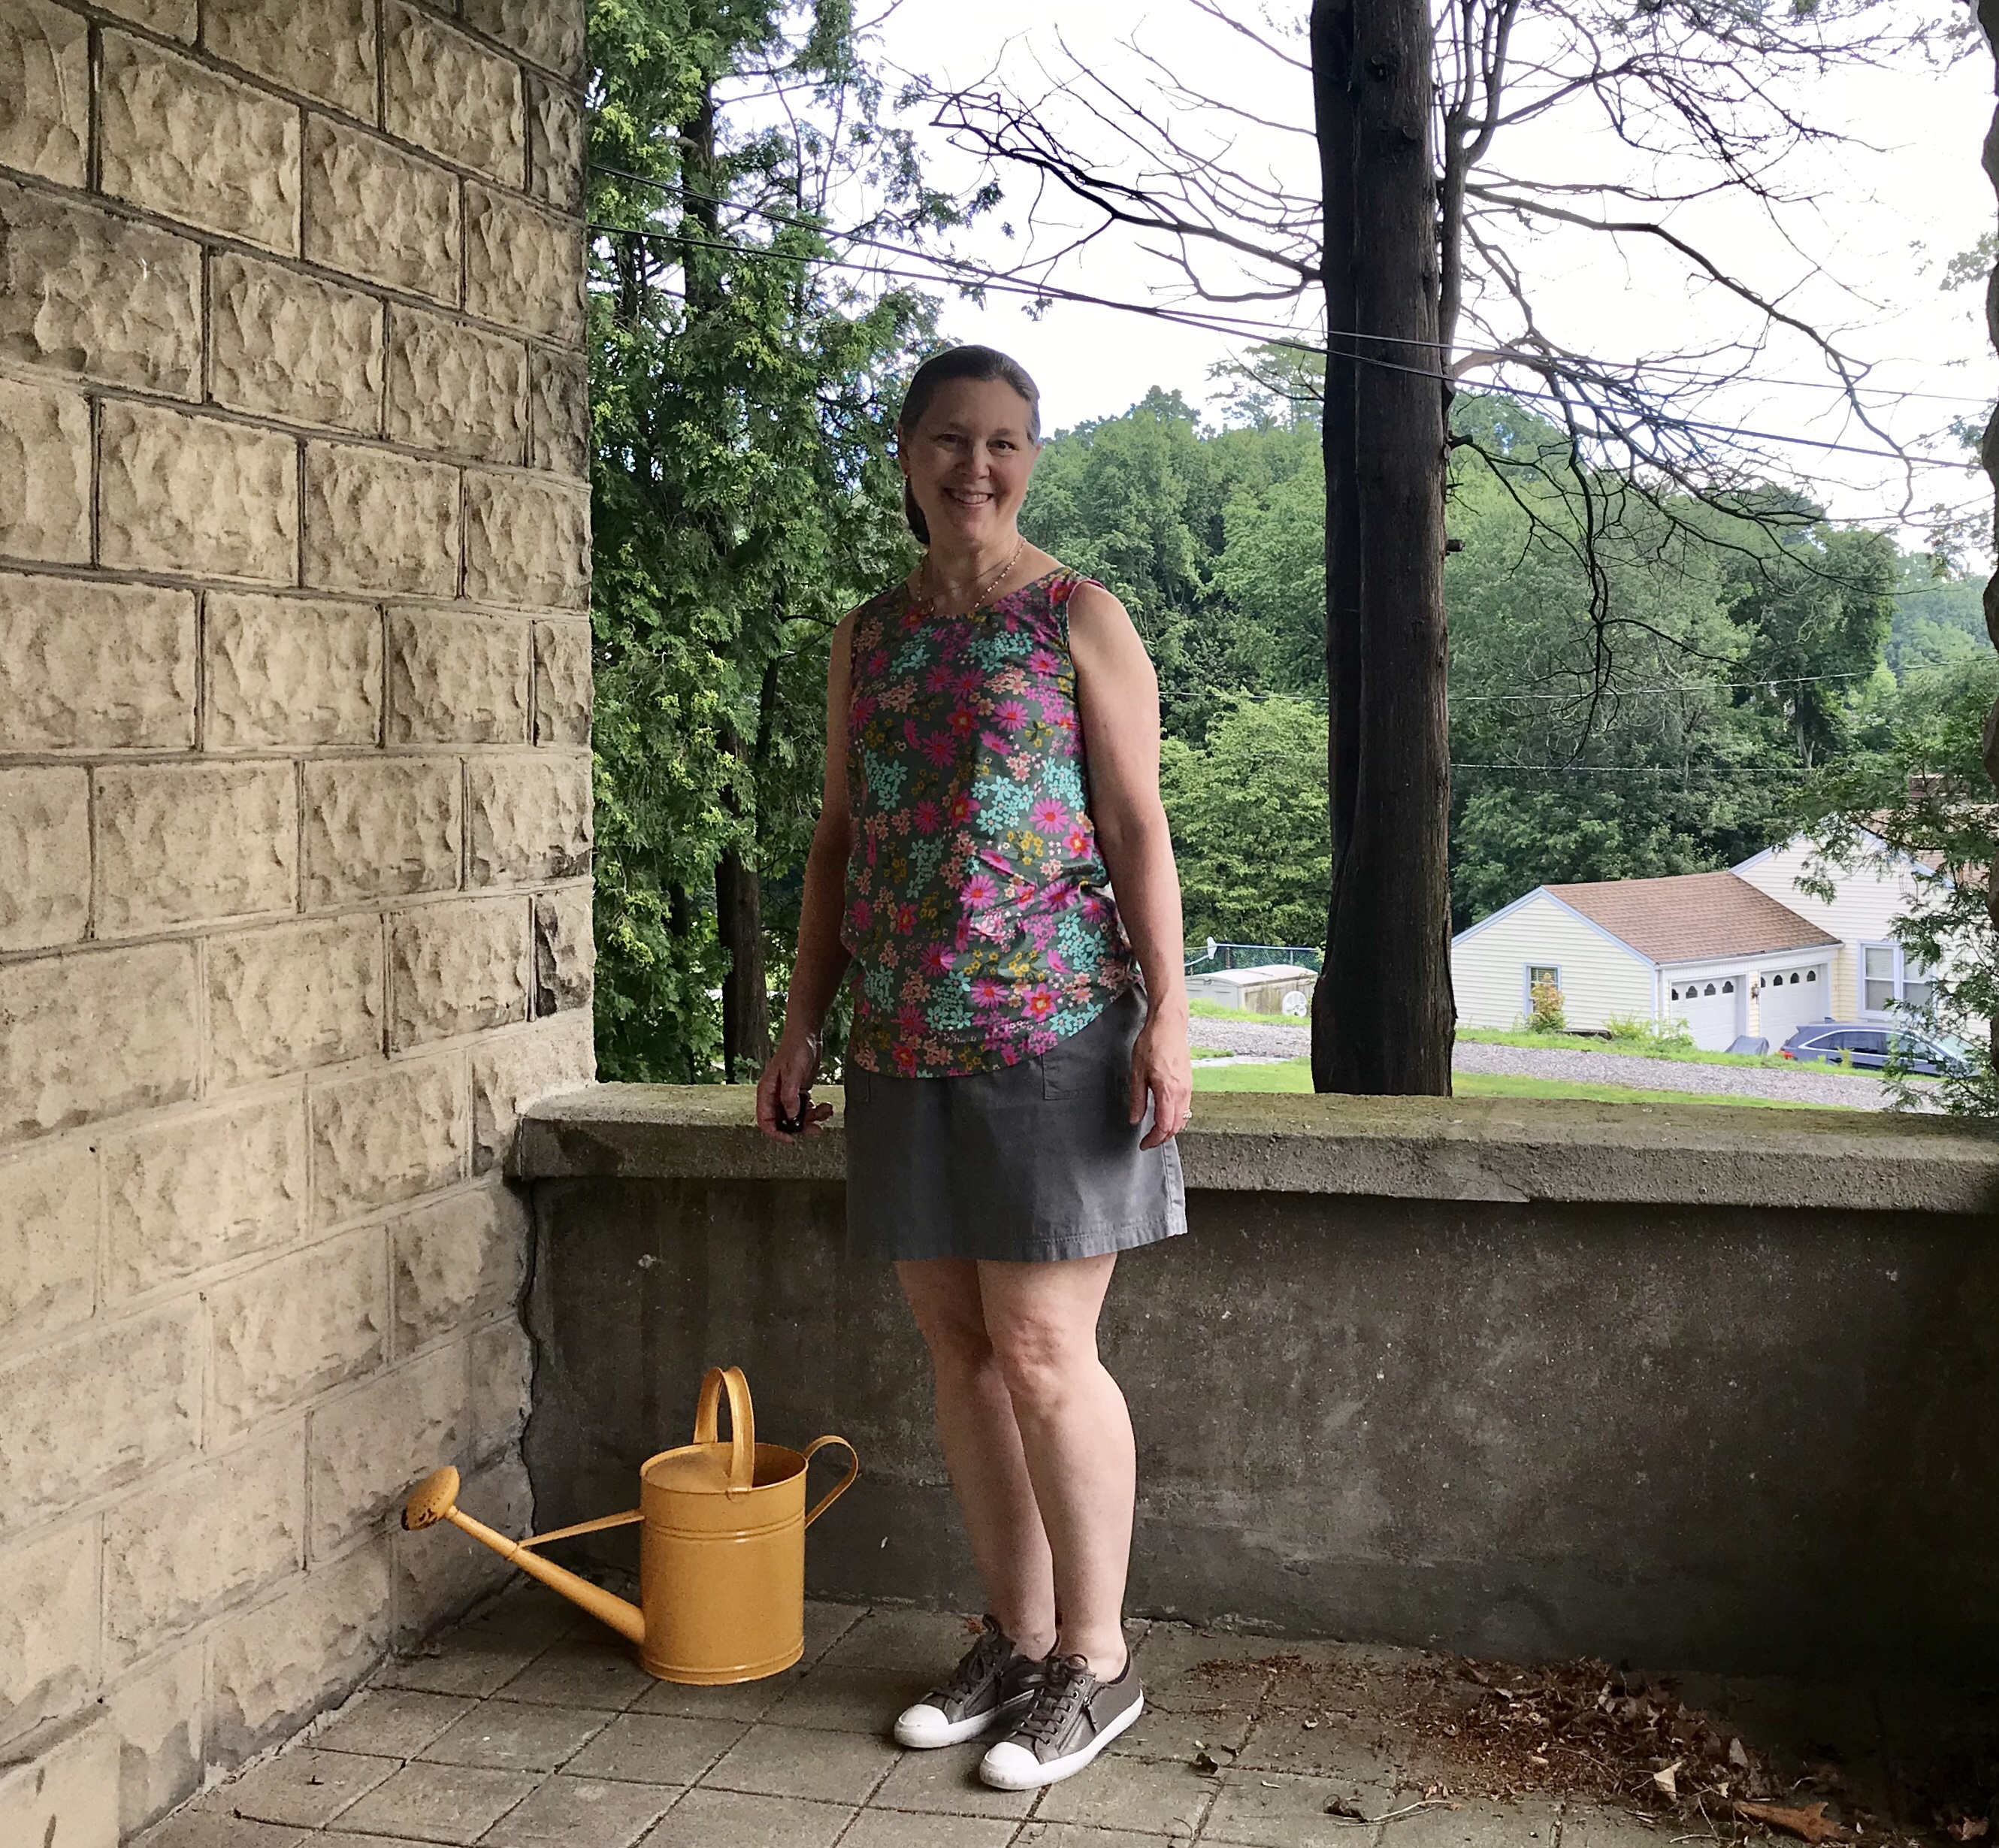
  and wore it on a quick visit to New London with my husband.

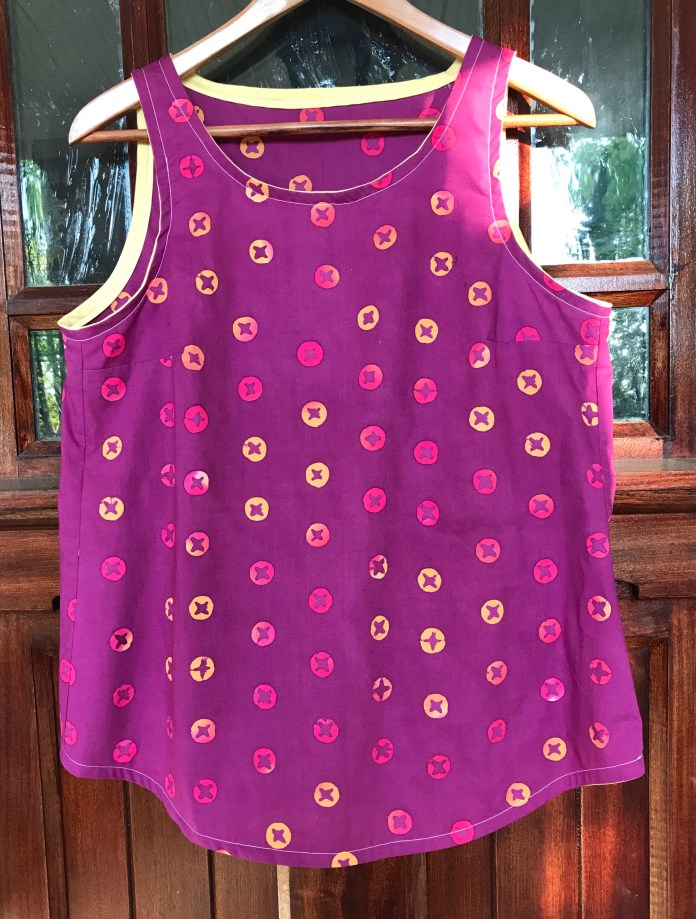 I love this tank with my khaki