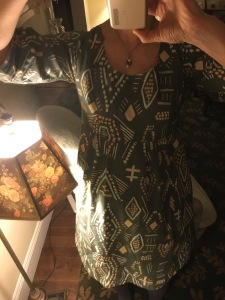
Almost one year ago on February 7, 2015, a snowstorm hit my town and clinic was cancelled at the hospital where I work. I had an unexpected snow day. I had gotten a new sewing machine for Christmas, I had set up my sewing room in my new house and I had bought a pattern that got rave reviews on the sewing blogs I follow and on this day, I ended up sewing my first garment. I used some fabric from a box in the attic to make a “wearable” muslin and followed the very clear directions and at the end of the day, I had a dress.


I was so excited that I insisted that my husband take this picture. A feature of the Washi pattern is that there is shirring in the back that is created using elastic thread. The directions for how to achieve this effect are very clear and it feels like magic when it works just as it is supposed to.

The next day I bought some fabric to add a border strip and add length and the dress was finished. Amazingly although it was my first garment and it was full of little mistakes, it was cute and wearable and I wear it all the time.

I call the Washi my Gateway Pattern because it showed me that I could sew cute, flattering dresses and since that first Washi, I have sewn 7 more. I tend to make them in pairs because cutting out two is not much more work than cutting out one.
I am tall (5’9″) so I add three inches in length to the summer versions and have been making winter versions to wear with tights or leggings and boots that I make a little shorter. One thing I do all the time now is to face the hem with a contrasting fabric. It adds a little something to have the cute facings and I get a more even hem line. I machine sew all my hems which makes them go quickly. I line all the bodices using the techniques explained by Rae Hoekstra in her great videos which can be found linked to her Made By Rae website. I can make a Washi in an afternoon. It is a great feeling to conceive of a dress one day and be able to wear it to work a day or two later.
I have been making my dresses from quilting cotton but have a double gauze version in the works. Most of my fabric is from the Cotton and Steel line which is hefty but soft and works well for garments. I have also used many Art Gallery cottons which have a really nice feel to them. I love that all my handmade garments can be machine washed saving on dry cleaning expense. I see many more Washi dresses in my future. It is great to make something that you know will fit and that you know you will love!
Here are my 2015 Washi pairs and my first make of 2016 which is a version with sleeves.
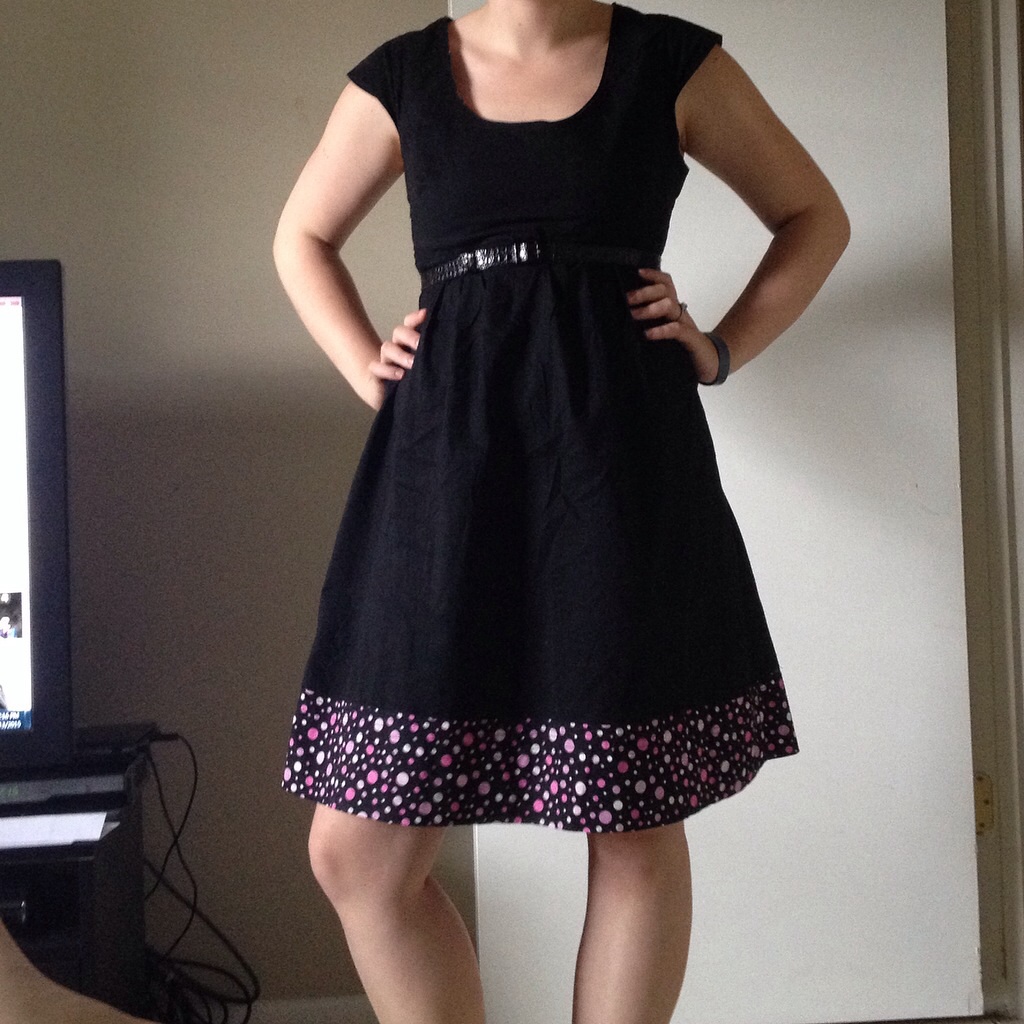
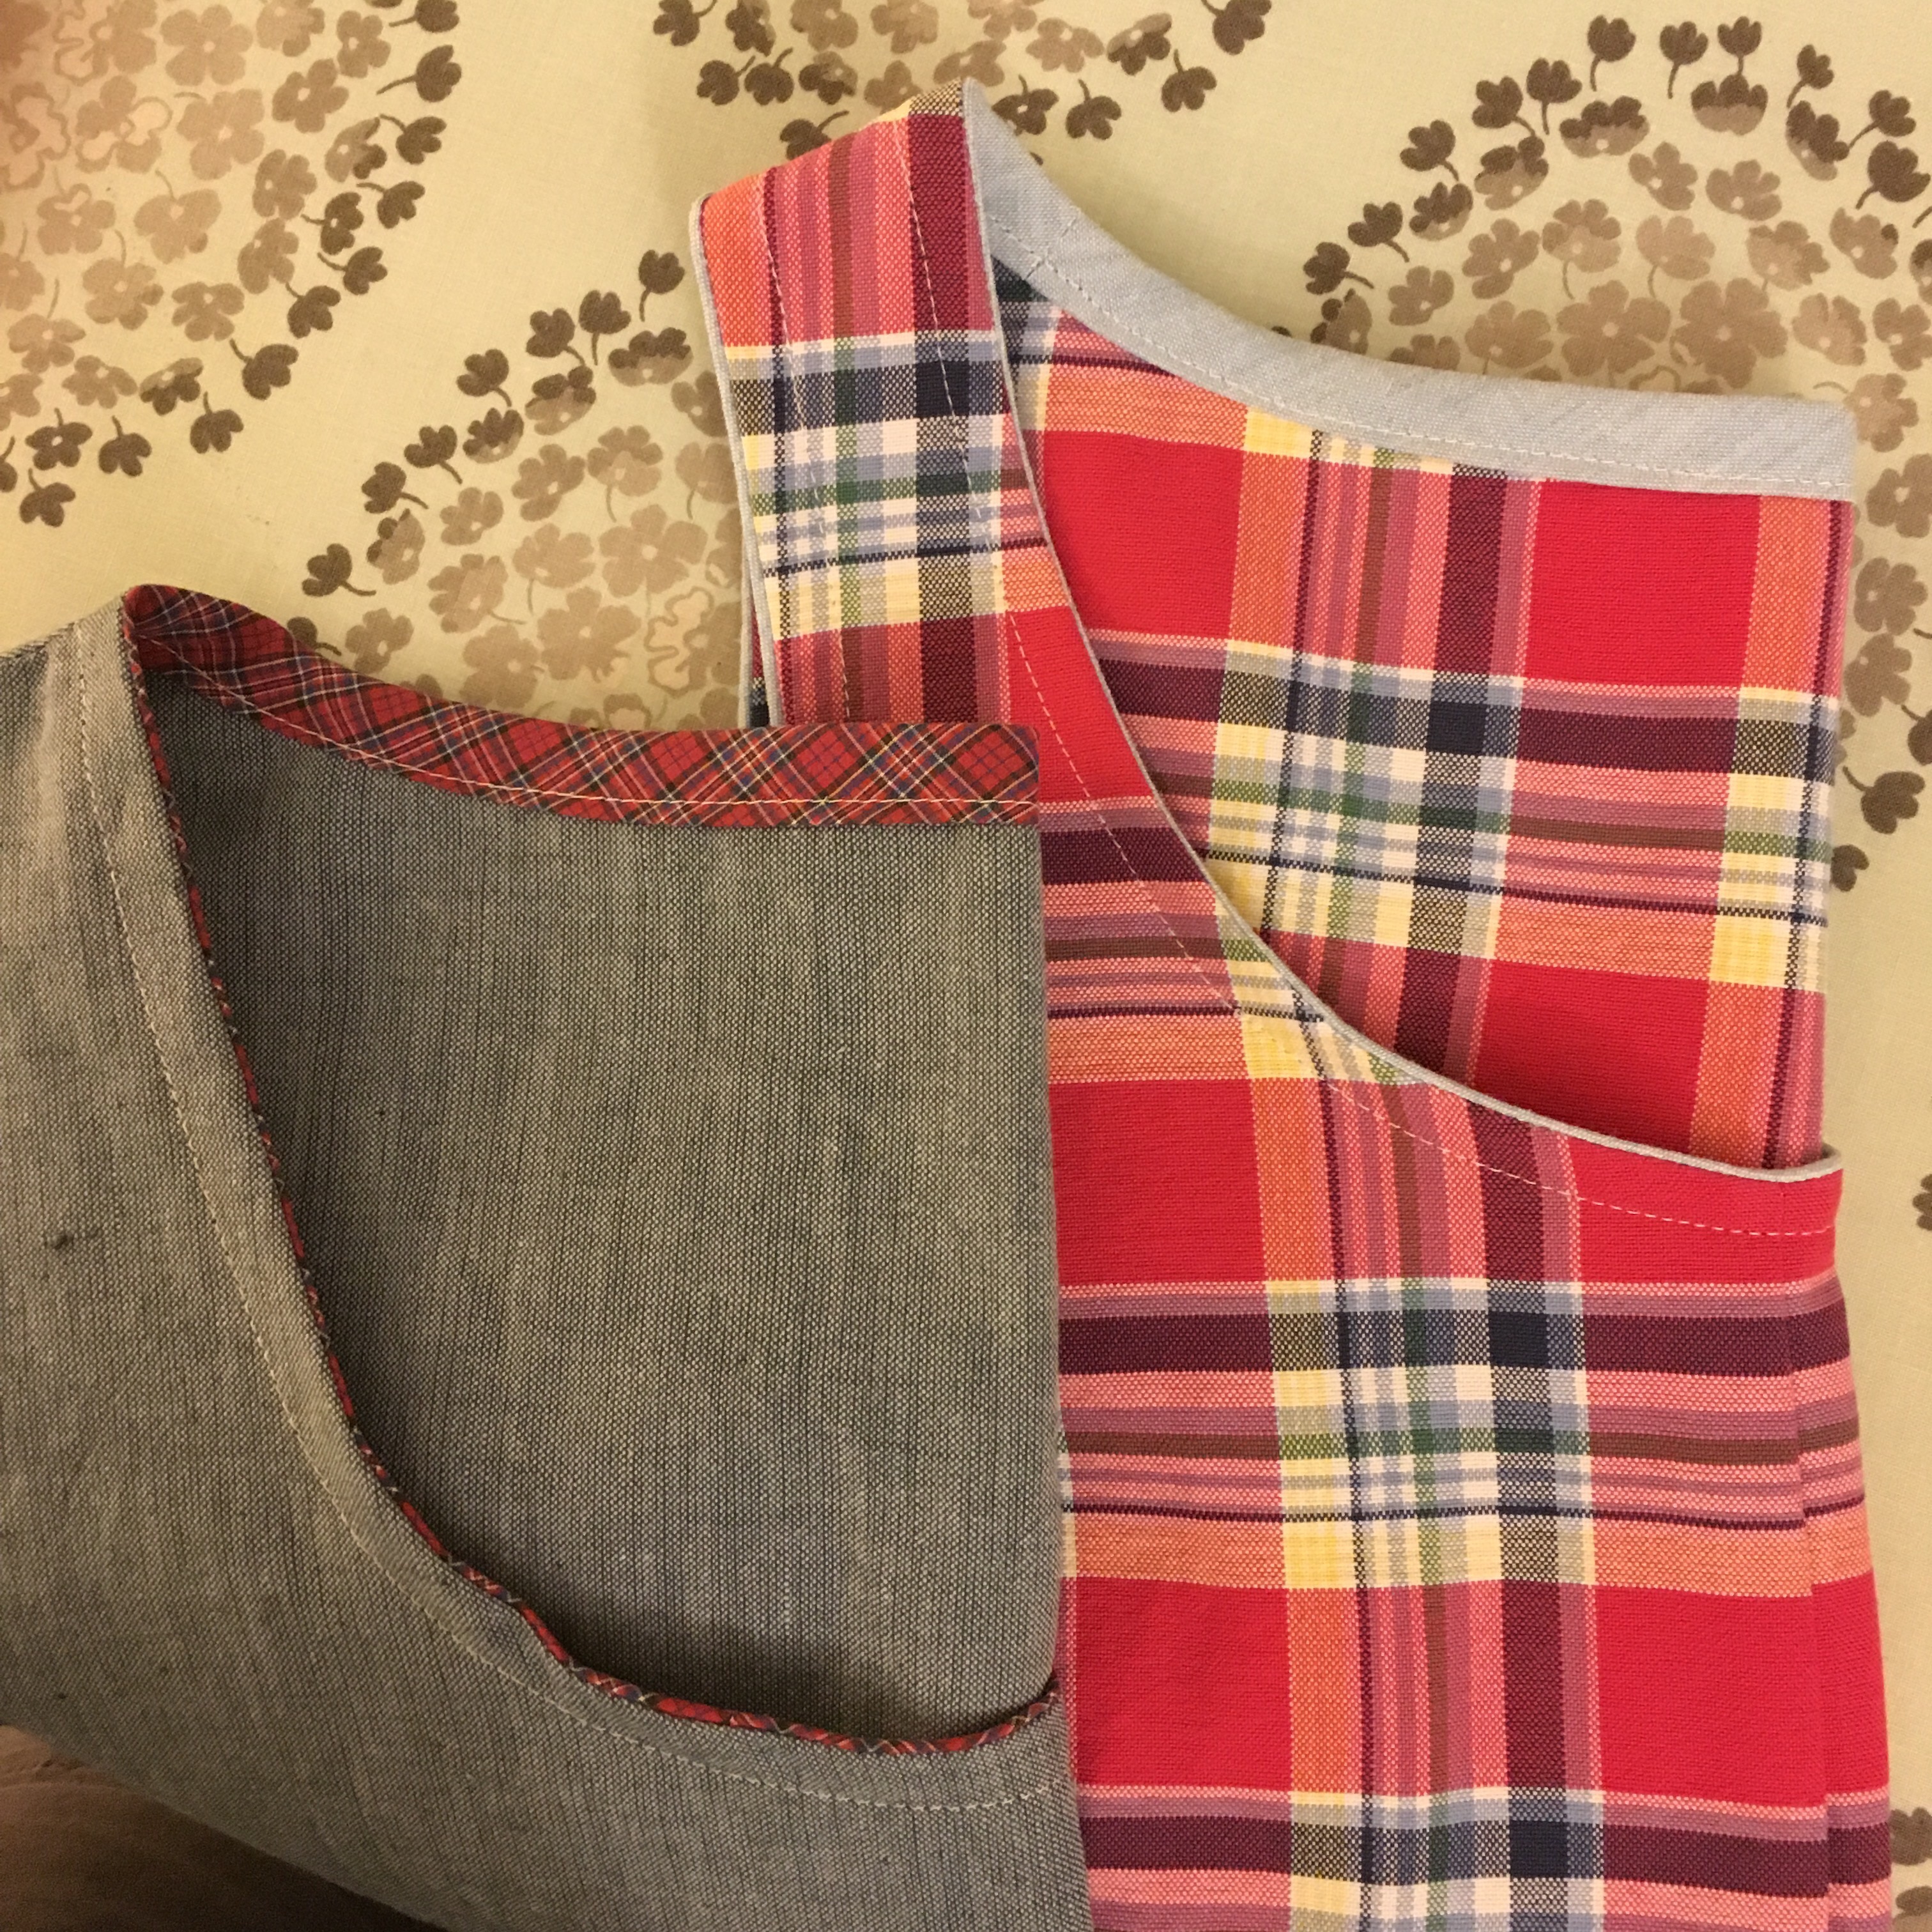
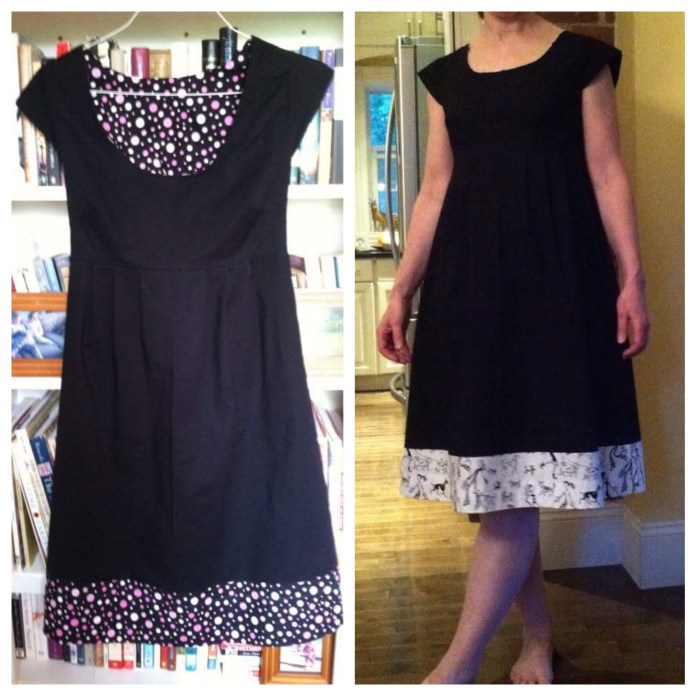
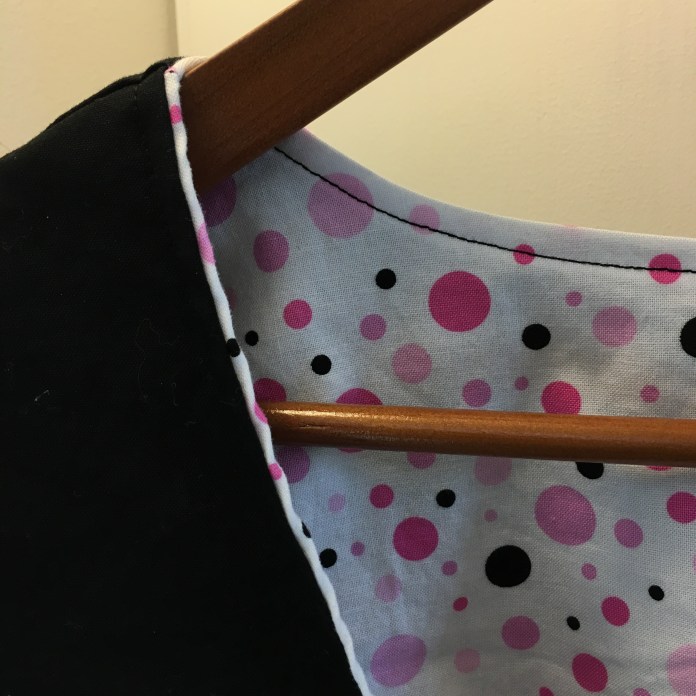
I made these two with black cotton from my stash and used scaps of fabric leftover from a quilting project to add contrasting borders and lining. When I sewed the black and white version the lining was slightly too big and I found that it had shifted up and created the effect of piping so I left it that way. The pink, polka dot version was for my daughter. Sarah likes to wear belts so she has styled it hers a couple different ways.

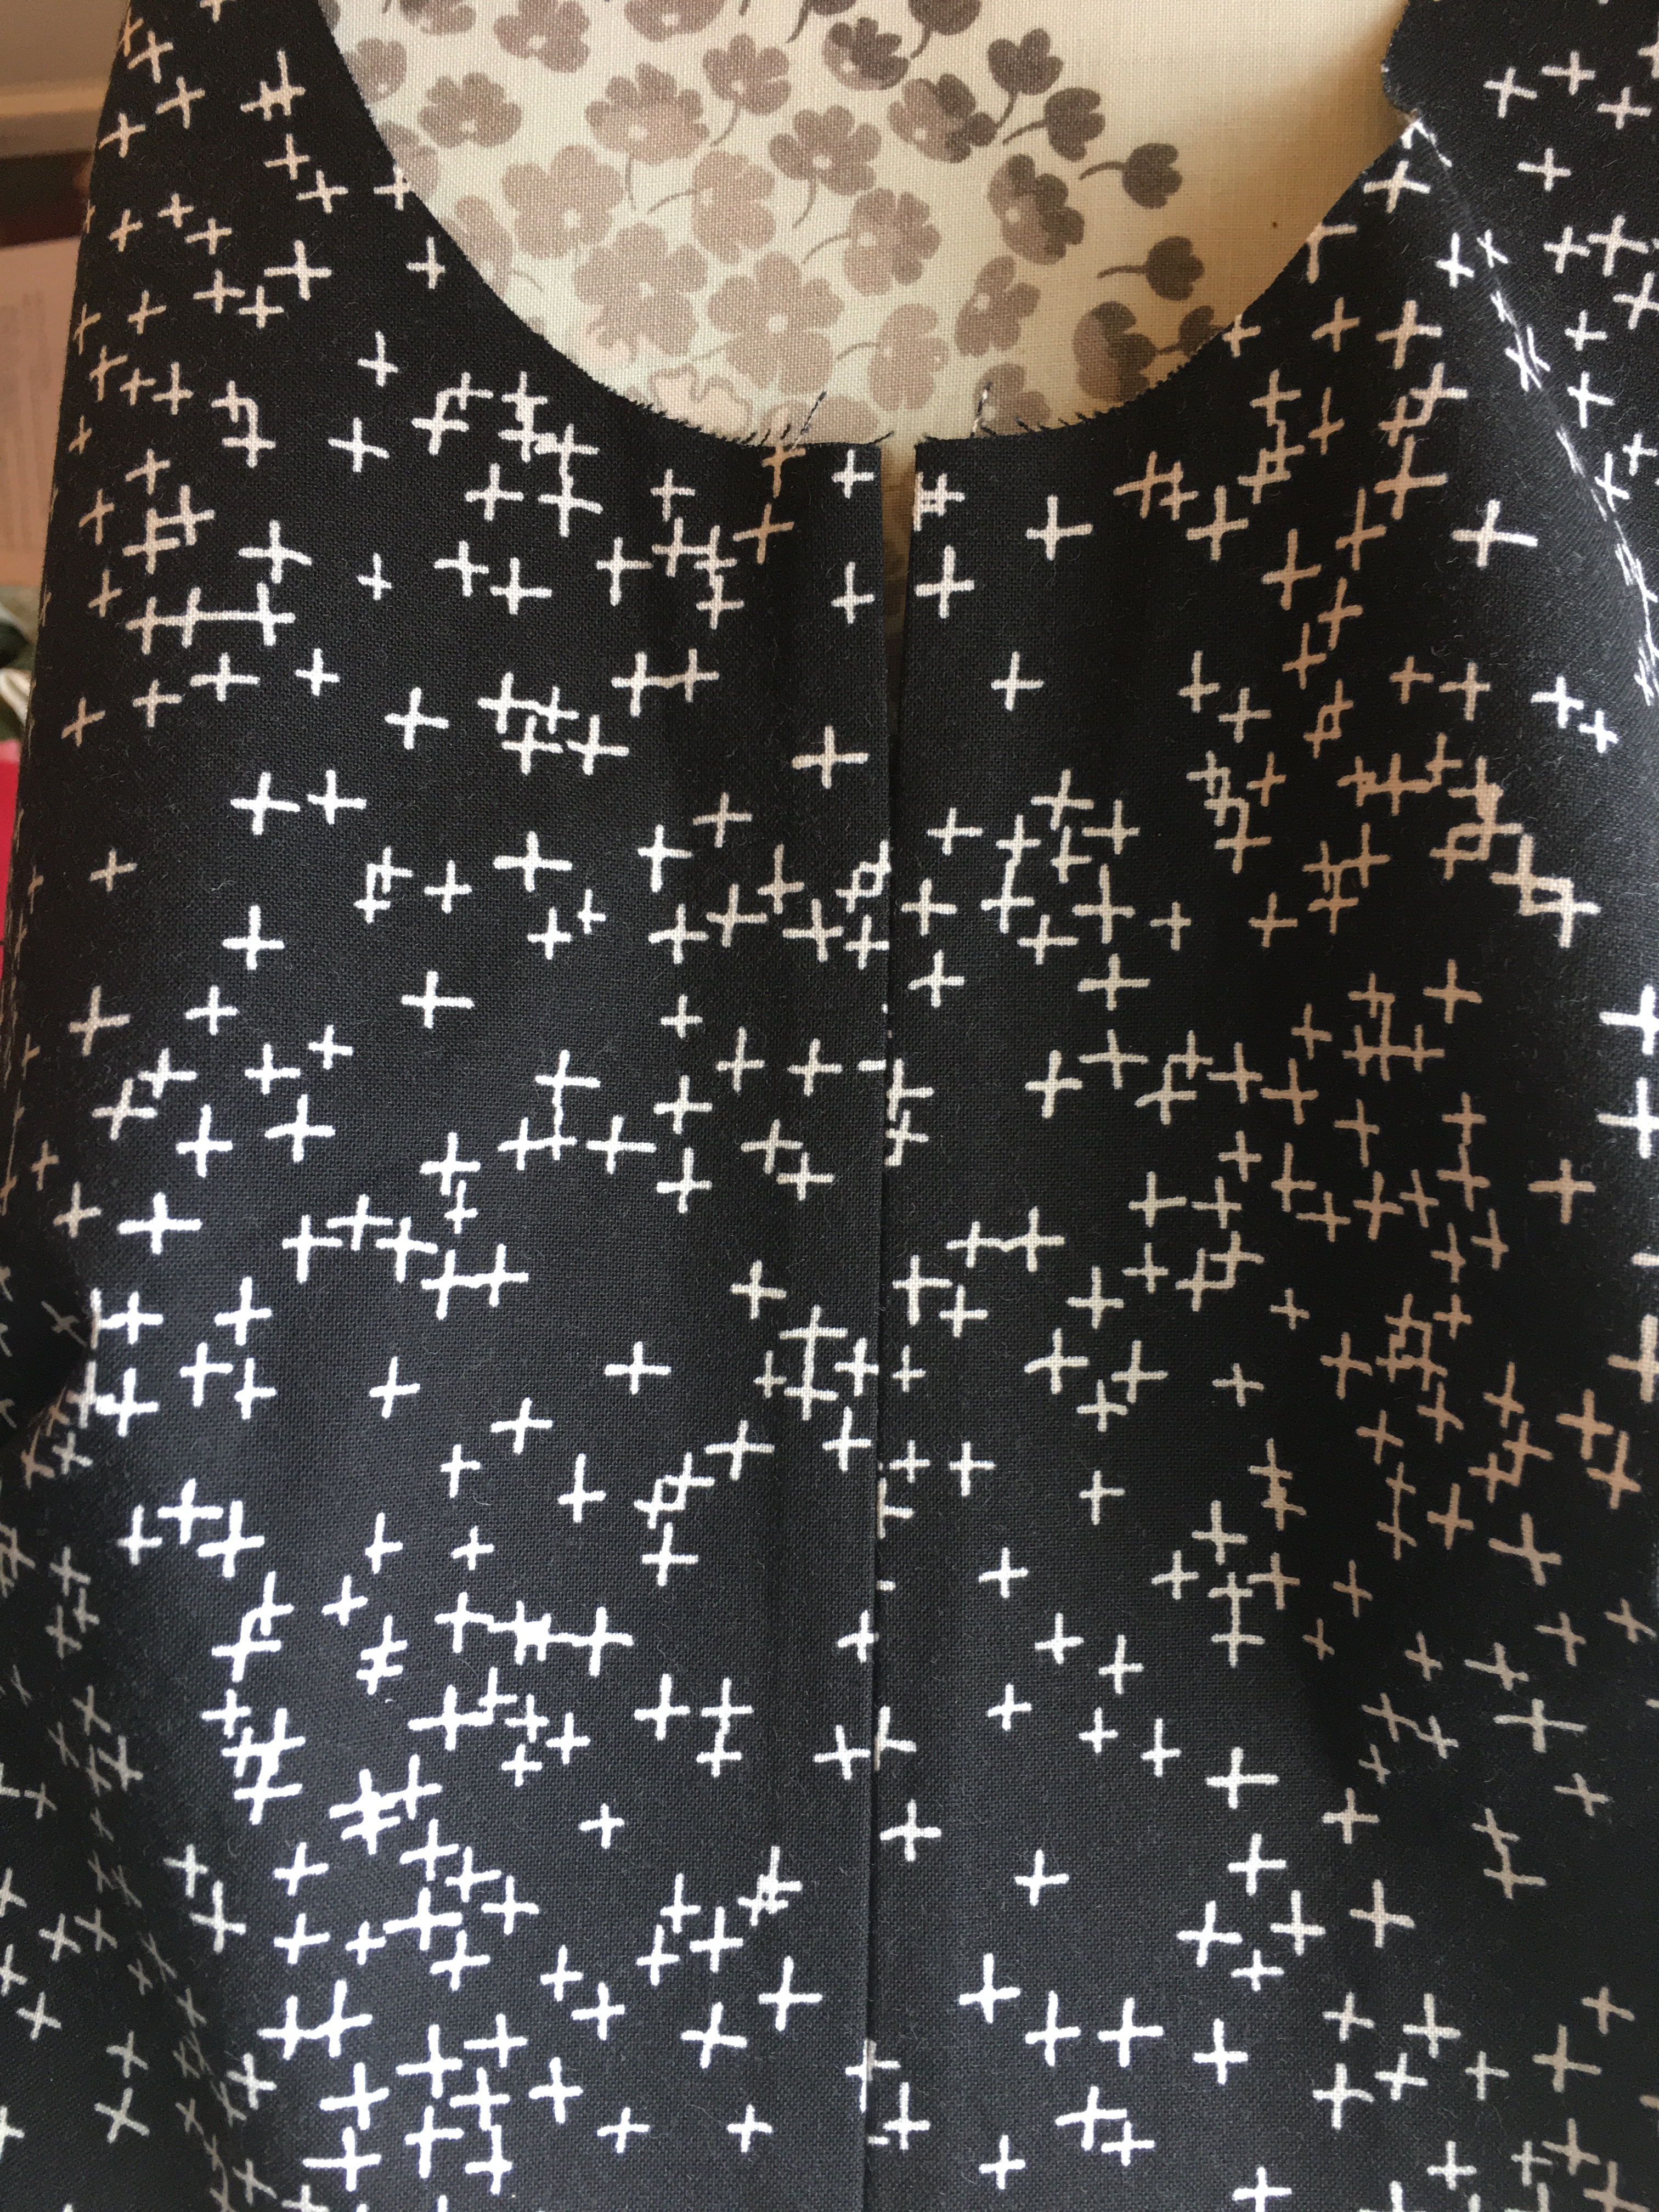
Details of black Washi dresses.


Styled with belts:


Feeling confident after sewing my first three Washi’s from fabric in my stash, I bought fabric for two more. One was a light blue Lizzy House pearl bracelets version, inspired by Rae’s aqua washi made of the same fabric. The second I made with a beautiful Art Gallery fabric called Brooklyn Bridge.

I loved this fabric because Brooklyn was my home for 13 years. It is where I lived when my children were born. I used to walk over the Brooklyn Bridge to go to work in lower Manhattan and I crossed the bridge countless times over the years and on the way to the hospital in Manhattan to have each of my children so it has special meaning for me. I love the way the fabric is sort of stripey feeling without being too geometric. A special magic happened when I did the shirring and the bridge image popped out. I wore both of these all summer long. Great work dresses.


behold the bridge!

This fall I decided to sew some Washi dresses to wear with boots and leggings. I added 2 inches instead of 3 to the pattern length and made these two from some of my favorite fabrics.


The blue fabric is from Cotton and Steel and the pink is by Pat Bravo for Art Gallery. Love them both and wear them ALL the time. I lined the blue dress with mustang fabric left over from a Beatrix blouse.
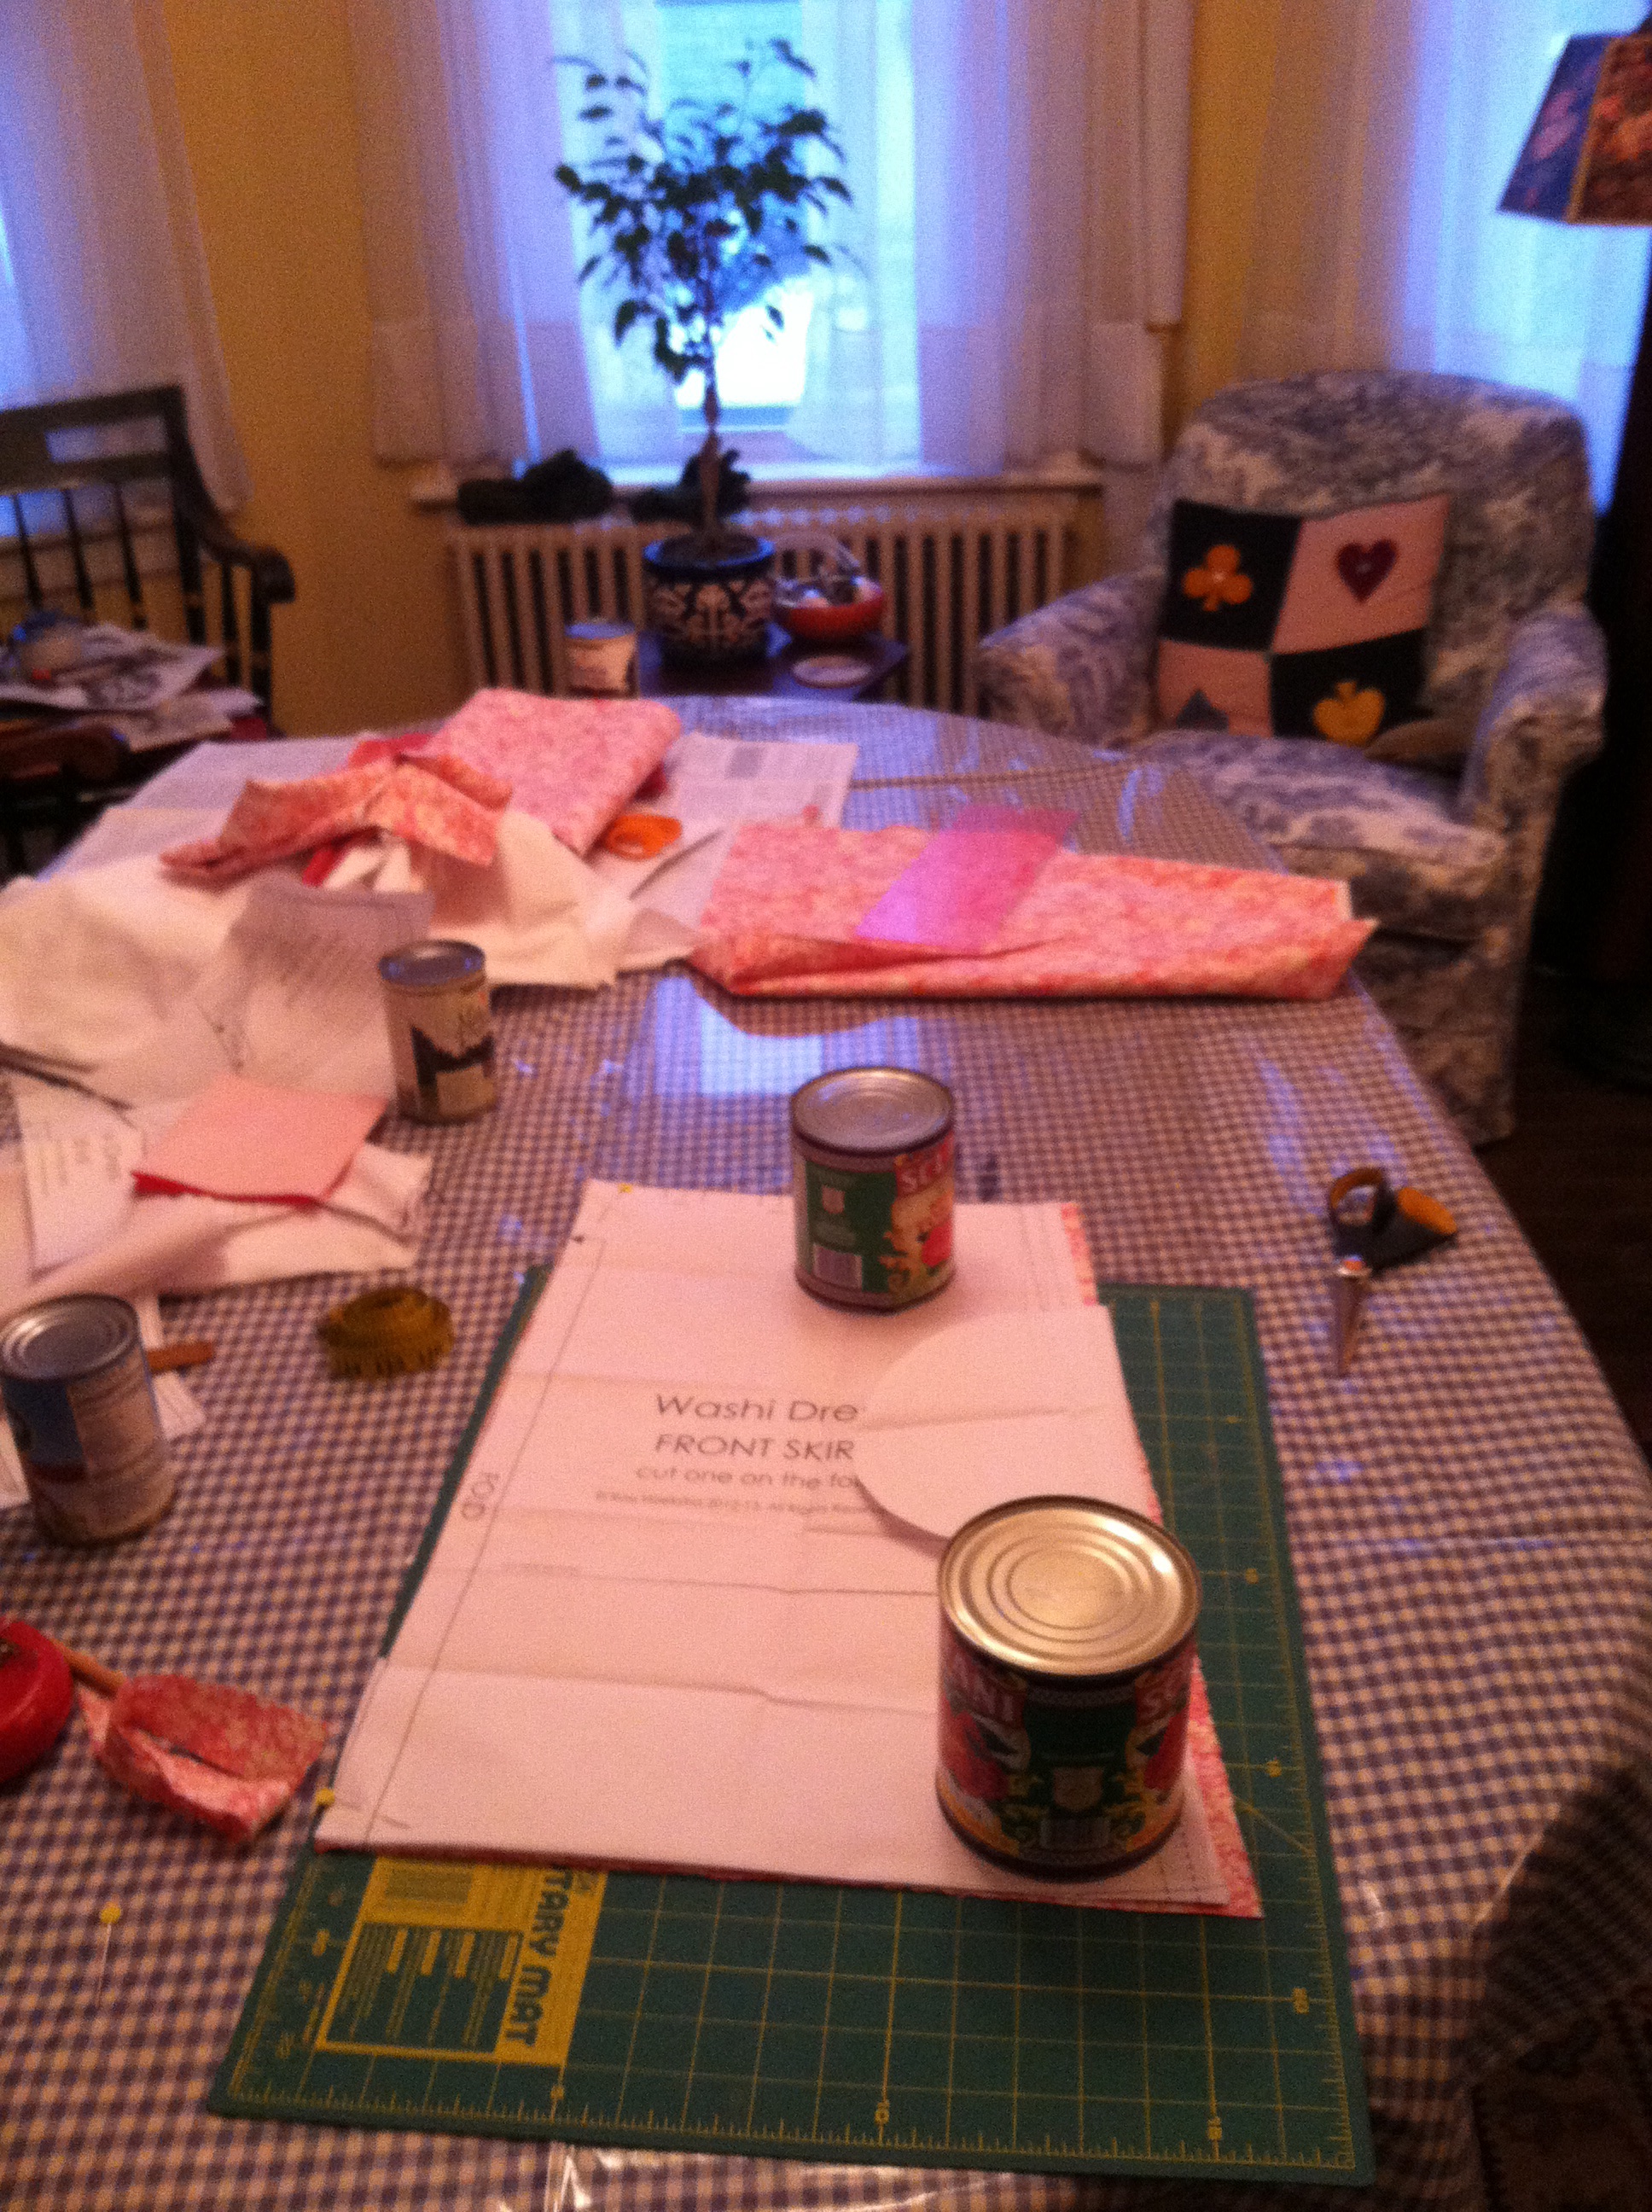
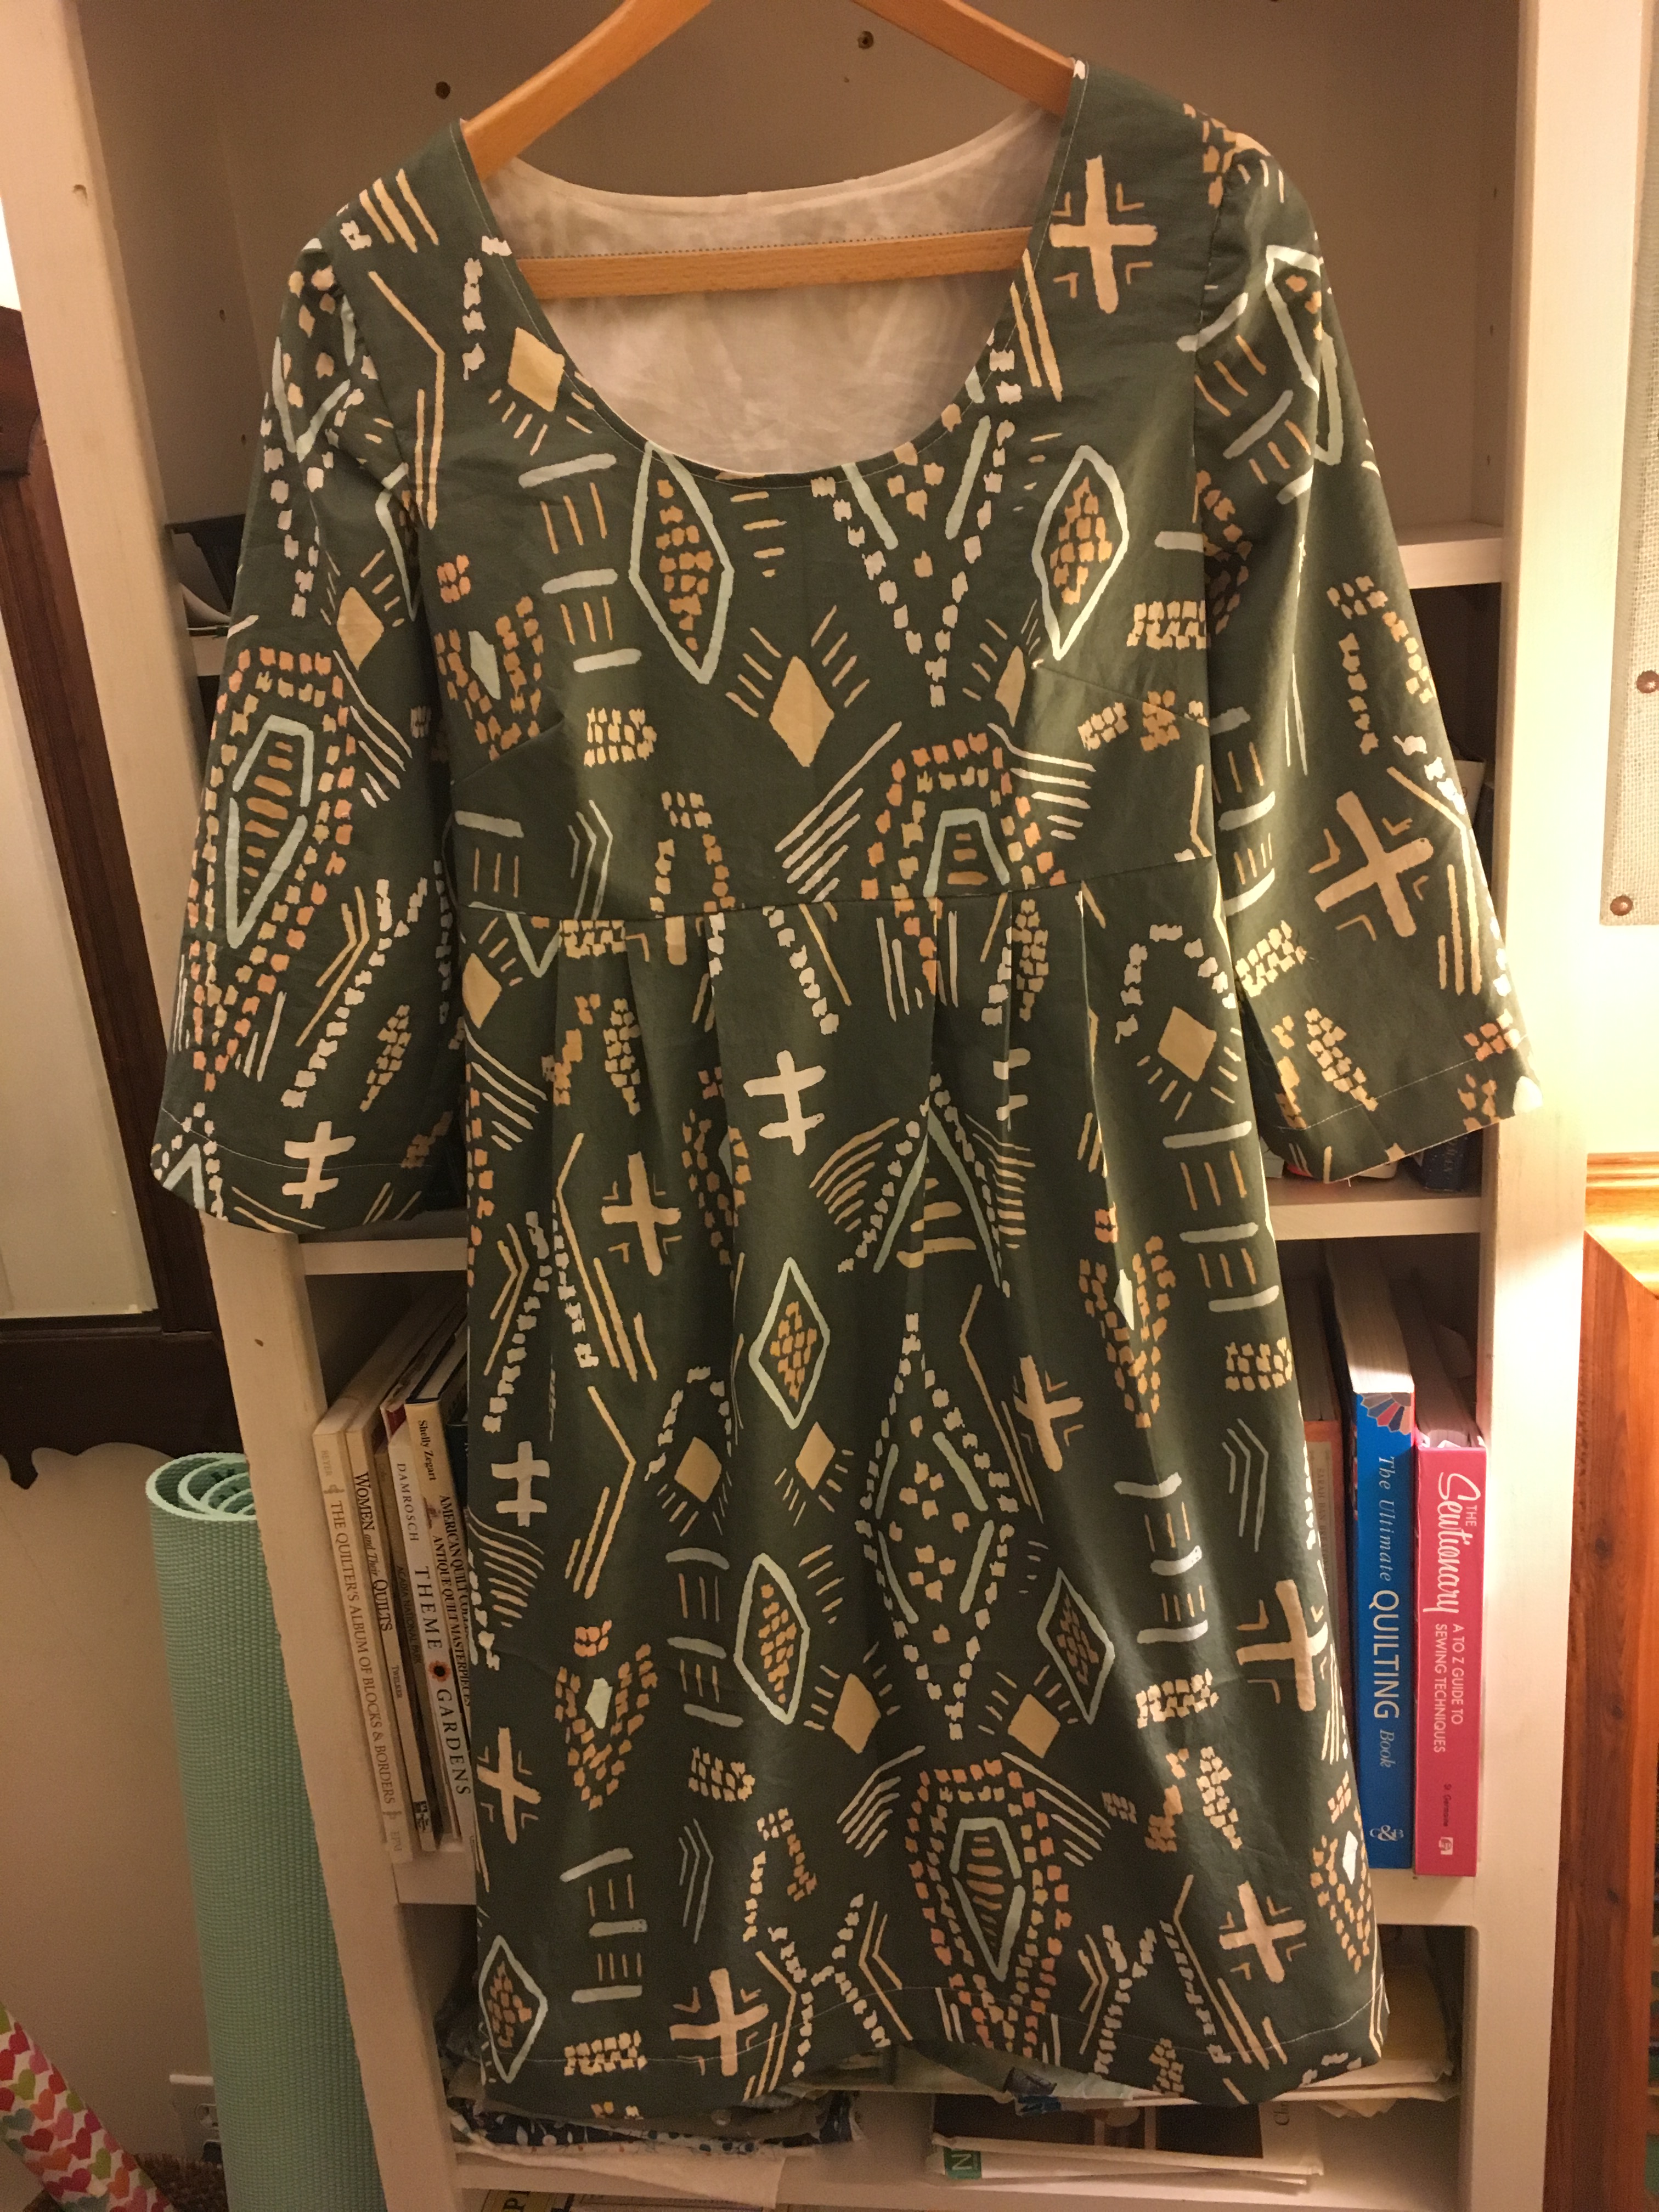
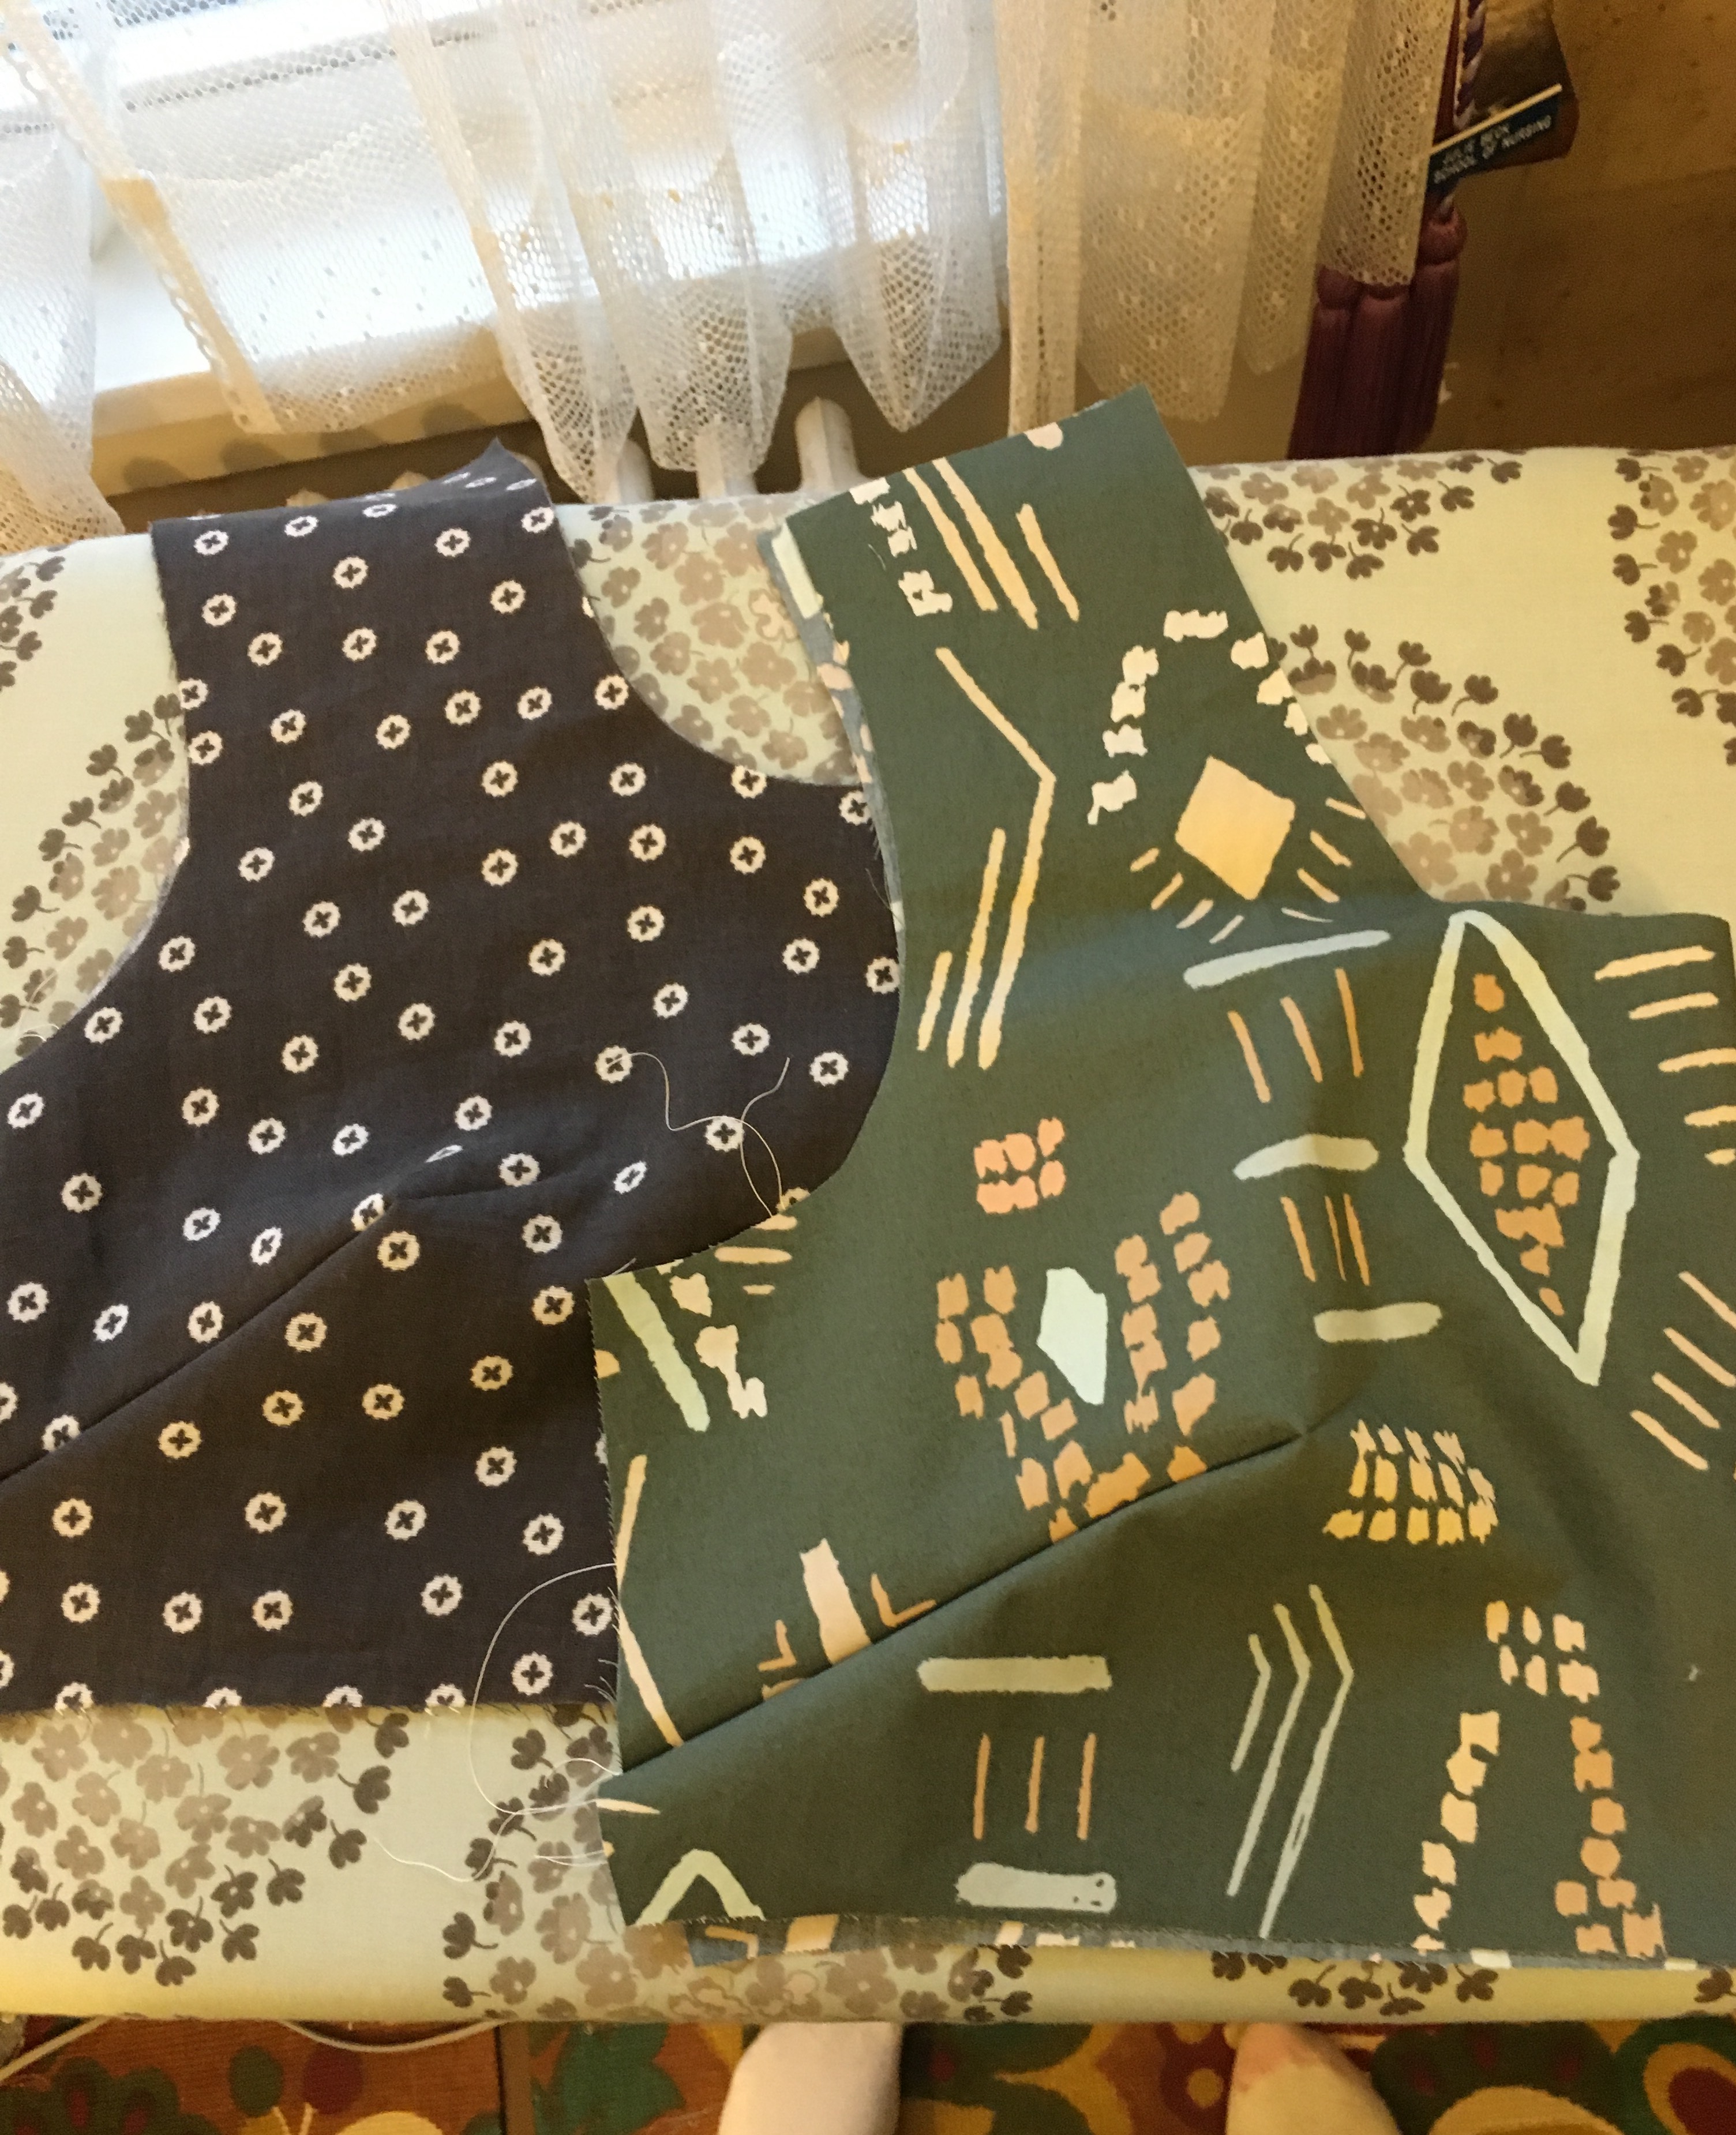
My most recent Washi was made just yesterday from April Rhodes Bound collection fabric that I purchased when visiting my son in Austin. I was lucky enough to get to stop by The Cloth Pocket which packs more great fabric into a small space than any store I have ever been to. I bought several great future dresses. I added sleeves to this Washi. I used the sleeve pattern that you can print from the madebyrae website but I narrowed it and shortened it slightly. I didn’t use elastic because the sleeve was a little narrower. I am really happy with the fit. I lined the bodice with a lightweight batiste and did hem and sleeve facings with a pink fabric from my stash. Very cute with tights and boots.

I added bra straps to this one using snaps on a thin piece of ribbon.


I am in the process of finishing another sleeved version with double gauze also from the Cloth Pocket. I cut this a little bigger to allow for french seams. I love wearing double gauze but I find it tricky to sew with. It stretches and frays. So this one is taking a bit longer but I know it will be great when it is finished.

In celebration of my year of sewing, I plan to post on each of the patterns I have made this year: the Washi, Bianca, Ruby and Beatrix patterns from MadeByRae, the Voila blouse and Pocket Skirt from Cali Fae and the Pearl Shirt pattern from Green Bee patterns. Next up, the Bianca!

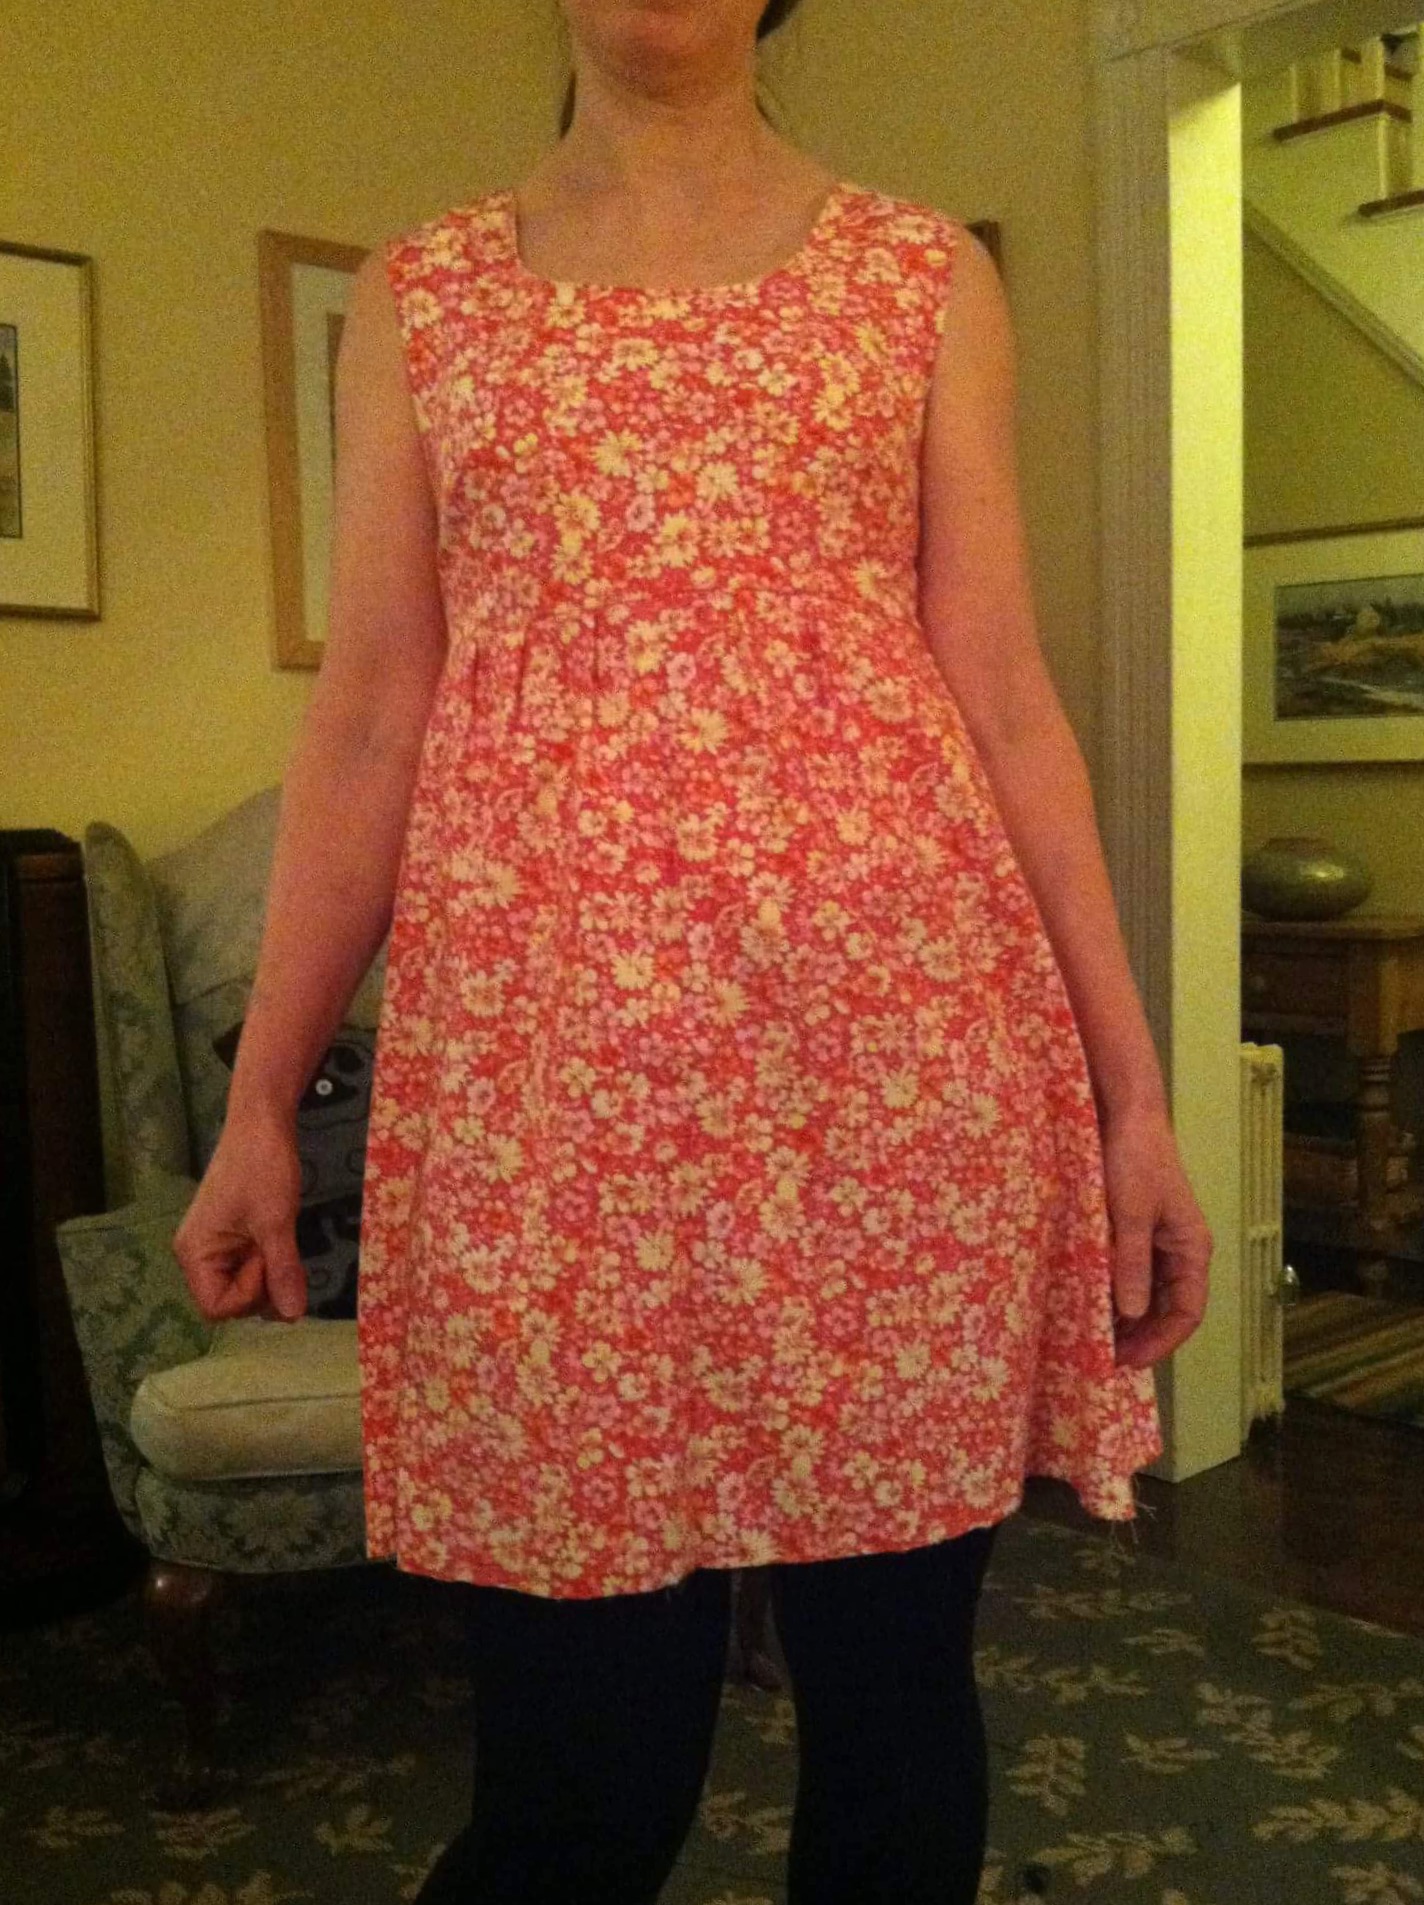
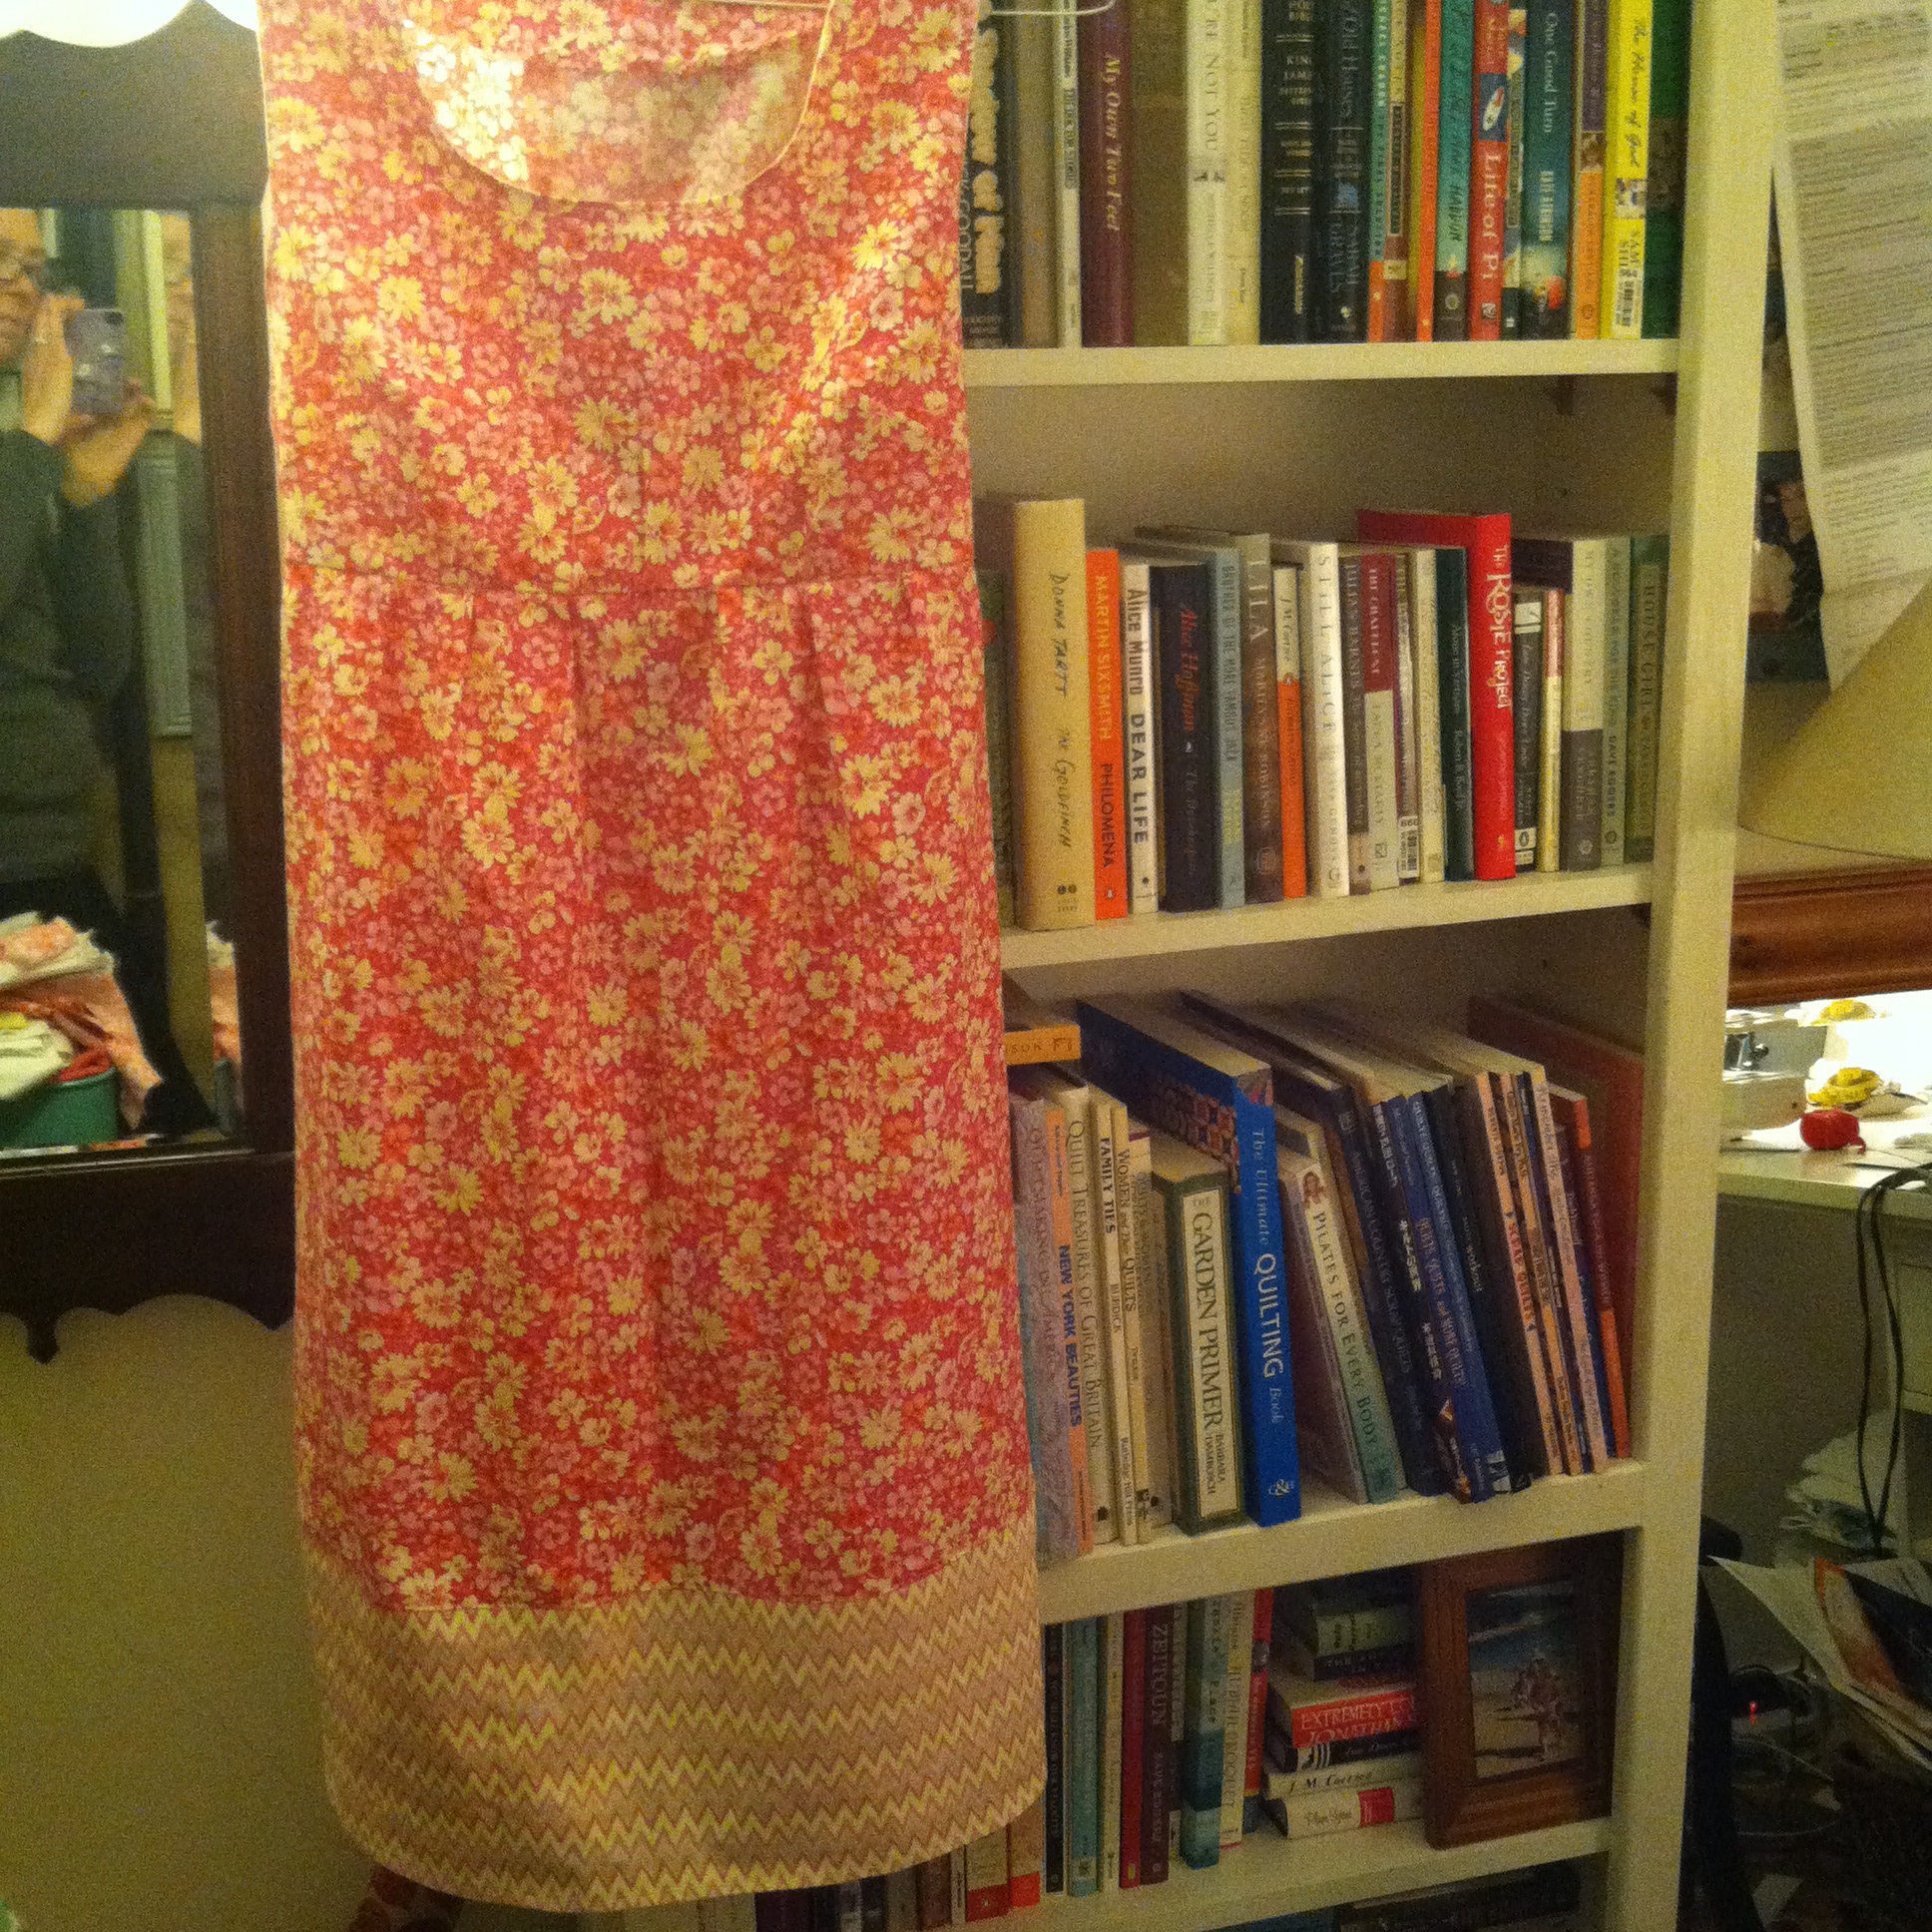
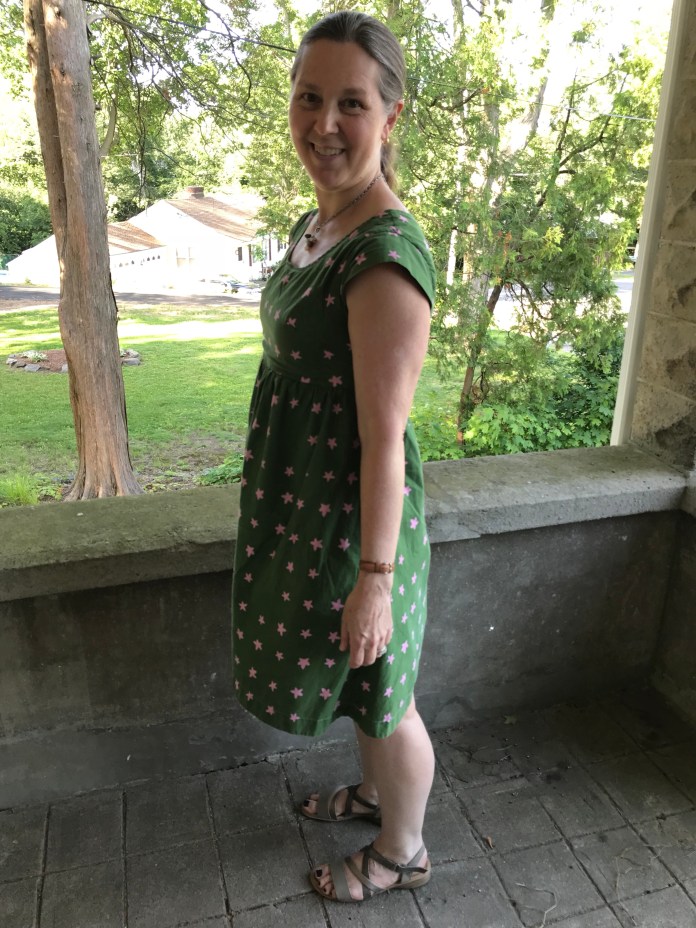
 There are some dresses that just make you feel happy when you wear them and this Made By Rae Washi dress fits the bill. I made this last summer with Cotton and Steel quilting cotton that I bought at The Cloth Pocket on a trip to Austin. There is quilting cotton and there is quilting cotton. This fabric is really soft with a bit more heft than typical quilting cotton and it makes a nice summer dress. I lined the bodice using Rae’s sausage technique. She has great video tutorials on her blog but I have done it so many times that I don’t need the video anymore. It is nice to know it is there though! I used one of my all-time favorite cotton lawns by Melody Miller.
 I love The Cloth Pocket and had the opportunity to visit in person and actually take a class there last year. Highly recommend! Great teachers, fabric and vibe. I buy most of my quilting fabrics from them online and they have a wonderful selection of chambrays.
 Since I was in the middle of sewing all the Cleo’s and spent a lot of last summer gathering skirts, I decided on the spur of the moment to gather the skirt instead of using the pleats that are in the original Washi pattern. It was really quick and I love the swingy feel of the gathered skirt and the bright colors and pattern just feel like summer to me. I love pulling out my summer clothes after the long winter. It is like meeting up again with good friends.
 I made this in a hurry and used fewer lines of shirring than I normally do spaced a bit farther apart. I like it this way!
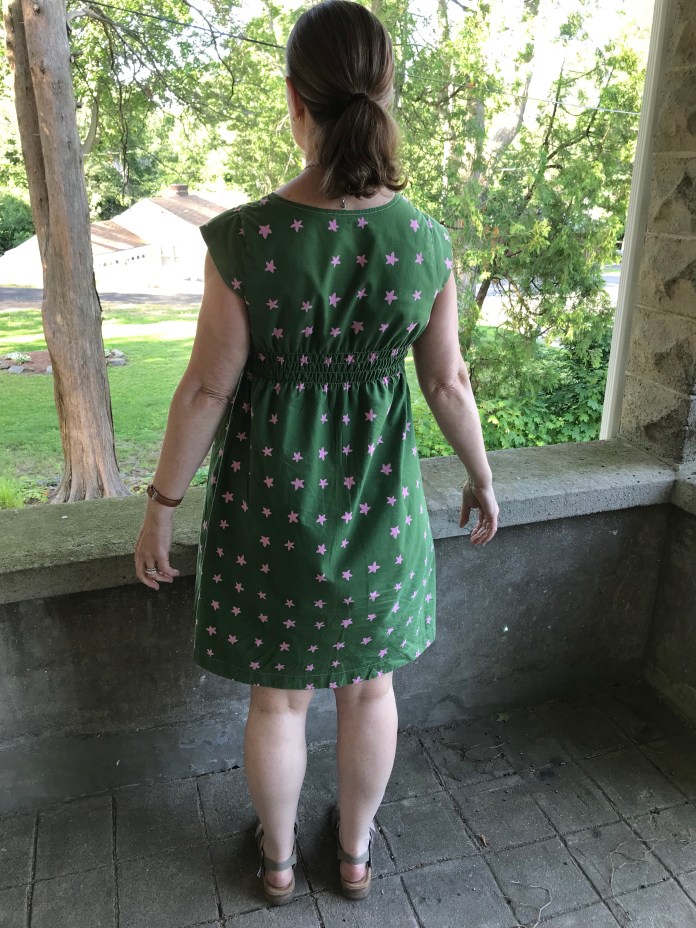 And a nice surprise was how well my new Blackwood Cardigan goes with this dress. I pulled it off the shelf this morning because it was cool and I love the colors together. Just like a bunch of summer flowers!
 If you haven’t made the Washi or the Blackwood, what are you waiting for? They are both flattering, comfortable, cute and relatively easy to sew. And as it turns out, they are great together!


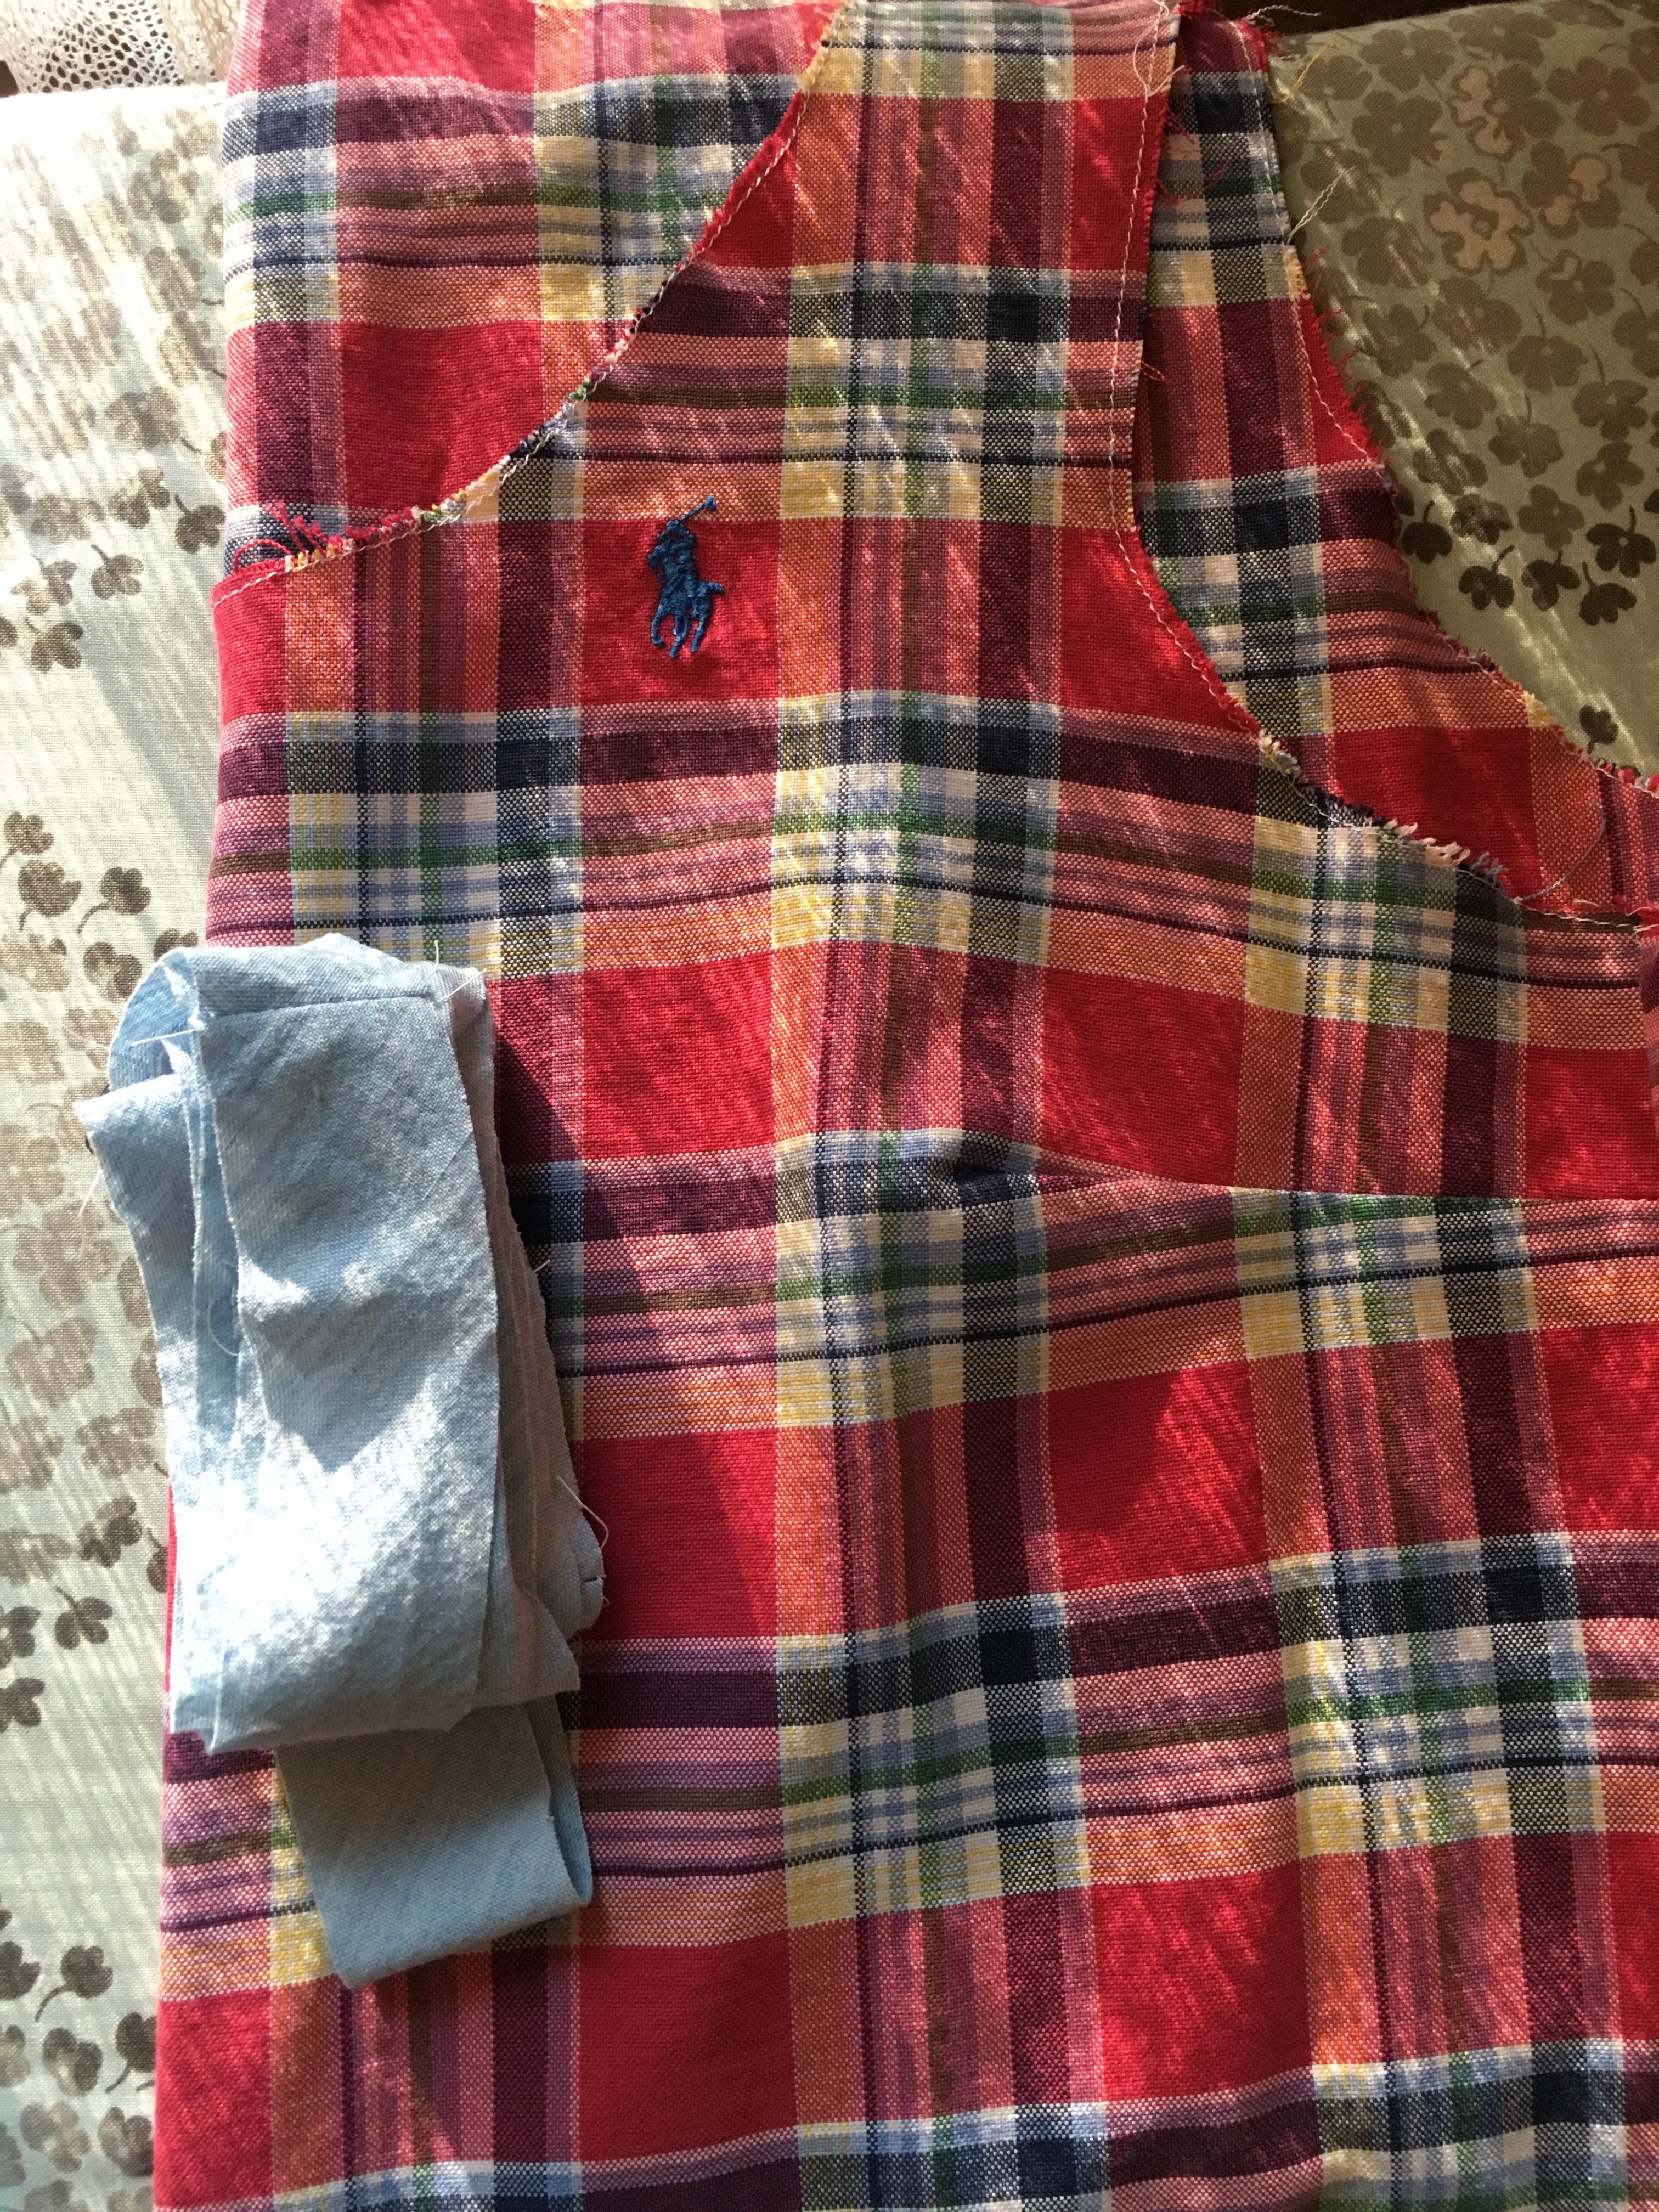


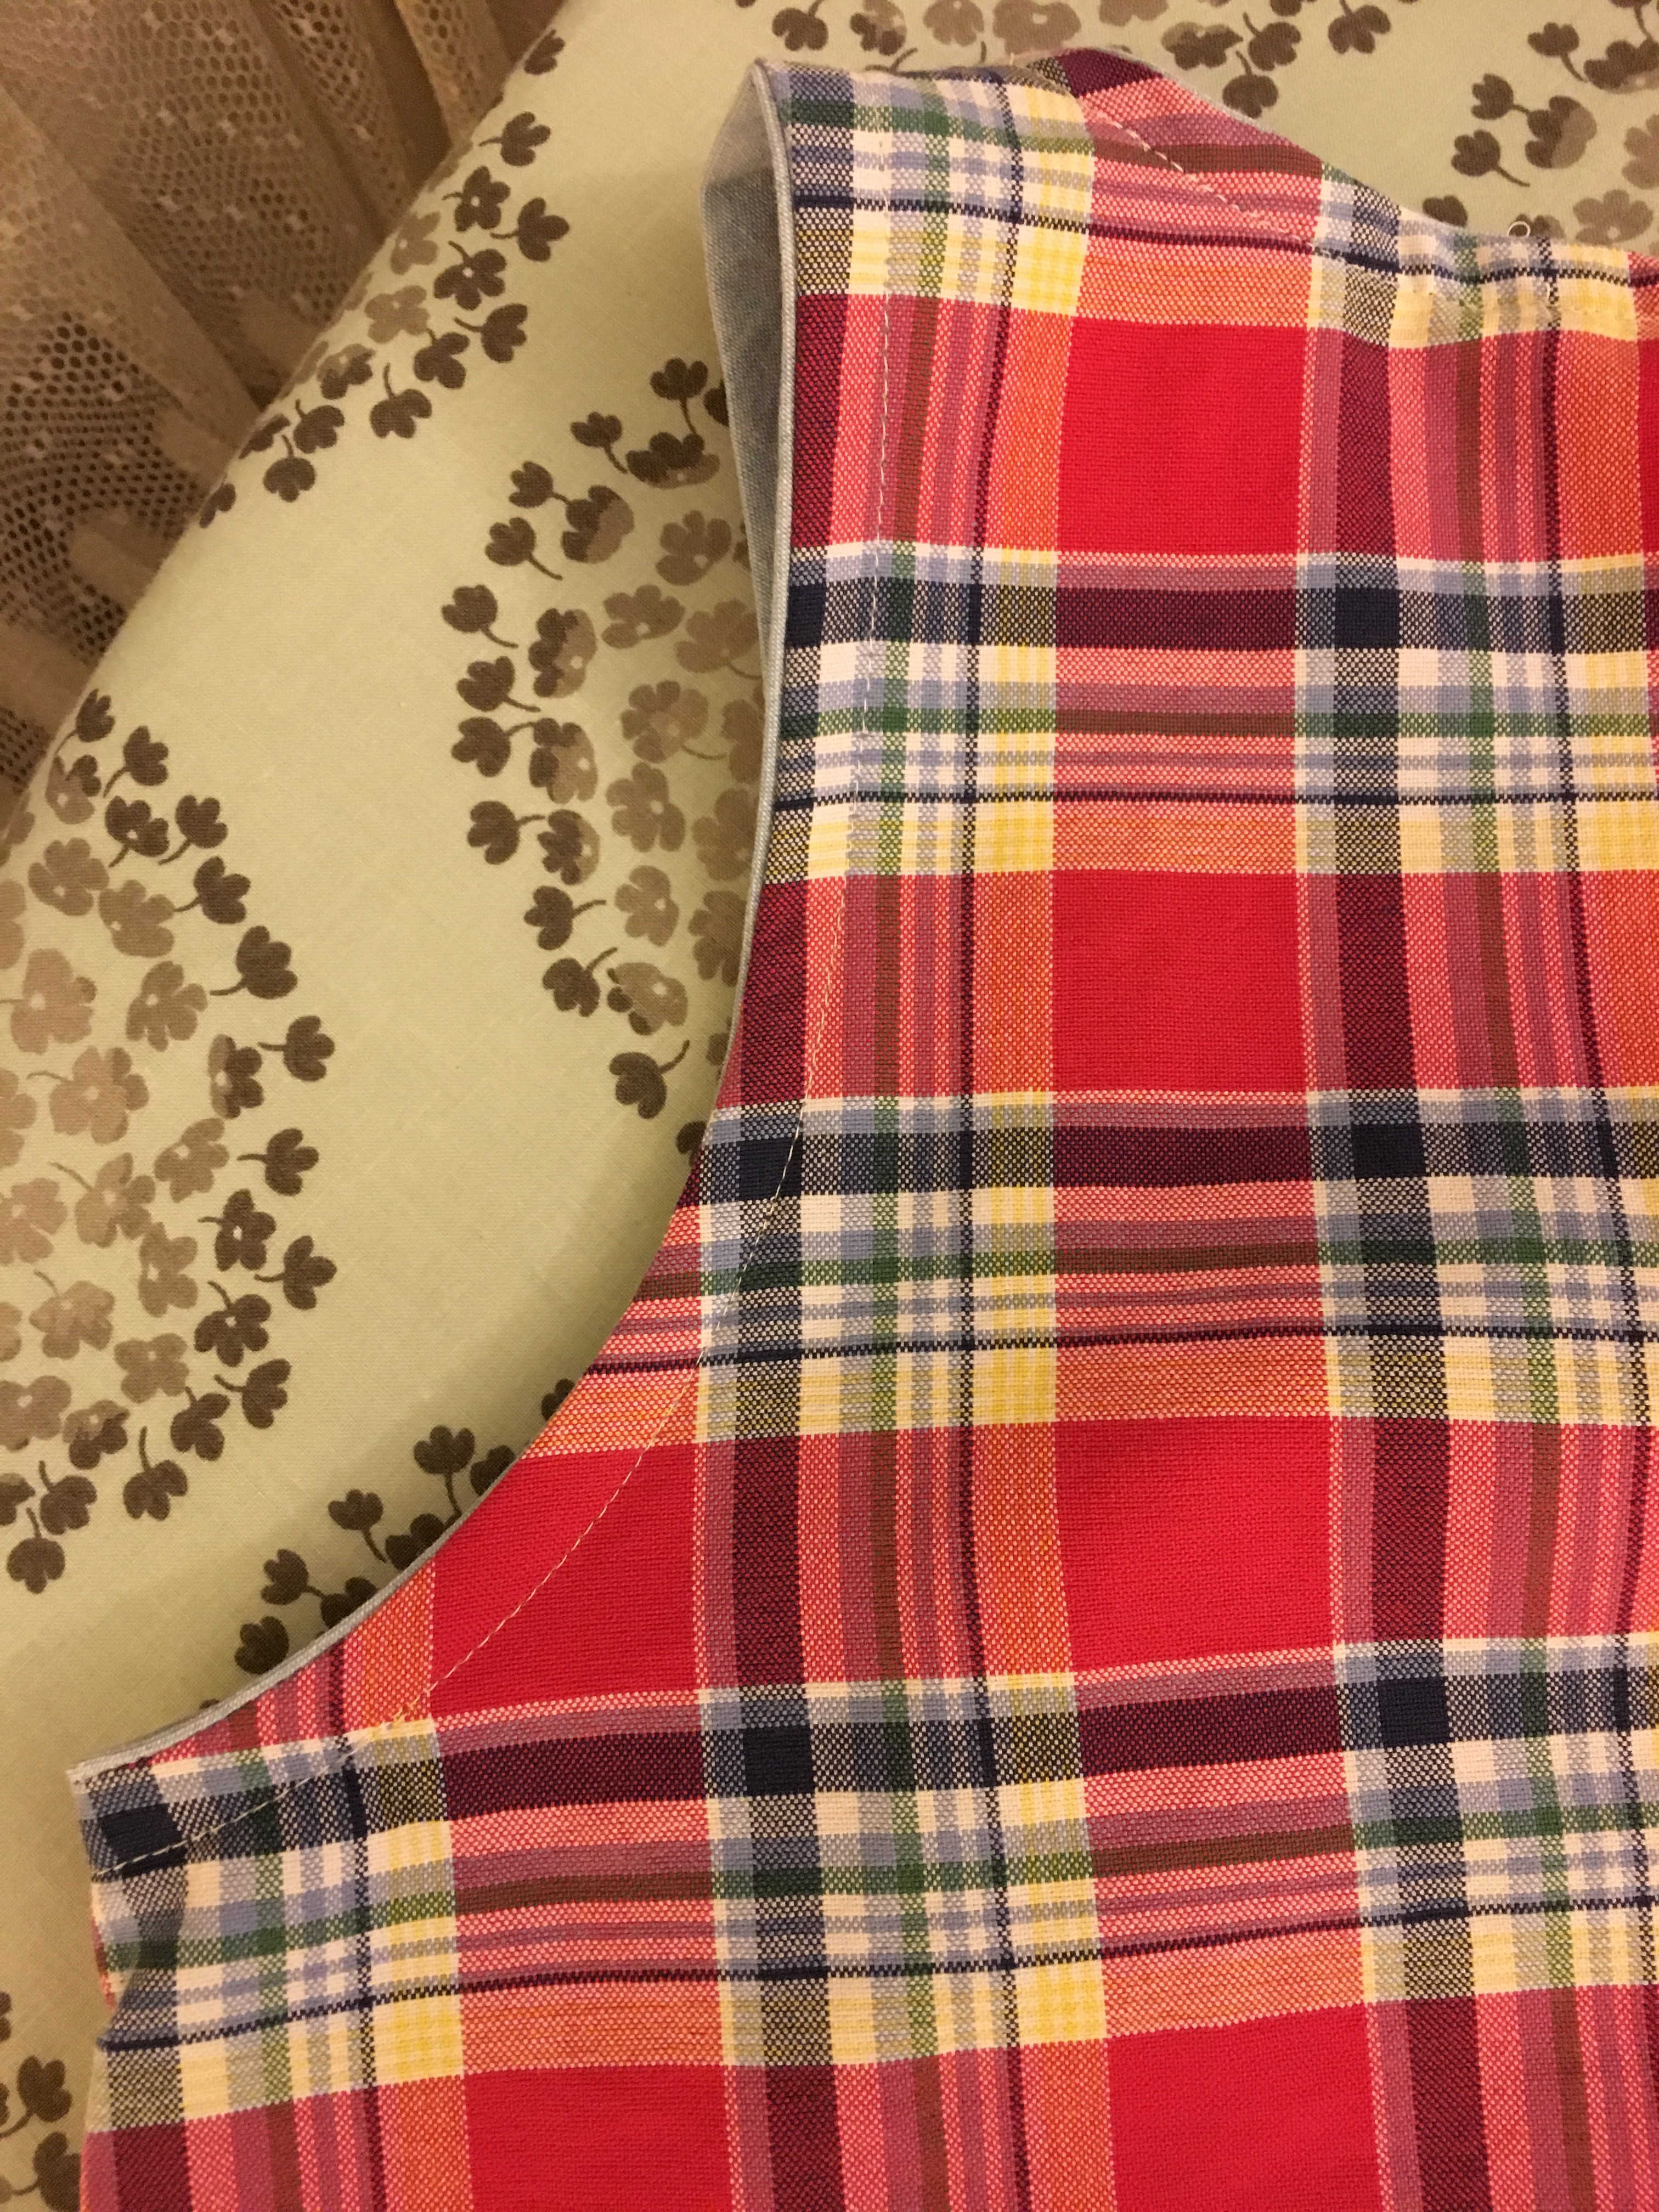
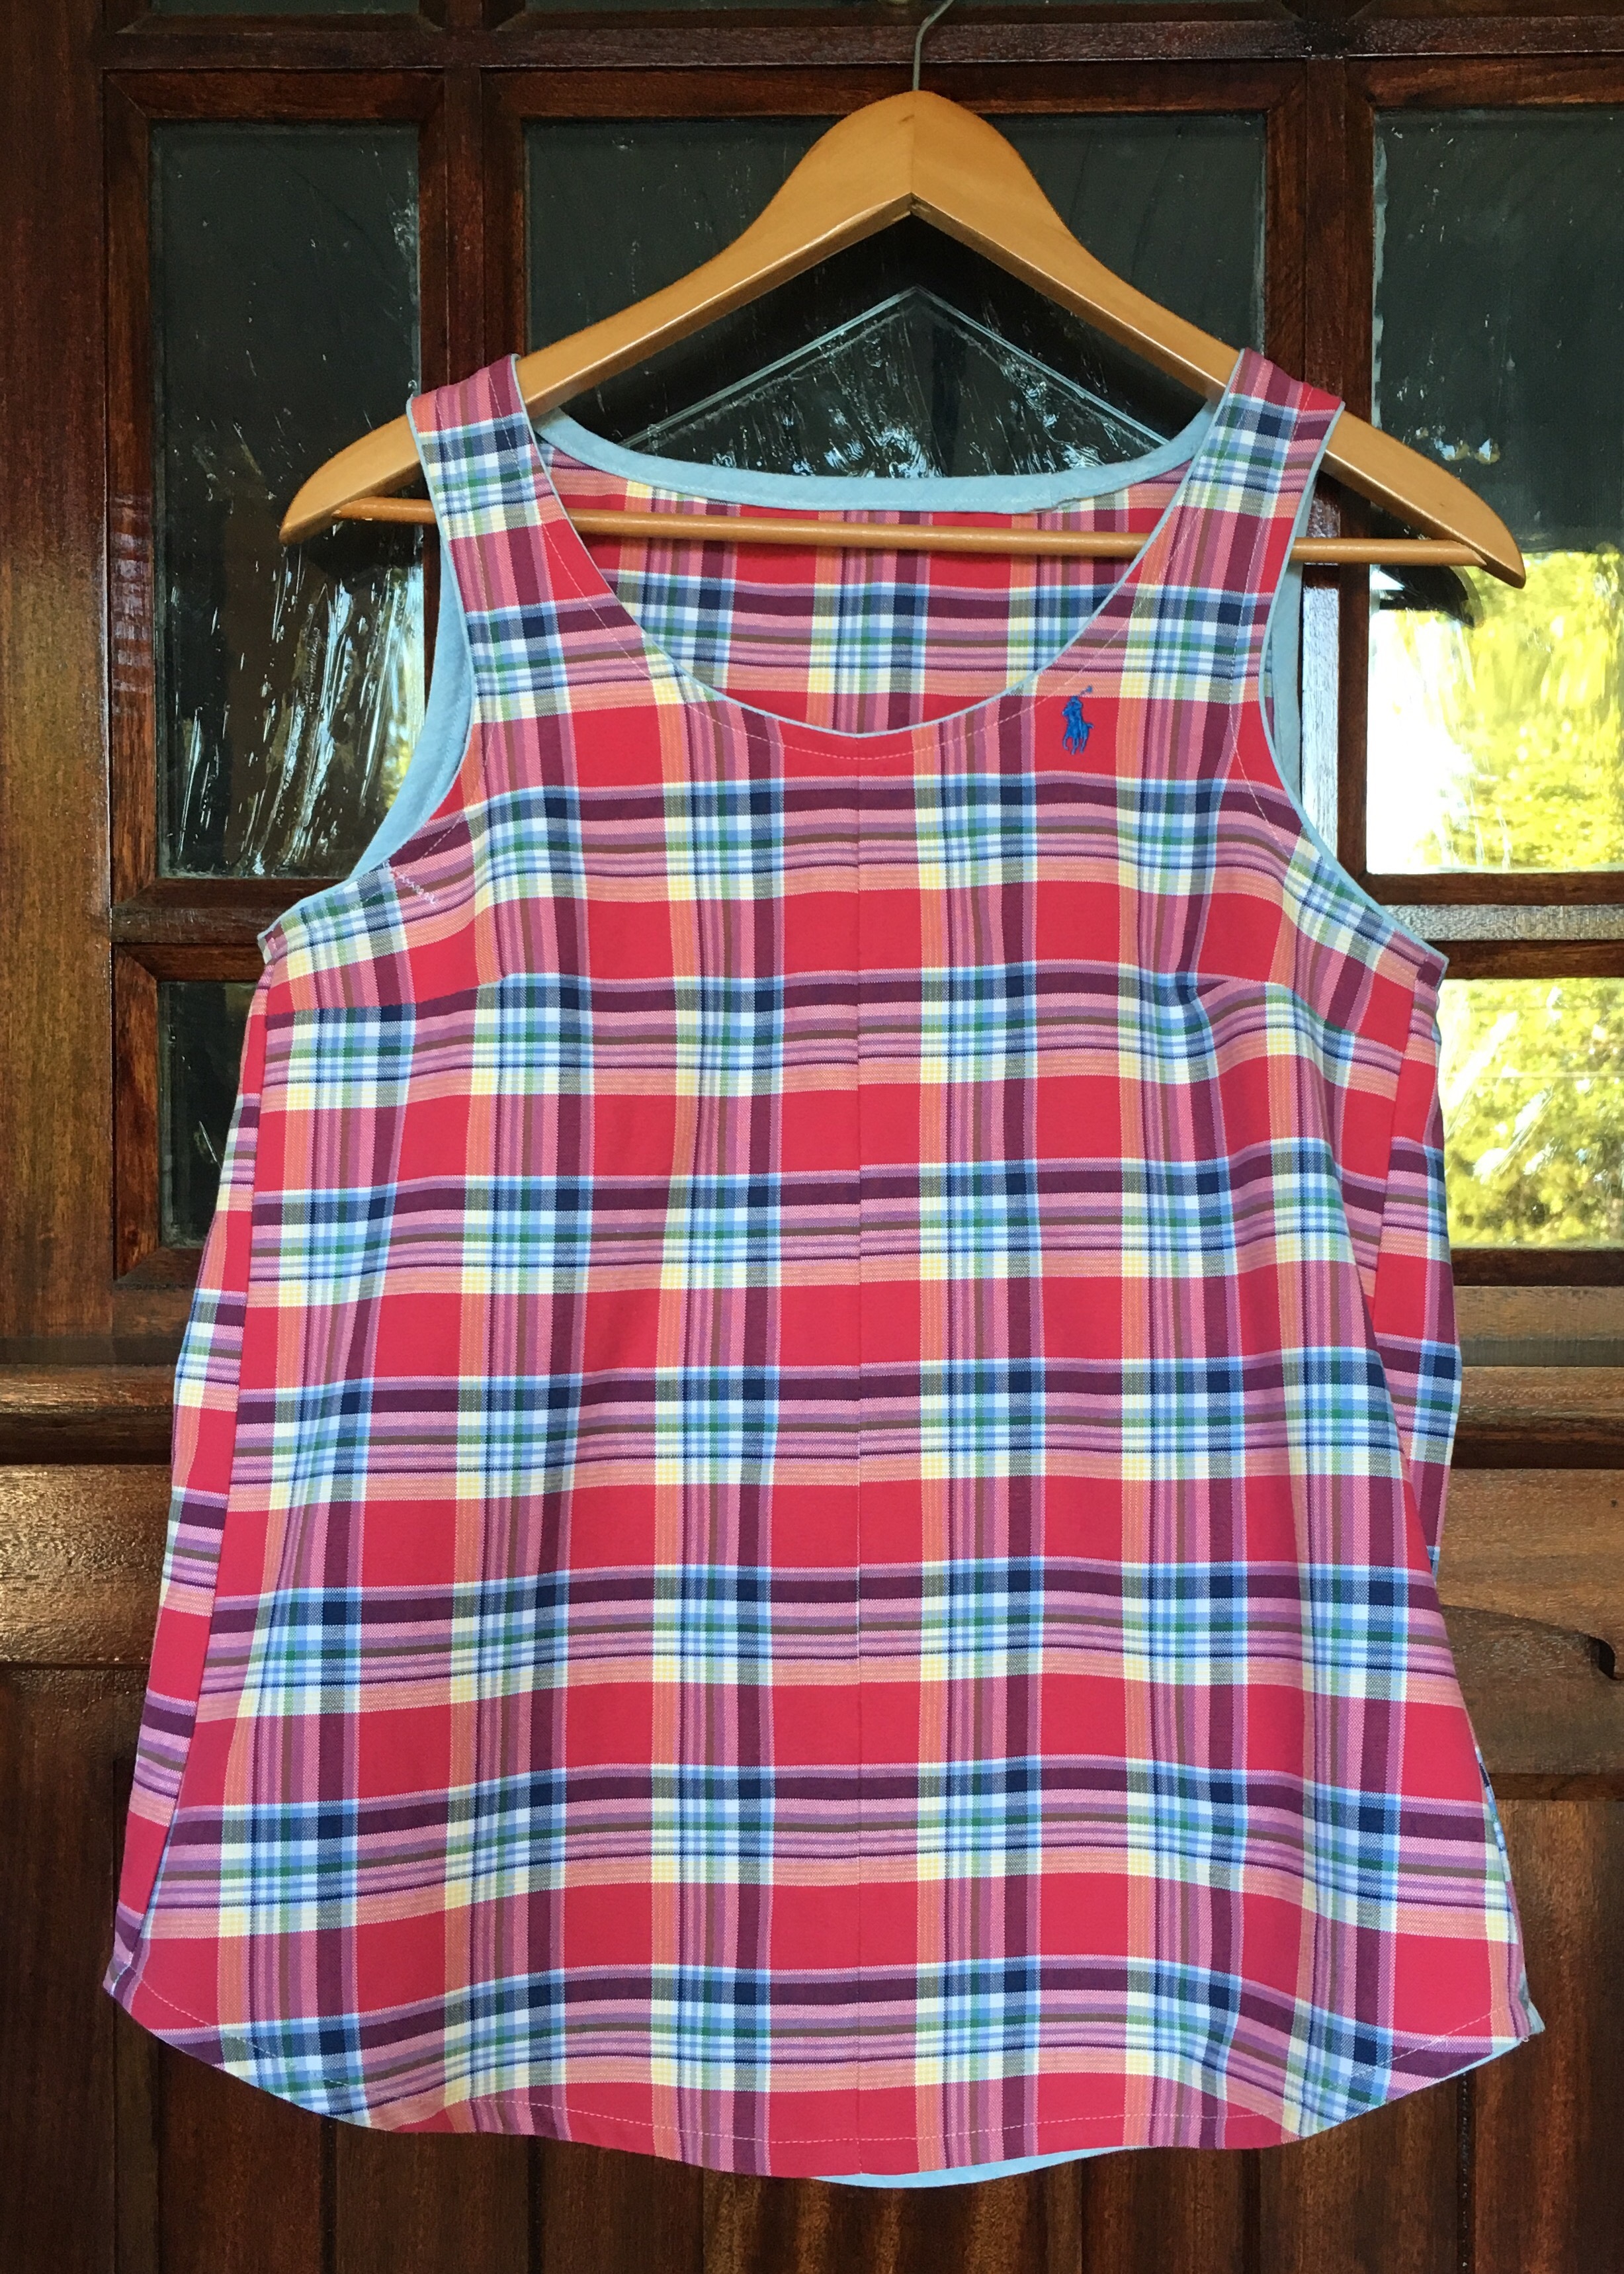
 Luckily there was no pocket to contend with but there was the polo player who ended up in just about the right spot. I really like the contrasting blue edge around the neck and arms.


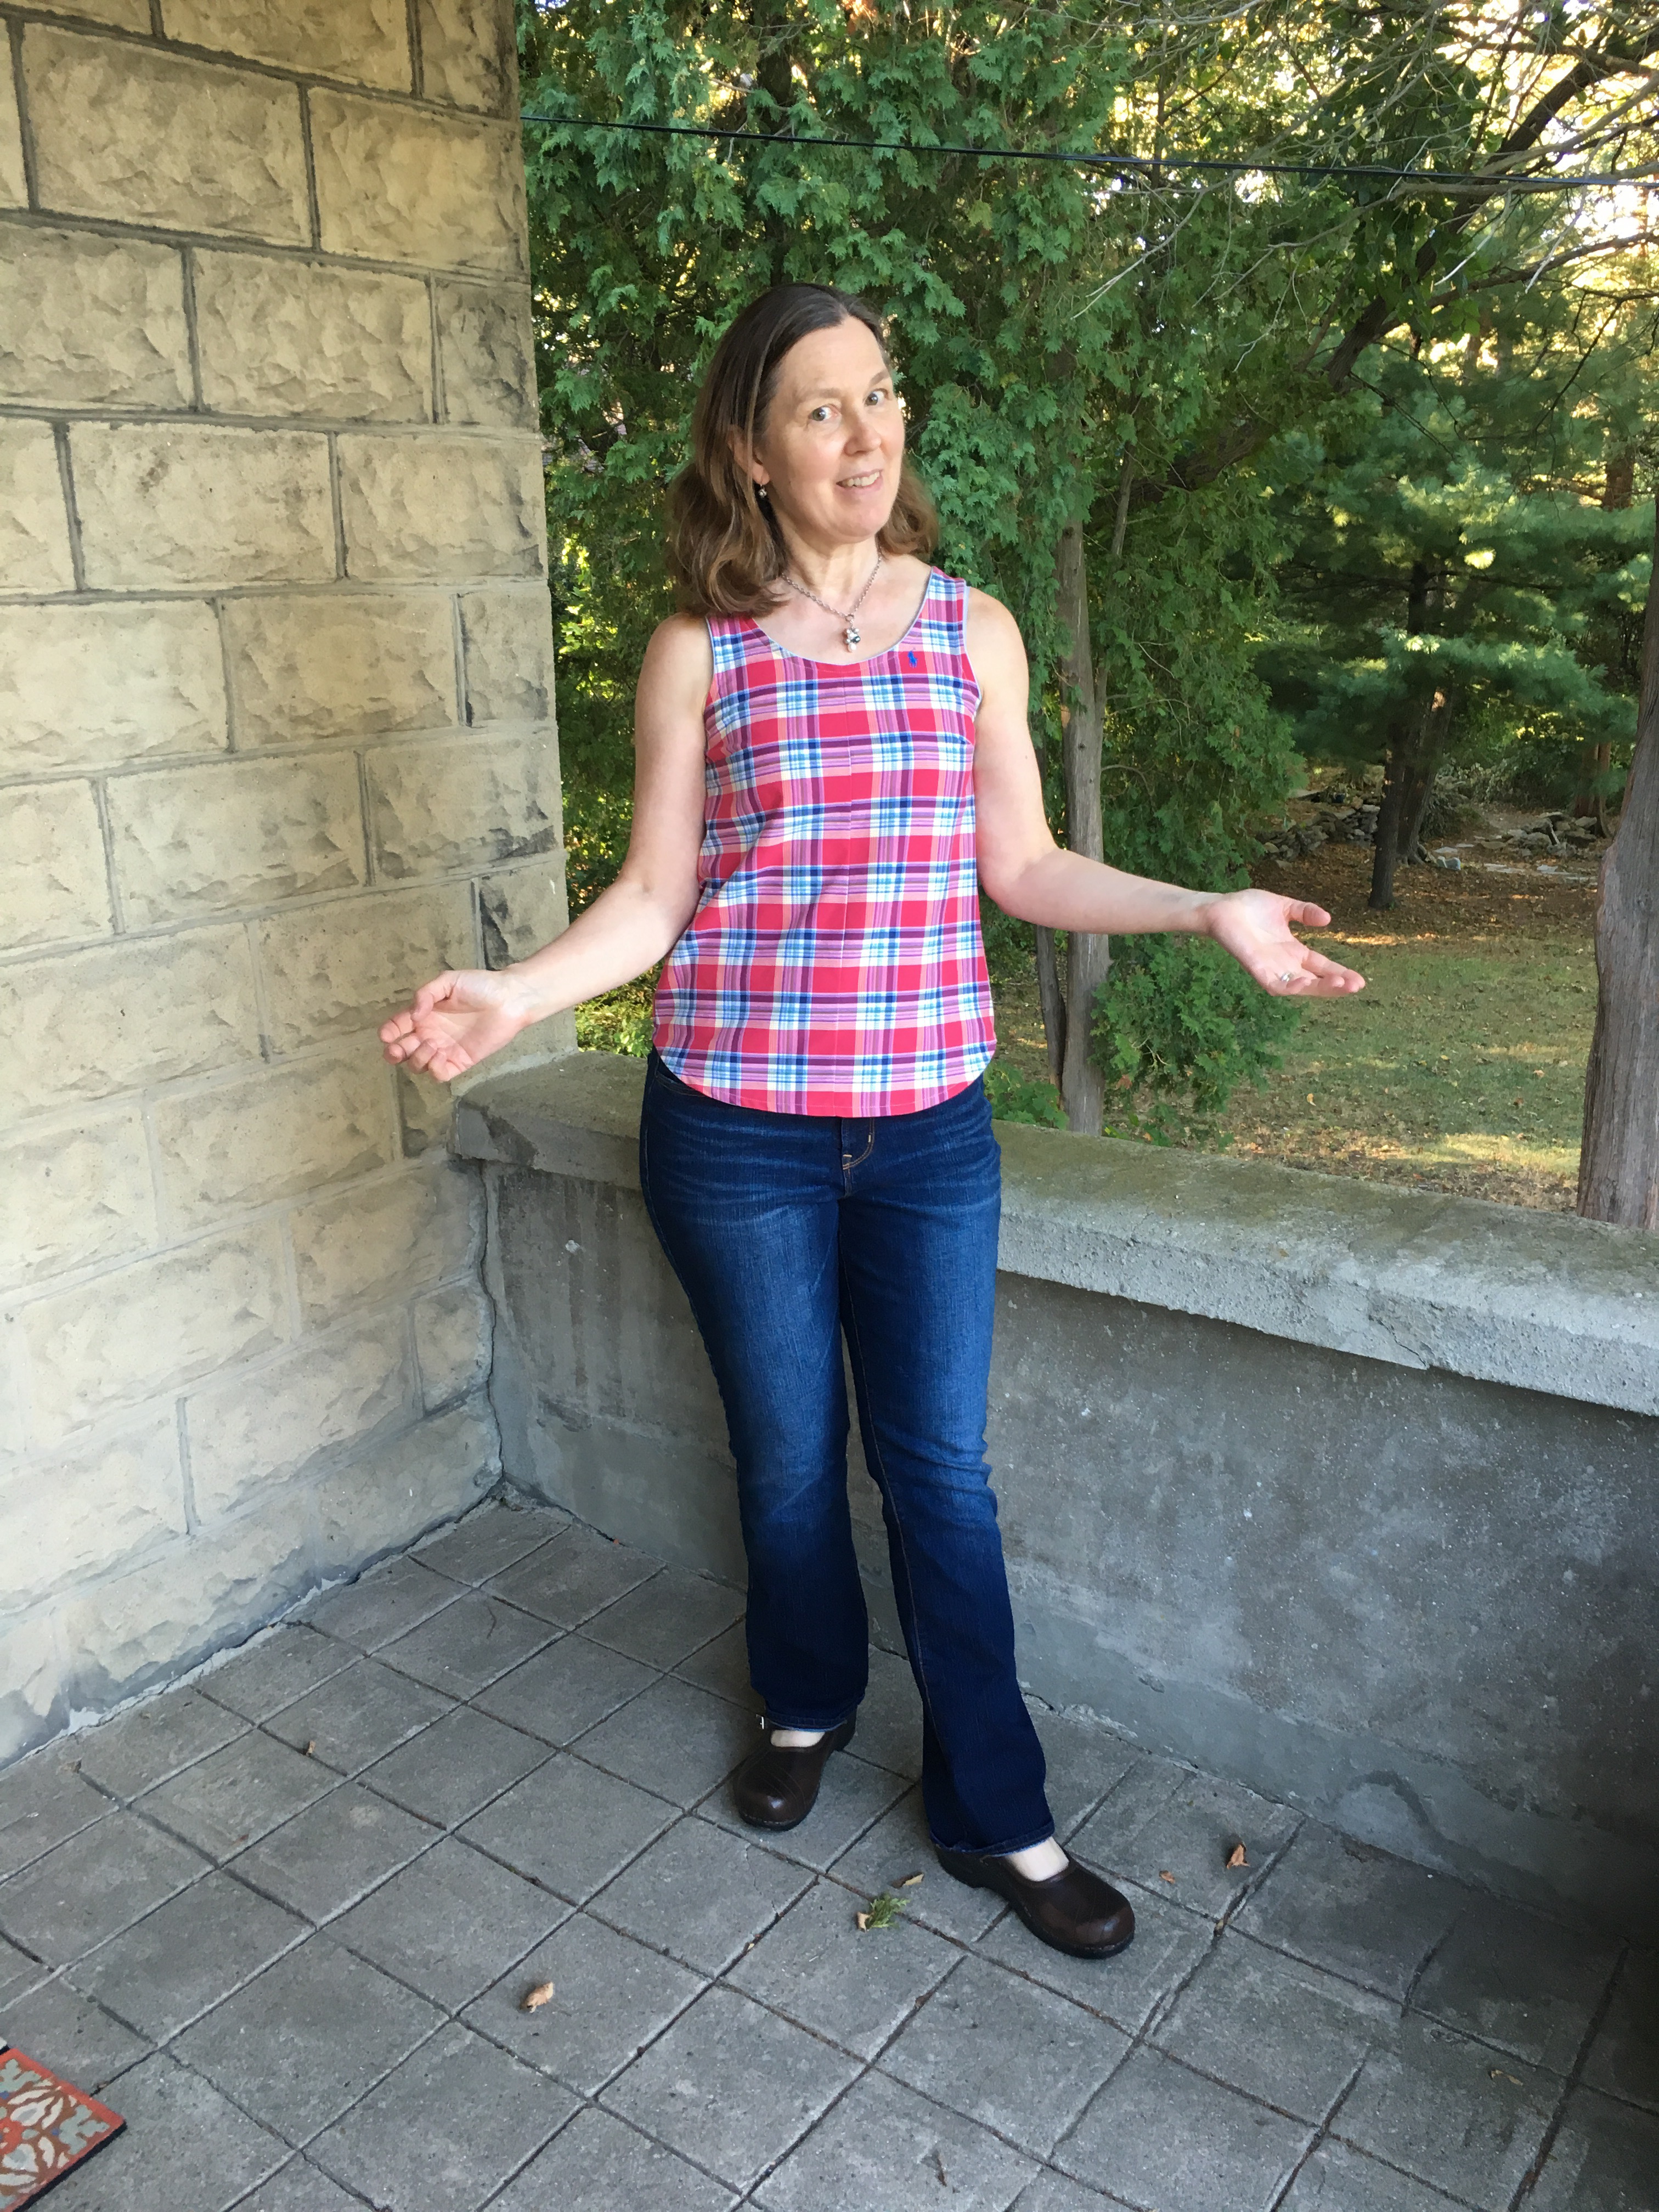


 I cut a Medium with the higher neck option, although I shaved a small bit off the front of the neck. You can see approximately how much I took off below although the picture below is a different Gemma (made the same way). I just slid the pattern down and cut a bit lower using the same curve so that the edge would be below the collarbones.
 I also lengthened it by approximately two inches.
 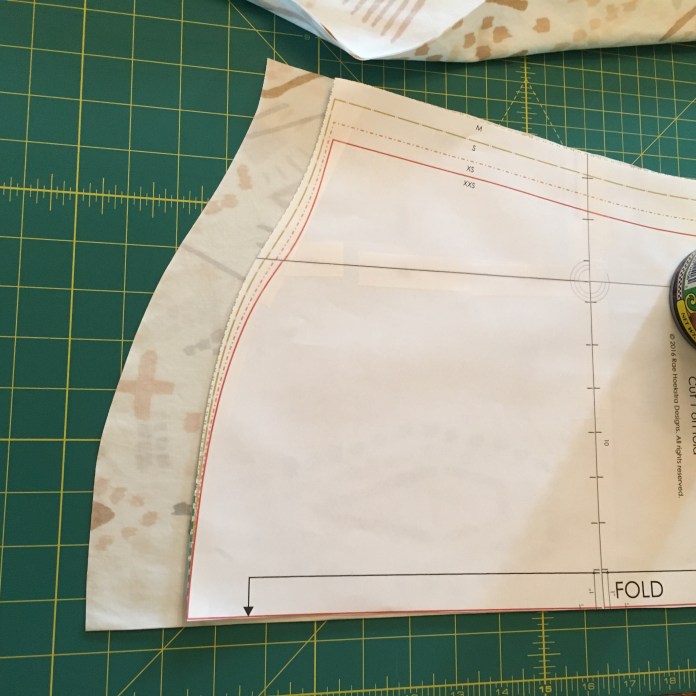 I mostly followed the directions for the bias binding using the
 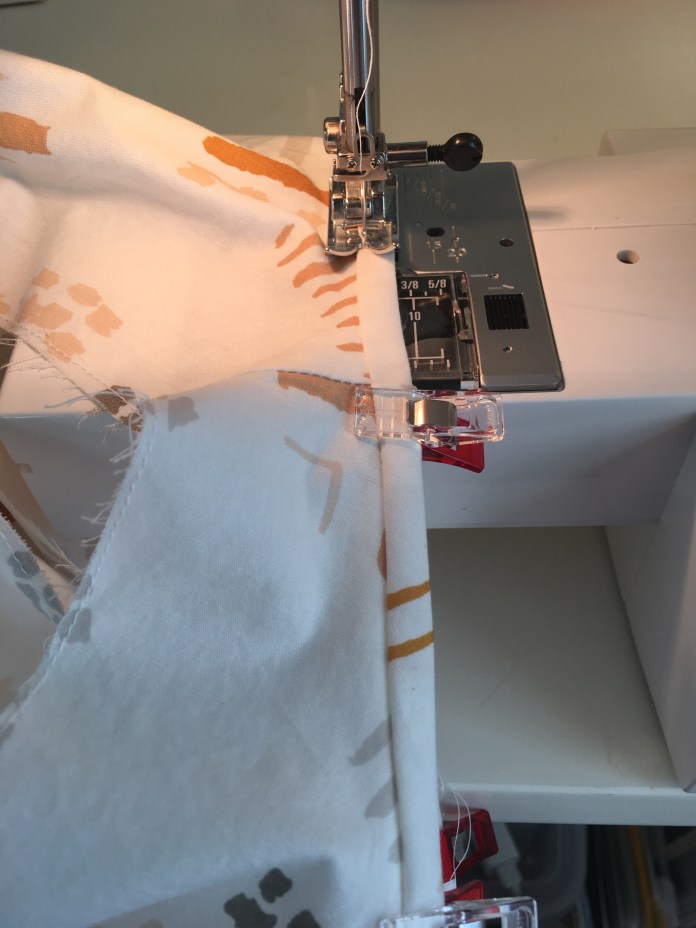 I used this beautiful cream colored Art Gallery quilting cotton by
  I was so happy with the feel of the fabric-it is soft and works beautifully for sewing garments. It is more like a lawn than quilting cotton. In fact, I bought another 3 yards of the green as a back up plan. I have done that only a few times but I was so happy with my
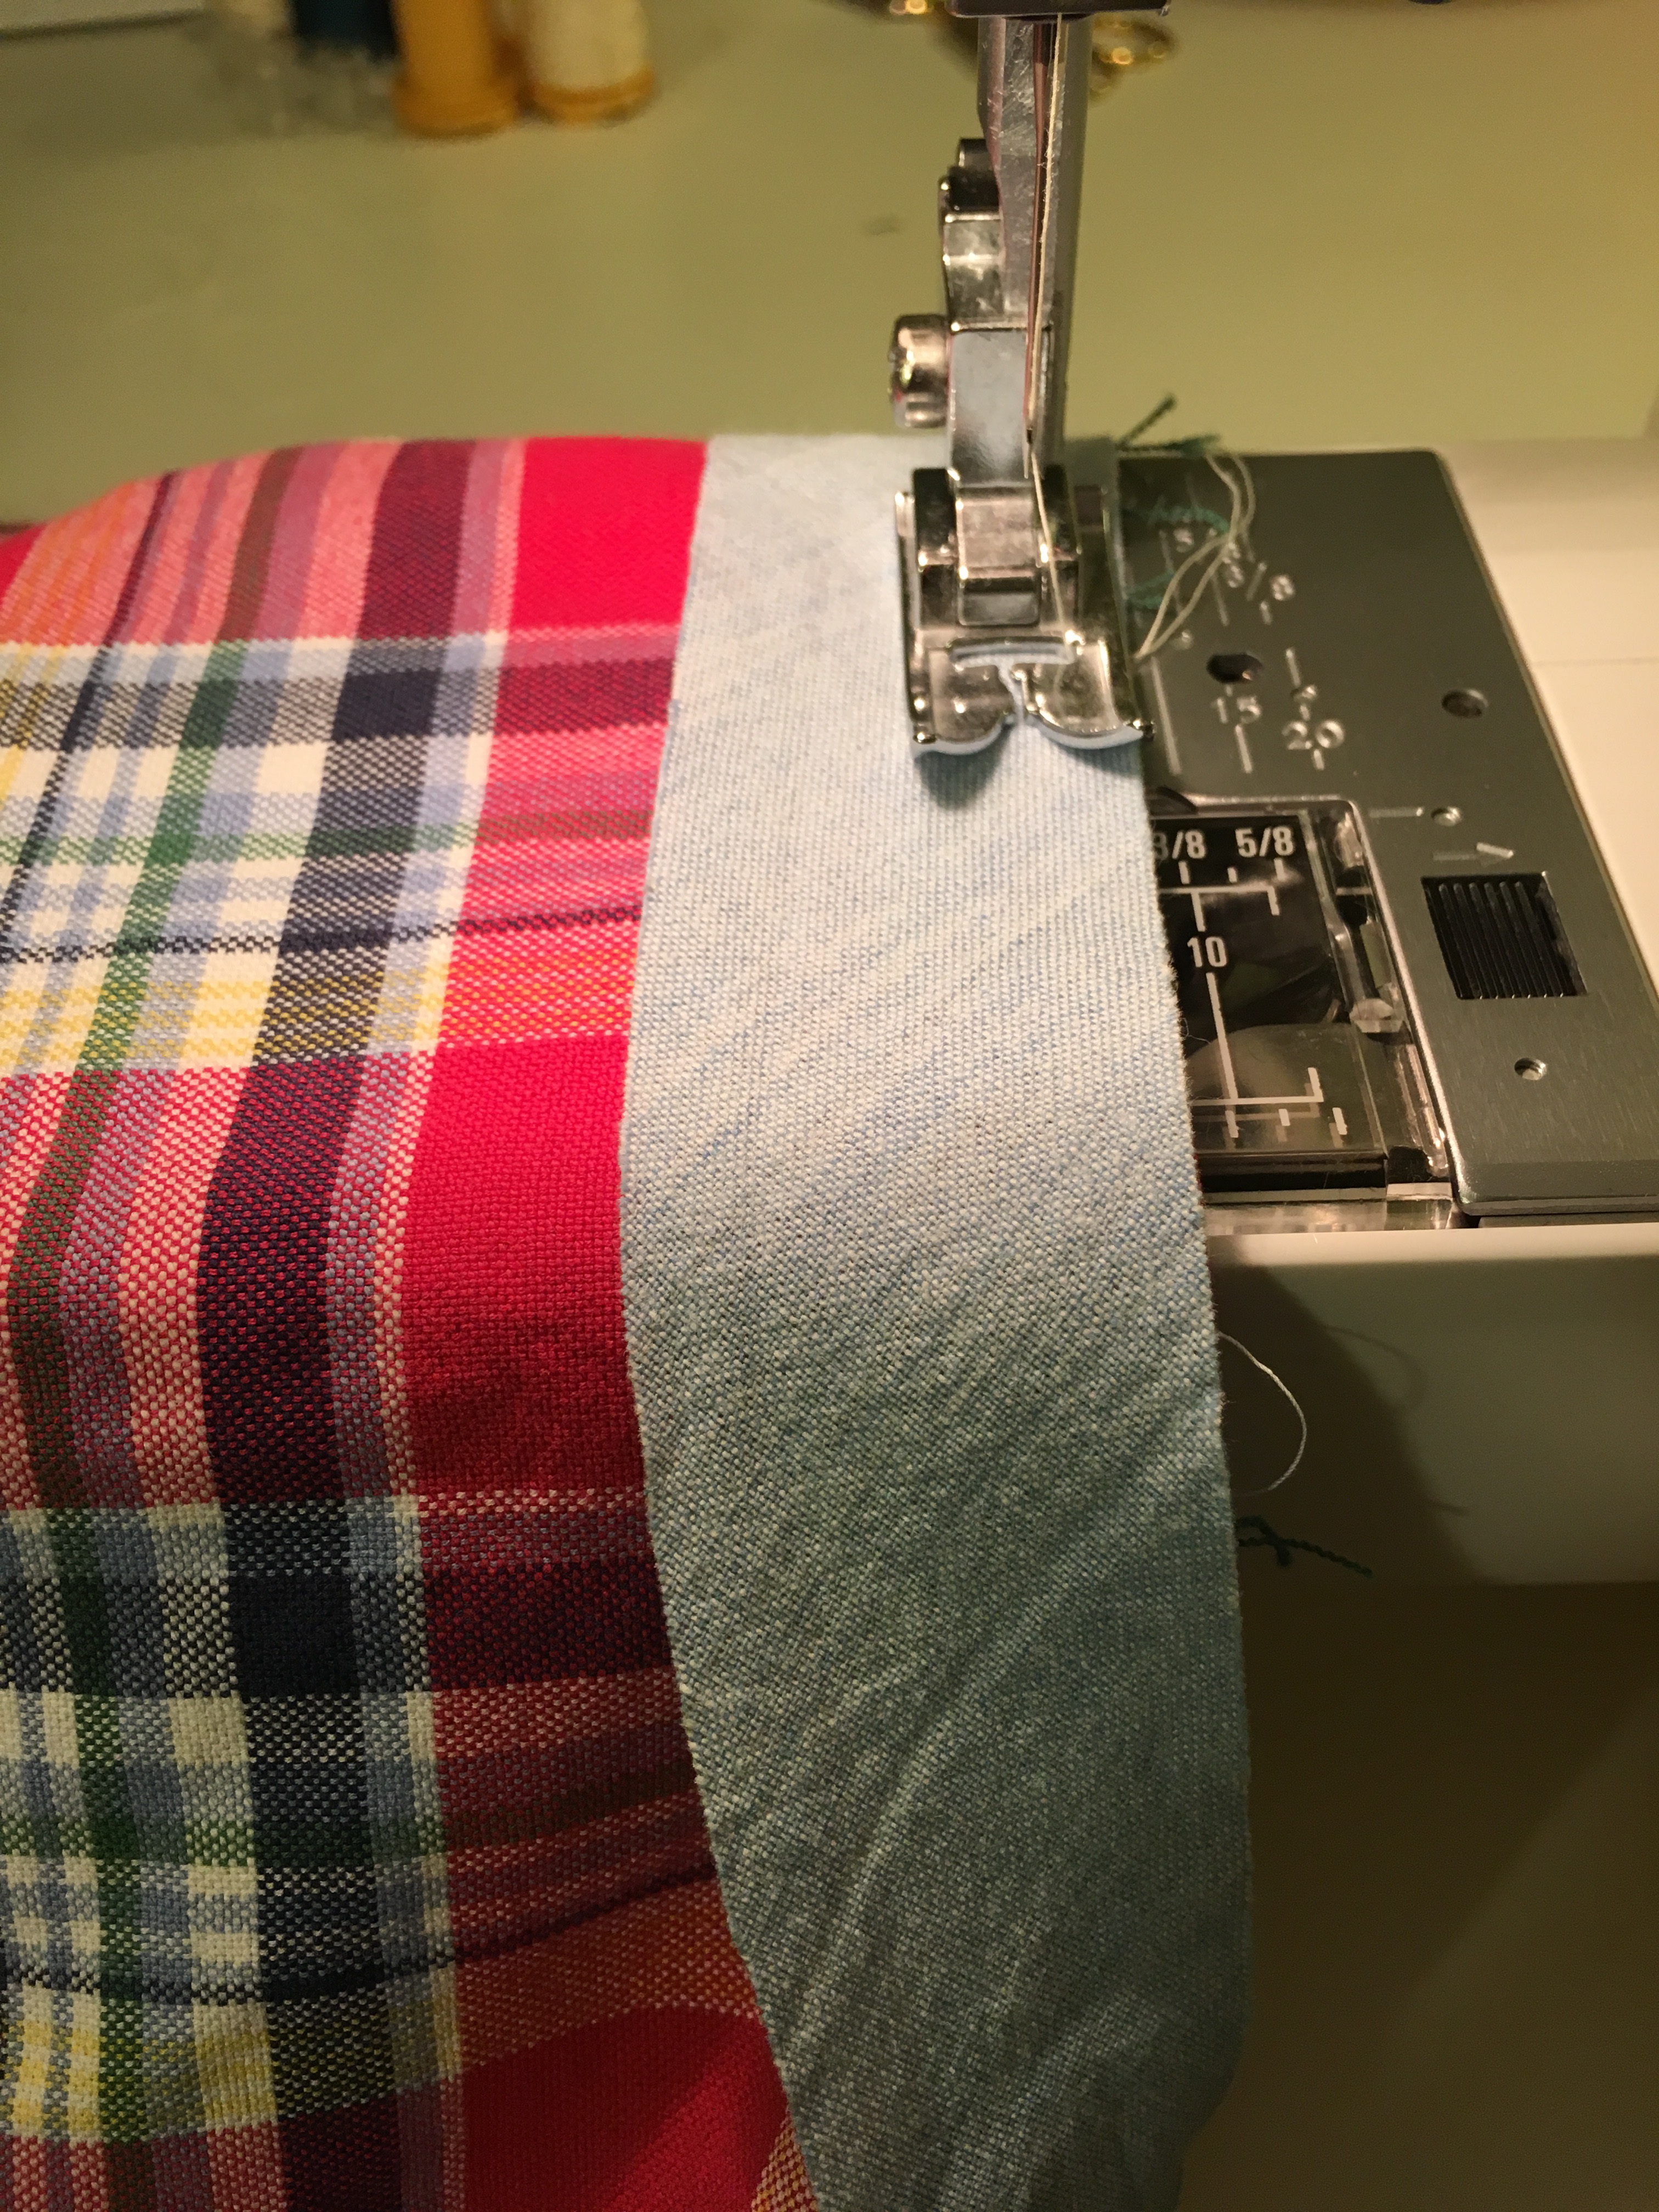
 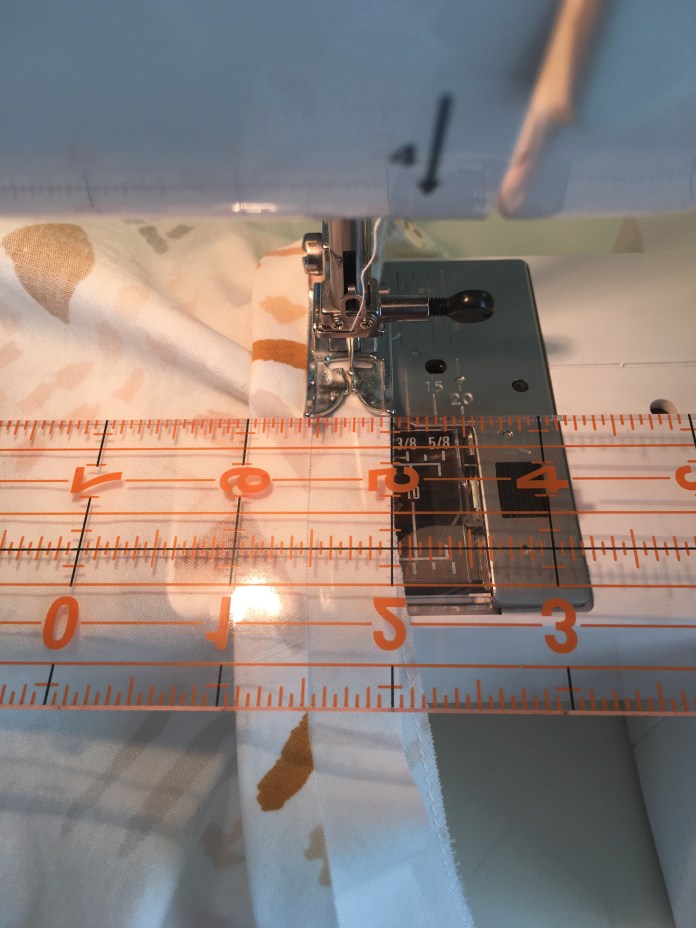 I don’t pin before I sew, I just hold the edges together and it generally works pretty well. Then I iron the stitching line and press the edge to the other side and use wonder clips to hold the bias binding in place before I sew the second seam which, as seen below in the finished version, is just to the inside of the ditch. It actually looks like it was sewn on the inside and flipped to the front using the topstitch method, the way Rae shows you here in
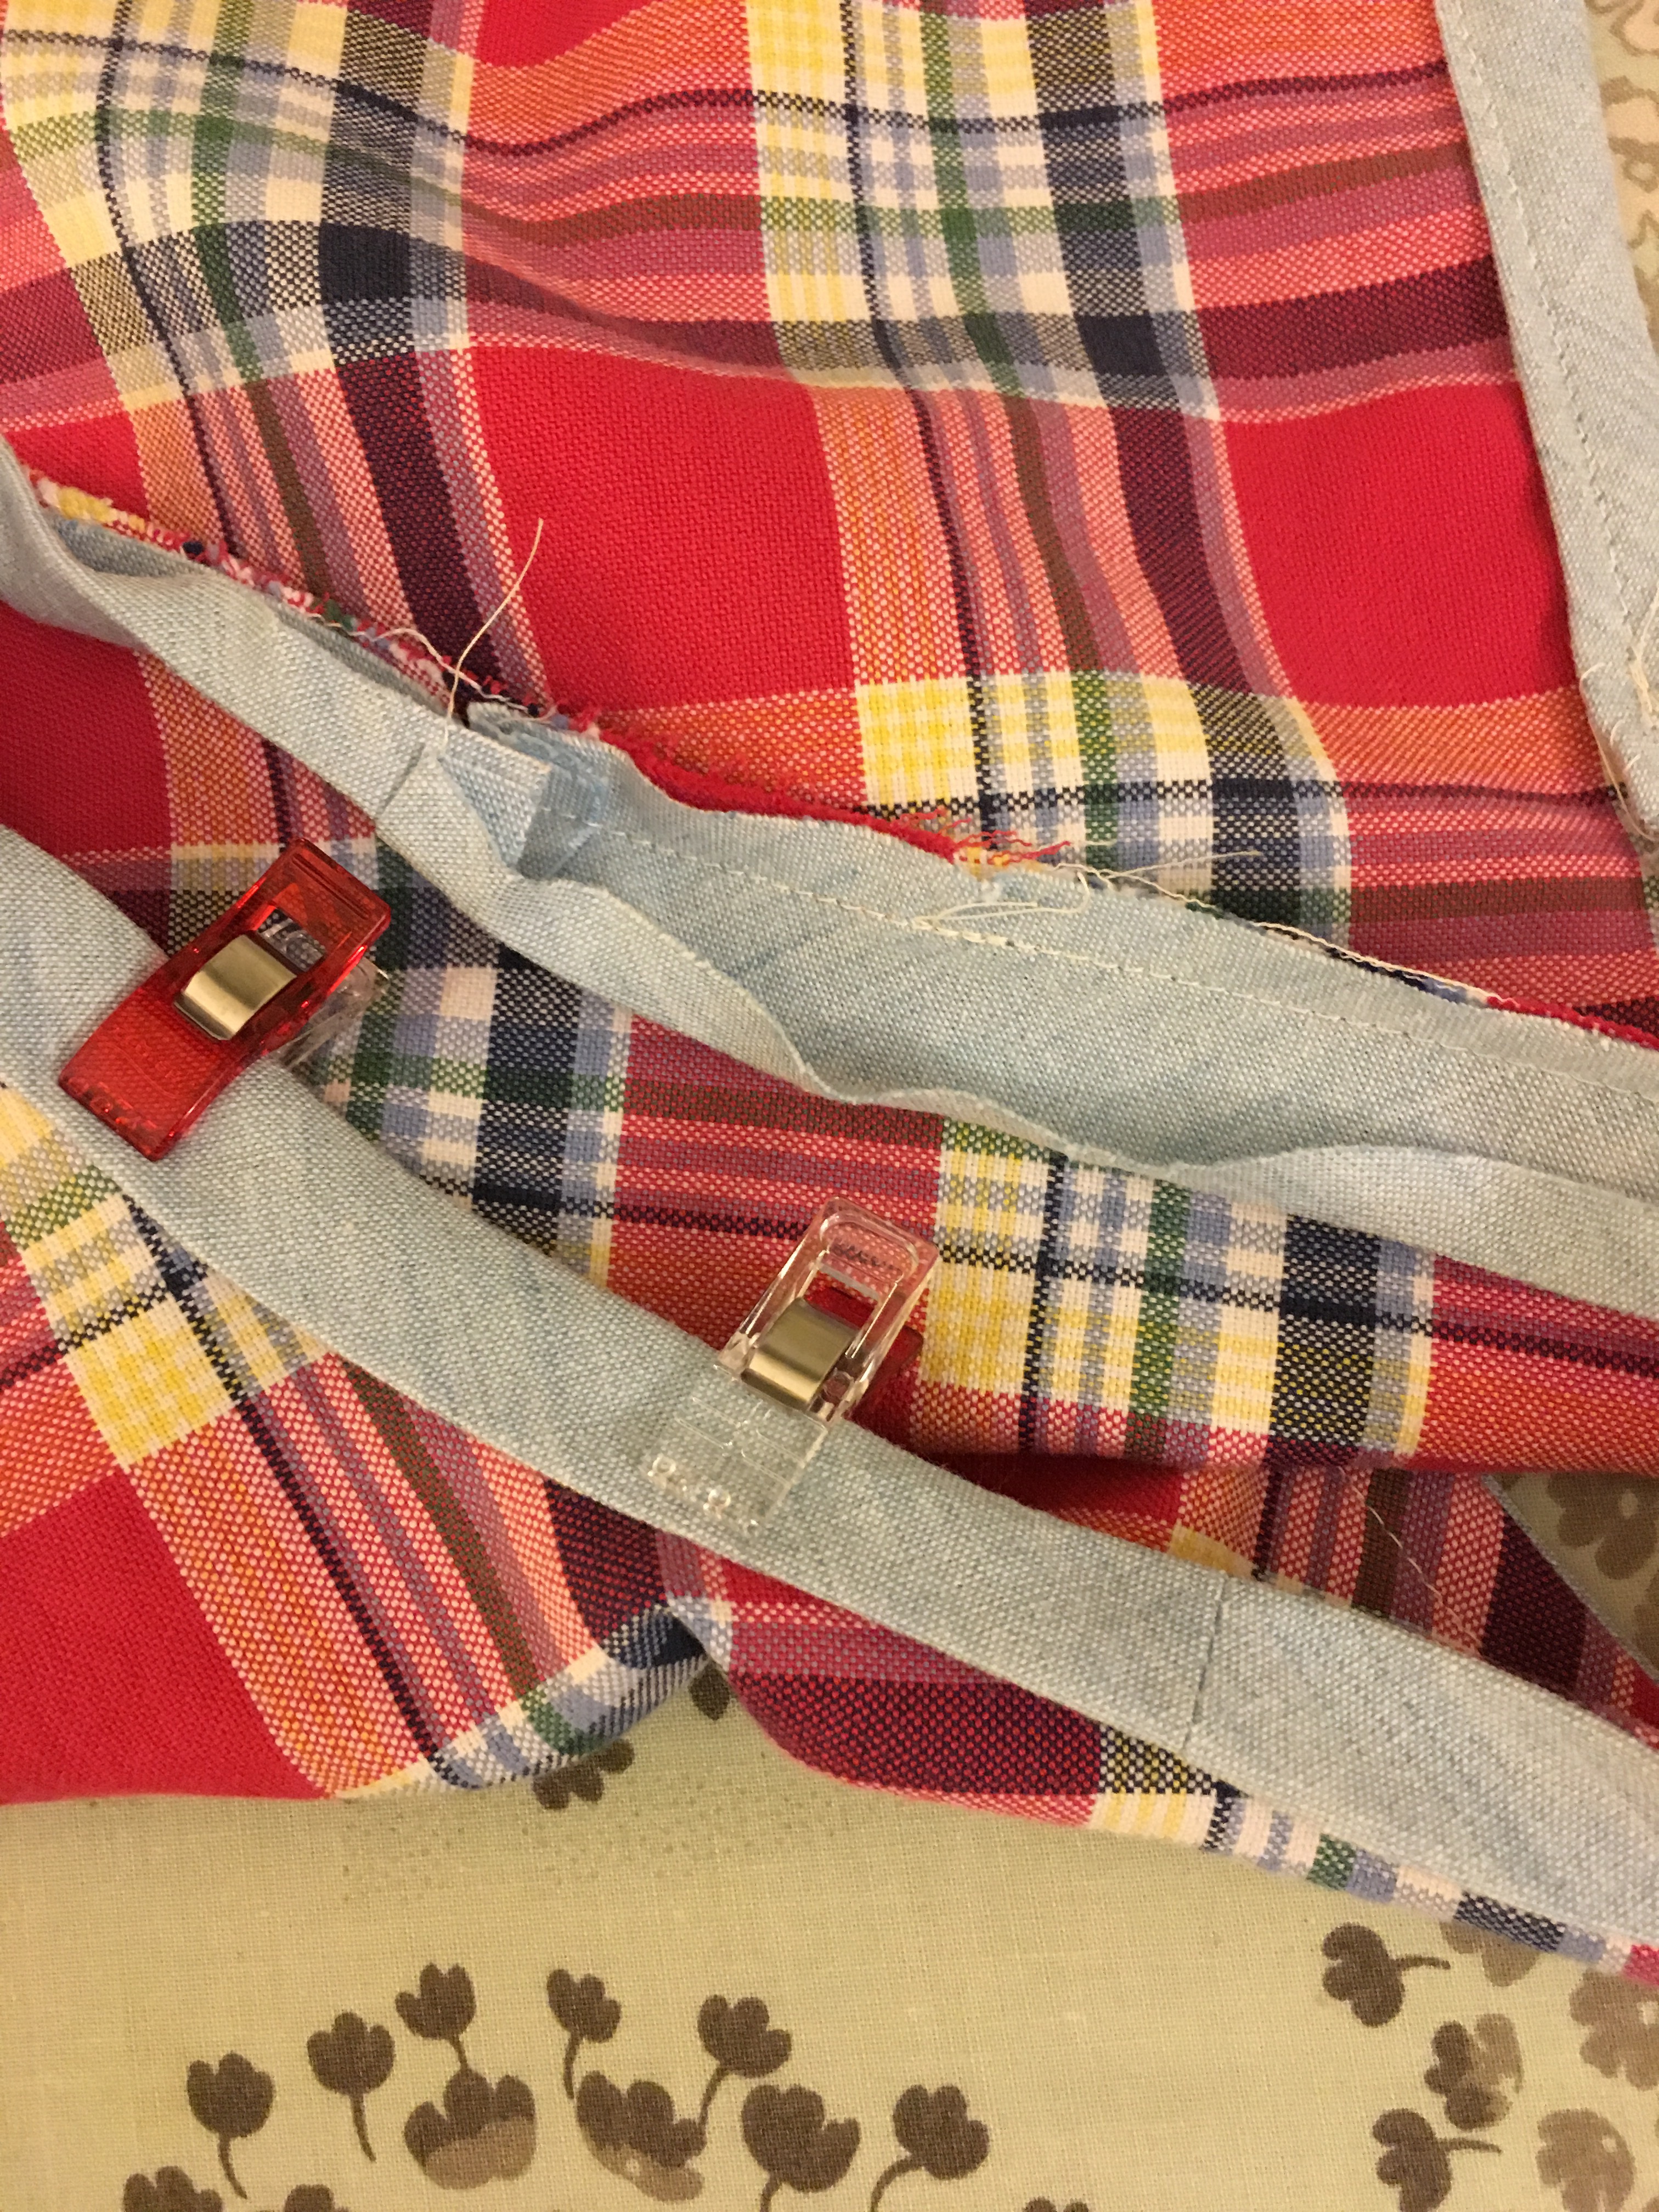
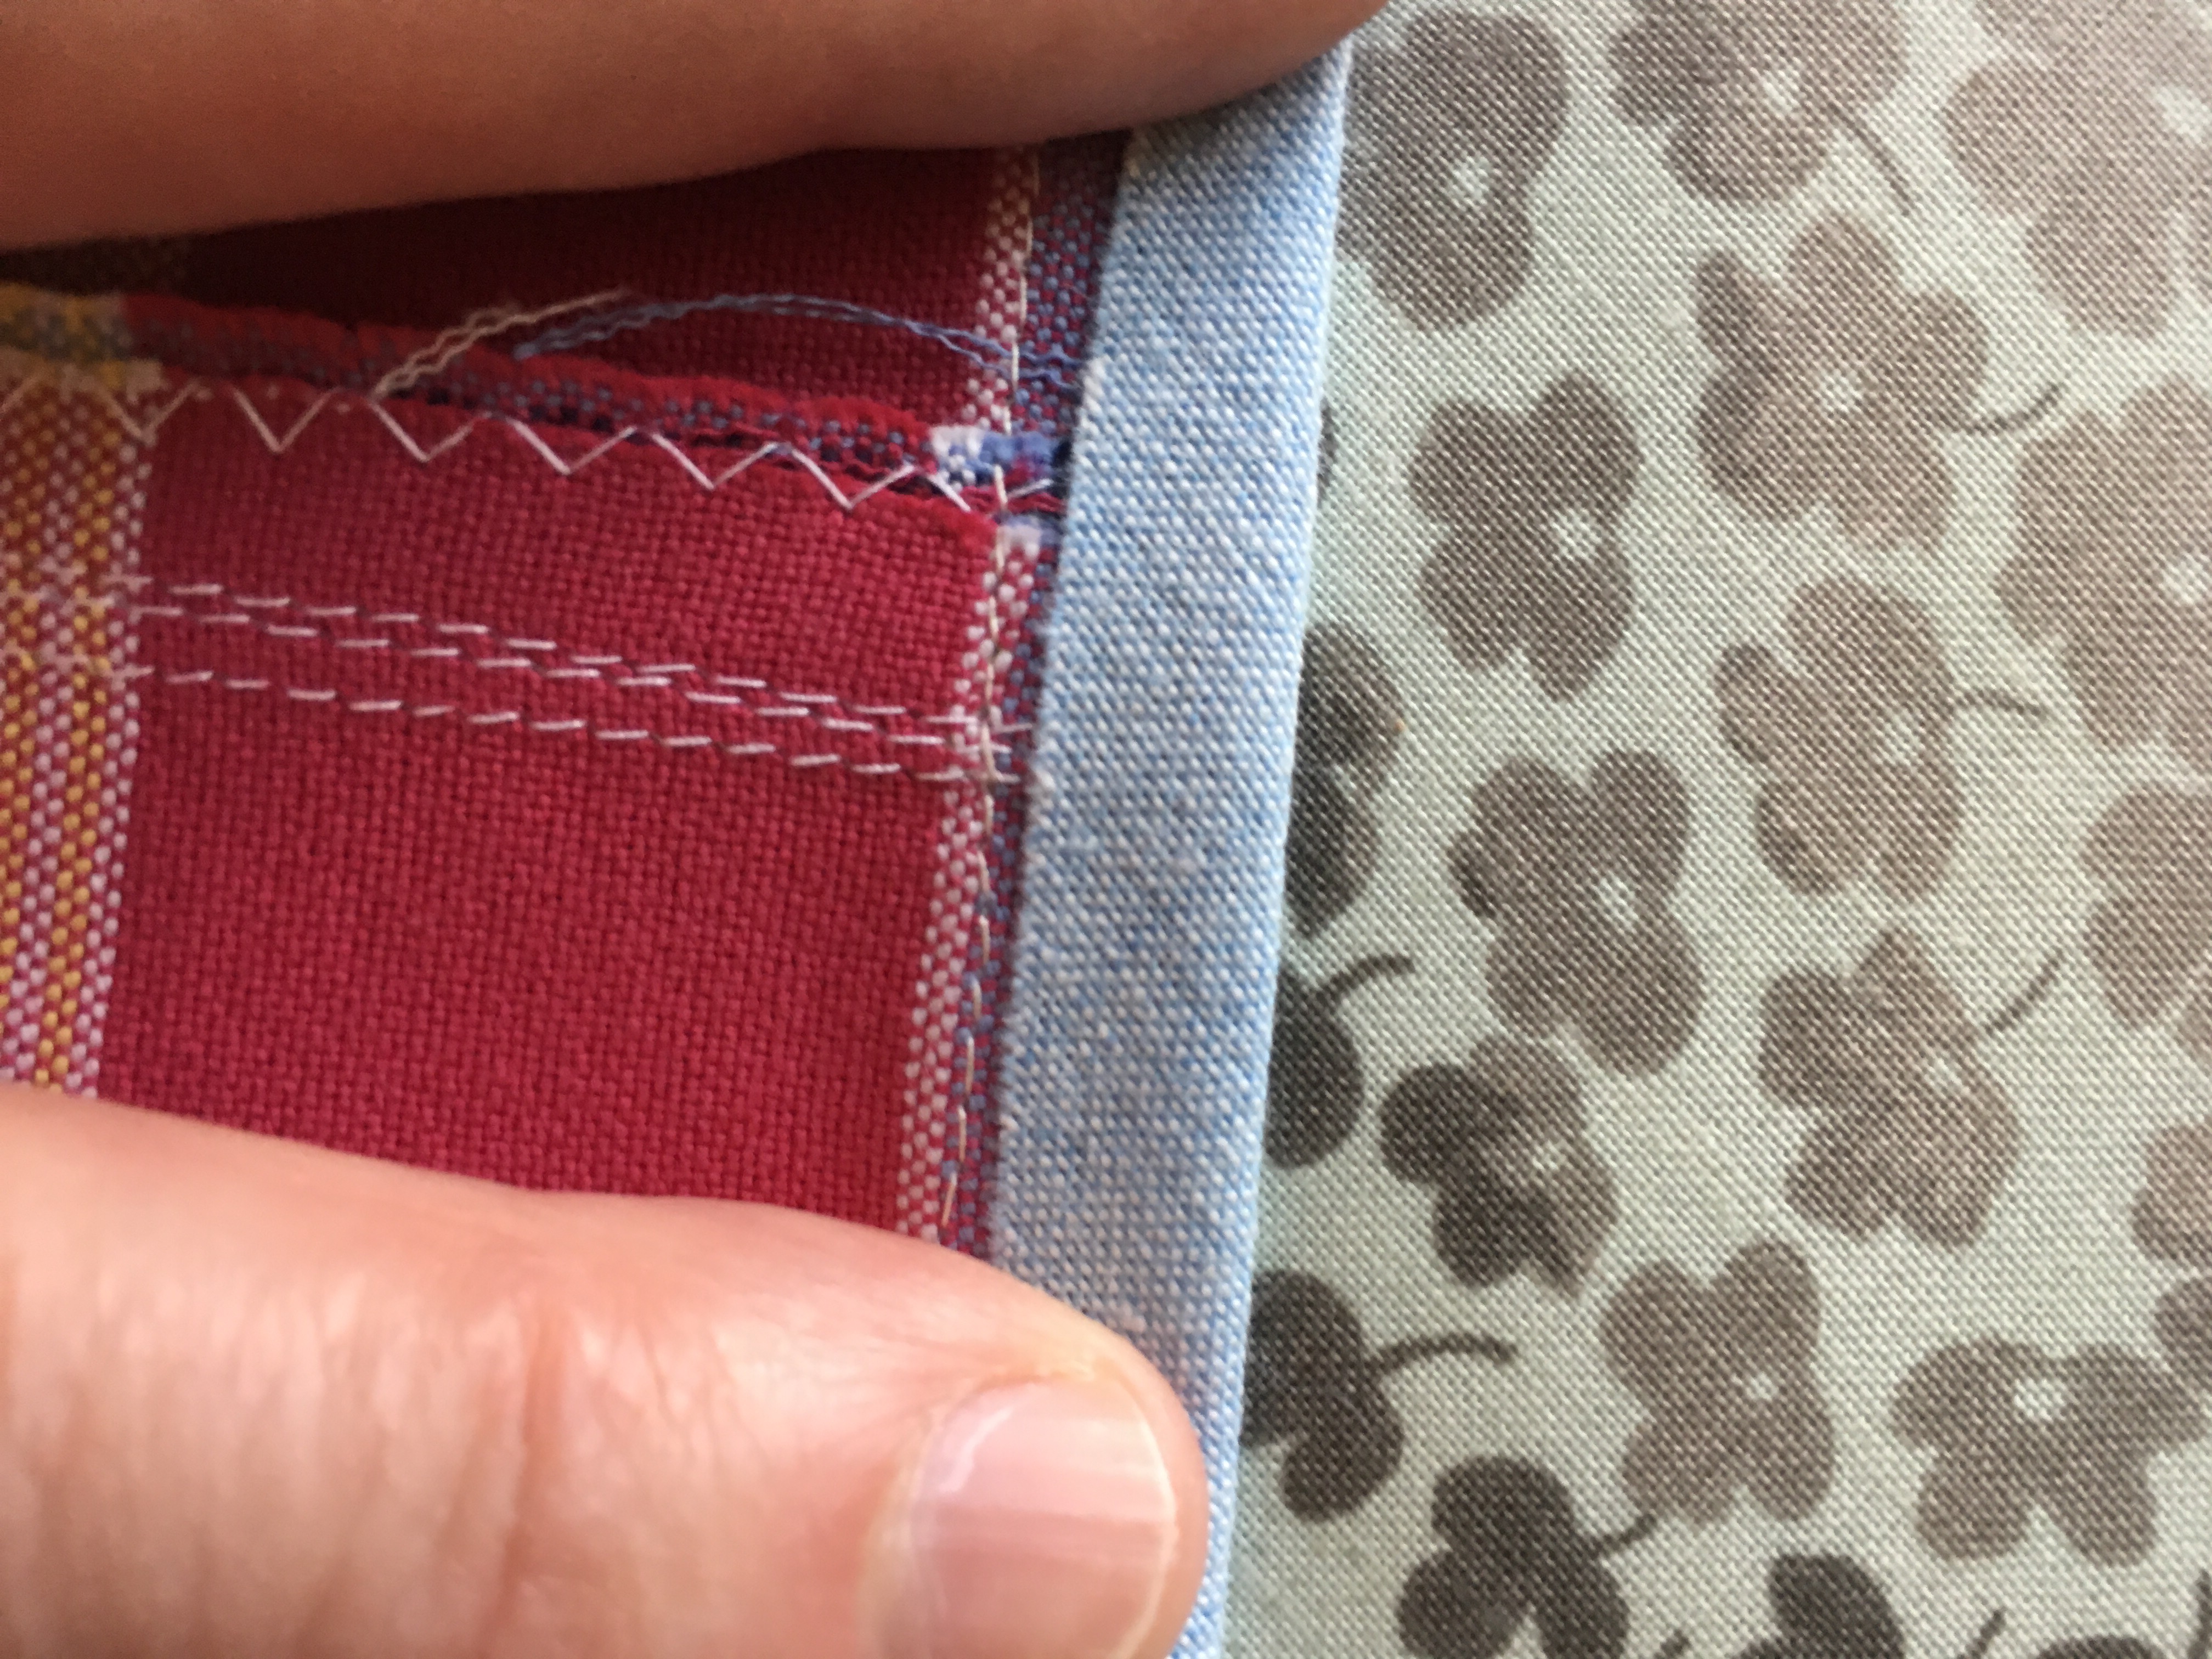
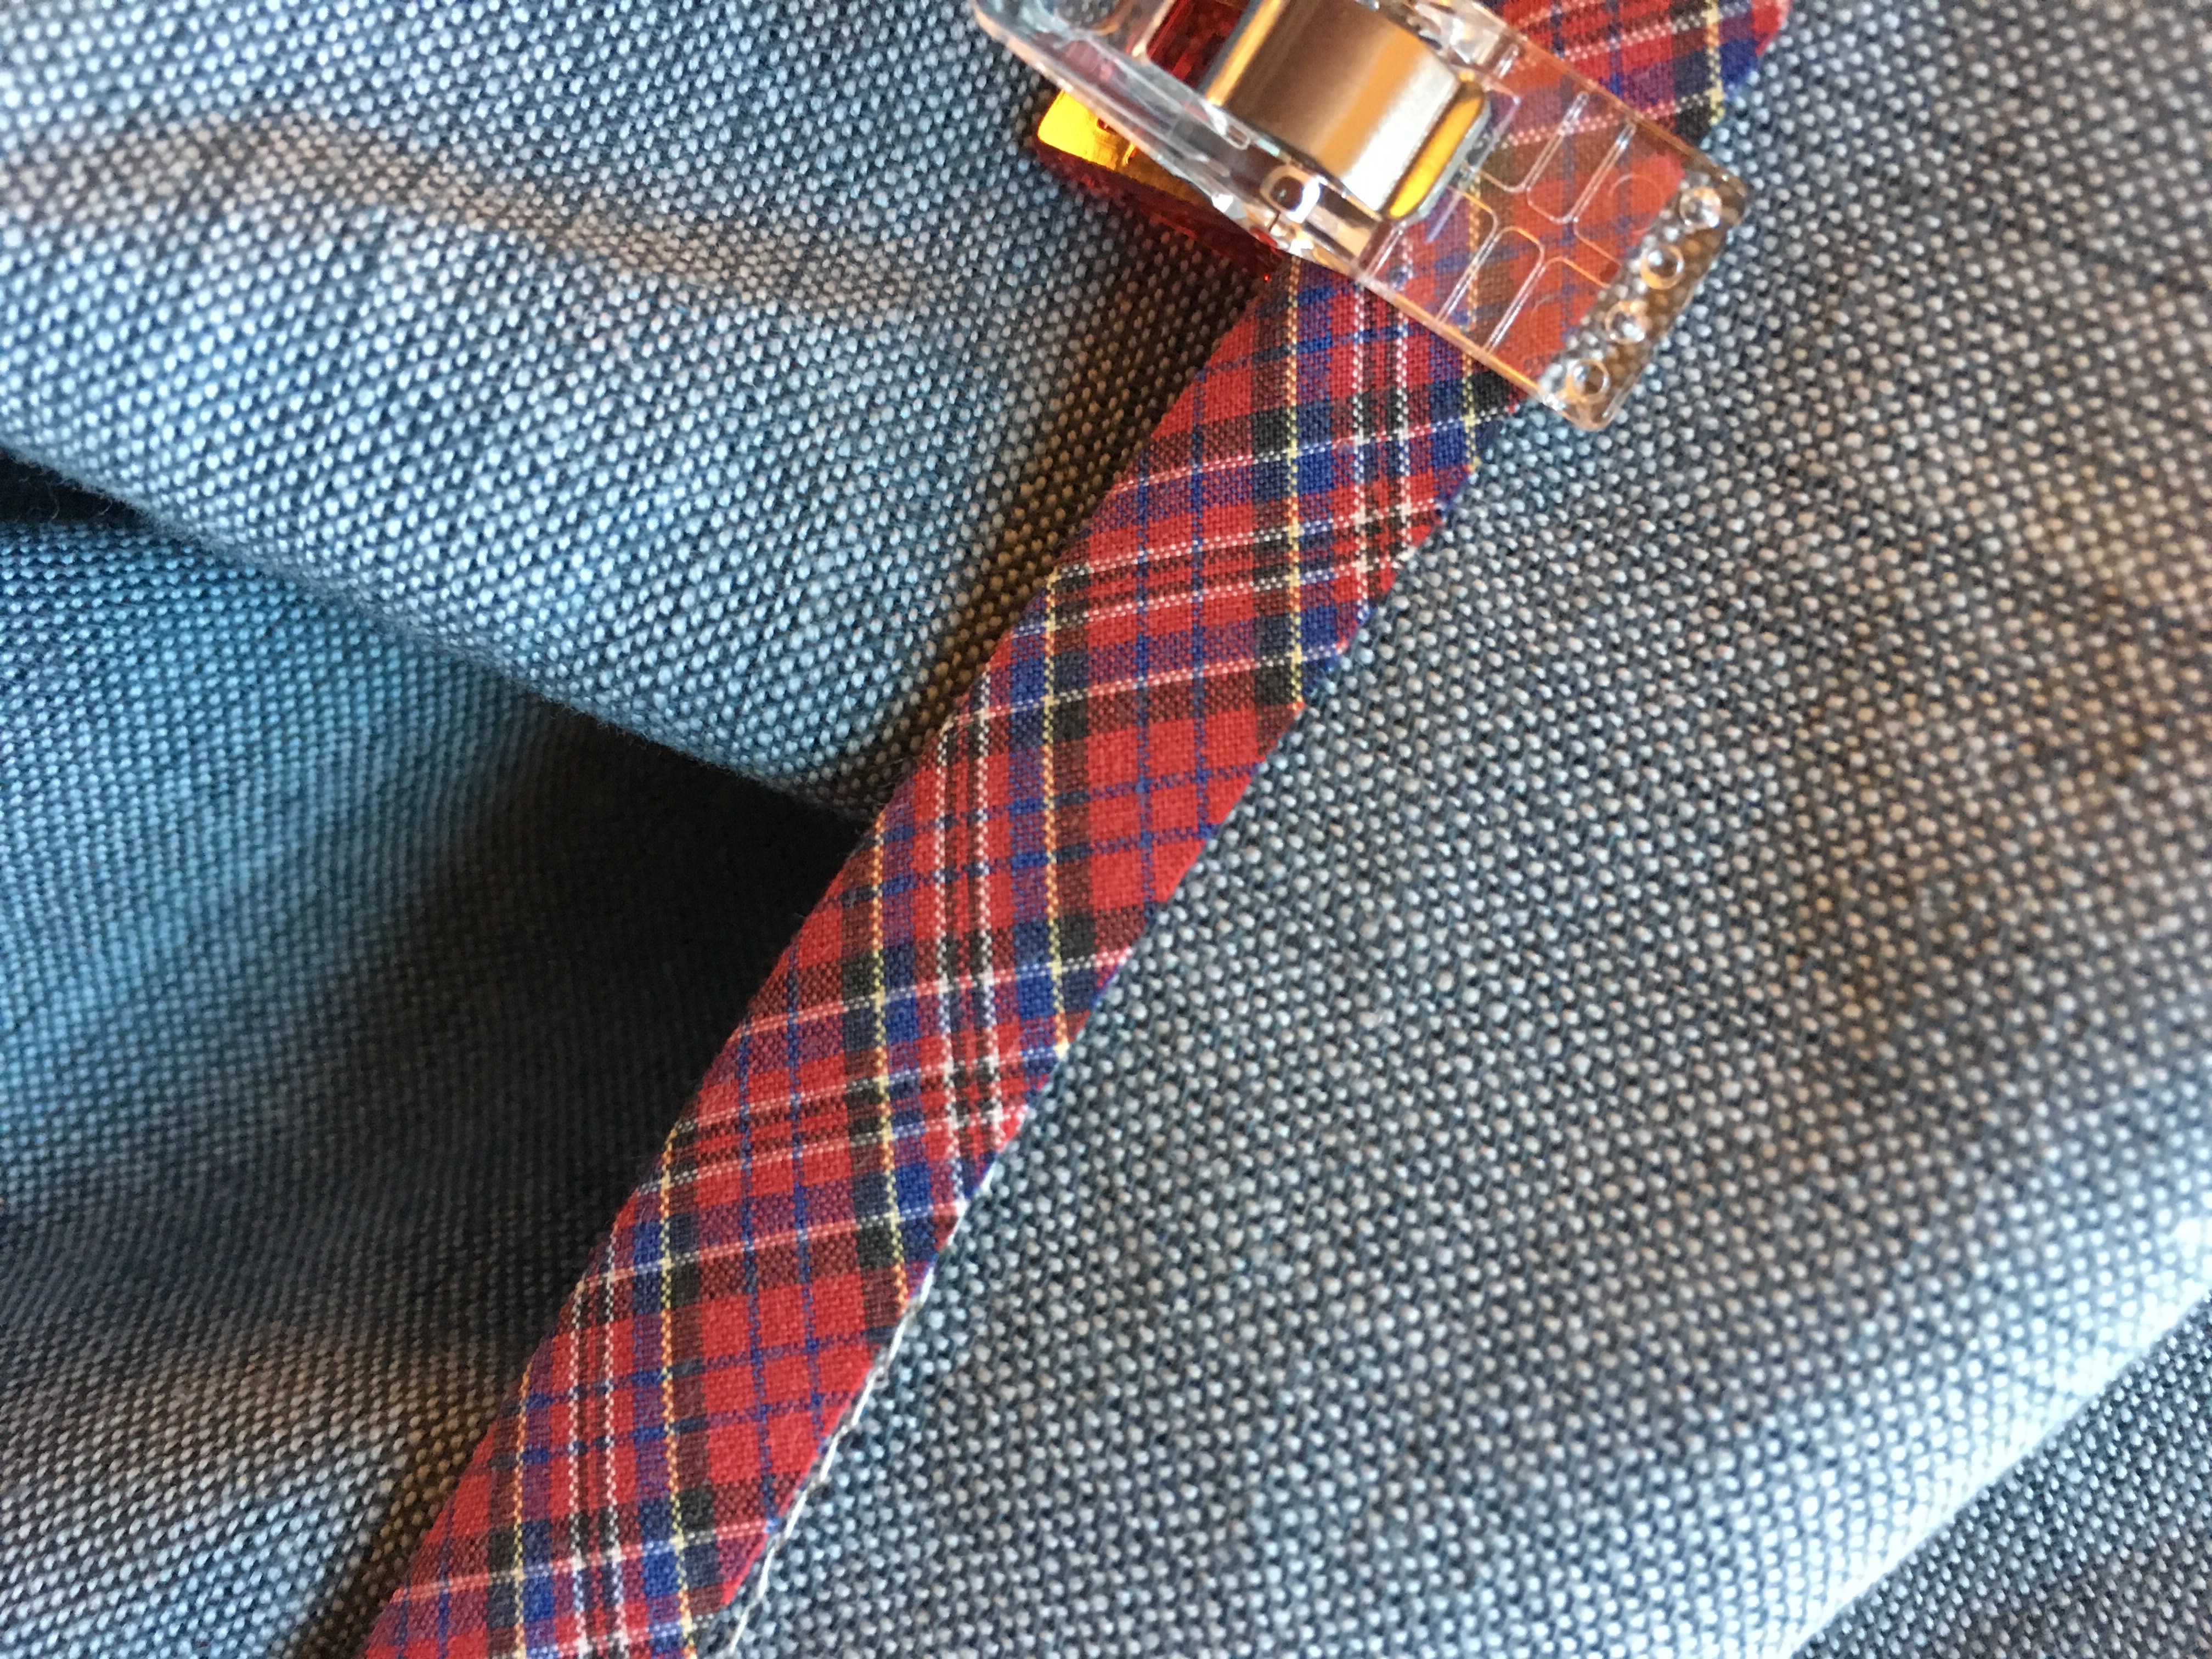
  I like using the wonder clips because I turn the blouse inside out and iron the binding to the wrong side and whereas I used to pin it in place on the wrong side and then flip it and have to move all the pins to the outside before sewing, the side doesn’t matter with the wonder clips and it saves a step. This is what the outside looks like before sewing the second seam.
 I also sewed a facing onto the hem of this Gemma using more of the binding tape. For some reason, I get a much neater hem doing this than just turning up the fabric. Although it might seem like more work, the seam line gives a visual place to turn up the edge, I iron like crazy and everything just turns out neater. I also like a slightly wider hem than the pattern calls for because I find it lies flatter and doesn’t curl up.
 I do a lot of ironing when I make the hems this way. I have described this in several previous blogs. I often use contrasting fabric for fun. You can see other examples
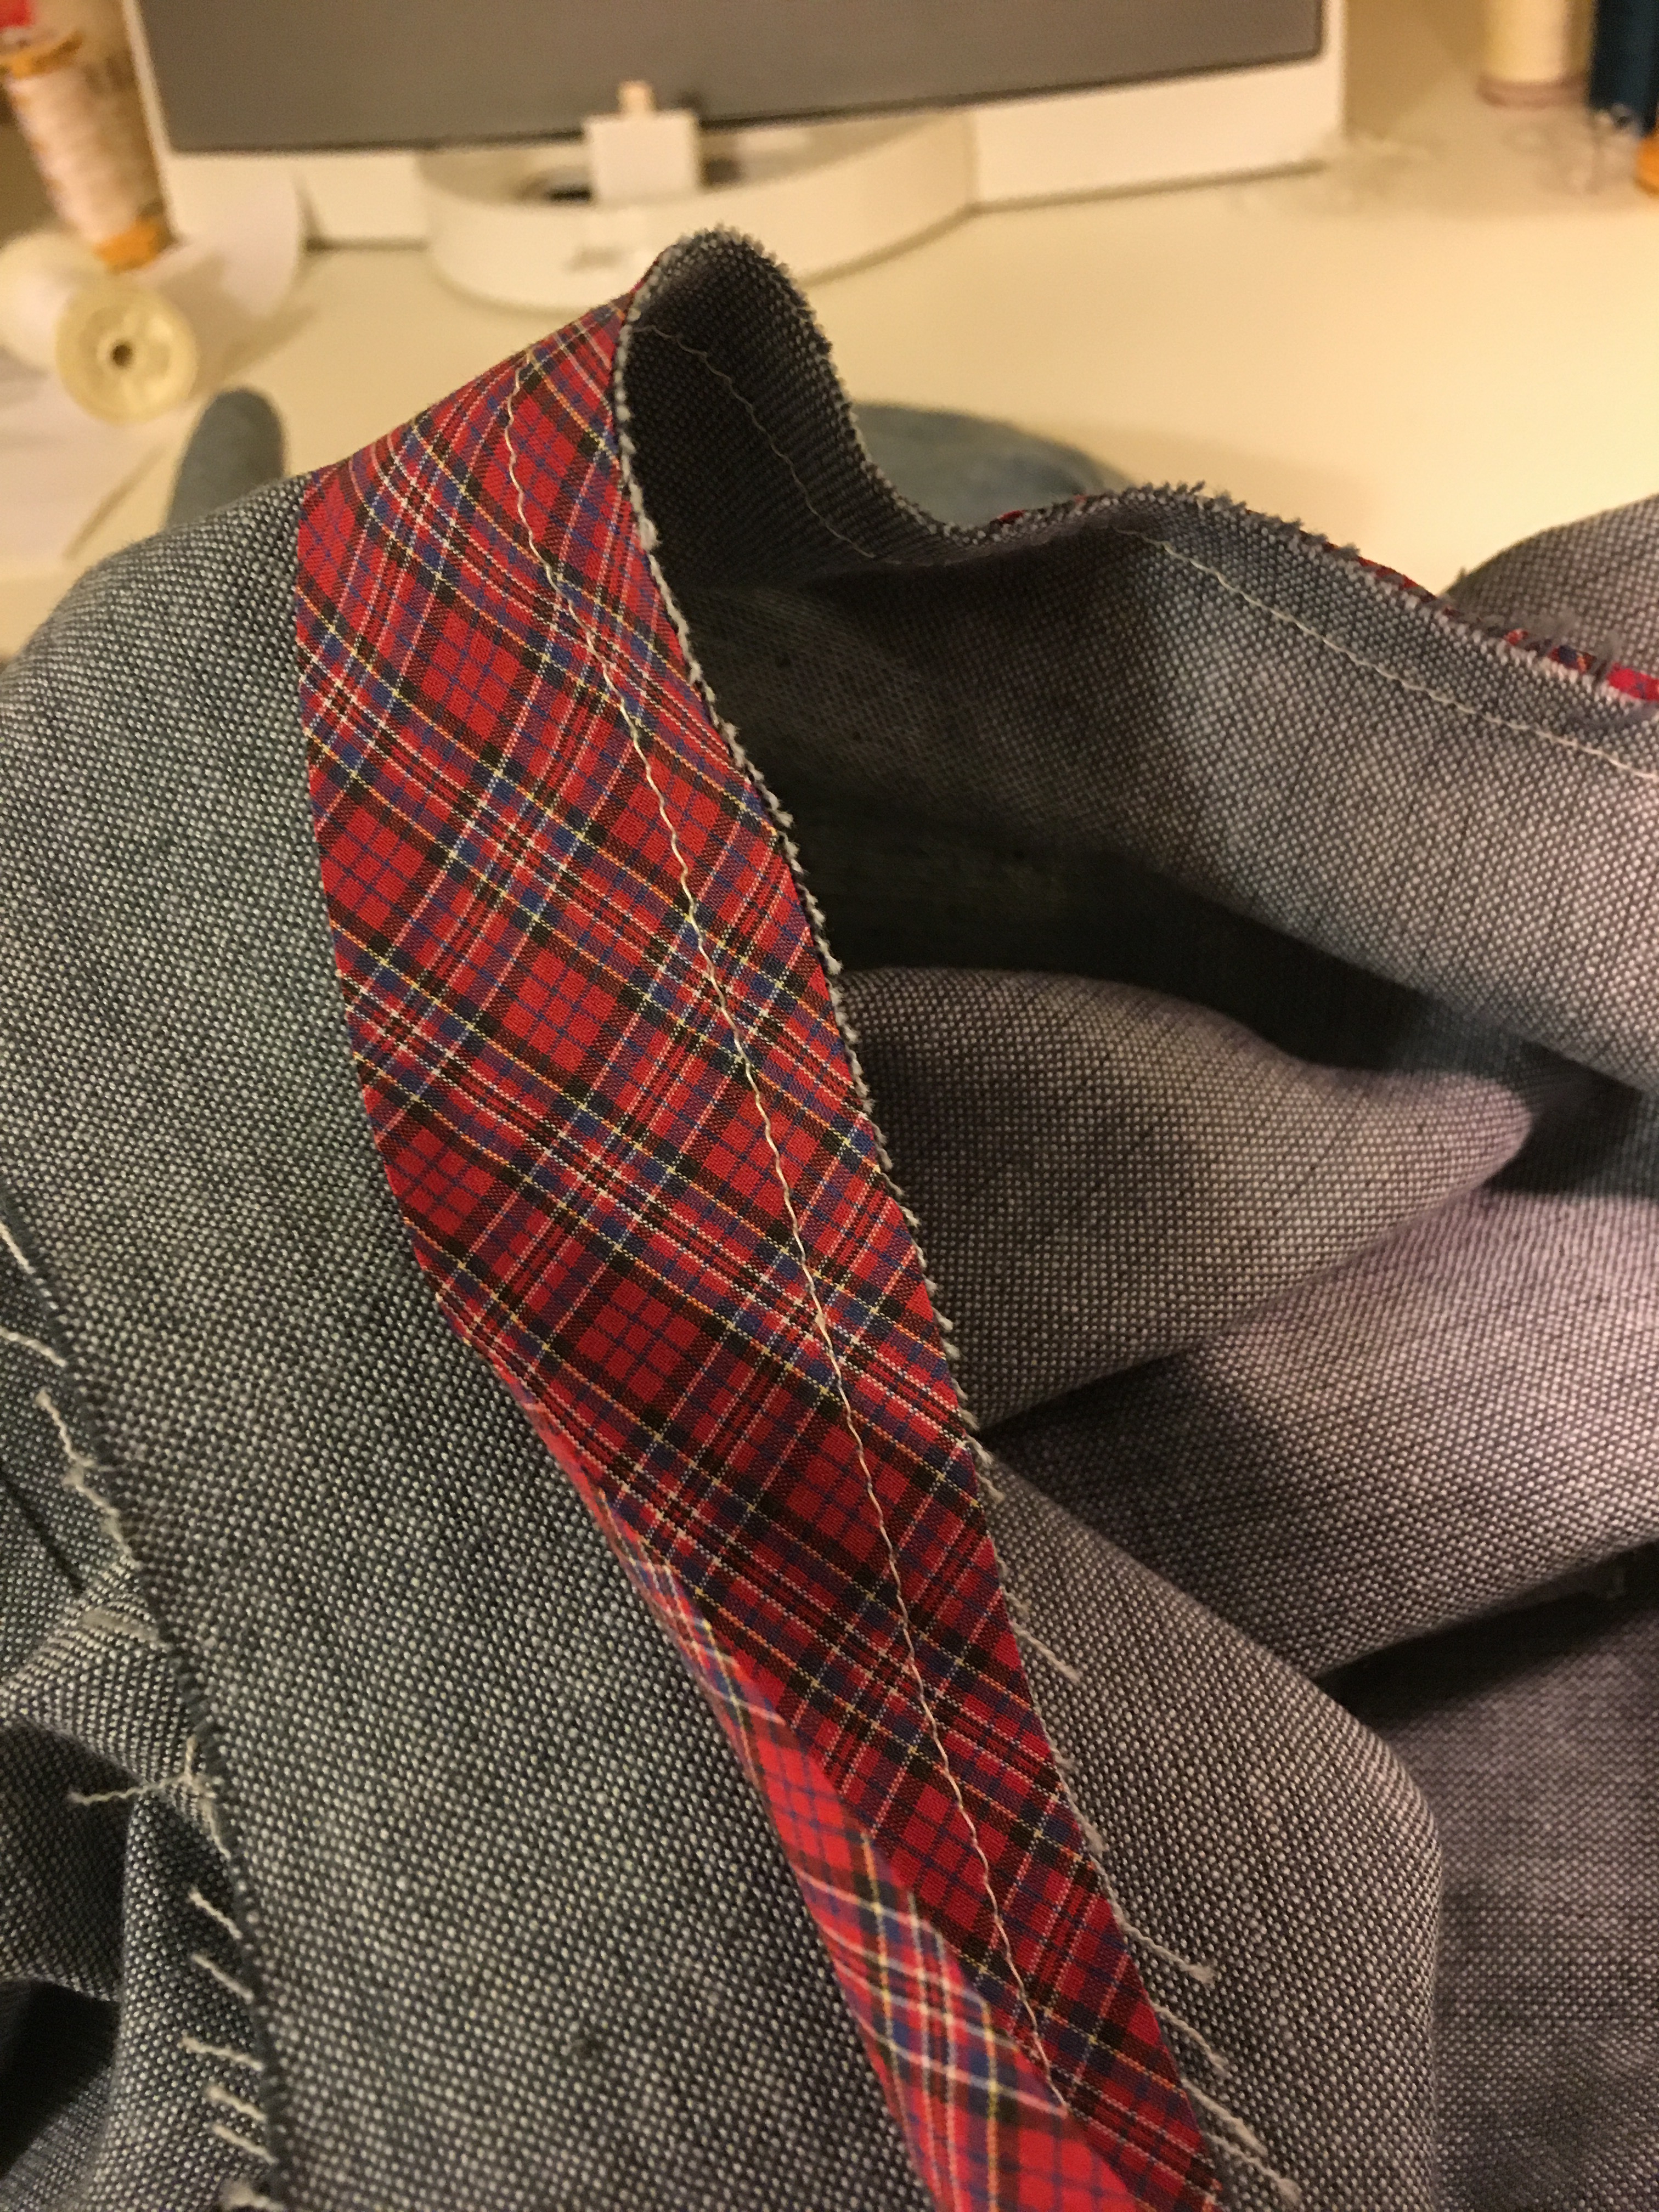
 As those of you who follow me on


 I made two new Washi dresses for family members. A

 and a
and a 


 When I made my first
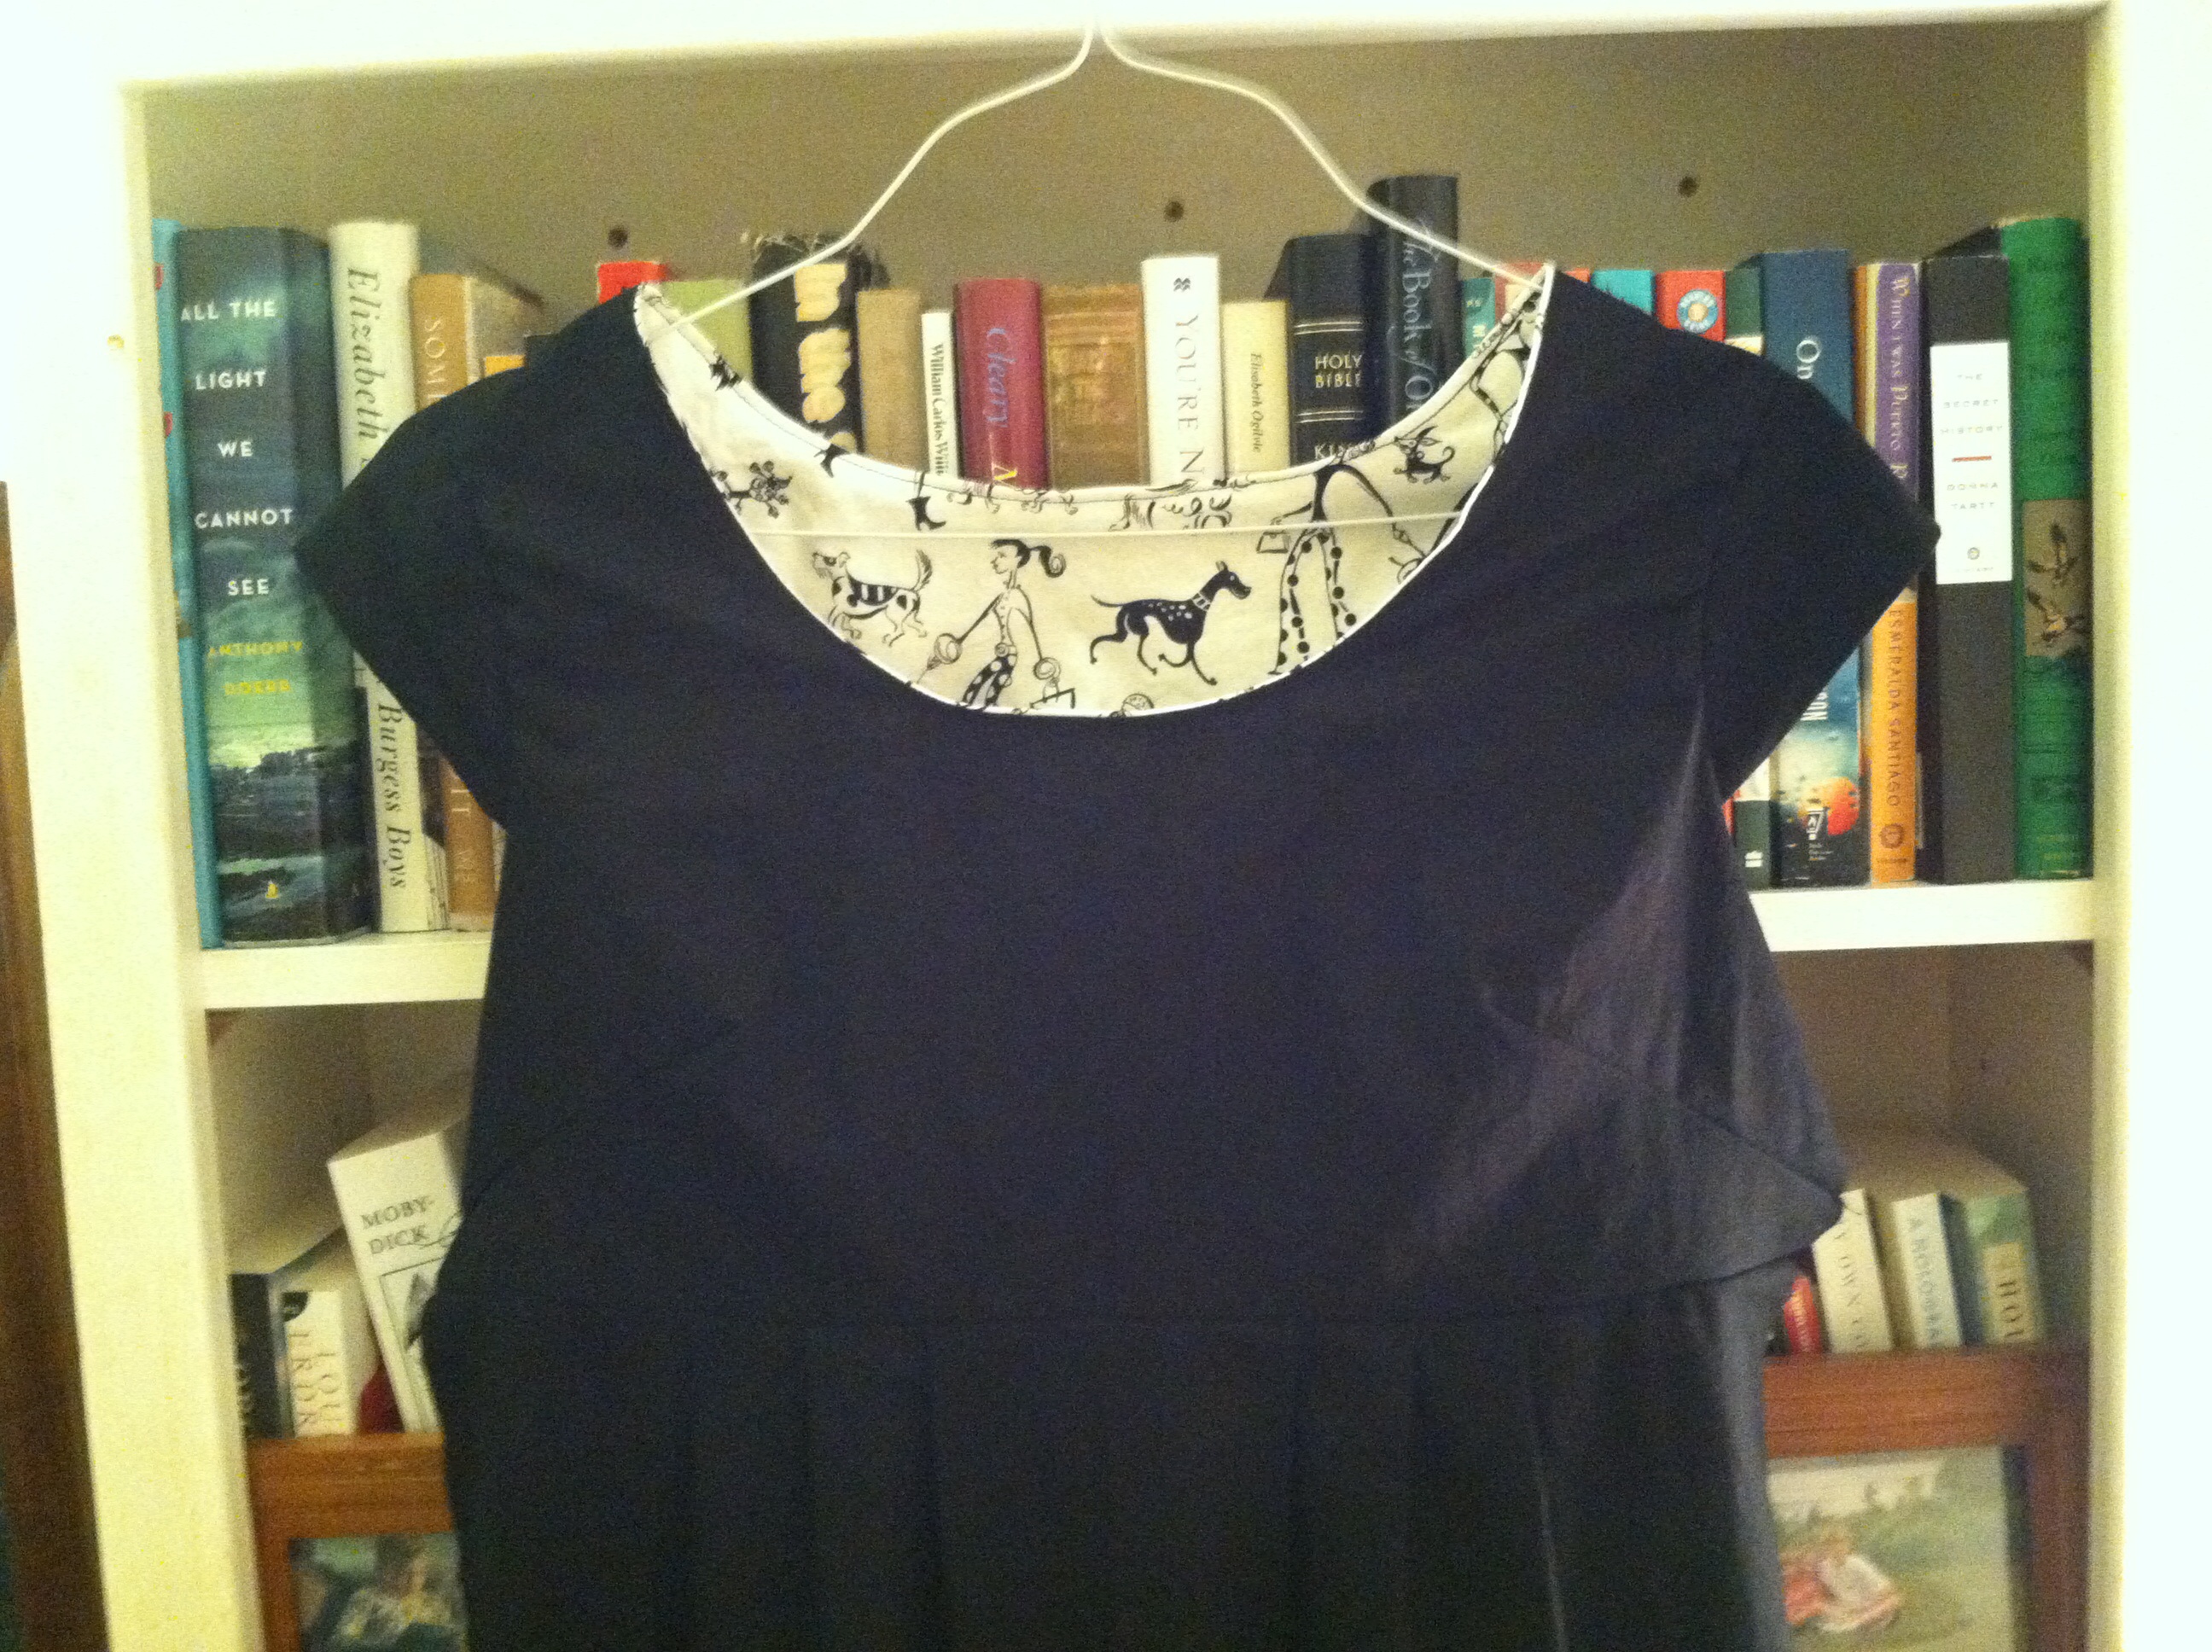
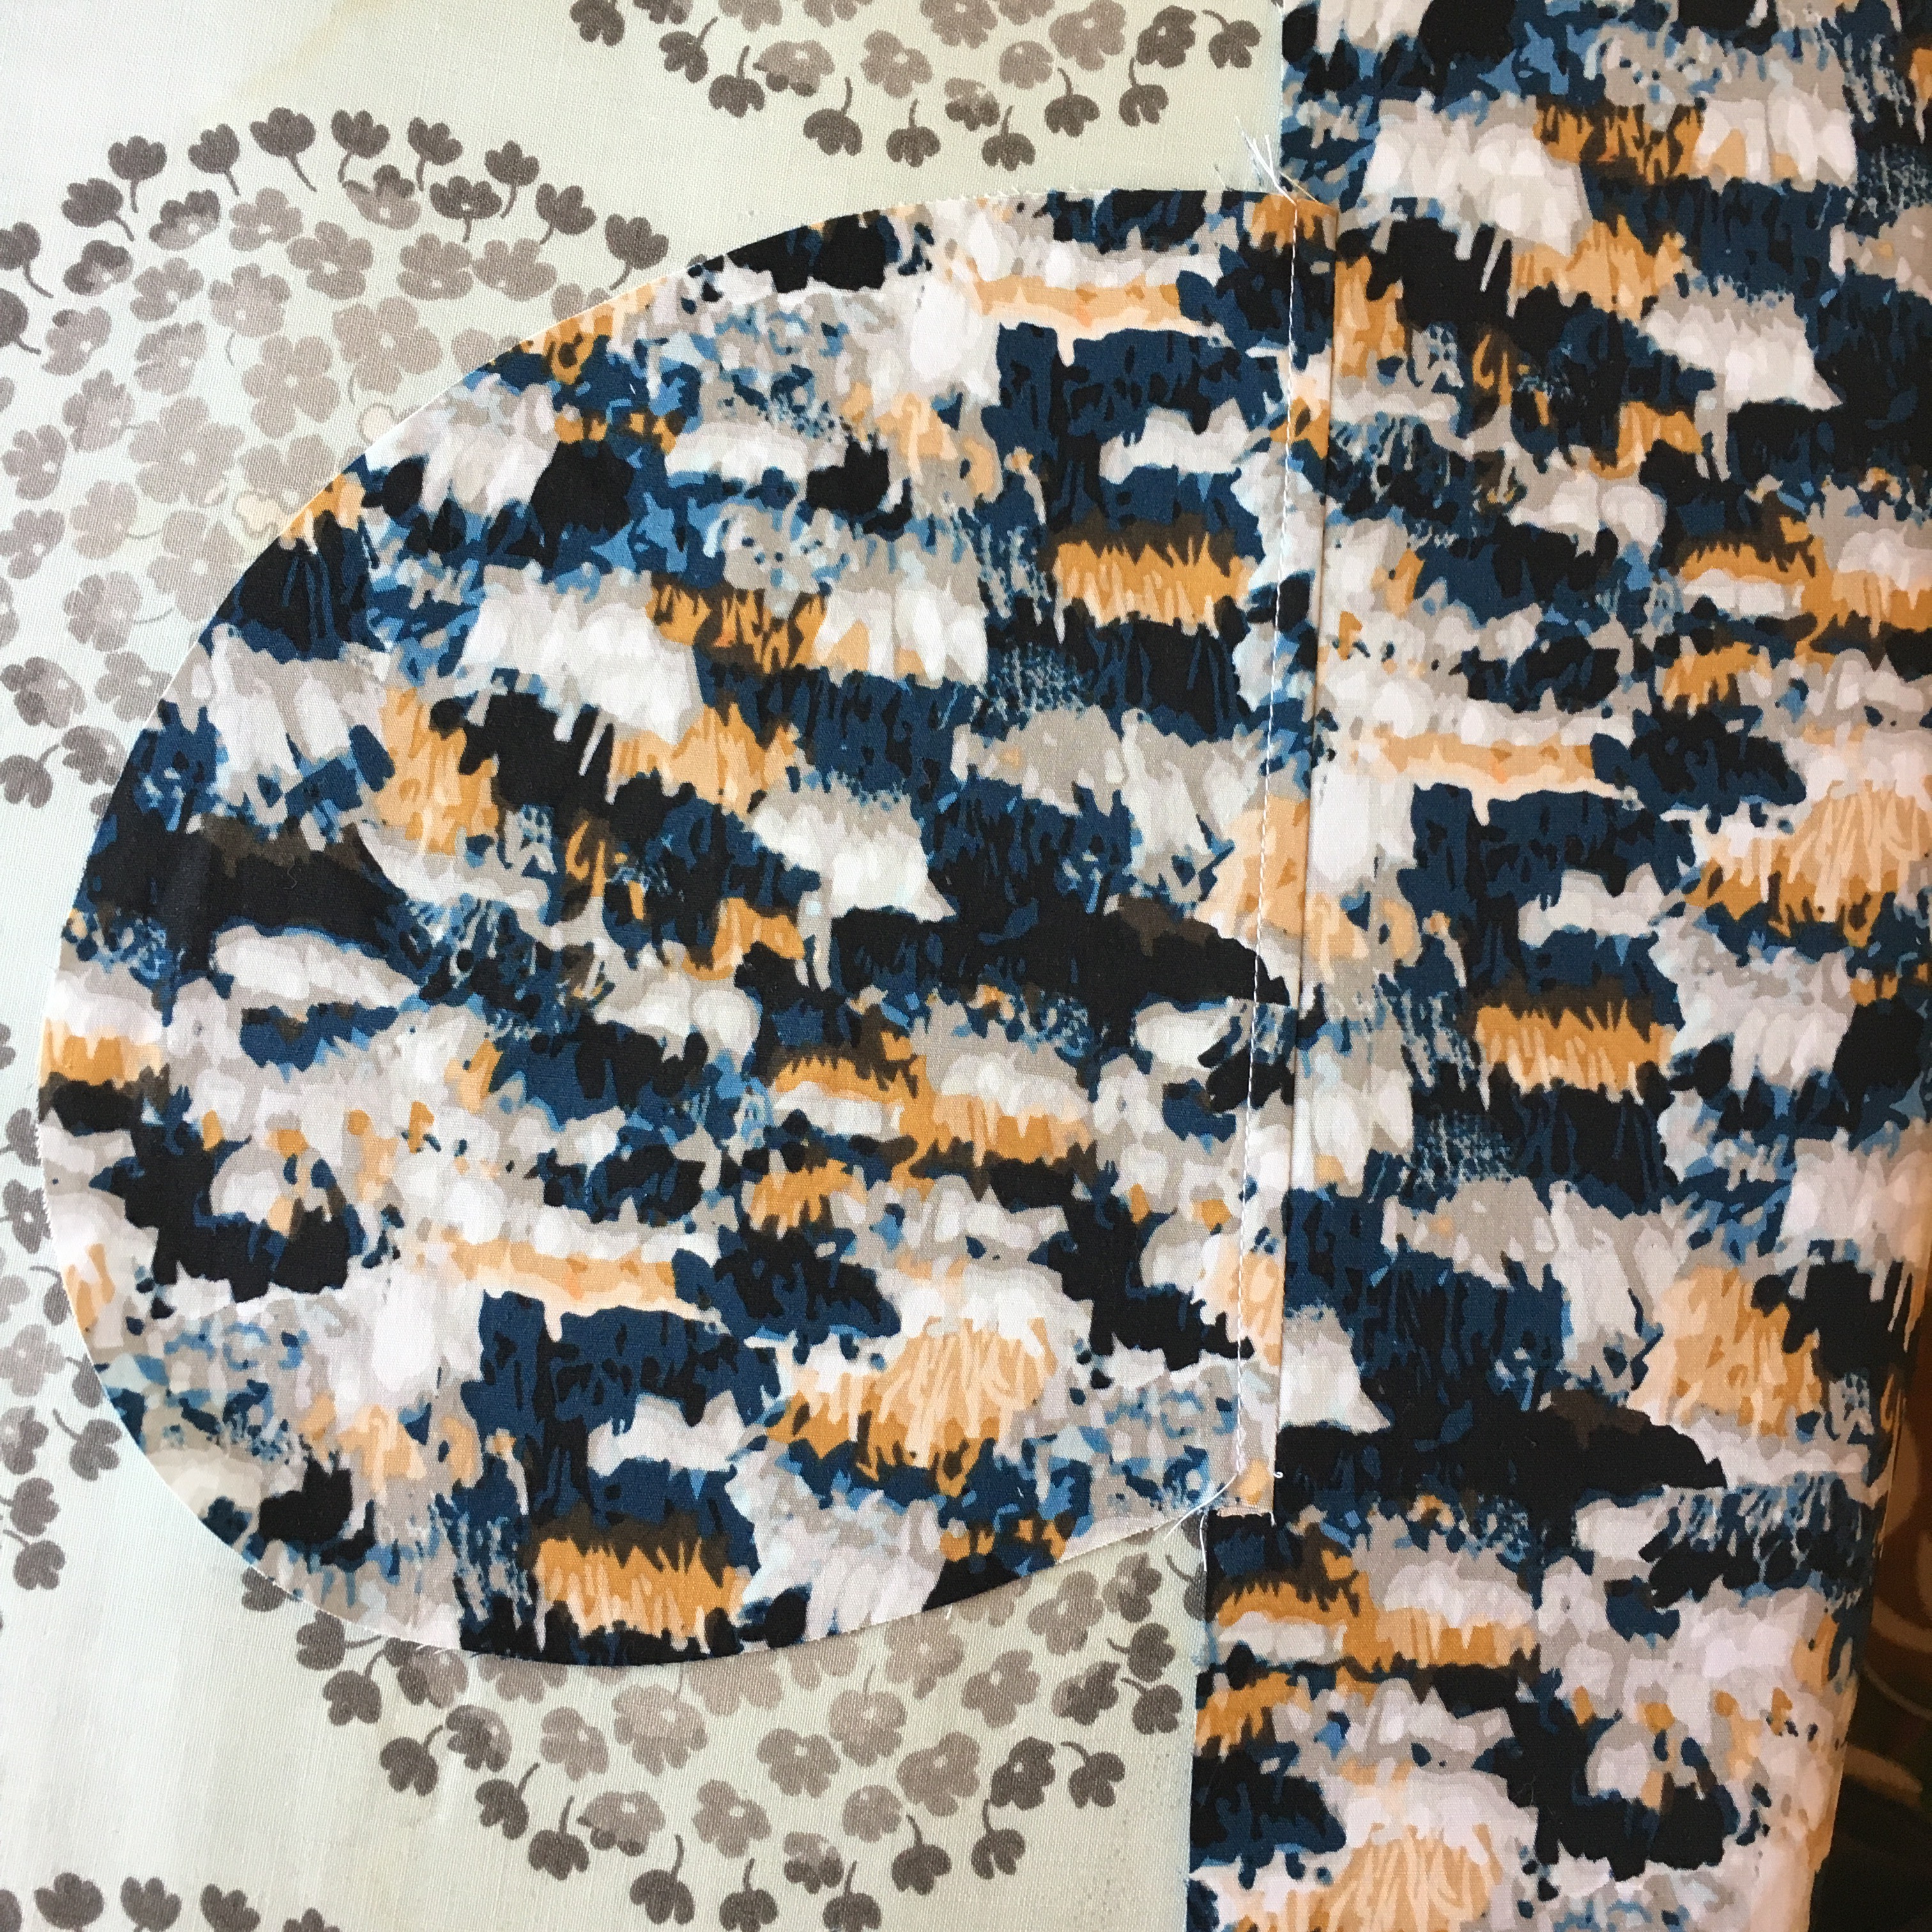
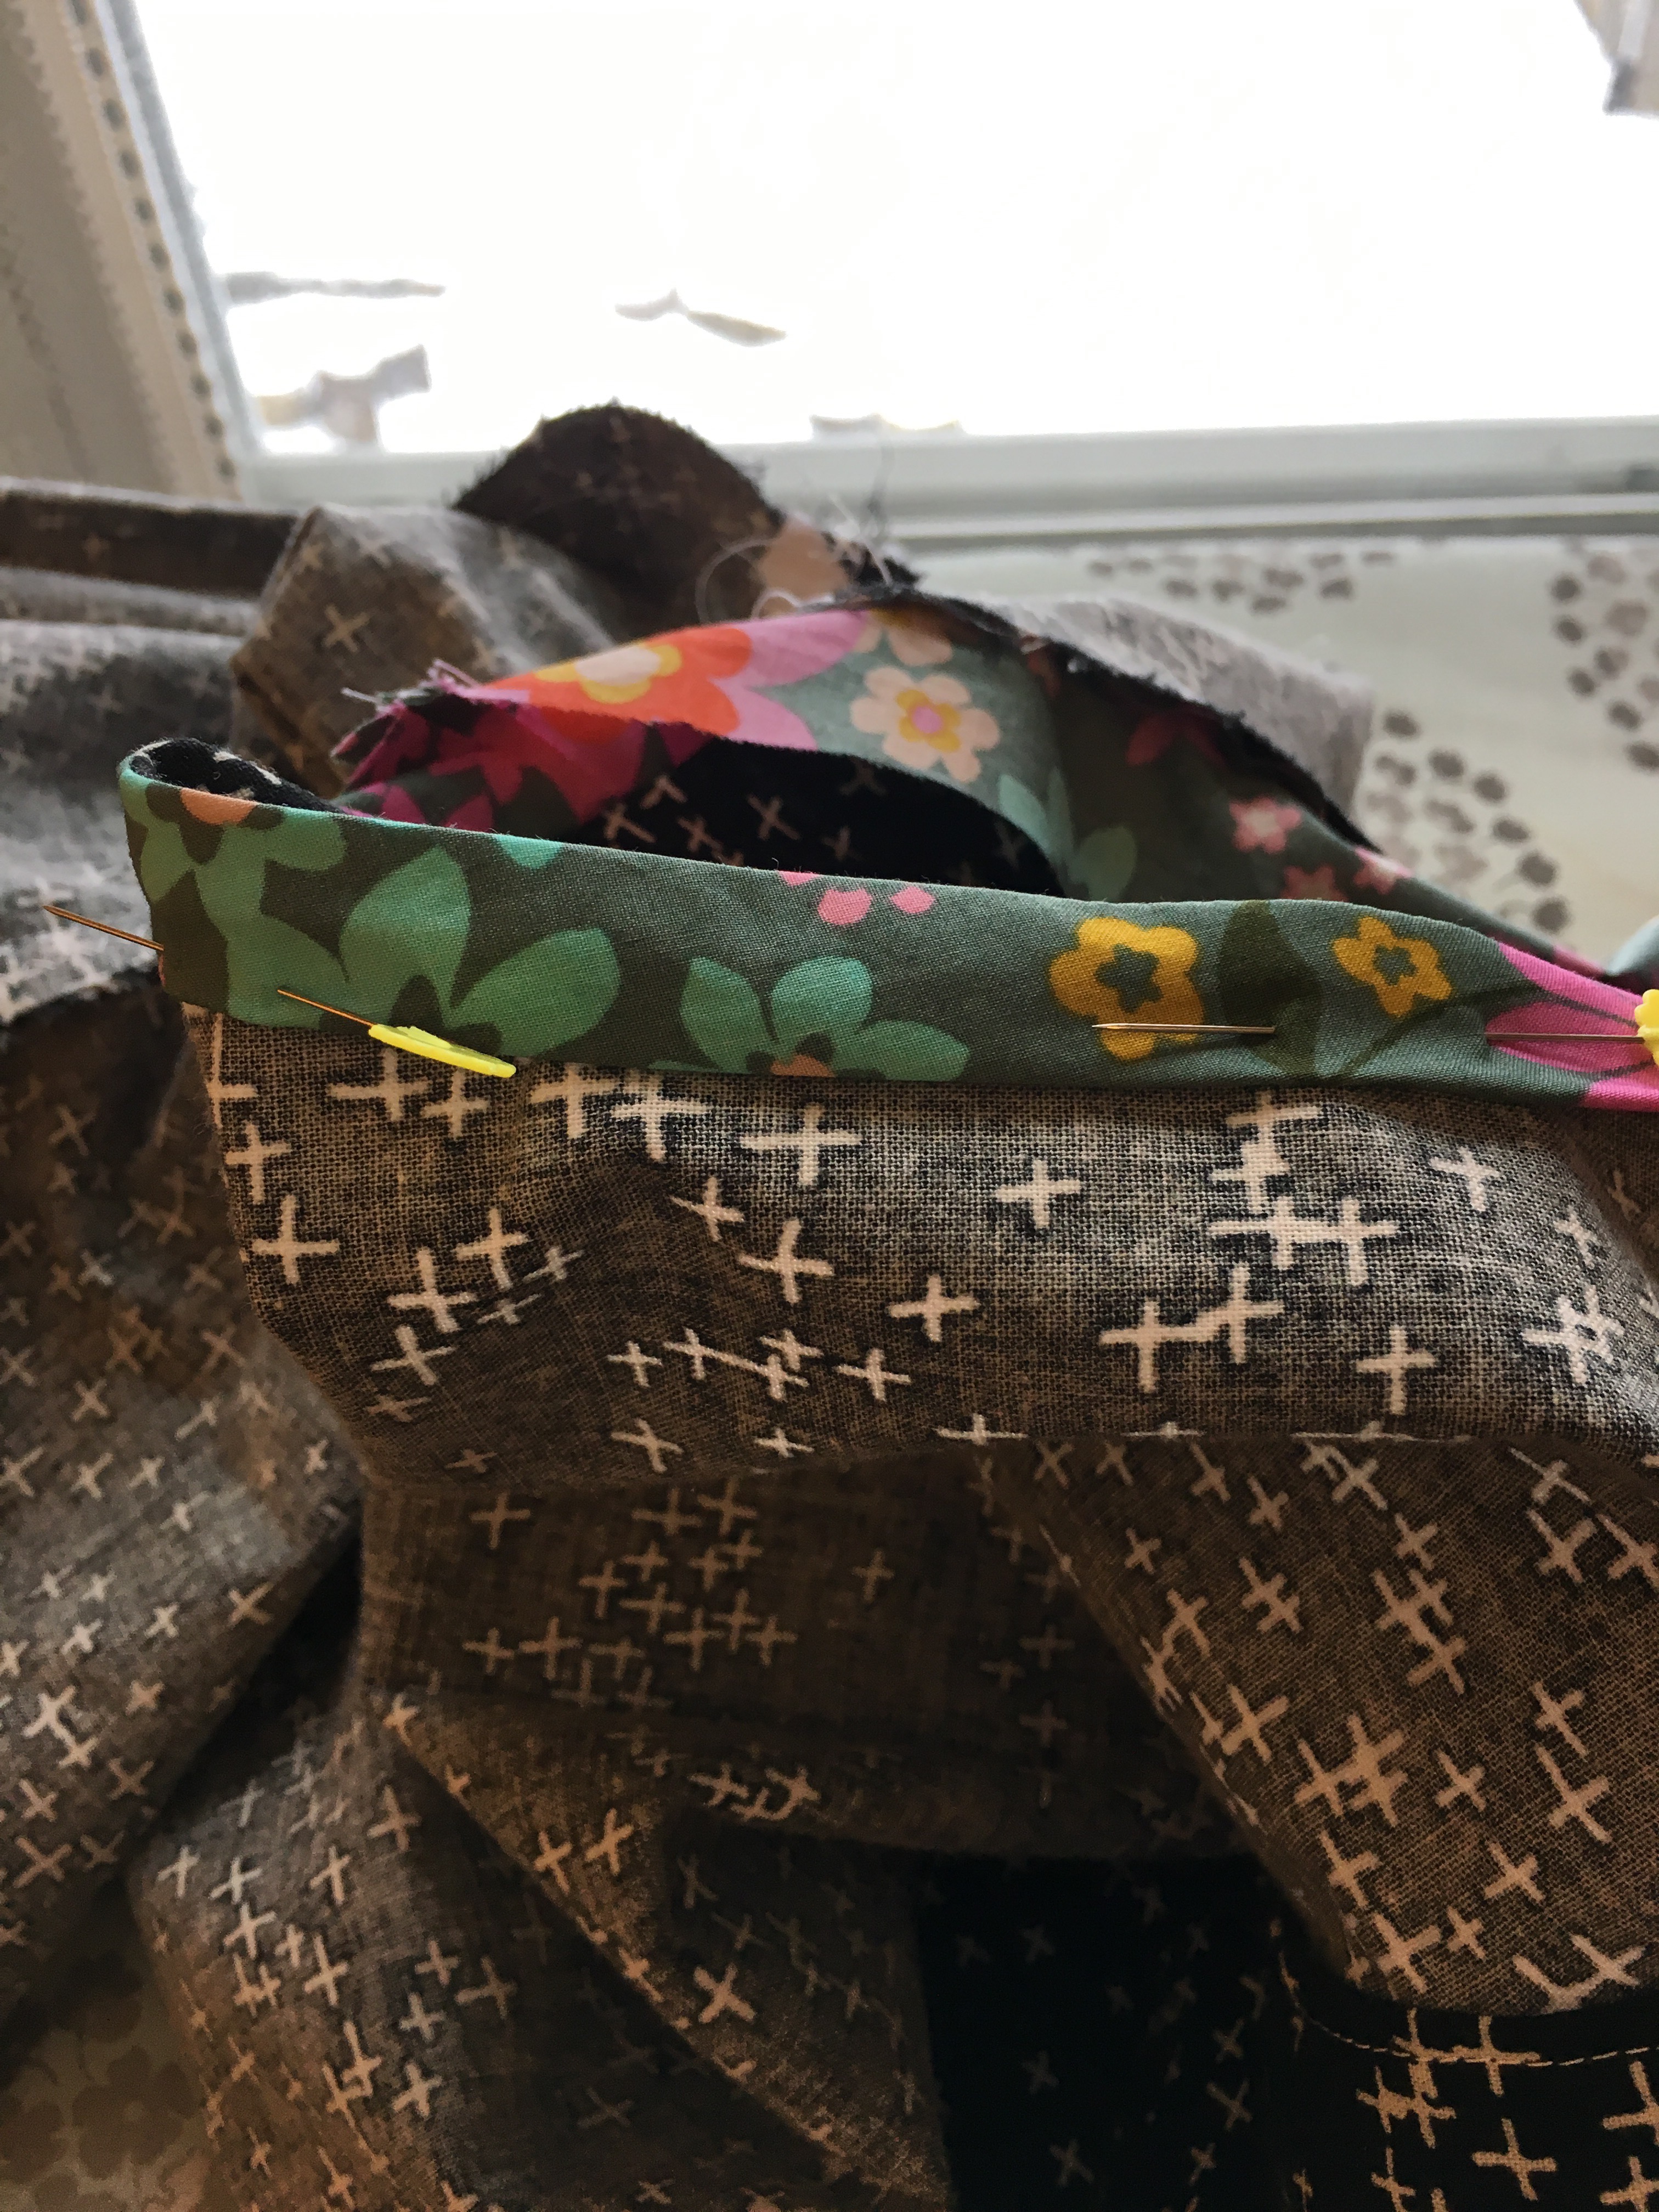
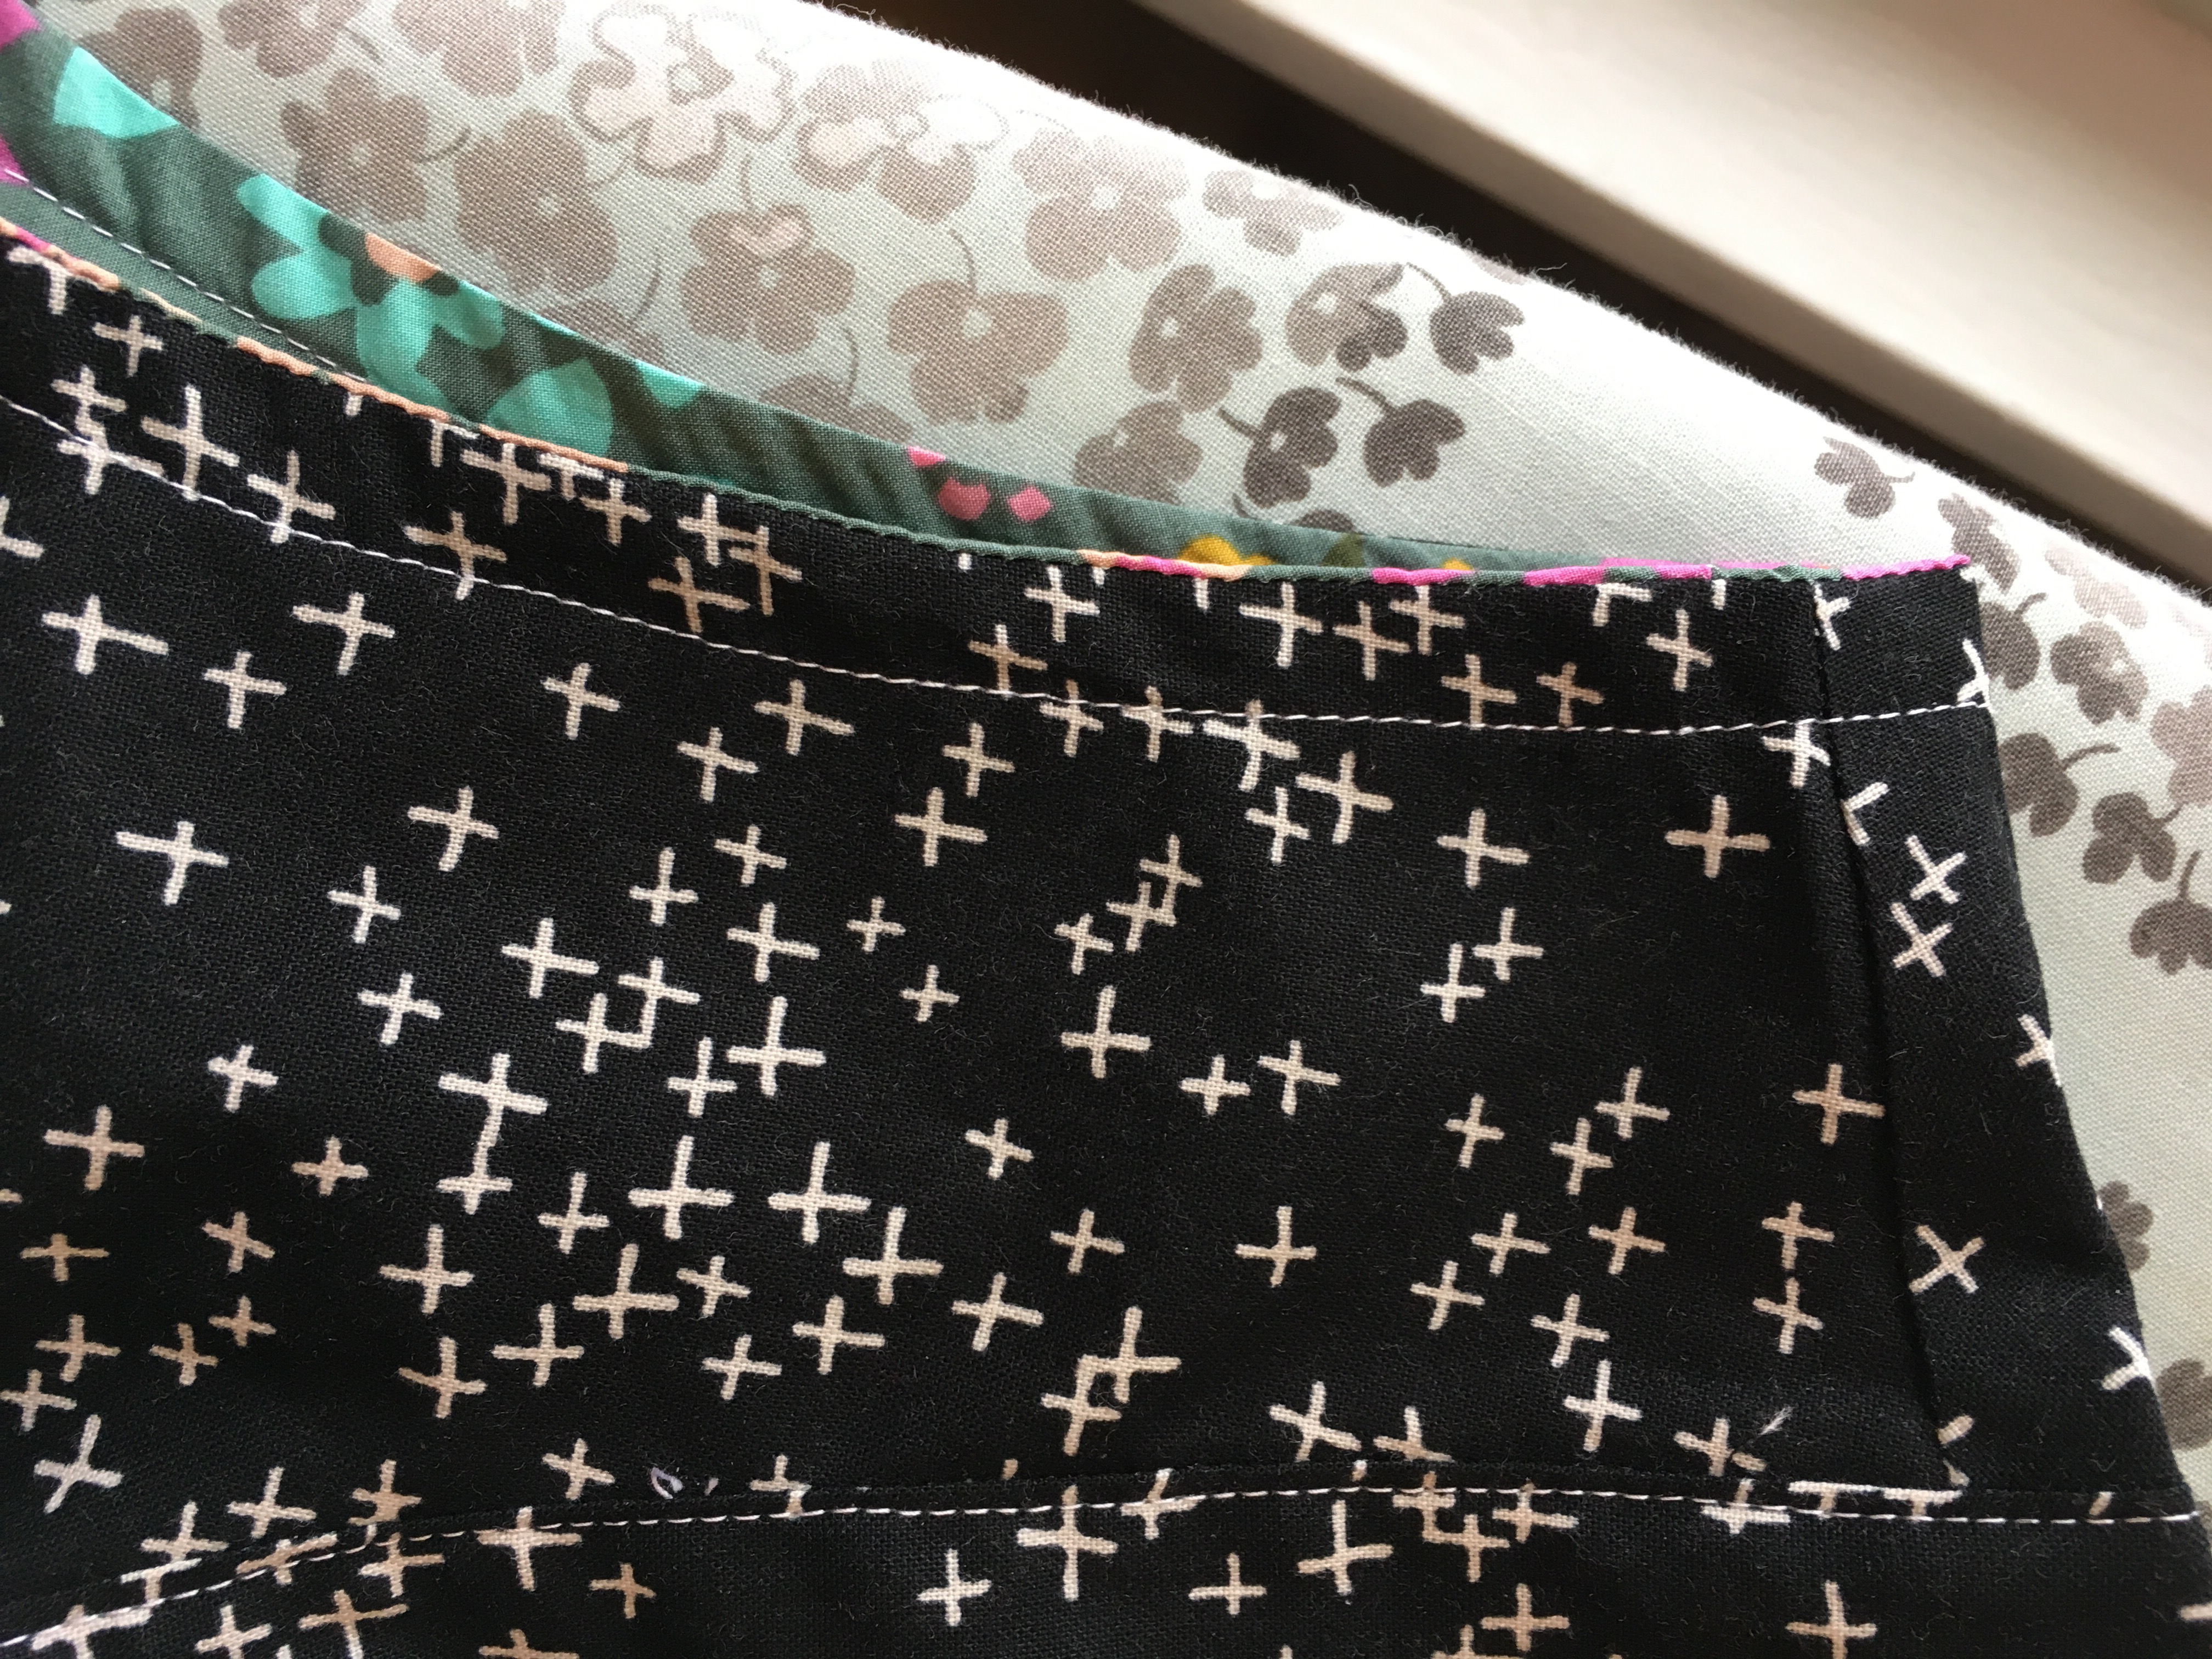
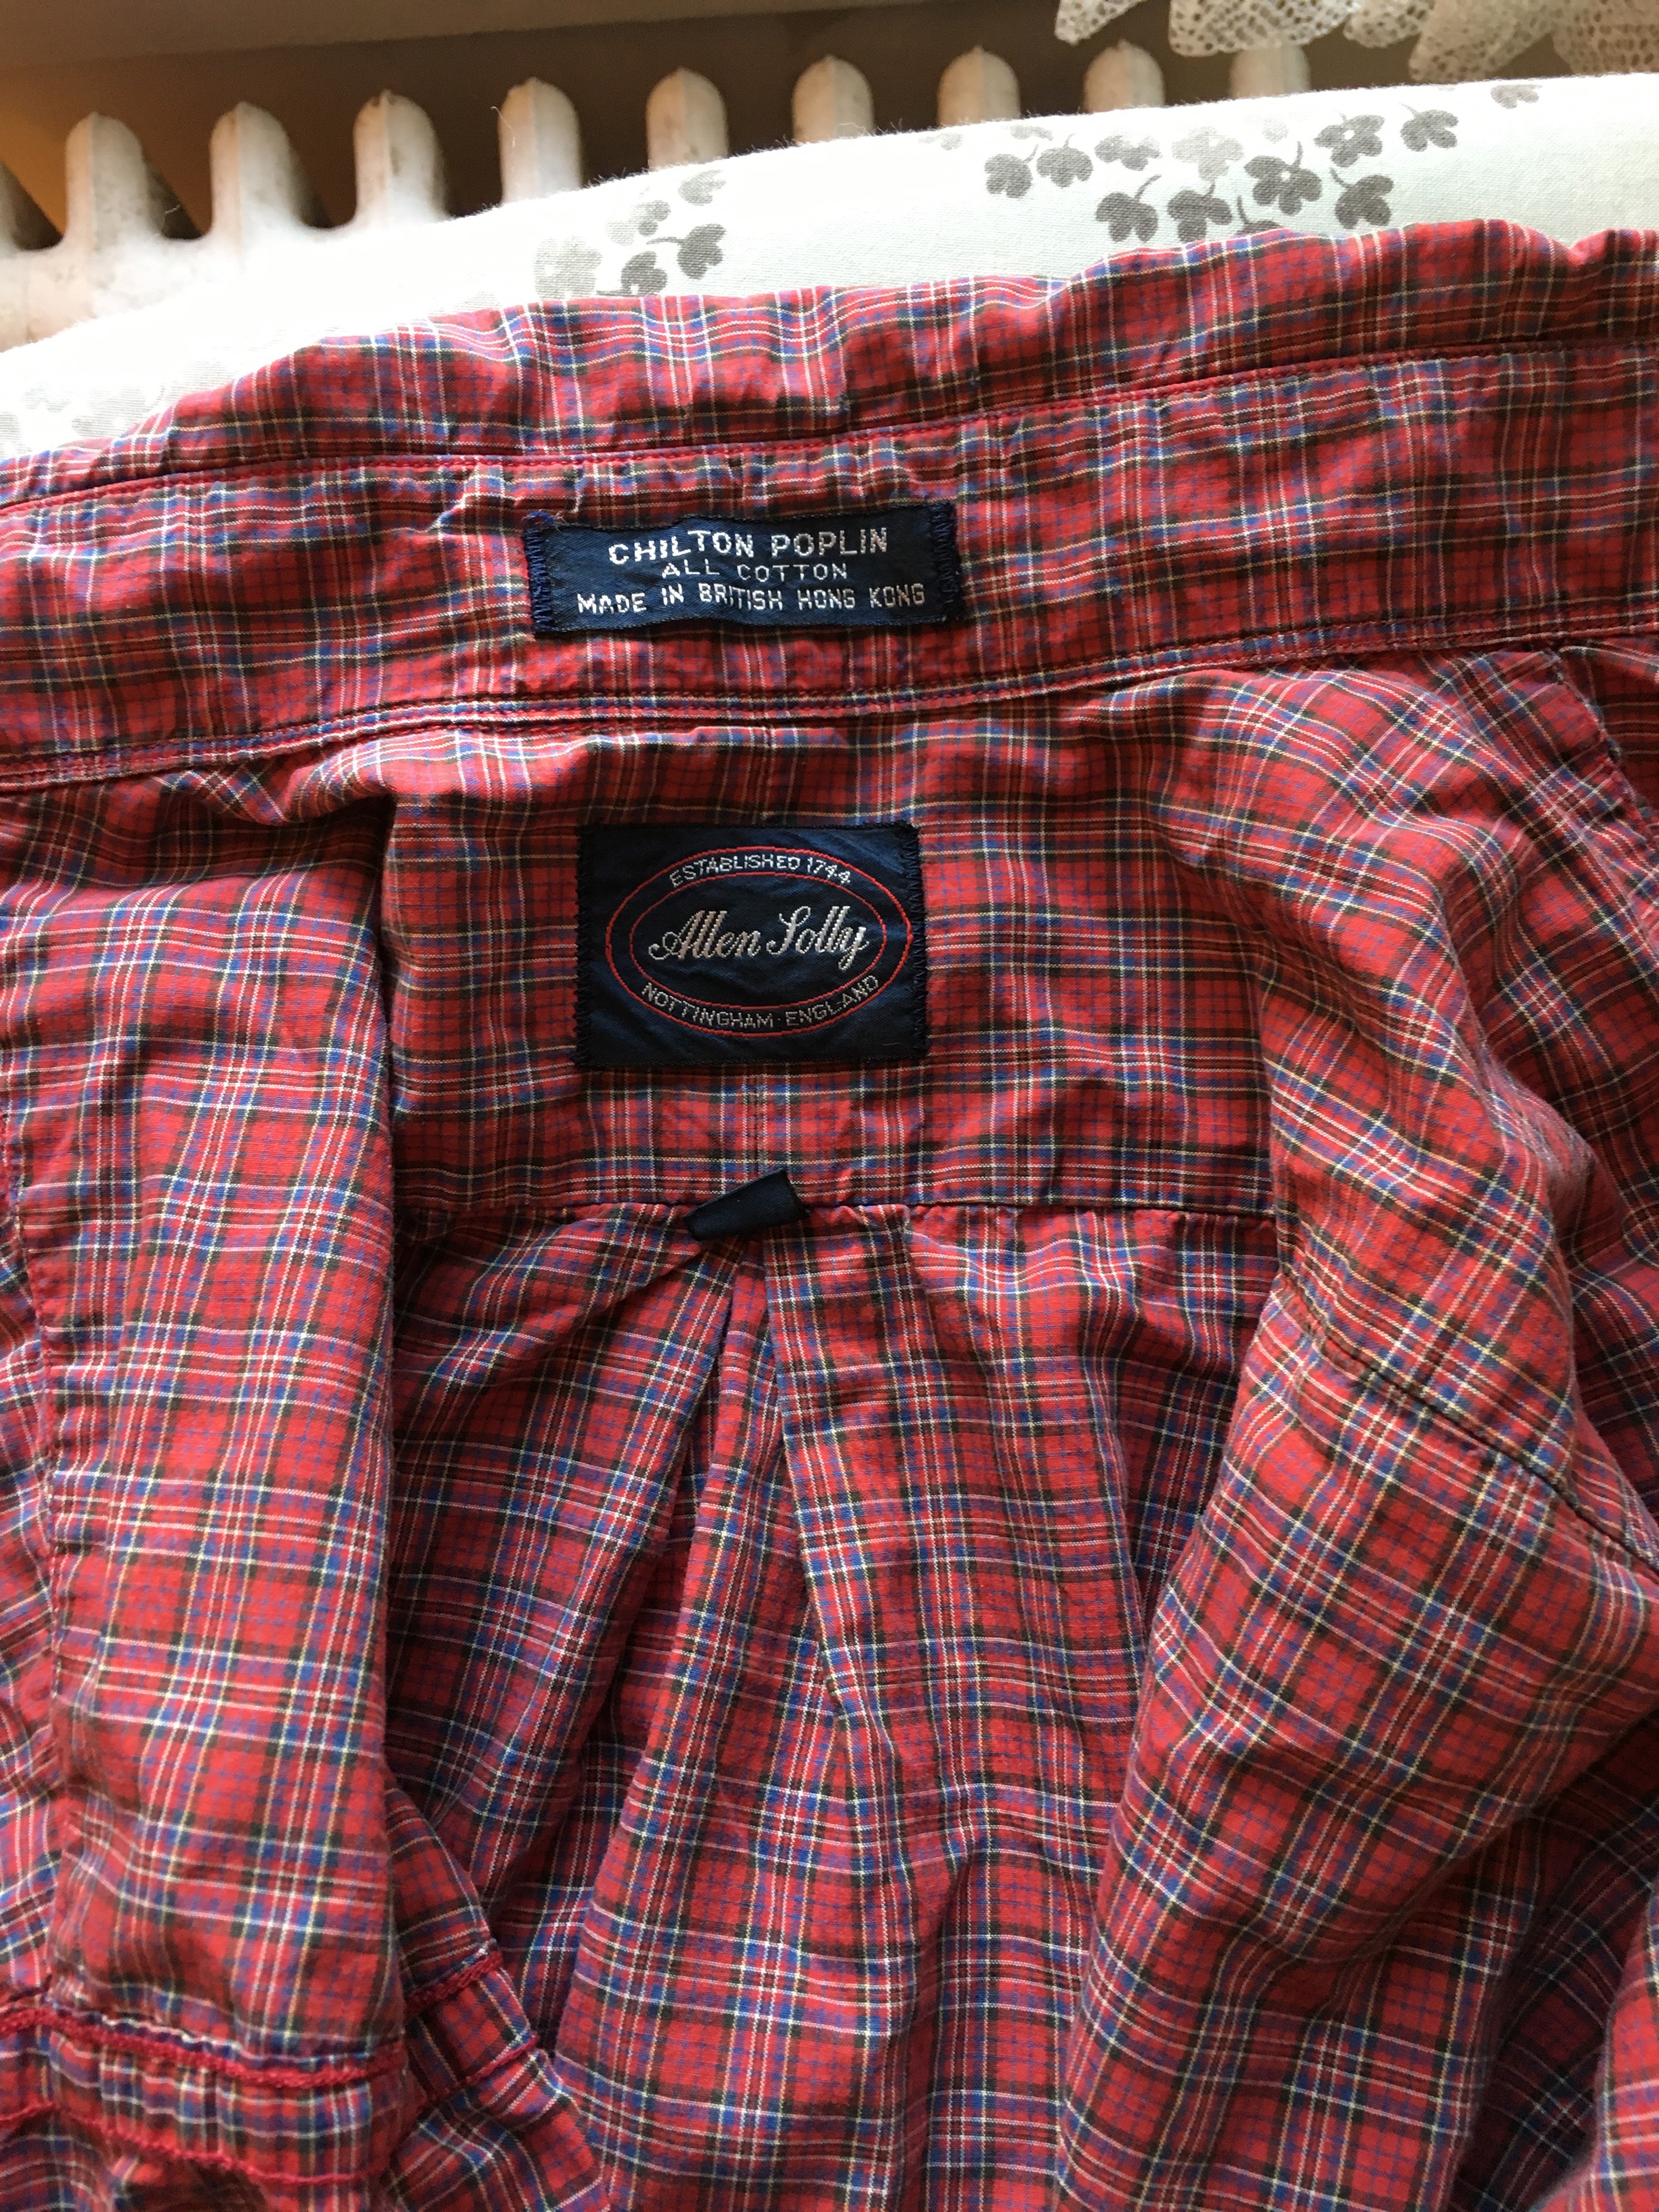
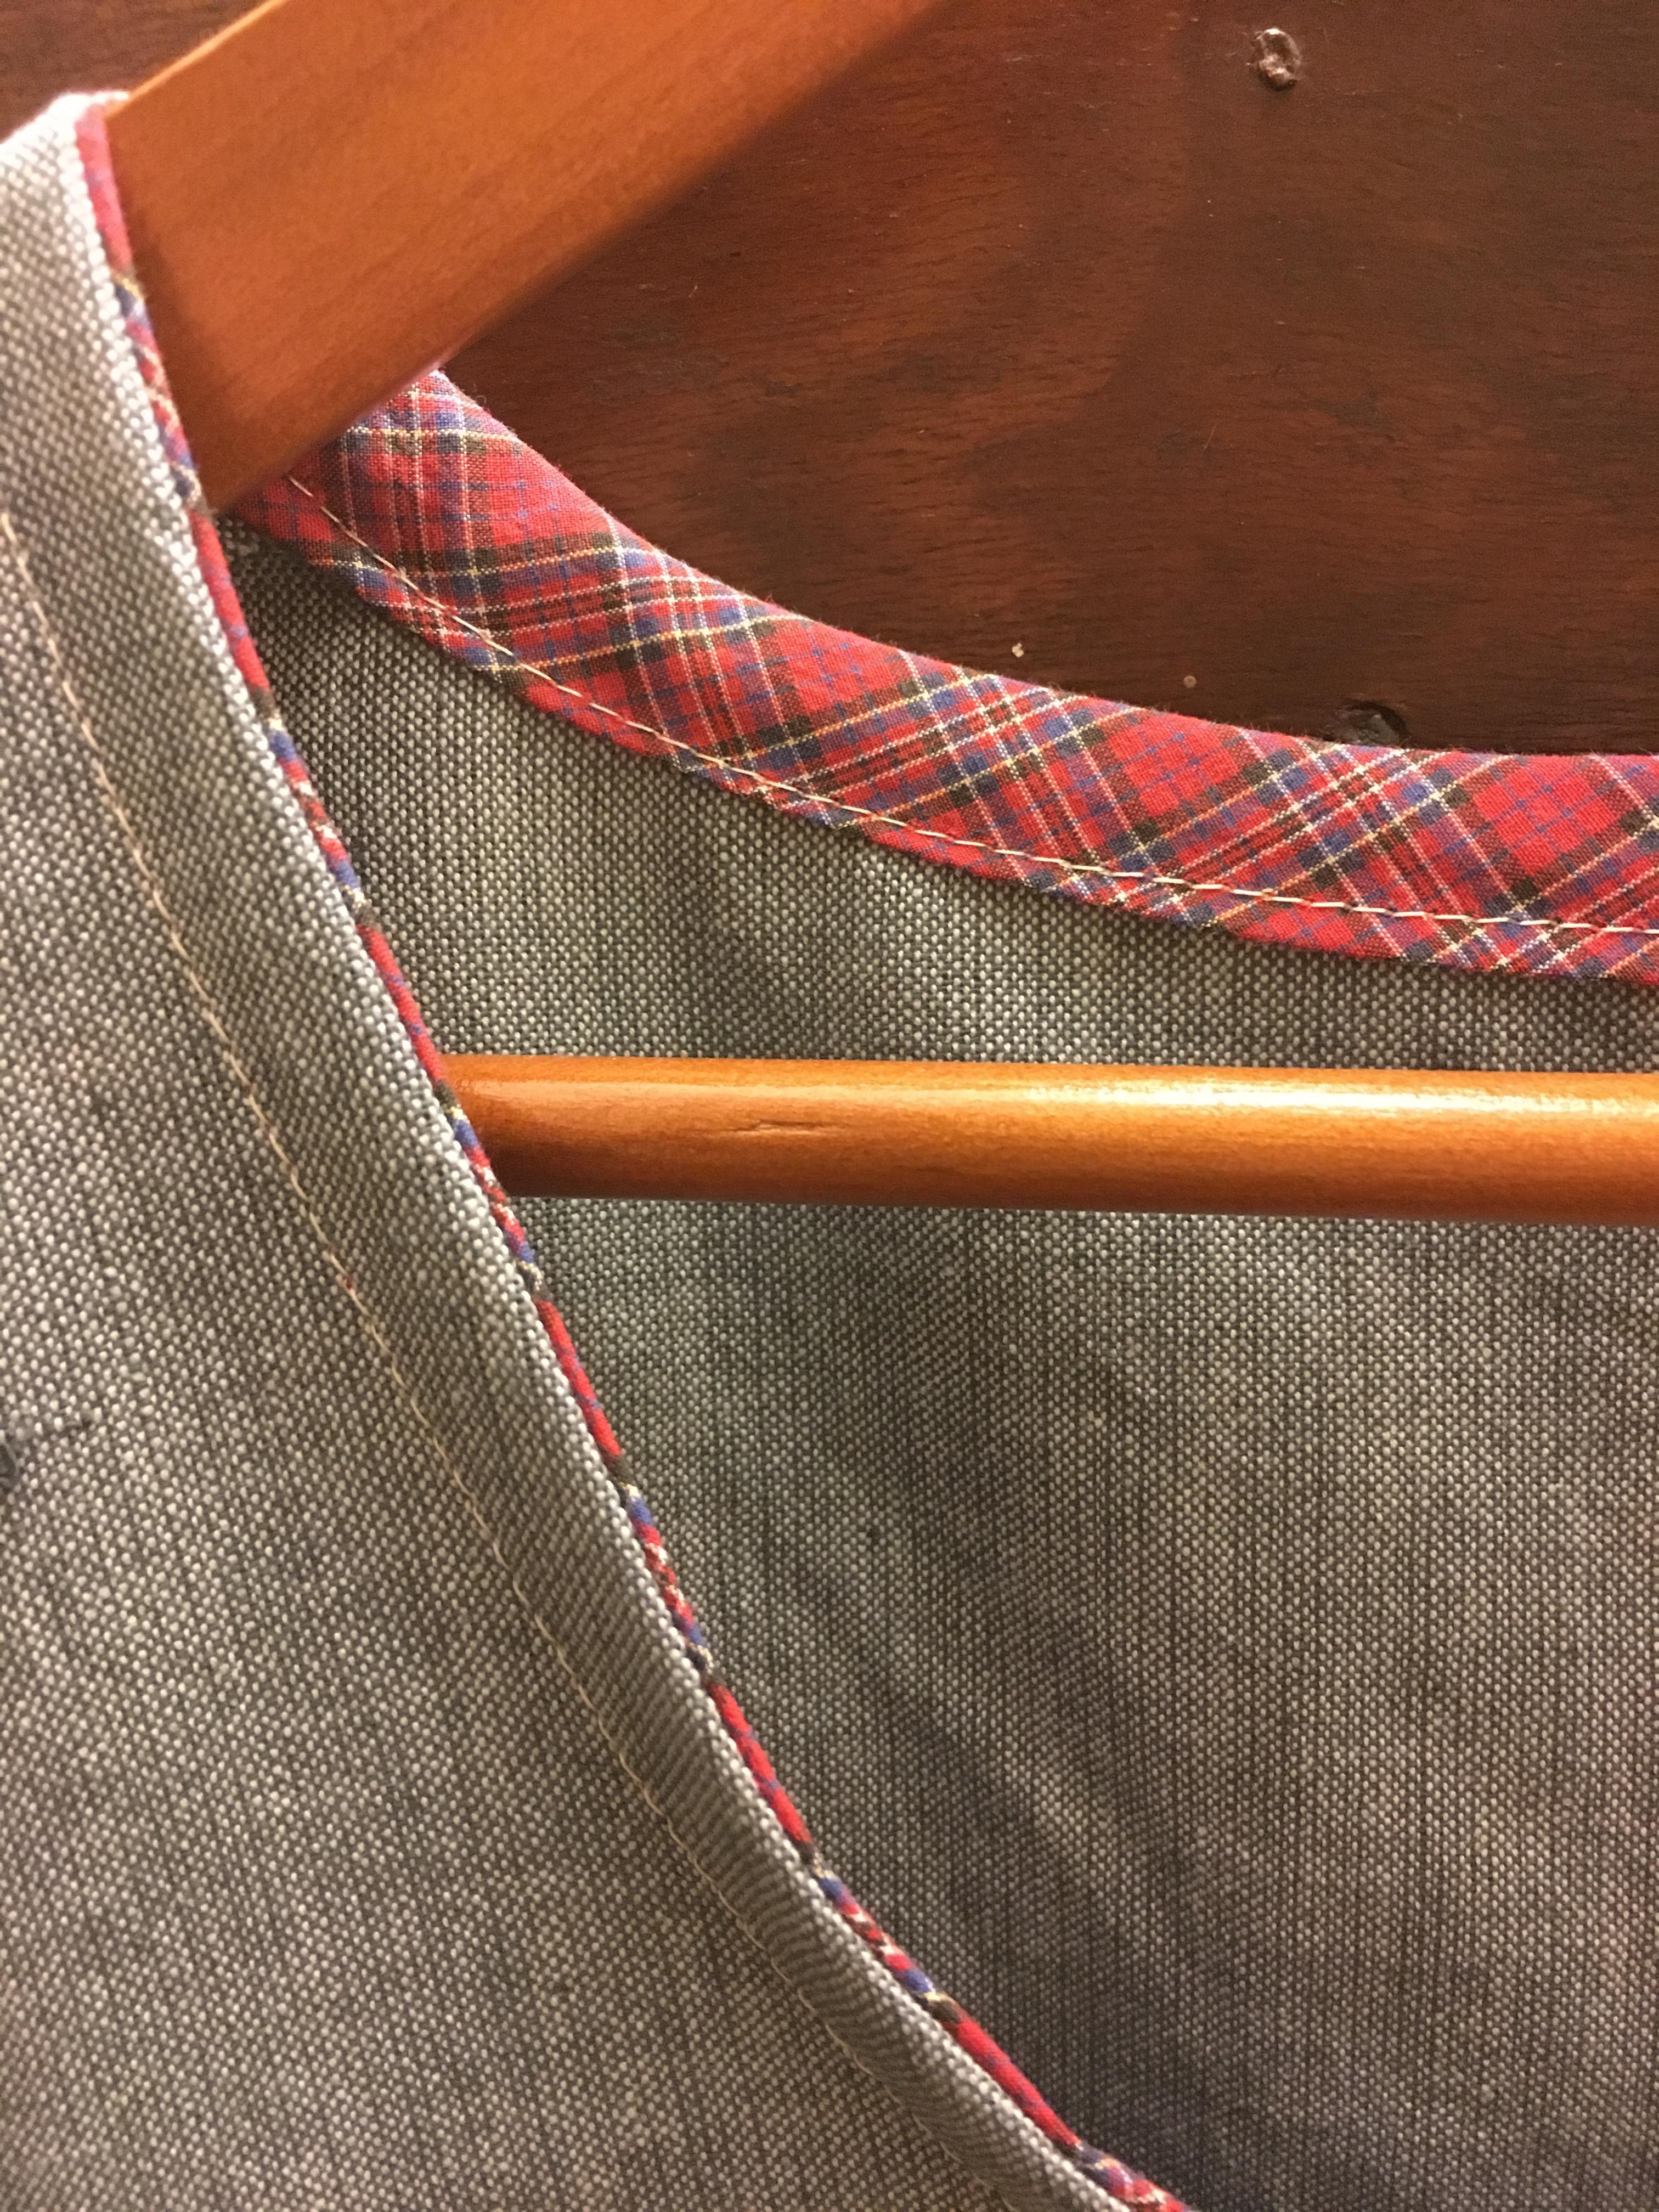
 When I made my own black washi with the puppy fabric lining, I must have cut the lining a bit bigger than the bodice pieces for the dress dress and when I went to topstitch the neckline, it shifted a bit.
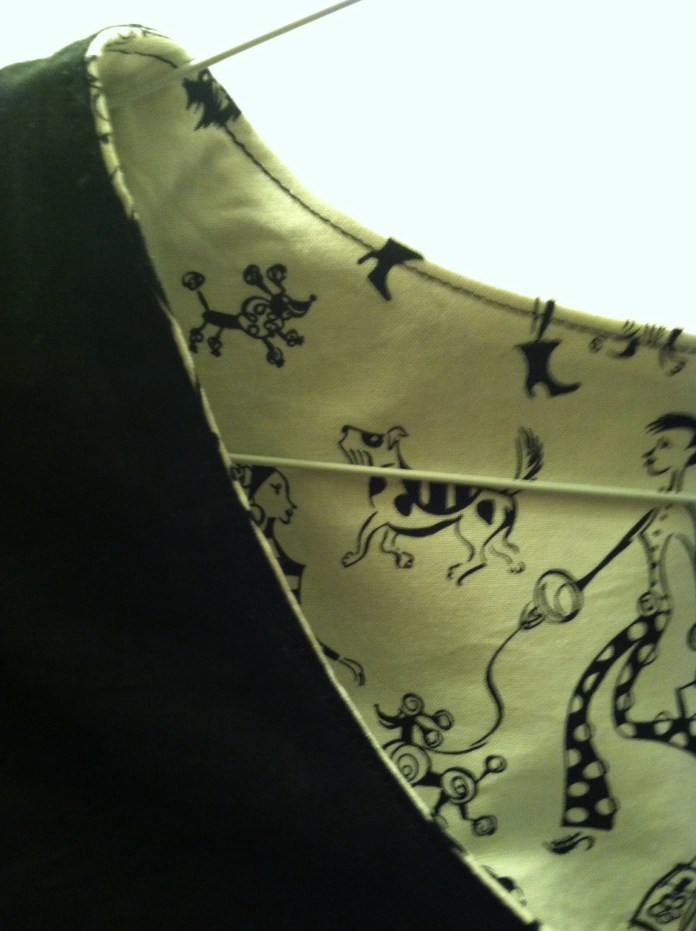 I ended up doing it on purpose to create the effect of piping without actually having to make piping. I did that for Madeleine’s dress as well. It is such an easy thing to do and I love the effect.
 Once again, I used the wonderfully clear Made By Rae
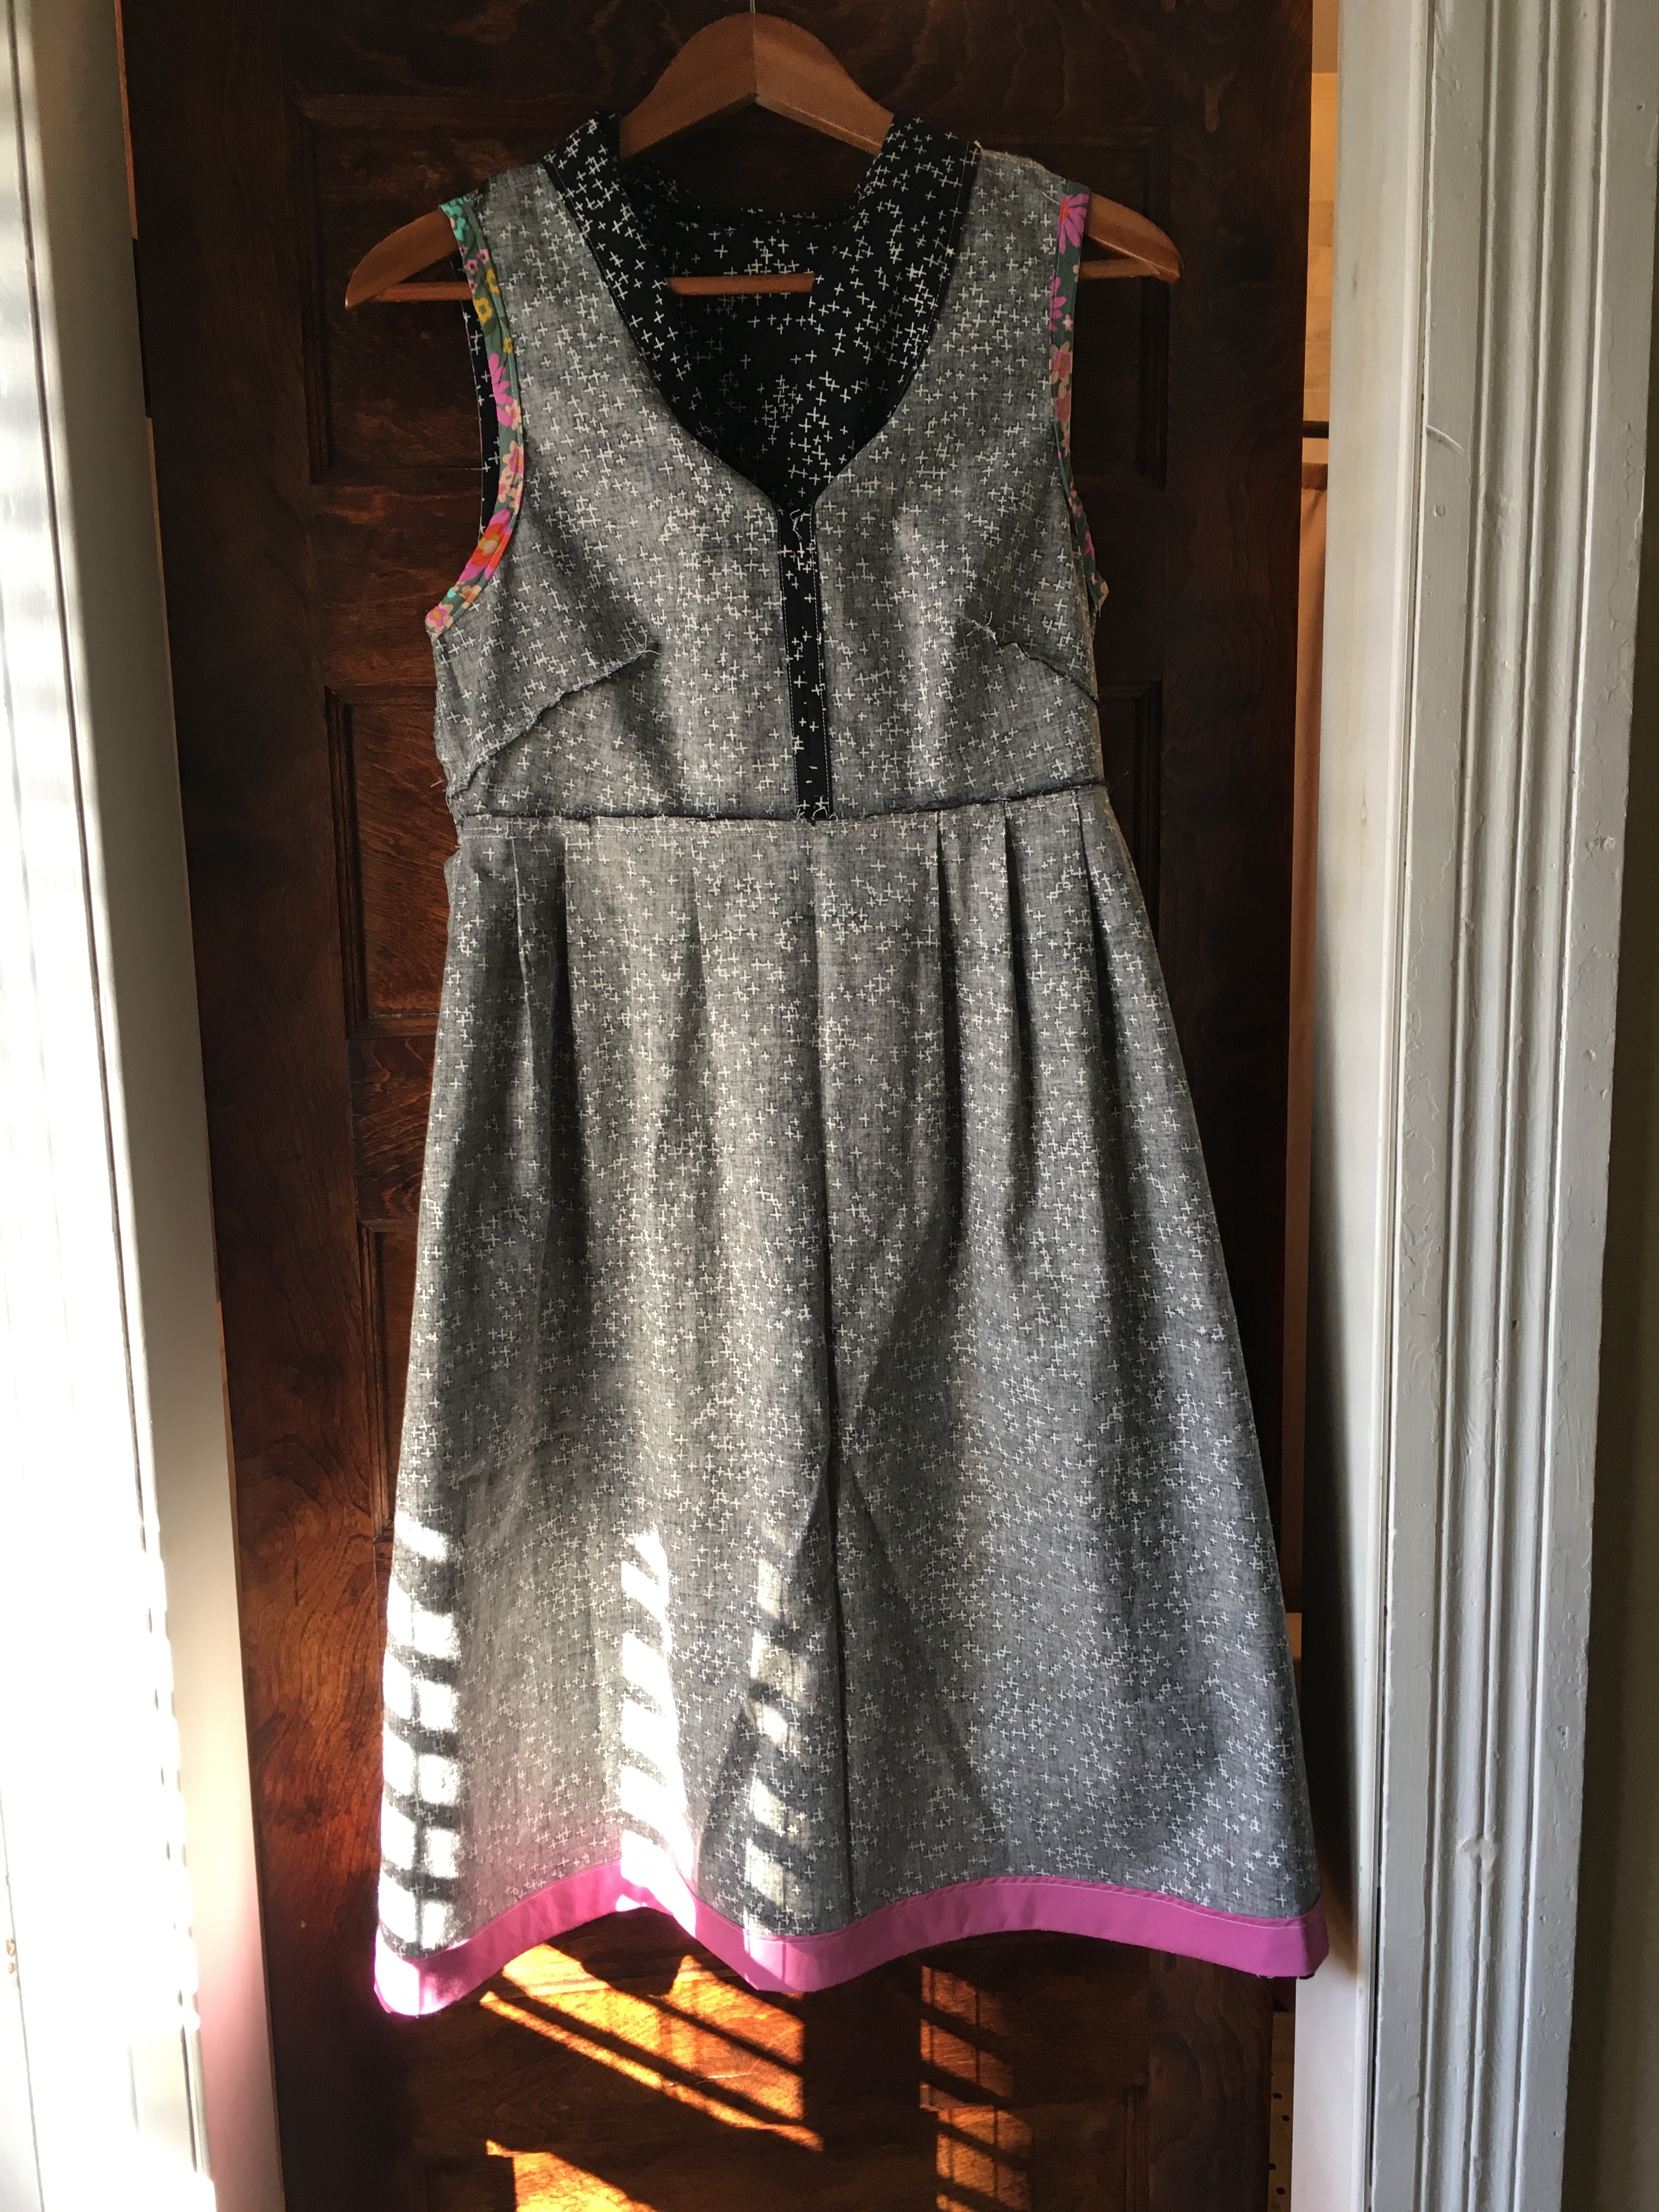
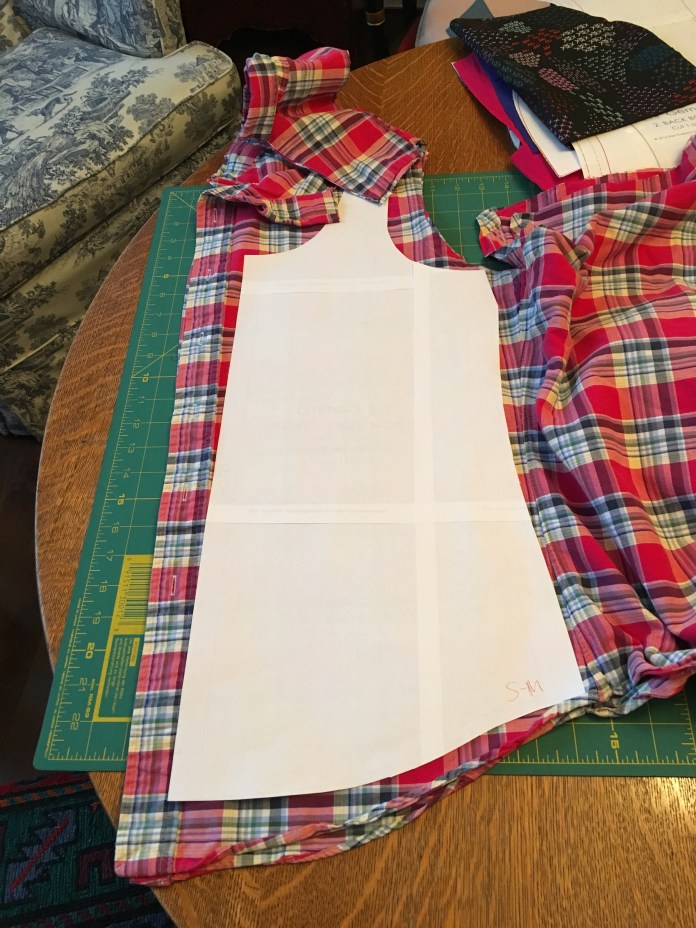
  I used the cutting lines for the Washi tunic and added several inches to create my seam line for the main part of the dress. I sewed all the side seams and added the contrasting border at the end lining up the seam in the border with the side seams of the dress.
 After sewing on the border, I ironed the seam and then topstitched for a more finished look and for durability, something that is important to me as I machine wash everything. Dry cleaning costs are just not in my budget.
 I am really happy with the way it turned out. The polka dots add just enough cute to be fun.
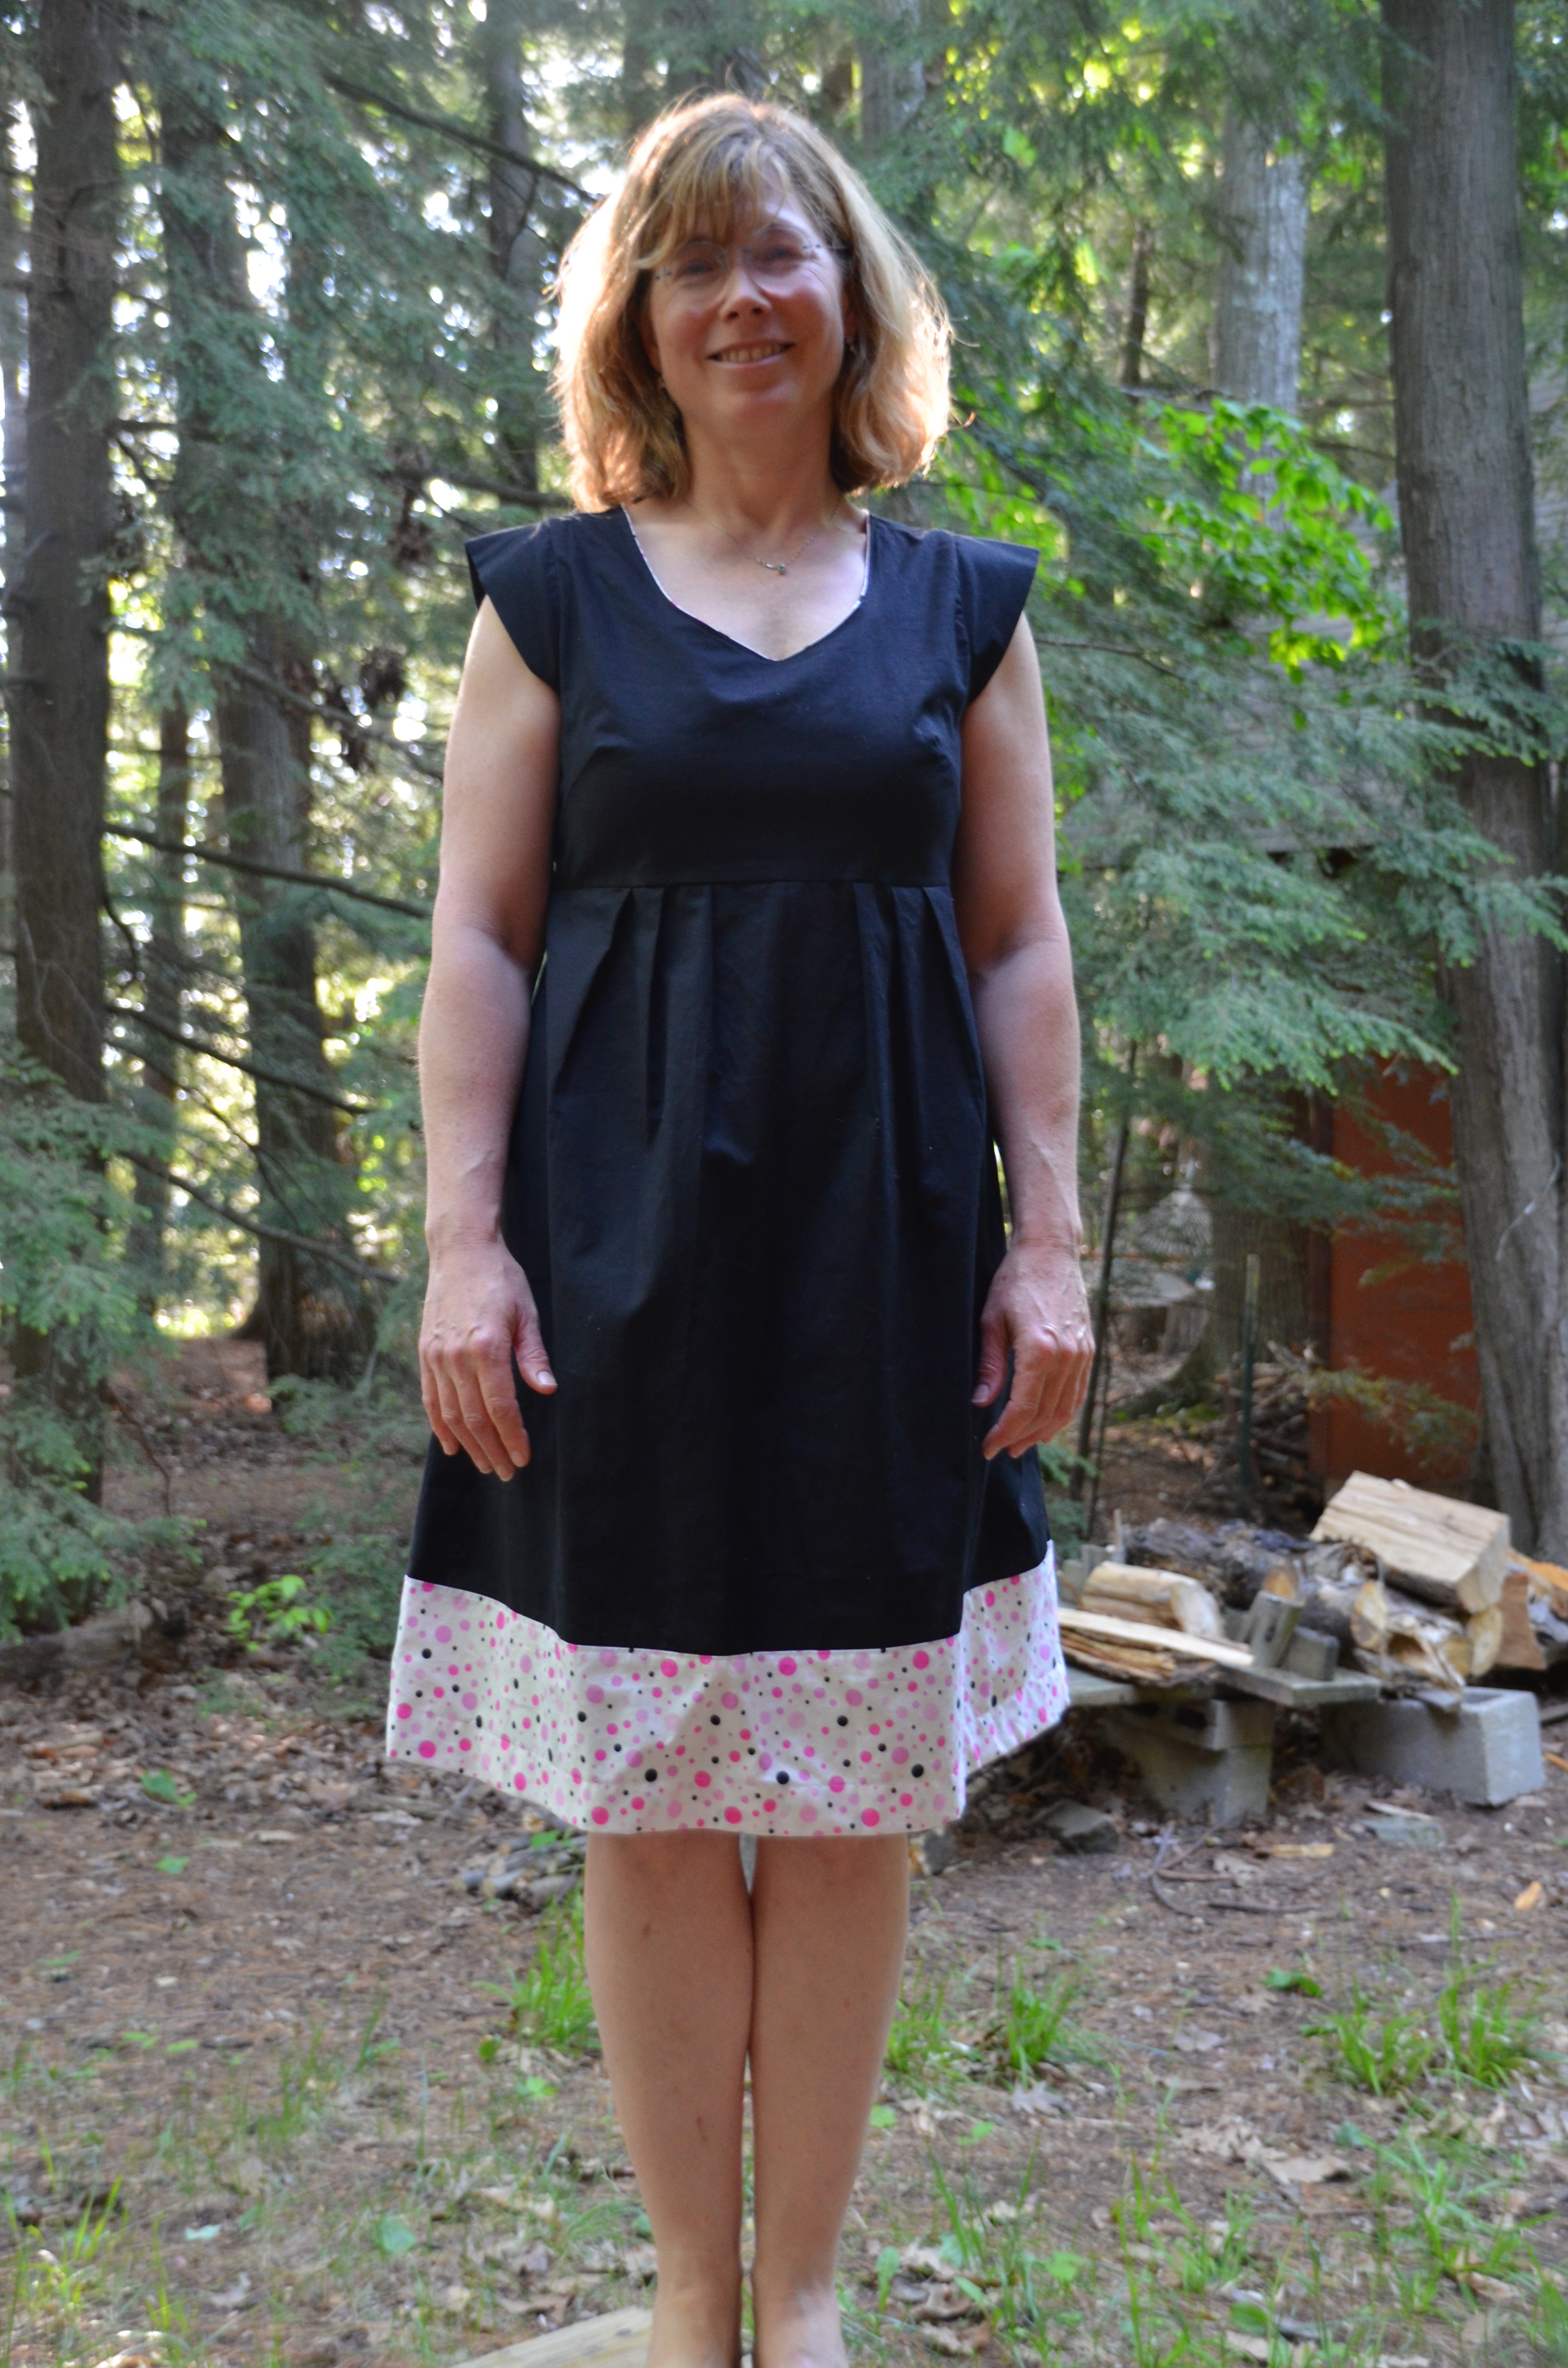
 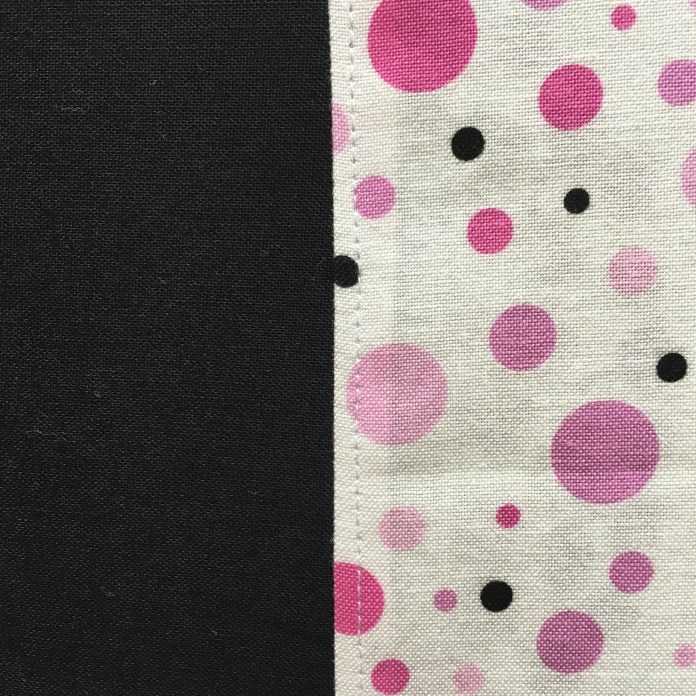 And here is the finished dress which was mailed out to Michigan for the birthday girl.
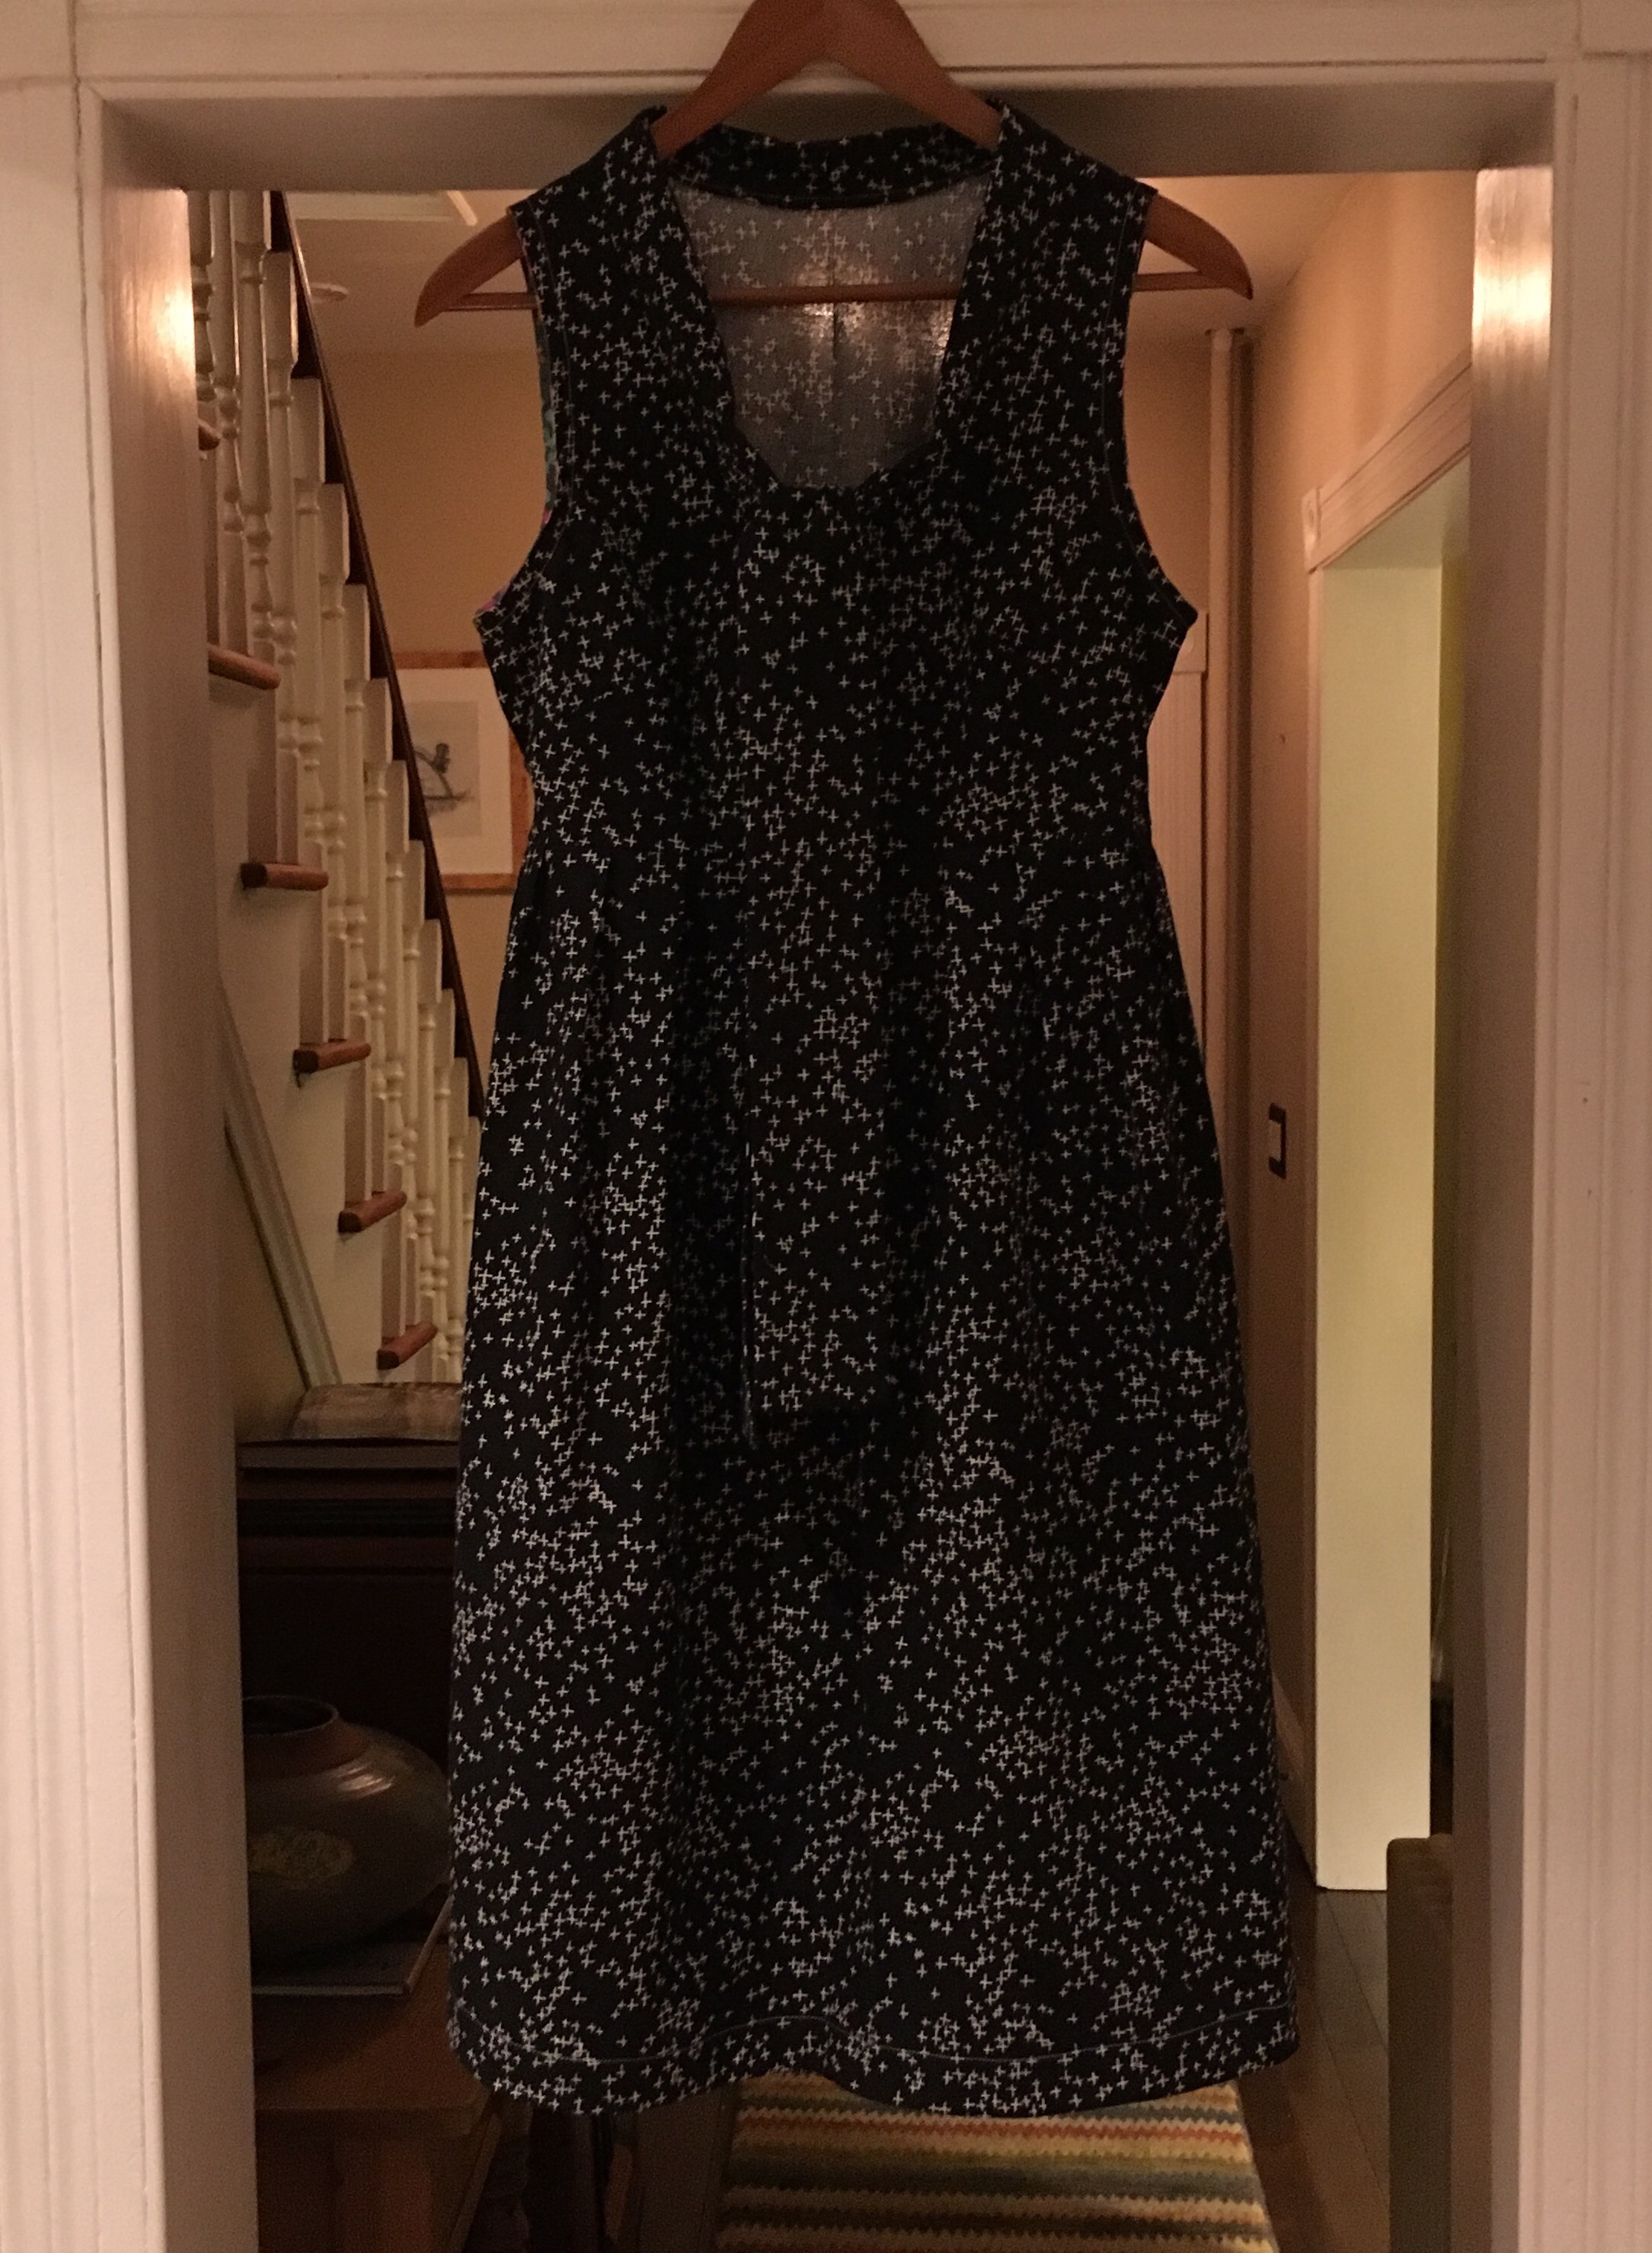
 The puppy version (slightly rumped) below. I wear it often.
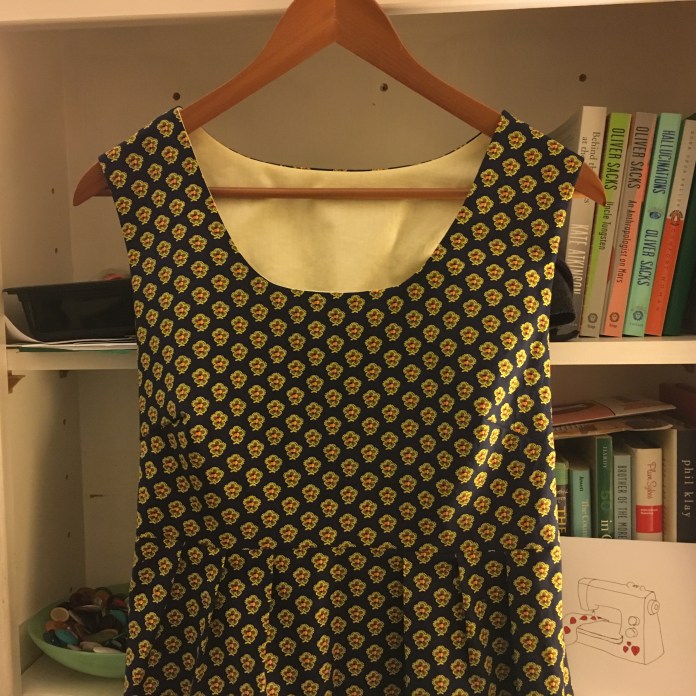 I decided to make a dress for my mother for Mother’s Day with one of my favorite patterns, the
 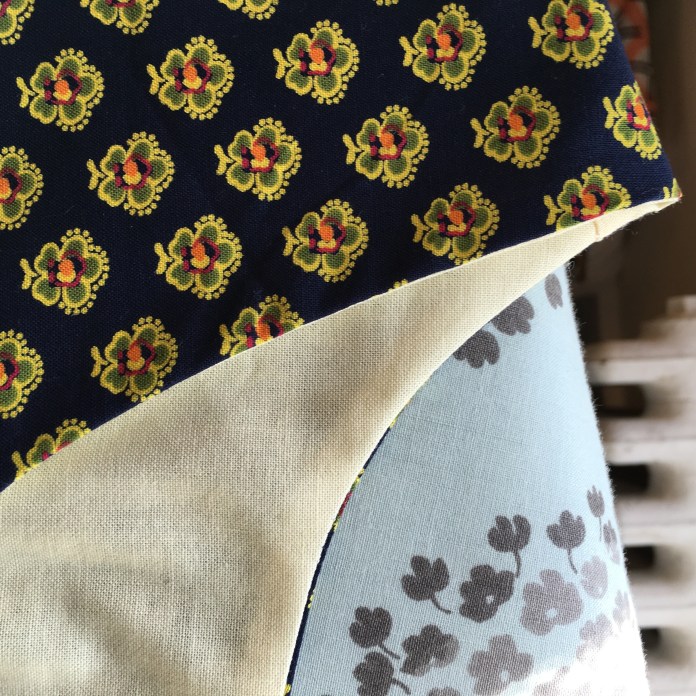 This felt like the perfect fabric for my mother because she is a Professor of French Literature and has studied and lived in France. I made a medium and lengthened it by 2 inches because we are pretty much the same size. The fabric was a dream to work with.
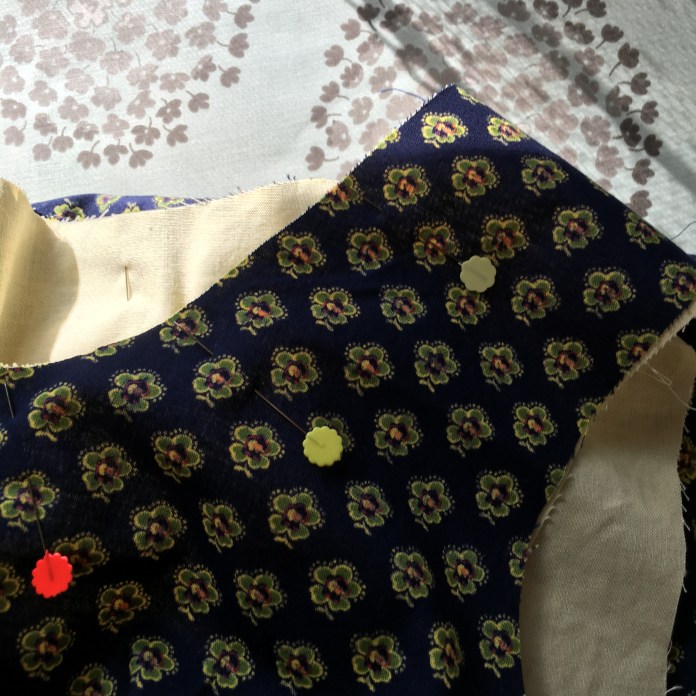 I shirred the back. Rae has a great shirring tutorial
  It is
It is 
 The contrast is so pretty.
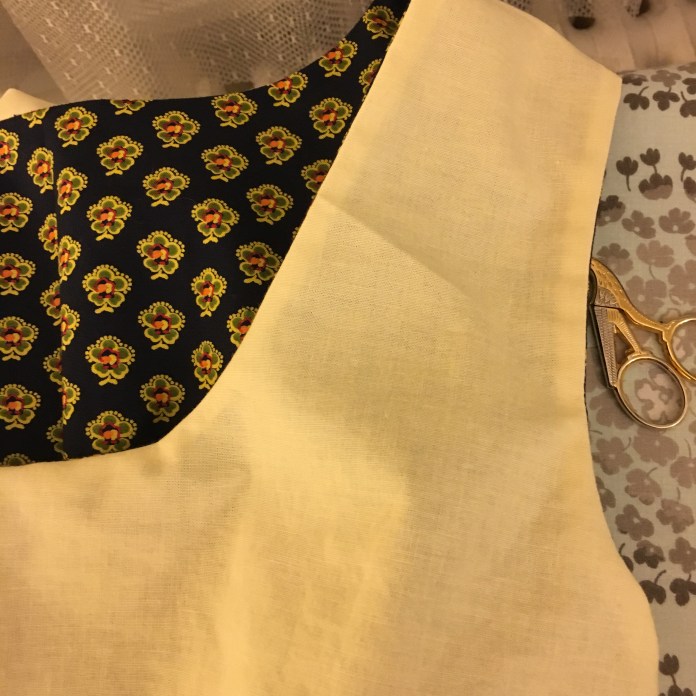
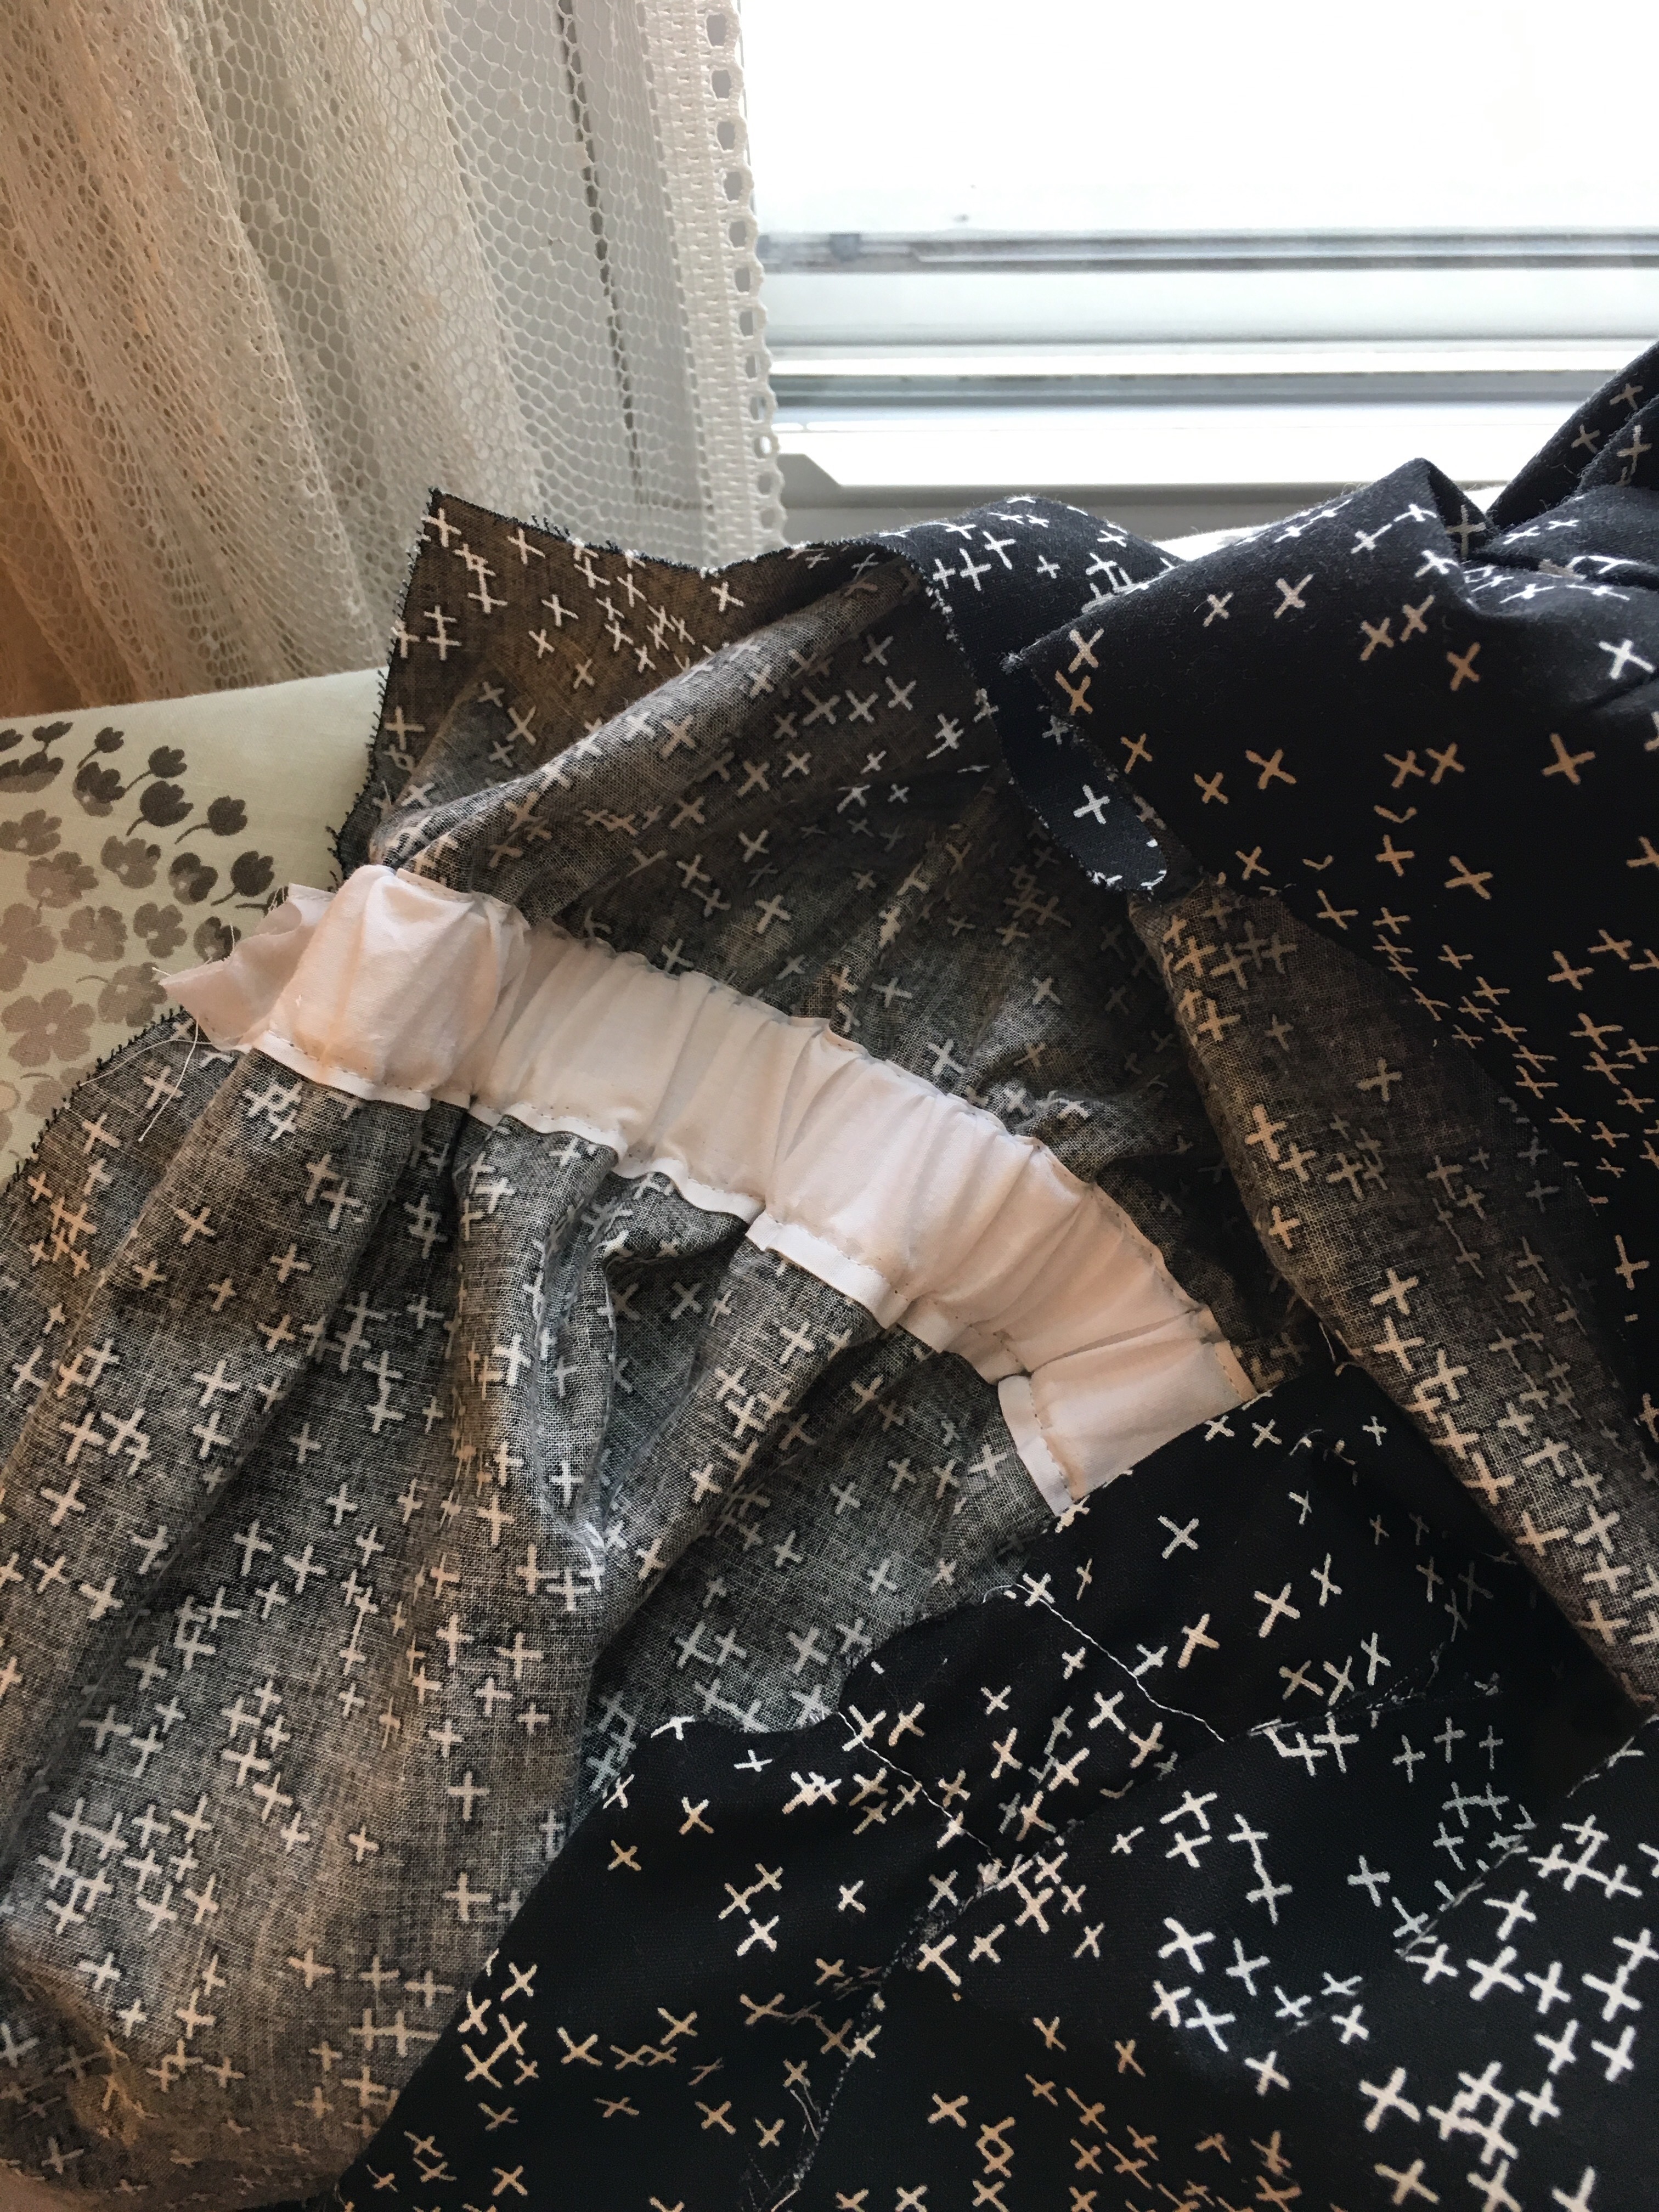
 I added loops of ribbon for bra straps, a little touch that makes a huge difference for those of us with sloped shoulders. (inside back view below)
 I used the navy fabric and made a hem facing. I generally use hem facings to get a cleaner finish as I wrote about
  I am really happy with the final product and hope that she will enjoy wearing it all summer. She actually has already worn it to the theater in New York. Check it out! Beautiful, am I right?
 I may have to make one just like it for myself! I will have to check and see how much of this fabric I have left. 🙂
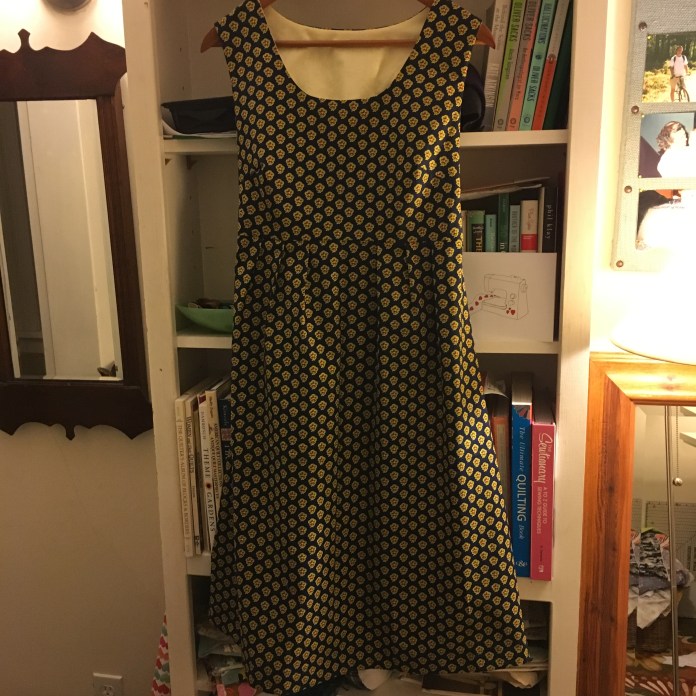 The Washi-such an awesome pattern! Next up, a polka dot Washi for my sister. 😉
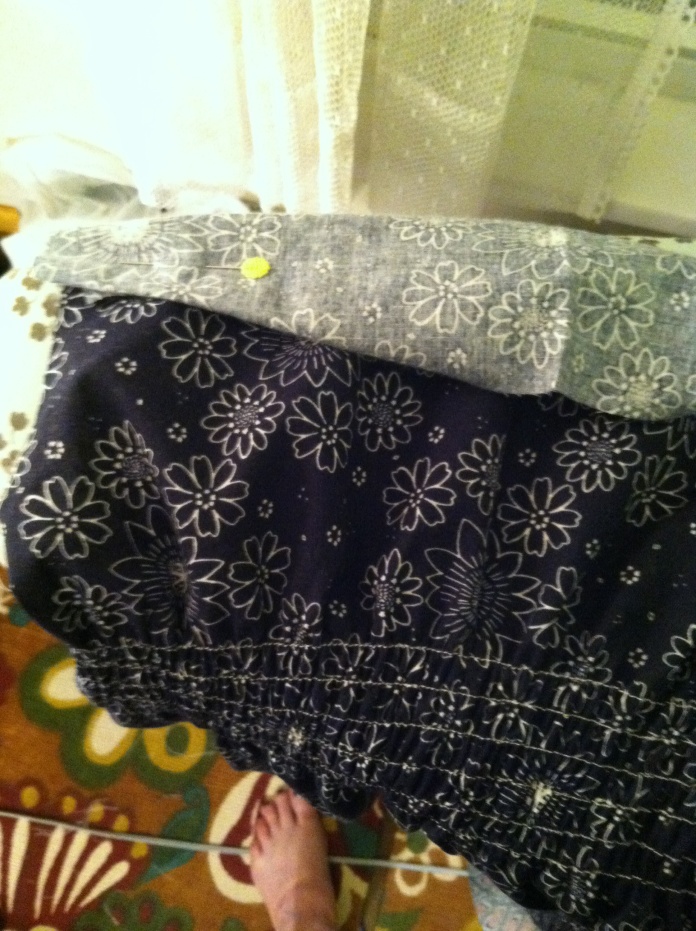
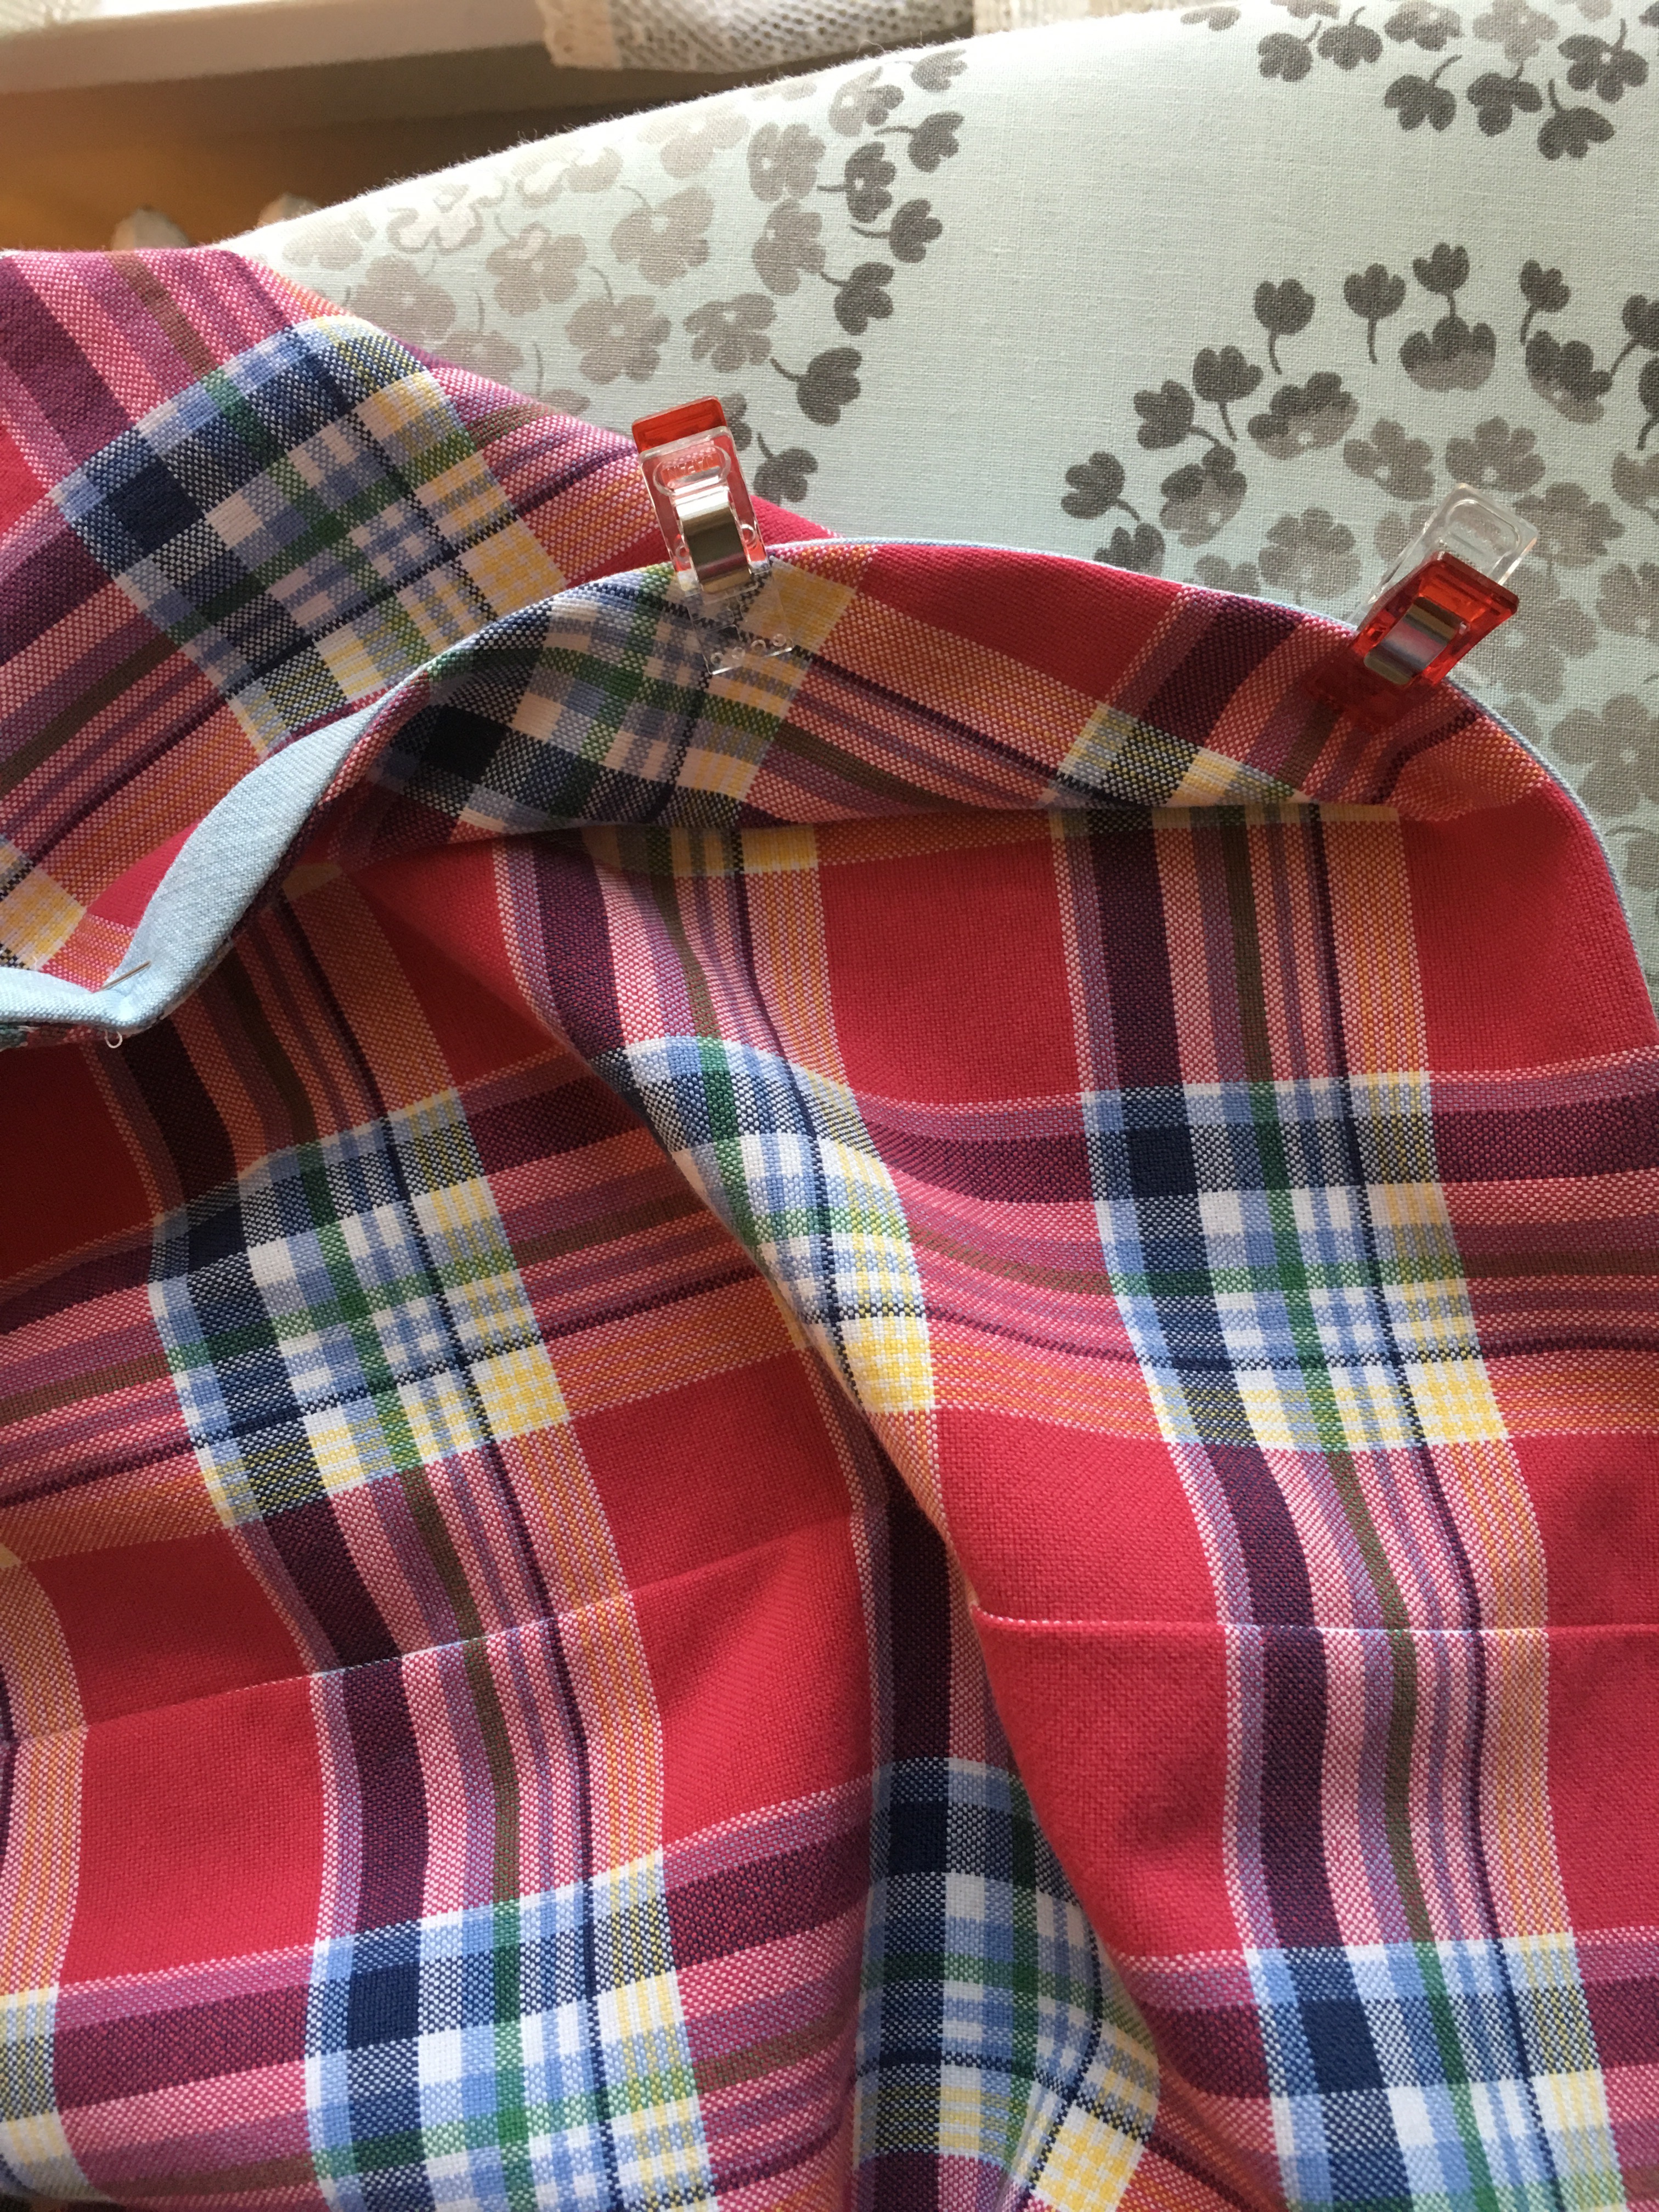
 I used chalk to mark the shirring lines but I usually end up just using one chalked line and then using the first sewing line to guide the rest of my seams. Shirring using elastic thread is actually amazingly easy. Rae’s tutorial
  I used organic natural colored cotton batiste to line the bodice using
  I added a ribbon with snaps for bra strap holders as I sewed the fabric sausage.
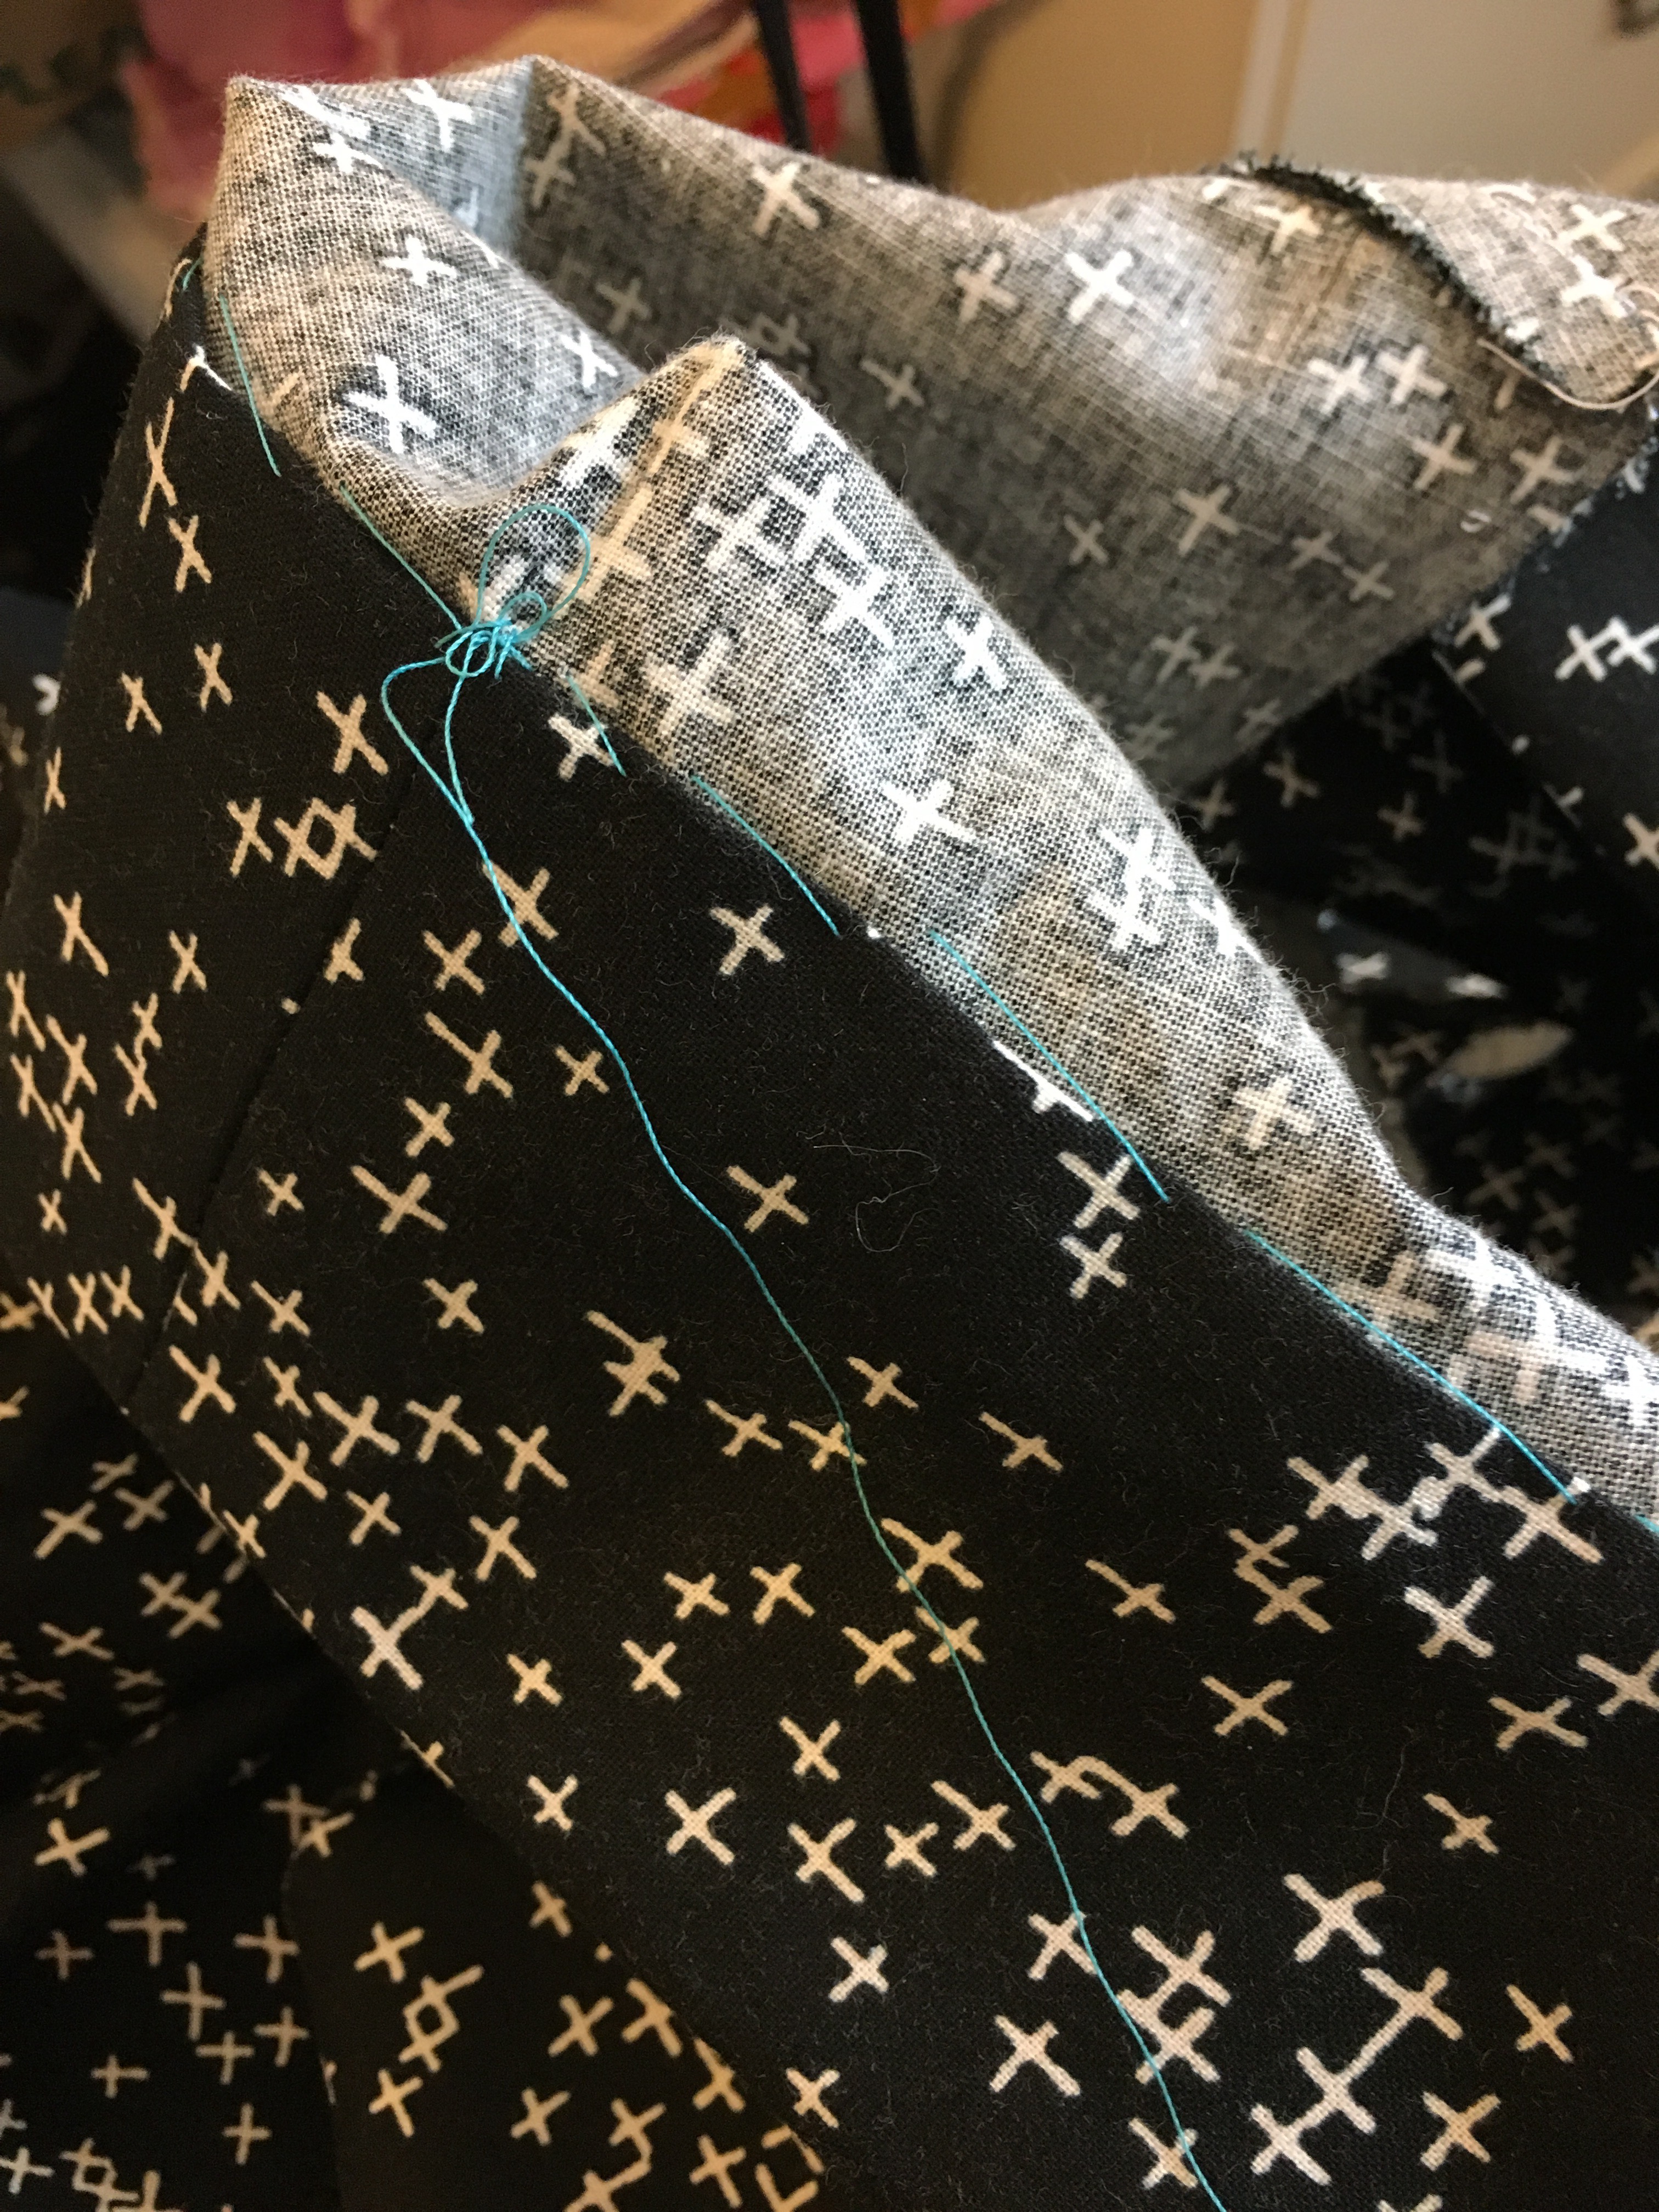
 A fabric sausage pinned and ready to be sewn.
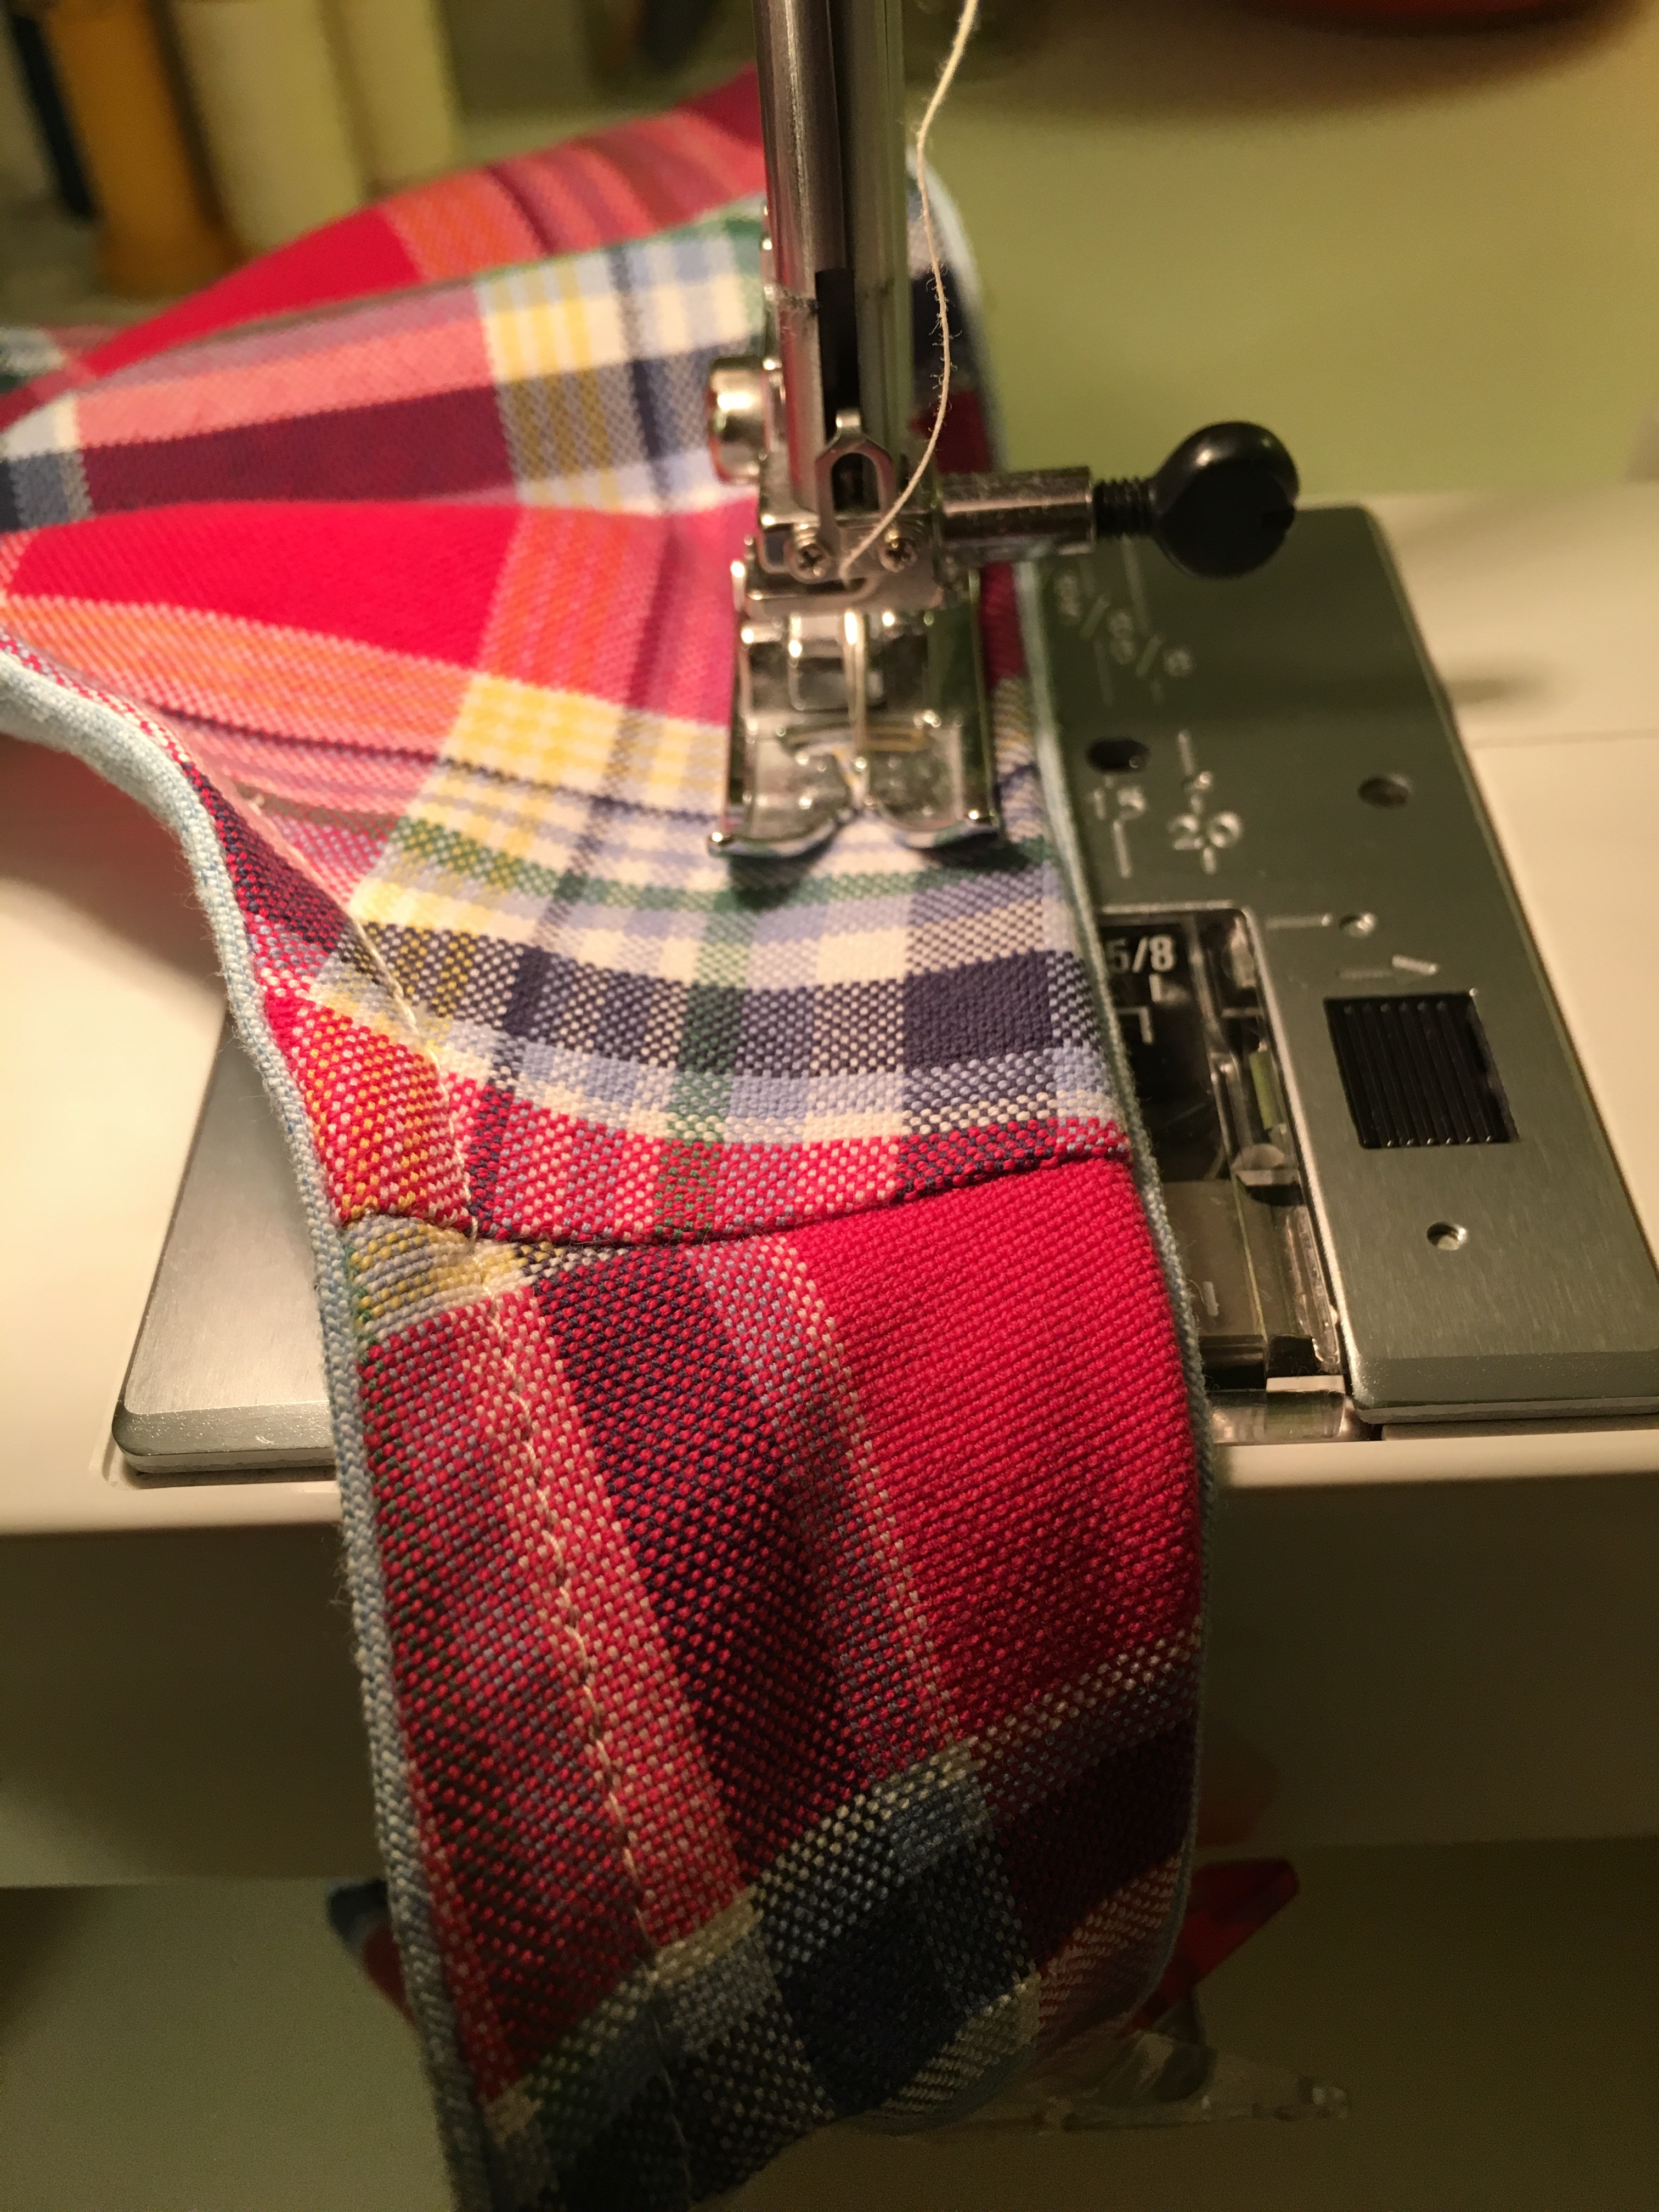
 Finished shirring visible as I sew the bodice lining.
 Once again I used a lightweight quilting cotton in a neutral light pink for hem facing. I have used it for several garments. I have almost run out!
 Hem pinned and ready to be sewn.
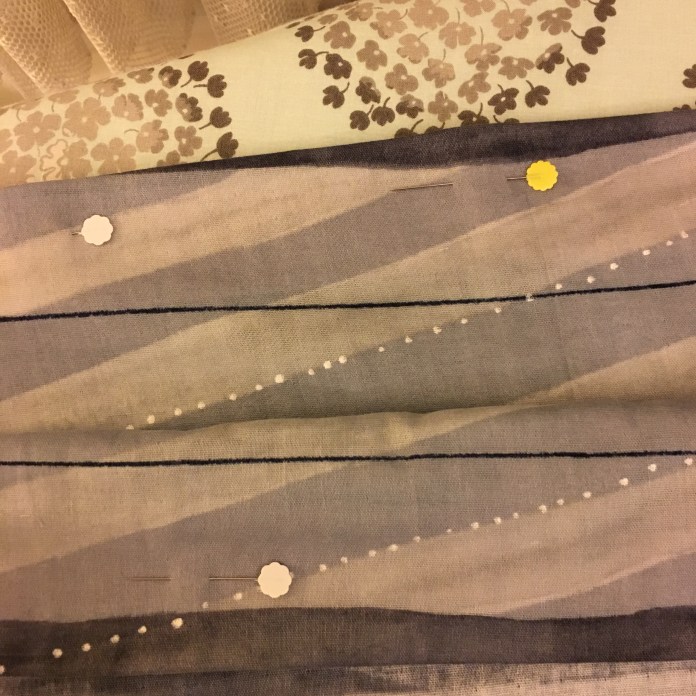 Hem.
Hem. Finished dress back view. The stripes don’t line up on the side but I am happy with the way the back stripes ended up. The photo bomber is my sweet dog Sadie.
 Shades of grey can be beautiful!