I have been sewing many versions of the Isla Pattern by Made By Rae since it was released. This is my first real success with sewing knits, partly because the pattern is pretty easy to follow and incorporates pretty foolproof techniques and partly because I gathered up the collective wisdom of the sewing community and put their tips to work. Link here to my first post which contains the aforementioned wisdom and links.
I tend to make multiples of the same pattern. It usually takes a couple of tries to get it right. Then, once I master the pattern, it is much easier to sew the second and third versions-I have all the pattern pieces, supplies and machine settings all ready to go, so it seems like the efficient thing to do. In the case of the Isla Pattern, I knew that I wanted to sew a couple more versions after being very happy with my first one. I planned to make two dresses and two tops, one each in yellow and blue. I ordered the fabric and efficiently I thought, cut out the pattern pieces in an evening.
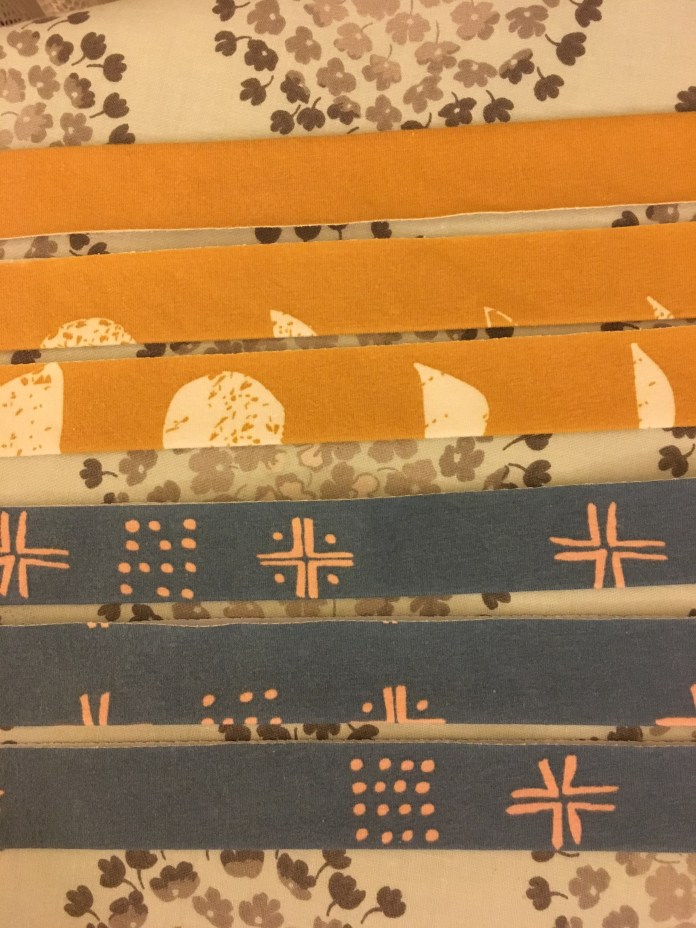 I used the adjustments that I made to my first version which added an inch to the bodice length.
  I chose 2 yellow/mustard fabrics, one for a top and one for a dress and a second two blue fabrics with the same plan.
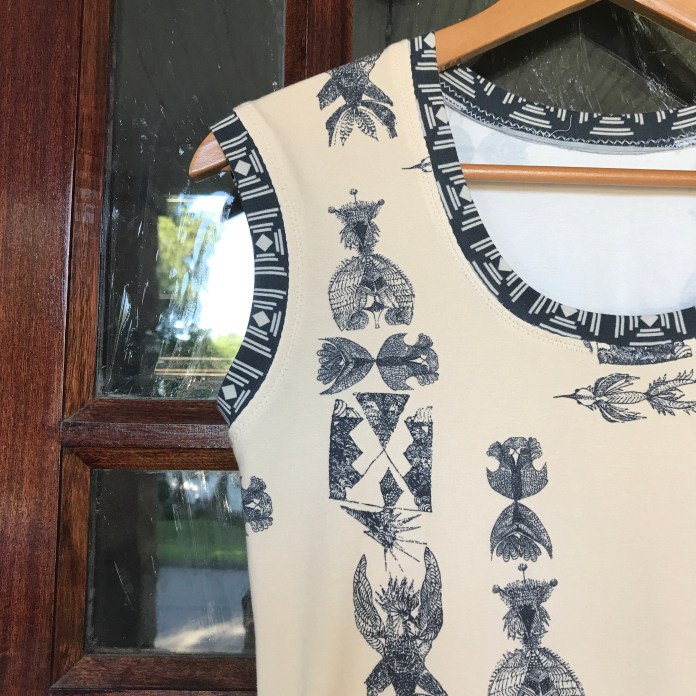
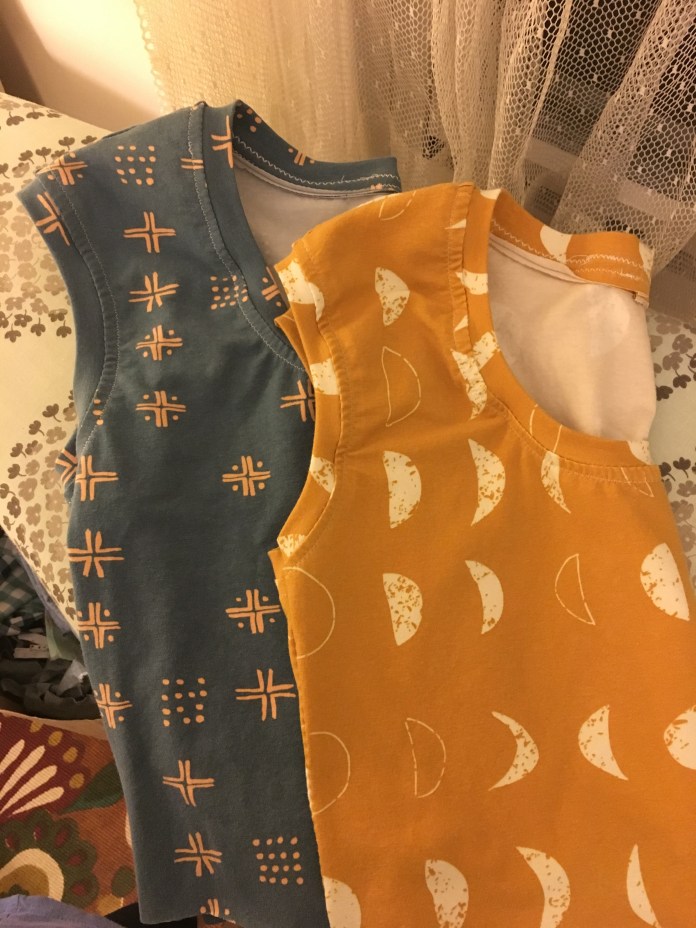 I also wanted a neutral top so I decided to sew one in a cream color. I like patterns that evoke stripes without being completely traditional and I loved this fabric from Art Gallery Knits which I thought would be perfect, so I sewed it first.
  It is a really soft nice feeling knit and it sewed up beautifully. I added an inch to the length of the ruffle as well. Here is the finished top. Cute, right? I was happy with how nicely the stripes worked with the neck and arm bands.
 Then I tried it on and I was not thrilled. I have a very long torso and so even after adding the extra inch, this hit me way above my natural waist. It didn’t bother me with the dress because it draped nicely but the top didn’t work as well for my shape. Here are some pictures. It’s not terrible but not great and when I wear it, it feels as though it keeps riding up which doesn’t happen with my dress versions. I just didn’t think about the fact that the torso adjustment might be different for the top vs the dress. So for those of you with long torsos, take heed!
If you had told me years ago that I would willingly post less than flattering pictures of myself, I wouldn’t have believed it. For a long time, I stayed out of most pictures, often because I was taking the pictures but also because I was way too worried about taking an unflattering picture. I have to say that being over 50 and being a nurse really changed my point of view. Just having a healthy body feels like a gift. And I so appreciate other sewing pals posting real-life pictures that help me decide if a pattern is right for me. I also love what Allison writes here. It is a must read for all moms. Anyway back to the pictures. Not terrible but not great.  The side view shows that I probably could have used another 2 or 3 inches.
  Back
Back Sometimes being too efficient ends up being a problem because I now had already cut out all my pattern pieces and I knew that those that had been destined for tops would not end up being garments I loved. So I ended up buying another yard each of the two fabrics I had intended for tops. I used the bodice pieces I had already cut and cut the dress length skirt pieces out of the extra yard and have saved the top length skirt pieces for another project. So now I have 2 blue dresses and 2 mustard dresses. With leggings, boots and a cardigan, I am all set for the week. Just to show you how long my waist is, I had my daughter take pictures of my first Isla, which has one inch added to the bodice length and one of the second batch of Islas that has 2 inches added to the bodice length with me putting my hands at my natural waist.
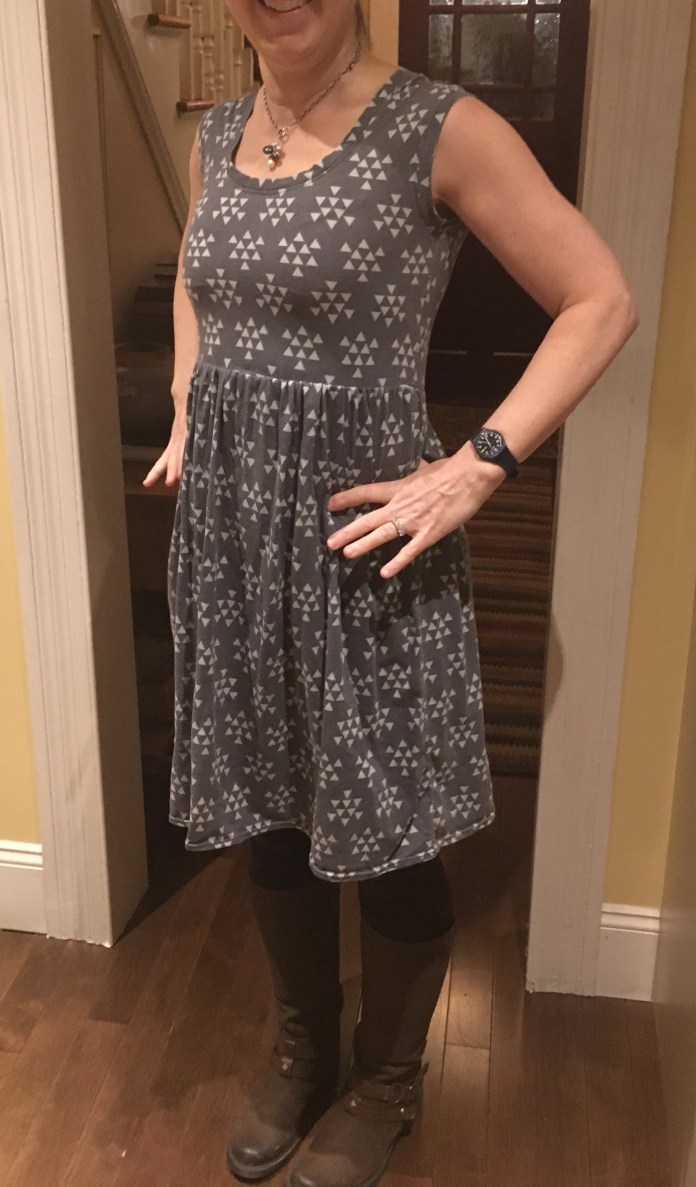 Yes that is really where my waist is. Here is version two with 2 inches added to the bodice.
 I can’t actually say I like one better than the other. I think that they are both fine. Word to the wise, make sure whatever you add to the bodice, you subtract from the skirt so you end up with the right length. I think the Isla is most flattering above the knee. I actually am not sure that adding the extra length to the bodice really makes a difference for the dress. I know that some people don’t like the high waist style but I find it skims right over my midsection which I like. I think if I try the top again, I will add enough to the bodice to actually have it hit my waist. That would be a lot of inches.
Here is another top version that I made from fabric in my stash. This is a slightly heavier weight cotton and I think it drapes well. This isn’t long enough either but its cute! 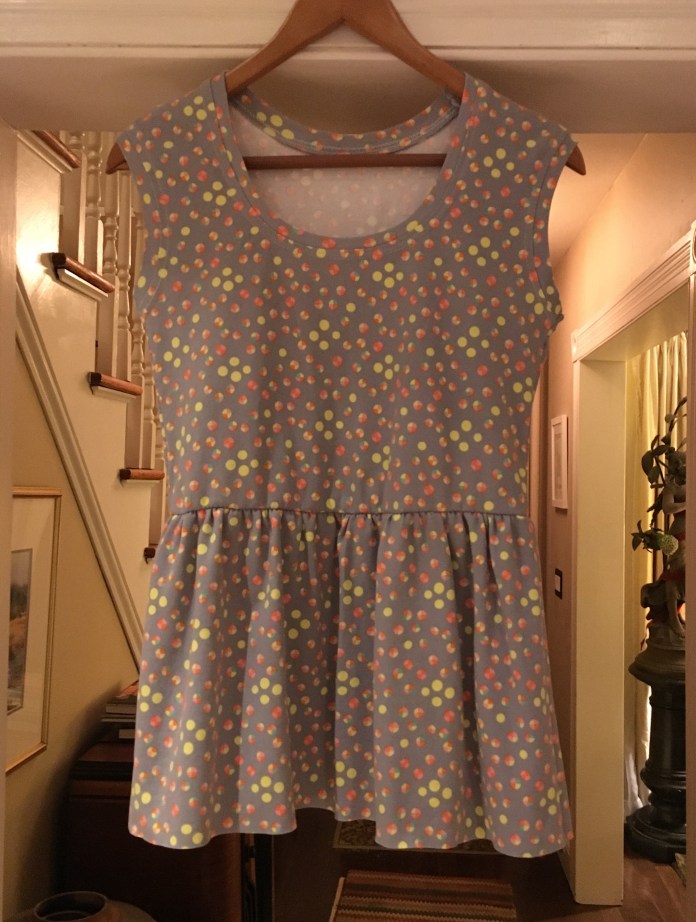 I haven’t hemmed it and I am not sure if I will because I need the length. Here it is on. I love the fun print. I think the top would be fine a bit longer.
 Sewing this many versions gave me the chance to figure out which techniques I prefer for the arm and neck bands. I ended up following Rae’s directions for the arm bands but stretched a bit more as I sewed. I don’t pin.
 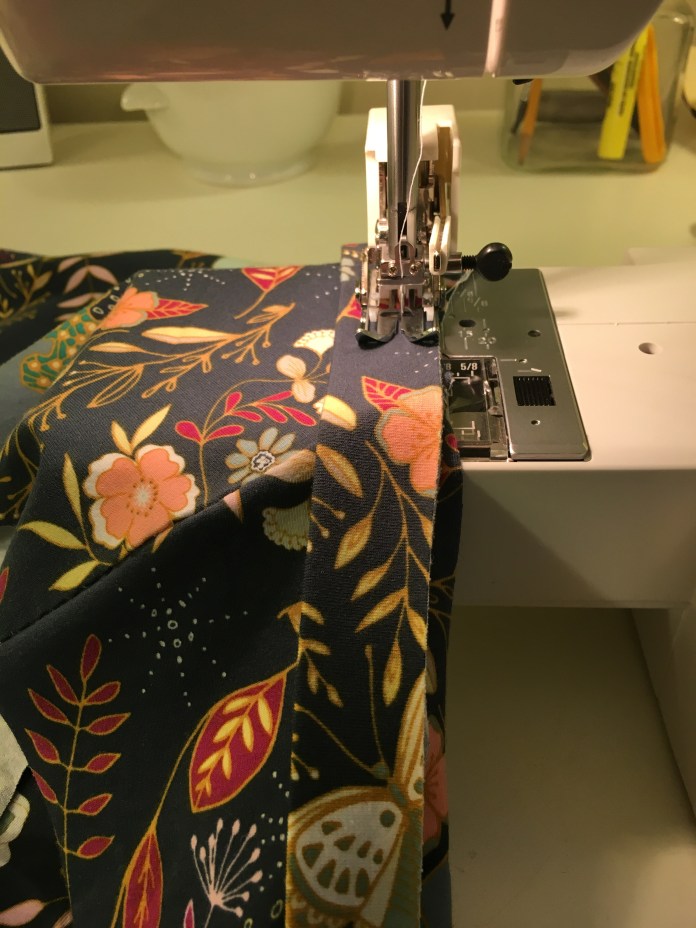 I ended up using about 1 inch less than the band as cut. This gave me a nice fit. I sewed a narrow zig zag along the seam.
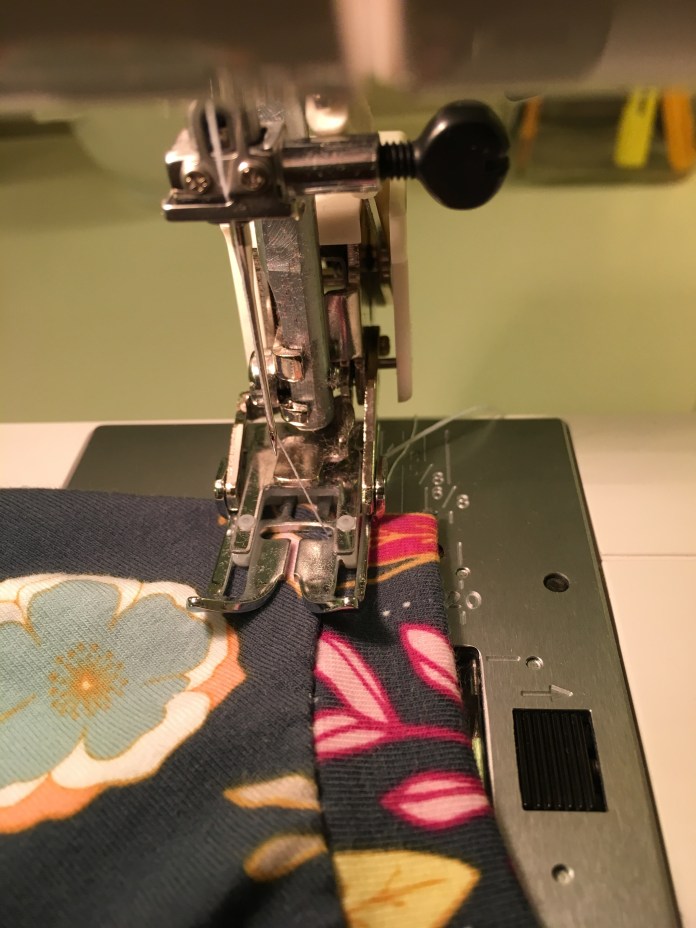 This gives it a nice finish. I used a double needle for one of my tops and I don’t think I love it that much more than the zig zag, which is so much quicker.
 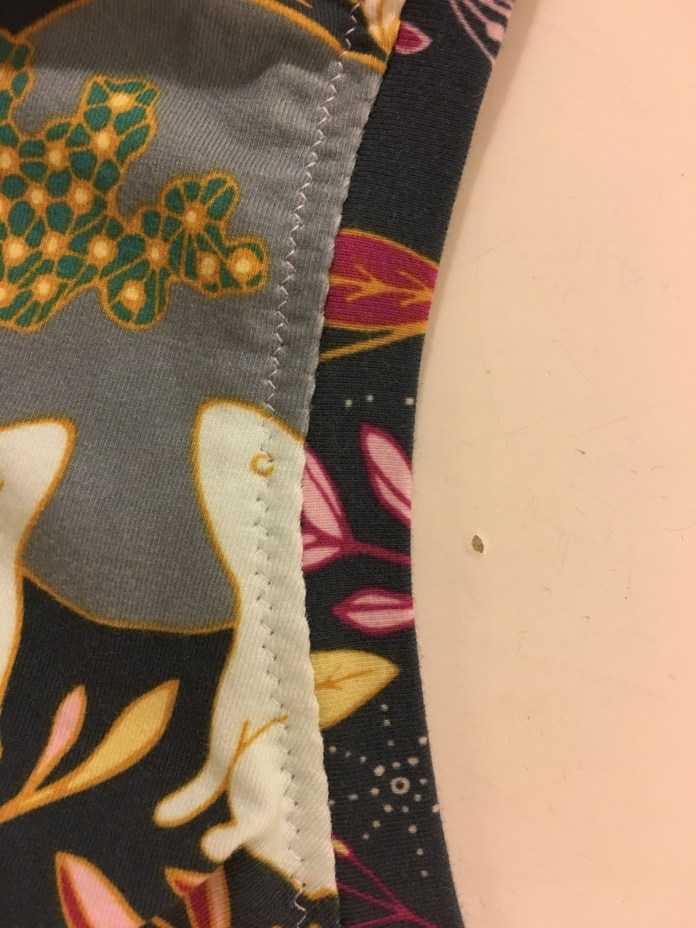 For the neckband, I tried the technique in the pattern which has you sew just one shoulder and then add the neck band and then join the second shoulder and neck band as a unit. I found for me that I ended up with a bit of bulk so I used Erin’s approach but started with the neck band cut the length specified in the pattern and then stretched a bit more than the pattern would have you do because I had gaping with my first Isla and I generally have to do a hollow chest adjustment with my other MBR tops. I ended up using about 1-1.5 inches less than the neckband length specified in the pattern but it worked for me. Here are the finished dresses. All the fabric is from Hawthorne Threads which has a great selection of knits.
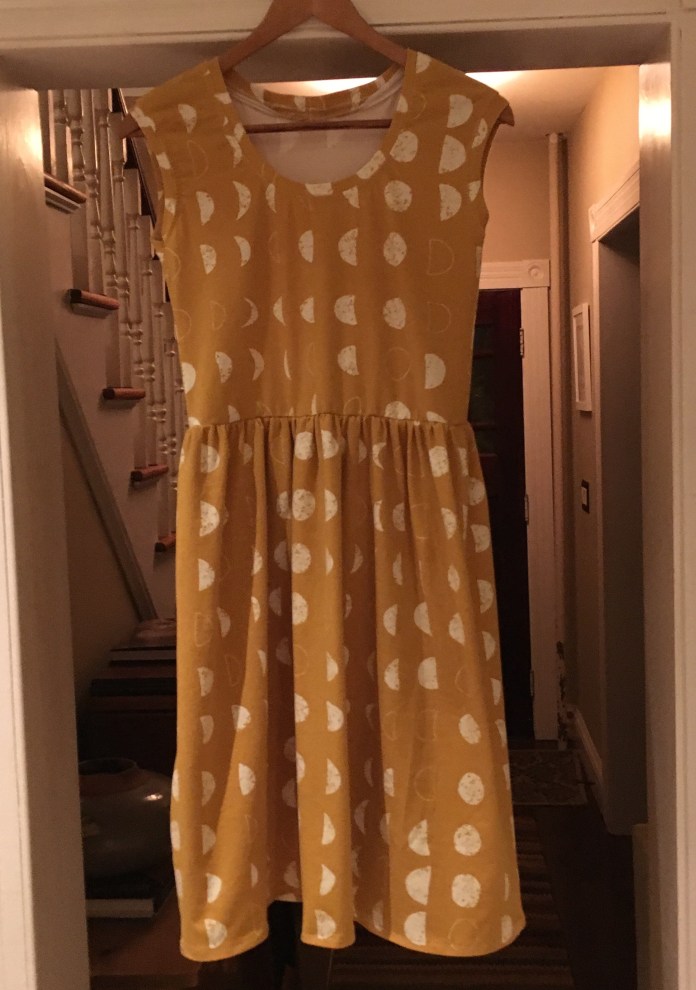


 And as worn and in action (whirlwind photo sessions with my husband was more like dress as modern art.)
 The wrinkles in the shoulders above are due to my poor posture, not the pattern. Growing up my dad used to tell me to put my shoulders back and now my daughter does.
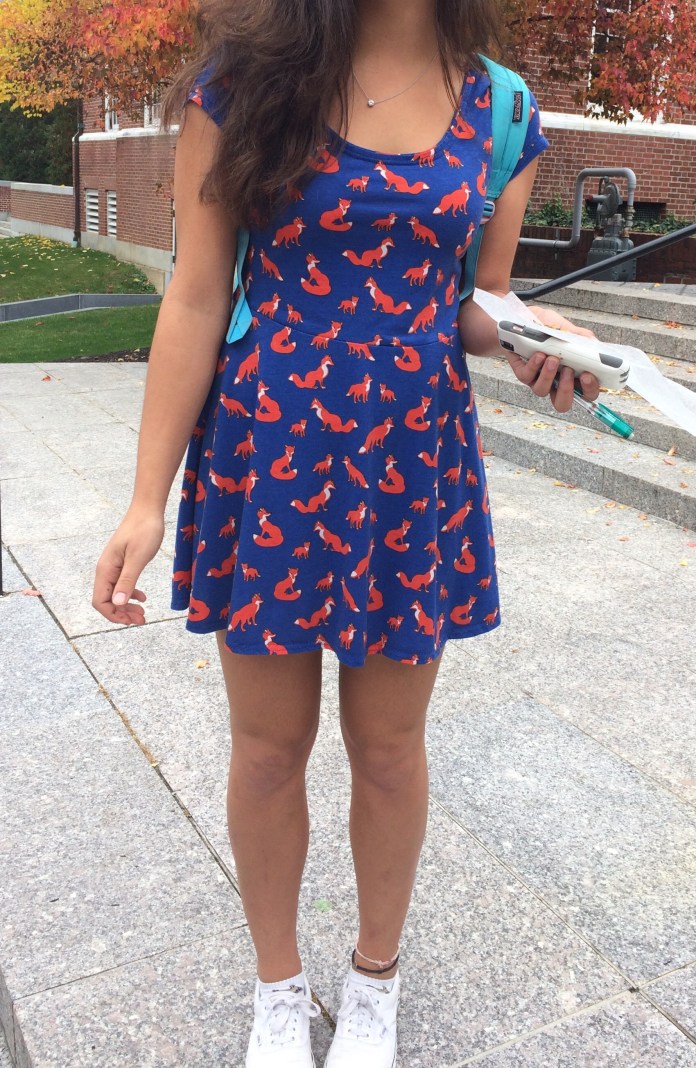
 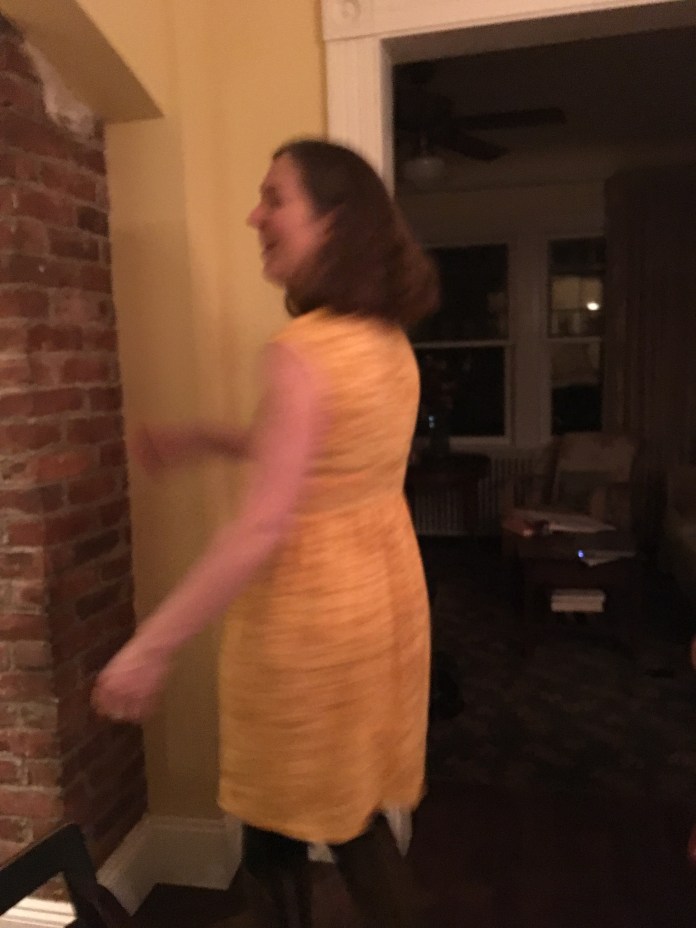 This one might be my favorite. It was supposed to be a top with jeans because I thought the bunnies might be too childlike but it makes a great dress.
 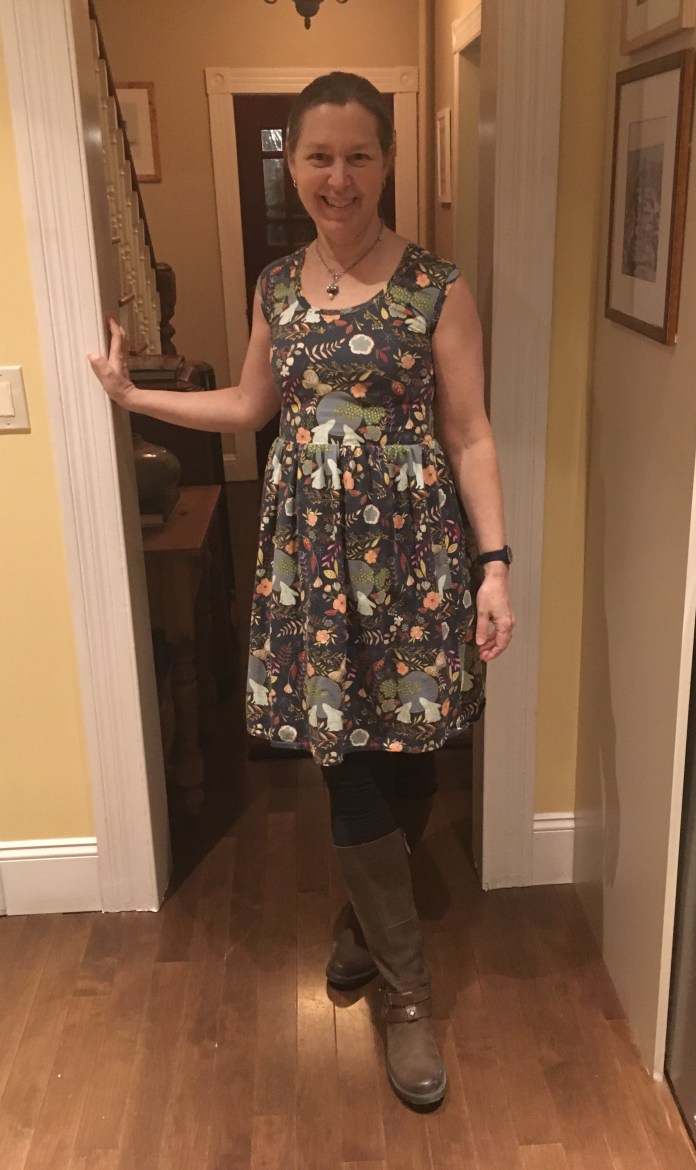 Just be careful when you cut out the neck band to not cut the bunnies in half as I did at first. I cut a new neckband when I noticed my mistake.
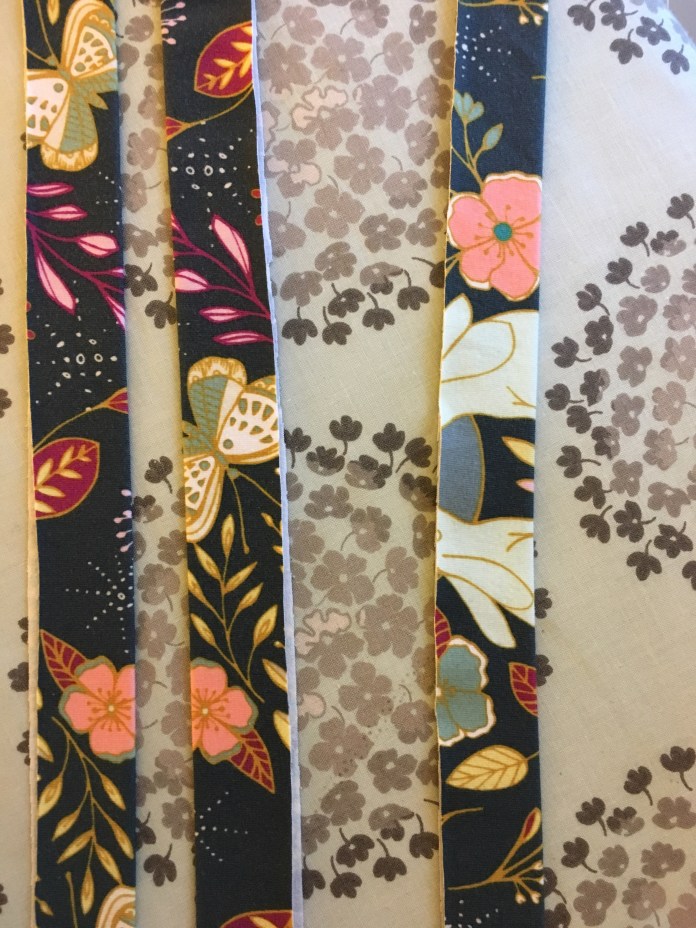 This pattern is a quick sew that makes a flattering, comfortable, cute dress that doesn’t need ironing and looks great under a labcoat. What could be better?
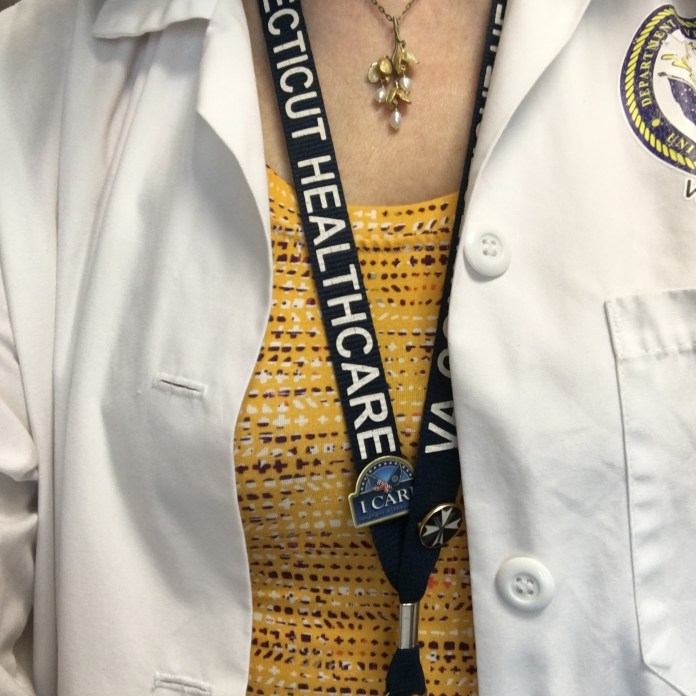 I think I have now gotten sewing with knits out of my system for a while and am ready to take the walking foot off the machine, switch the needles and get ready to sew with wovens again. There is a great new skirt pattern that is just about to be released and I can’t wait. Here is the version I sewed when I tested the pattern.
  I have some beautiful fabrics lined up to sew a couple of versions, just in time for spring. But in the meantime, my Isla capsule wardrobe will be just the thing to get me through the winter.

 I didn’t even hem it.
 I know it will be worn a zillion times dressed up and dressed down.
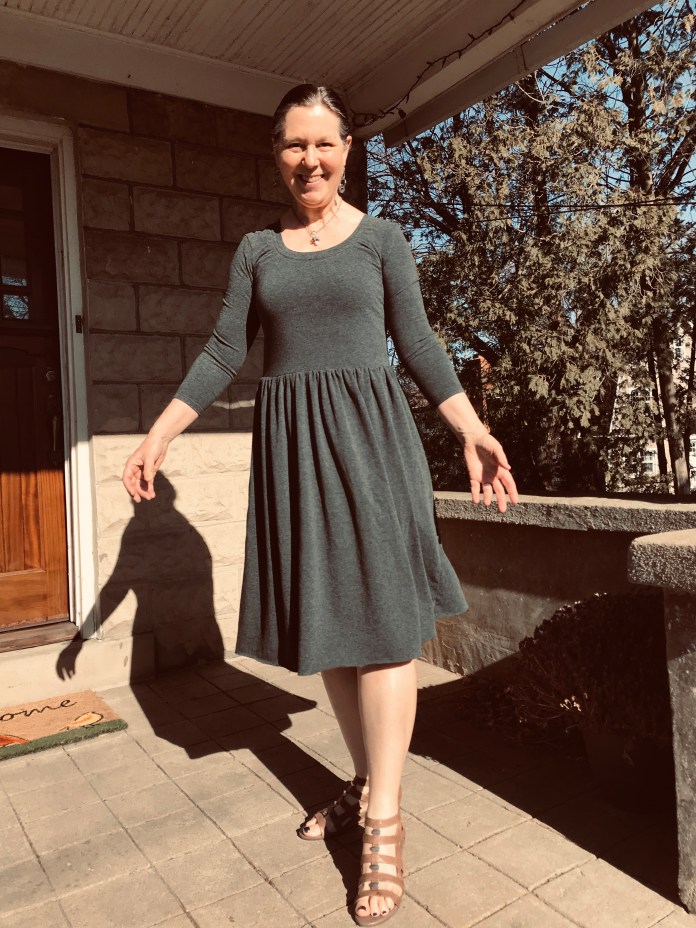 Now to buy some new necklaces to go with it. It is the perfect backdrop. For the many other Islas and some tips on sewing knits with a regular sewing machine, check out Sewing with Knits 101, Sewing with Knits102 and my Me Made May wrap-up posts here, here and here.

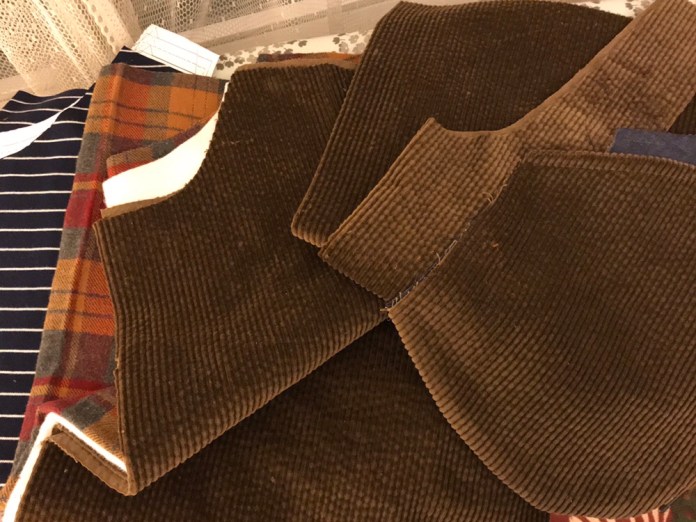 I lined the pockets with blue linen left over from a summer version of the York. You can see how nice the fabric is in this close-up. It is really soft and drapes so well-really surprising in a corduroy as they are often stiff.
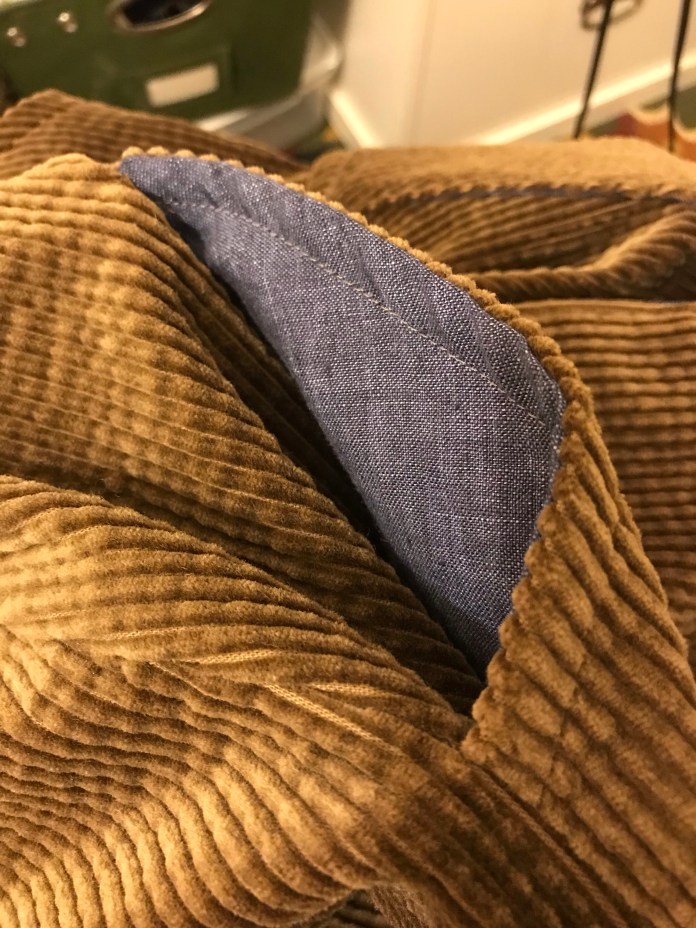 I had heard about FabScrap but had never visited their operation and then the Love to Sew ladies came to NYC and hosted a meet-up of local sewists there and I was lucky enough to be able to go. I am a big fan of the
  At FabScrap, volunteers sort donated fabric and what can’t be sold as yardage is recycled and made into industrial felt. They even have recycled buttons and zippers and sometimes sell fabric online. They recently had a flash sale of corduroy for $5 a yard that I jumped on. I bought four colors thinking that it would be a great basic to have for clothing for myself but also for little jumpers and pants for future grandchildren and I am so glad I took the plunge. It will make great garments (I have plans for Lander pants and this amazing
  as worn here:
 and have several more cut out. I discovered Cloud 9 organic cotton knits this spring when I was a tester for the Jade and made this version:
 This fabric is a dream to sew with and is incredibly soft and comfortable to wear. I stocked up on several different colors and stripes this summer and I am sewing a wardrobe of shirts. It spoils you for any other knit. I highly recommend it. It would make great children’s tops as well.
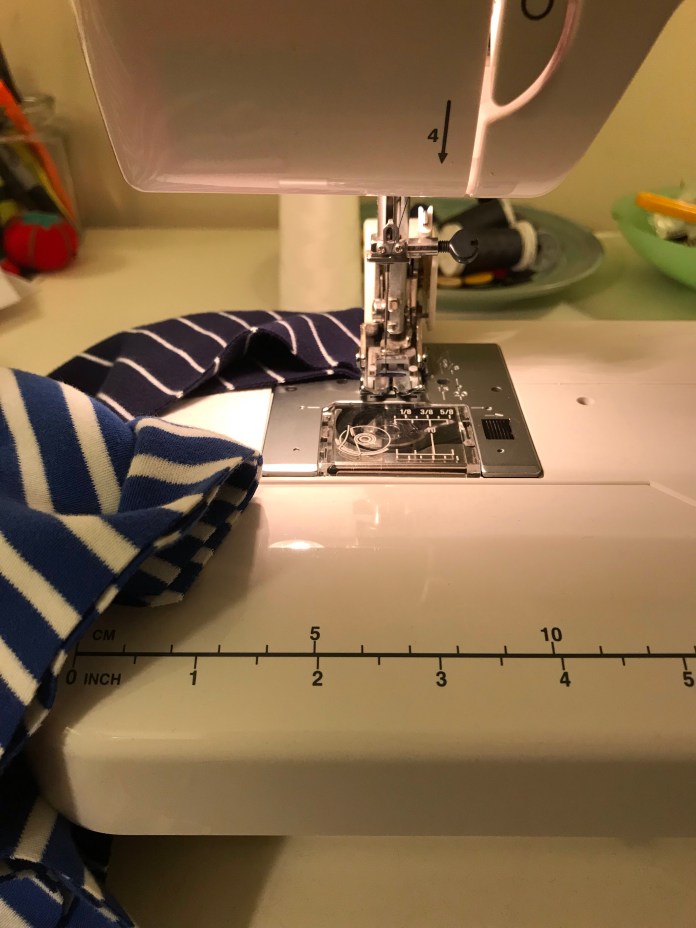 I also sewed a dark grey version of the Jade from lovely soft cotton knit fabric bought long ago from
 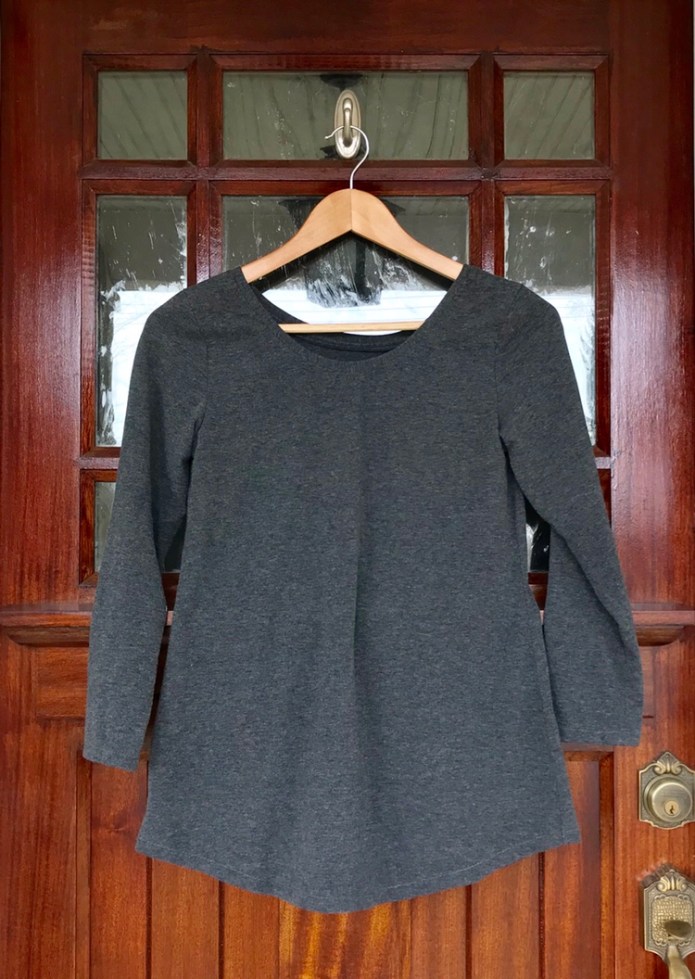 And there you have it. Two great patterns that are quick to sew, don’t use a lot of fabric and mix and match with many possibilities. More versions to come! Perfect for walking all over the city, something I have been lucky to do this fall. I really enjoyed walking through Central Park
 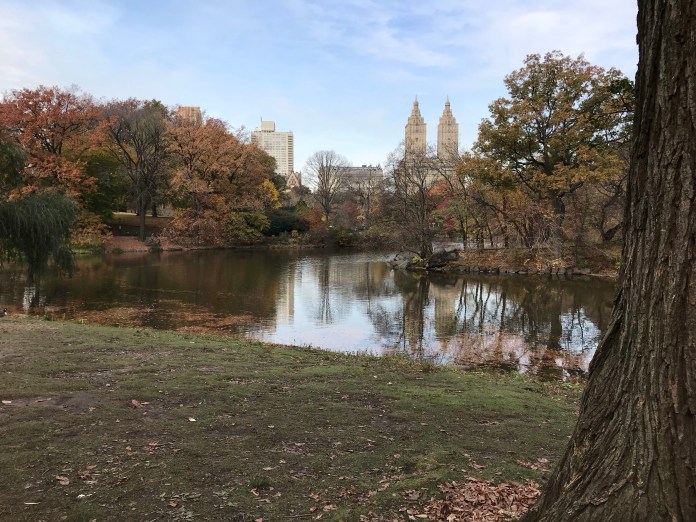 and going to the Guggenheim
  where I saw this
  I will definitely be going back.
  This past Sunday it was so warm (50 degrees in November!) and my husband and I spent the day exploring Clinton Hill in Brooklyn
 where we got to see the inside of the beautiful library at the Pratt Institute (yes I am wearing my Tamarack Jacket here-this was a selfie in the distance-the mirror was on the opposite wall and I couldn’t resist.)
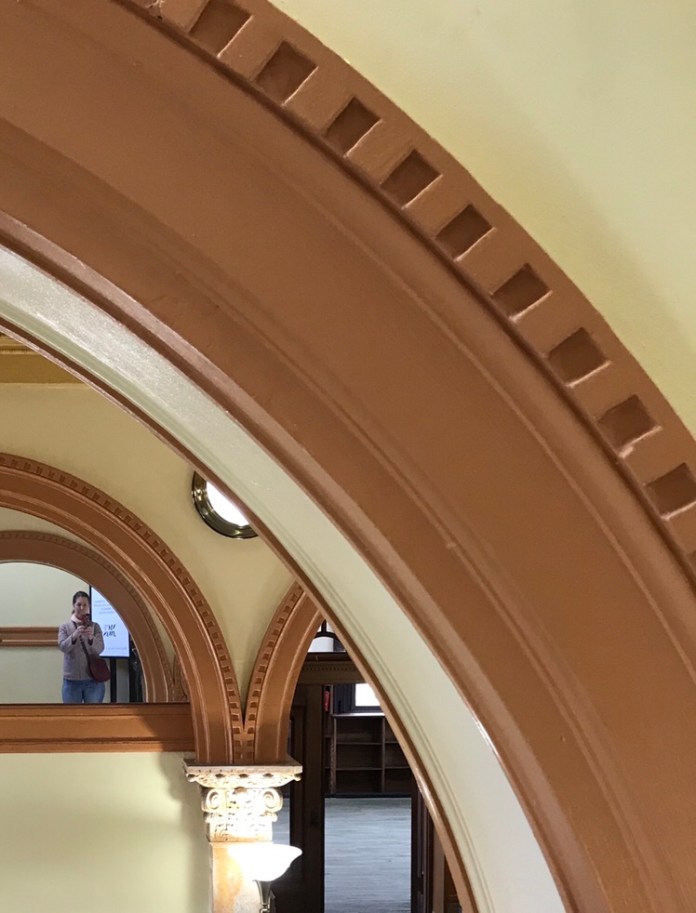 We also went to a
  ended the day with ice cream eaten on the waterfront. It felt like spring-a perfect fall day. (this is not us-just another lucky couple enjoying a beautiful NYC night.) Happy Fall!
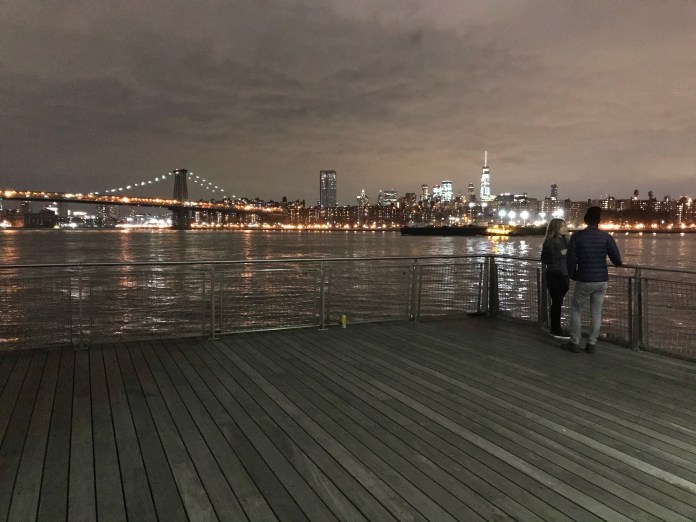
 A little more than two years ago, I started sewing my own clothes and last fall, I took the
  And as worn here:
 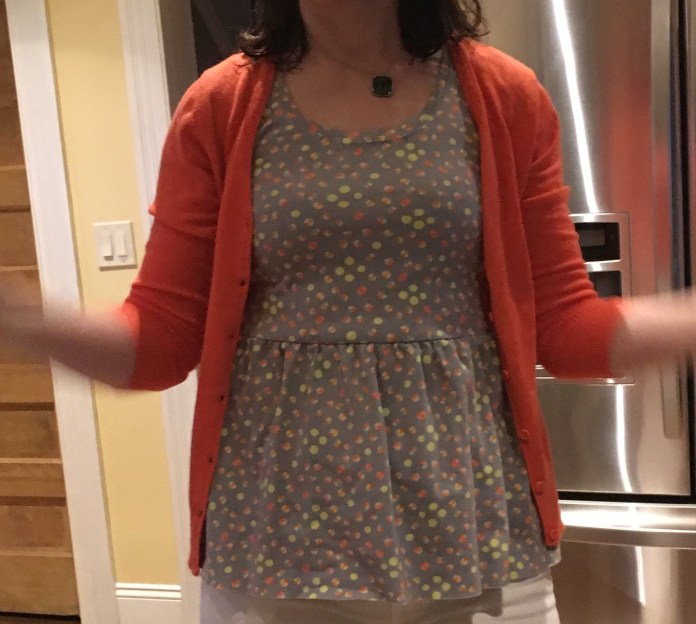 This would seem to be plenty: 3 summer dresses. And then,
 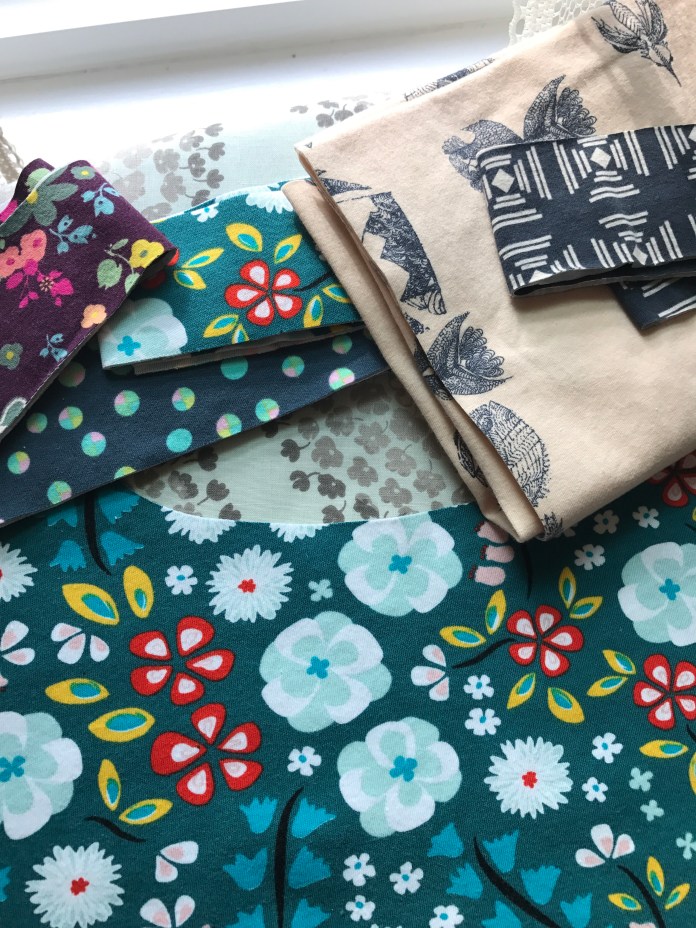 Other than adding an inch to the length of the skirt (which I neglected to do for the Glow version, I am not sure why) I followed exactly the same methods I used for my first batch of Isla’s which was to use all the tricks that my Instagram friends shared with me and which can be found in
 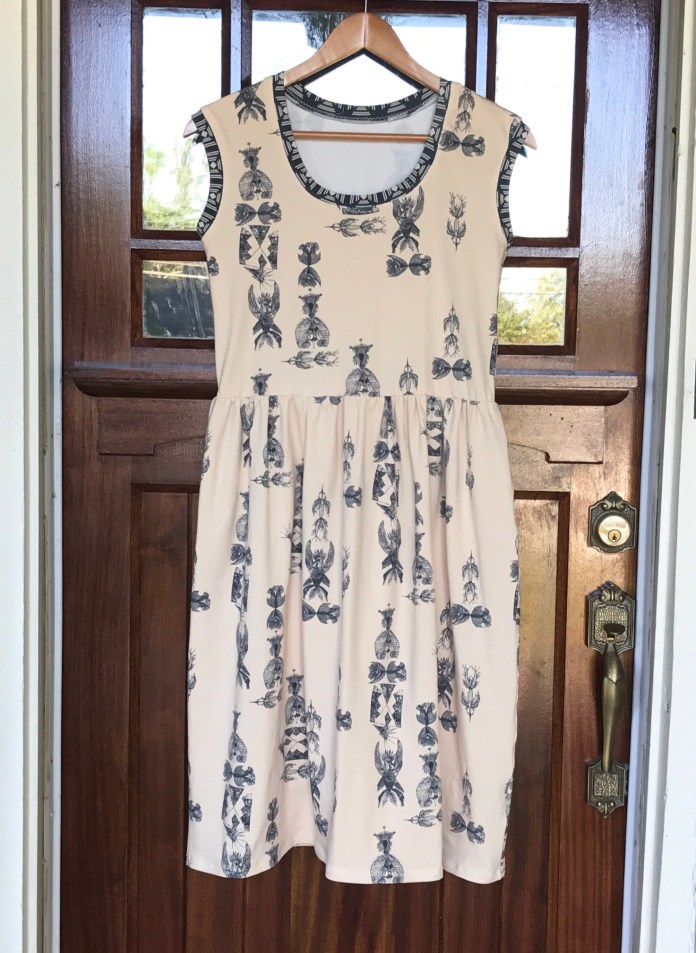 And as worn:
  Next up I made the Sidewalk fabric version. I knew it would be good because I had seen
  This fabric is really nice to work with and I am so happy with how this version turned out.
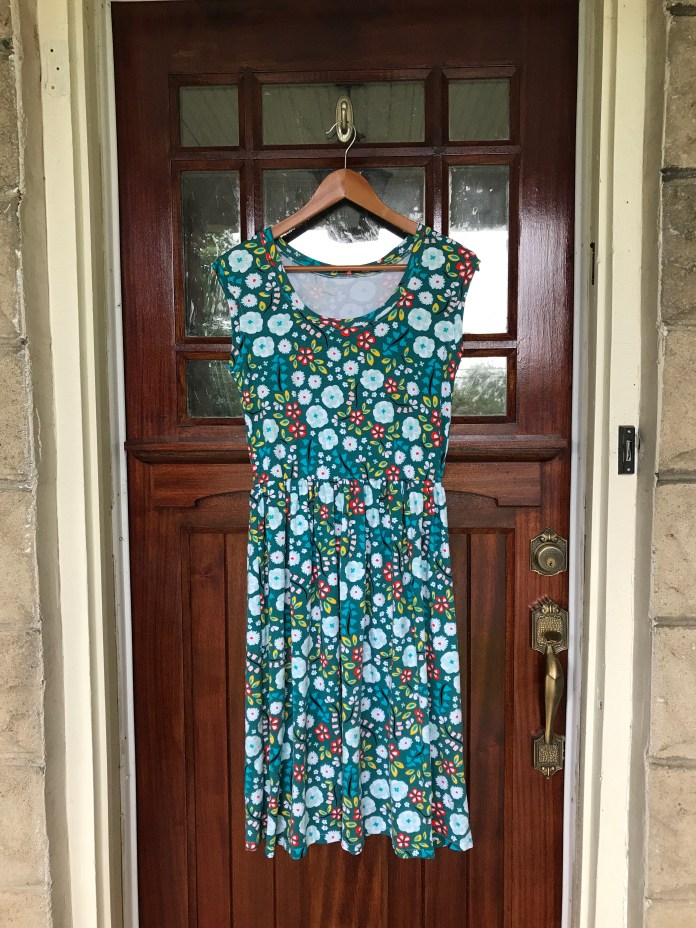 And as worn:
 Next I sewed the
  And as worn:
 The Amy Butler version is a bit shorter which came in handy when we recently had a heatwave. I didn’t think I cut it differently but I must have.
 This fabric is a bit heavier than the others. It is really easy to sew with and would be great for someone new to knits.
 And that would have been it, except that
  It is amazingly comfortable, flattering and doesn’t wrinkle.
 Perfect for a trip to someplace amazing. Now all I need are airplane tickets. Mr. NB, take note! And it is even better with my mustard cardigan, as most of my dresses are.
 One of my favorite winter Islas did get some wear time this summer on one of our cooler days. Here it is with leggings and sneakers. I can’t recommend this pattern more highly!
 But I wasn’t thrilled with the results I got using my regular sewing machine. When
 I tried a stretch stitch on my machine based on
  This is what the test sample of the stretch stitch looked like on a scrap.
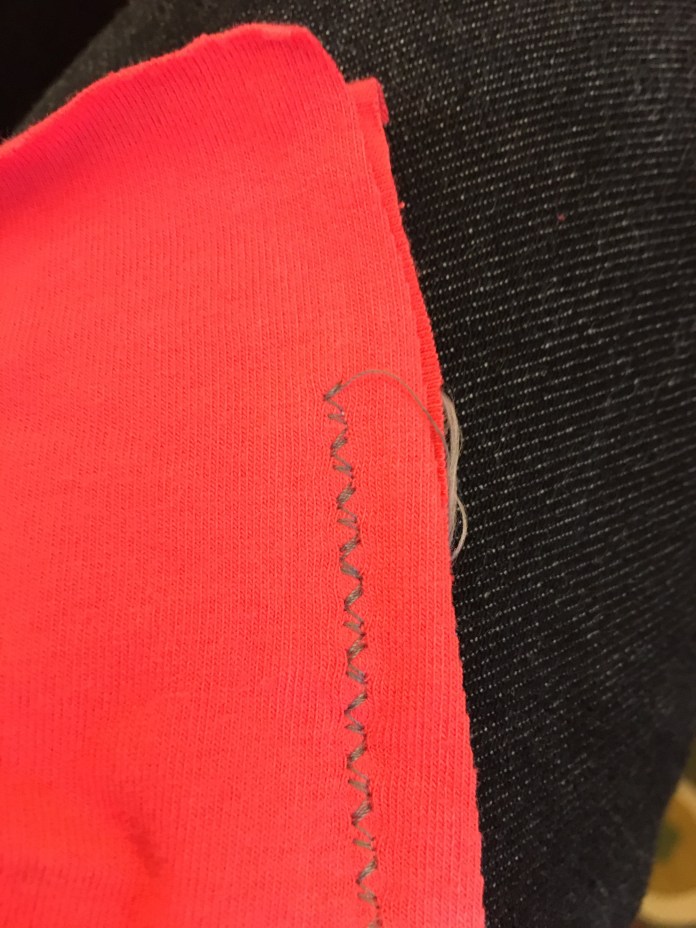 These are the settings I used for the stretch stitch which I used for all my seams.
  And here are the settings I used for the zig zag stitch that I used around the arms and neck to tack down the seam allowances after attaching the binding.
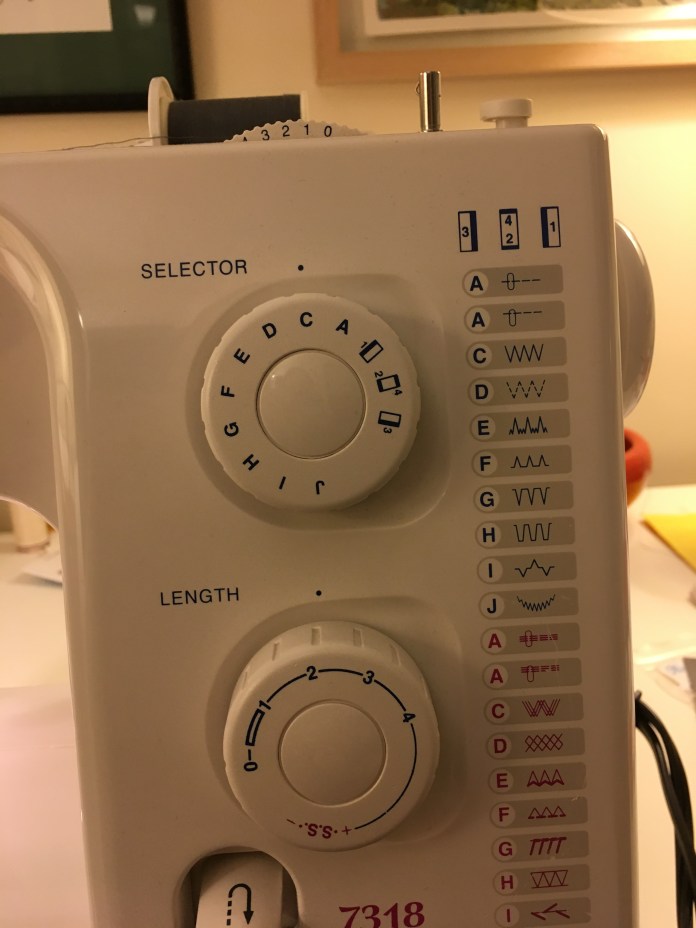 Here is a close up of the arm binding with the zig zag sewn about 1/8th inch from the seam. The walking foot worked really well feeding the fabric in evenly and helped the machine handle the bulk where seams were joined.
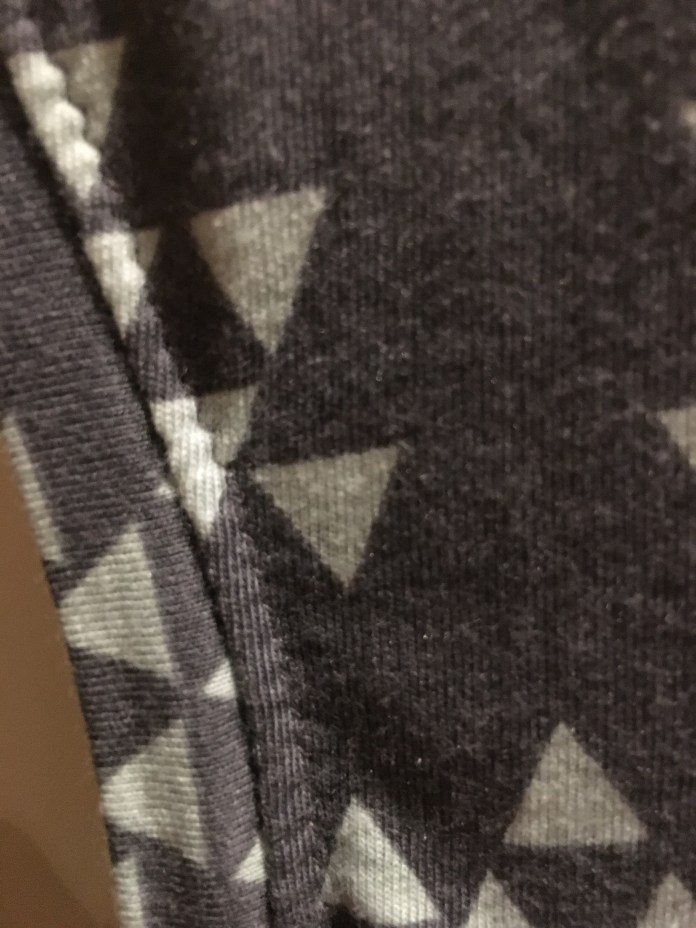 I used the same tension I always use for all of the stitching, even the gathering stitch with elastic thread, and it worked fine.
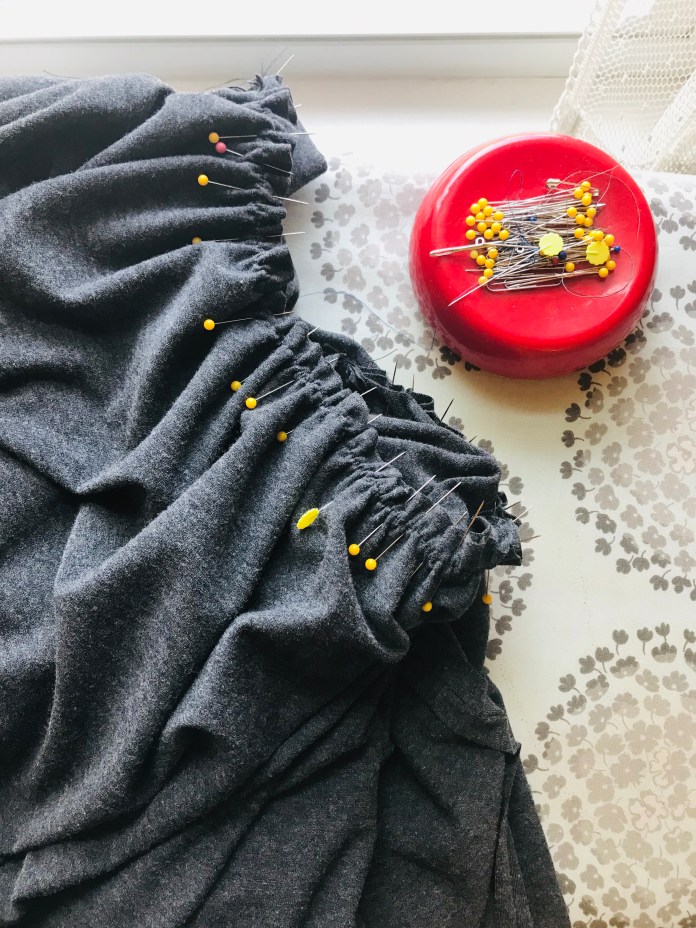
 The gathering technique is magical. Using elastic thread in the bobbin and a zig zag stitch, the skirt was gathered exactly the right amount. I have learned after sewing many MBR patterns to just trust Rae. She knows. Her instructions are straightforward and work great when followed.
 but that may also be because I am very small busted. I will try to make the neckline binding a bit smaller next time ( I find that it usually takes me 2-3 tries to get a pattern down,) but I am overall really happy with my first version.
 I used a twin needle with stretch thread in the bobbin to sew the hem. I ironed the hem before sewing.
  I used wonder clips to hold the hem in place for sewing.
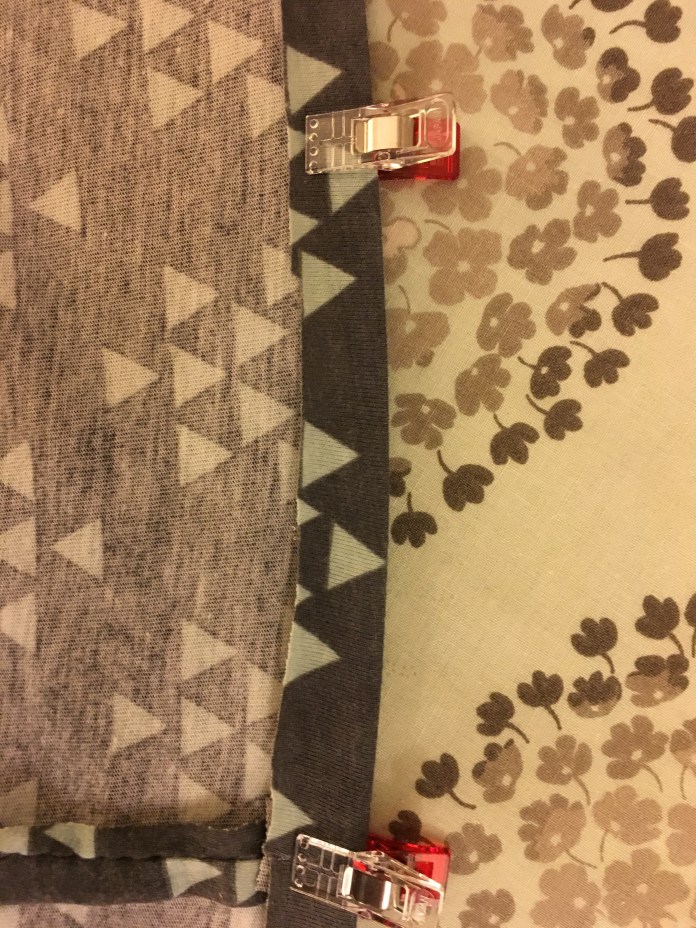 Test fabric showing the twin needle hem.
 I used the presser foot edge as a seam guide and got really good results with the twin needle.
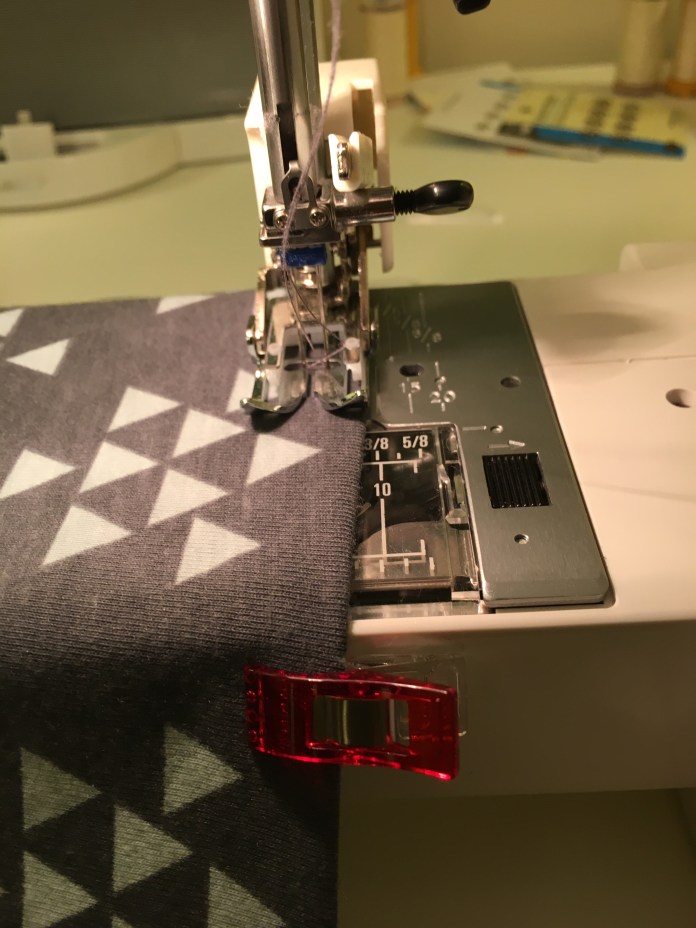 Hem as stitched below.
 Hem seam as seen on the inside. It lies pretty flat but I think I will have even better results with a slightly heavier knit. This is pretty thin fabric.
 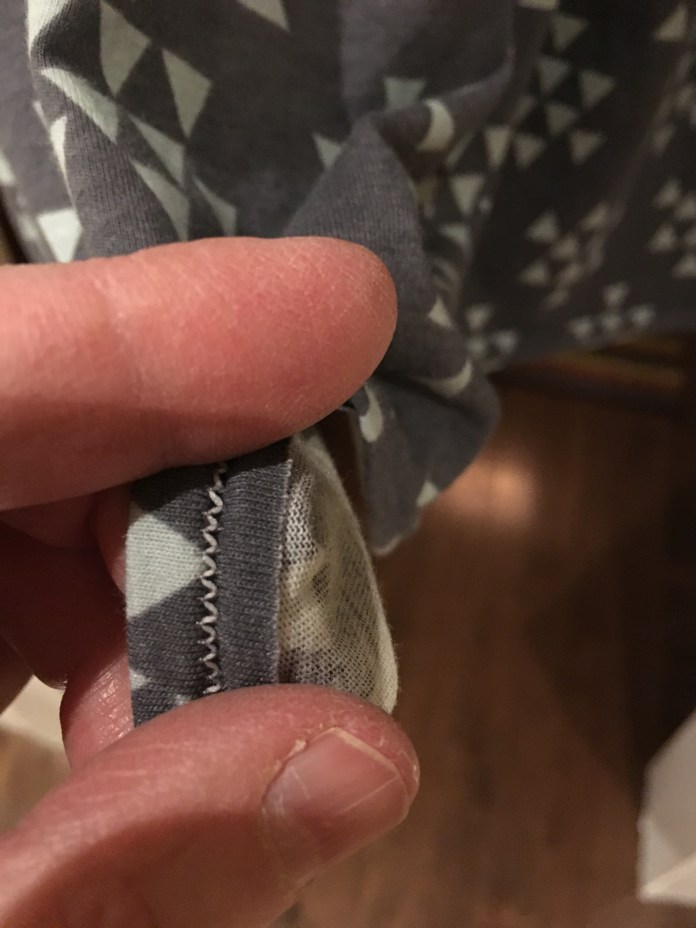 Twin needle settings below. (I take pictures so I remember for the next time.)
 Finished dress below. The bodice looks a little wonky on the hanger but it seems less so as worn. I think the next time I make this, I will sew my elastic gathering seam a bit farther away from the edge because my machine was chewing up the edge. It is actually amazing how well it ended up considering. I did not take out the stitches or redo the gathering or the seam where I joined the bodice to the skirt and it looks relatively even.
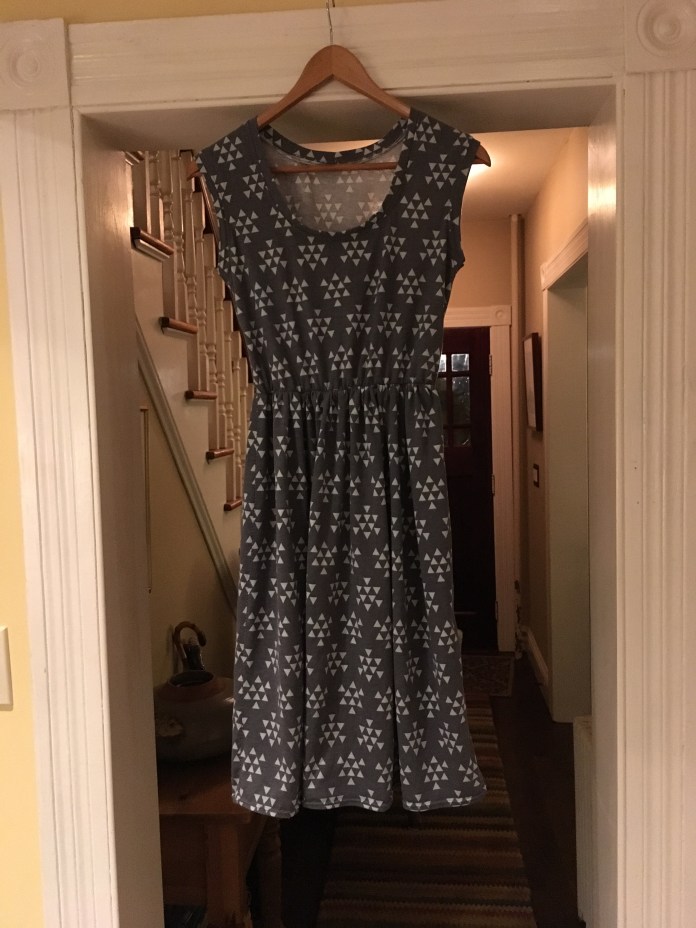 And as worn. I am not sure if I want to keep the bodice this length or shorten it or lengthen it. This is with an added inch so you can see that it is pretty short as drafted. I have a really long torso and I haven’t decided which would be the most flattering.
 I am very happy with the fit around the arms and the neck.
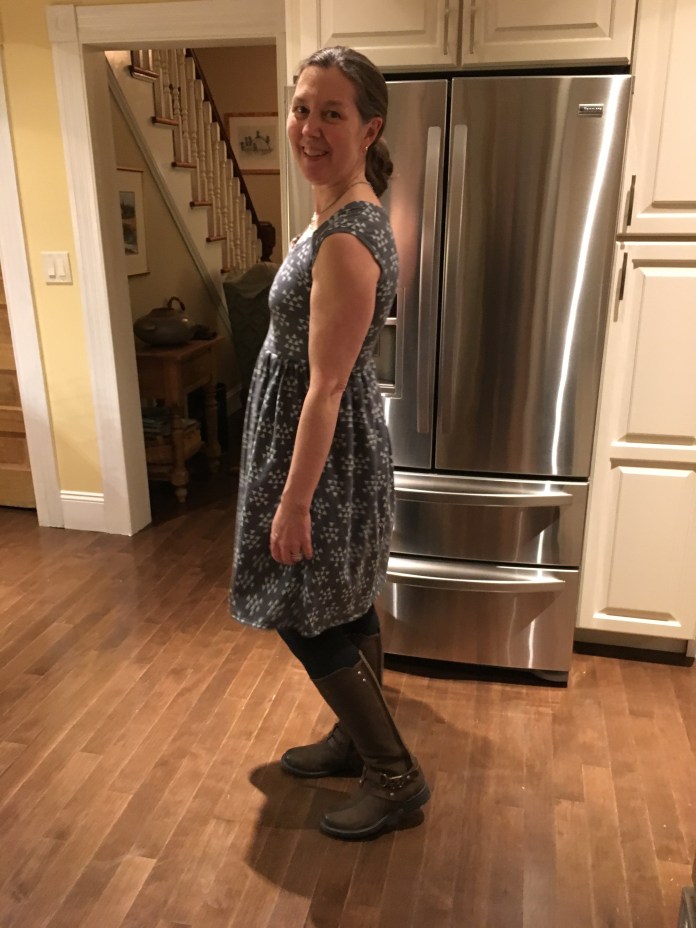 Back view.
 And with a cardigan which is how I will be wearing it this winter.
 This pattern is a quick sew. What I loved about it: gathering the skirt with elastic thread. Brilliant! I used a zig zag stitch, not a stretch stitch for gathering and sewing the bodice to the skirt with elastic thread in the bobbin. I highly recommend this pattern and the little knit tricks I learned above which enabled me to have a really nice result with a regular, inexpensive, sewing machine. Next time I will use the twin needle instead of the zig zag around the neck and arms, but otherwise, I am really happy with the results. This pattern is a keeper!