
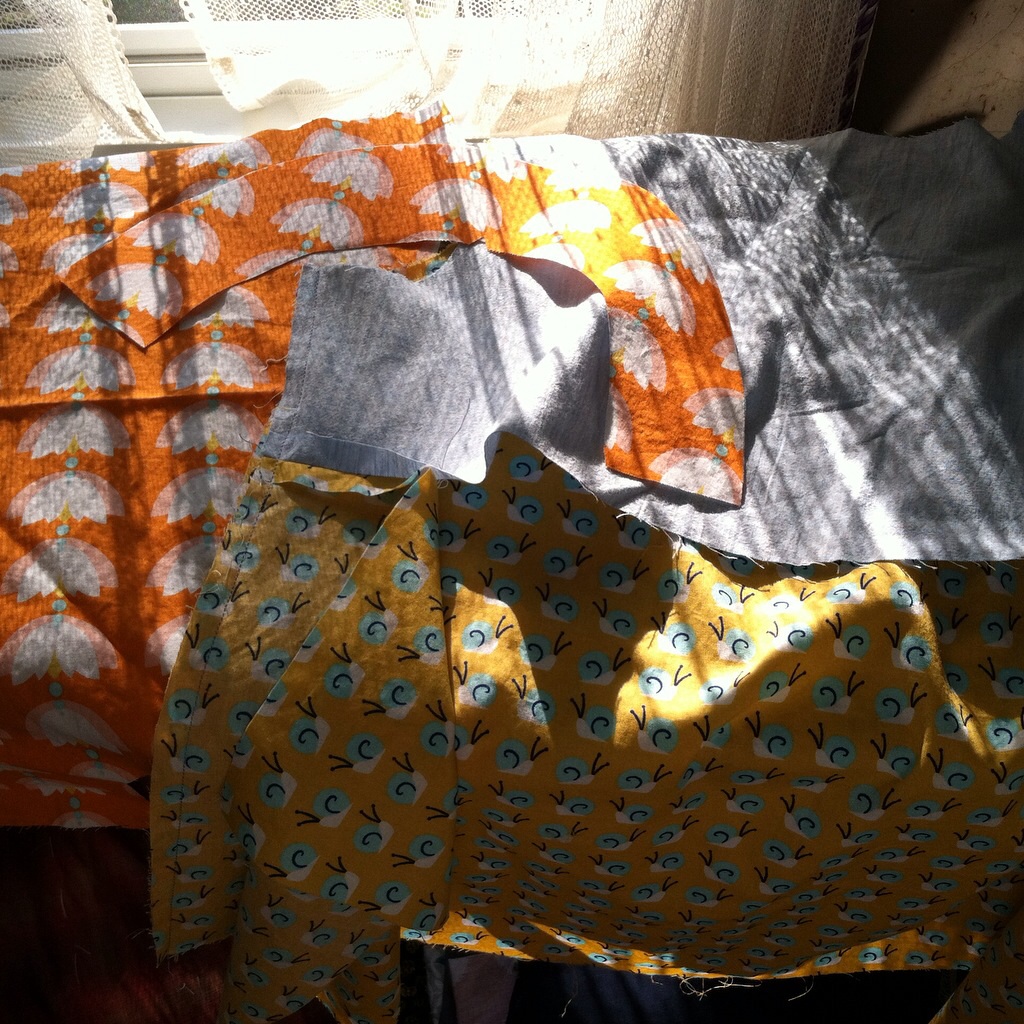
I started a couple of projects during May, but life got busy and I had some zipper issues and they stayed unfinished until today when I had a lovely unplugged Thursday and had the time and energy to finish them. The first is another tunic using the Made By Rae blouse pattern, the Beatrix. I used this great fabric from Alison Glass. All over the internet there are dresses and Beatrix blouses made with this plus-patterned fabric in different colors but I was actually inspired by this post by Tara whose blog Girl Like the Sea is wonderful. When I saw the same fabric on sale, I snatched it up. I liked the white strips Tara used in the blouse for her daughter and it made me think a white exposed zipper would work well.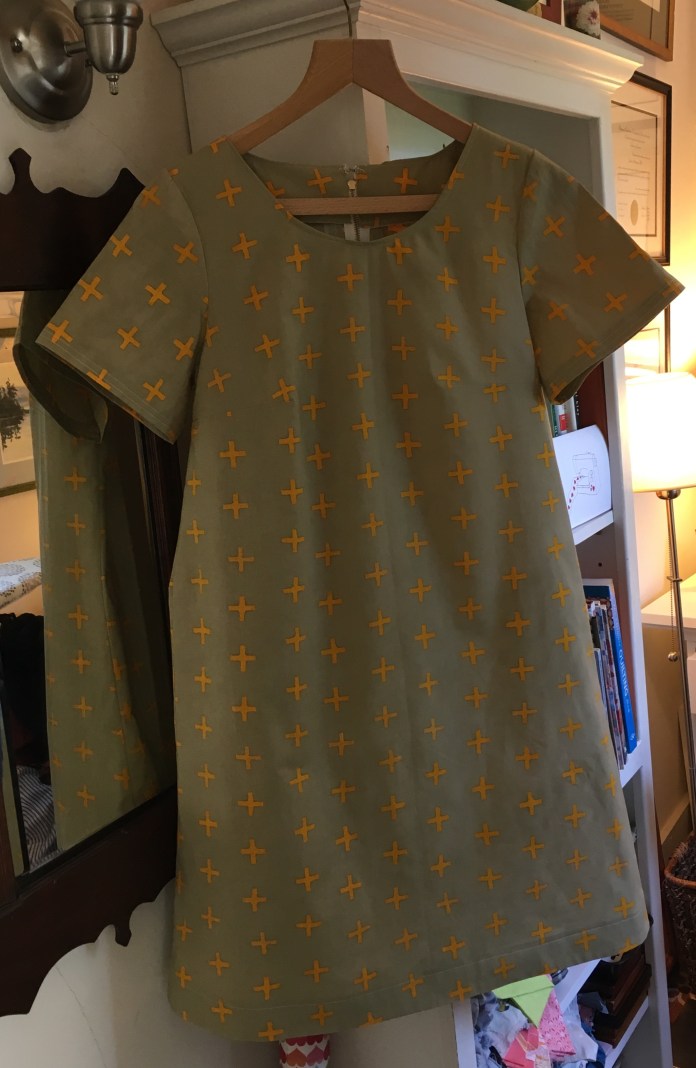 This is my third Beatrix Tunic. The first two were blogged here and here. I have made several versions of the Green Bee Pearl shift and this project is sort of a combination of the patterns. I had used exposed zippers when I made my plaid Pearls and was really happy with the extra zing the metal zipper gave to a relatively simple pattern so I decided to try it here. The hardest part was finding the right zipper. I finally ordered two sizes of white zippers from Zipit, an etsy store with a good selection. I had already cut out this pattern and a linen Pearl and prepared the back for the zipper using Megan Nielson’s tutorial. When I previously inserted the zippers on the plaid Pearls, I used a technique based on Dana’s zipper bag tutorial. It had worked really well for me but I thought the Brumby method might give me a cleaner look. What I learned about the Brumby method, in which you prepare the opening for the zipper first, is that measuring accurately is key. Sadly, when I went to insert the zipper into the opening, it turned out that my measurements were off and the opening for my zipper was too long. One of my zippers was too short and one was too long (sort of a Goldielocks problem). So I had to order more zippers. And this is why these tunics did not end being worn during May! I now have a lot of zippers. 🙂
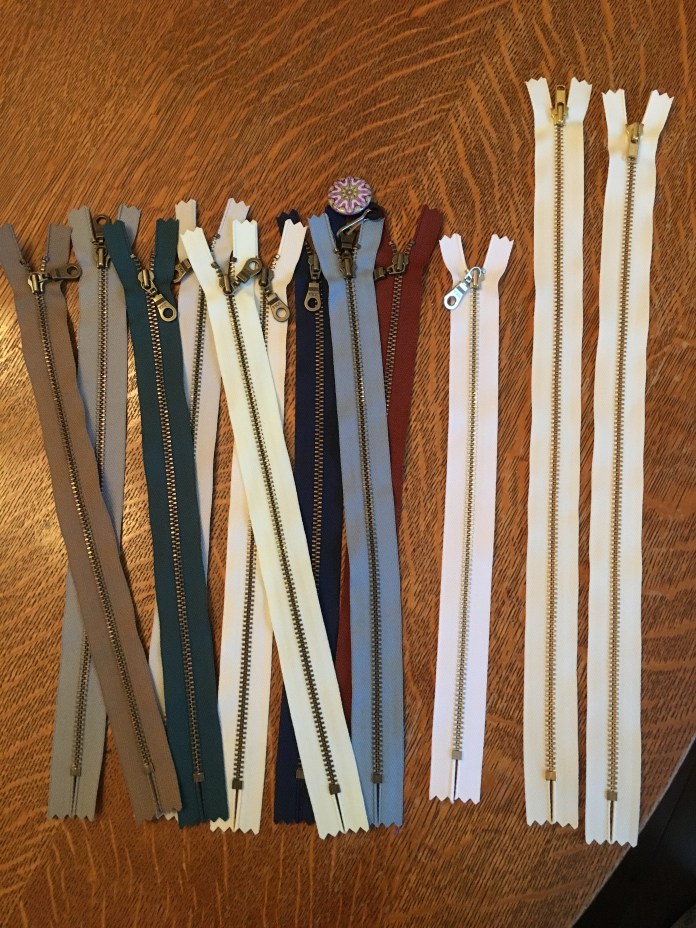 Sometimes I will make a great deal of headway on a project and then weeks go by before I find the time to get back to it. I have learned to relax and know that some day I will finish, even if it takes weeks (or months). For this tunic, I cut out the top of the Beatrix and graded out to the width of the Pearl. This time, I didn’t curve the hem but used the Pearl hem line. My new go-to work uniform is a tunic over leggings with boots in the winter and sandals in the summer. It is easy and comfortable. I will definitely be making more of these. Some pictures below.
 Stay-stiched neck line above and darts below as per the Beatrix Sewalong, a great tutorial broken into smaller, manageable steps. I don’t own a serger so I zip zag most seams to finish.
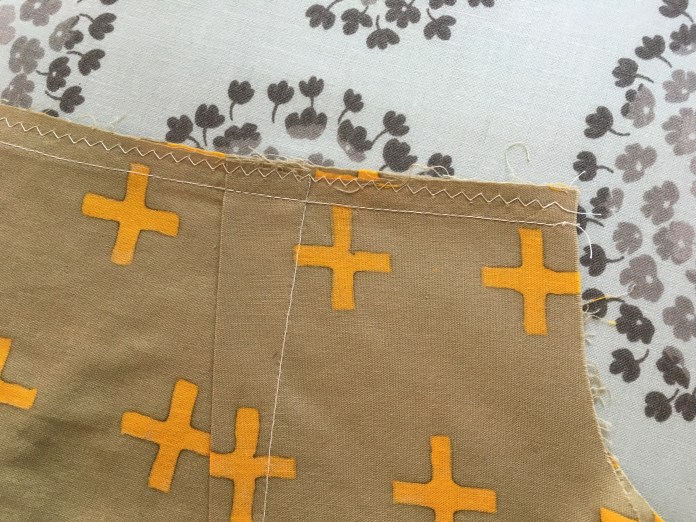 Sleeves are turned down once, ironed and then a second time and stitched with two rows of stitches. Quick, easy and durable.
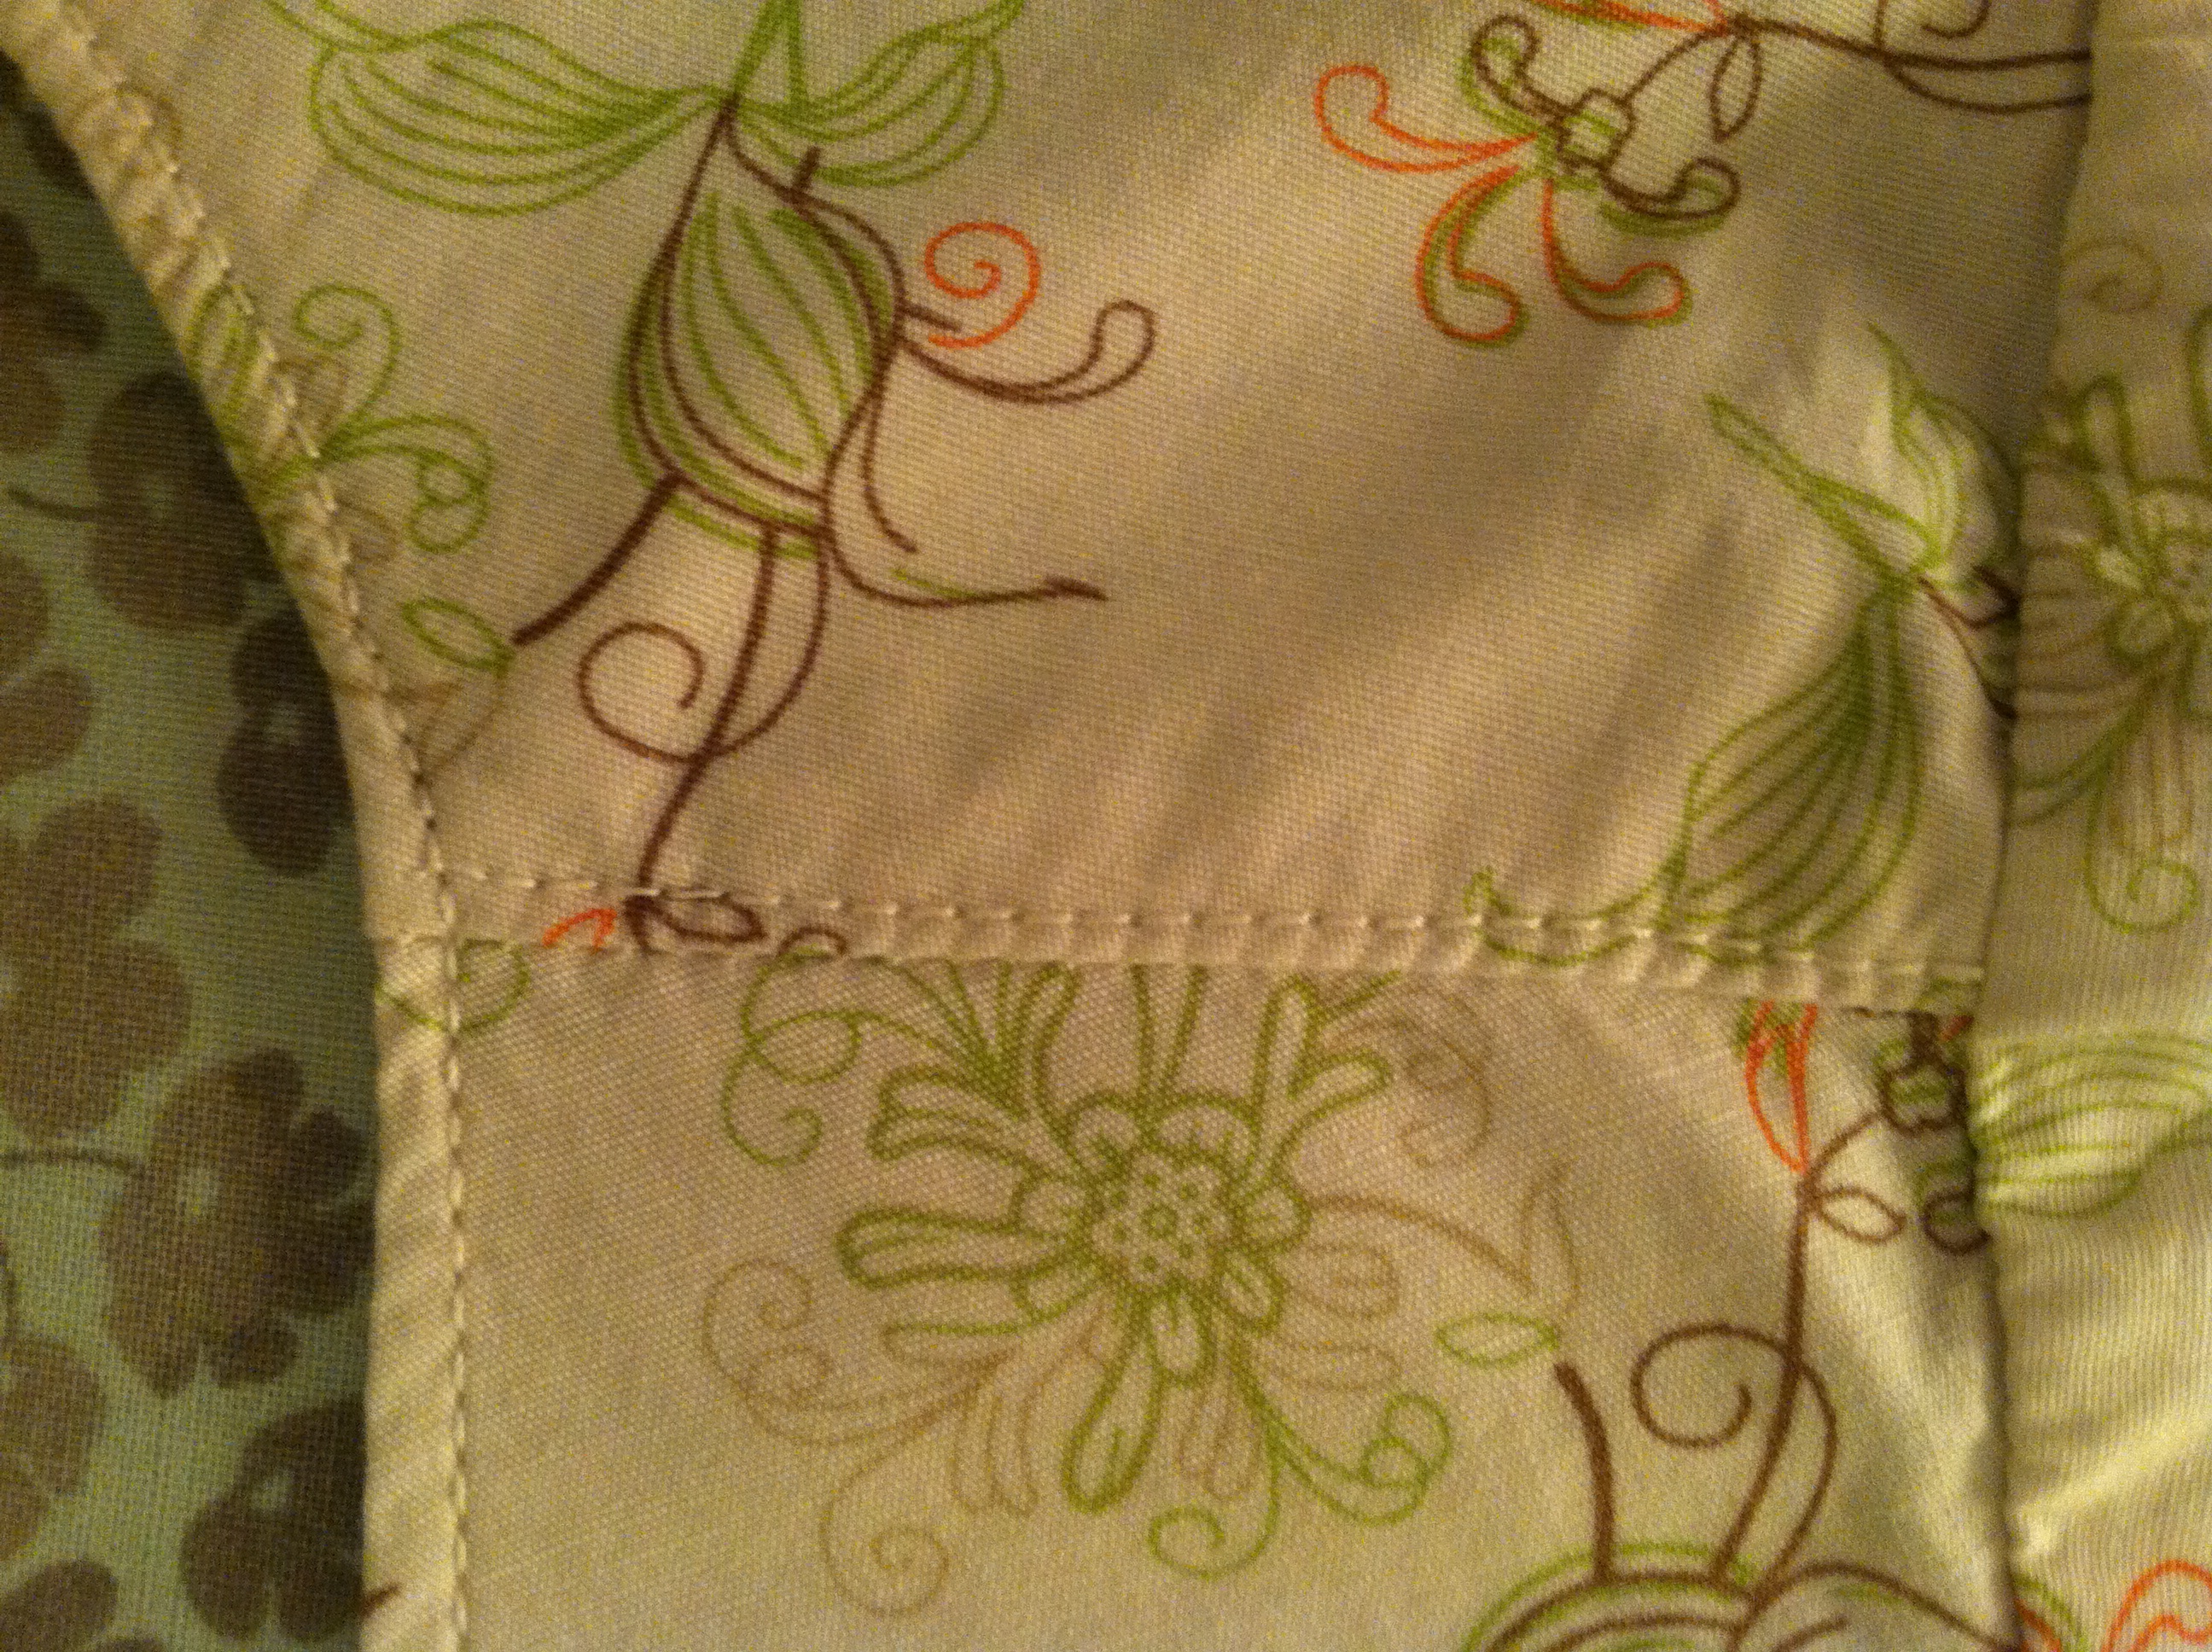
 My favorite way to make a simple pattern more interesting is a contrasting hem. I love these two fabrics together.
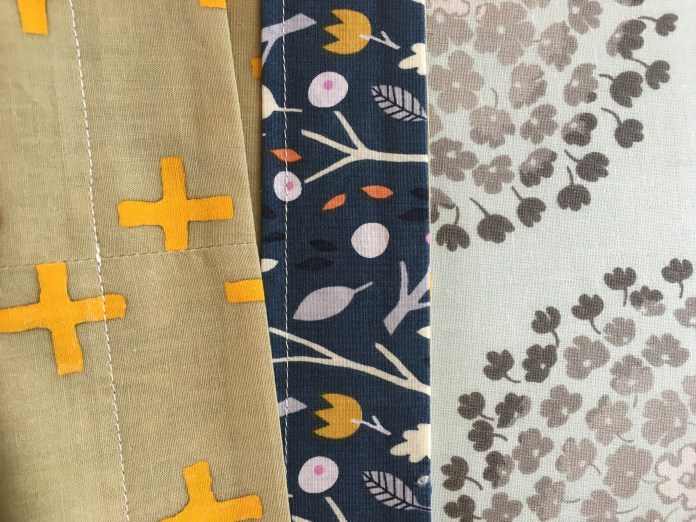 I have blogged about my very simple method for hem facings here and here. Pictures of the steps below. I start with a 3 inch strip of fabric and sew it on right sides together keeping in mind the direction that it will face once the facing is turned up.
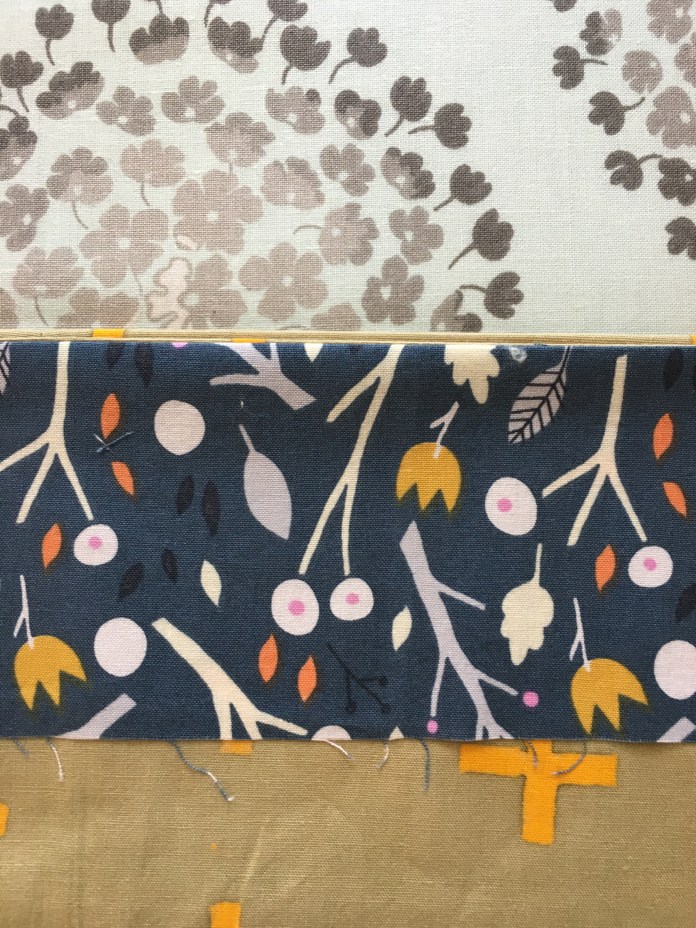 Lots of ironing is involved.
 I actually use the metal plate on my sewing machine as my guide as I sew. It works perfectly for the measurements of this hem facing.
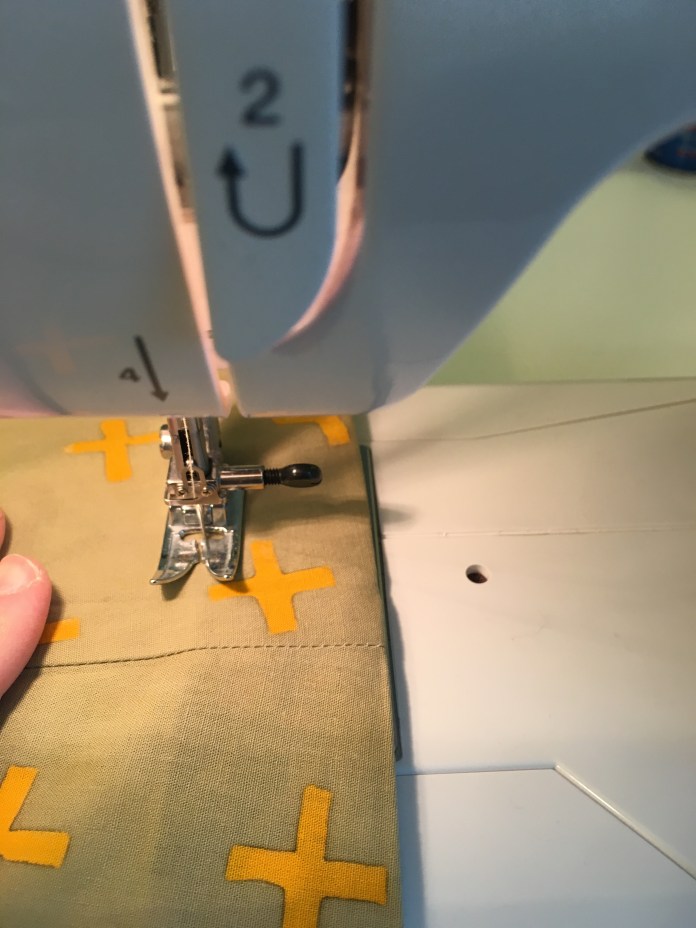 When I think of it, I leave the threads long and pull them to the inside and knot them using the quilter’s technique of sliding the knot down the thread using a big pin or needle as seen here.
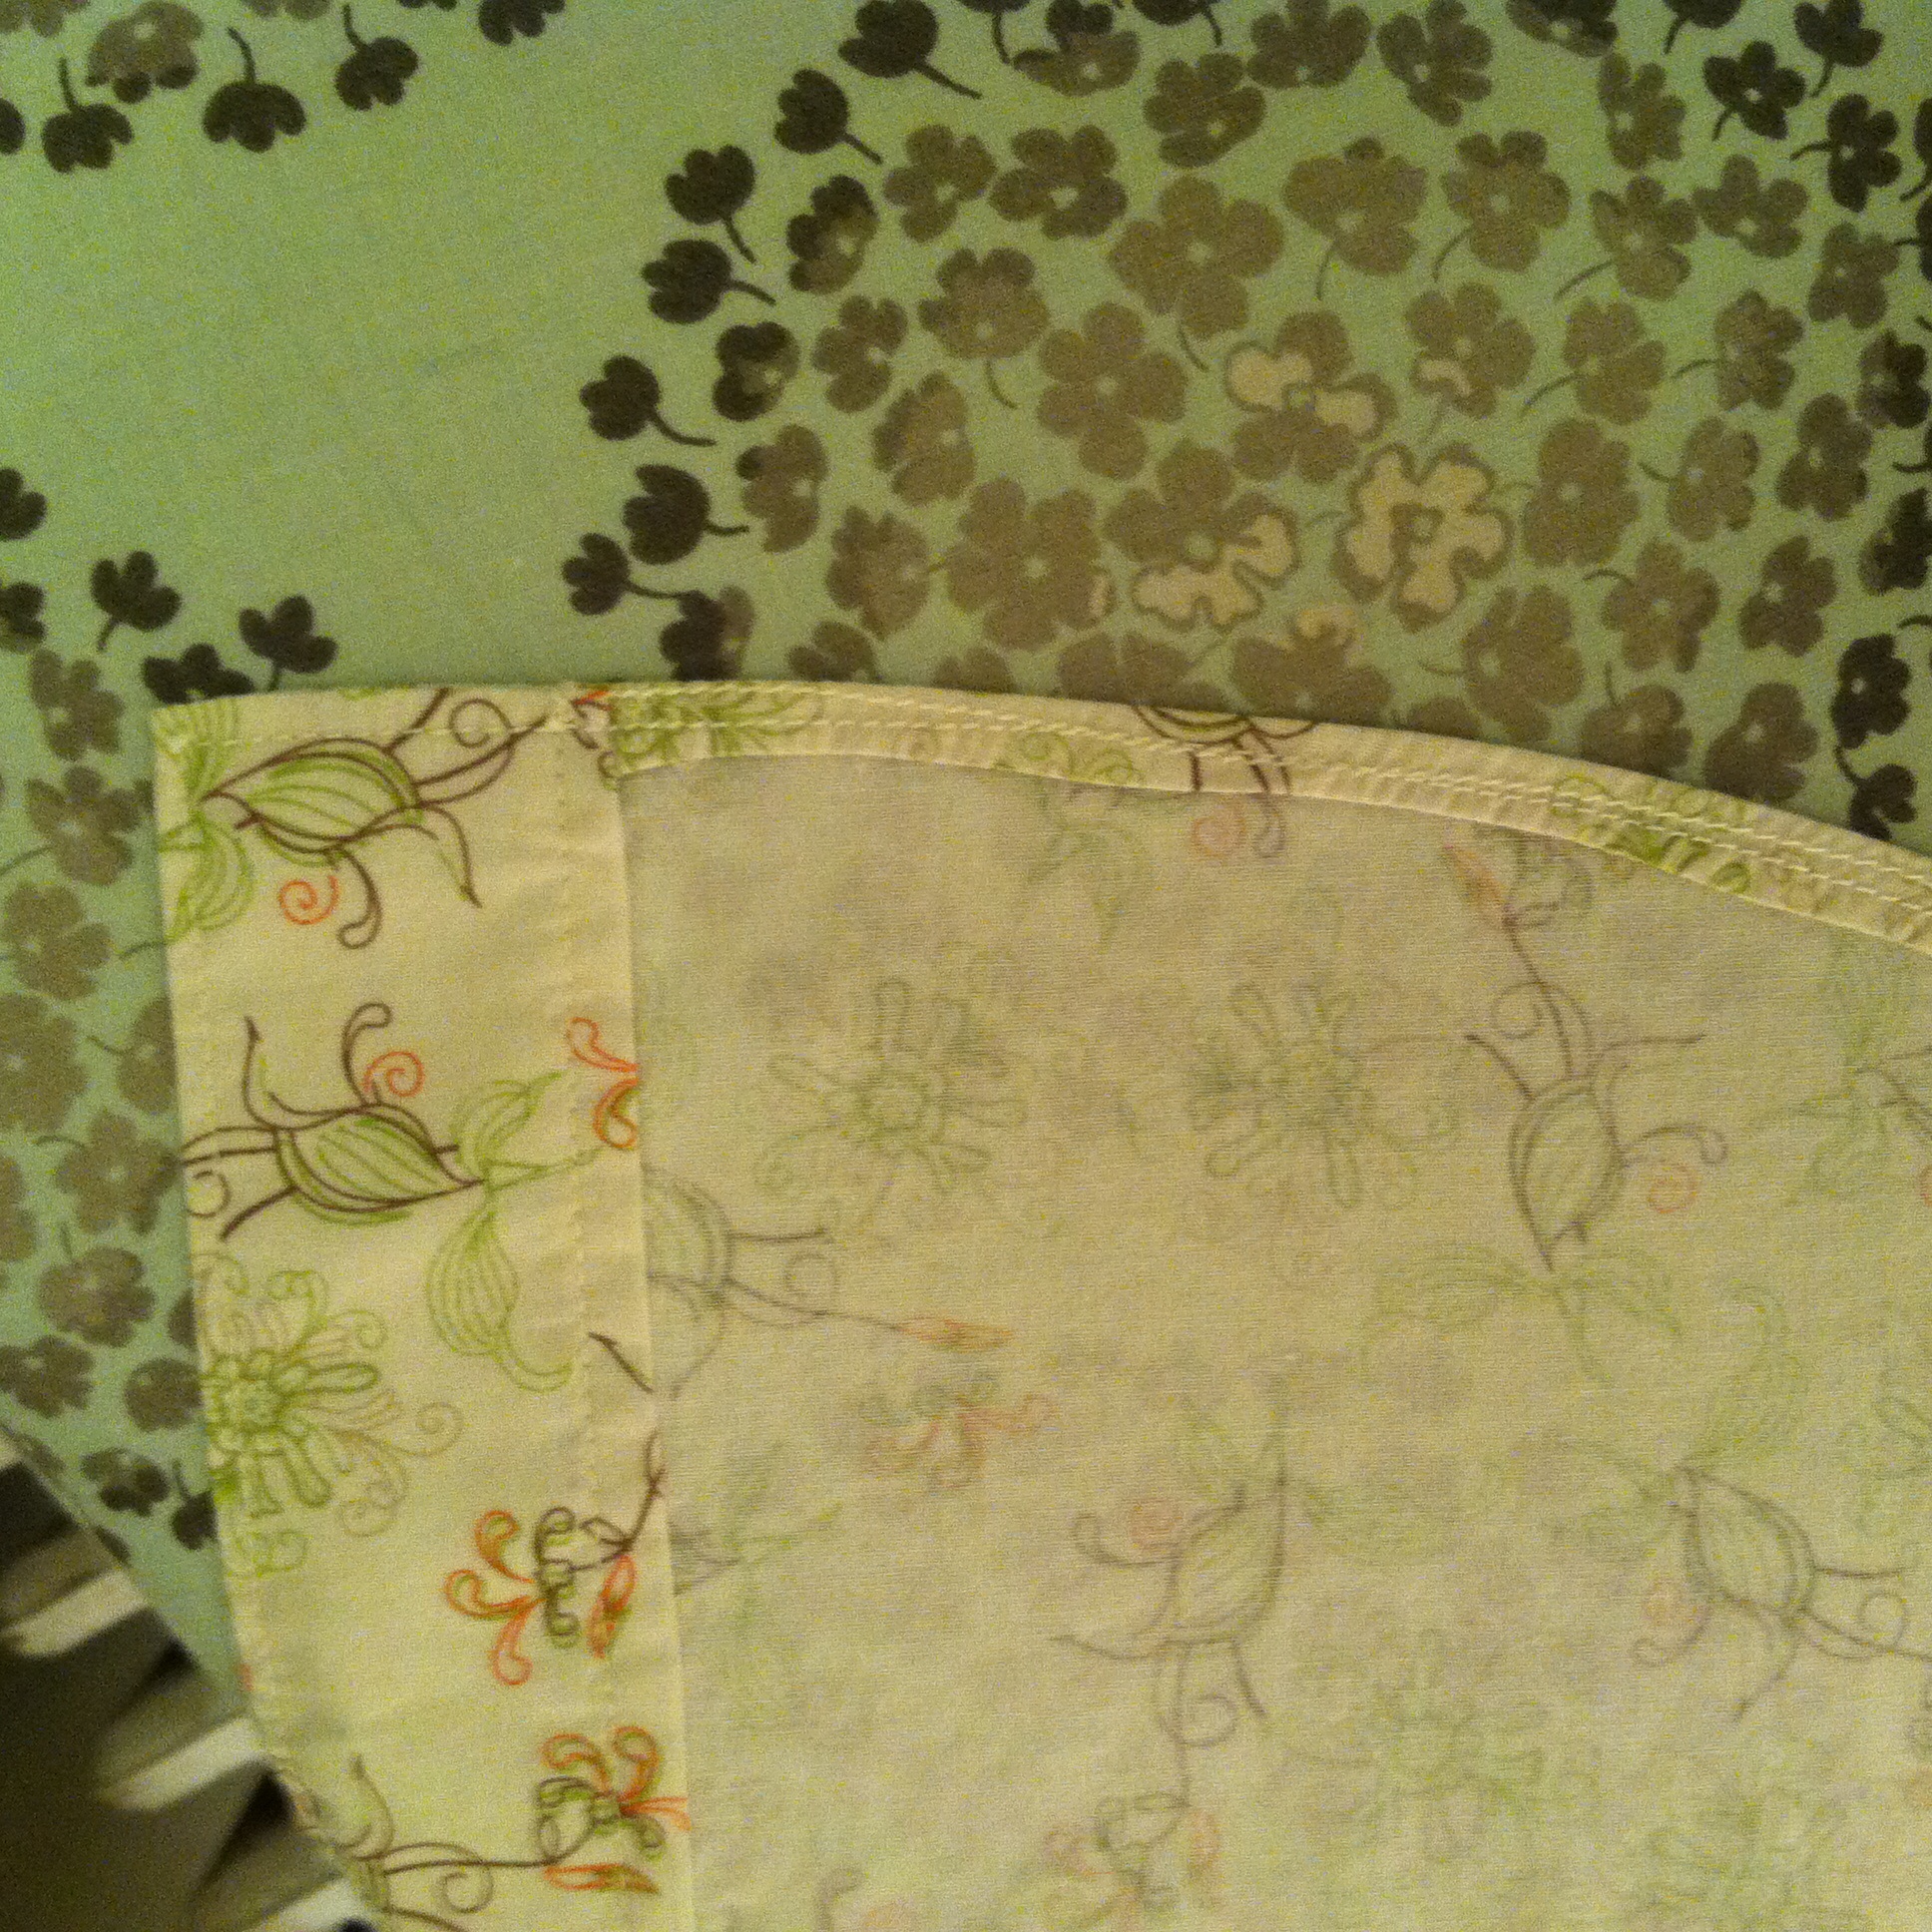
 Some pictures of the finished hem. I was really happy with how this one turned out.
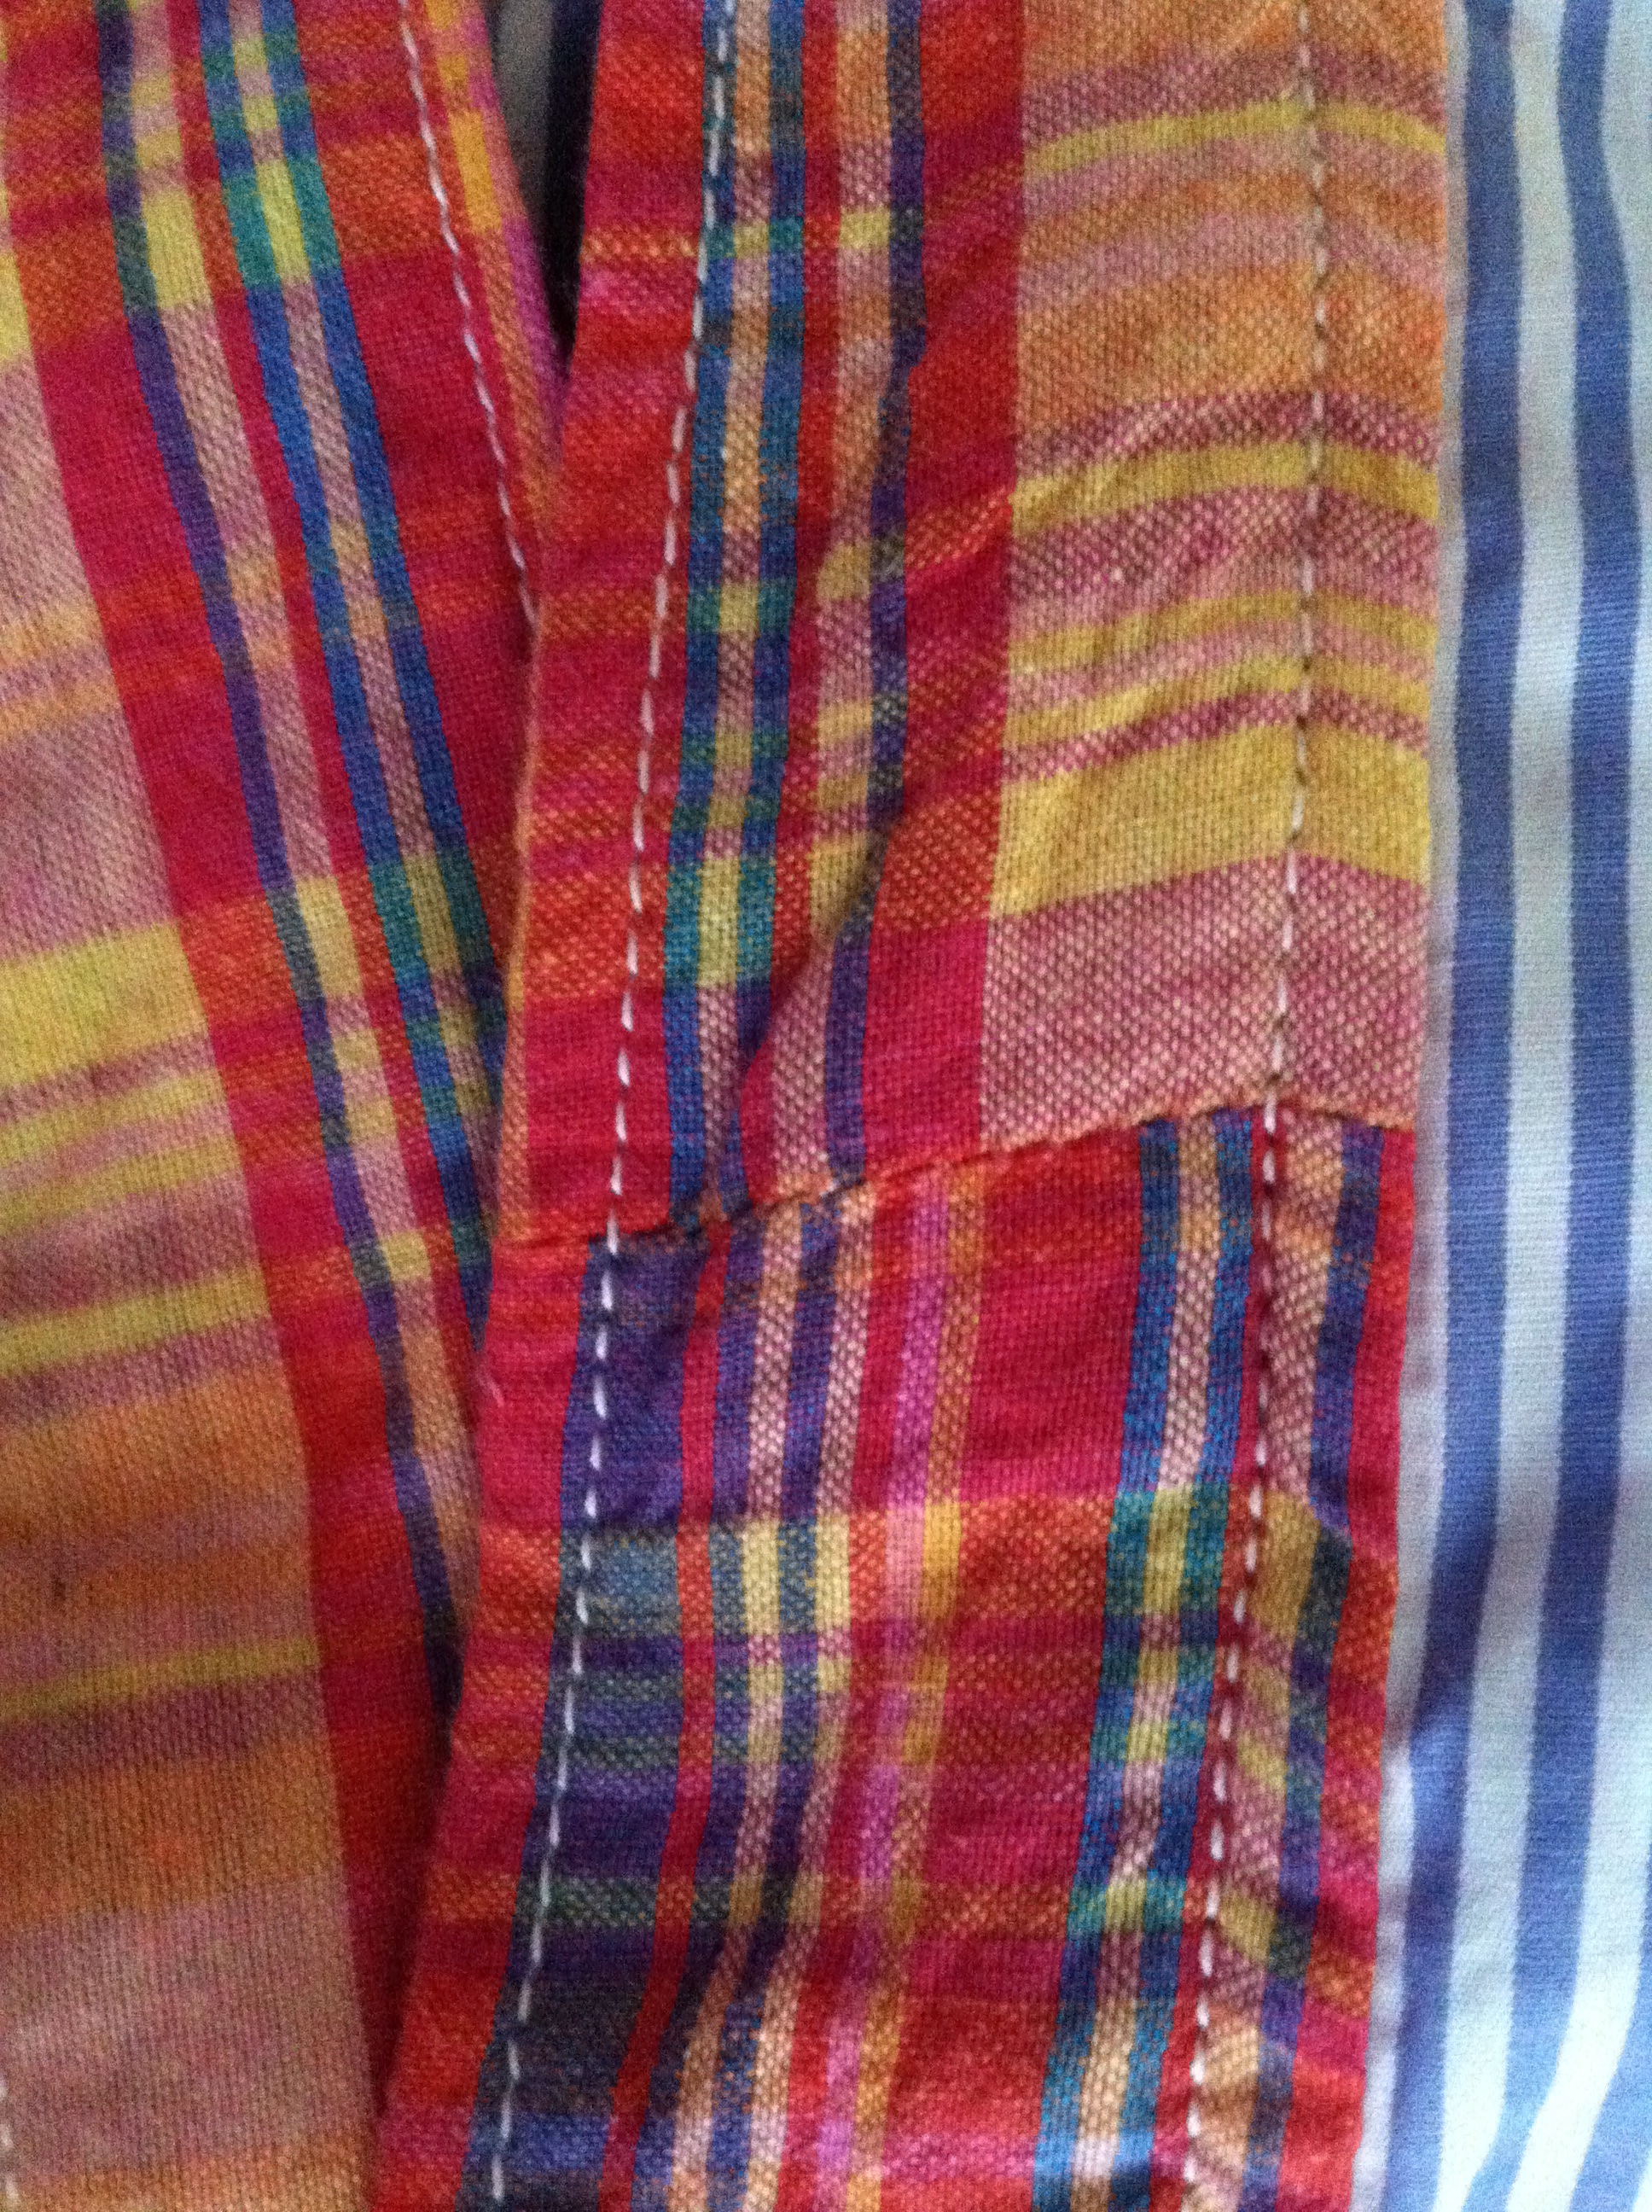
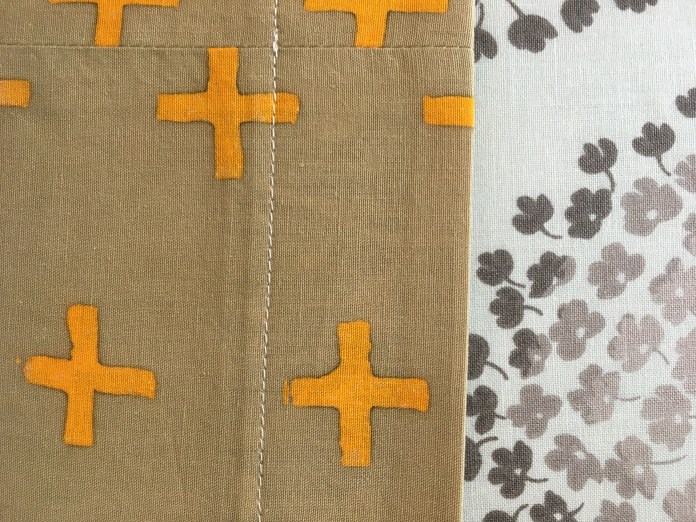 with facing showing
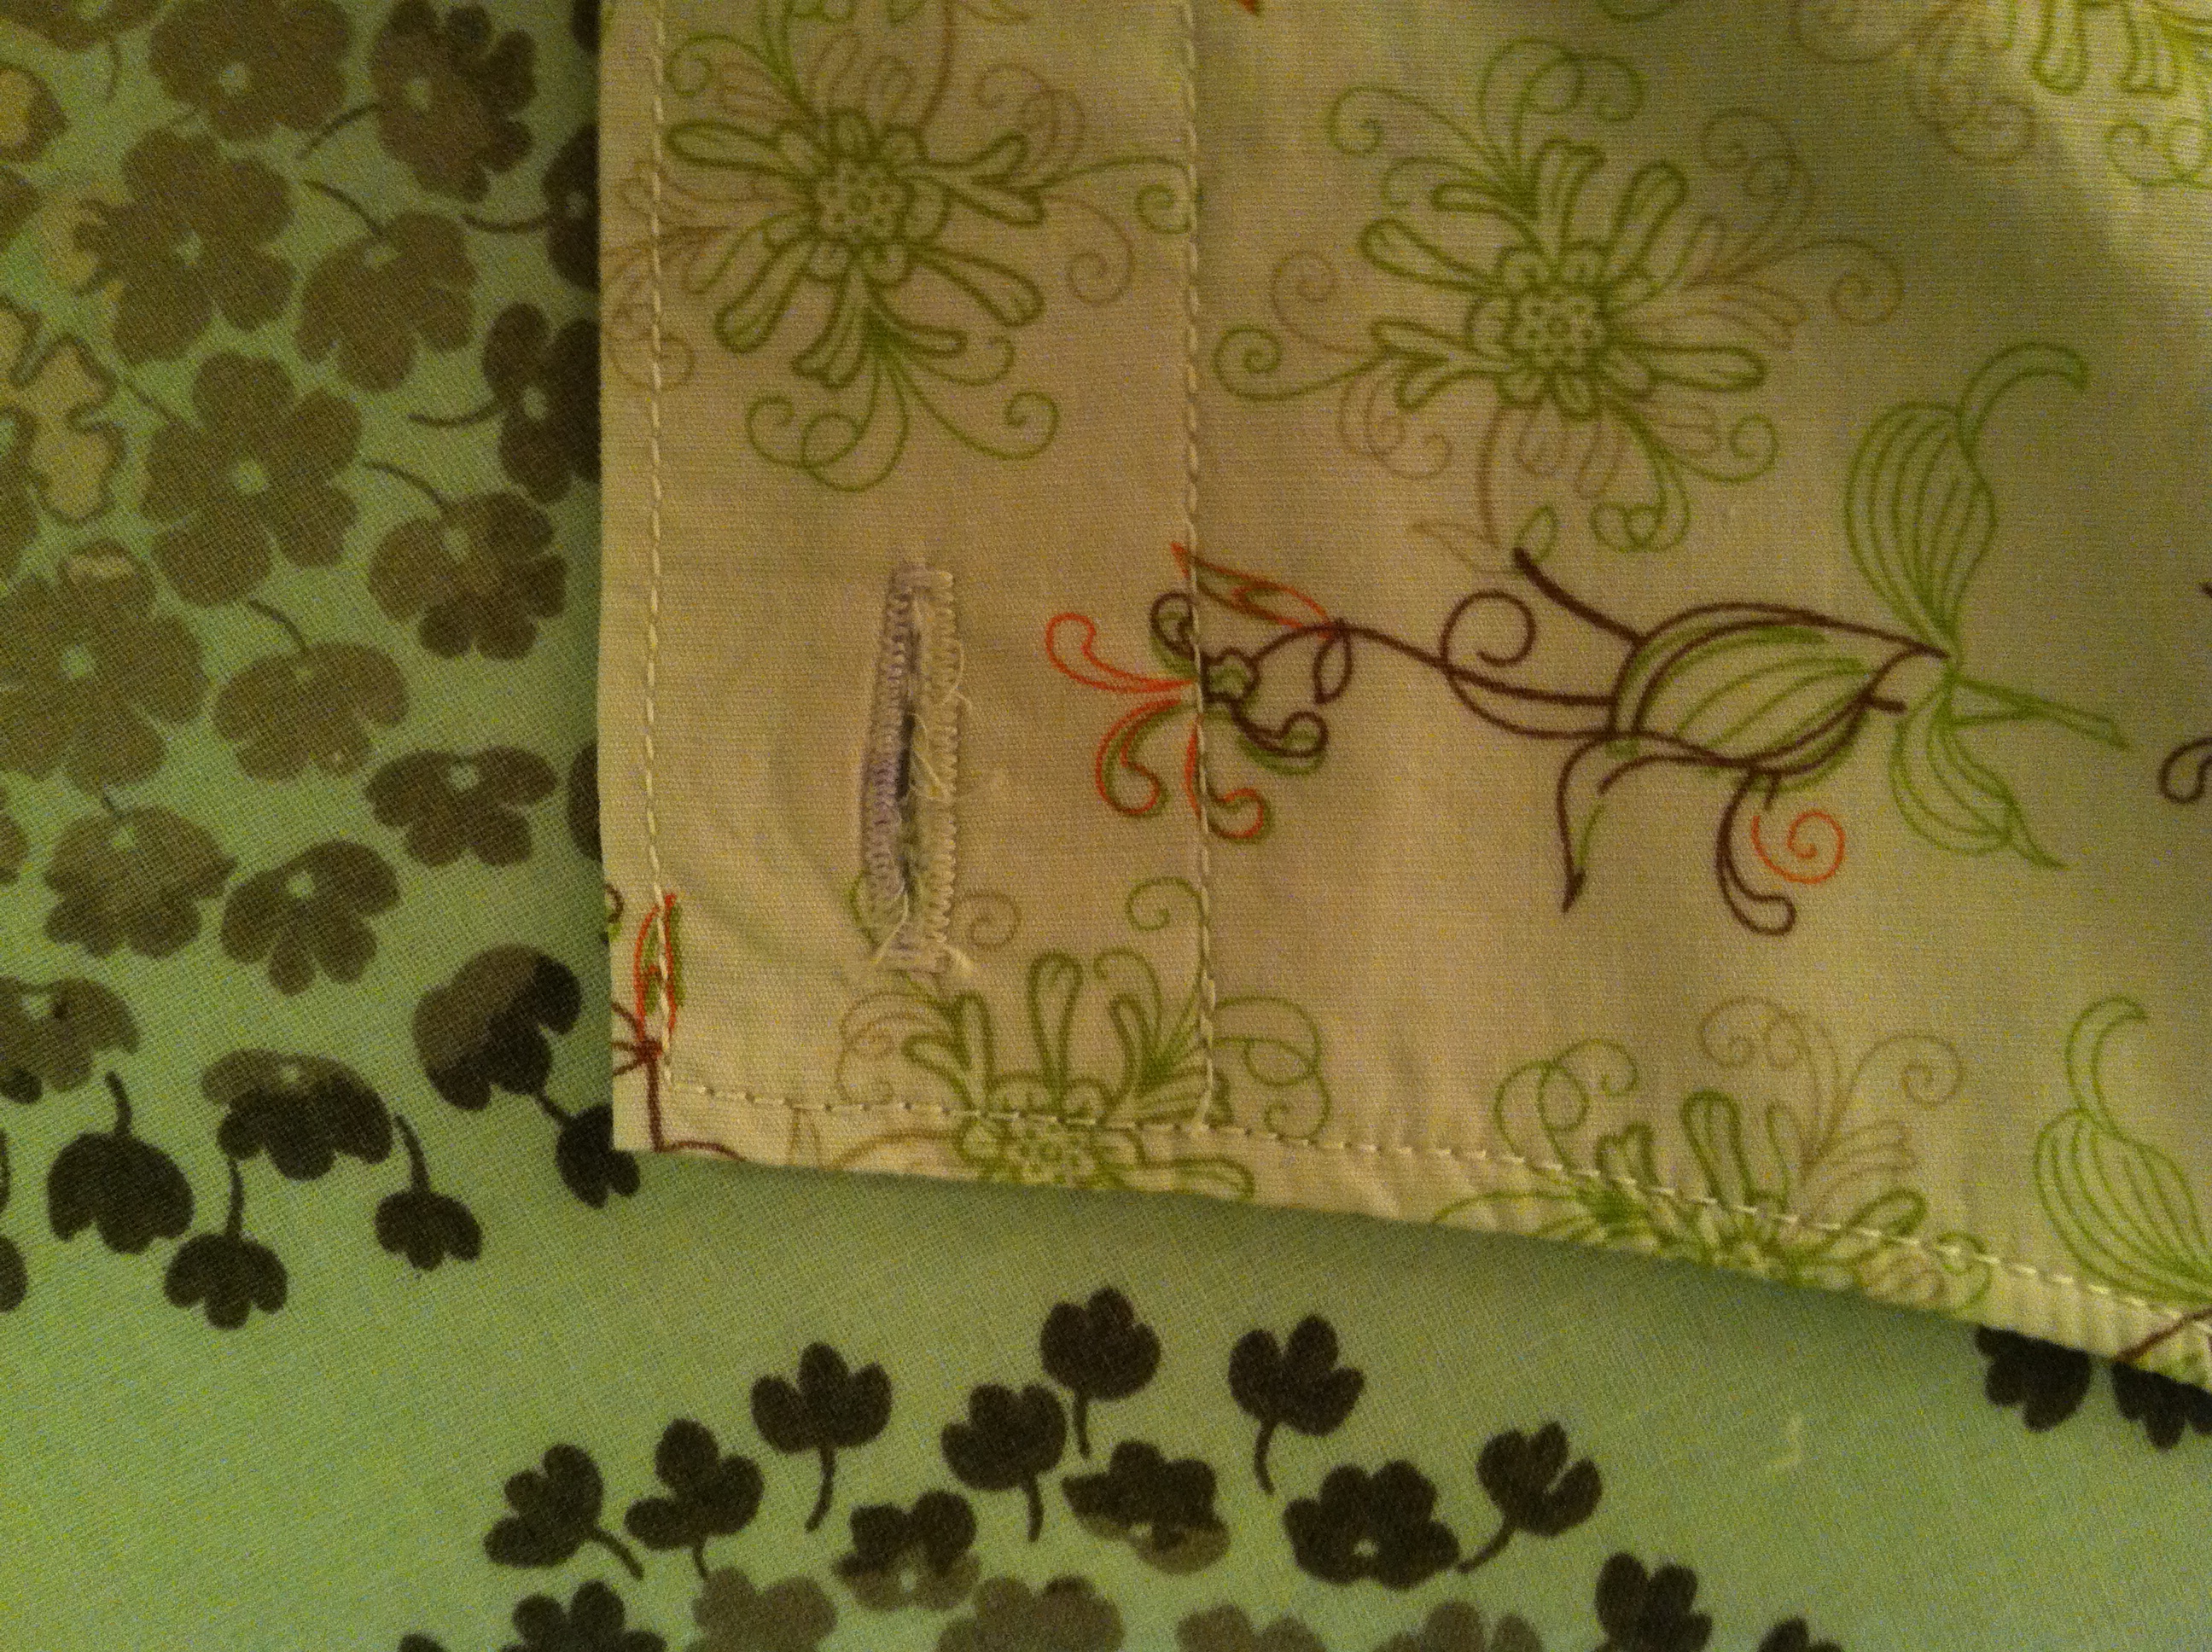
 My zipper didn’t completely line up with the top of the dress so I added a hook and eye at the top. My top stitching along the zipper is not perfect but as my dad actually used to say, “It wouldn’t be noticed from a trotting horse” which is true. I think the machine sometimes has trouble with the layers.
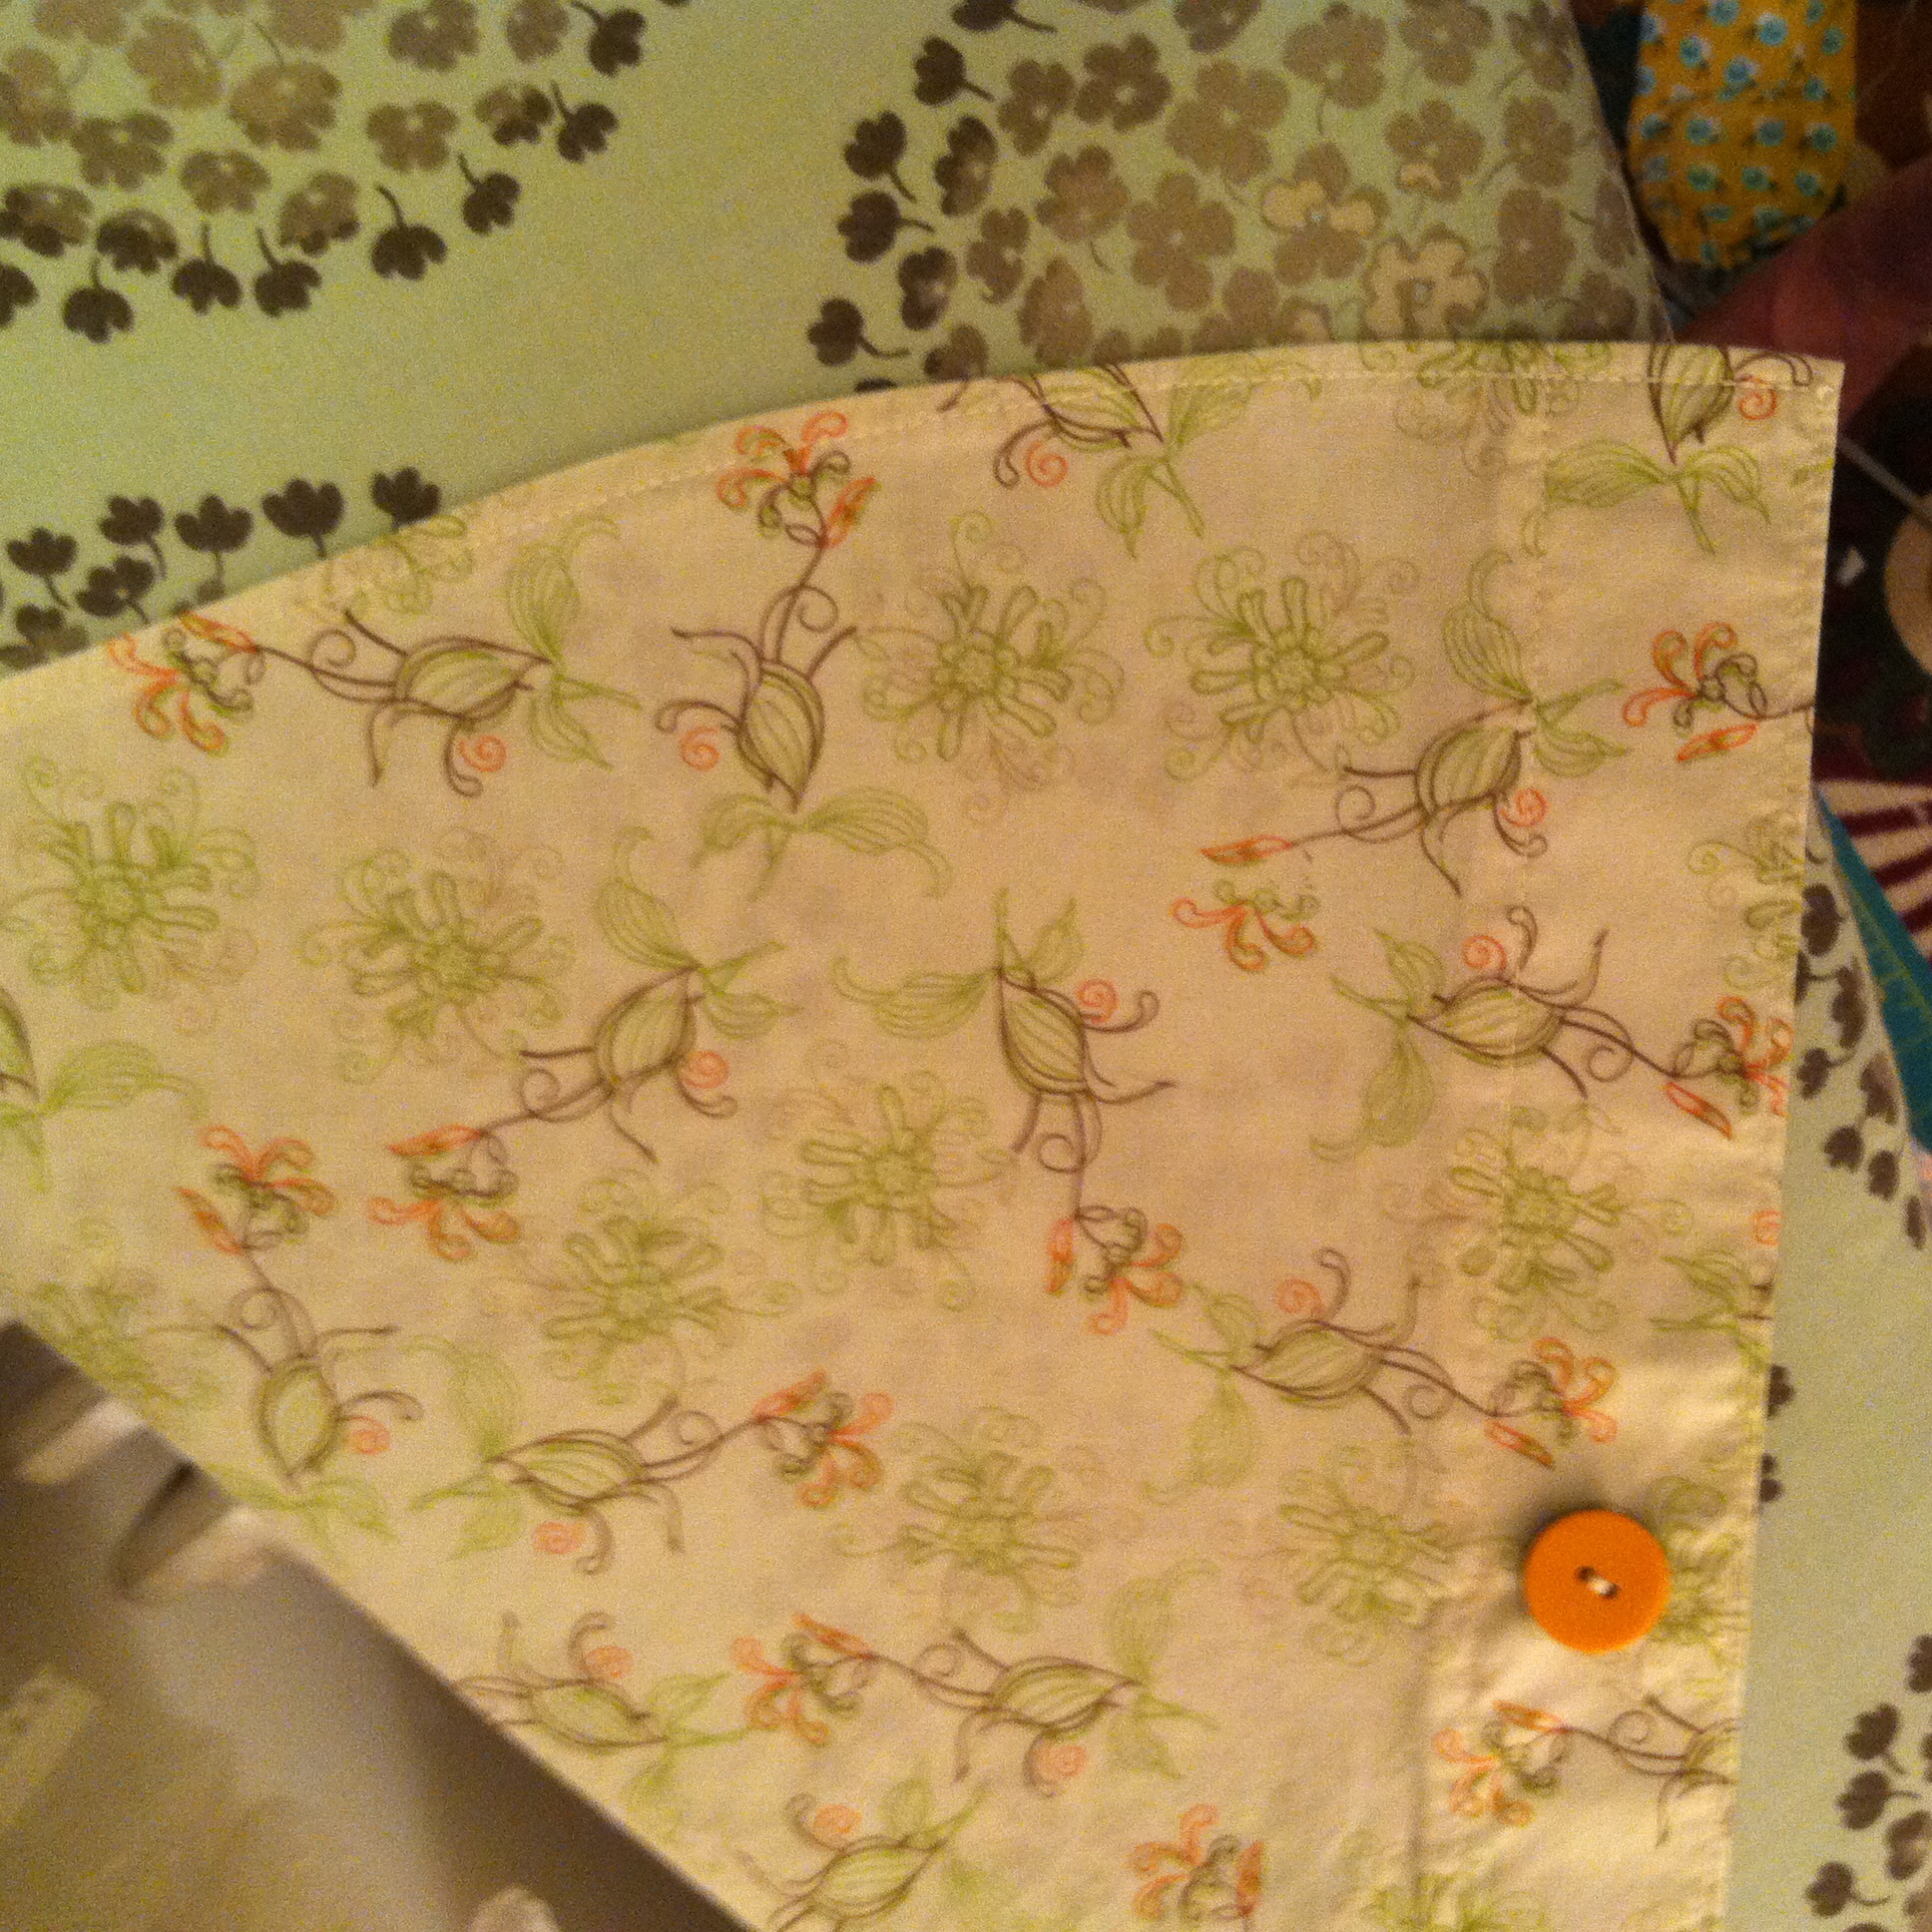
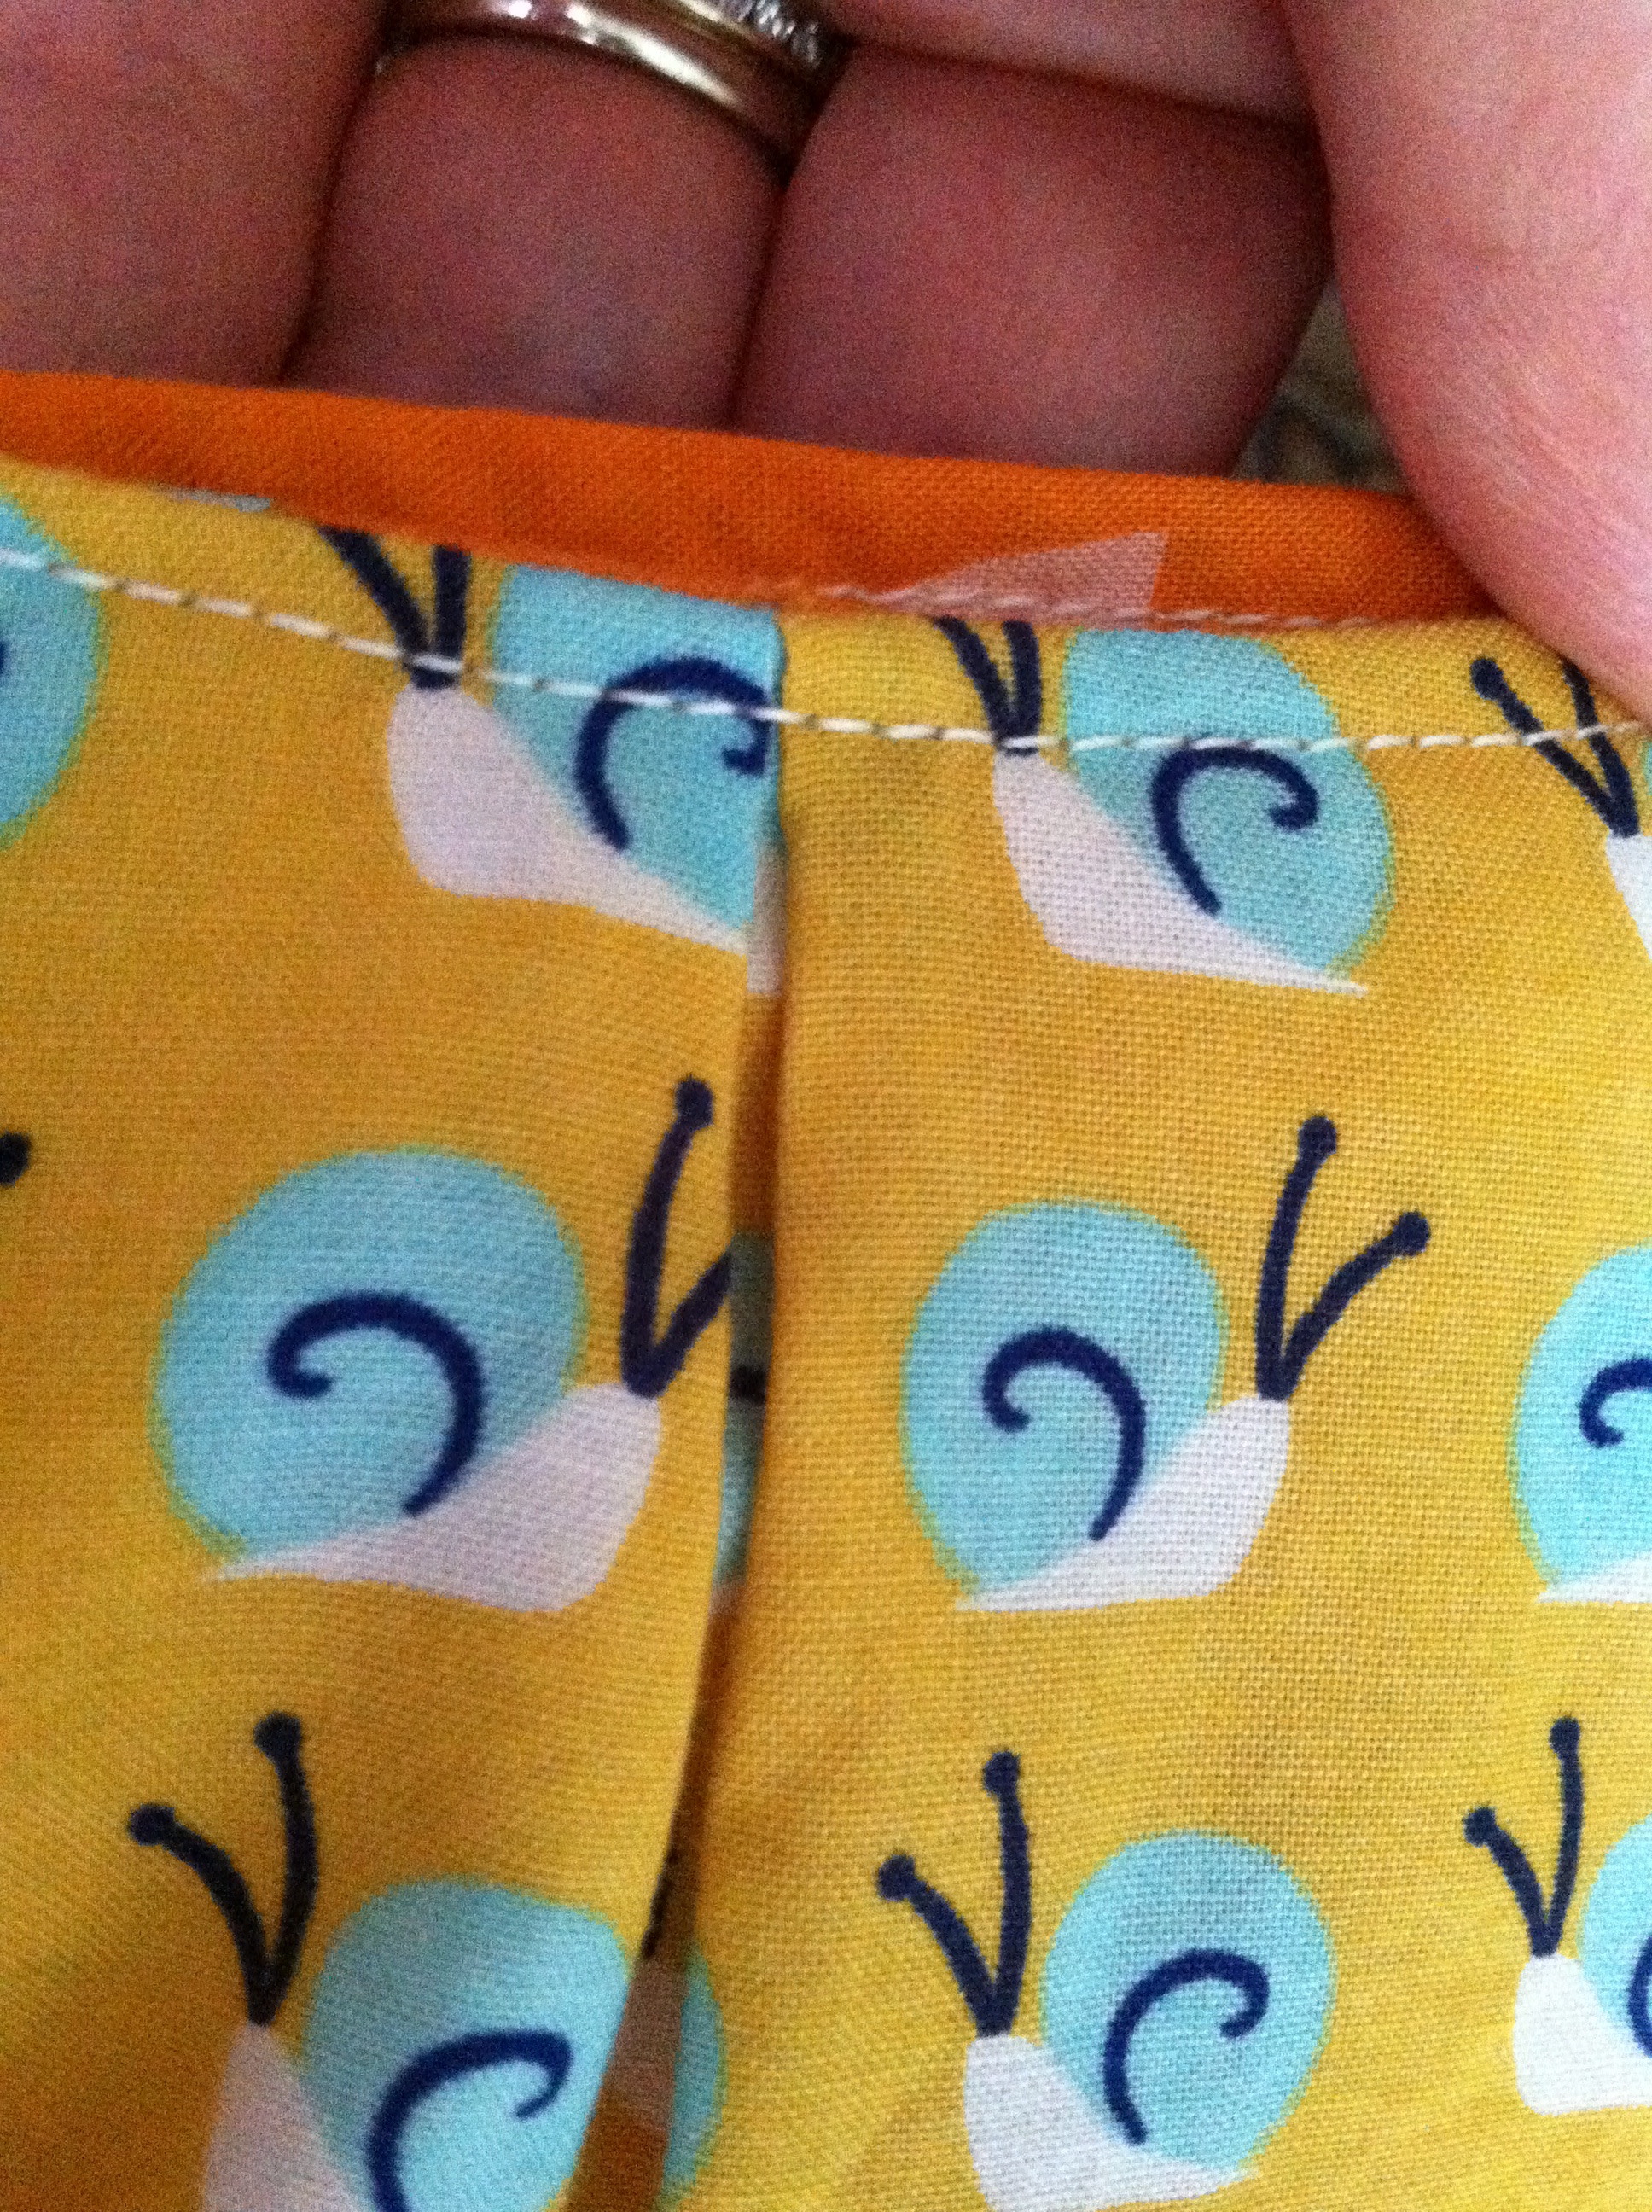
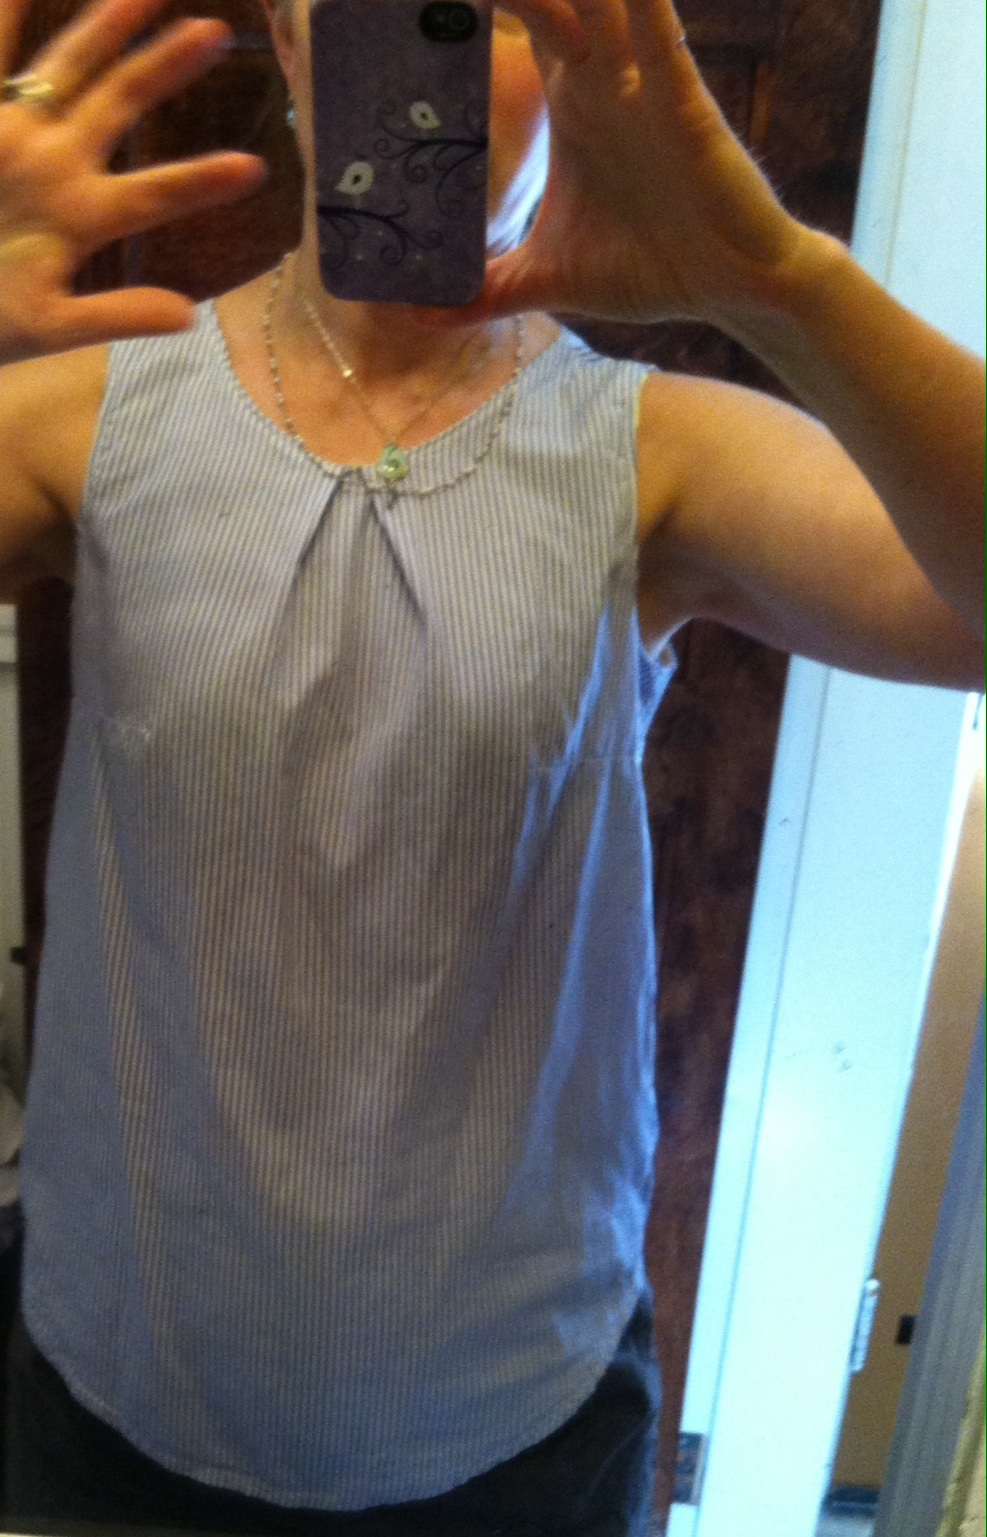
 Finished Dress/Tunic ready to be worn. I intentionally made the back slightly longer (you can see the back facing peeking through in the picture below) because that is where my weight is (ahem) and if I make the front and back the same, the back appears to be riding up which is not the look I am going for.
  Rae also recently posted about a Beatrix with a zipper. Hers has an invisible zipper, something I have yet to master. You can link to her post and see her beautiful blouse here.
Tag Archives: Beatrix Pattern
Mudan Moss Beatrix Blouse
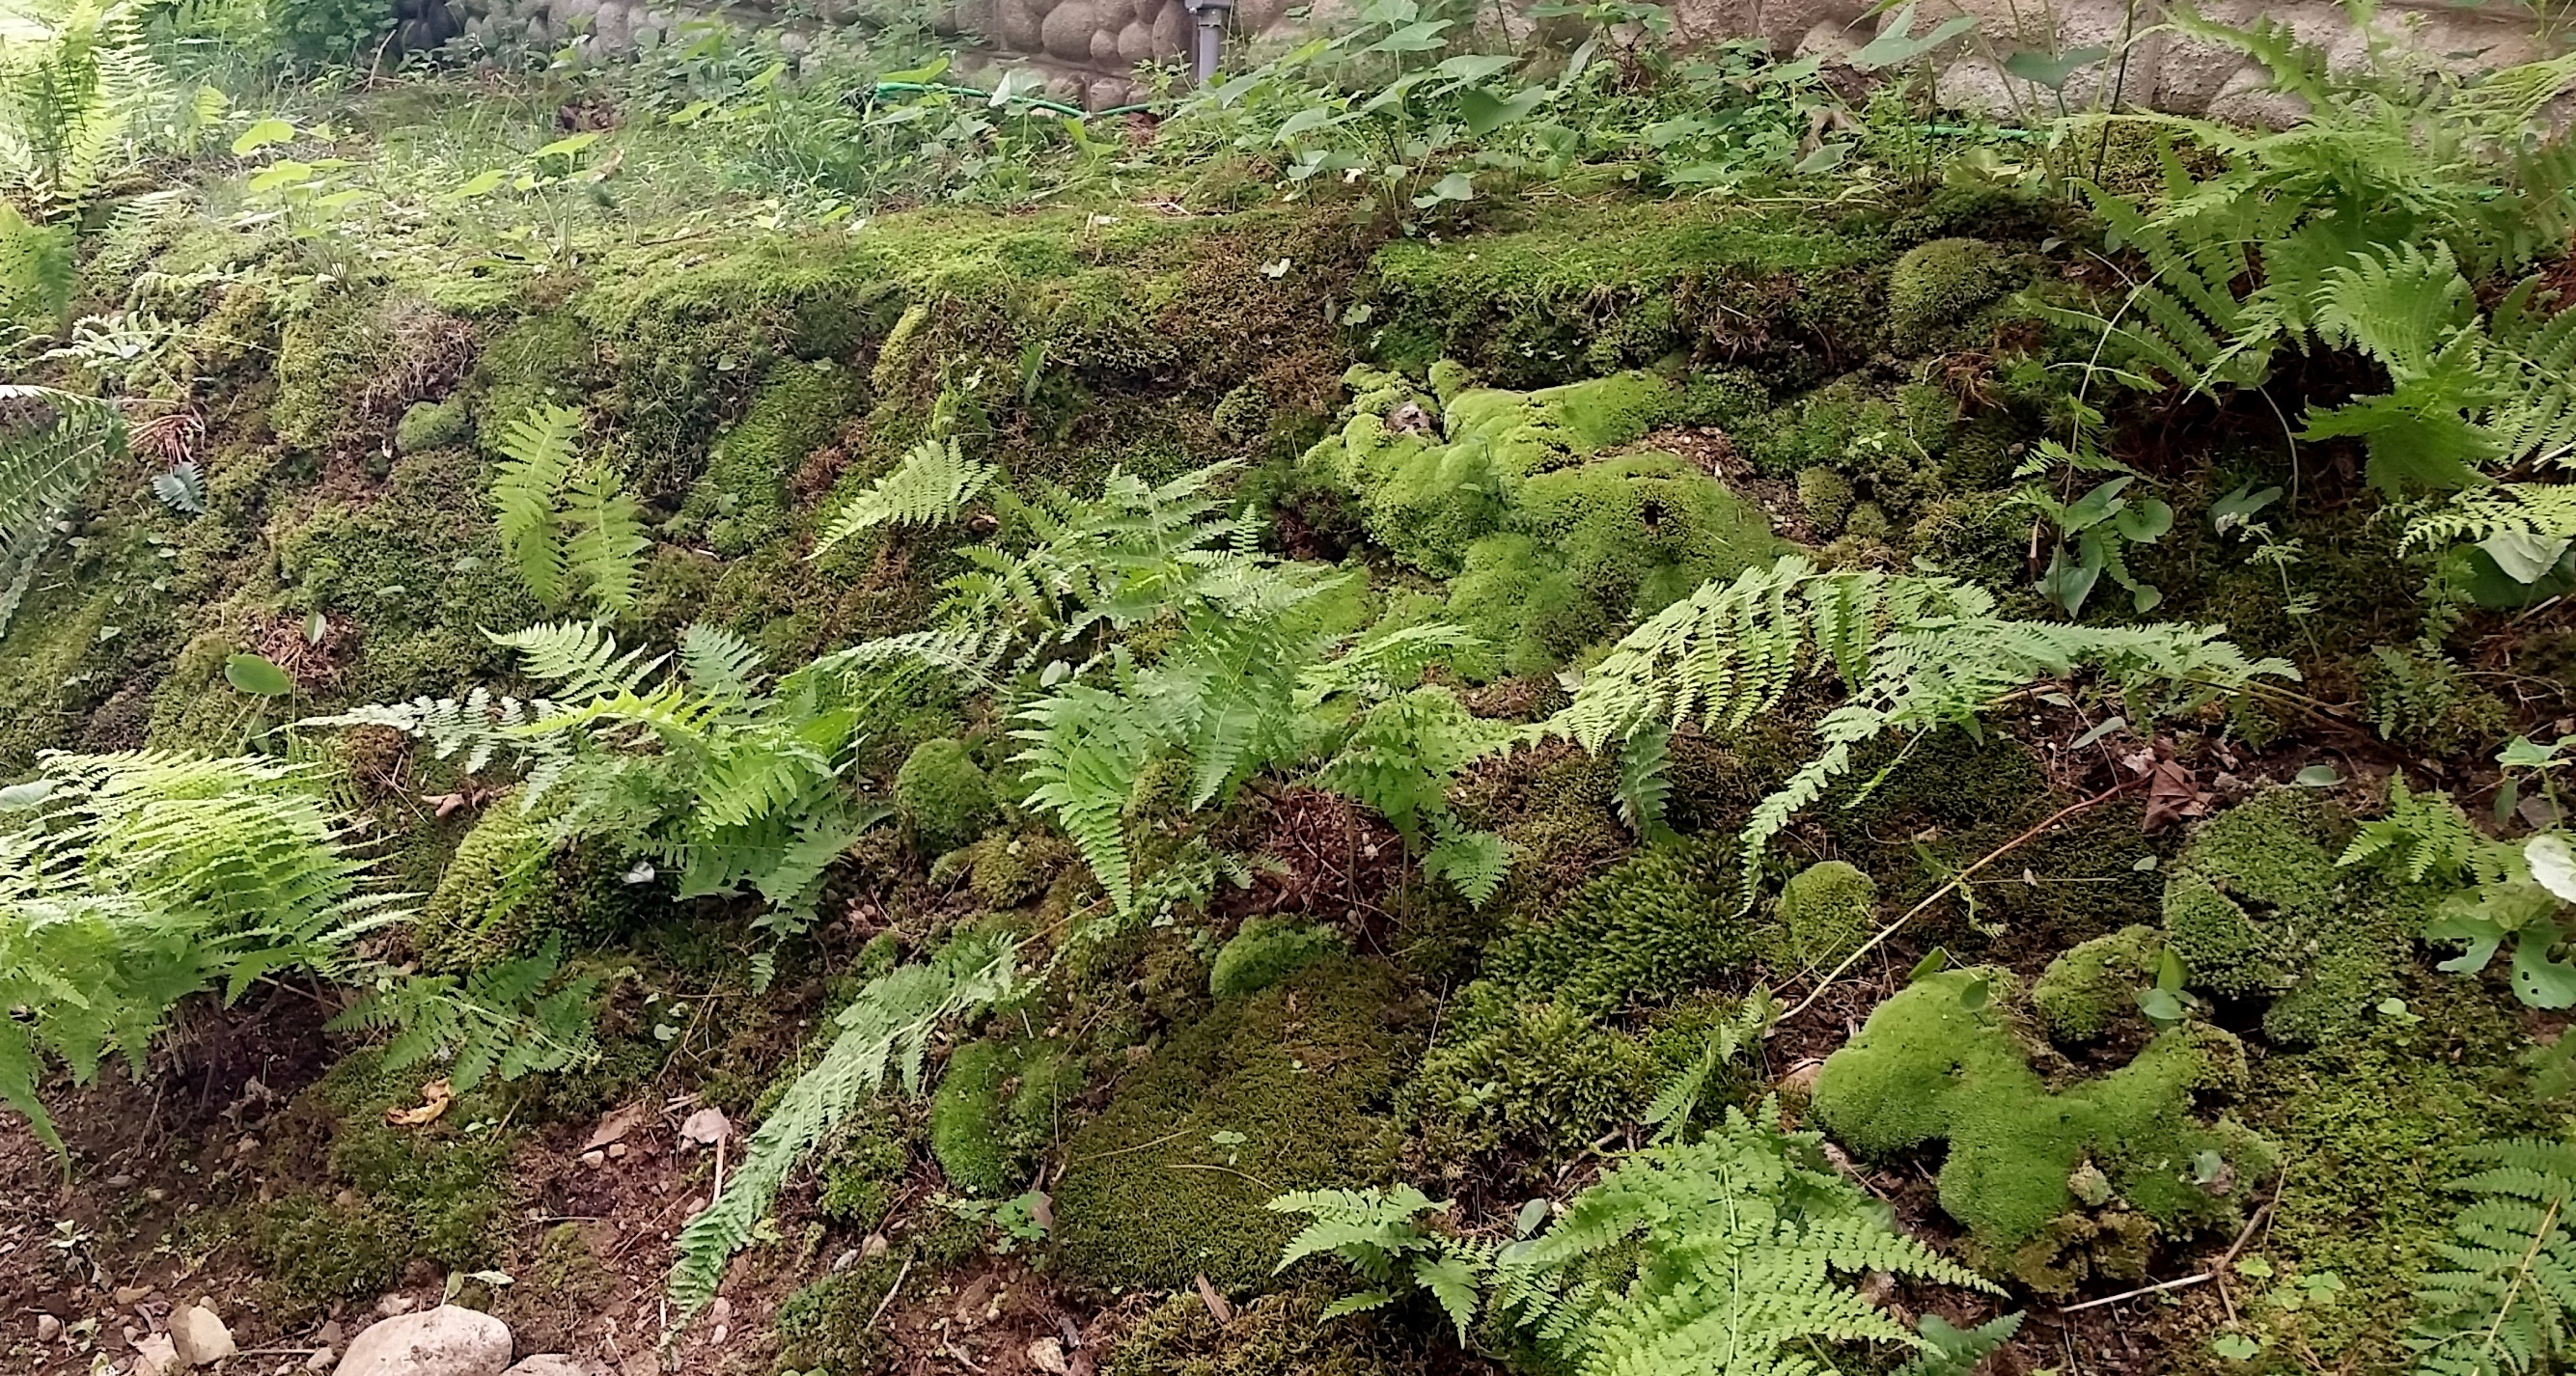
A mudan is a type of woody peony native to China. For my sleeved version of the Beatrix blouse, I chose an Art Gallery fabric called Shanghai Edition Mudan Romance Moss. The fabric appealed to me because the lacy design evokes the ferns that my husband loves to plant.

I also gained a whole new respect for mosses after reading The Signature of All Things which is a great book. If you haven’t read it yet, you should! This has been a summer of ferns and mosses.
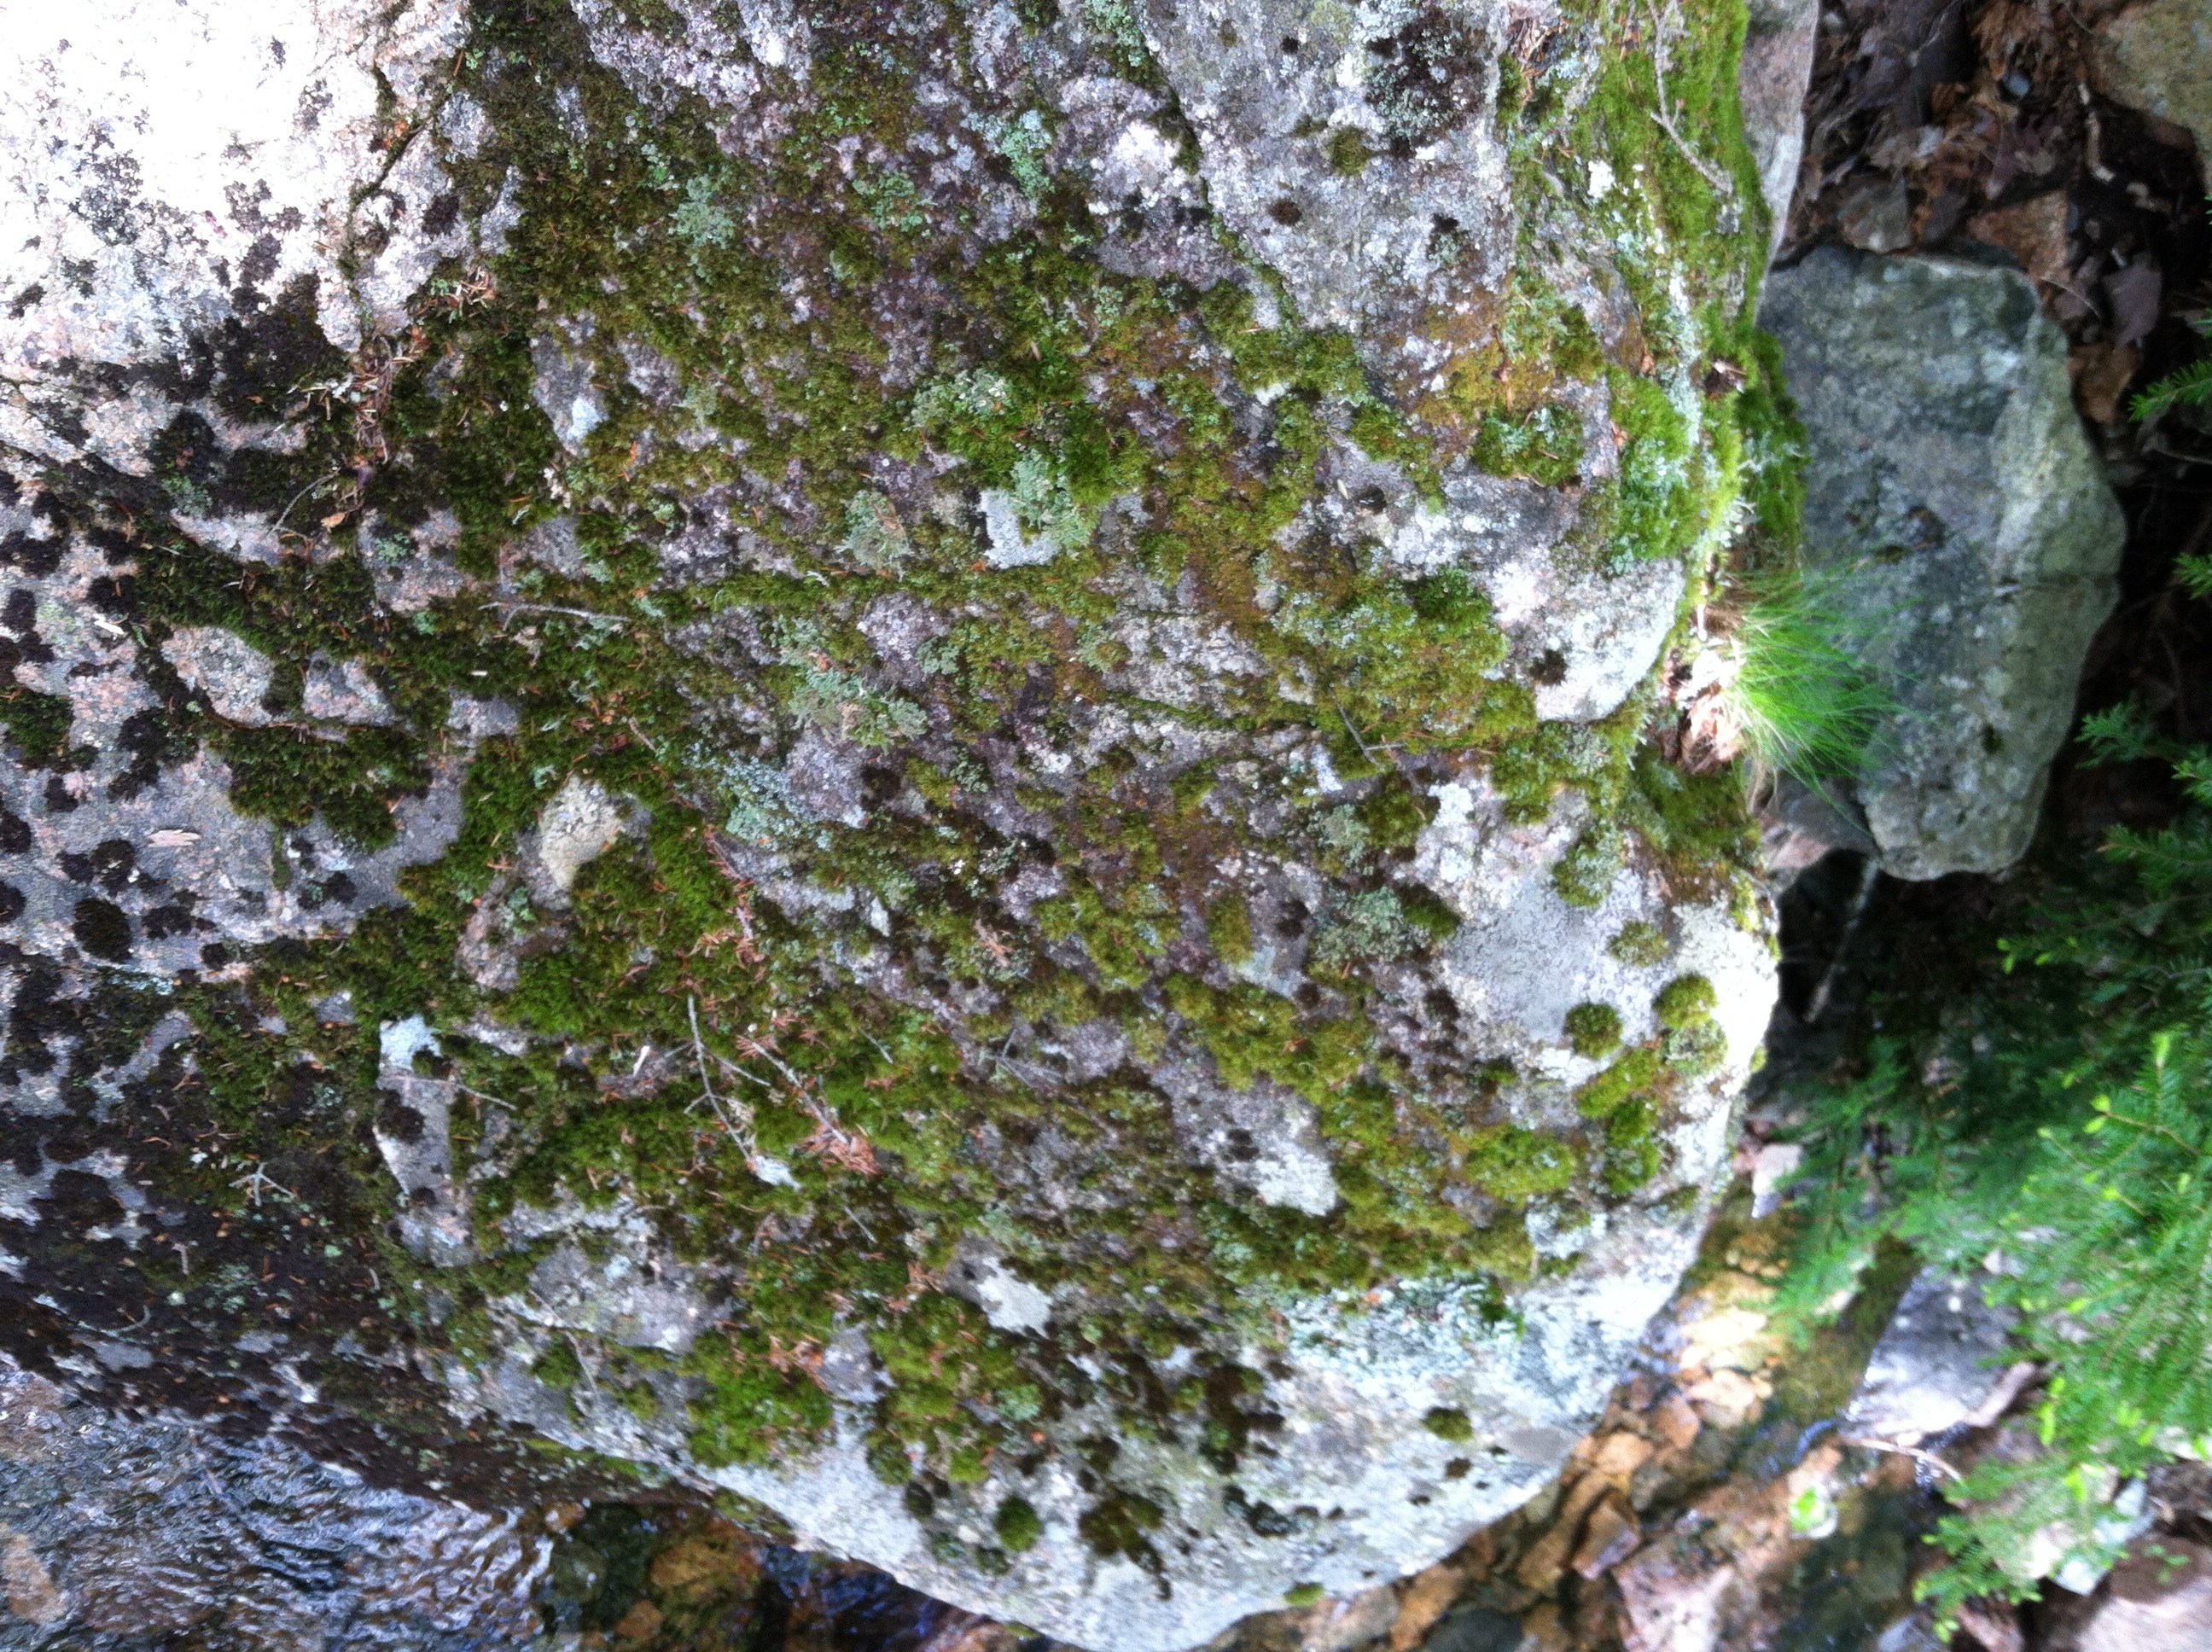
Moss on a rock in Acadia earlier this summer
We have an area along the side of our house that was torn up when the prior owners set about to widen the driveway. They hadn’t planned to sell and ended up leaving the driveway as well as several other home improvement projects unfinished. In an effort to stem erosion and be budget-minded, my husband has been planting ferns and mosses that he has collected. He buys all our produce at a local farm and they generously allow him to bring specimens back from their wooded area and transplant them alongside our house. My husband has really enjoyed this project-I think he even surprised himself- and it has become somewhat of an obsession so when I saw this fabric on sale it appealed to me and I thought it would be perfect for a Beatrix blouse.
A woodland suburban garden. All we need are fairy houses
I waited to make my real version of the Beatrix until Rae did the Beatrix sewalong and I am so glad I did because her tips were excellent and her directions very clear. I ended up following along a few days late because weekends are when I work long shifts as an RN and no sewing happens but I was able to catch up and do a couple of the steps each night.

Stylish fabric weights
This time I read Rae’s very clear guide of how to choose your size. Funnily, I ended up with the same size I always cut, a Medium with an added inch since I am tall.

I added an inch to the sleeves and to the front and back and button placket
I experimented with a wider tuck of a tiny bit of fabric along the neckline. Next time around I will use the hollow chest adjustment that Rae recommends in the sewalong.

front of finished beatrix blouse with tucks at neckline
I had fun picking out buttons.
I used orange buttons from my button jar.

I used 7 buttons due to the added length. I only had 6 orange.
The top button is slightly more red.

I followed Rae’s very clear instructions for the curved hem.
curved hem enclosed in button placket
I love the way the design of the blouse has the button placket enclosing the hem and the neck facing for a clean finish.

facing is enclosed in button placket
Rae suggests securing the facing by sewing in the ditch of the shoulder seam. I have more luck sewing just to one side so I did that here. I also top stitched around the neckline
There will definitely be more Beatrix’s in my future! Great pattern and great tips on Rae’s blog.
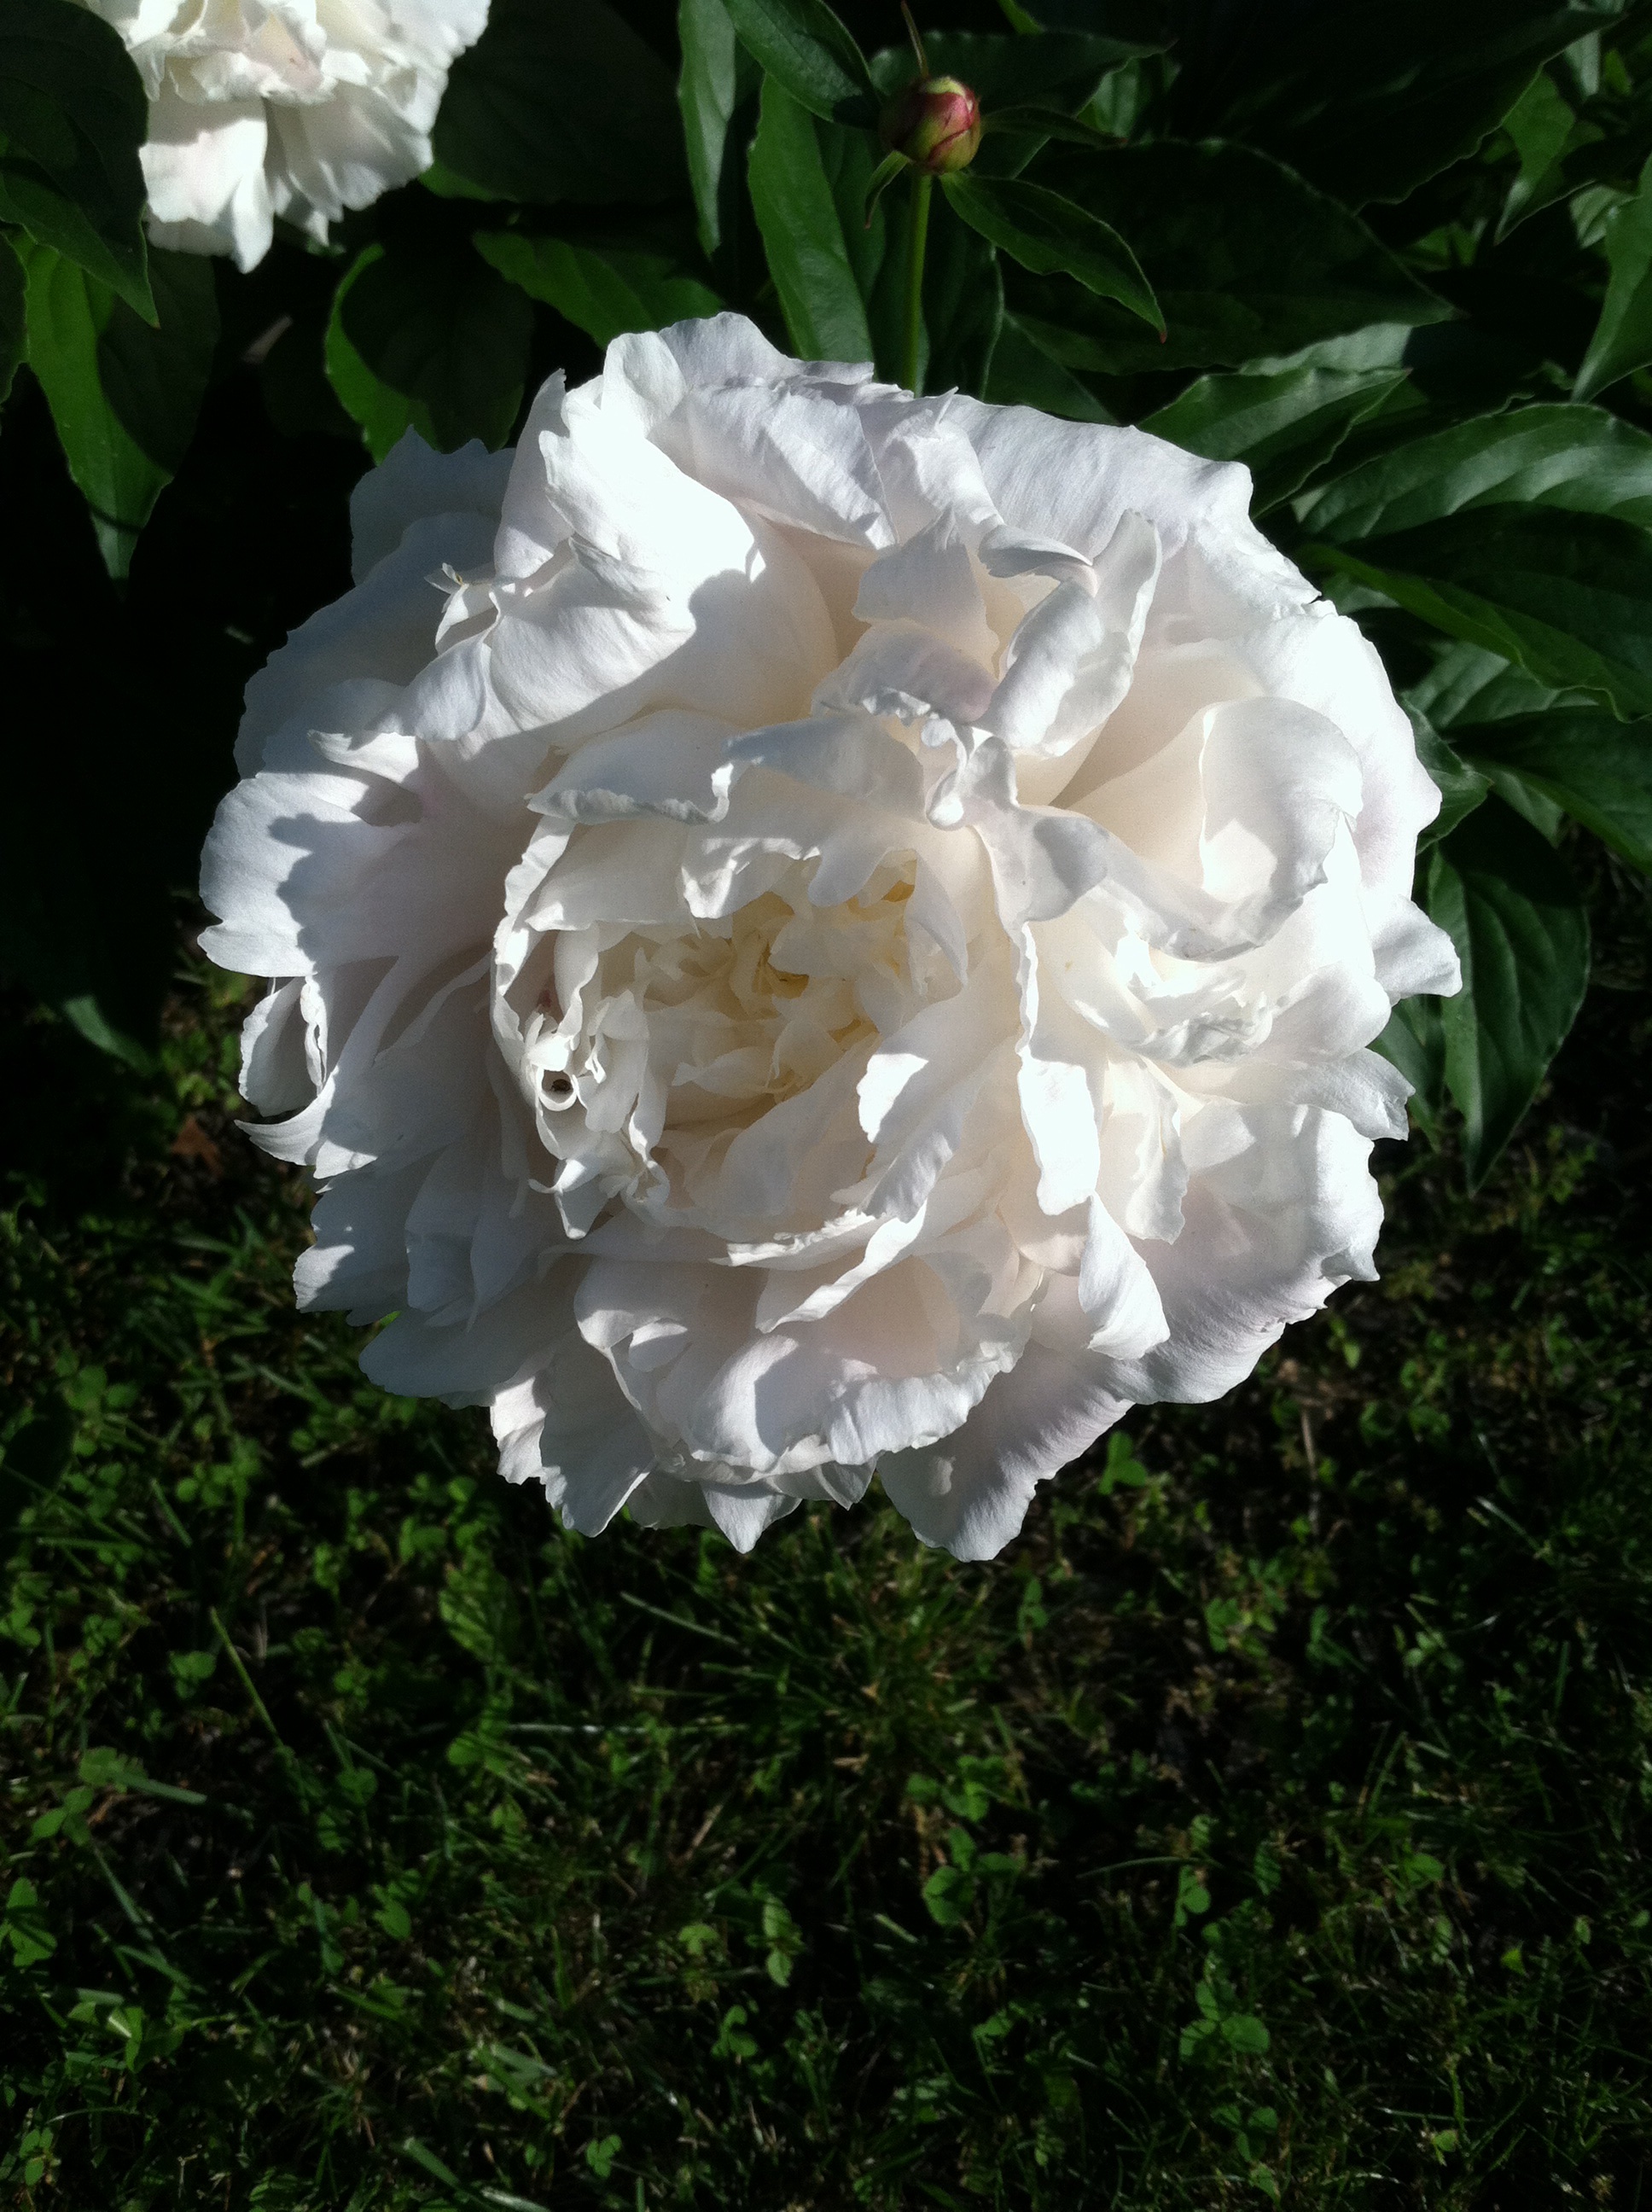
peony from our garden this spring. So beautiful!

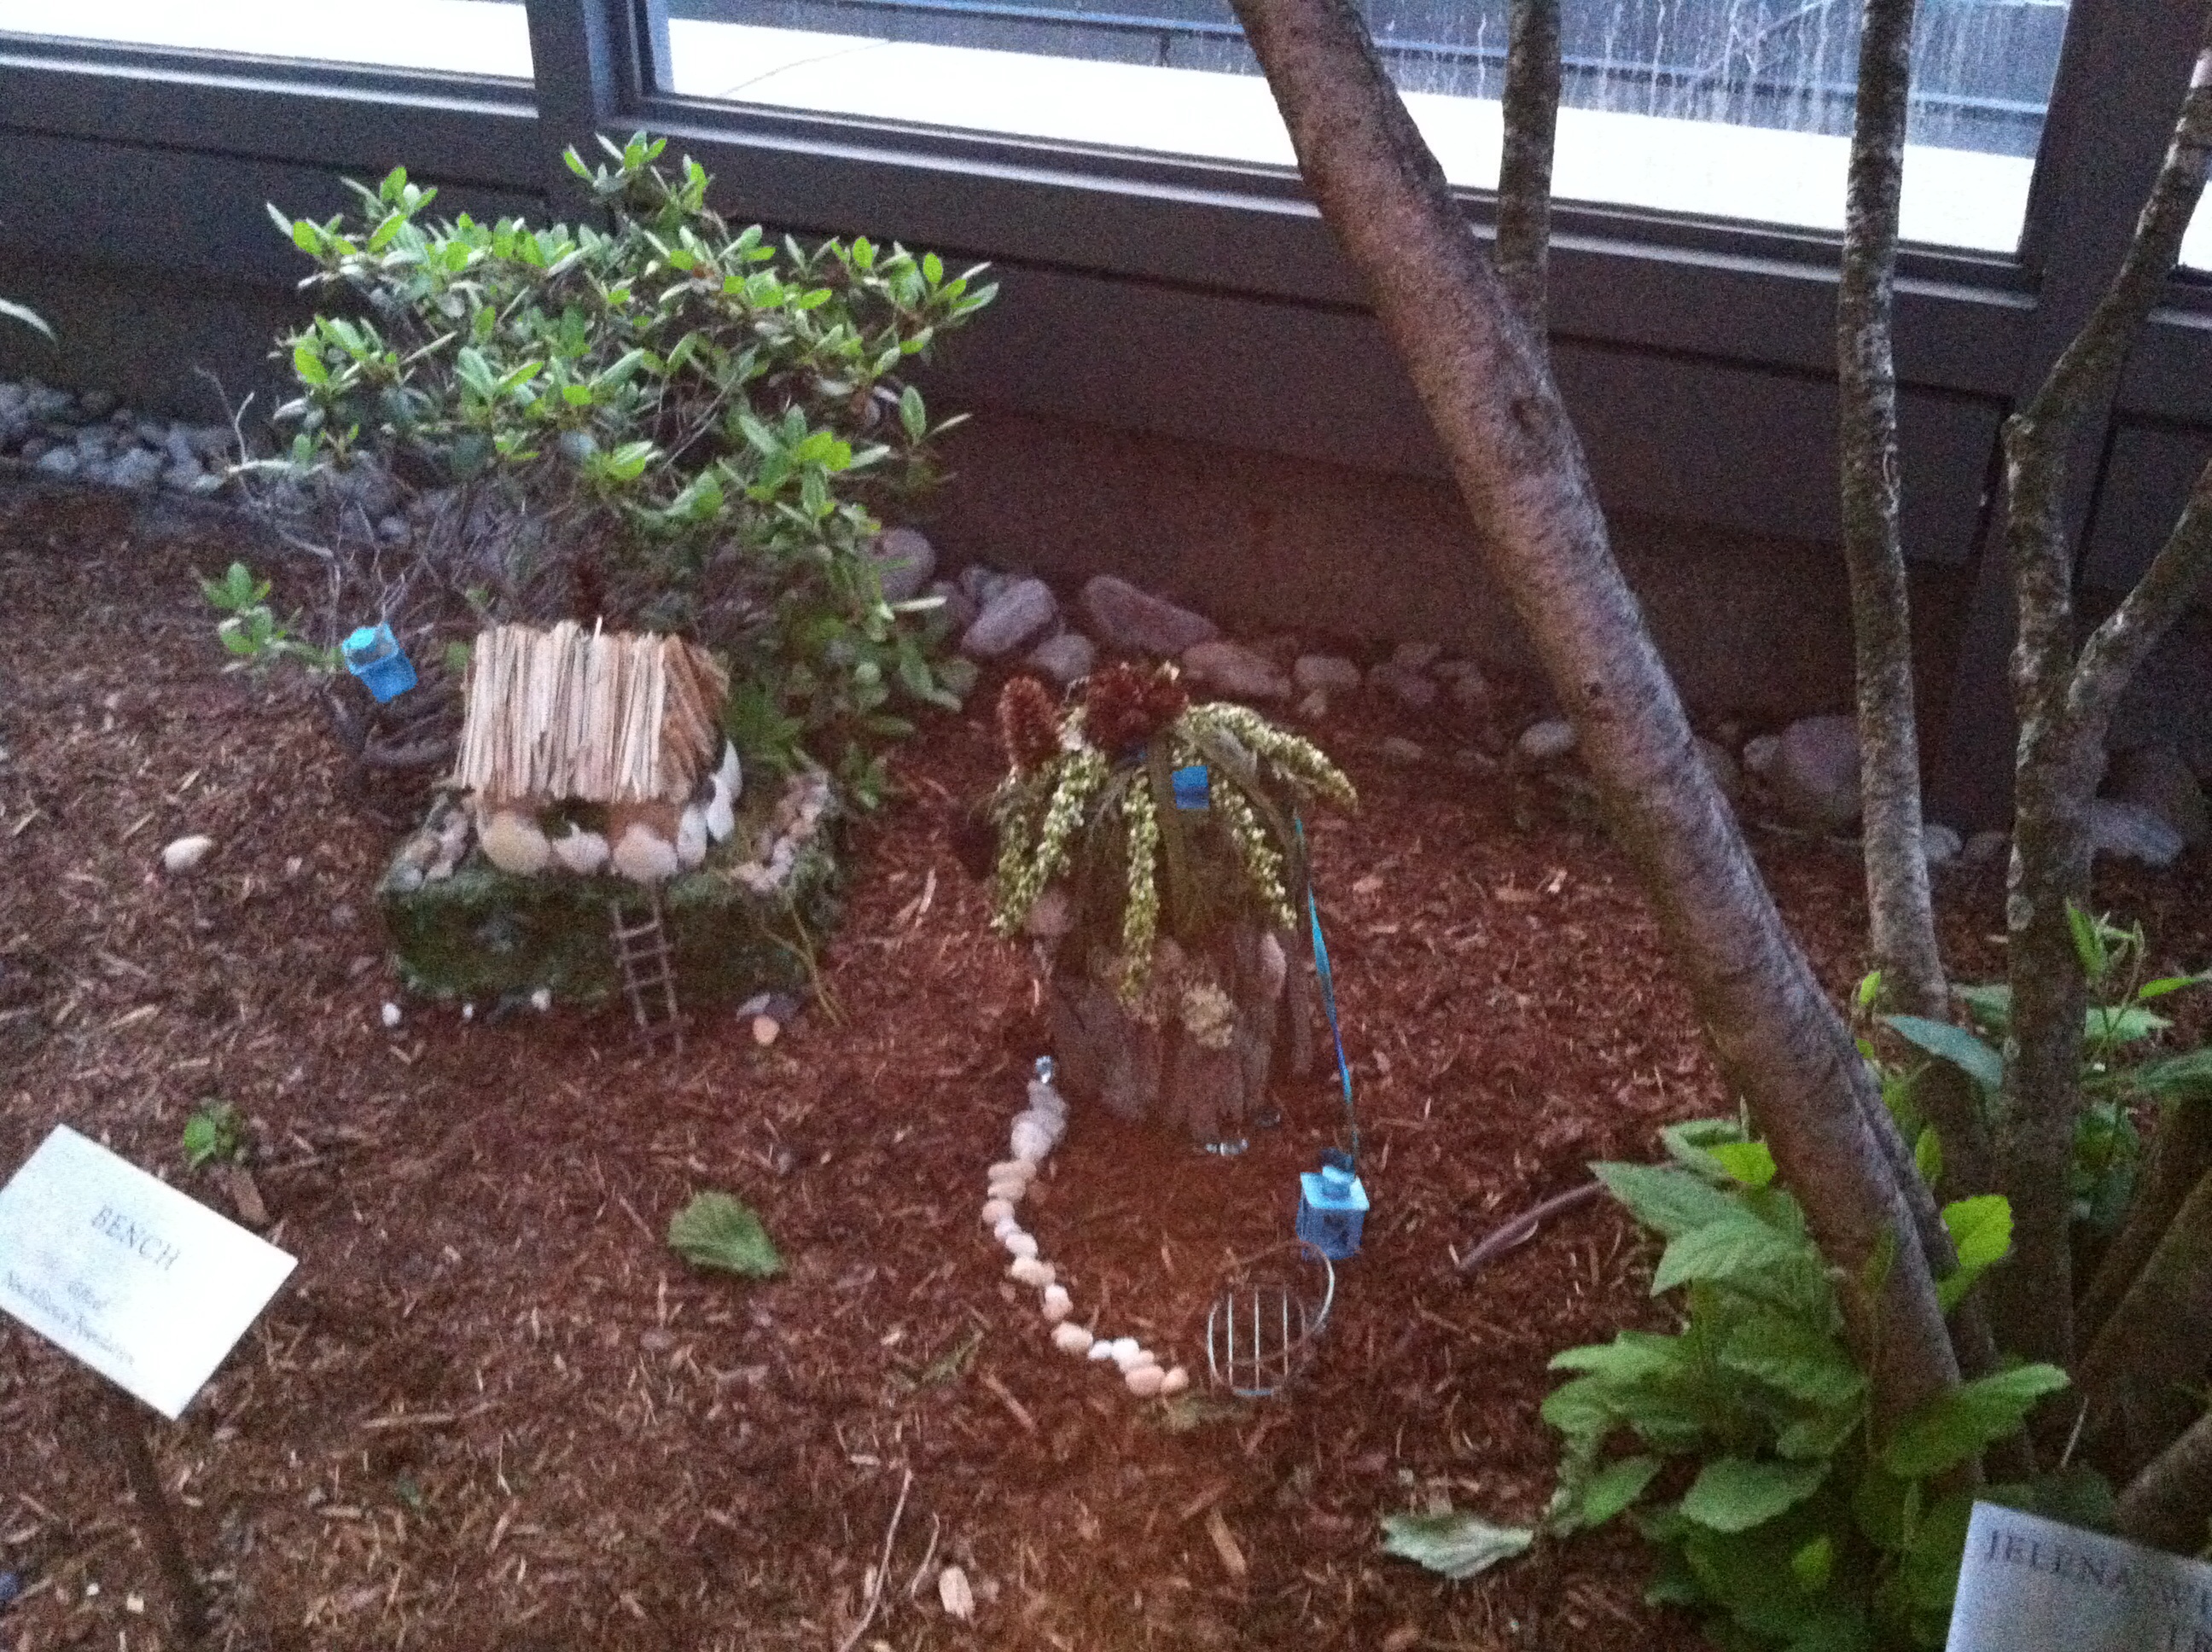

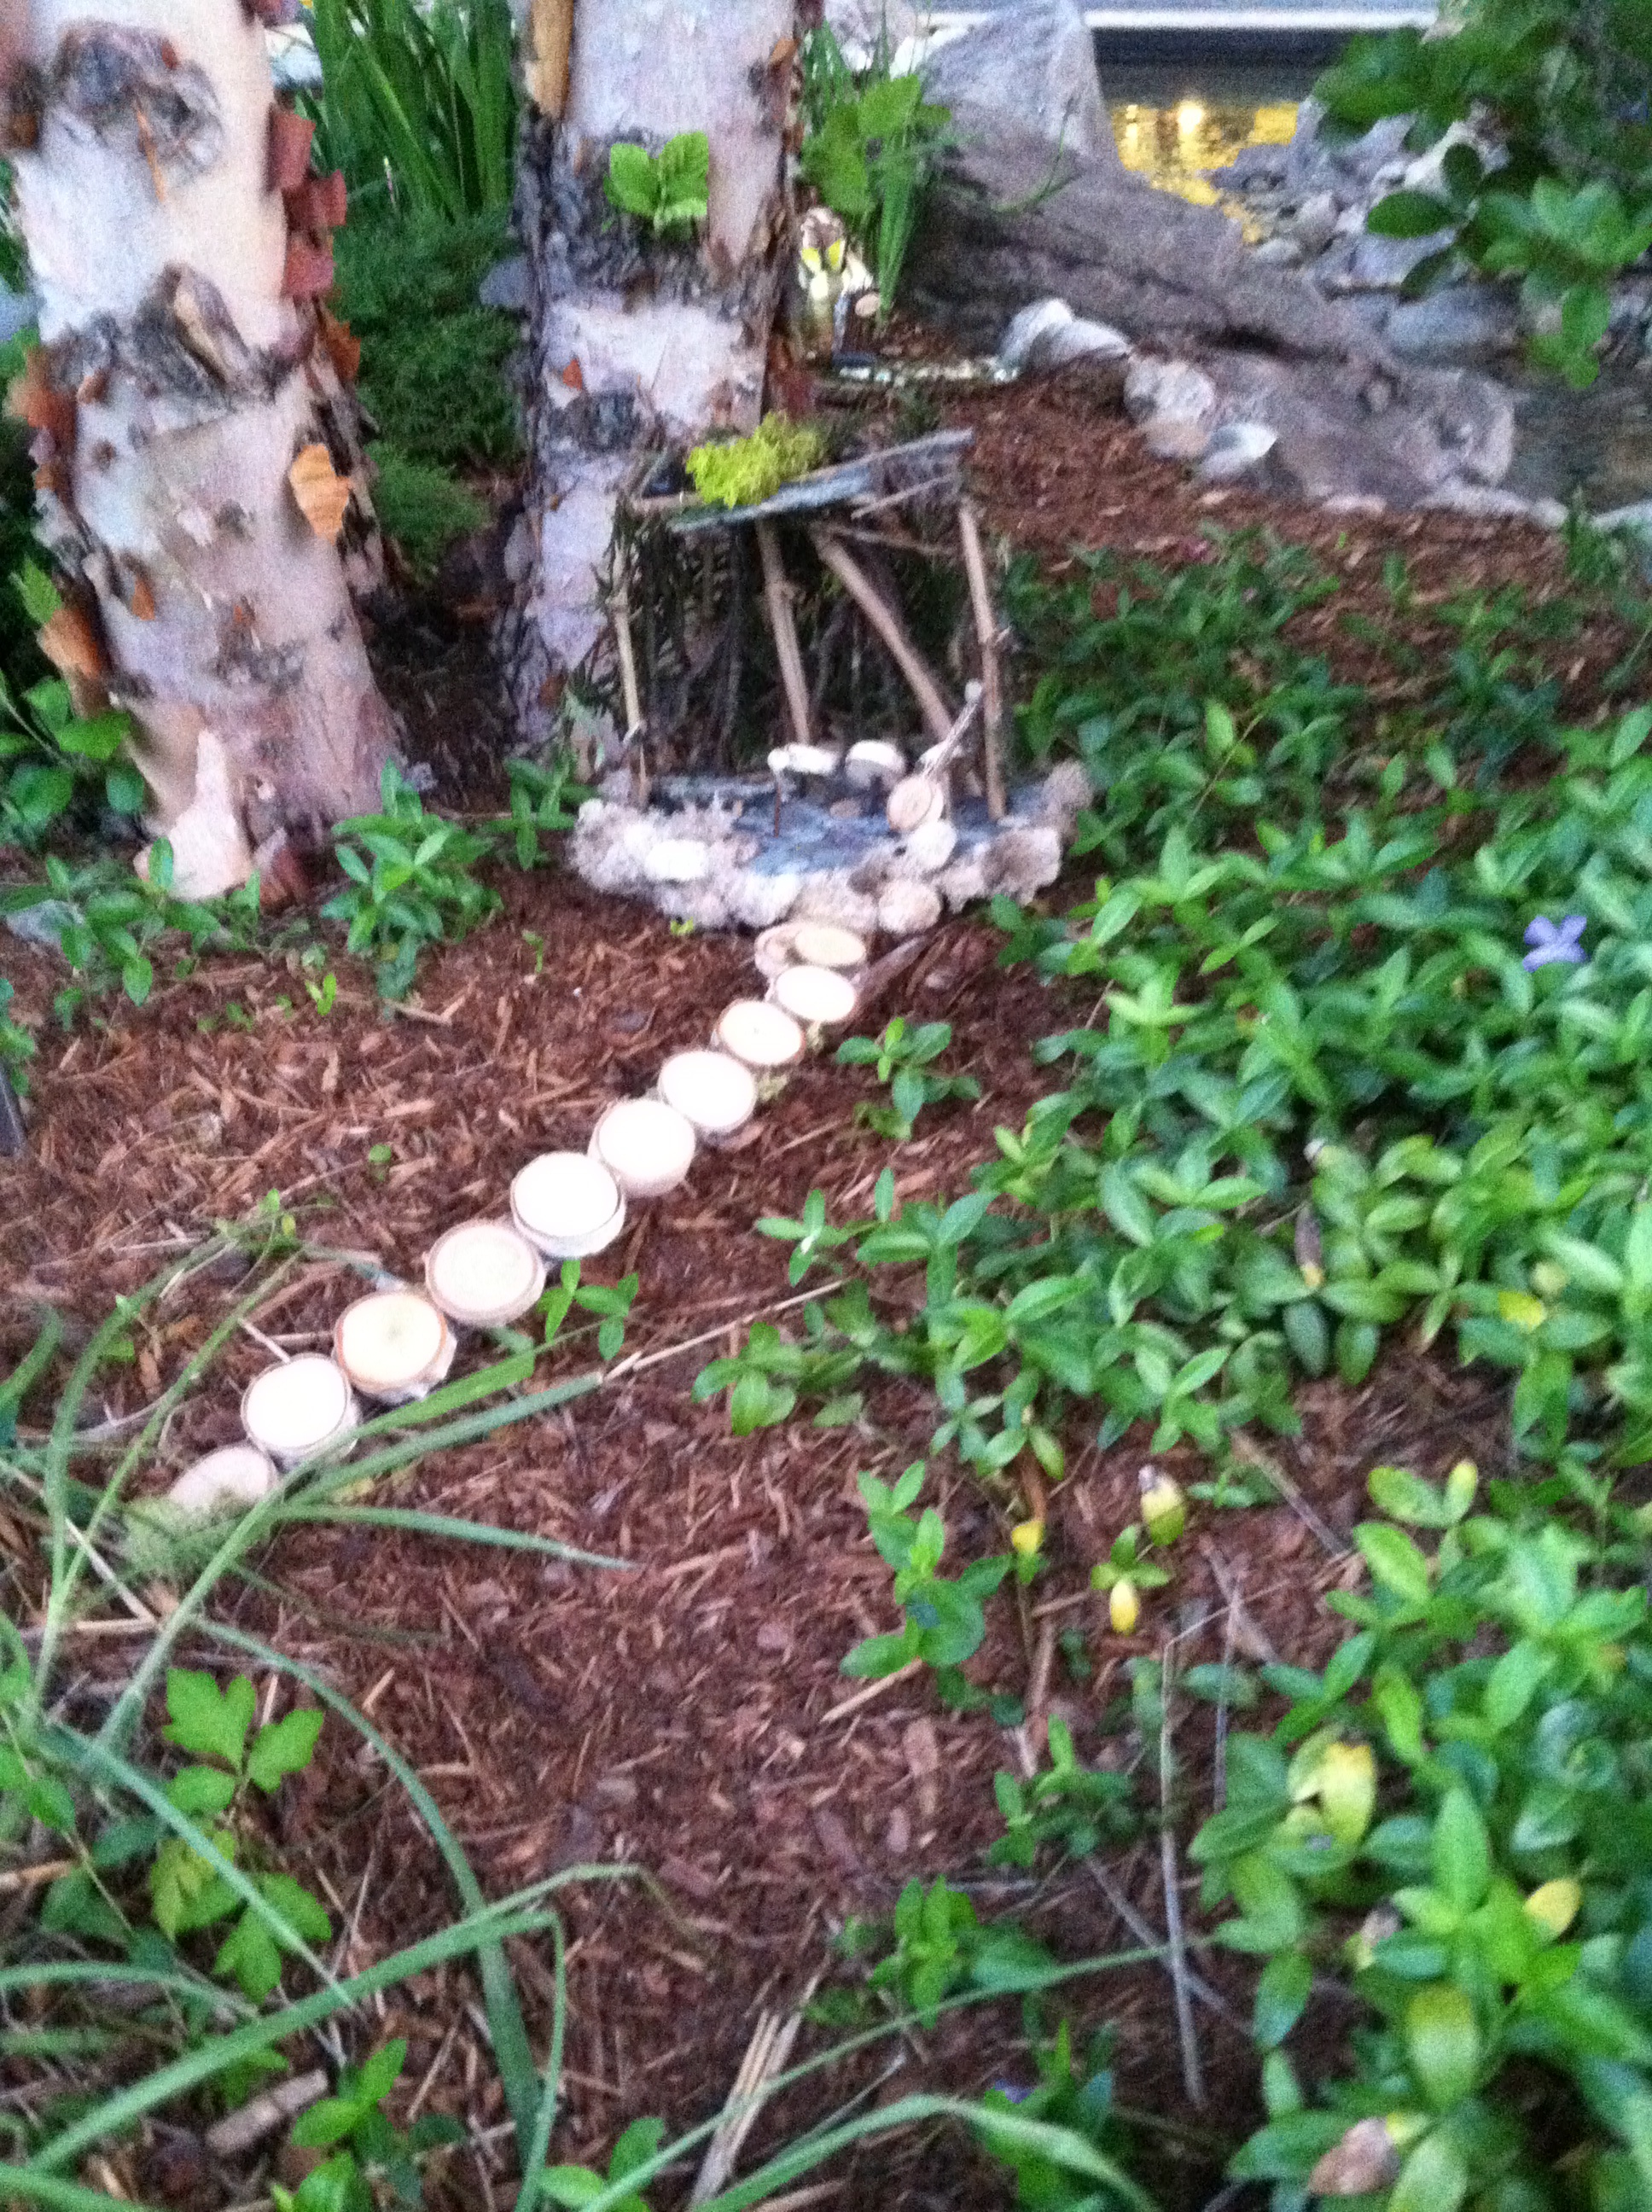
Fairy houses from the healing garden at the hospital. They were made by patients and their families. Magical!
Lotus pond Beatrix blouse
#thisisthebeforepicture
small tuck basted into neckline-measures half an inch
My first real experience sewing was as a quilter and I think that the quilter in me informs my garment sewing. I love finding a way to use a scrap of pretty fabric or combine quirky patterns to make a straightforward pattern more interesting. I am happy to piece together scraps to make new fabric to then cut out the shape with the extra seam adding to the design. I am happy when faced with a challenge of not having enough fabric for a particular design and having to innovate-usually!
pieced button placket due to tiny size of scrap
I decided to make a second sleeveless Beatrix in order to try the fit of the Beatrix using real, i.e. non-previous shirt, material to test the fit before cutting into the garment fabric that I bought for my #beatrixalong blouse with sleeves. After making the first blouse, I noticed that the neck gaped a bit. I played around with pinching a bit of the front bodice fabric in front of a mirror in order to figure out how much to adjust the pattern and I noticed that the drape of the fabric changed for the better with that minor tweak. I tried sewing a tiny pleat into the neckline-which was already finished but I just hand-sewed a few basting stitches-and I really liked the way the front of the blouse looked with the tuck so I wanted to try it out again in a planned way. I also wanted to try sewing the neckline facings instead of using bias binding. So I found some leftover lotus pond fabric and I planned a second blouse incorporating some of these changes.
tuck top-stitched in place
inside view of tuck-measures 0.5 inch across
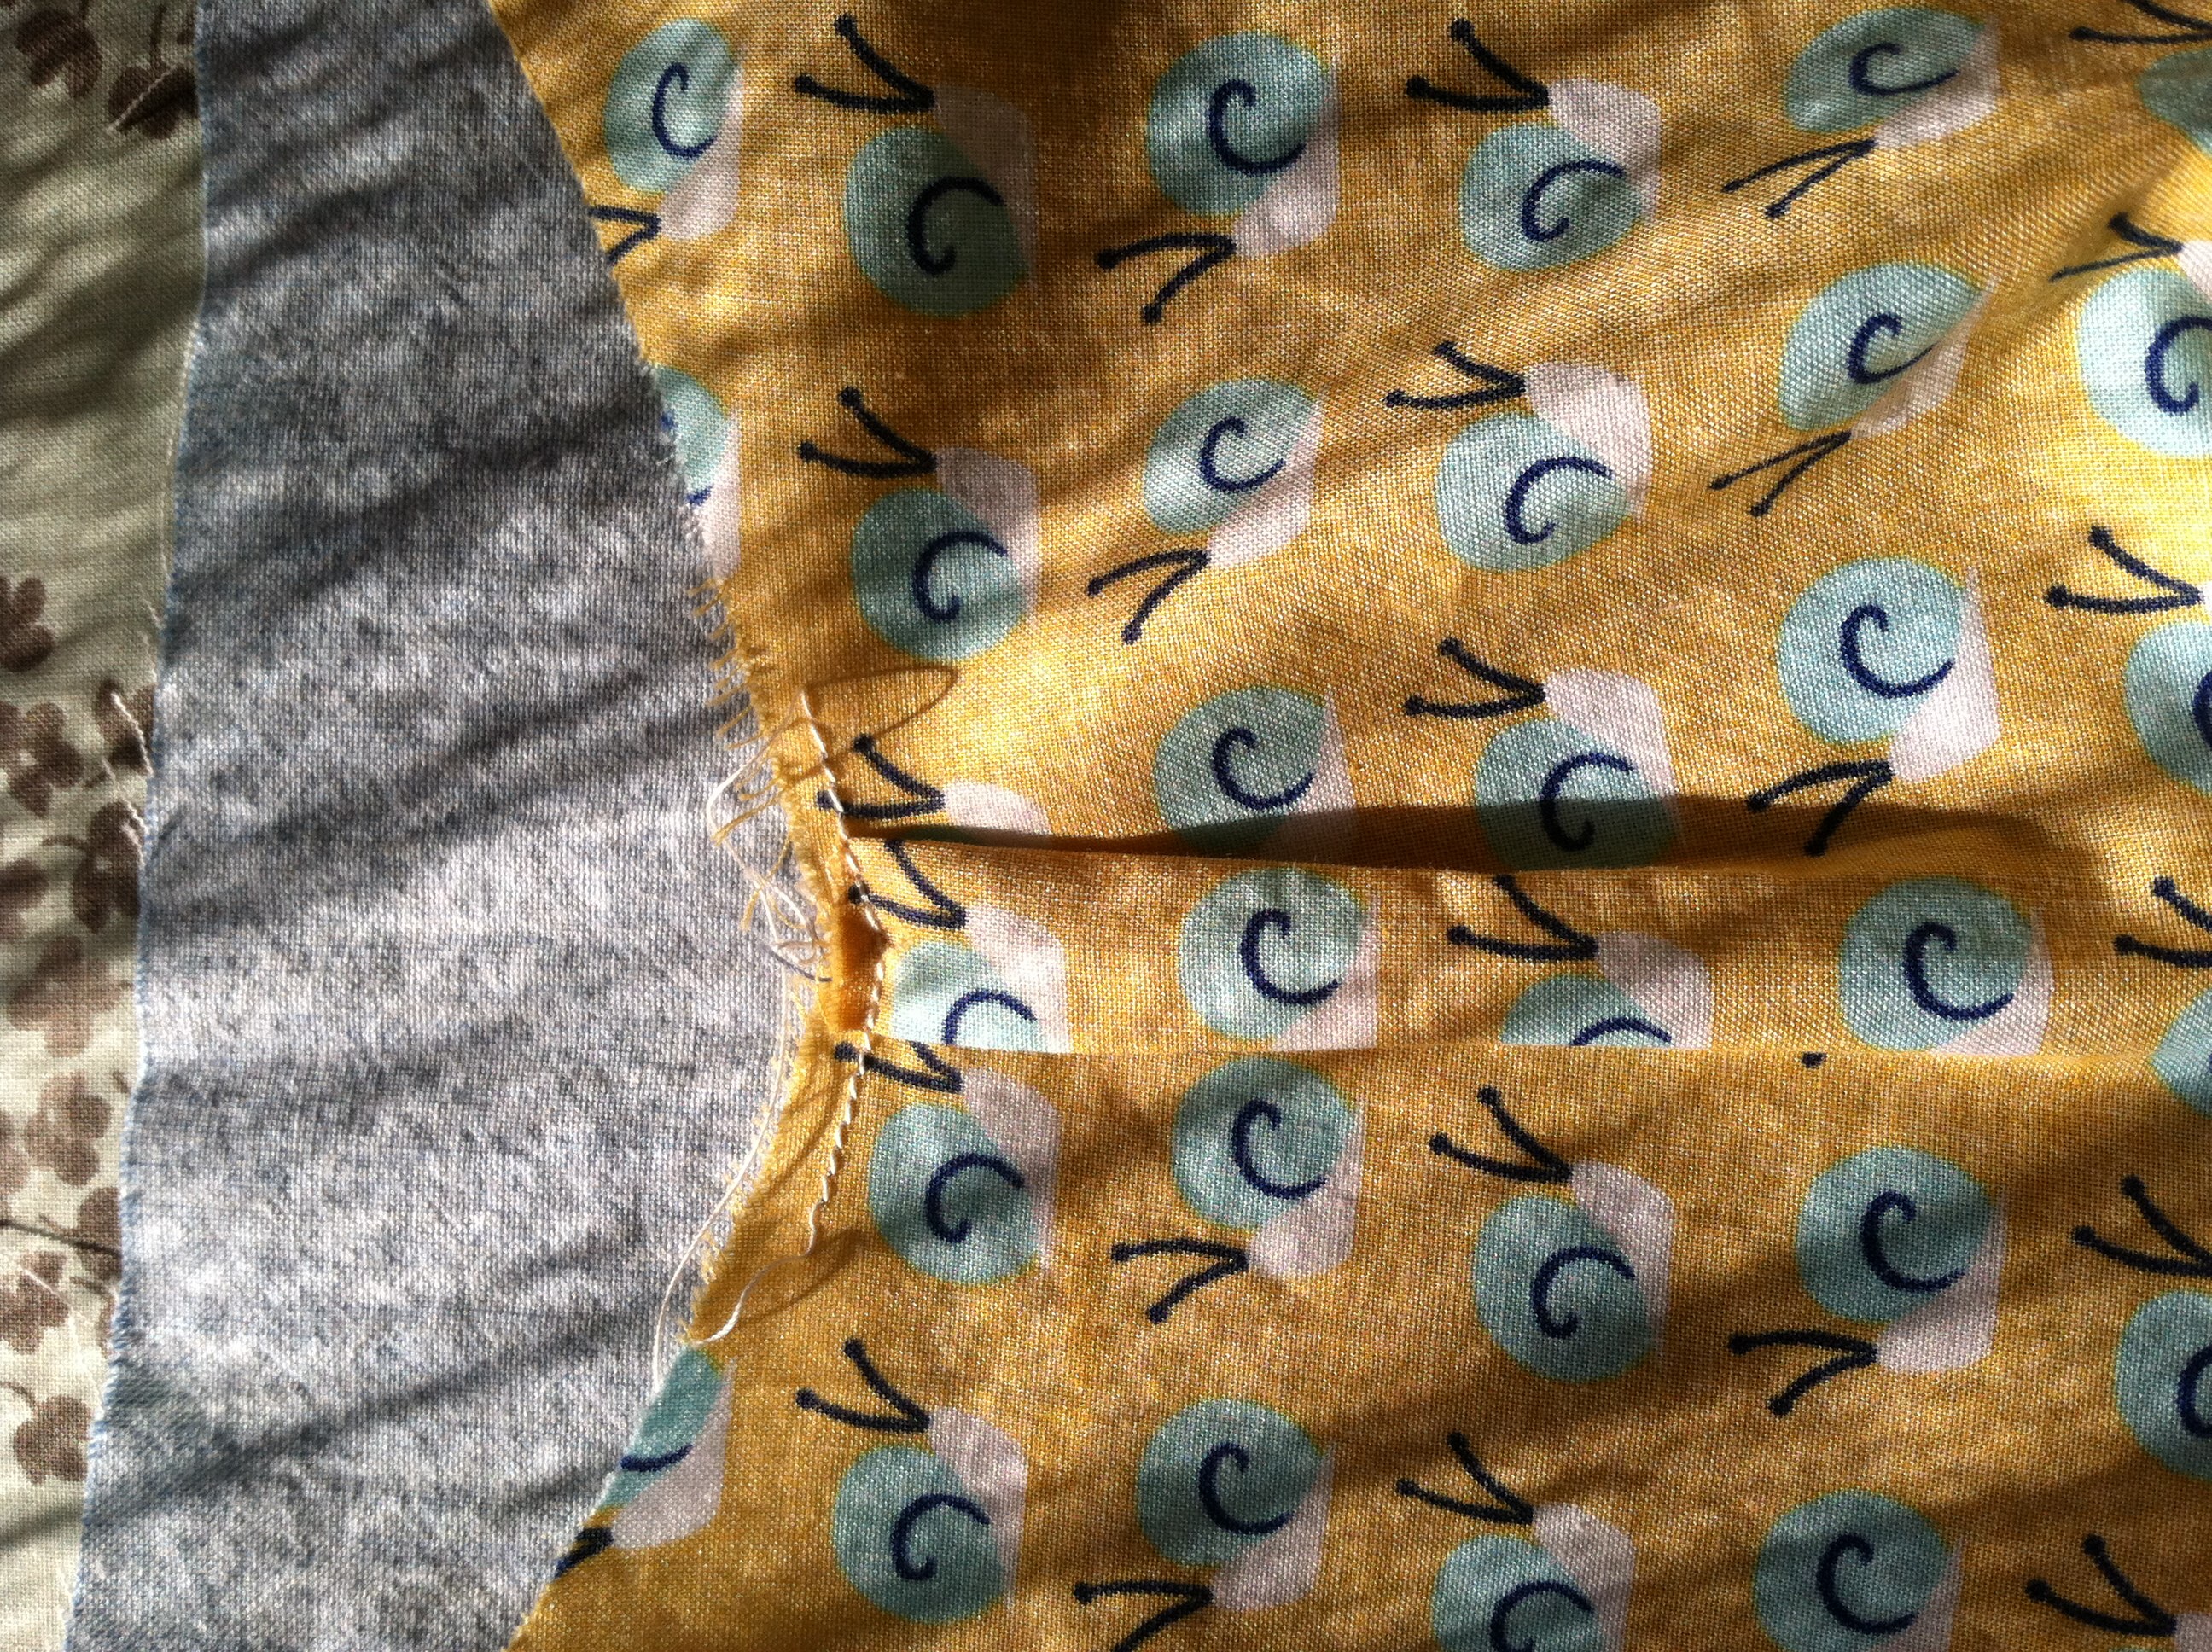
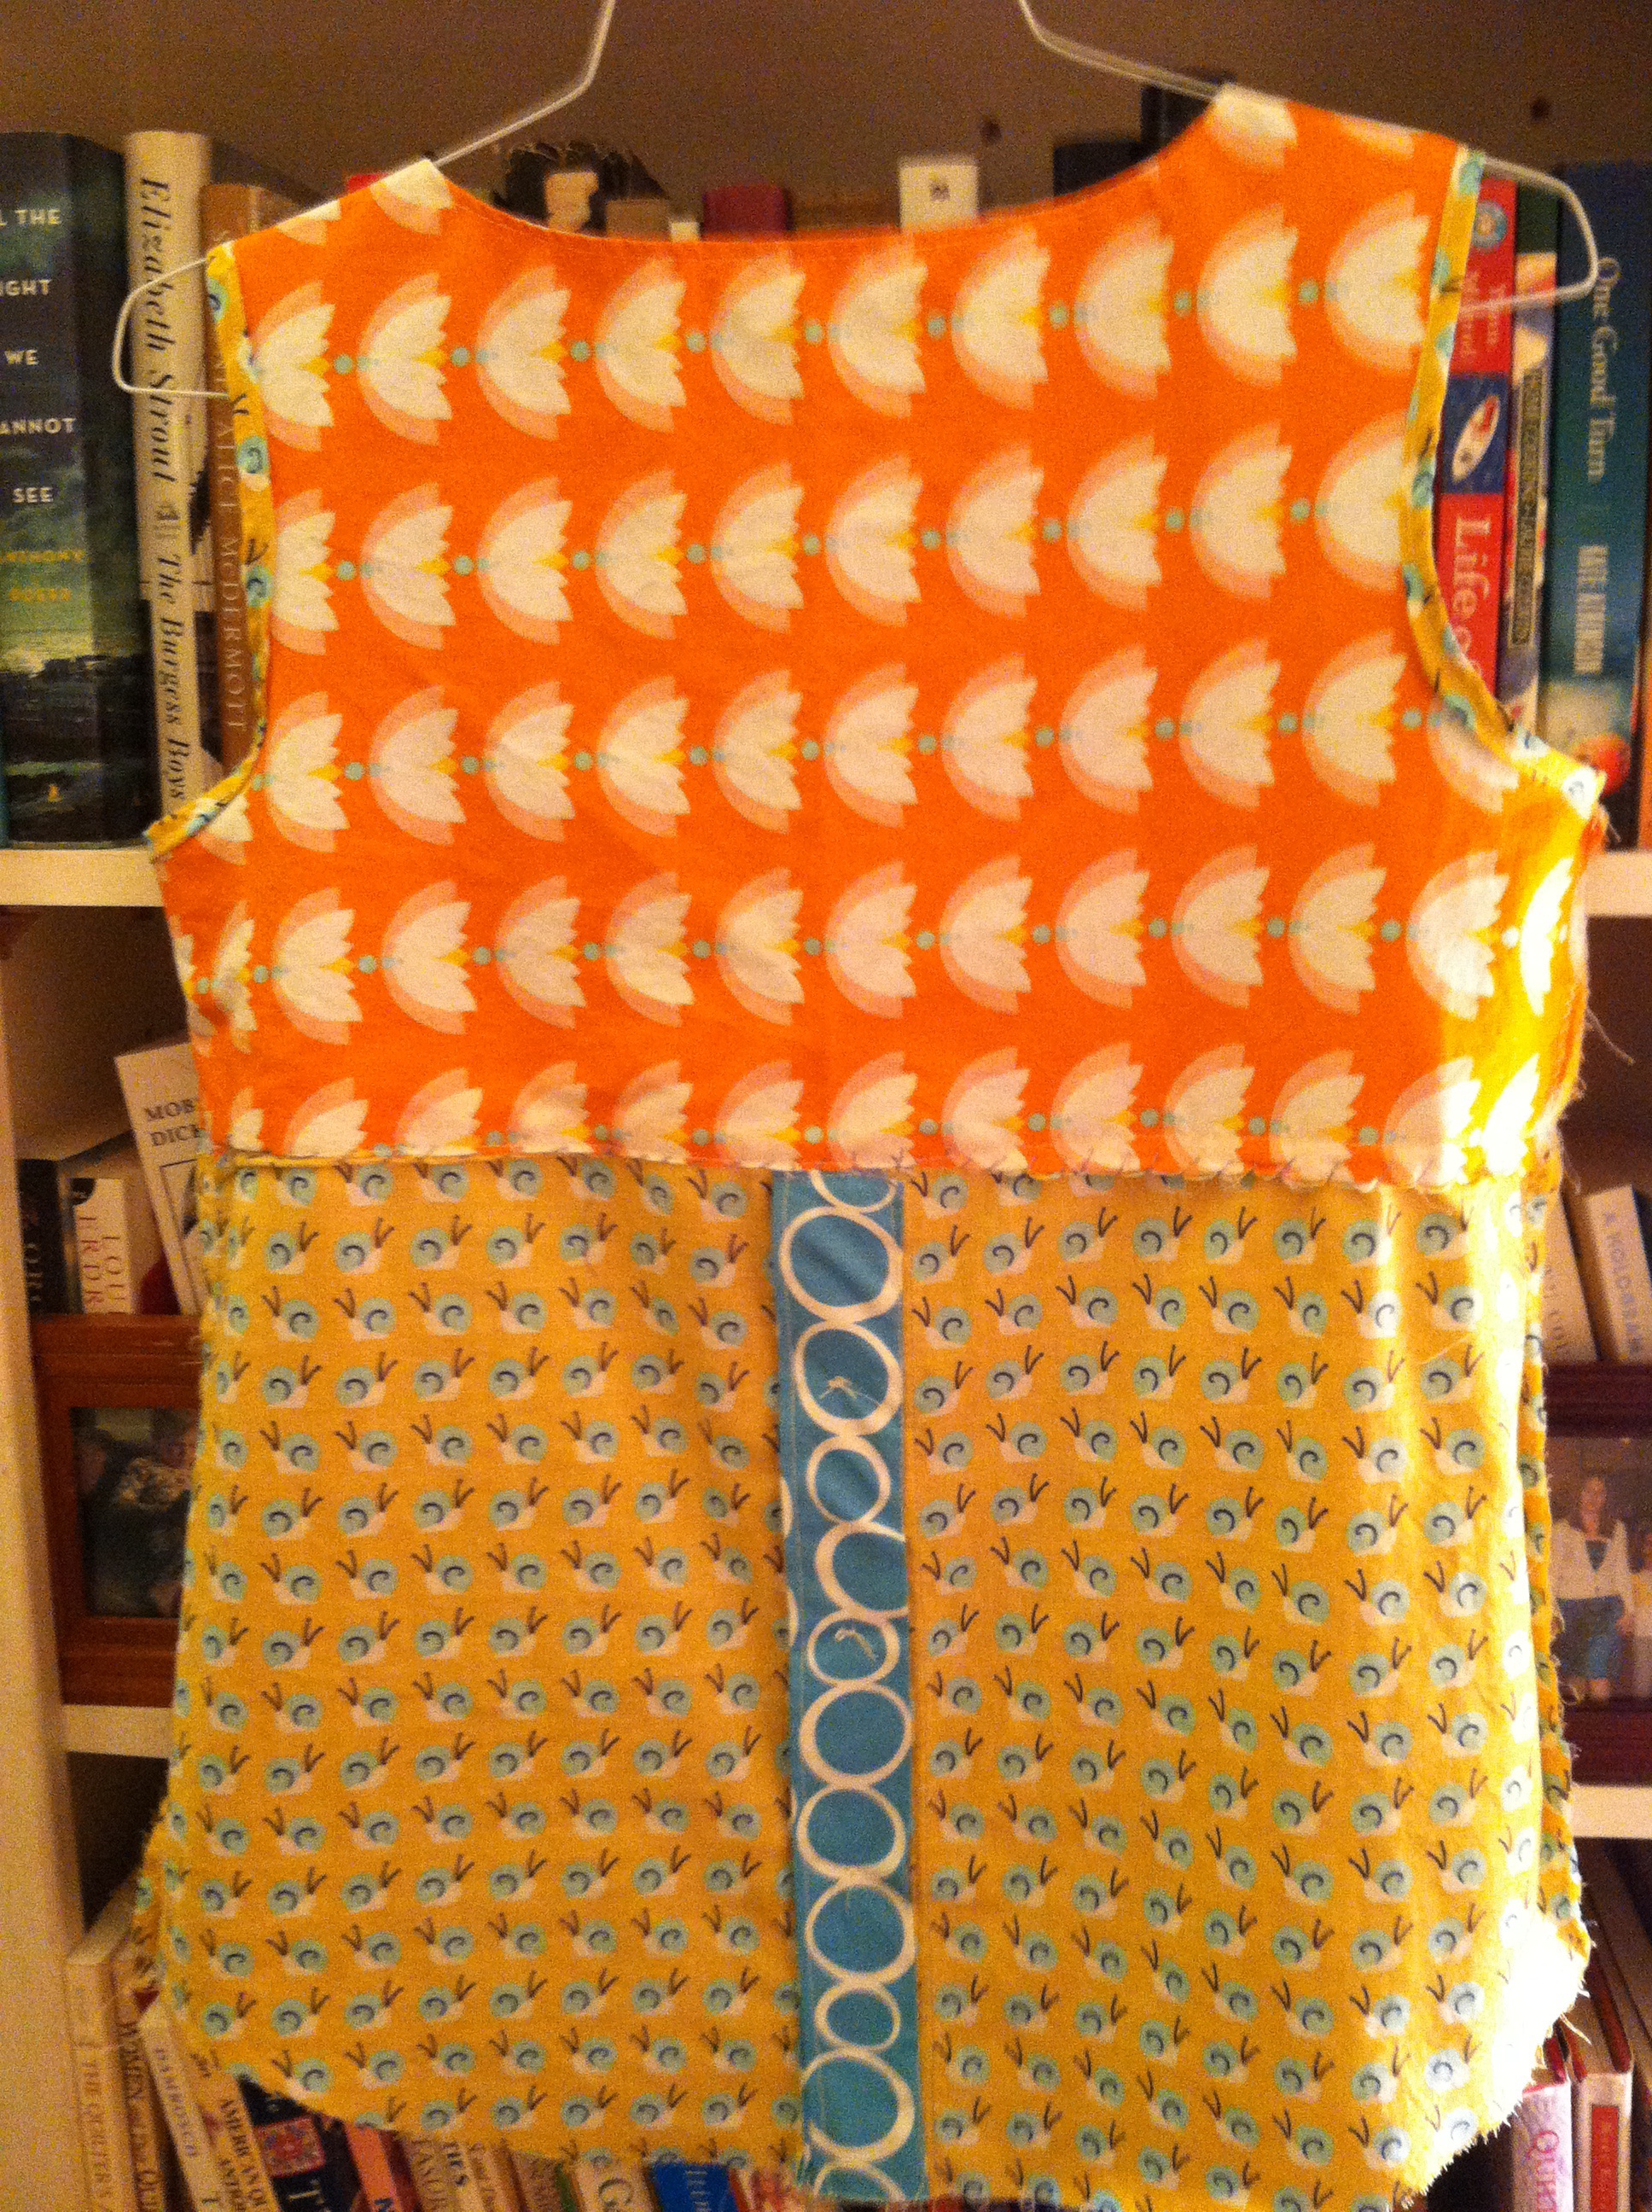
I realized after sewing the first blouse that I had no problem putting it on with the buttons buttoned so I thought it would be fun to try it with a one-piece back bodice-partly because I only had three matching buttons of the type I wanted to use and partly because I didn’t have enough of the main fabric to cut out the front and back pieces of the shirt in one piece and I didn’t think that the snail fabric would be as forgiving as the tiny stripes in terms of hiding my extra seams from piecing.

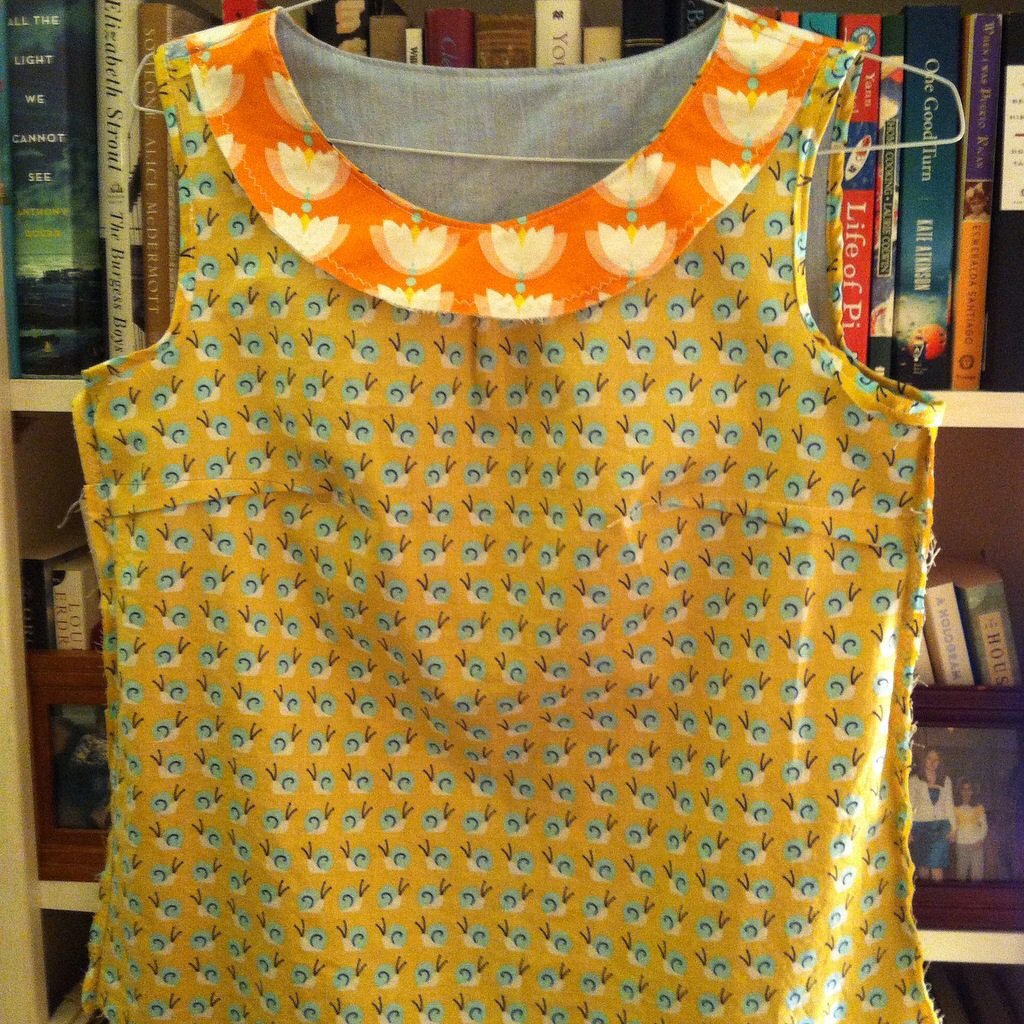
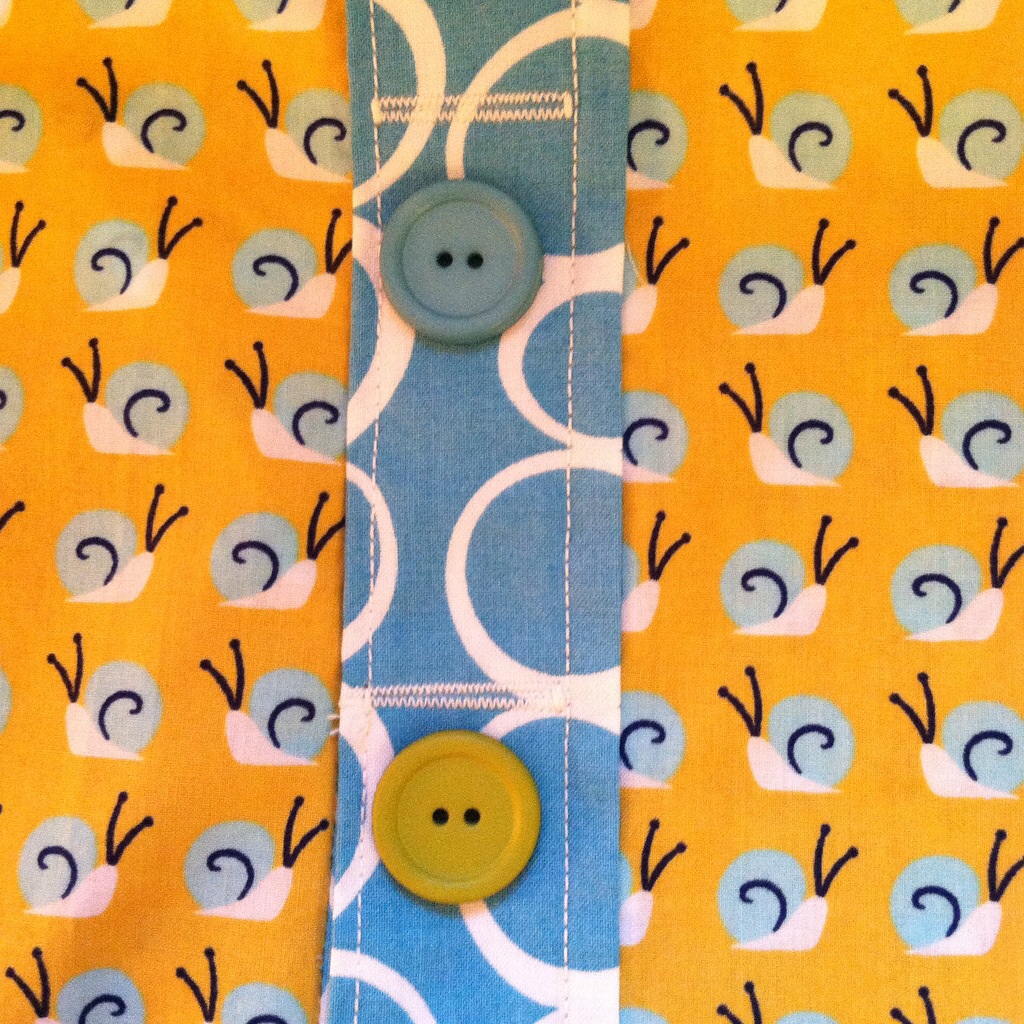
I cut the front of the blouse out of the main fabric and used a scrap of light blue chambray that had previously found its way into two ruby dresses for the back one-piece bodice. I measured the finished back width of my previous shirt and added seam allowances. Since the chambray was potentially more stretchy than the quilting cotton, I had the idea to line the back one-piece bodice with a scrap of orange water lily fabric also from Rae’s Lotus Pond collection. I didn’t have a big enough piece to cut on the grainline so I shifted it 90 degrees and the flowers flow sideways which worked fine. I cut the front facing from the same orange fabric. For the button placket, I used some turquoise bubble fabric left over another project. I finished the arm holes with bias tape.

In the spirit of not spending money and using what you have, I found three buttons-one turquoise and two green-in a button jar I was given by my daughter. While the green doesn’t exactly match, it makes the top a little more quirky which I like.
The top is all done except for the hem and I am very happy with the fit and how it turned out. There are two things I would change next time though. One is that I would make the back one piece bodice a little shorter and the button placket a bit longer. The second is that I would loosen the front tuck a bit. I noticed as I wore the first Beatrix that the basting stitches I put in to test the size of the tuck had loosened and I was happier with the looser tuck and the way the fabric draped when the tuck loosened so I plan to try it out on my next project which is my #beatrixalong blouse-to be made all from the same fabric and with three quarter length sleeves. I also may adjust the back, armholes and sides a bit to make them more snug the next time I make a sleeveless version. I did that without planning to when I made the first blouse from my husband’s shirt because I had to scrimp on fabric since I didn’t really have enough but oddly, the fit turned out better.
I am also planning to try the reverse-a beatrix with a button placket on top and a flowy one piece bottom piece. I think that’s a natural and a good idea for when you only have two matching buttons! There are also going to be many more upcycled shirts using those great former banker shirts in my husband’s closet. #wastenotwantnot!
loosened tuck = flattering drape
I find that I sew the way I cook. I read the instructions but I make little changes along the way, sometimes without realizing what I did. Hopefully blogging will make it easier to re-create my happy mistakes!
