Fall has come to Connecticut in all its glory. The view from my front porch last week: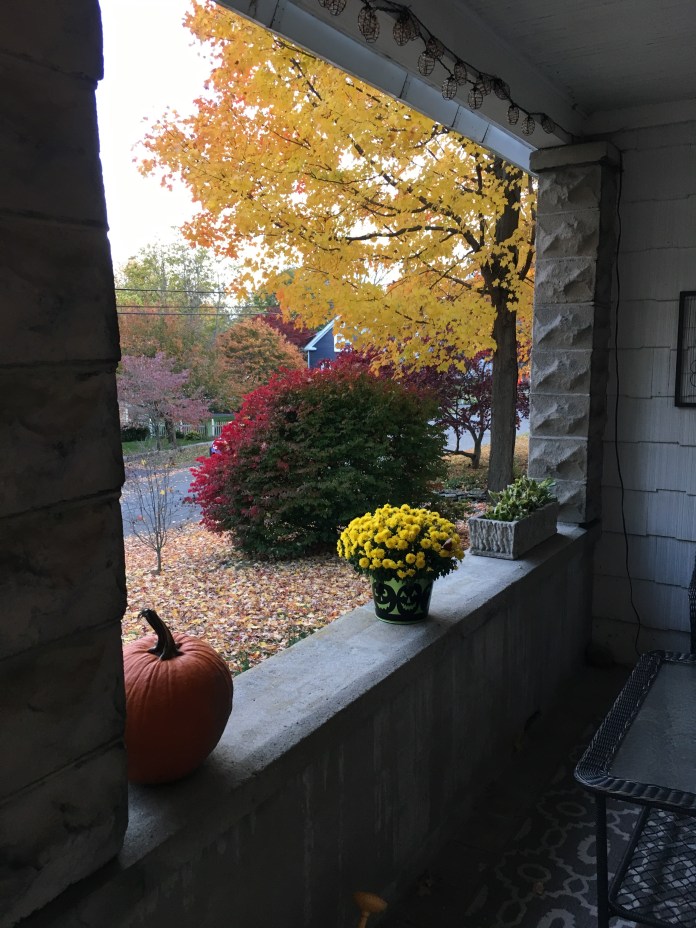 With the cooler weather, I am turning to the Pearl Shift which I previously made, and lived in basically all last winter, in heavy cotton flannel plaids from Jo-Ann. You can see those versions here. When I saw the new Checkers fabric from Cotton and Steel, I thought it would be perfect for a Pearl. I was inspired by a similar dress, an Esme tunic which can be found in this book.
  When I make changes to patterns, I write notes to myself on the pattern pieces. Ironically, sometimes I forget to read the notes until after cutting out the pattern as I did here. I did not actually add enough to the seam allowance to allow for french seams. Note to self: read notes to self.
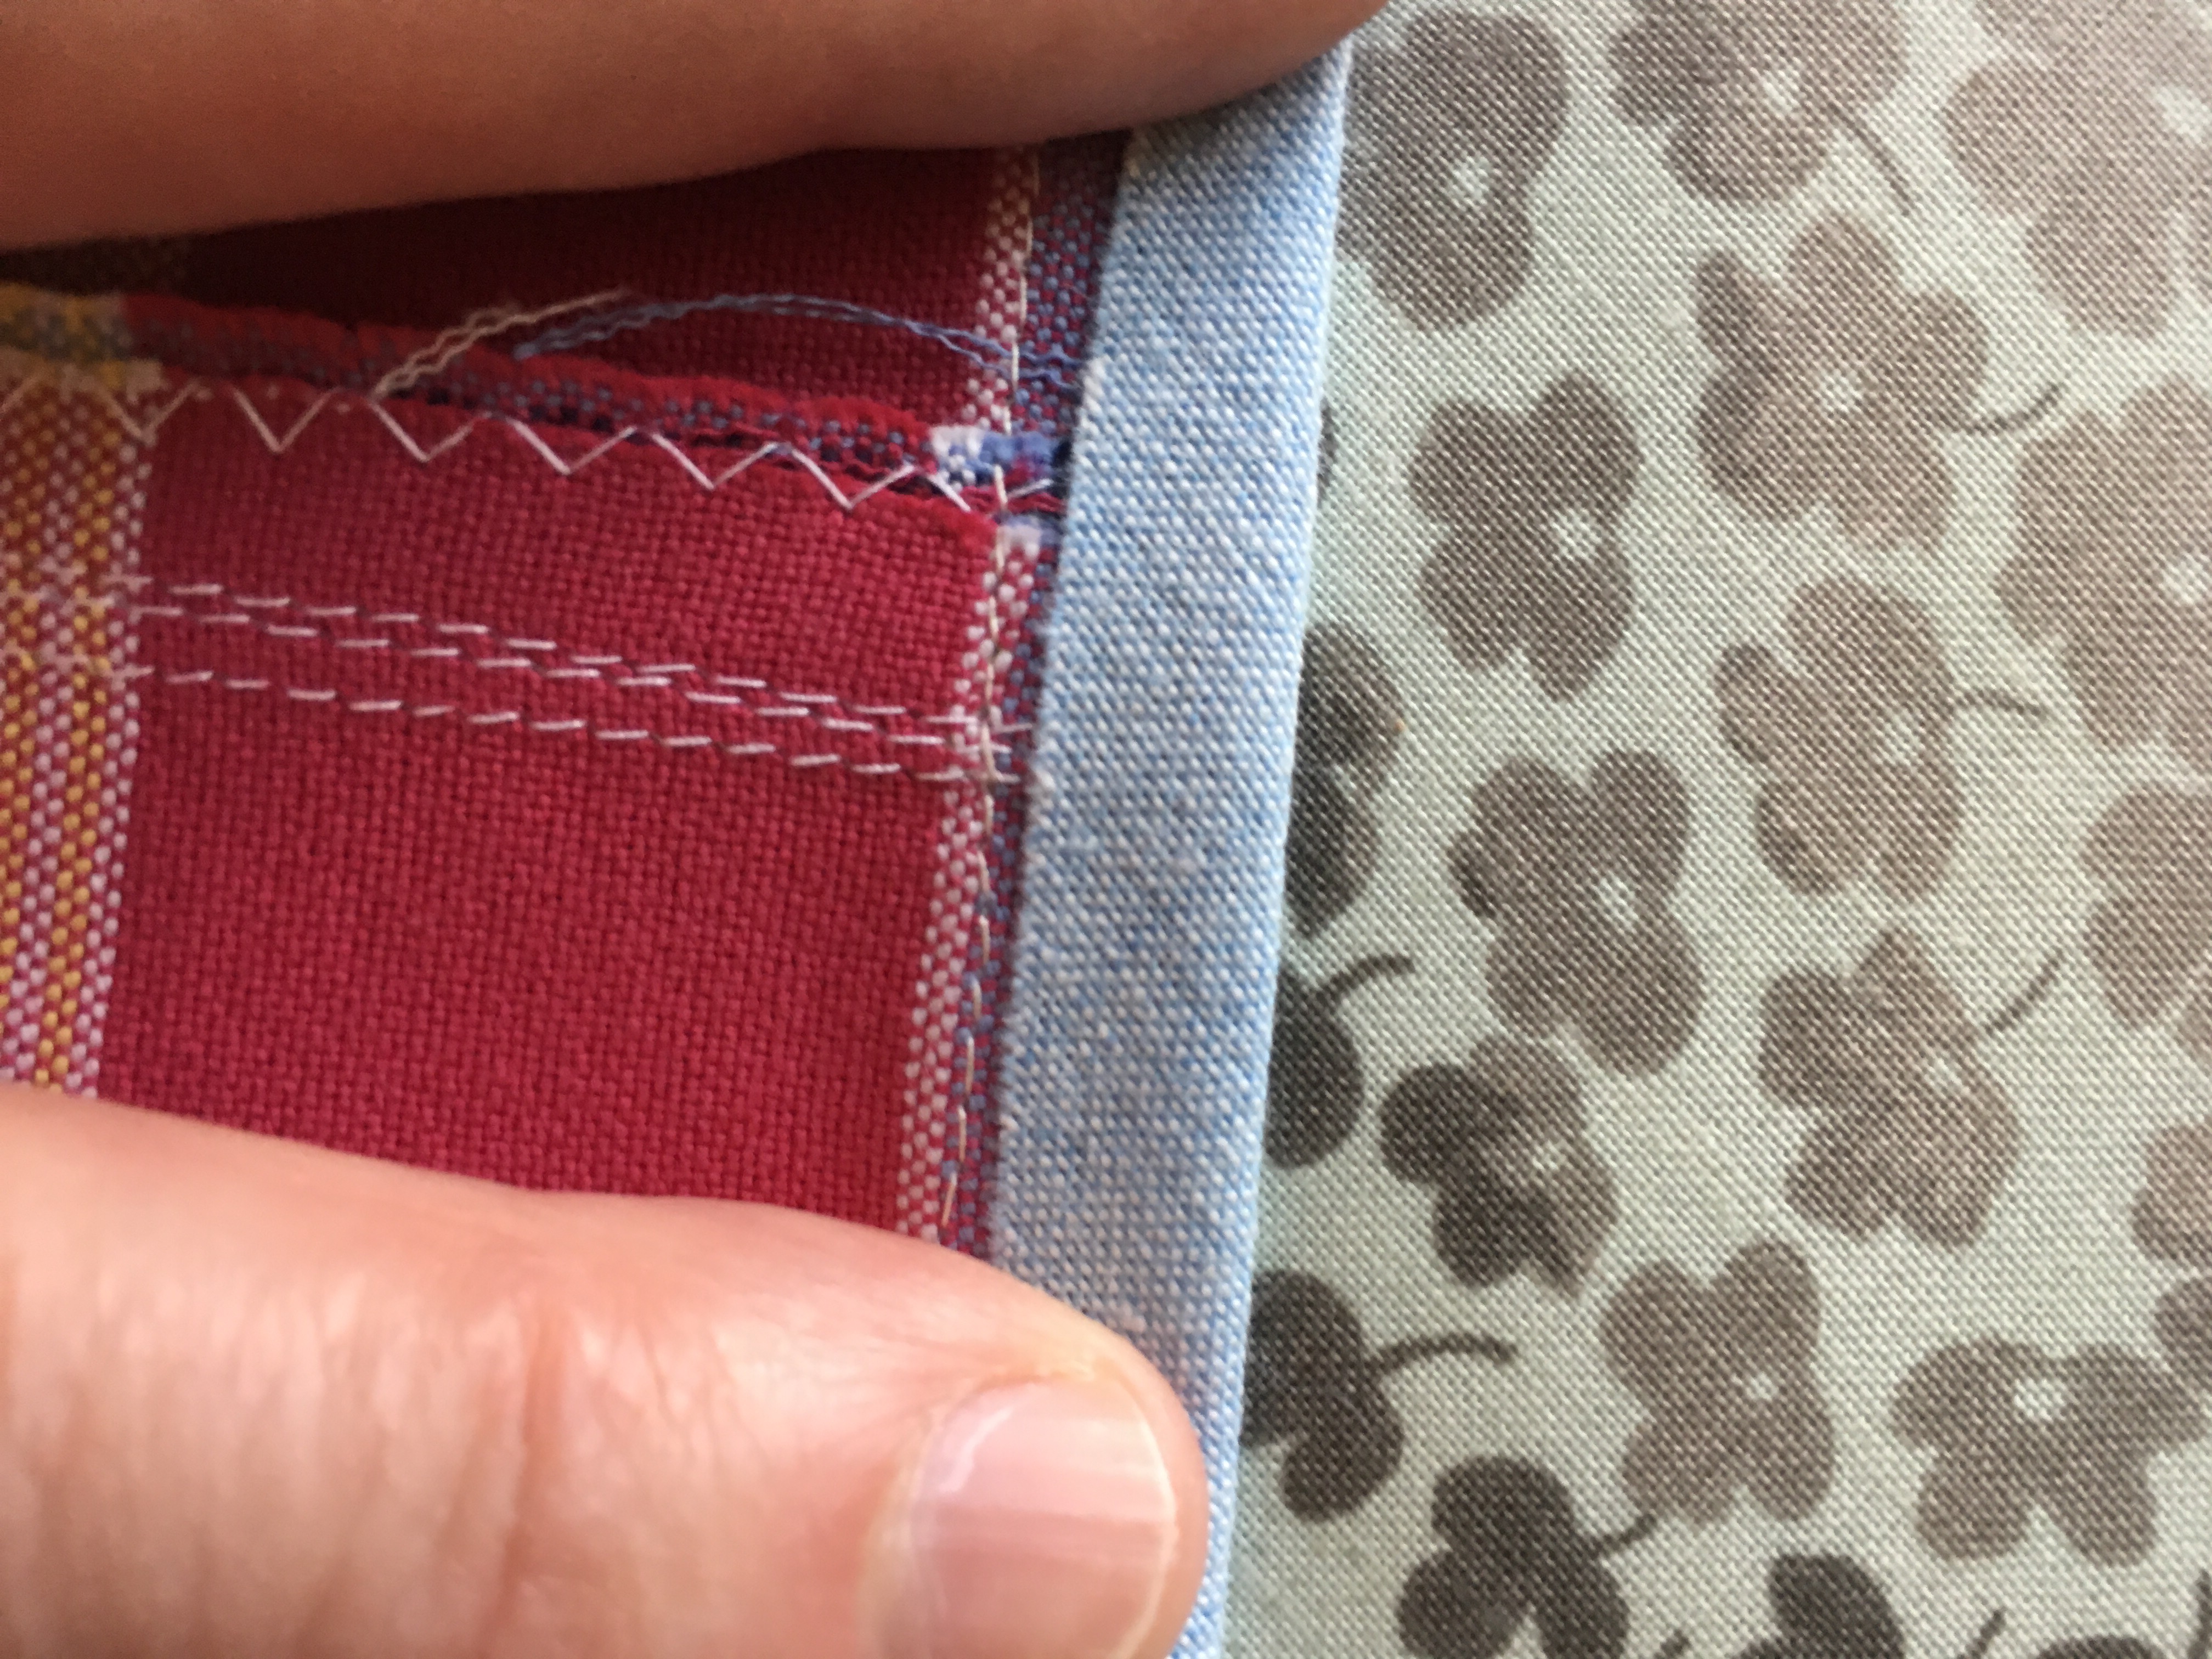
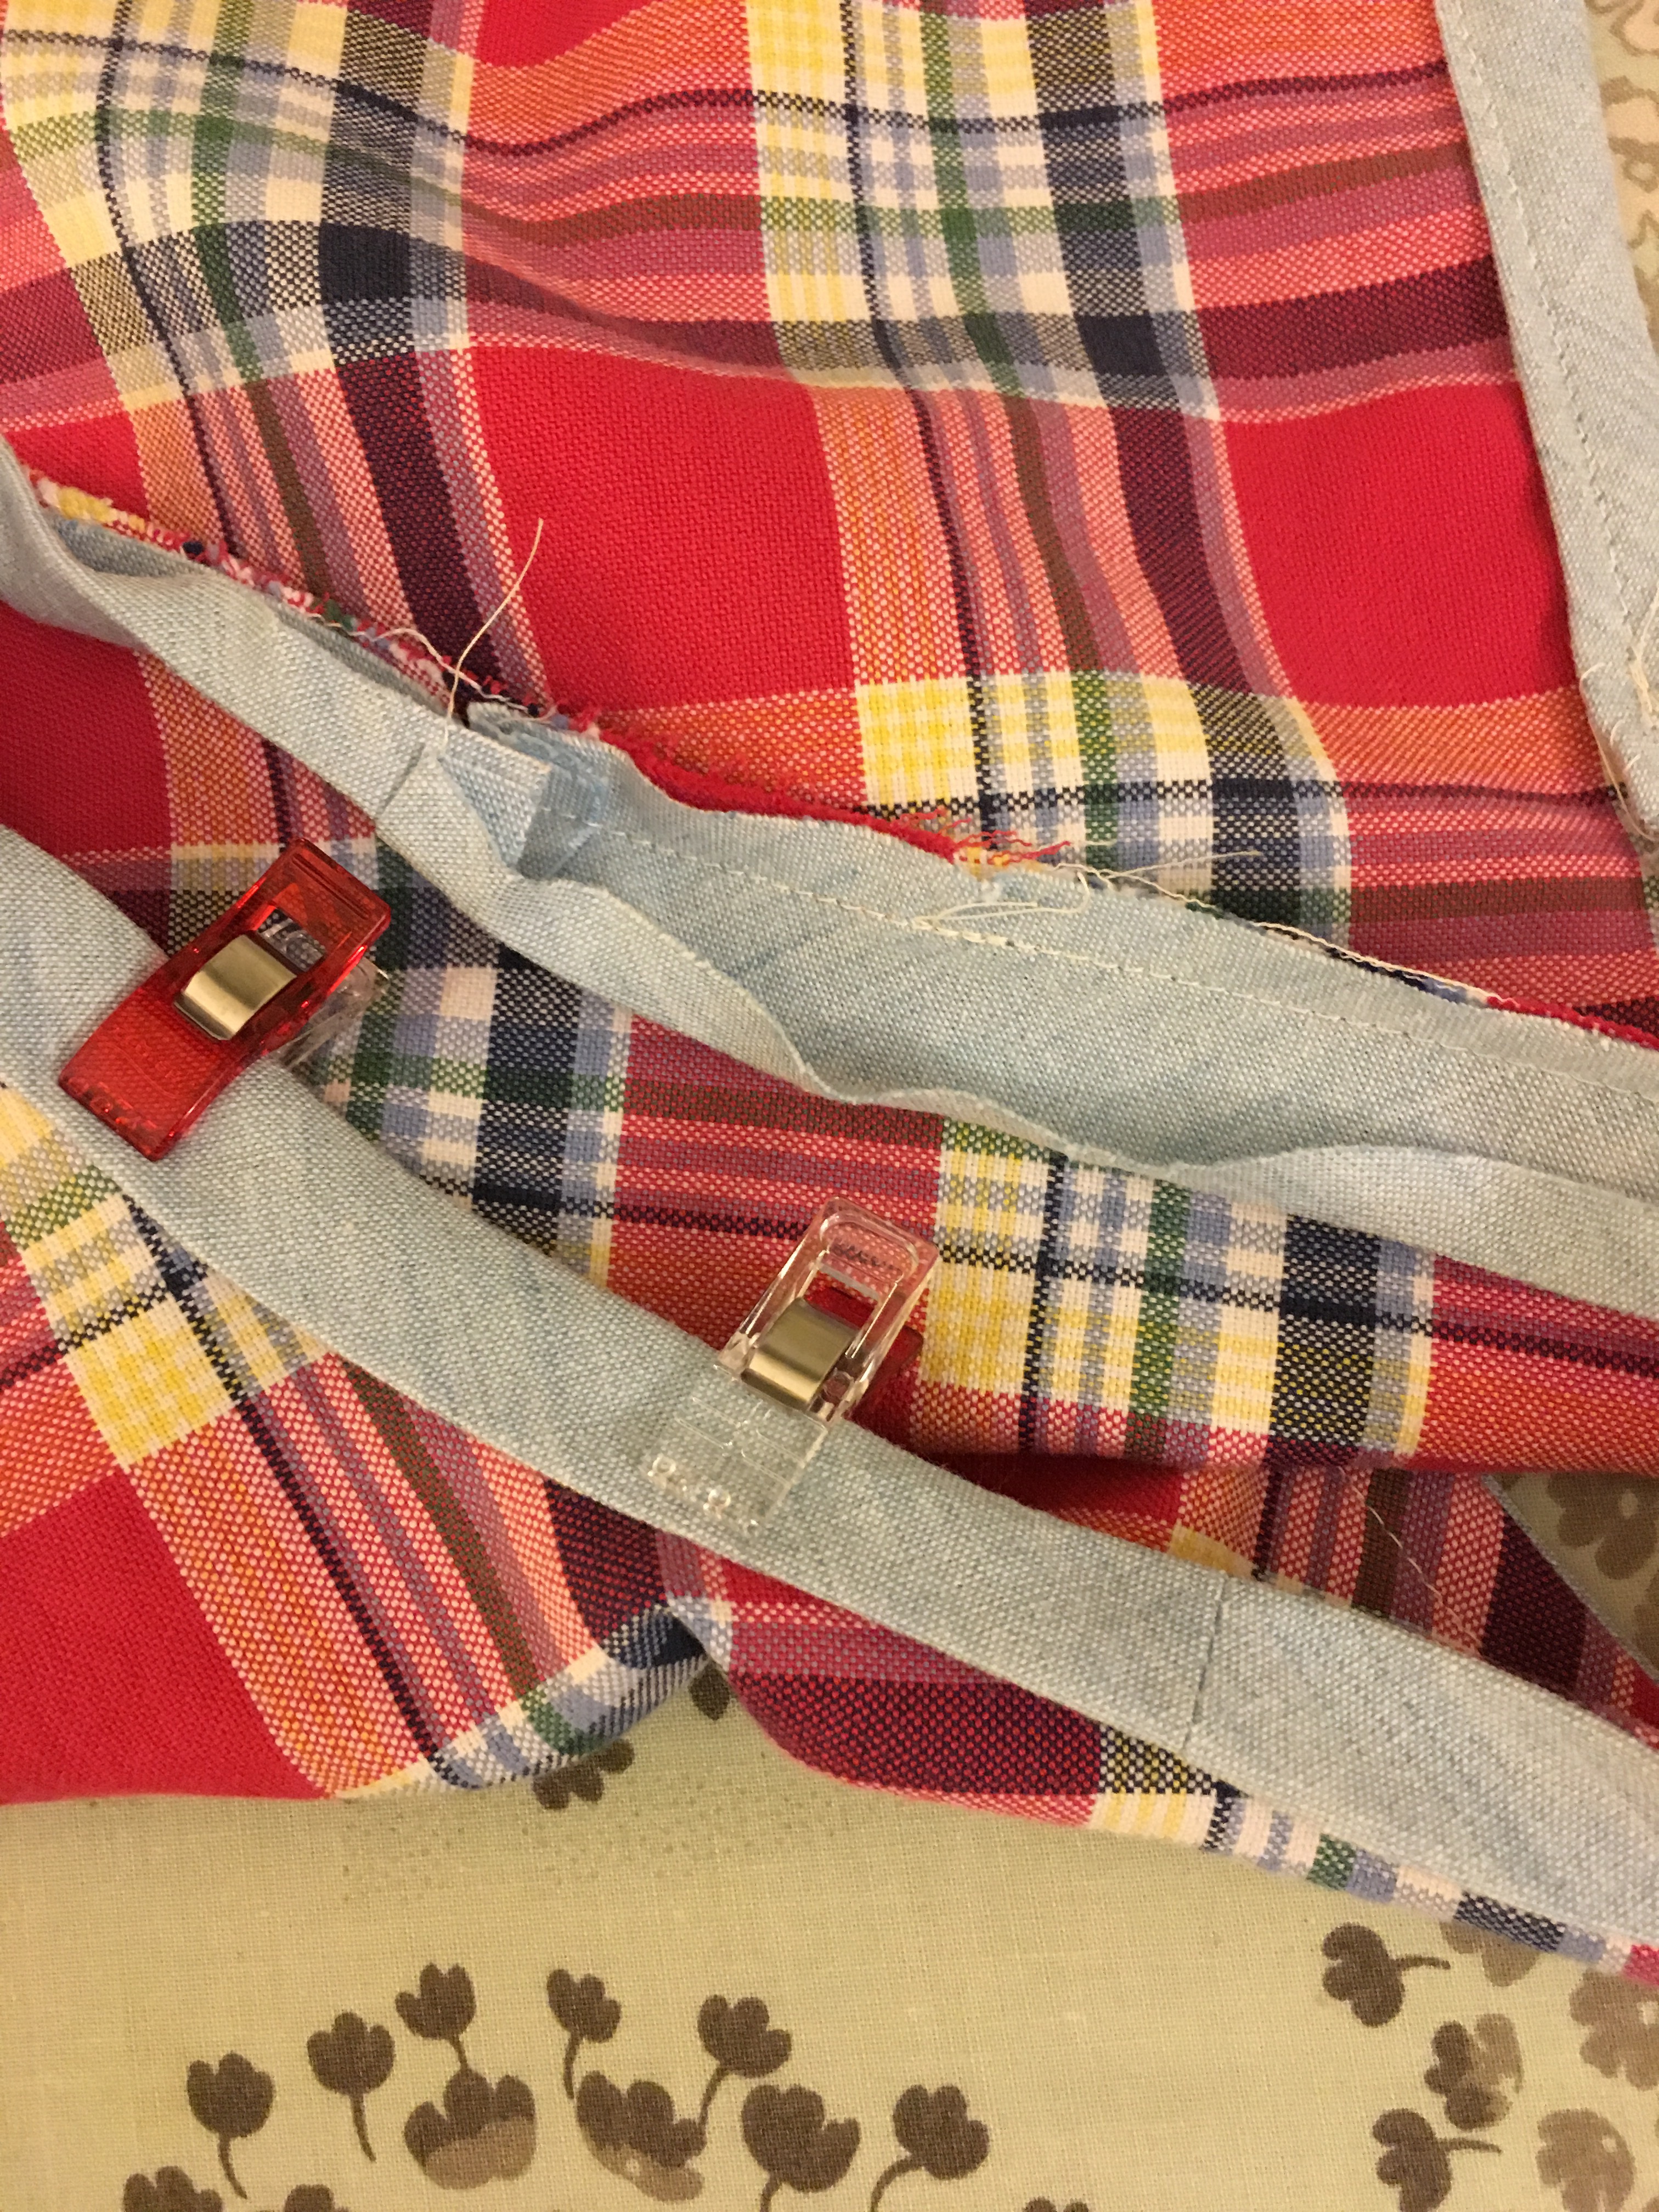
  This is a very straight-forward pattern and if I didn’t insist on adding a zipper, it would be even quicker but I think the zipper adds a lot so I used one here. I sewed it using a techinique I modified from Dana by watching this video of how to sew a lined zipper pouch. It was this video that inspired me to use wonder clips which work well. The picture below shows where I lined up the top of the zipper but I think I will move it up a bit on my next version because there is a bit of a gap at the top in the finished version.
  Sewing the first side:
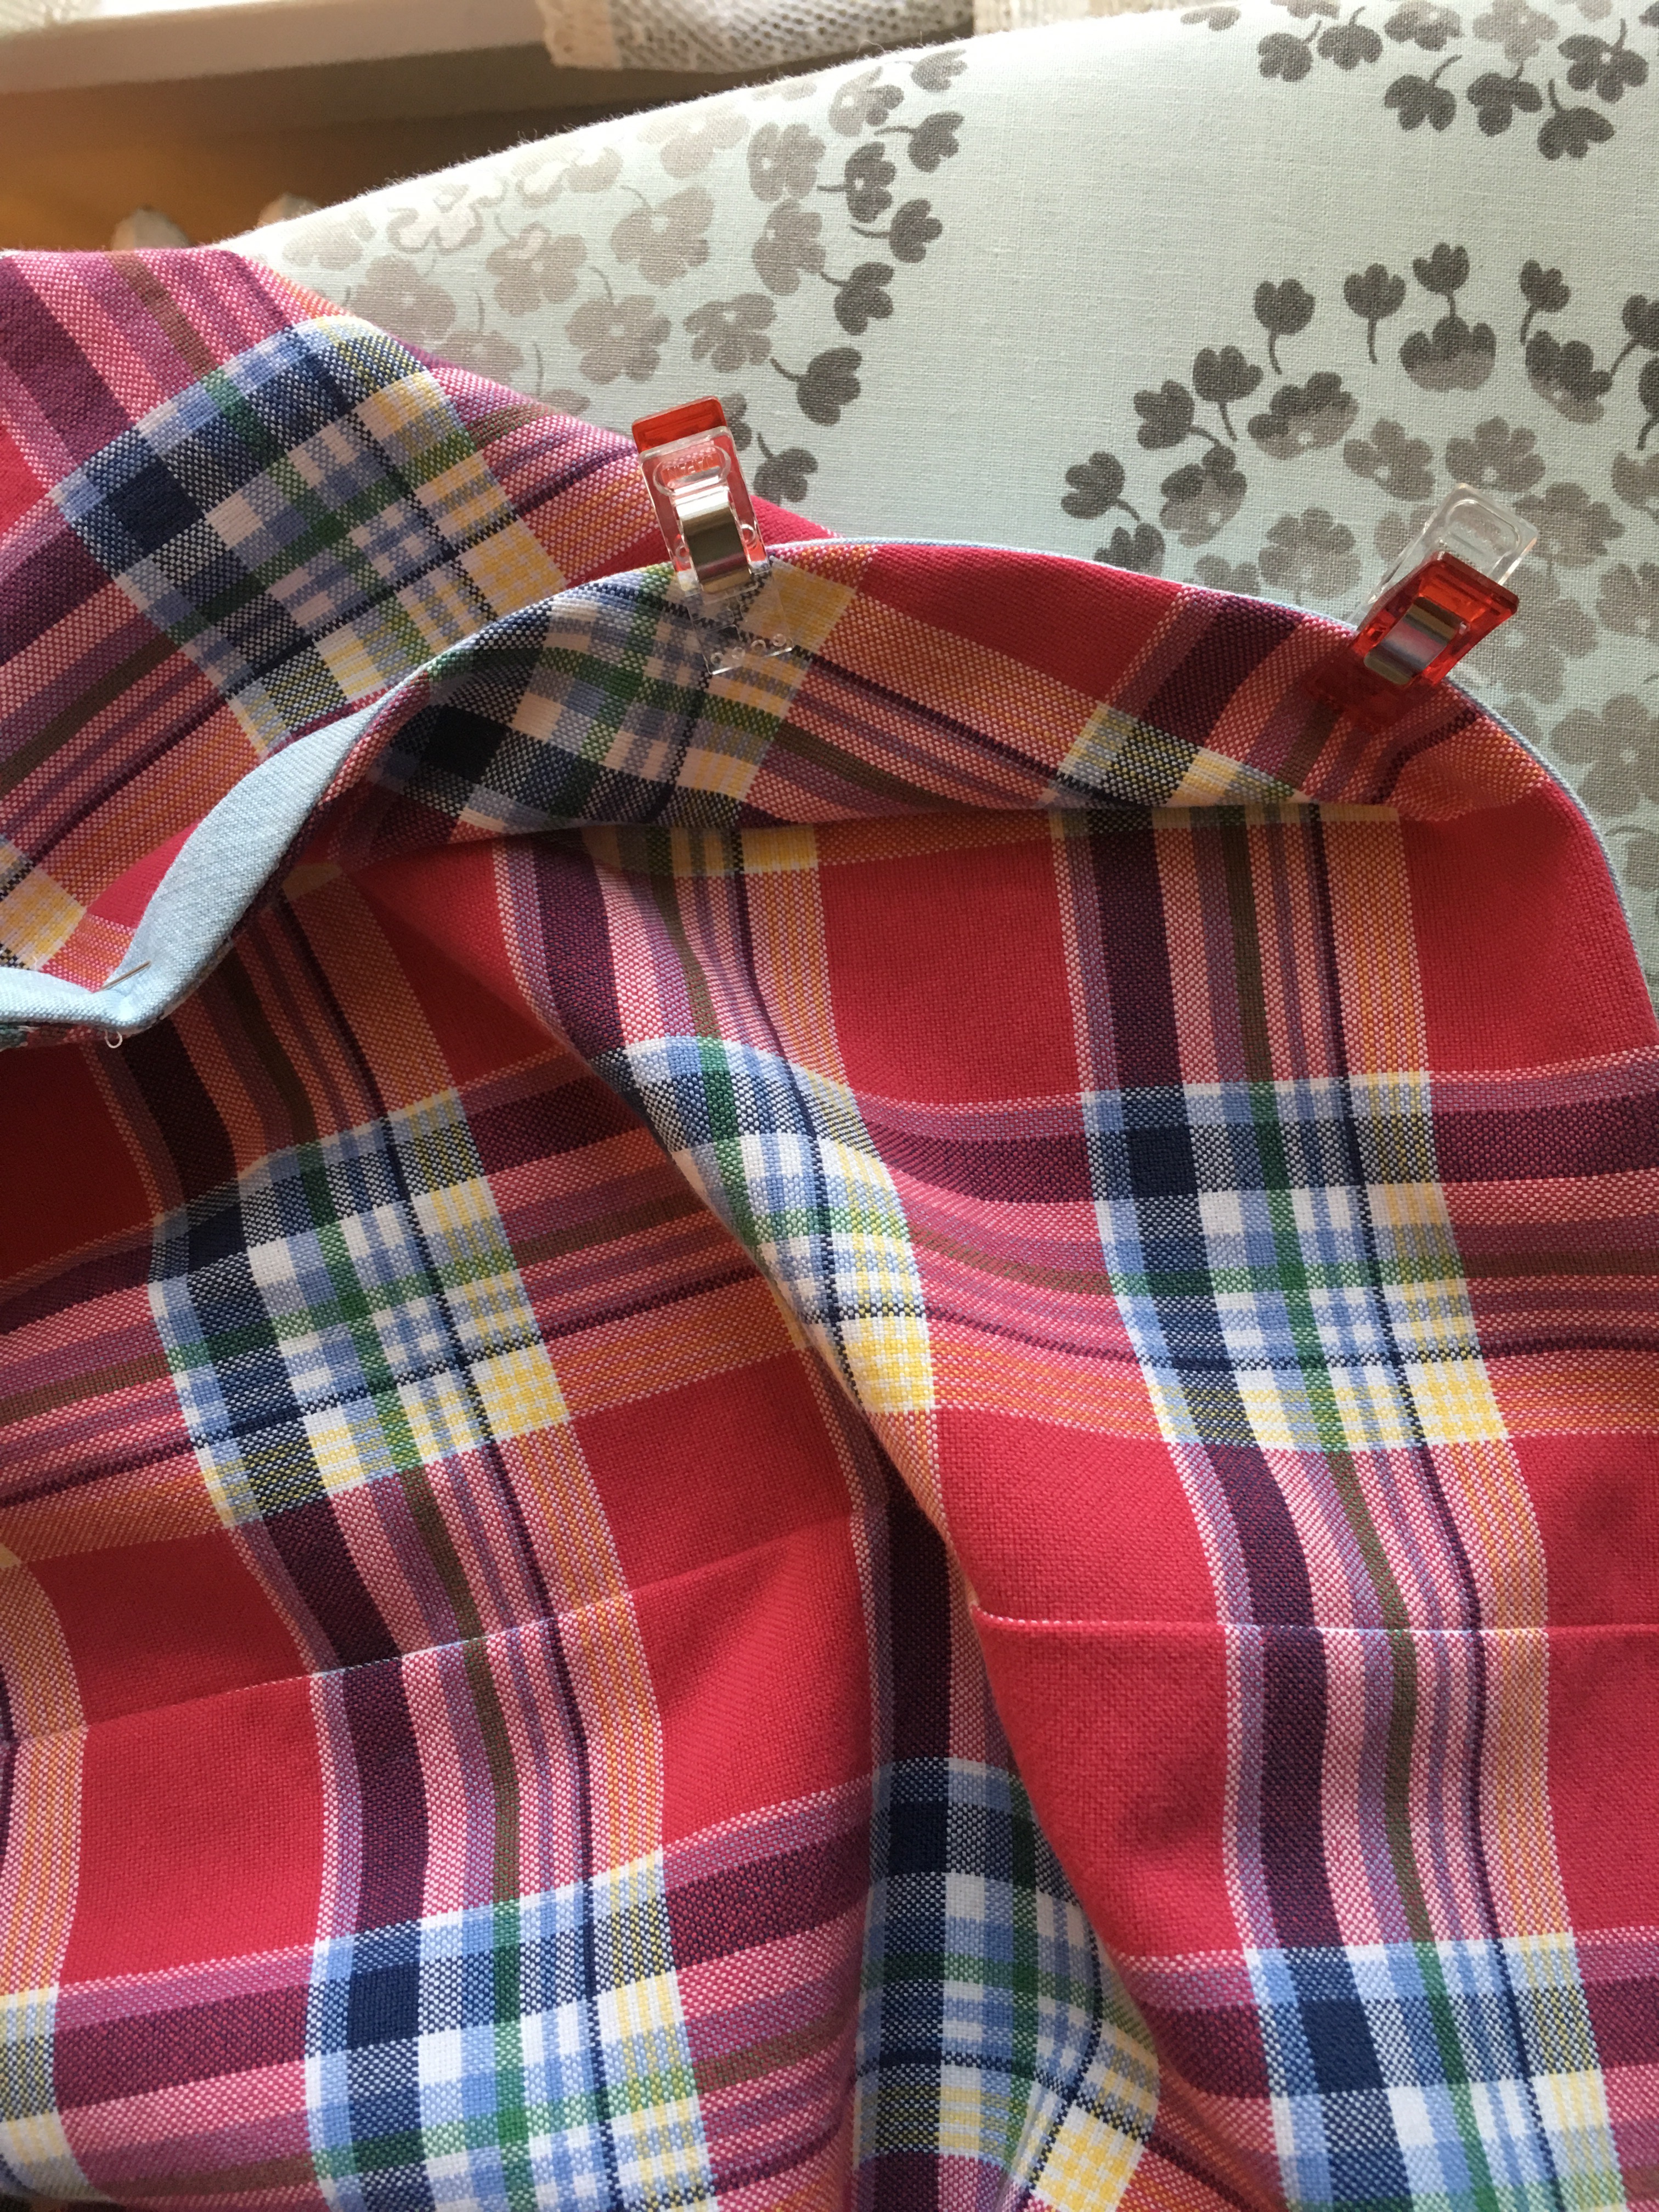
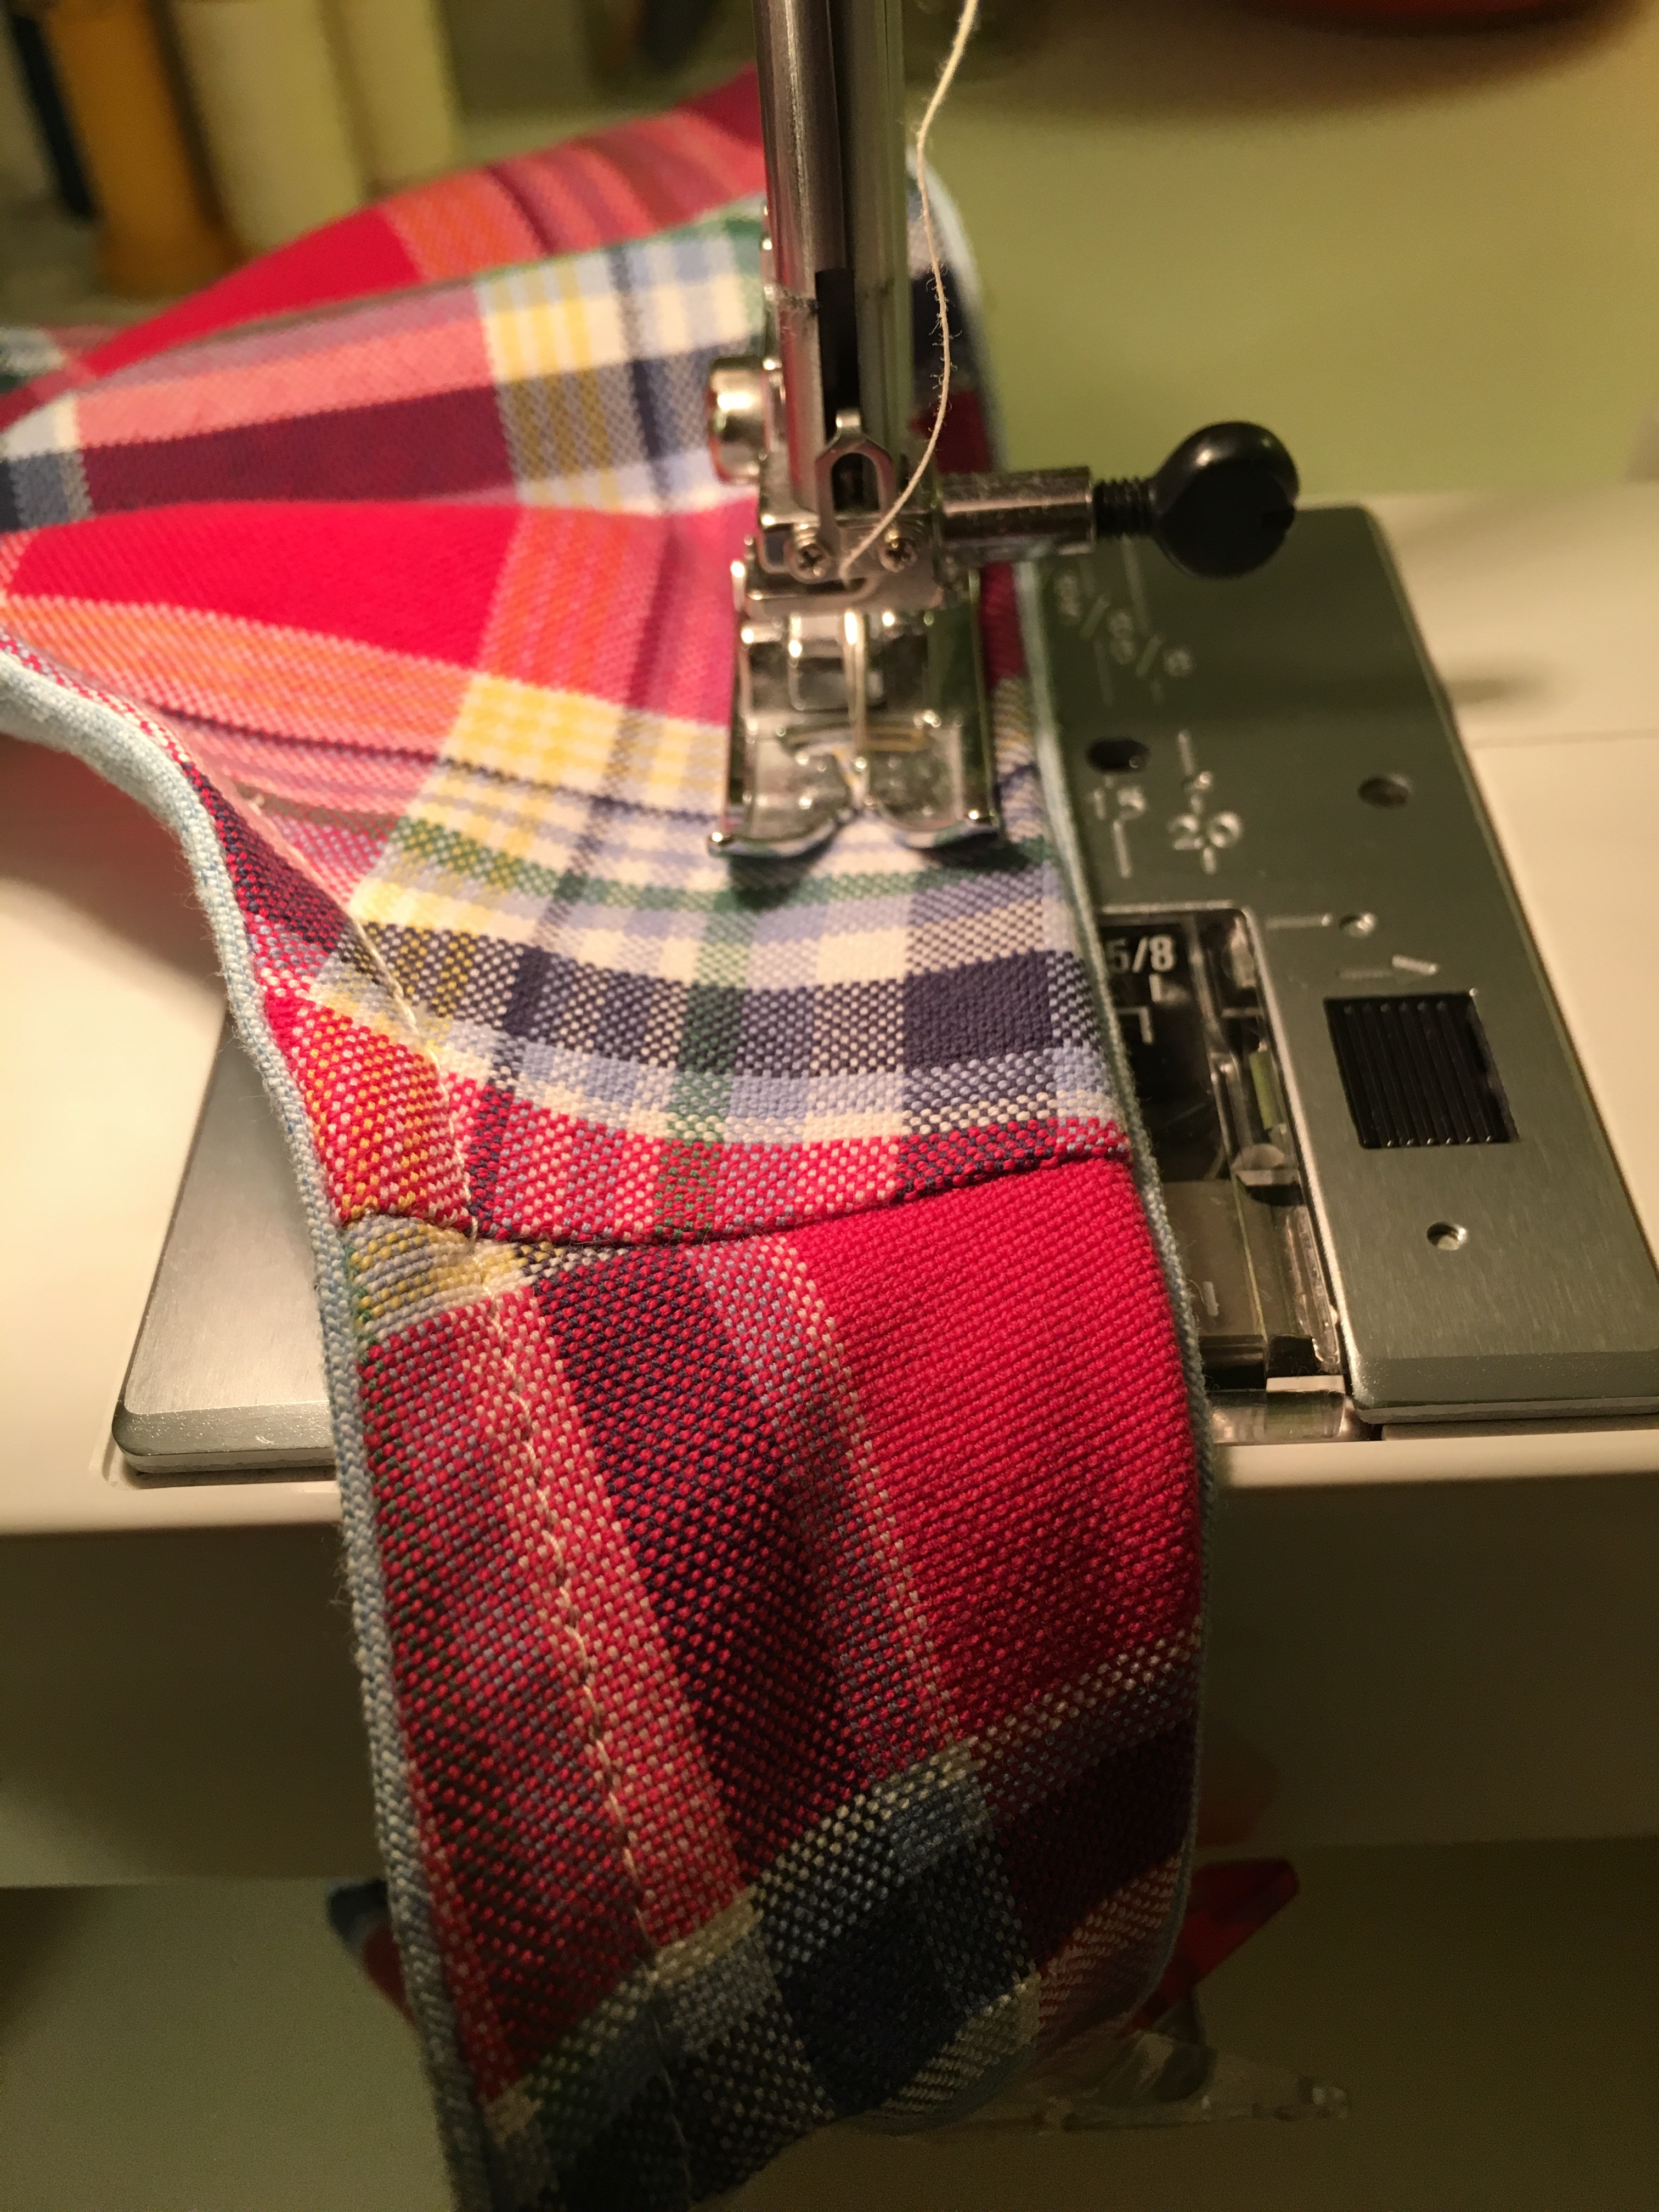
 After sewing one side, I do the reverse and then top-stitch. I find it works best to sew the zipper initially going from top to bottom but I have better success with the top-stitching when I start at the bottom of the zipper and sew to the top maintaining some tension on the fabric to prevent puckers.
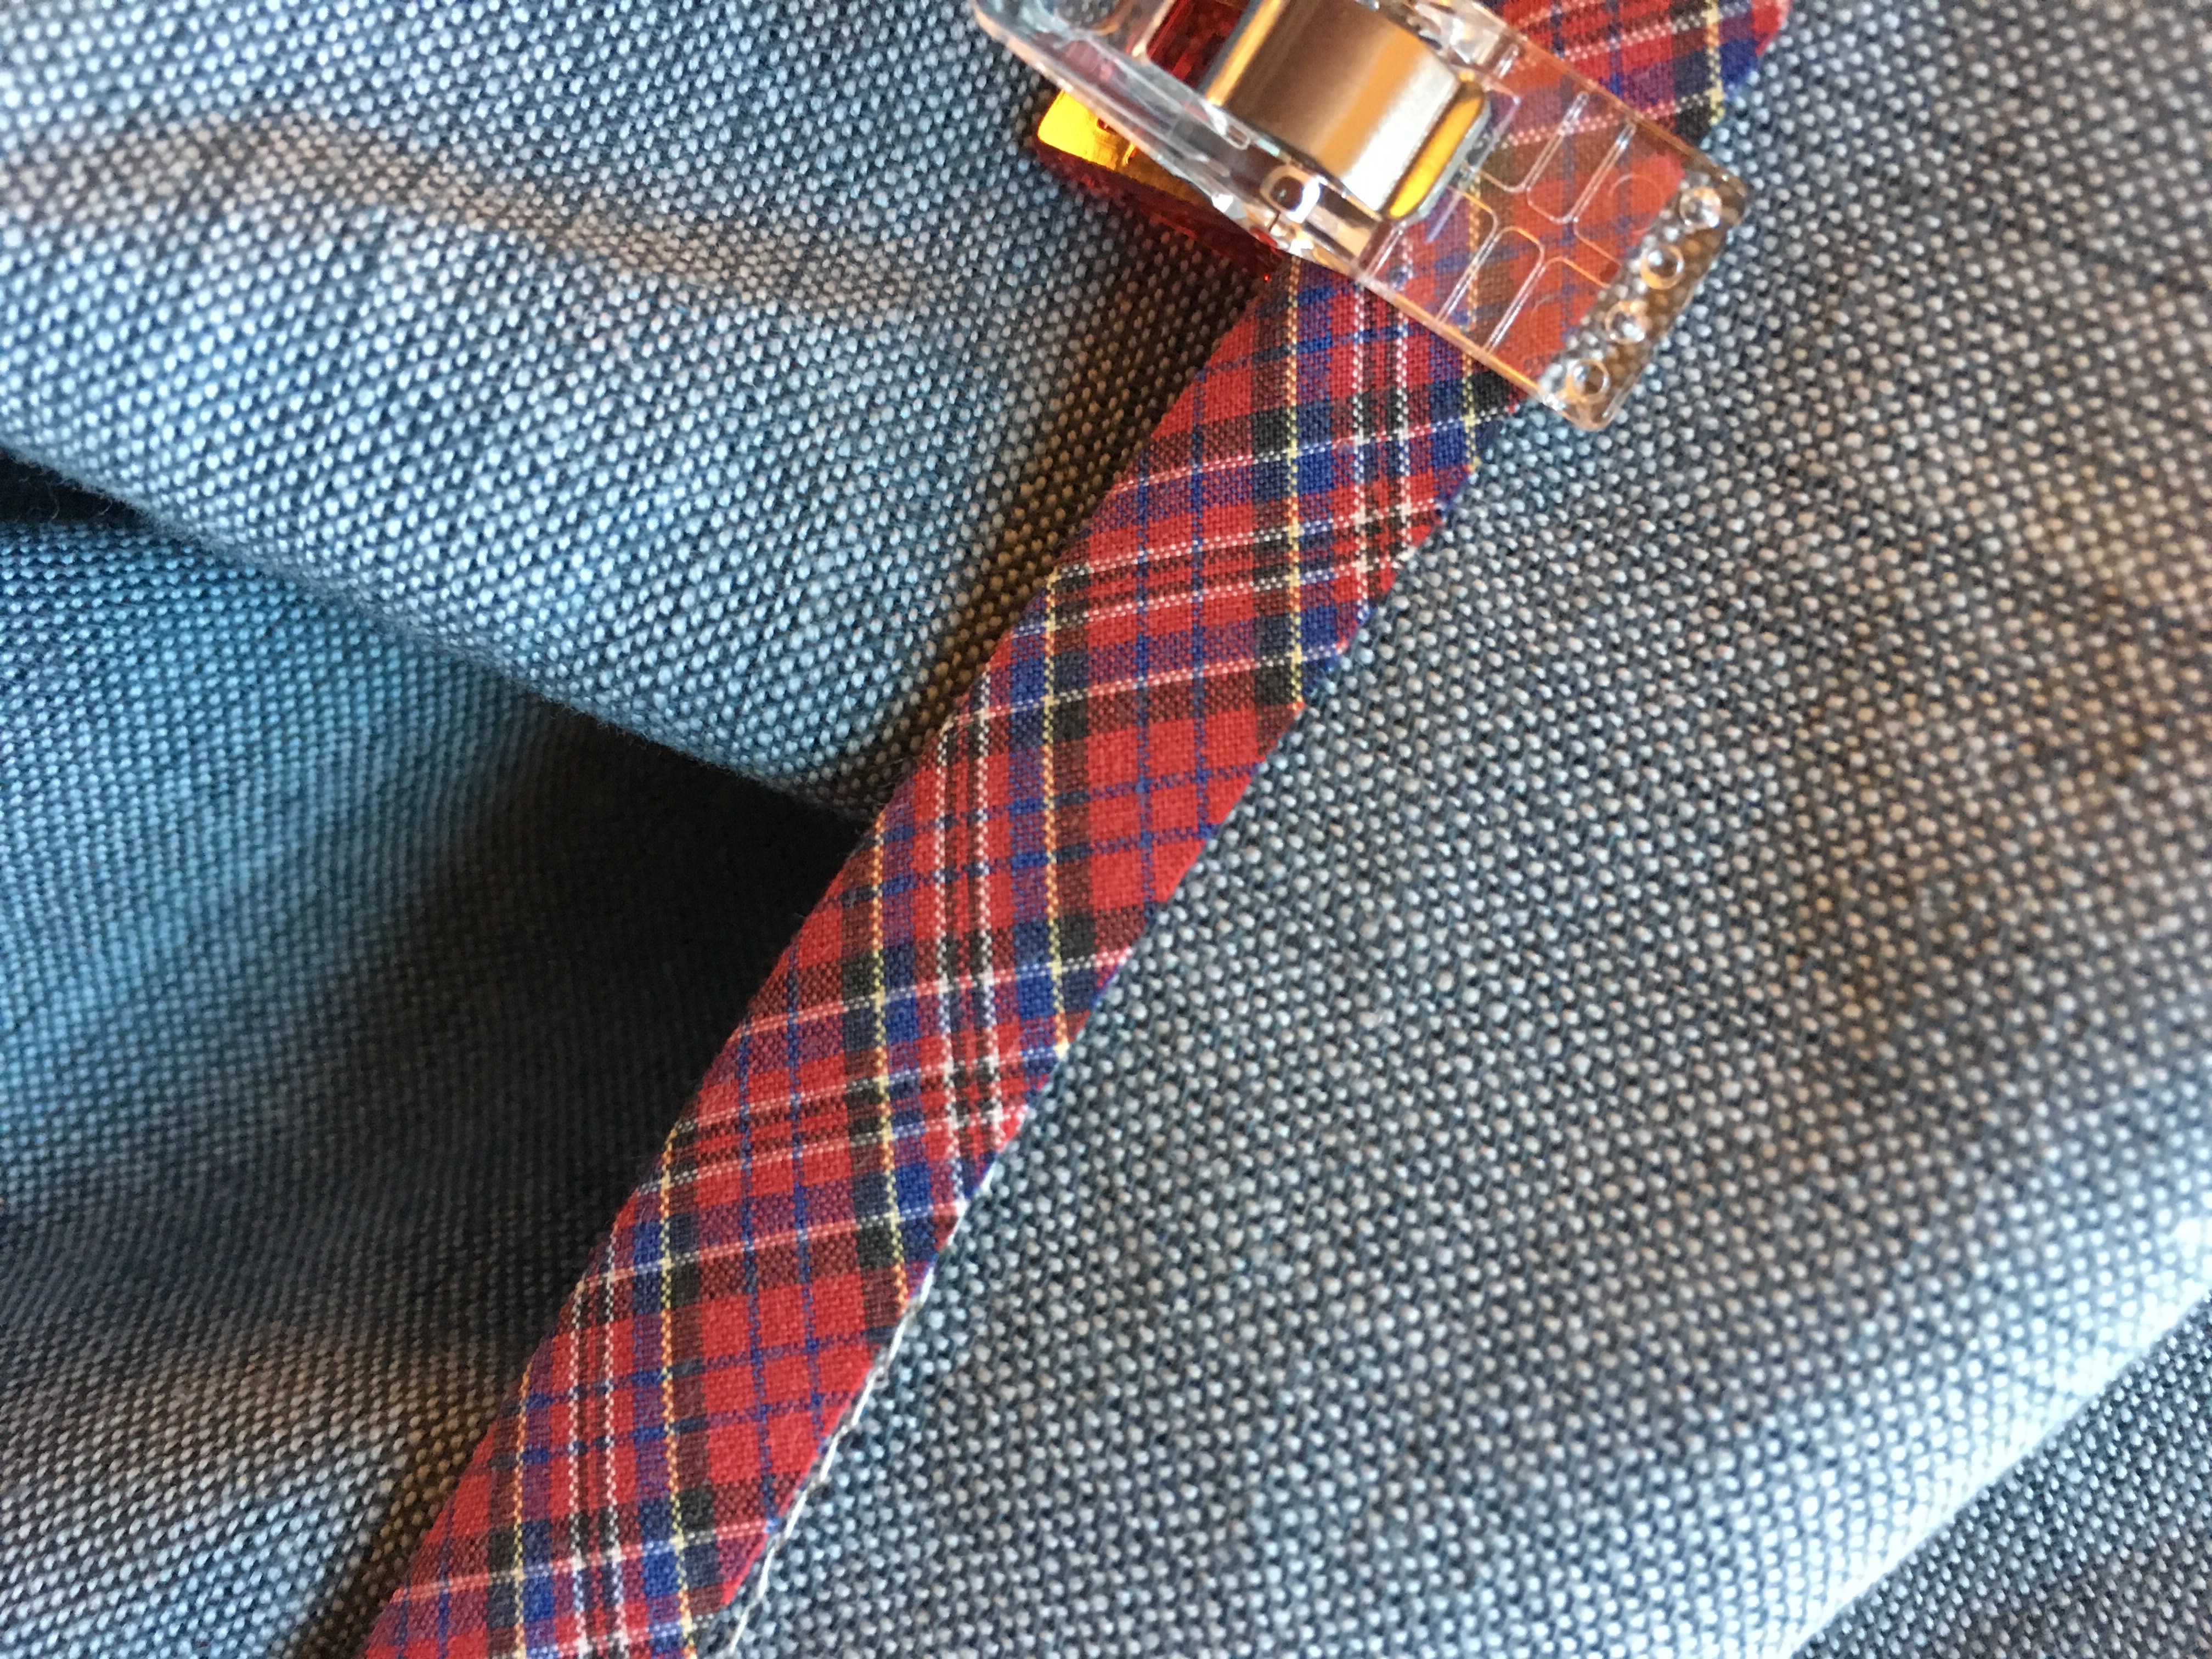
 Lining up the second side.
 Ready for top-stitching.
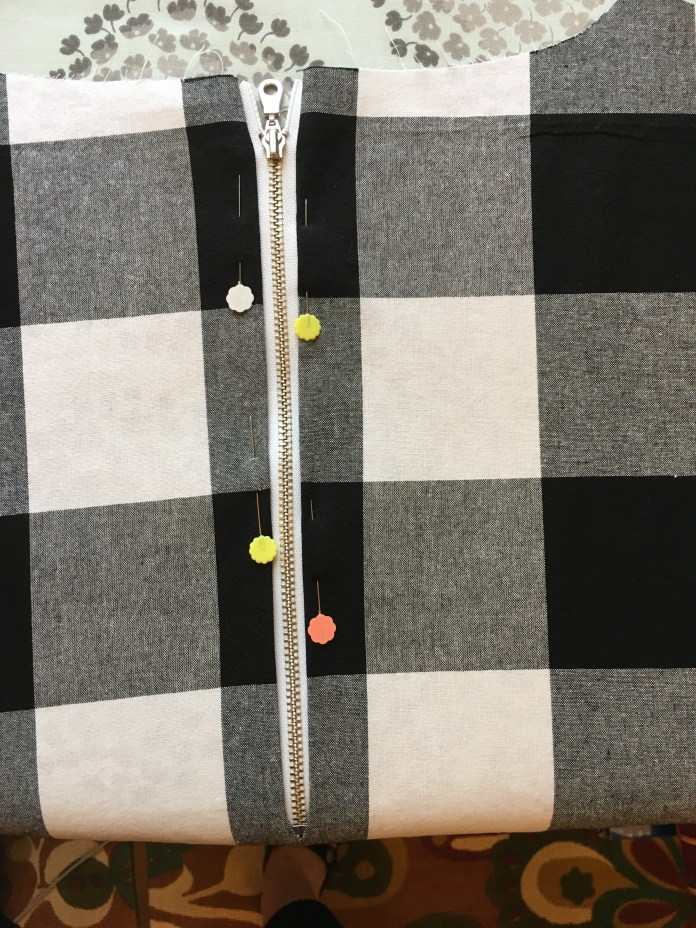 After top-stitching. It took three tries to get this. Sewing from the bottom of the zipper to the top was the key in the end.
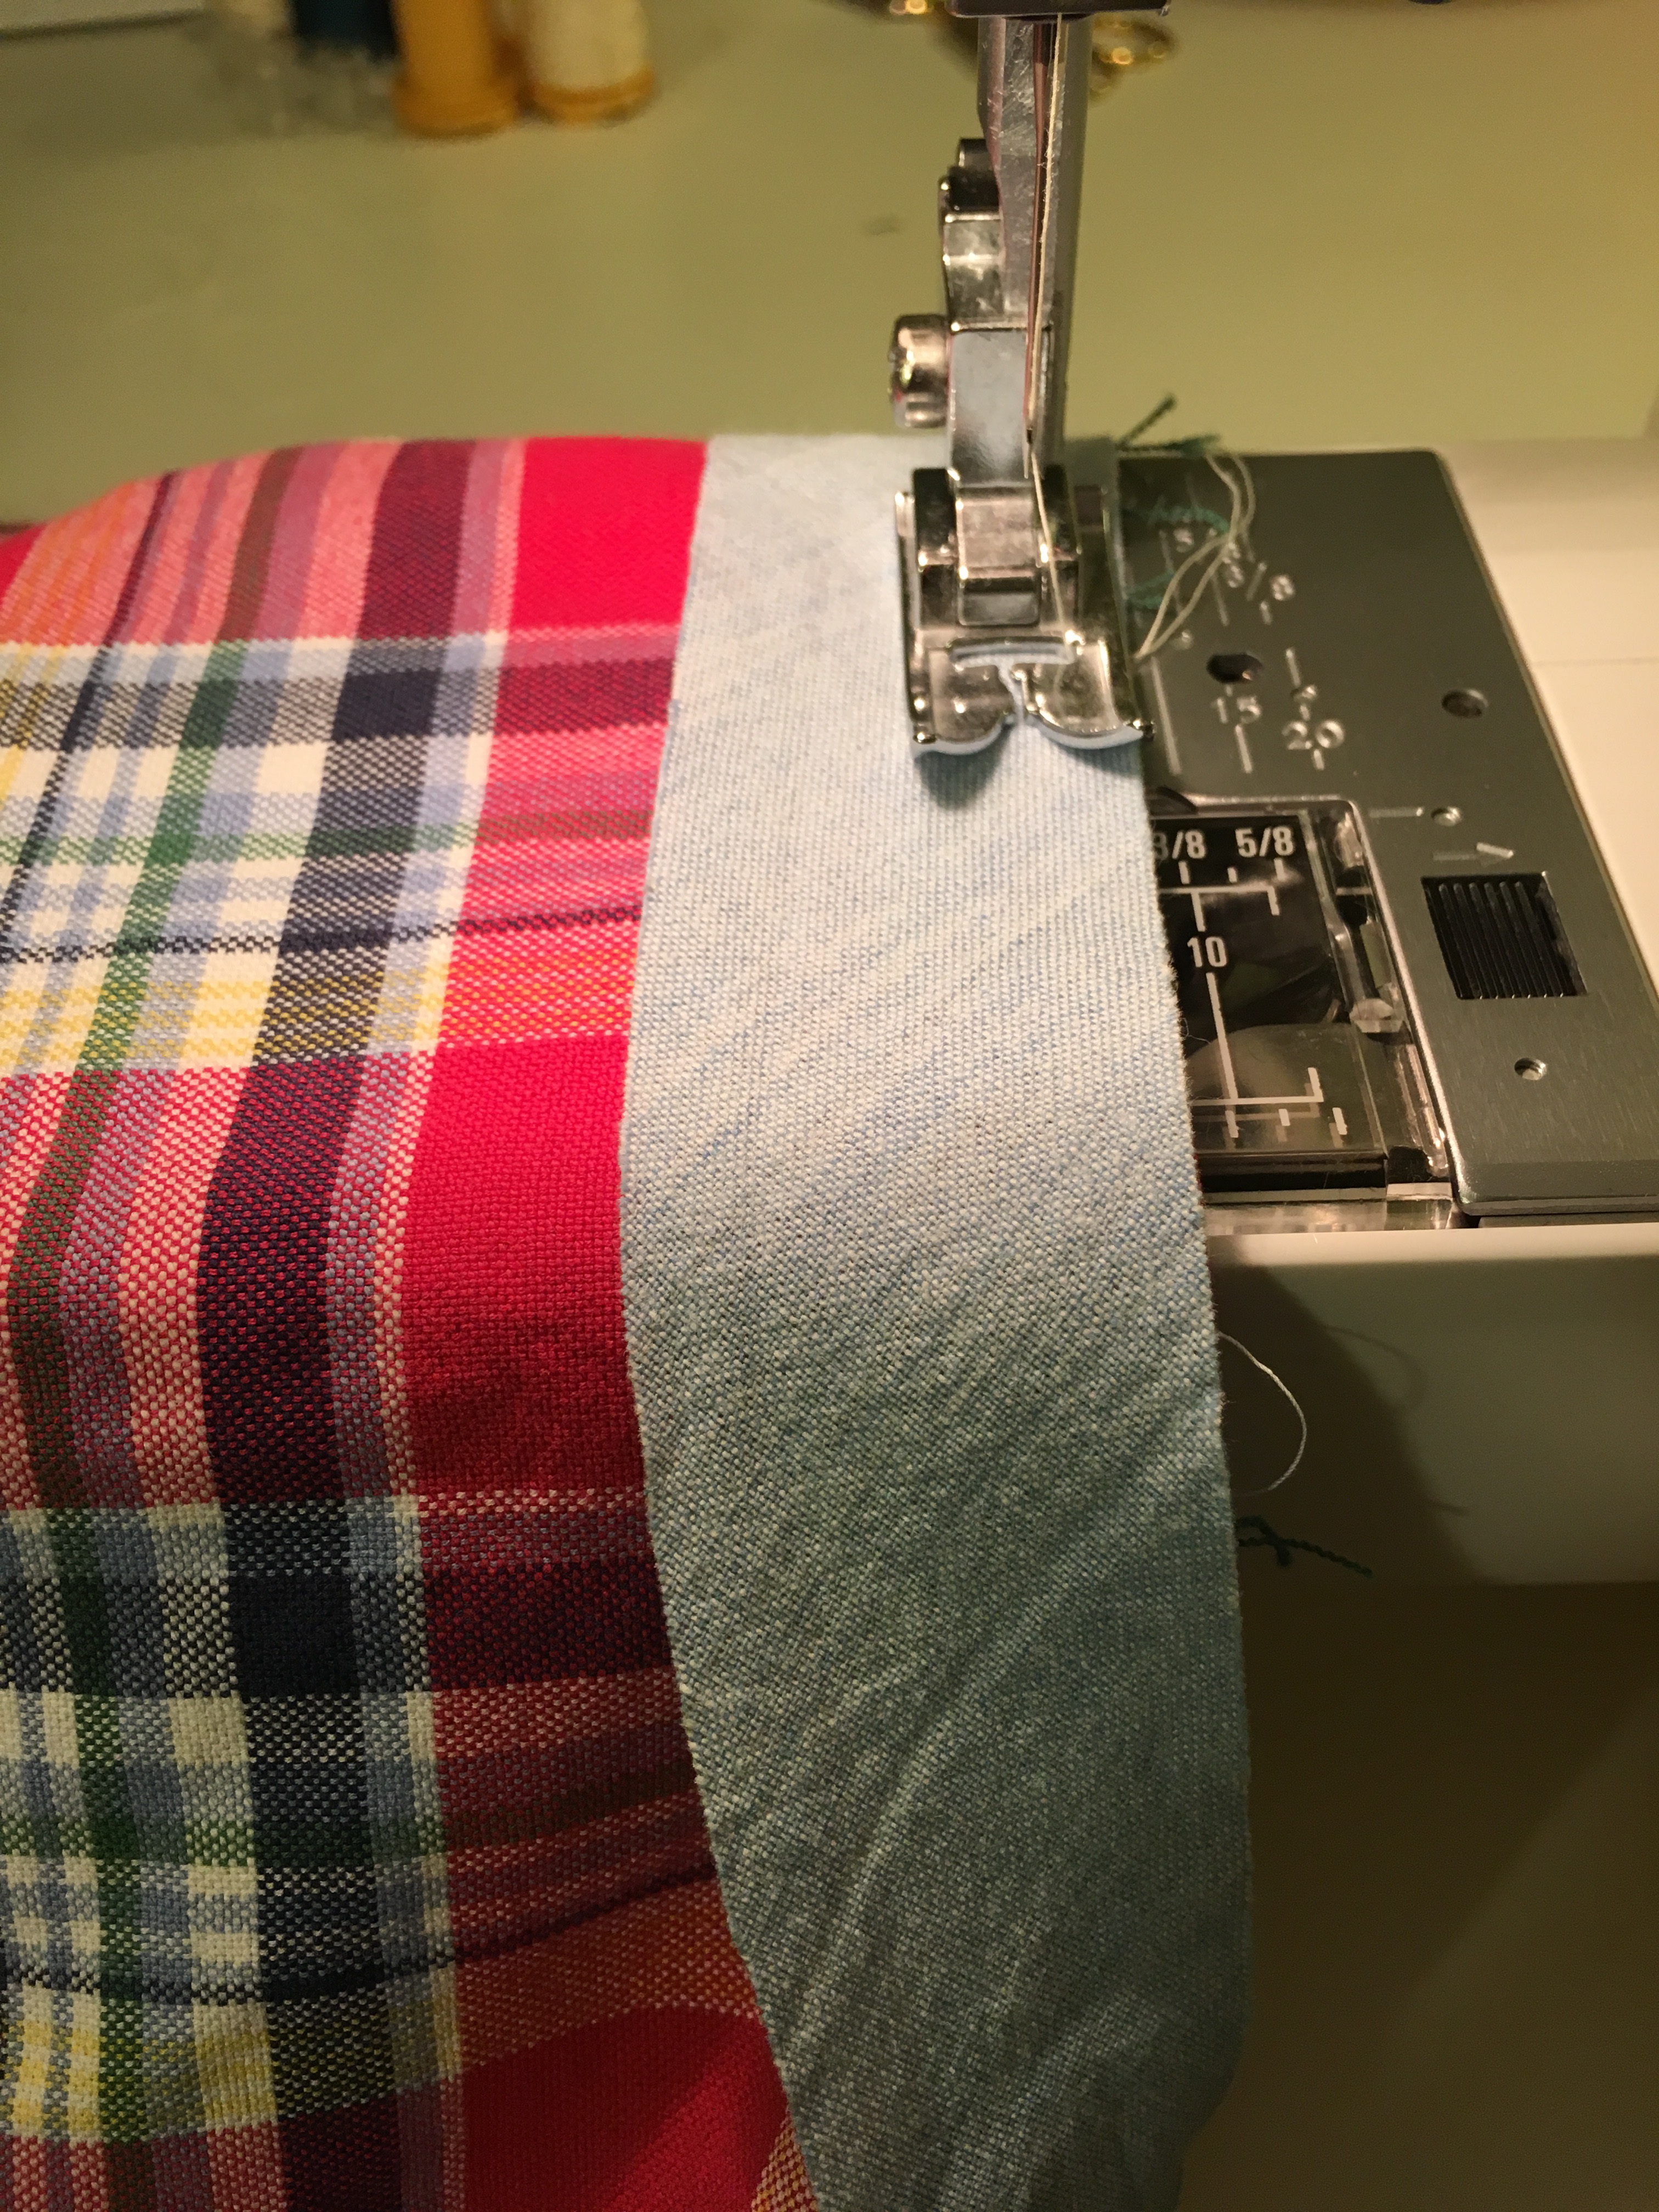
 I used my usual hem facing technique. I cut up an old muslin into 3 inch strips. I have described this technique in my prior Pearl posts here and here. It is very straightforward.
 I am able to use the metal plate edge as the perfect guide to sew the hem when I use the 3 inch strips.
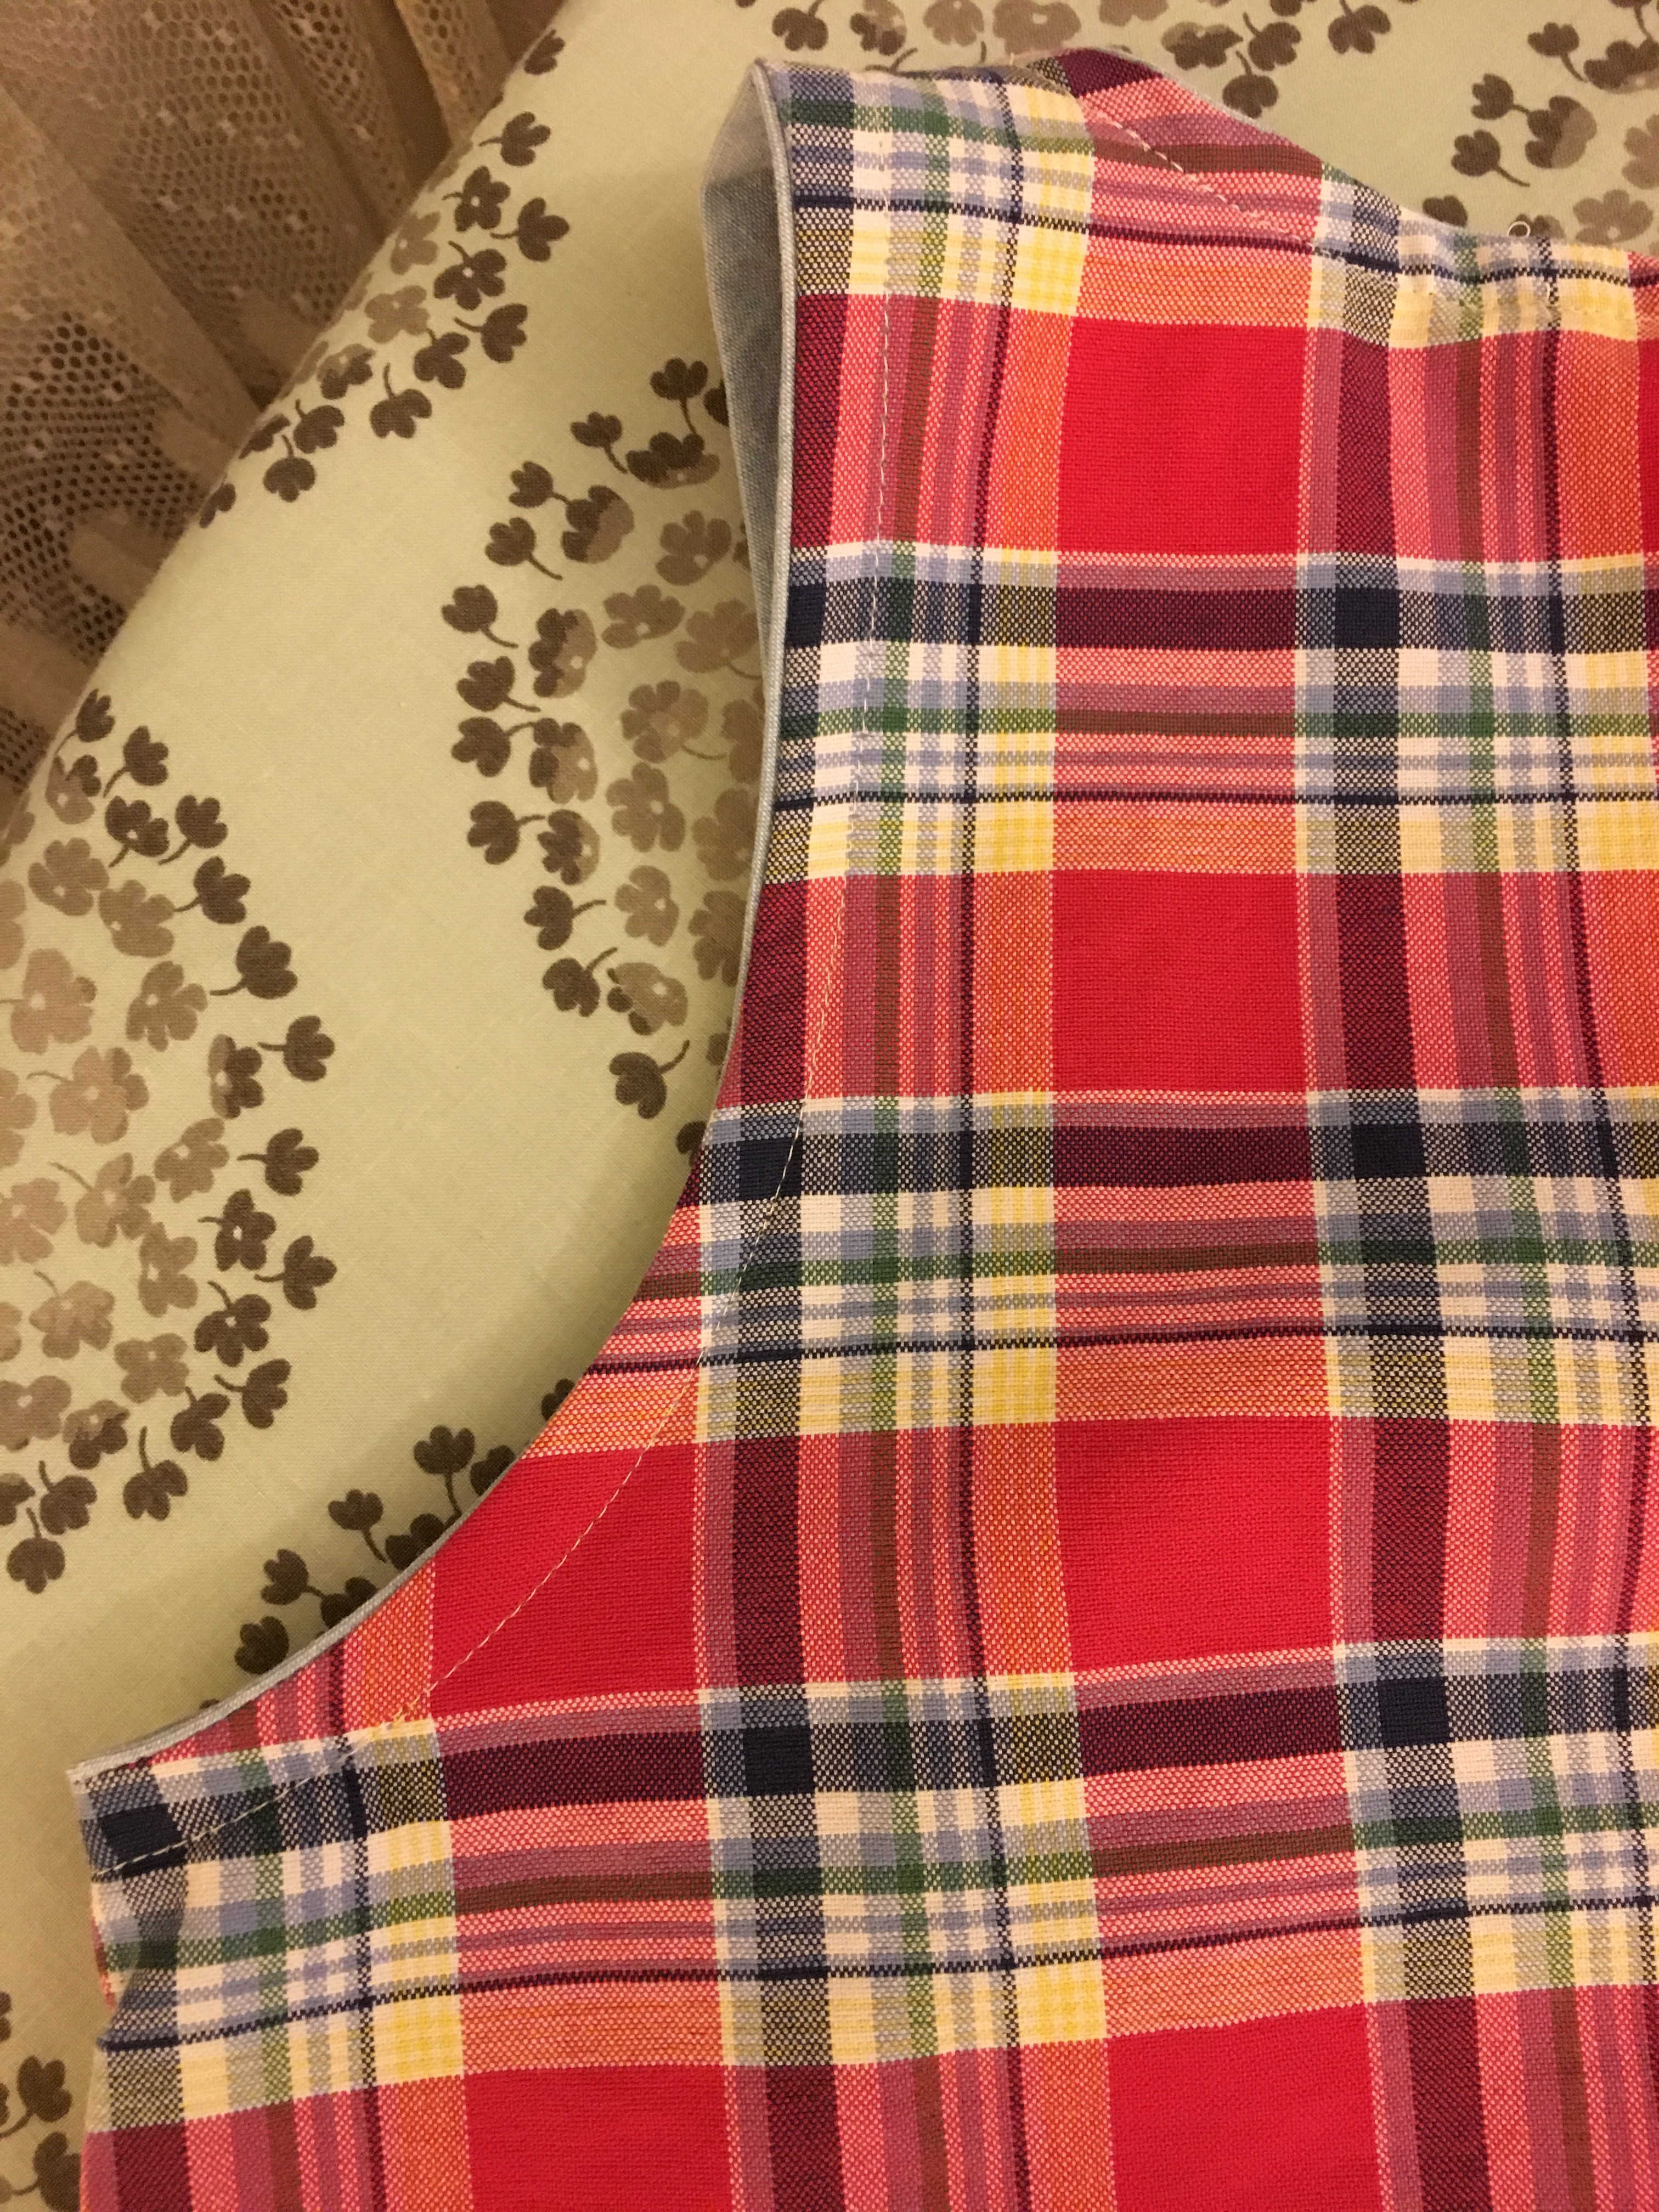
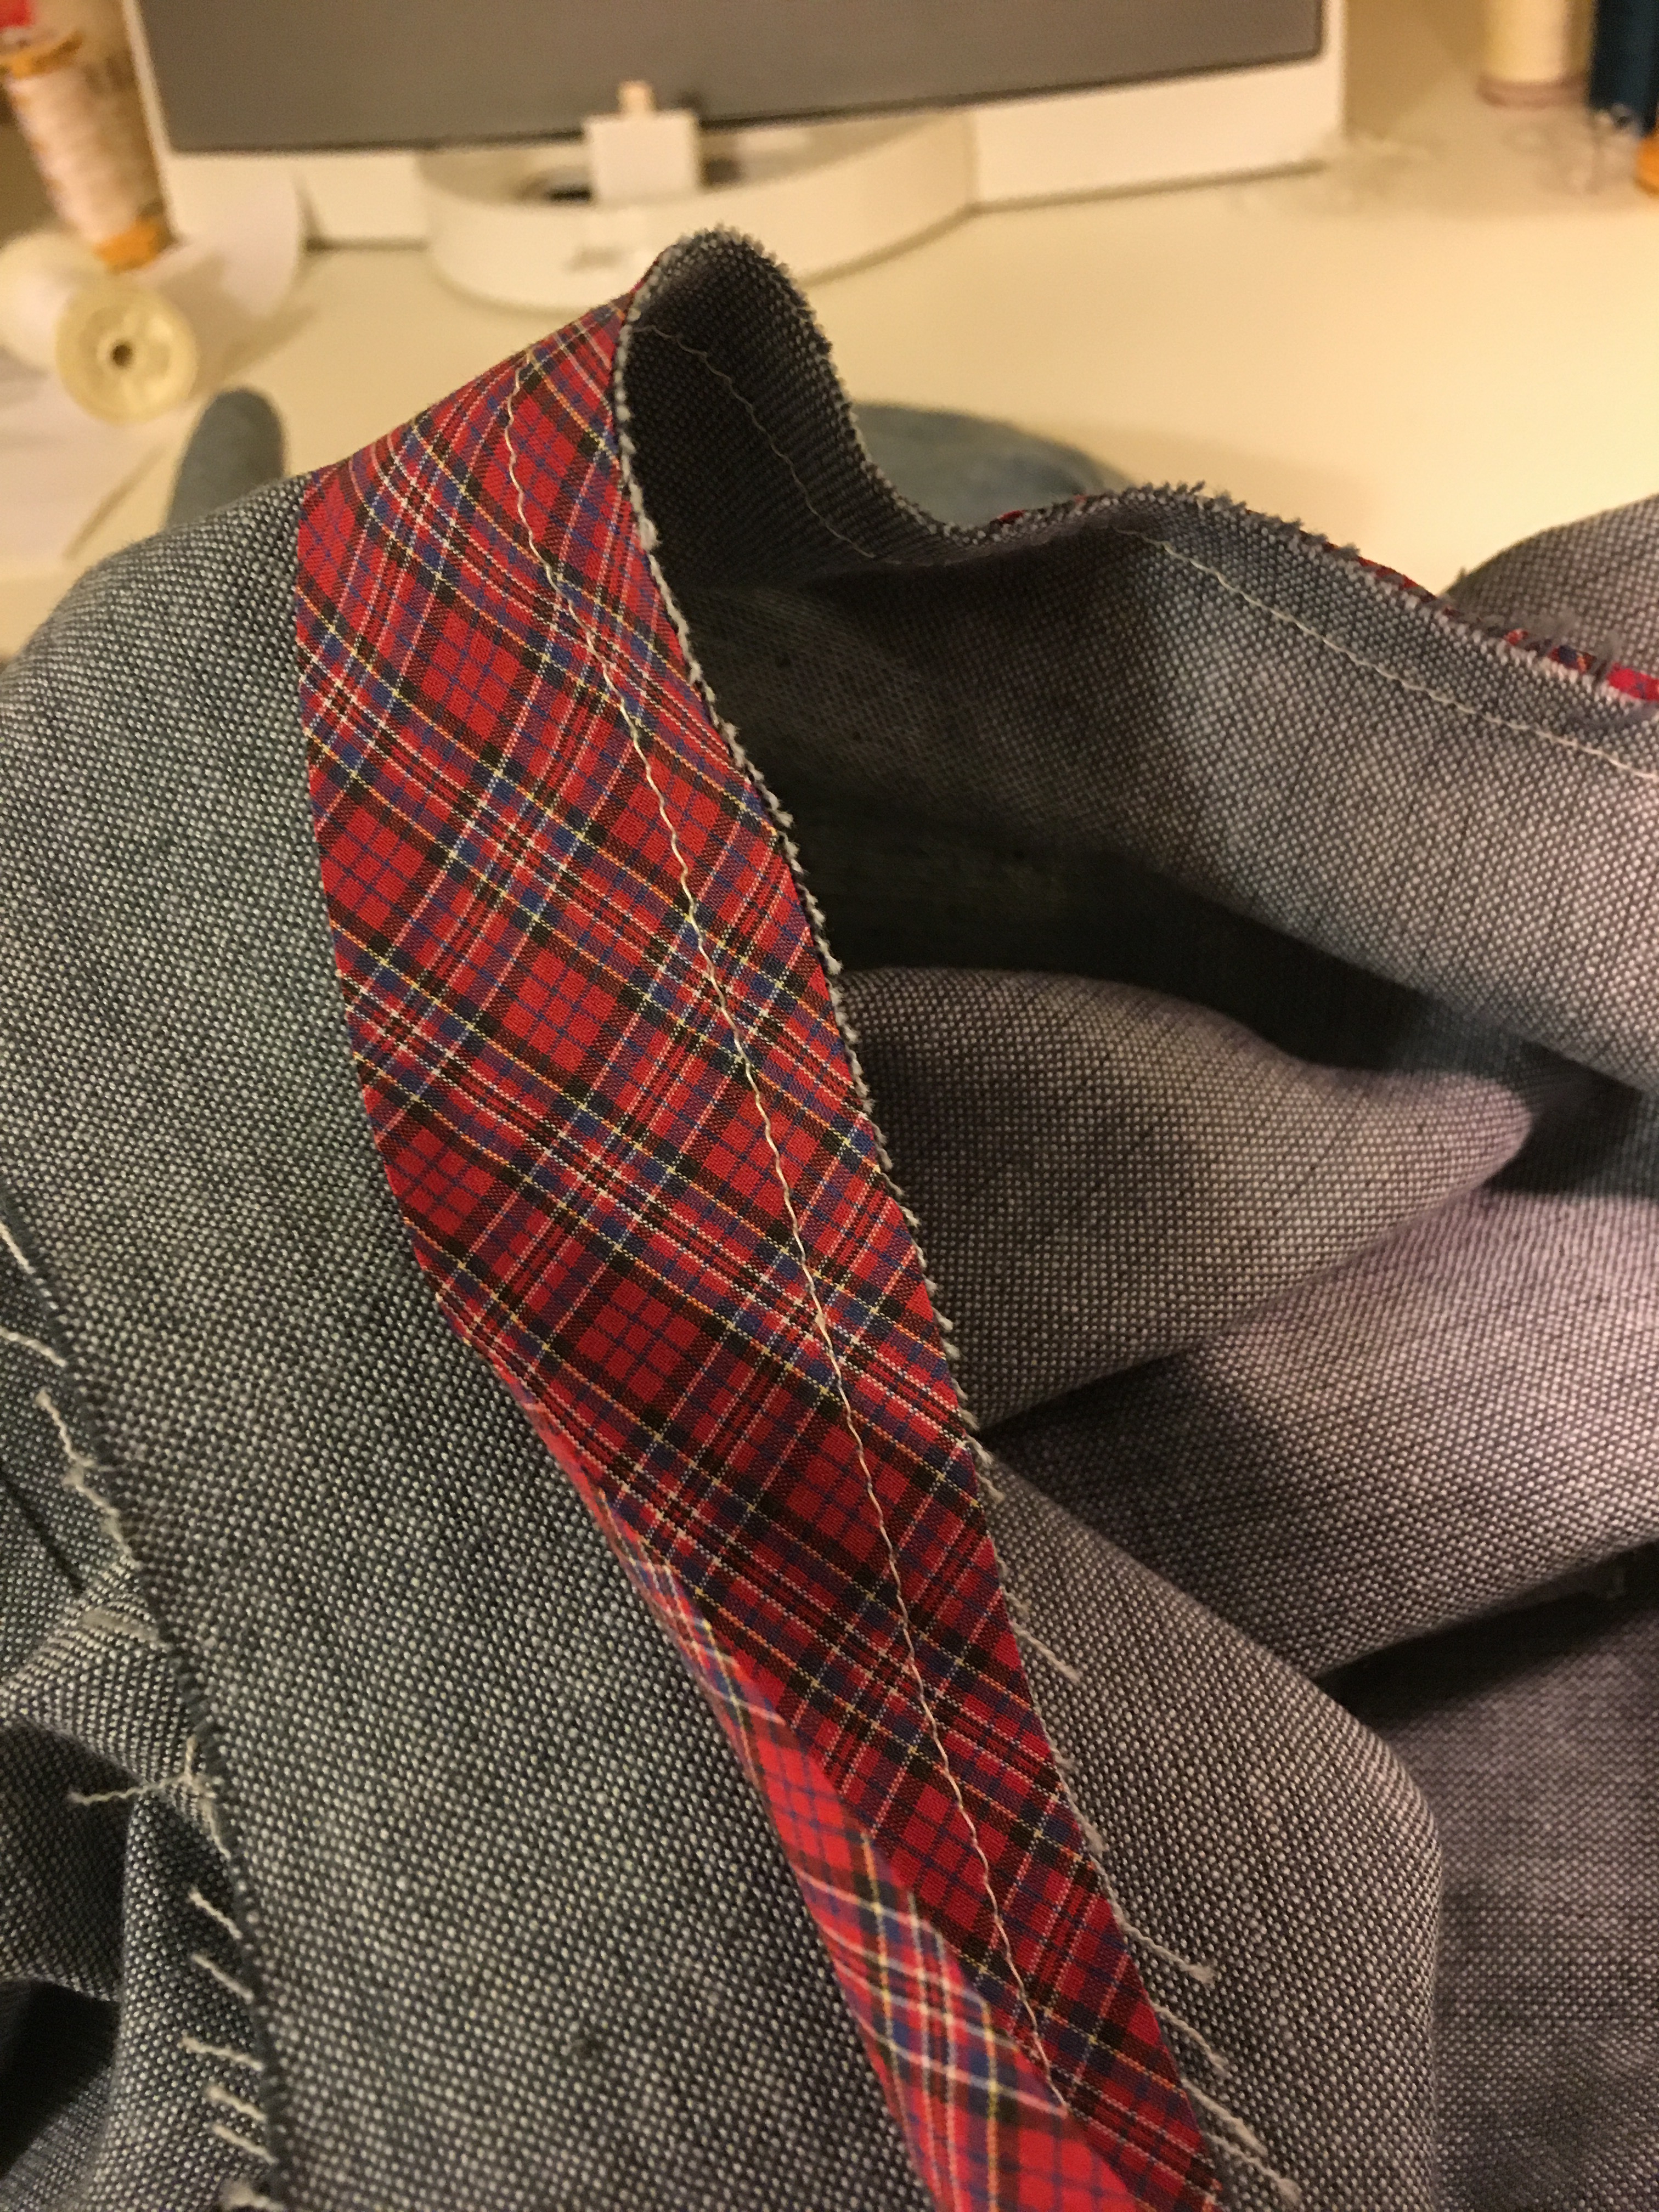
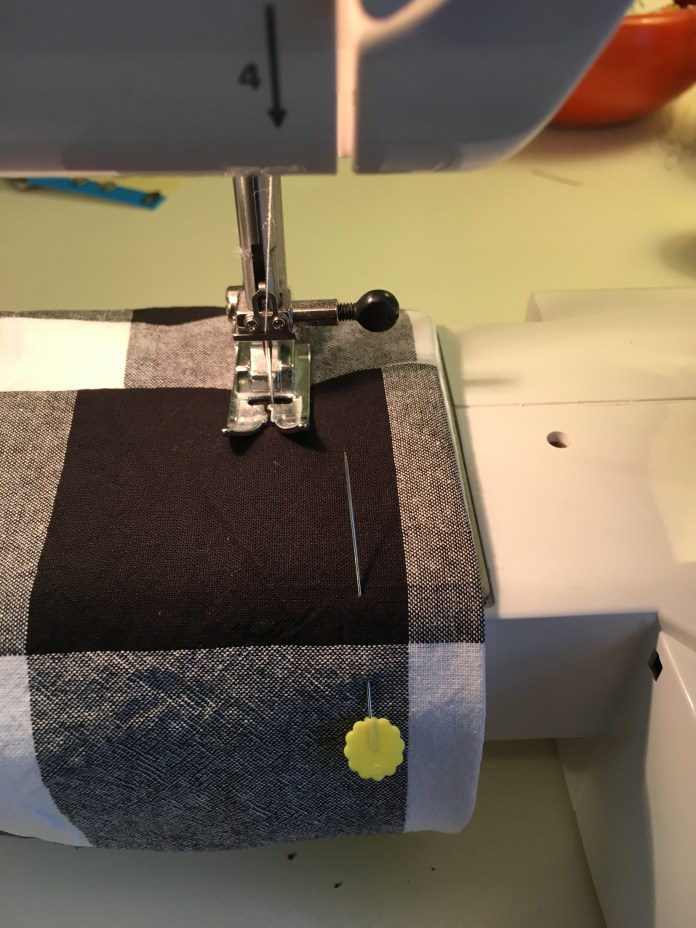 Since I had extra of the 3 inch strips, I finished the sleeves the same way. I bound the neck using 1.5 inch bias binding leftover from my Checkers Gemma Tank. The hem and sleeve facing is not cut on the bias since there is very little curve to the hem and the sleeves are cut straight across. It worked well and was very quick to finish,.
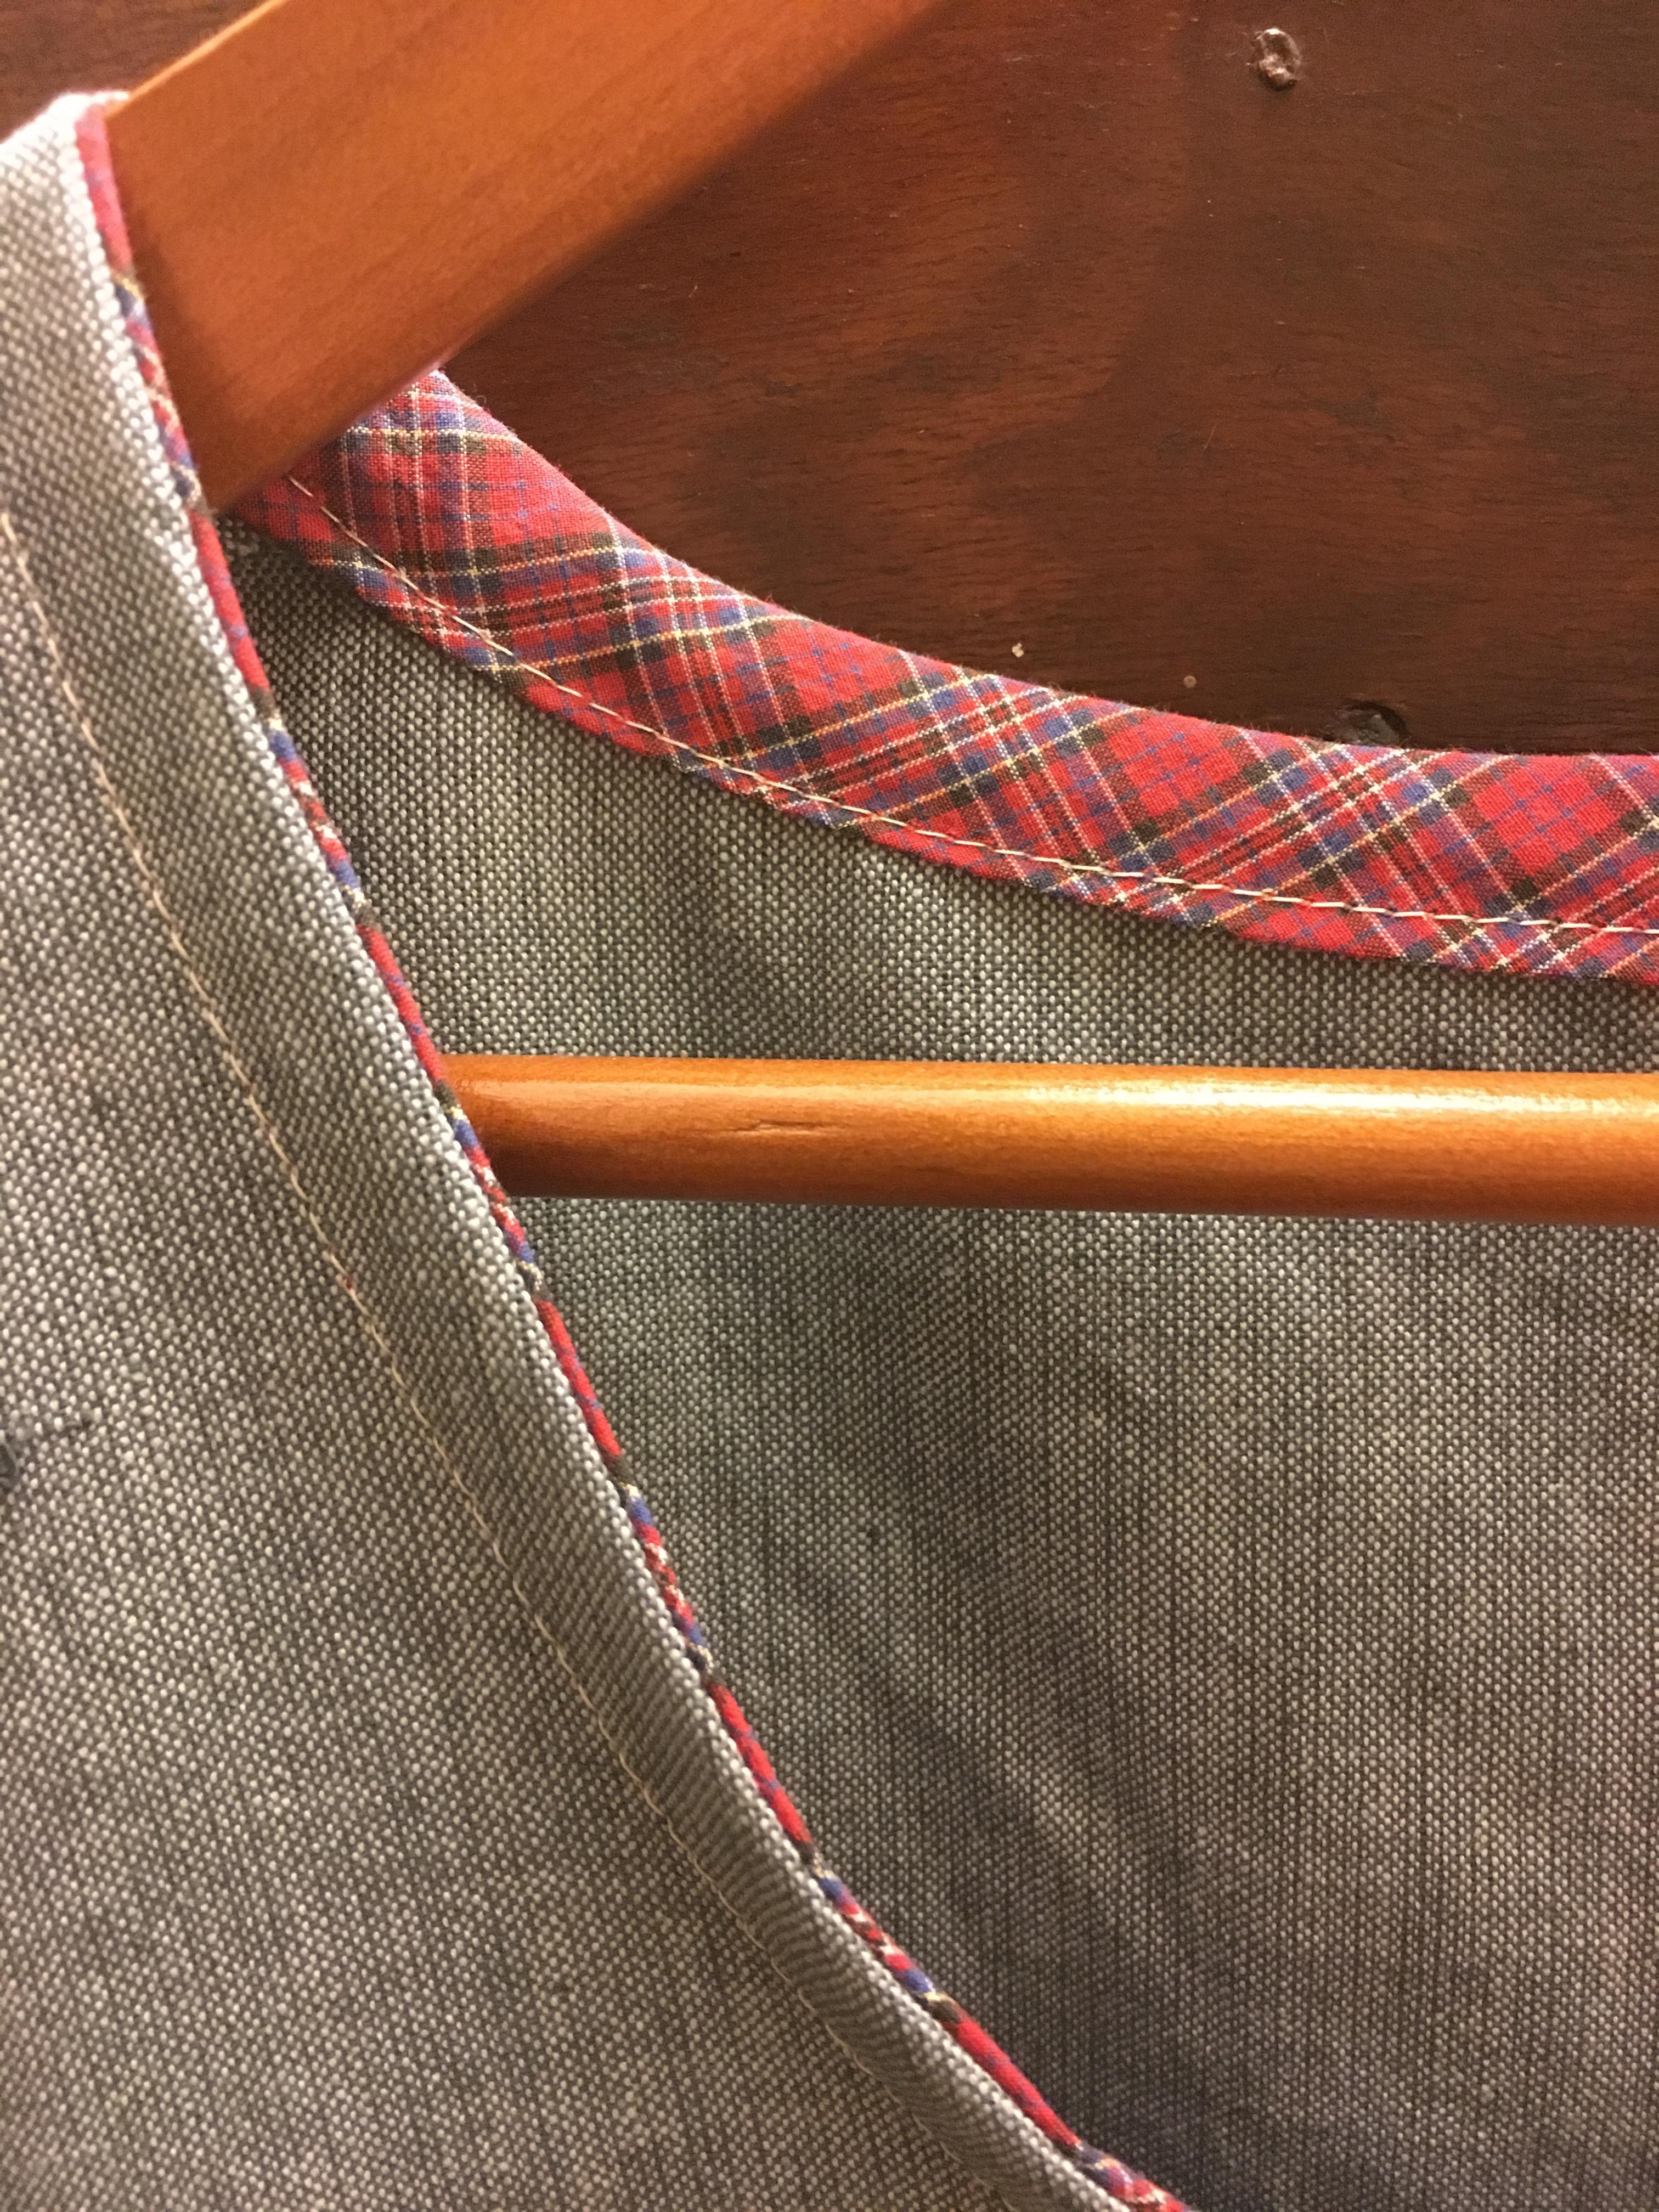
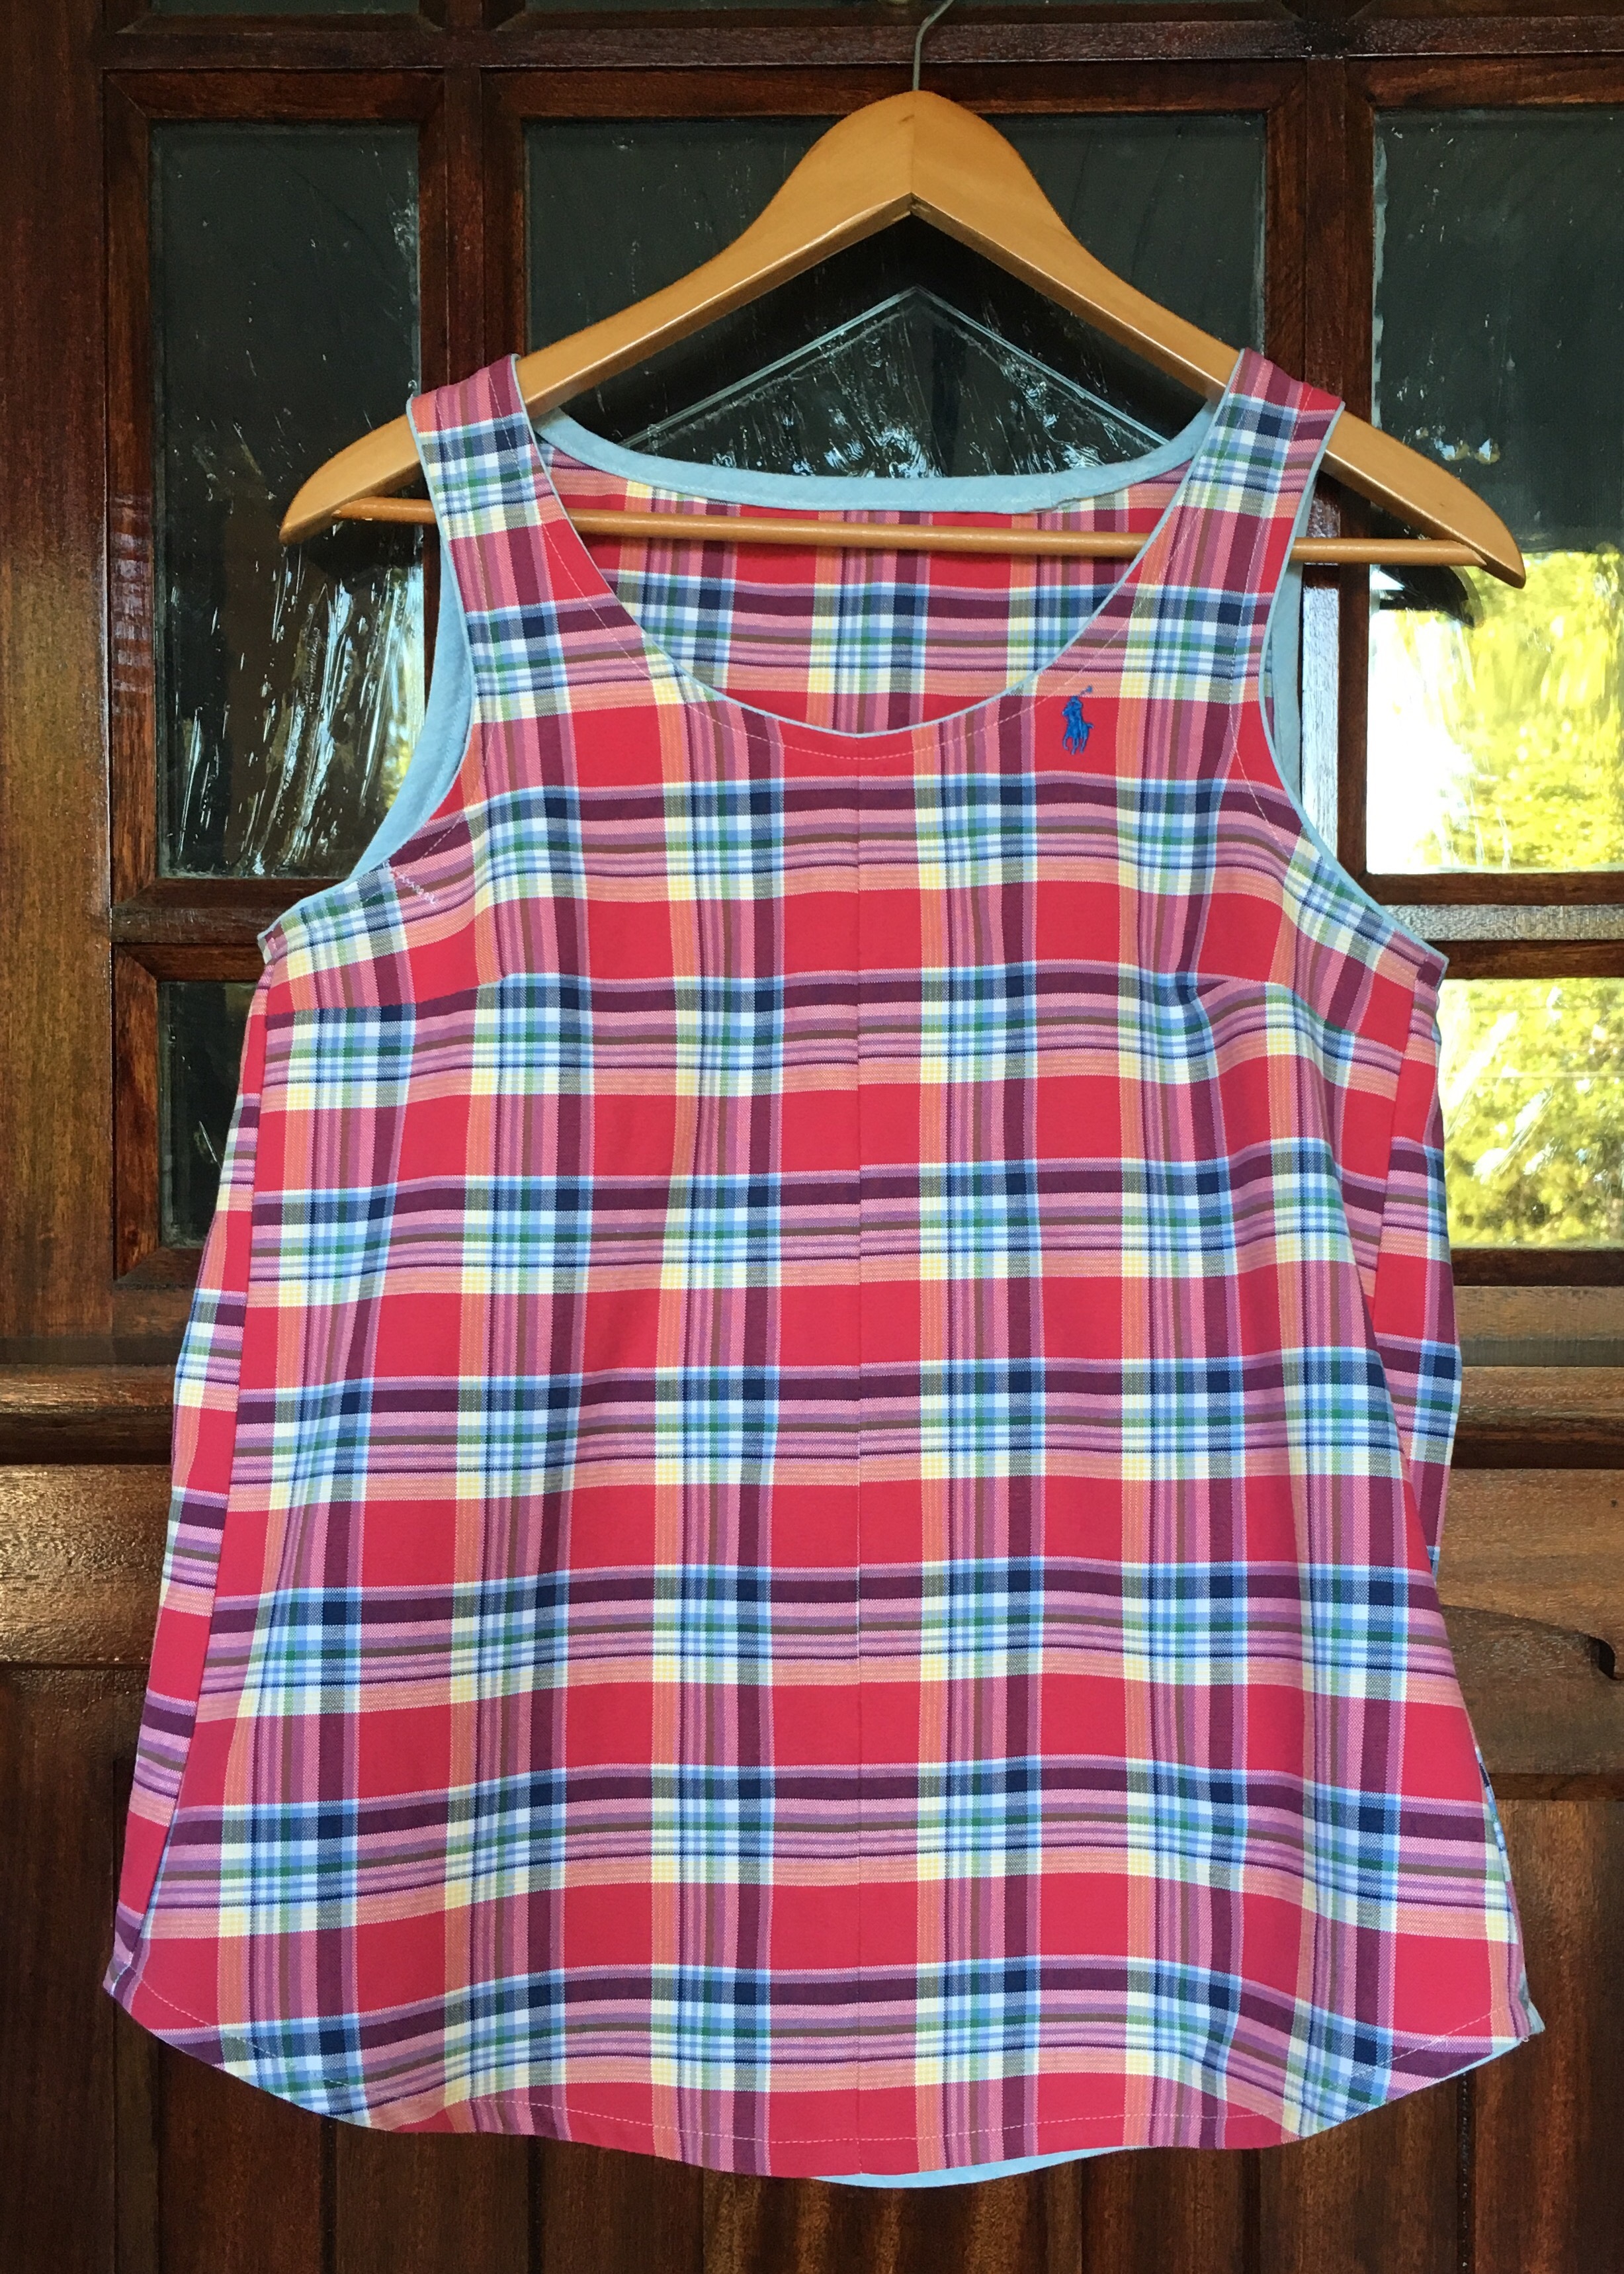
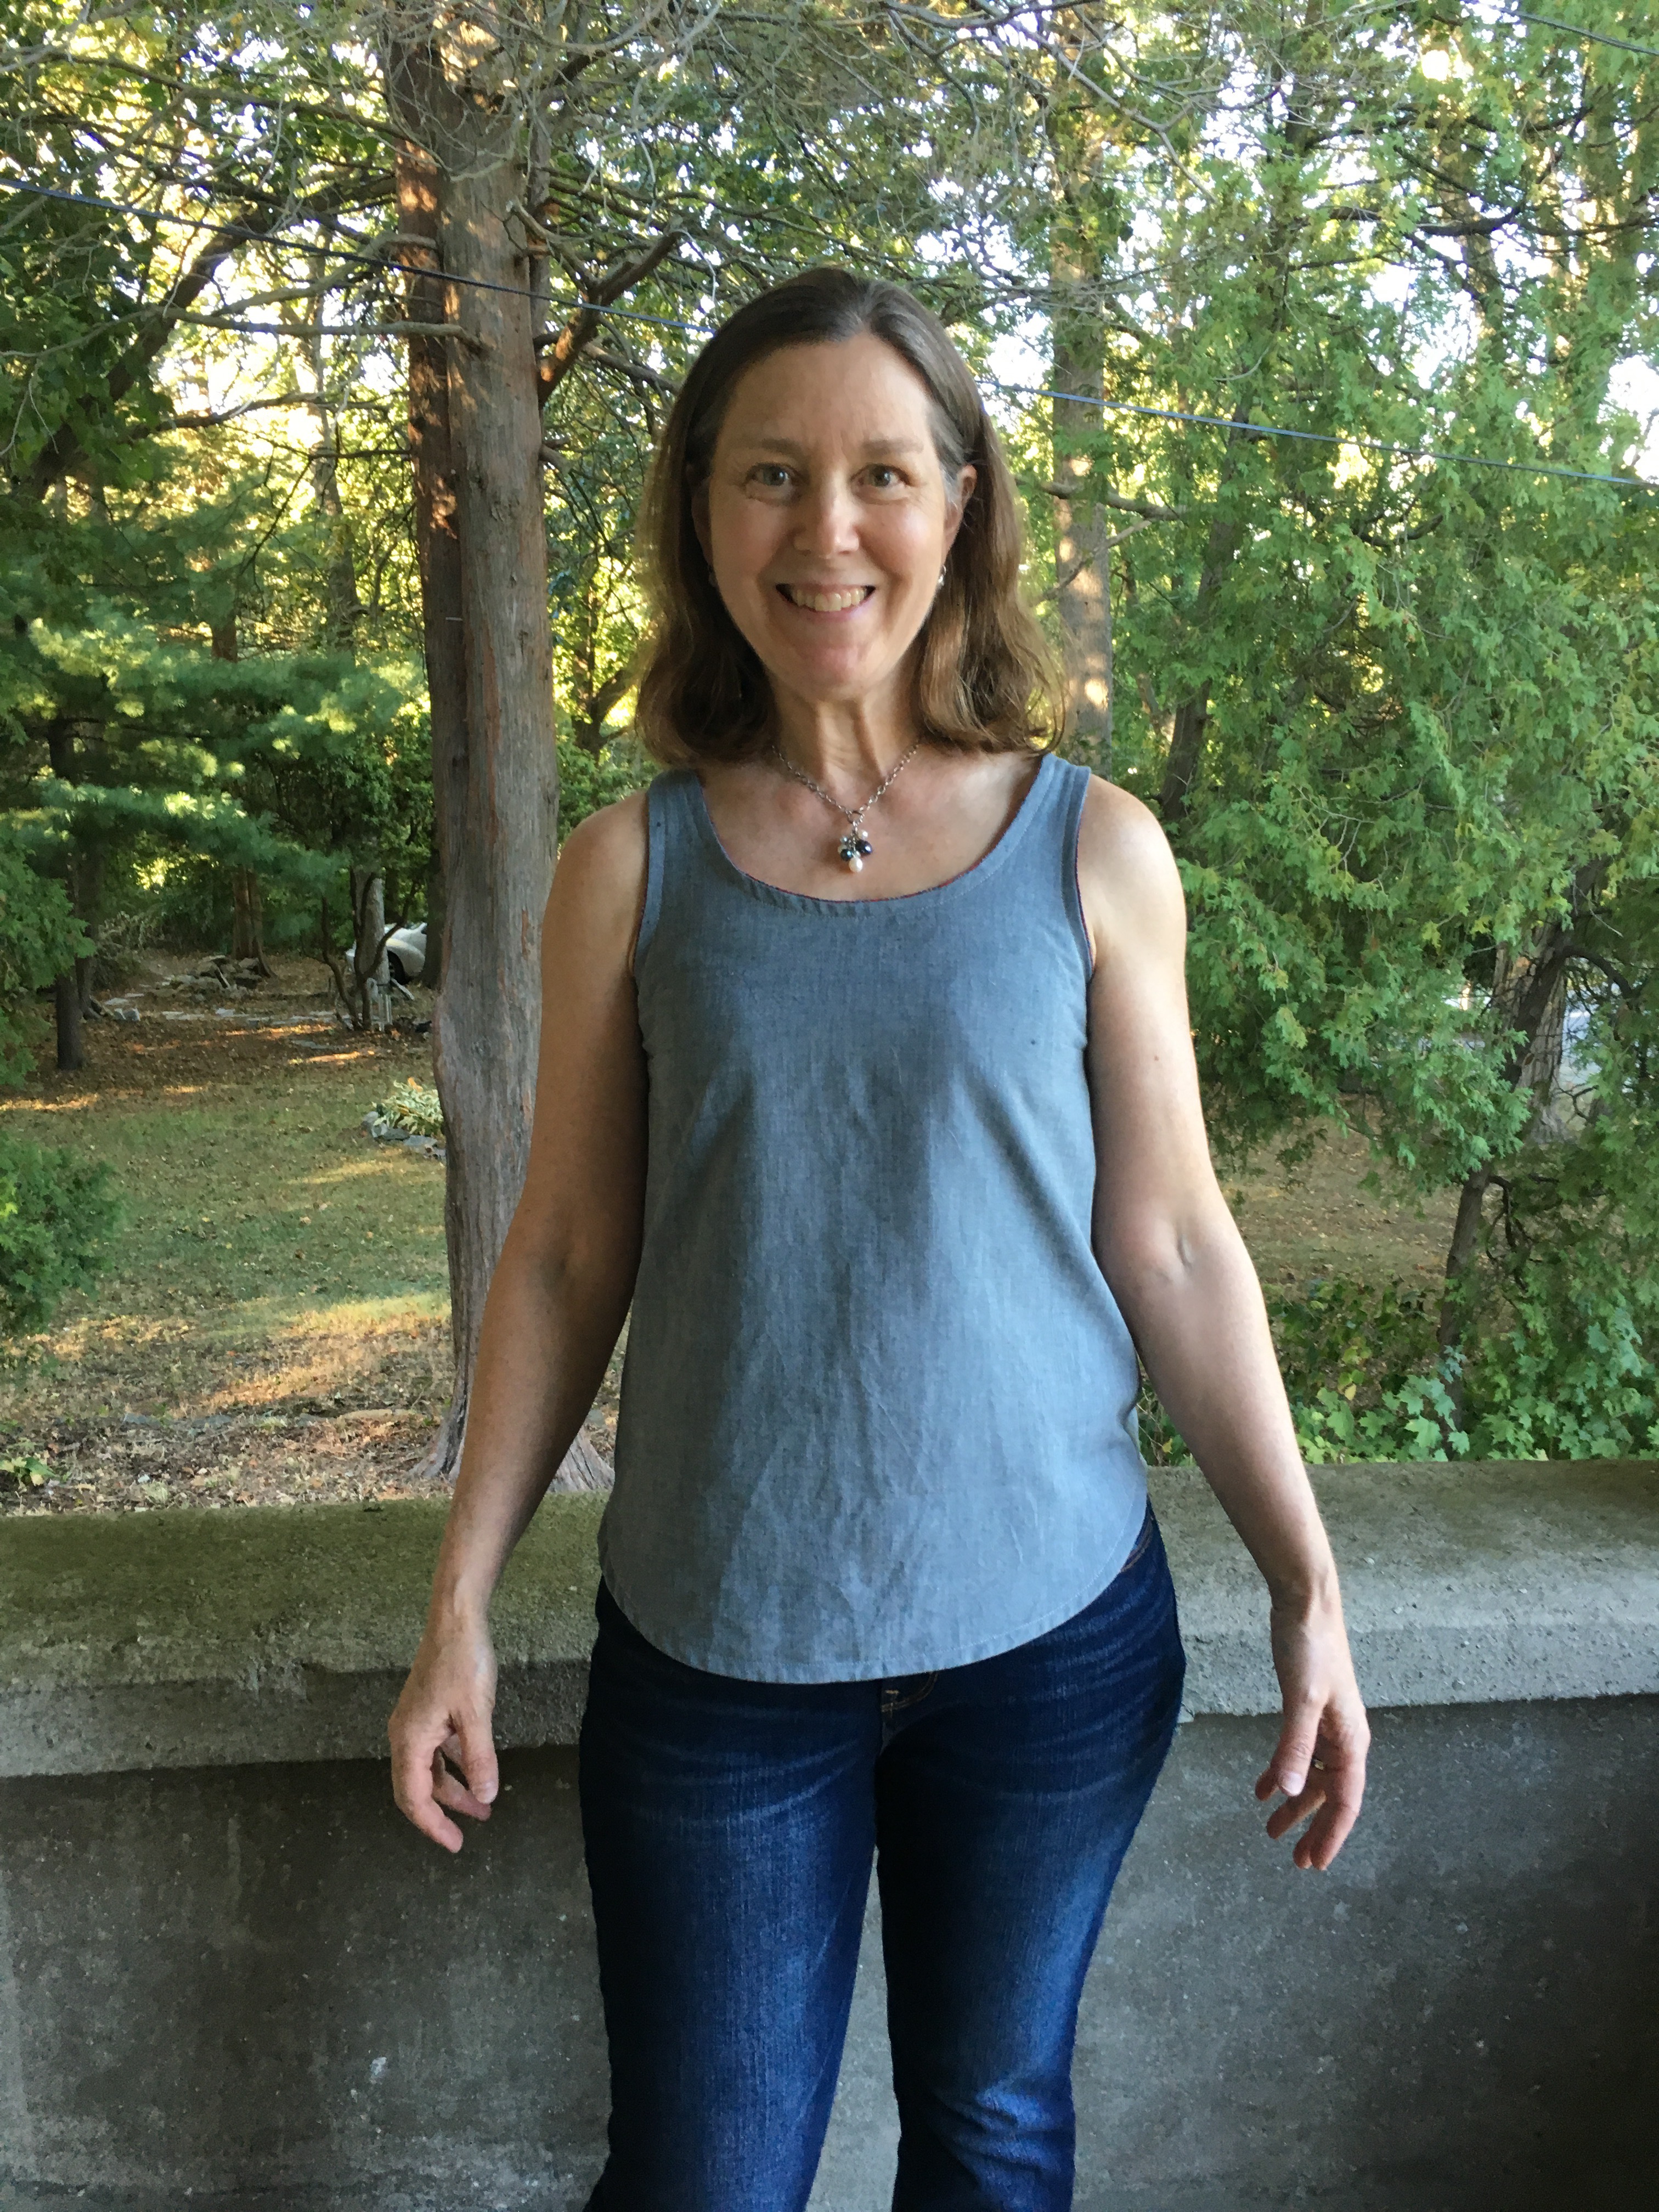
 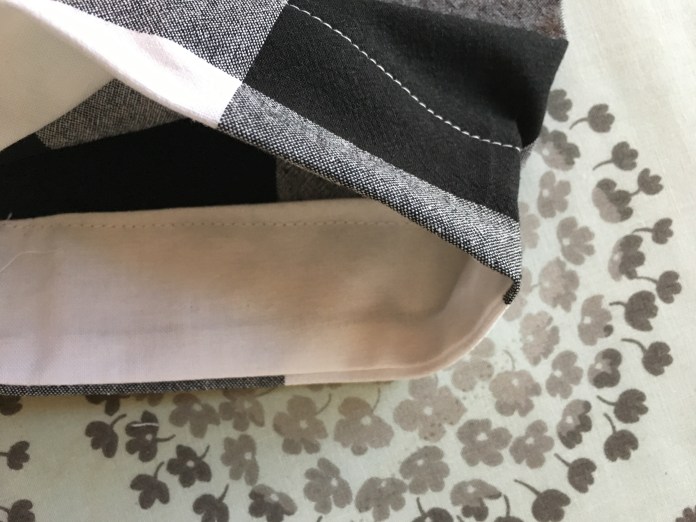 Finished dress on the front door.
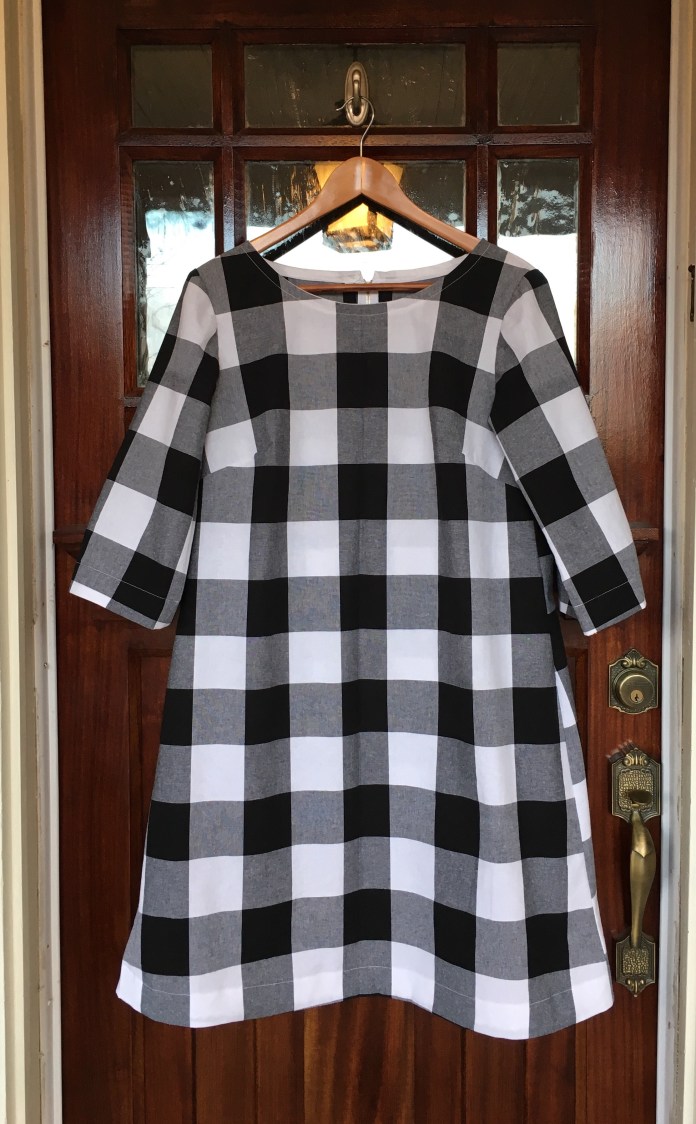 Back of dress.
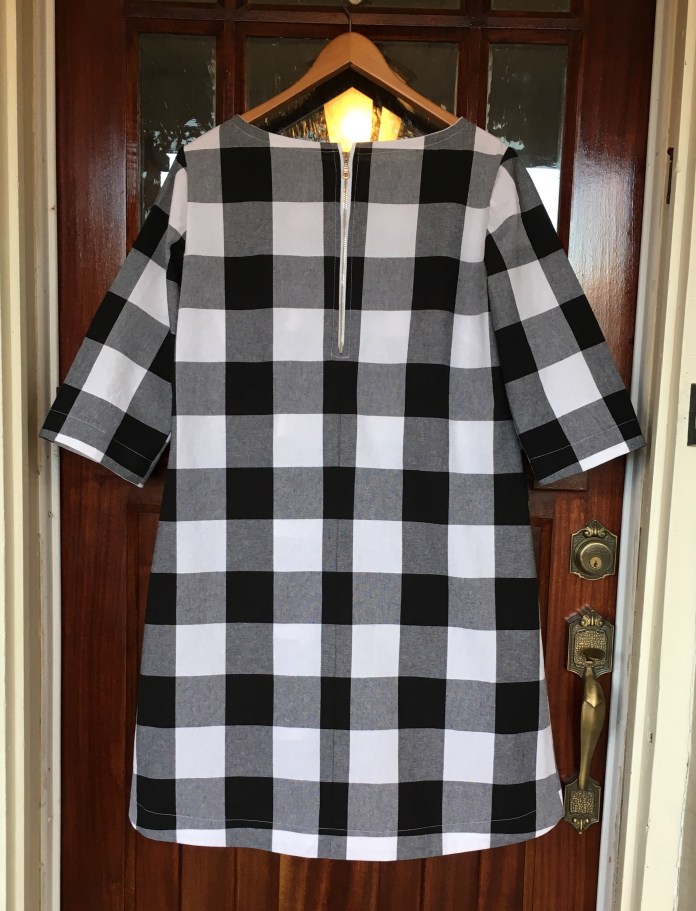 And as worn. Although I thought I cut it the same length as my previous versions, this one is a little longer. I am not sure how I feel about it. I really like the way the linen one fits but I also find that when there is less heft to the fabric as in my Alison Glass version, the tunic rides up. I will have to wear this for a while and see what I think about the length. I think on me, the shorter version is a little more flattering but time will tell.
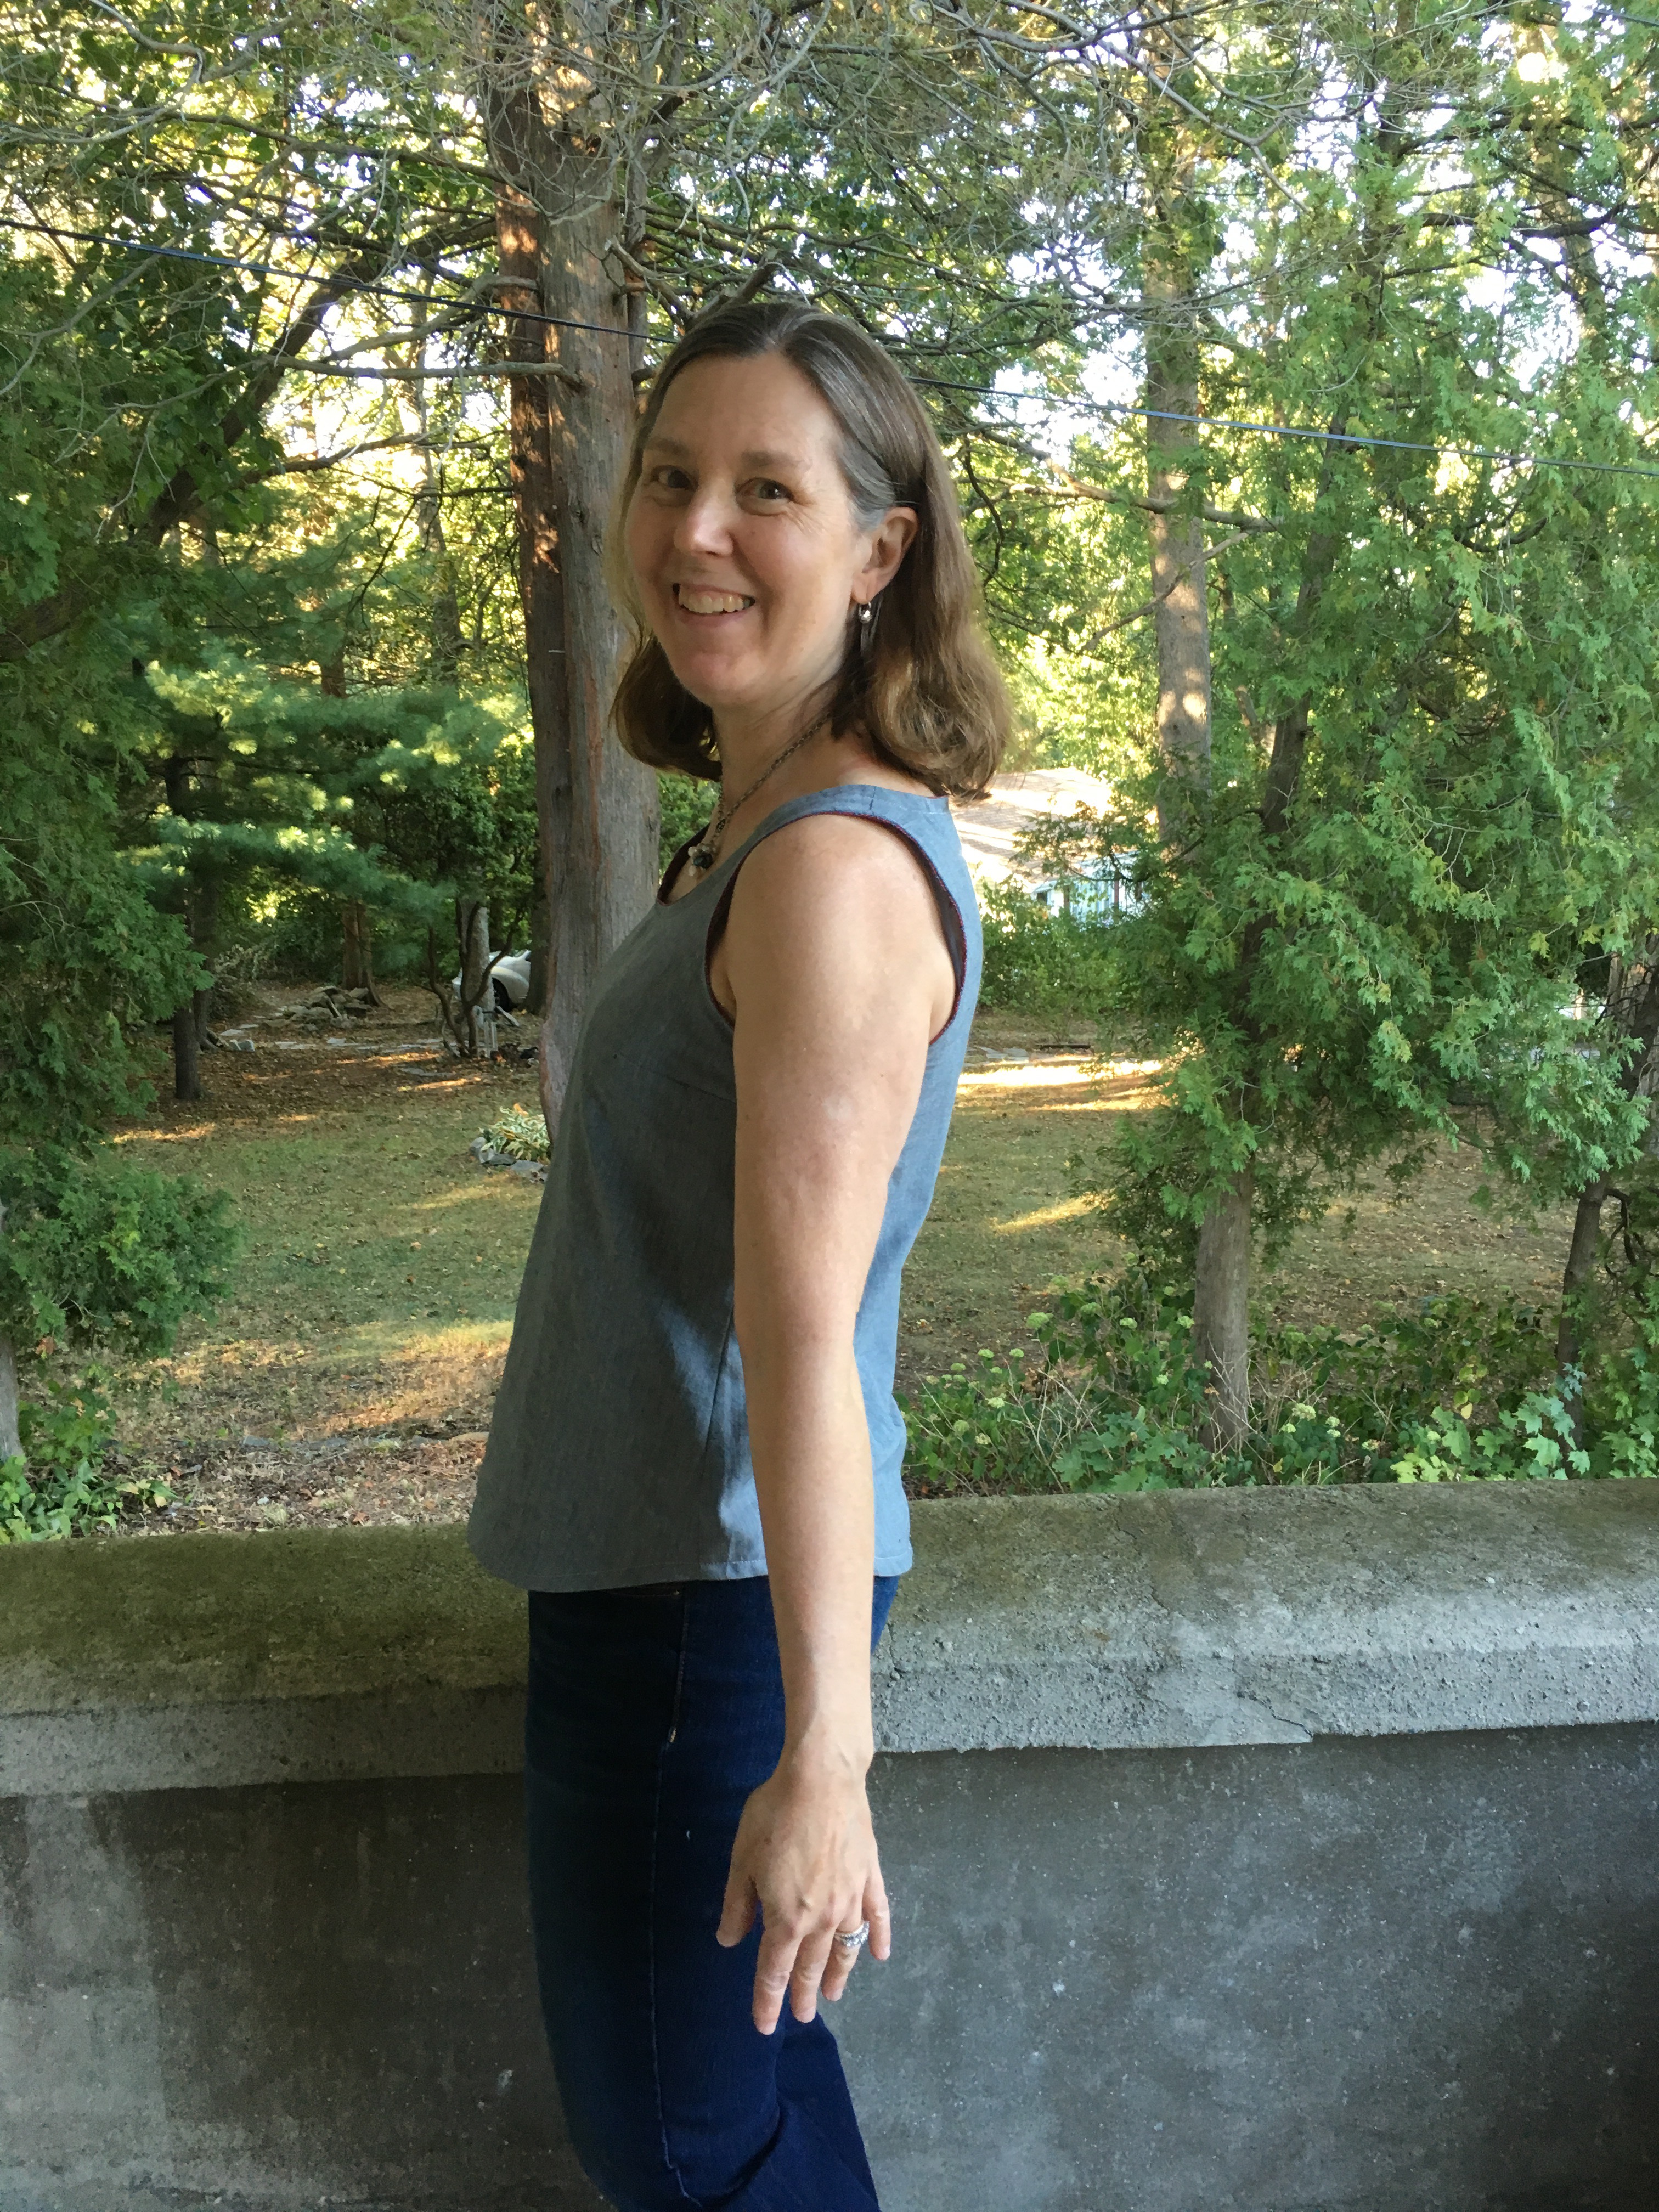
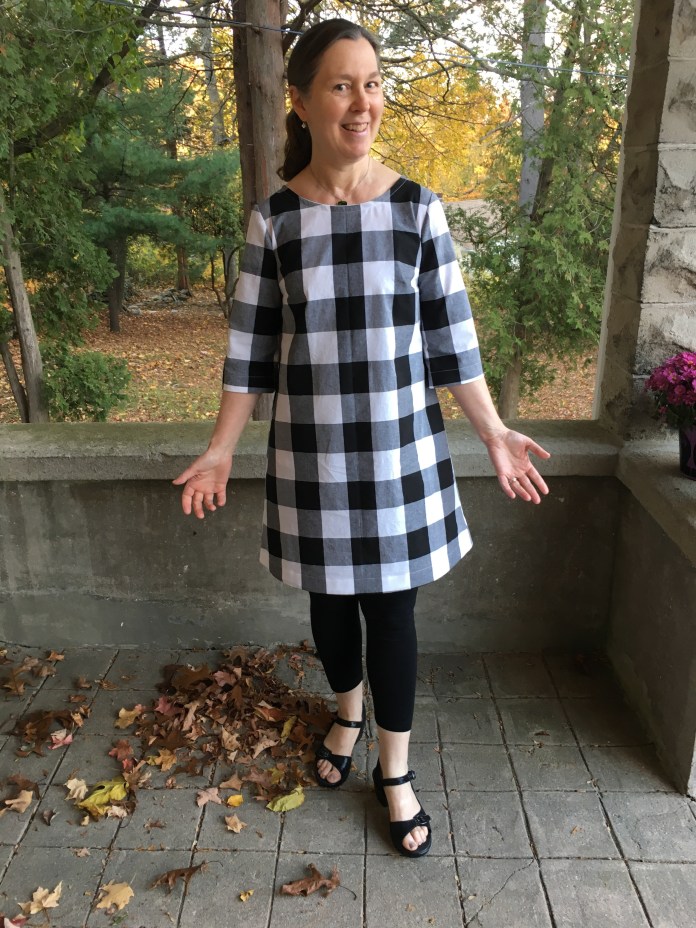 Side view.
 Back view.
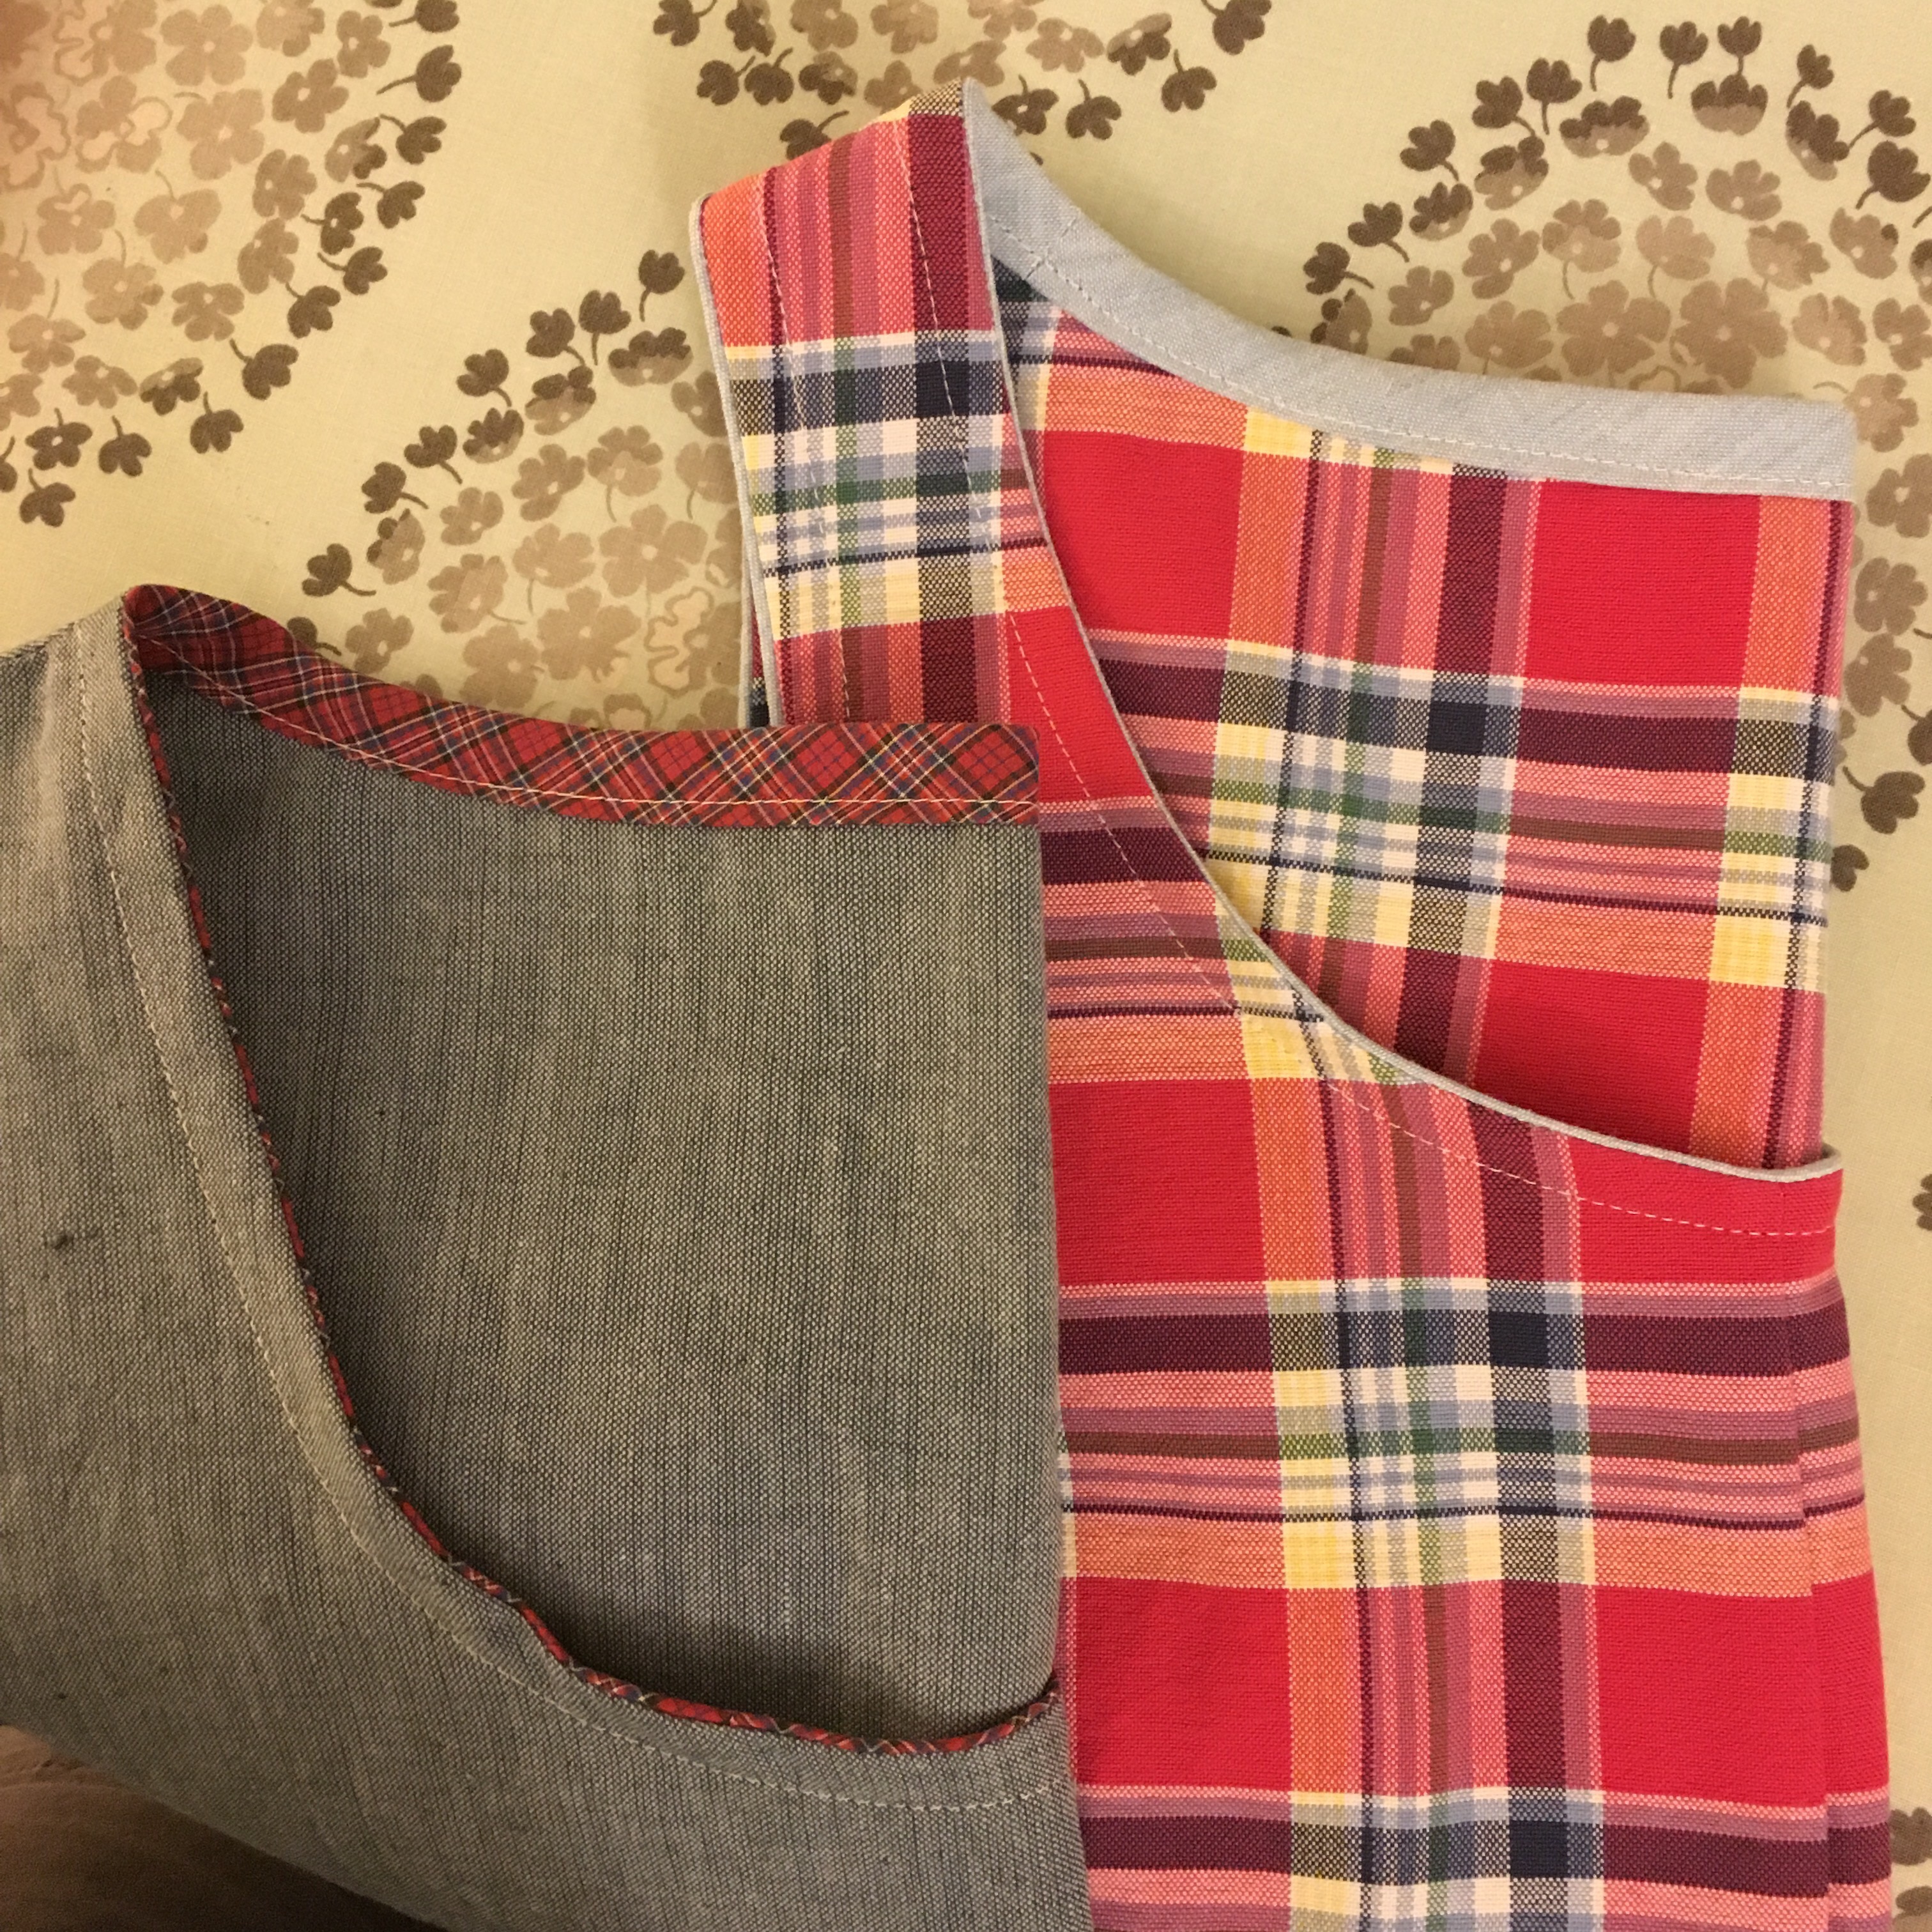
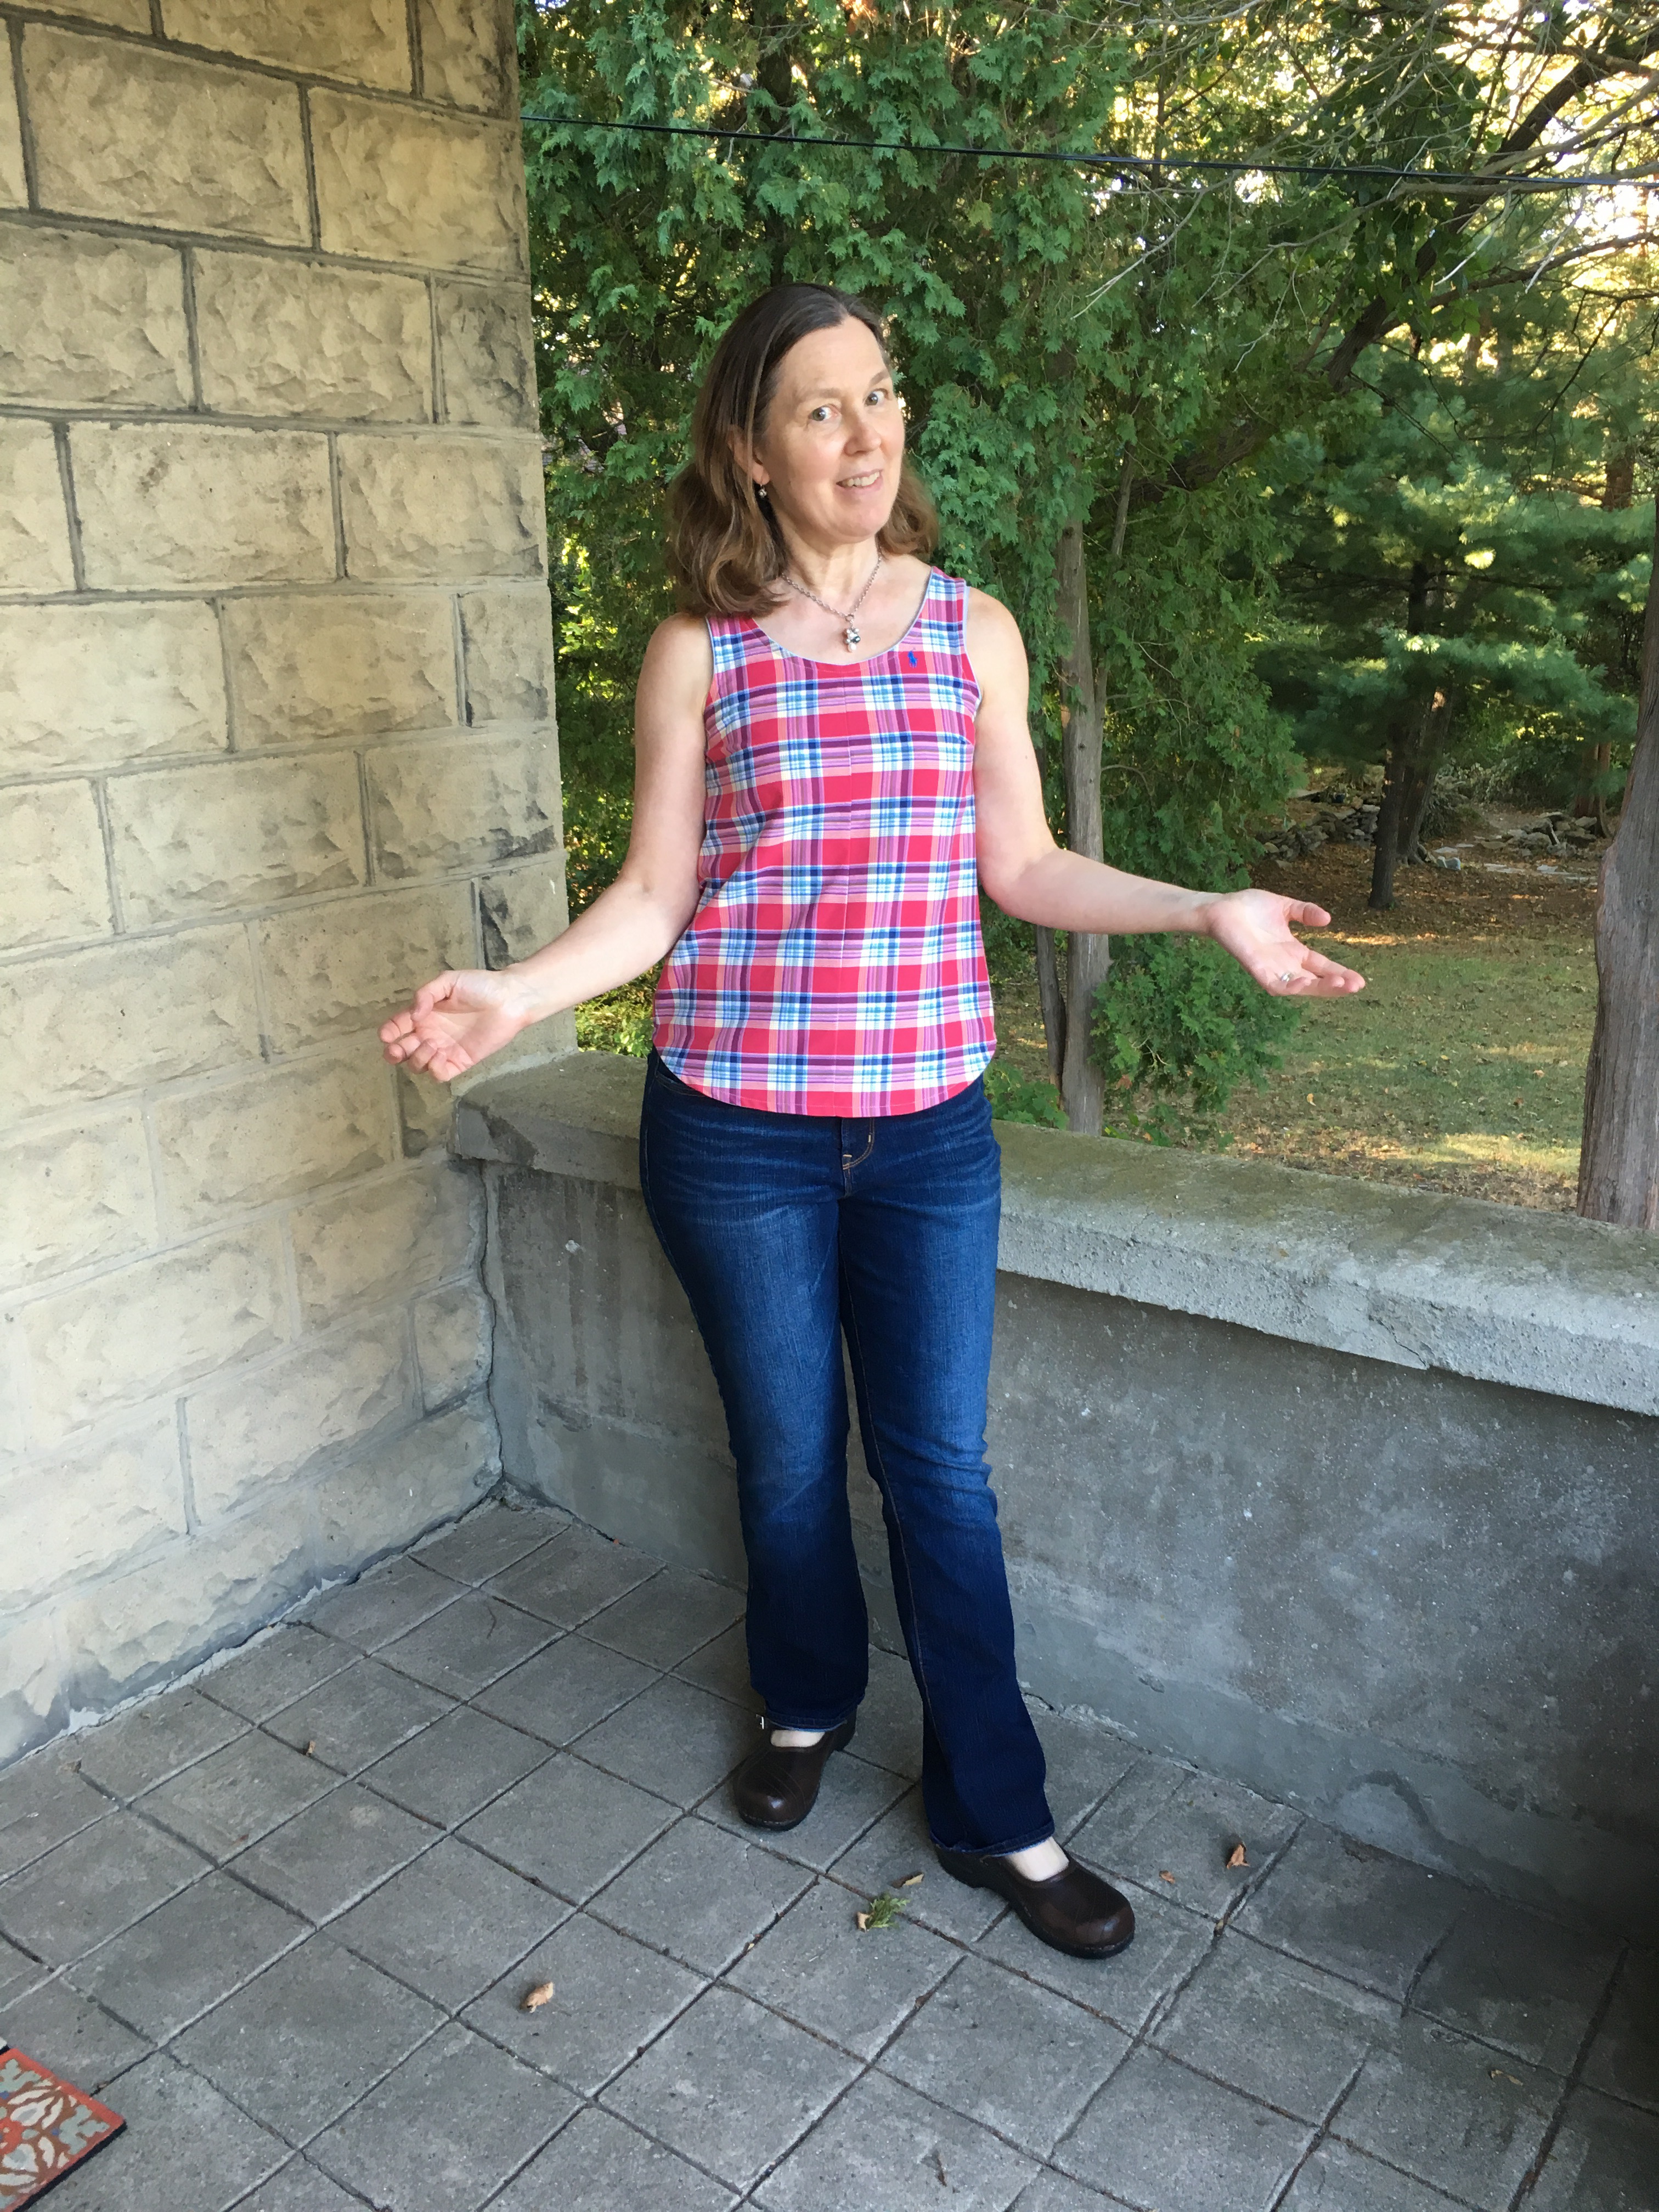
 Linen version for comparison.
 One more picture with fall foliage.
 Other things we have been enjoying here in Connecticut: a tour of a new craft brewery in our town which is expanding. It was fun to go on the tour and great to see a new successful local business.
 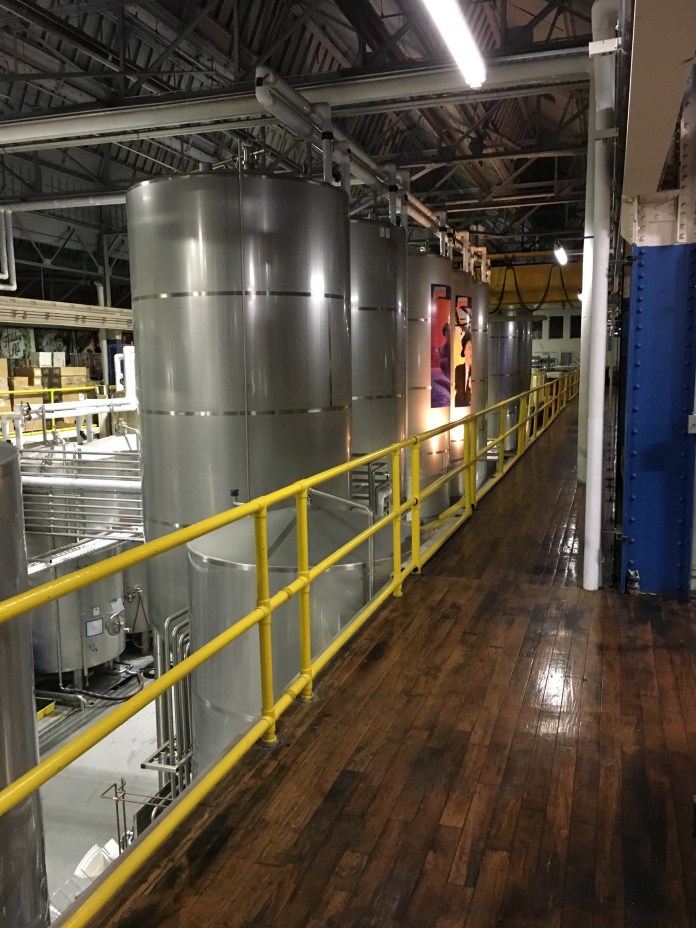 A beautiful sunrise. I love watching the sun come up and I miss the sunrises when I have to leave for work in the dark. (I am not a fan of shorter winter days.)
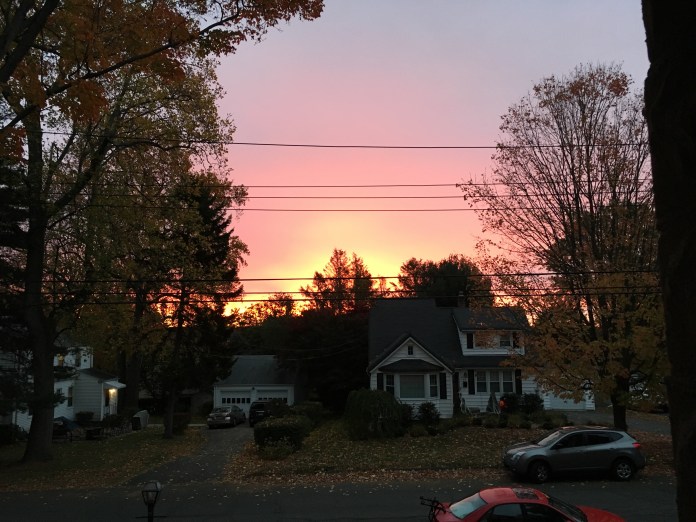 My nasturtiums finally bloomed (in October). Note to self: plant earlier next year. They were cheap and maintenance free and pretty.
 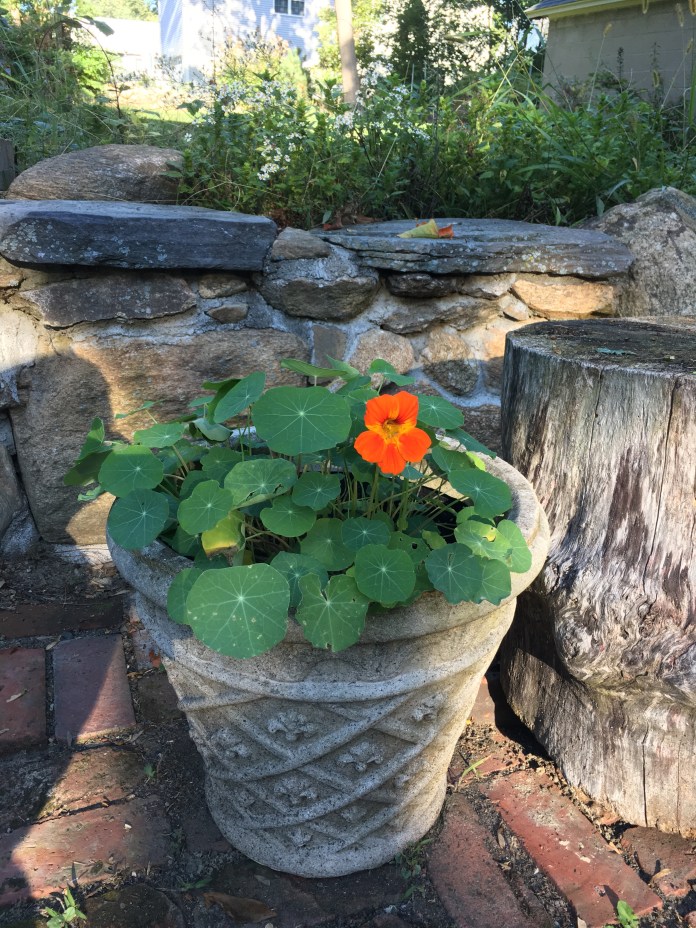 Fall is soup and muffin weather chez Nursebean. My usual modus operandi is to make what I call refrigerator soup. It is when you open the refrigerator and see what you have and make soup. It is a great way to take those leftovers and make a meal. This post from one of my favorite bloggers is a great description of how to do this. I also made this Broccoli and Dill soup which was enjoyed by all (from one of my other favorite bloggers).
 I have had this pot and this bowl for over 25 years.
 I get nostalgic cooking on Sunday afternoons thinking about how many pots of chili, soup and even lasagnas have been made in this blue Le Creuset pot which was a wedding gift over 30 years ago. I remember buying the bowl as a young broke new mom. It was a big splurge at the time. I don’t think it was actually very expensive but all purchases felt like big purchases at that point in my life (and in many ways still do). I still love it. Many muffins and cookies have started in this bowl. Mr. Nursebean has found that he feels better when he avoids gluten so I made some adjustments to the cornmeal muffin recipe from this book which is one of my go to cookbooks and which has excellent muffin recipes (they all start with a stick of butter so it would be hard to go wrong). Here is my version. I actually think they are better this way, sort of nutty and you can convince yourself that they are healthy because of the nut flour and the yogurt. They are great right out of the oven with butter and raspberry jam but I also freeze them and then zap them in the microwave for a minute and they are perfect for breakfast.
Cornmeal Muffins:
Pre-heat oven to 375-I use convection setting.
Melt a stick of butter in a big bowl. I usually microwave for 2 minutes. Let cool a bit
In a separate bowl combine: 1.5 cups each of cornmeal flour and almond flour, 2 teaspoons baking powder and 1/2 teaspoon baking soda and a dash of salt
Beat two eggs into melted butter and combine dry and wet ingredients. Don’t over-mix.
Add one 6 oz lemon, plain or vanilla yogurt to the mixture. Add approx 4 oz milk (or as much as you need to make the mixture mixable and about the texture of wet scrambled eggs.
Bake for approx 20 minutes or until a knife comes out clean.
Serve hot out of the oven with butter and rasberry jam or next day-I find they reheat perfectly with 30 seconds in the microwave or 1 minute if frozen (I often freeze them so they don’t disappear too fast. They make a great breakfast.)
My daughter and I have been trying to walk most days. The trees along our walk have been beautiful.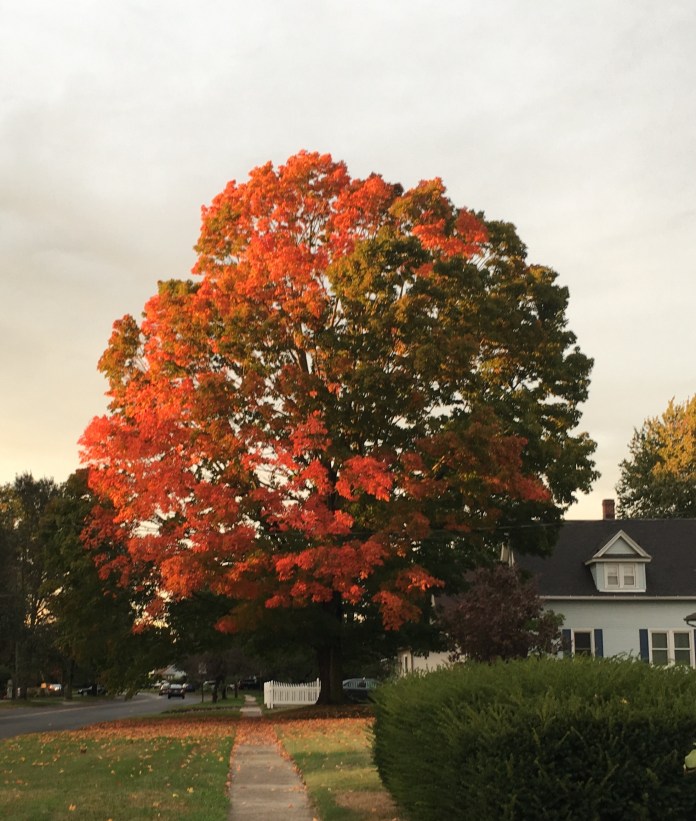 I have been doing a lot of reading. I inhaled this novel and this mystery. I highly recommend both. This fall is the 10th anniversary of the fall that this sweet puppy joined our family. She still greets me with love every time I come home. A gift to us all.
 Next up are two more Pearl shifts in plain flannel purchased last year at Jo-Ann’s.
  This time I remembered to add the extra seam allowance for french seams. This is why I often make more than one of a pattern in a row. It takes a couple times to work out the bugs! One of these will be for me and one for my daughter who I will see (yay!) for Thanksgiving. I have a lot to be thankful for. Wishing everyone a beautiful fall!
Please note that my blog is not monetized and has no sponsors. I provide links to share online resources that I enjoy using. I do not derive any financial benefit if you click on links on my blog.

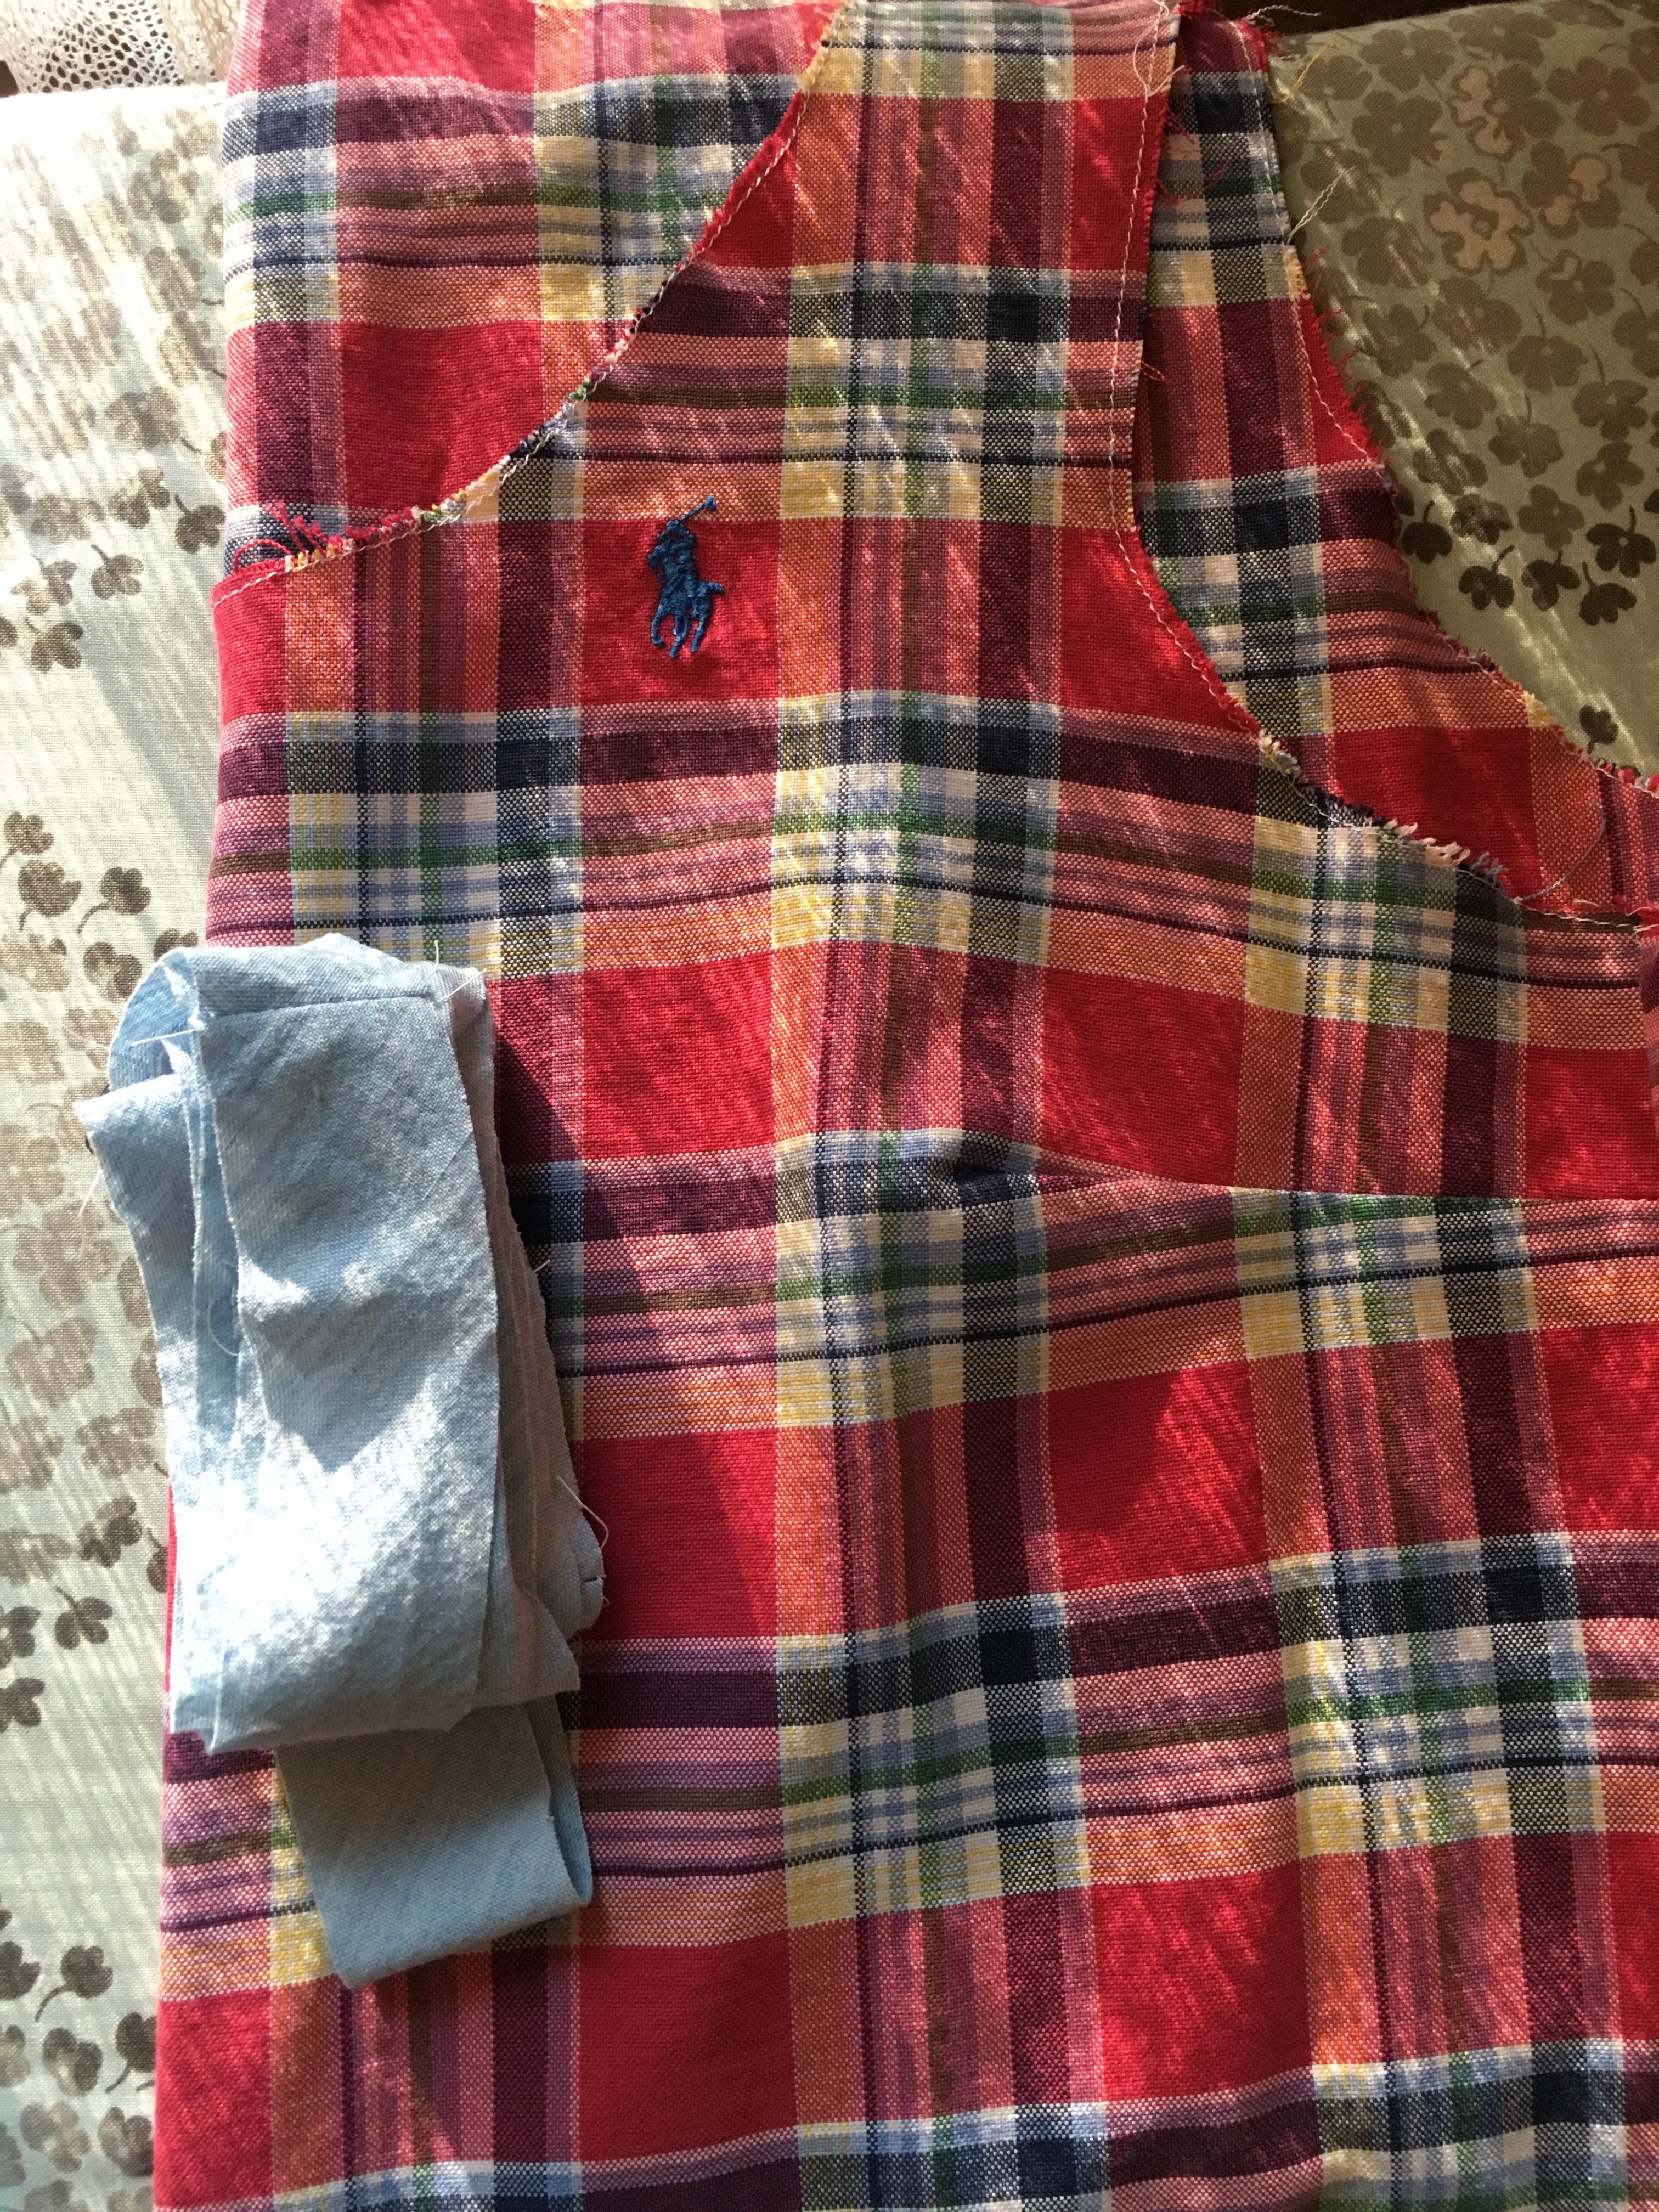


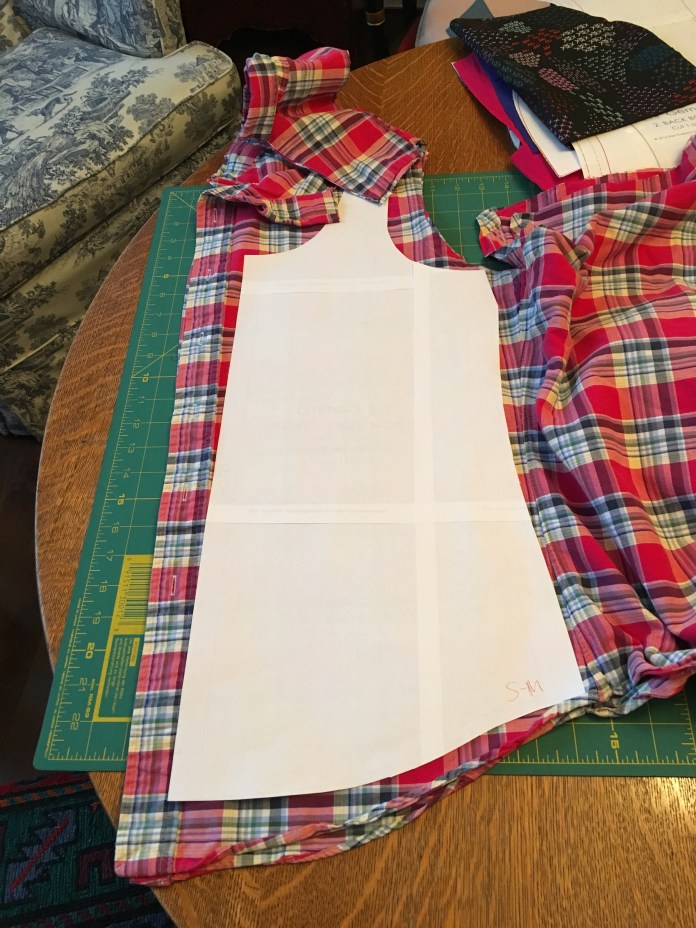 Luckily there was no pocket to contend with but there was the polo player who ended up in just about the right spot. I really like the contrasting blue edge around the neck and arms.