
This past May, I set myself a challenge to make several skirts using the Made By Rae Cleo skirt pattern. I had already made three versions so I knew that the fit was perfect and the construction relatively simple and I wanted to experiment with different fabrics. I fell in love with two beautiful cotton lawn fabrics from the Aria collection by Kelly Ventura. This fabric is called Brushed Peony and it is still available. I also decided to make a couple of new Gemma Tanks in solid colors to go with the skirts. I chose a Cambridge yellow lawn to go with these two skirts. I cut Mediums in both the skirt and tank and added a bit to the length for the tank as I am tall. I don’t actually lengthen the pattern, I just eyeball it and add about an inch to an inch and a half. I cut view B of the Cleo shortened to just below the midpoint of the knee which I find is the best length for me.
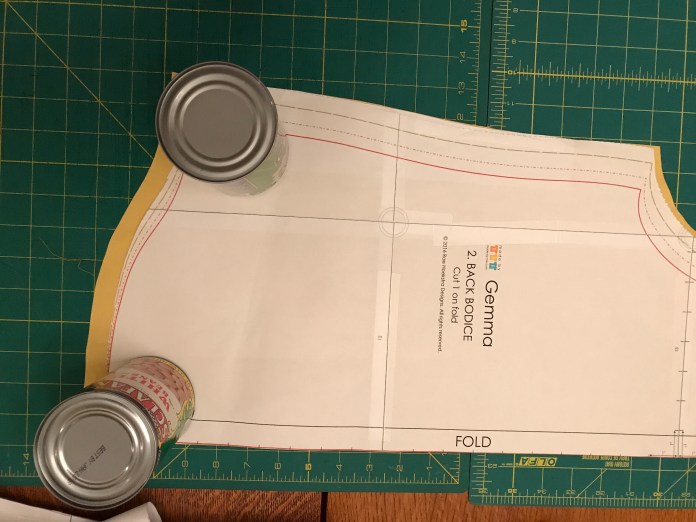 In preparation for the bias binding, I cut bias strips of the leftover lawn and also some wider strips on the grain to use as a hem facing for the two skirts.
 Both fabrics were great to work with. Not too slippery but very light and flowy. To save time since I was planning on making several skirts, I eliminated the pocket. I actually love the pockets on the Cleo skirt but since I almost always wear a lab coat at my job as a nurse practitioner, I never use skirt pockets since I have large built in pockets already. I wouldn’t recommend this for most sewists because the pockets are a great design feature.
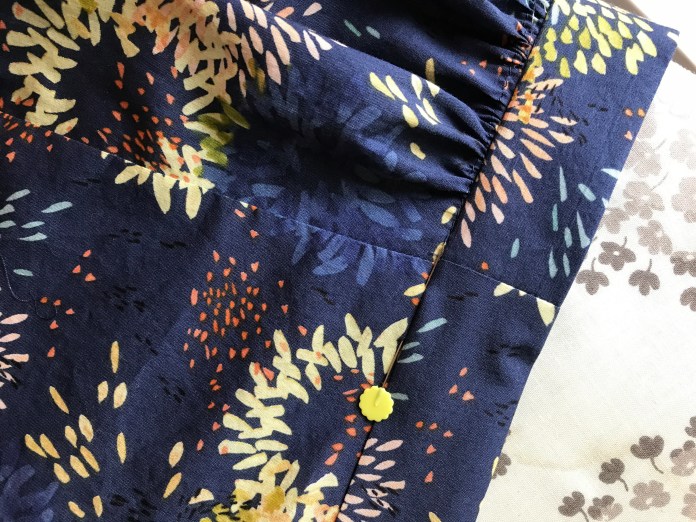 Since I was making more than one, I basically sewed each step and then repeated the step on the next skirt, etc. They came together pretty quickly. Finished skirt #1 below in Brushed Peony.
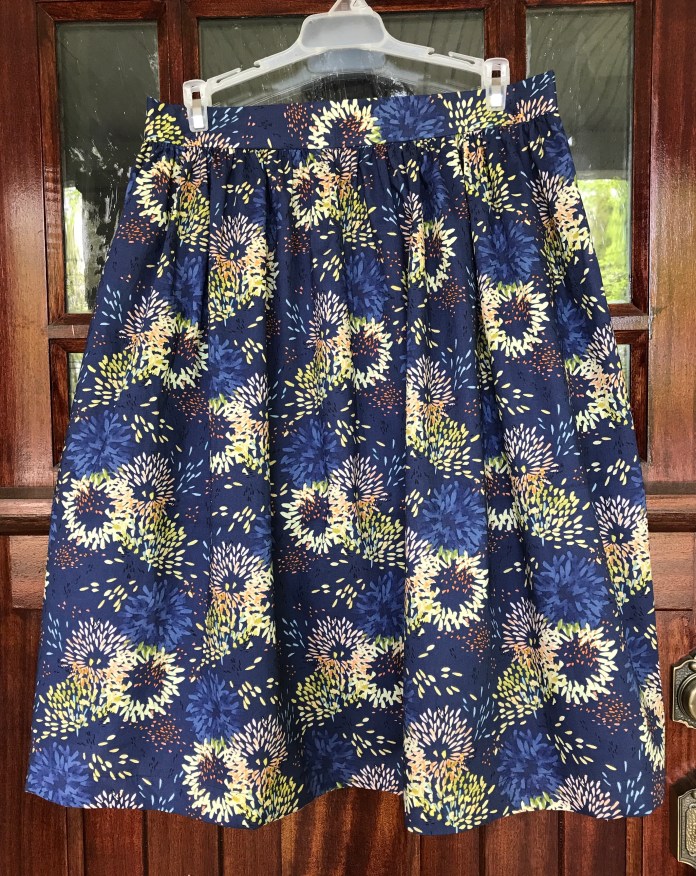 And as worn on the last day of Me Made May. I had been waiting to finish the yellow tank top to wear with it but alas, it is still awaiting the bias binding which is generally the fate of most of the Gemma tanks I have sewn. My sewing room becomes a Gemma Tank way station until I have the time to sew that last step. I had finished my new white double gauze Gemma, however, and it goes with everything, as seen below.
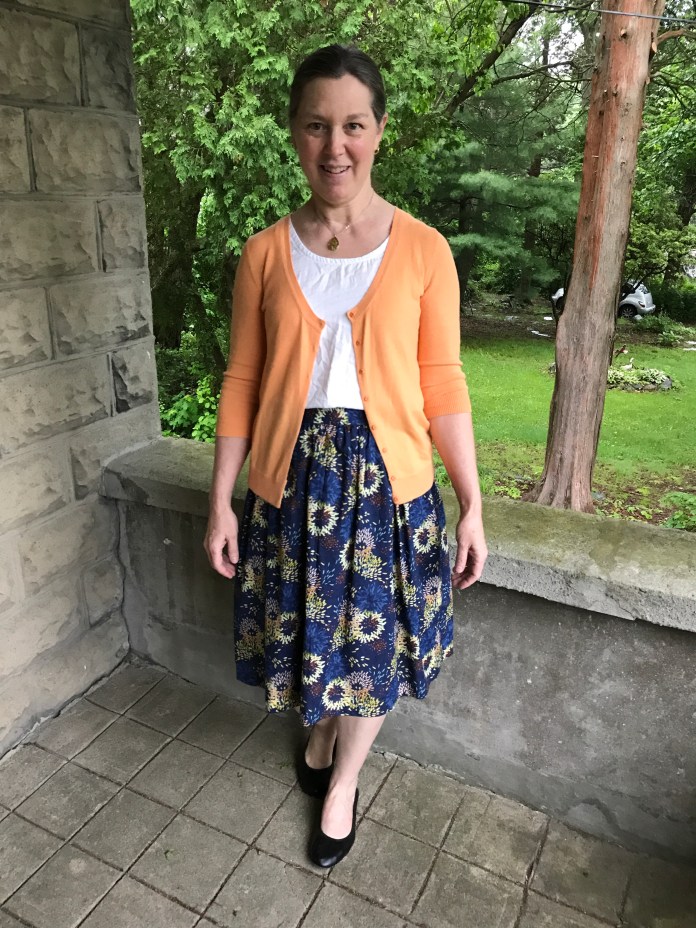 The second skirt is another print from that same line. I might love it even more. I did the same thing, no pockets and yellow hem facing using the same strips.
 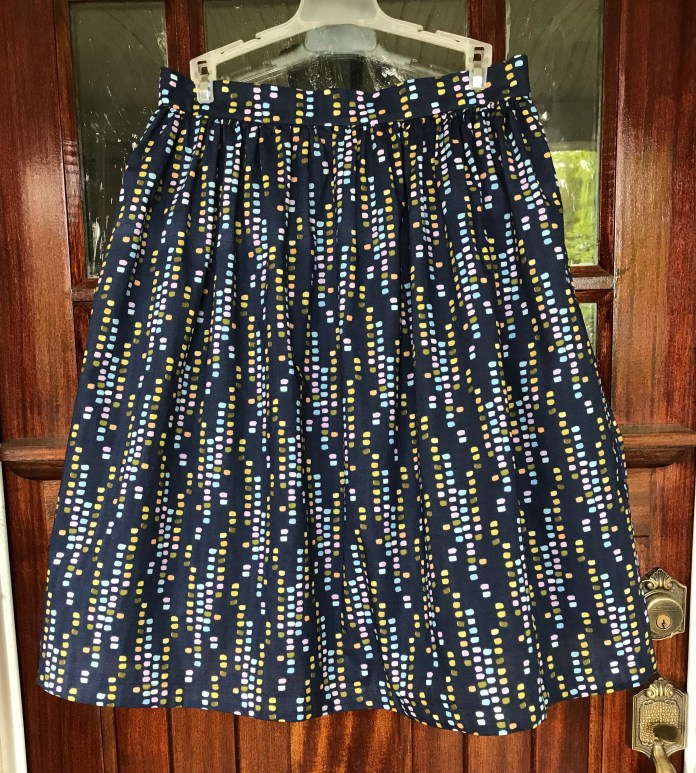 And as worn on day 2 of Me Made May with a cotton-linen blend Gemma Tank that I made last year. It also goes with everything.
 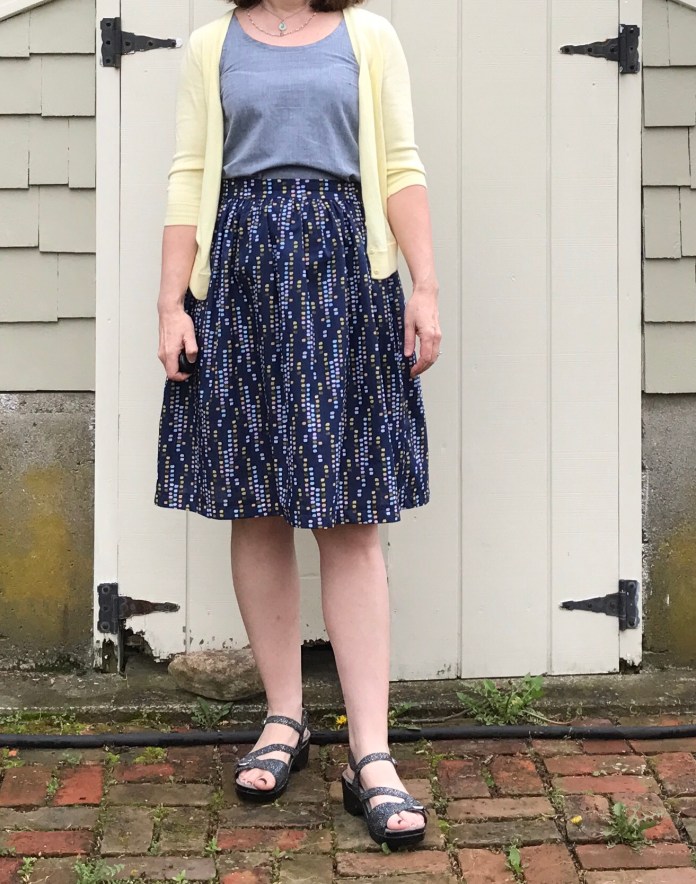 Some pictures of the hem binding process below. This is my go-to approach to binding. It is quick and I love the look of the contrasting hem facing. I also find that having the seam that joins the hem and the hem facing as my guide enables me to have a nice even hem. Every aspect of the hem is machine-sewn so very quick.


 I hadn’t planned to make the Cleo below but I happened on this fabric at Joanne on sale and really liked it. I wasn’t sure at first what to make with it and considered making a new Bianca Dress but in the end, I decided I loved the striped fabric for a skirt.
  I used a lightweight white cotton batiste for this hem facing and matched the stripes on the side seams. I cut the waistband across the grain for more visual interest as I did when I made this Loominous Cleo. I ended up with extra fabric since I had bought 4 yards and cut a Gemma Tank as well thinking that it would be great with jeans. It wasn’t until after I was sewing and had both projects laying out on my ironing board that it occurred to me that I could also try wearing them together to create a dress out of separates. I also found that when I had the yellow bias strips next to the skirt that the grey and yellow looked great together. I am dying to see how all of these skirts and tops mix and match. I just need to finish the bias binding on the Gemmas (story of my life!) Some process pictures below. I used french seams for the Tank because I expect this fabric to fray. I plan to use the white batiste for the bias binding as well using this method. While I was making the grey striped Gemma, I also cut out and actually finished a Gemma from white double gauze which I love and have worn several times. I used the batiste for the bias binding and to face the hem. It might be my favorite garment that I made this month. It is certainly the most versatile. You can see the striped skirt and the white double gauze Gemma in action below. They work well together. I like the crinkly look of the double gauze with the linen-y look of the striped fabric.


The fourth Cleo skirt that I made this month is this green and cream skirt which was inspired by a Ruby Dress posted on Instagram. I really loved the old fashioned feel of the fabric. I wore it this month with my blue Gemma but I know the white double gauze Gemma will be great with it and I am looking forward to trying other combinations. I have a black lawn Gemma that is all sewn and ready to go and just needs the bias binding. (a theme). So finishing the tanks will be my focus this month. I did actually finish a Gemma Tank that had been mostly finished since last summer (just needed the bias binding). Ironically, when the yellow bias strips were on my ironing board, they were also right next to this Allison Glass Gemma
 and I realized that the yellow would make a great contrasting binding for this tank so I finished it
  and wore it on a quick visit to New London with my husband.


I am actually glad I didn’t finish it last summer because I might not have thought to use the yellow and I am really happy with it!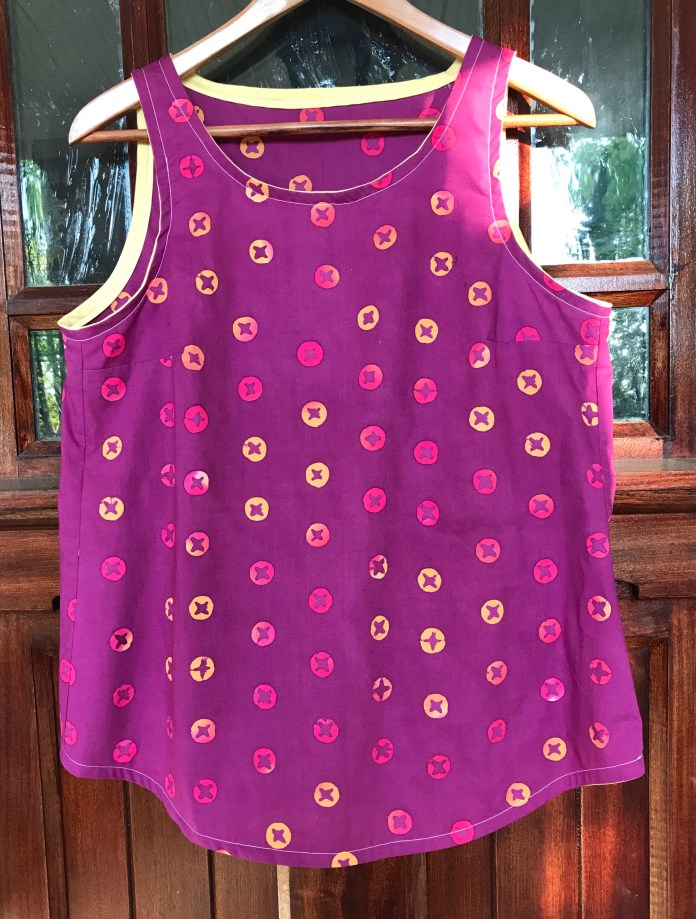 I love this tank with my khaki Pocket Skirt and with denim and white jeans. I know it will get a lot of wear. I made several other garments in May and will be posting details over the next several weeks. And now I have so many new ideas after seeing the beautiful hand sewn garments that were posted by fellow sewists all last month. So much fun. Thanks for reading!
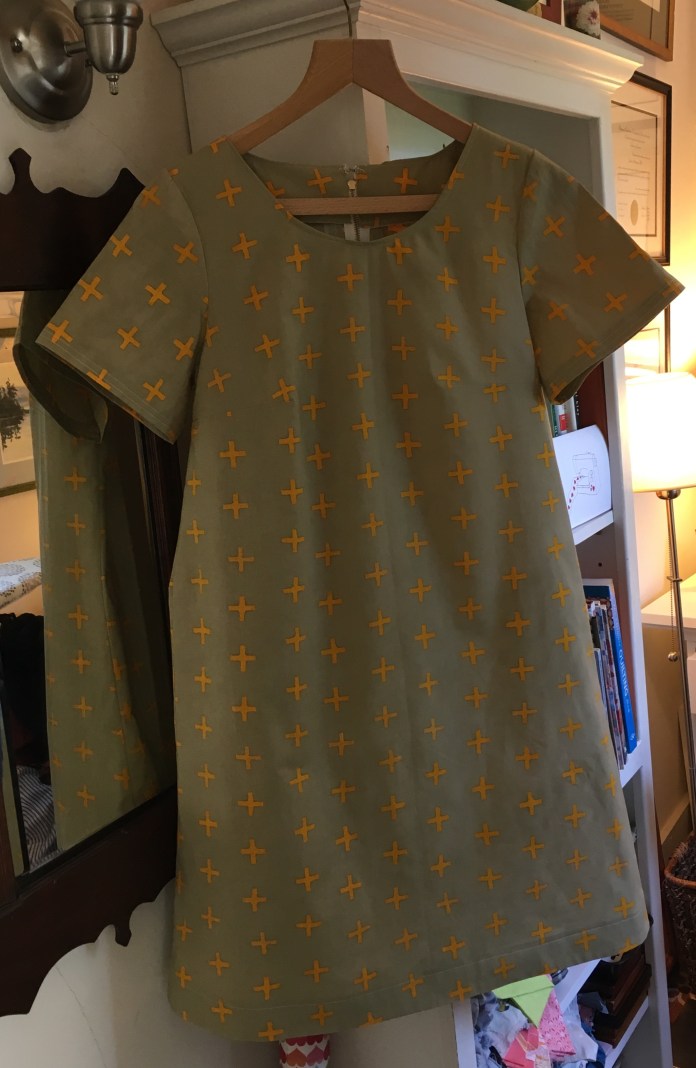 This is my third Beatrix Tunic. The first two were blogged
  Sometimes I will make a great deal of headway on a project and then weeks go by before I find the time to get back to it. I have learned to relax and know that some day I will finish, even if it takes weeks (or months). For this tunic, I cut out the top of the Beatrix and graded out to the width of the Pearl. This time, I didn’t curve the hem but used the Pearl hem line. My new go-to work uniform is a tunic over leggings with boots in the winter and sandals in the summer. It is easy and comfortable. I will definitely be making more of these. Some pictures below.
 Stay-stiched neck line above and darts below as per the Beatrix
 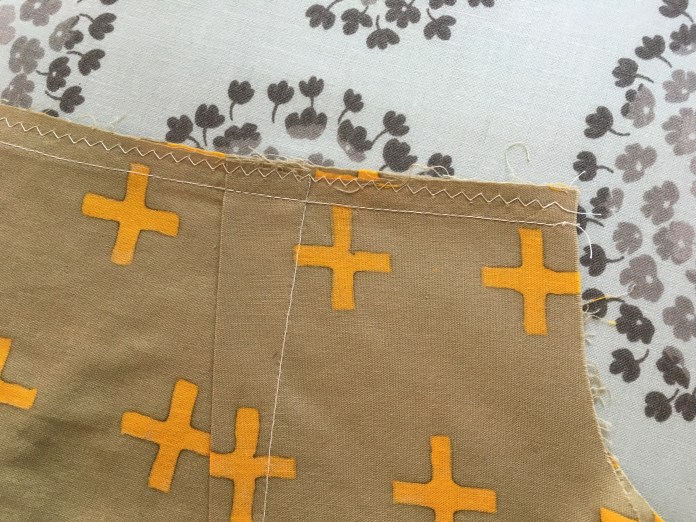 Sleeves are turned down once, ironed and then a second time and stitched with two rows of stitches. Quick, easy and durable.
 My favorite way to make a simple pattern more interesting is a contrasting hem. I love these two fabrics together.
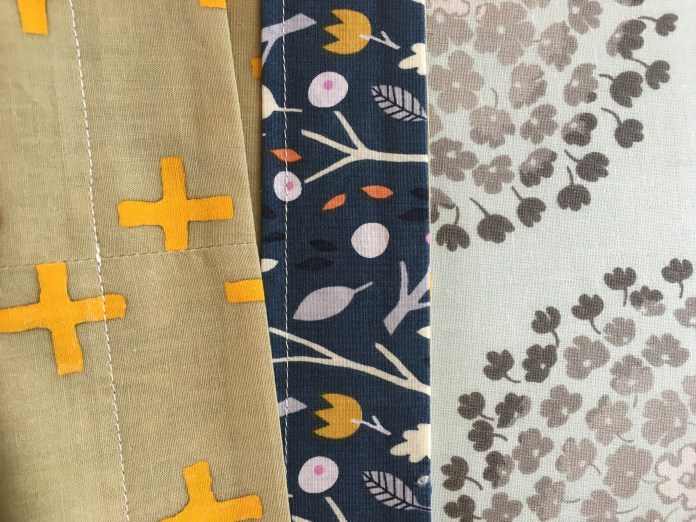 I have blogged about my very simple method for hem facings
 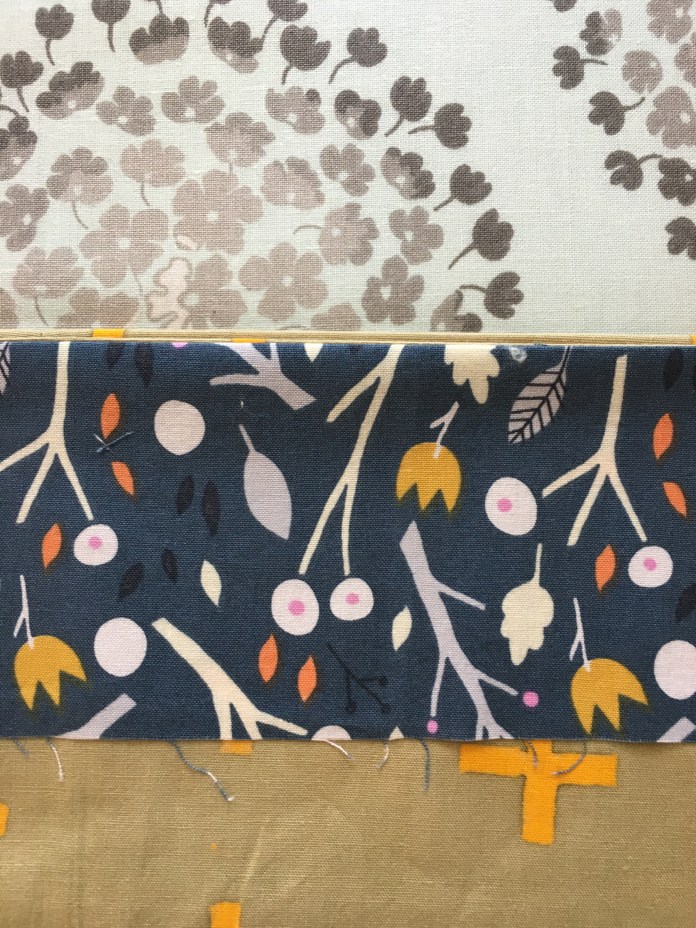 Lots of ironing is involved.
 I actually use the metal plate on my sewing machine as my guide as I sew. It works perfectly for the measurements of this hem facing.
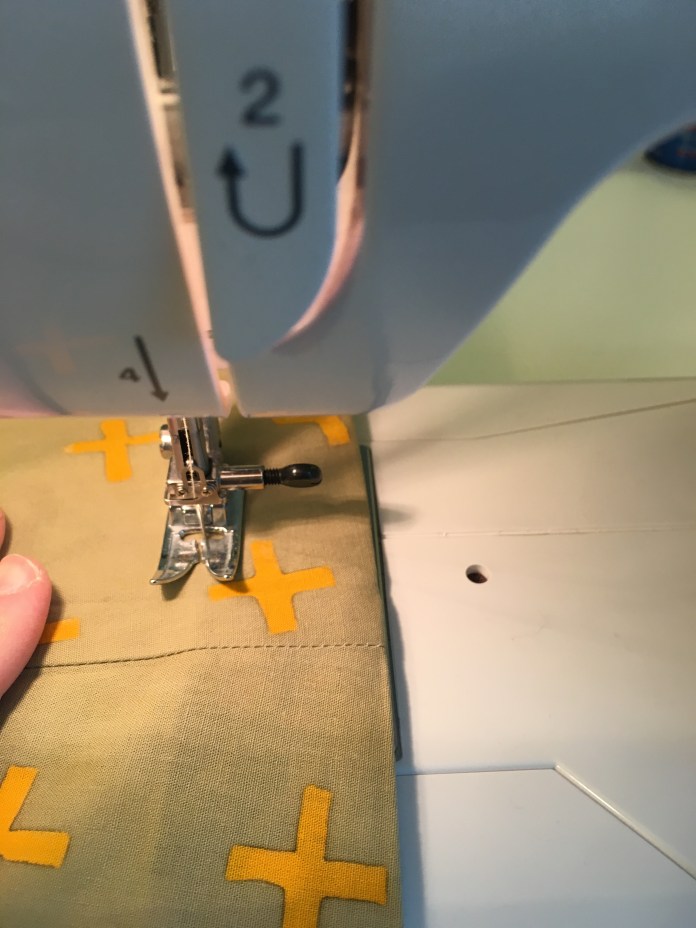 When I think of it, I leave the threads long and pull them to the inside and knot them using the quilter’s technique of sliding the knot down the thread using a big pin or needle as seen here.
 Some pictures of the finished hem. I was really happy with how this one turned out.
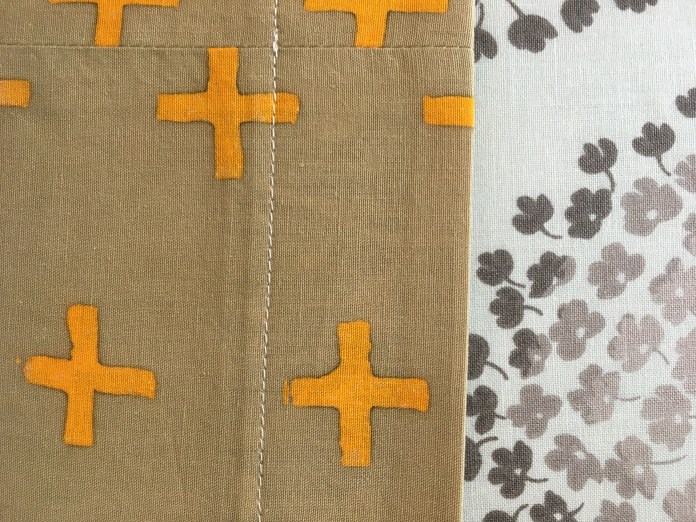 with facing showing
 My zipper didn’t completely line up with the top of the dress so I added a hook and eye at the top. My top stitching along the zipper is not perfect but as my dad actually used to say, “It wouldn’t be noticed from a trotting horse” which is true. I think the machine sometimes has trouble with the layers.
 Finished Dress/Tunic ready to be worn. I intentionally made the back slightly longer (you can see the back facing peeking through in the picture below) because that is where my weight is (ahem) and if I make the front and back the same, the back appears to be riding up which is not the look I am going for.
  Rae also recently posted about a Beatrix with a zipper. Hers has an invisible zipper, something I have yet to master. You can link to her post and see her beautiful blouse