Days off are a rare thing in my life and I am so thrilled to have five days off in a row when I don’t have to go to work. My daughter is visiting so there will be some family meals so that’s a bonus. Otherwise, I have no plans. Bliss!
I have not had a lot of time to sew in the last couple of months but I made a double gauze Ruby blouse last week and that helped me get back into my sewing groove. I wrote a pretty detailed post last week about the Ruby pattern with links to all of the tutorials that Rae has for that pattern. I can’t recommend Rae’s tutorials more highly. Excellent. And I previously blogged about several other Ruby dresses I have made here. So today’s post will just be to add some details.
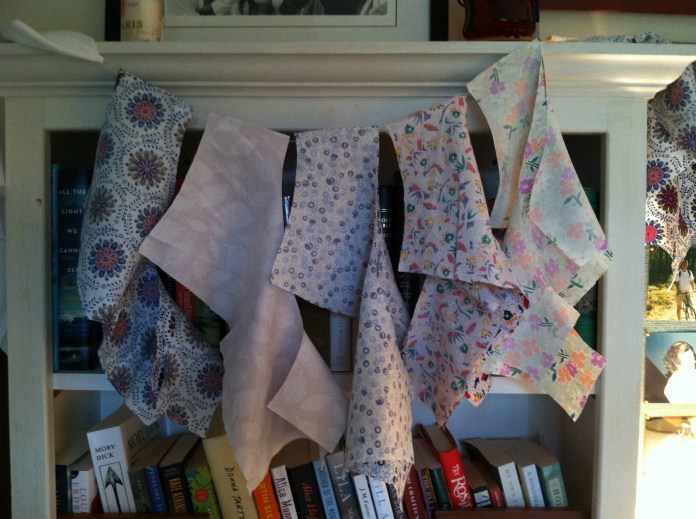
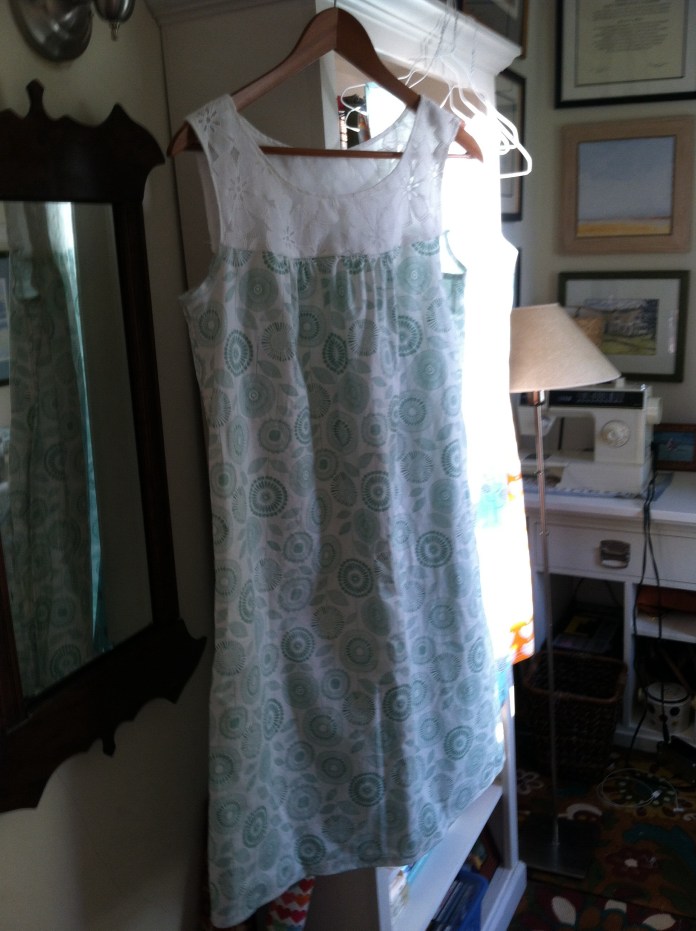
I originally bought this April Rhodes fabric with a second pair of Luna Pants in mind. But when I got the fabric in the mail, it just screamed “dress”. It is quilting cotton but it is very lightweight and has a bit of stretch in it. It is a dream to work with unlike double gauze which I love to wear but which can be tricky to sew with. So this dress sewed up fast-like dress in a day fast. I like to line my bodices and I had bought this yellow patterned fabric in order to make a sleeveless Josephine blouse, another Made By Rae pattern that I haven’t yet tried. I think the diamond pattern will work well with the pleats in the Josephine. I bought two yards of it on mega-sale (less than $5/yard) at Fabric.com where it is sadly sold out. But you may be able to find it elsewhere. I didn’t plan to use the yellow originally, but when I saw them together, I thought that the yellow would work well to line the yoke. I cut out the Josephine first to make sure I would have enough fabric left over and I did. I will be hopefully sewing that this weekend as well.


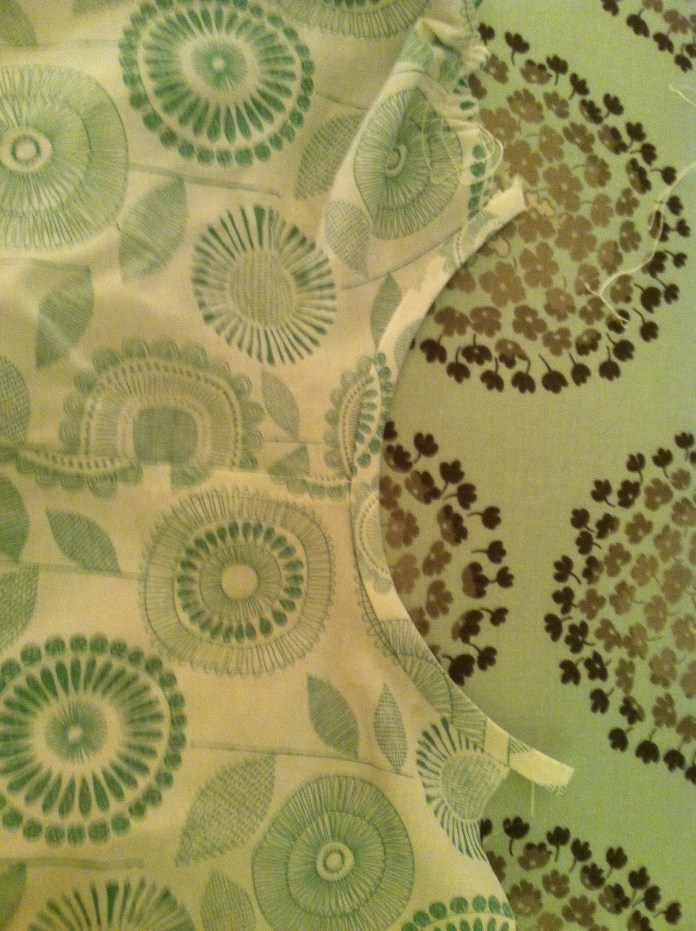
The Ruby Pattern is a pretty simple pattern. If you line the bodice, you still only cut out six pieces: 2 each for the front and back bodice and a front and a back for the dress. I usually make the Made By Rae patterns in a size M and add at least 2 inches to the torso or length. The Ruby has relatively small arm openings and while I don’t mind them on the dresses/blouse I have already made, I added some extra length to the front and back main pieces which has the effect of making the arm hole bigger. Interestingly the pictures of Rae modeling the shirt on the pattern site show plenty of room in the armhole but for me, the pattern cut out as is was pretty tight (must be all that yoga-ha!). I added about half an inch to the top and a bit to the side. Since I generally make changes and then completely forget what I changed when I go back to make the pattern again, I took pictures this time. You can see how much I added below. It ended up being just enough.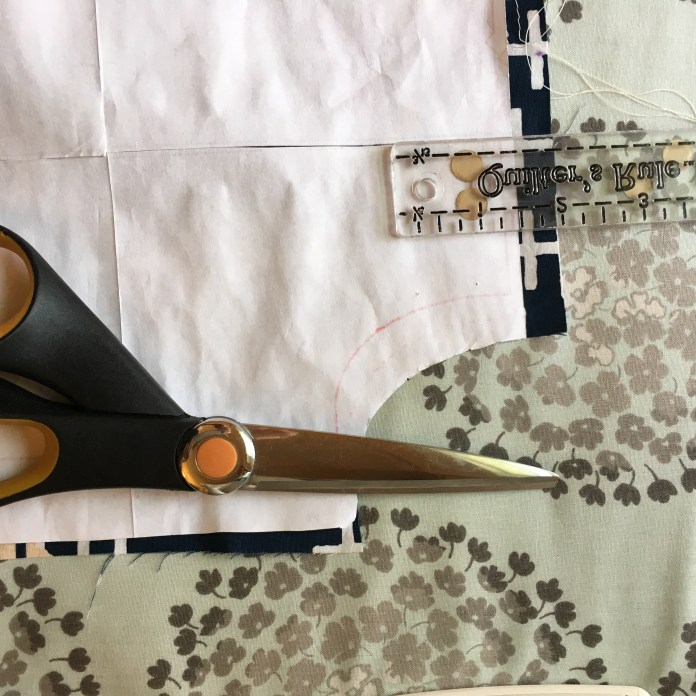 Here are more work-in-process pictures. I top stitched around the neck and also the upper part of the armhole. I use my presser foot to determine the size of my seam allowance so that everything lines up. I also cut my bias binding strips for the bottom part of the armhole 1.5 inches instead of 1.25 as suggested by Rae. I find I need a bit more to totally catch the binding on the other side. I don’t sew in the ditch. I have more luck sewing just next to it. Yoke lining in process:
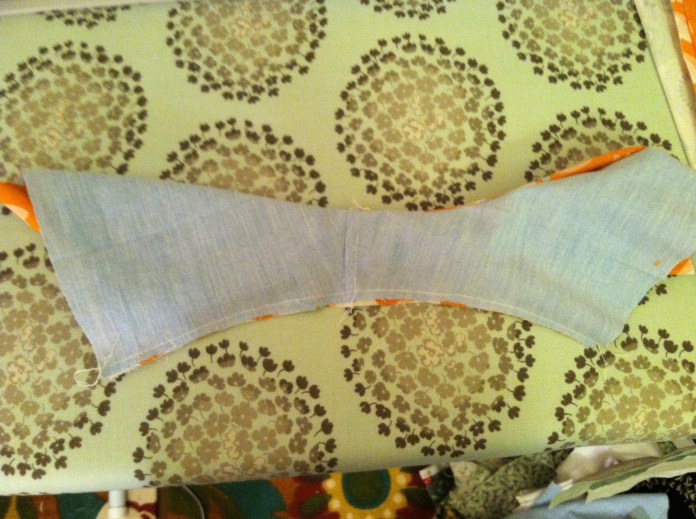
 Sewing the bias binding to the bottom half of the armhole:


Lined yoke with top stitching around the neckline: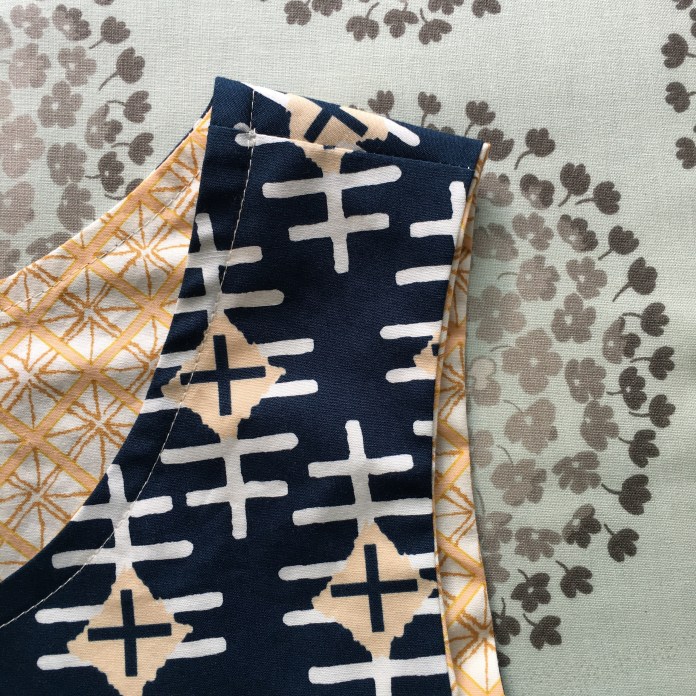 After sewing the yoke to the dress front and back and hand-sewing the lining as Rae instructs in her videos, I top stitched the top of the armhole. Since I had used my presser foot as my seam allowance guide when I sewed the bias binding, I used the same approach to top stitch the top of the armhole. I ends up looking as though you sewed all the way around.
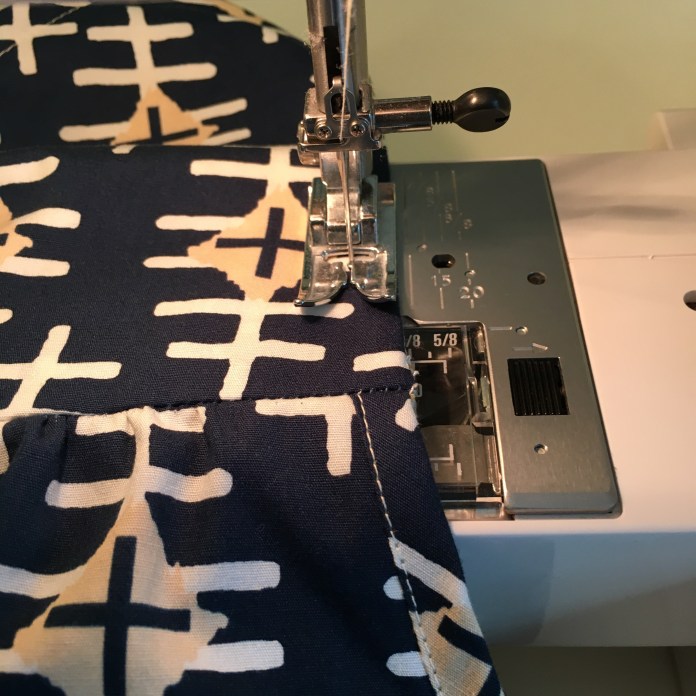 I leave the threads long and then use a needle to bring them to the inside of the dress and then knot them off.
  You end up with a really nice clean finish that is durable.
  I had some questions on instagram about the top stitching. I don’t always do it and I think it actually looks cleaner without it but I feel as though my dresses are very durable and I love that I can machine wash everything and not spend money on dry cleaning. The Ruby dresses below have been worn and washed more than ten times and they have held up great. You can see these Rubies in more detail here and here.


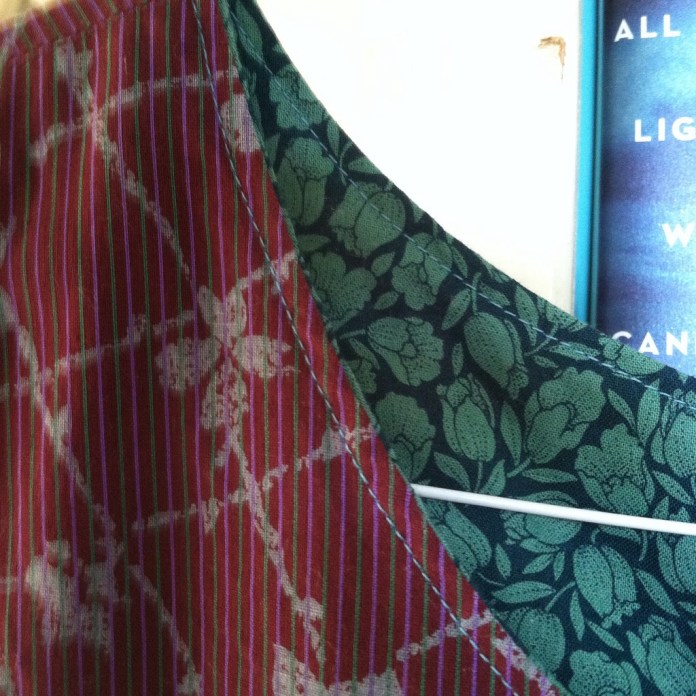
I thought about using the yellow to make a contrasting hem as I do, but in the end I just folded the hem up and ironed the heck out of it and sewed two rows of stitches. It turned out fine.


It is quite hot here today and part of my unplugged day was to do yoga on the porch and I am a sweaty mess so I have not taken pictures of me wearing it but I know this dress will be in frequent rotation. I am so happy with how it turned out. Great pattern and great fabric. Perfect combination!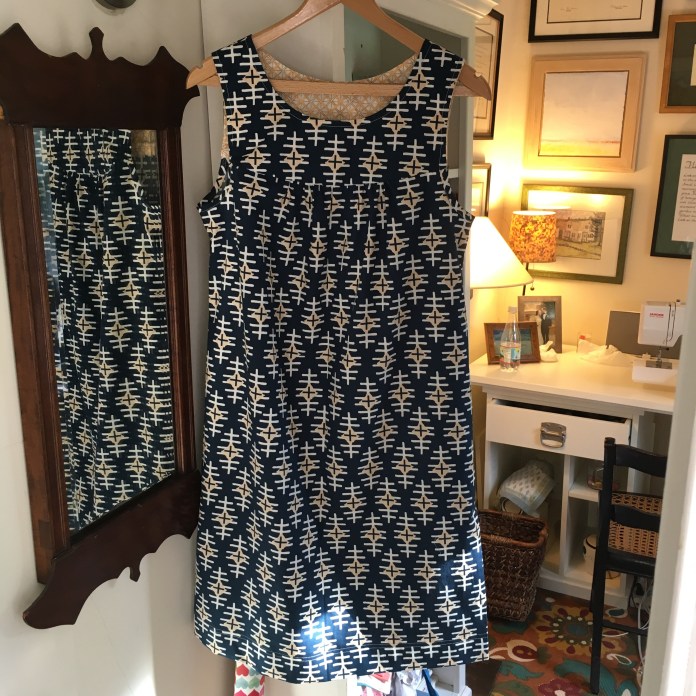
 The
The 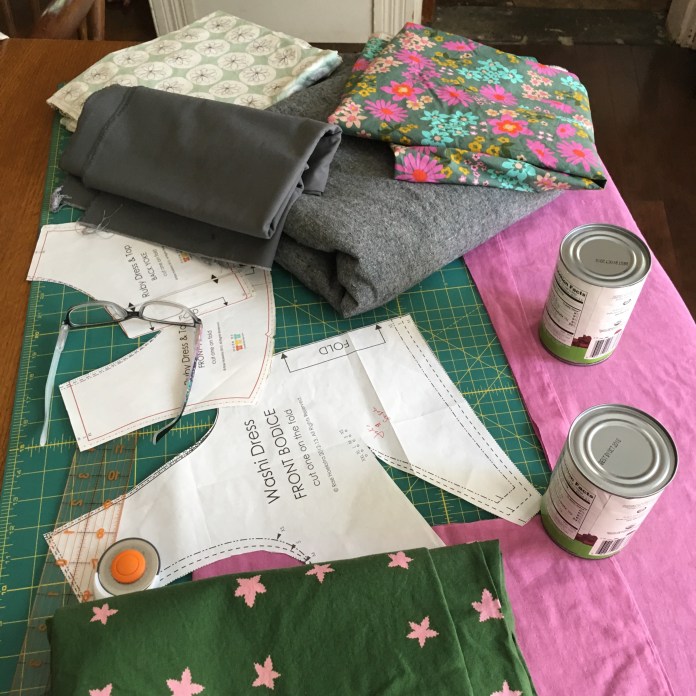 When I saw the floral lawn fabric next to the plum double gauze, I realized that it would be just the thing to line the bodice. I also noticed that the plum would be a perfect lining for a planned Washi in green with pink stars. These garments are hopefully going to be a mini Summer capsule wardrobe one day. I have a sleeveless
 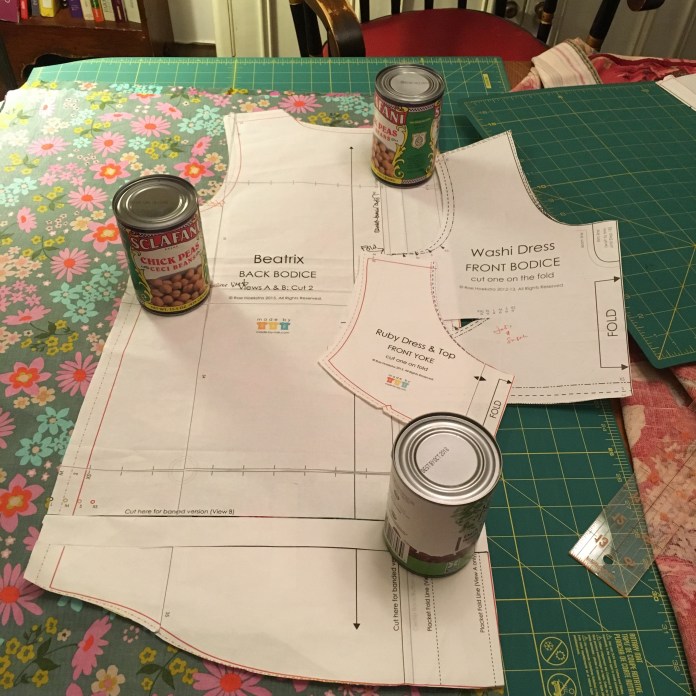 The lawn is such nice lightweight fabric, it is the perfect weight to go with the double gauze and I have loved this fabric from afar for quite a while. I am happy that it will find its way into at least three garments (I have enough left over to face the waistband of at least one of the skirts.) Rae has great
 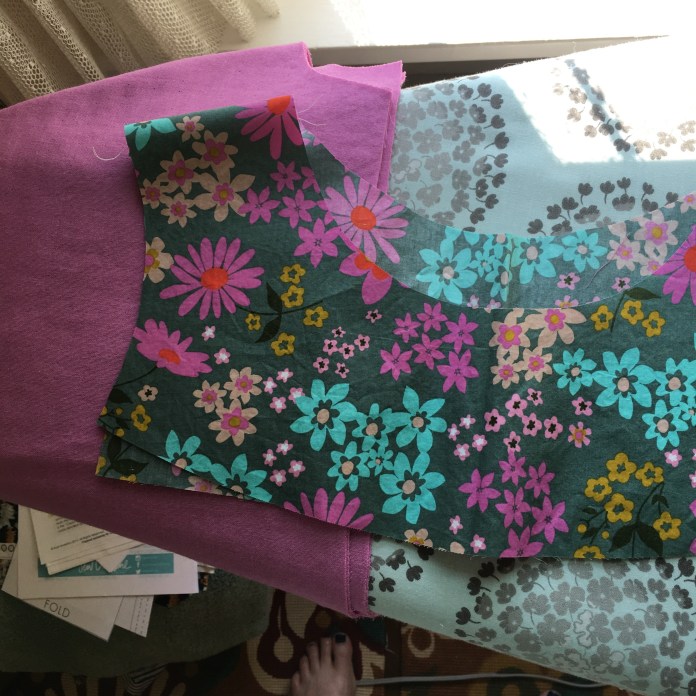 It involves something she calls the sausage technique. I have used it for most of my Ruby and Washi garments. It works like a charm. Some steps pictured below.


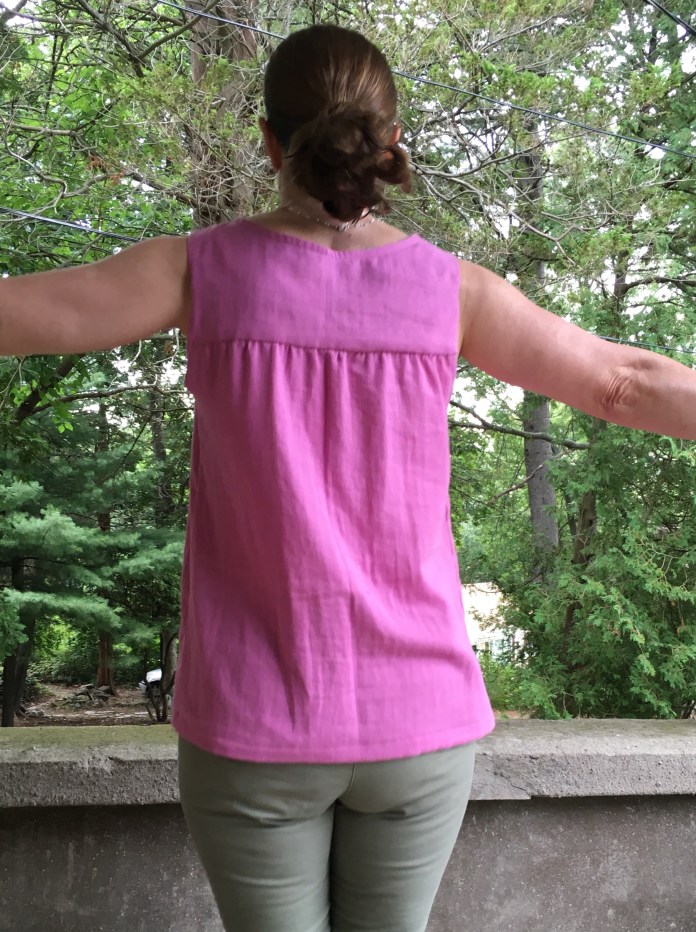
 Side view below shows that the armhole is comfortable but not overly revealing.
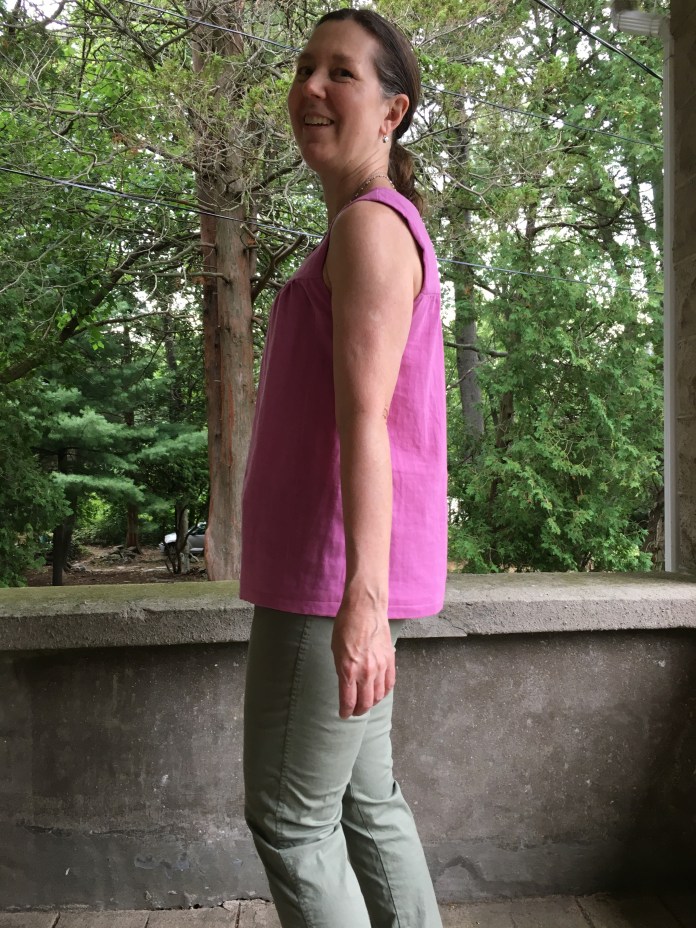 Up next, I have my floral lawn Beatrix blouse planned and a navy Ruby dress cut out and ready to go in
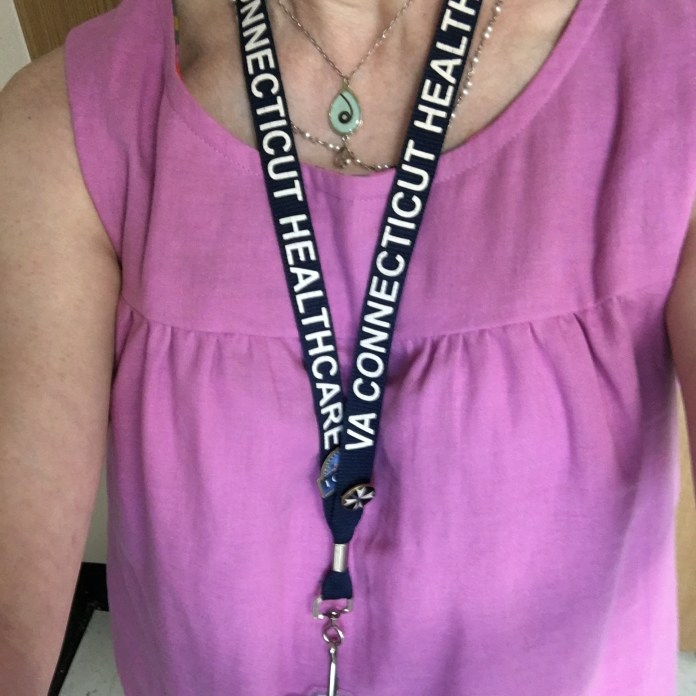


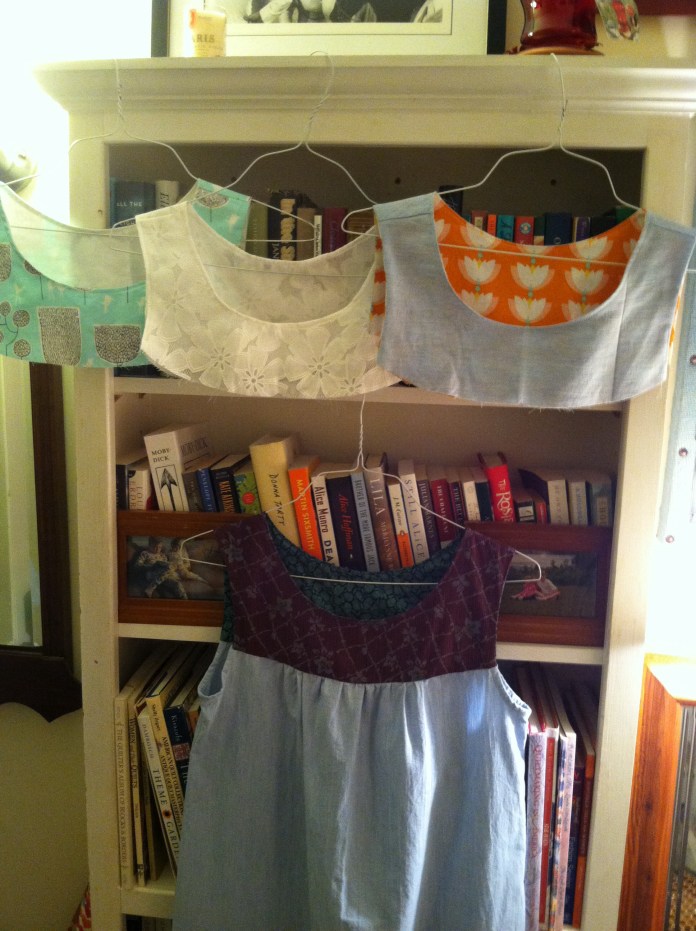
 I made two new Washi dresses for family members. A

 and a
and a 


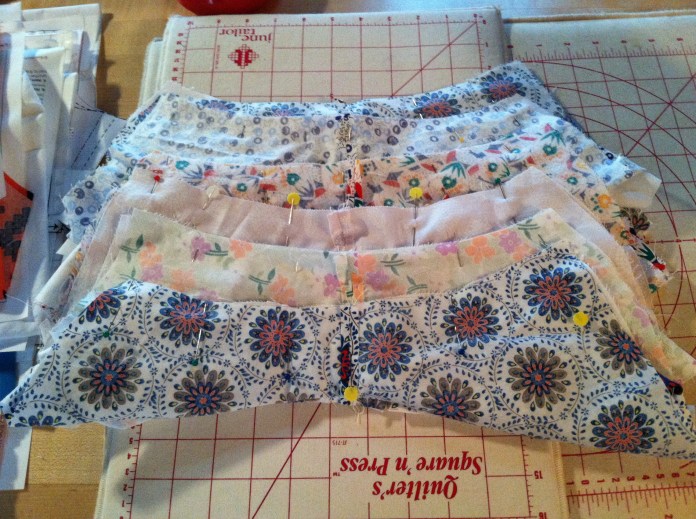
 Finally I decided to make a Ruby all in one fabric. I was inspired by Allie from IndieSew whose
  Once I realized that a fat quarter was all it took to make the Ruby bodice, I rummaged around in my stash and found several unused fat quarters to make a week’s worth of Ruby blouses. These will be great all summer and since I had leftover white cotton fabric, making these is basically free. Since I usually make two things at a time, I cut the fat quarters and chained pieced the bodices as one would a quilt.