
A chain of Ruby bodices lined up and ready to be made into awesome shirts!
The Ruby pattern by MadeByRae is a relatively easy pattern to sew that can be customized to create many different looks. It was the second pattern I sewed after the Washi. I dug around in my stash to find the right fabric for my wearable muslin since I never like to spend money on fabric for my first attempt. (Interestingly, all of my first attempts have ended up being garments I love to wear, but habits die hard.) I had some fabric I liked but didn’t have enough for the main parts of the blouse. Most of the versions I have seen use a white or cream colored bodice with a patterned bottom. Surfing through my sewing blogs I came across this blouse by super seamstress Ada Spragg and I realized that I could do the reverse and use the pattern for the bodice with the white for the main parts of the blouse and that is what I did. As with all my MadebyRae patterns, I made a medium and added two inches to the length. It was an easy sew, done in an afternoon, but I love how finished it looks. Rae’s technique for lining the bodice is explained in her really easy to follow tutorials. Here is a picture of the (slightly rumpled) finished product which I have worn many times.


This is a great layering piece that I plan to replicate in many other fabrics. I love how it looks under a sweater, a jeans jacket and with shorts or a skirt. I love how flattering the neckline is and how the little bit of pattern peeks out.

I then decided to make some Ruby dresses and made four very different versions. Version one was made with chambray material from my stash purchased over 20 years ago in Brooklyn. I dug through my scraps to find good bodice material and found some unused fat quarters also circa 1993 Brooklyn. They were just enough to make the bodice. I loved the resulting dress which I wore all summer. It is really great with a jeans jacket. I played around with the two bodice fabrics because I could have gone either way in terms of which to use as the bodice fabric and which to use as the lining. Both worked. This is the final version.

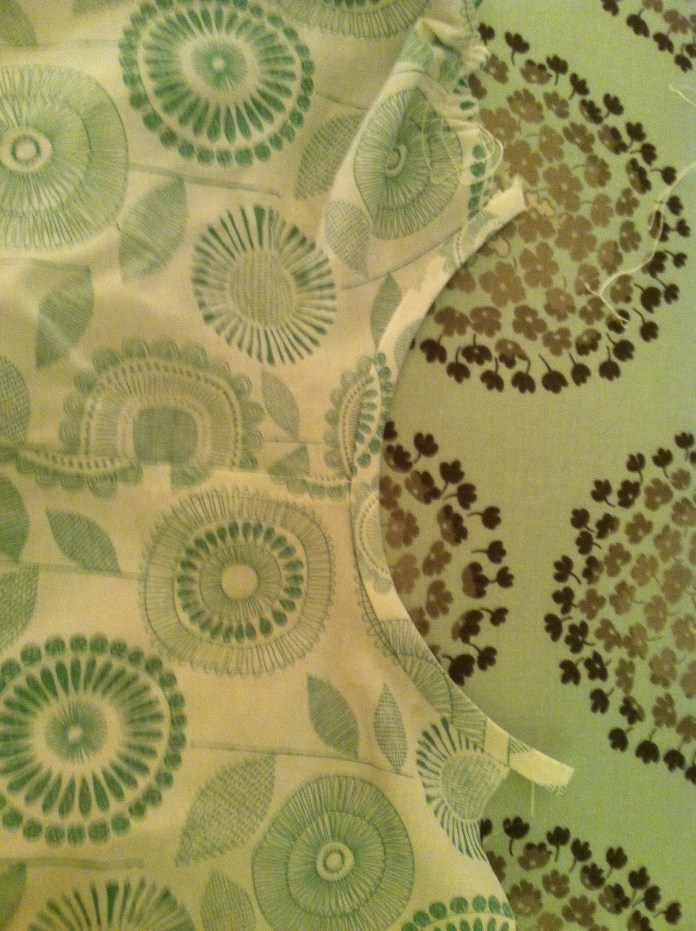
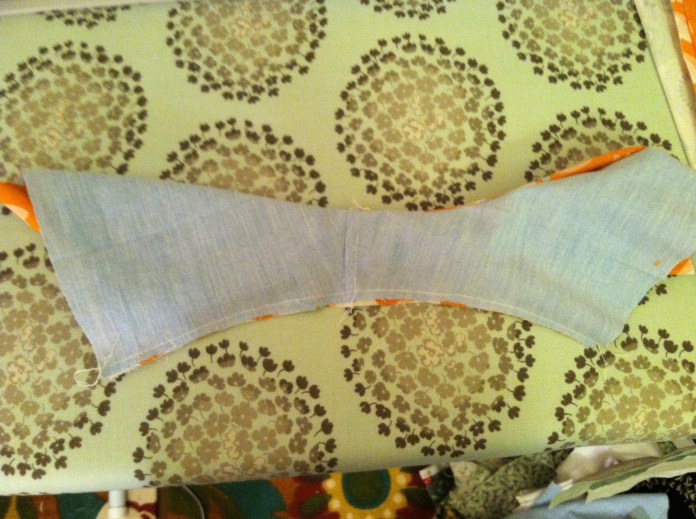
Detail of bodice:
And here is how I wore it all summer:

Since my first two Rubies were basically free (fabric over 20 years old counts as free in my book!) I splurged to make some more versions. One was inspired by Rae’s version with a lacy top and a spring-like print for the main part of the dress.


I loved this fabric and enjoyed making this and it looks really pretty on the hangar:
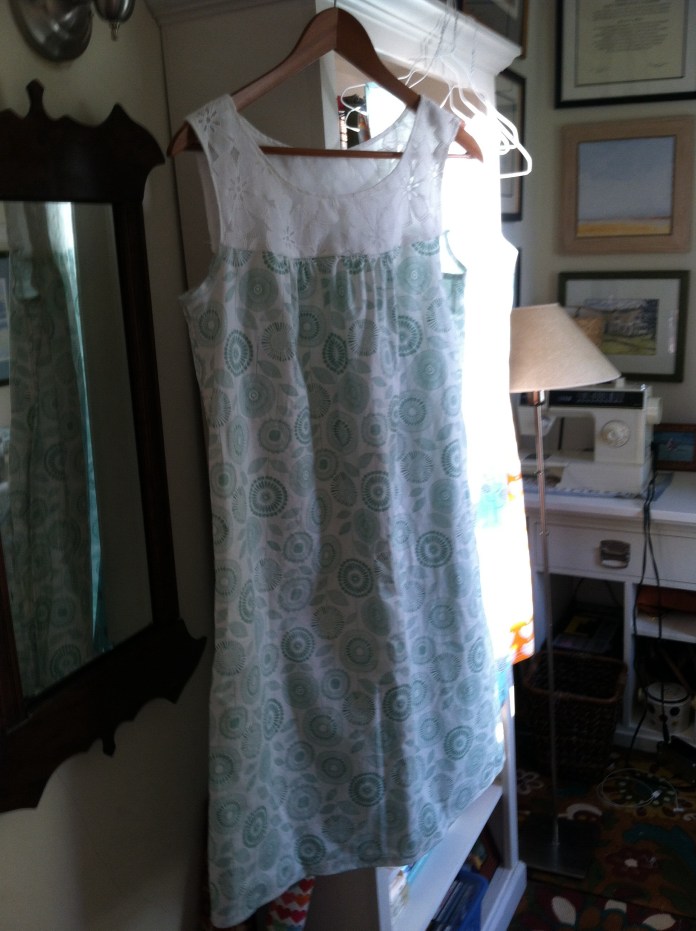
I tried it on though and between the shape and my fabric choices, on me it looks like a nightie my mom would have worn in the 60’s when I was growing up, a really beautiful nightie but still evoking more nightie than work dress. I thought about using it as a nightie and contemplated cutting it shorter and making a top which would probably have been cute with jeans but in the end I sent it to my daughter who said she would wear it with the world’s most versatile belt and here she is looking as cute as ever.

I then made a version inspired by another dress that Rae made using her Lotus Pond fabric. I used a scrap of the attic chambray for the bodice and the orange Lotus Blossom fabric for the dress. This fabric is really soft when washed and this made a great dress. I like the more structured feel of the chambray which I lined with more of the orange fabric for a more casual summer dress (although this got worn to the office as well.) Also very cute with a little cotton sweater which dresses it up a bit. This is how I wore it to work.
 Finally I decided to make a Ruby all in one fabric. I was inspired by Allie from IndieSew whose Ruby is adorable. I love this bright turquoise print with little birds. The name of the fabric is Tokyo Trees and I think it made a great dress. Wearing it made me happy.
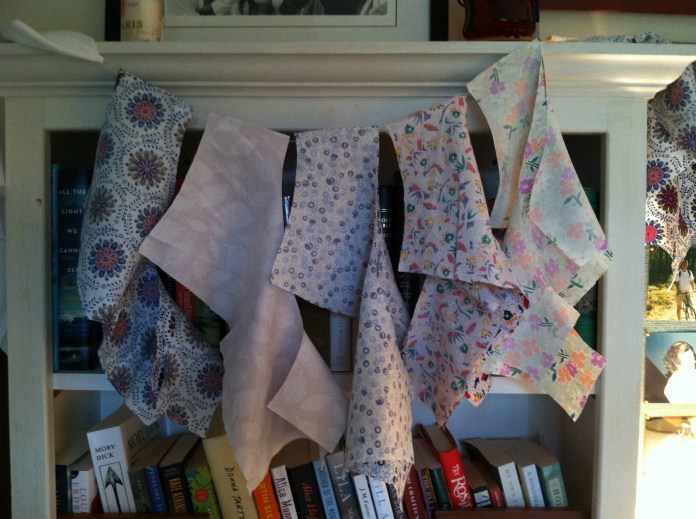
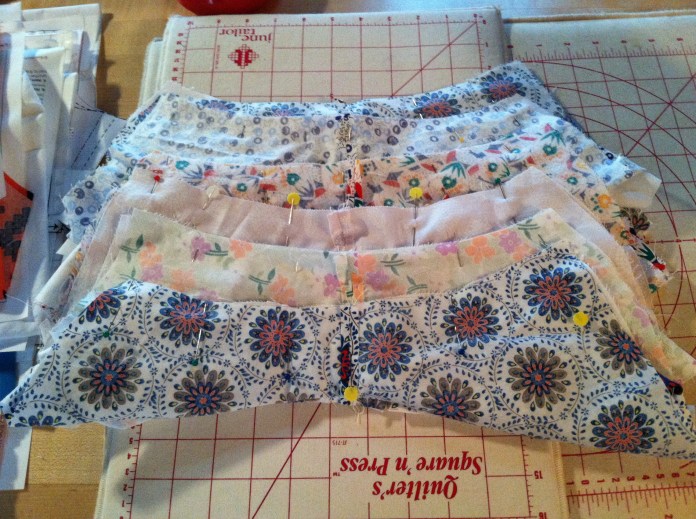
 Once I realized that a fat quarter was all it took to make the Ruby bodice, I rummaged around in my stash and found several unused fat quarters to make a week’s worth of Ruby blouses. These will be great all summer and since I had leftover white cotton fabric, making these is basically free. Since I usually make two things at a time, I cut the fat quarters and chained pieced the bodices as one would a quilt.
Here are some of the bodices after lining them all ready to be attached to the shirt pieces:

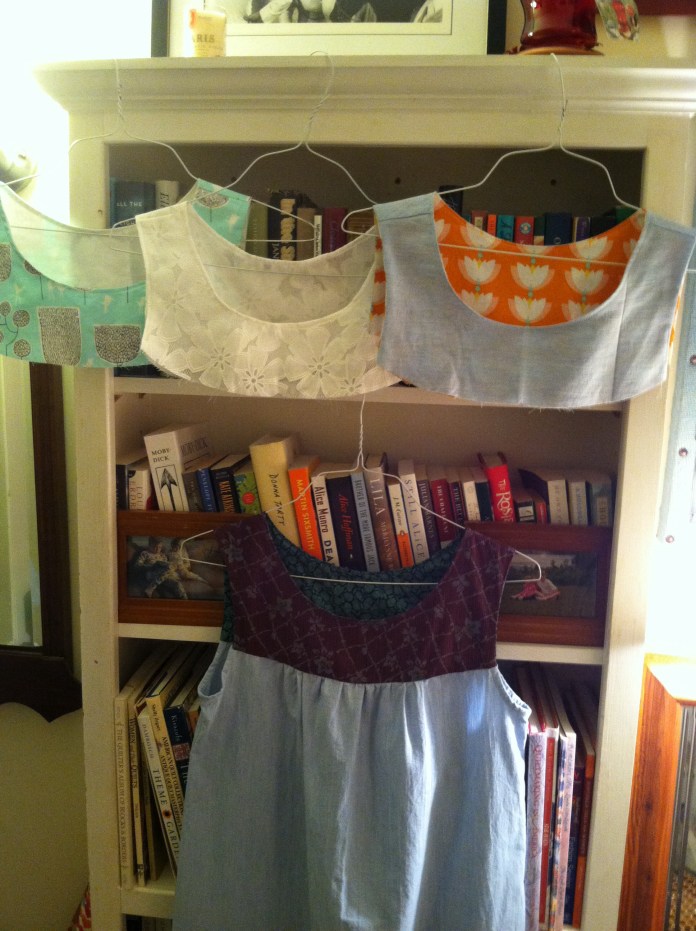
They are still unfinished as of this writing but are high up on my list of WIPs to be finished in the new year. I know that they will be great come summer.

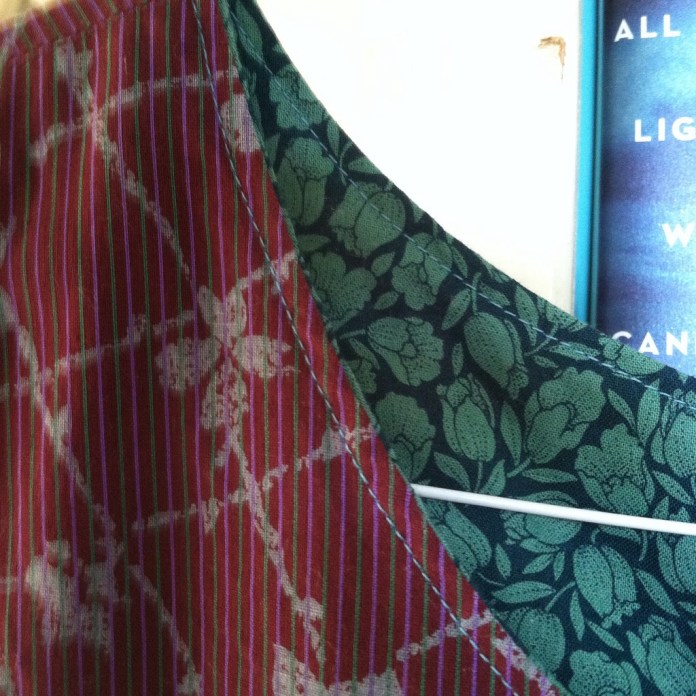
Overall, I can’t recommend this pattern more highly. Easy, cute, versatile. Here are some detail pictures showing some of the steps.


I love them all. It looks like a simple pattern but the choices with fabric are huge!
LikeLike
The Ruby pattern is great. Very simple but very flattering!
LikeLiked by 1 person
Pingback: Me Made May 2016 Round-Up | nursebeansews
Pingback: Plum Double Gauze Ruby Blouse | nursebeansews
Pingback: Path Marker Ruby Dress | nursebeansews
Pingback: Nursebean Takes a Minibreak | nursebeansews
Pingback: Snowversary 2017 | nursebeansews
Pingback: Itty Bitty Baby Dress | nursebeansews
Pingback: Morning Walk Ruby Dress | nursebeansews
Pingback: Nursebean Sews a bit and Reads a lot: March 2018 | nursebeansews
Pingback: June 2019 Sewing: Made By Rae Tops and the Zadie Jumpsuit | nursebeansews
Thank you for your tip about widening and deepening the tight armhole on the Ruby, I had the same problem on my toile. I also found the ruby bodice a bit too wide so will skip the 1/4 inch Rae advised should added to the armhole area for the lined version, the neckline was fine with the extra 1/4 inch. I love your sewing tips and use your blog all the time to help with my sewing problems. I also use the same patterns as you and find that with your advice and Rae’s tutorials I have made by first successful garment to date, the Beatrix. I made the toile for Ruby yesterday and can now rectify fitting problems using your blog. Thank you so much for sharing, your tips you’re amazing.
LikeLiked by 1 person
Thank you! I am so glad it is helpful to you!
LikeLike