Me Made May 2018 is coming to a close and I am running out of steam but it was a very productive month. You can read my first #mmmay18 blog post here. I will be wrapping up the month with this post.
As of May 28th, I have completed 14 projects, one every other day. This is not a sustainable pace, clearly, but I had been out of my sewing groove for a while and the energy of the sewing community during this month is contagious. It has been great to try some new patterns and I love everything I made. They will all be things I wear and enjoy. I have one more work in process that I will probably complete by the end of the month (a York Pinafore in a linen blend) but today I am putting away the piles of fabric and pattern pieces that are scattered about the house and getting ready to go on vacation. Here is the final tally:
1 Made By Rae Jade knit shirt (the first of many). I was a pattern tester for this shirt. It fits beautifully and I love the striped fabric, an organic cotton knit by Cloud 9 Fabrics, that I was given to use in the testing. I went out and bought more to make a Blackwood cardigan (seen below) and also bought some of the same fabric in navy and black with a thin white stripe which will become Jades. The Jade pattern was just released. You can see more versions on Rae’s blog here.
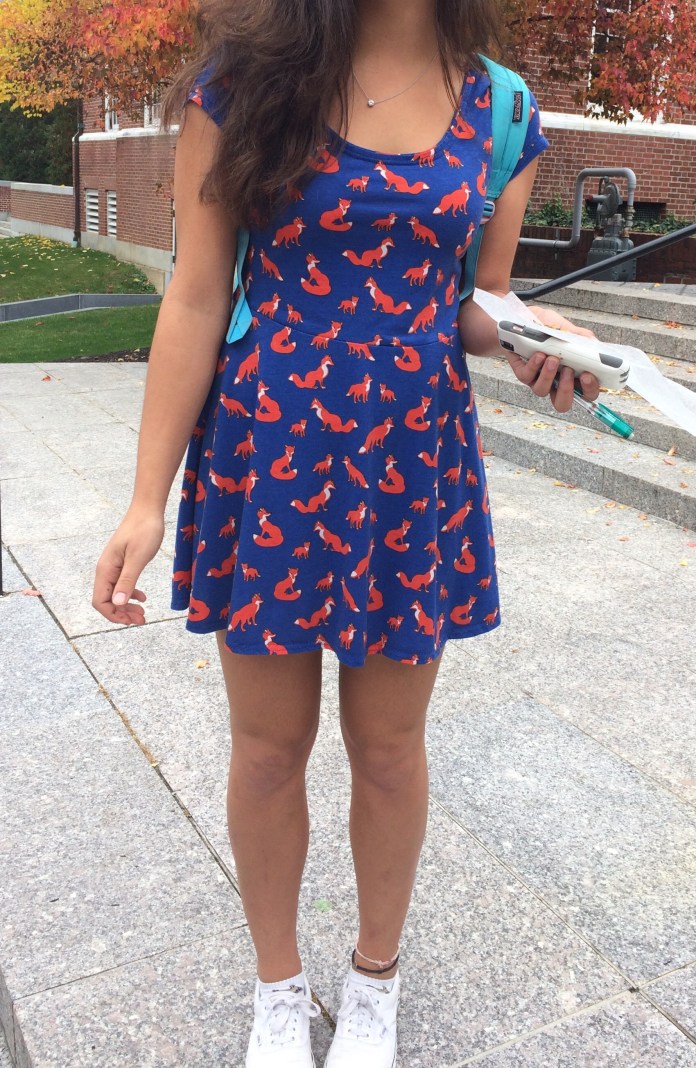
6 Isla Dresses: a tried and true pattern, also by Made By Rae, now with sleeve options using the Jade pattern. I made 3 using the traditional sleeveless pattern and added sleeves to three including a maxi-dress version. This is the dress I most often turn to in the morning. Comfortable and cute.
I bought this fabric planning to make a Jade top to go with the striped Blackwood cardigan but it just called out to become a Maxi Dress. What could I do but listen?
I love this version of the Isla in Mystery Food cotton knit by Sarah Watts. It makes me smile. Worn with my second most made pattern this month, the Blackwood cardigan.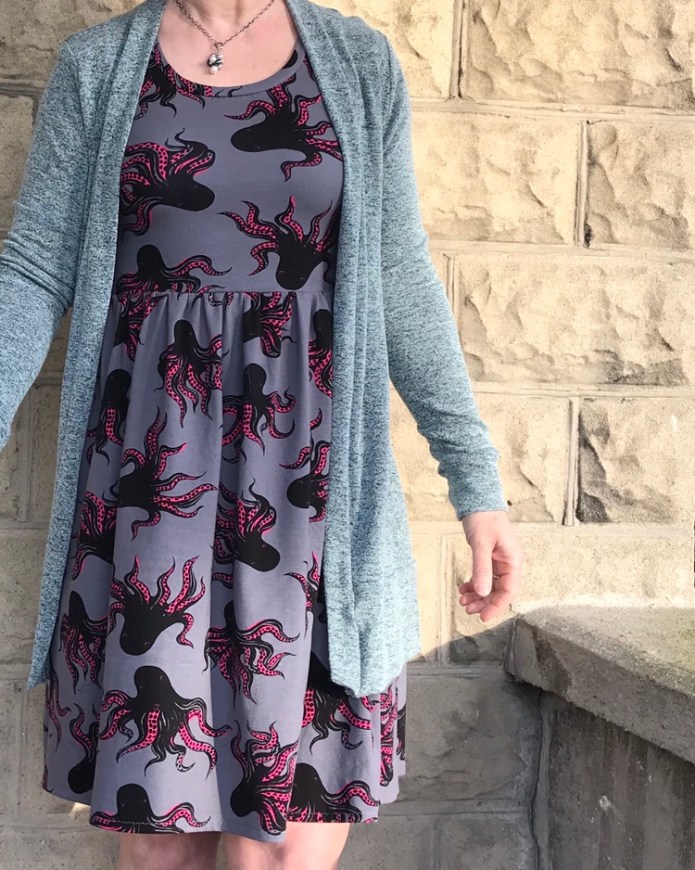
I made 4 Blackwood cardigans this month and I wore one of them pretty much every day. This is a pattern I had been meaning to make for a long time and it was worth the wait! I experimented with the length and decided that 3 inches shorter than the long version of the pattern as drafted was best for me. The mustard and grey sweater knit versions are that length. The black and grey version is the length as drafted. I didn’t add pockets but I plan to add them to the striped versions. I finished sewing a boho blouse using the Made By Rae Josephine pattern and Loominous fabric by Anna Maria Horner-I love how this turned out! I am thinking a white double gauze version will be up next-I think it would be great with the York pinafore.
Here is it as worn.
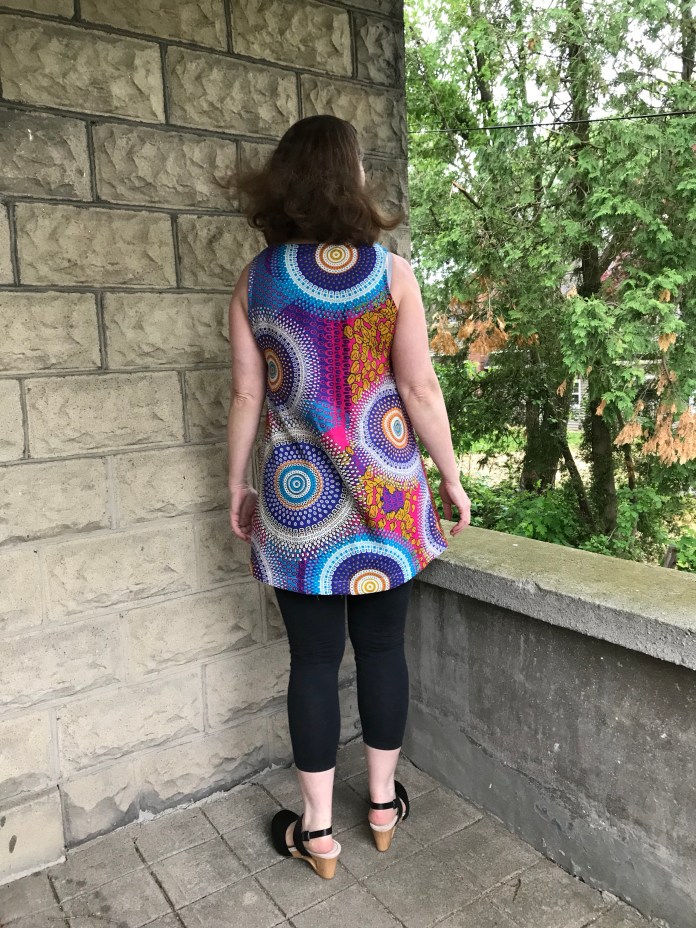
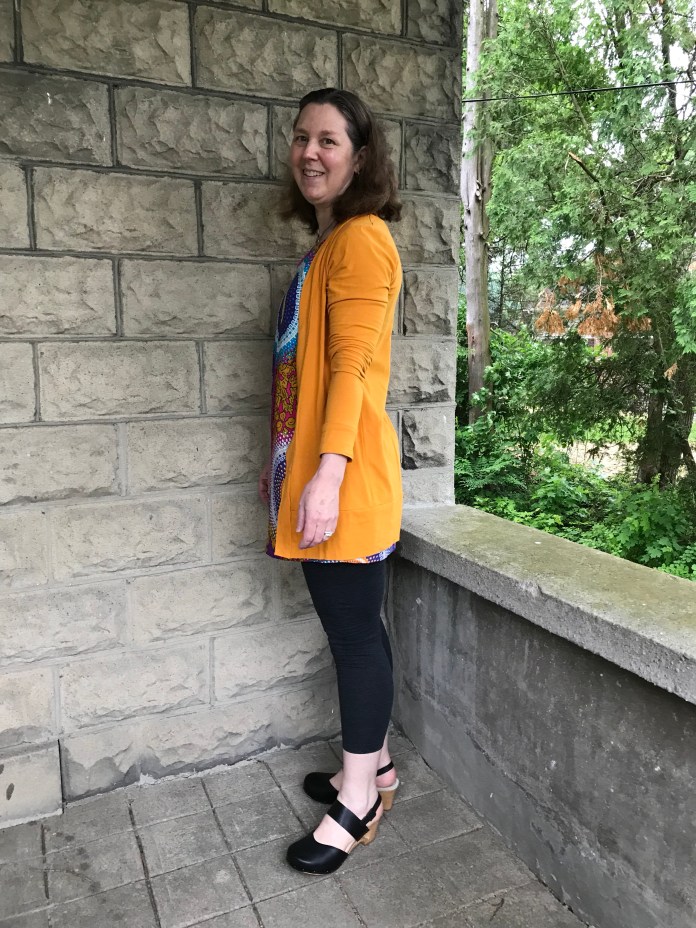
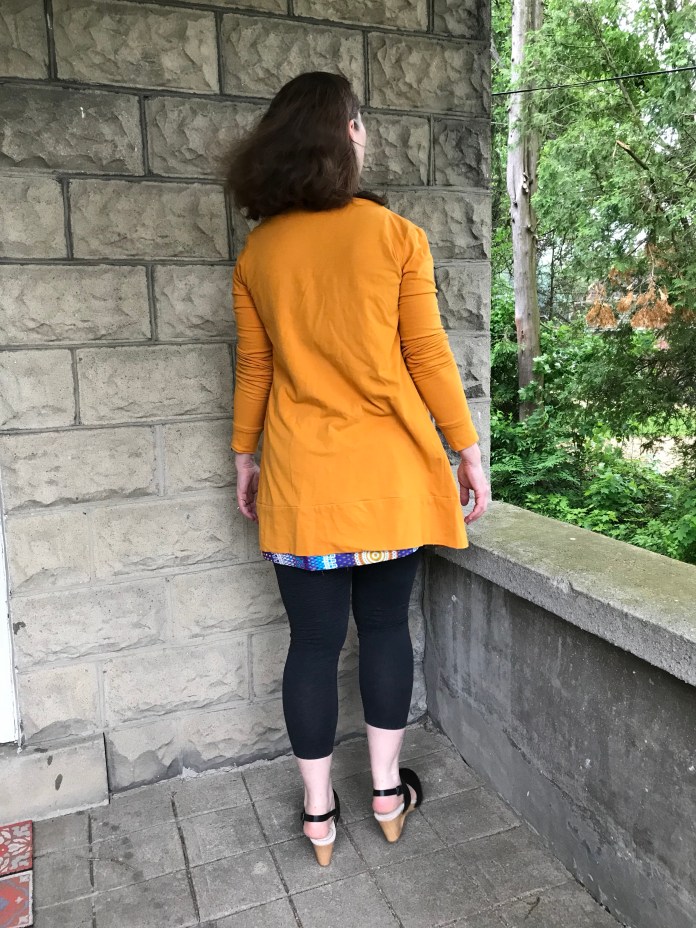
I also finished a tunic length Gemma Tank using beautiful wax print fabric given to me by a friend. I am going to wear this all summer.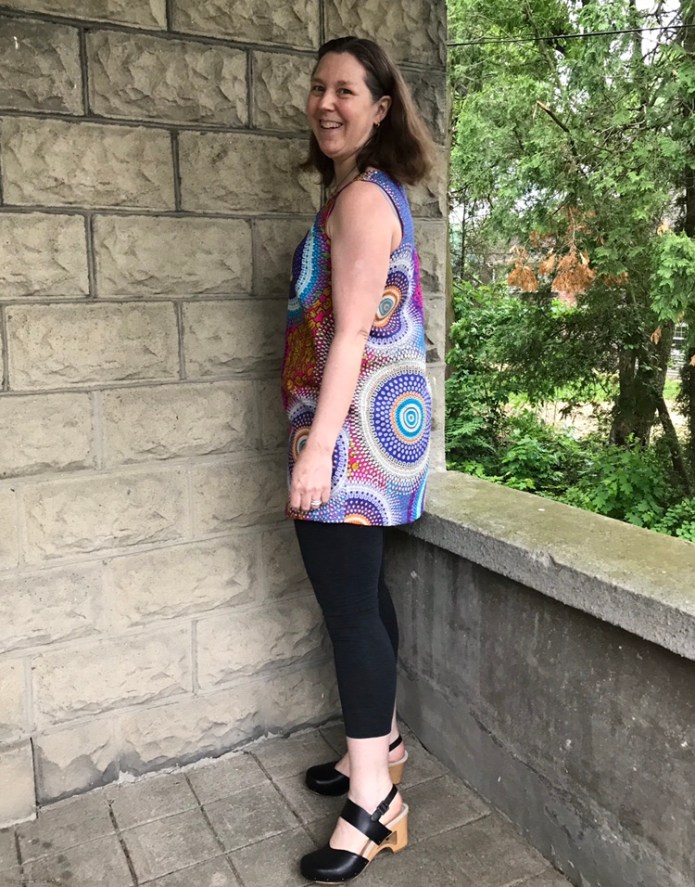
My mustard cotton Blackwood works perfectly with it.
You can see the sweater length I ended up liking best on this back view below.
Last but not least, I made a Grainline Tamarack Jacket start to finish this month. I had been wanting a spring weight jacket and didn’t want to buy one. In previous years, I would layer a jeans jacket over a cardigan but I really wanted a nice jacket to bridge the seasons from winter to sweltering and I am so pleased with this jacket!
I am definitely going to be wearing this so much. I love the soft chambray I ended up using from one of my favorite fabric stores. It just gets softer with washing. I know this is just going to get better with age. And the lining makes me smile.


Finally, here is a picture with all 12 of the versions of the Isla that I have worn so far this month (I actually have made more than these-closer to 20.) All the versions I have made are still in frequent rotation. I can’t recommend this pattern more highly on its own and especially now with the addition of the Jade pattern sleeves.
If you have questions about any of the patterns or fabrics, feel free to comment. More pictures and details on my instagram: @nursebean82.
Also, if you are reading this and are inspired to sew for yourself, my friend Natalie is hosting a series of monthlong dress sewalongs in June and July. She has chosen two beginner-friendly, beautiful summer dress patterns. Natalie’s enthusiasm and creativity are contagious and she is a wonderful teacher. Check out her blog http://www.hungryhippiesews.com to learn more.
Happy summer everyone!

 I didn’t even hem it.
 I know it will be worn a zillion times dressed up and dressed down.
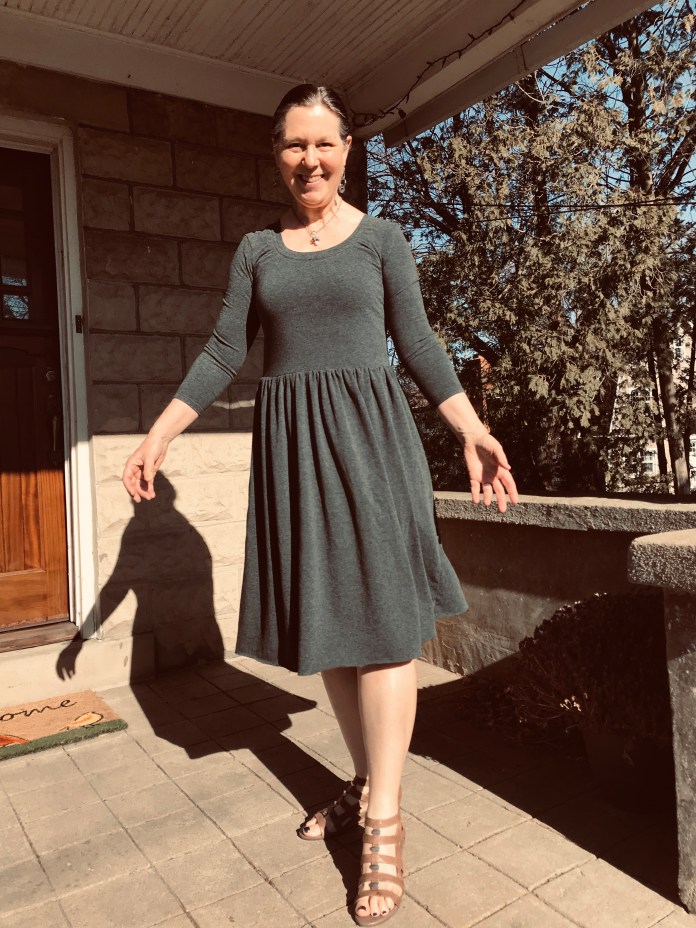 Now to buy some new necklaces to go with it. It is the perfect backdrop. For the many other Islas and some tips on sewing knits with a regular sewing machine, check out Sewing with Knits 101, Sewing with Knits102 and my Me Made May wrap-up posts here, here and here.
 I went back to school in my 40’s to become a nurse practitioner. It was a long journey that included many detours, the most significant of which was taking a job as an inpatient oncology nurse. I started working as an RN when I needed to support my family while still in school in my Masters’ program and have worked at the same hospital first part-time, then full-time, then part time for over ten and a half years.
 I love the knot at the top of the Green Bee hat.
 And now for the baby pictures. I mean seriously can you stand how cute this little guy is?
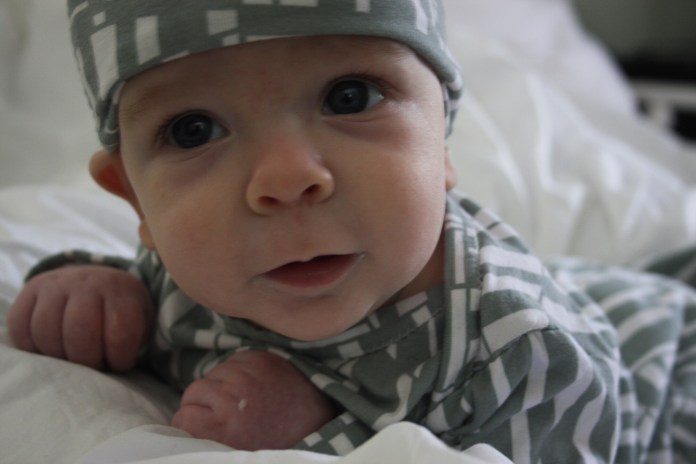 Hat close-up.
 Working on baby planks here.
 I am not yet a grandmother, but I plan to be ready when the day comes.
 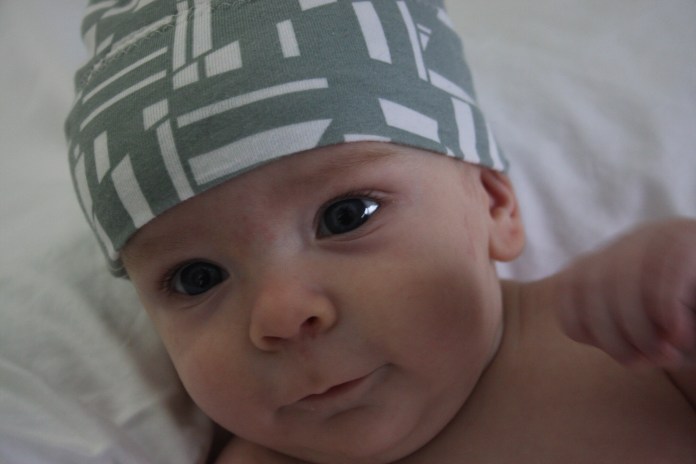 Happy baby!
  One yard of fabric. One afternoon. Go make some baby clothes friends. Instant happiness!
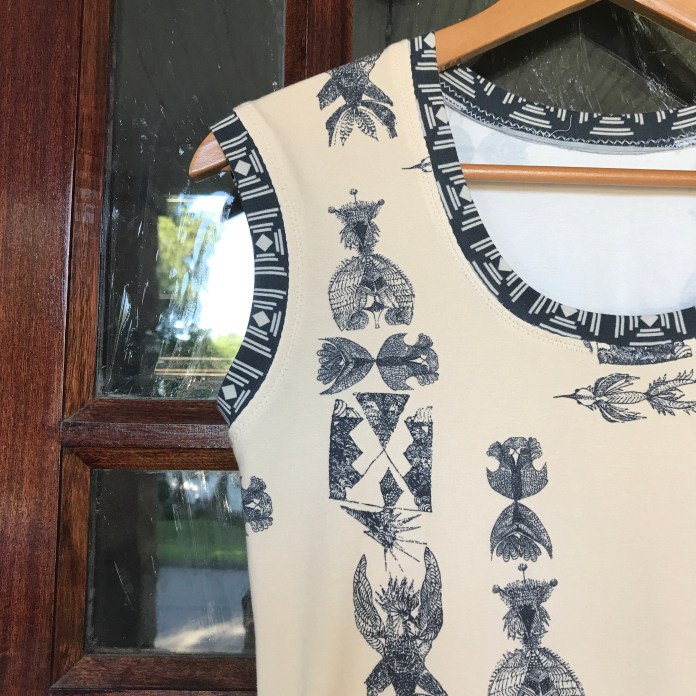 A little more than two years ago, I started sewing my own clothes and last fall, I took the
  And as worn here:
 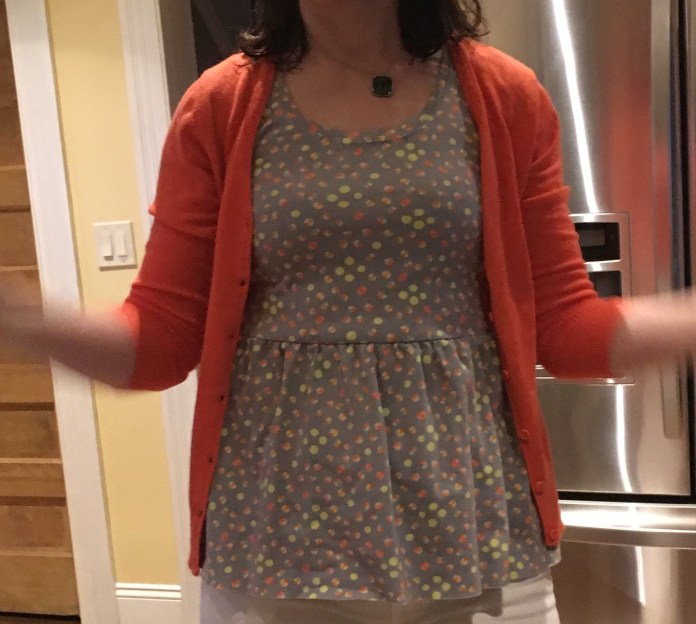 This would seem to be plenty: 3 summer dresses. And then,
 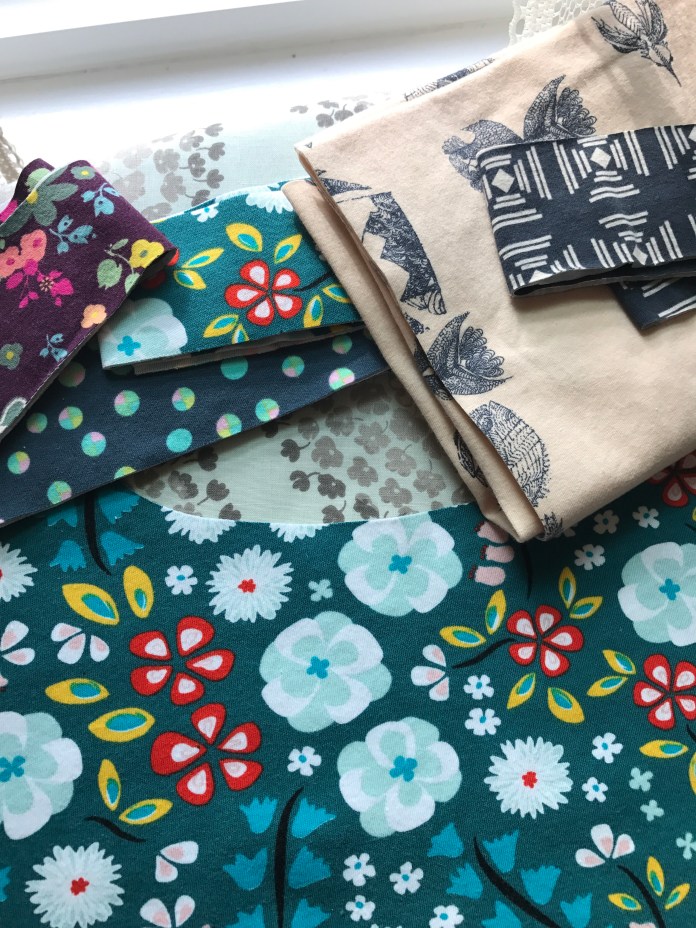 Other than adding an inch to the length of the skirt (which I neglected to do for the Glow version, I am not sure why) I followed exactly the same methods I used for my first batch of Isla’s which was to use all the tricks that my Instagram friends shared with me and which can be found in
 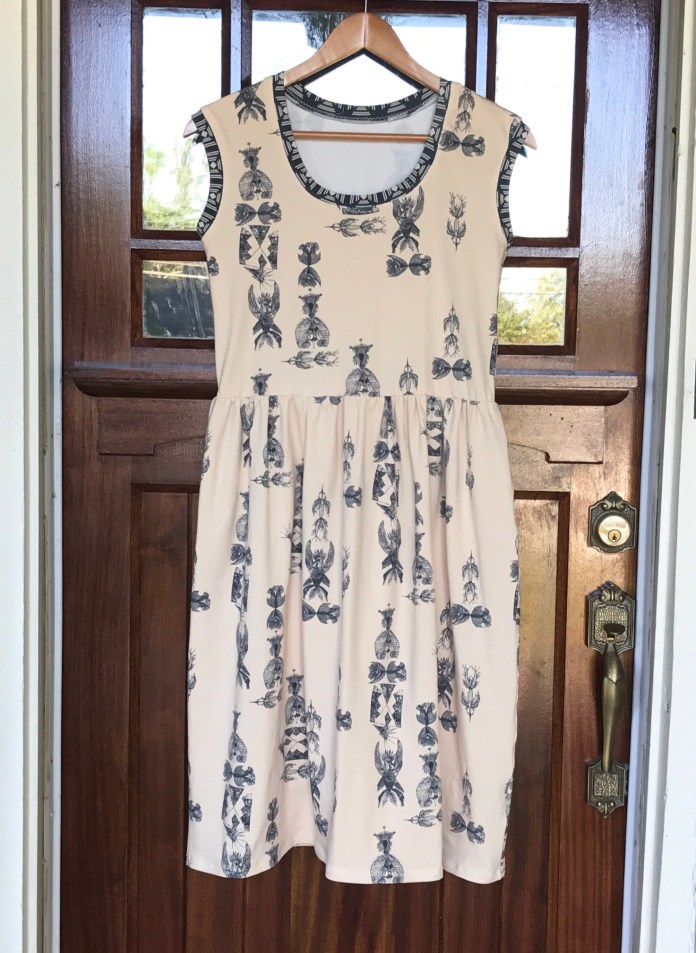 And as worn:
  Next up I made the Sidewalk fabric version. I knew it would be good because I had seen
  This fabric is really nice to work with and I am so happy with how this version turned out.
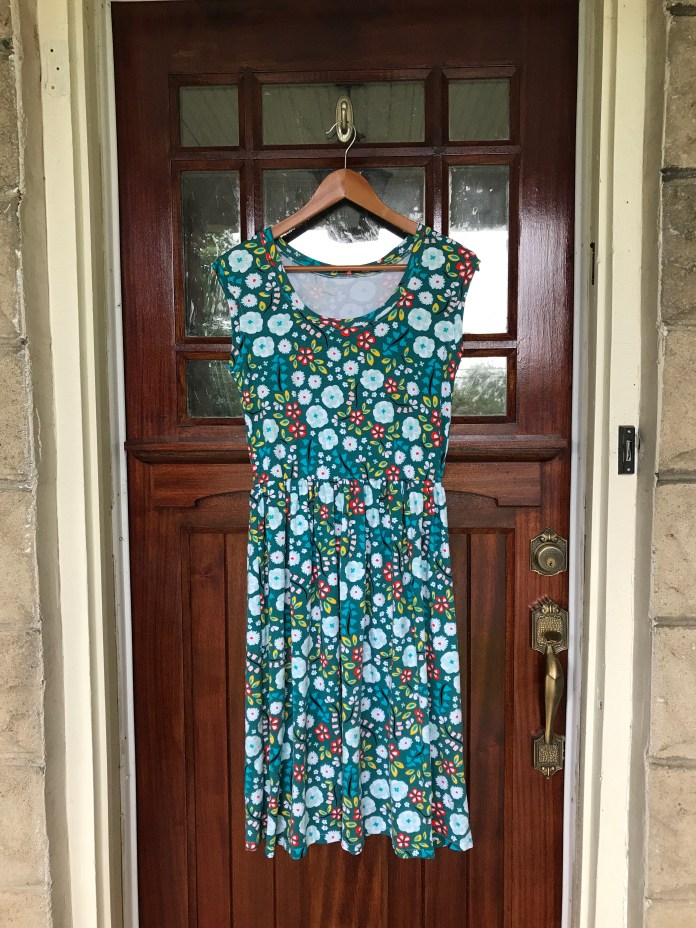 And as worn:
 Next I sewed the
  And as worn:
 The Amy Butler version is a bit shorter which came in handy when we recently had a heatwave. I didn’t think I cut it differently but I must have.
 This fabric is a bit heavier than the others. It is really easy to sew with and would be great for someone new to knits.
 And that would have been it, except that
  It is amazingly comfortable, flattering and doesn’t wrinkle.
 Perfect for a trip to someplace amazing. Now all I need are airplane tickets. Mr. NB, take note! And it is even better with my mustard cardigan, as most of my dresses are.
 One of my favorite winter Islas did get some wear time this summer on one of our cooler days. Here it is with leggings and sneakers. I can’t recommend this pattern more highly!


 But I wasn’t thrilled with the results I got using my regular sewing machine. When
 I tried a stretch stitch on my machine based on
  This is what the test sample of the stretch stitch looked like on a scrap.
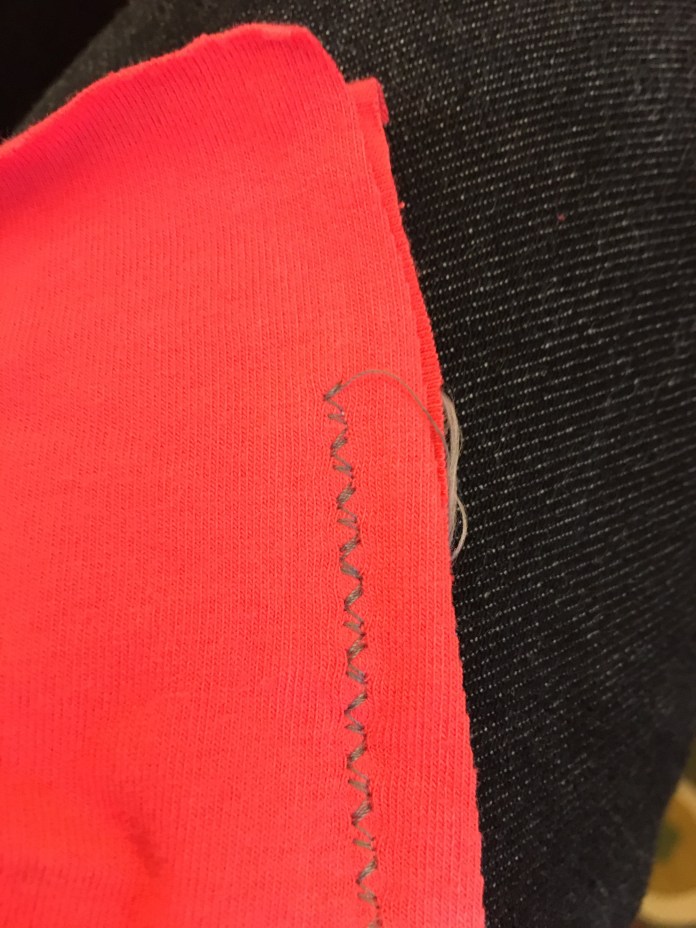 These are the settings I used for the stretch stitch which I used for all my seams.
  And here are the settings I used for the zig zag stitch that I used around the arms and neck to tack down the seam allowances after attaching the binding.
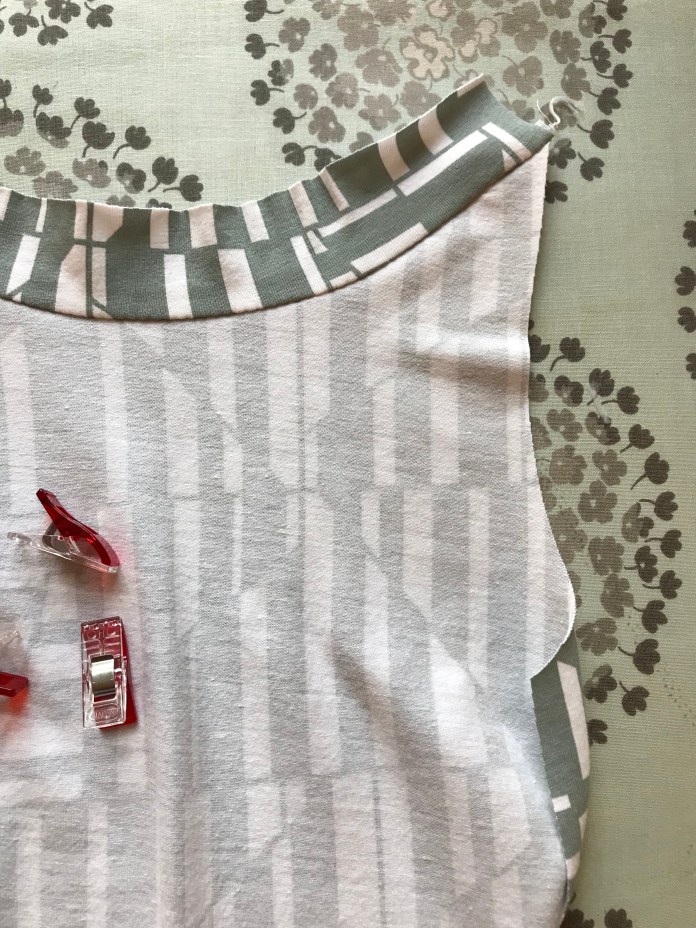
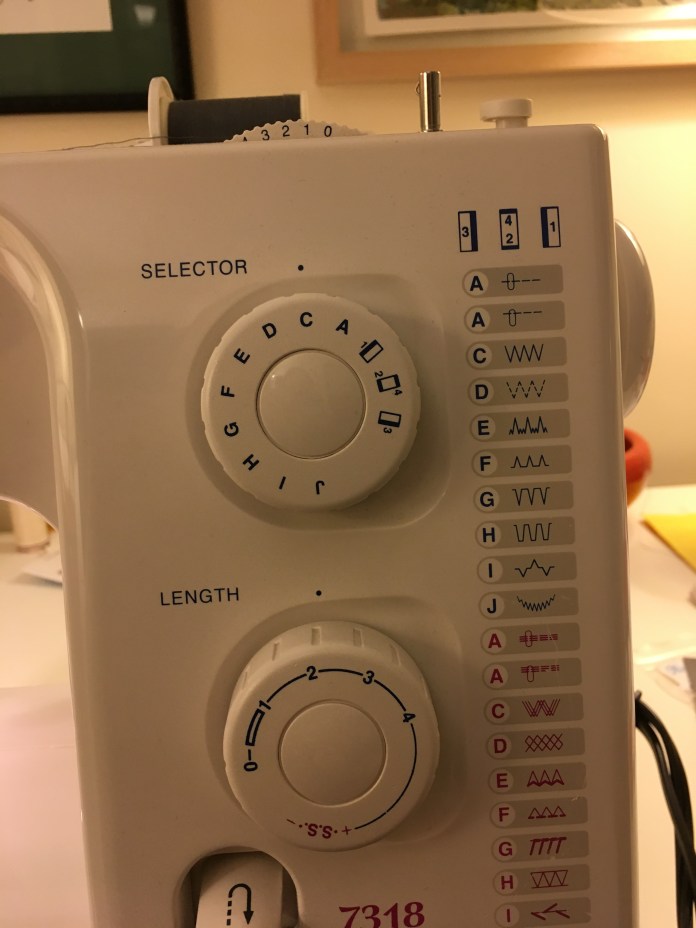 Here is a close up of the arm binding with the zig zag sewn about 1/8th inch from the seam. The walking foot worked really well feeding the fabric in evenly and helped the machine handle the bulk where seams were joined.
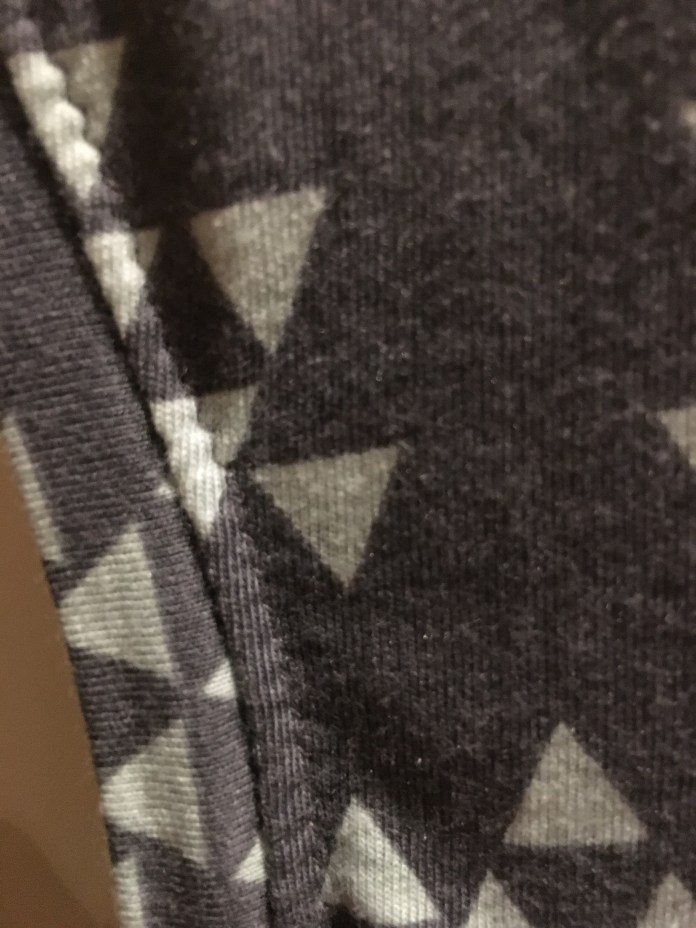 I used the same tension I always use for all of the stitching, even the gathering stitch with elastic thread, and it worked fine.
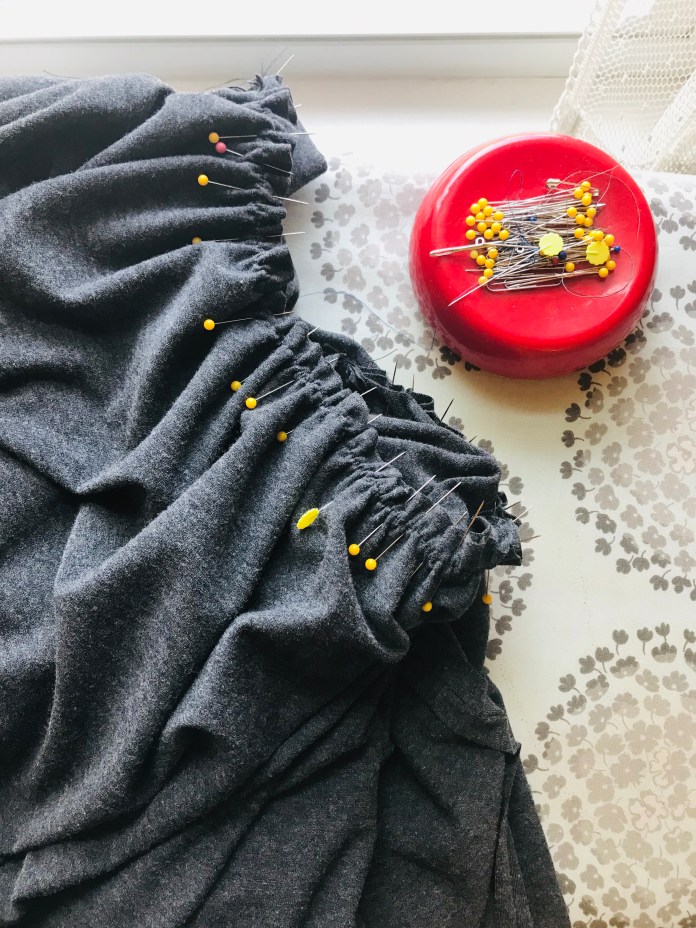
 The gathering technique is magical. Using elastic thread in the bobbin and a zig zag stitch, the skirt was gathered exactly the right amount. I have learned after sewing many MBR patterns to just trust Rae. She knows. Her instructions are straightforward and work great when followed.
 but that may also be because I am very small busted. I will try to make the neckline binding a bit smaller next time ( I find that it usually takes me 2-3 tries to get a pattern down,) but I am overall really happy with my first version.
 I used a twin needle with stretch thread in the bobbin to sew the hem. I ironed the hem before sewing.
  I used wonder clips to hold the hem in place for sewing.
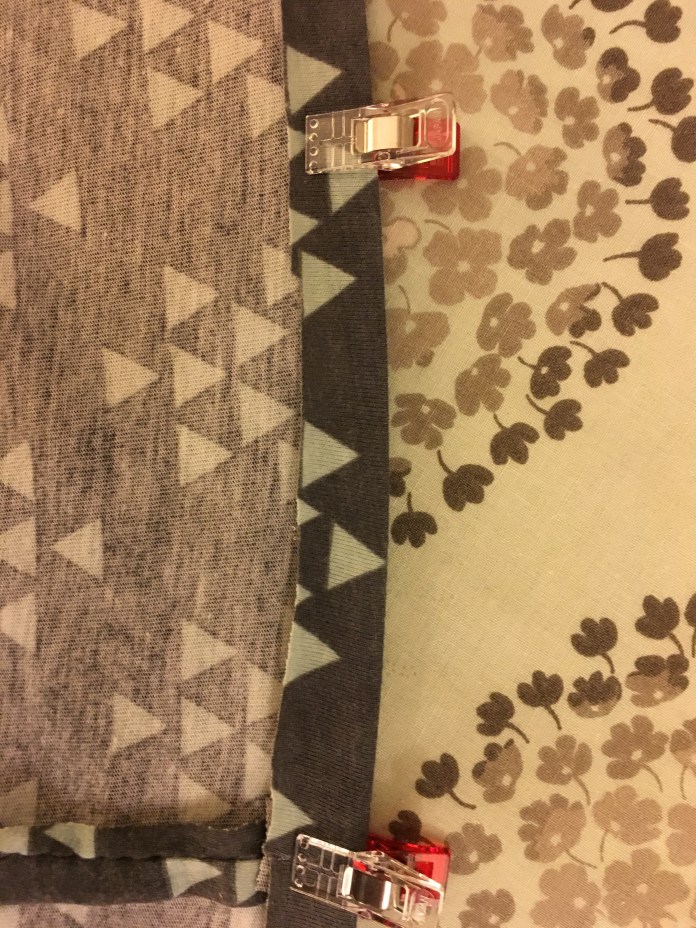 Test fabric showing the twin needle hem.
 I used the presser foot edge as a seam guide and got really good results with the twin needle.
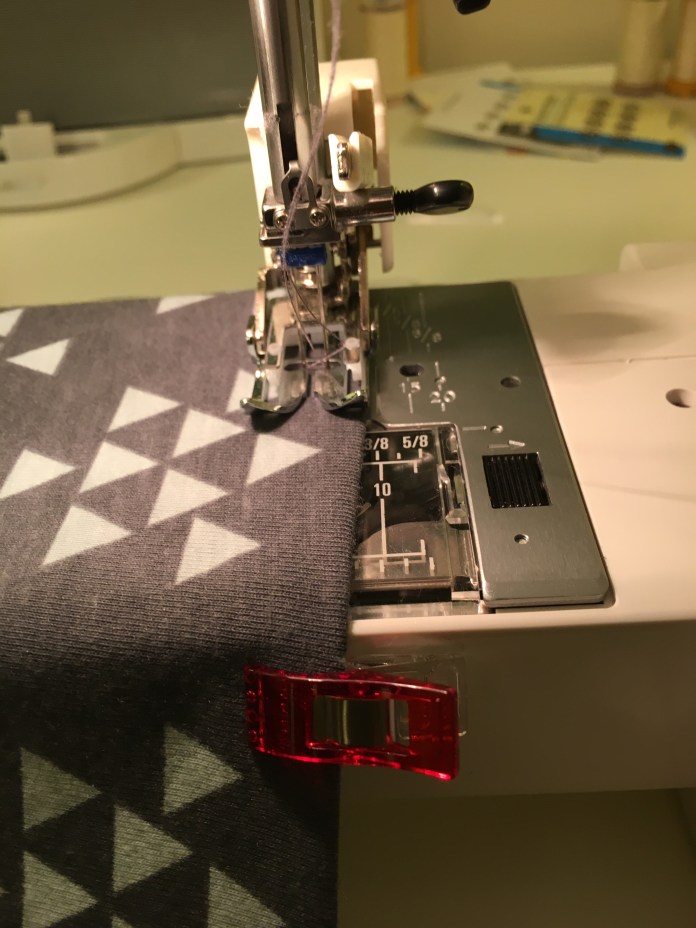 Hem as stitched below.
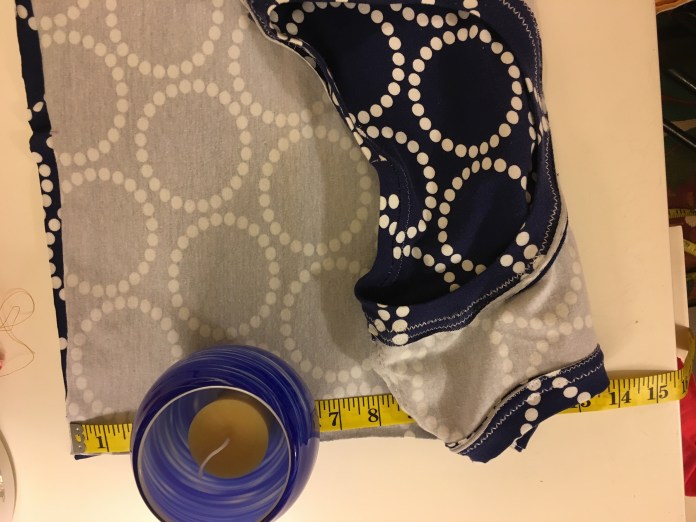
 Hem seam as seen on the inside. It lies pretty flat but I think I will have even better results with a slightly heavier knit. This is pretty thin fabric.
 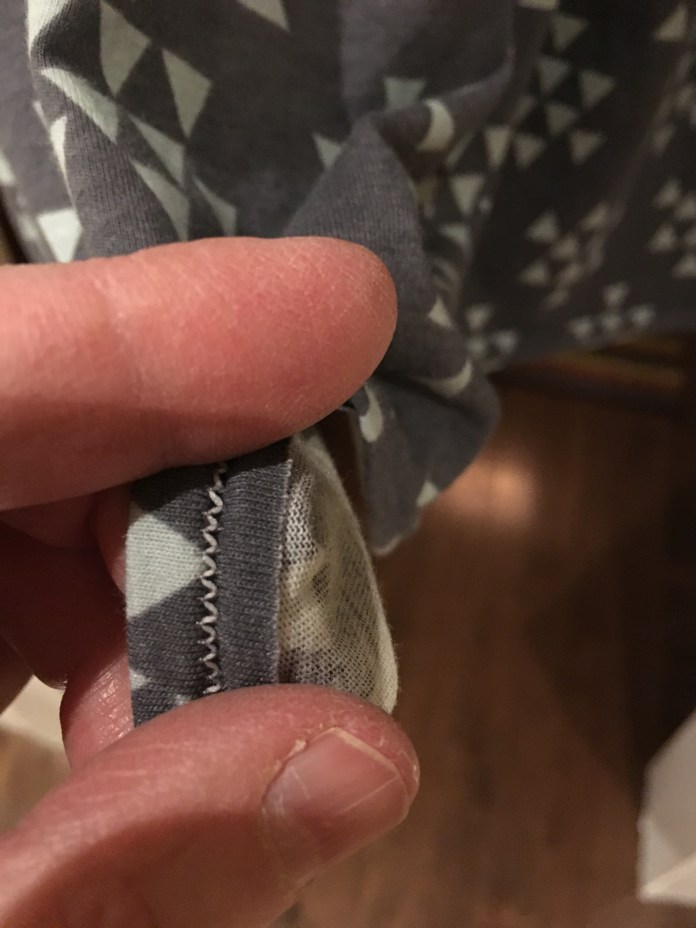 Twin needle settings below. (I take pictures so I remember for the next time.)
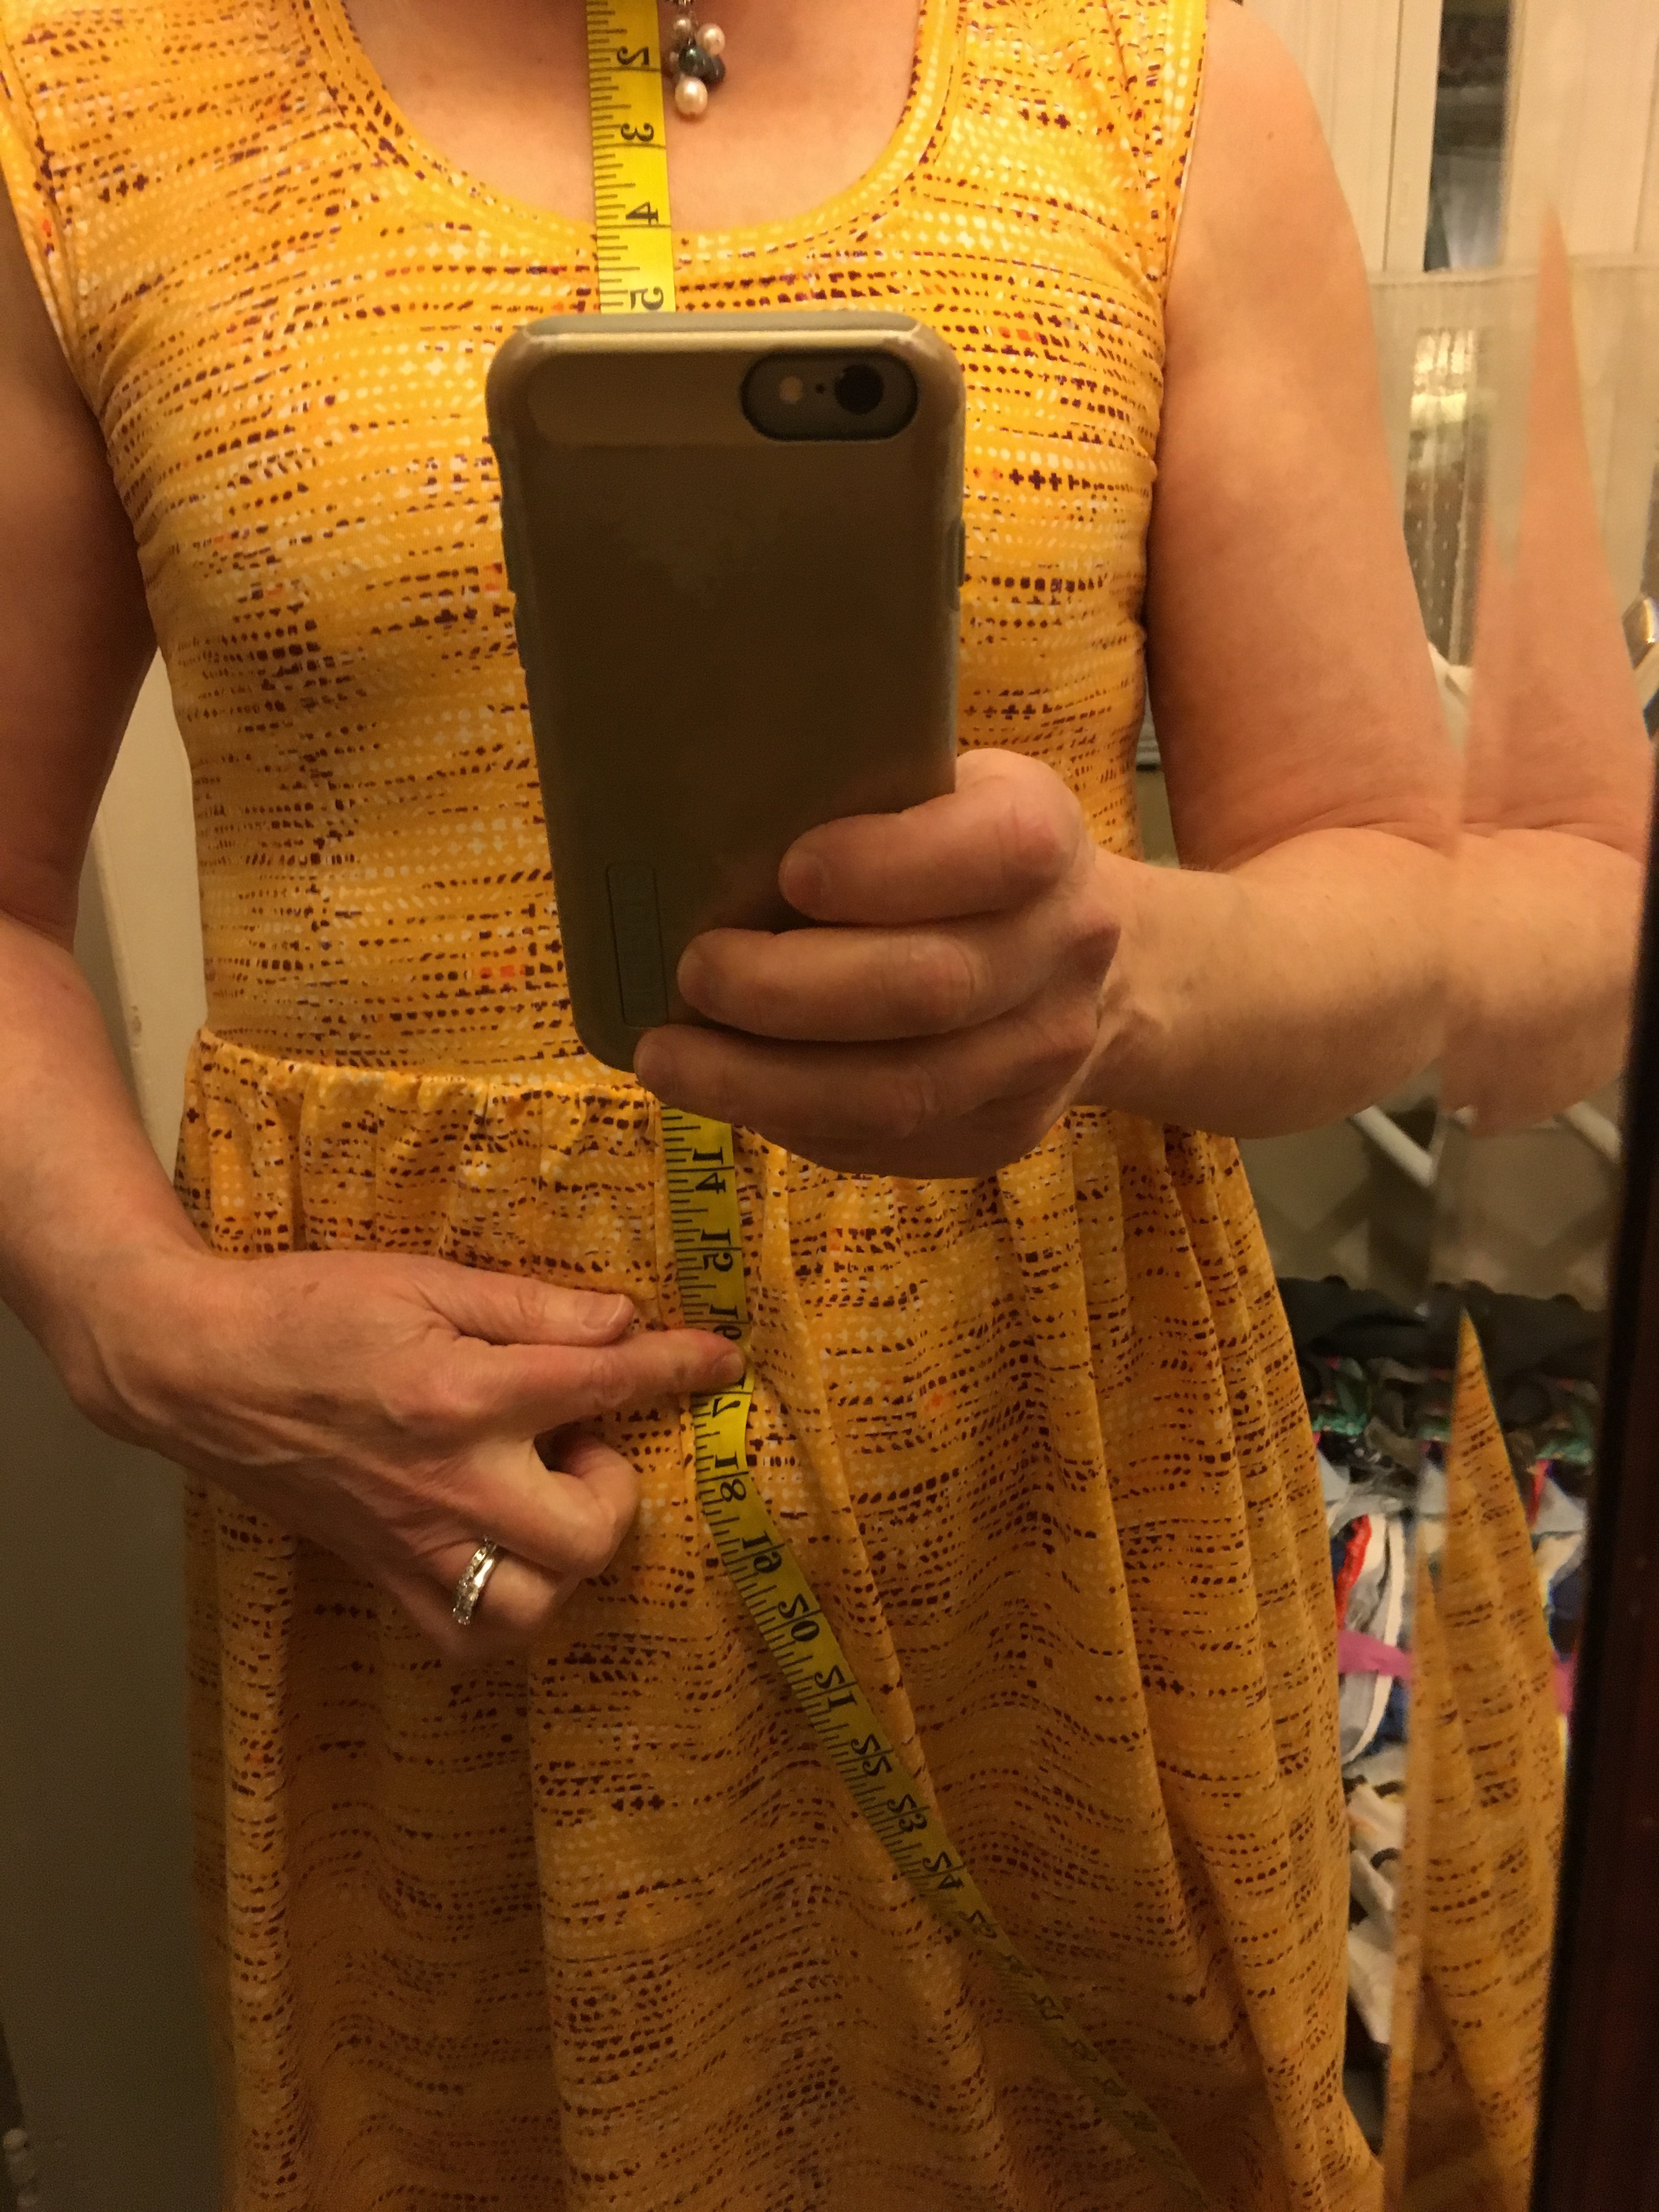
 Finished dress below. The bodice looks a little wonky on the hanger but it seems less so as worn. I think the next time I make this, I will sew my elastic gathering seam a bit farther away from the edge because my machine was chewing up the edge. It is actually amazing how well it ended up considering. I did not take out the stitches or redo the gathering or the seam where I joined the bodice to the skirt and it looks relatively even.
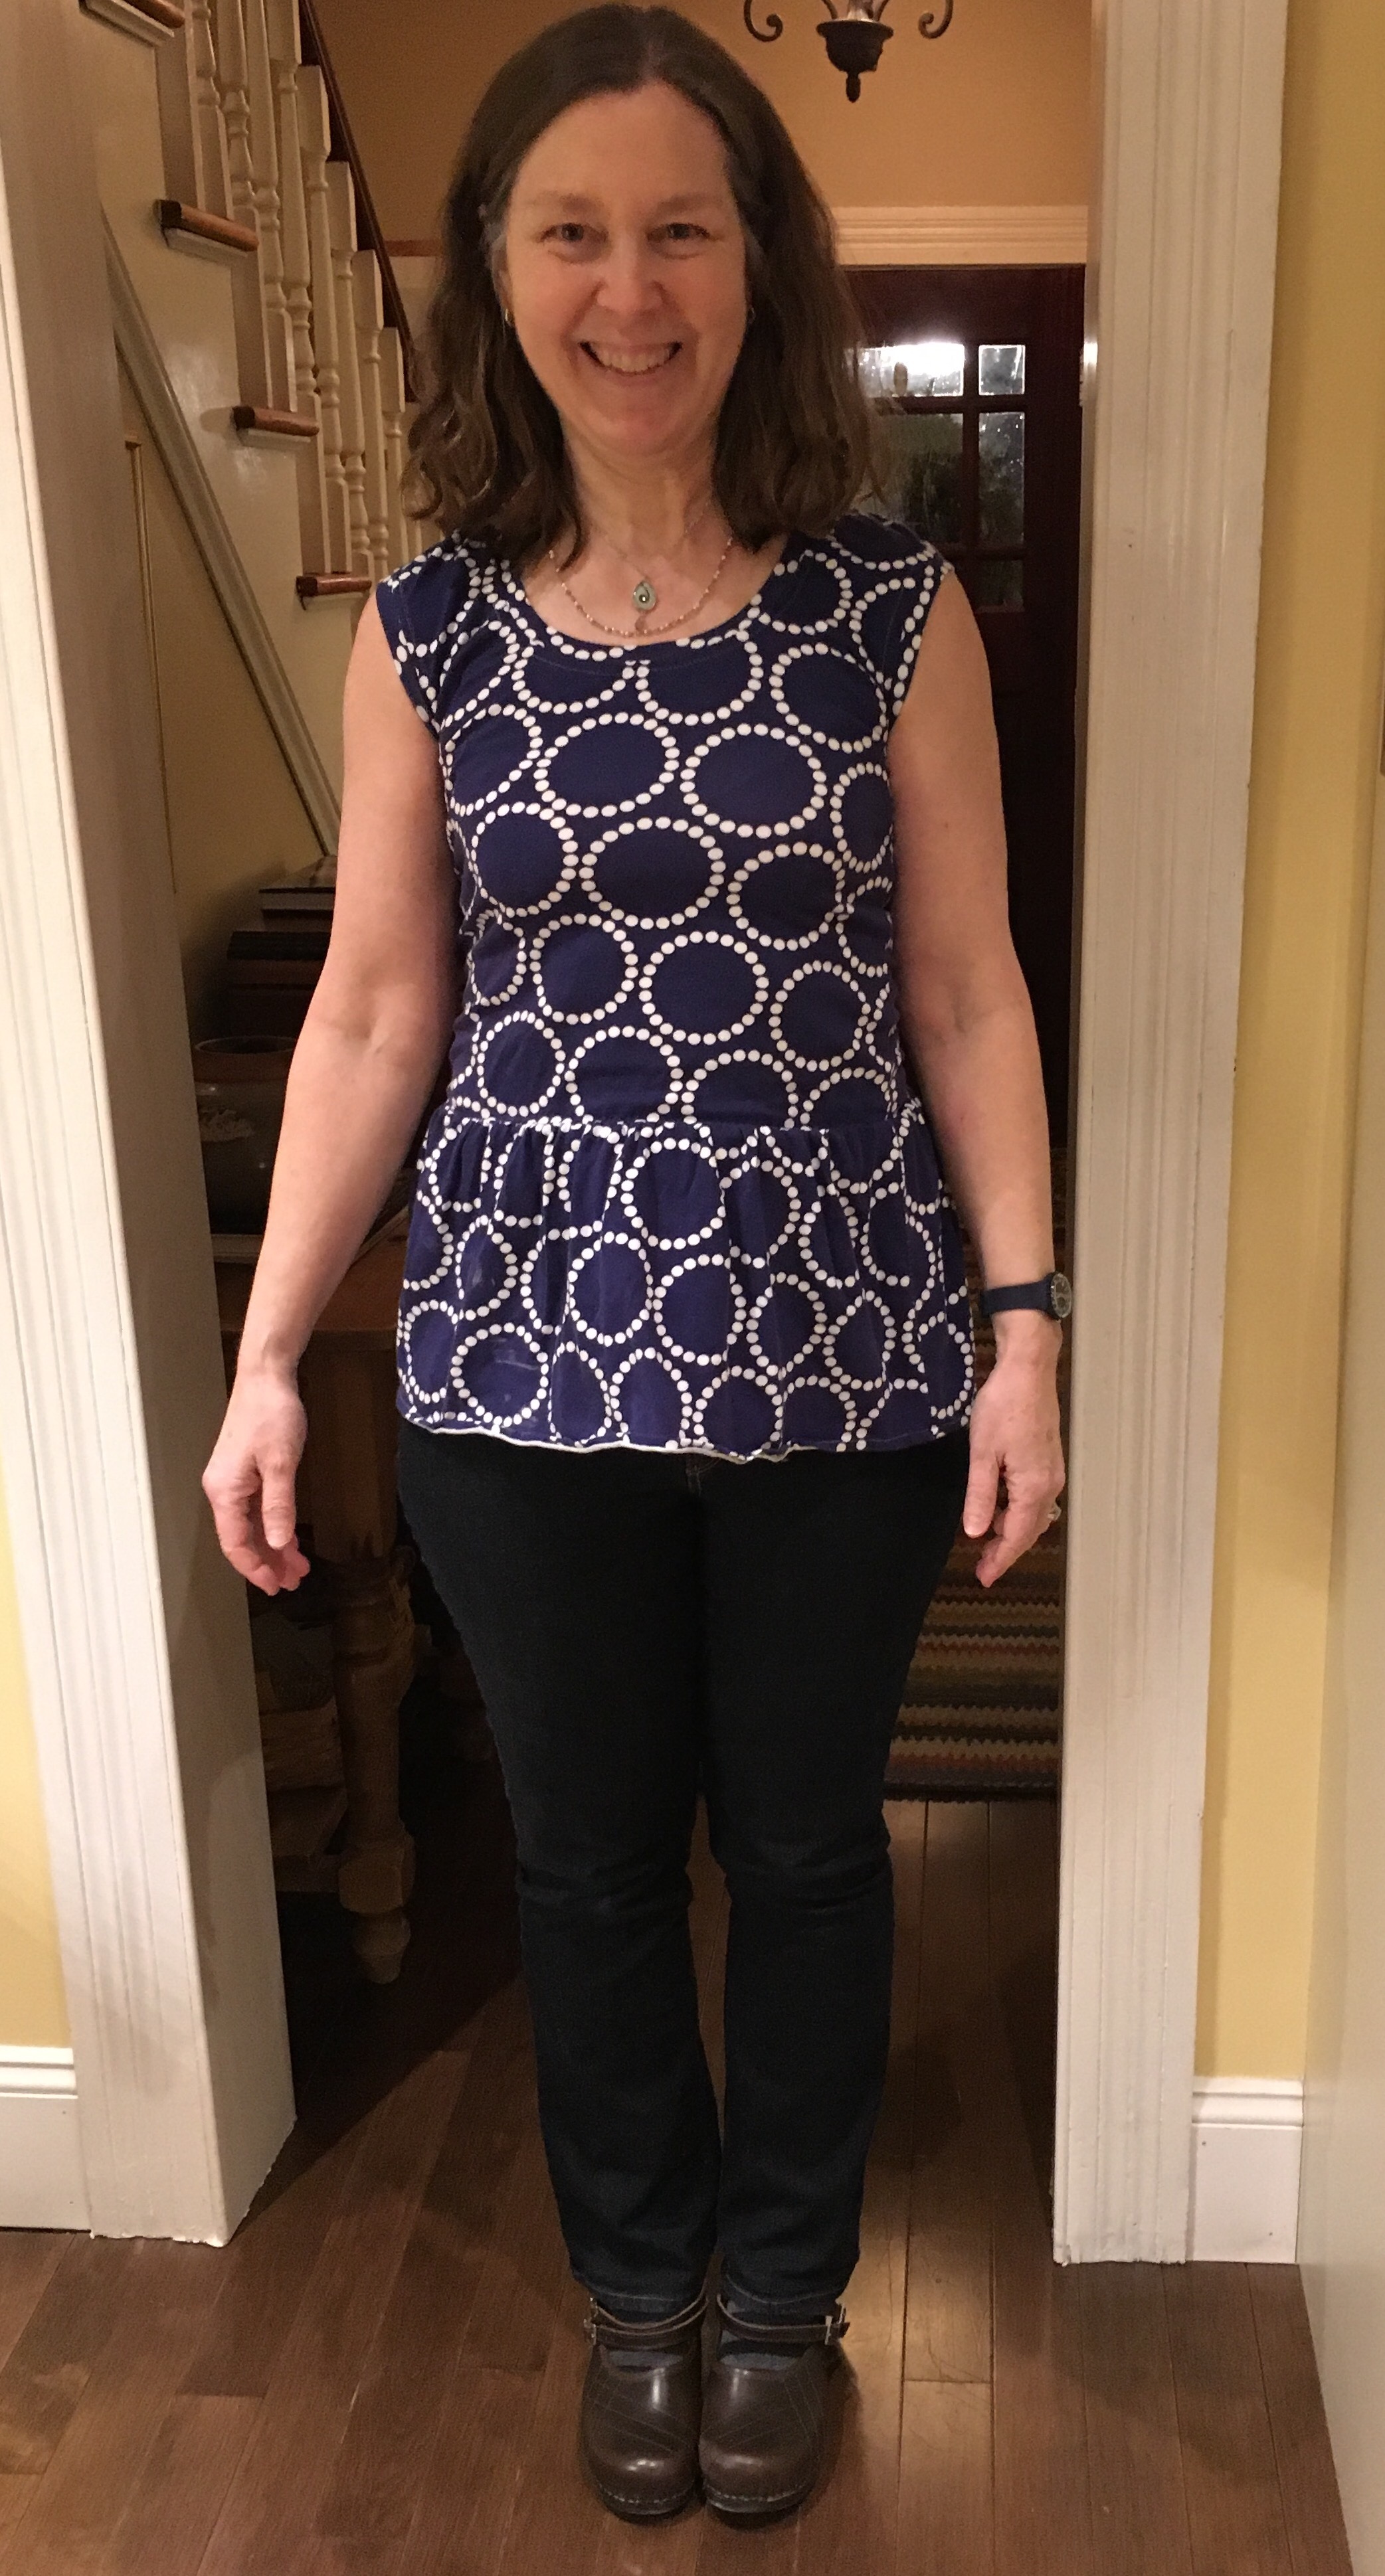
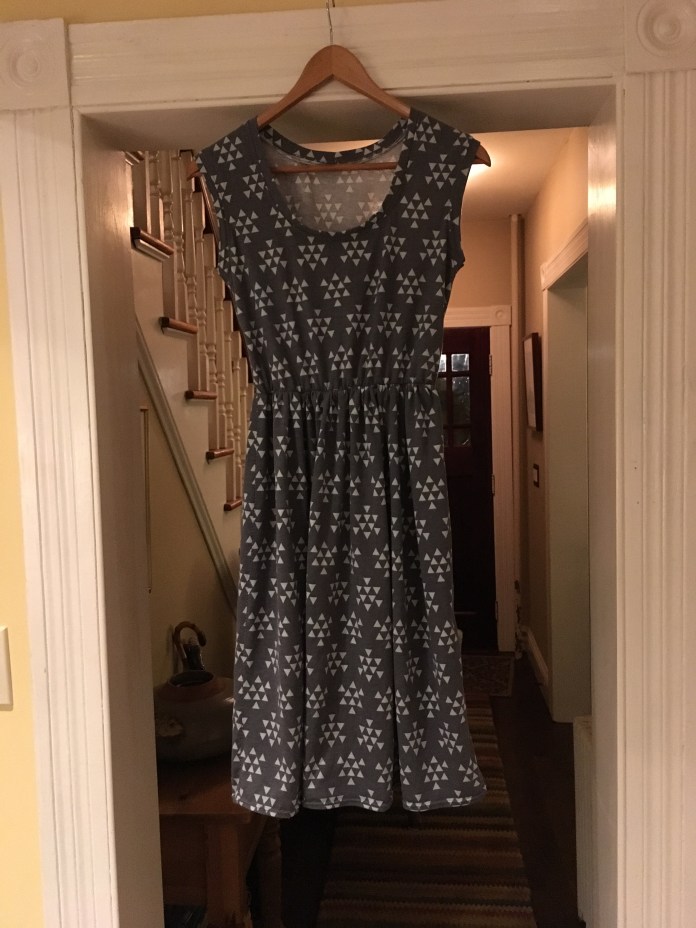 And as worn. I am not sure if I want to keep the bodice this length or shorten it or lengthen it. This is with an added inch so you can see that it is pretty short as drafted. I have a really long torso and I haven’t decided which would be the most flattering.
 I am very happy with the fit around the arms and the neck.
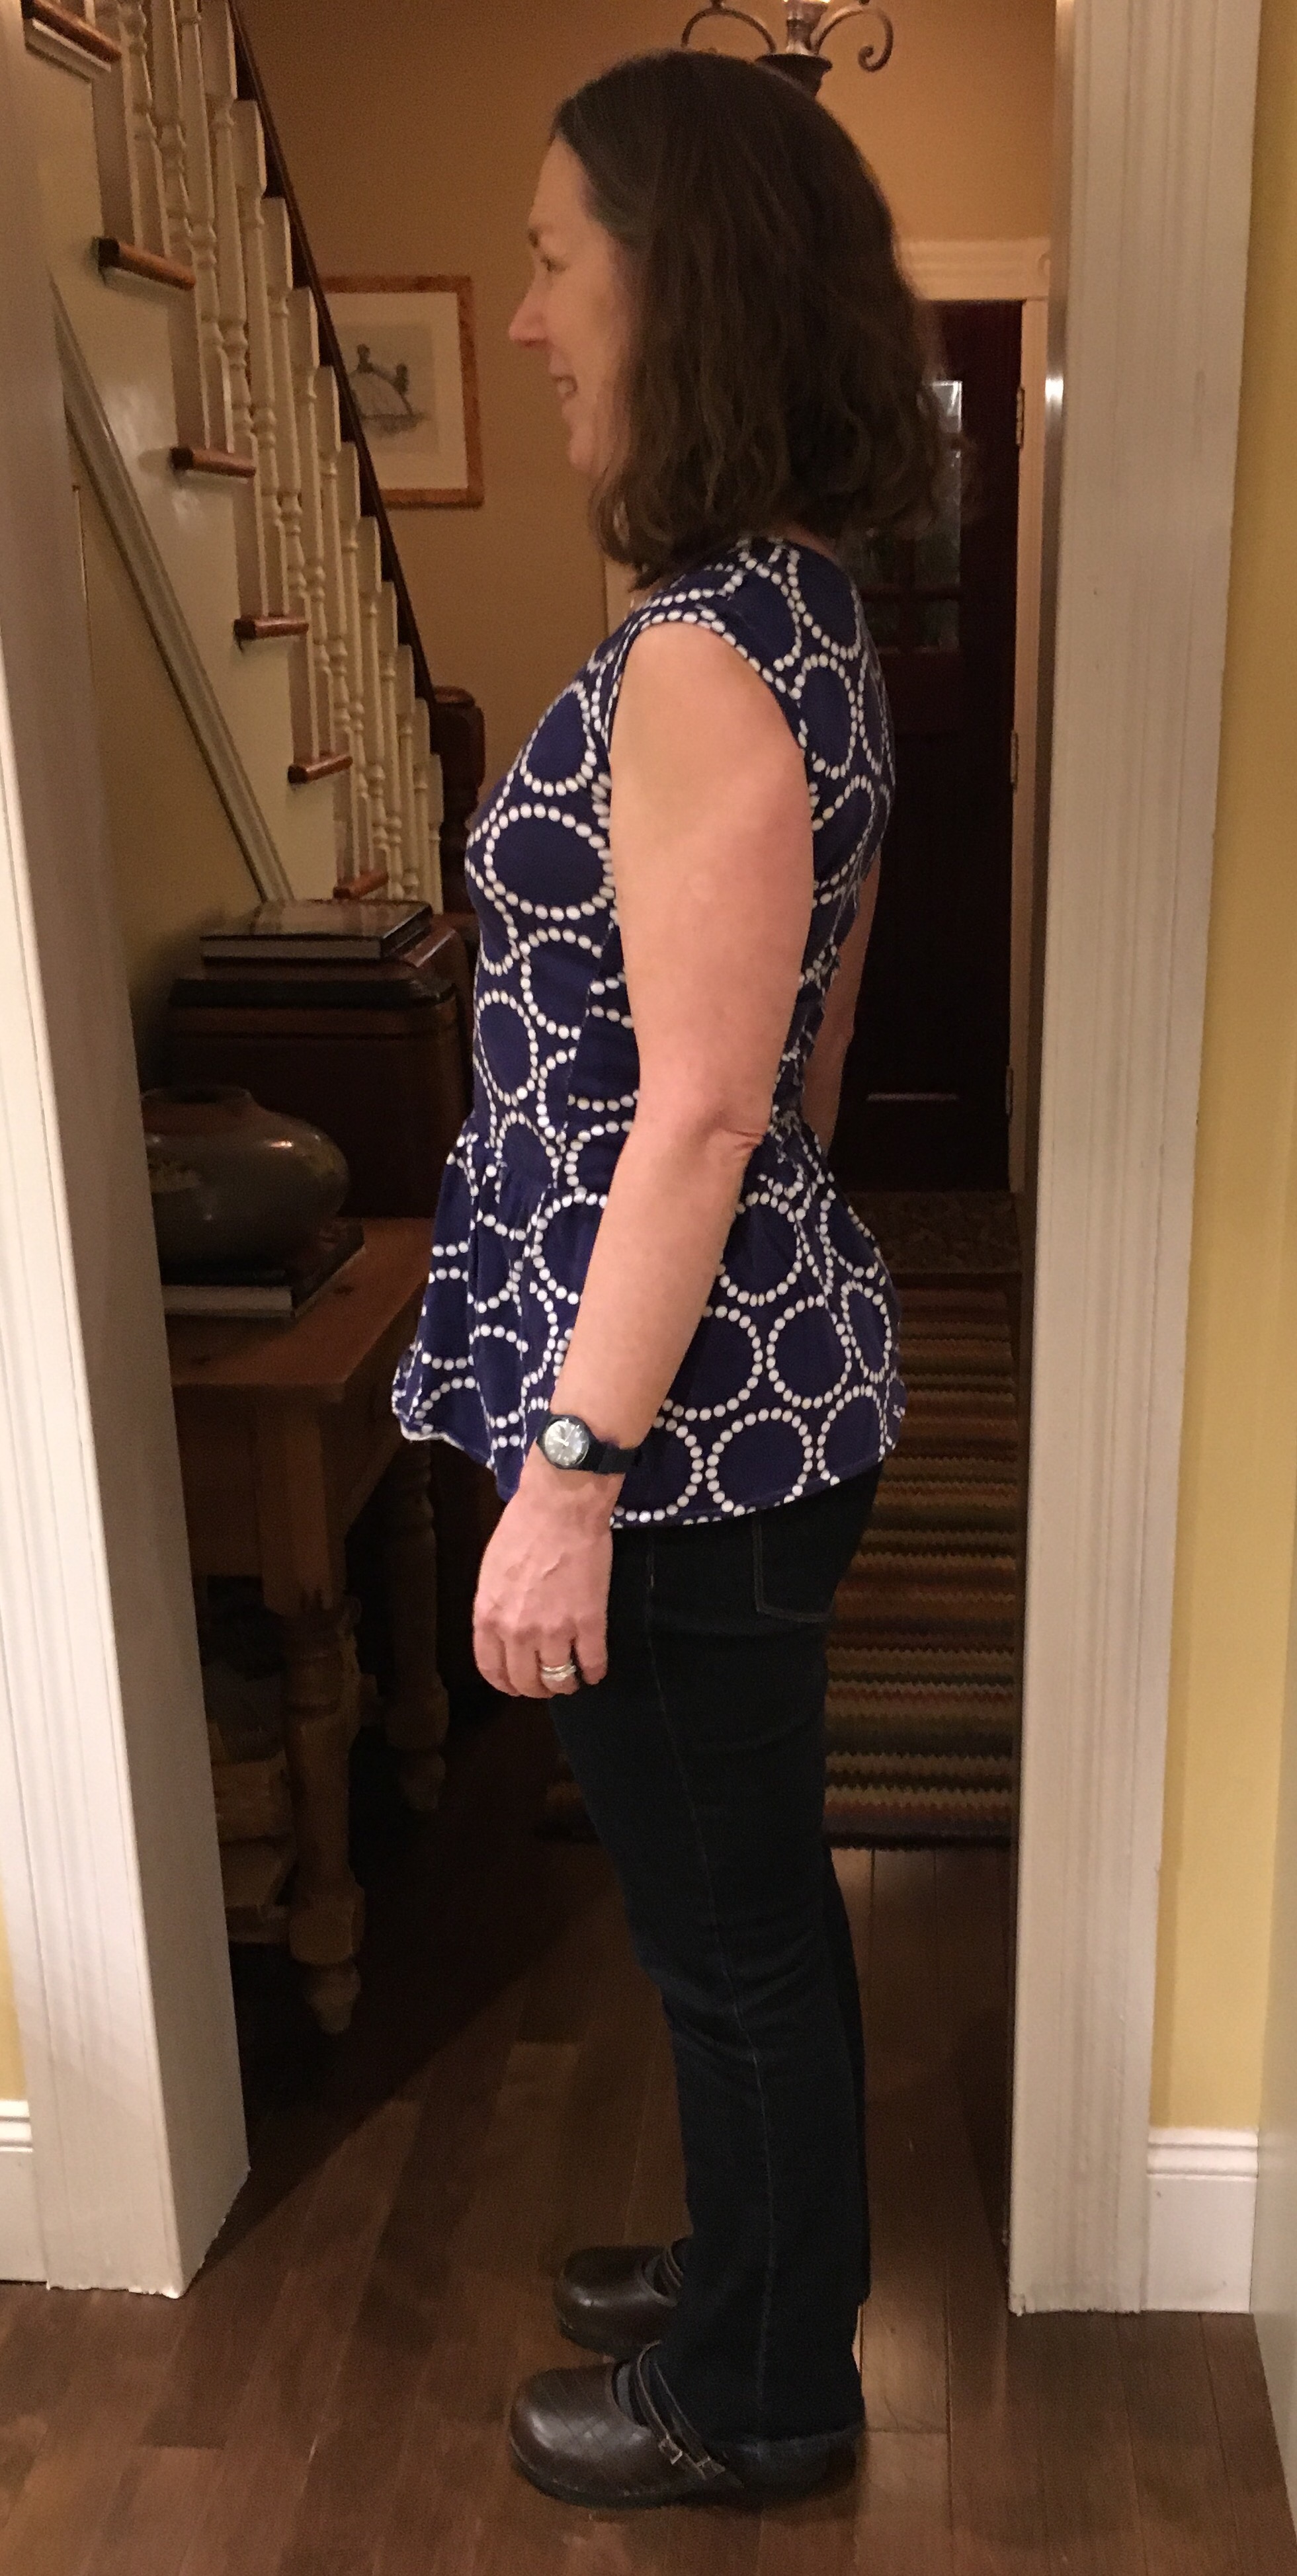
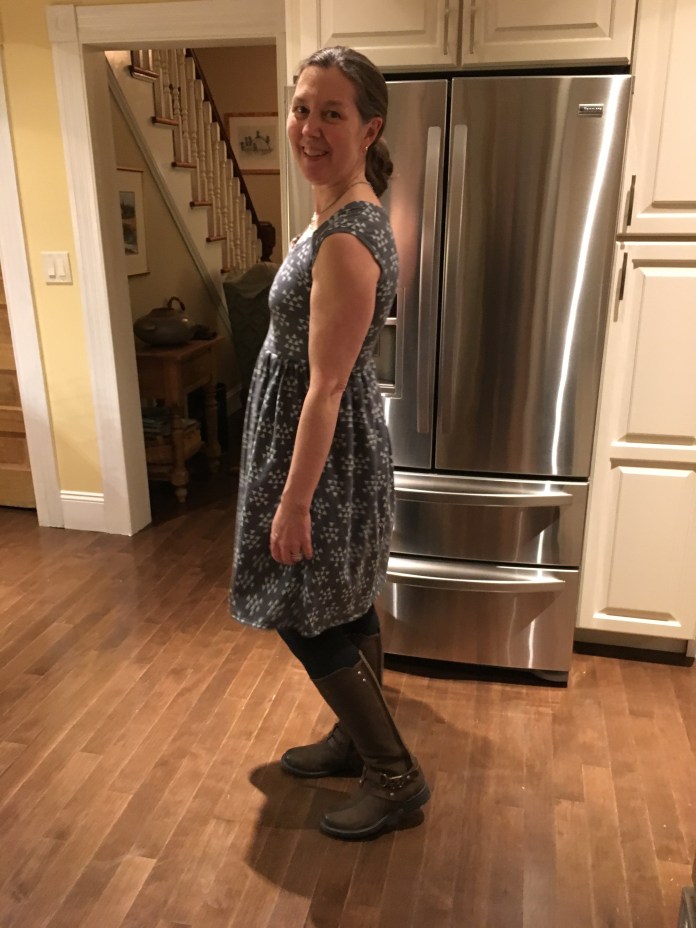 Back view.
 And with a cardigan which is how I will be wearing it this winter.
 This pattern is a quick sew. What I loved about it: gathering the skirt with elastic thread. Brilliant! I used a zig zag stitch, not a stretch stitch for gathering and sewing the bodice to the skirt with elastic thread in the bobbin. I highly recommend this pattern and the little knit tricks I learned above which enabled me to have a really nice result with a regular, inexpensive, sewing machine. Next time I will use the twin needle instead of the zig zag around the neck and arms, but otherwise, I am really happy with the results. This pattern is a keeper!