
 There are some dresses that just make you feel happy when you wear them and this Made By Rae Washi dress fits the bill. I made this last summer with Cotton and Steel quilting cotton that I bought at The Cloth Pocket on a trip to Austin. There is quilting cotton and there is quilting cotton. This fabric is really soft with a bit more heft than typical quilting cotton and it makes a nice summer dress. I lined the bodice using Rae’s sausage technique. She has great video tutorials on her blog but I have done it so many times that I don’t need the video anymore. It is nice to know it is there though! I used one of my all-time favorite cotton lawns by Melody Miller.
 I love The Cloth Pocket and had the opportunity to visit in person and actually take a class there last year. Highly recommend! Great teachers, fabric and vibe. I buy most of my quilting fabrics from them online and they have a wonderful selection of chambrays.
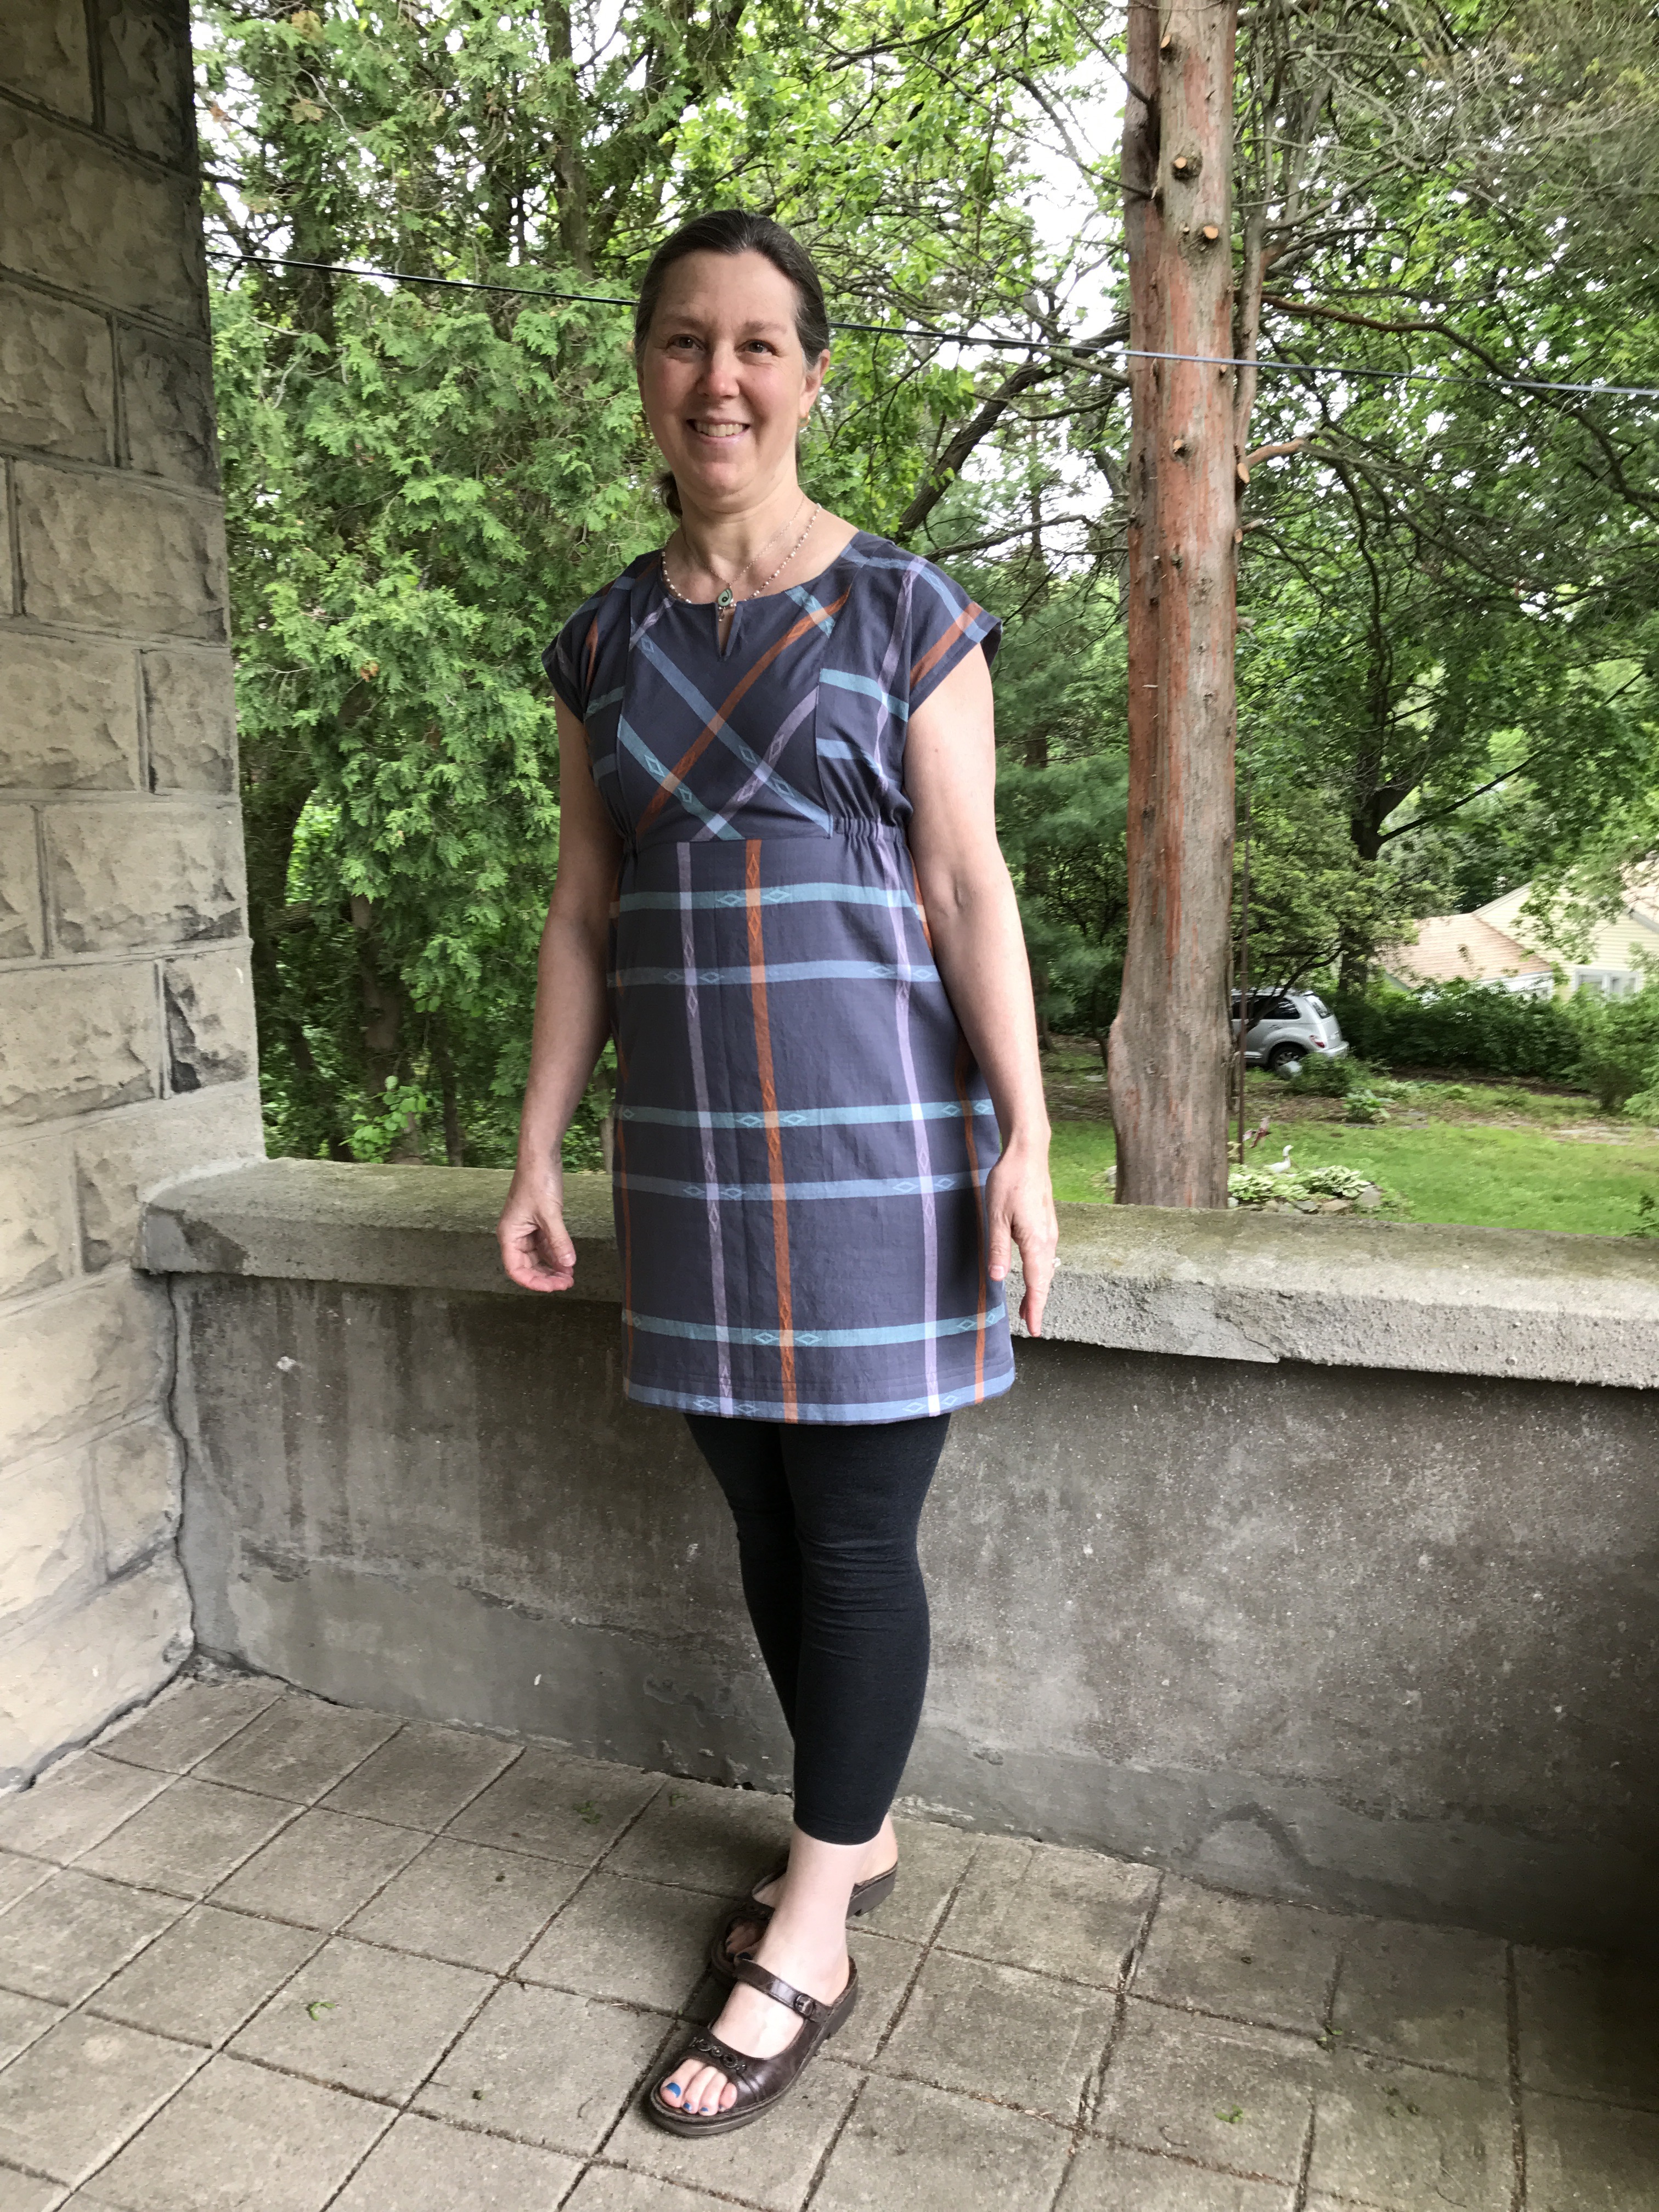
I finished hems with a hem facing as I always do. I find it gives me much nicer results and it is fun! Since I was in the middle of sewing all the Cleo’s and spent a lot of last summer gathering skirts, I decided on the spur of the moment to gather the skirt instead of using the pleats that are in the original Washi pattern. It was really quick and I love the swingy feel of the gathered skirt and the bright colors and pattern just feel like summer to me. I love pulling out my summer clothes after the long winter. It is like meeting up again with good friends.
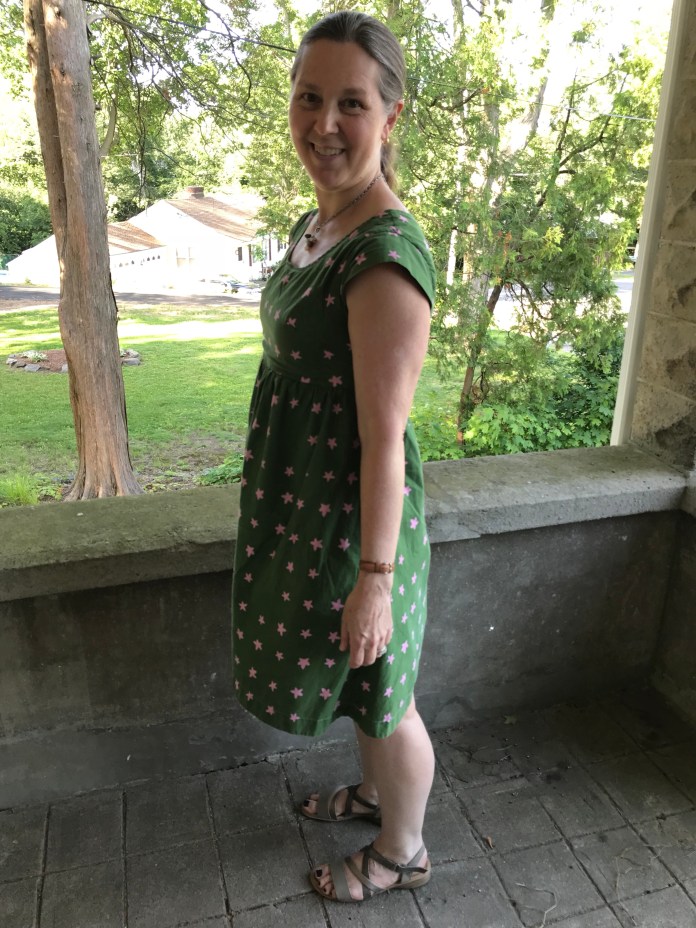 I made this in a hurry and used fewer lines of shirring than I normally do spaced a bit farther apart. I like it this way!
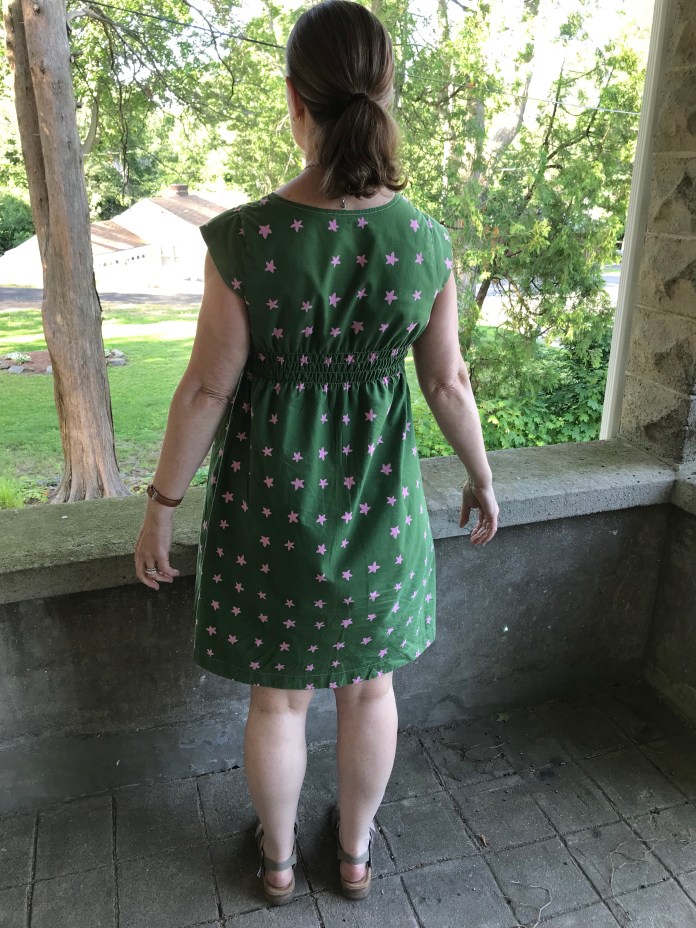 And a nice surprise was how well my new Blackwood Cardigan goes with this dress. I pulled it off the shelf this morning because it was cool and I love the colors together. Just like a bunch of summer flowers!
 If you haven’t made the Washi or the Blackwood, what are you waiting for? They are both flattering, comfortable, cute and relatively easy to sew. And as it turns out, they are great together!


 Back view:
 Version number 2: Size medium. Same adjustments as version #1 but decided after cutting out the pattern to use contrasting fabric left over from my
  Back view:
 Side view:
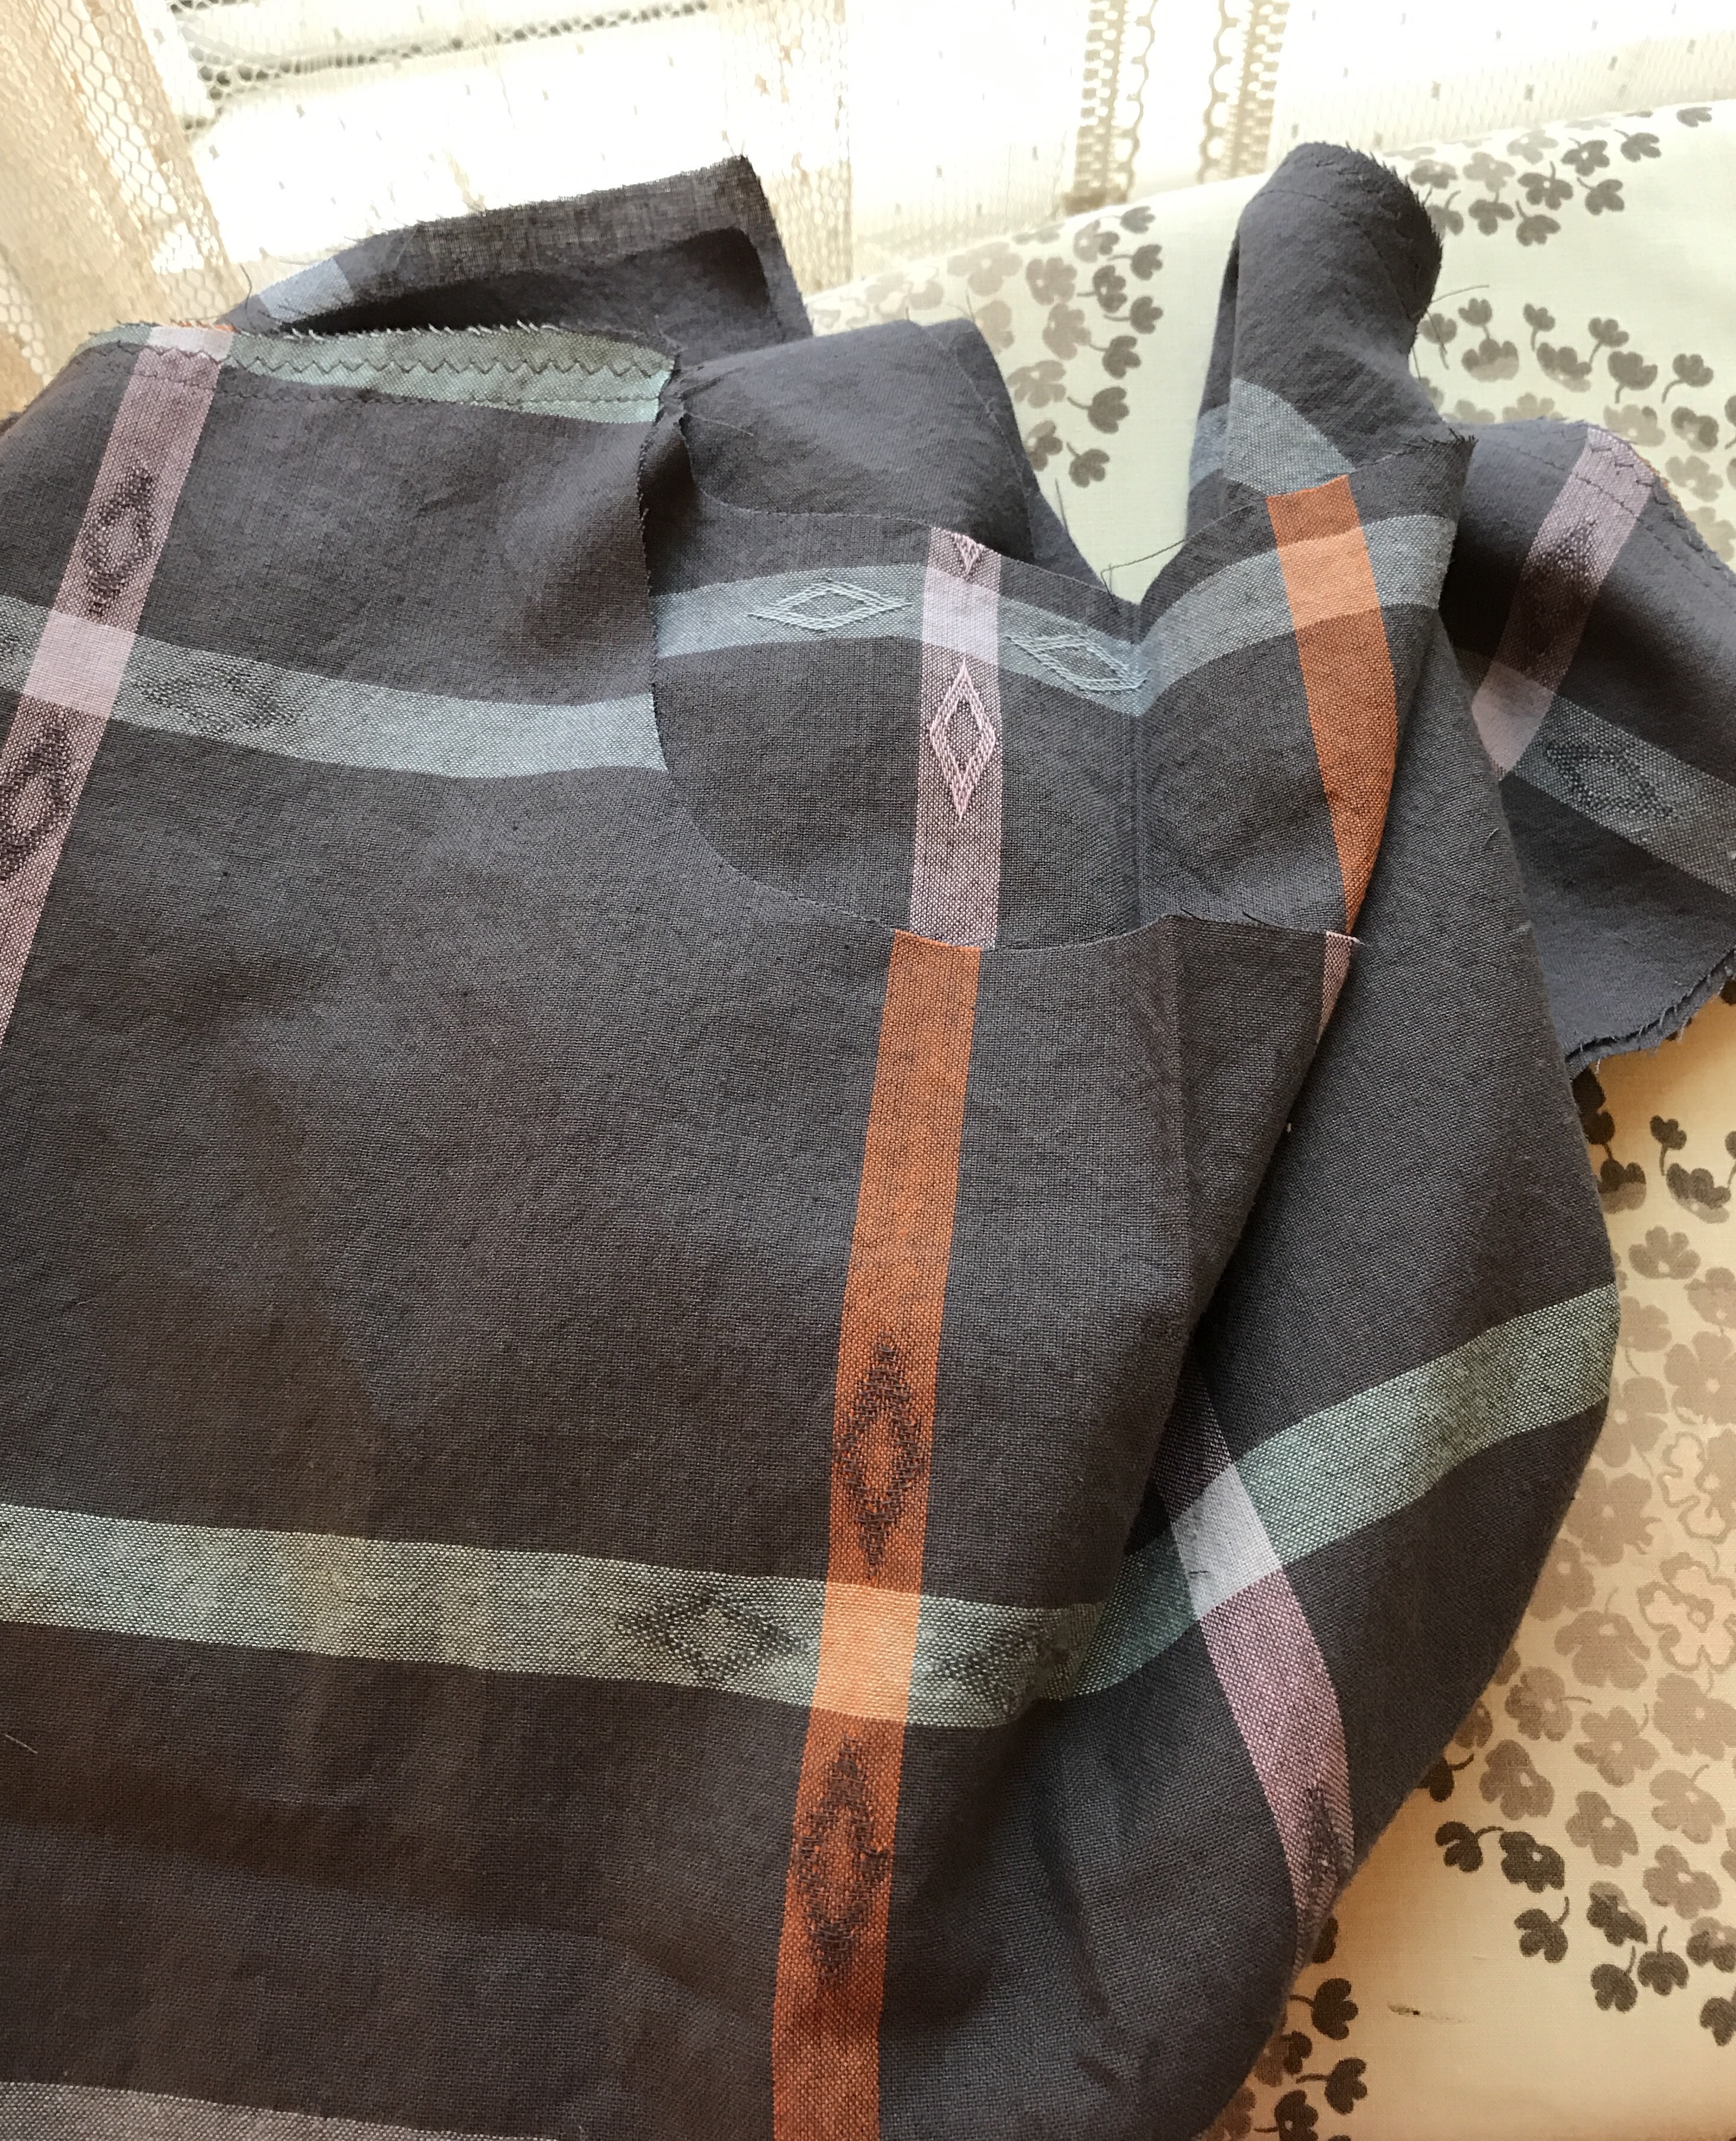
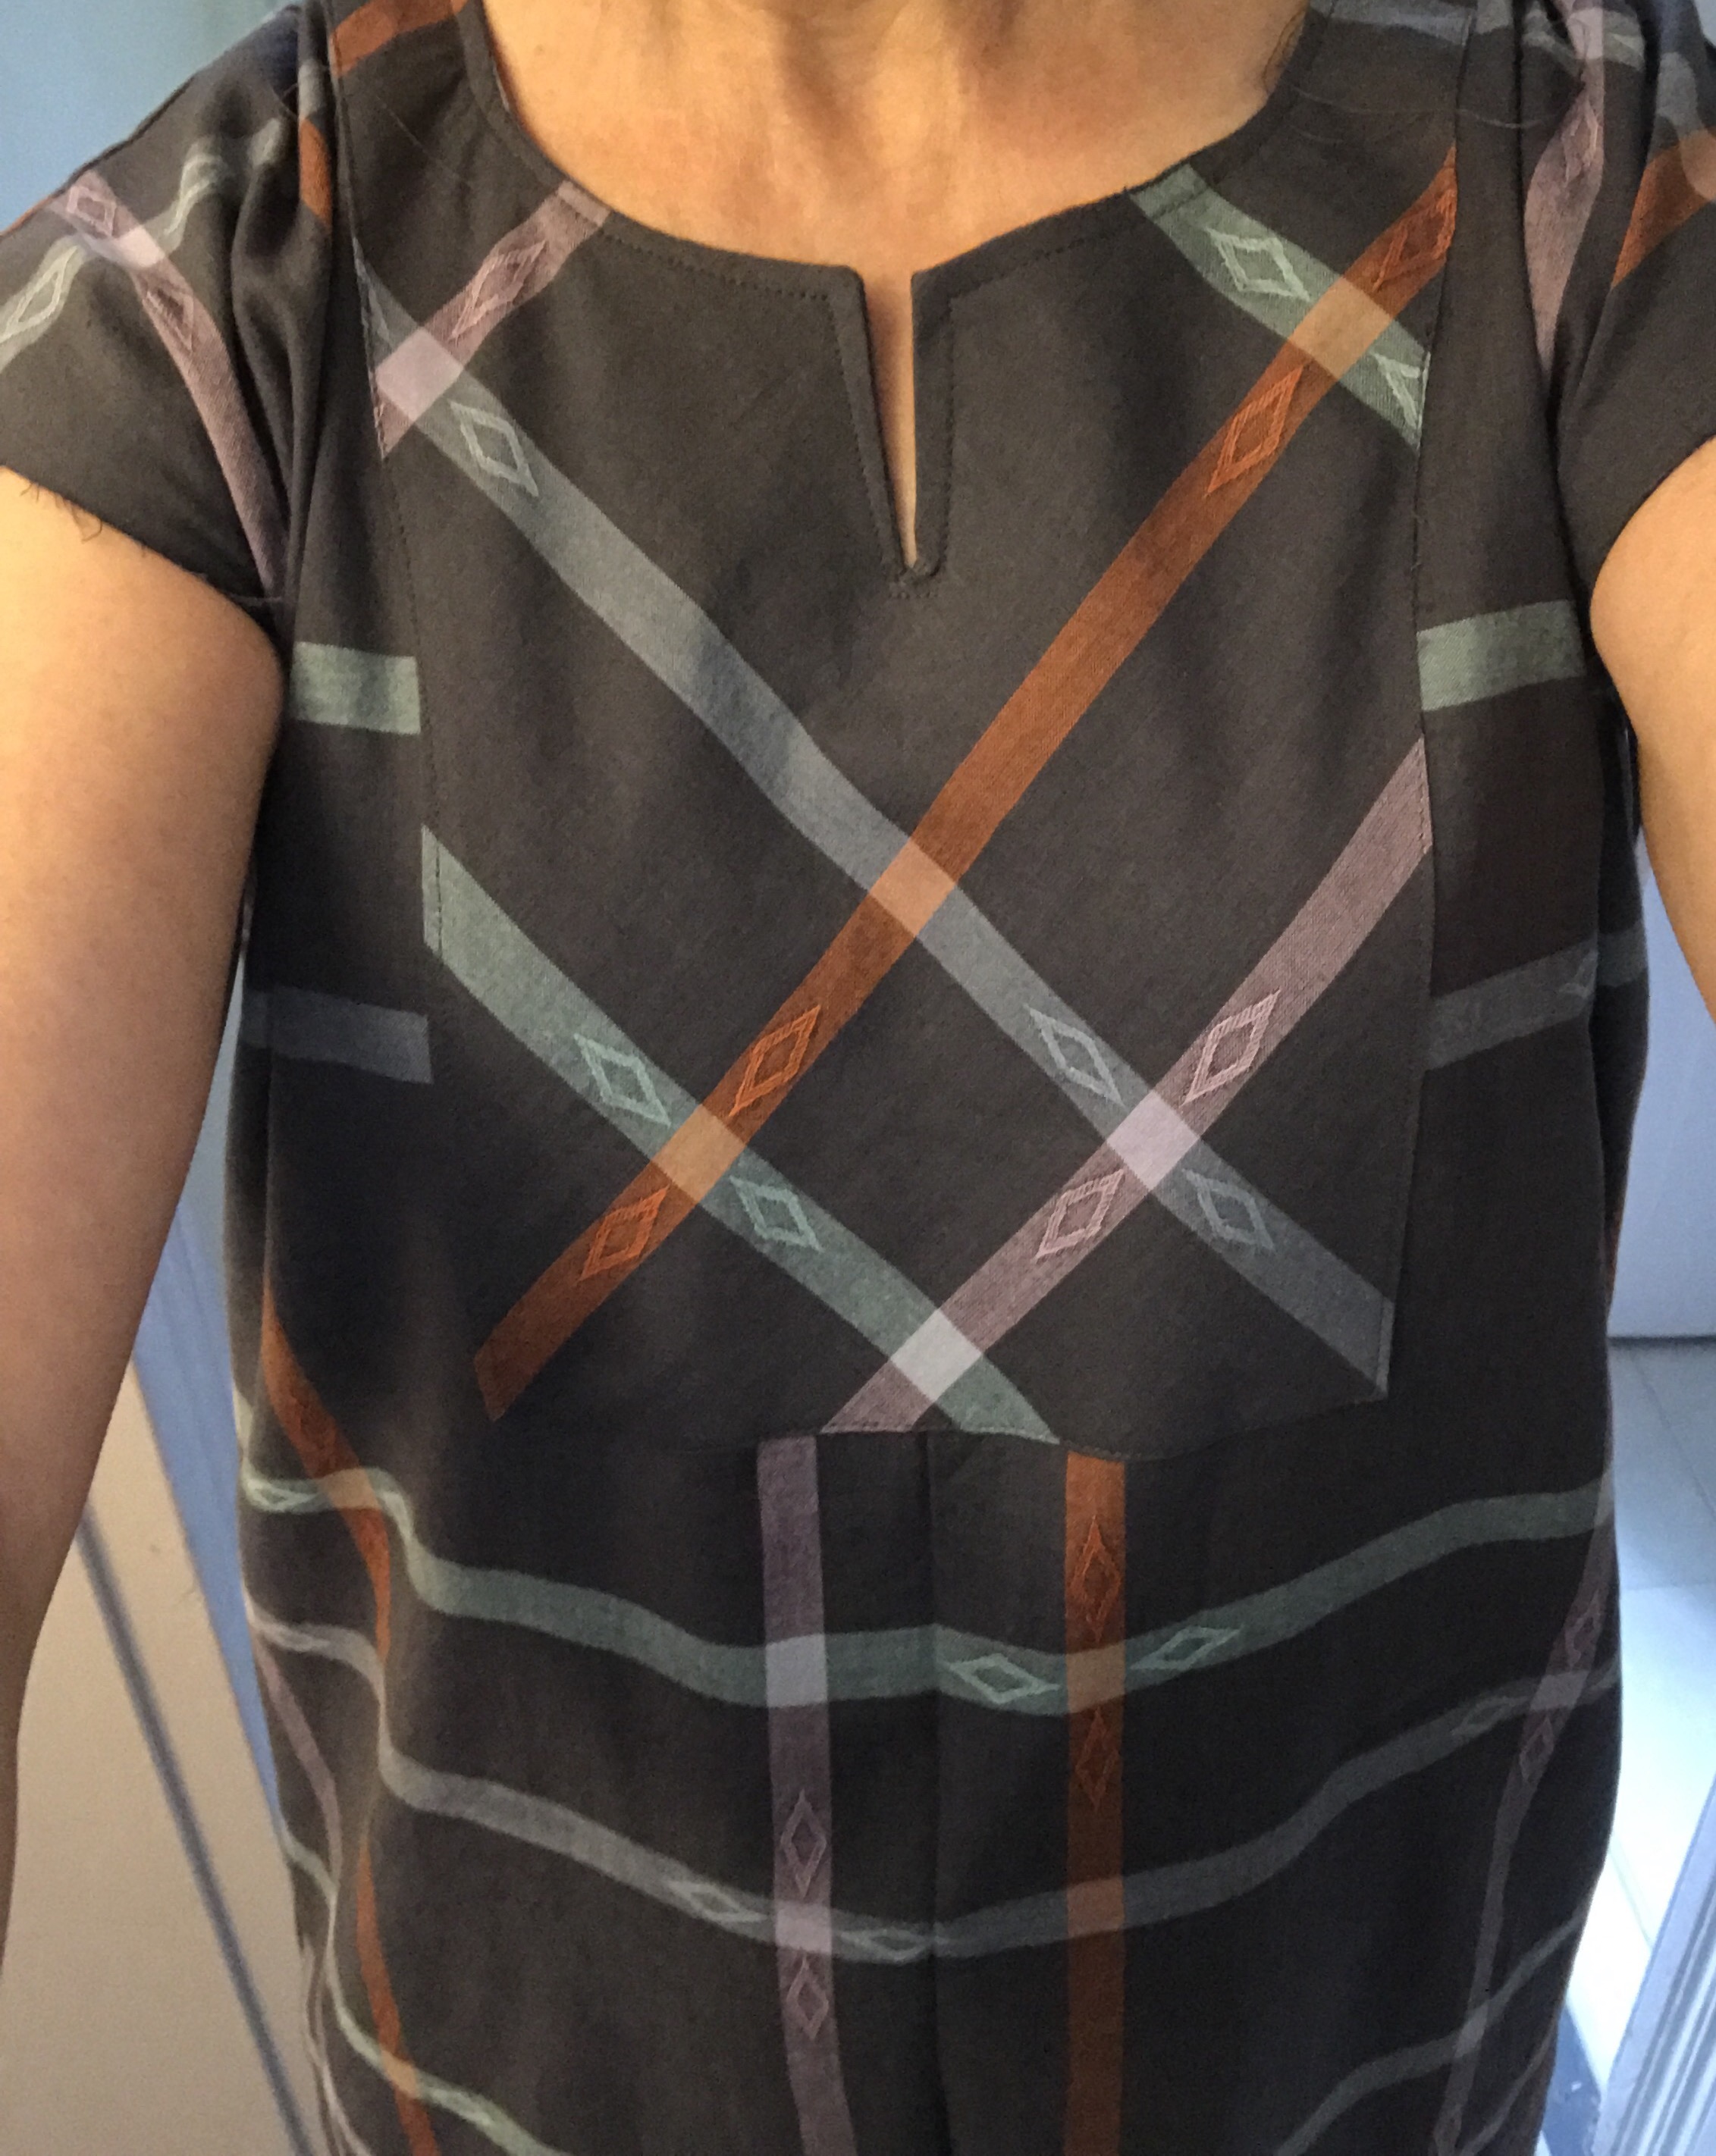
 Version number 3. I made a muslin in size Small for my stepdaughters to try since they have a birthday coming up and there is some
  I used chambray left over from several previous projects that I purchased over 20 years ago in Brooklyn for the bias binding which I used on the neck, armholes and as a facing for the hem.
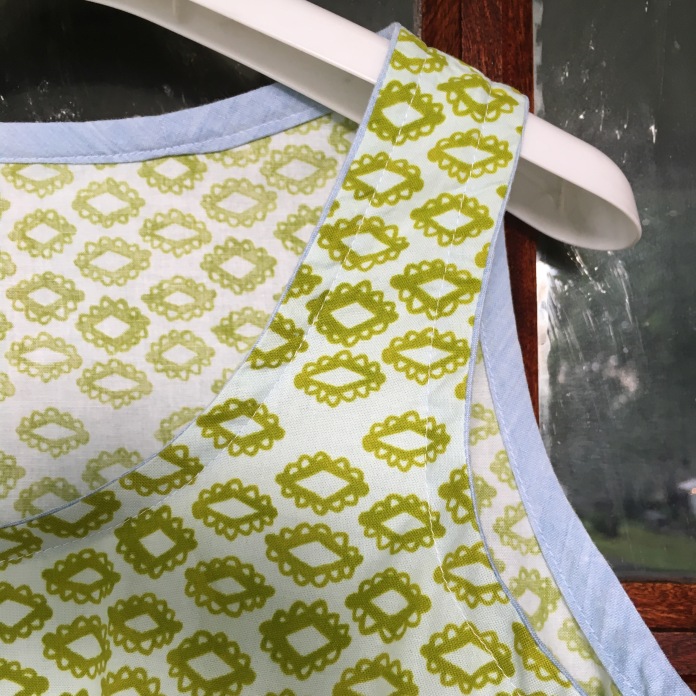 I swear that this fabric regenerates itself while I sleep. There is always a bit more for one more project. One of my children’s favorite childhood books was
  Gemma hanging on front door. #goodlight
 Gemma hanging in a window.
 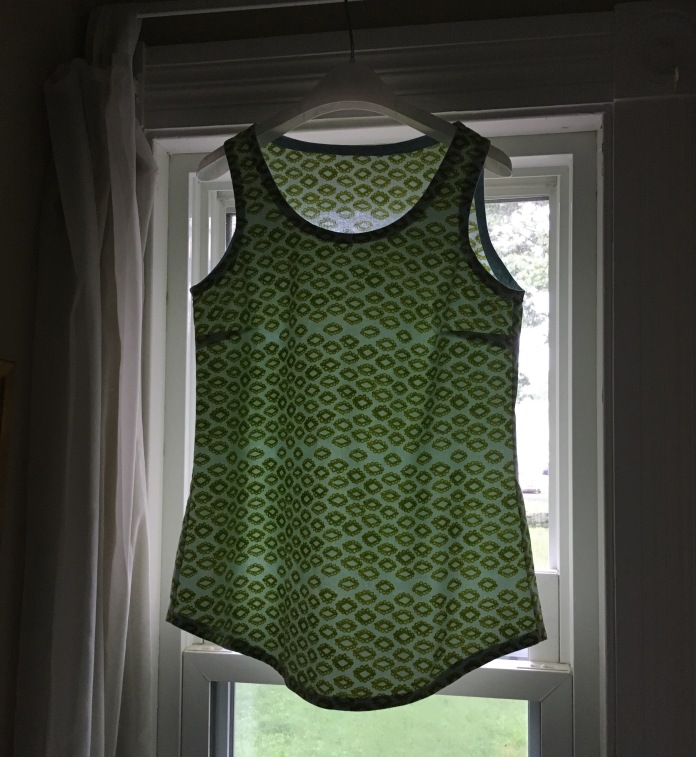 More pictures of my woodblock Gemma below. It might be my favorite. It is hard to choose.
  The Gemma tank is perfect with a cardigan:
 Side view:
 with Sadie the wonder dog who is not enjoying the Dog Days of Summer
  action shot with dog below, (note to self: add bra-strap holders) but the fit is really good as you can see.
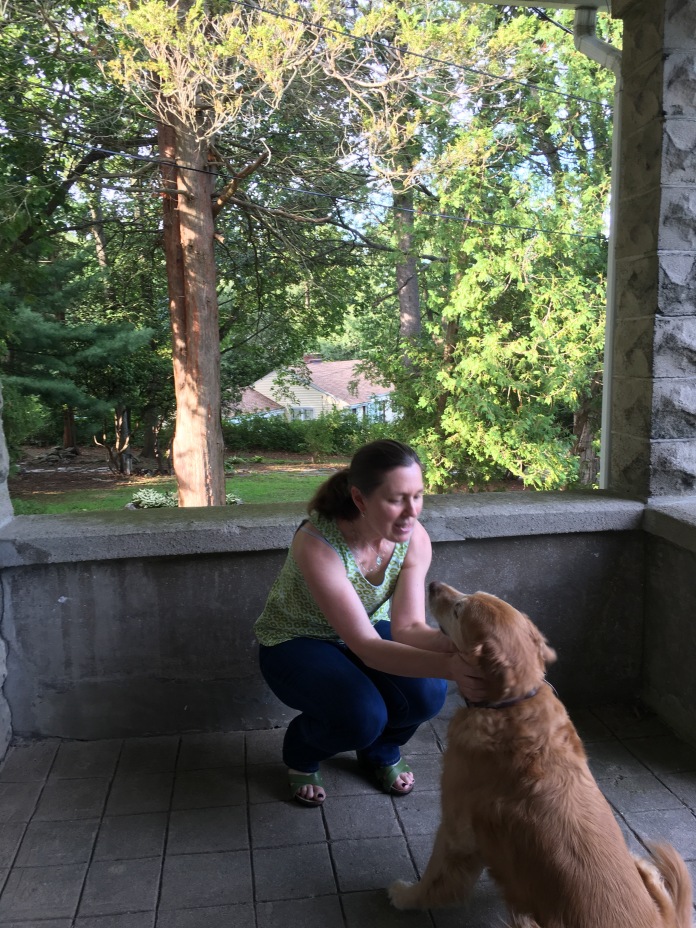 All of these tops have already been washed and worn. Even though the Dog Days of Summer are supposed to have been over August 11th-at least according to the internet- they are in full force in Connecticut. It has been unbearable. These tanks are perfect for these hot days. Sadie the wonder dog is not feeling so wonderful d/t the heat. #summerinconnecticut


 Back:
Back: So clearly I am enjoying this pattern. It is quick and easy sew and it allows you to get a little crazy with fabric because while you might not make a whole dress of a funky fabric, a tank top is a small enough commitment (and everything goes with jeans) so I am now looking at my stash in a new way and seeing so many possibilities. I will post again later this week with details and how-too info. Next up will be to try a Small-Medium version to see if that is the perfect Goldilocks fit solution and to get going on many tanks in size Small for the birthday girls. Action shot below. #jumpingforjoy because the heat is lifting:)
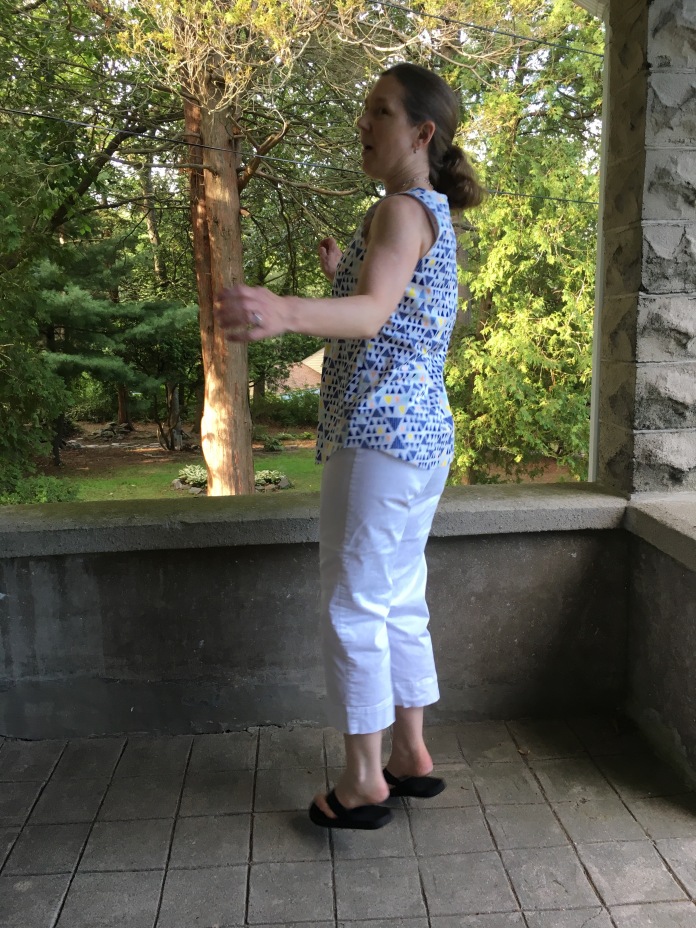
 I used chalk to mark the shirring lines but I usually end up just using one chalked line and then using the first sewing line to guide the rest of my seams. Shirring using elastic thread is actually amazingly easy. Rae’s tutorial
  I used organic natural colored cotton batiste to line the bodice using
  I added a ribbon with snaps for bra strap holders as I sewed the fabric sausage.
 A fabric sausage pinned and ready to be sewn.
 Finished shirring visible as I sew the bodice lining.
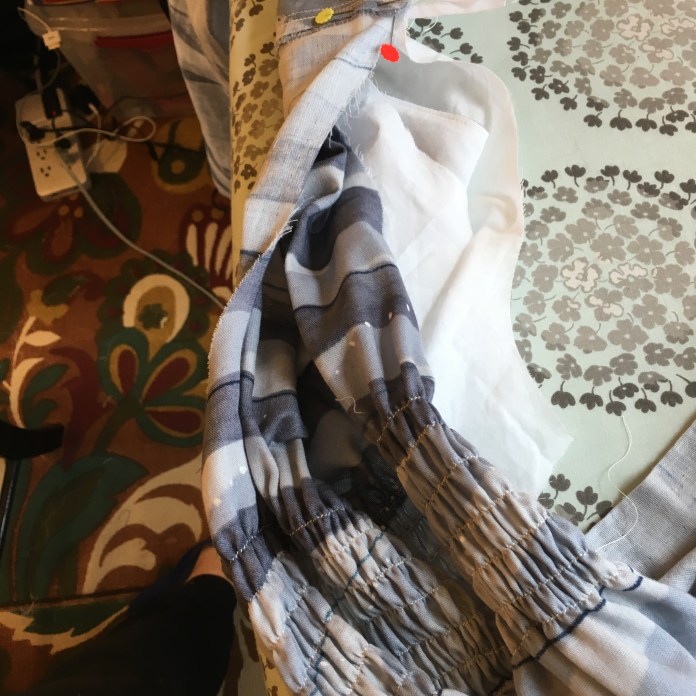 Once again I used a lightweight quilting cotton in a neutral light pink for hem facing. I have used it for several garments. I have almost run out!
 Hem pinned and ready to be sewn.
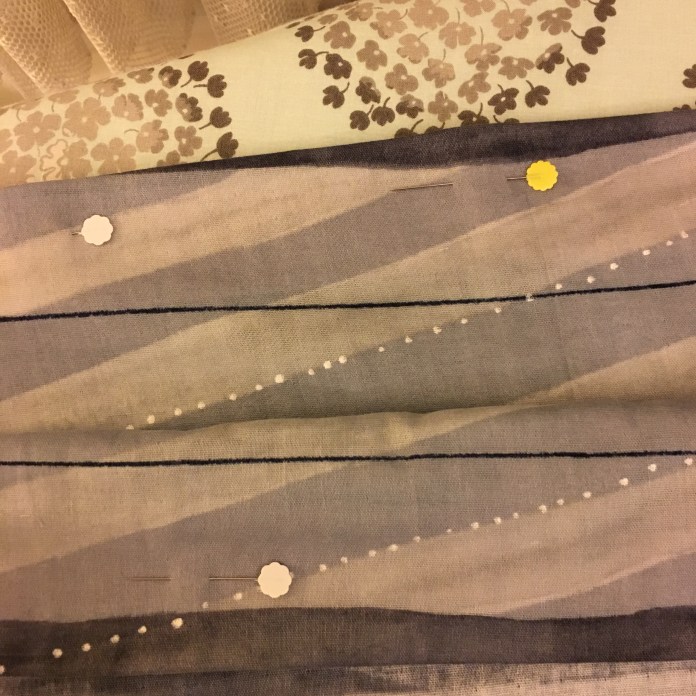 Hem.
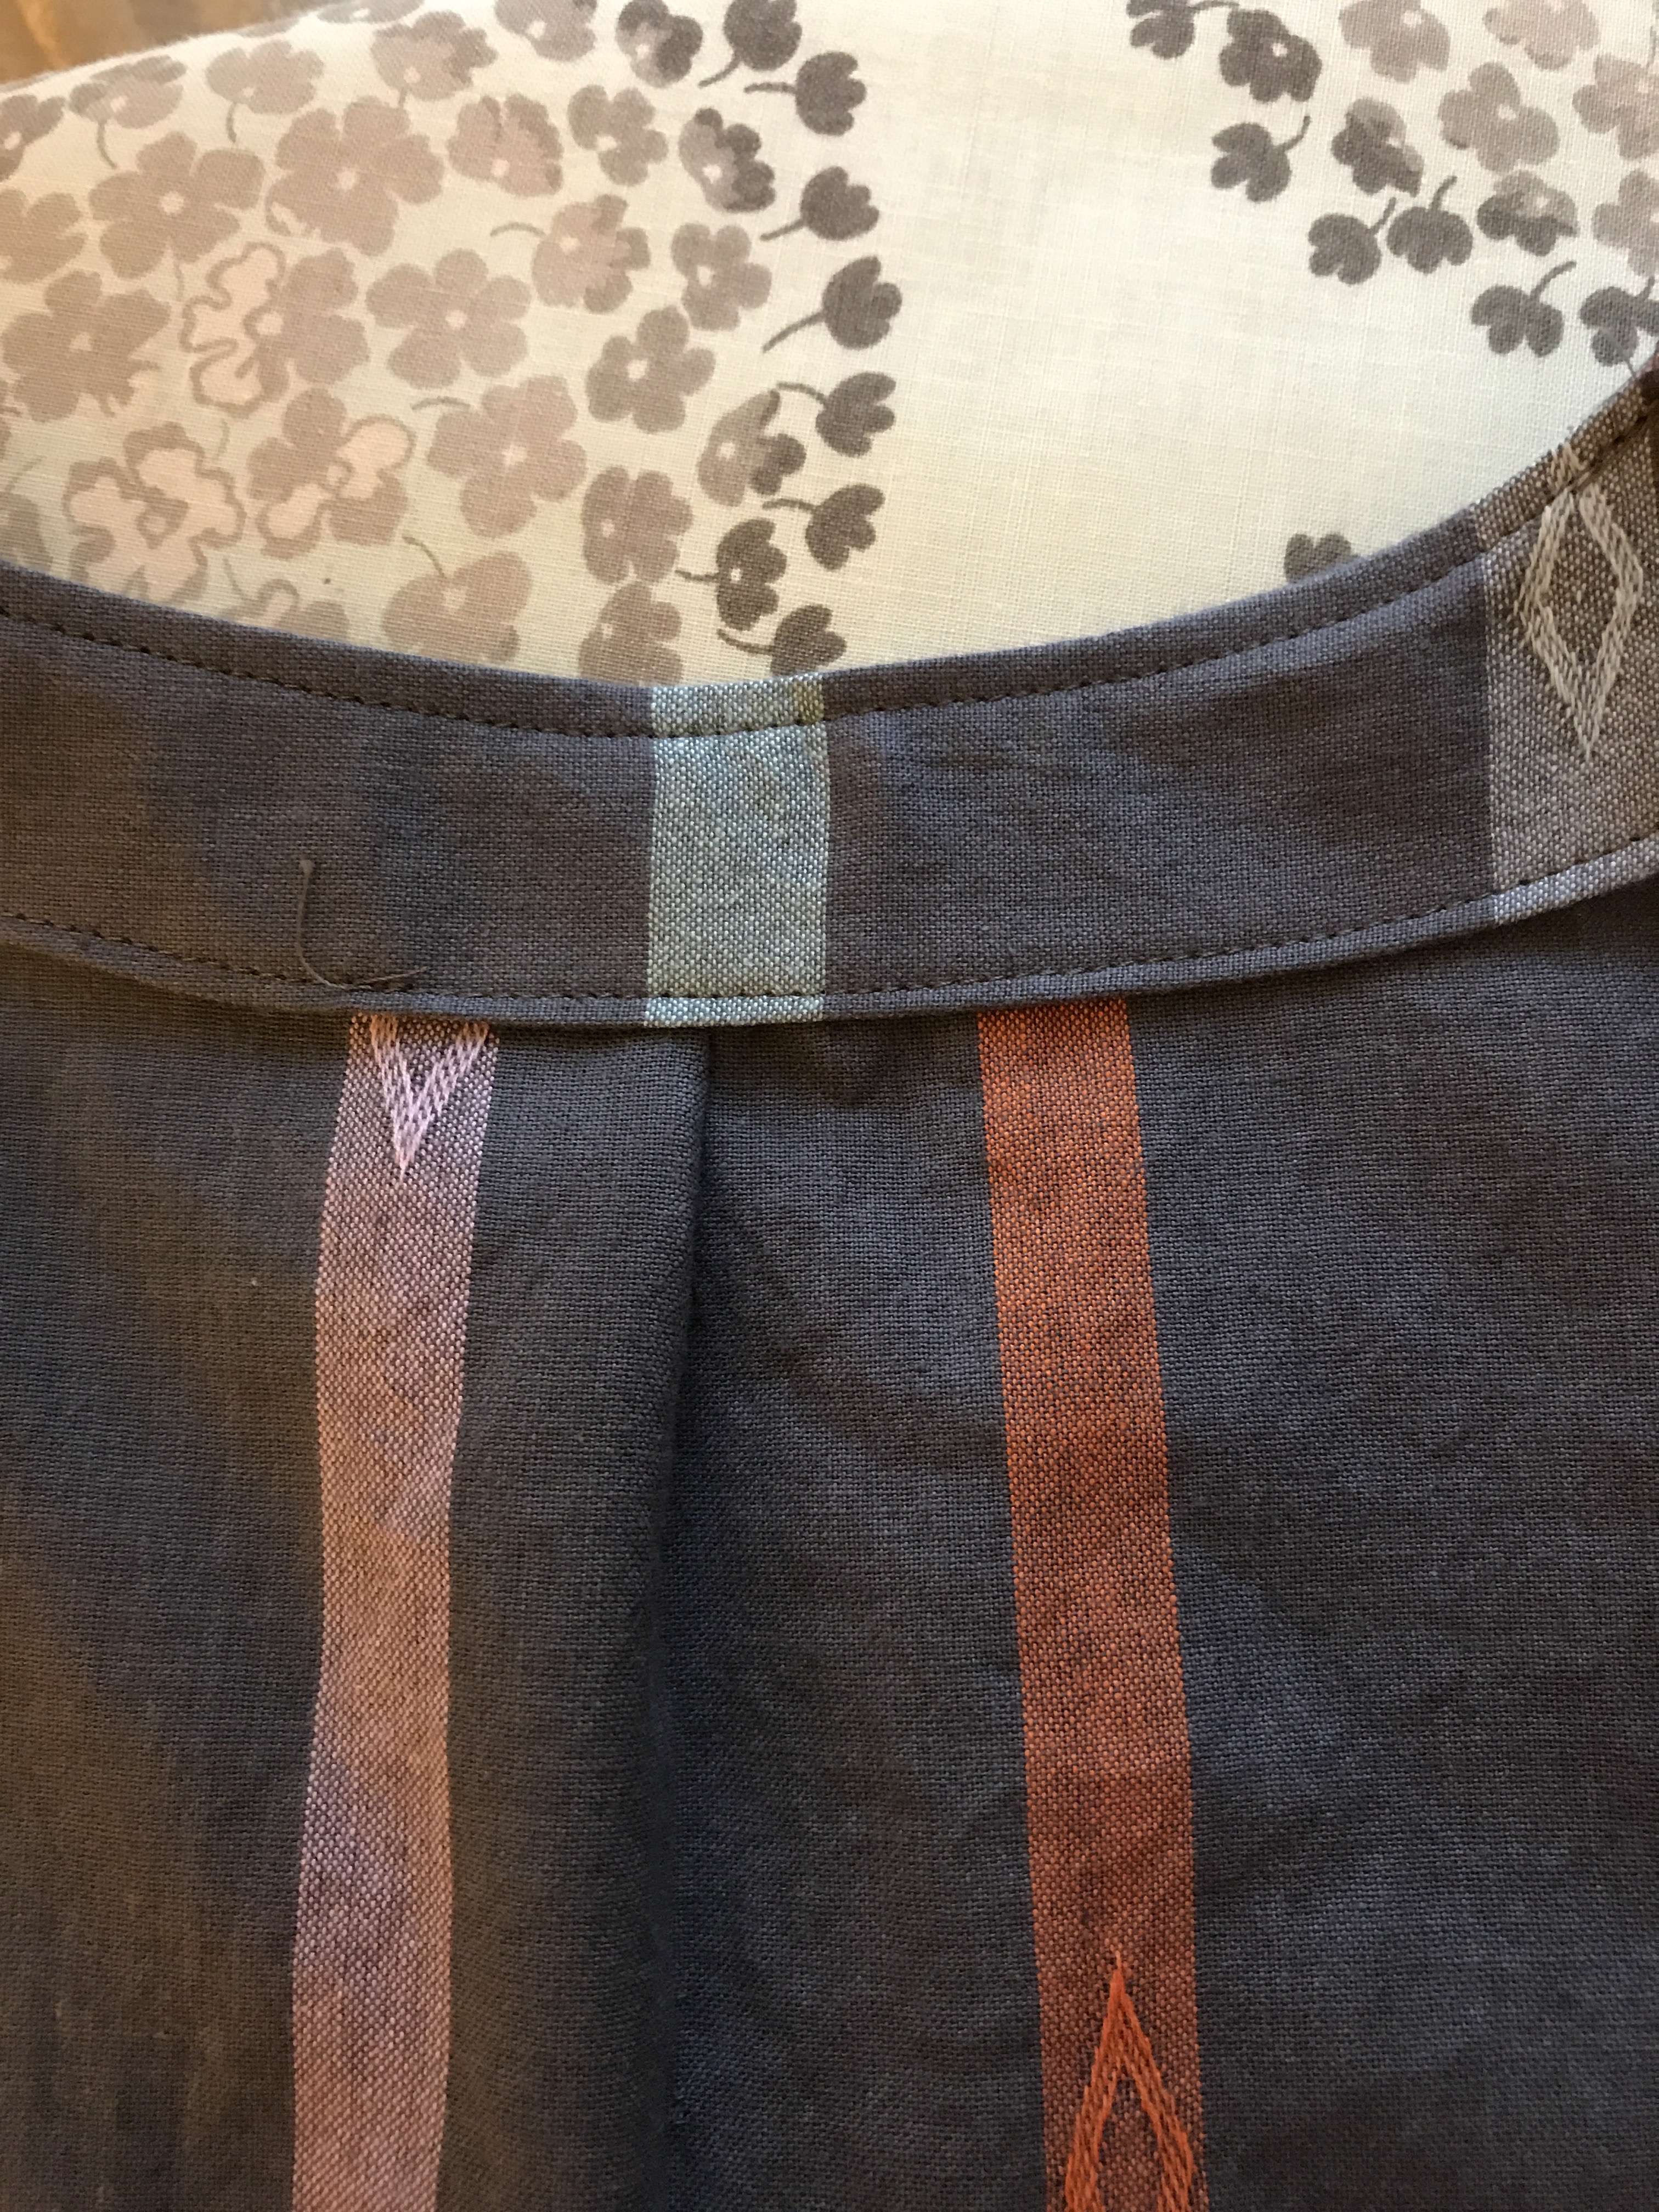
Hem. Finished dress back view. The stripes don’t line up on the side but I am happy with the way the back stripes ended up. The photo bomber is my sweet dog Sadie.
 Close up of the beautiful nani iro fabric.
 Shades of grey can be beautiful!