
Back in May I was inspired to make the Emerald Dress from Making Magazine, designed by Made by Rae. I didn’t actually think that it would flatter my body type but I was intrigued to try sewing a garment on the bias for the first time and Rae’s pattern have such clear instructions and such lovely, flattering lines and generally fit me without alterations so I decided to go for it.
This pattern is a free download once you buy the magazine. Because the pattern pieces are cut on the bias, it requires more fabric and very precise cutting when you are cutting out the main pieces.

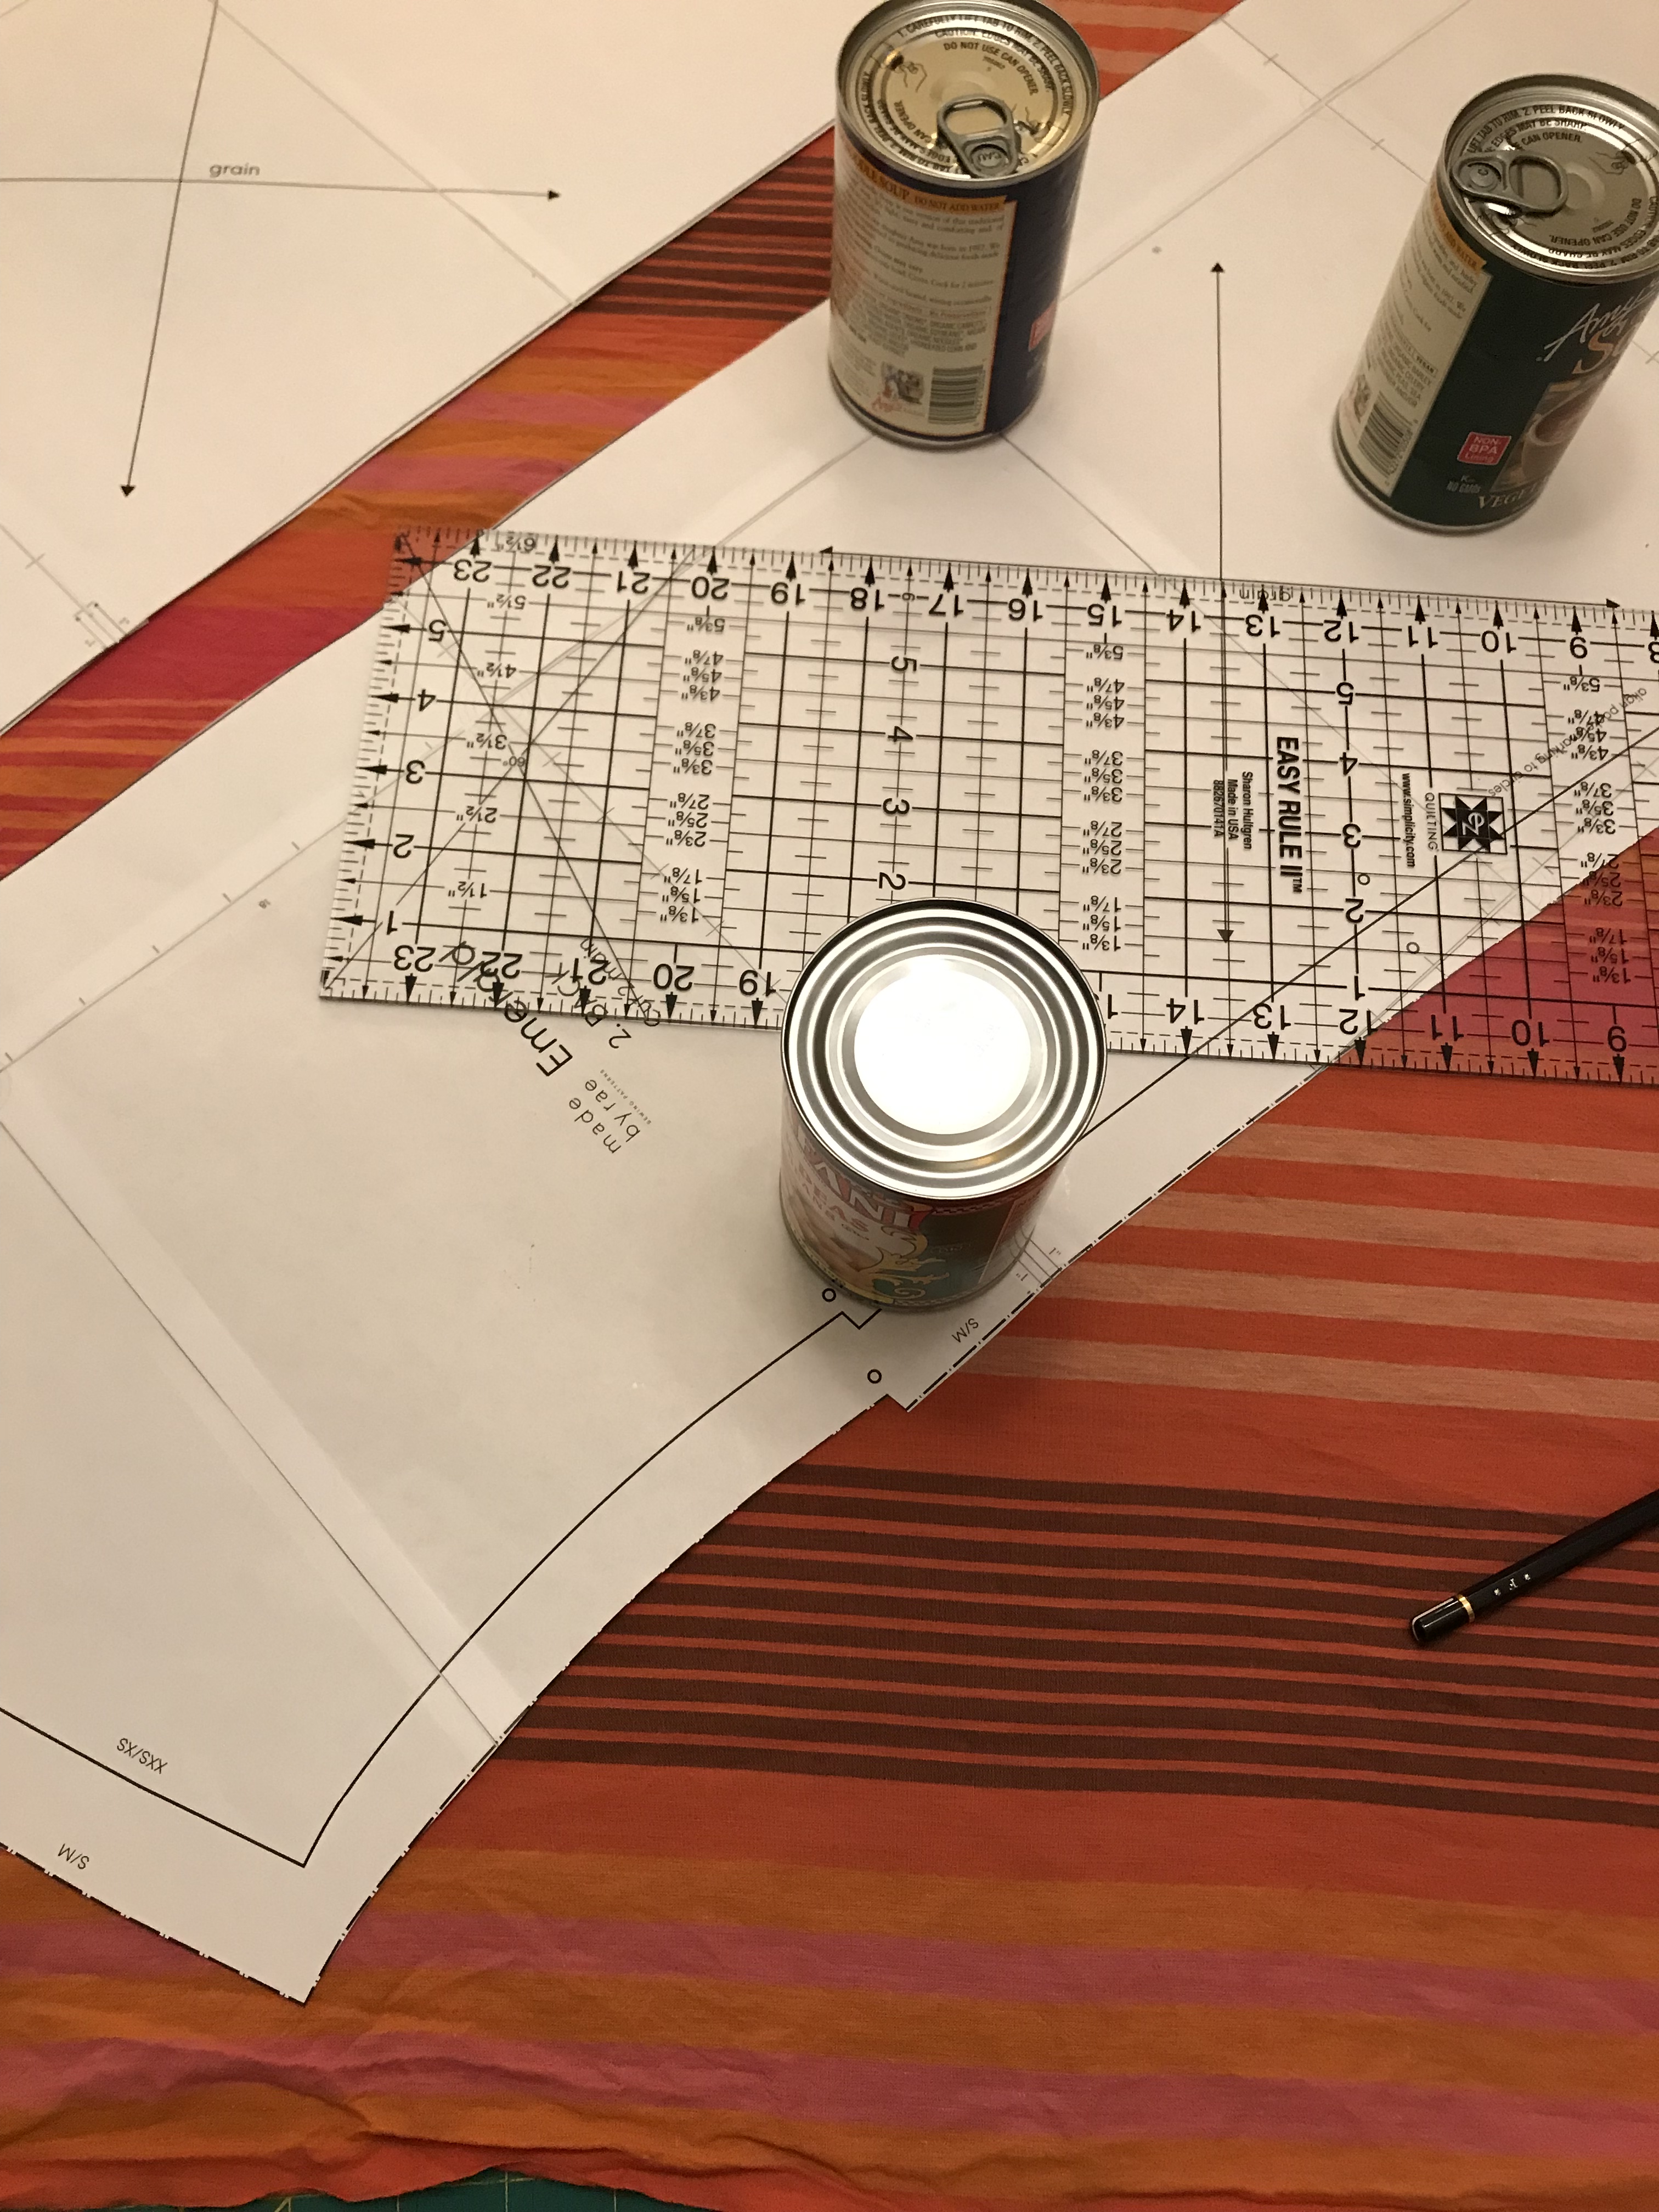
I was up for the challenge. I had a 4 yard piece of a striped lightweight cotton from the Loominous line by Anna Maria Horner. I had bought it on sale a couple of years ago thinking it would be good for backing a quilt. I thought the stripes would be interesting with this design. I deliberately did not match them at the seams because I thought it would create more of a sense of movement. Taking my time to cut things out carefully was actually nice for a change. I am usually a batch sewing queen, cutting out several things at a time to be more efficient but I find that I really enjoy the process of sewing a new pattern one step at a time and taking my time. It becomes a really meditative process for me. I moved my two largest cutting boards down to the dining room table and used a large clear quilting ruler to line up the fabric on the bias using the stripes to guide me.

I cut on the S/M lines based on my bust measurement of 37″ and took my time. I added two inches to the length by drawing a new cutting line for the hem about two inches below the pattern line so first version has a skirt that flares just a bit wider than as designed. To compensate, I cut the hem facings a bit wider on each end. I am 5’9″ tall and I always add 2 inches to Rae’s tops and dresses since my height is all in my torso. I did not interface the hem or hem facings but I did interface the neck and arm facings.
I found this lightweight woven nice to work with but I found that lining up the V sharply proved a bit challenging. I got there in the end but I had to do some creative wrestling including cutting the facing edge at the bottom to allow it to spread a bit. I ironed everything into submission and added a row of stitching just around the neckline. I sewed the facing edge to the dress from the outside not the inside as the pattern calls for because my stitching looks nicer as topstitching.
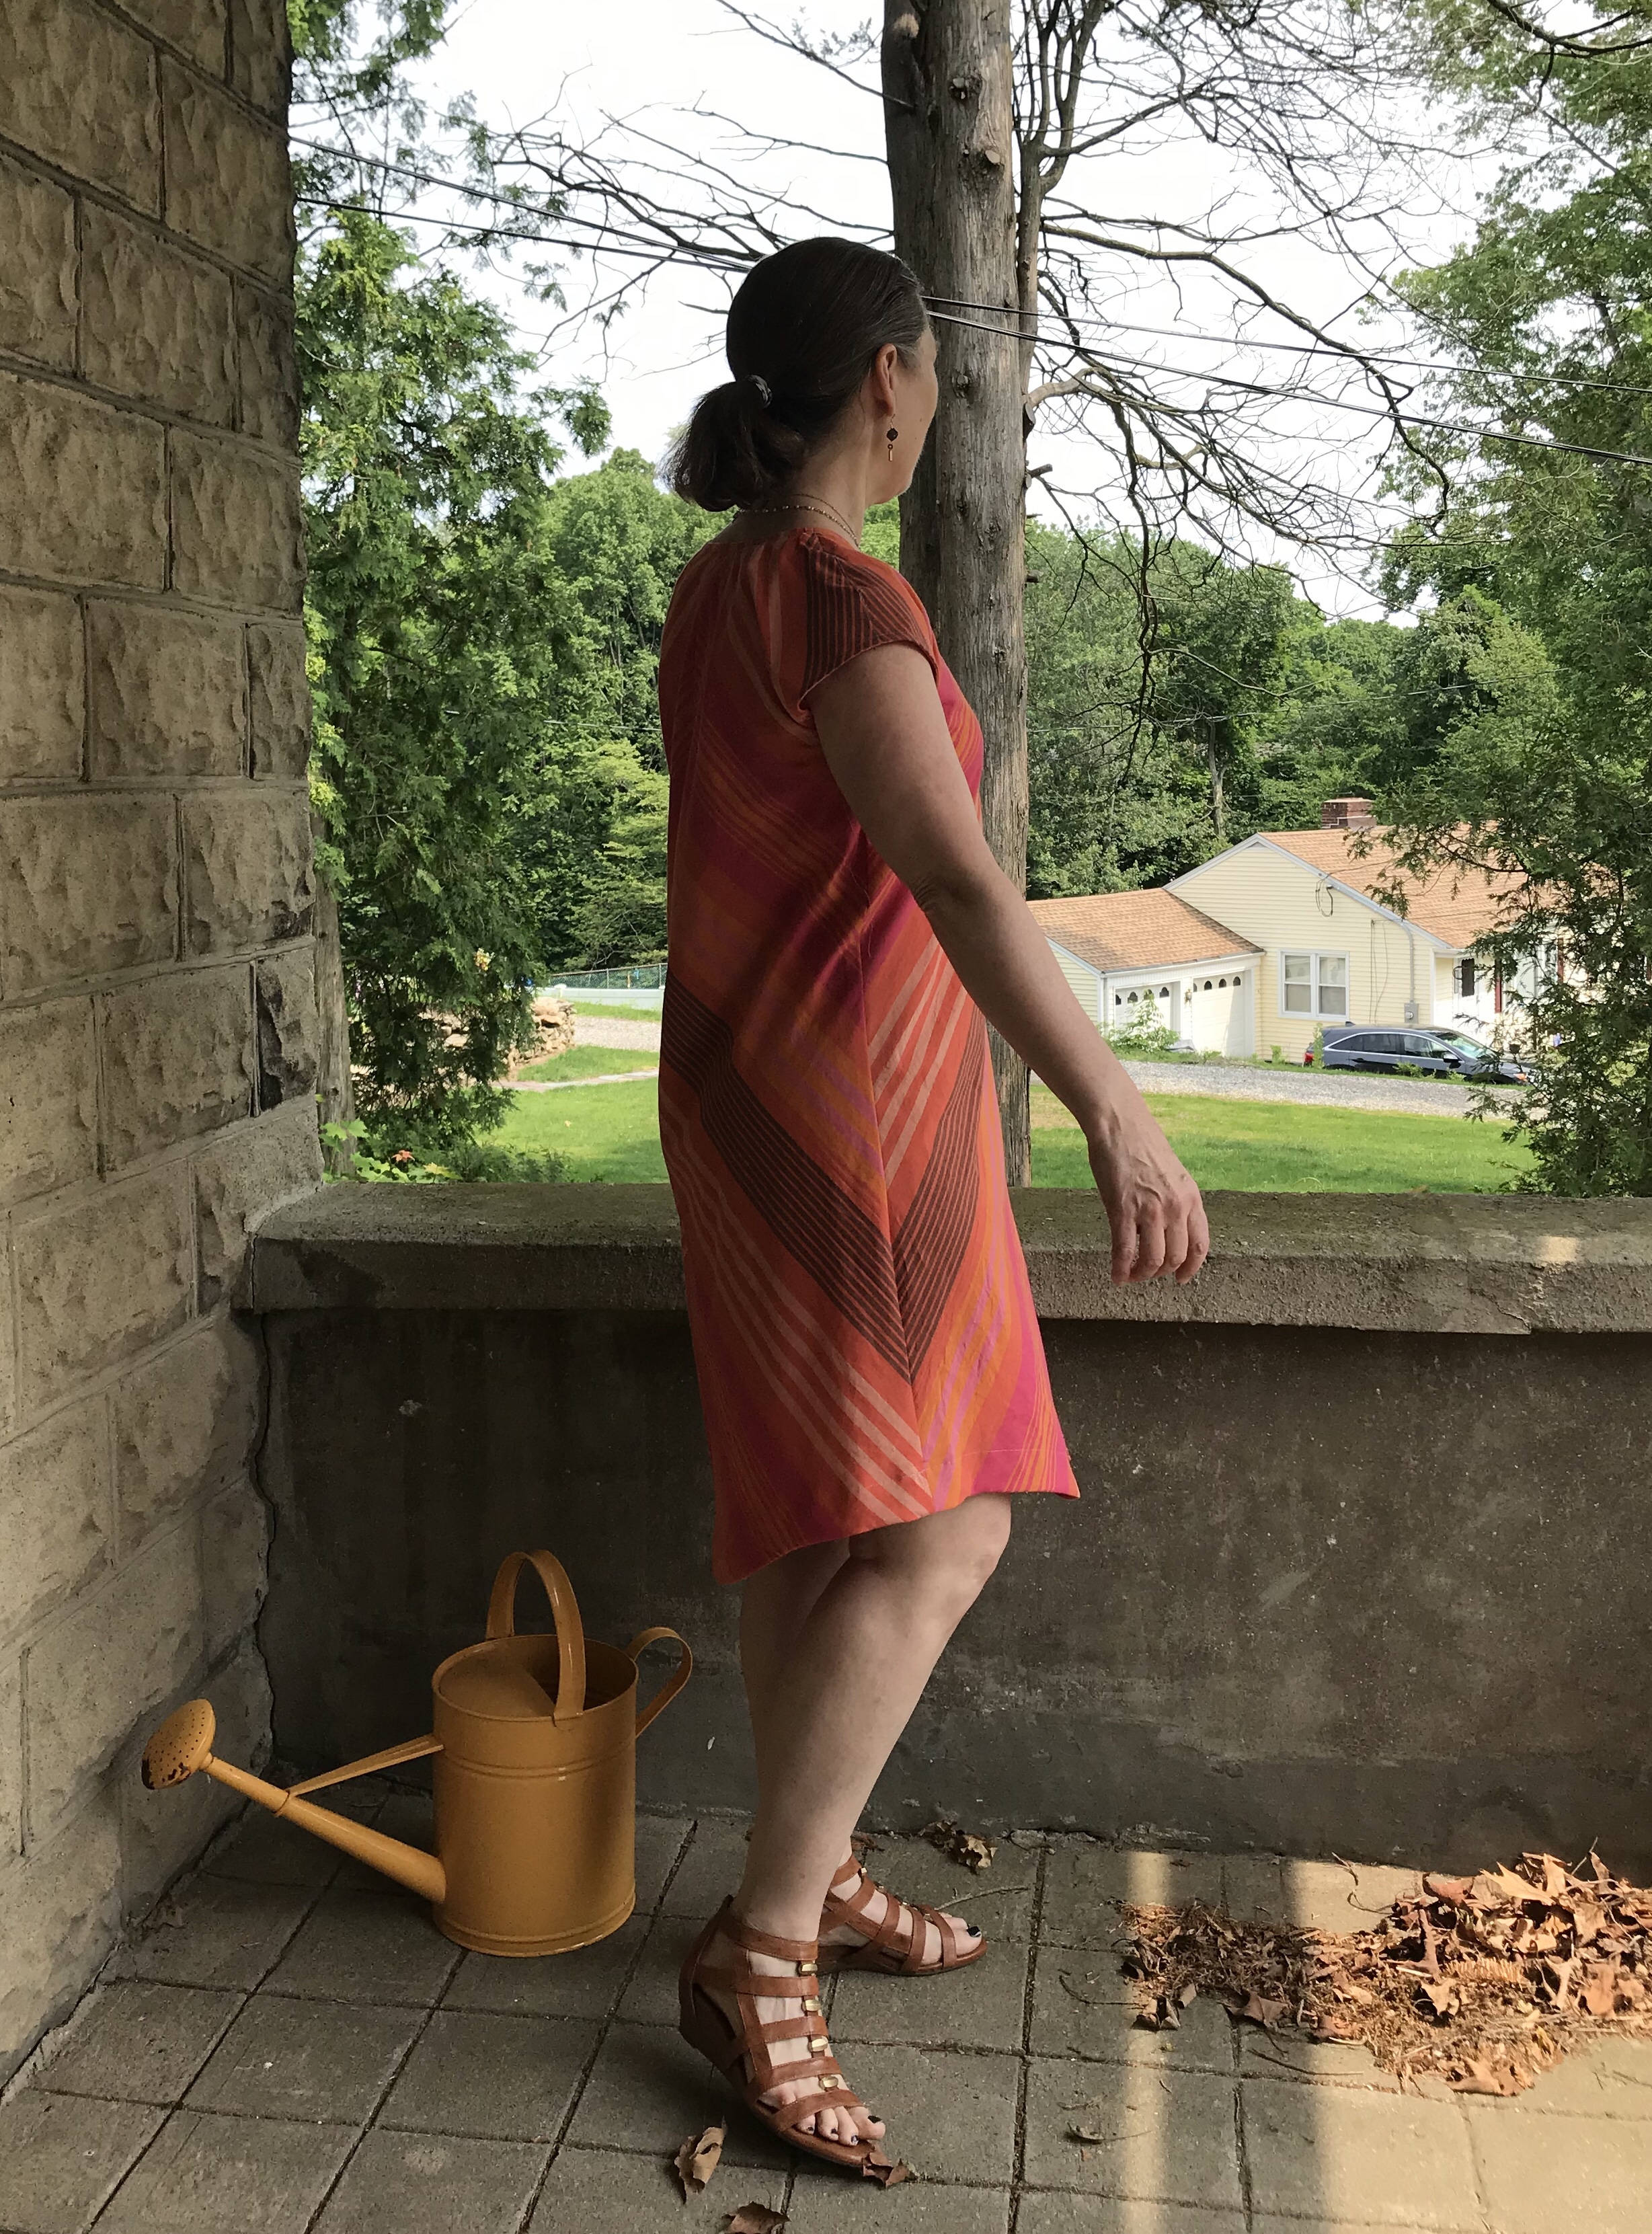
I was actually surprised at how much I liked the final version. You can see a bit of stripe matching serendipity here. I didn’t try to match and didn’t really want it matching because I think it is more interesting that way but I like how some of the stripes come together at the side seam. It really accentuates the sewing lines. After making it, I thought about sizing up a bit in the neck and shoulders so it would be a bit more drapey. I used my bust measurement for the sizing but on closer reading, the high bust should have been my guide and I should have cut between the S/M and L/XL lines. I thought about changing the size when I made version 2 but as I wore this one, I decided I liked it as is. The stripes don’t match on the opposite side seam and the front seam has the stripes in slightly different alignment on the two sides which I like. I have always preferred things to not be too matchy matchy so this made me happy.
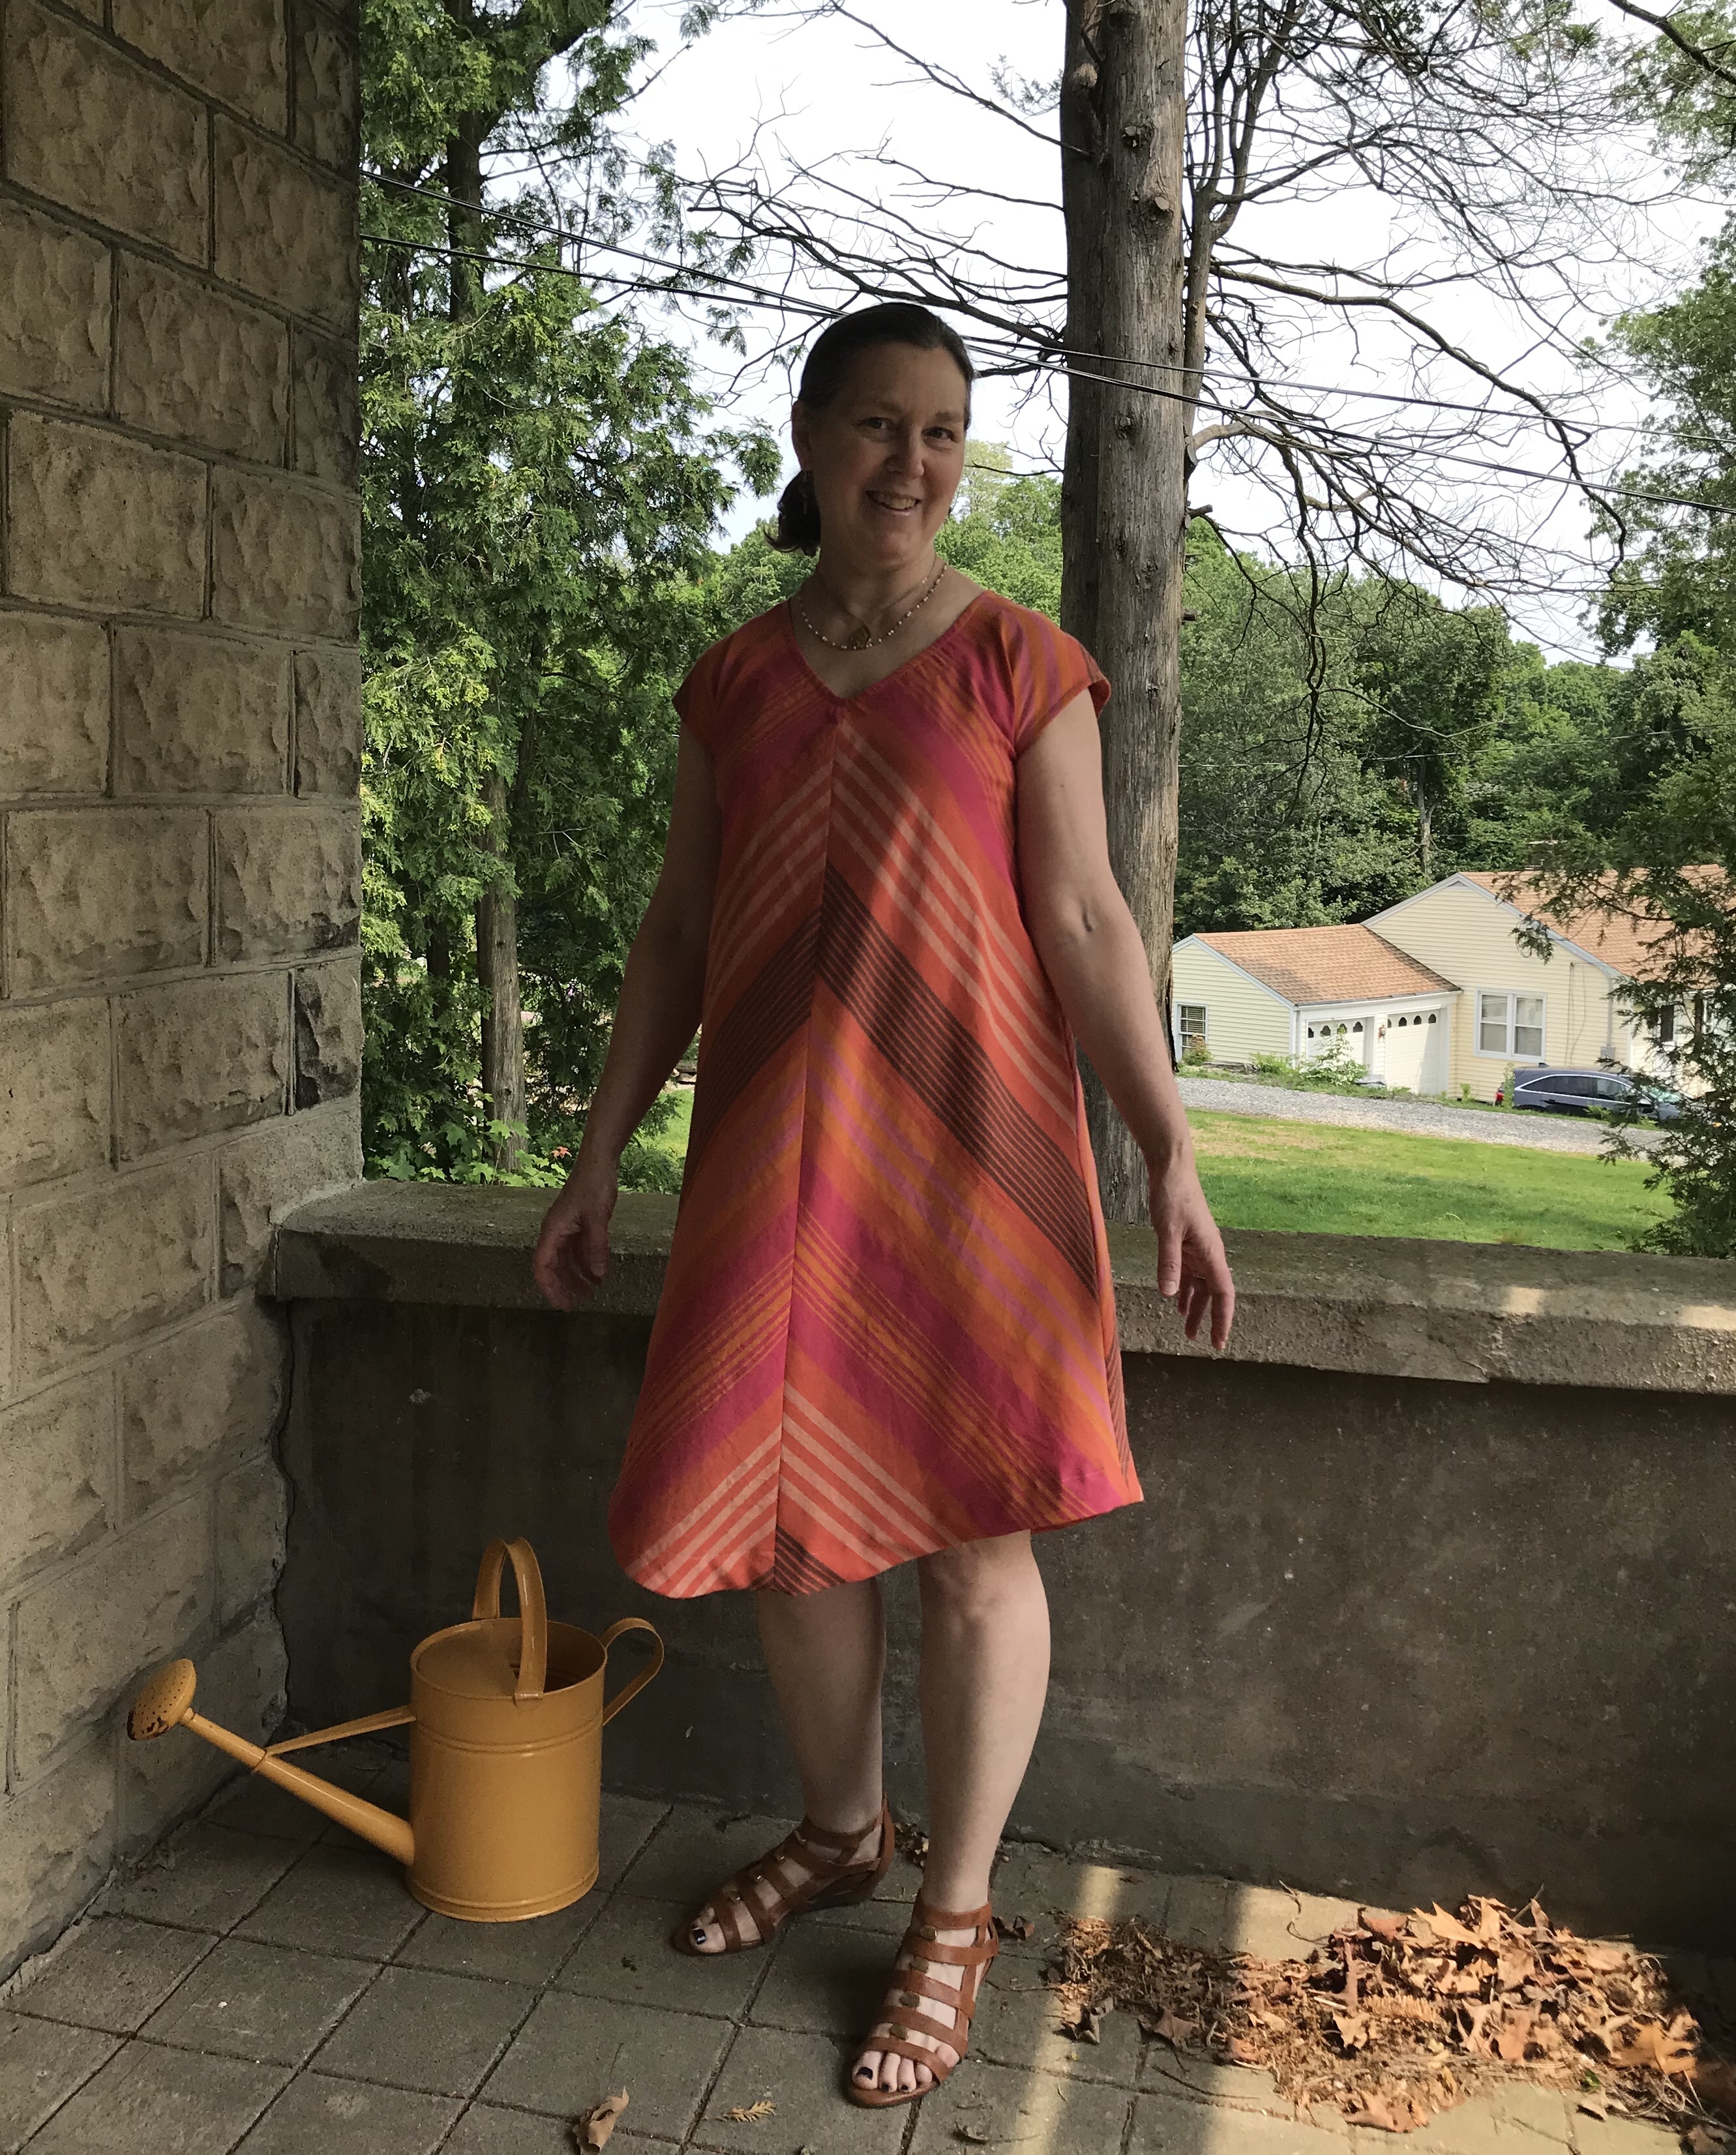
I had thought this would be a beach coverup caftan type thing and eventually that is what it will become but I have actually worn it out to my book group and to the office. I love the way it feels when worn, very comfortable, swishy, flowy and light for summer but with a polished, flattering neckline. Rae does it again!

After May was over, I took a couple of weeks off from sewing for a family visit for a graduation and when I got back, I kept thinking about making a second version. I really like making things at least twice because it gives me a chance to fix things I missed on round one.

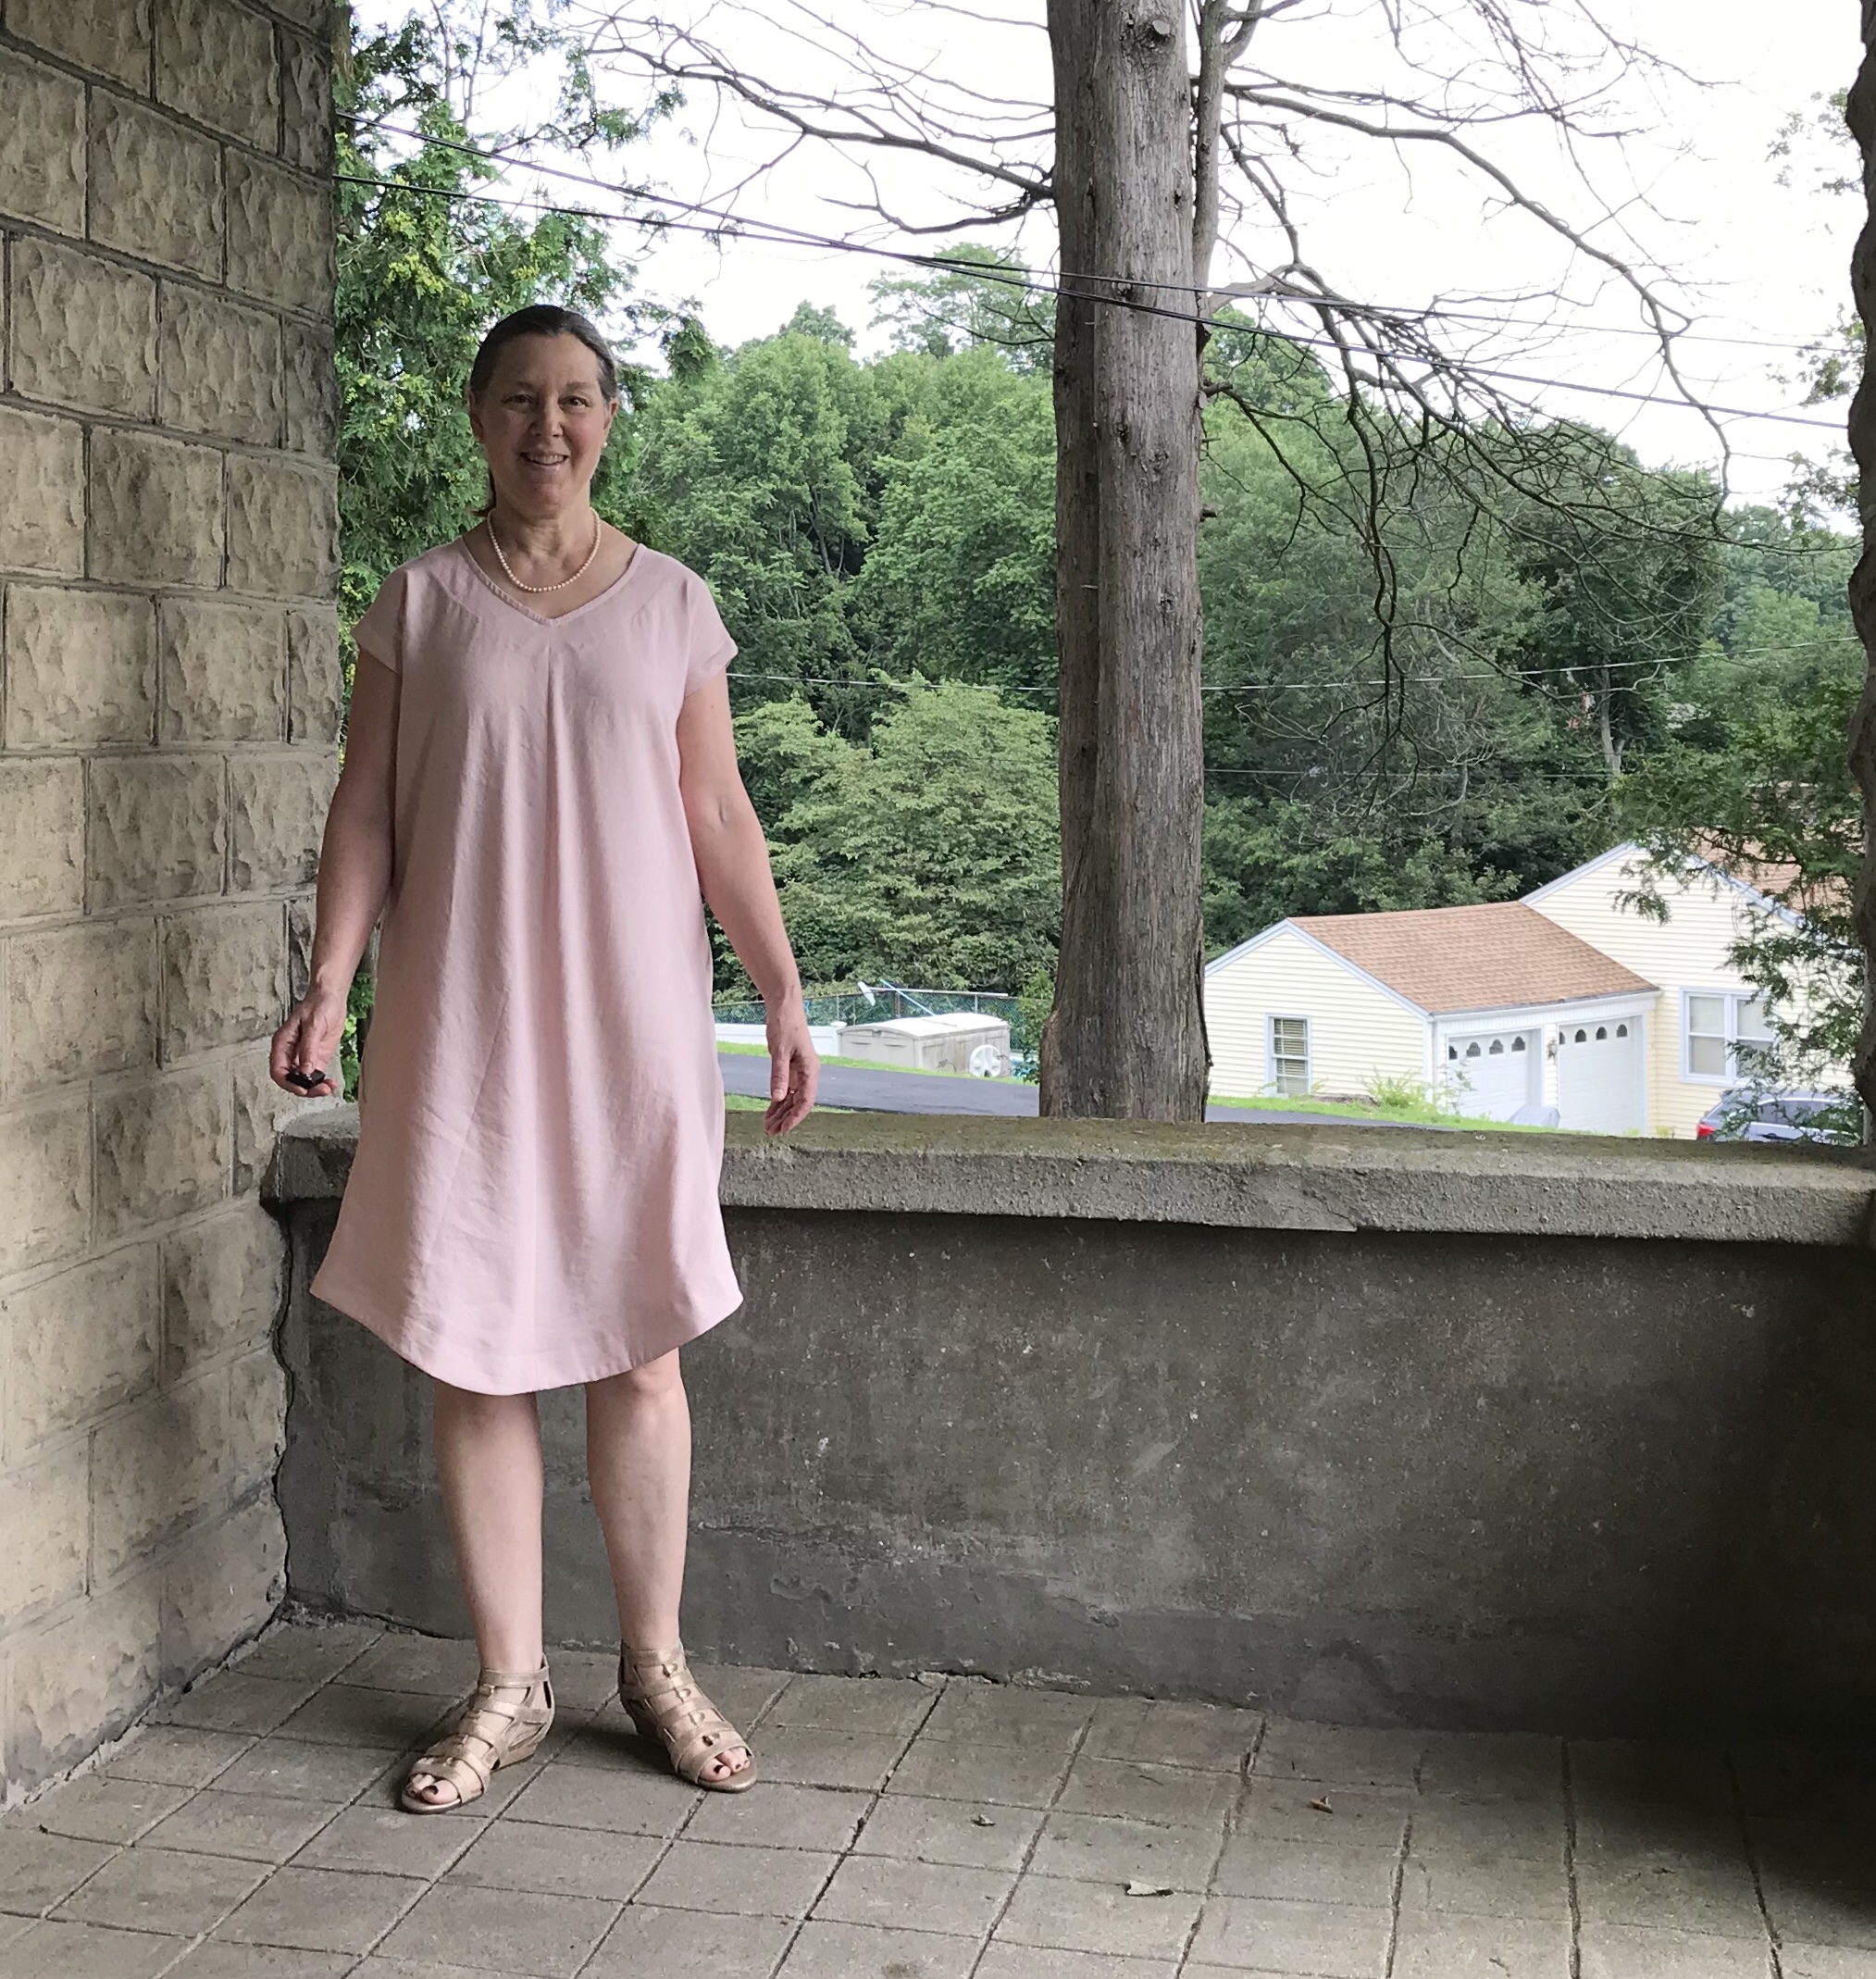
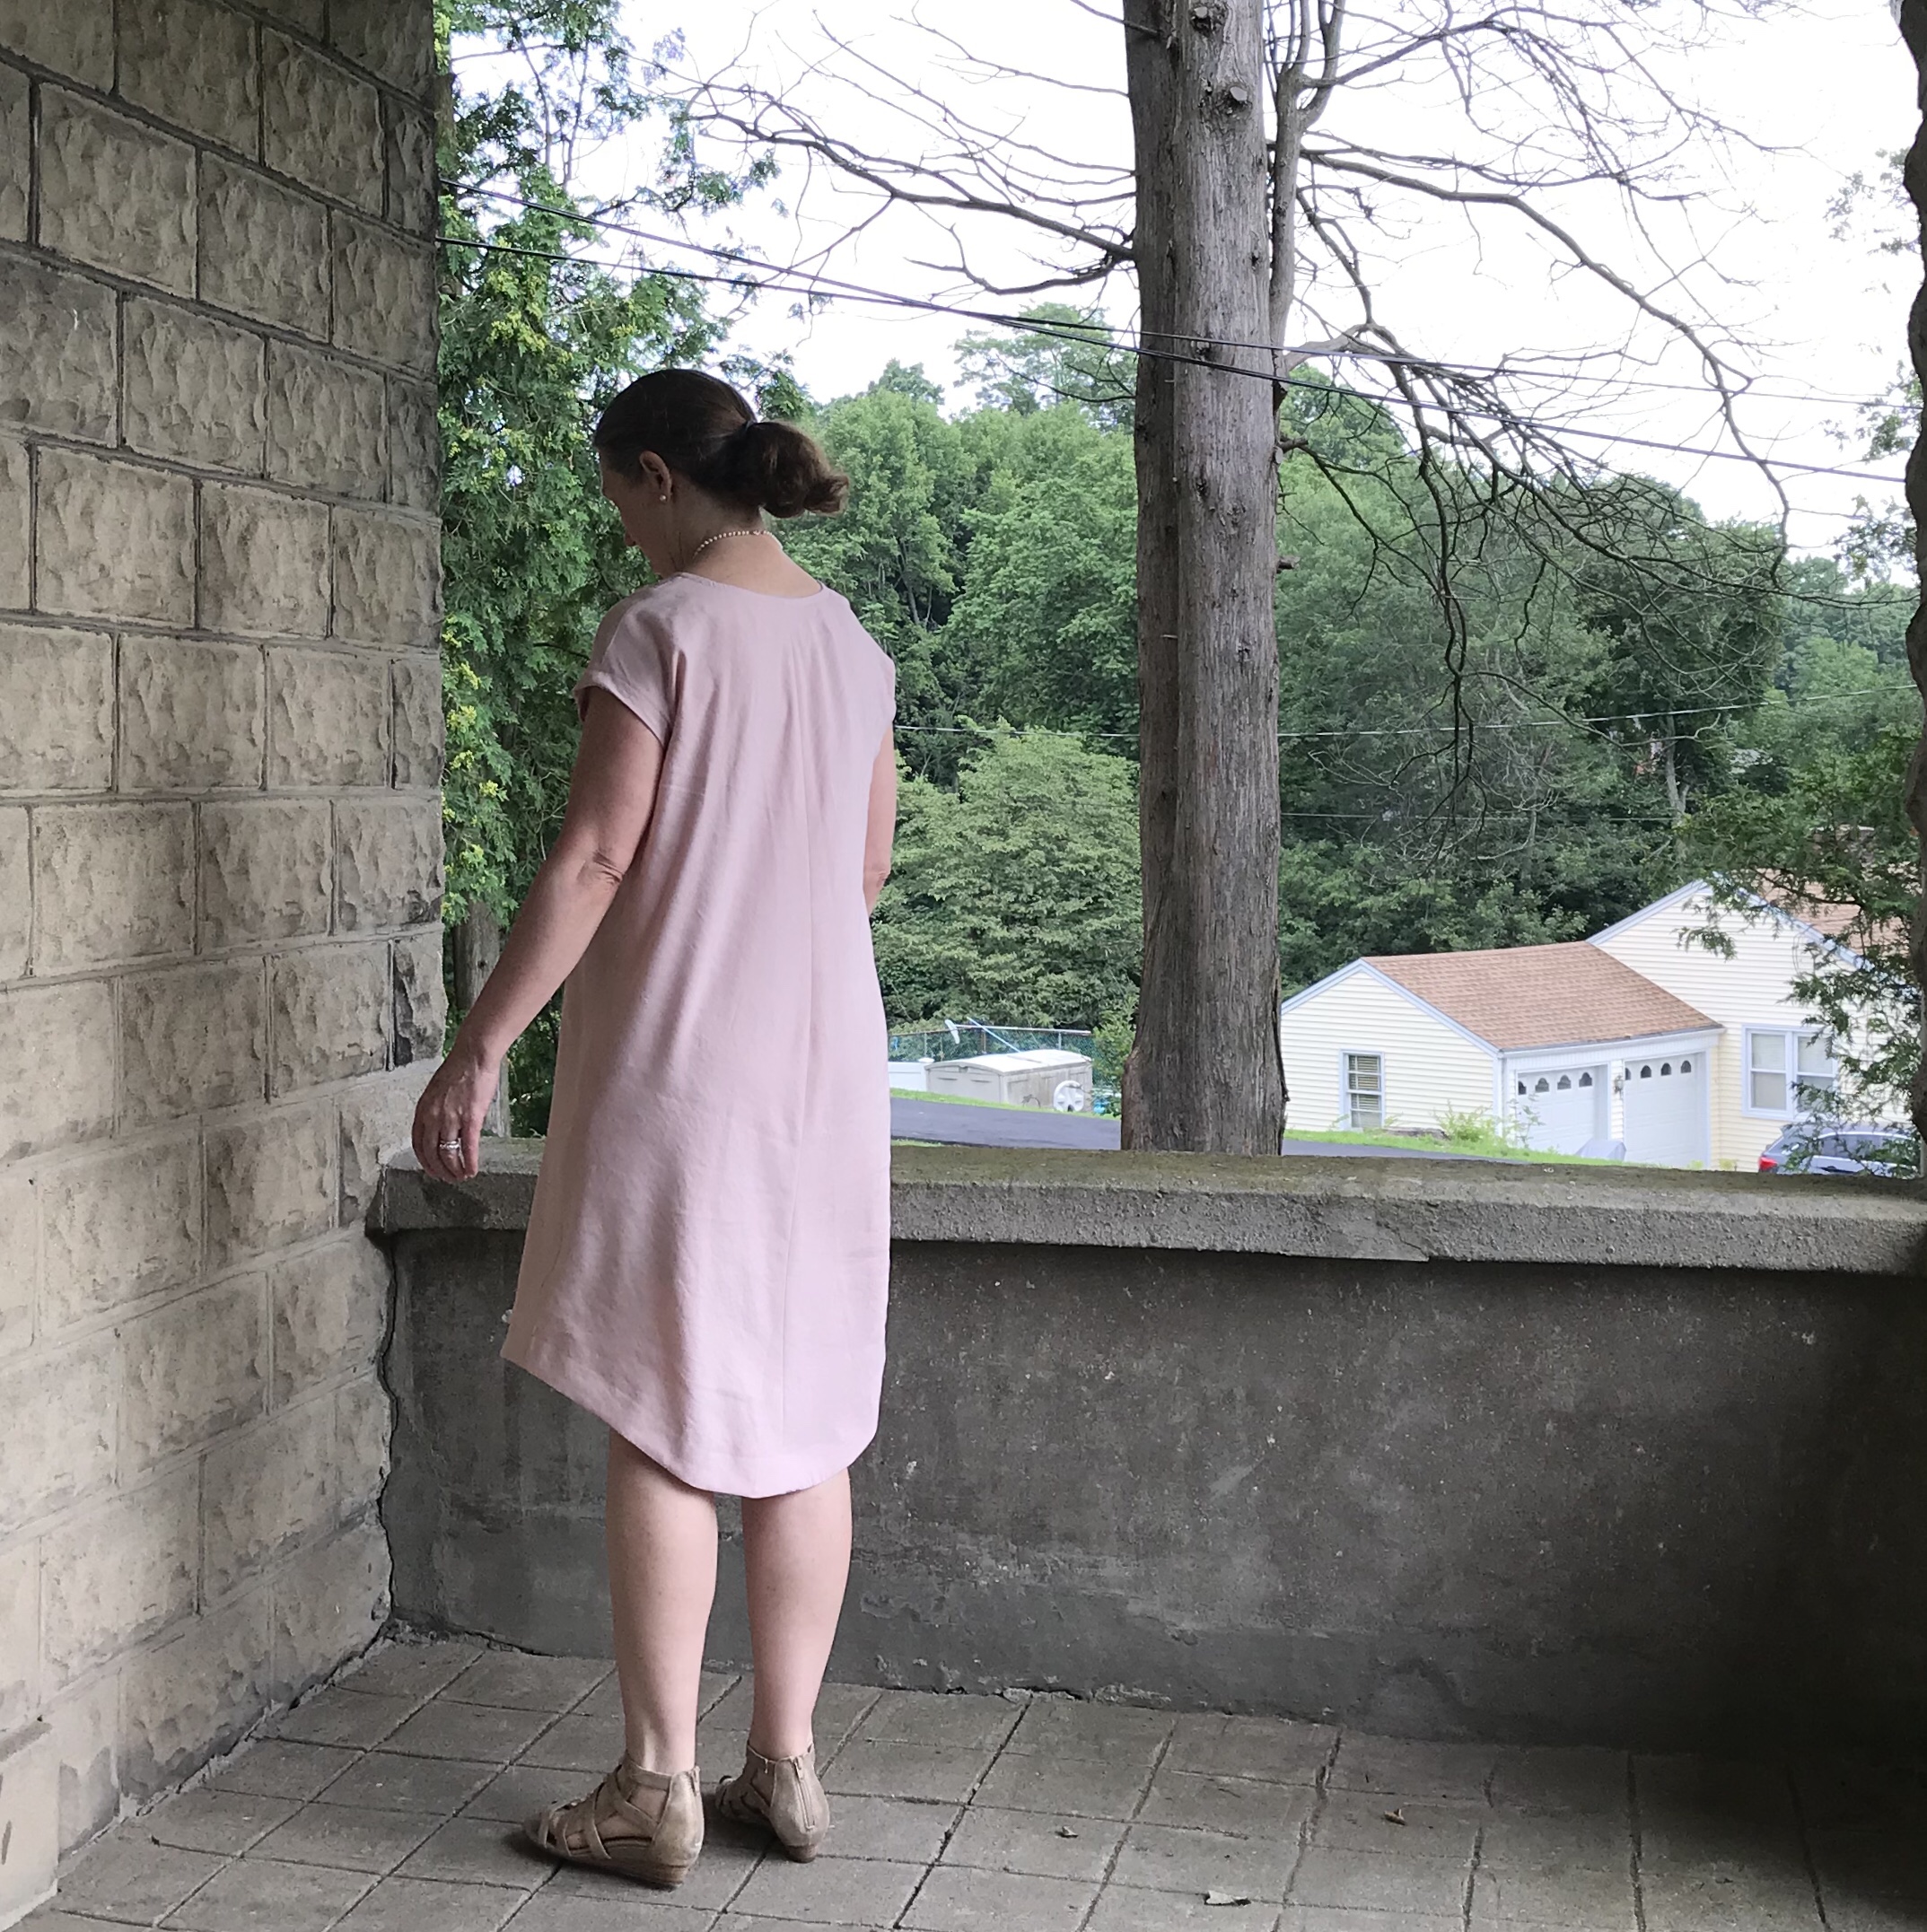
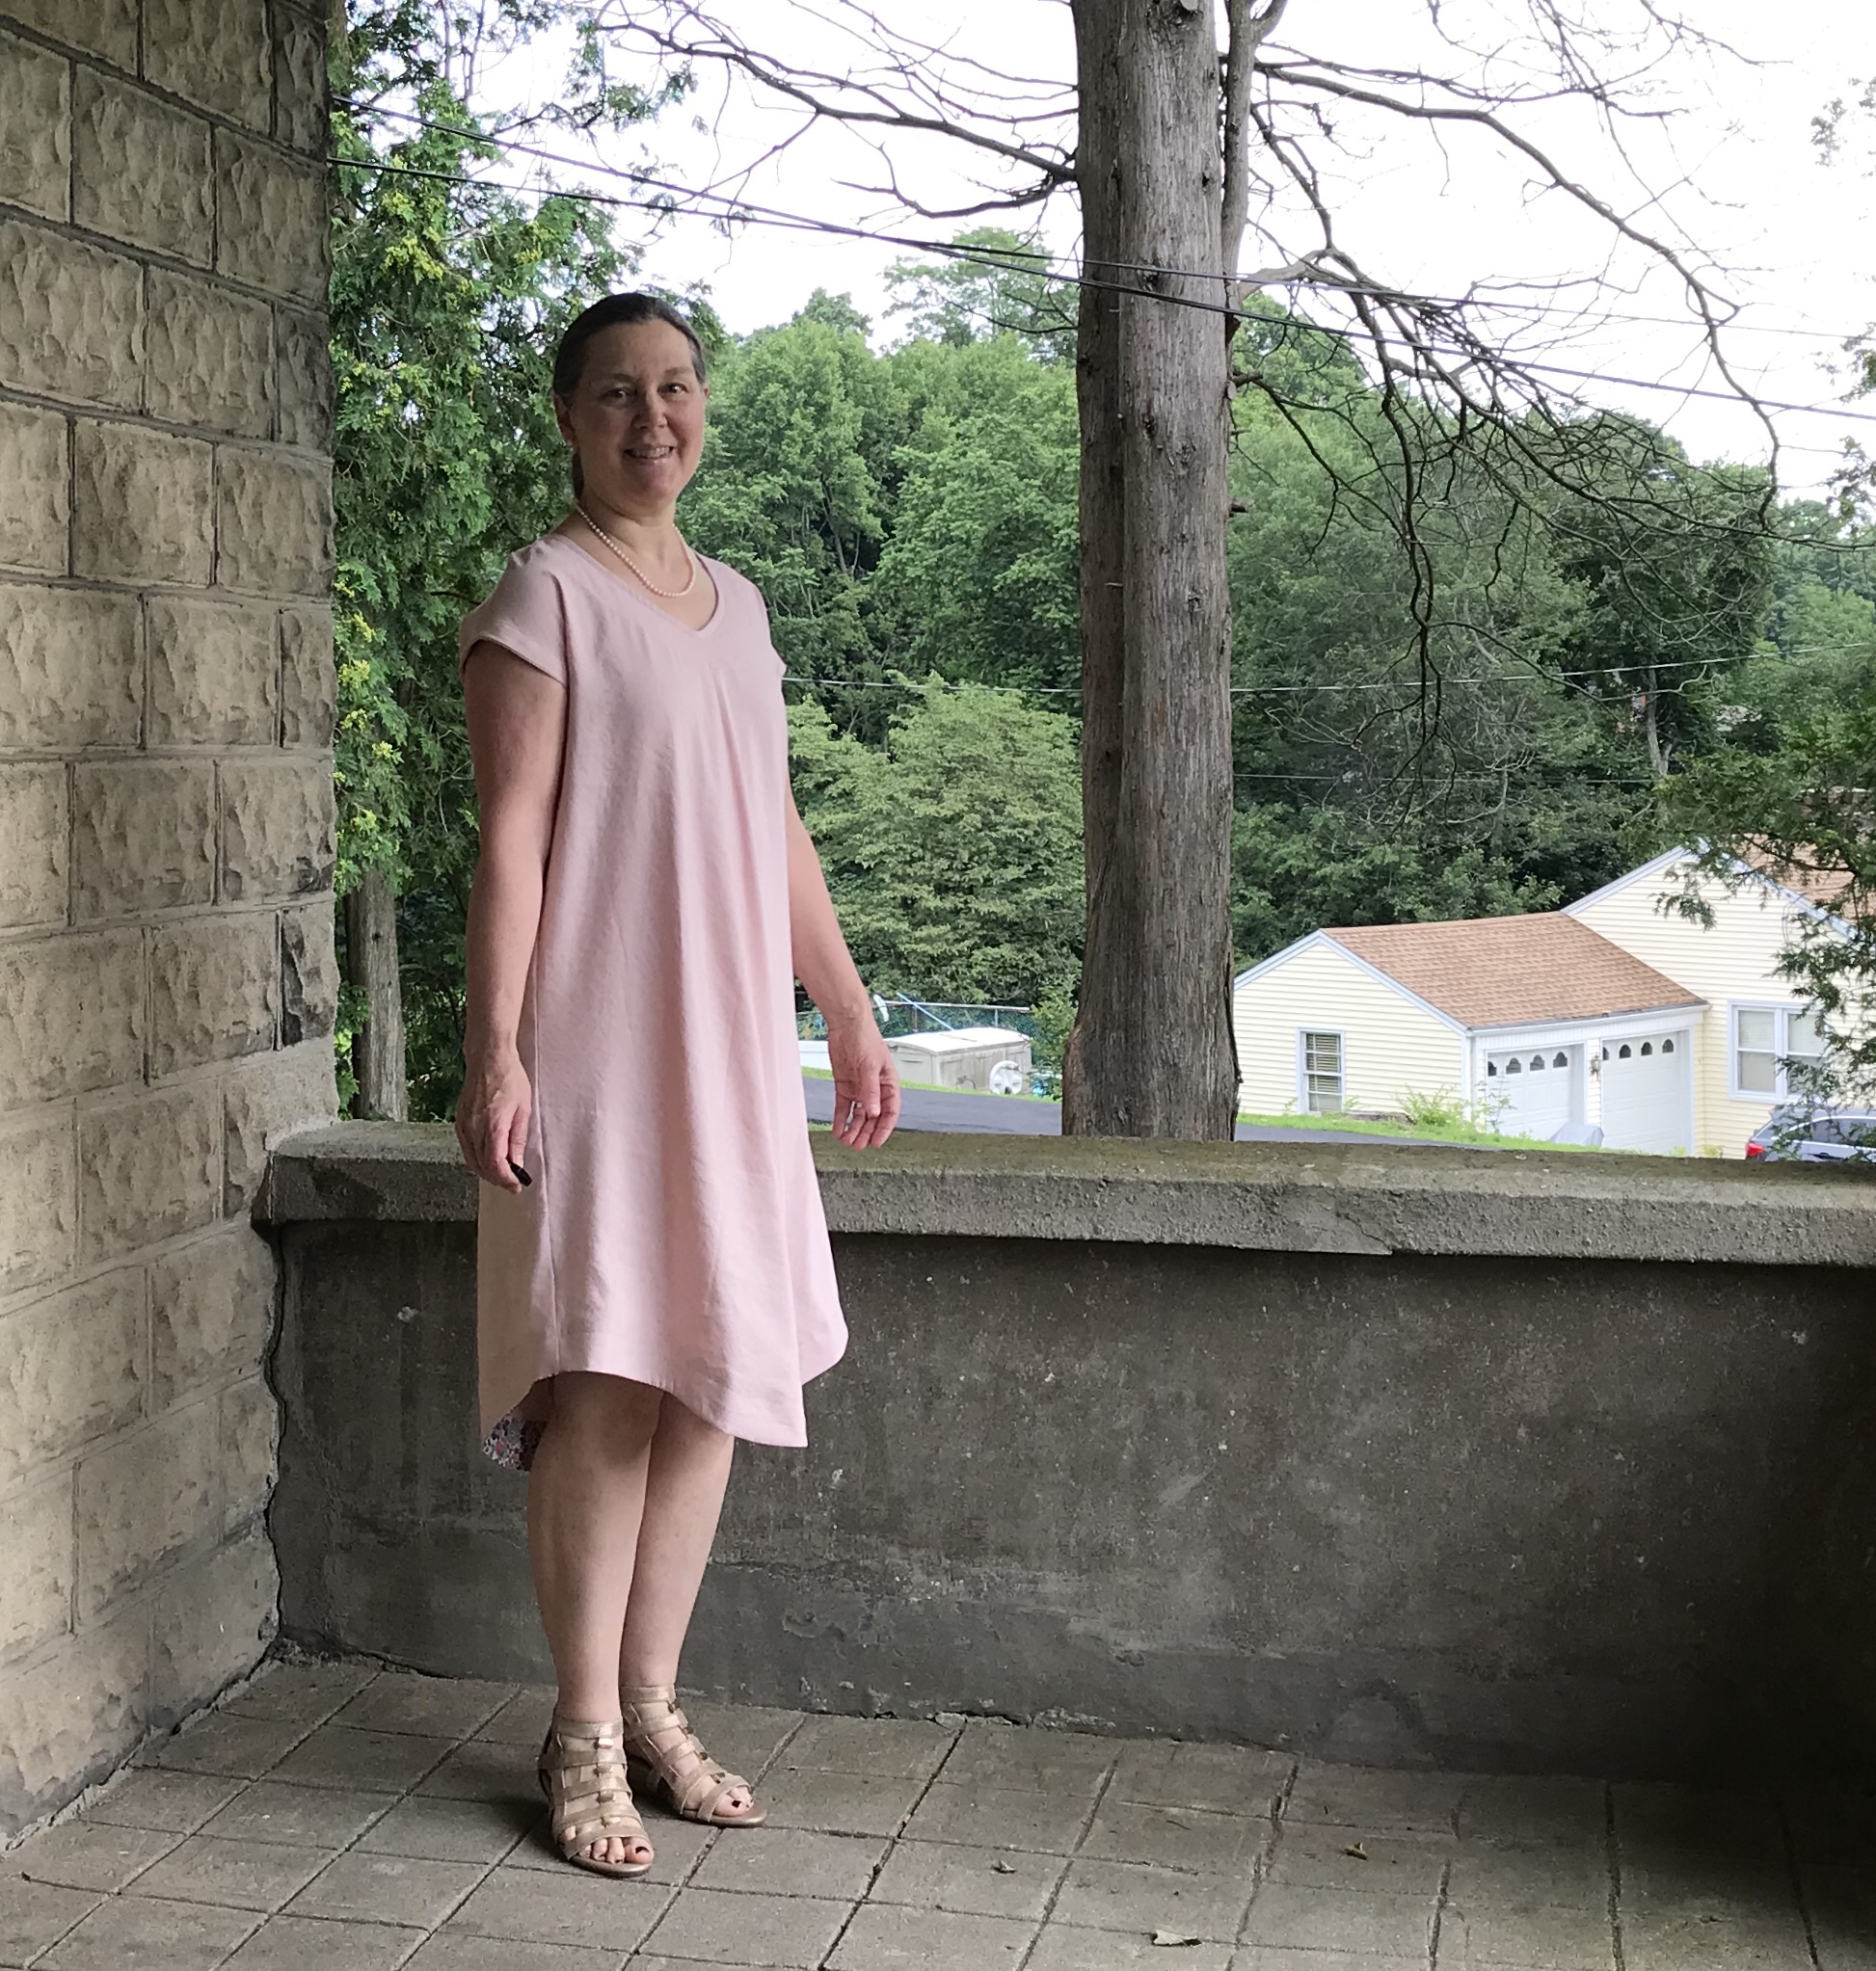
I had a 2 yard piece of a dusty rose linen-rayon blend from fabric.com. I don’t even remember why I bought it, possibly to make another York pinafore and it would have been great for that, but I knew it would work well for this pattern because of the drape. Since I just had two yards and no stripes to deal with, I altered the angle of the pattern pieces when cutting it out so that they are on the bias but on a slightly less sharp angle. You can see it in the picture above. I cut the pieces out on the doubled fabric rather than flat so the angles would all be the same. I didn’t have enough for hem facings but I used a scrap of liberty, always a great solution!

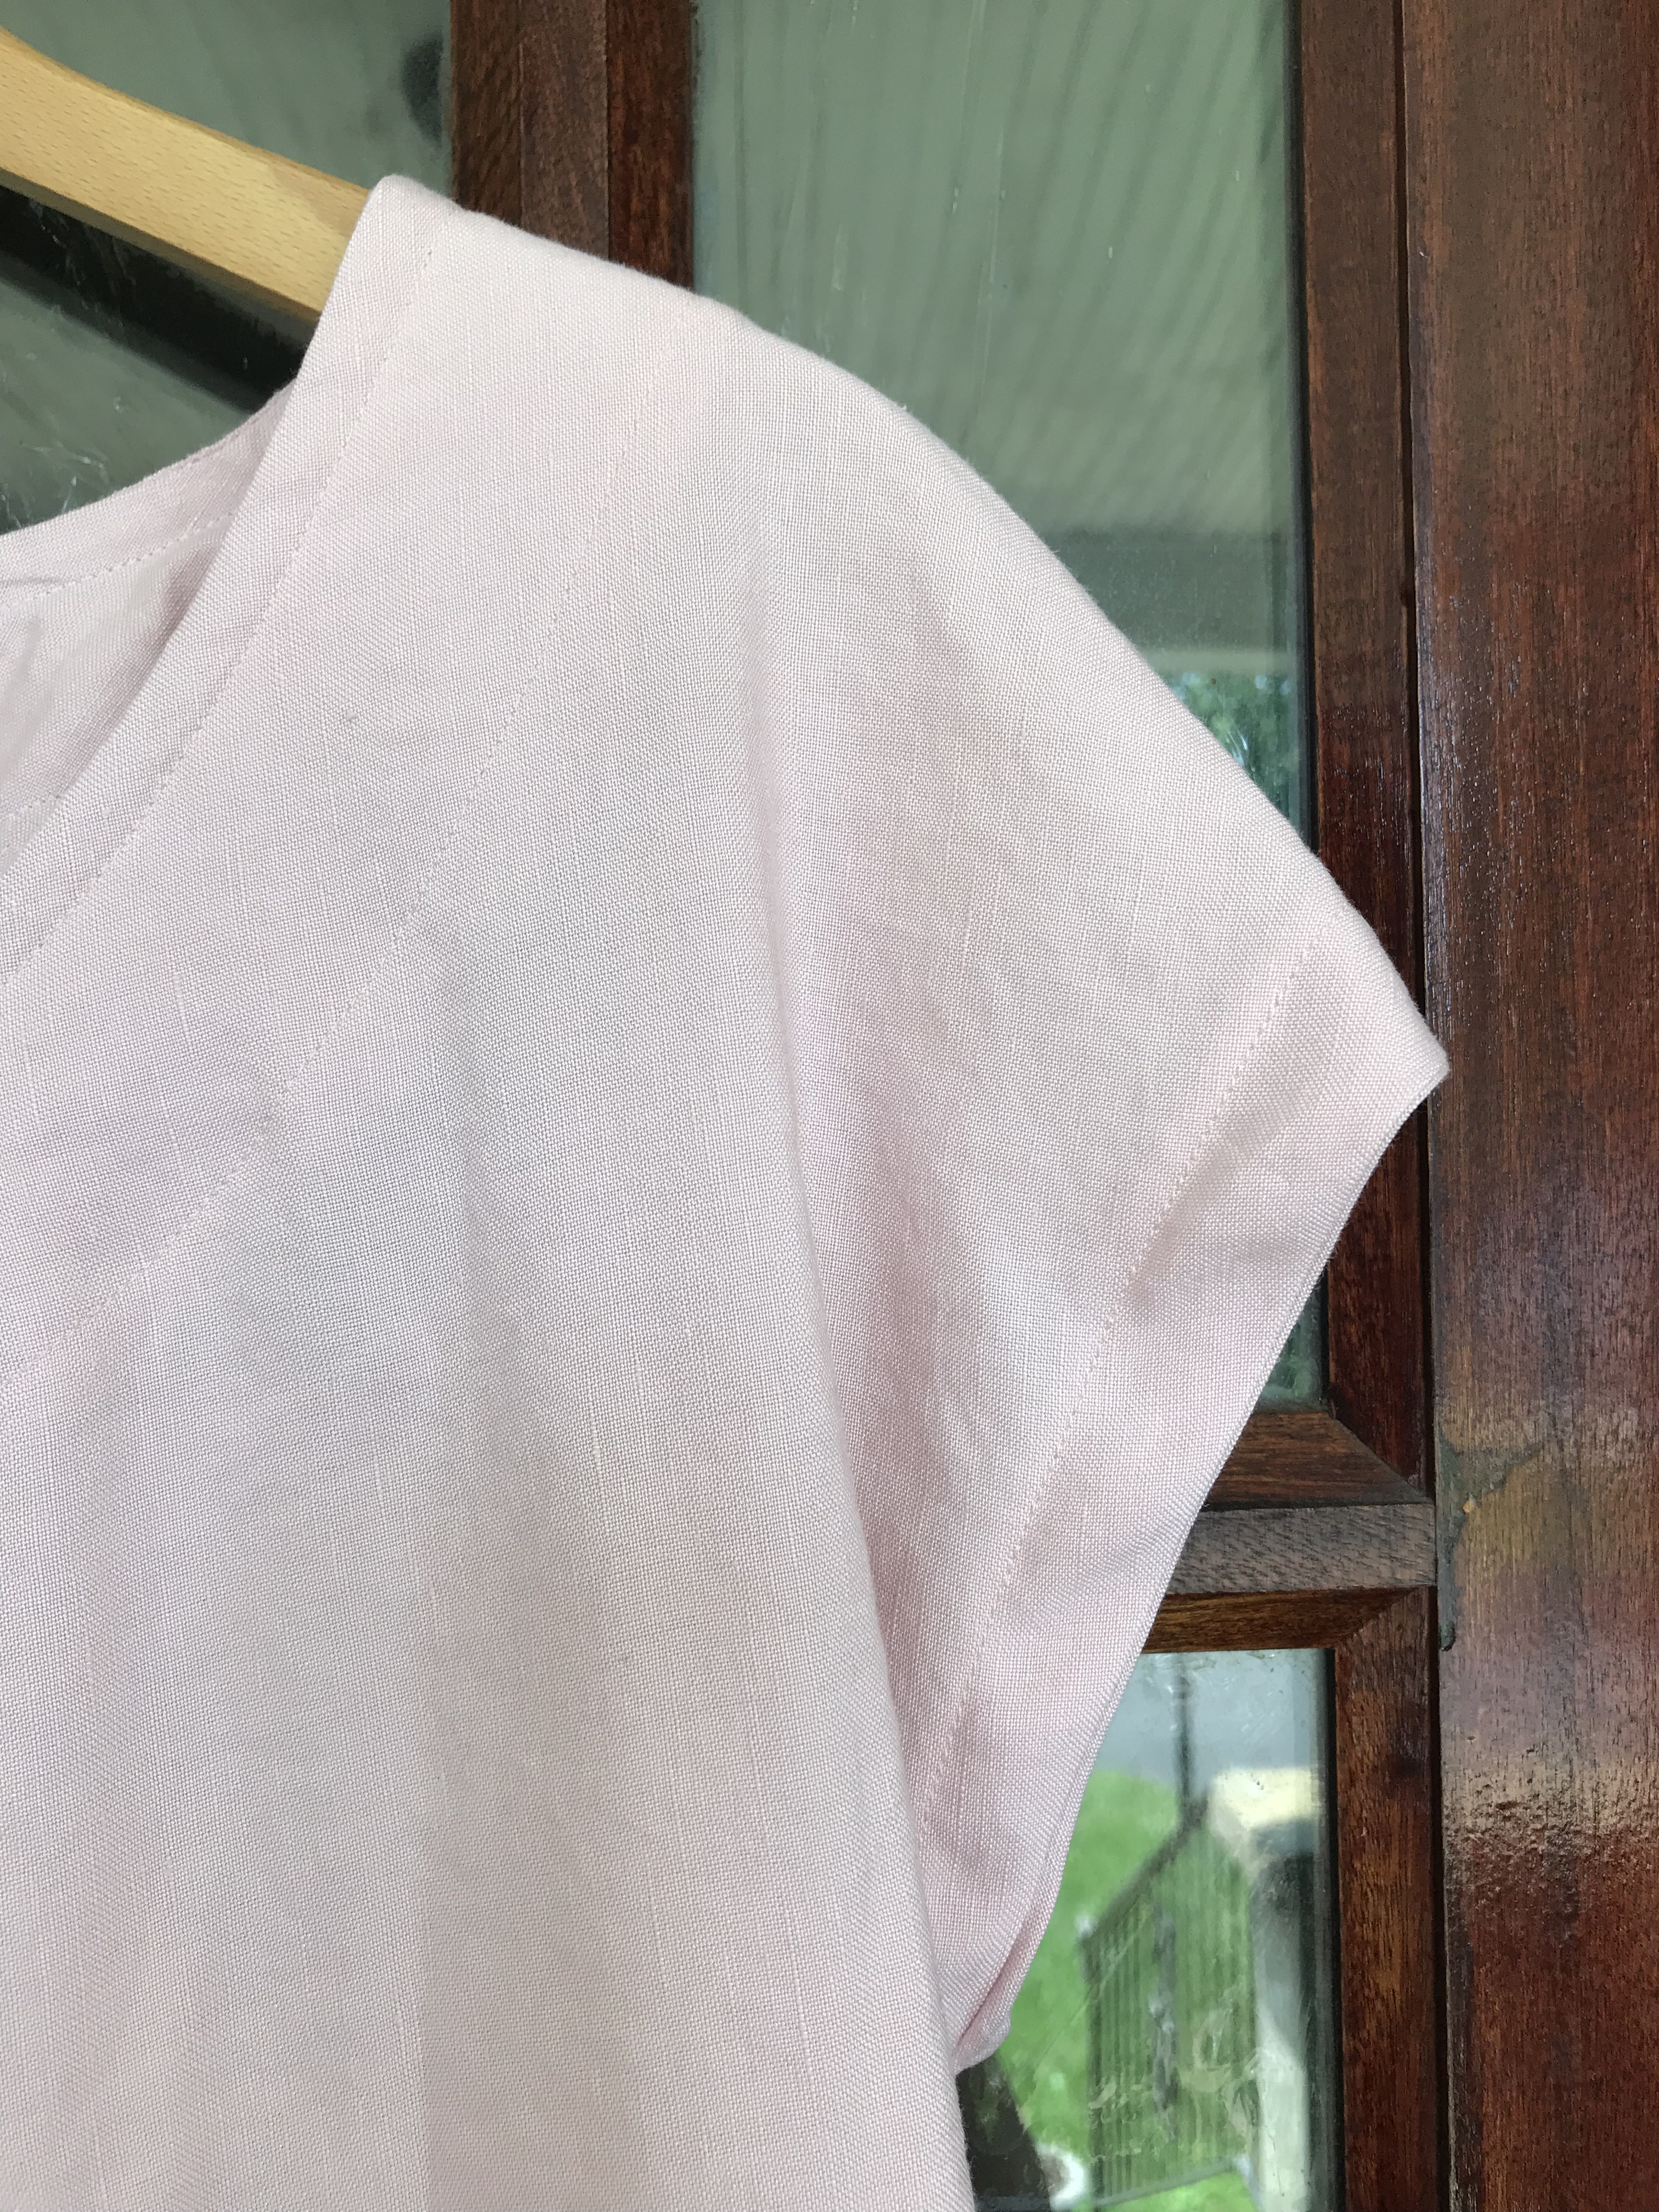
I hadn’t intended to interface it because I wanted the hem to not be stiff but the floral pattern showed through the pink so I ended up using interfacing. I sewed this second version slowly but still completed it in a day. I had the same issue with my neckline and cut the V apart on the interfaced facing at the bottom and then sewed everything down. It is fine though not as neat as I would like on the inside. But honestly, that is no big deal. I drafted simple bias facings for the sleeves and didn’t interface them again because I wanted a drapey feel for the sleeves. I really love how they turned out.
And now, many pictures of the finished dress. On the front door:

and as worn.


This dress is great dressed up but would also be good as a more casual look with a chunky pullover sweater (I am looking for the right one) and clogs or with a jeans jacket and more casual jewelry.
UPDATE: found one!

It could totally go from a dinner out or church dress to a walking along the beach dress. And I think it is really flattering despite my initial misgivings.
Jessica (@kunklebaby on Instagram) made a beautiful version in a blue and white ikat. I may totally copy it!
Happy summer sewing friends!
***********************************************************************************************************************************************
This blog is not monetized or sponsored and if you click on links, I do not earn money. I just provide them to make it easier for you to find amazing patterns and resources in the sewing community.

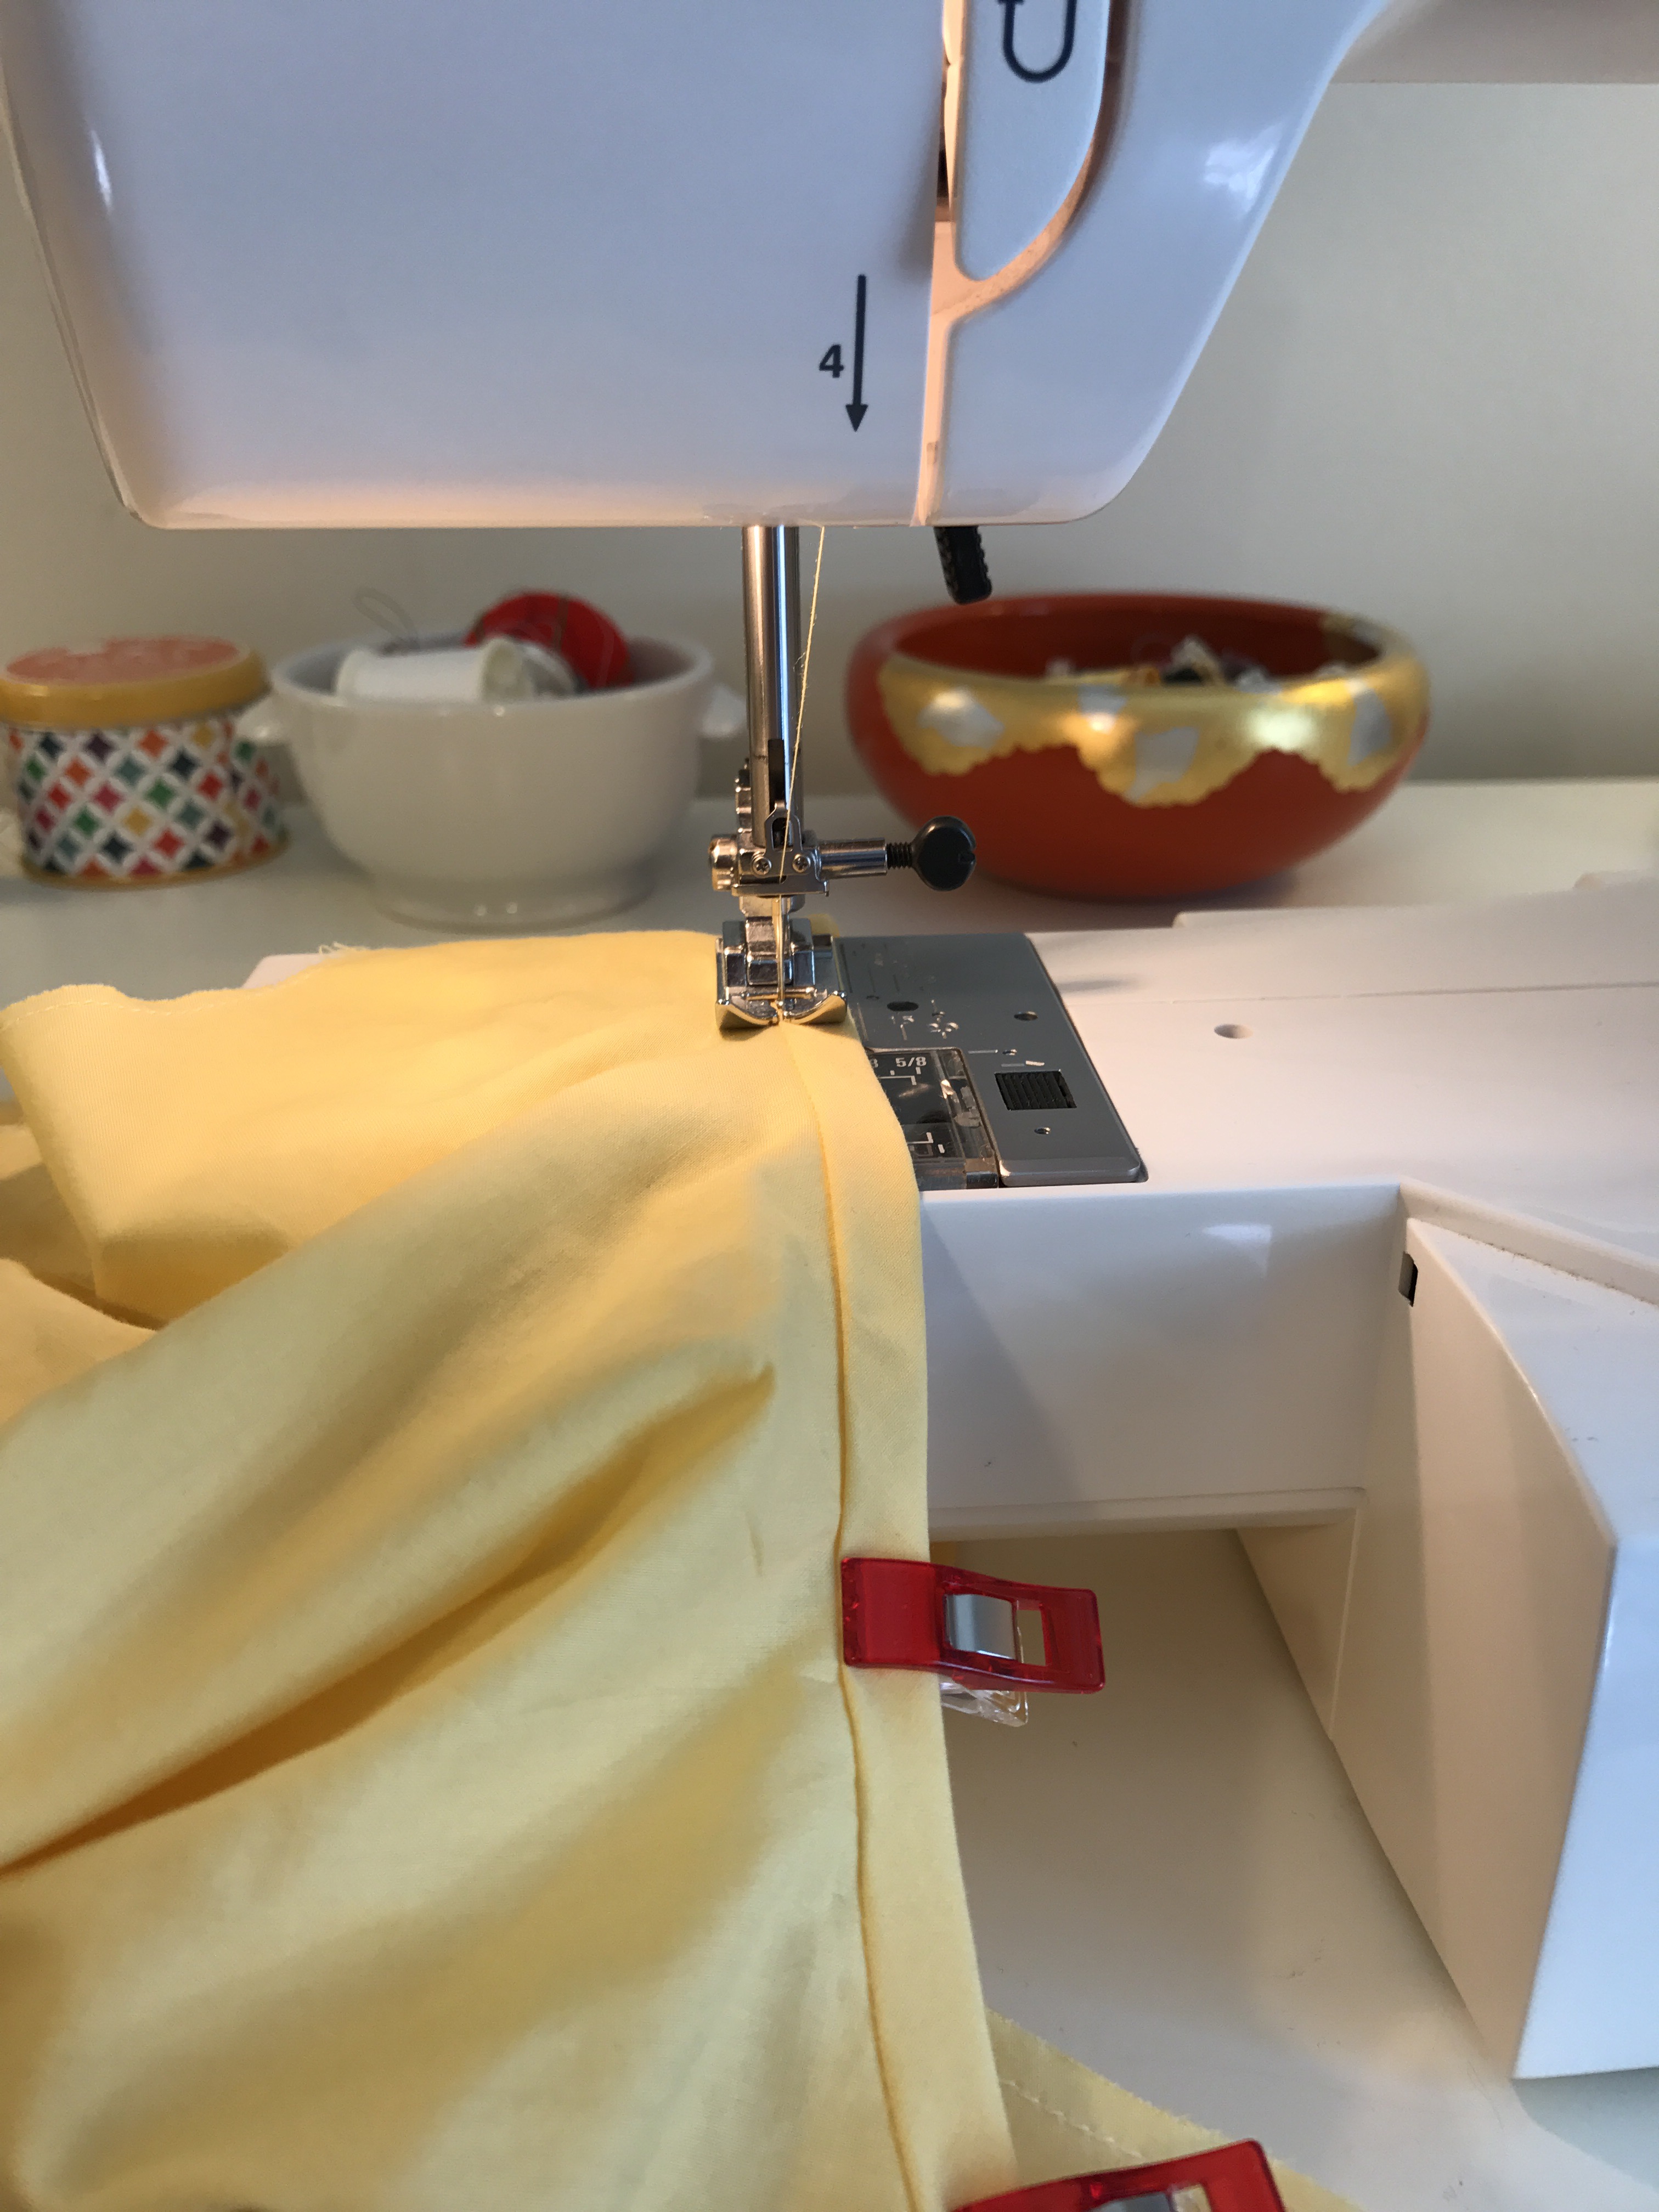


 The thing about this pattern is that the initial sewing goes very quickly and then there is the bias binding which is not terrible but somewhat of a challenge for me. So now I am finishing these projects one by one and today I had time to finish this.

 In addition to the details of the other binding method that I use explained in
  #beforethebinding picture below.
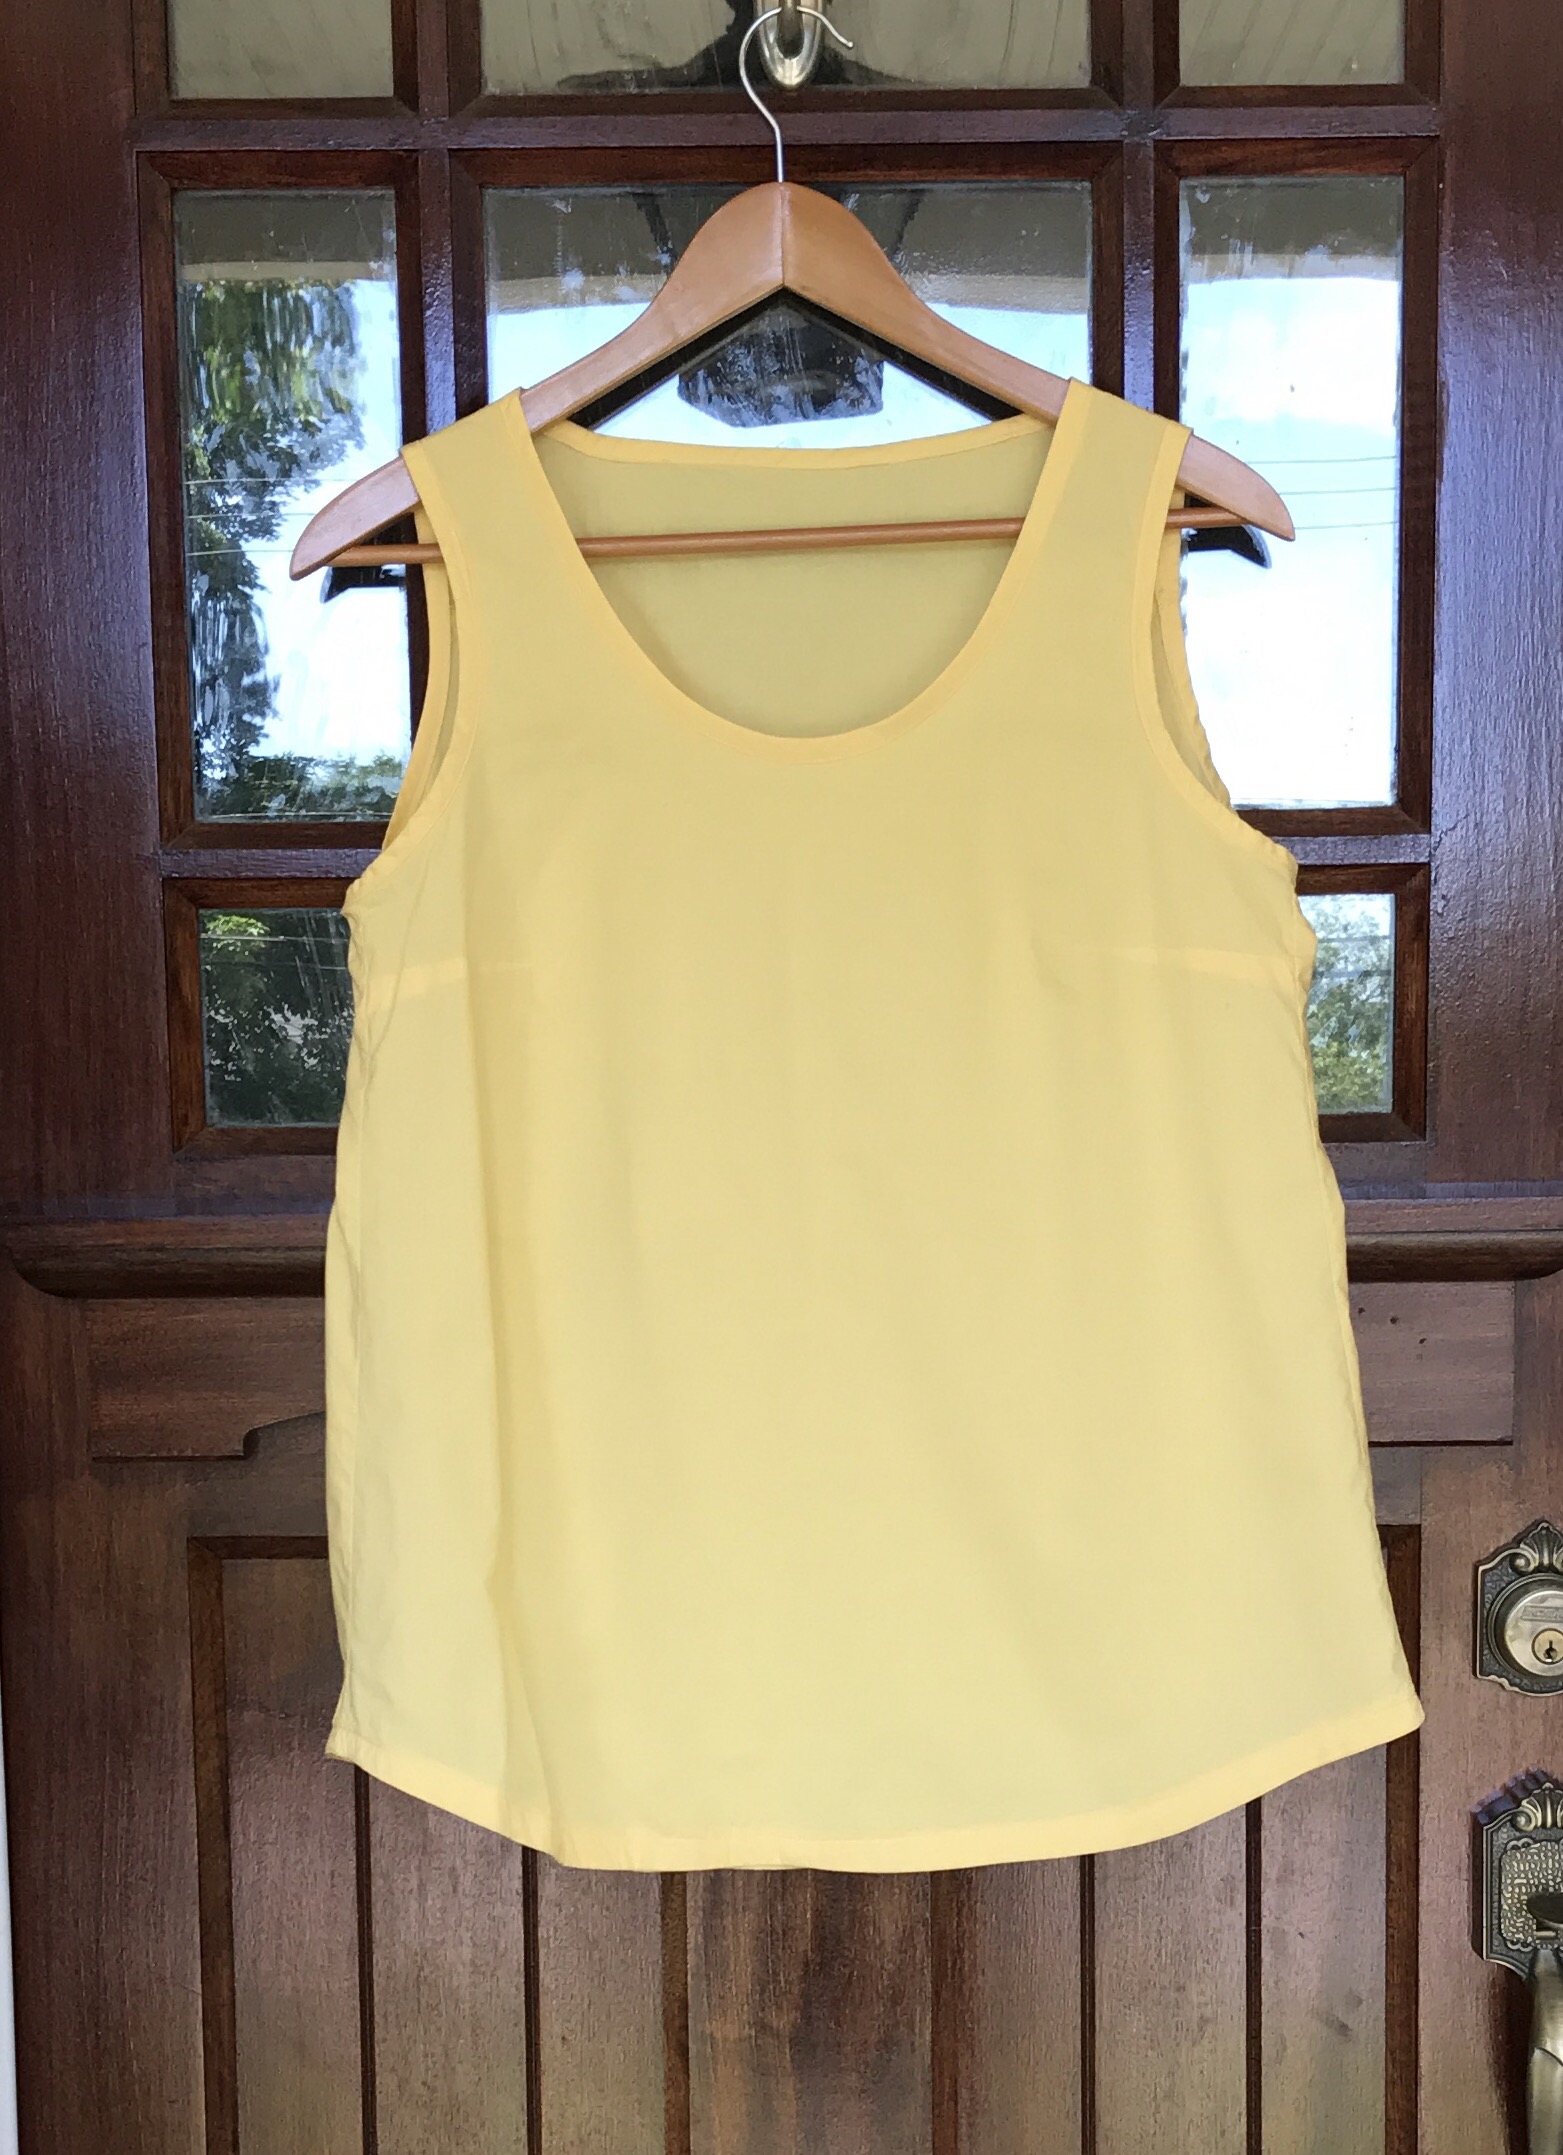
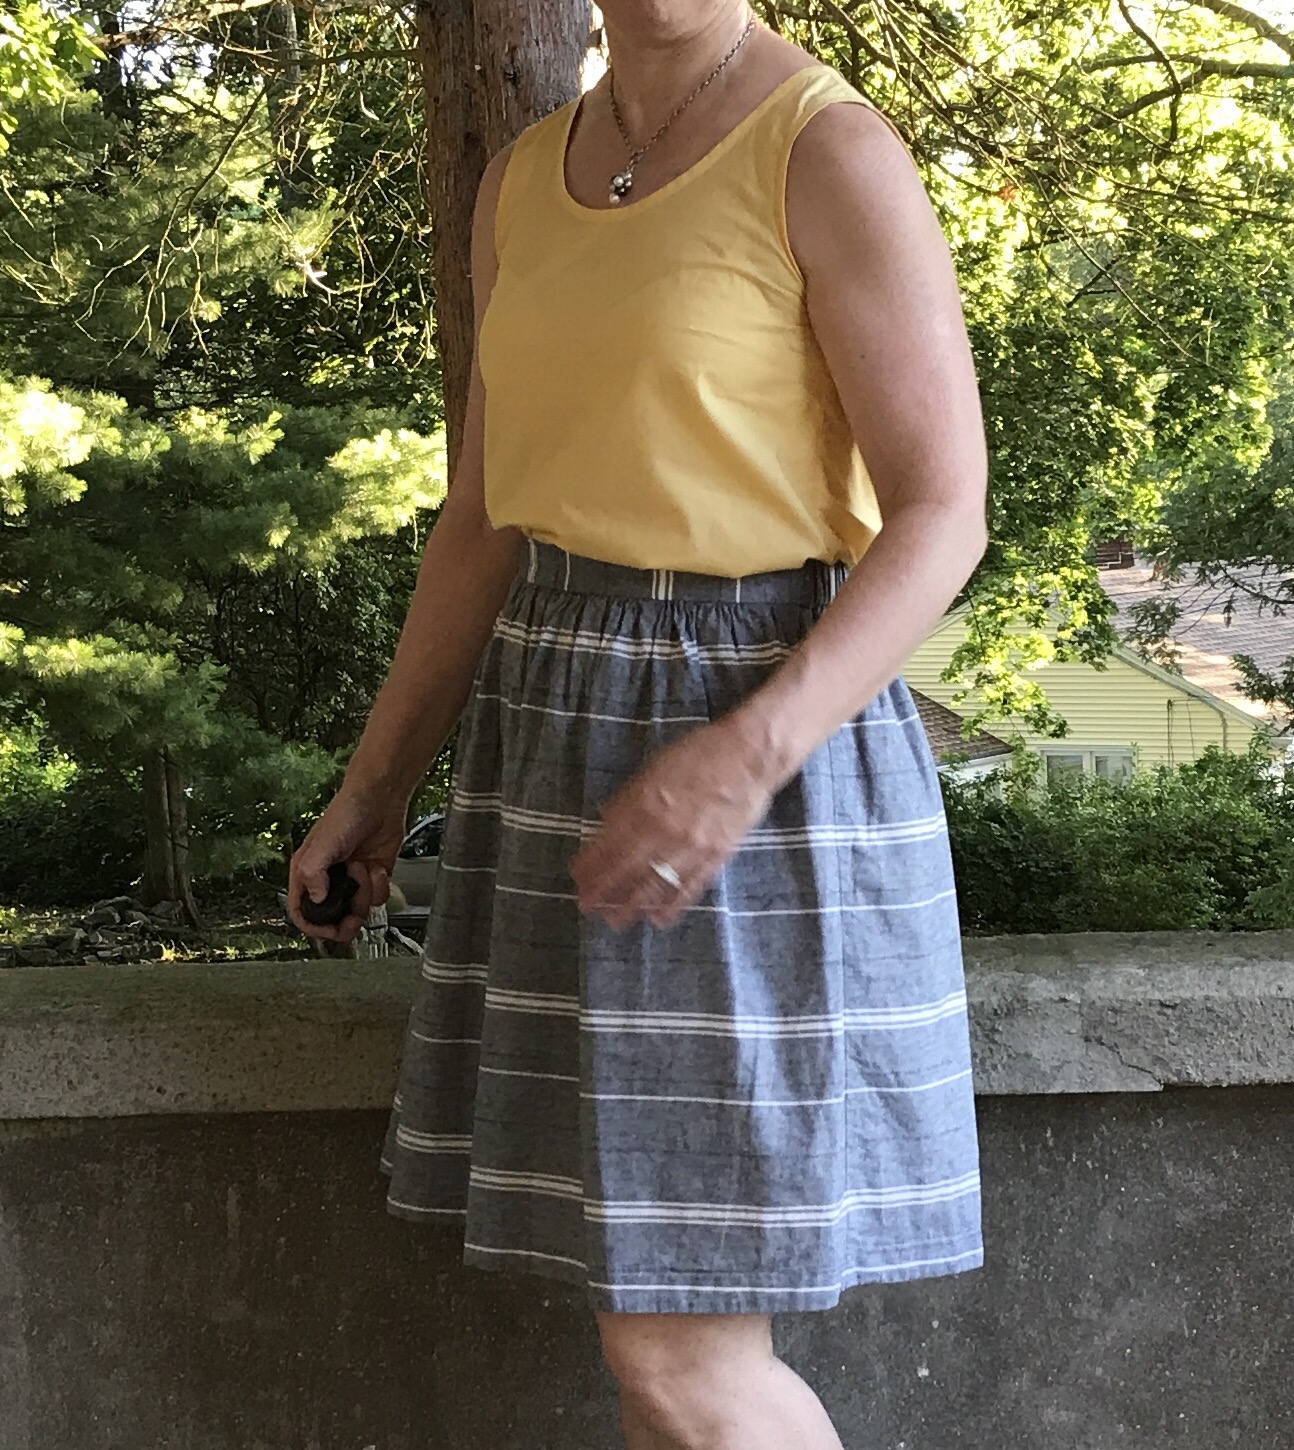
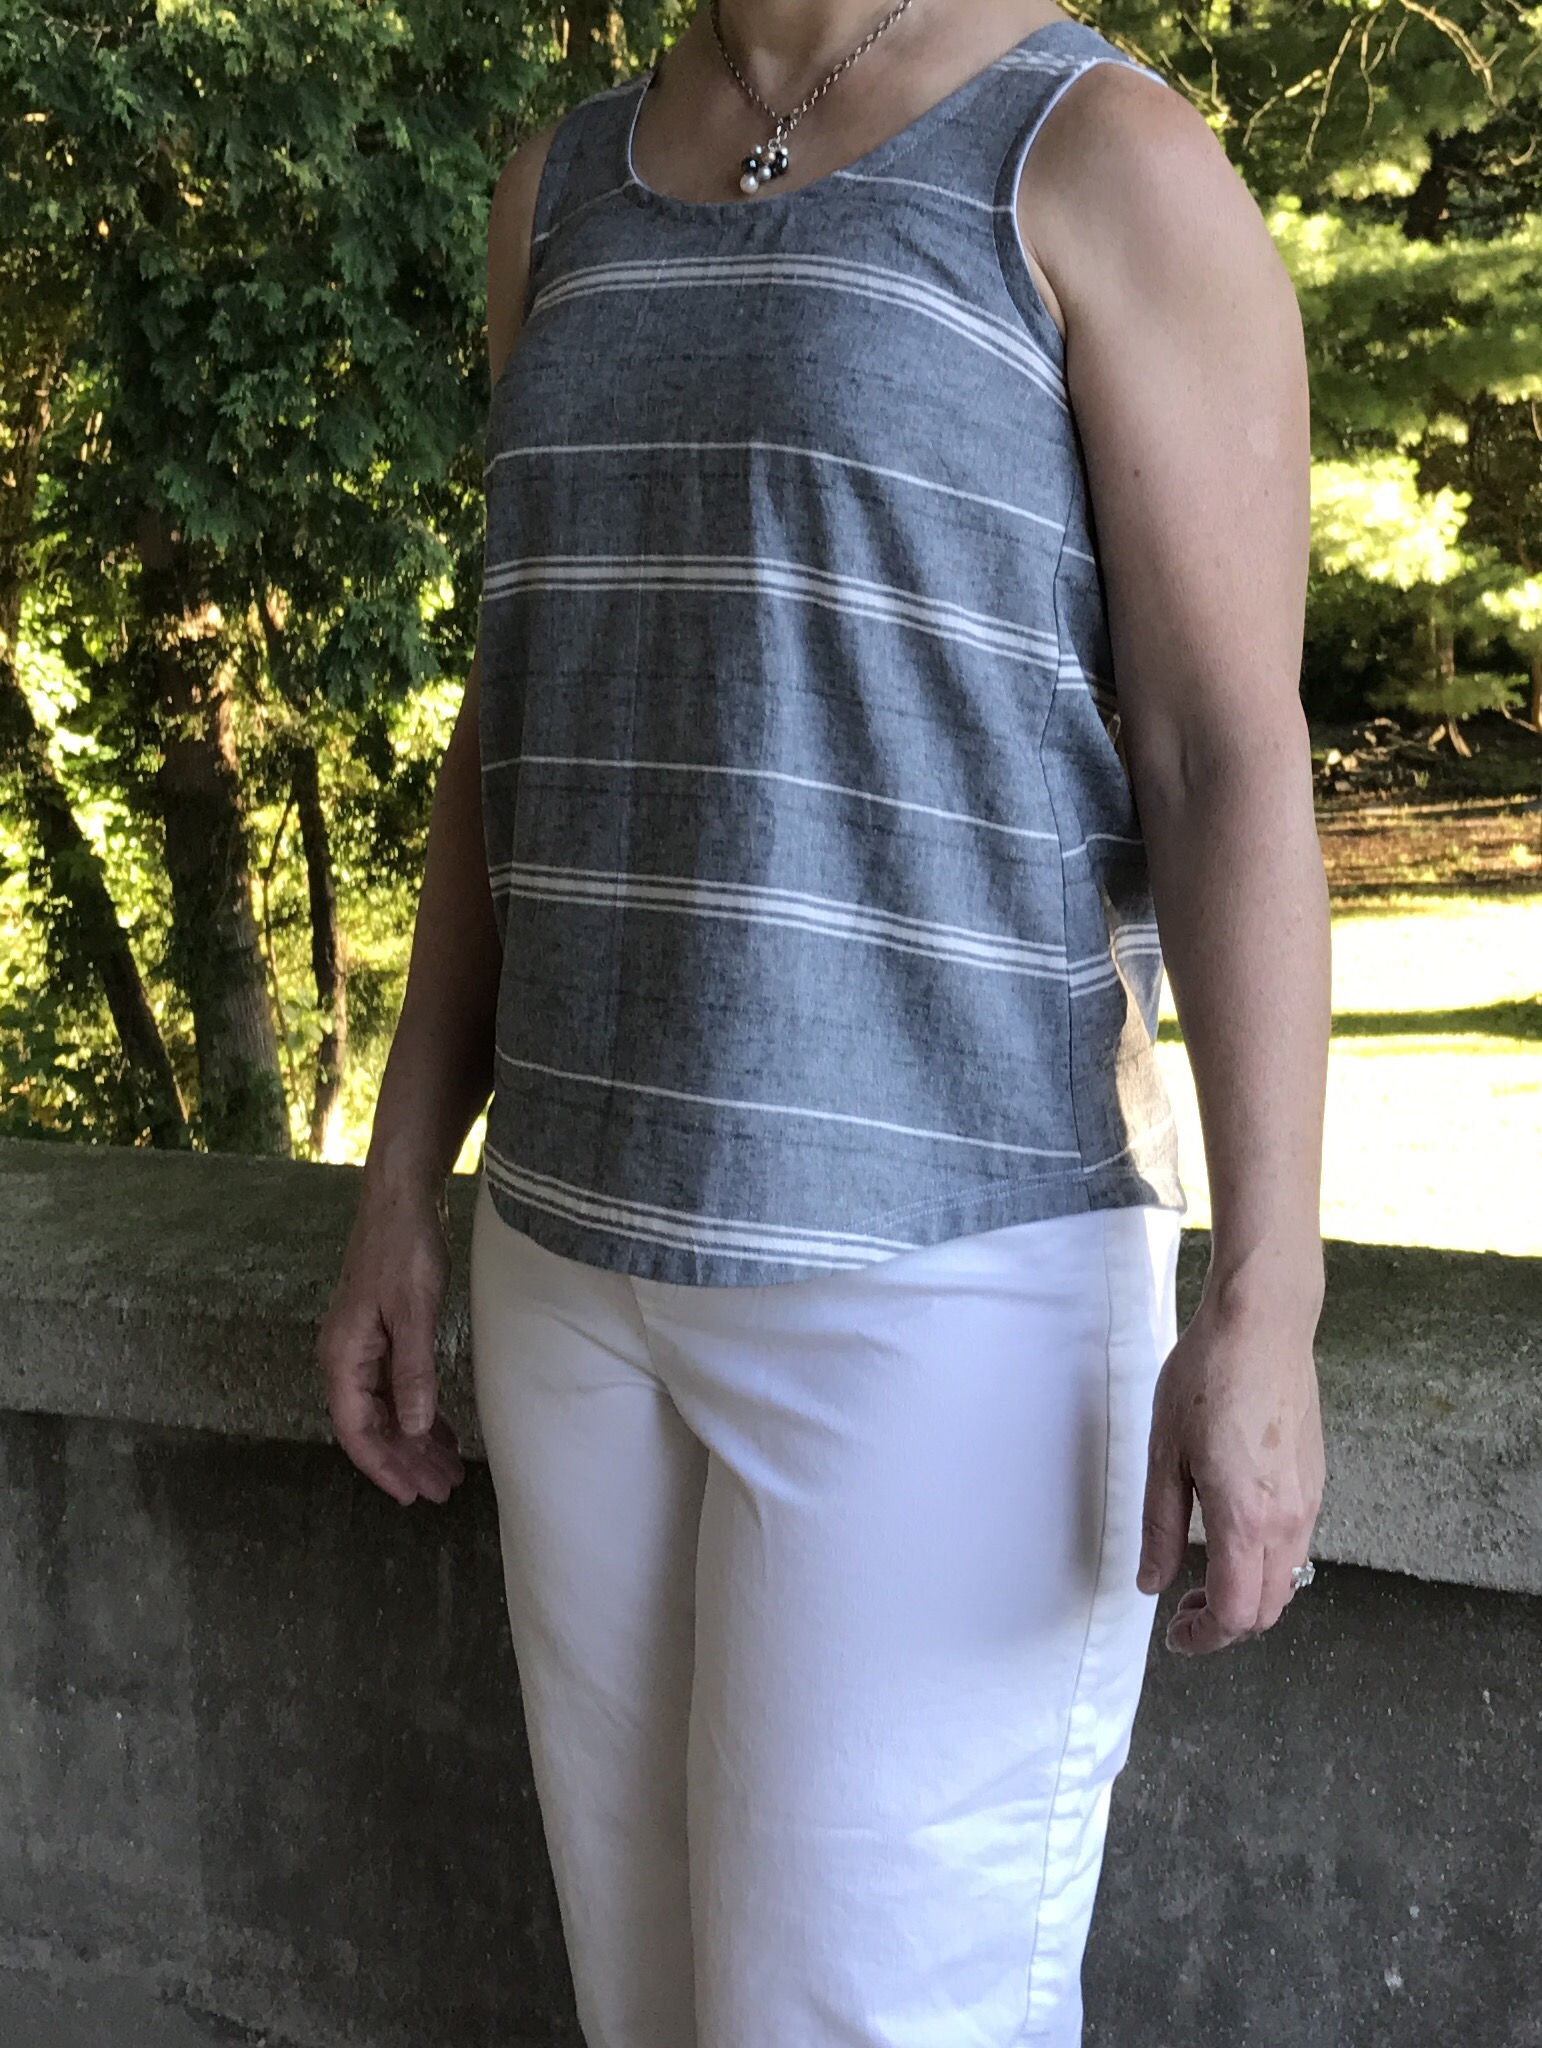
 You can link to my previous posts about the Gemma Tank