
 I had been wanting to try making a Gemma Tank lengthened to a tunic length since last summer when I made a lined voile dress version of the Gemma seen here. For the dress version, I followed Rae’s tutorial and made it with a curved hem. This May I decided to blend the Gemma with the Pearl Shift pattern which works for me in a tunic length so I literally taped the pattern pieces together. This is pretty much the most low-tech mash-up you will ever see but it worked really well and I love the finished garment. I used this great pink and navy bandana fabric from Cotton and Steel. I was inspired to buy this print when I saw a great sleeveless version of the Pearl Shift using this fabric made by Alexia Abegg (who designed both the pattern and the fabric) which is pretty close to what I have made here.
I cut a medium scooped neck Gemma and for the Pearl, I used my much used pattern pieces which I long-ago tapered from about the high waist down to the hem from the Small to the extra Small line on the front pattern piece and from the Medium to part way between the Medium and Small cutting lines for the back. I made these adjustments when I first made the Pearl pattern. I found that the pattern if made as directed was a bit big and the skirt sort of winged out to the sides a bit too much for me. It was sort of a triangular shape. I am bigger in the back than in the front so I tapered the front a lot and back a bit and these adjustments have given me a nice fit that I have used for all my Pearls after the first one.
I literally used one piece of tape to join the pattern pieces so that I could un-tape the pieces after cutting out the tunic. The back pieces seen below lined up perfectly. 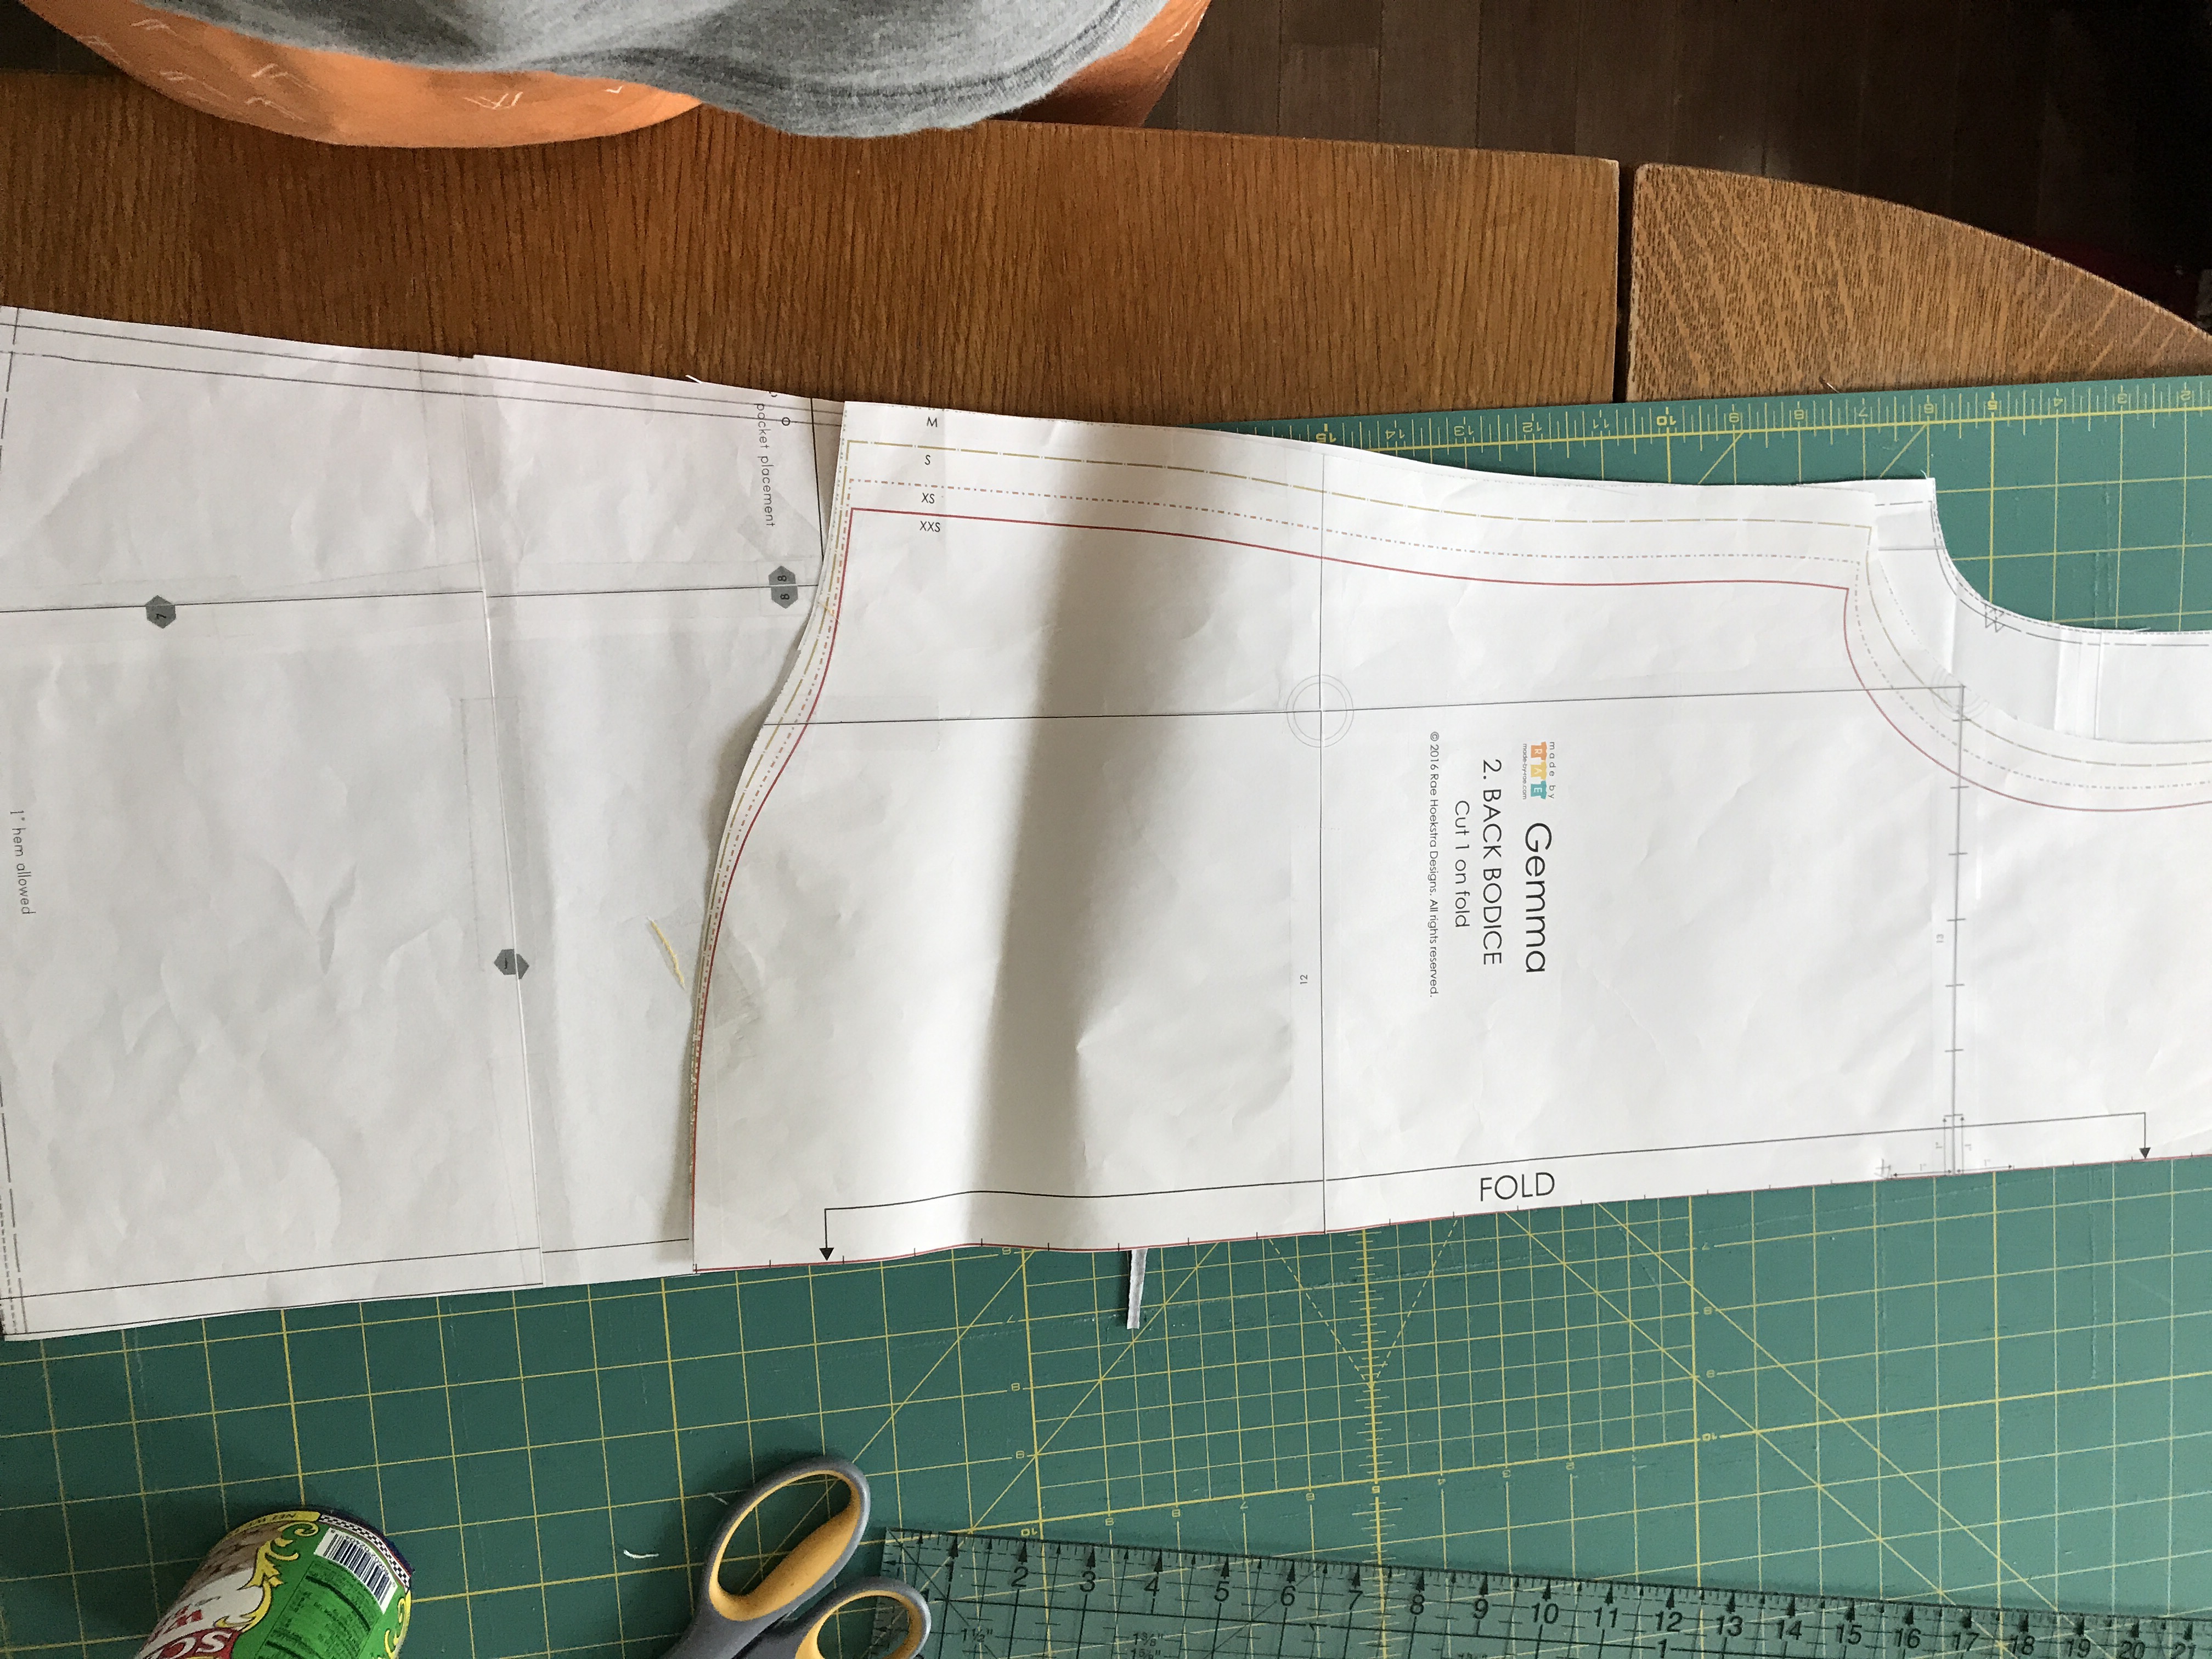 and the front. I lined the pieces up at the center fold and in the front, because the Pearl is wider, I folded down the top of the Pearl pattern and cut on the Gemma cutting lines to just below the bust dart line:
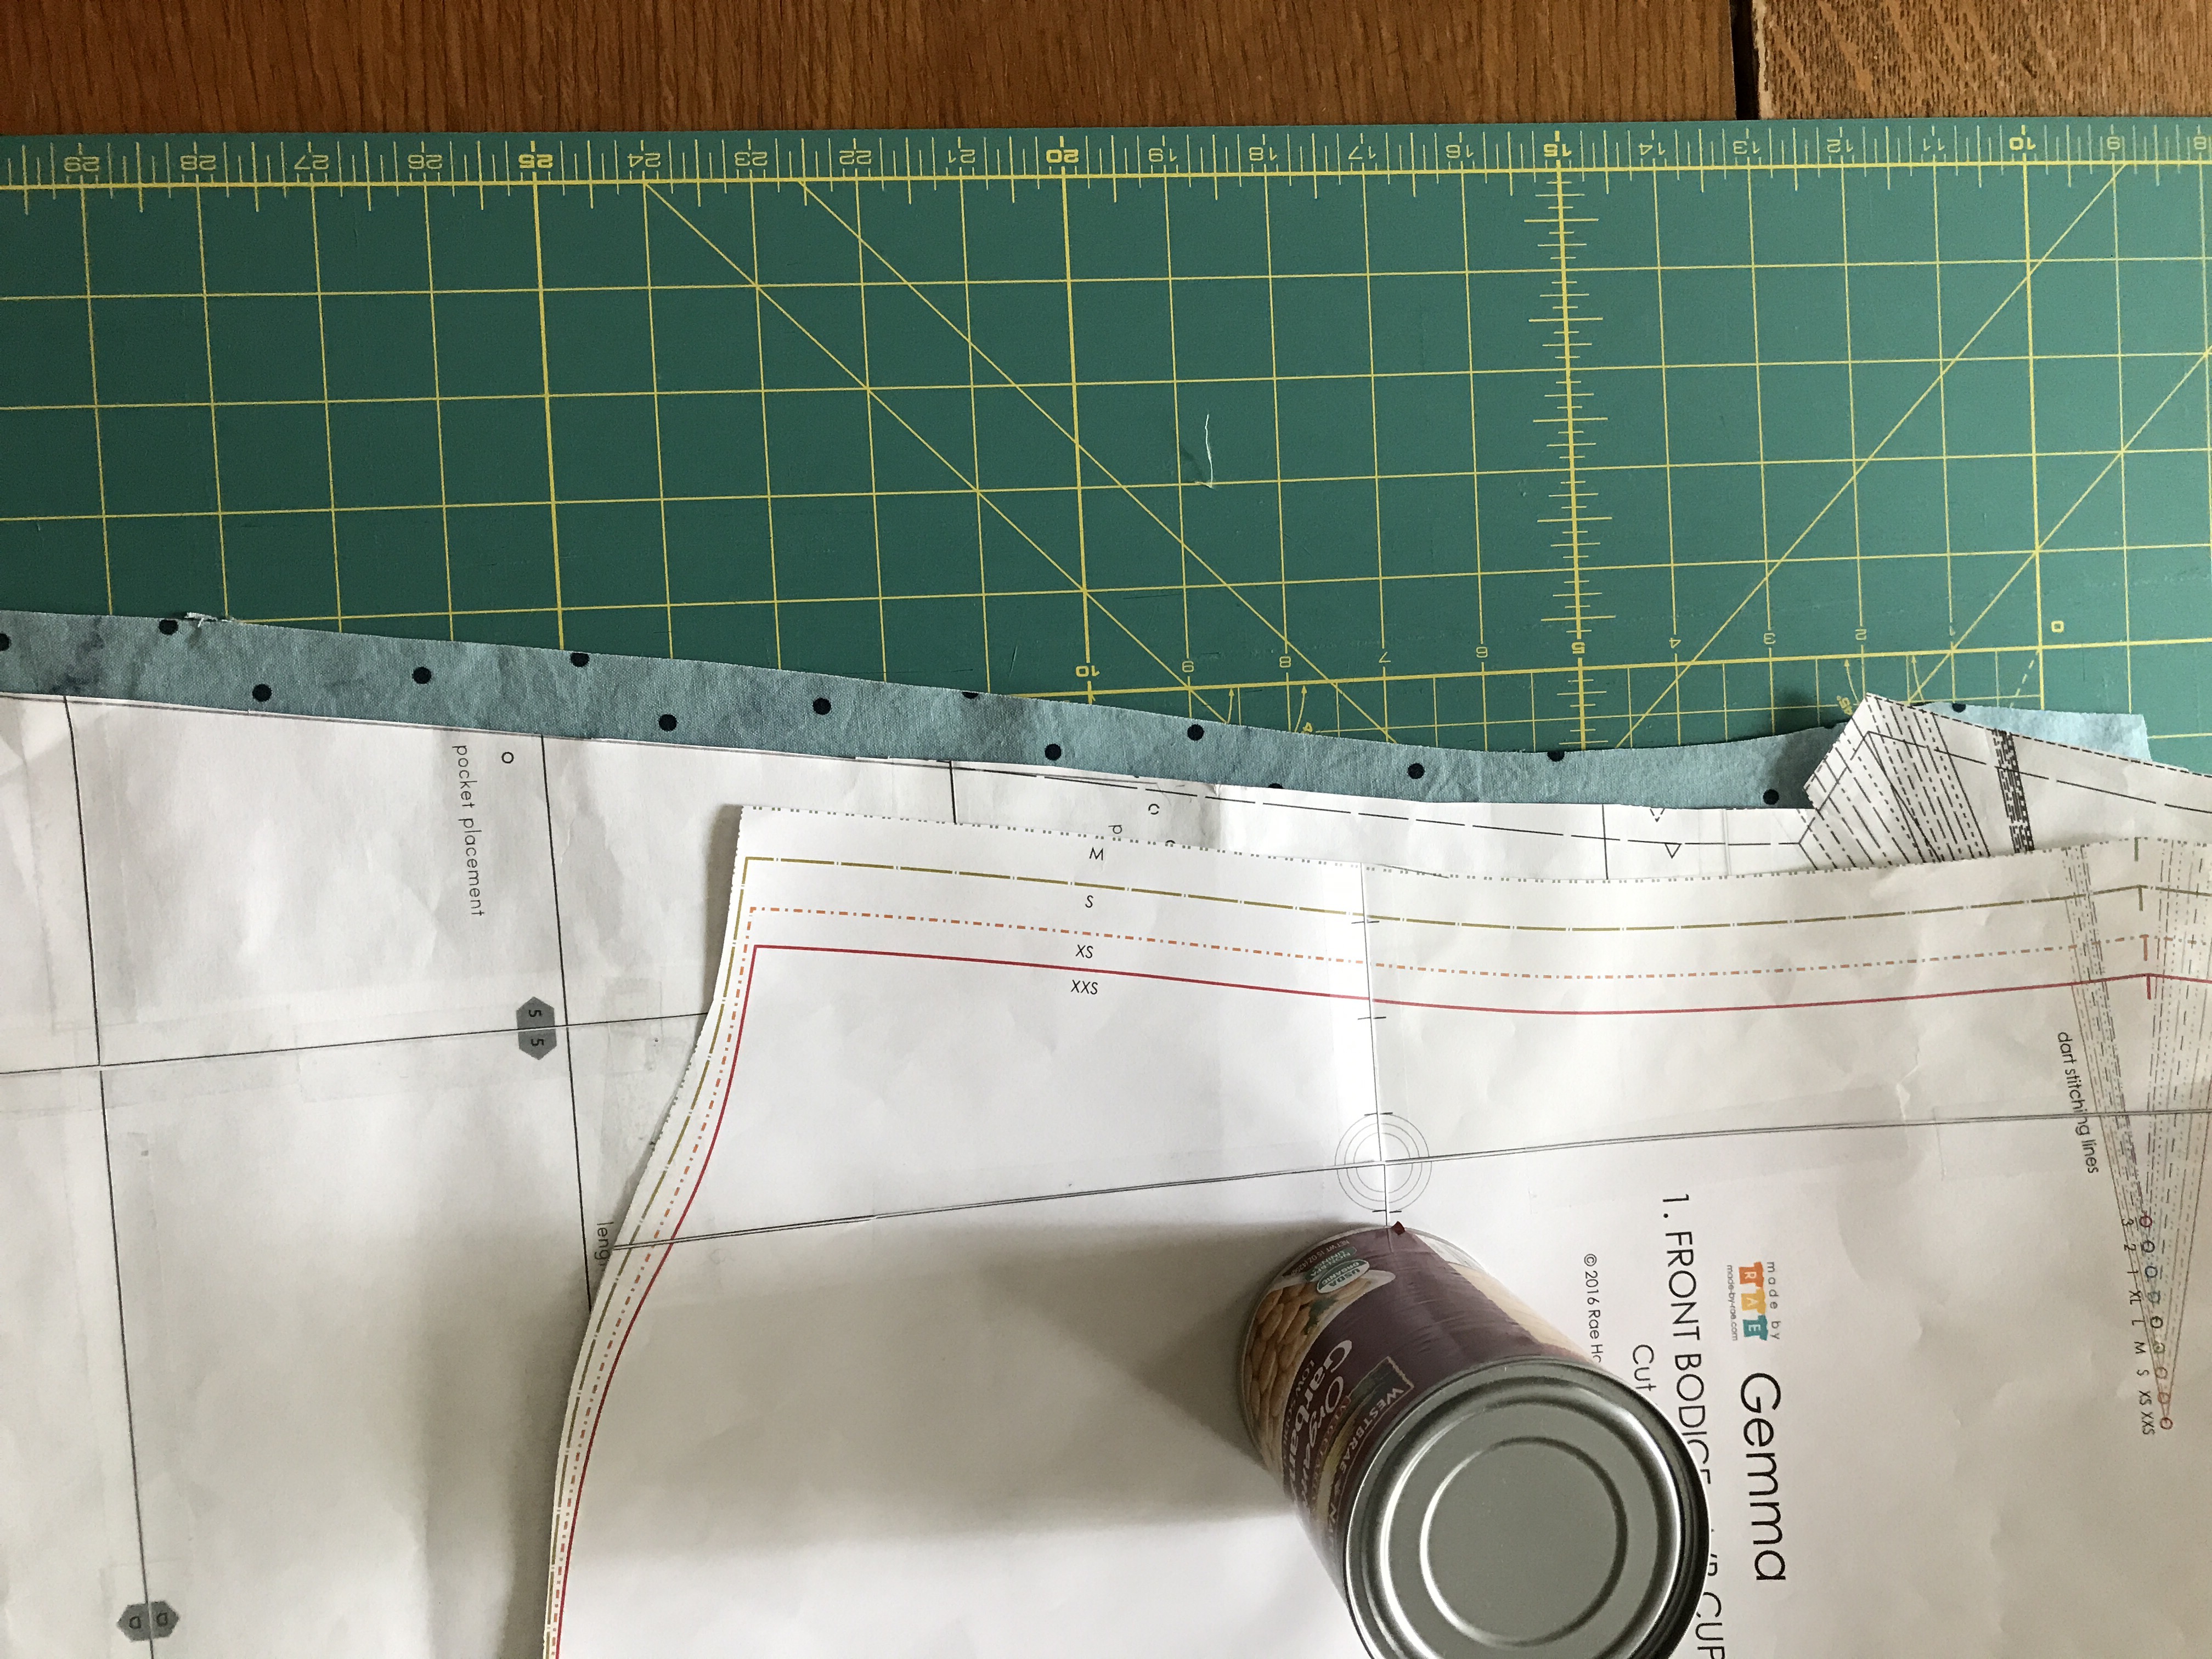
 I then took folded away the bottom of the Gemma and used the Pearl cutting lines as a guide, joining the two lines. I then moved away the pattern pieces and used my rotary cutter to make sure I had a nice smooth seam line.
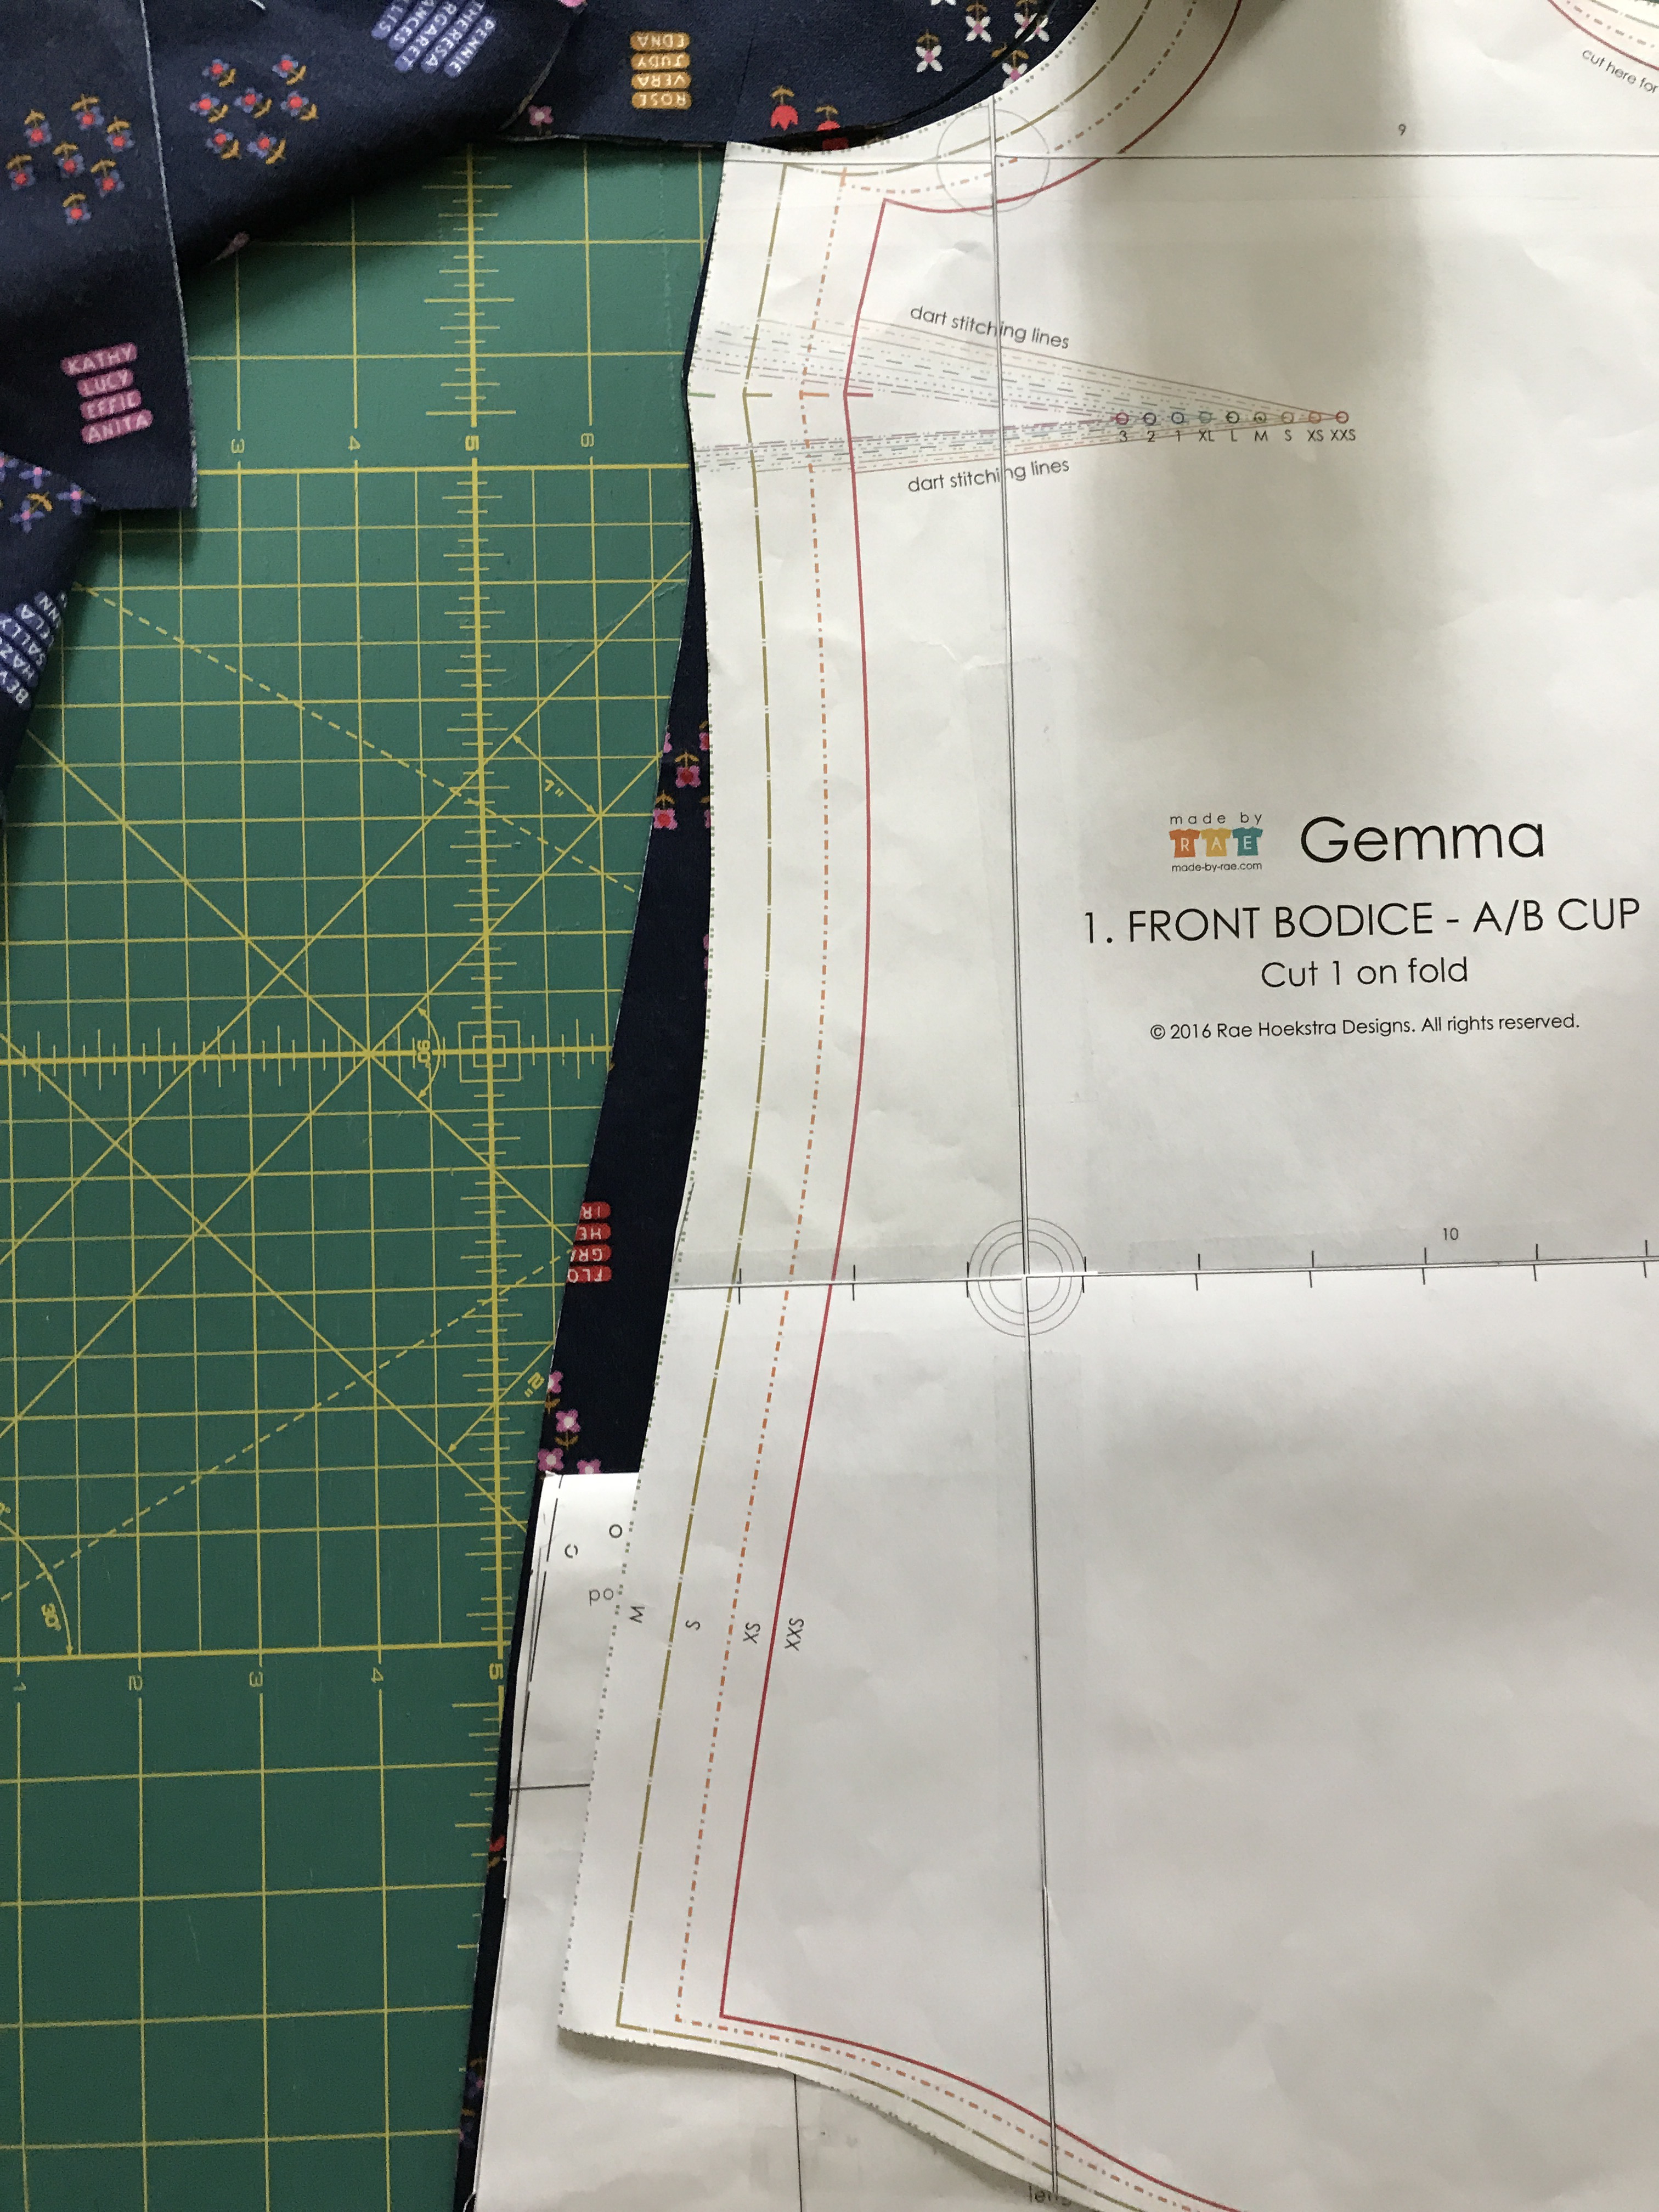
 xx
xx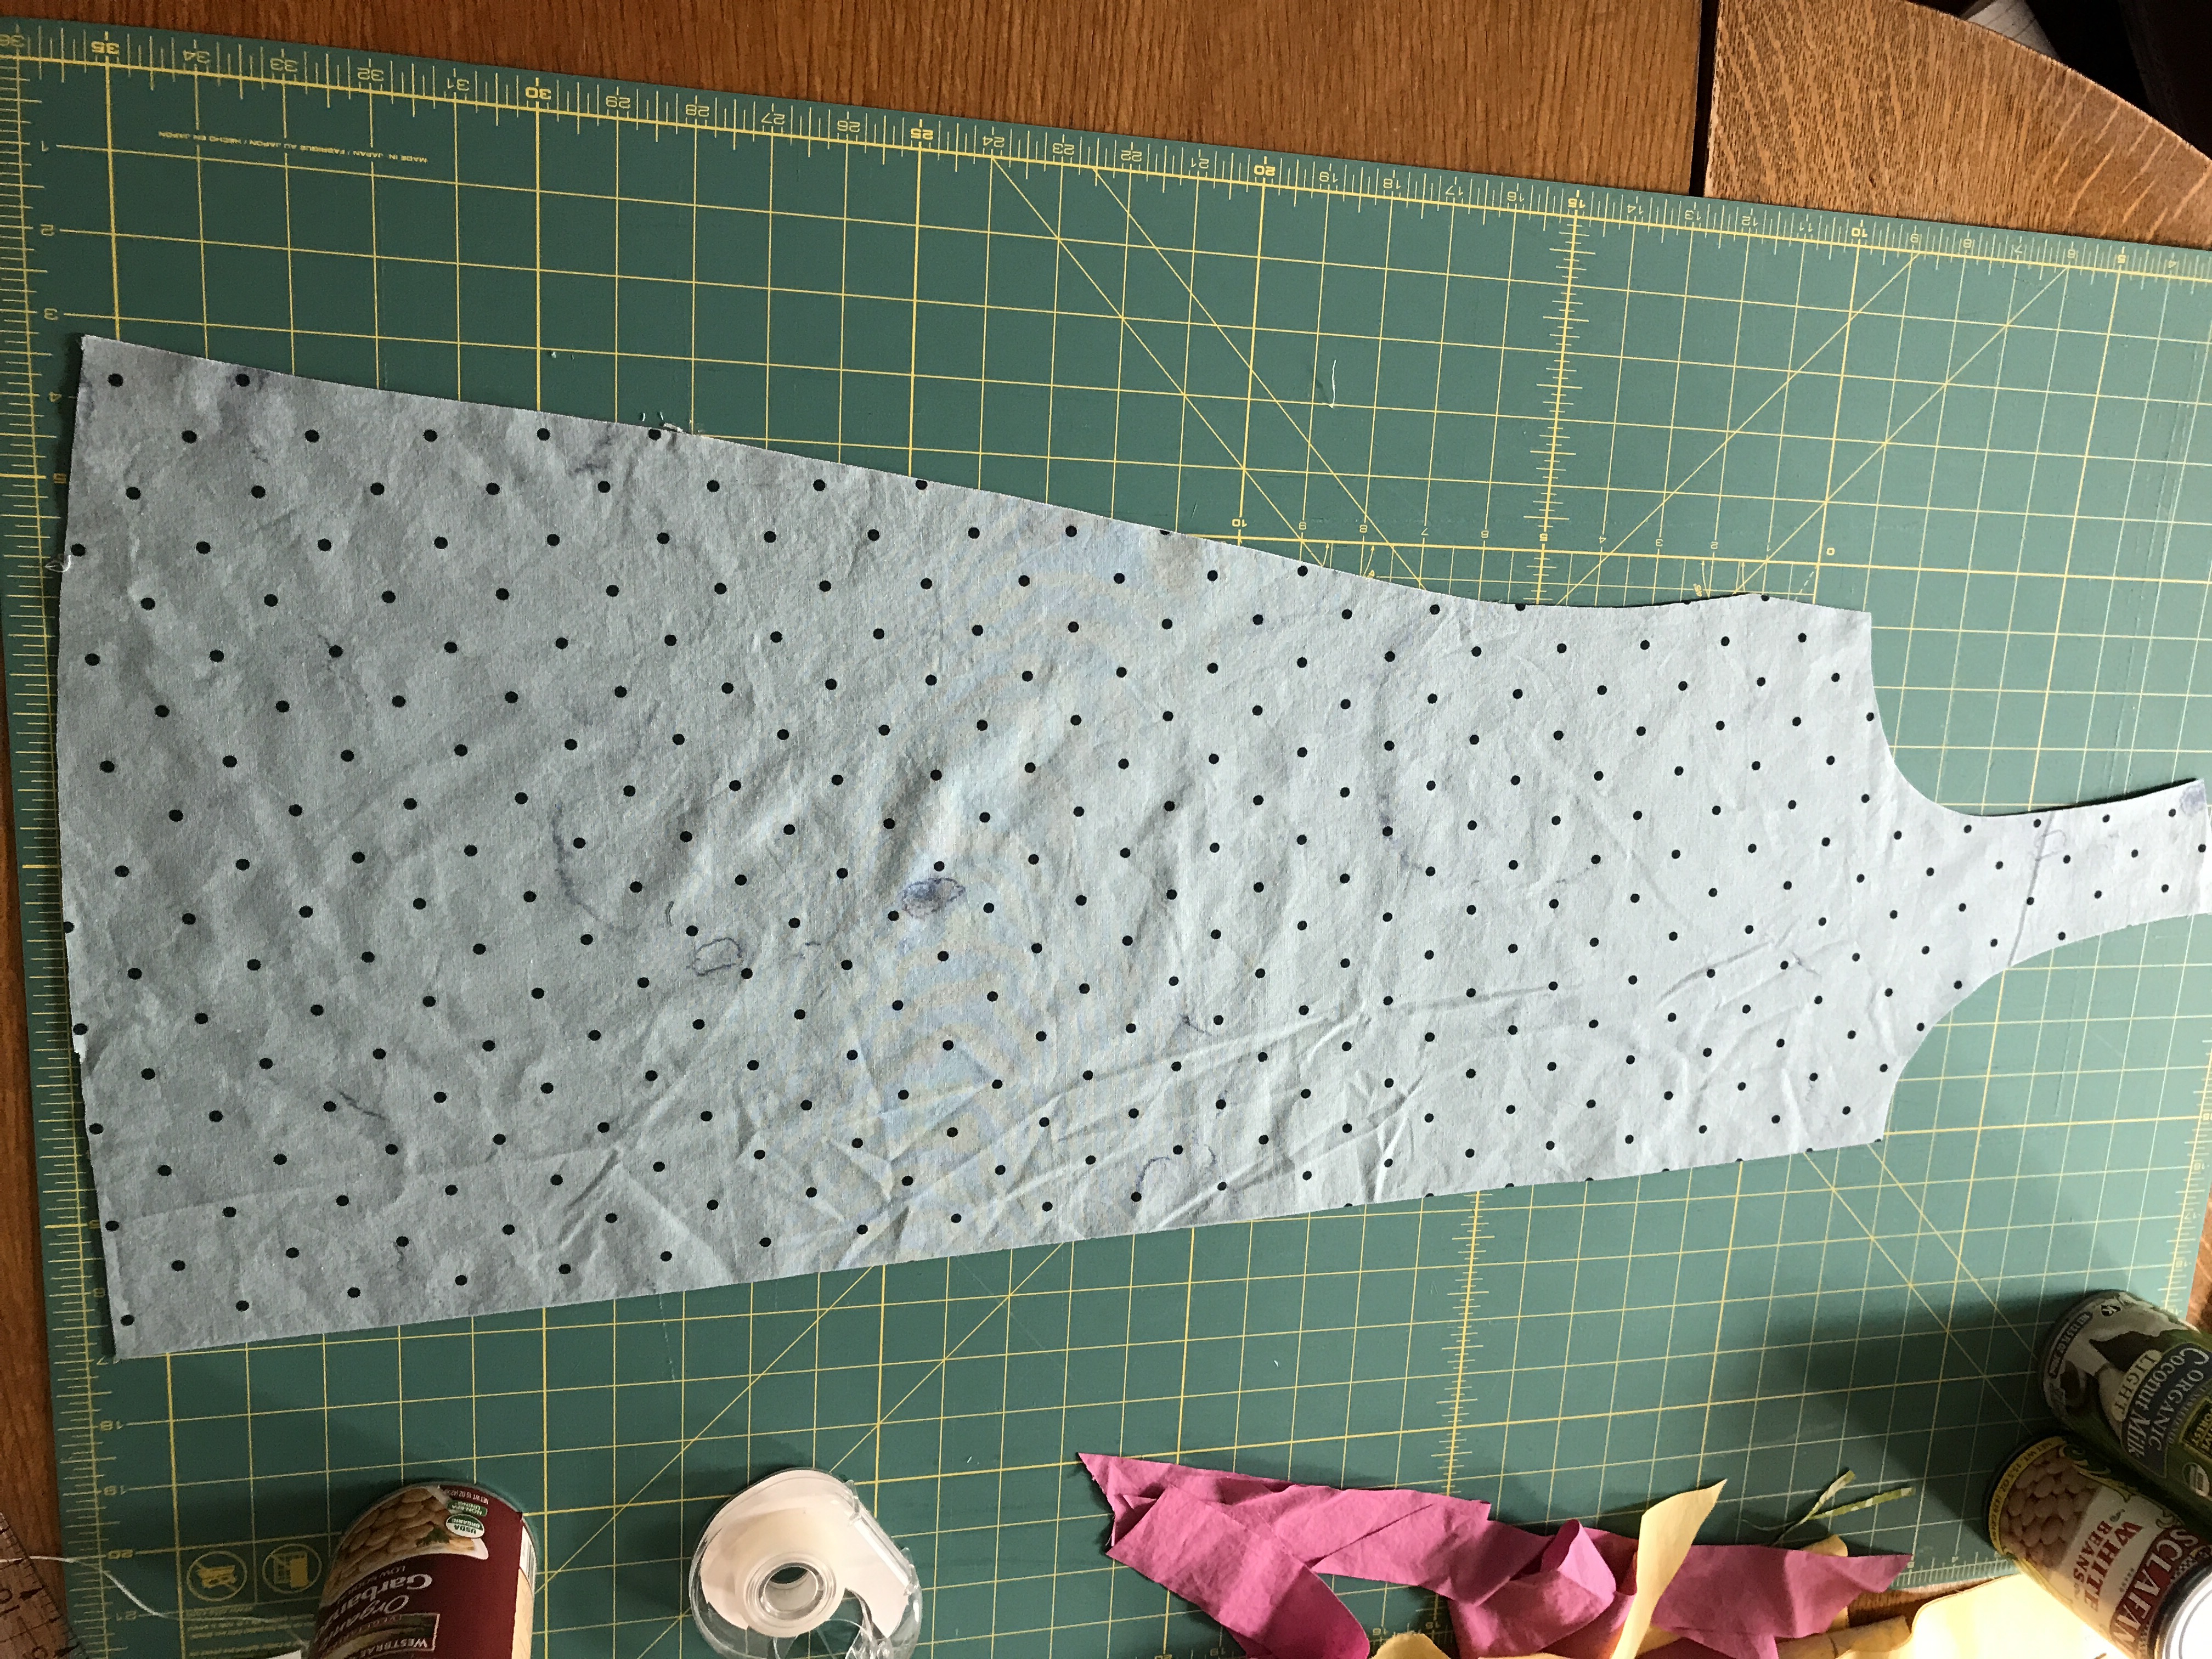 I was using 2 yard pieces of fabric so I basically lined things up to maximize the length and make two equally long pieces. It worked out to be just the right length. One thing I do every time I make a Gemma is to shift the pattern just a tiny bit when I cut the neck as a sort of hollow chest adjustment so it doesn’t gape. Also quite low tech. I shift the pattern piece back after cutting the neckline and cut the rest normally.
 Once cut out it was like sewing any Gemma. It all came together nicely. I stay-stitched around the neck and armholes.
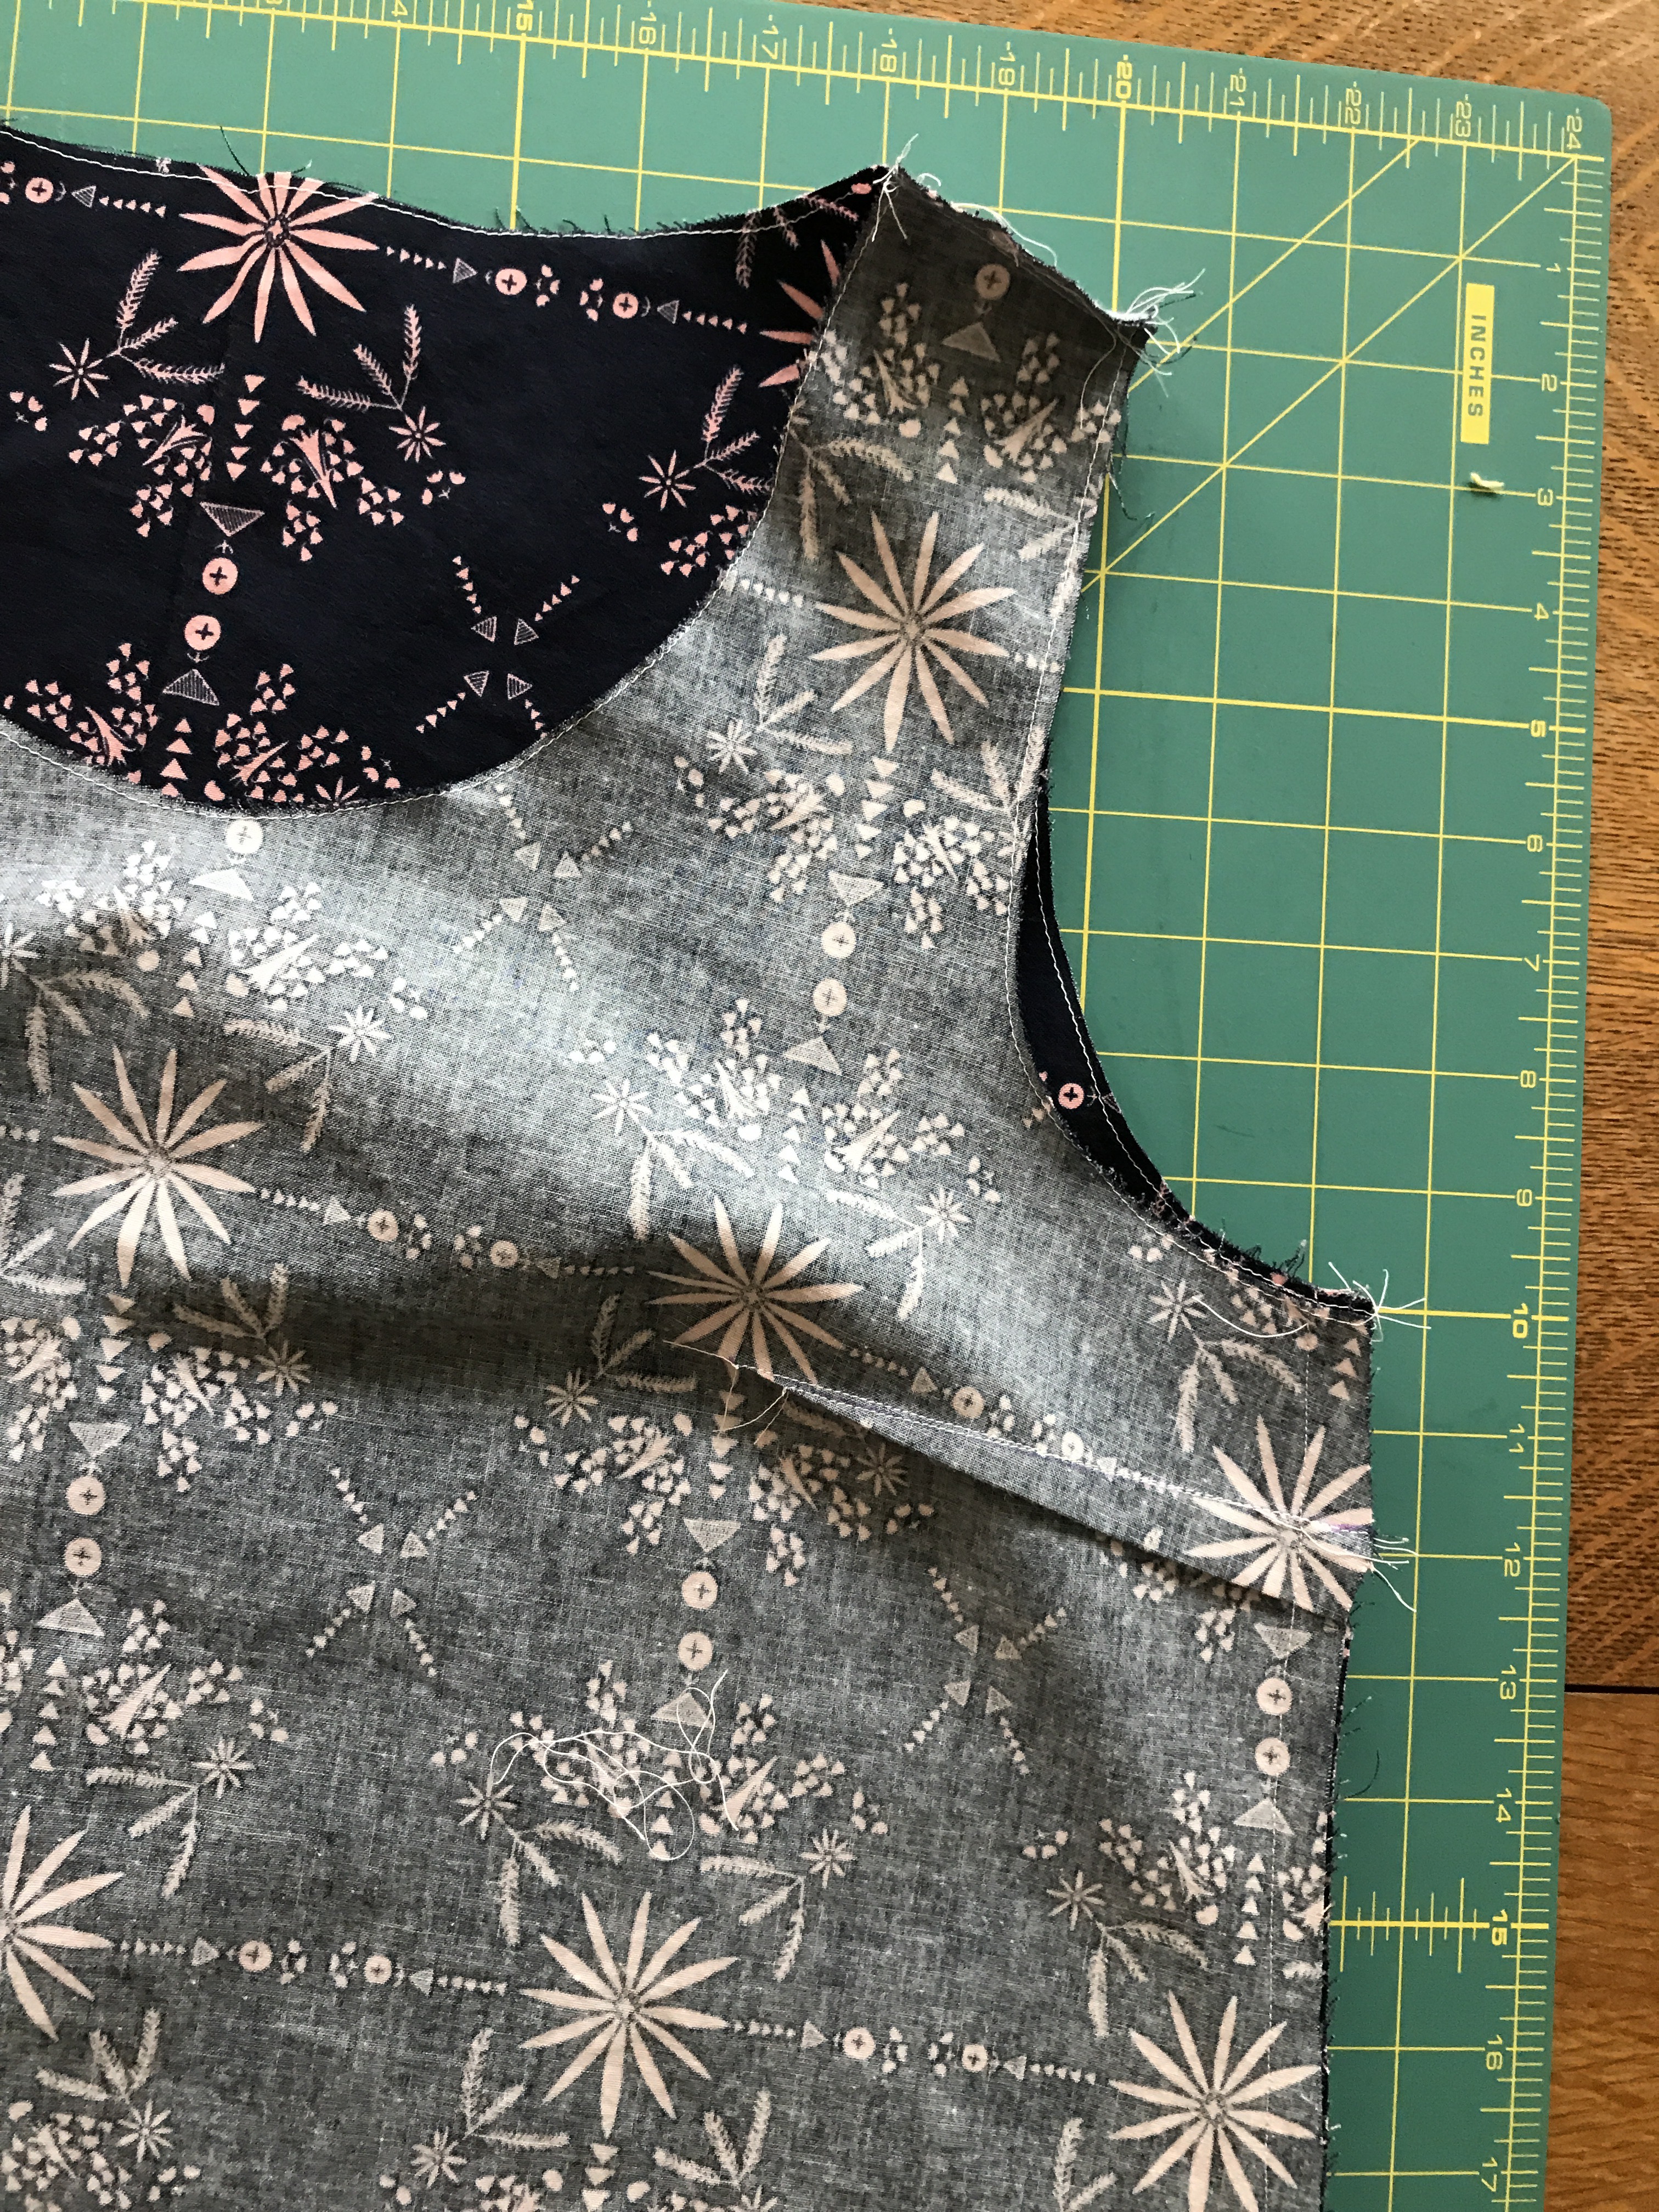 I used some pink cotton lawn to bind the neck and armholes and for a hem facing.
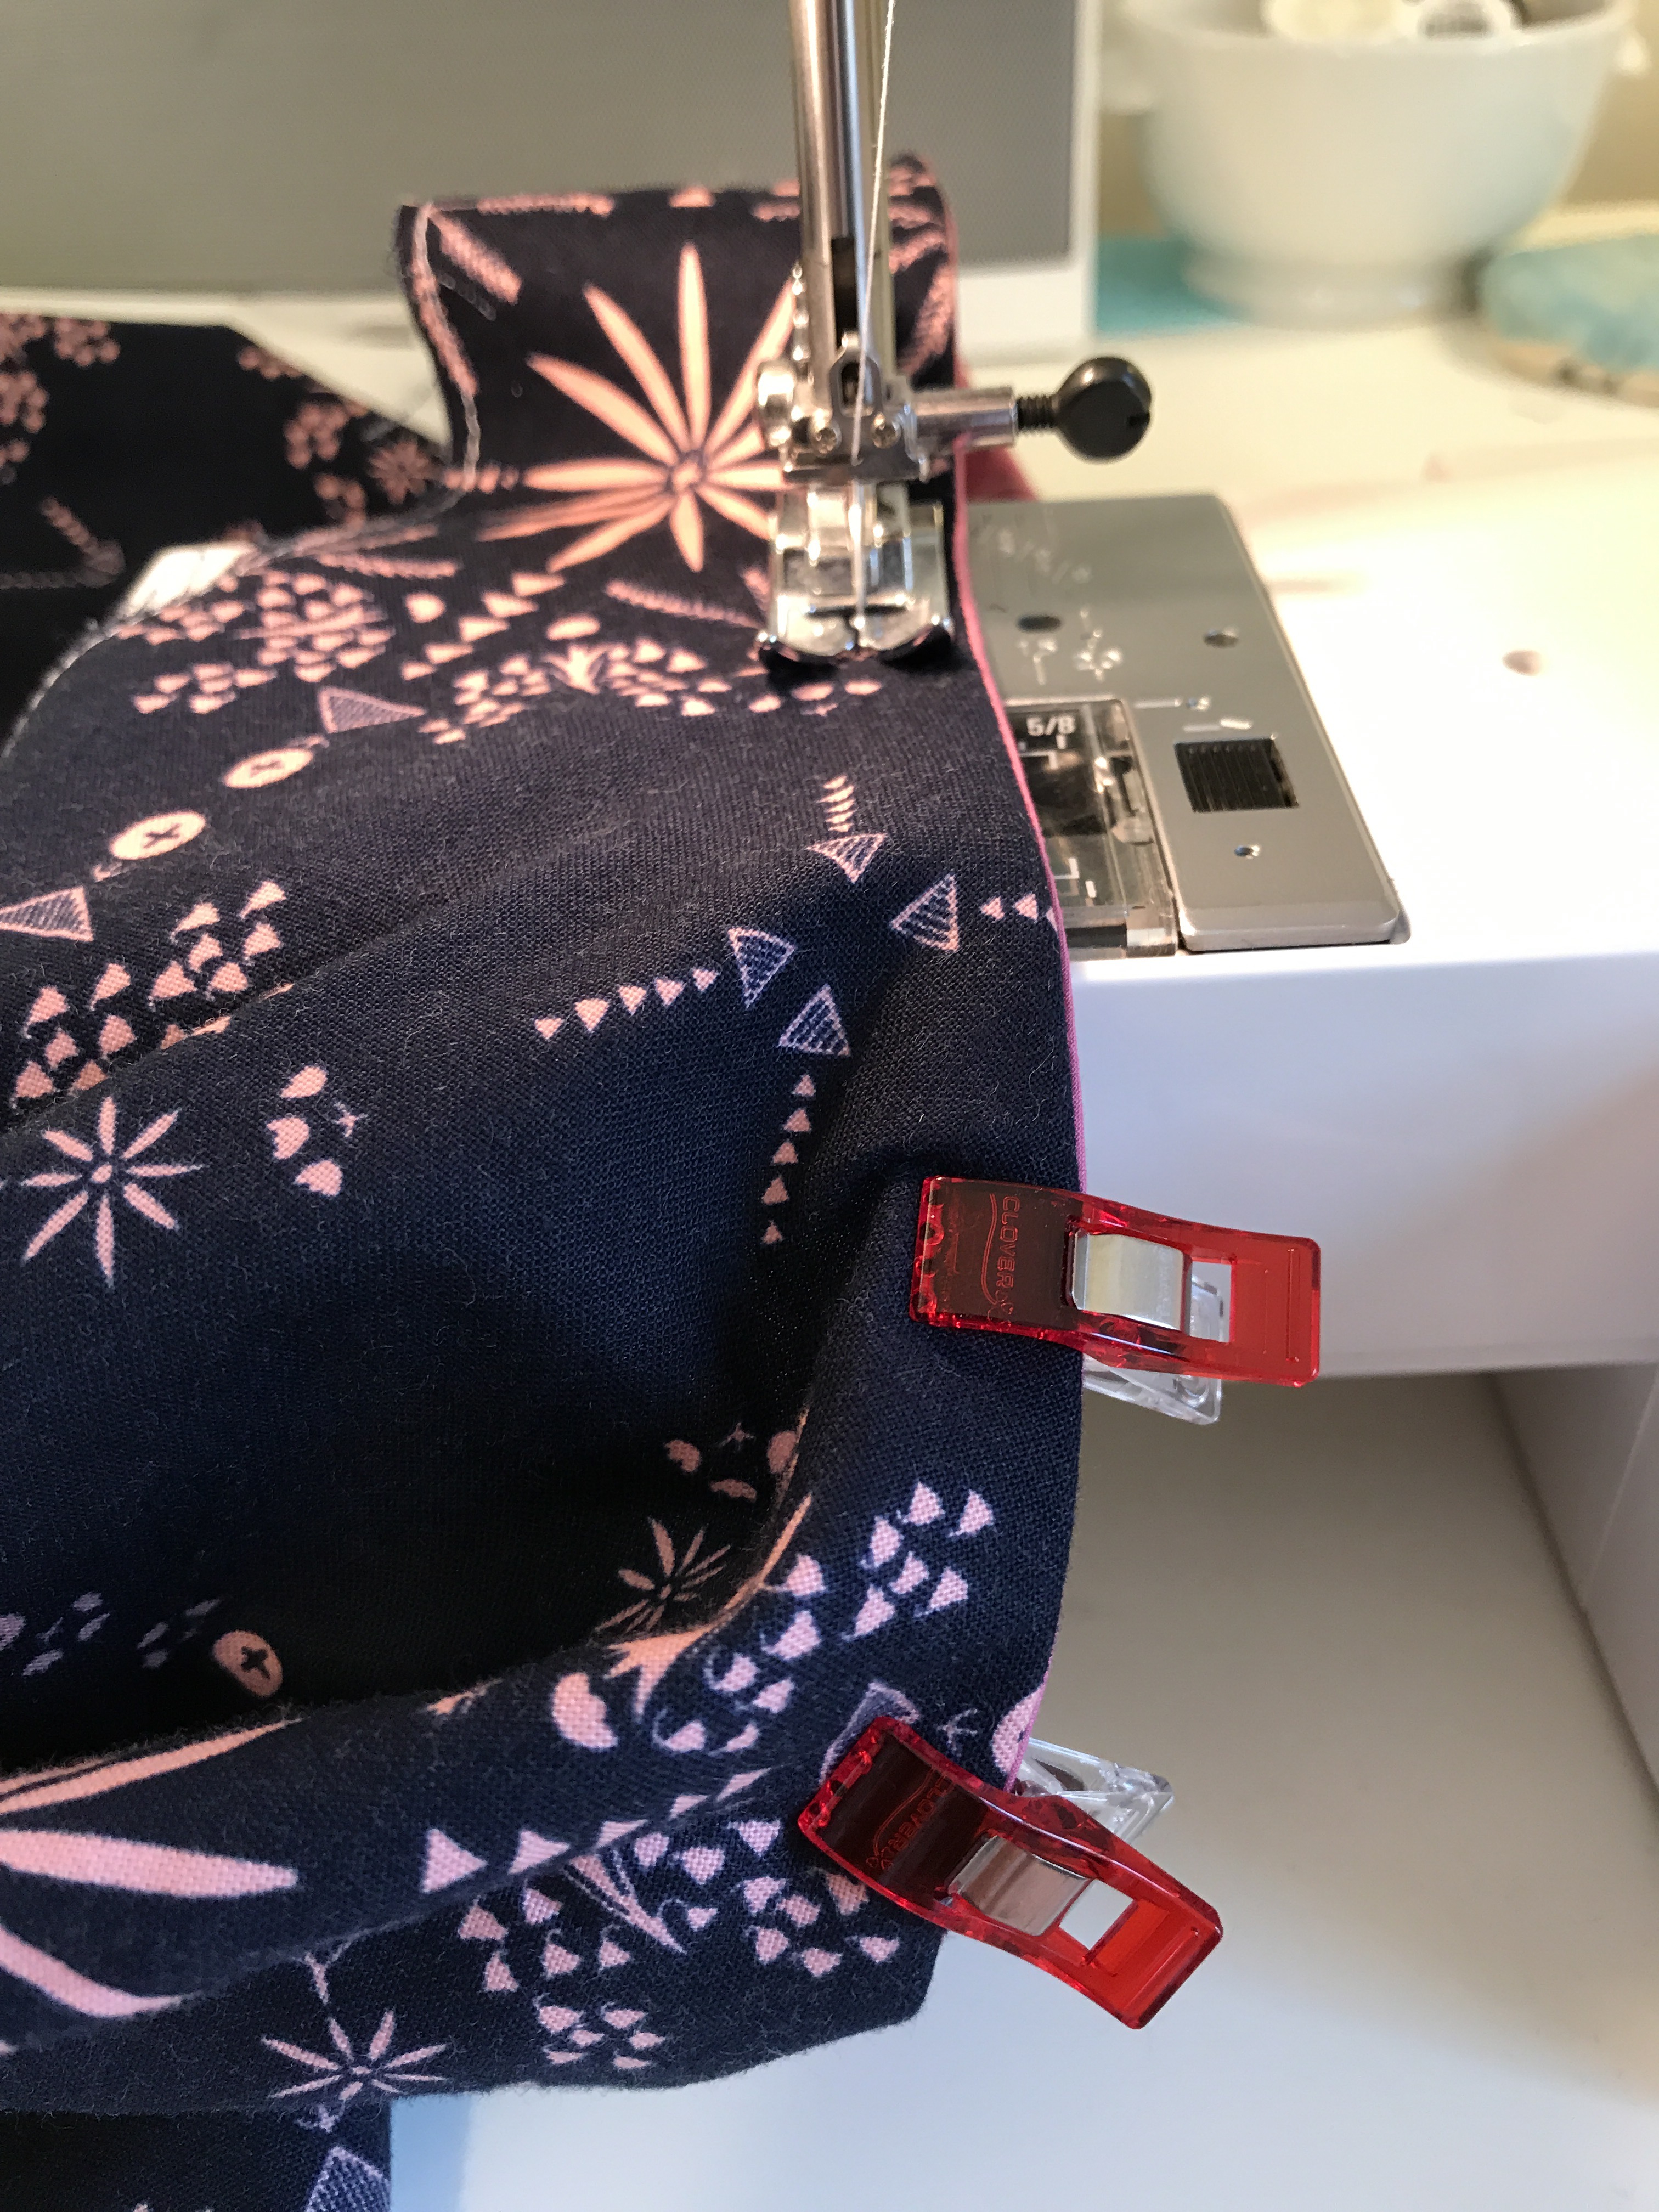 I used this method.
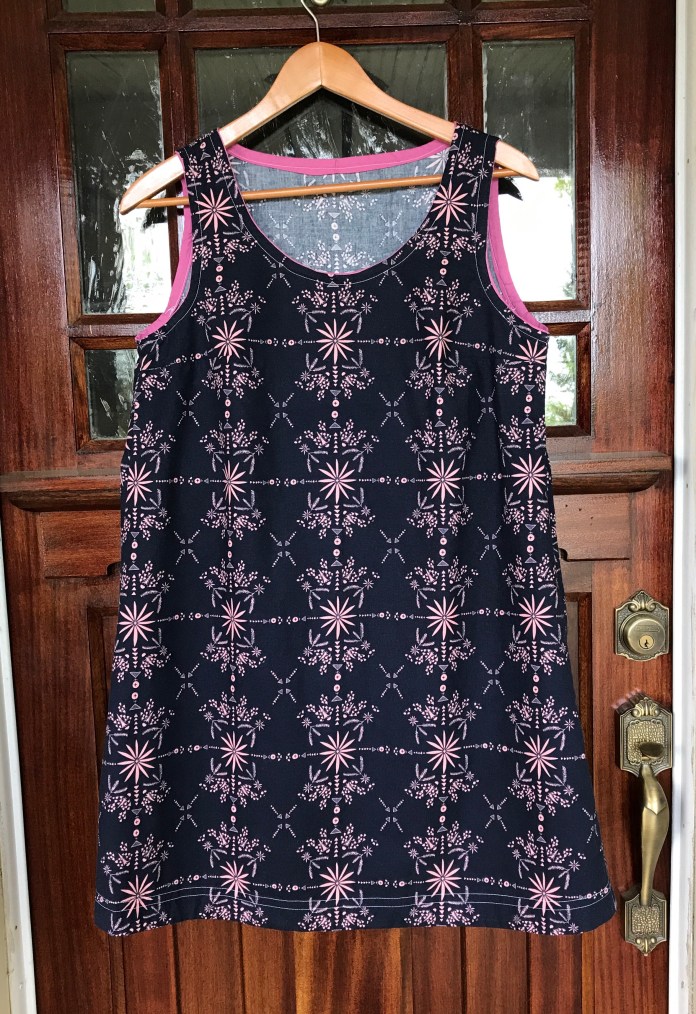
  And after a quick couple of hours, I was in business. This is the perfect after work attire. I love it with leggings, jeans or on its own for hanging around the house. Finished garment from the back on the front door place of honor.
 And as worn from the side. It is just loose enough. Comfortable without gaping.
 From the back:
 And from the front as worn with jeans. Make this! You will be glad you did.

Pingback: Summer Sewing: June 2017 | nursebeansews
Pingback: Me Made May 2017 | nursebeansews
Pingback: Nursebeansews 2017: Year-End Round Up | nursebeansews
Pingback: Me Made May 2018 Makes part 2 | nursebeansews