
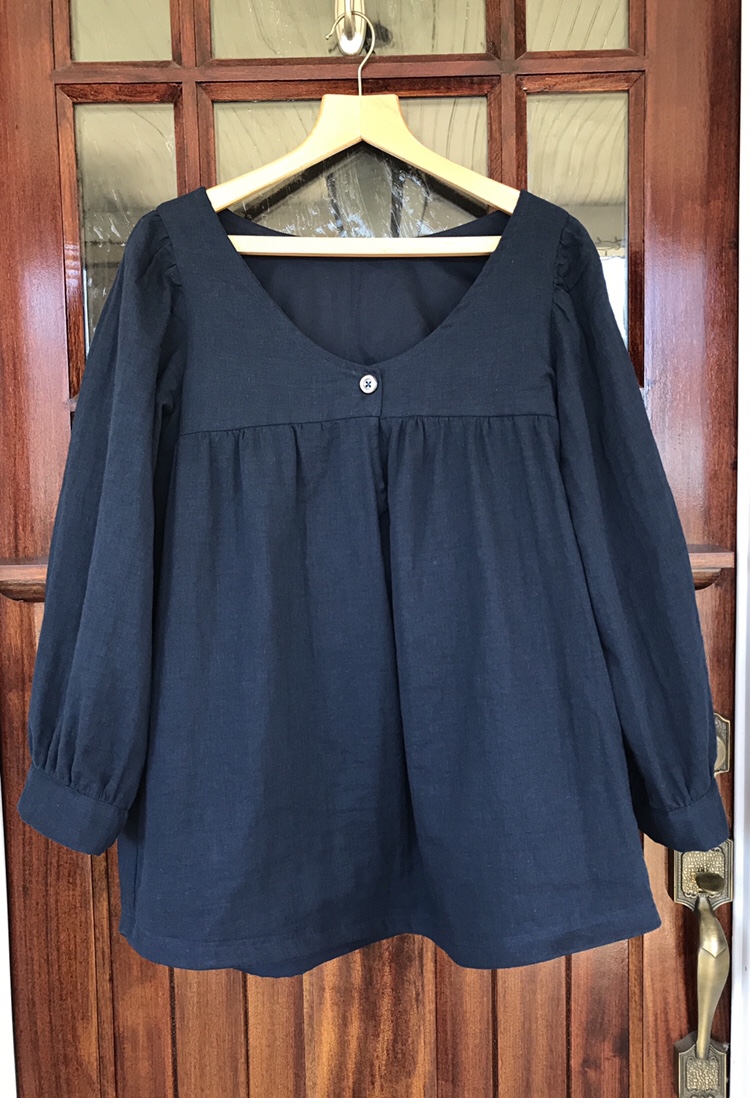
 I have wanted to sew the Valley Blouse by Cali Faye since the pattern was first released. It is a very close cousin to the Voila Blouse also by Cali Faye (and one of the first patterns I sewed) with a slightly curved hem, long sleeves instead of short and a split front bodice joined with a button. I bought navy double gauze fabric last summer from Imagine Gnats and after the new year, this was one of the first projects I started. When I made a couple of versions of the Voila Blouse, I cut out several inches from the blouse width based on Erin’s very excellent recommendation. It is a very blousy blouse and I didn’t need all that volume. I didn’t make a muslin for my Valley Blouse. I probably should have but I decided to just plunge in and I cut between the Medium and Large lines. Then I took about 2 inches out of the front and back panels to reduce the overall volume and lengthened it by about 2 inches. I only had 2 yards of the navy double gauze that I decided to use for the pattern so I cut the sleeves a bit shorter than I normally would have and I used scraps of cotton lawn for the hem facing and to line the bodice.
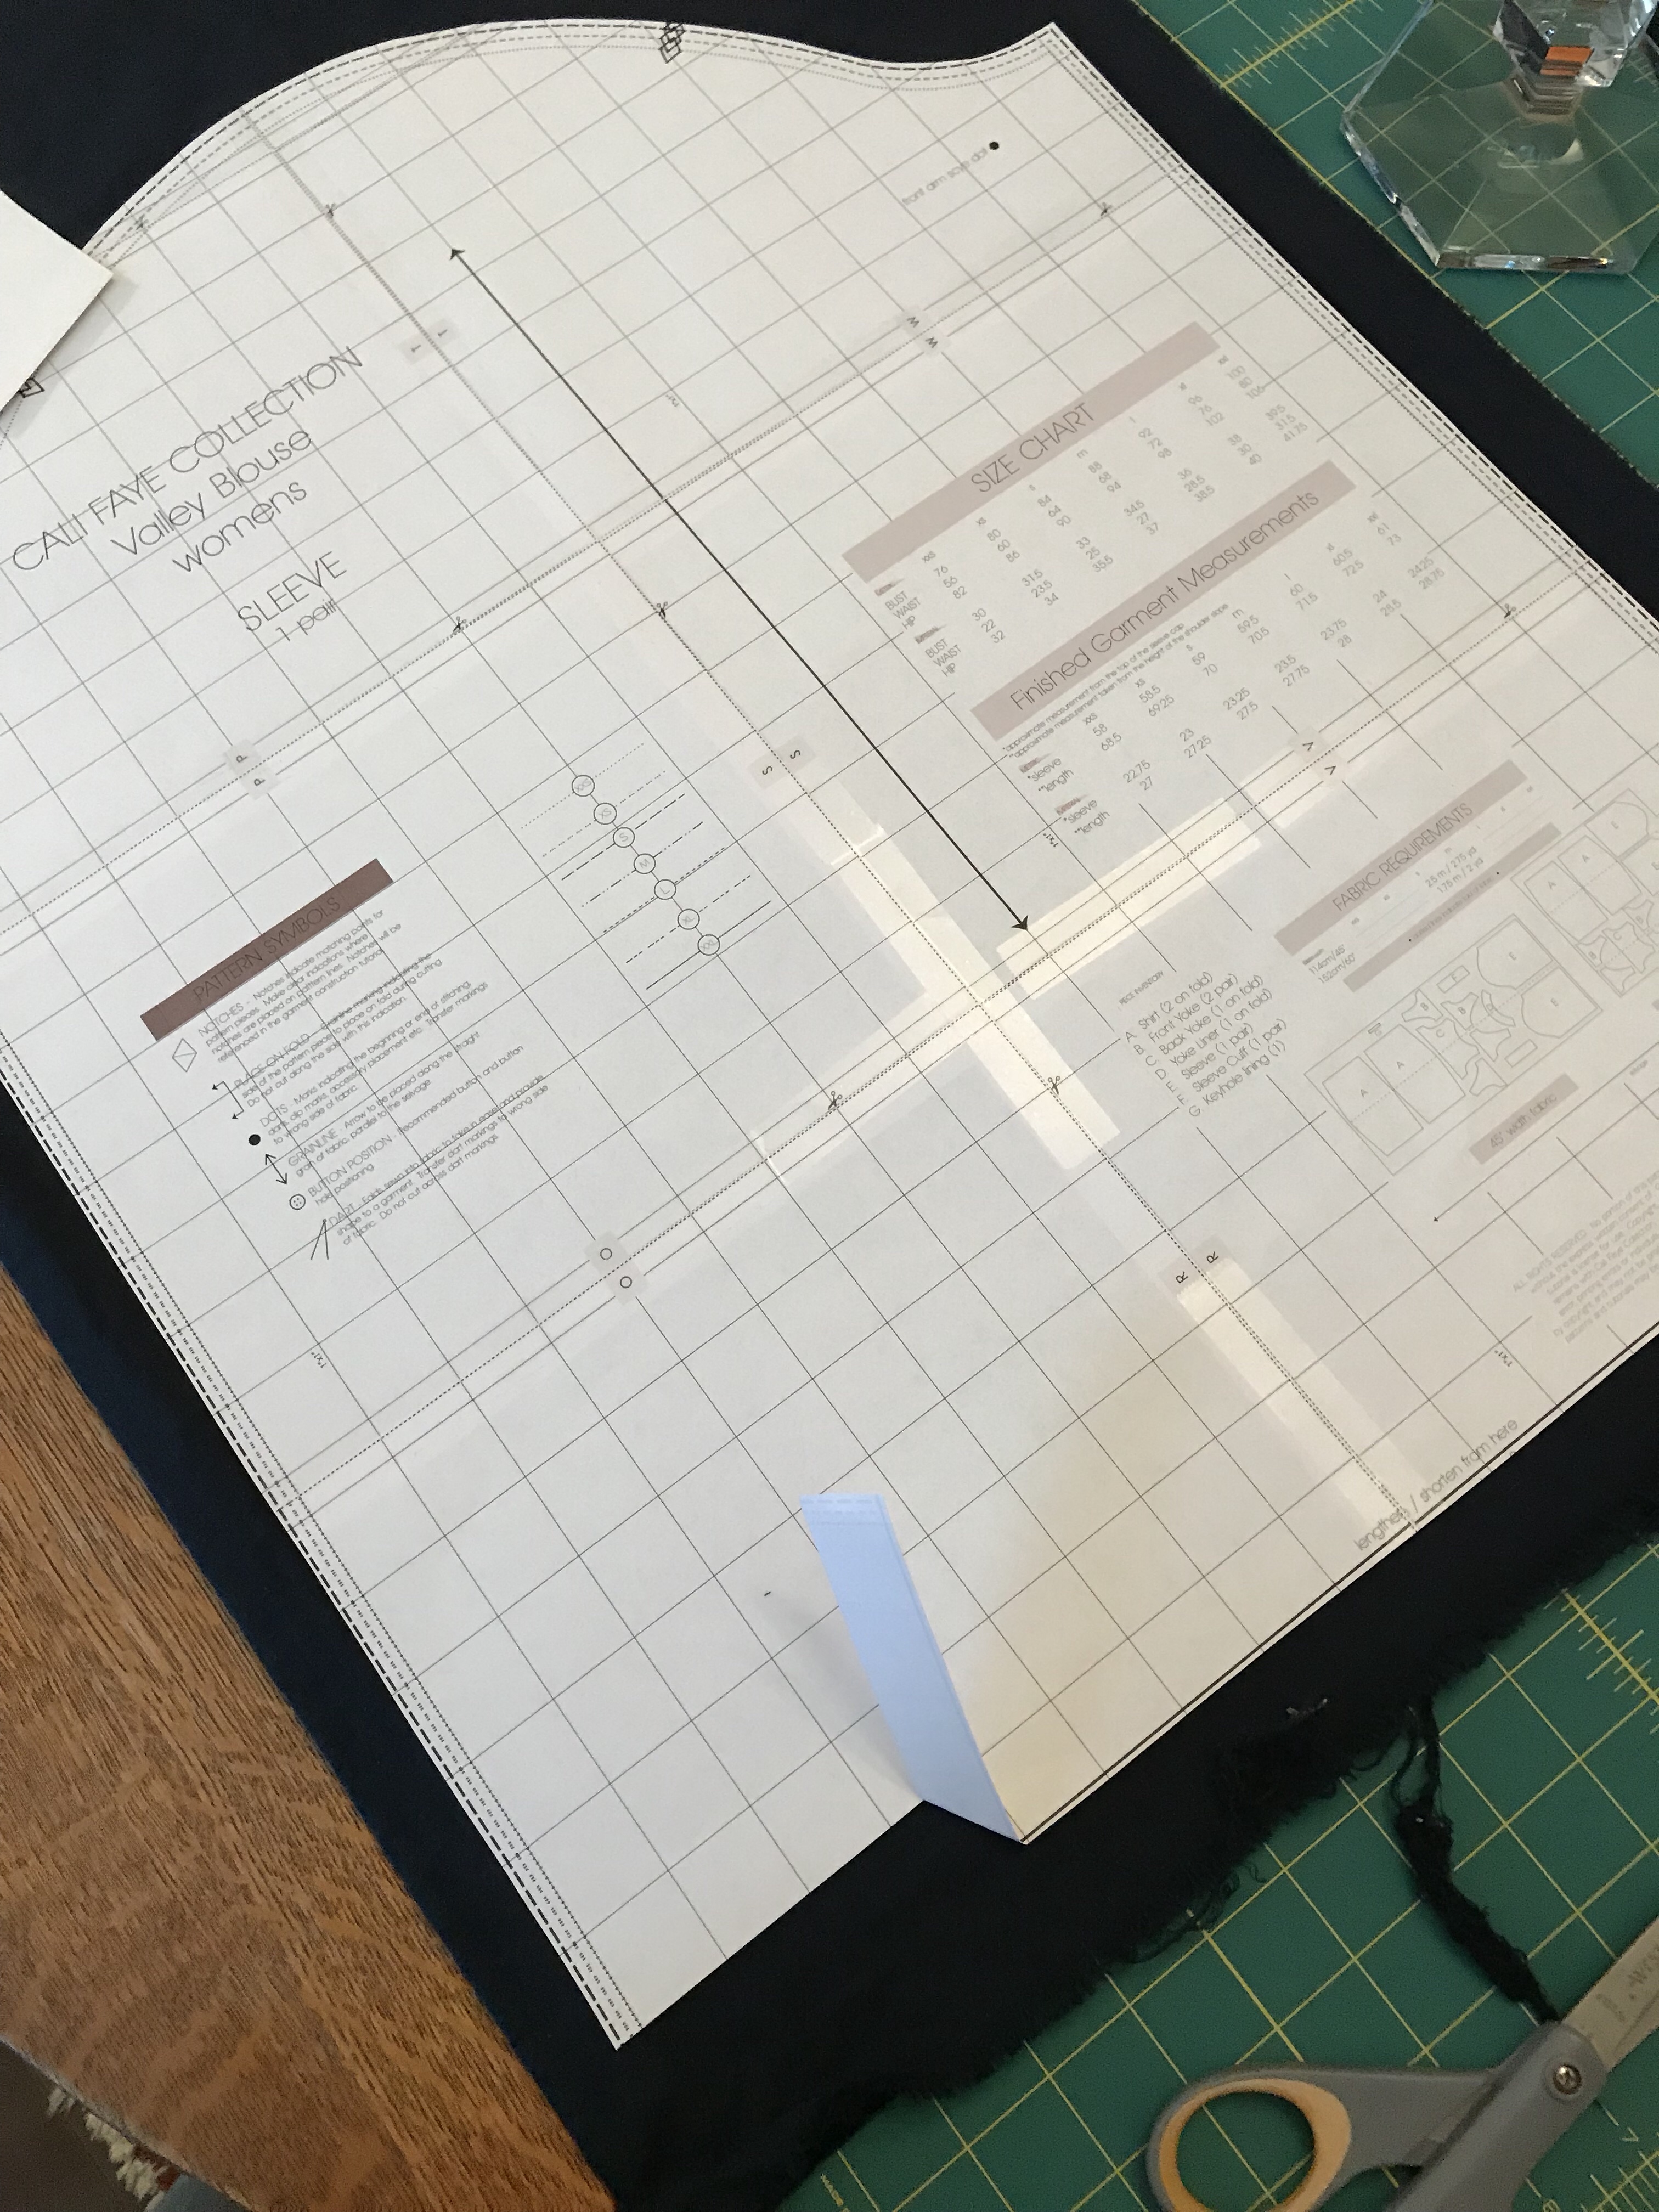
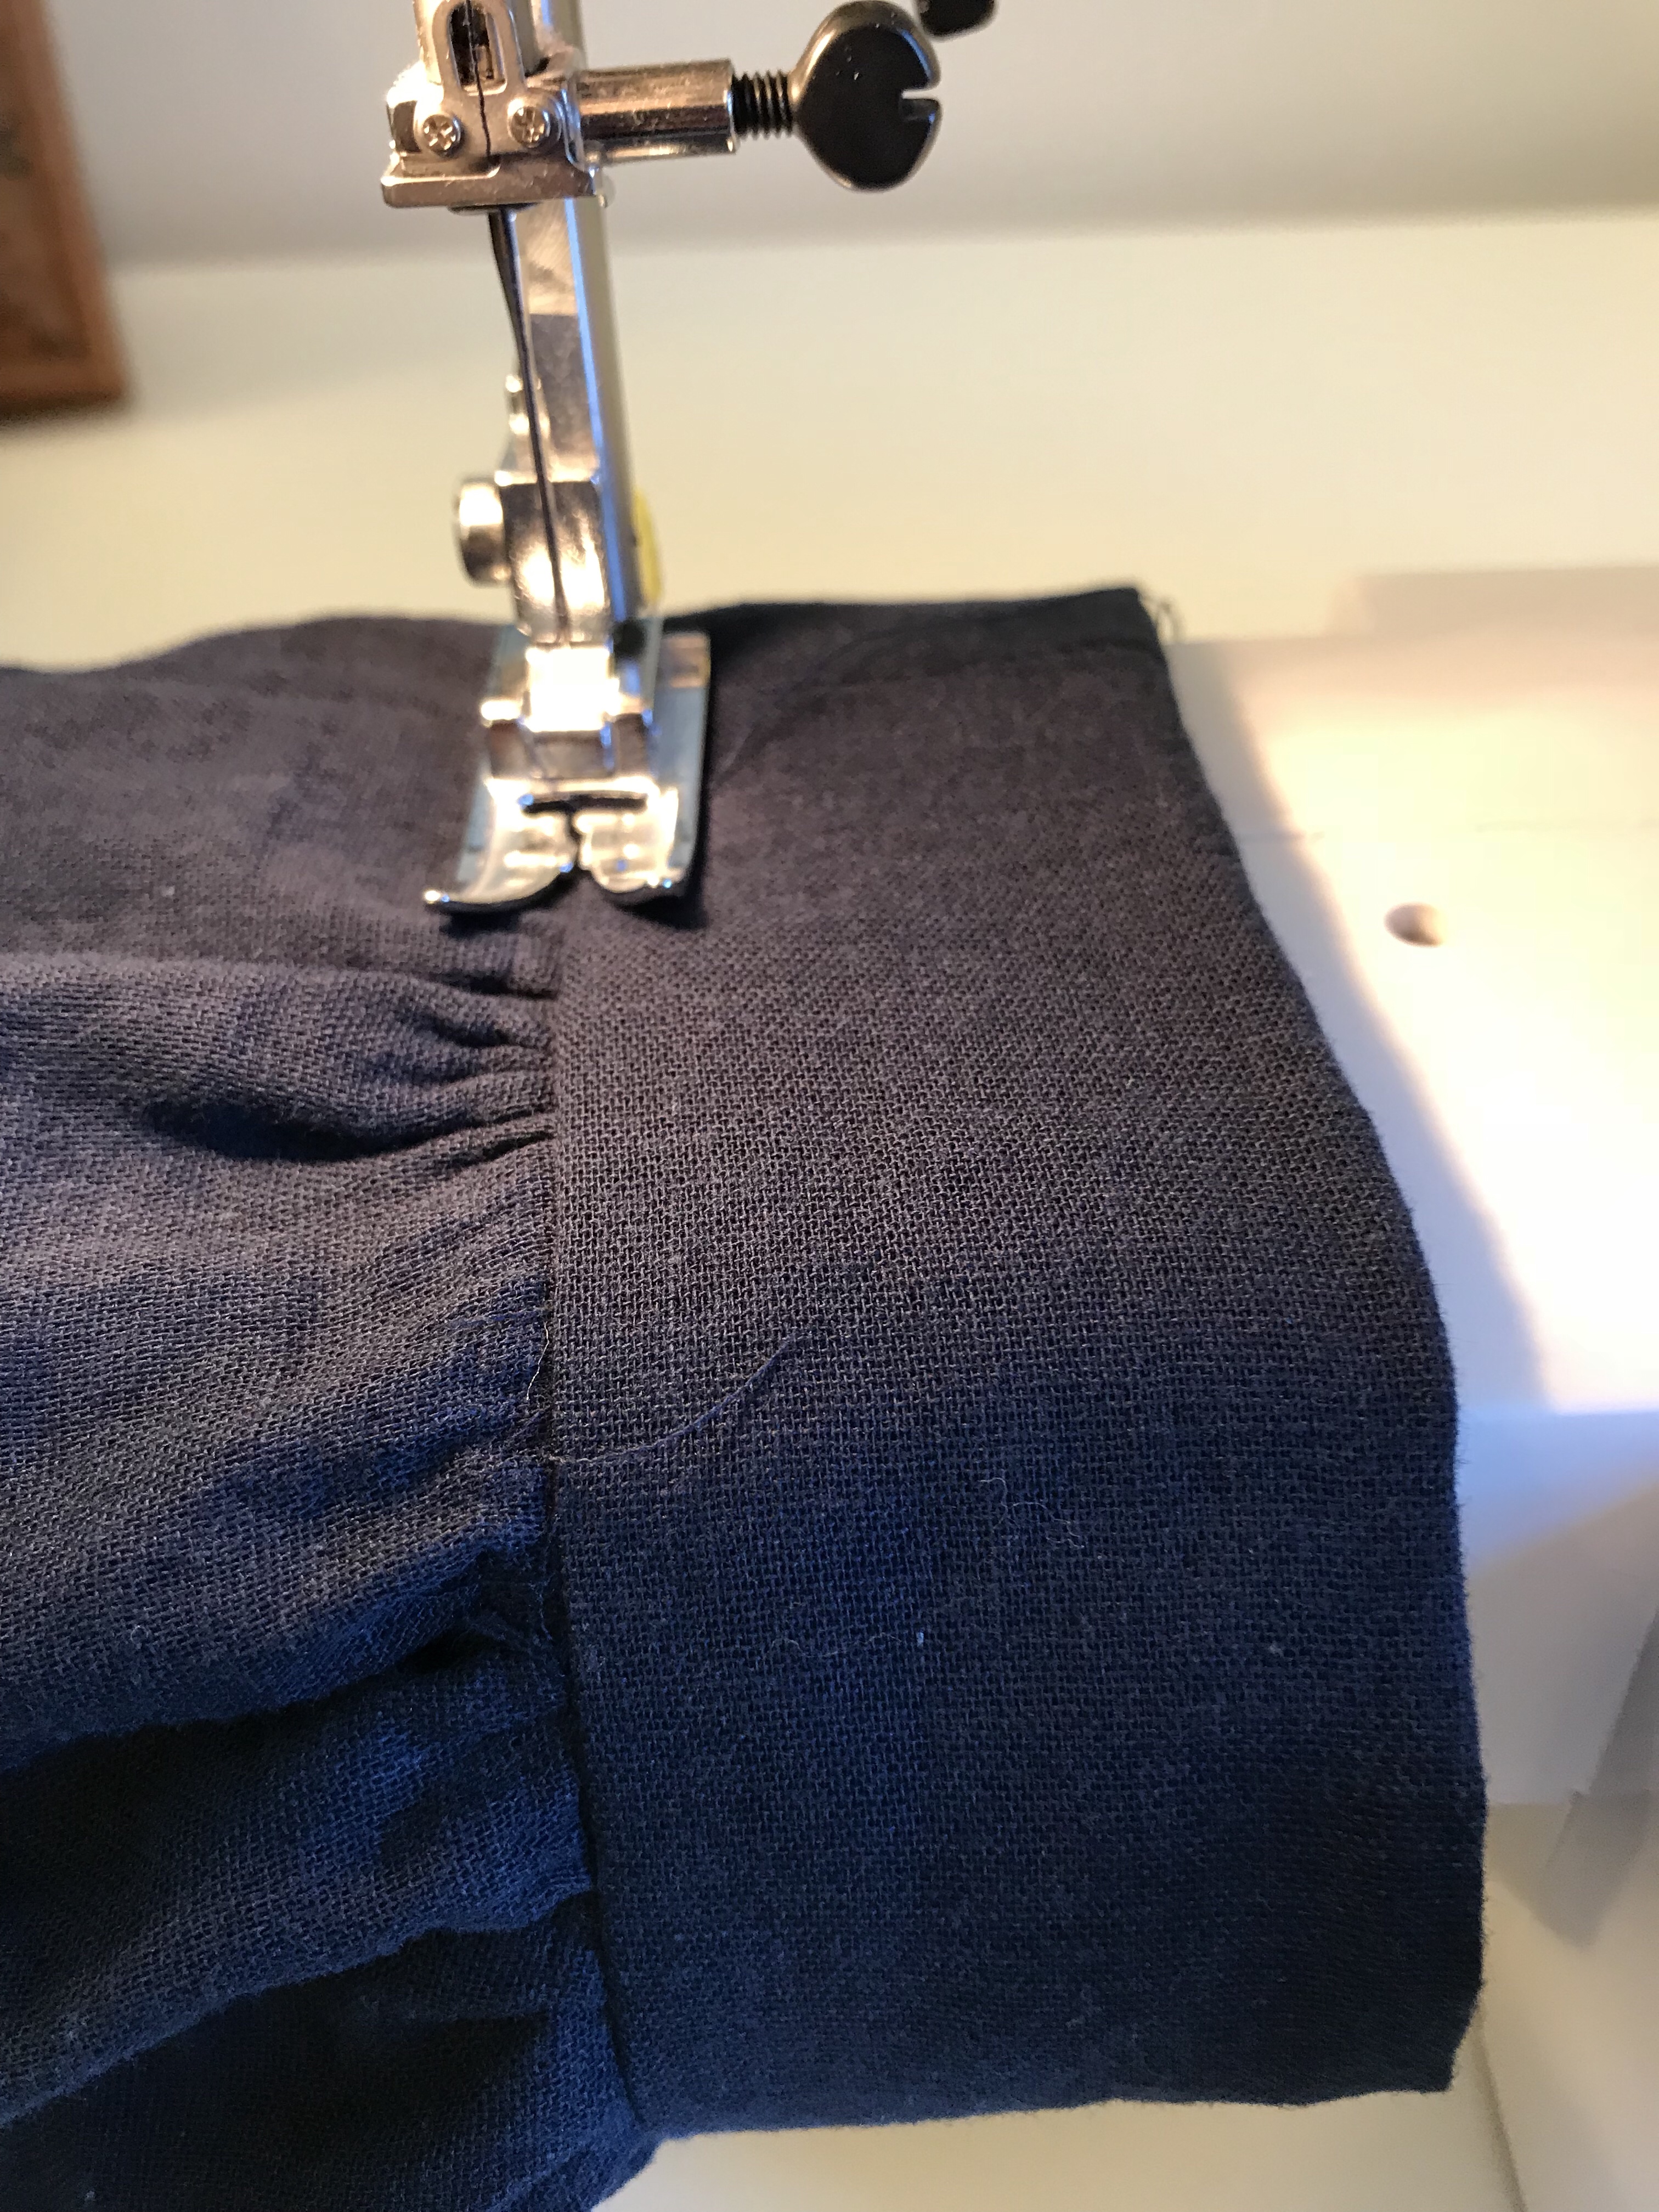
The sleeves are somewhere between a 3/4 length and full length and I am actually happy with the length despite the fact that they are shorter than as drafted. In retrospect, I would use the double gauze to line the bodice because I think the lawn and double gauze don’t shrink at the same rate and the lawn lining ended up making the bodice a bit tighter than I would have liked but I had to make do with 2 yards. I also have gained a bit of weight and gone up a size or so since I sewed the Voila and a Large is probably a better fit for me at this point. In any event, I ended up giving myself a bit more width across the bodice by sewing the two pieces together and shifting the button. It doesn’t actually line up with the button hole now but I don’t think it is noticeable. When I make this pattern again, and I probably will because I really like wearing it-it is really comfortable-I will probably size up and lose the keyhole which did nothing for me-I actually sewed it together as well because the gaping wasn’t really flattering for me. This was a situation where half way through sewing this project, I almost abandoned it. The neckline felt too low, the key hole gaped, it was tight across the bodice. But then I came back to it several weeks later and made these little adjustments and now I really like it. Some pictures of my process below, mostly so I remember what I did. I find it really helps me if I snap a picture using my phone when I tweak a pattern. I have much more luck when I go to recreate the tweaks at a later date!


 Earlier this year I made two patterns from the Basics Collection by Cali Faye. They are both straightforward to sew and flattering to wear. I was inspired to make the Voila Shirt by
 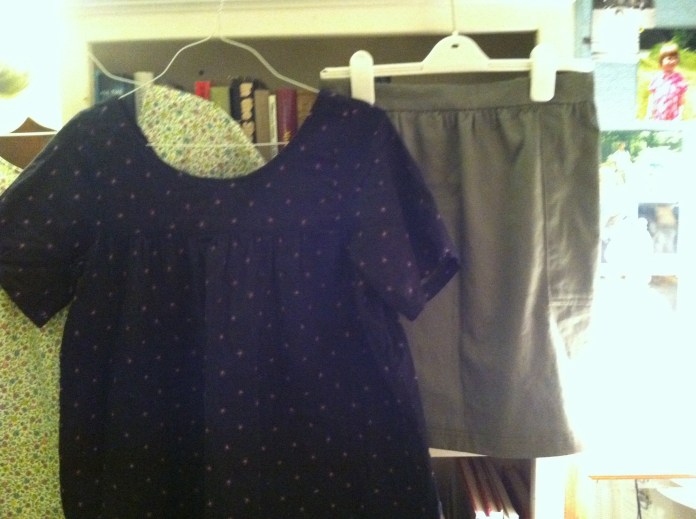 I then went on to make two more Voila blouses with leftover fabric from my quilting days. I thought these cotton floral prints would work well with the shape for summer blouses.
  I made the two blouses at the same time which went fast. I lined the bodice of the cotton versions with white cotton muslin and I lined the navy double gauze version with the shirt fabric. I took 8 inches out of the width of the front and back of the floral shirts since the first navy blouse was still very full even after taking 6 inches of volume out front and back.
 Shirt above prior to hemming. Shirt below getting bra straps added to lining of bodice.
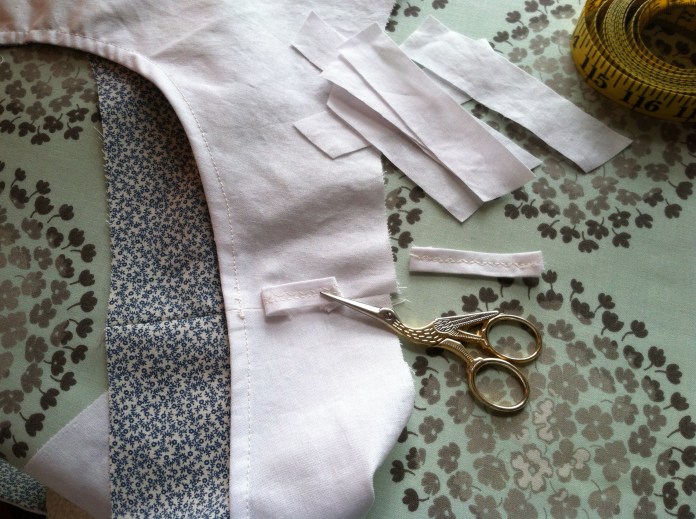 The shirts fit well and the neckline is flattering.
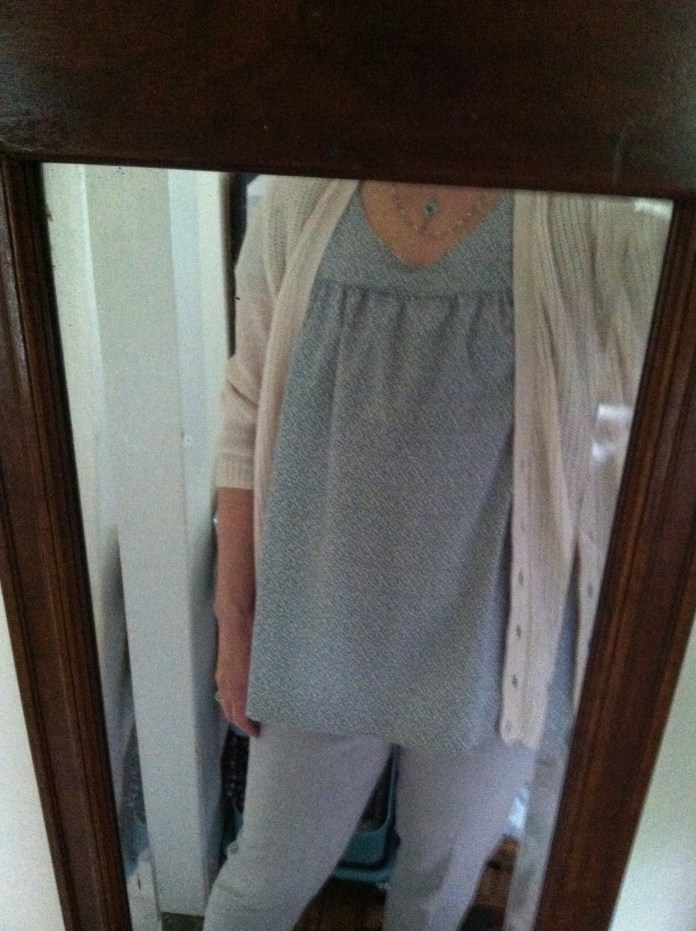 I made the Pocket Skirt in a khaki green heavy cotton from Joanne’s. It worked well for the skirt and it has become a basic that I wore often all summer.
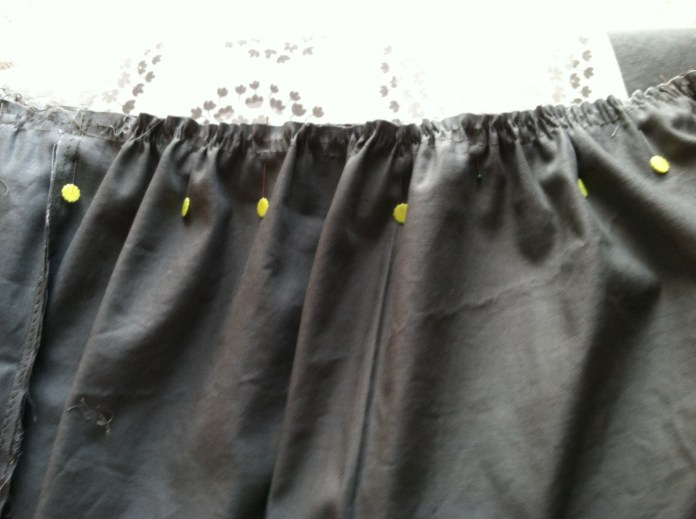 I cut a large and added 2 inches to the length. Pocket detail below. The construction is very straightforward.
  Attaching the waistband.
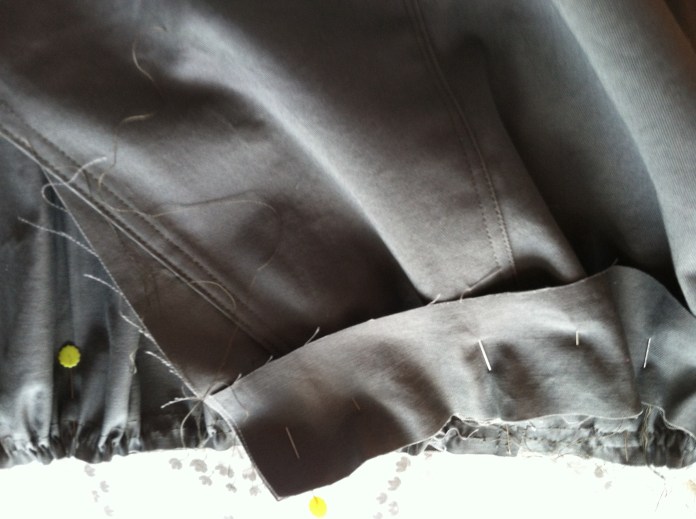
 In the process of making the second skirt, I realized that I had reversed the front and back of the waistband when I made version one and so fixed that on version 2. Ironically, the second skirt did not fit as well because the front of the Calie Faye skirt is designed with more fullness than the back and my shape is the opposite. Luckily my daughter wears the same size but has a slightly different shape and it fits her perfectly so off it went to Florida where she wore it last summer.
 When I made version two, I sewed the zipper a bit low leaving a gap at the top of the waistband so I made a button placket to hide the gap. I am happy with how it turned out.
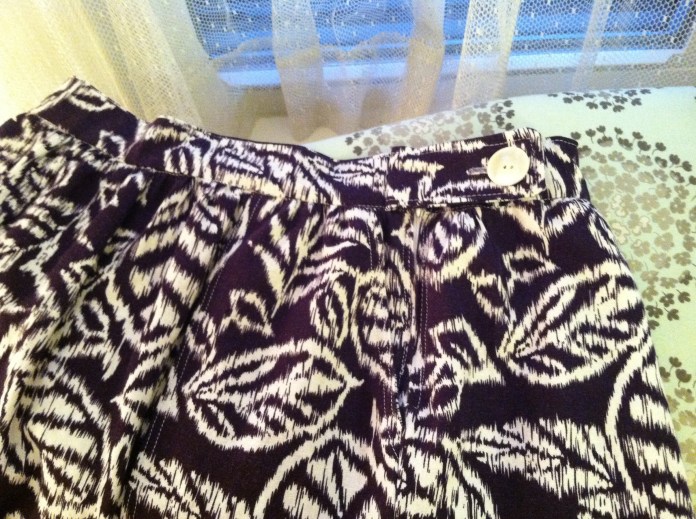
 I will definitely be making new versions of both of these patterns. Things I will do differently next time: french seams on the double gauze versions due to fraying, reverse the waistband on the pocket skirt, add more length if I make it in another flowy fabric such as linen or rayon. It was fine at the shorter length in the khaki but I think longer would be more flattering in flowy fabrics. I would also do hem facings for future shirts and skirts to cut down on fraying.