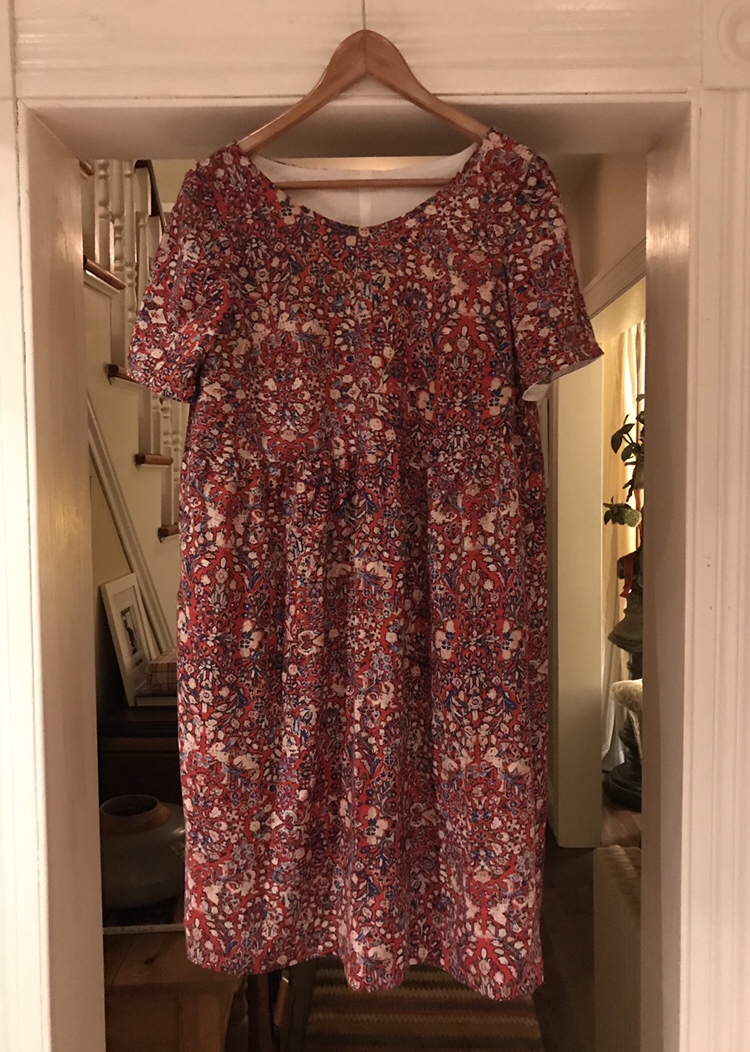
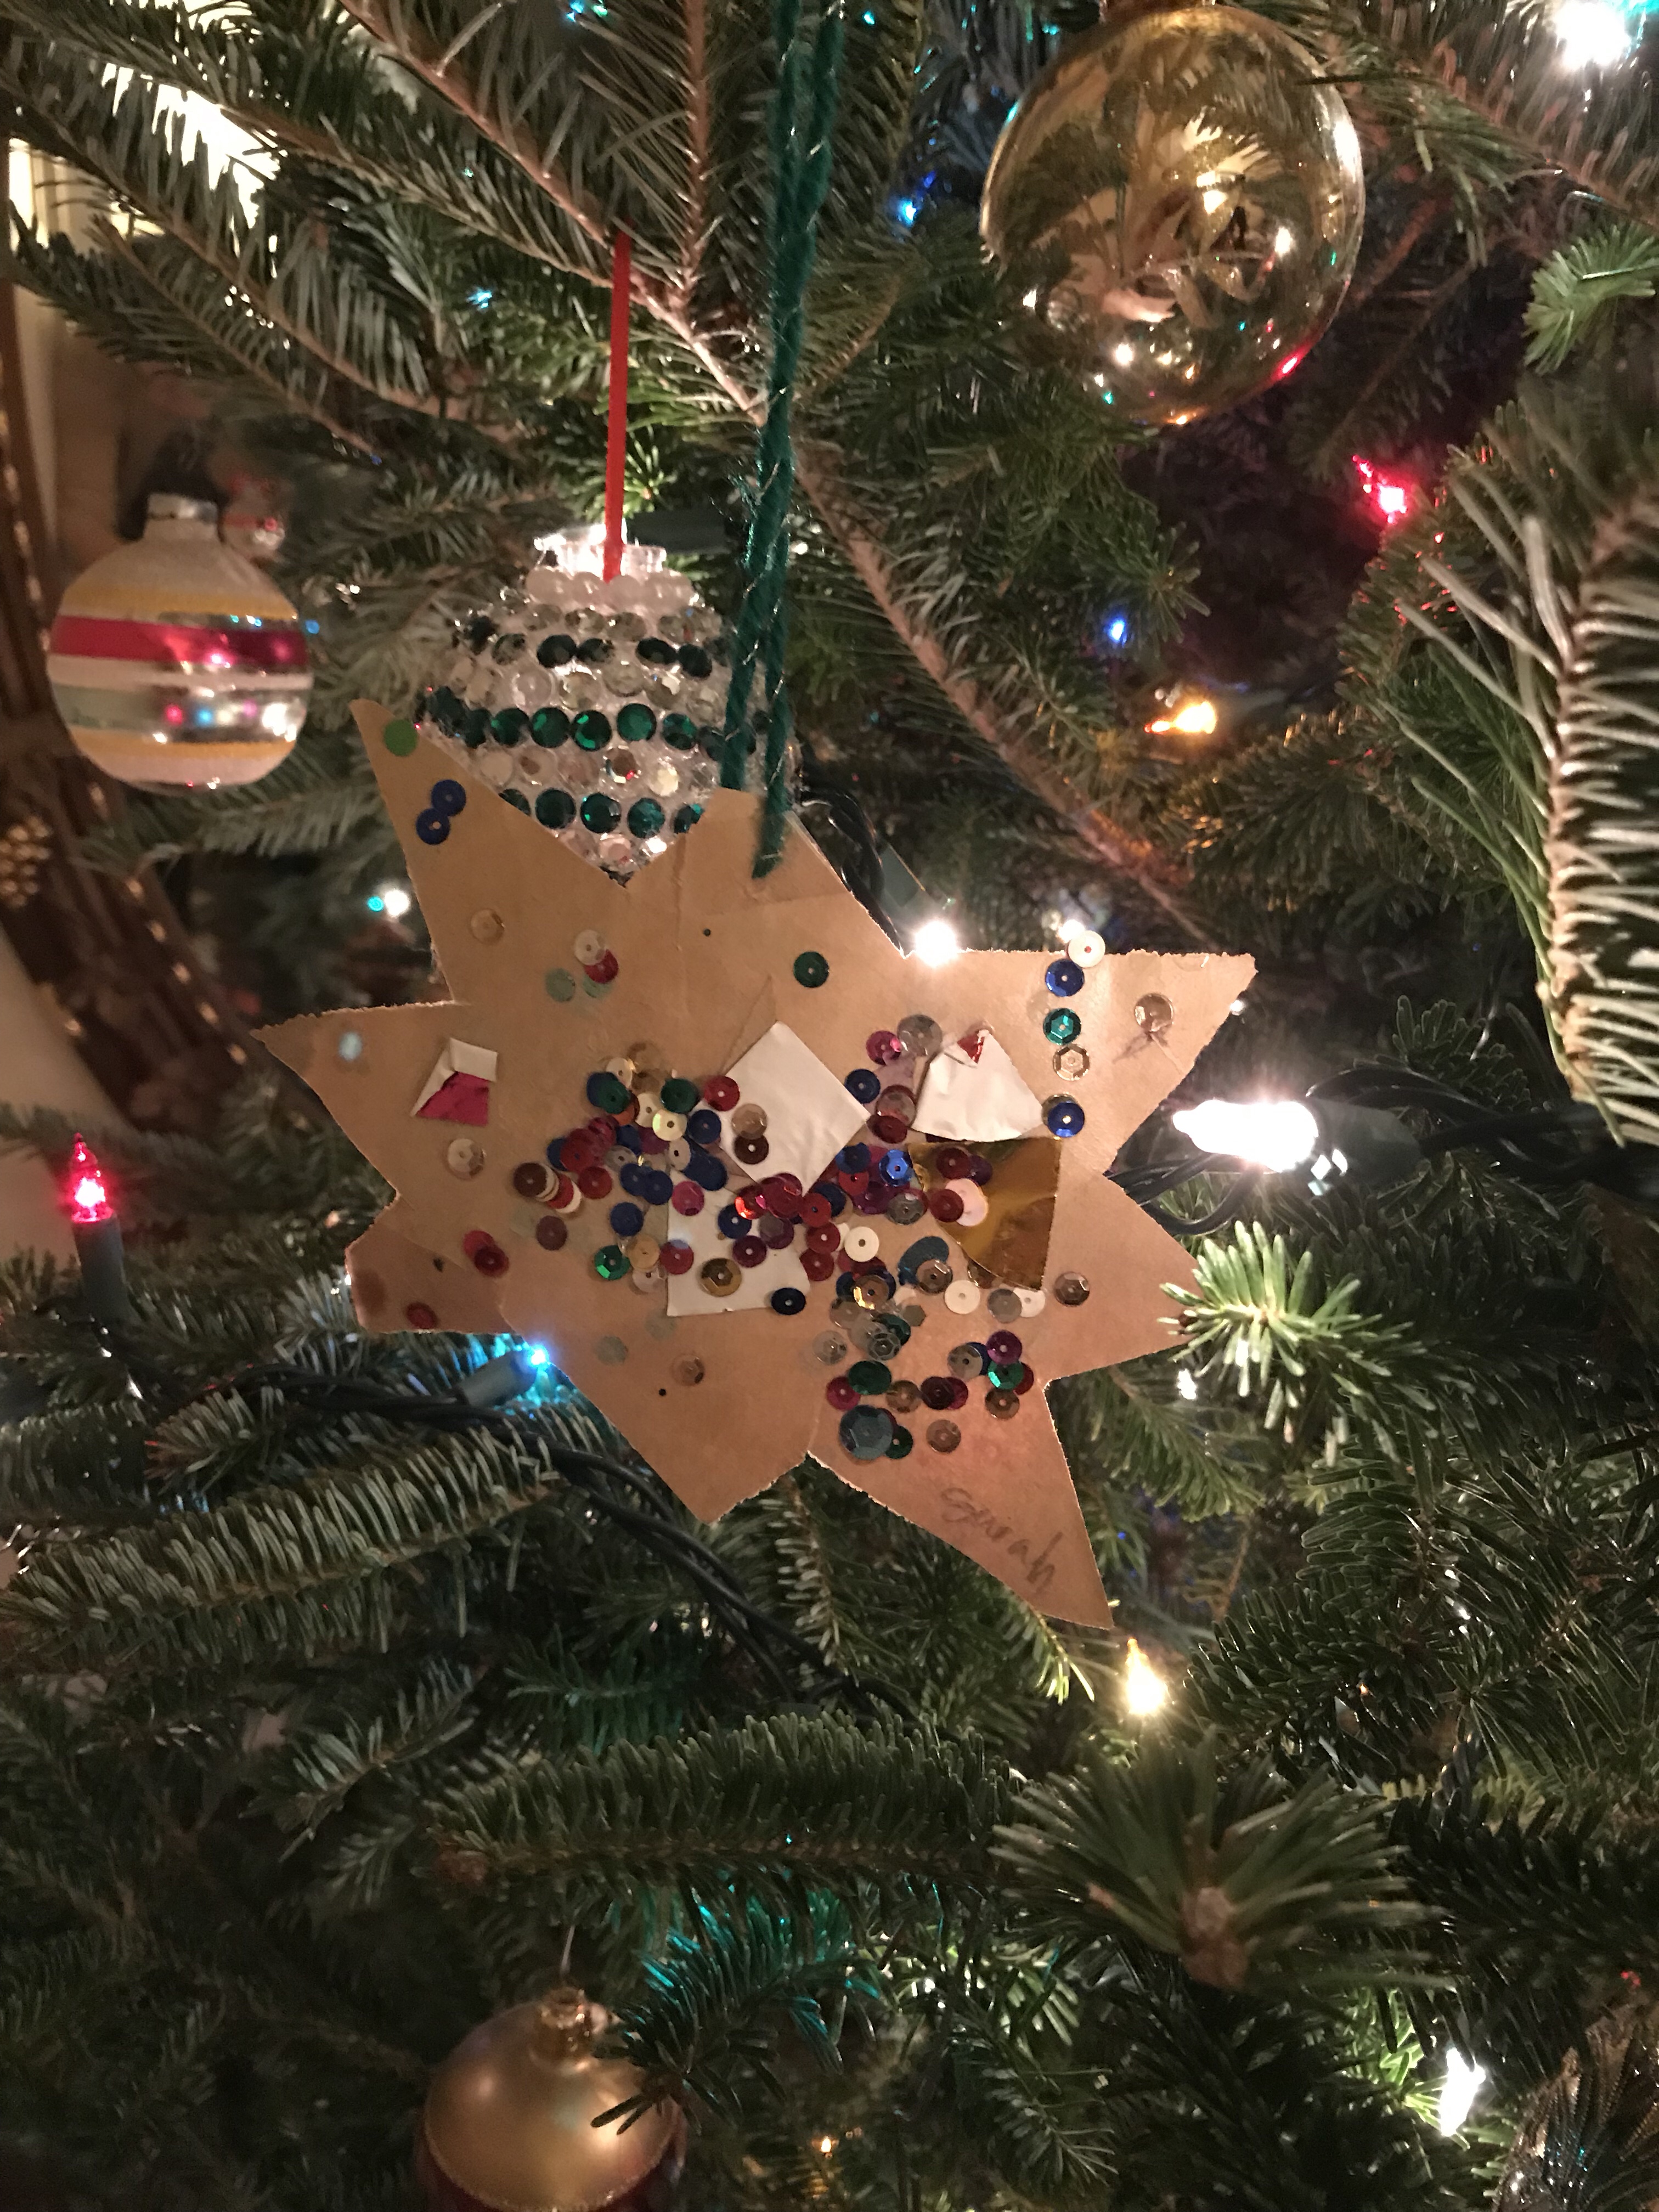
When I first saw this beautiful April Rhodes fabric last summer, I knew that I wanted to make something with it. Red is not normally a color I gravitate to. Most of my handmade garments are blue or yellow but I loved the fabric so I bought a couple of yards. I thought it would be perfect for a holiday garment (tree close-up with ornament made 25 years ago when my daughter was in preschool, sob.)

Then life got busy, as it usually does. I teach nursing students for 12 weeks in the fall in addition to my regular Monday-Friday job and there isn’t time for much sewing. That gave me a lot of time to think about what to make. This summer I made this dress.

I liked the general shape of the dress but the shoulders and neckline didn’t fit me well: too loose in the neck and too tight in the shoulders. I decided to try using the Beatrix Blouse pattern by Made by Rae as the starting point to make a loose dress that was similar. I had made the Beatrix several times and knew that the shoulders and bodice fit perfectly. I thought if I cropped it and added a gently gathered skirt that I would end up with a dress I would really enjoy dressing wearing.
I first made the Beatrix when the pattern was released. It was one of the first patterns I sewed after the Washi Dress and I learned a lot in the process because Rae did a series of blog posts that walk you through making the pattern from start to finish. I learned so much going through that process. She literally explained how to tape the pattern, how to take your own measurements and how to make adjustments for your body type. I learned so many great sewing techniques. When I first made the blouse, the medium fit pretty well with a couple of inches added to the length (I am 5’9″ with a very long torso) but there was a bit of gaping at the neckline. Rae told me how to do a hollow chest adjustment and once I did that, the fit was perfect. It is a really subtle adjustment but it makes all the difference. I just fold a tiny bit of the pattern at the center front and then shift it back once I cut the neckline.
When I cut the bodice out for this project, I put one of my Beatrix blouses on and then figured out where I wanted the bodice to end and the skirt to start which was just under the rib cage. I marked the spot with a pin and then drew a line on the pattern pieces to match that bodice length after adding 1/2 cm for a seam allowance. I folded the pattern piece on that line and cut out the shortened front and back bodice in both the rayon and in the cotton batiste that I planned to use for the bodice lining. I cut out the pieces before Thanksgiving and then they sat on my ironing board until January. But that’s ok. Sometimes you have time and energy to sew and sometimes you don’t. I did a lot more reading than sewing this fall. Reading on Christmas Day below. Such a good book. The ear muffs were my given to one of my daughters. I was just borrowing them. They are actually really warm and cozy though a bit flashier than my usual style.
After the holidays I went back to work and did a long drive the weekend after New Year’s Day, taking my daughter back to school. Finally, the second weekend in January, I had time and energy and finished the dress.  Pictures of sewing the bodice below.

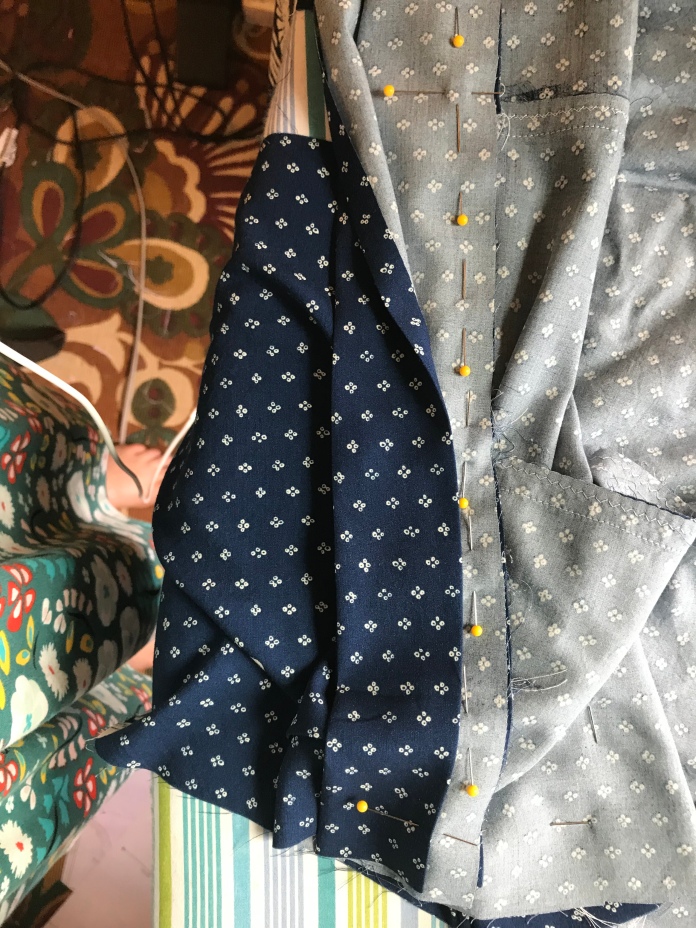
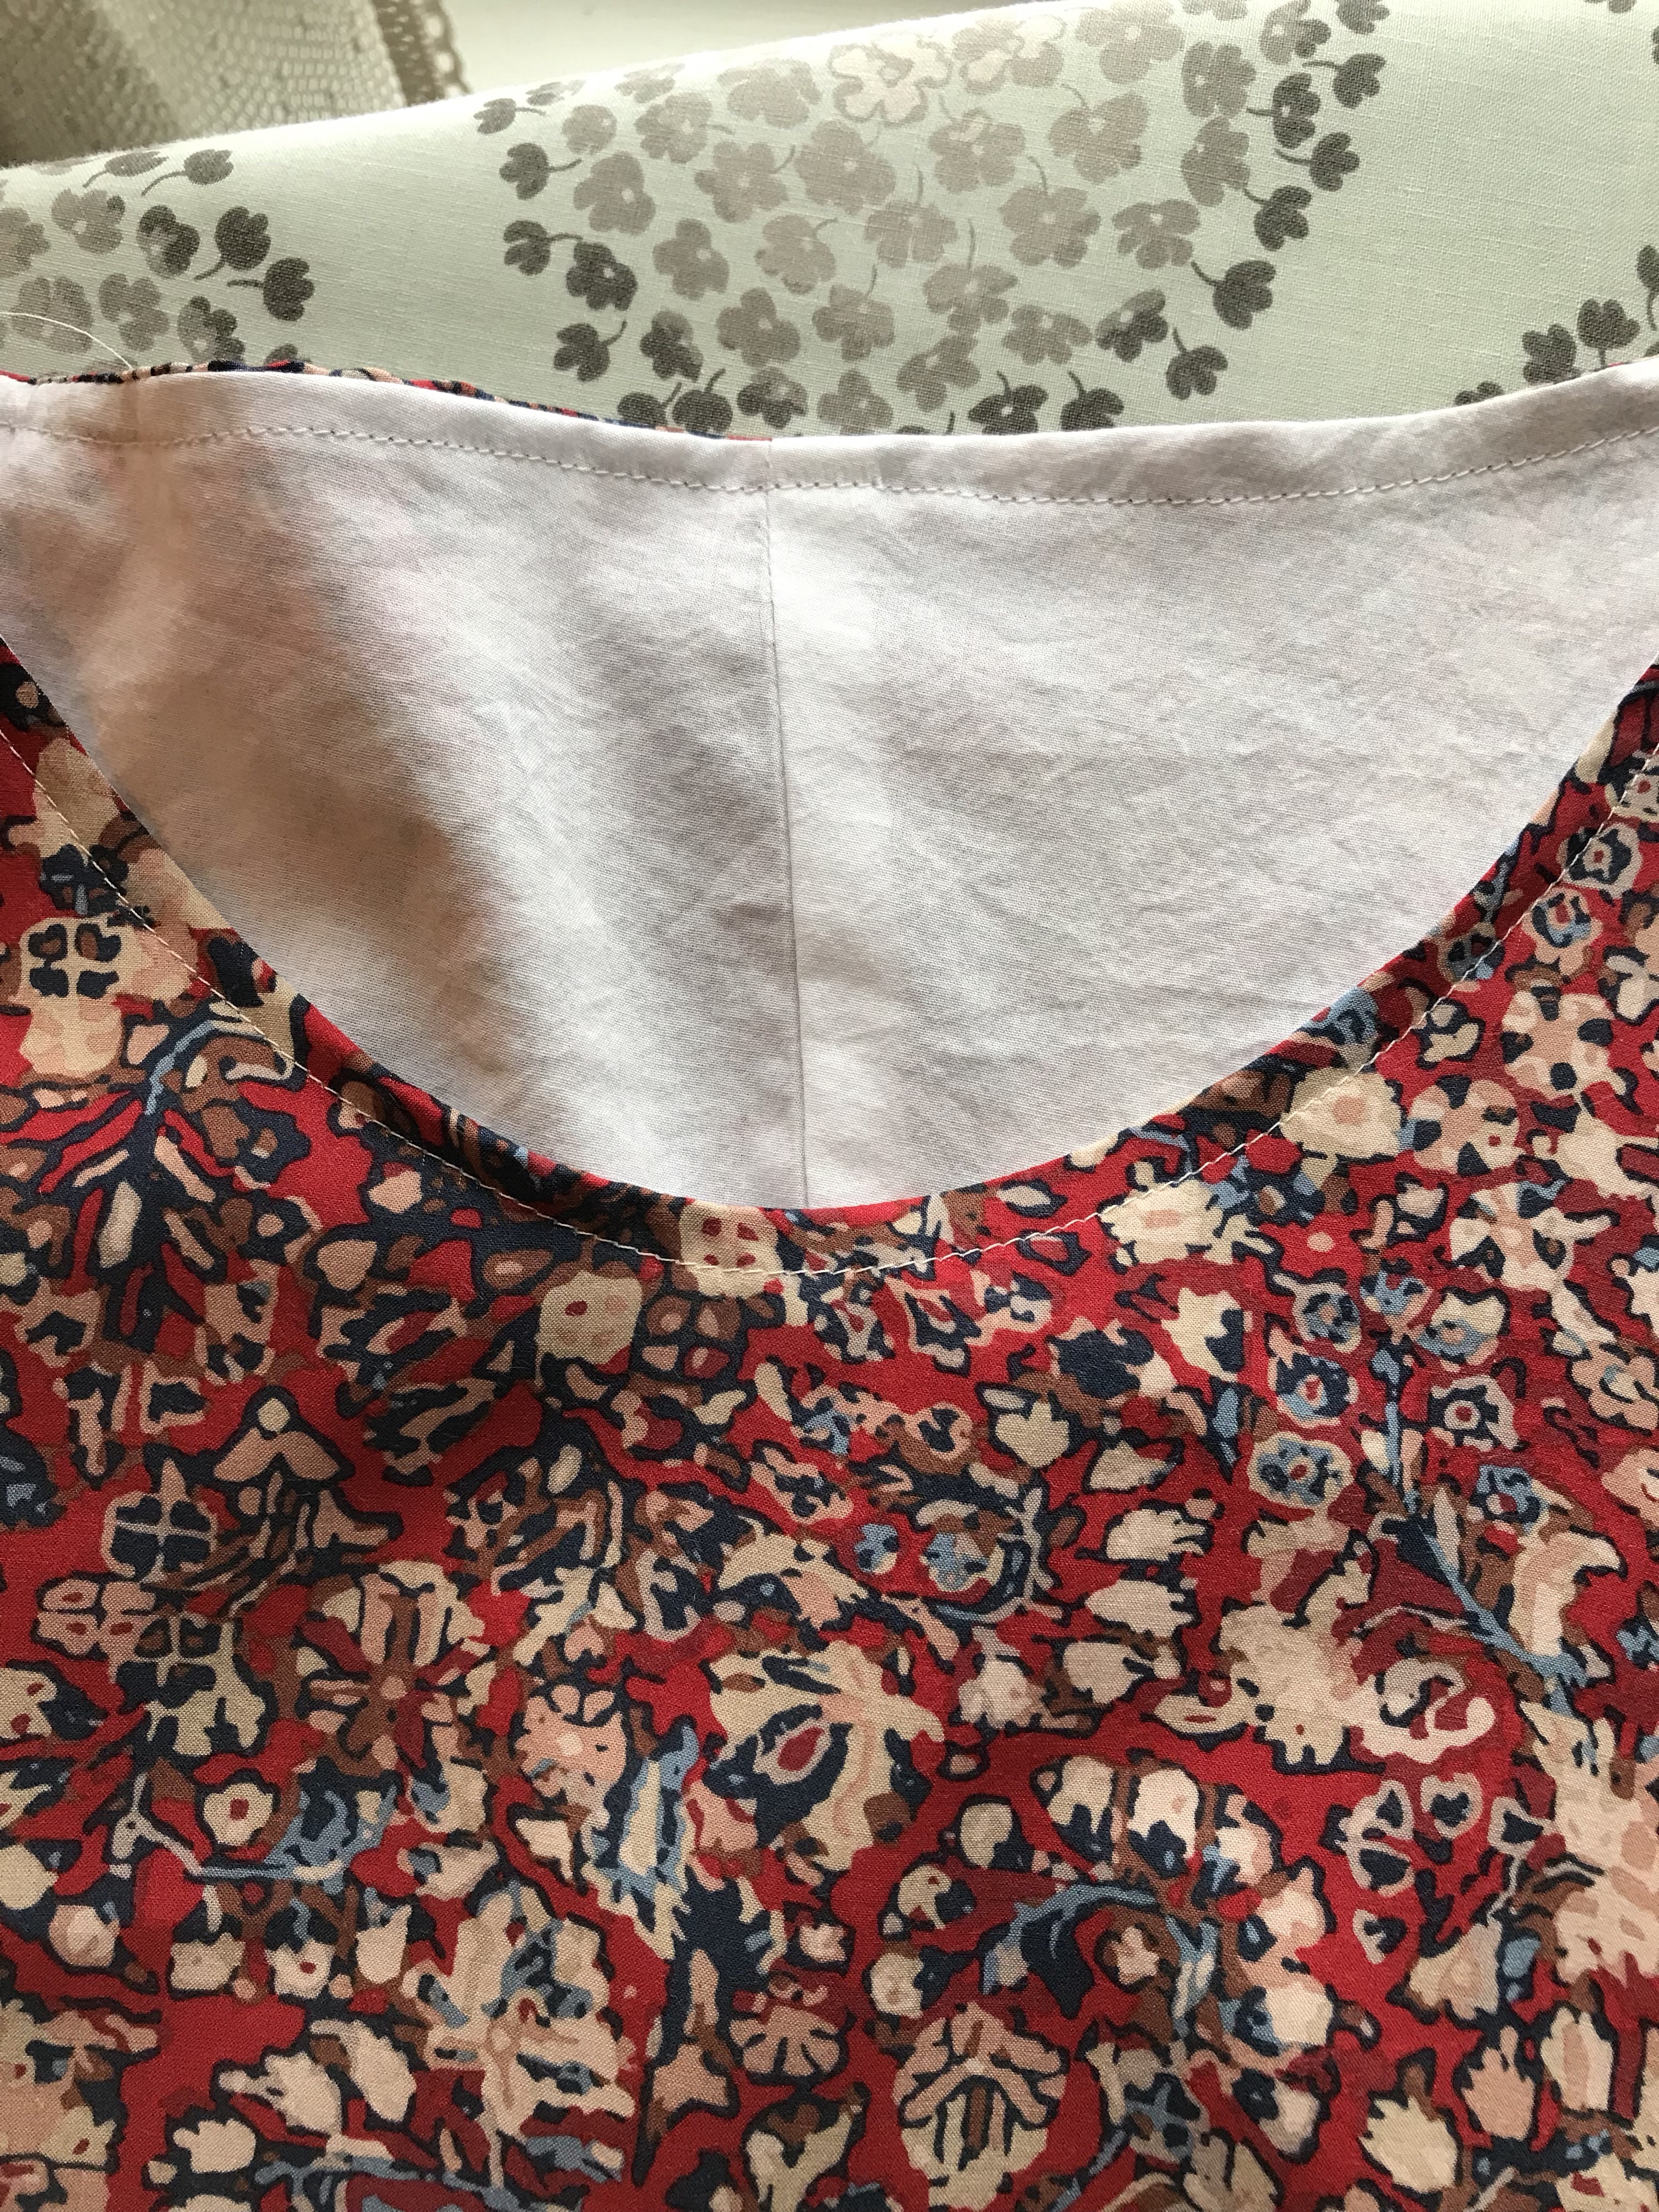
I realized that I cut the back lining piece too wide so I just sewed a center seam to take out the excess. I like to top stitch around the neckline so that everything lies flat.

I sewed the shoulder seams together for both the bodice and lining, sewed the pieces together at the neckline, gathered the sleeves and attached them and then used Rae’s burrito or sausage method to line the bodice. Then I sewed the side seams of the sleeves and the bodice side seams.

I used the skirt from the Isla pattern as a template to cut out the front and back skirt pieces.

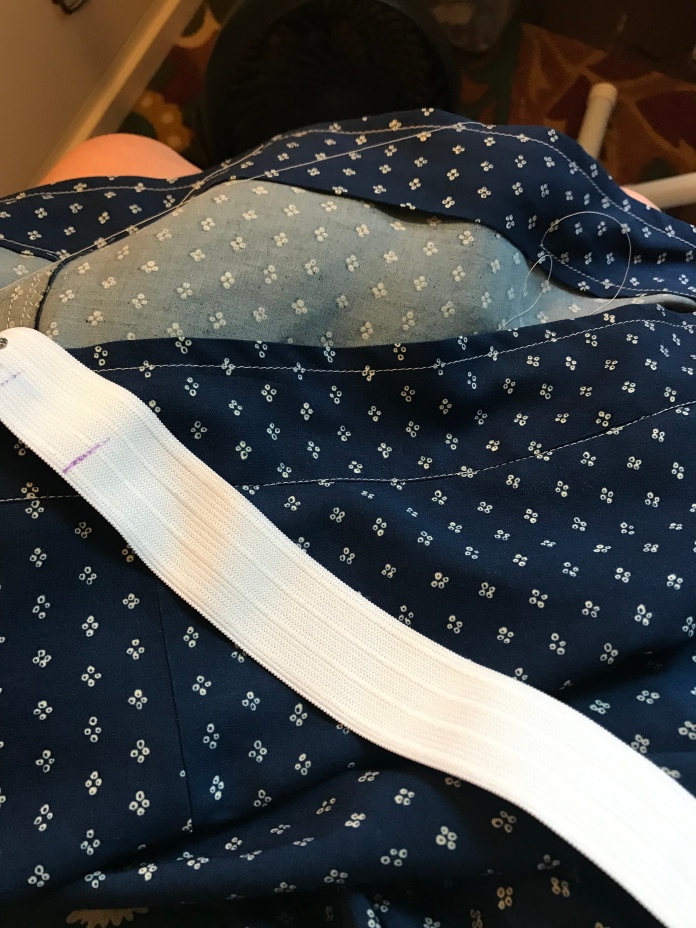
I added 2 inches to the width of the back skirt piece because I am bigger in the back than the front and I thought the dress would flow more nicely with a bit more gathered fabric in the back. I did this when I made my Isla Maxi Dress I was really happy with it. I marked the back skirt piece with two pins and front piece with one pin because they were so close in size that I was afraid that I would mix them up. Then I gathered the front and backs, sewed the two skirt pieces together using french seams, lined up the center front of the bodice with the center of the front skirt and did the same on the back and sewed the bodice to the skirt. I turned the bottom edge of the lining under and hand sewed the lining to the seam that joins the bodice to the skirt in the same manner that Rae shows in her Washi tutorials.

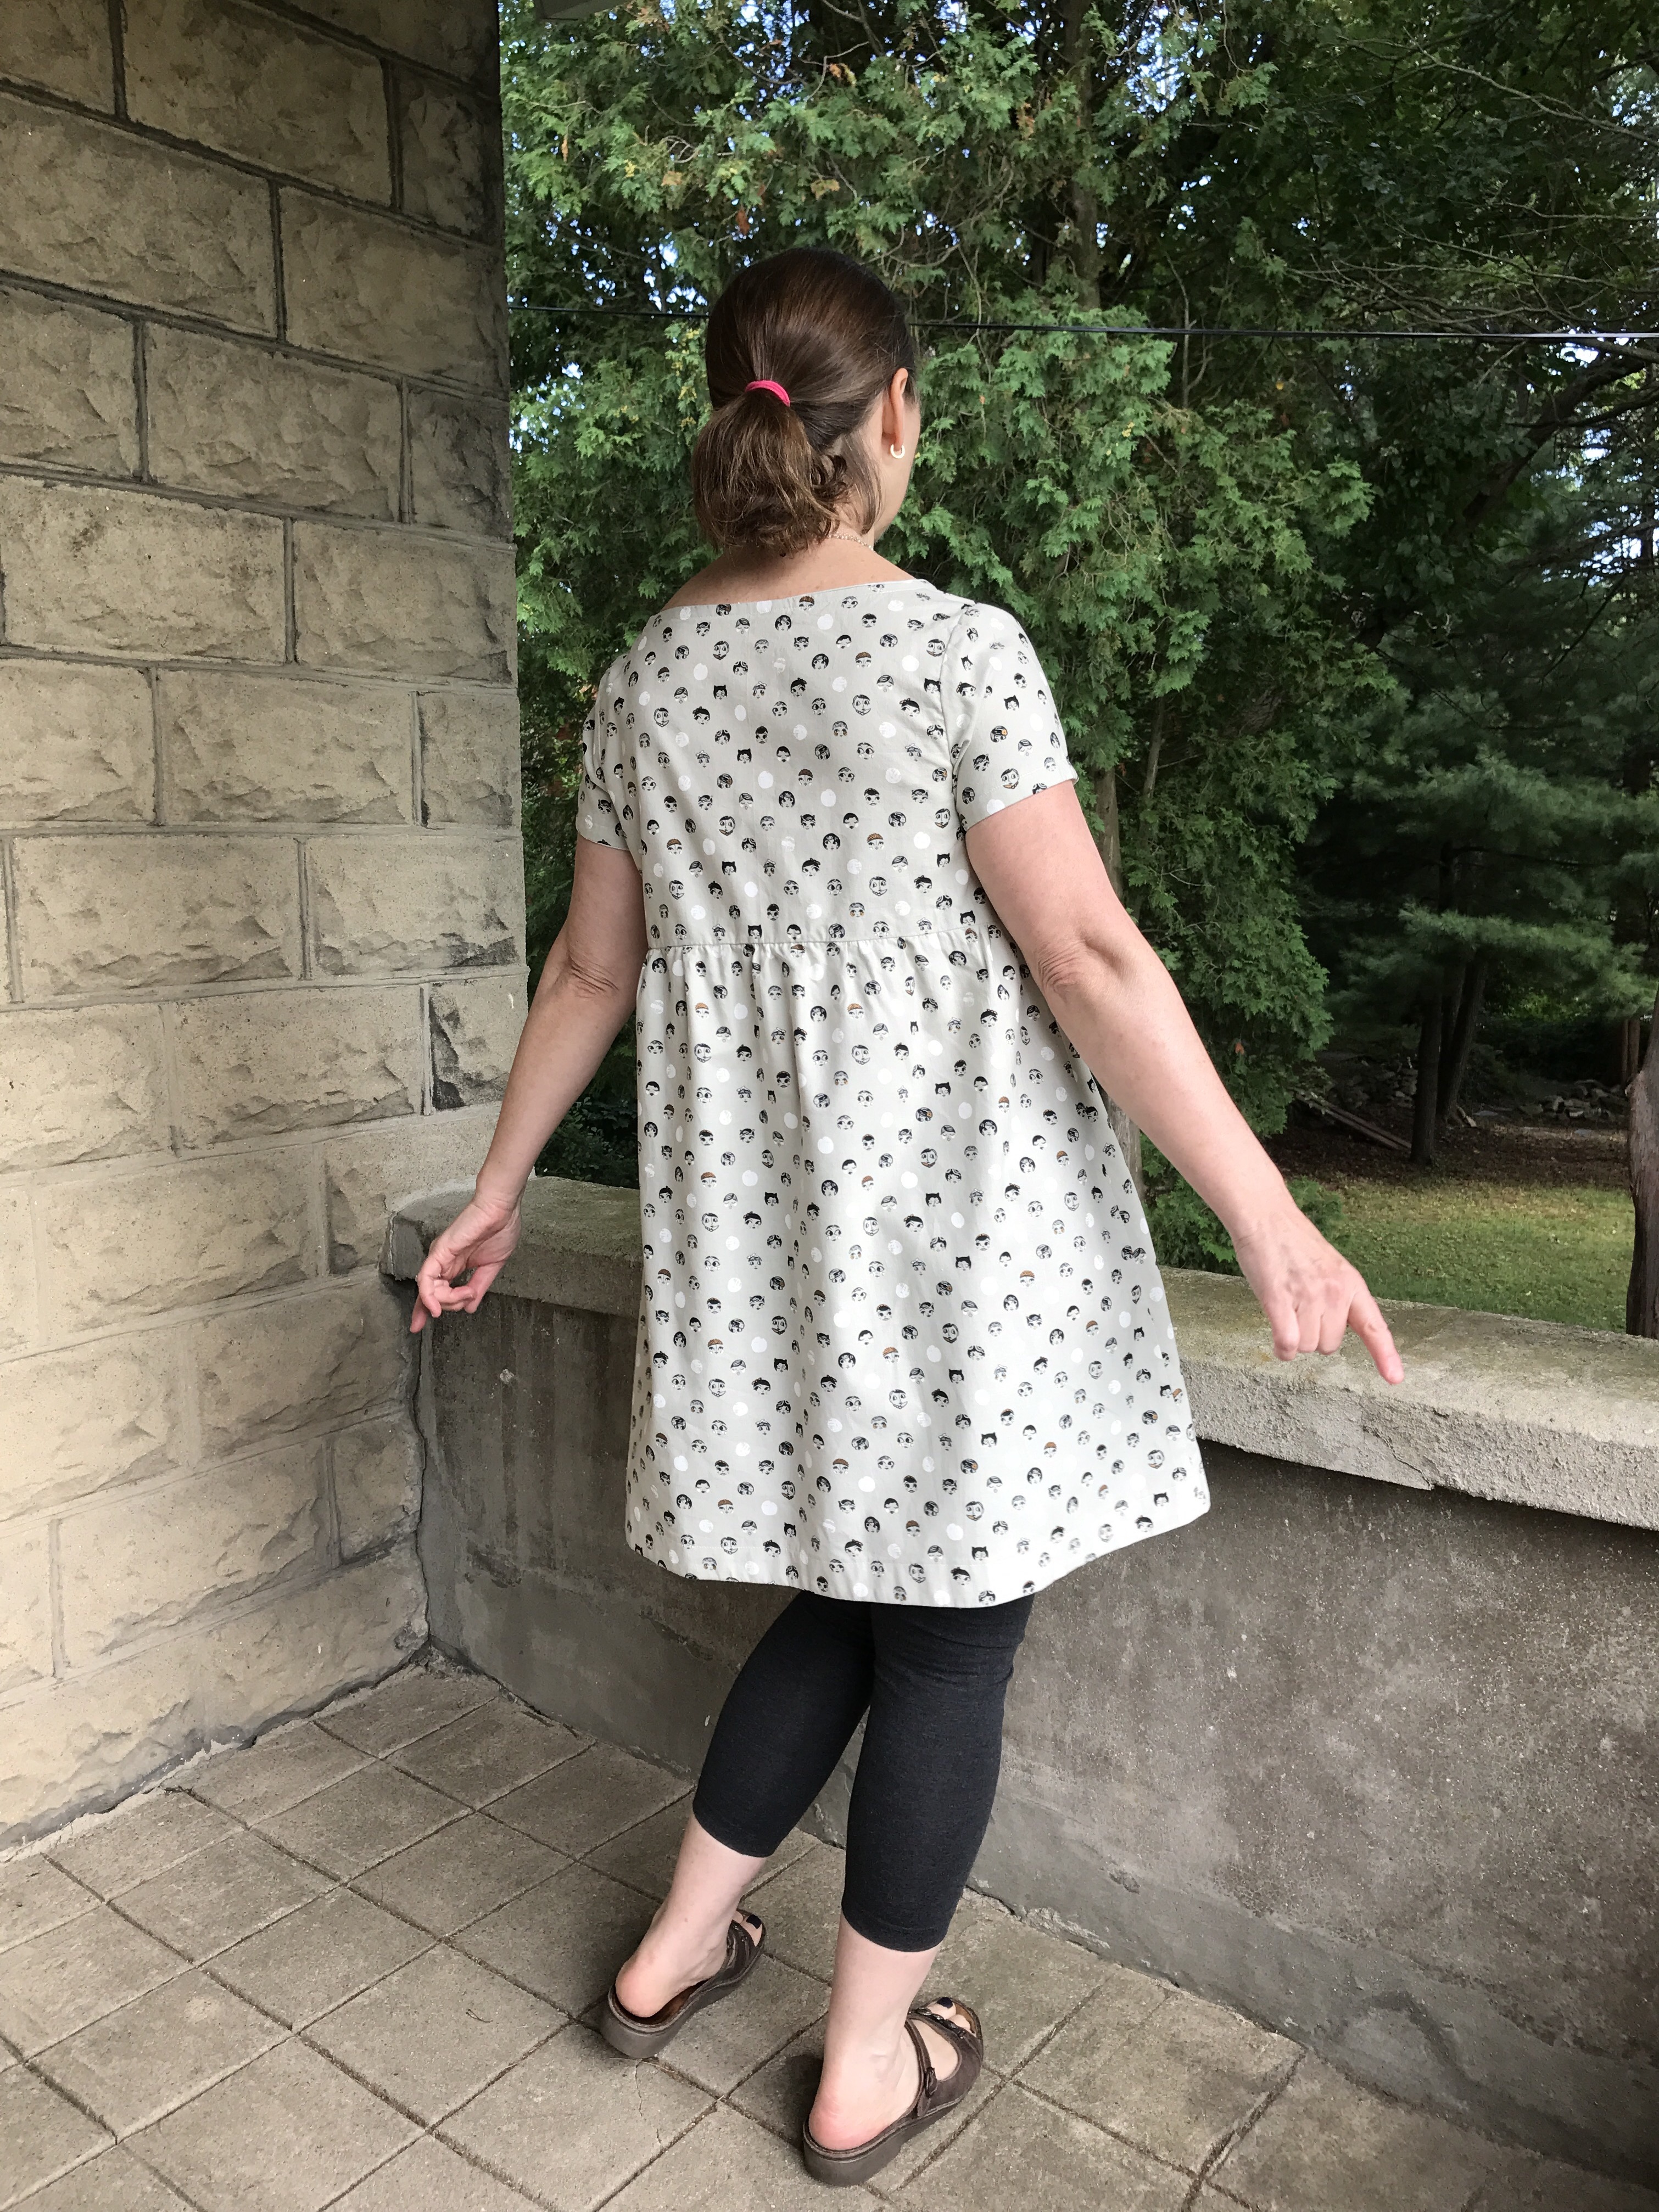
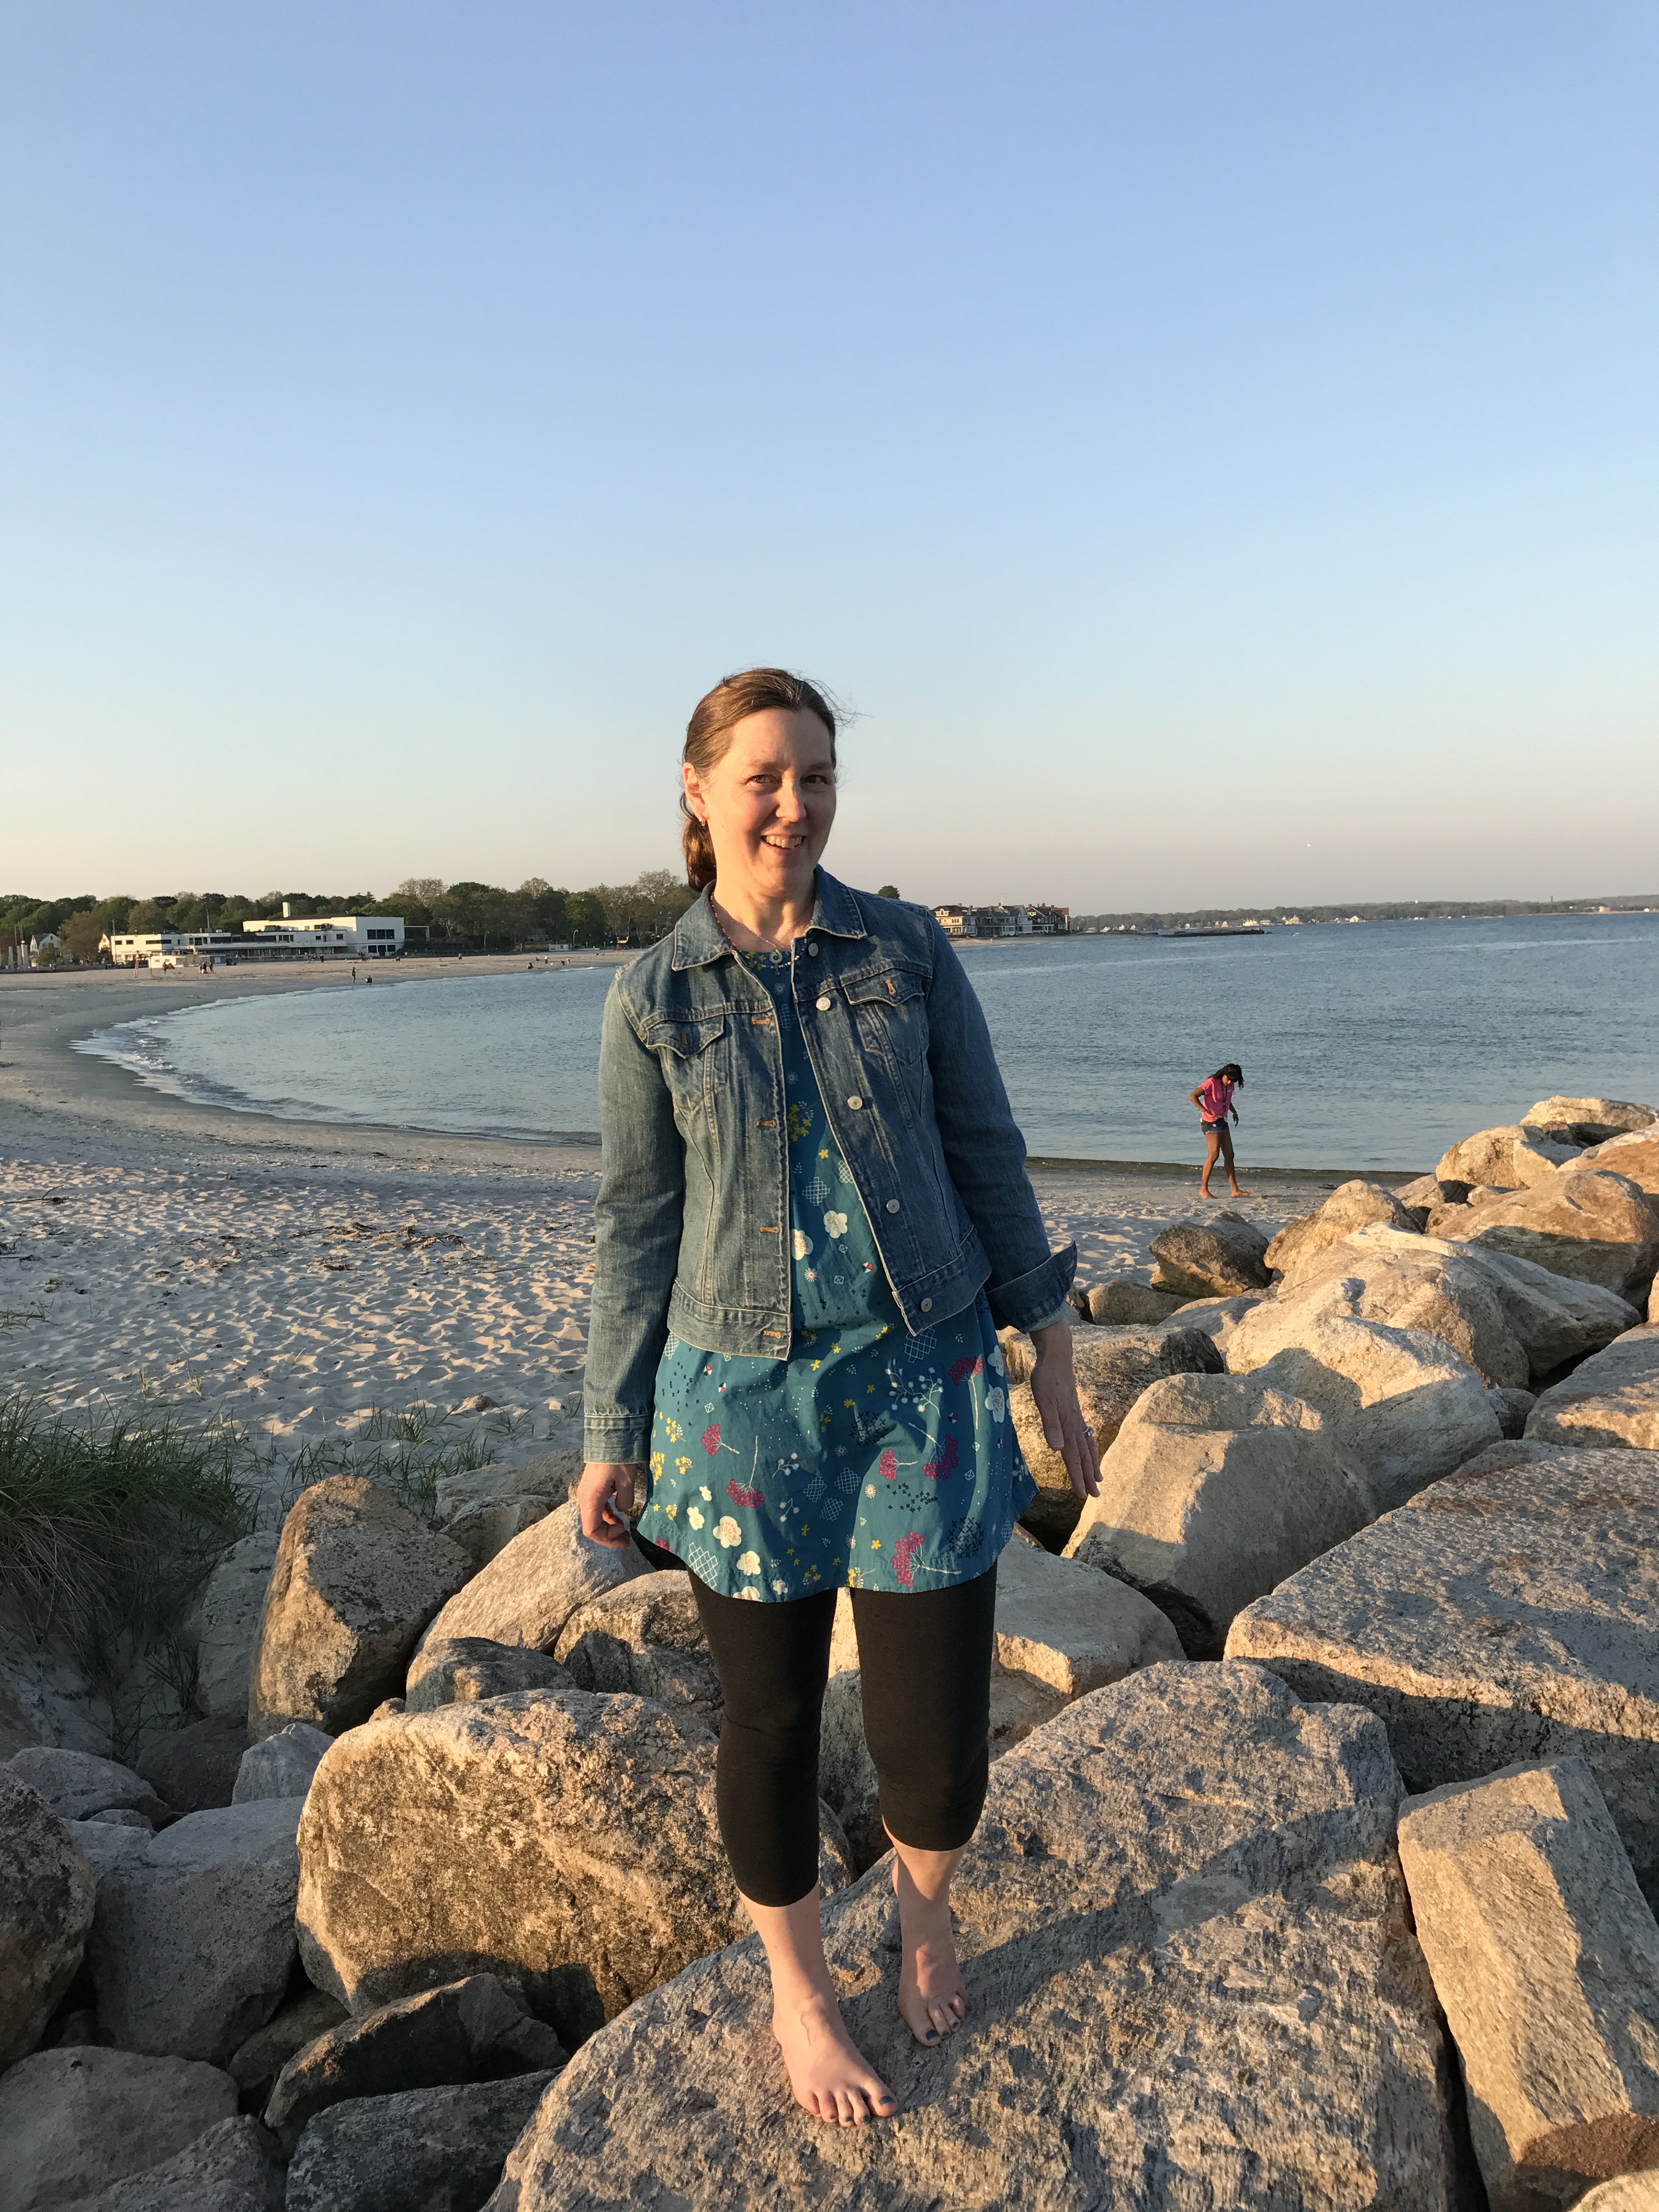
I usually make a hem facing but I thought it might make the hem more stiff since the rayon was so lightweight so I just turned up the hem twice and sewed a line of stitches using a matching thread. It came out fine. I have yet to hand hem a garment. I am sure there will be a time when I feel I should but I have gotten this far machine hemming with good success. And that was it. It was a pretty quick sew. I like that the dress has shape from the darts but is also loose and flowey. I think it can be dressed up and down. I have already worn it to church and I have plans to make it again. I have this rayon which I think would be perfect! This isn’t the first time I lengthened the Beatrix. I have also made two tunic length Beatrix’s that I love. One seen below last summer on the beach.  You can read details about those here and here. I highly recommend the Beatrix pattern and Rae’s Beatrix sewalong posts and her videos demonstrating the bodice-lining technique.
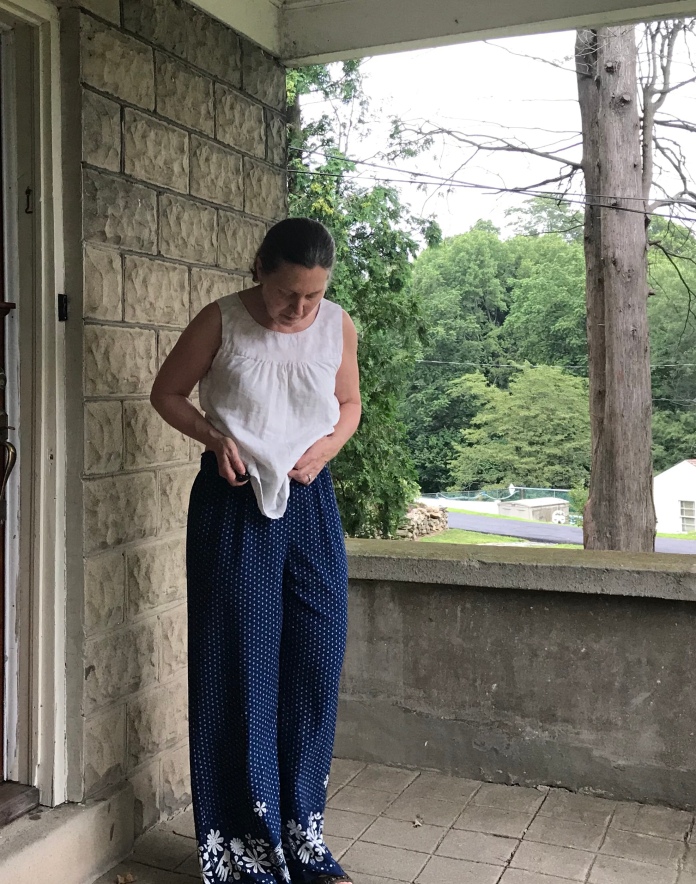
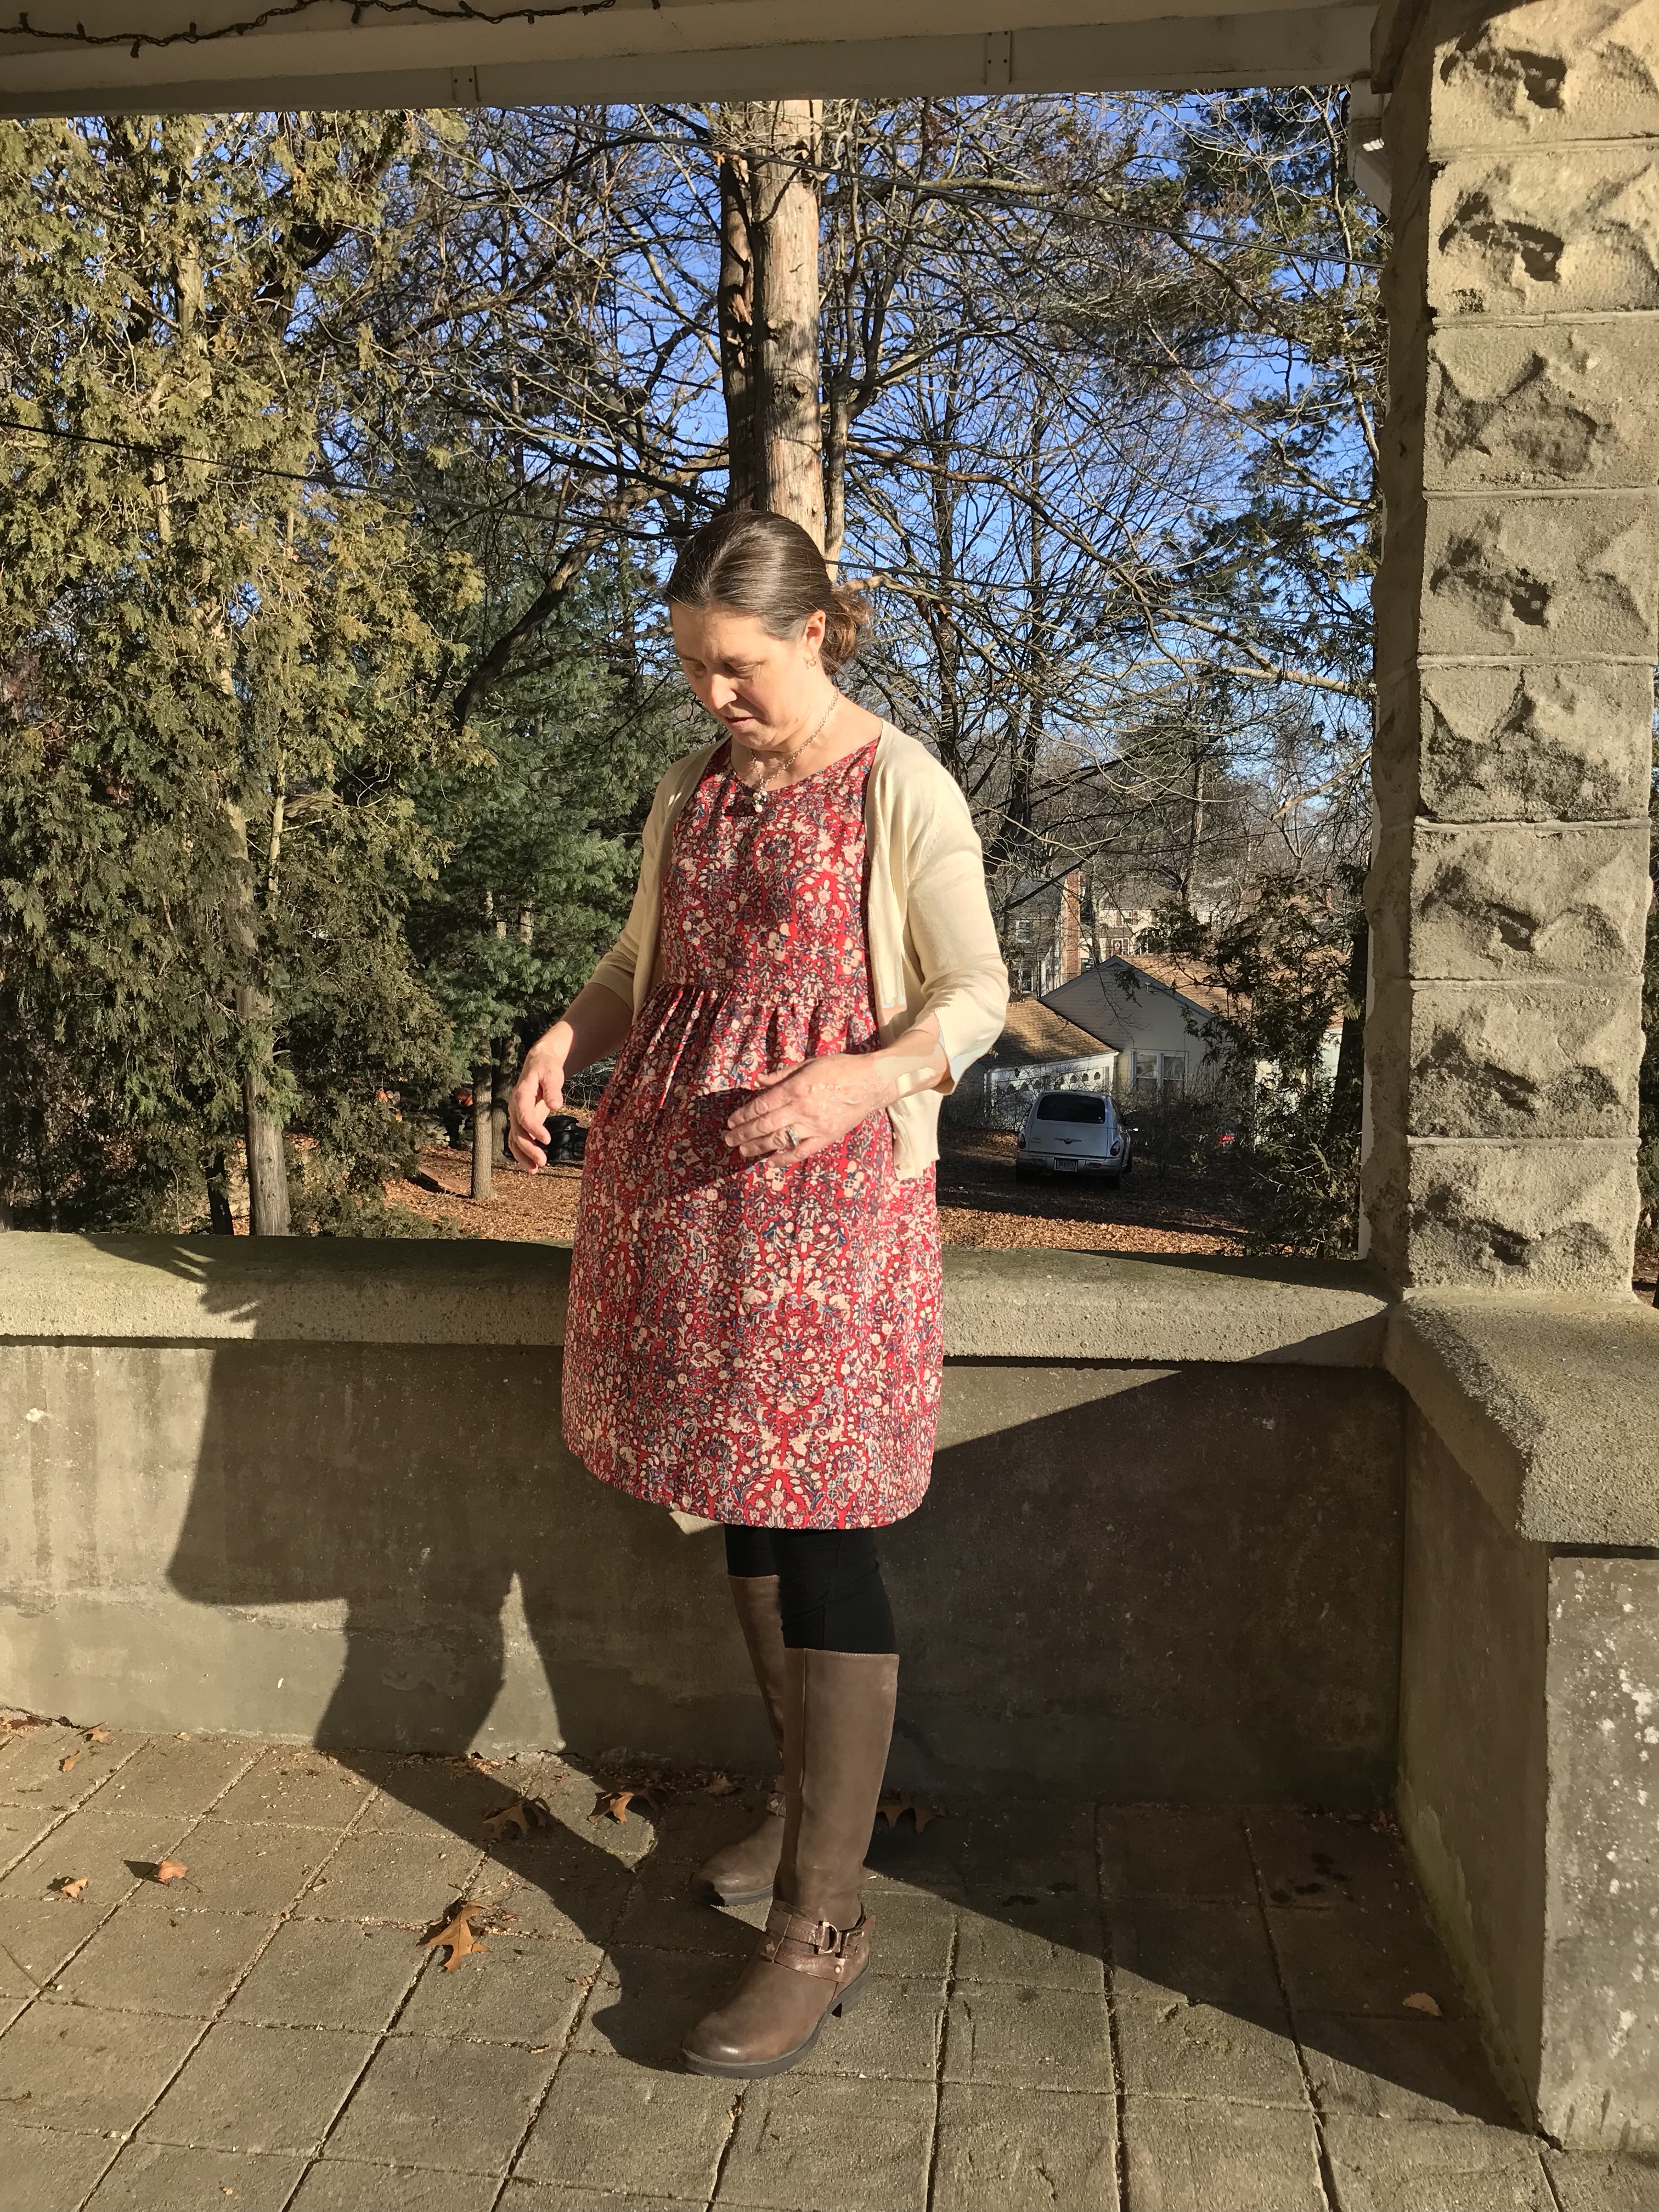
More pictures of my new red dress below. You can tell it was windy.


I had the perfect sweater in my closet. Never get rid of a cardigan, that’s my motto.  I want to sew the Blackwood Cardigan by Helen’s Closet this year. I think it will be perfect in a sweater knit over this dress worn with jeans.

Perfect with denim.

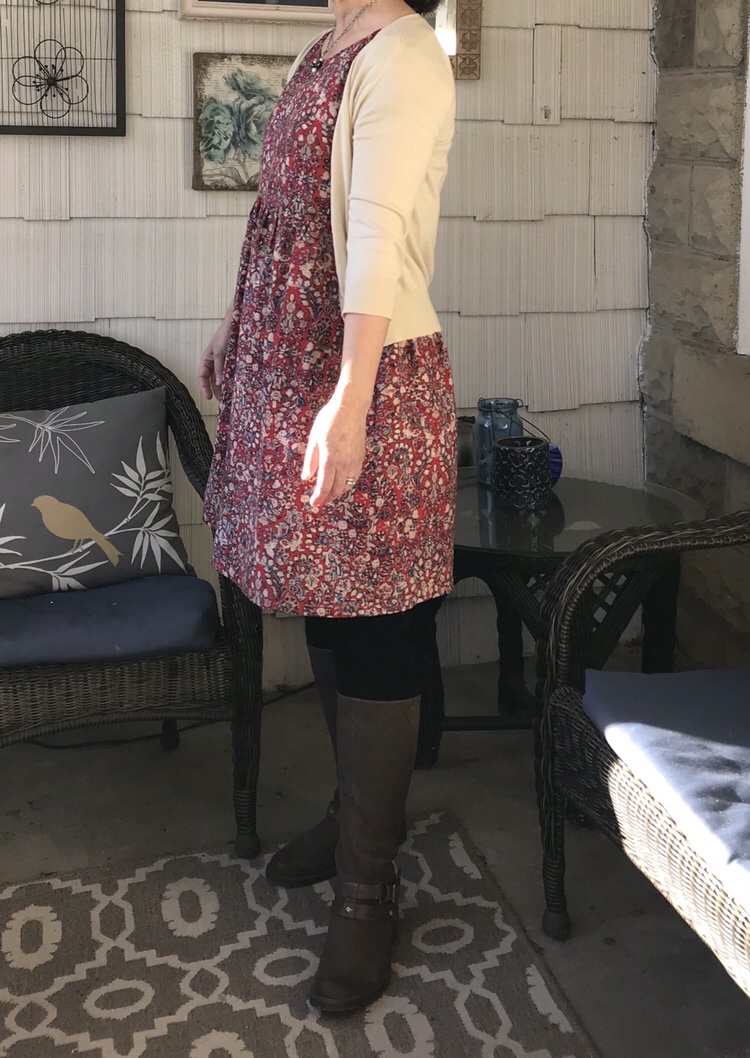
I love the fit through the bodice.
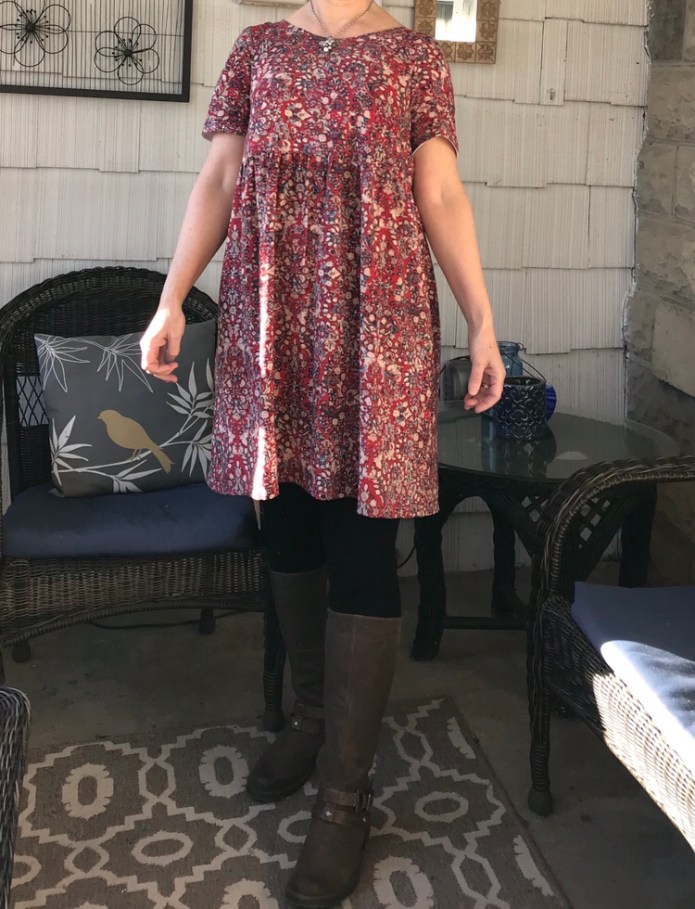
I highly recommend this pattern!