
 It’s all about the zipper.
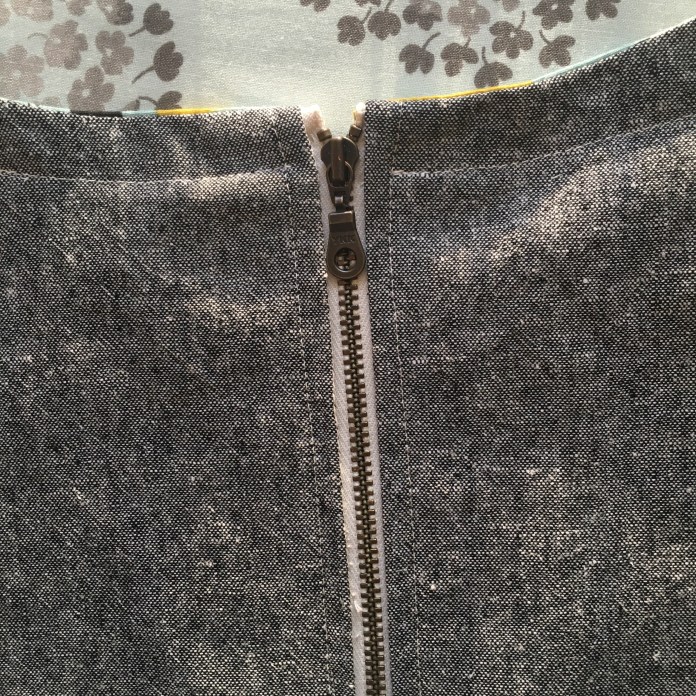 I originally bought this cotton-linen blend fabric because I was inspired by the beautiful version of Anna Maria Horner’s Painted Portrait Dress posted by Miss Make during Me Made May 2015. If you click on her blog post, it is the short sleeved version in the 3rd row on the left. Perfect dress. But then last winter, I found that I was wearing my plaid Pearl shifts so frequently that I thought the fabric would be perfect for a spring version of the pattern. Since then, I also saw a great version of the Inari Tee dress on Instagram using this same fabric so I may need to get more. In any event, this is a great simple pattern that sews up fast. Here is the finished shift hanging on my new place to photograph my projects: my front door. I came to appreciate the importance of natural light taking all those selfies for Me Made May and it already has a hook which is not currently occupied by a holiday wreath.
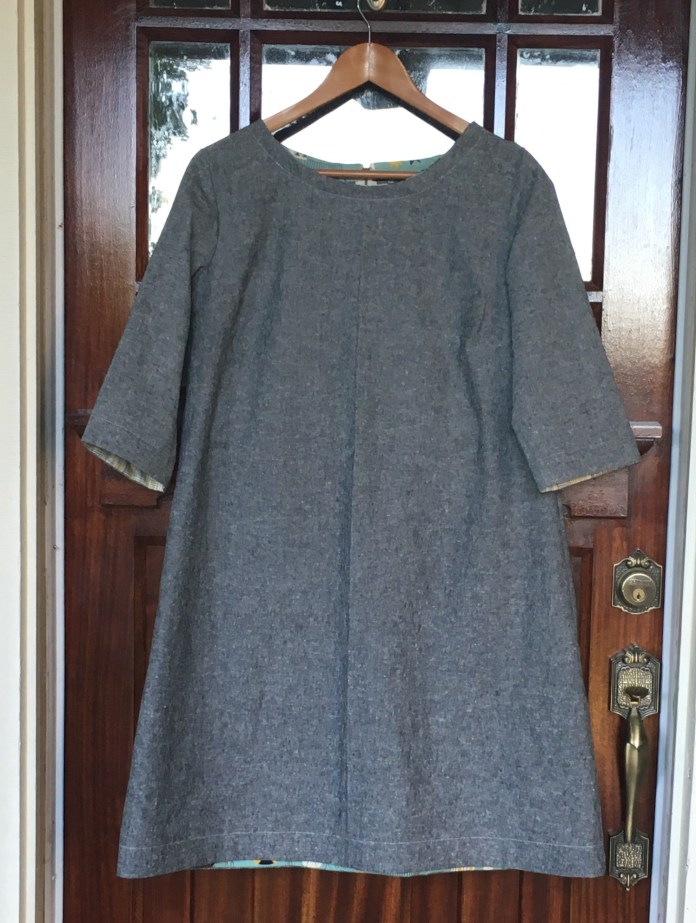 Here are some tricks/shortcuts I use when making this pattern. First, I size up for french seams: I cut on the next size up cutting line for the sleeves and side seams to allow room for french seams. I don’t seem to be able to capture the fraying threads with just one seam and always end up with two, no matter how well I think I have trimmed the threads. Since this happens every time I sew french seams, I am trying to just roll with it and know that my seams are very strong (ha!) and I need to plan for it. I cut on the Large seam line although I am generally more of a medium. This gives me enough space for my double seam and have the dress still fit. By the way, I only use french seams for the long seam from the wrist to the hem. I am not confident enough to attempt them at the shoulder seam. Those I sew using a regular seam and then zigzag to finish.
 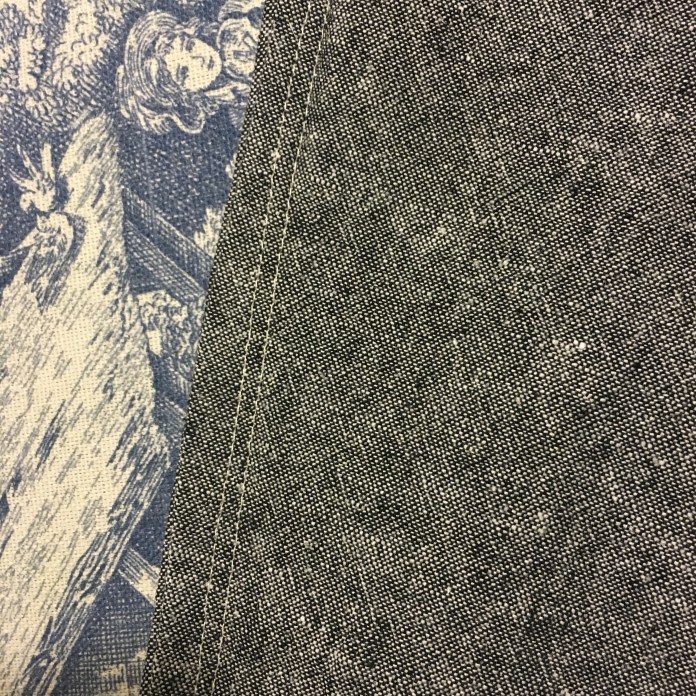 I don’t gather the sleeves: It may sound funny but I don’t gather the sleeves. I have only made the Pearl with heavier fabric with some stretch/give. I line up the center of the sleeve with the shoulder seam, pin it, and then I sew from the top down in one direction and then from the top down on the other side without using pins, just holding the fabric in place as I go. I get a nice clean shoulder seam with no puckers. Then I sew the sleeve and side seams in one long seam. I generally end up trimming a bit of the sleeve before sewing the long seam in order to make everything line up but I end up with a nice looking sleeve that fits the way I want it too. I am happy with the somewhat close fit I get doing it this way and it is quick and easy. I wouldn’t try this at home using your nice fabric. I would try it first with a muslin to see if you like the way it fits, but I did it this way the first time and it has worked for me ever since (this is my 4th Pearl shift.) Picture of finished sleeve seam below.
  I use a contrasting lighter-weight fabric to finish the neck, hem and sleeves: I finish the neckline, hem and sleeves with facings similar to my technique with my Washi’s and Beatrix blouses. In this case, I used two different fabrics since I only had a quarter yard of each. I like how they harmonize. I got these at The Cloth Pocket and the Stitch Lab during trips to Austin. Both are great sources for fabric and inspiration. Choosing facing fabrics is a fun challenge each time I sew. I try to use something I have in my stash. This is less of a challenge these days because my stash is growing. I sew the neckline binding by topstitching about an inch down which I think is a nice look for this simple shift in the heavier fabric.
Word to the wise: measure at least twice and make sure you are looking at the right numbers on your ruler: I used the Brumby Skirt zipper technique as extensively described in my prior post about a Beatrix tunic. I generally make two similar garments at a time. It is often quicker to cut out and sew two similar things. However, a downside to this approach is that when you make a mistake, you sometimes make it twice as I did in this case where I sewed a zipper opening that was not the same size as either of the zippers I had purchased (I realized later that I had lined up the wrong end of the ruler so I was off by an inch without realizing it) and had to delay finishing my projects while I waited for a new order of the right sized zippers to arrive.
Make a muslin and check the fit, even for this simple pattern. I have narrowed the shape of this shift just slightly to make it a bit less triangular which I think is more flattering for my shape and I grade the hemline slightly so that the back is a bit longer than the front, as I do when I make the Beatrix tunic.
That is really all to say that is new. Here are some pictures of the process. A sad zipper that is too small for its opening as seen below.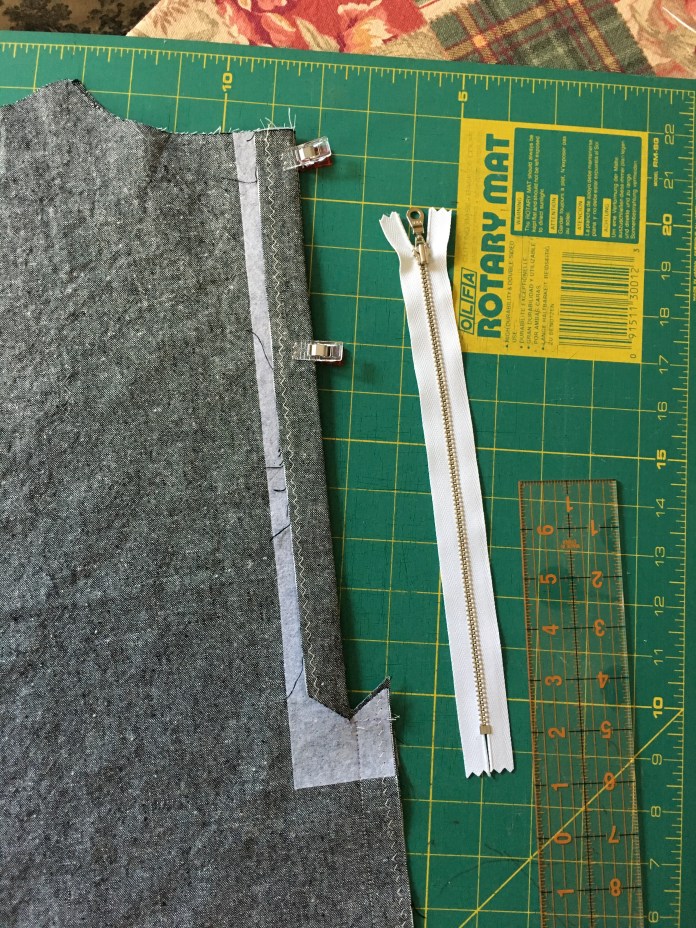 I blame the ruler that has different numbers on the two sides. Of course, I was looking at the wrong side when I measured. I took this picture May 19th and then the project sat as Me Made May sped by and then it was June. More pictures of the Brumby zipper opening technique.
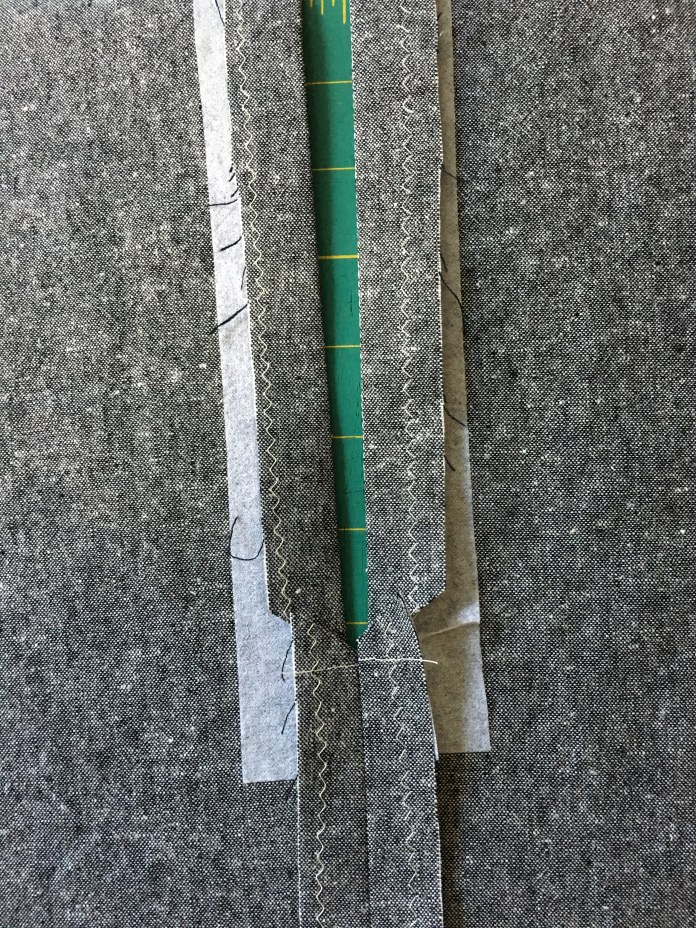 Hem facings in process: step 1
 Step 2
 Step 3
 Sleeve facings


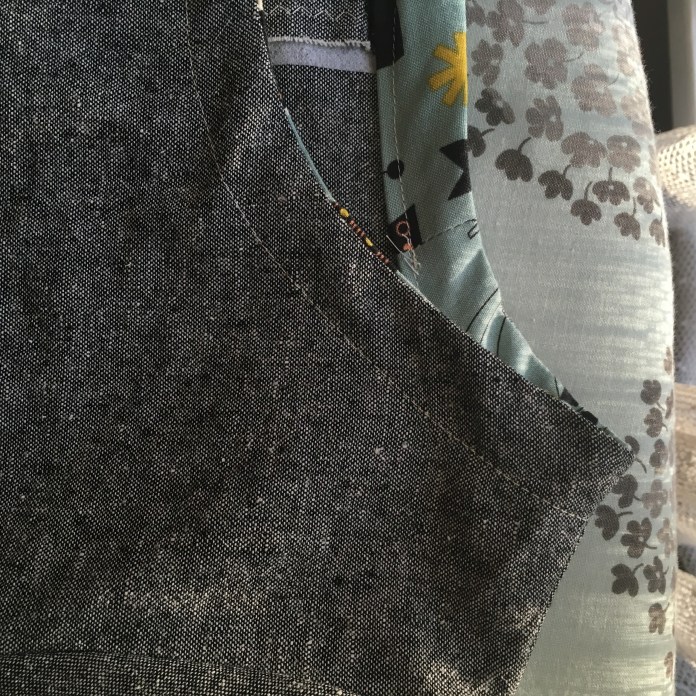
Many views of the neckline. I like the tiny bit of color peeking out.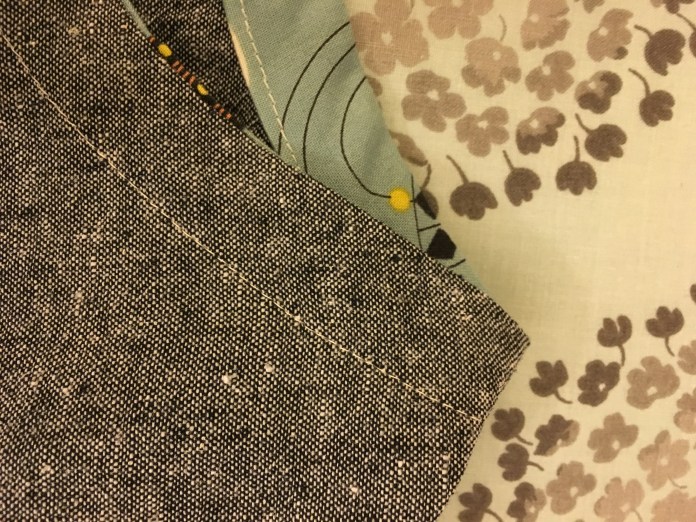 Neckline with zipper. A little wonky but the nubby fabric hides all.
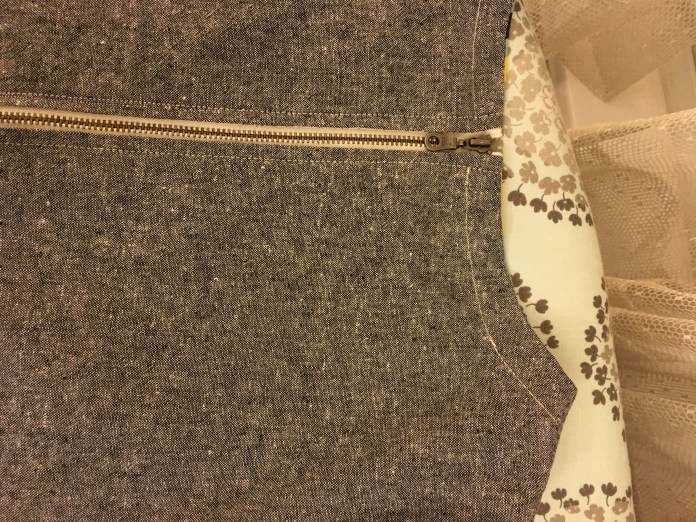 Neckline selfie. It’s a little higher than the Beatrix, a little 60’s looking. I like it with the linen. That’s my dad at a young age in the background. My sewing room walls are covered with my favorite pictures.
 Front of finished dress once againBack of finished dress
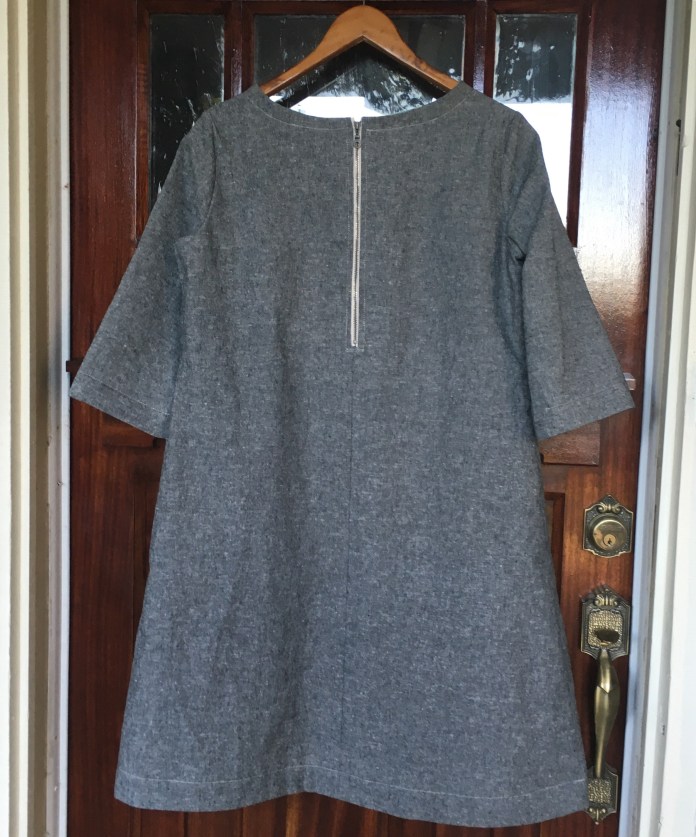 Inside of dress front
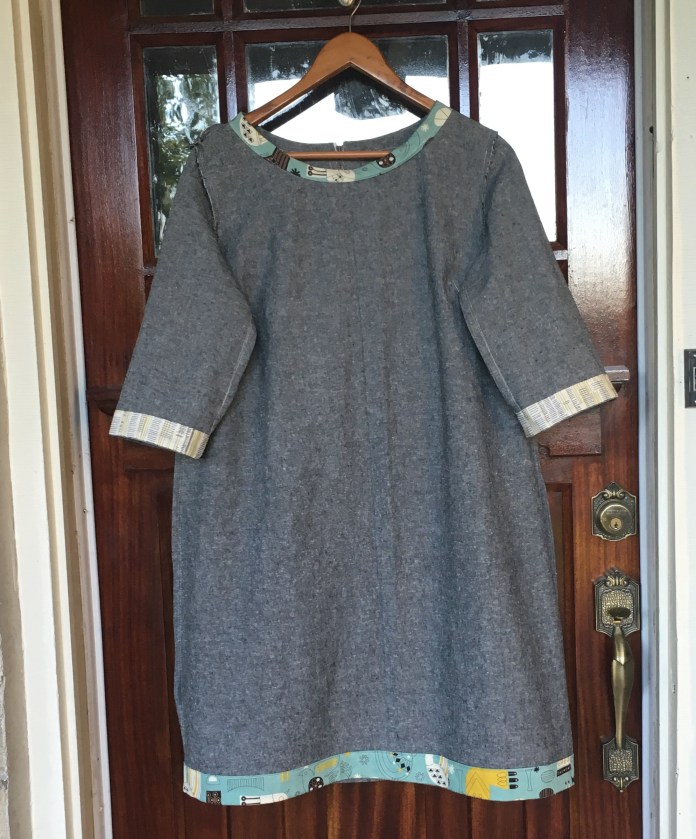 and back
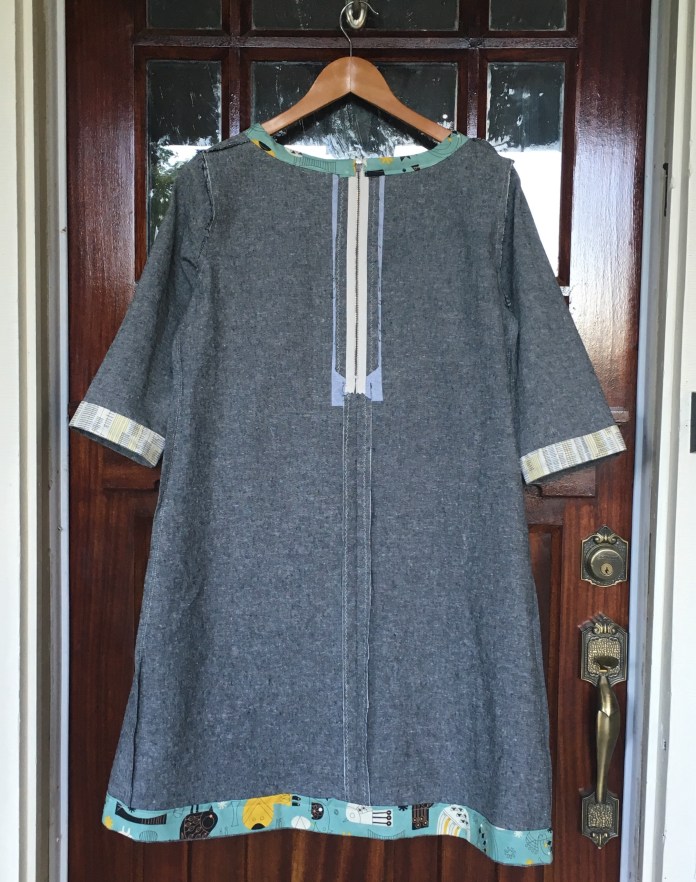
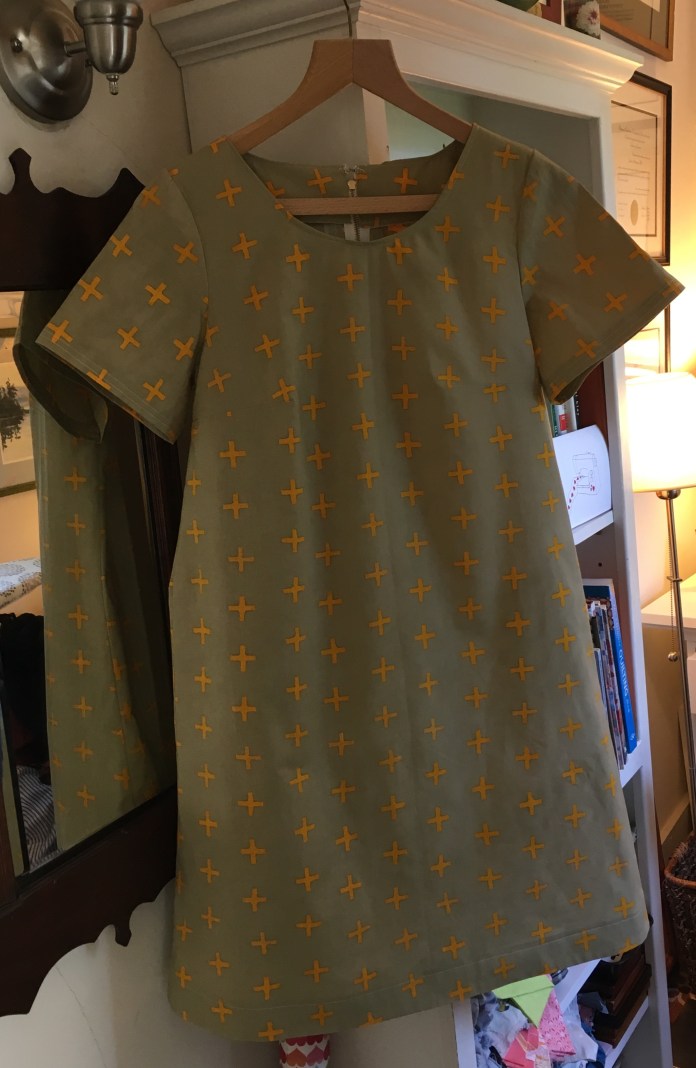 This is my third Beatrix Tunic. The first two were blogged
 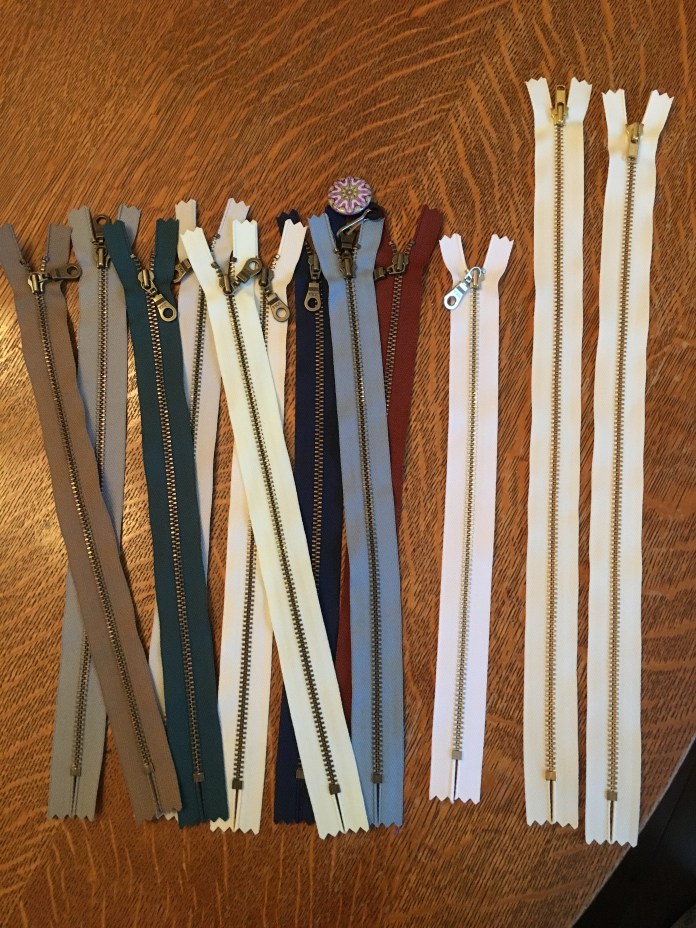 Sometimes I will make a great deal of headway on a project and then weeks go by before I find the time to get back to it. I have learned to relax and know that some day I will finish, even if it takes weeks (or months). For this tunic, I cut out the top of the Beatrix and graded out to the width of the Pearl. This time, I didn’t curve the hem but used the Pearl hem line. My new go-to work uniform is a tunic over leggings with boots in the winter and sandals in the summer. It is easy and comfortable. I will definitely be making more of these. Some pictures below.
 Stay-stiched neck line above and darts below as per the Beatrix
 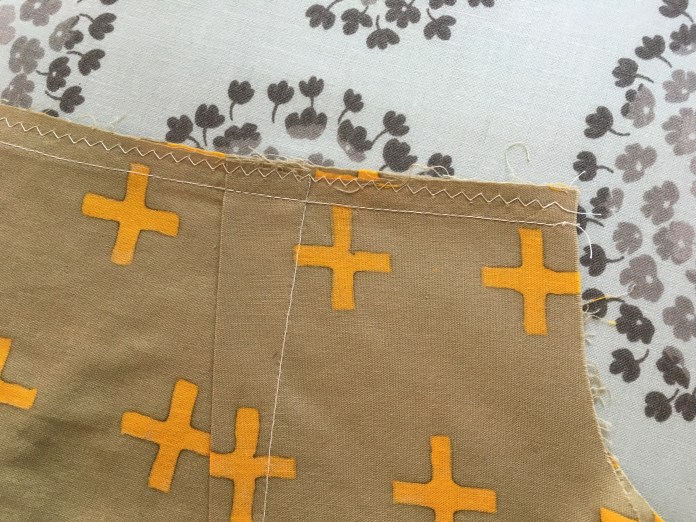 Sleeves are turned down once, ironed and then a second time and stitched with two rows of stitches. Quick, easy and durable.
 My favorite way to make a simple pattern more interesting is a contrasting hem. I love these two fabrics together.
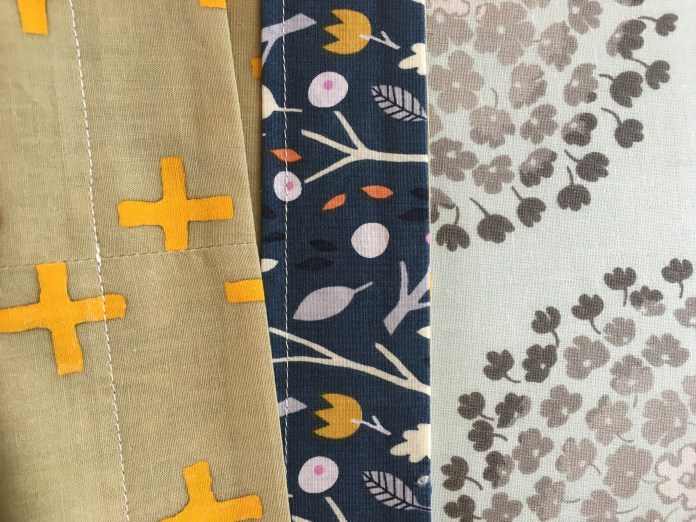 I have blogged about my very simple method for hem facings
 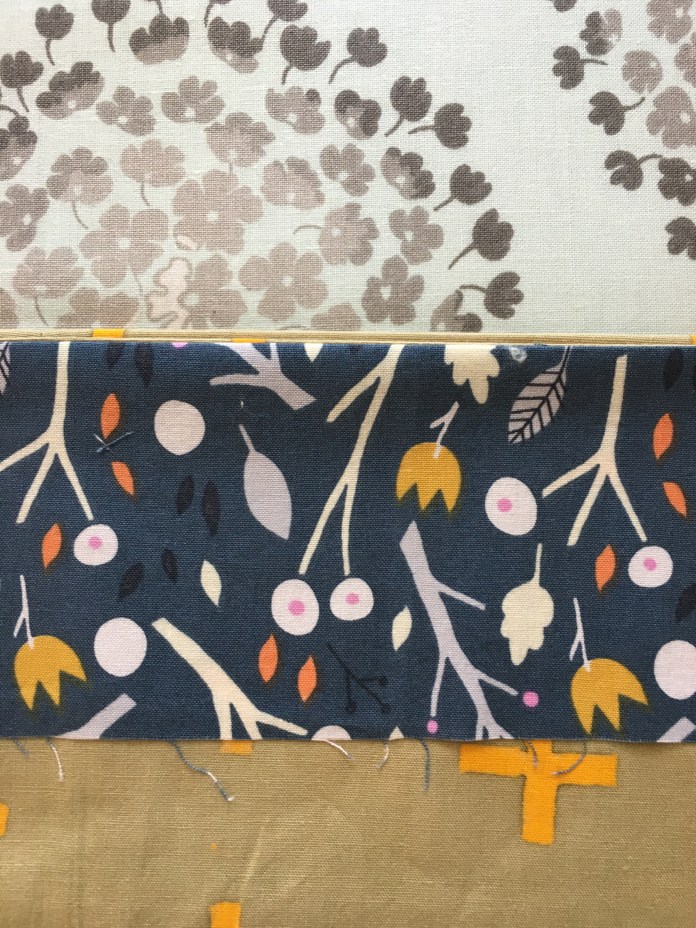 Lots of ironing is involved.
 I actually use the metal plate on my sewing machine as my guide as I sew. It works perfectly for the measurements of this hem facing.
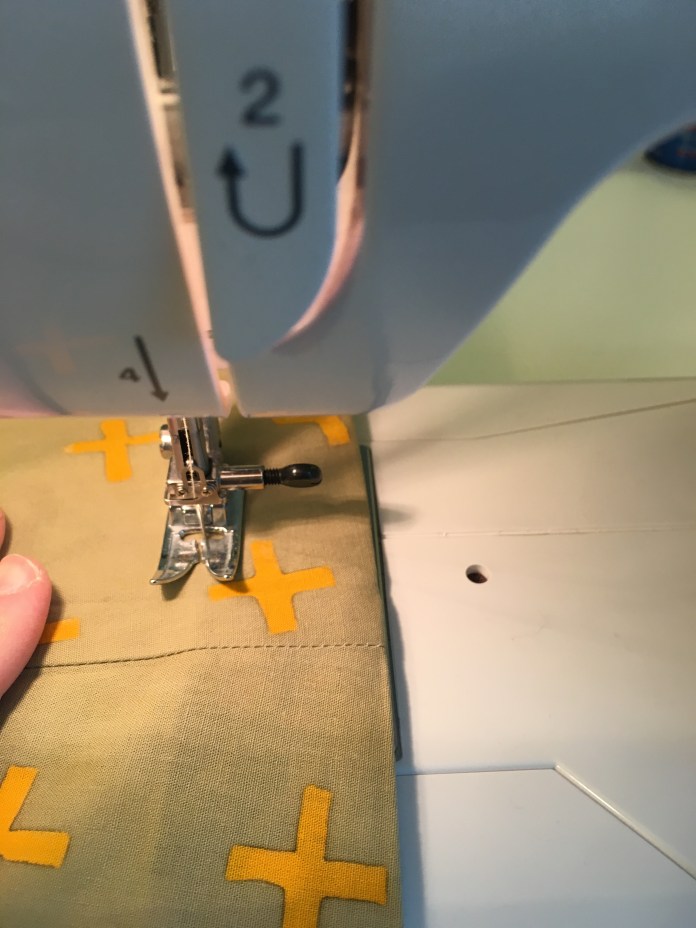 When I think of it, I leave the threads long and pull them to the inside and knot them using the quilter’s technique of sliding the knot down the thread using a big pin or needle as seen here.
 Some pictures of the finished hem. I was really happy with how this one turned out.
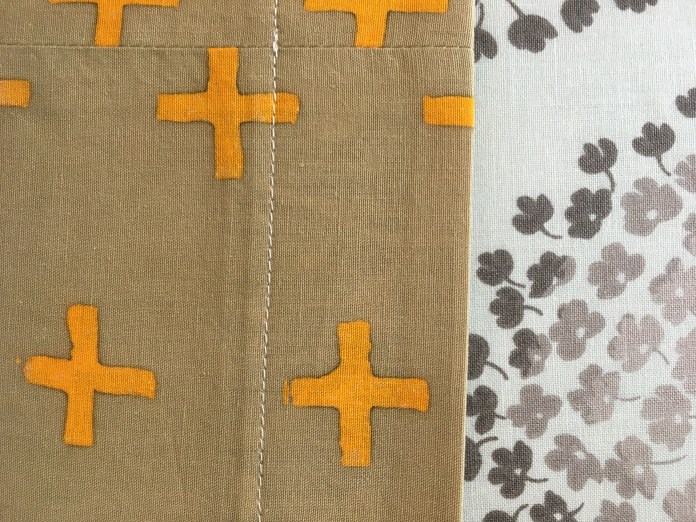 with facing showing
 My zipper didn’t completely line up with the top of the dress so I added a hook and eye at the top. My top stitching along the zipper is not perfect but as my dad actually used to say, “It wouldn’t be noticed from a trotting horse” which is true. I think the machine sometimes has trouble with the layers.
 Finished Dress/Tunic ready to be worn. I intentionally made the back slightly longer (you can see the back facing peeking through in the picture below) because that is where my weight is (ahem) and if I make the front and back the same, the back appears to be riding up which is not the look I am going for.
  Rae also recently posted about a Beatrix with a zipper. Hers has an invisible zipper, something I have yet to master. You can link to her post and see her beautiful blouse