One of the first hacks I thought up when I plunged into my Gemma-making journey was a lined version. Firstly because I had this beautiful, sheer, voile purchased at my favorite neighborhood store The Cloth Pocket (yes I live in Connecticut and they are in Texas but I visited them in person once when I visited my son who lives in Austin and now they are family to me.) Secondly because bias binding. 😦
Now I have not had all bad experiences with bias binding. There is proof here and here. But in general, it is not my favorite. So here is my first lined Gemma tank (still not hemmed but that is planned for this weekend) below. I love the way the lining makes the pattern pop. I lined it with organic cotton batiste from fabric.com. I don’t always think to do this, but I did cut a little bit wider along the armholes than the pattern to allow for the seam allowance associated with sewing the top to the lining along the armholes. I cut a medium in the higher neck version of the Gemma but cut it with about an inch lower neckline to allow for jewelry I wear most days. I added a bit on the side and about 2 inches to the length. I think I planned for french seams which I actually did not do, but with the floaty voile, a bit of extra width is actually nice.
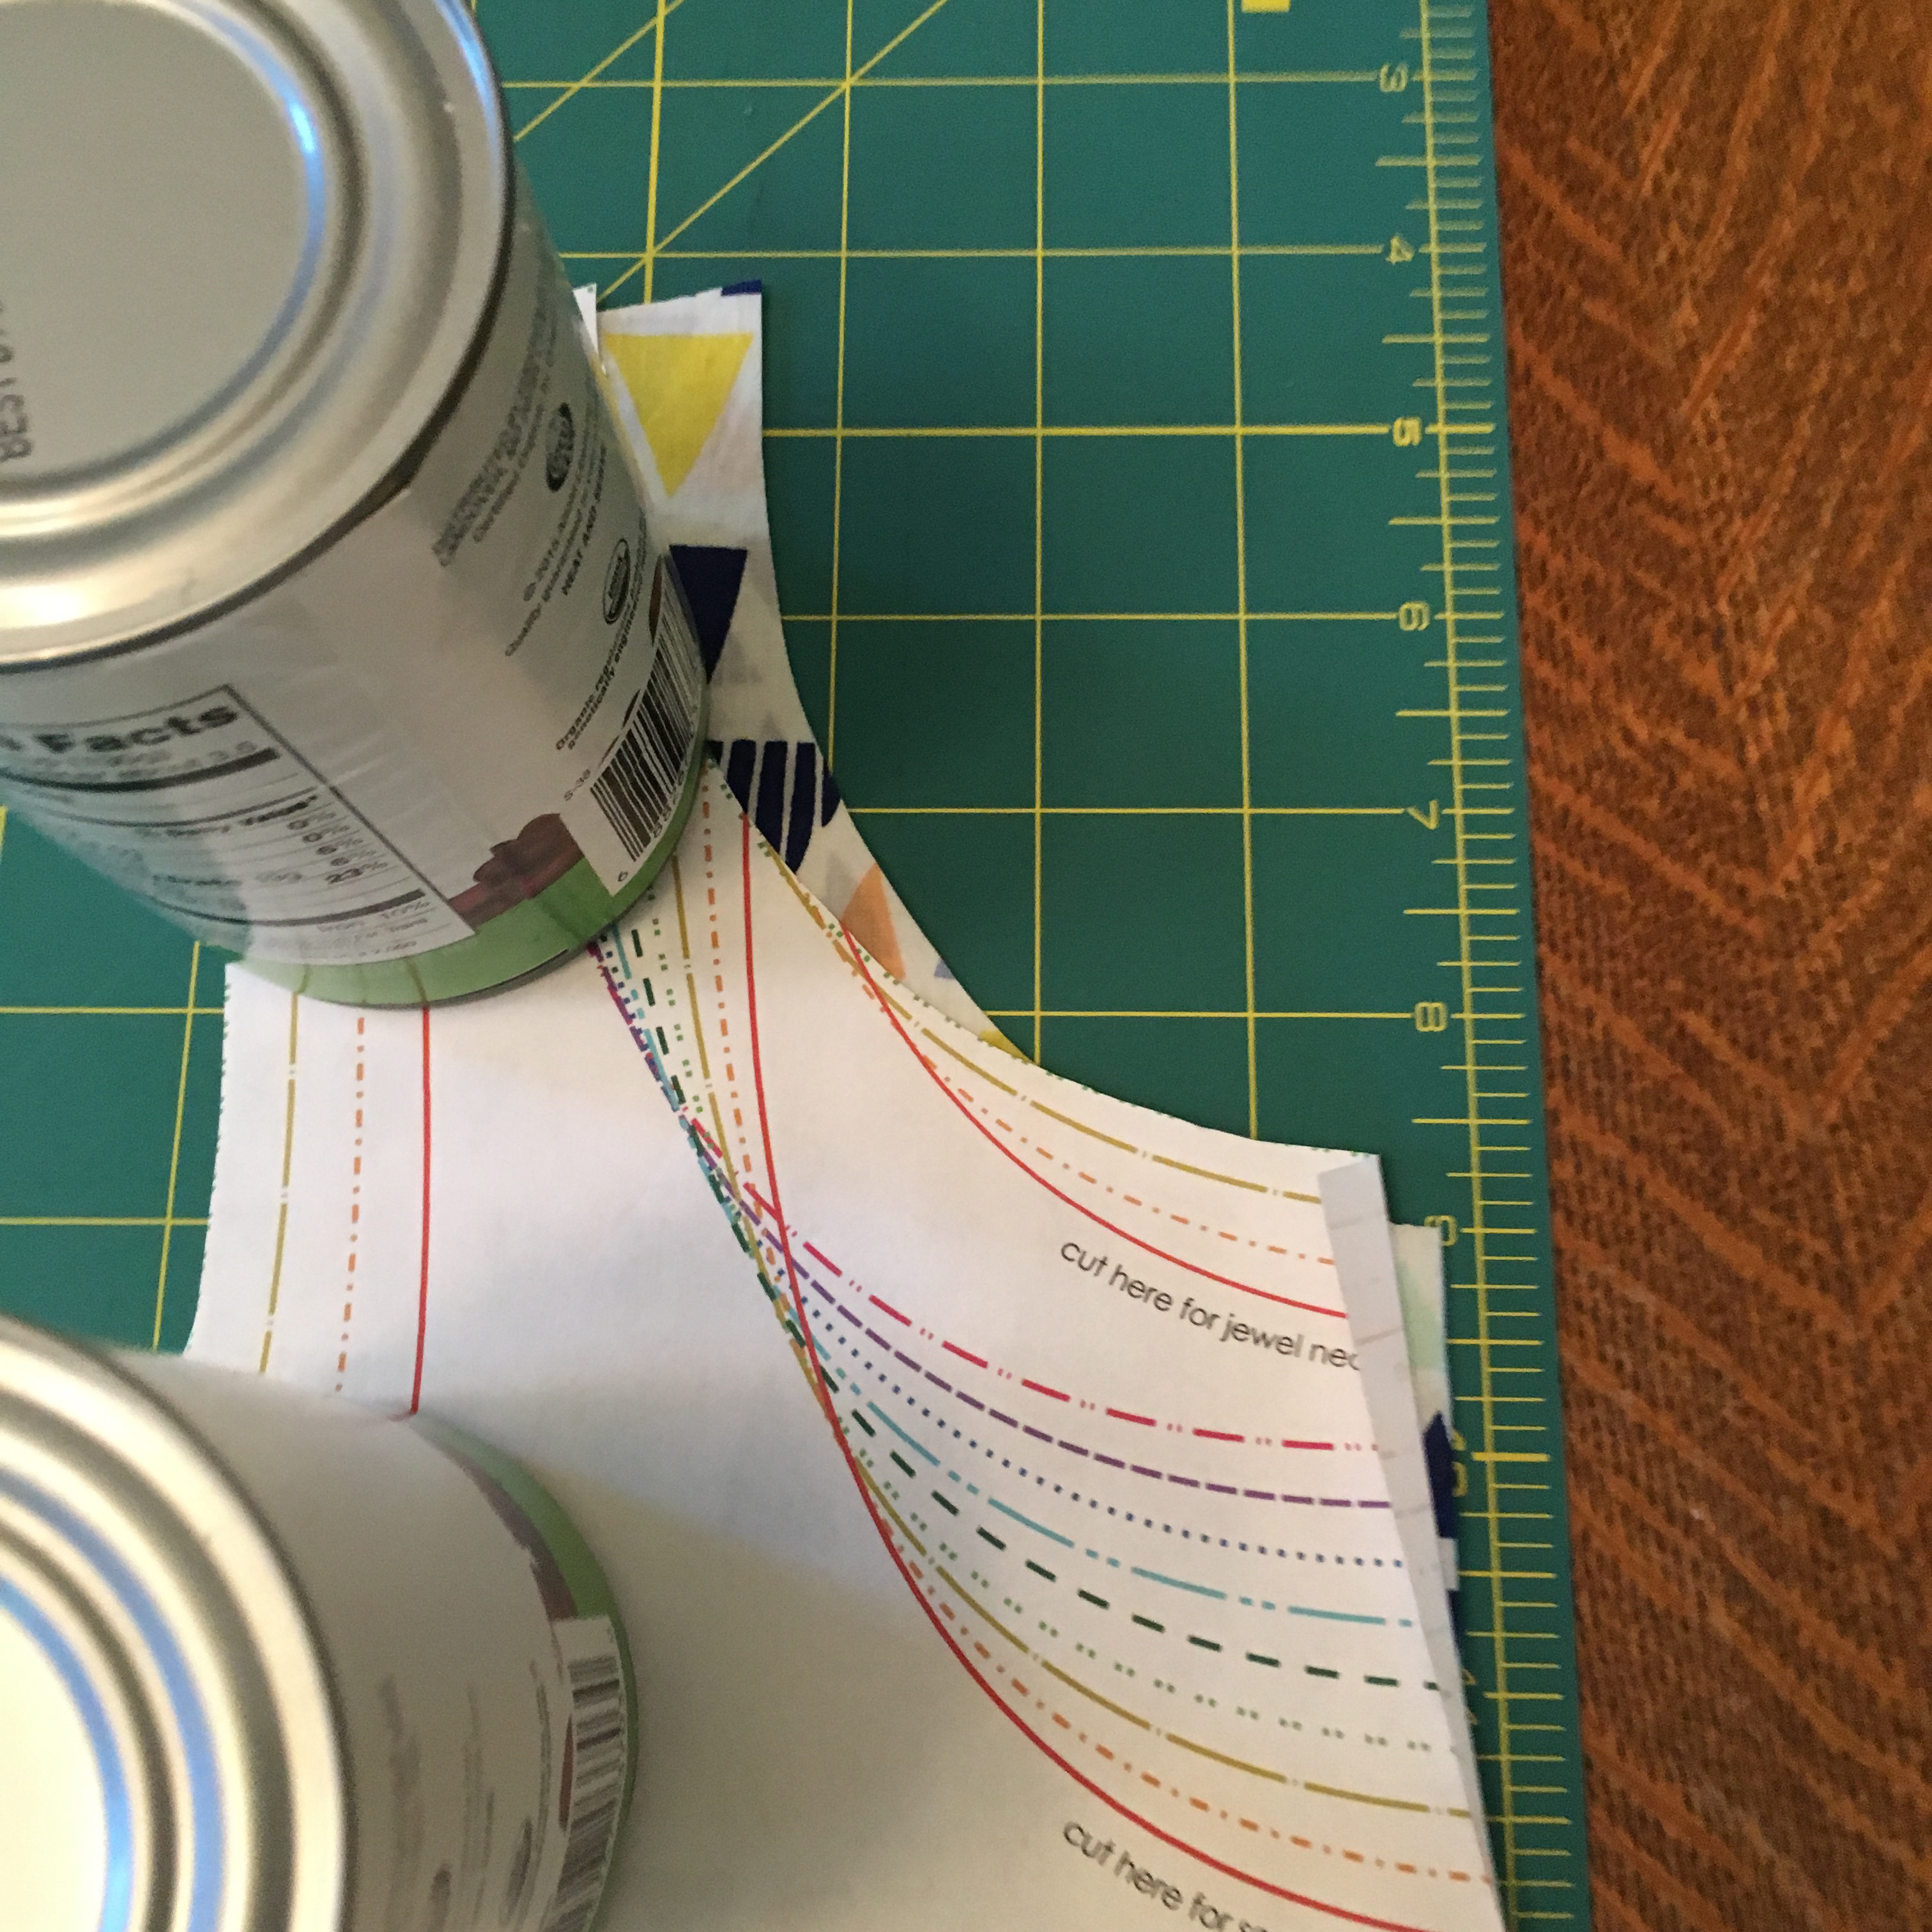
 I also did a bit of a hollow chest adjustment as I do when I make the Beatrix. I take photos so I can remember what I did.
 Close-up showing the extra margin along the cutting line to allow for the seam allowance.
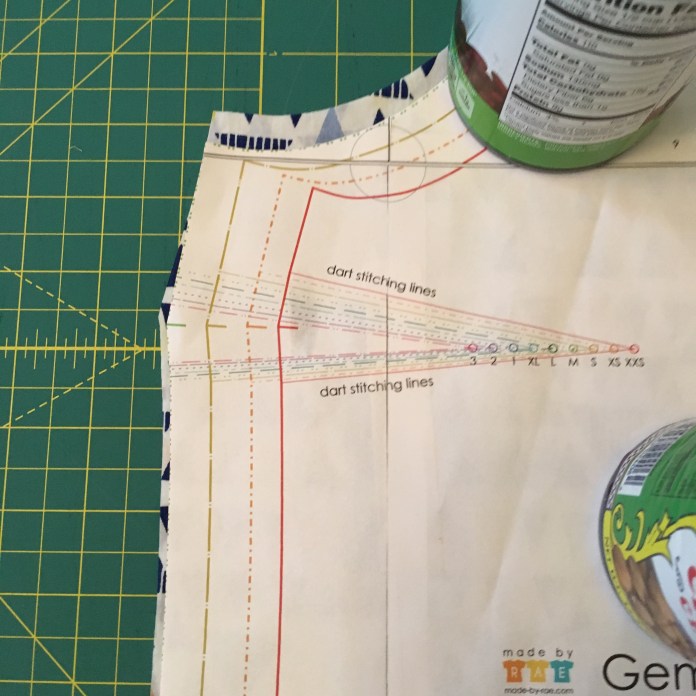 Here are the steps I used:
Cut out the Gemma front and back pieces and sew the darts
Cut out a separate front and back pieces in your lining fabric and sew the darts.
Sew shoulder seams for each of the two Gemmas
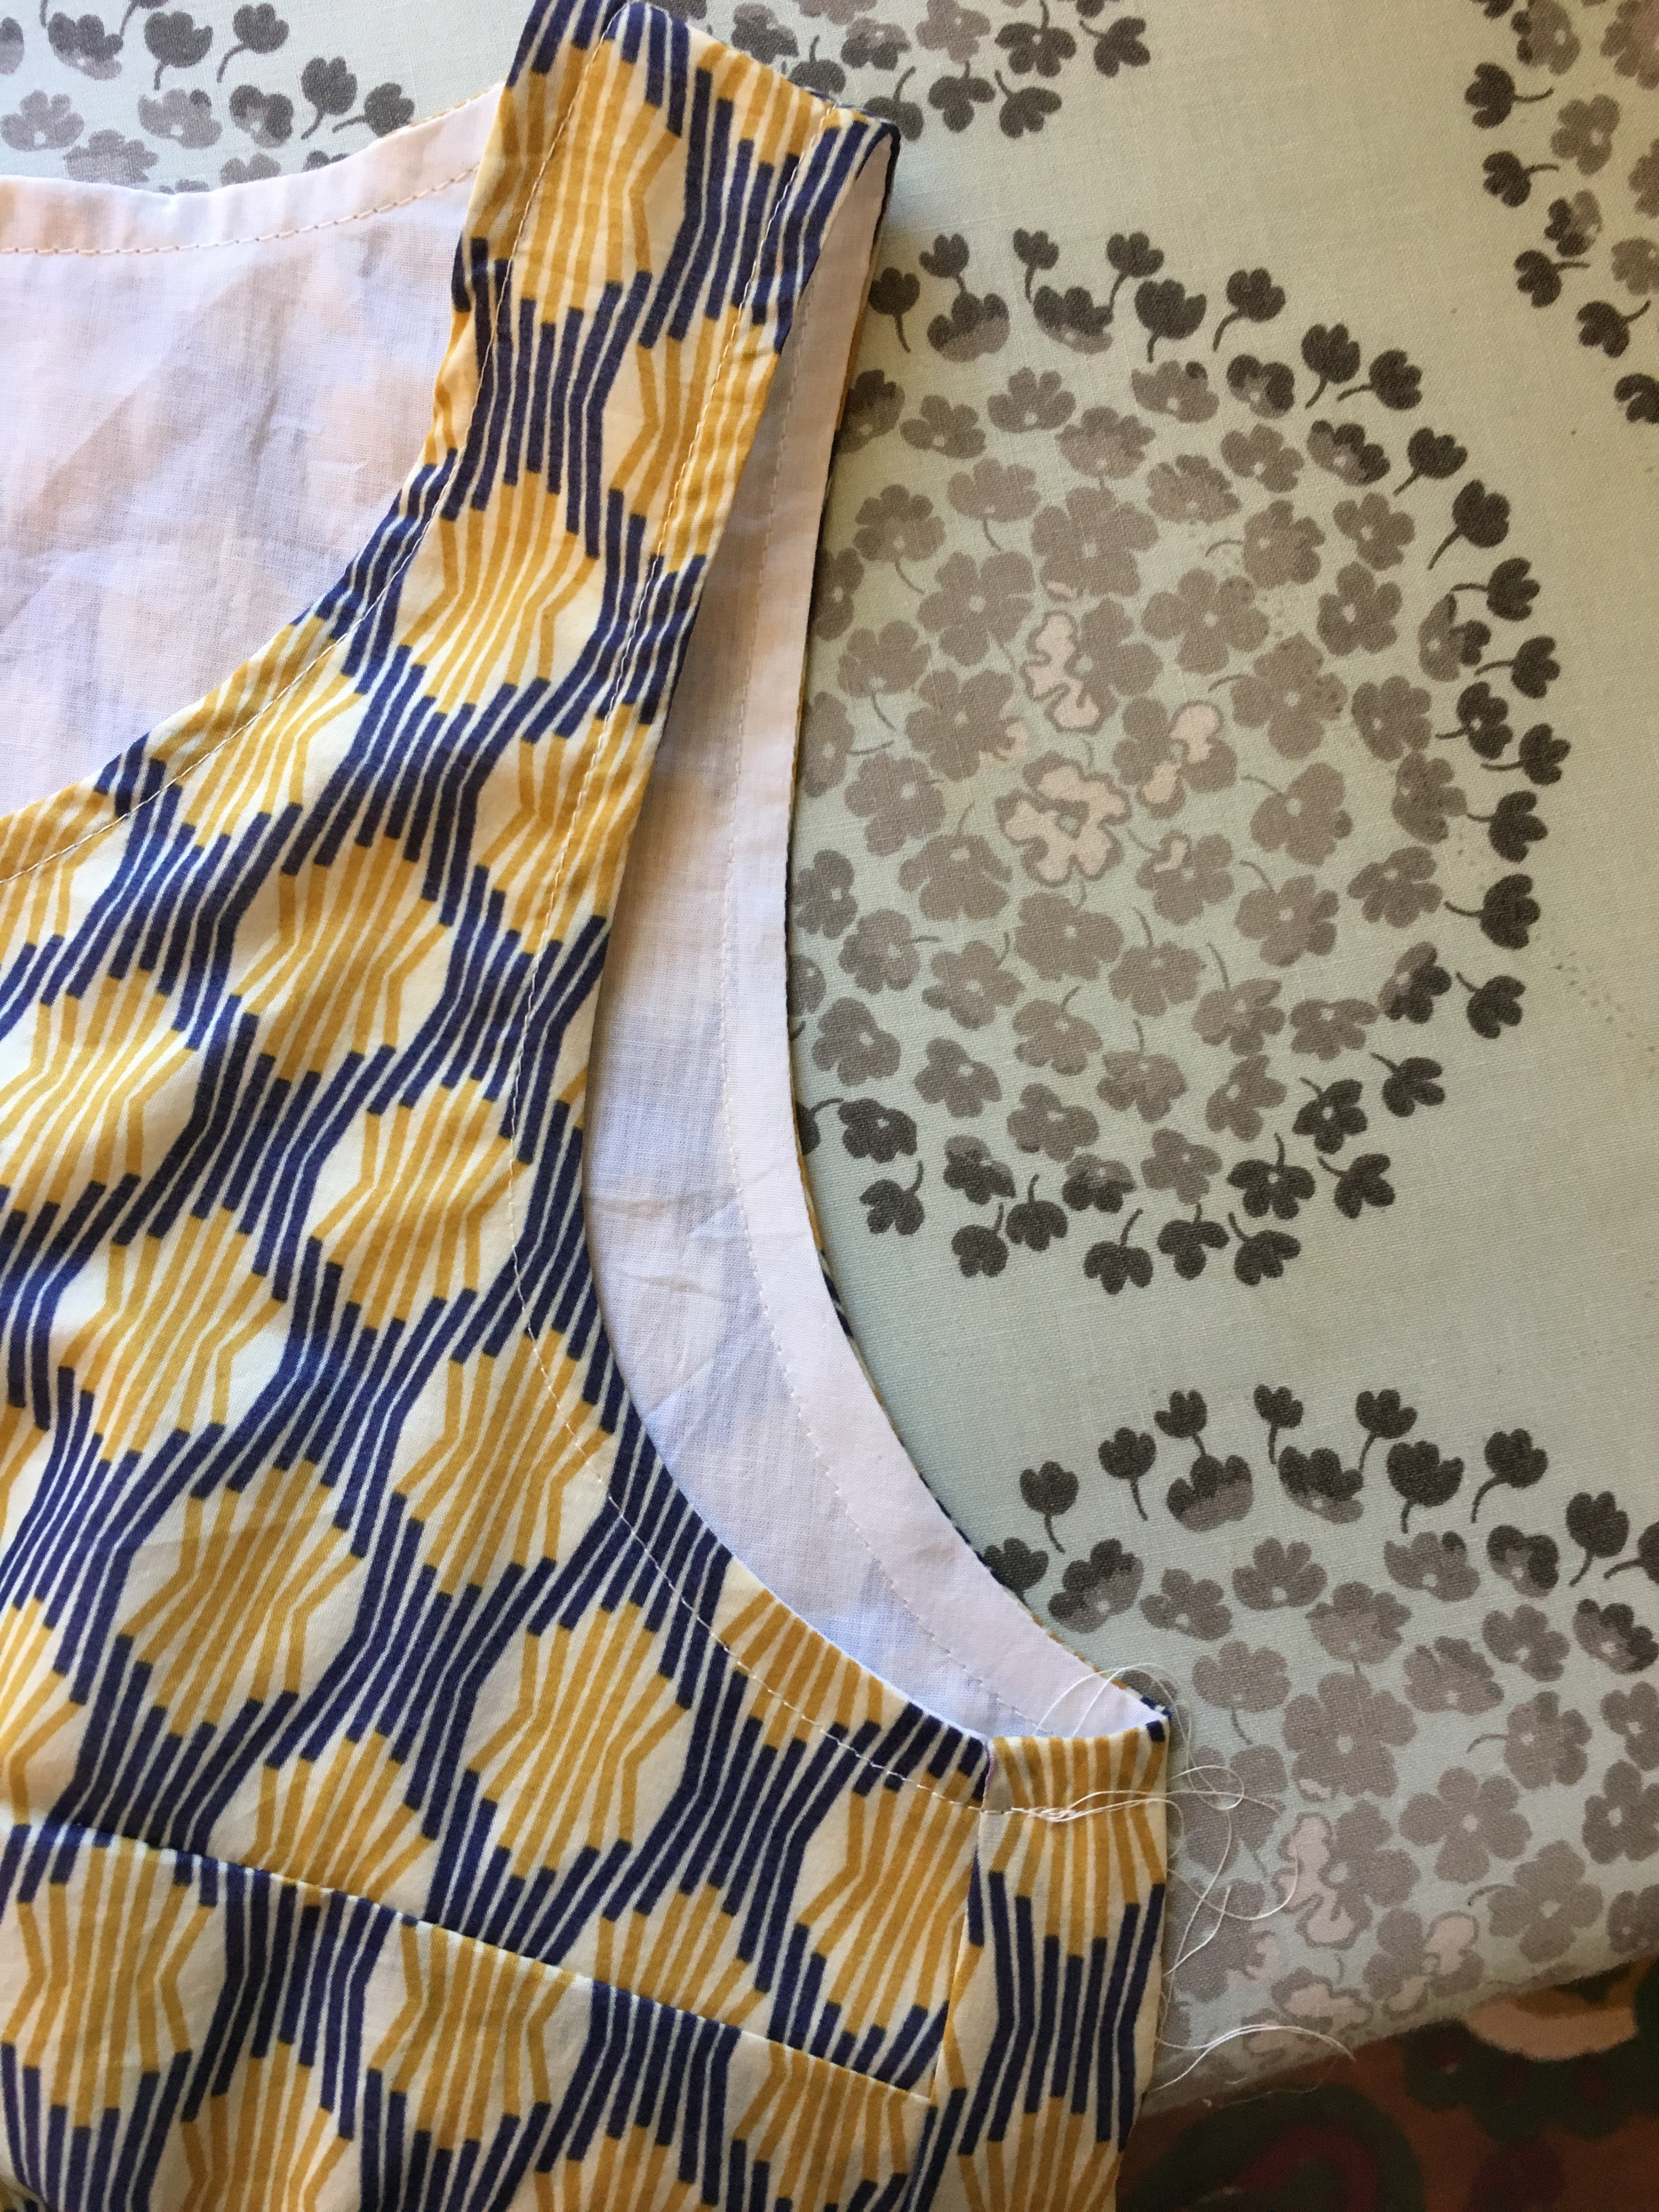
Line up the two Gemmas with right sides together, pin together at the shoulder seams and the center front and back first and then along the neck and then sew the two blouses together around the neckline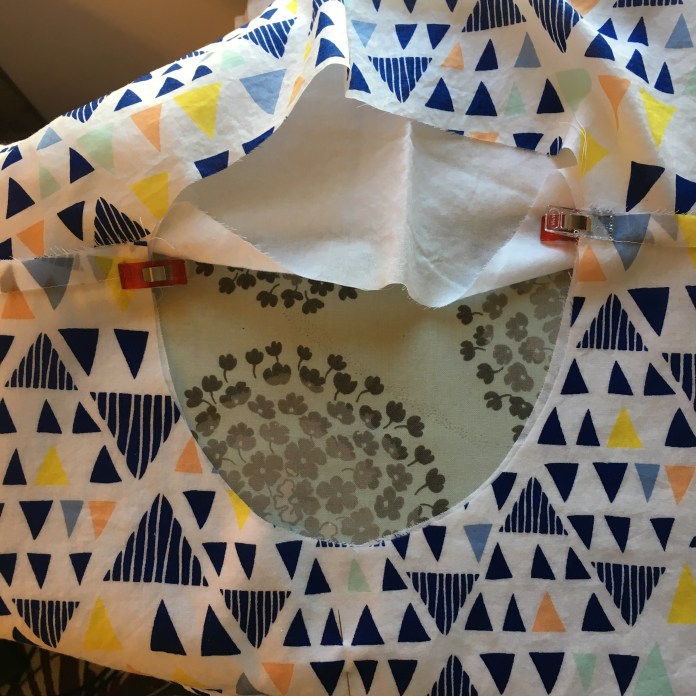 Turn so that the right side of the Gemma is facing out and the lining is where it should be and gently press.
 I use my fingers between the layers to help line up the two edges as I press.
 I then top stitch around the neckline.
 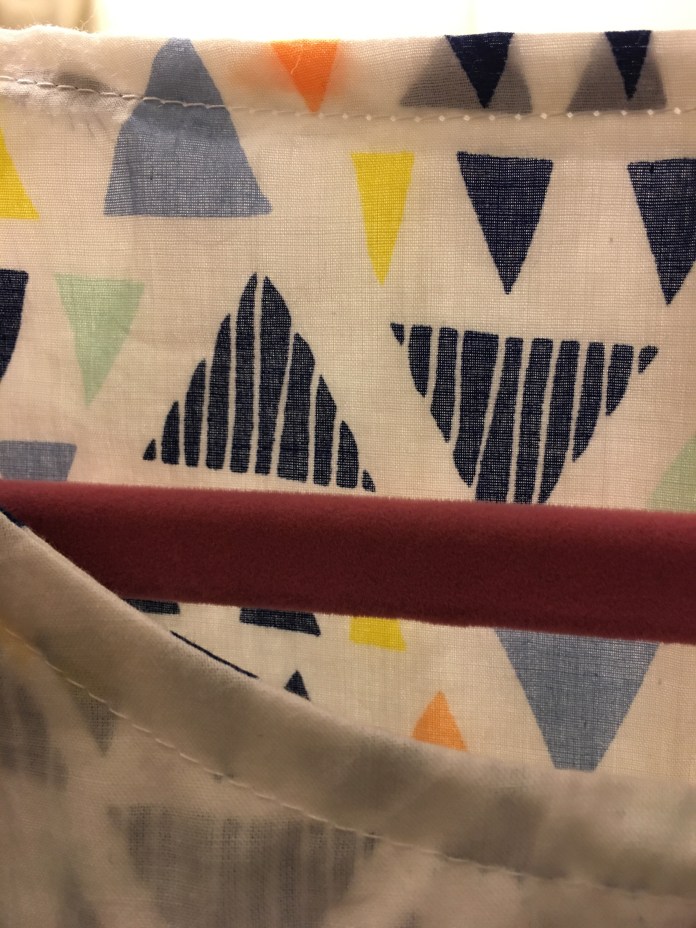 You can see examples of this technique it in my Ruby post here.
Refer to Rae’s fabulous instructions/video on how to line a Ruby or a Washi by sewing the arm scythes using what she calls the sausage method. She instructs you through the step above with the neck and then walks you step by step through sewing the lining to the bodice along the two arm scythes which I used here. I often re-watch the tutorials when I use this technique. They are short and very clear.
Below is a picture of the inside of my Gemma tank after stitching the arm scythes. You can see what a nice clean finish this technique gives you.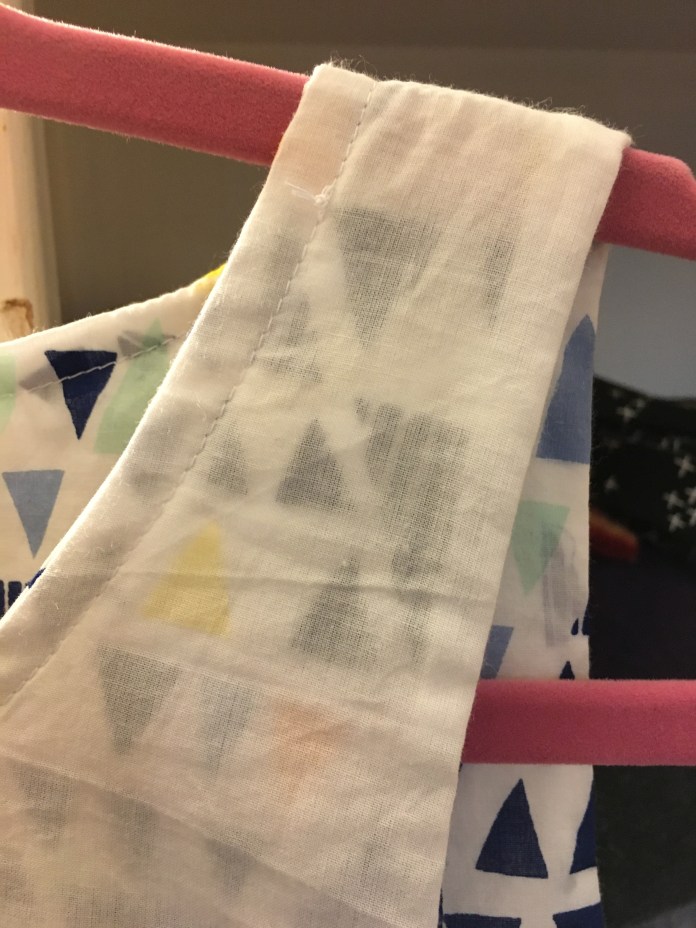 Pictures below are from the dress-length lined Gemma which I worked on this week. This is also Art Gallery Voile which I purchased last year from Fabric.com. I followed Rae’s tutorial here on how to make the tank into a dress.
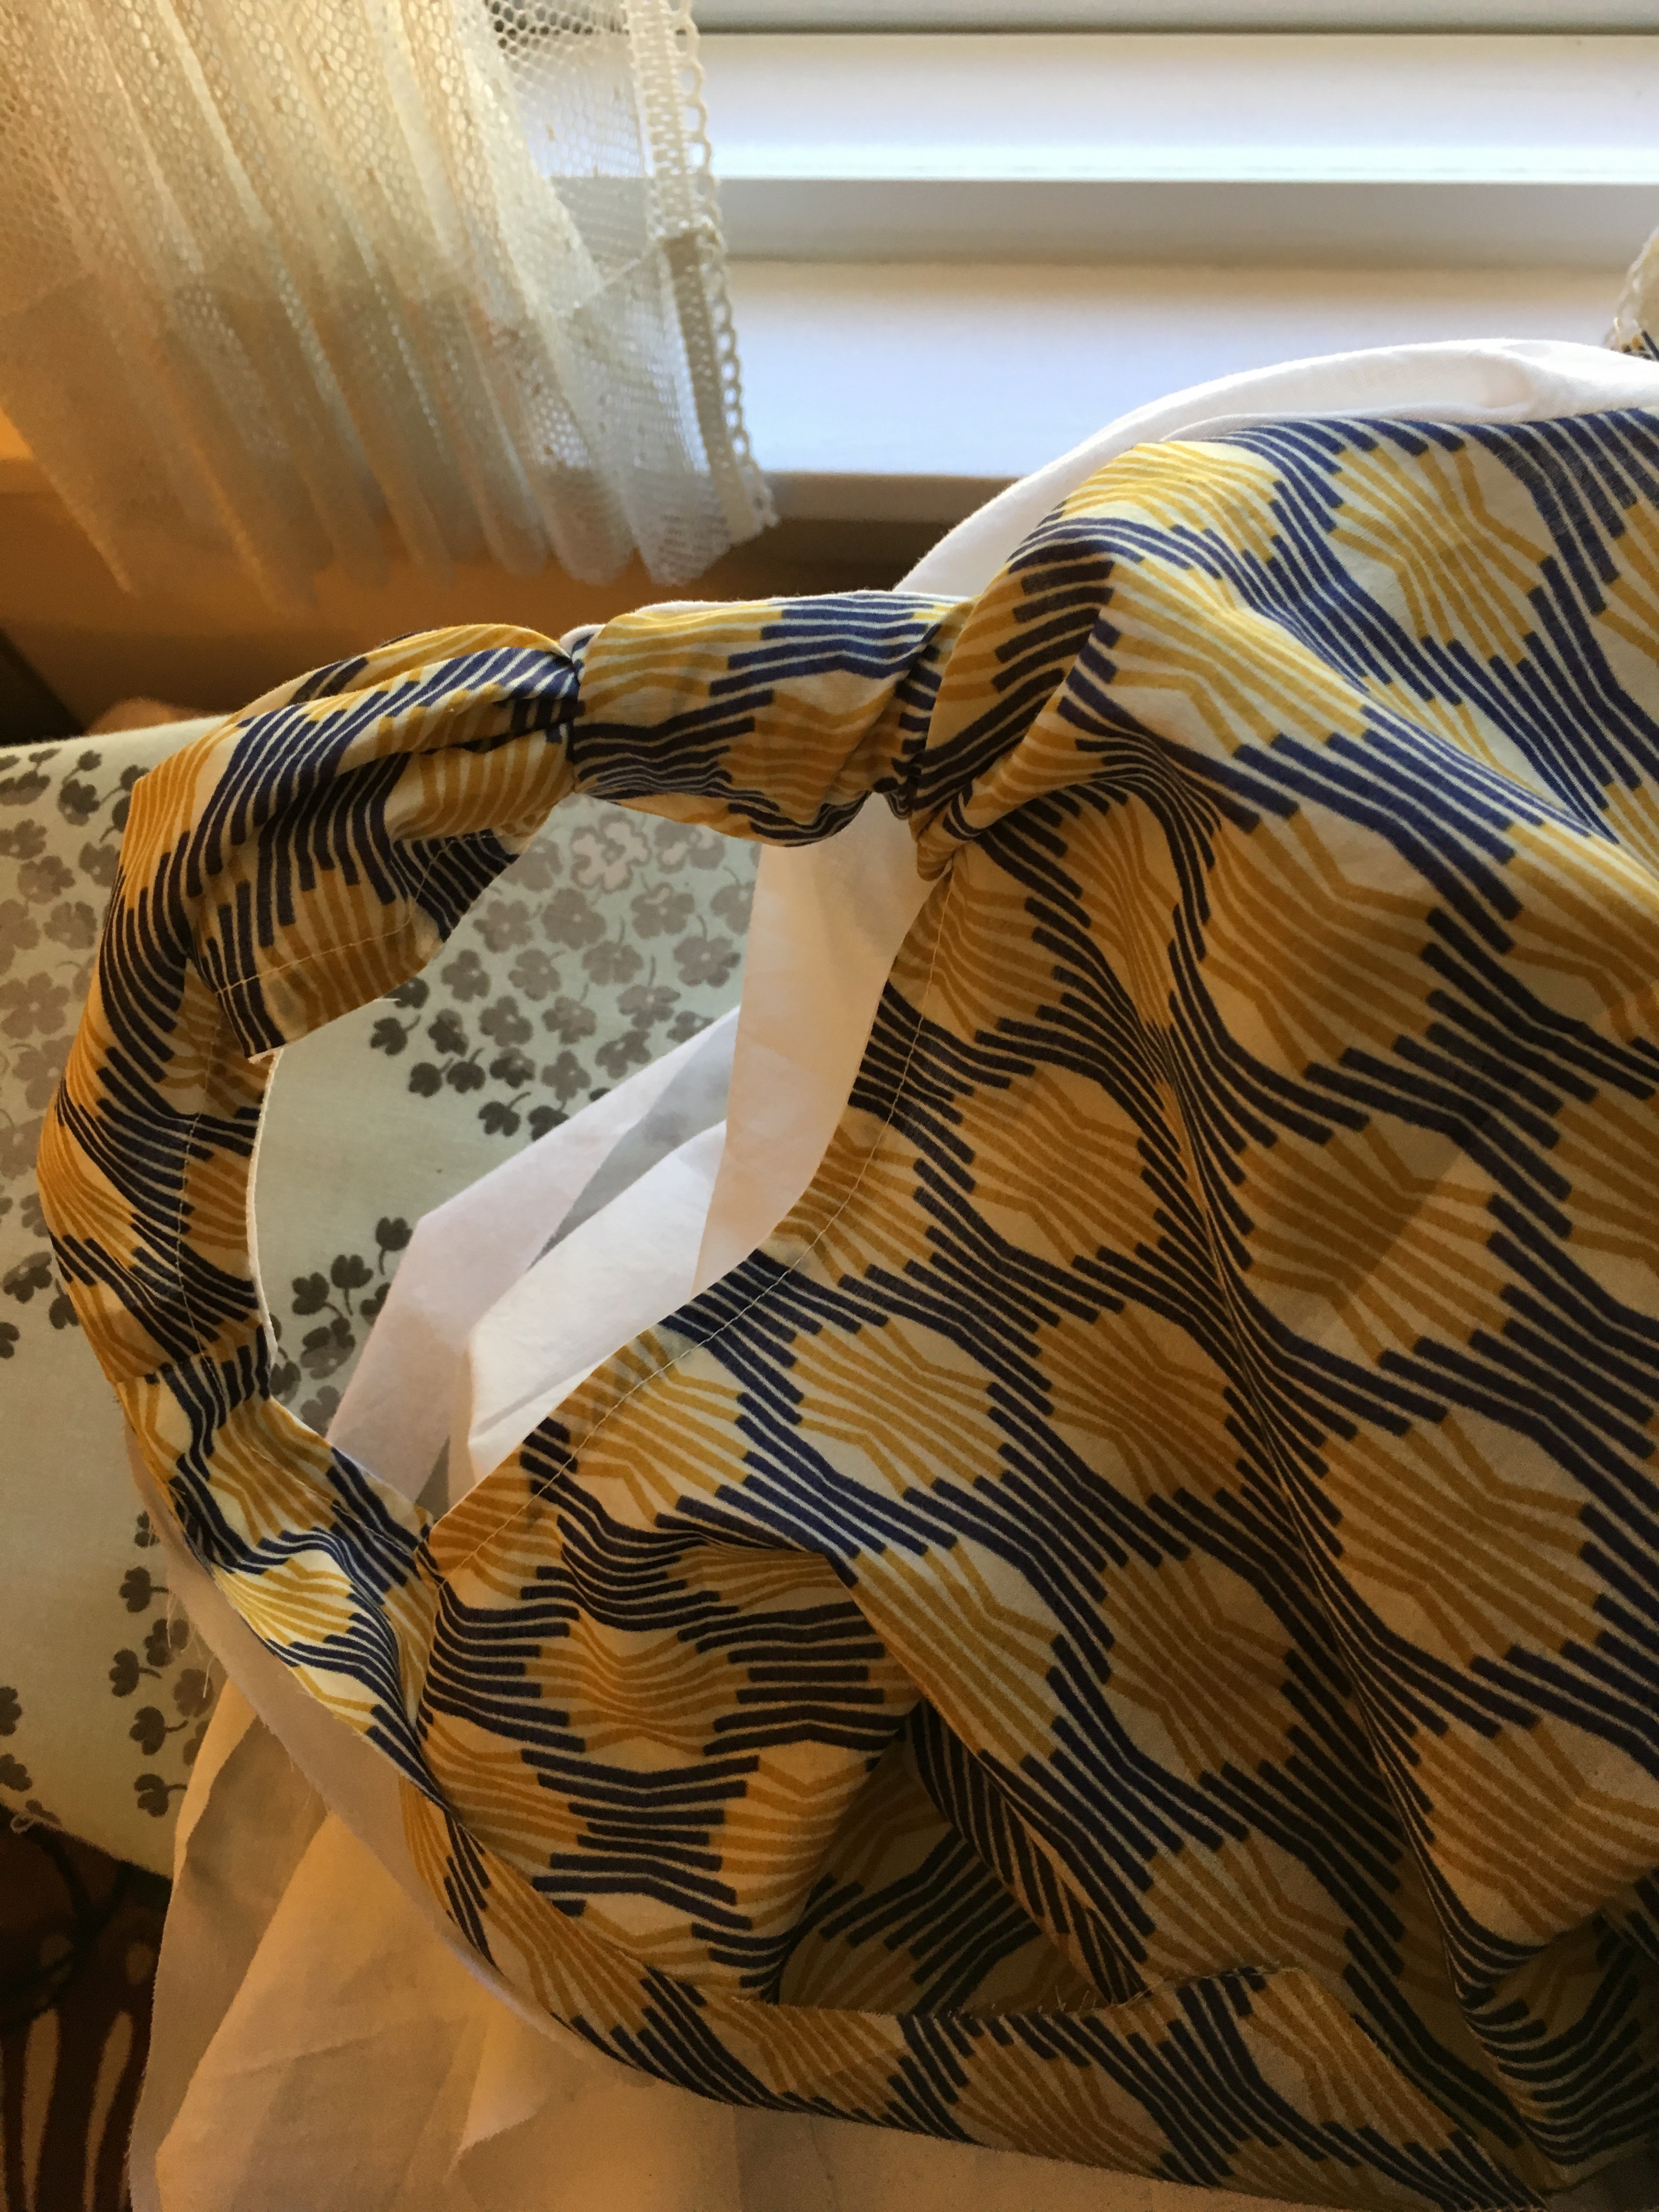
This is the scoop neck version of the Gemma in a medium. An extra step I followed when I made this version (which I learned through trial and error on my first version) is to mark a line 1/2 inch from the beginning and end of the sausage so you know where to start and stop sewing the arm scythe. If you do that, and you are using 1/2 inch seam allowances to sew your side seams as the pattern instructs, you will have great results. This is the dress with the neckline sewn but before sewing the arm scythes.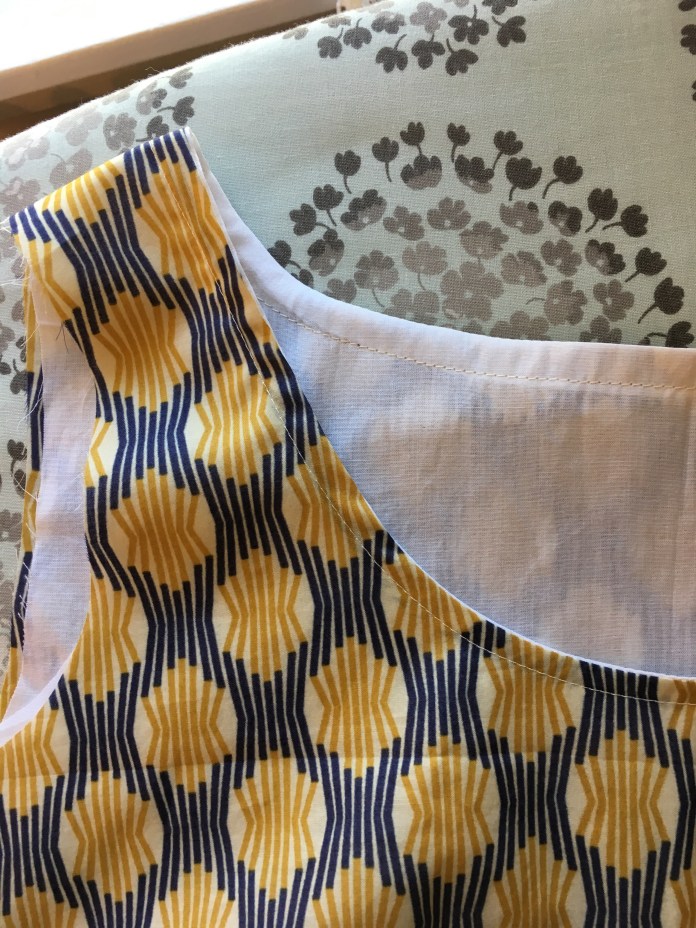 The picture below is the sewn armhole. To orient you, the seam you can see is the bust dart. I didn’t do anything special, just sewed the sausage, turned it out and then sewed each of the four side seams-two for the dress and two for the lining. I have to confess that on version 1, I actually sewed the front piece of the lining to itself, rather than to the back. I was like-this is lining up so perfectly and then oops realized my mistake. It gets confusing when you have the layers of fabric. Just take a minute to orient yourself so that you are sewing the appropriate front to the appropriate back. I was really happy with the results when I did it correctly.
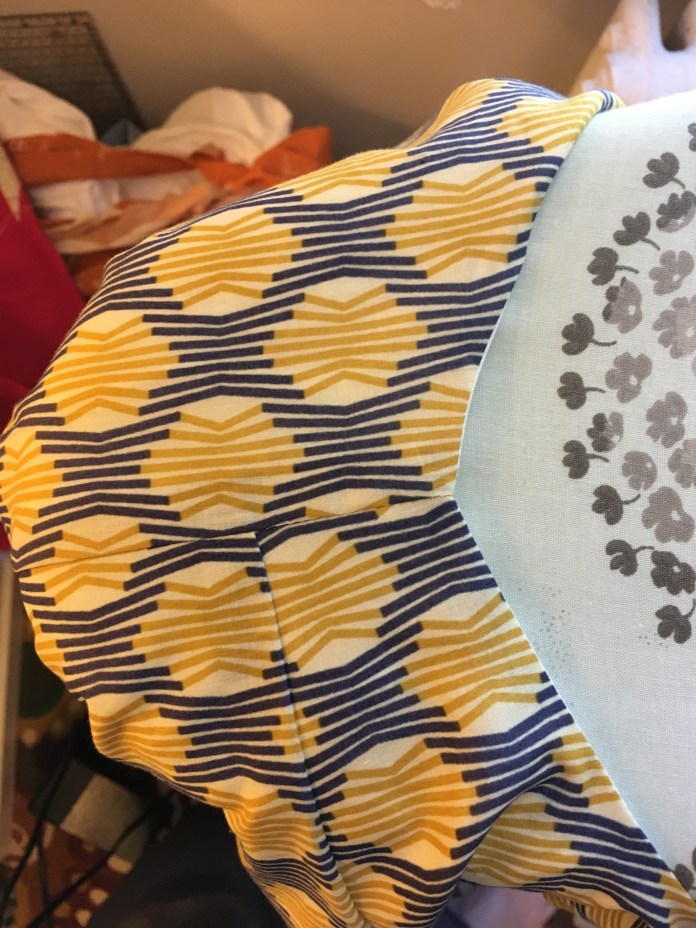 Here is the shoulder after sewing but before top-stitching.
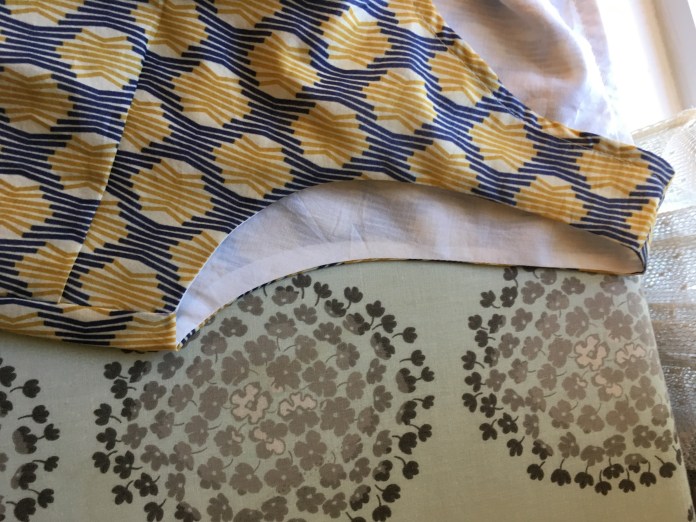 I topstitched around the neck and armholes for strength, I have had good success doing it this way.
 I do take the time to use a needle and bring my threads to the inside after sewing.
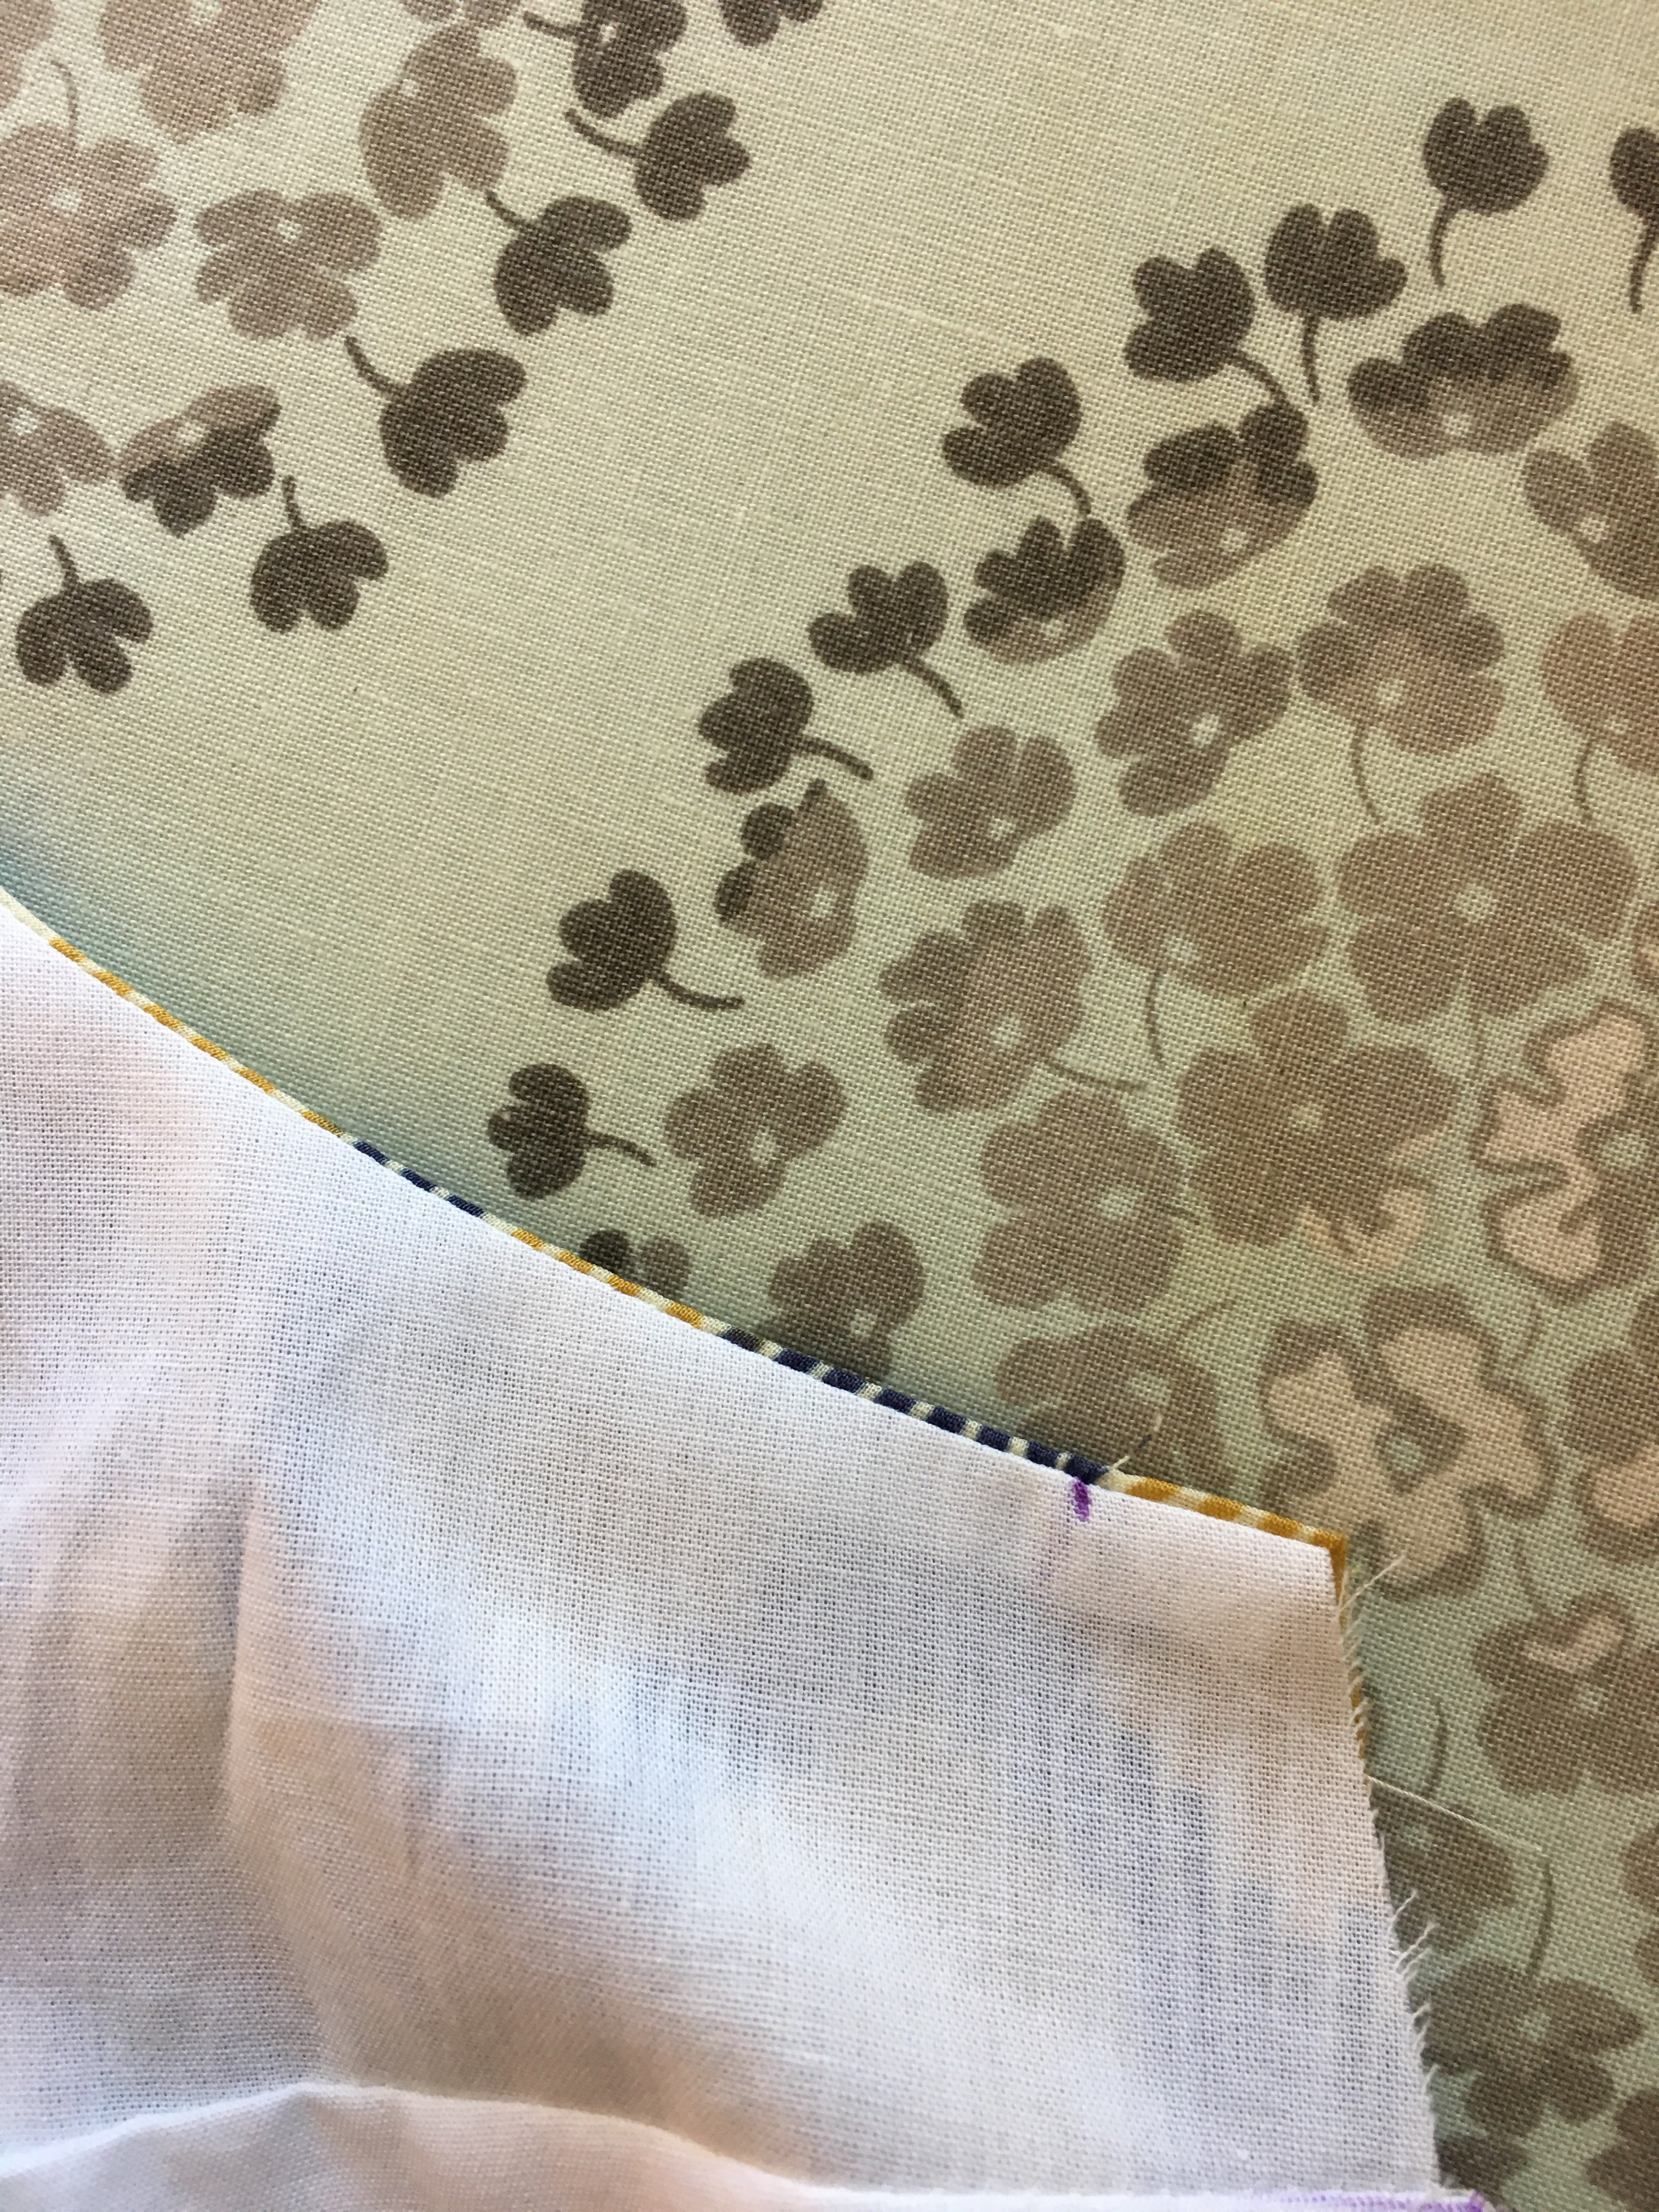
Here is a picture of the side seam of the lining before being sewn. I sewed all the way to the top of the seam.
Having the 1/2 inch guide was really helpful. Pulling the fabric through the sausage caused this knotting effect which I actually think would be a great design element for this fabric. Something to think about for another time!
 I took a picture of the Gemma dress before I lined it. I love this fabric and I almost like it better unlined but it is very sheer.
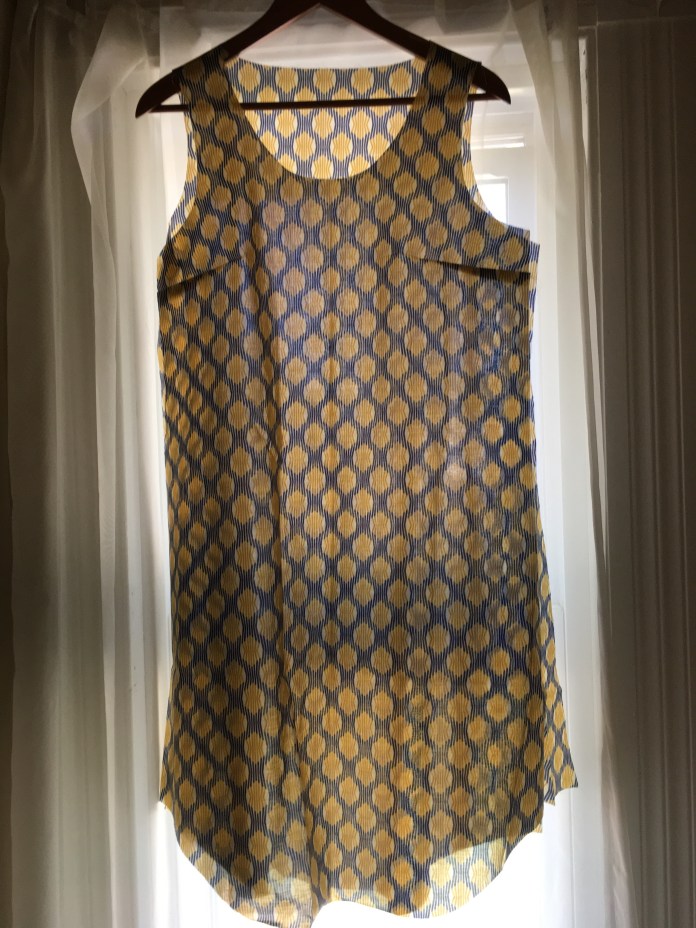 I did cut a second version in the tank length with the leftover fabric. It would be very elegant over a lacy camisole. Finished dress hanging on the front door. I am going to have to find a new place to take pictures when winter comes to Connecticut.
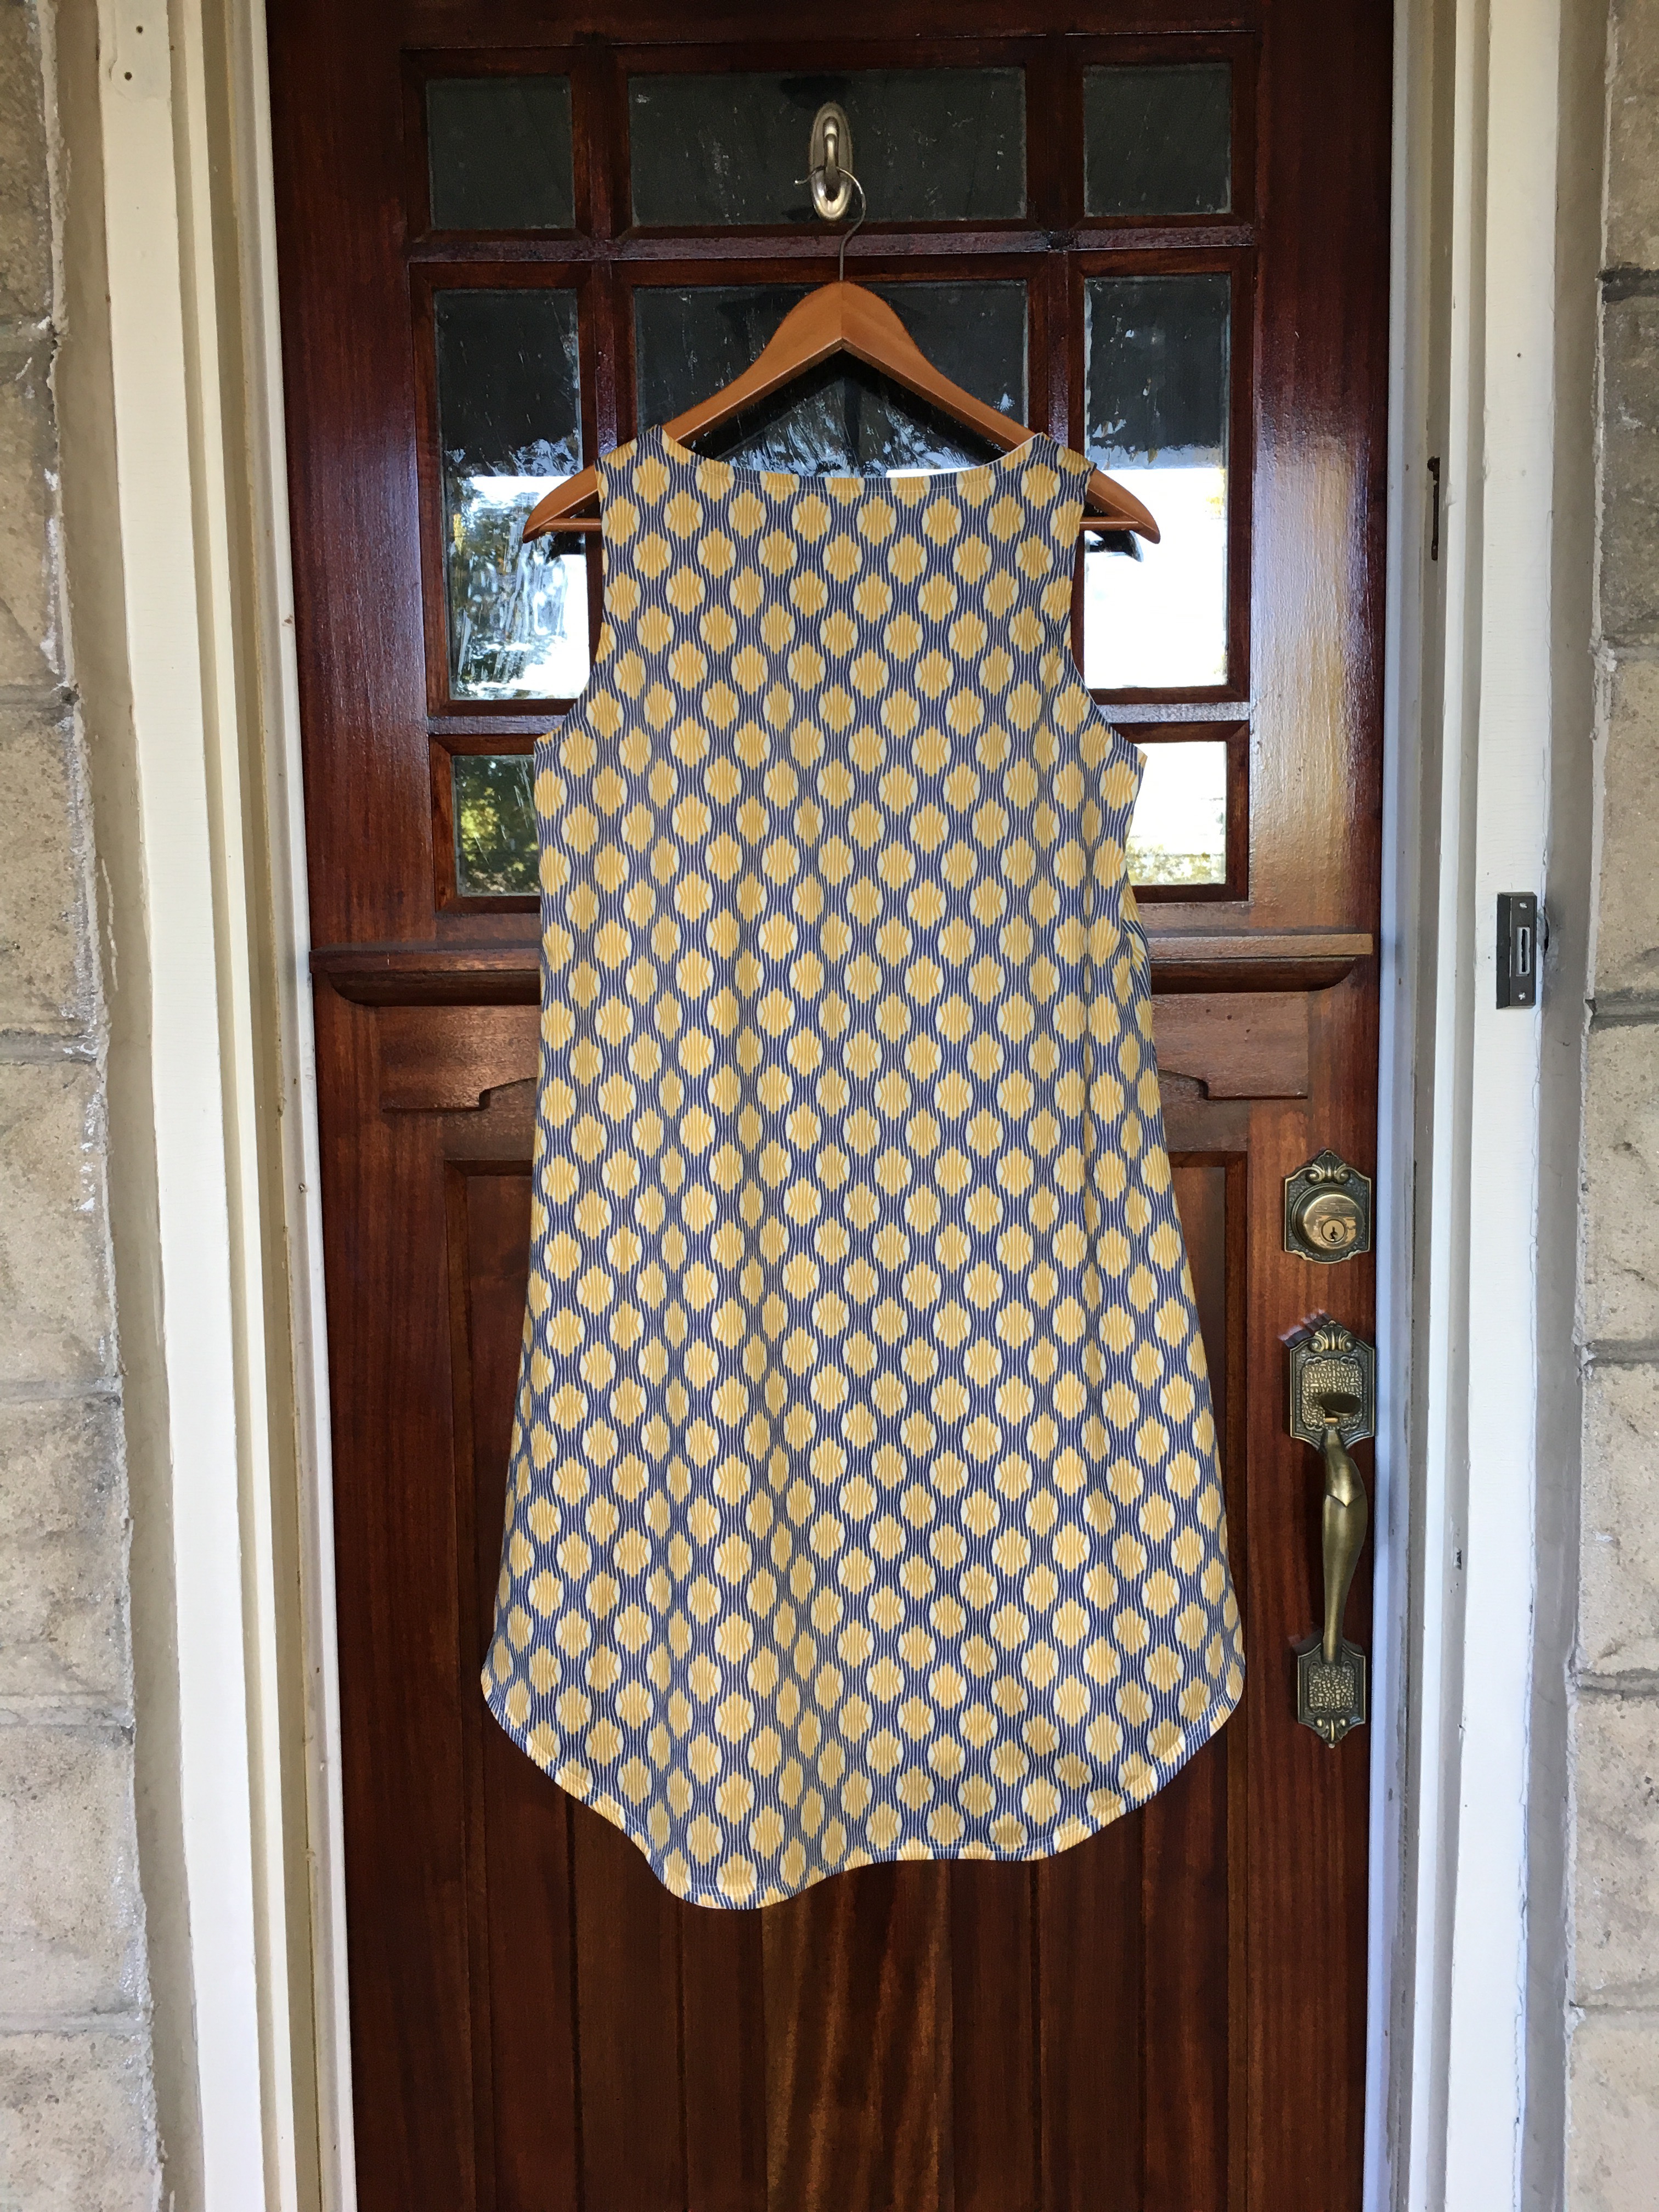
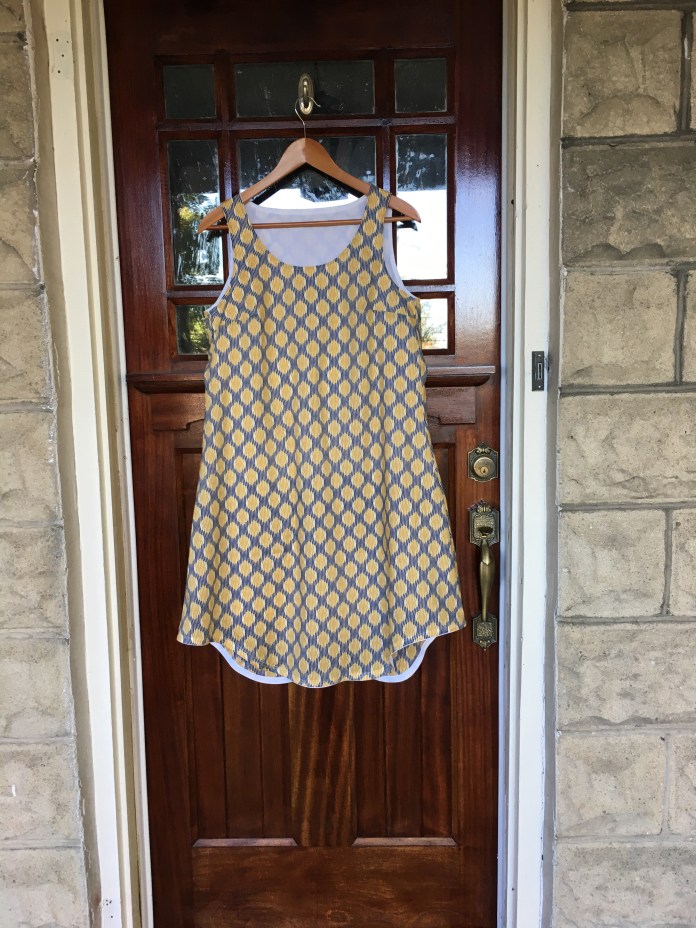 Back of dress. The hem is not actually uneven, I am not sure why it looks that way in the photo.
 It was too cold for bare legs so I wore it yesterday with leggings and boots and a cardigan. I think it will be a nice summer date night dress with sandals or flip flops.
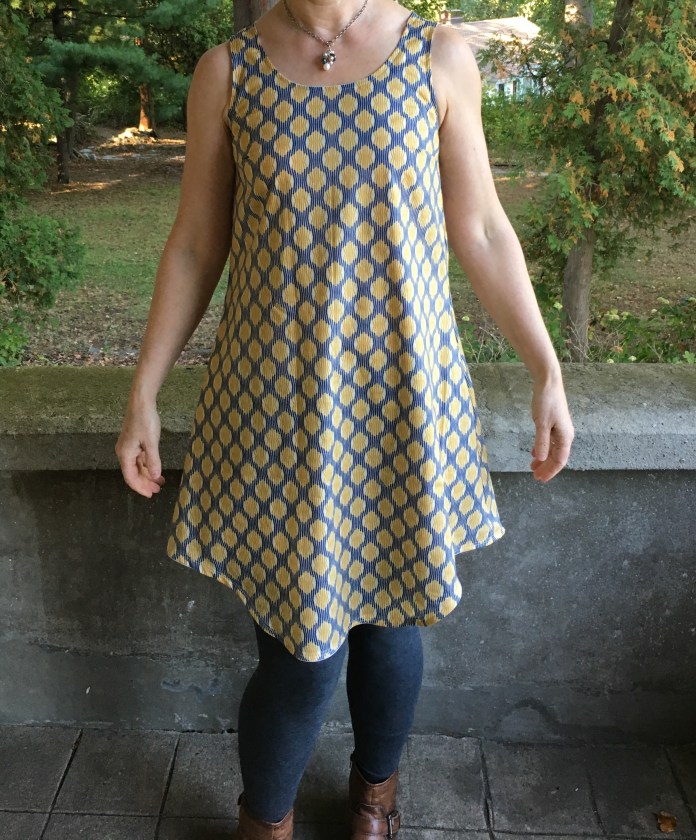 This was a hasty photo shoot-literally 2 minutes when I was running out to work. The shoulder lies nice and flat, not the way it looks in the photo below.
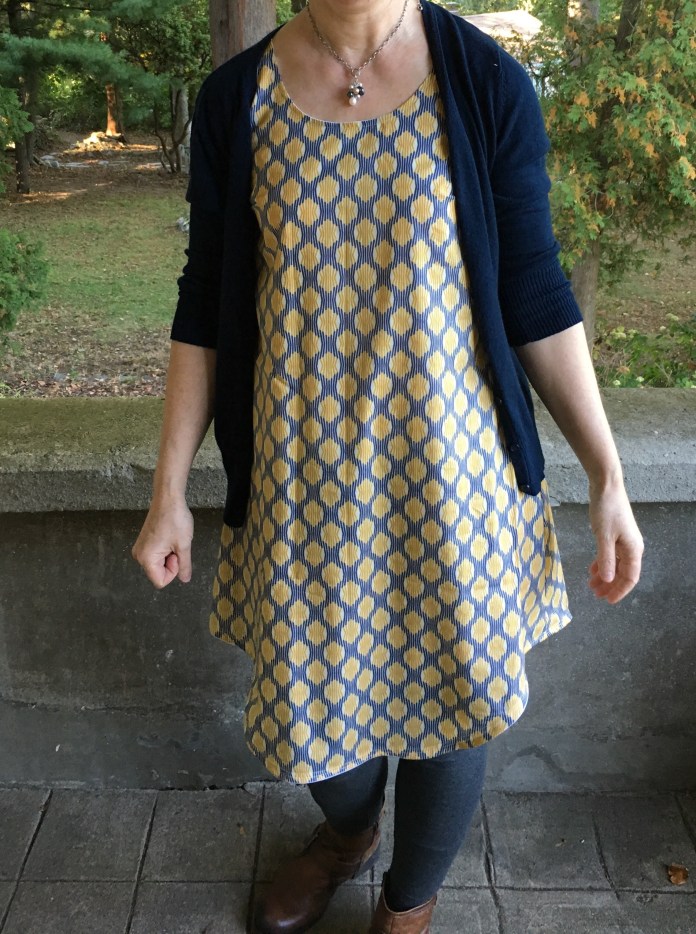 I think this would also be really cute layered under a longer cardigan with a belt over the cardigan and taller boots. The Gemma Dress is a fun variation on the Gemma Tank. It is a quick sew, not much longer than the original pattern and using the lining technique made it go a lot faster. Next I hope to make a lined tunic length Gemma in this beautiful voile. I think it would be perfect over leggings or skinny jeans.

 I have loved this beautiful Leah Duncan print for a long time and I finally took the plunge and bought the voile version of the fabric. I debated whether to get the quilting cotton or the voile but at the end of the day, decided that the voile would make a nicer feeling, better draping dress. I made the Ruby with the lined yoke as I have previously done here, here, here and here.
 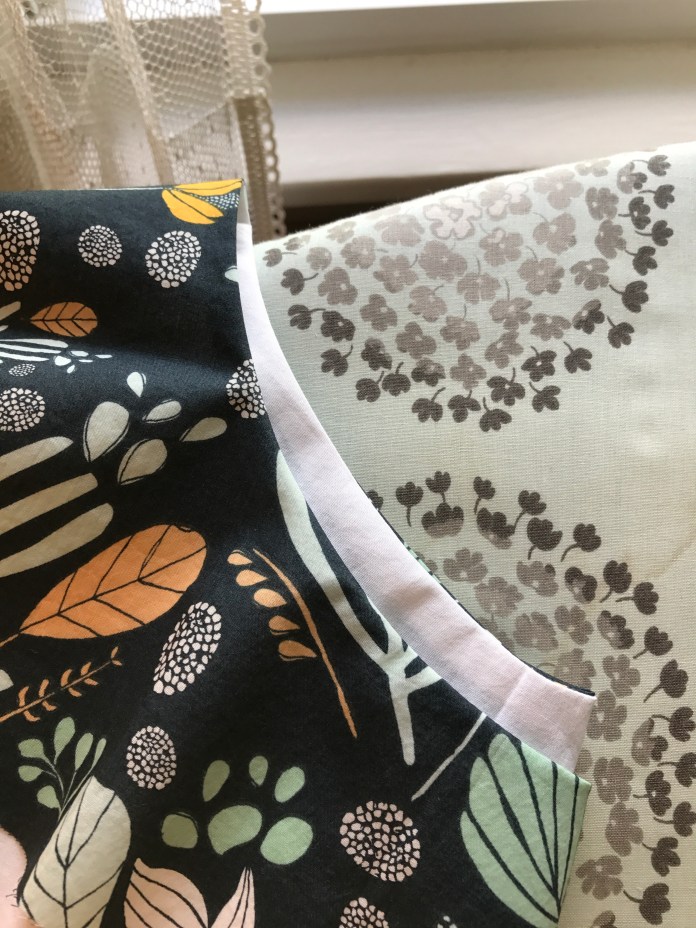 The Ruby is a great project. It is uncomplicated but the details are pretty, I always enjoy sewing it and this was no exception. I sewed the lined yoke using the Made by Rae sausage technique.
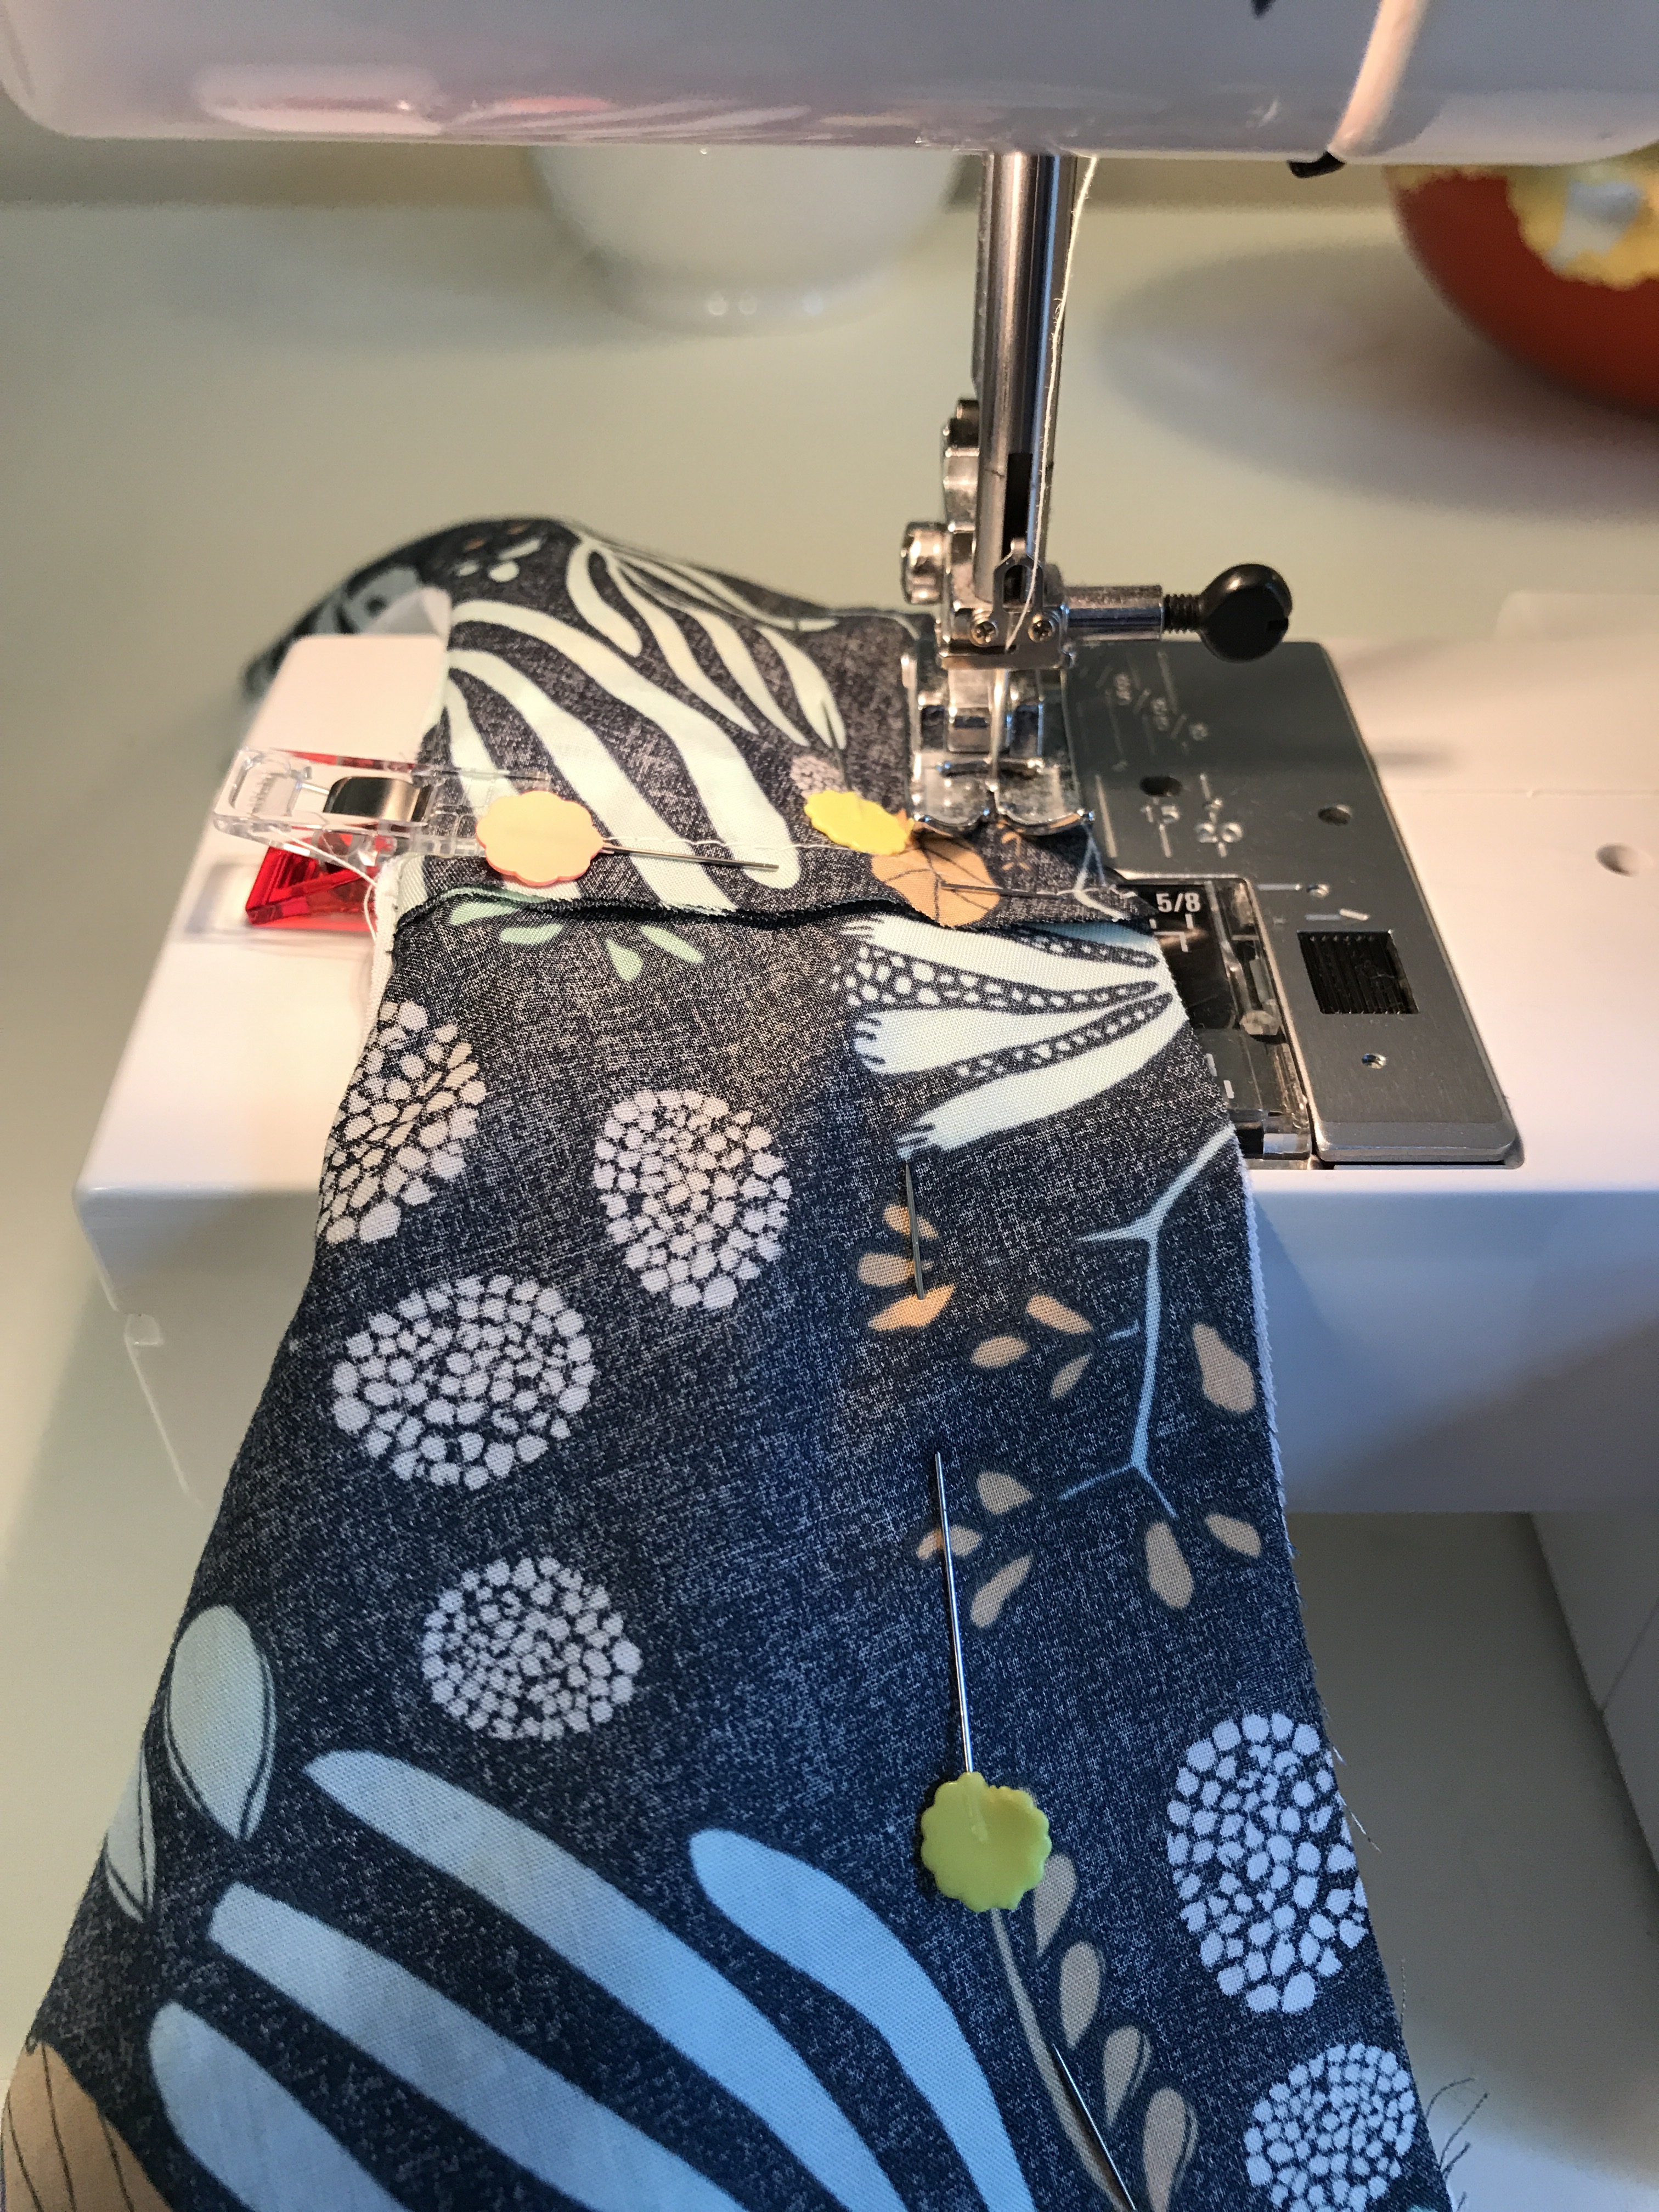 I find the little bit of bias binding to be pretty easy since you are just sewing half of the armhole.
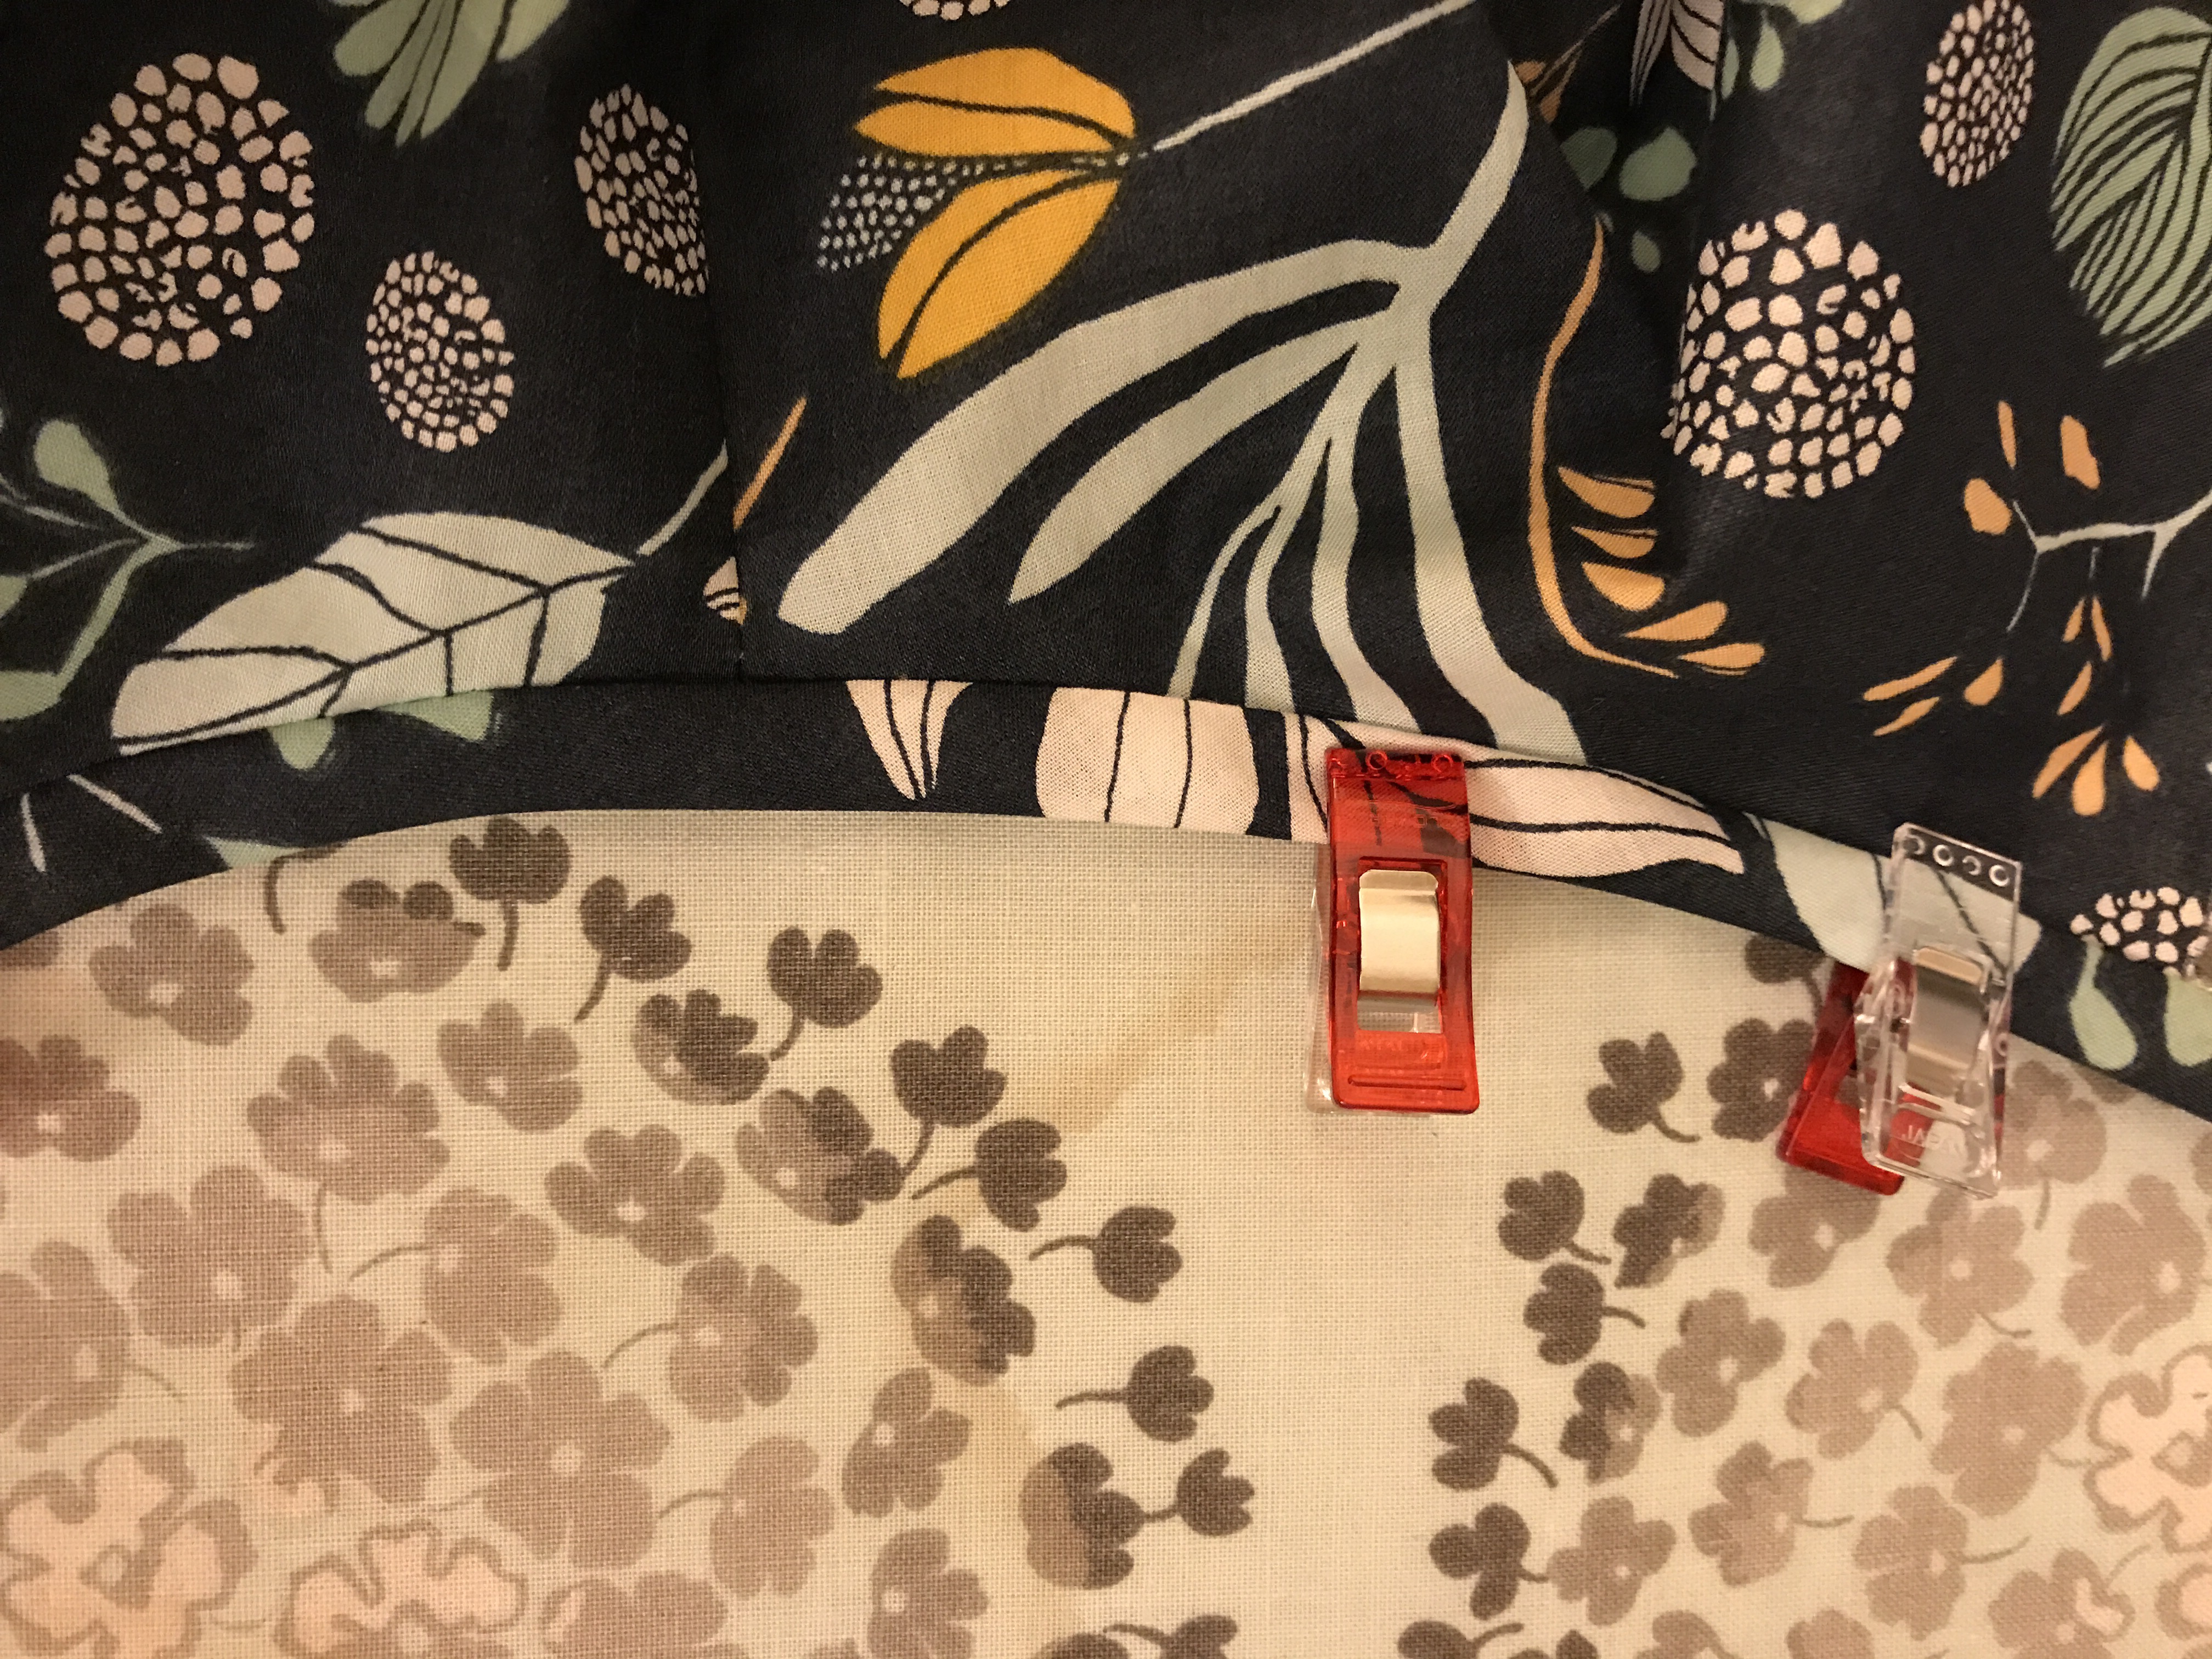 Wonder clips work really well here. It is so satisfying when the bias binding turns out well.
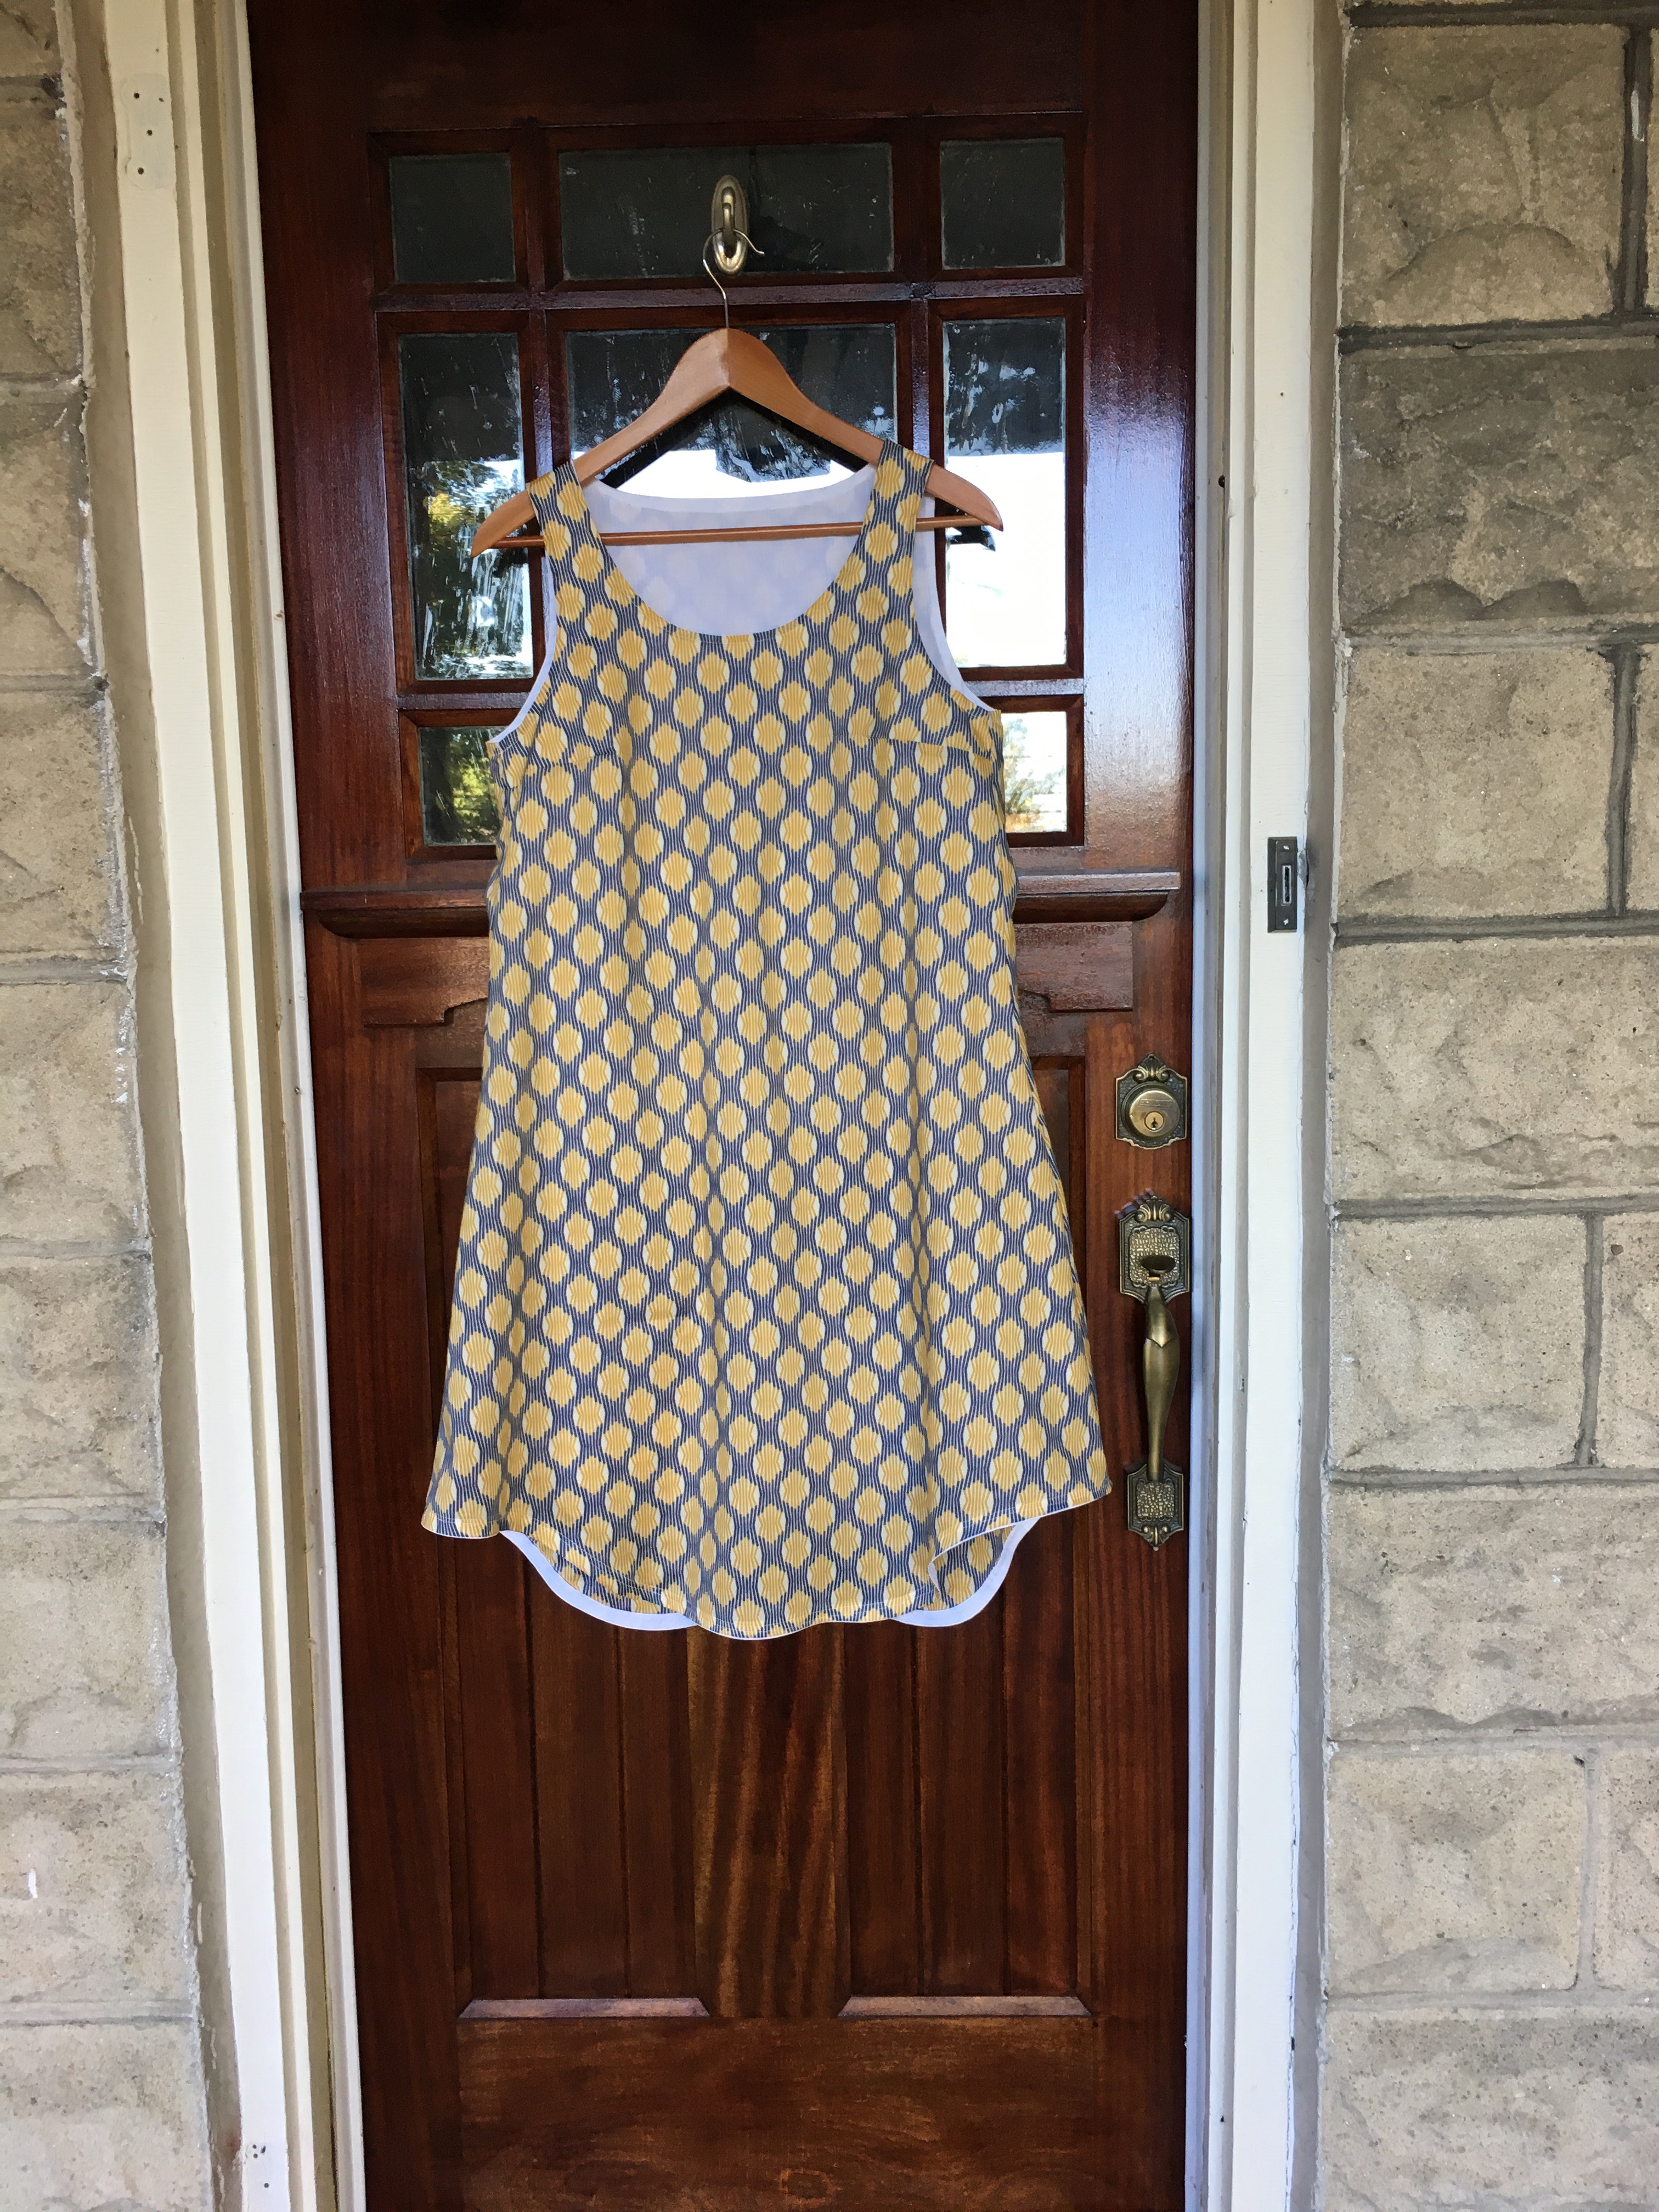
 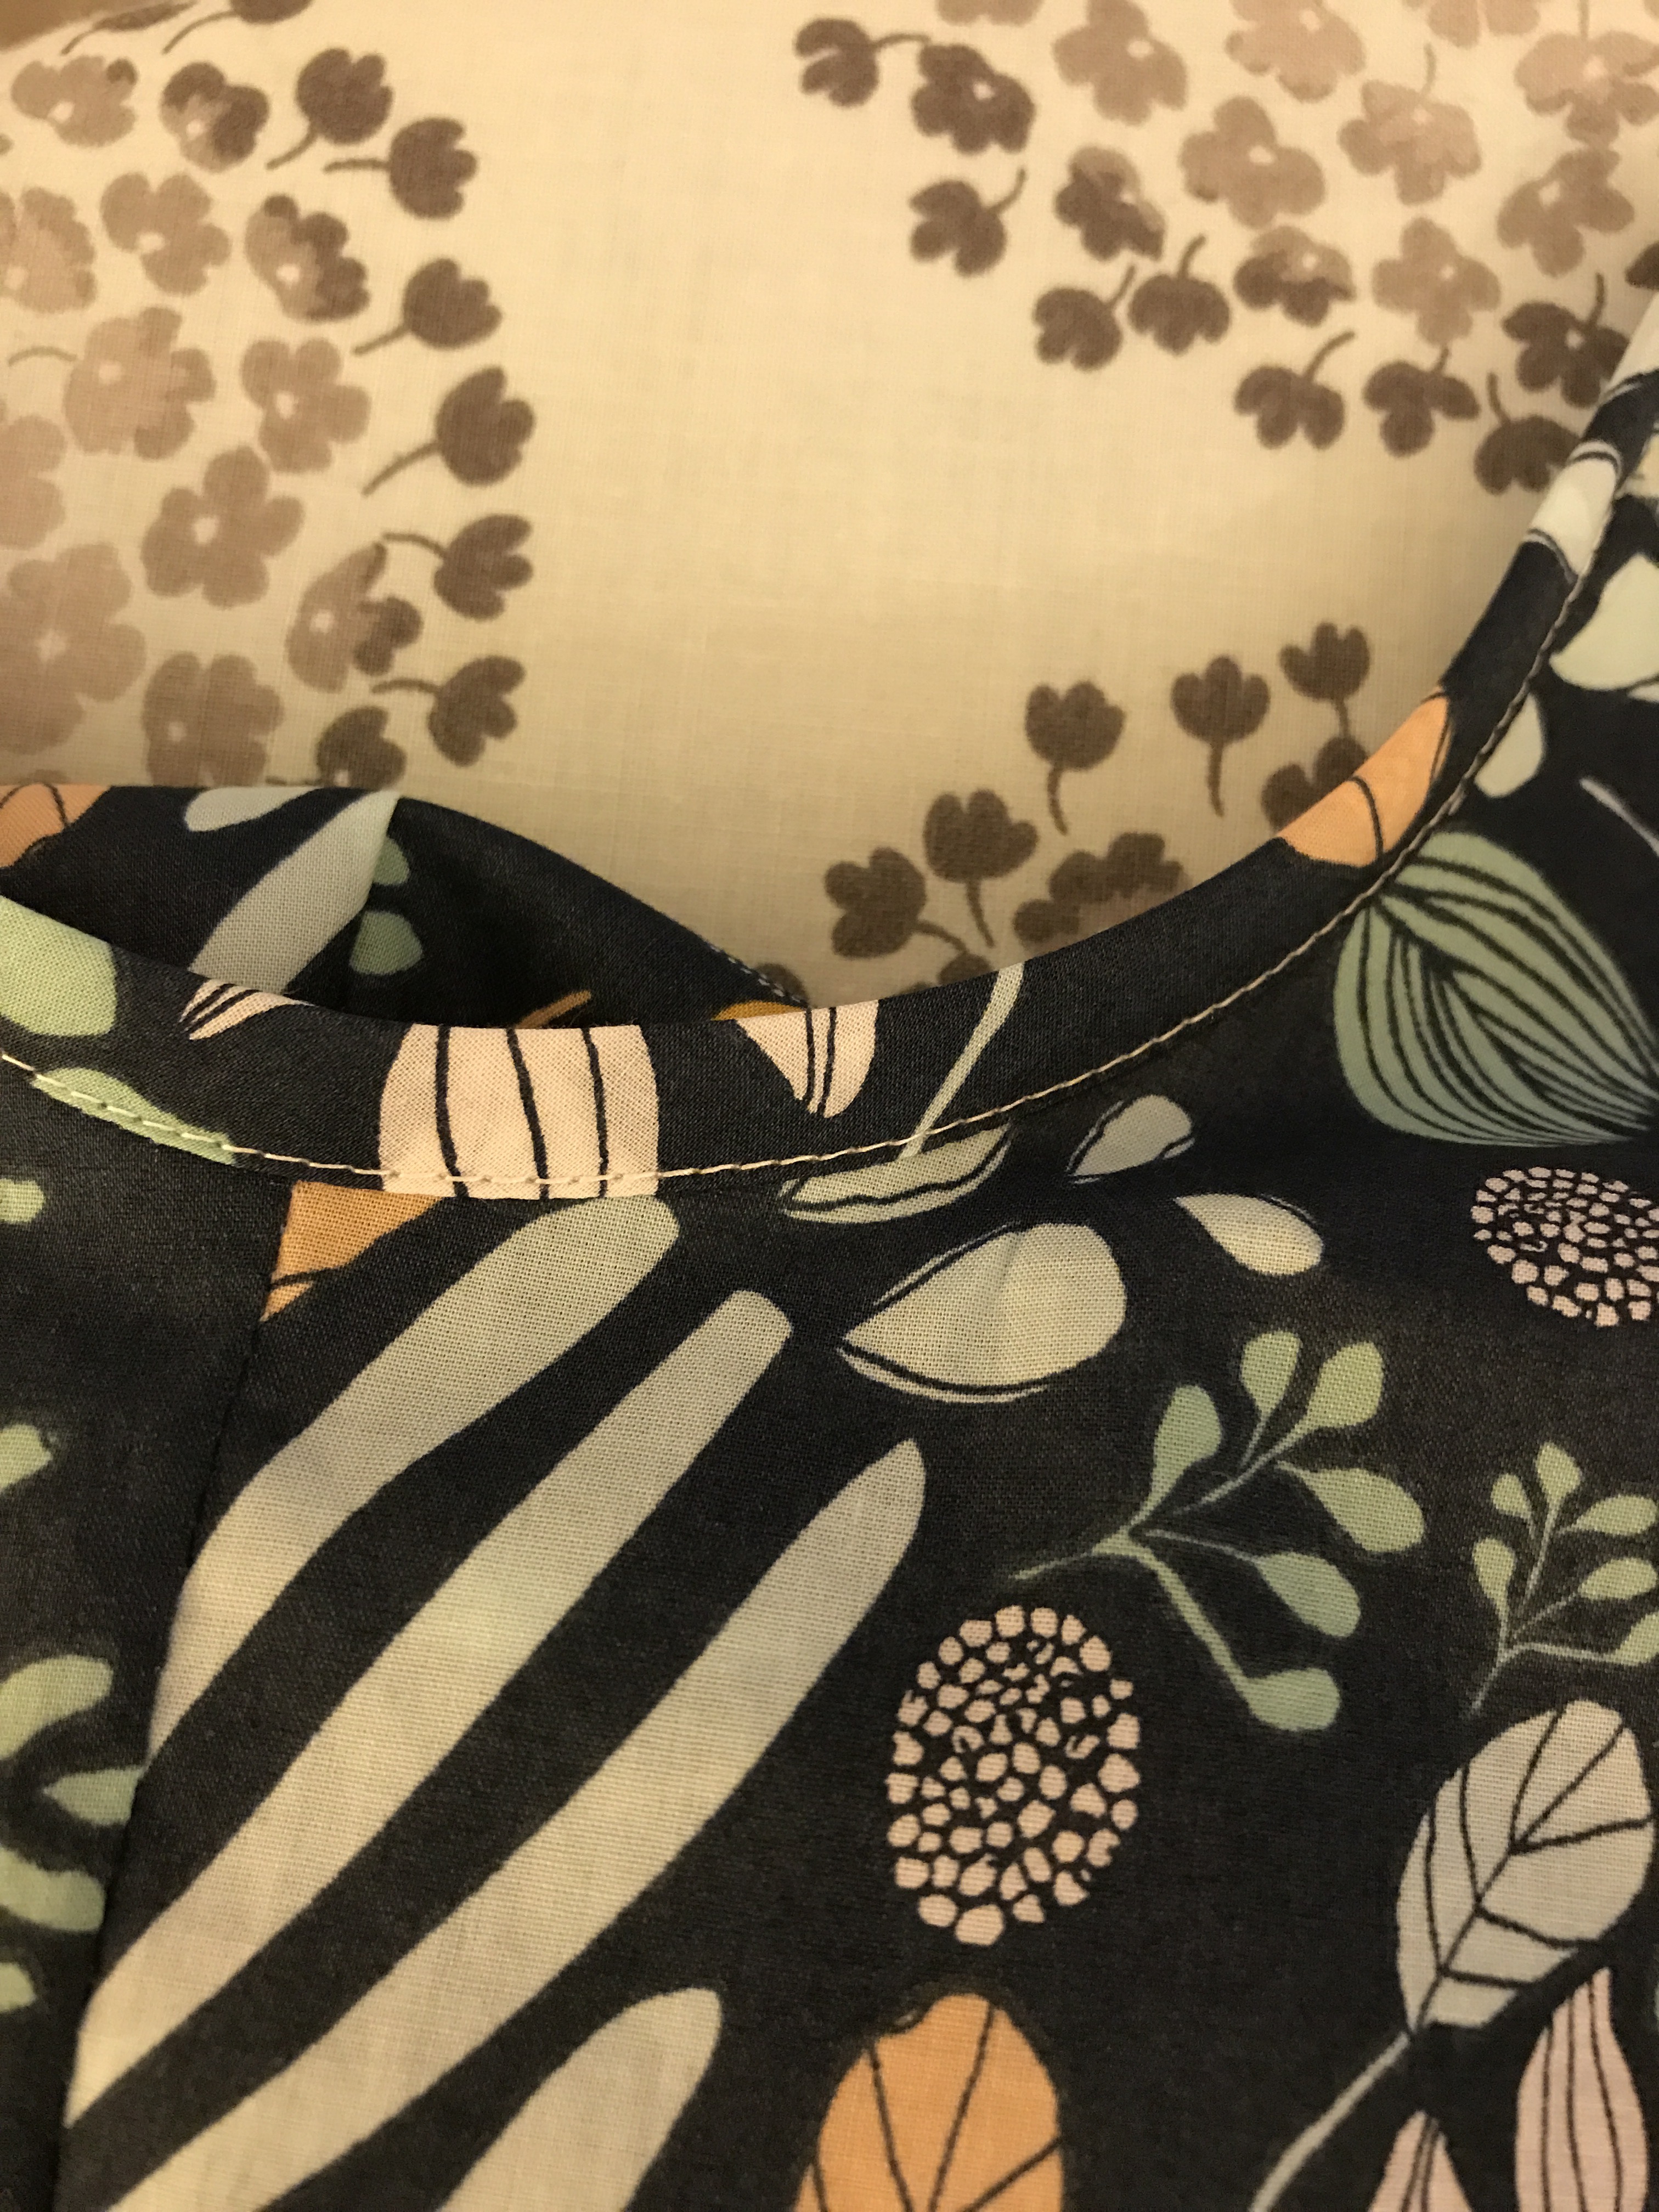 Here is the finished dress hanging on my front door which is my summertime place for pictures of new makes.
 And as worn to church during Me Made May.
  I will say that as much as I love this print, once I finished the dress, I realized that it is really very busy and might be better in a smaller dose so I may wear this as a dress this summer and then shorten it to a blouse at the end of the summer. I definitely like it better with a cardigan which breaks up the print. But I love this for a summer work dress. It is lightweight and floaty. I also enjoyed working with this lightweight fabric and am now inspired to make some Rubies in blouse length with some of the beautiful new lighter weight fabrics that are available now. I especially love these. This is a great summer pattern. I highly recommend it!