One summer evening, my stepdaughter and I were hanging out and talking and somehow we got on the topic of shorts. I had just made the Made by Rae Rose pattern as pants in a lovely woven Ikat fabric and I told her that I had plans to sew myself some shorts. She mentioned that she had wanted some linen shorts that she had seen in a store that we will just refer to by its initials, U.O., but they cost upwards of $50 which seemed ridiculous, not to mention out of reach for an 18 year old college student and I said offhand, I bet we could sew something similar. And so our summer sewing project was born.
We had talked for a while about doing a sewing project together but I realized that by walking her through sewing a Made By Rae pattern, we would not only end up with a pair of cute shorts that didn’t cost a fortune, but that because of the way Rae writes her patterns, my stepdaughter would learn techniques that would enable her to sew another project mostly independently. And she did!
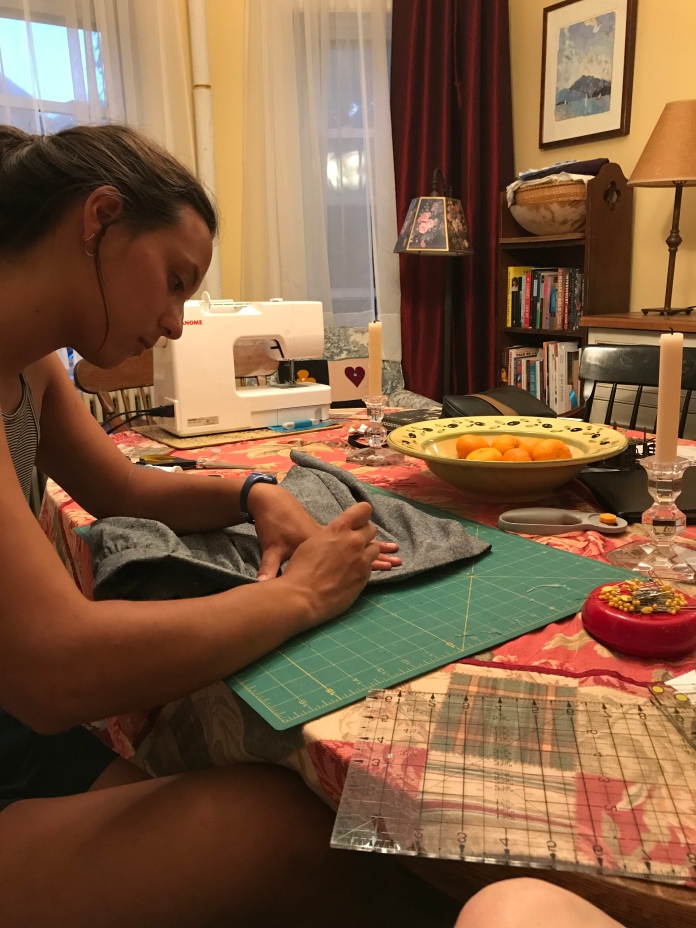
As we sewed she shorts together, I shared my tips. I had a hard time seeing to sew in the ditch when I sewed my waistband with this nubby linen fabric so I suggested that Margaret draw a line of chalk to better see it as she sewed.

We did most of the sewing in two separate evening sessions of a couple of hours each but prior to starting our project, I had her print and tape together her pattern, read the instructions, measure herself, figure out her size and cut out the pattern pieces while I was at work. Her measurements put her between a S and M based on the fitting guide in the pattern so I told her to cut between the two lines. This saved me time and was also was a good way for her to get into the project. Then together, step by step, she made her shorts. We would read a step and then I would walk her through it. The MRB instructions were the perfect guide.
She learned how to iron the fabric before cutting and the difference between ironing fabric and just gently pressing a seam after sewing.
She learned about grainlines and how to lay out the pattern pieces using the cutting layout in the pattern and how to orient them using the grainline arrows.
She learned what interfacing is and how to fuse it to the pattern pieces.
She learned how to wind a bobbin, thread a needle, what stitch length to use and how to sew a straight stitch and to switch to a zig zag stitch to finish her seams.

She practiced sewing some straight lines of stitching on scraps of the material before we sewed the garment and learned how to line up the sewing line with the appropriate seam allowance line. She practiced with navy thread and white thread to decide which one she wanted to use for her final project and decided to use white.
And then she assembled the shorts. She sewed the pattern pieces together step by step following the instructions, she learned to sew gathering stitches and gathered the front waistline, she inserted the elastic and finished the front waistband and hemmed them. As she was following the steps she became more and more independent so instead of showing her a step, I could tell her to sew or press or finish the seam and she was fine doing it on her own.
The only real hitch we had was when the safety pin opened when the second piece of elastic was almost threaded through the waistband. At that point, she learned that desperate times call for desperate measures.

I ended up taking out a few stitches, opening up the waistband to be able to close the safety pin and then I sewed it back up after we finished threading it through (culprit below). I need stronger reading glasses for close sewing work but in a pinch, doubling up on my regular reading glasses works.

It was great to see her excitement when the elastic was threaded and they started to actually look like shorts!

And she was thrilled with the final product which are completely wearable and cute and fit perfectly.
I asked Margaret to share some thoughts about the experience and this is what she said:
“I had a lot of fun sewing the rose shorts pattern. I’ve always admired the work Julie does making her own clothes, but it seemed like an overwhelming process for me to undertake myself since I didn’t have any experience. The thought of following a pattern was stressful without knowing sewing lingo or techniques, even though it was something I wanted to try.
The rose shorts were a style I really liked and seemed simple enough that I could follow along, so I felt comfortable attempting them as a first project. Rae’s pattern was straightforward and clearly formatted, but even so having Julie there to help and show me the right way to carry out the steps was definitely a key to my success. I was definitely confused a couple of times with how to orient the fabric pieces and keeping track of what part I was sewing together, but now that I’ve done the process once I think I have a better sense for the sewing process.
One of the most rewarding parts of making the rose shorts was sewing the pockets into the front pieces. Having the pockets securely sewed into the main section made the project start looking like a real pair of shorts which was really exciting. It was also rewarding to thread the elastic through the waistband and see the fabric begin to cinch up like I’m so used to seeing but had no idea how it actually happens.
I was surprised how much prep work goes into a sewing project and how little time the actual sewing takes. I learned that paying attention to detail in the set-up, cutting, and piecing together stages is so important because then you set yourself up for success when you do the actual sewing.
Overall it was really fun and I’m so happy with how they turned out! I definitely want to make another pair. the rose shorts are a good pattern for someone just starting out (like me) because they’re simple yet sophisticated.”

For all of you who have young people in your lives, I can’t recommend this process more highly. Almost any of Rae’s patterns would be a good first pattern but the Rose shorts are so on-trend and include so many techniques: gathering, pockets, topstitching etc. that working through each of the steps teaches basic sewing in an understandable step by step way. The shorts turned out so well that Margaret wore them to the opening of a local art show that her work was featured in. The show is an open juried show called Focus under Forty featuring artwork by artists ages 16-39. Her work has been featured three years running and this year four of her photographs were accepted in the show and one of them won second prize. We are so proud of her! You can learn more about the show here.
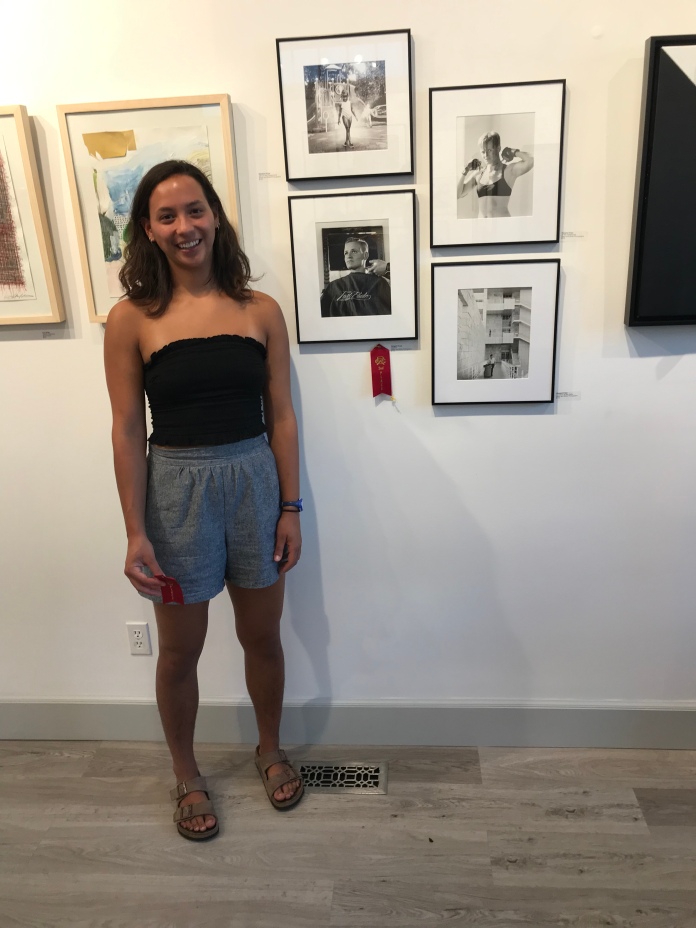
As Margaret was sewing her shorts, I was inspired to sew myself a pair as well because hers were turning out so cute. They are the perfect summer shorts. I sewed a Large based on my measurements of 32 waist, 42 hip and they fit perfectly.

The fabric we both used was Essex cotton-linen blend from my stash in two different shades of blue. I subsequently bought that same fabric in a rust color to make myself a second pair. The best thing about this fabric is that it just gets nicer with age.
I also plan to make myself a cropped floral pair inspired by Rae’s version. I couldn’t resist this fabric:
and have made myself a fun rayon version using a floral border print. I used a slightly different approach to better deal with the slippery fabric which I posted about here. Here they are worn with my recently cropped Gemma tank. I am loving wearing them.

So much love for this pattern!
In our house, we now have a new motto:


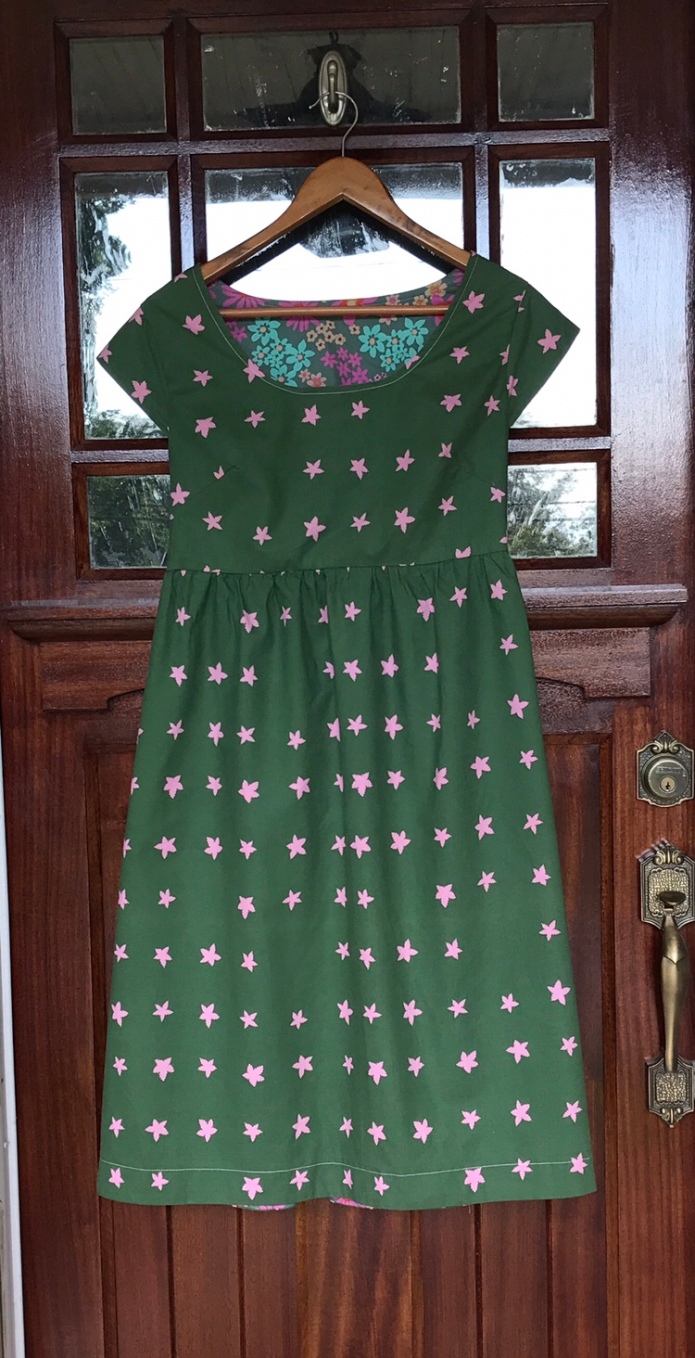 There are some dresses that just make you feel happy when you wear them and this
  I love The Cloth Pocket and had the opportunity to visit in person and actually take a class there last year. Highly recommend! Great teachers, fabric and vibe. I buy most of my quilting fabrics from them online and they have a wonderful selection of chambrays.
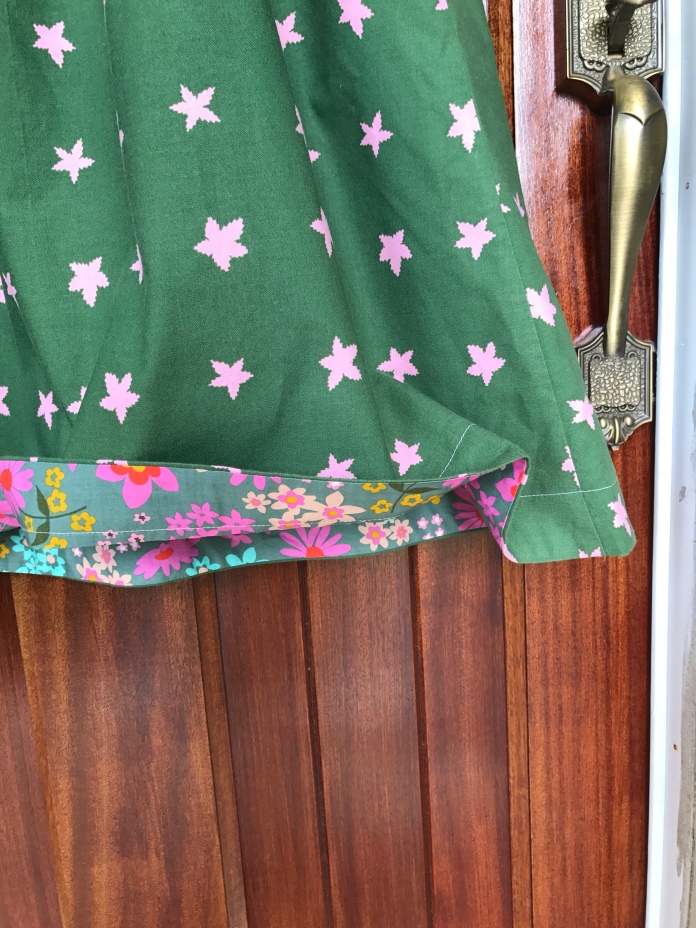 Since I was in the middle of sewing
 I made this in a hurry and used fewer lines of shirring than I normally do spaced a bit farther apart. I like it this way!
 And a nice surprise was how well my new
  If you haven’t made the Washi or the
  A little more than two years ago, I started sewing my own clothes and last fall, I took the
  And as worn here:
  This would seem to be plenty: 3 summer dresses. And then,
  Other than adding an inch to the length of the skirt (which I neglected to do for the Glow version, I am not sure why) I followed exactly the same methods I used for my first batch of Isla’s which was to use all the tricks that my Instagram friends shared with me and which can be found in
  And as worn:
  Next up I made the Sidewalk fabric version. I knew it would be good because I had seen
  This fabric is really nice to work with and I am so happy with how this version turned out.
 And as worn:
 Next I sewed the
  And as worn:
 The Amy Butler version is a bit shorter which came in handy when we recently had a heatwave. I didn’t think I cut it differently but I must have.
 This fabric is a bit heavier than the others. It is really easy to sew with and would be great for someone new to knits.
 And that would have been it, except that
  It is amazingly comfortable, flattering and doesn’t wrinkle.
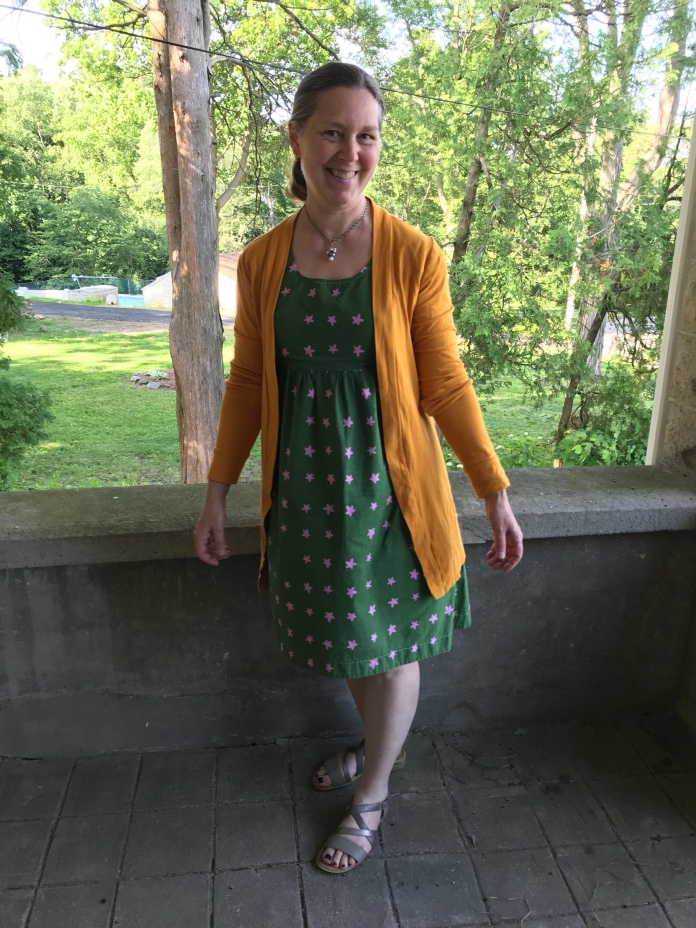
 Perfect for a trip to someplace amazing. Now all I need are airplane tickets. Mr. NB, take note! And it is even better with my mustard cardigan, as most of my dresses are.
 One of my favorite winter Islas did get some wear time this summer on one of our cooler days. Here it is with leggings and sneakers. I can’t recommend this pattern more highly!
 Back view:
 Version number 2: Size medium. Same adjustments as version #1 but decided after cutting out the pattern to use contrasting fabric left over from my
  Back view:
 Side view:
 Version number 3. I made a muslin in size Small for my stepdaughters to try since they have a birthday coming up and there is some
  I used chambray left over from several previous projects that I purchased over 20 years ago in Brooklyn for the bias binding which I used on the neck, armholes and as a facing for the hem.
 I swear that this fabric regenerates itself while I sleep. There is always a bit more for one more project. One of my children’s favorite childhood books was
  Gemma hanging on front door. #goodlight
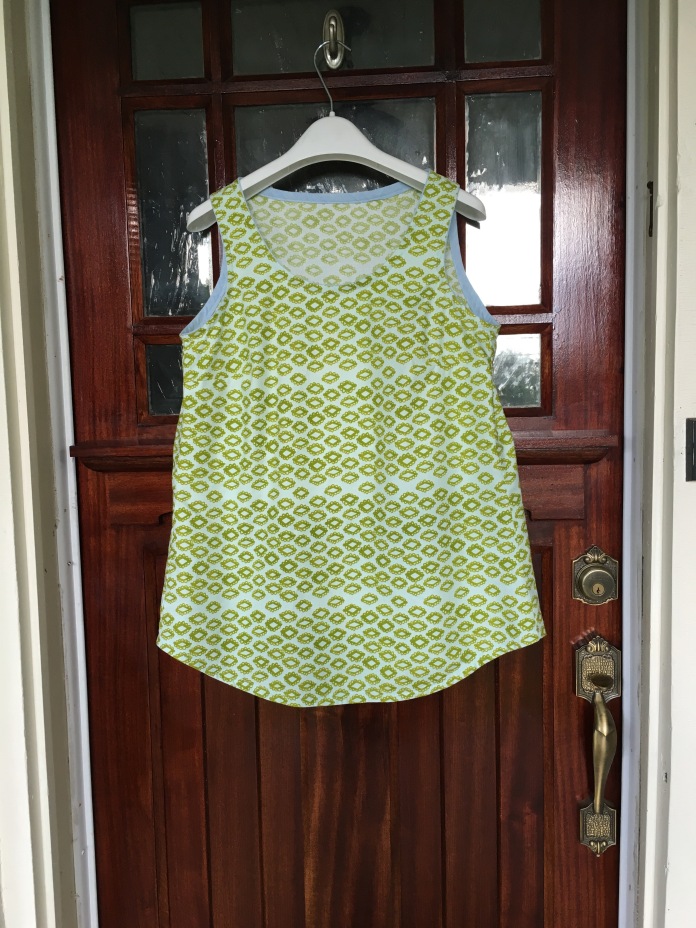 Gemma hanging in a window.
  More pictures of my woodblock Gemma below. It might be my favorite. It is hard to choose.
  The Gemma tank is perfect with a cardigan:
 Side view:
 with Sadie the wonder dog who is not enjoying the Dog Days of Summer
  action shot with dog below, (note to self: add bra-strap holders) but the fit is really good as you can see.
 All of these tops have already been washed and worn. Even though the Dog Days of Summer are supposed to have been over August 11th-at least according to the internet- they are in full force in Connecticut. It has been unbearable. These tanks are perfect for these hot days. Sadie the wonder dog is not feeling so wonderful d/t the heat. #summerinconnecticut


 Back:
Back: So clearly I am enjoying this pattern. It is quick and easy sew and it allows you to get a little crazy with fabric because while you might not make a whole dress of a funky fabric, a tank top is a small enough commitment (and everything goes with jeans) so I am now looking at my stash in a new way and seeing so many possibilities. I will post again later this week with details and how-too info. Next up will be to try a Small-Medium version to see if that is the perfect Goldilocks fit solution and to get going on many tanks in size Small for the birthday girls. Action shot below. #jumpingforjoy because the heat is lifting:)