Made By Rae Patterns, Sewing

A Love Letter to the MBR Emerald Pattern

Made by Rae is getting ready to release this wonderful pattern. I made two versions of the dress, one of which I subsequently cropped to make a top, when the pattern first was in Making magazine and then pattern-tested the top last year and made 5 more versions. I have nothing but wonderful things to say about this pattern. I loved making it and I love wearing my many versions. In a world of patterns that seem to all be copies of each other, this feels very original, classic, a great addition to your wardrobe. Am I a MBR superfan? Absolutely. My first garment sewing experience was Rae’s Trillium Dress (previously called Washi Dress) and that experience was so positive that it gave me the confidence to start sewing my own clothes. The rest is history.

Note: I was a pattern tester for the top version of the Emerald and received a fabric gift certificate for pattern testing. I had previously purchased the pattern when I purchased Making magazine. All opinions are my own, my blog is not sponsored and I don’t get any $ if you click on links.

Here are my 7 versions:

Loominous Dress first blogged about here
and as cropped, I wore this all last summer
Linen-Rayon blend first blogged here
I dressed it up and dressed it down. Wore all last summer.
love this dress
Liberty facings for the win 🙂
Slubby Chambray top
I love how the texture of this fabric shows off the bias design
as worn. wardrobe workhorse

with leggings and a Helen’s Closet Blackwood Cardigan while working from home, early pandemic
Blue version of same chambray fabric
worn with MBR Rose pants
Linen-Rayon blend with contrasting facings due to fabric shortage
as worn, Me Made May 2020
with Made by Rae Cleo skirt. My facings on this version were a bit wonky due to pandemic shortage-no interfacing. Had I had interfacing and followed Rae’s instructions, they would be neater as they are in the grey version but I was in make-do mode. I still love and wear this version.
with Made by Rae Luna pants-I love this April Rhodes fabric-quilting cotton for the win!
Double gauze version. I didn’t sew the double gauze versions on the bias. I actually sewed them on the fold that they are just fine.
With Made by Rae Rose pants.
White Double Gauze-worn all the time-with Made by Rae Rose pants

I hope you have enjoyed this little gratitude post for this lovely pattern. Sewing the many top versions is part of how I coped with pandemic anxiety when I had little time and energy for sewing and for that I will always be very grateful. This is just one of the many reasons I am so glad that Rae is still persevering and creating beautiful, wearable designs and well thought out, clear instructions, despite a pandemic, parenting three children and #life. You go girl!

Standard
About Me, unplugged

Making Peace with Uncertainty

Hello friends,

I am trying to take a social media break but wanted to share that today, I gave a sermon in my lovely church (socially distanced-church is remote) and it was on the topic of dealing with uncertainty.

It is pretty ecumenical and not too preachy (thanks to my daughter for her edits and feedback).

If you want to listen, click on the link and go to minute 25.

I wore my favorite me-made outfit of the year, my Made by Rae Emerald top in white double gauze and Rose linen pants.

A funny thing was that just this morning right before I went in, I learned that I was also doing the prayer, which I hadn’t prepared. I tried googling pastoral prayers. No help! I ended up writing something inspired by something Tsh said about feeling surrounded by fog. I have followed her and loved her writing for years. If you don’t know her, you should.

Also, the Lent Devotional that I used and loved is called Every Broken Thing. It is the work of Erin Moon and her work with the bible binge podcast is bringing me joy right now. I miss seeing her posts on instagram but am finding that I really need to stay away, at least until after the election.

This is the third sermon I have given. The first one I gave was in 2007 about becoming a nurse. You can listen to it here.  I gave one last year on navigating hard times. It is a bit of a tear jerker but ultimately uplifting. Maybe not what you want to listen to right now but if you are interested in listening, you can find it in this post here.

Hope you are all safe and well!

Julie

Standard
Sewing, Sewing Pants

Floral Border Print Rose Pants

I have plans to make the Helen’s Closet Donovan skirt and I had the idea to try it in a border print so I went to trusty Fabric. Com and searched for floral rayon border prints on sale and found a lovely navy print by Alexia Marcelle Abegg.

I bought a large piece and once I had it I realized that it also might make a great pair of swishy Rose pants. The only big challenge is that the border print goes vertically not horizontally and I wanted to make sure that the two legs matched. I ended up laying out my pattern pieces horizontally and lined up the bottom of the pant pieces straight along the selvage instead of the top to make sure that they would match when they were sewn. I had just enough fabric going widthwise selvage to selvage for the length of the pants which was really lucky. Once cut out, I realized that the fabric was really slippery so I assembled them slightly differently than the Rose pattern directs. I cut the front waistband the same size as the sewn pants front and sewed the front waistband to the front and the back waistband to the back and then sewed the side seams including both waistbands. I figured that I would use elastic around the whole waist and just let the elastic gather the fabric. I thought it might work because the gathers are pretty gentle. I had a piece of elastic that wasn’t quite as wide as the waistband so I improvised and sewed a 3/8 seam at the top of the waistband to create a little paper bag waist effect.

Pinning the front waistband to the top of the pants. I wasn’t sure how it would work with the pockets but the fabric is so flowy that it is fine with the pockets being gathered as well. I did not use any interfacing because I didn’t want the fabric to be stiff.

img_1059

In order to have the elastic on hand fit the waistband, I sewed a seam at the top of the waist before inserting the elastic. It worked great.

img_1065

it ended up creating a subtle paper bag waist effect

Pants before hemming:

img_1244


img_1242

And after worn with my Gemma tank which I cropped and am loving:

img_1723


img_1726

I am really happy with how they turned out. I ended up hemming them to preserve the entire border but they are a bit too long so one of these days I will unpick the hems and take them up a bit. I plan to make another pair in this moss green tencel twill. They are super comfortable and bridge the gap between dressy and casual and doing the waistband in the two pieces was just easier for me to negotiate with the slippery fabric. These are my third pair of Rose pants. You can see my ikat pair here and my linen shorts here.  I am a fan!

Thanks for reading!

Standard
Sewing

Sewing with Teens: MBR Rose Linen Shorts

One summer evening, my stepdaughter and I were hanging out and talking and somehow we got on the topic of shorts. I had just made the Made by Rae Rose pattern as pants in a lovely woven Ikat fabric and I told her that I had plans to sew myself some shorts. She mentioned that she had wanted some linen shorts that she had seen in a store that we will just refer to by its initials, U.O., but they cost upwards of $50 which seemed ridiculous, not to mention out of reach for an 18 year old college student and I said offhand, I bet we could sew something similar. And so our summer sewing project was born.

We had talked for a while about doing a sewing project together but I realized that by walking her through sewing a Made By Rae pattern, we would not only end up with a pair of cute shorts that didn’t cost a fortune, but that because of the way Rae writes her patterns, my stepdaughter would learn techniques that would enable her to sew another project mostly independently. And she did!

img_1403

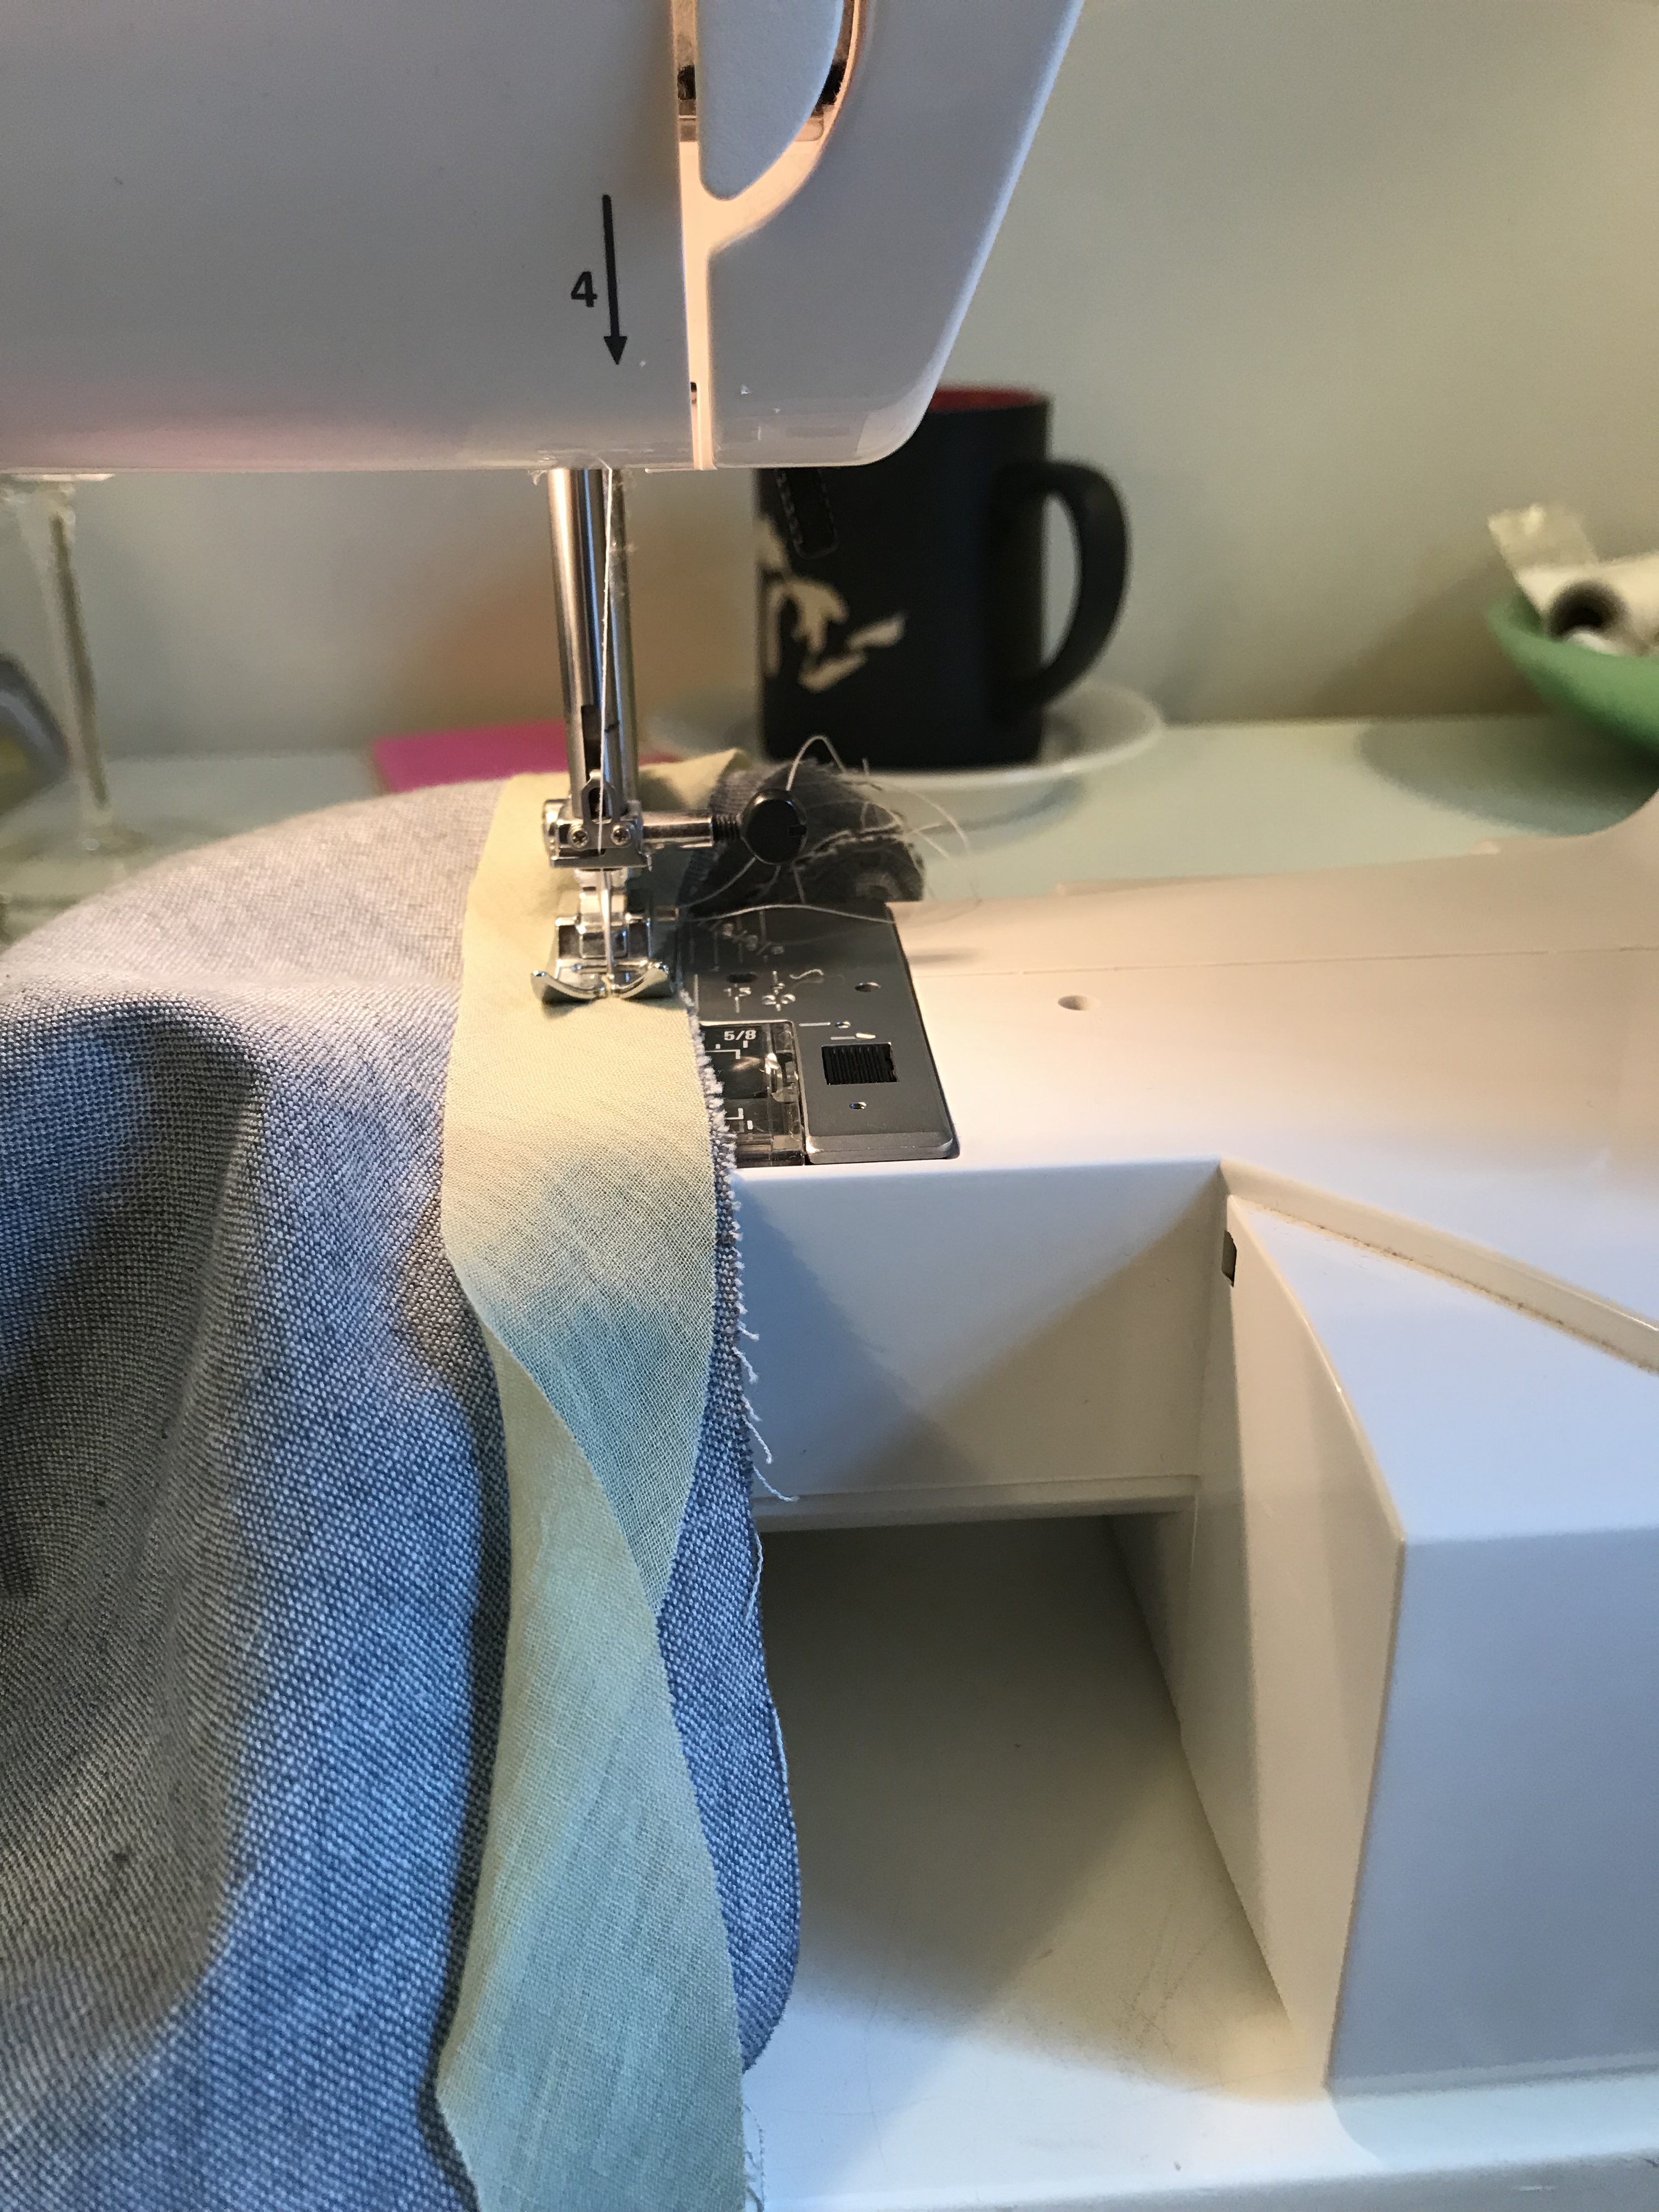
As we sewed she shorts together, I shared my tips. I had a hard time seeing to sew in the ditch when I sewed my waistband with this nubby linen fabric so I suggested that Margaret draw a line of chalk to better see it as she sewed.

img_1401

We did most of the sewing in two separate evening sessions of a couple of hours each but prior to starting our project, I had her print and tape together her pattern, read the instructions, measure herself, figure out her size and cut out the pattern pieces while I was at work.  Her measurements put her between a S and M based on the fitting guide in the pattern so I told her to cut between the two lines. This saved me time and was also was a good way for her to get into the project. Then together, step by step, she made her shorts. We would read a step and then I would walk her through it. The MRB instructions were the perfect guide.

She learned how to iron the fabric before cutting and the difference between ironing fabric and just gently pressing a seam after sewing.

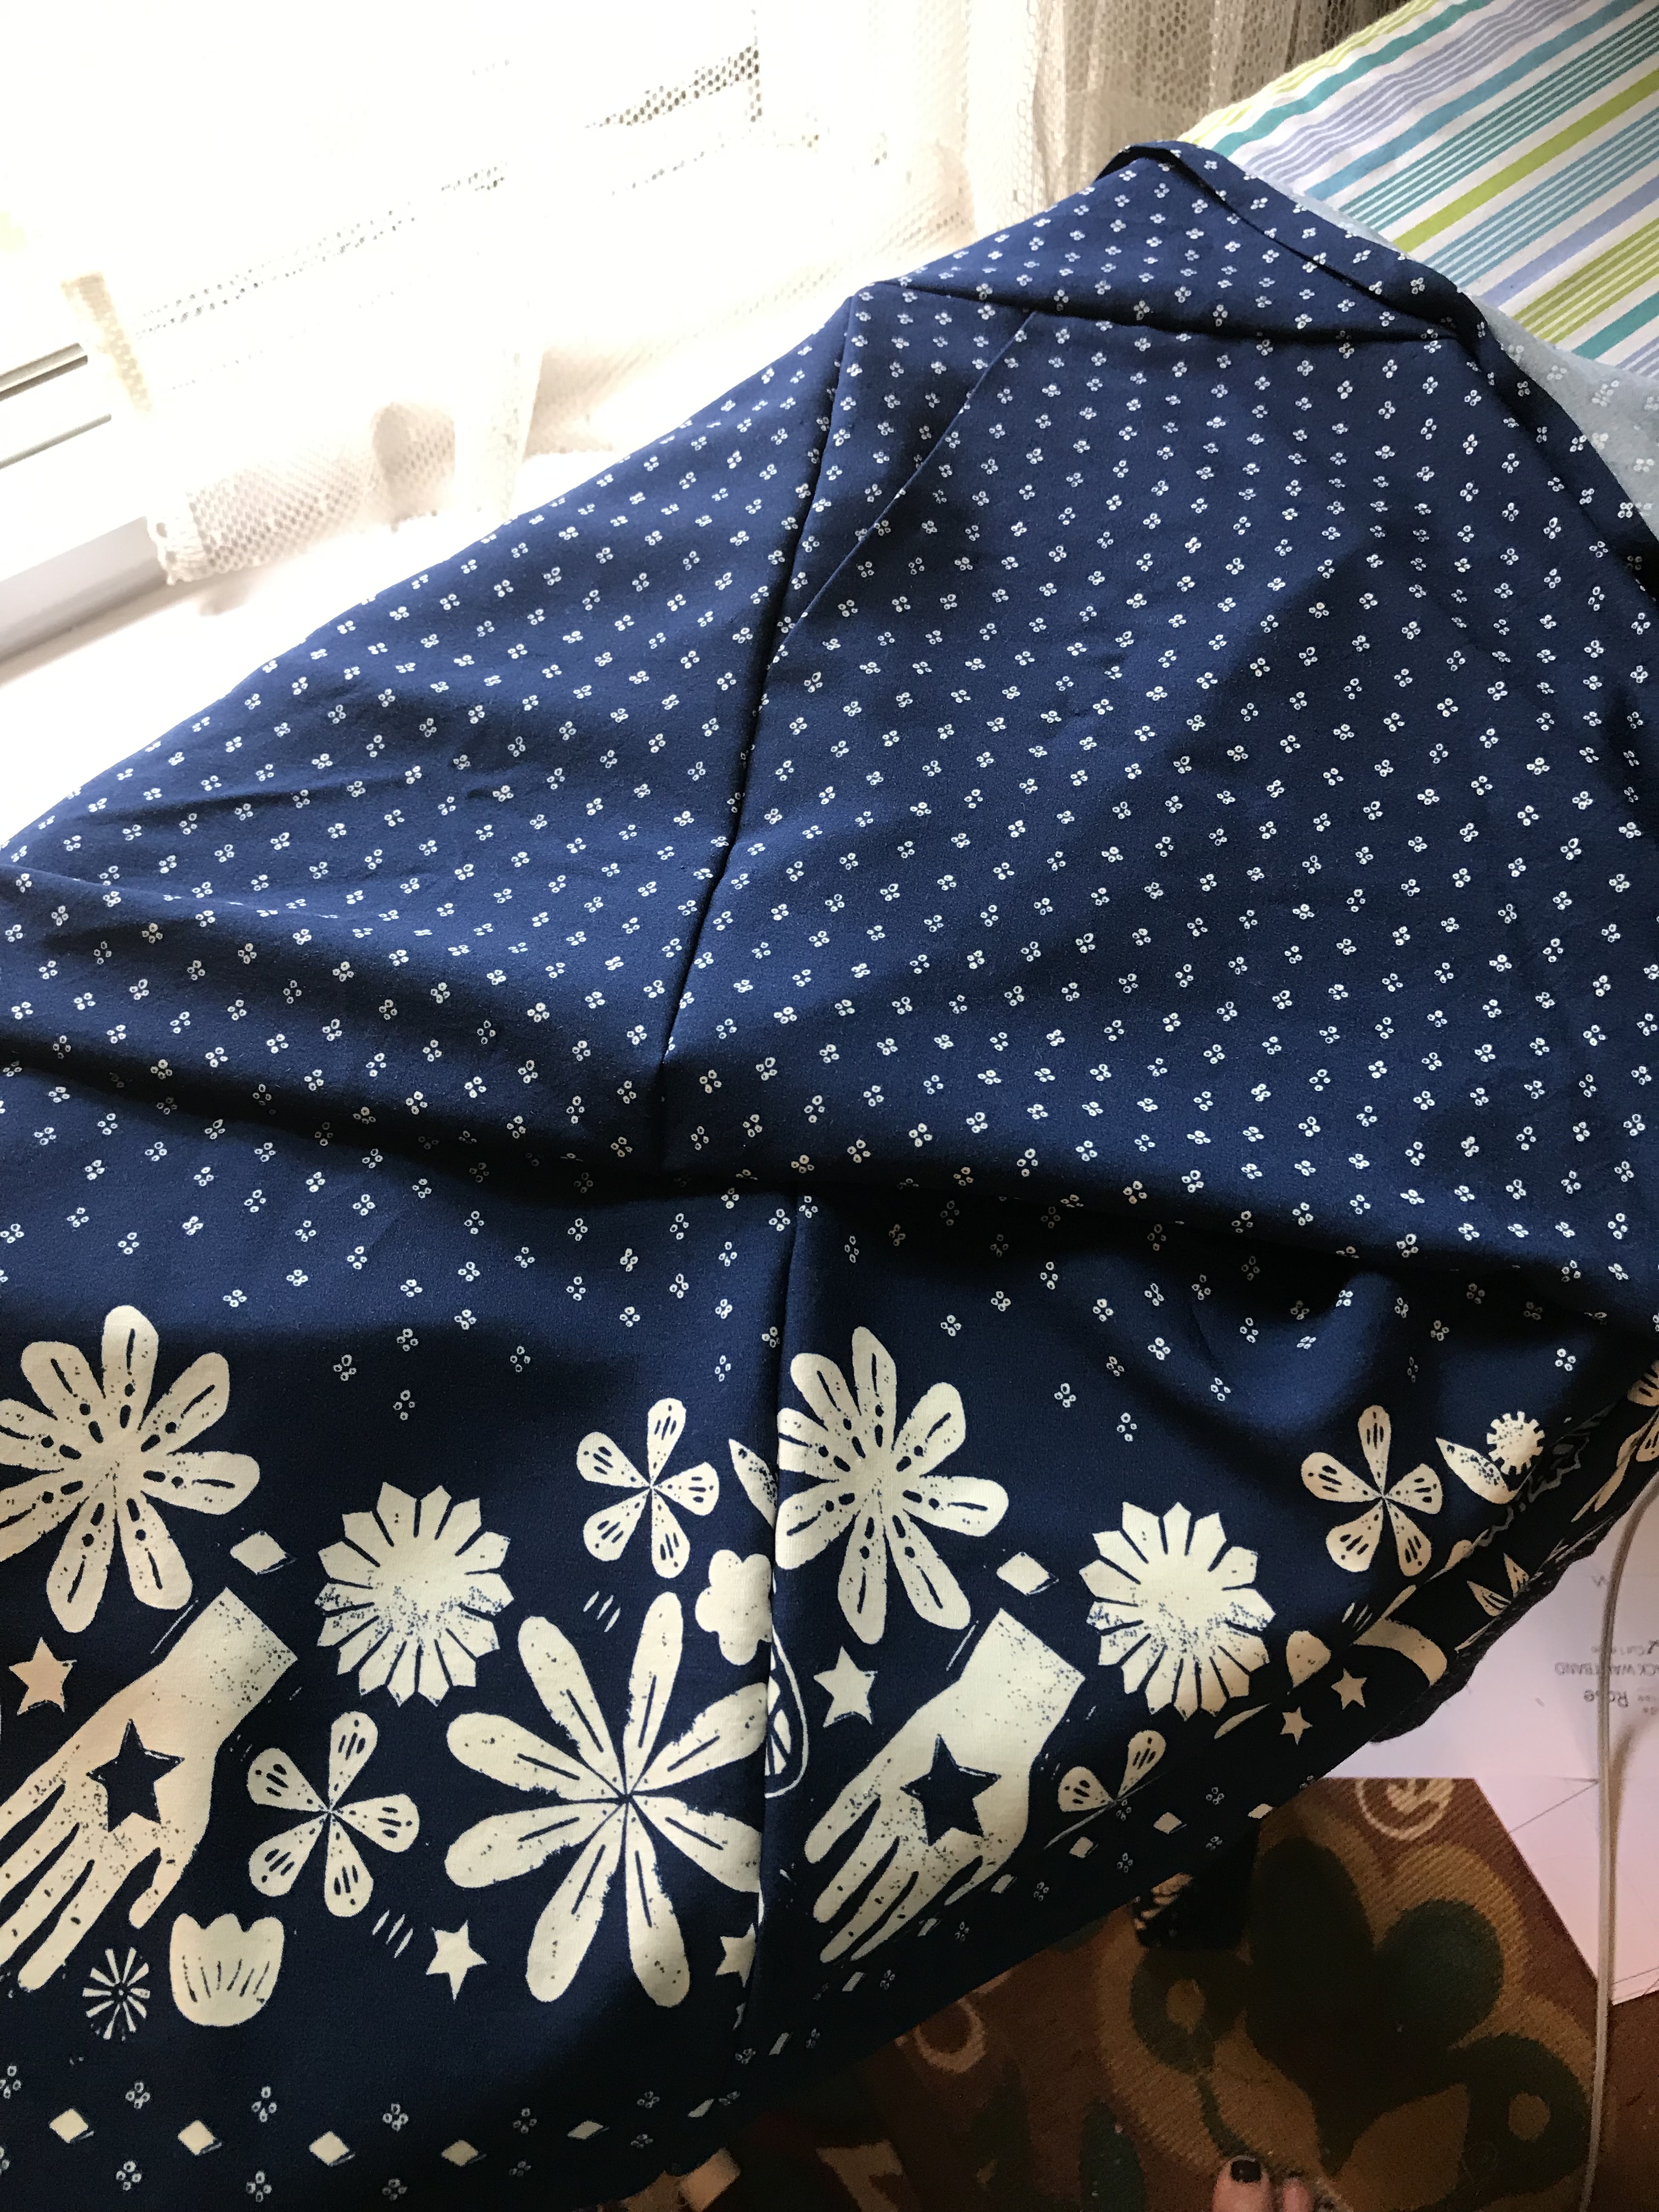
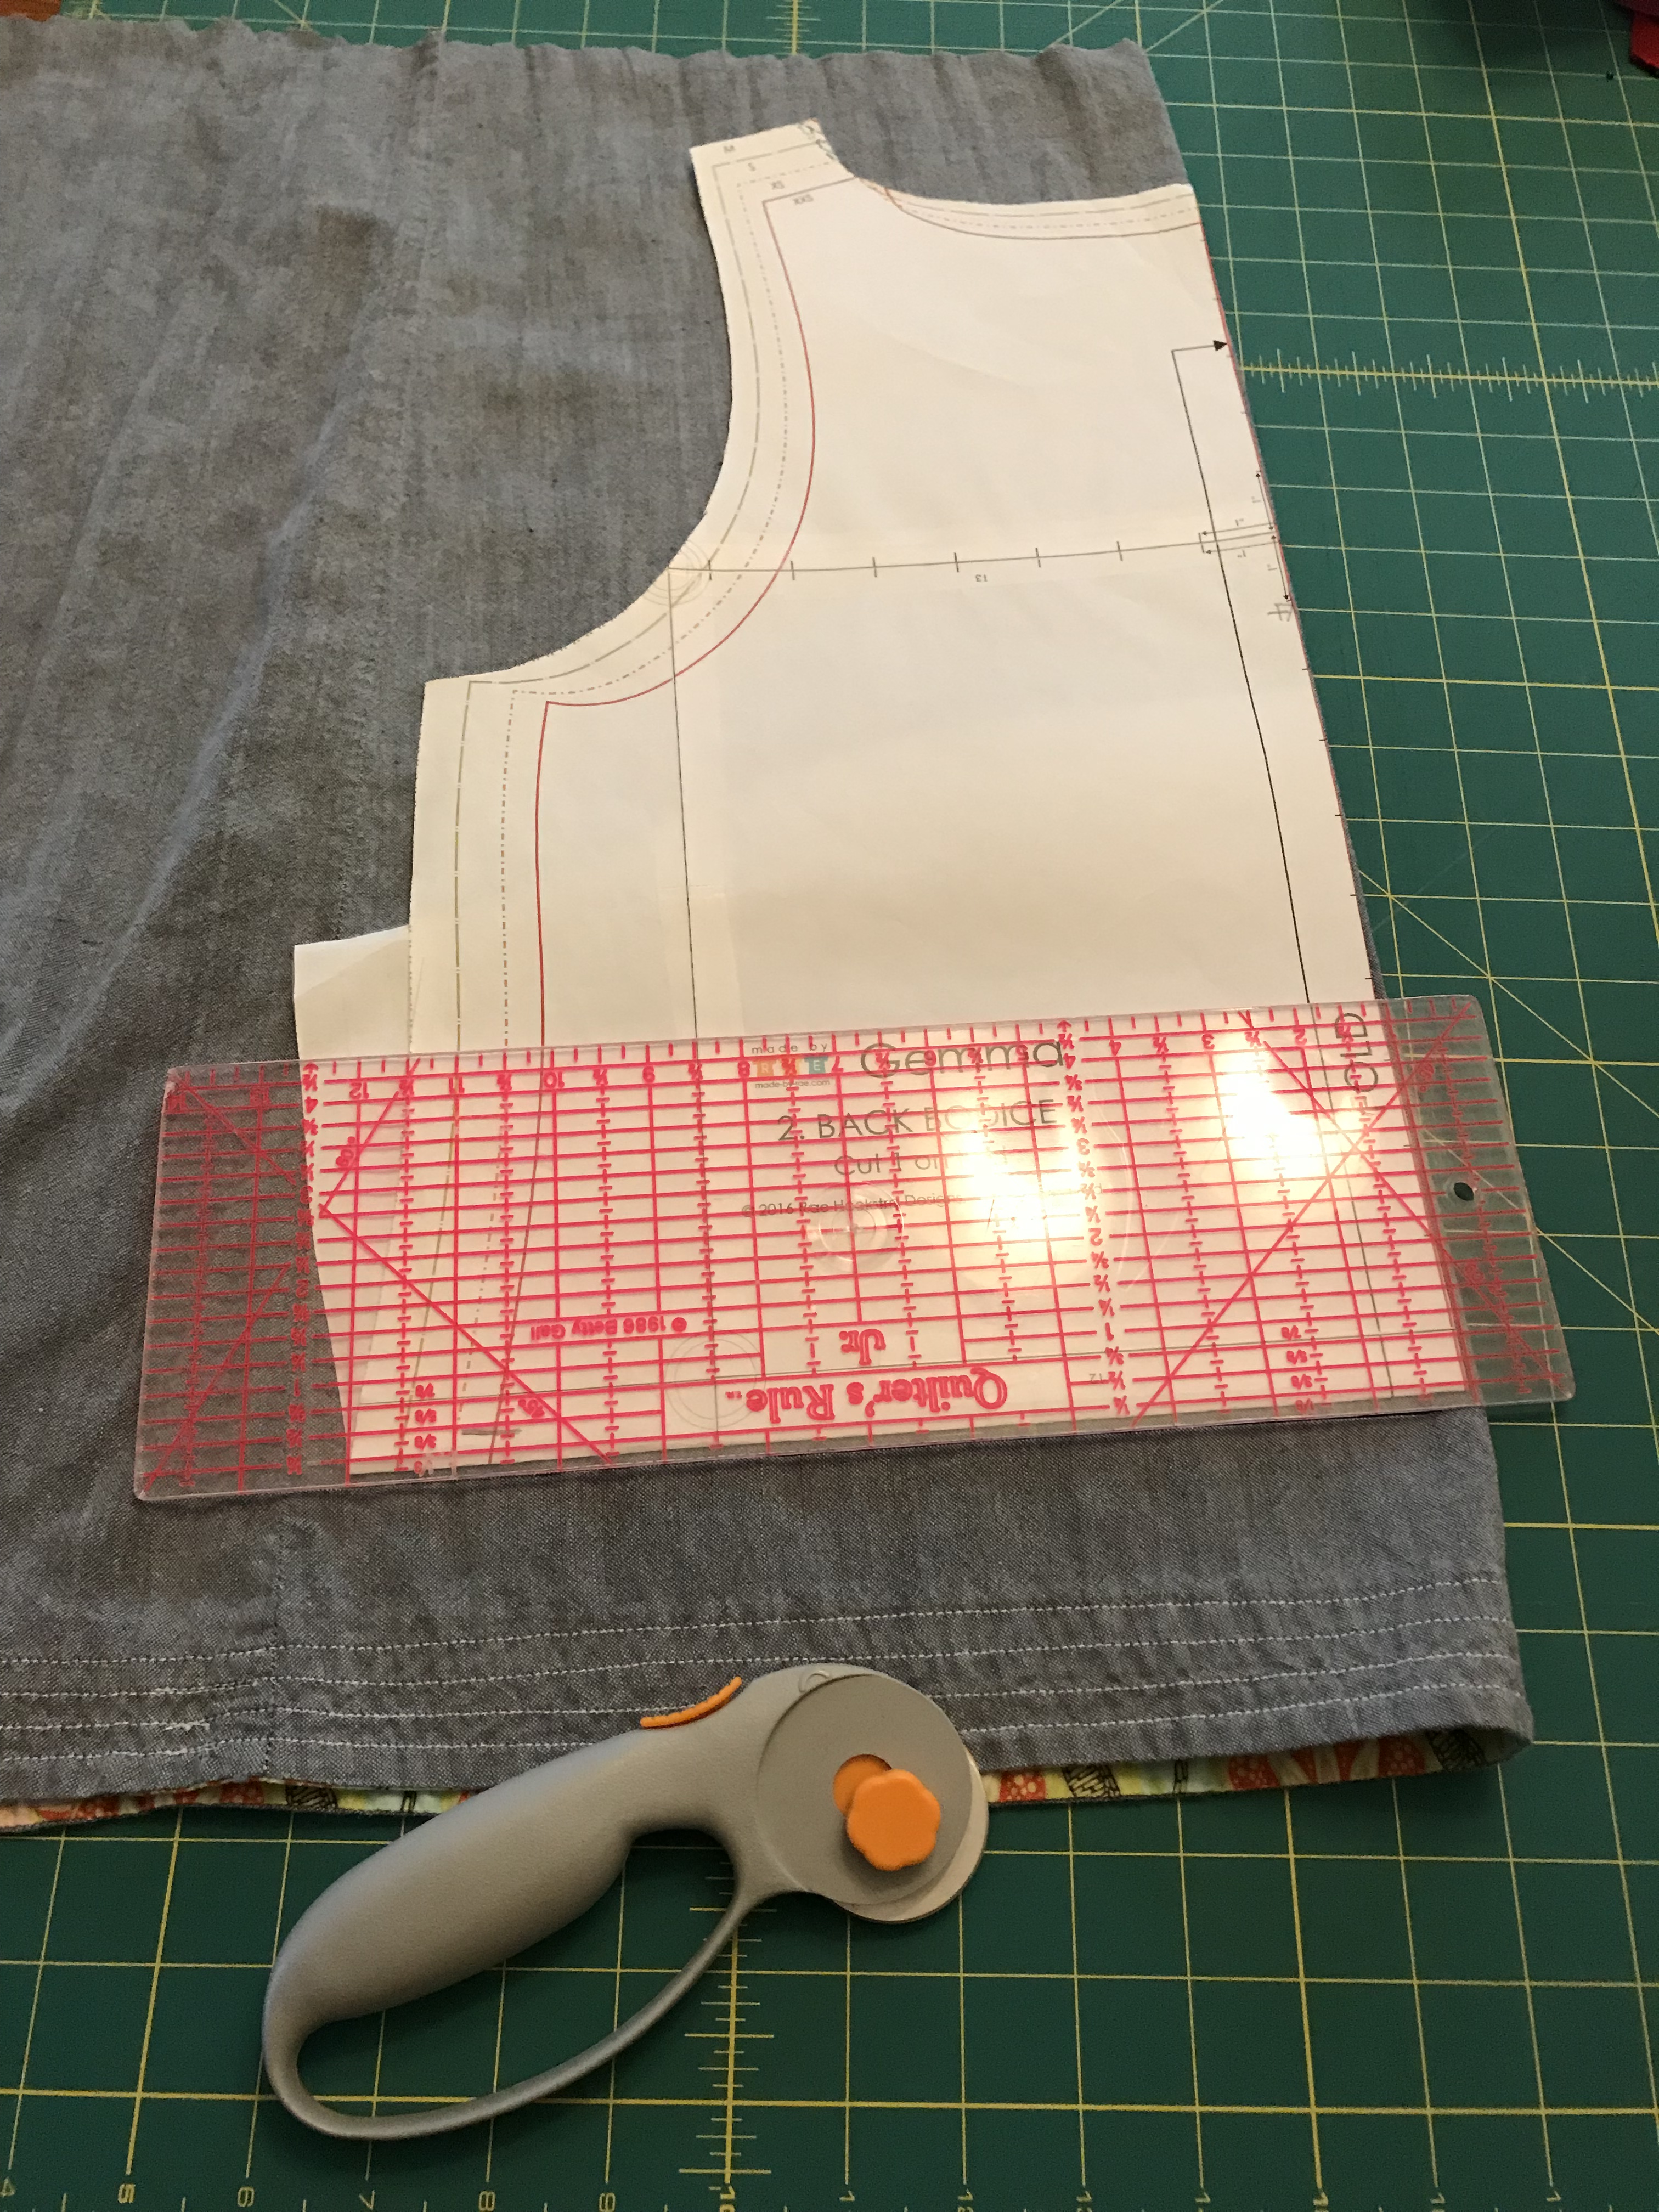
She learned about grainlines and how to lay out the pattern pieces using the cutting layout in the pattern and how to orient them using the grainline arrows.

She learned what interfacing is and how to fuse it to the pattern pieces.

She learned how to wind a bobbin, thread a needle, what stitch length to use and how to sew a straight stitch and to switch to a zig zag stitch to finish her seams.

img_1414

She practiced sewing some straight lines of stitching on scraps of the material before we sewed the garment and learned how to line up the sewing line with the appropriate seam allowance line. She practiced with navy thread and white thread to decide which one she wanted to use for her final project and decided to use white.

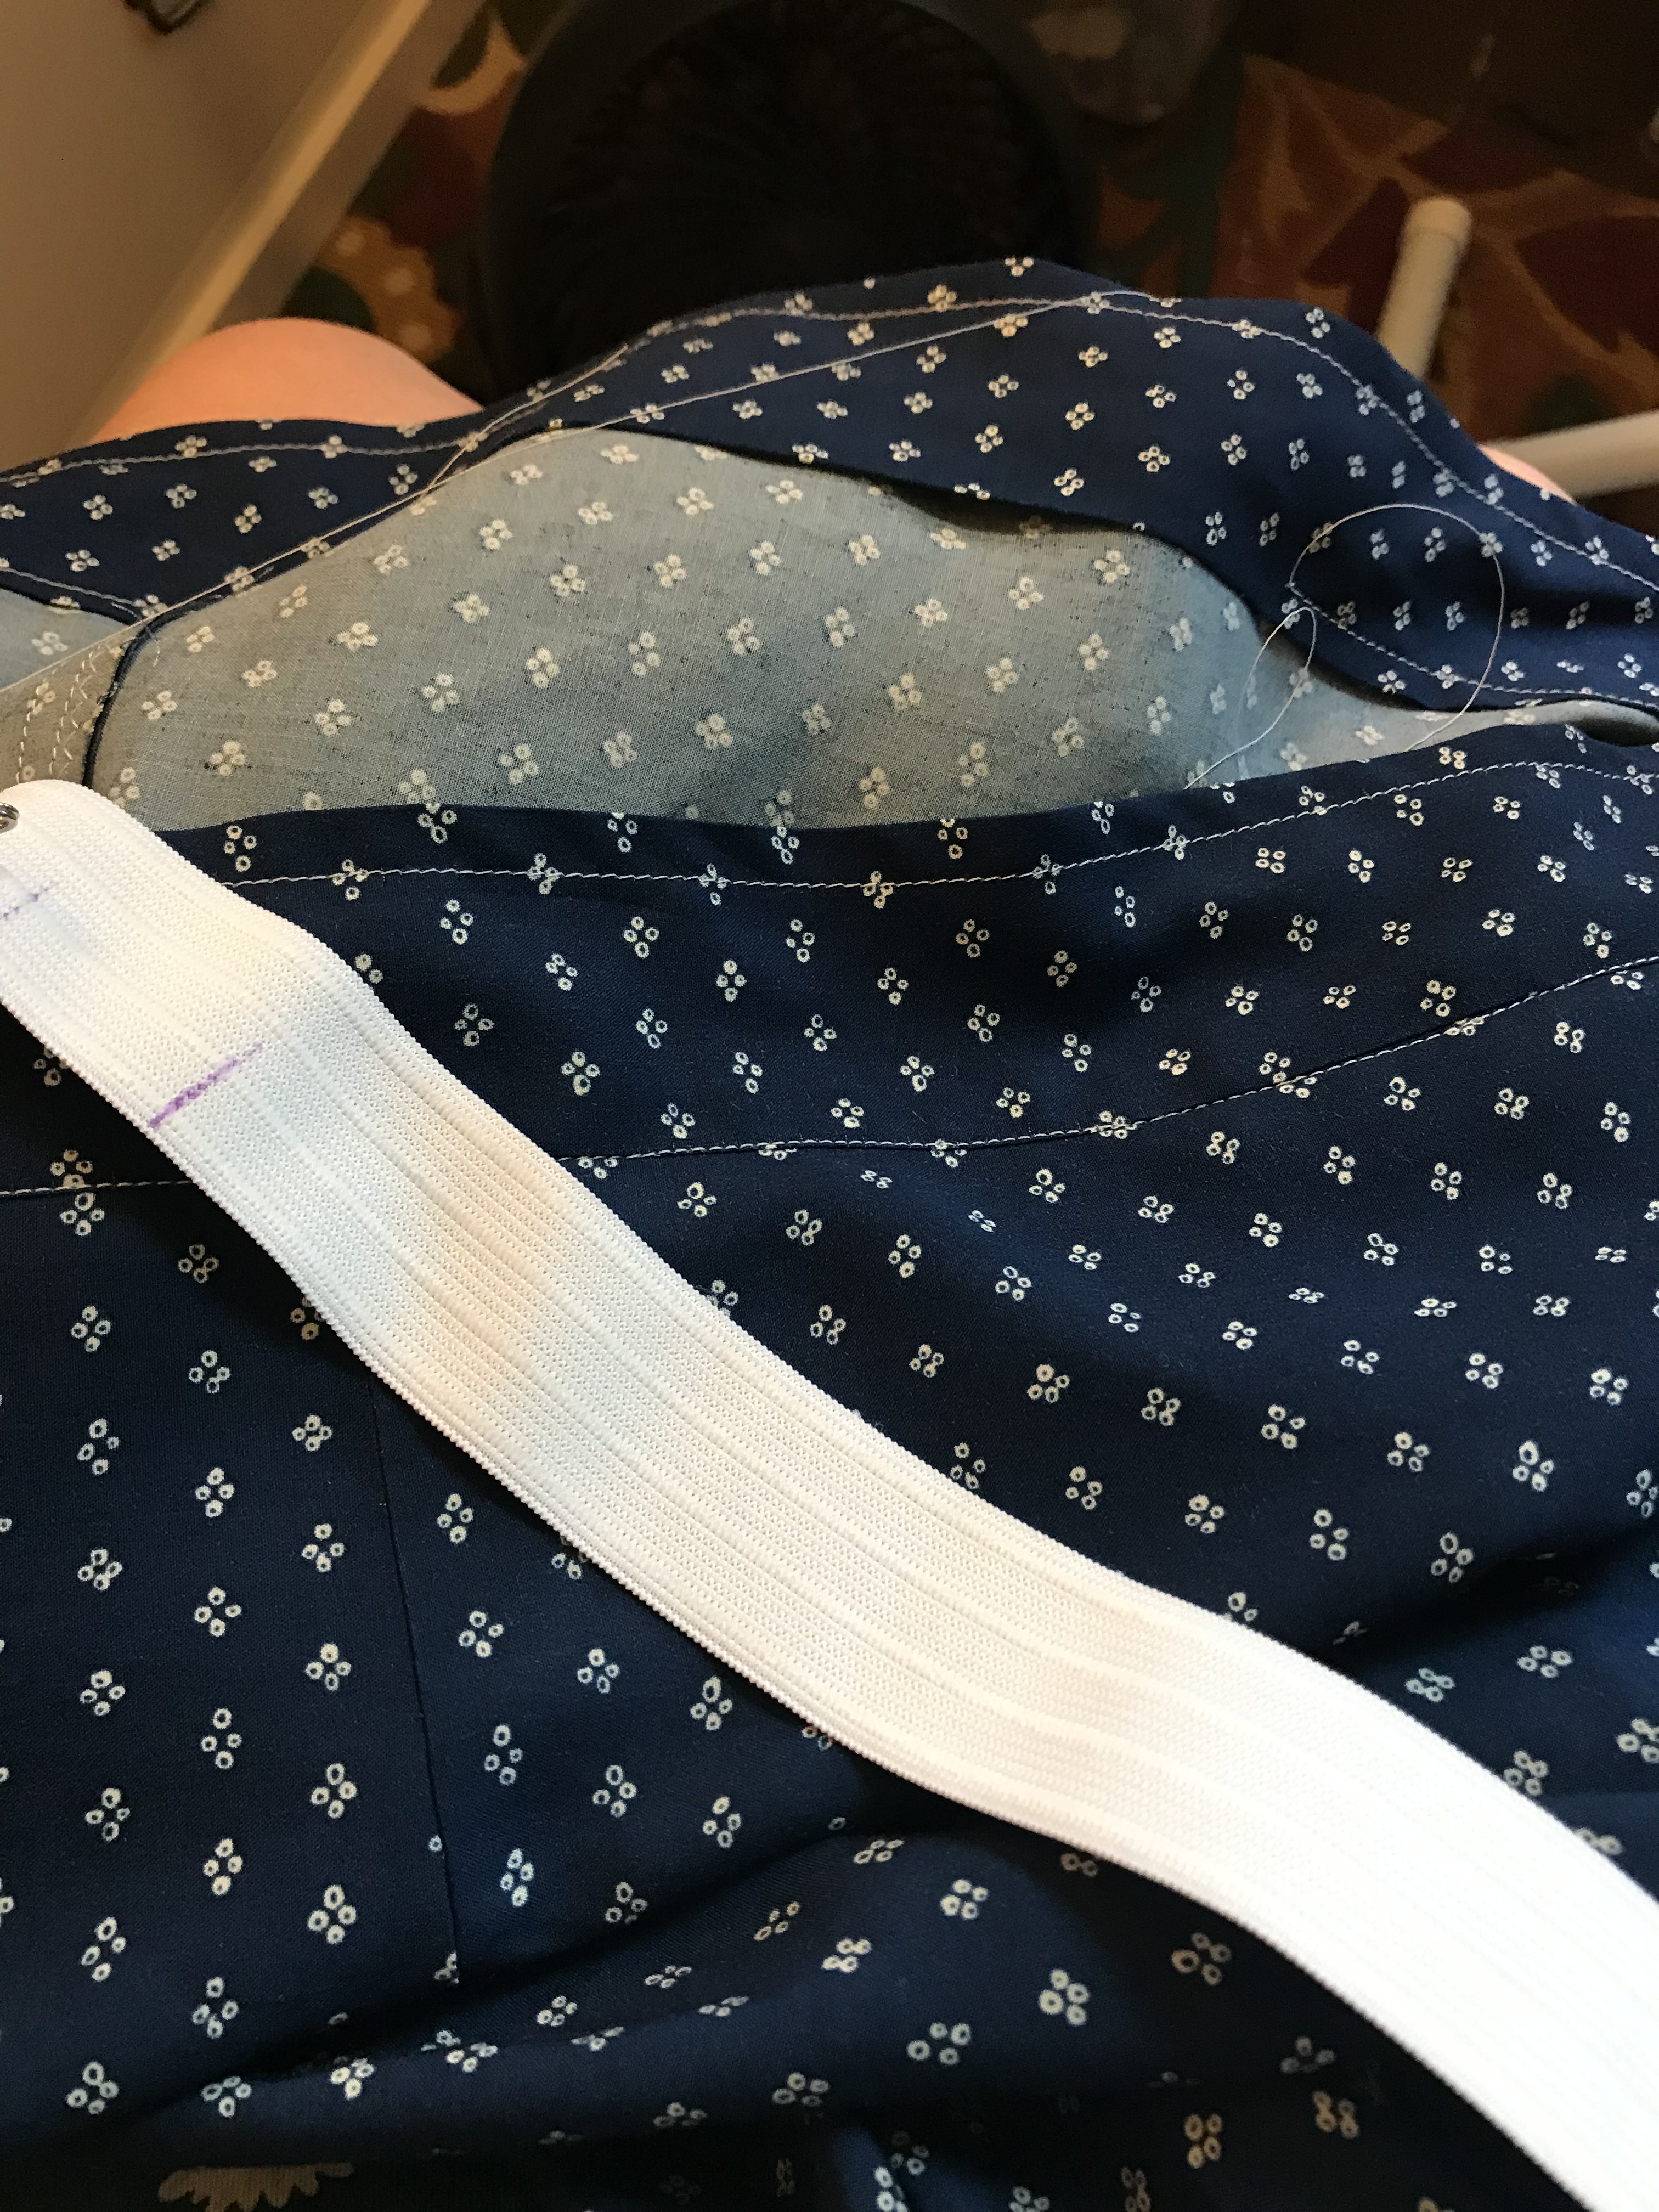
And then she assembled the shorts. She sewed the pattern pieces together step by step following the instructions, she learned to sew gathering stitches and gathered the front waistline, she inserted the elastic and finished the front waistband and hemmed them. As she was following the steps she became more and  more independent so instead of showing her a step, I could tell her to sew or press or finish the seam and she was fine doing it on her own.

The only real hitch we had was when the safety pin opened when the second piece of elastic was almost threaded through the waistband.  At that point, she learned that desperate times call for desperate measures.

img_1409

I ended up taking out a few stitches, opening up the waistband to be able to close the safety pin and then I sewed it back up after we finished threading it through (culprit below). I need stronger reading glasses for close sewing work but in a pinch, doubling up on my regular reading glasses works.

img_1425

It was great to see her excitement when the elastic was threaded and they started to actually look like shorts!

img_1416-1

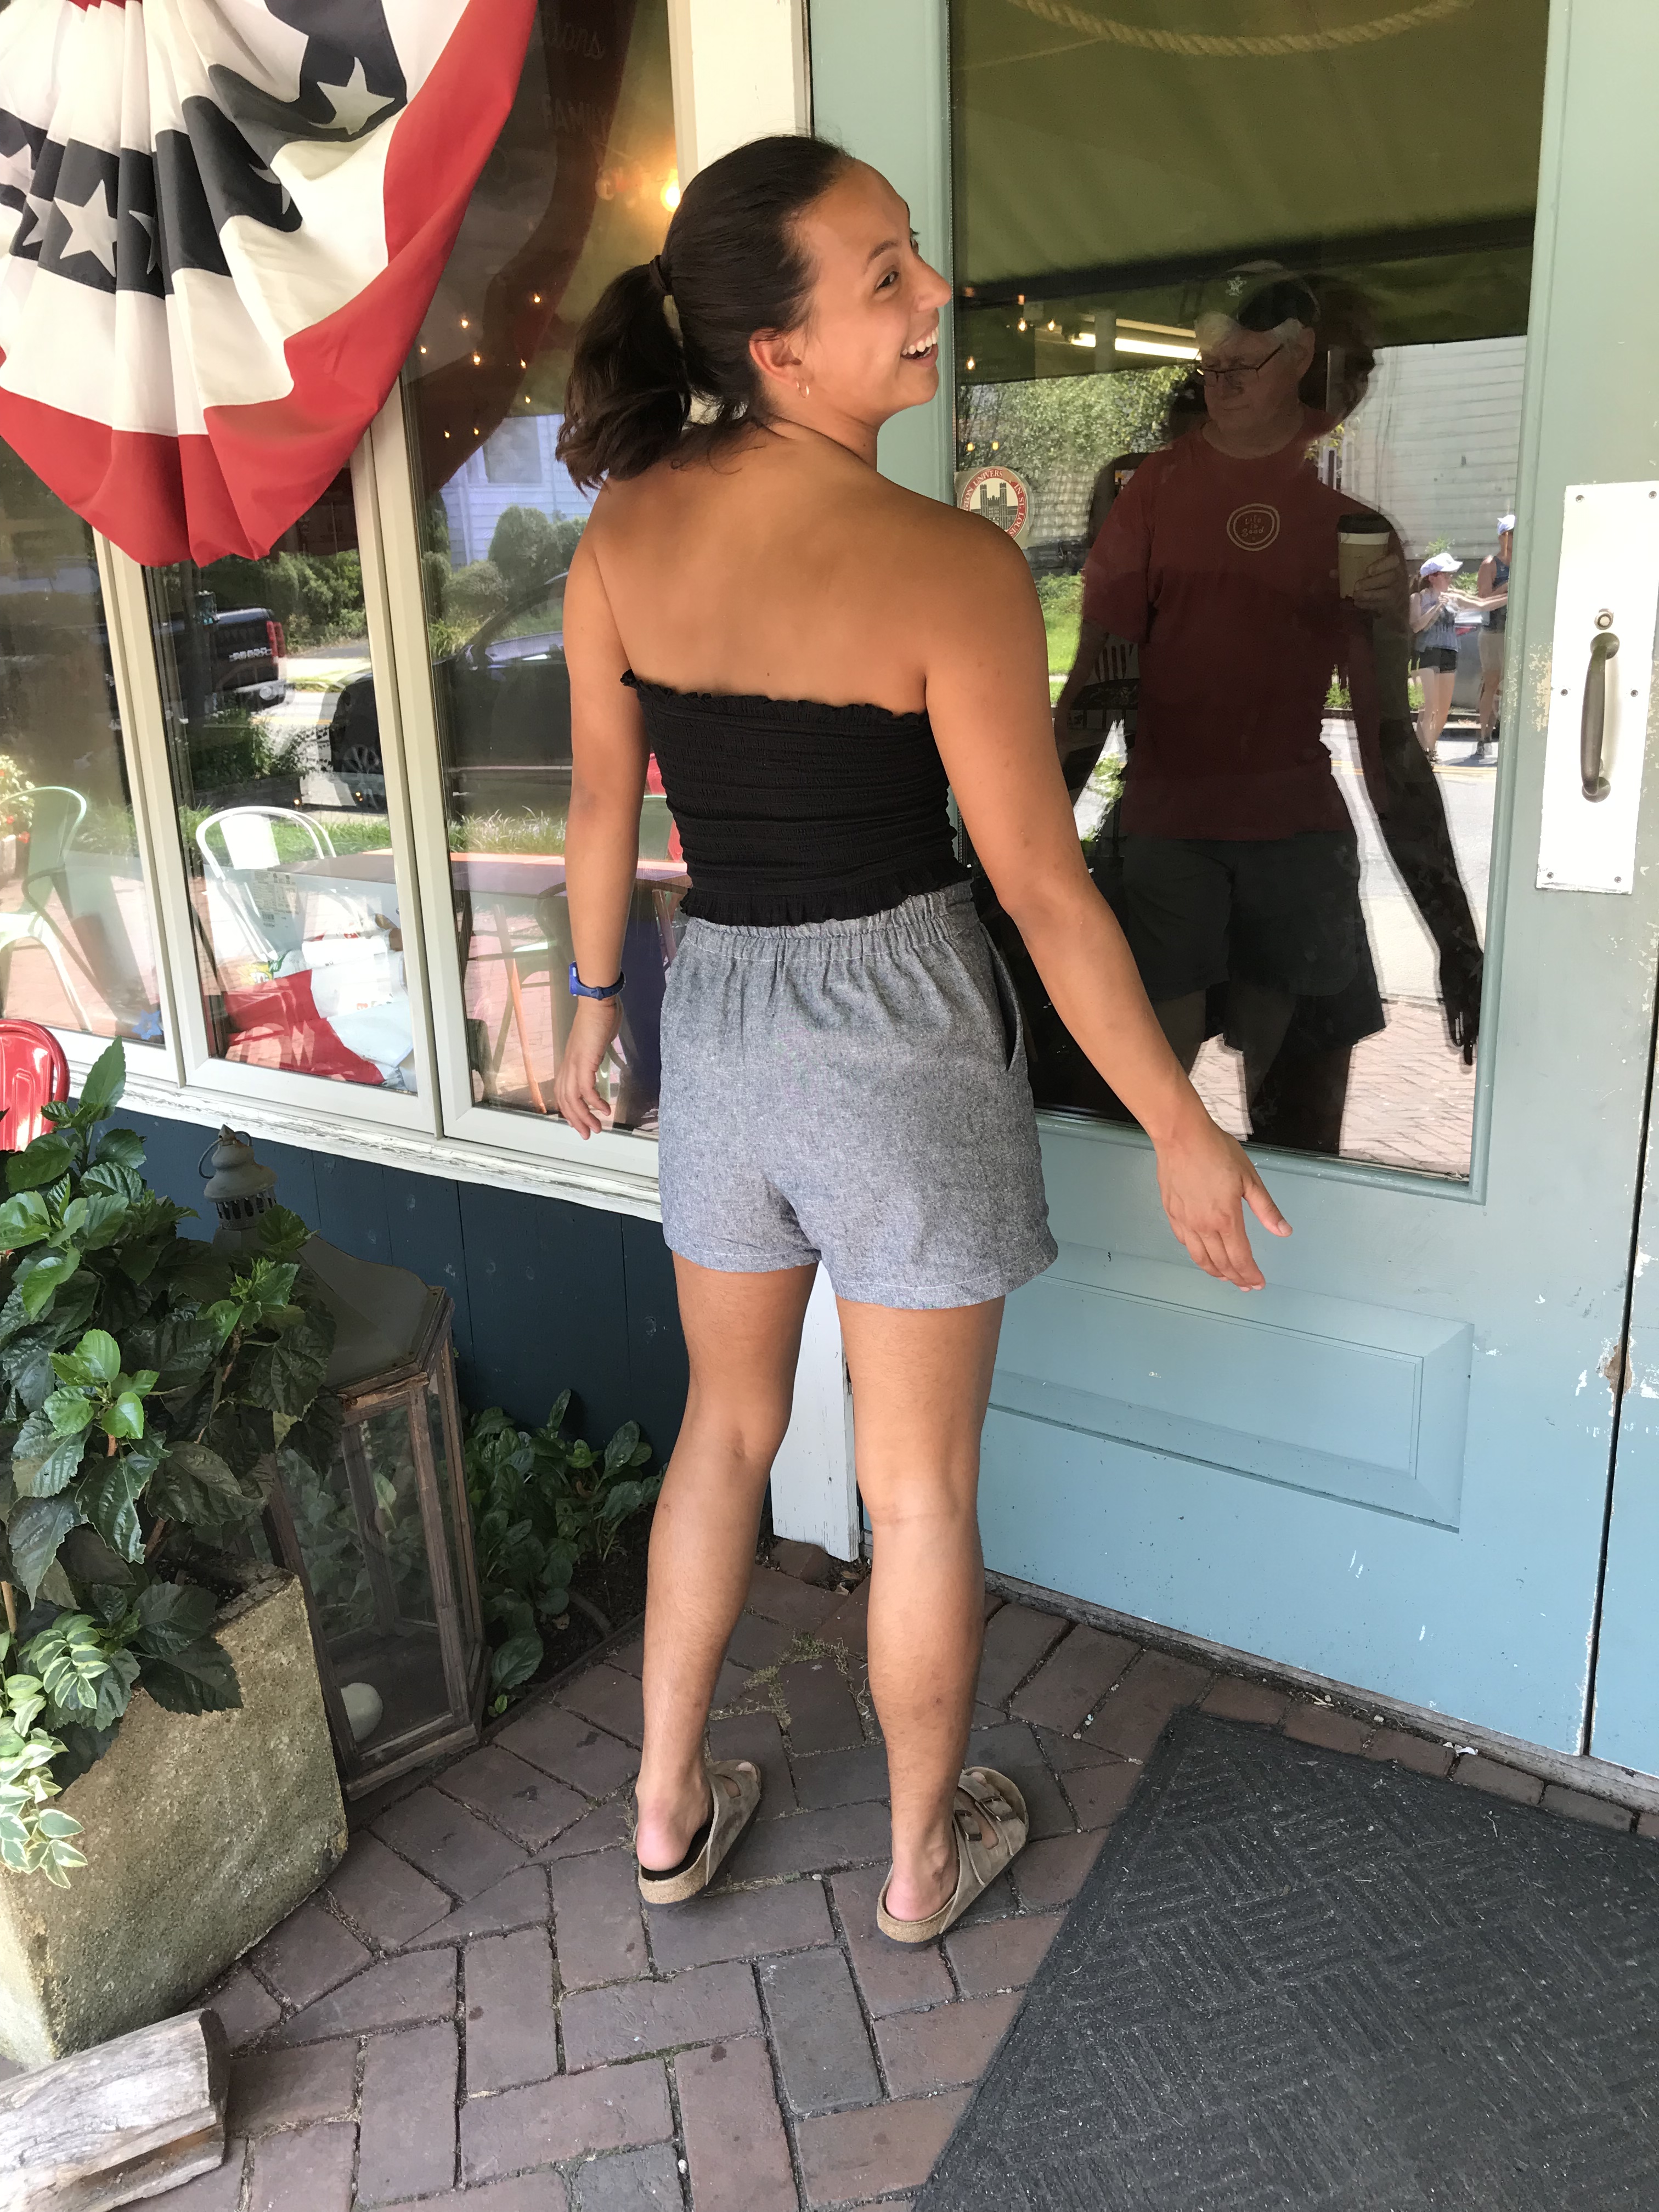
And she was thrilled with the final product which are completely wearable and cute and fit perfectly.

I asked Margaret to share some thoughts about the experience and this is what she said:

“I had a lot of fun sewing the rose shorts pattern. I’ve always admired the work Julie does making her own clothes, but it seemed like an overwhelming process for me to undertake myself since I didn’t have any experience. The thought of following a pattern was stressful without knowing sewing lingo or techniques, even though it was something I wanted to try.

The rose shorts were a style I really liked and seemed simple enough that I could follow along, so I felt comfortable attempting them as a first project. Rae’s pattern was straightforward and clearly formatted, but even so having Julie there to help and show me the right way to carry out the steps was definitely a key to my success. I was definitely confused a couple of times with how to orient the fabric pieces and keeping track of what part I was sewing together, but now that I’ve done the process once I think I have a better sense for the sewing process.

One of the most rewarding parts of making the rose shorts was sewing the pockets into the front pieces. Having the pockets securely sewed into the main section made the project start looking like a real pair of shorts which was really exciting. It was also rewarding to thread the elastic through the waistband and see the fabric begin to cinch up like I’m so used to seeing but had no idea how it actually happens.

I was surprised how much prep work goes into a sewing project and how little time the actual sewing takes. I learned that paying attention to detail in the set-up, cutting, and piecing together stages is so important because then you set yourself up for success when you do the actual sewing.

Overall it was really fun and I’m so happy with how they turned out! I definitely want to make another pair. the rose shorts are a good pattern for someone just starting out (like me) because they’re simple yet sophisticated.”

img_1662

For all of you who have young people in your lives, I can’t recommend this process more highly. Almost any of Rae’s patterns would be a good first pattern but the Rose shorts are so on-trend and include so many techniques: gathering, pockets, topstitching etc. that working through each of the steps teaches basic sewing in an understandable step by step way. The shorts turned out so well that Margaret wore them to the opening of a local art show that her work was featured in. The show is an open juried show called Focus under Forty featuring artwork by artists ages 16-39. Her work has been featured three years running and this year four of her photographs were accepted in the show and one of them won second prize. We are so proud of her! You can learn more about the show here.

img_1689

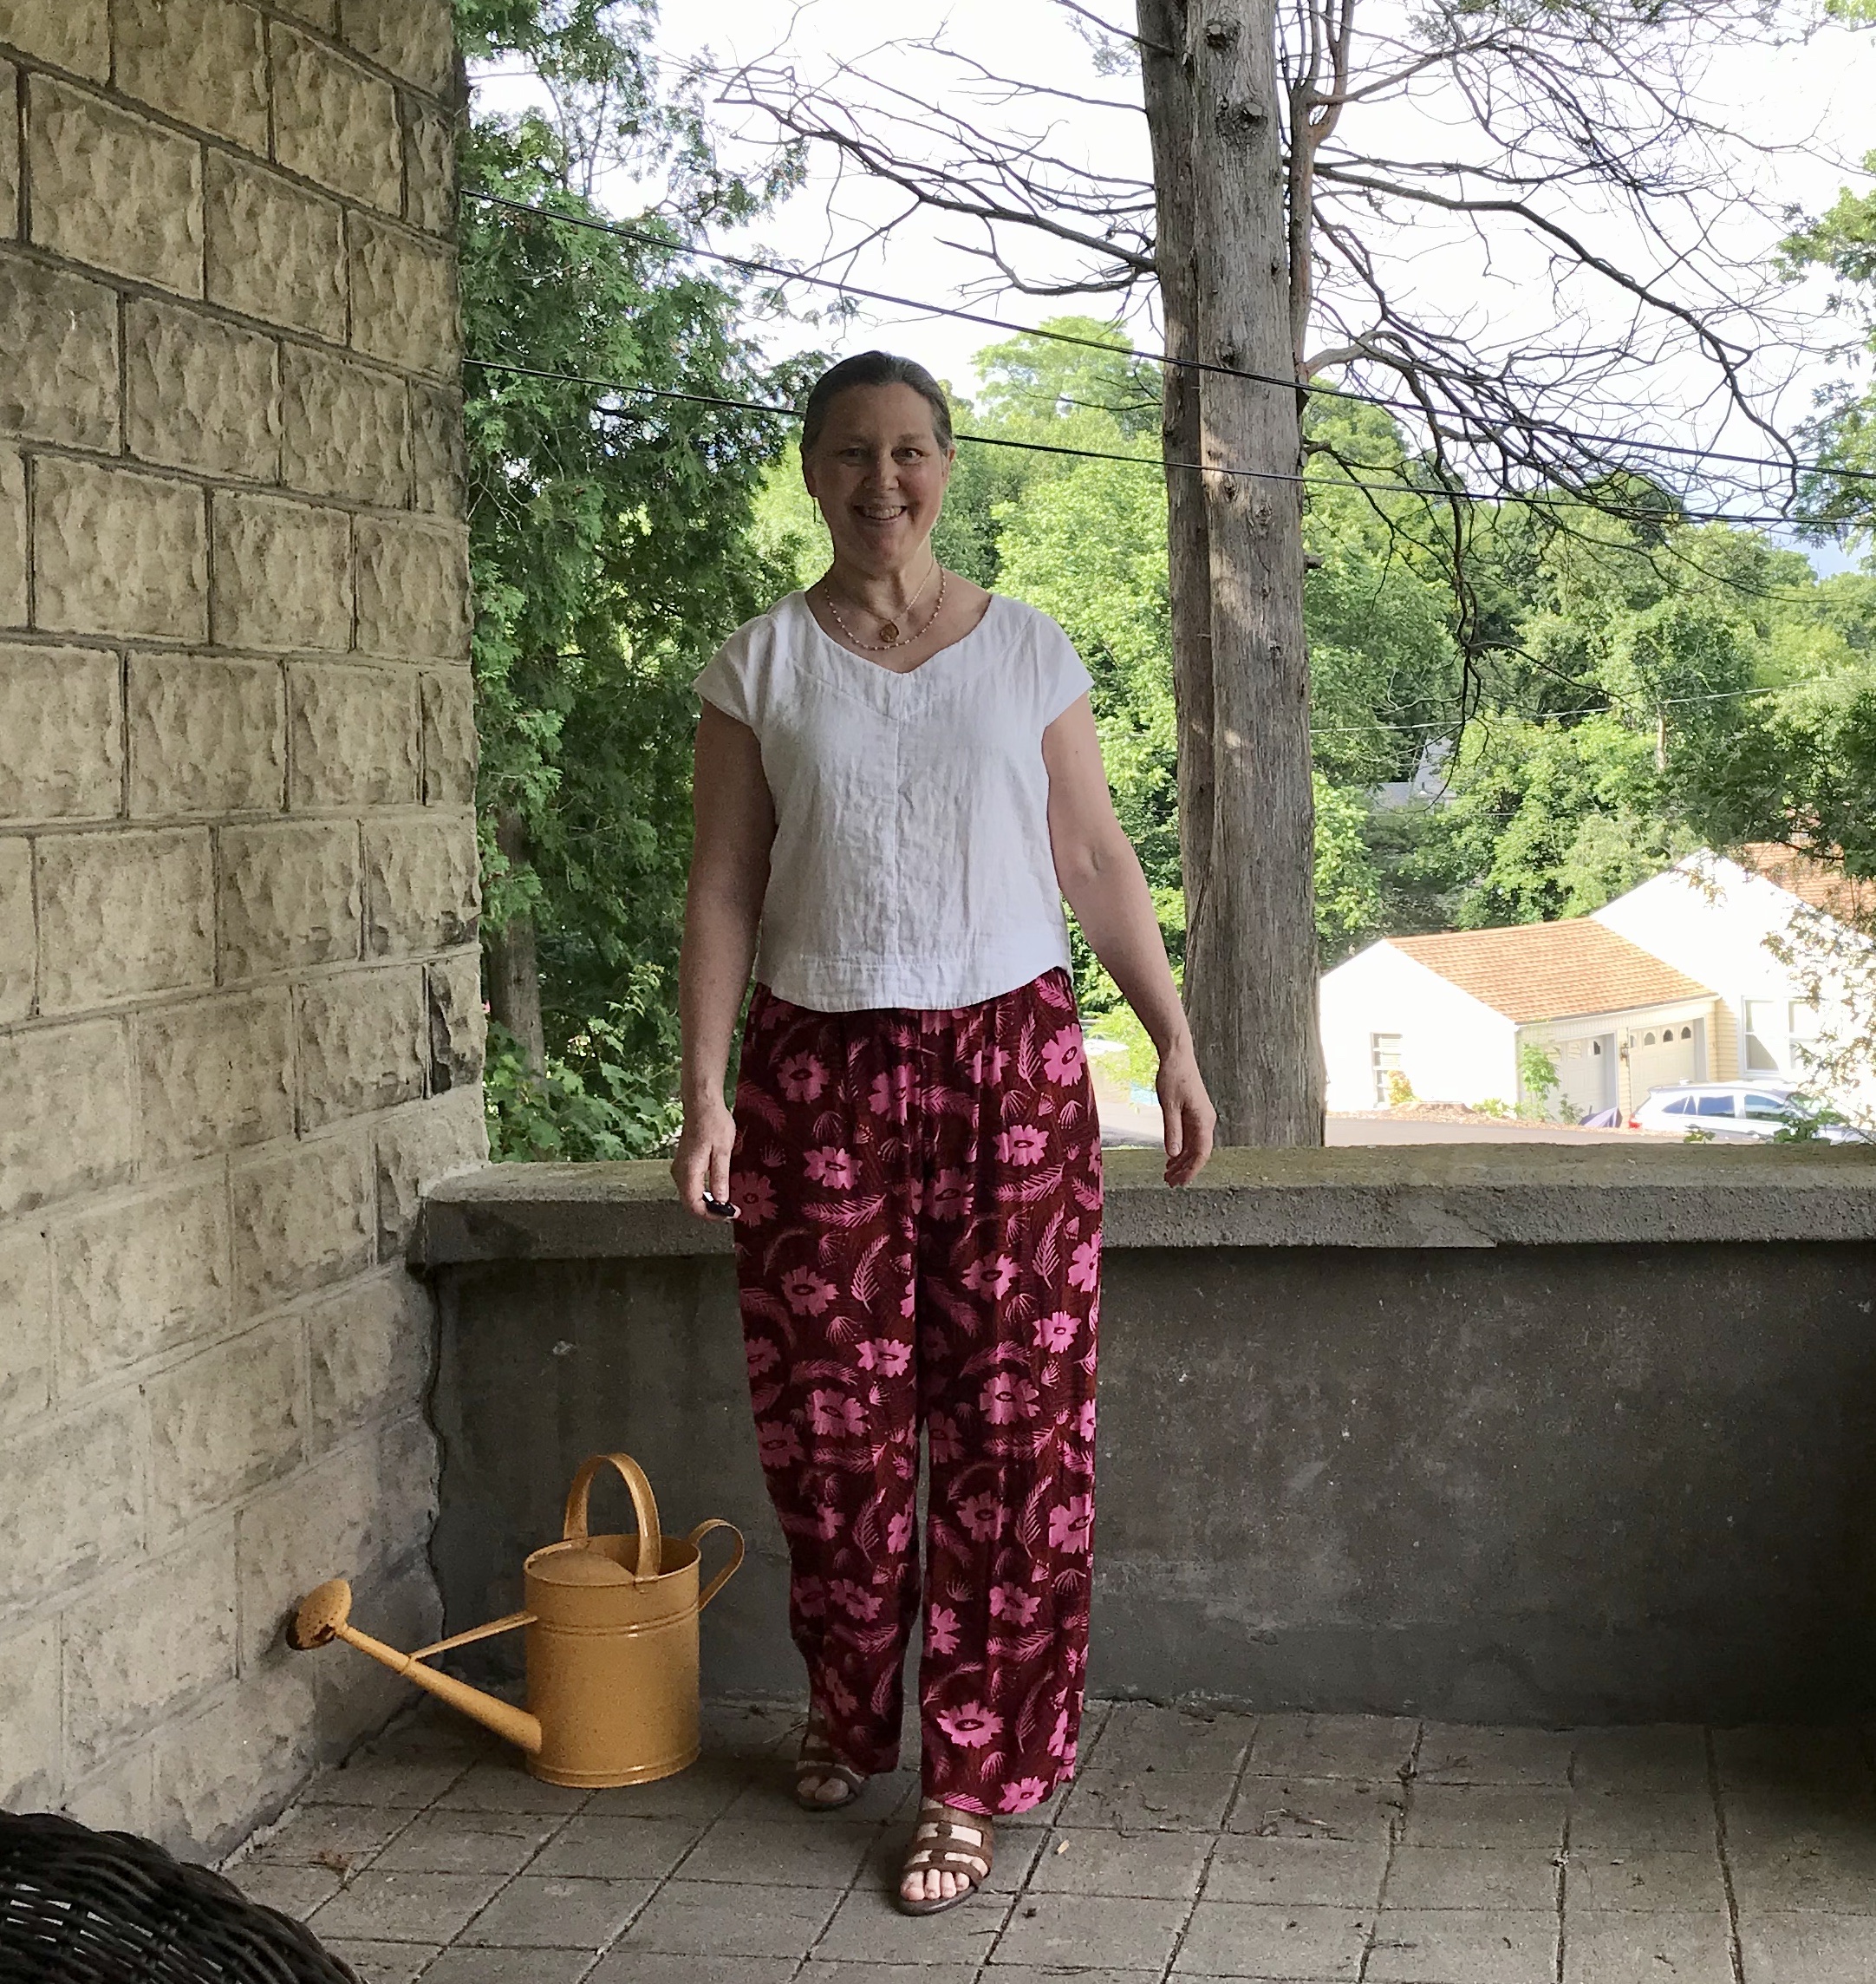
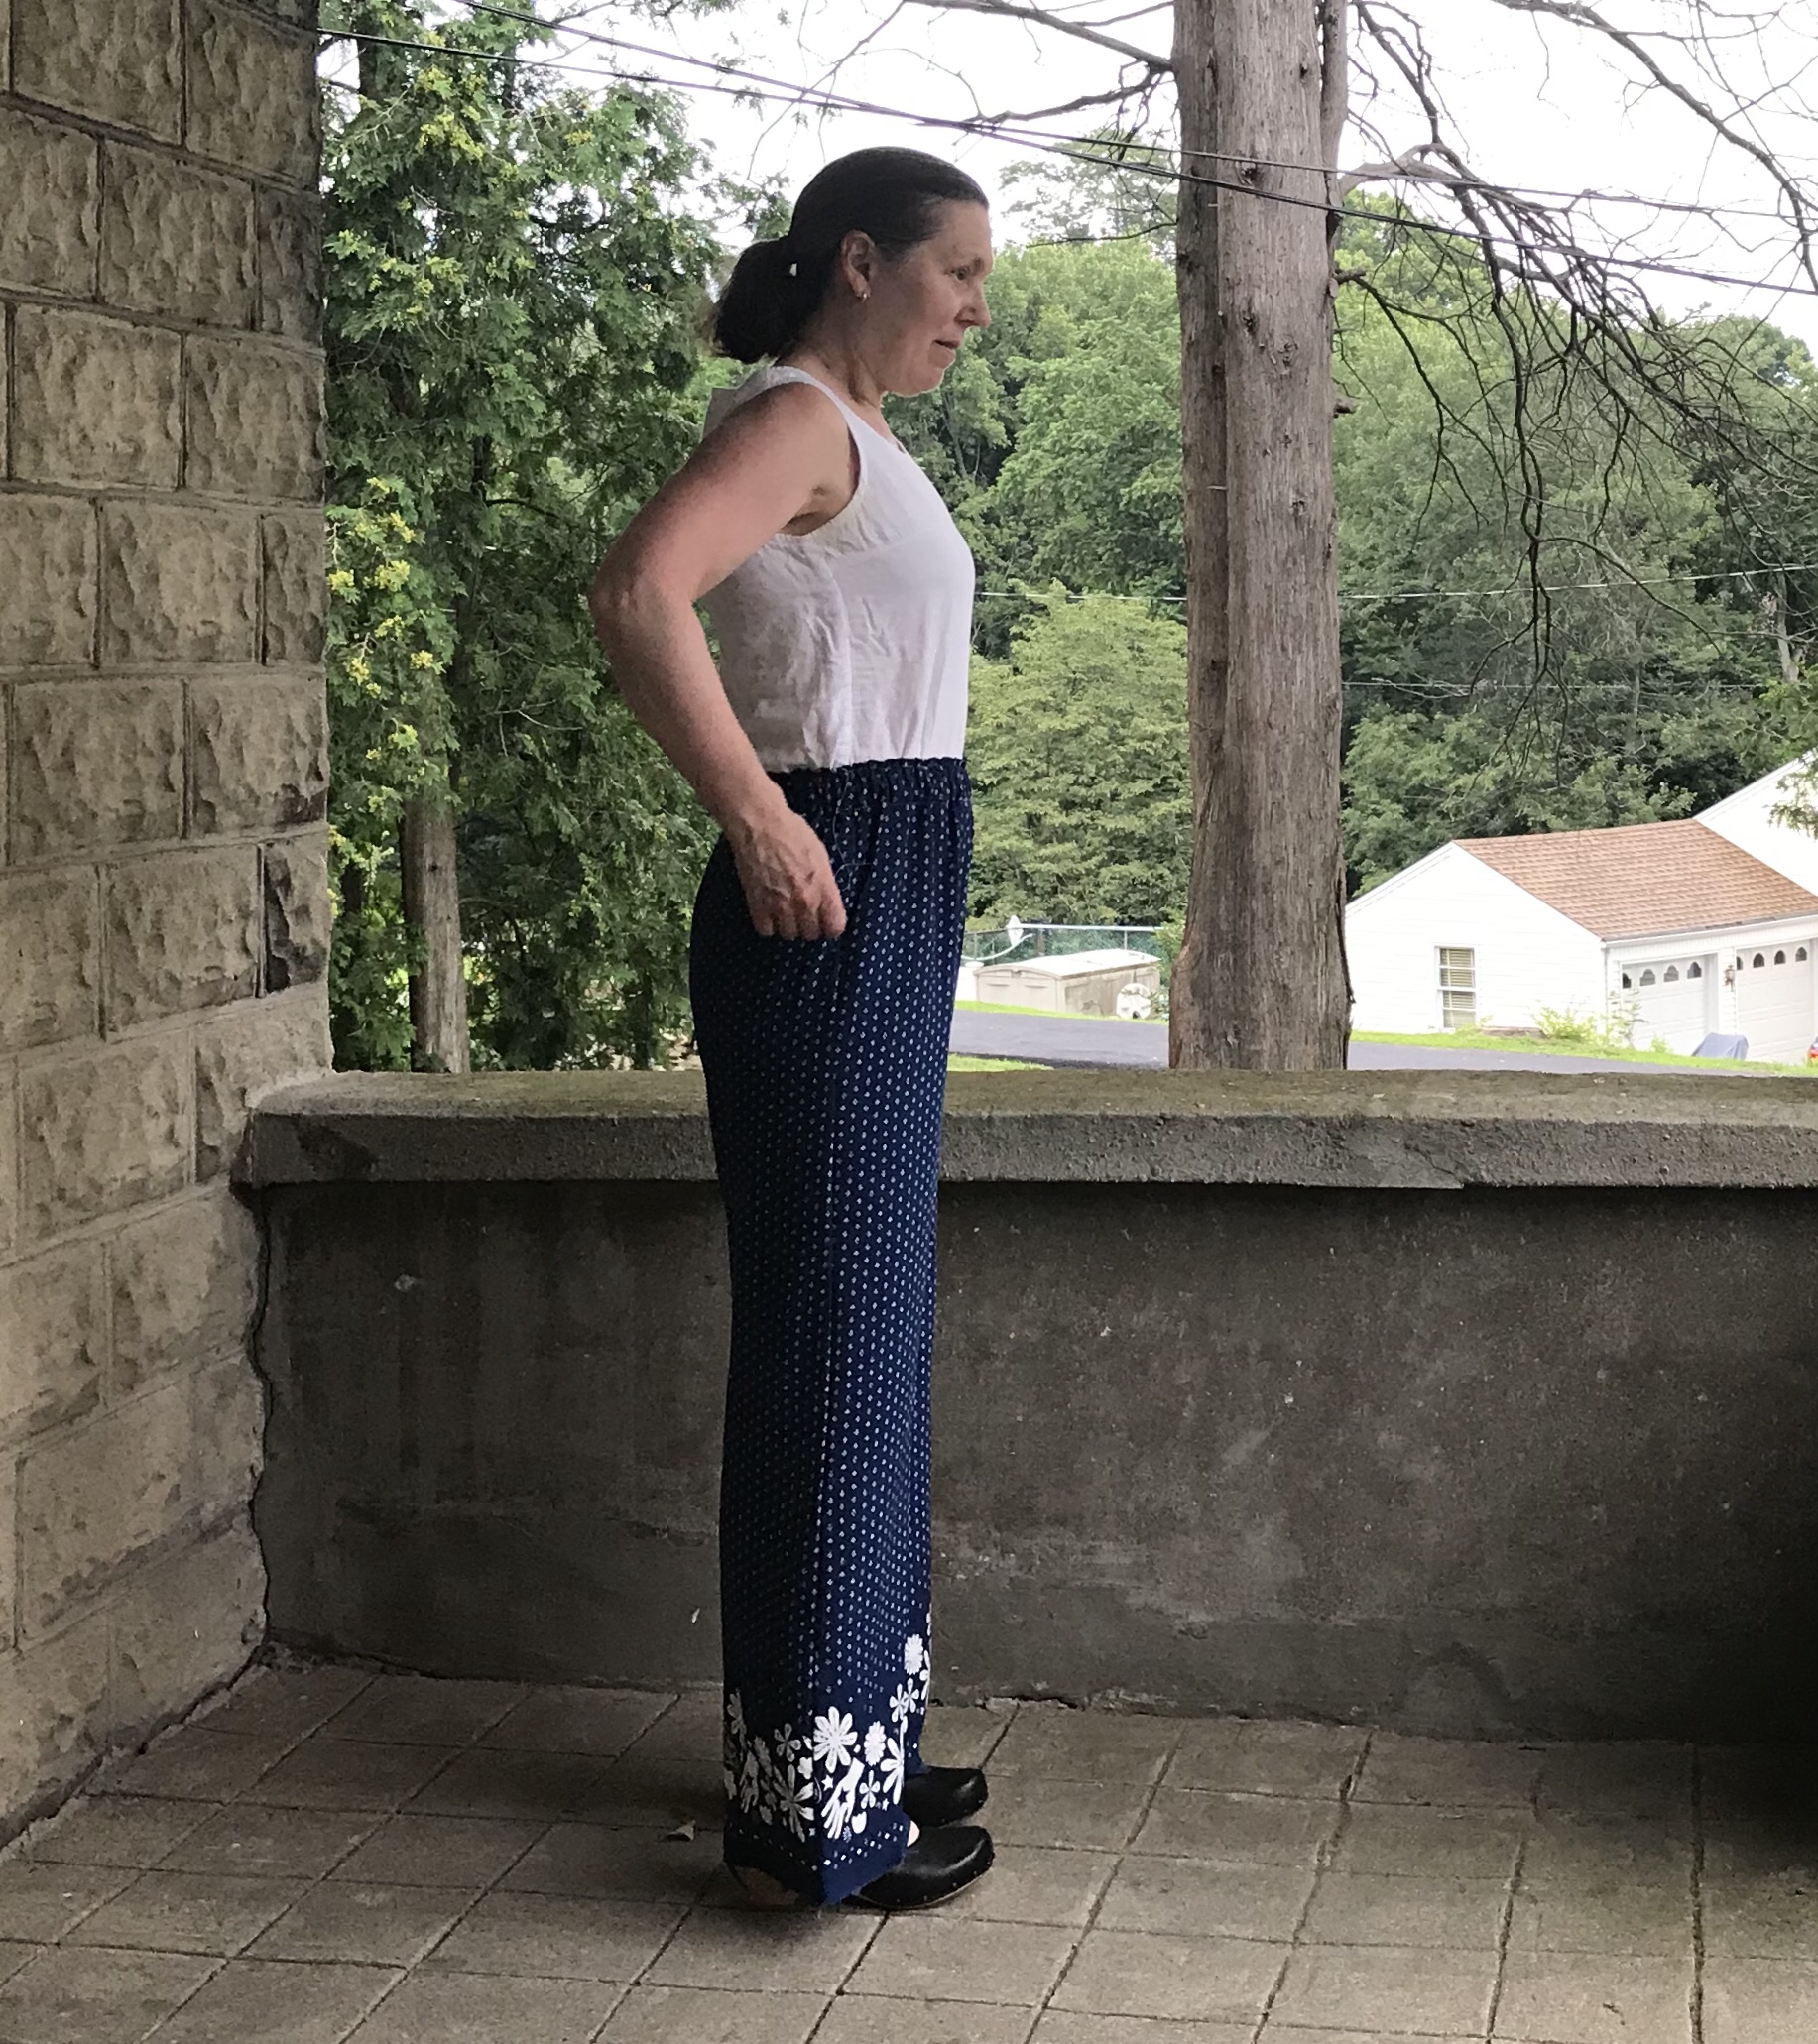
As Margaret was sewing her shorts, I was inspired to sew myself a pair as well because hers were turning out so cute. They are the perfect summer shorts. I sewed a Large based on my measurements of 32 waist, 42 hip and they fit perfectly.

img_1262

The fabric we both used was Essex cotton-linen blend from my stash in two different shades of blue. I subsequently bought that same fabric in a rust color to make myself a second pair. The best thing about this fabric is that it just gets nicer with age.

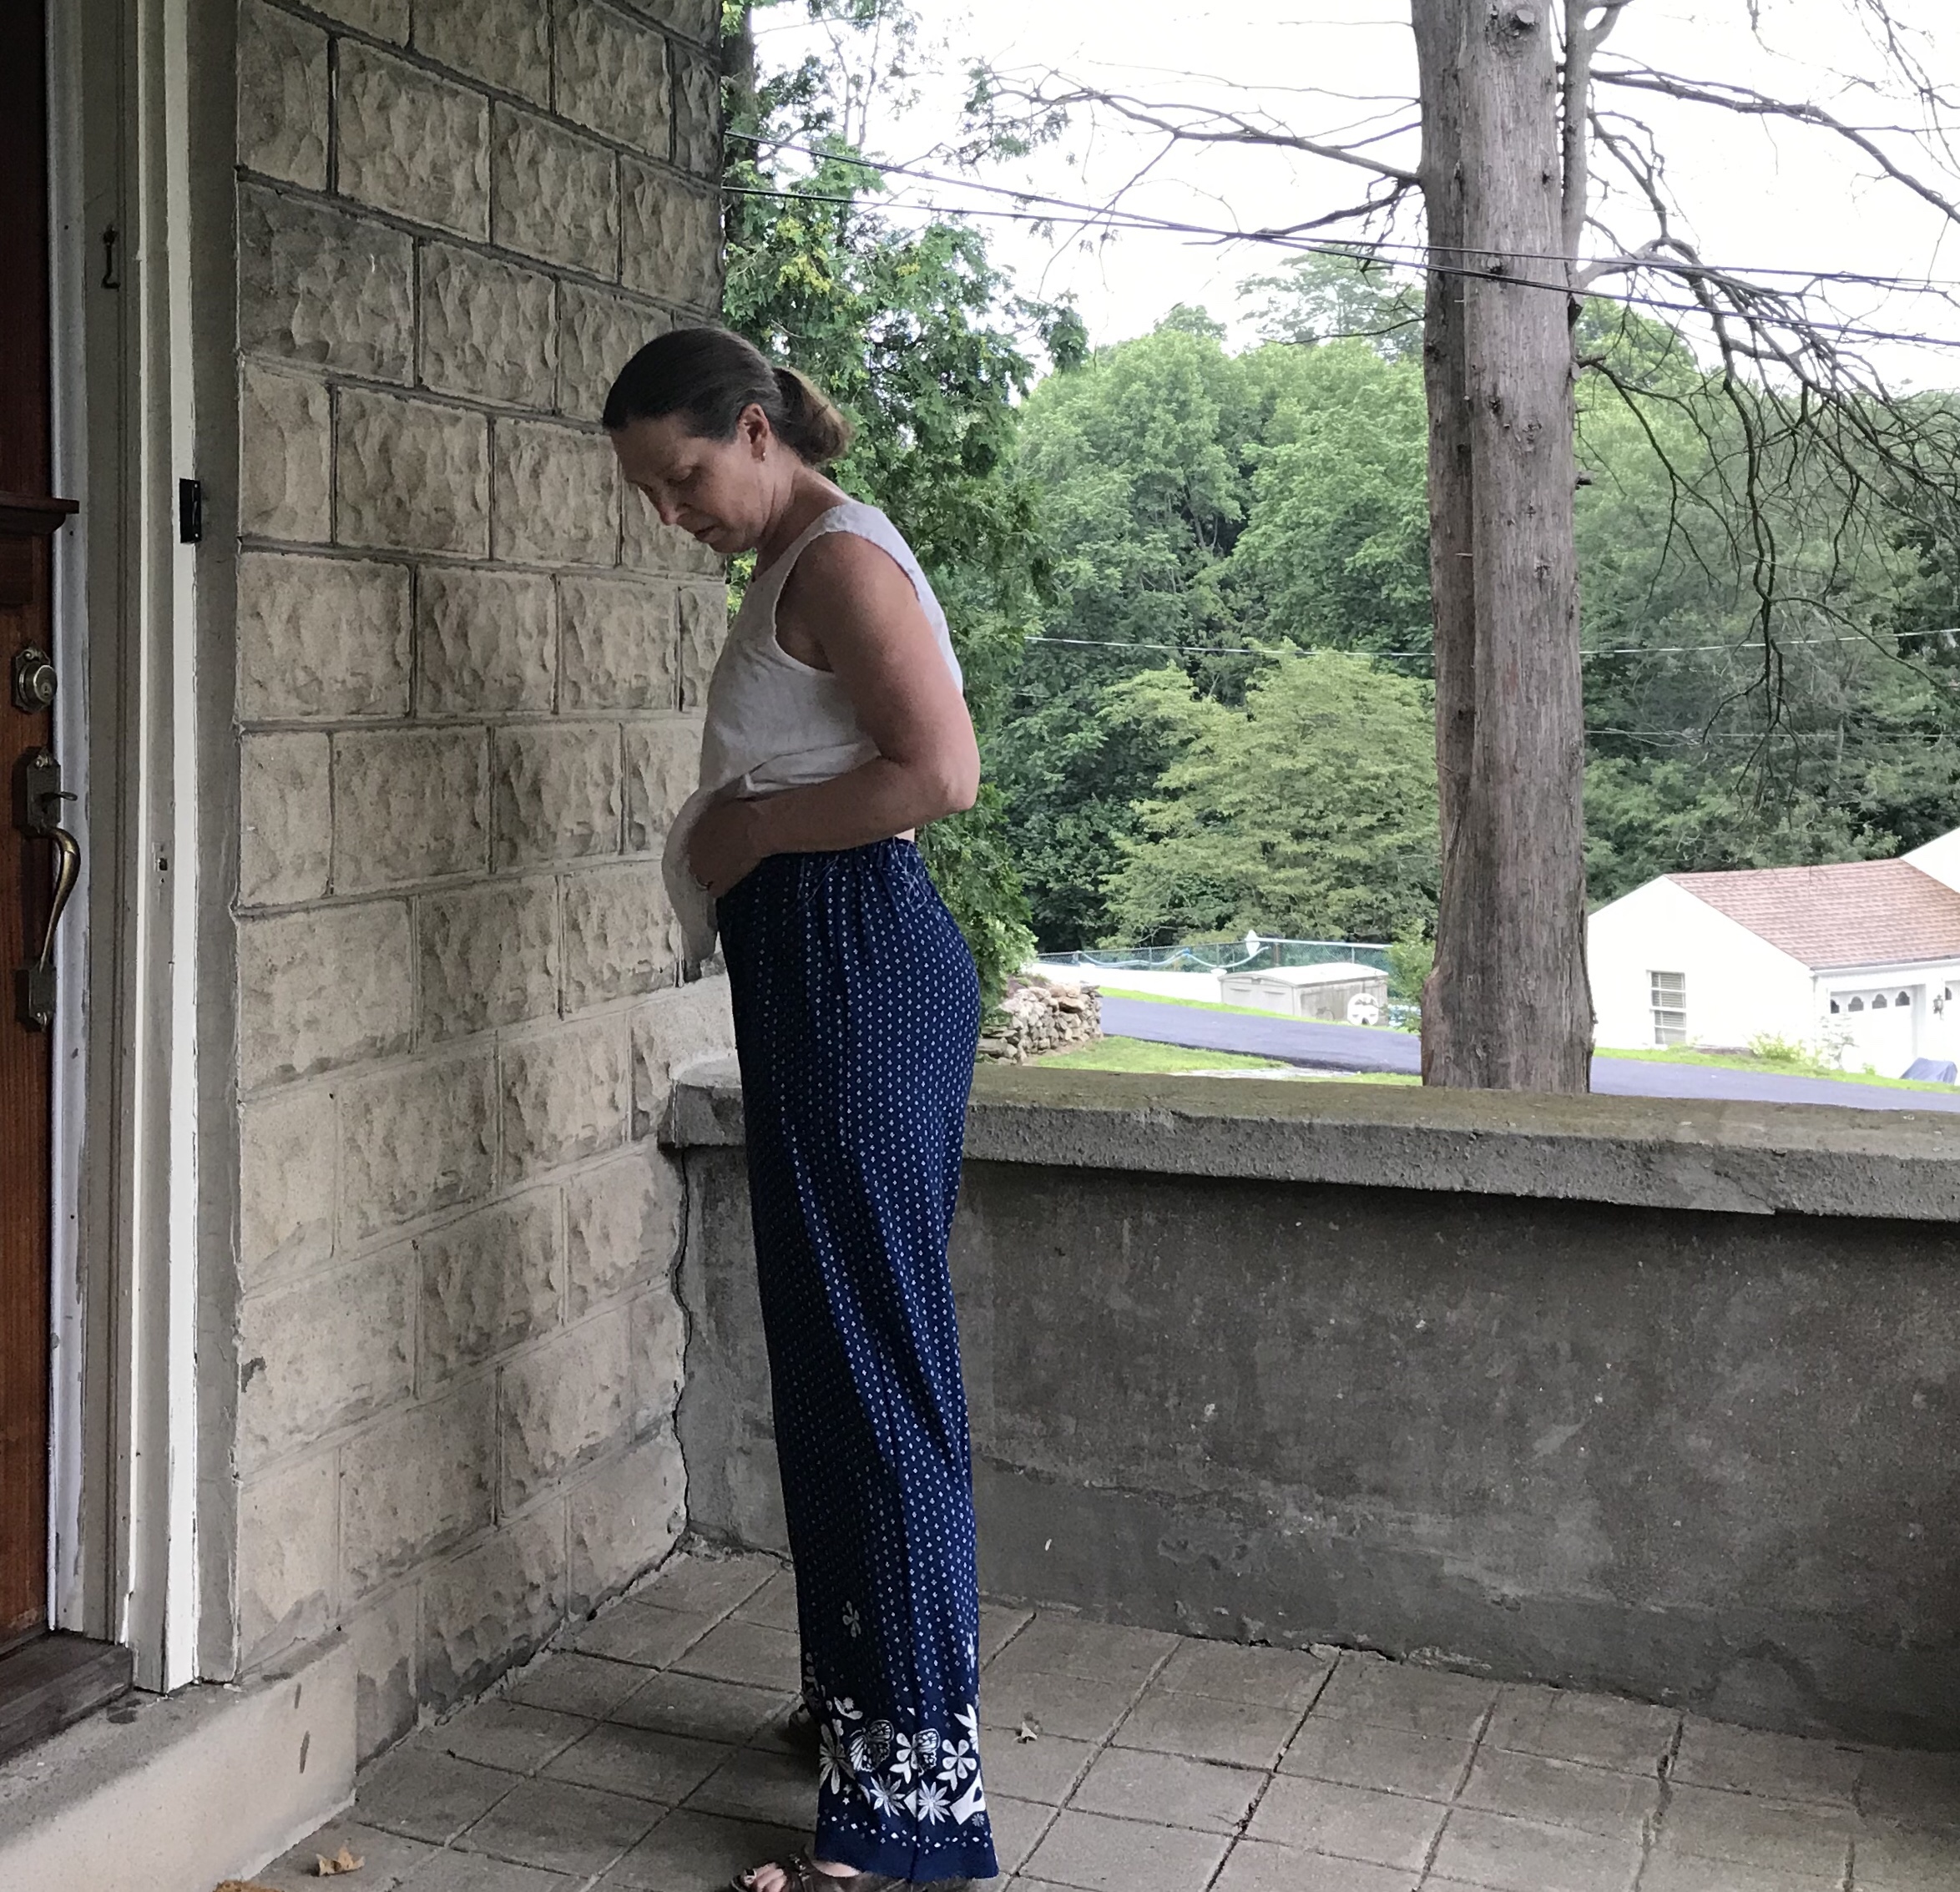
I also plan to make myself a cropped floral pair inspired by Rae’s version. I couldn’t resist this fabric:

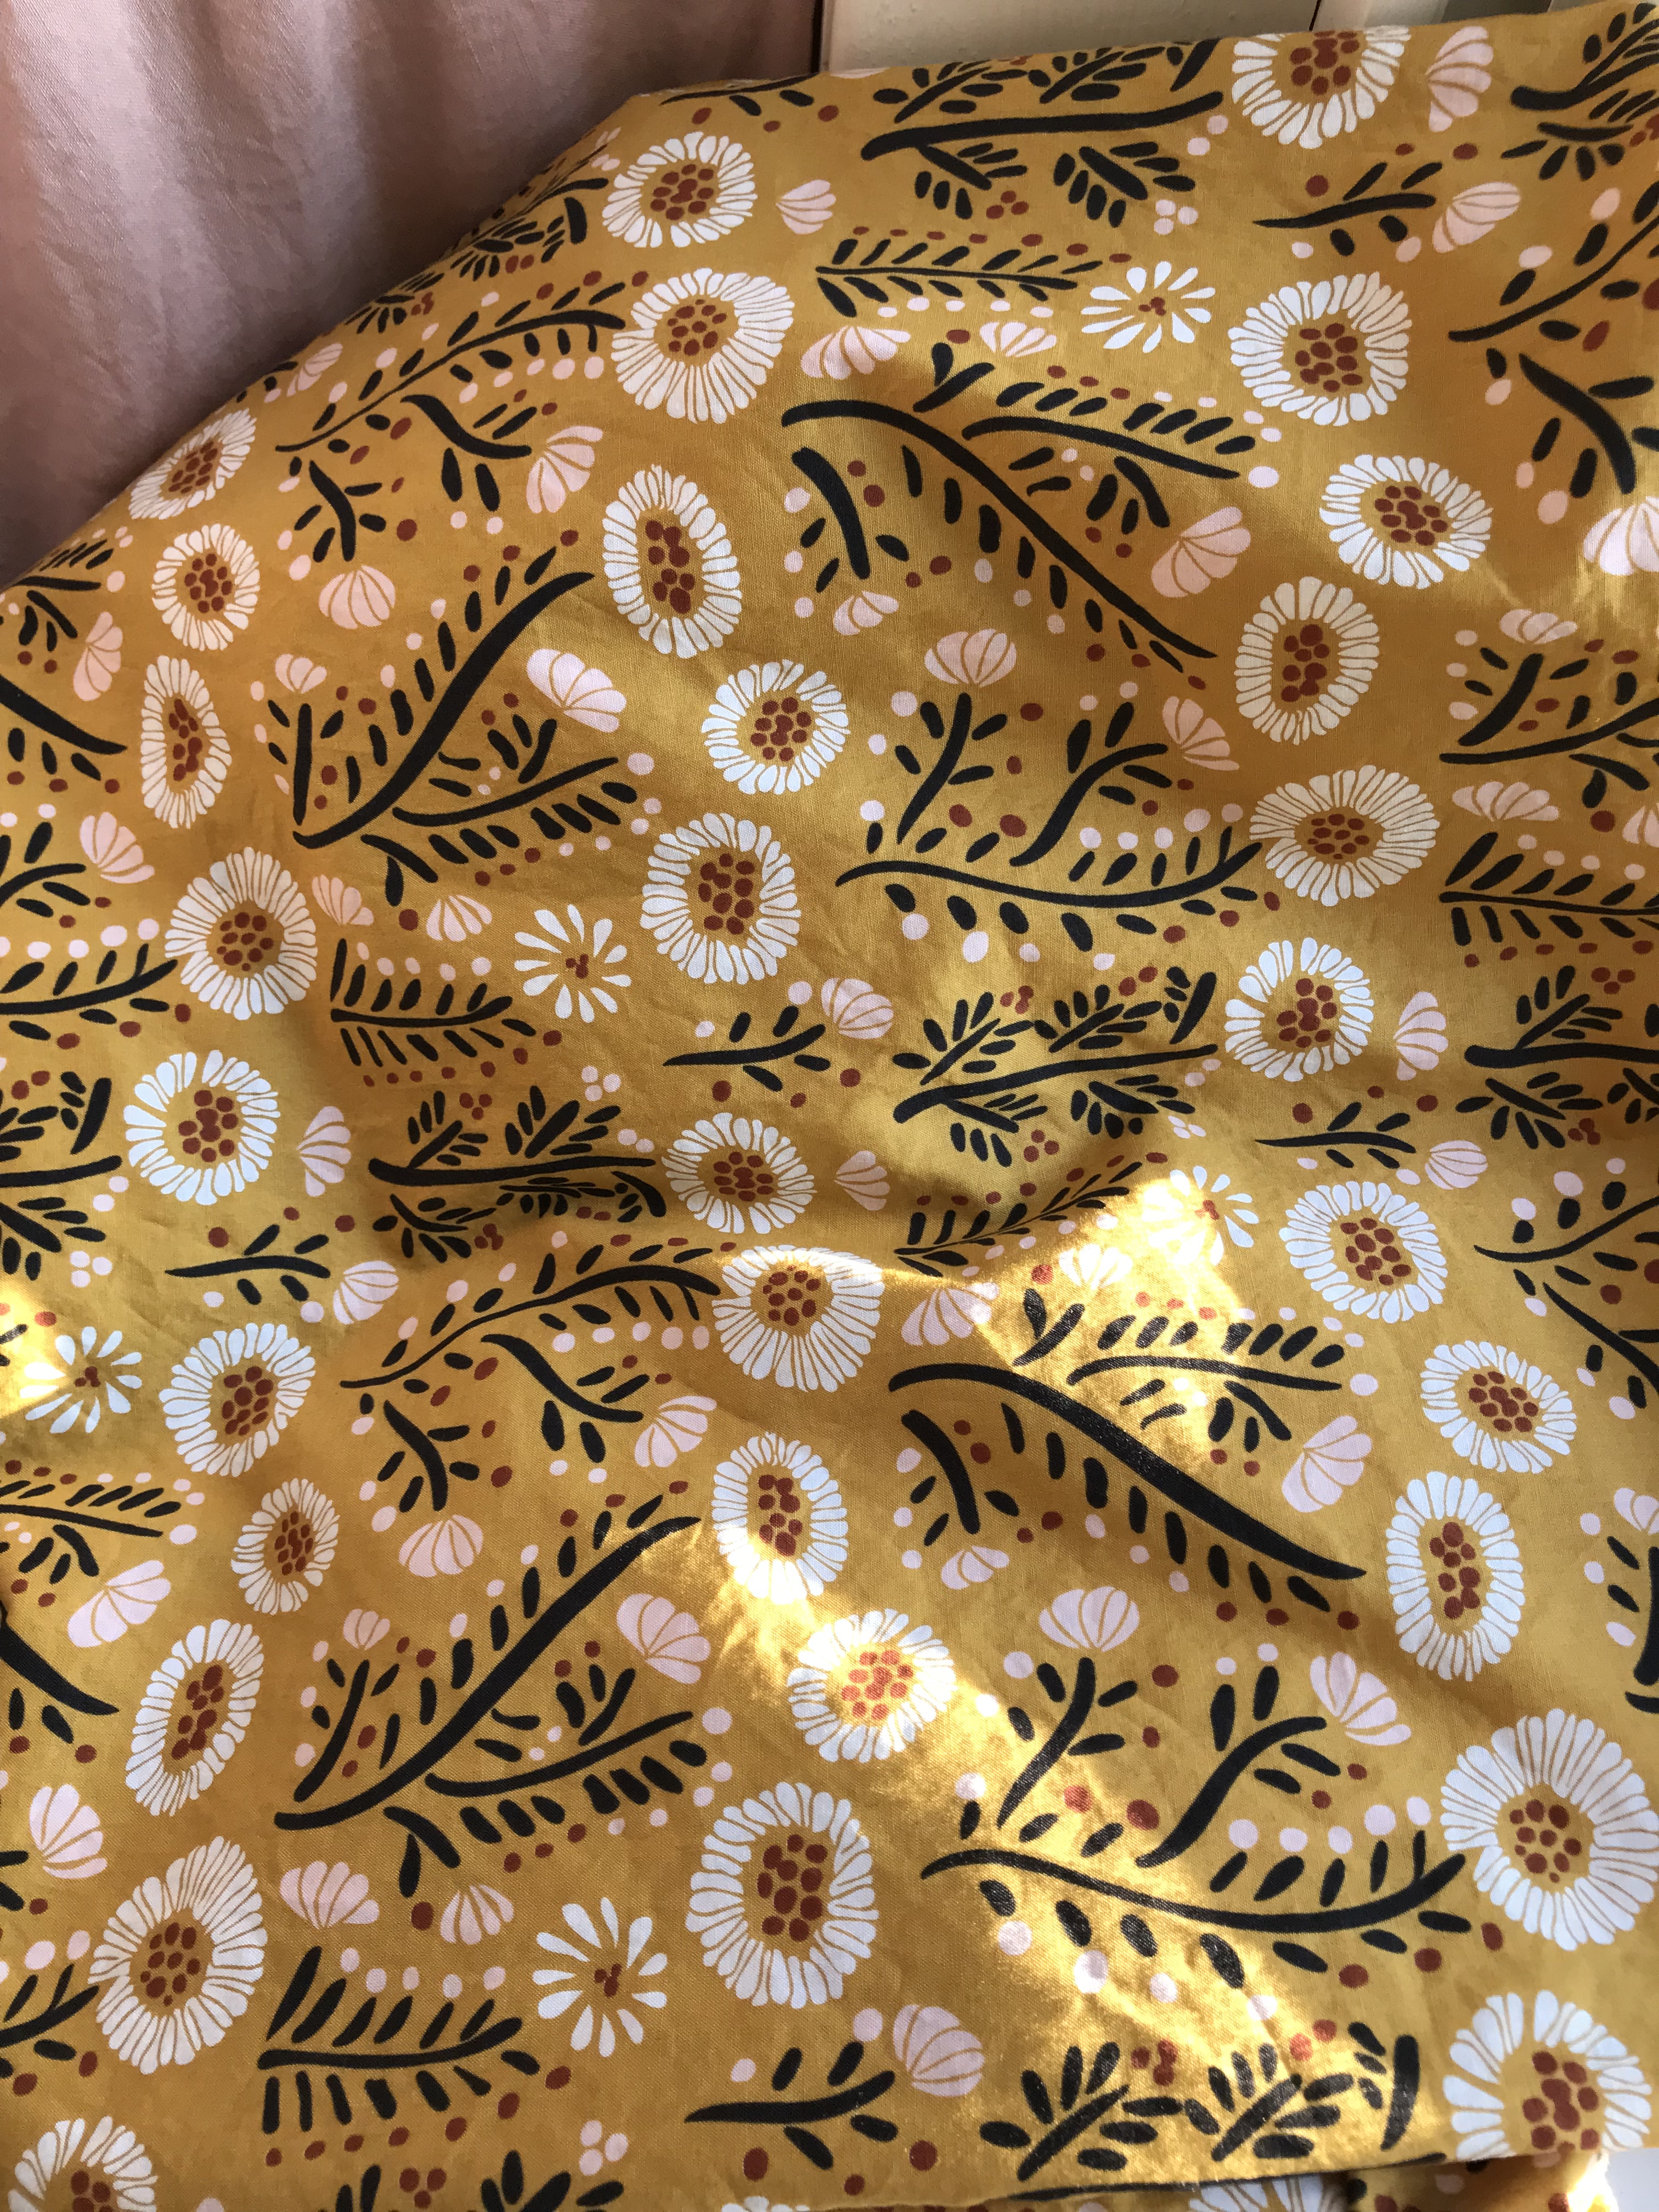
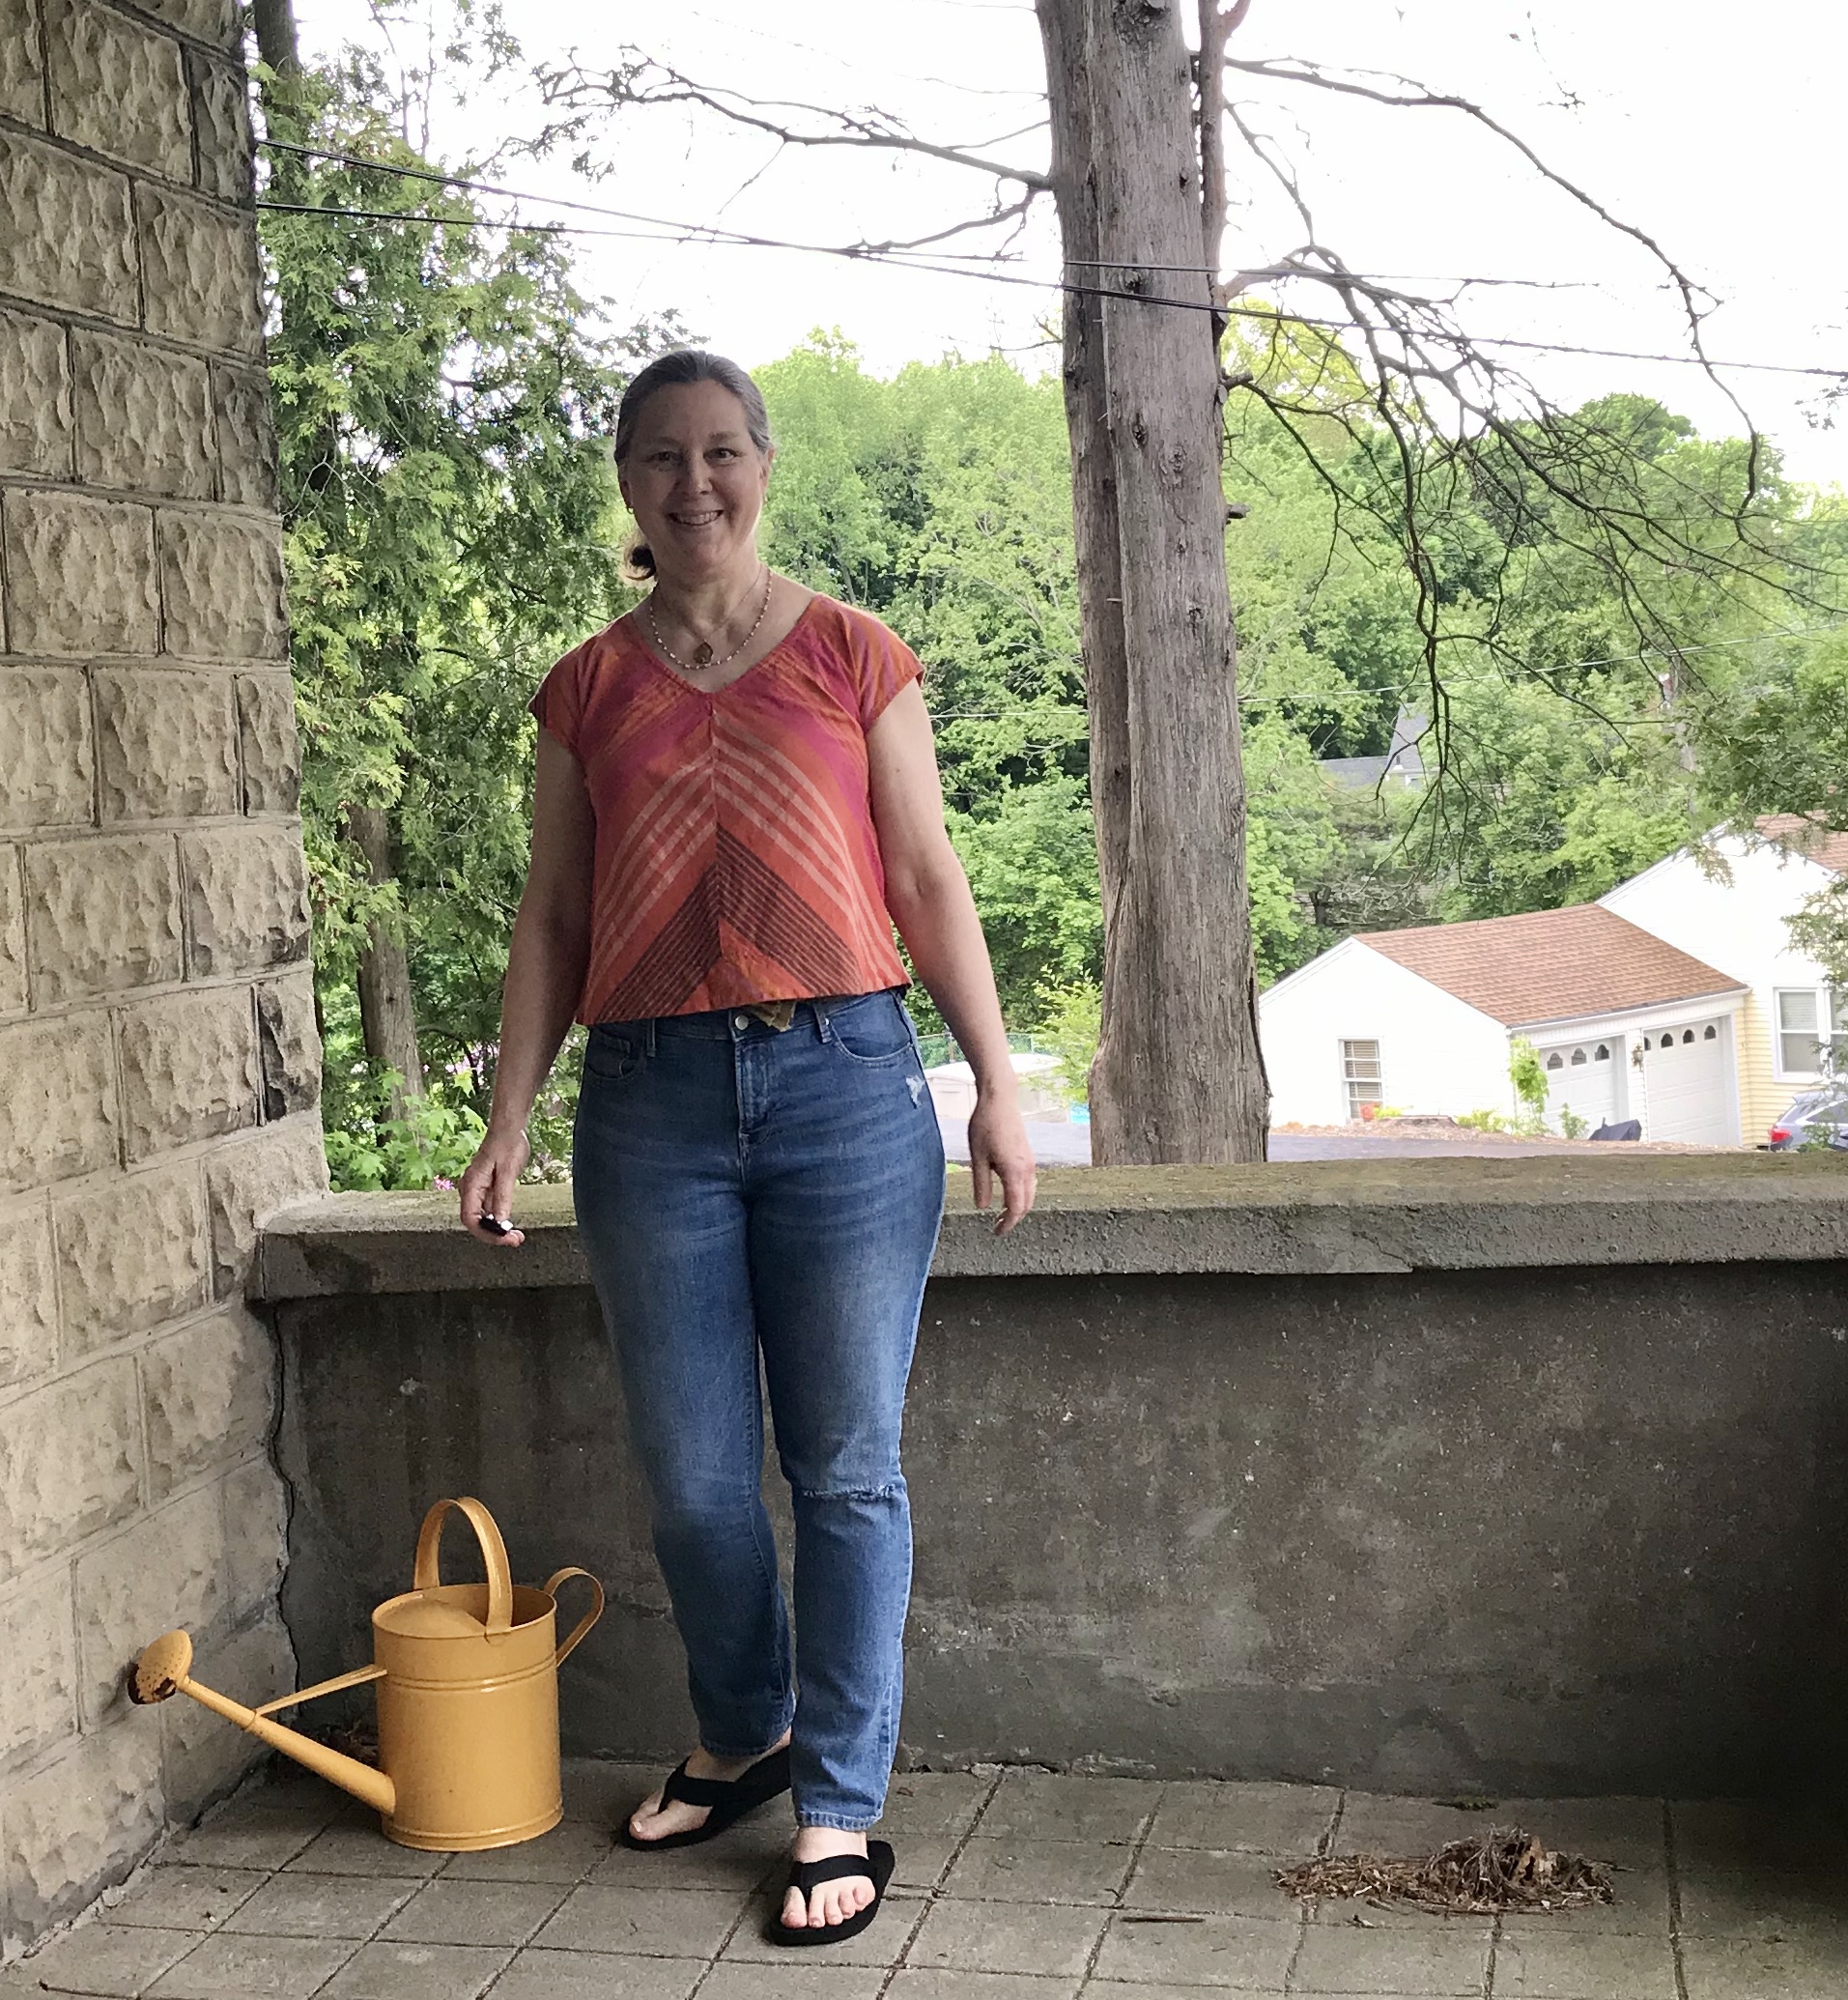
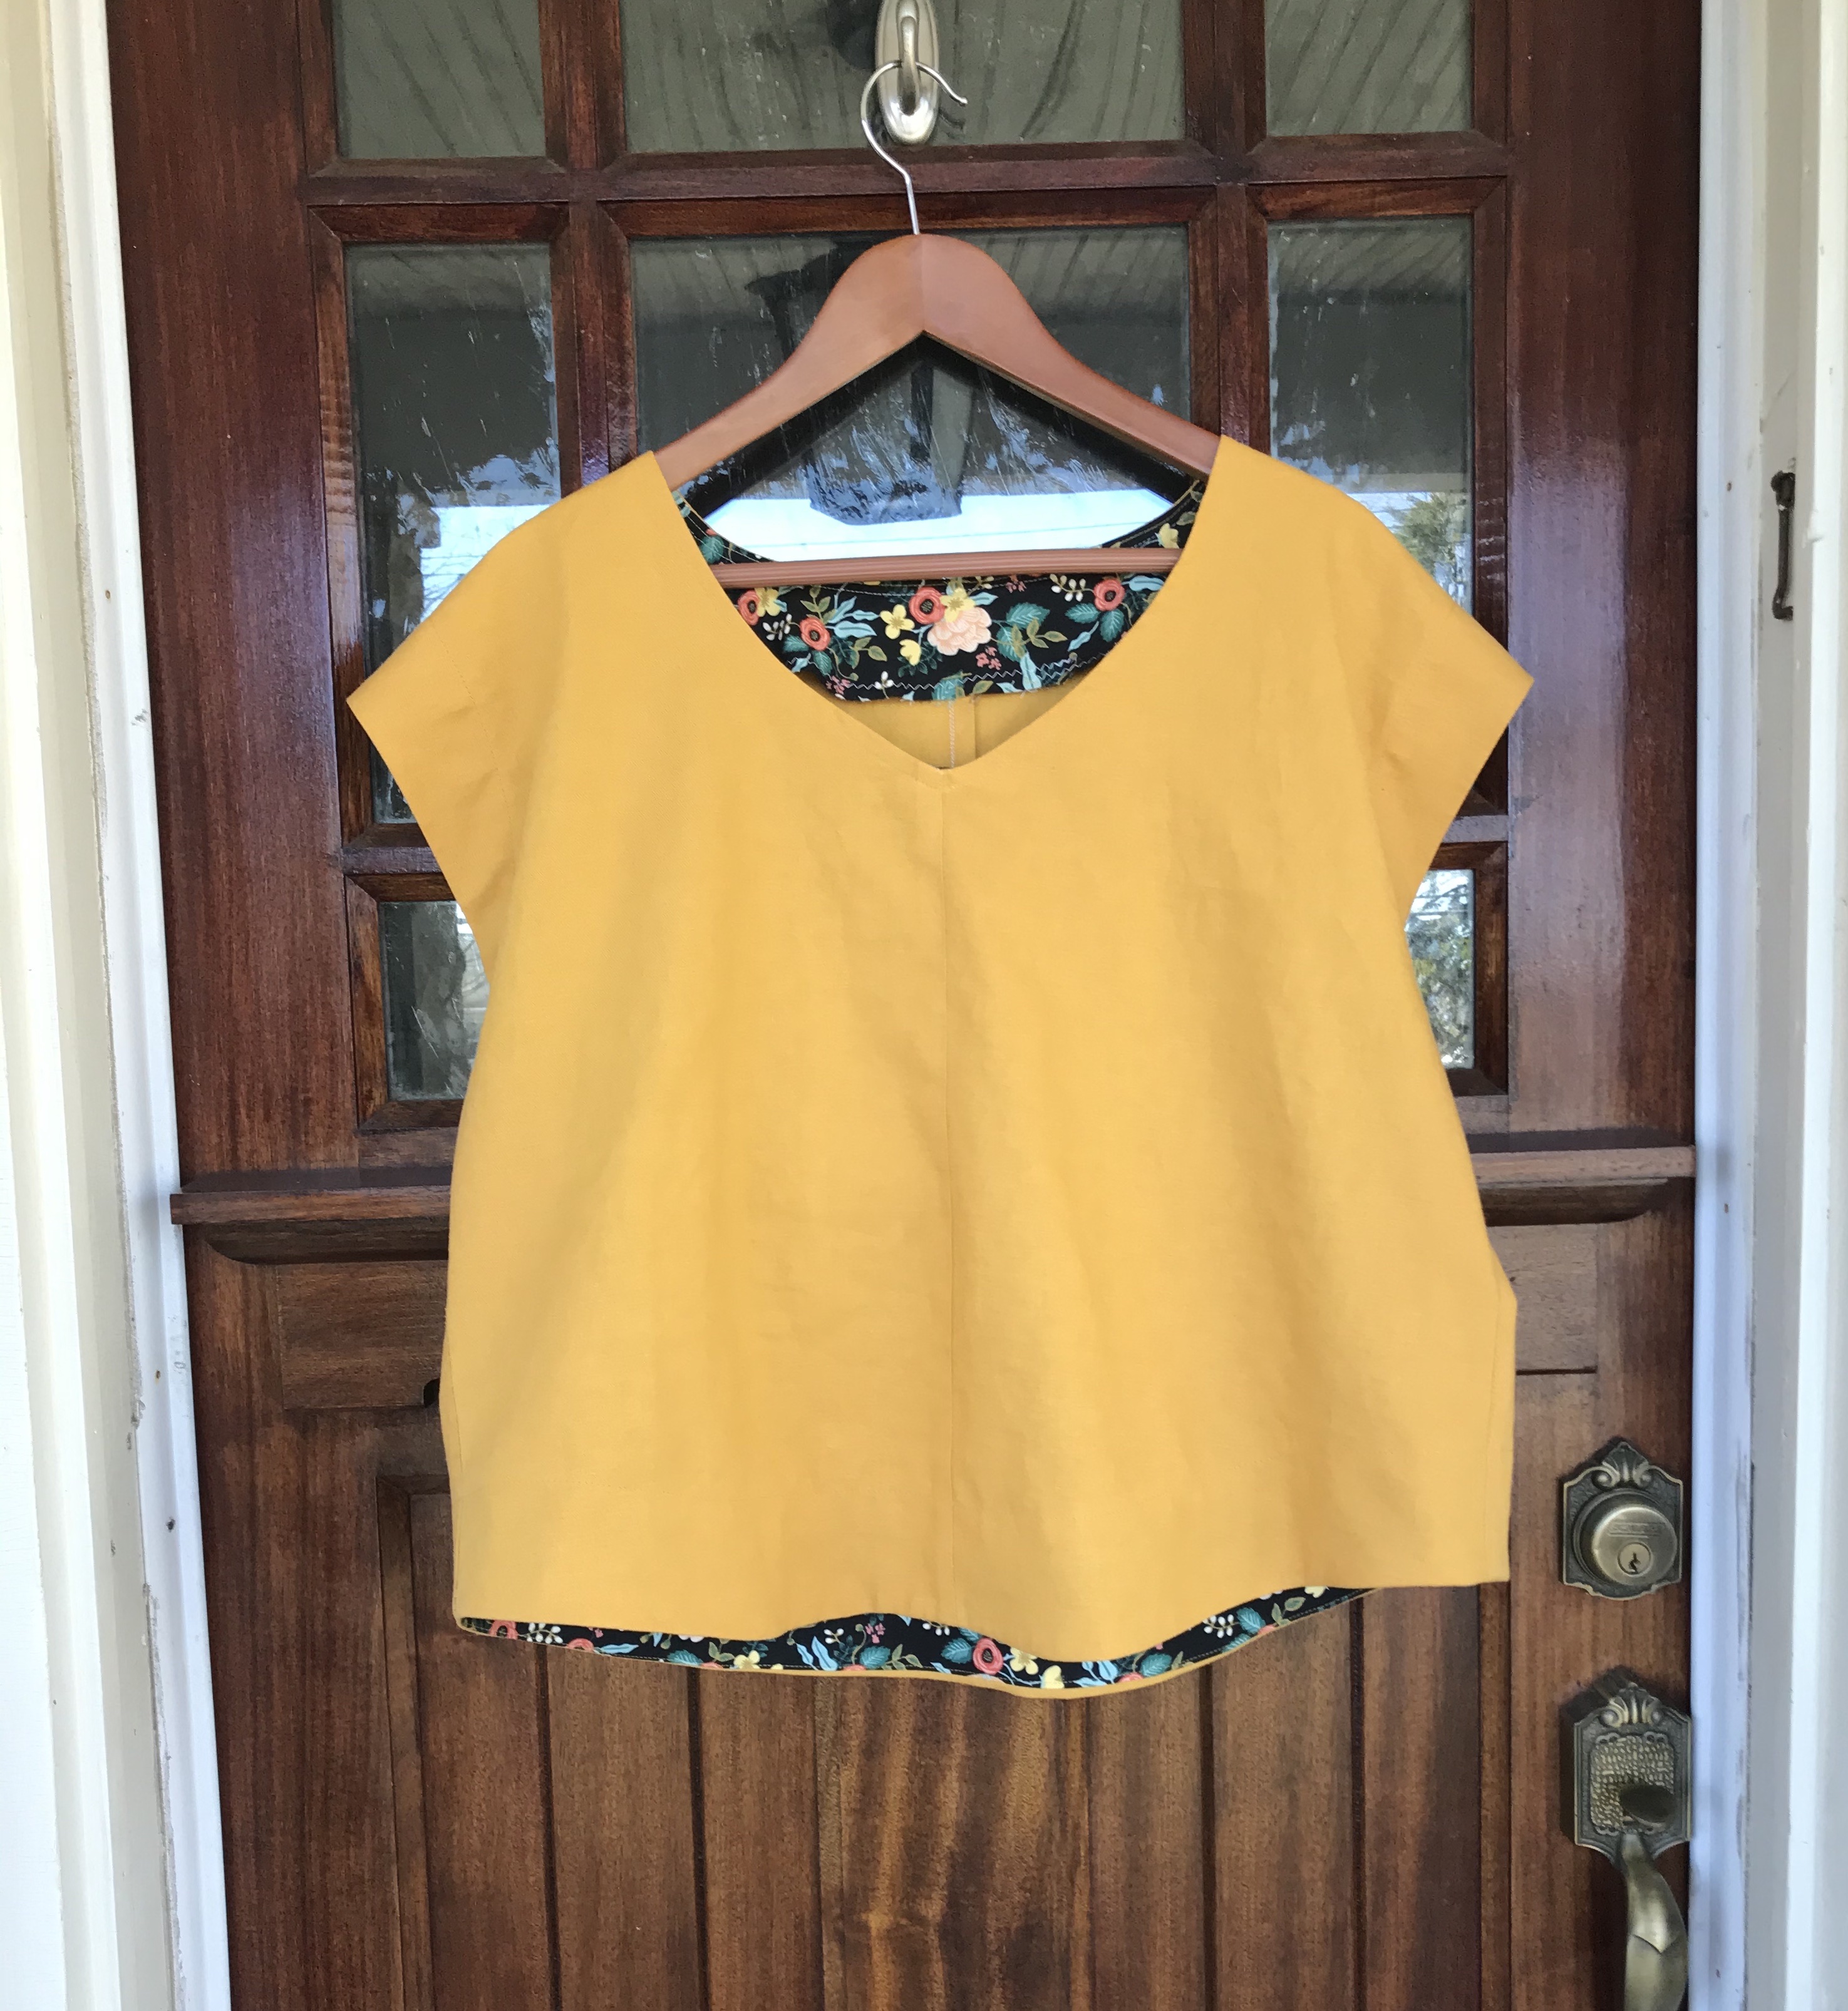
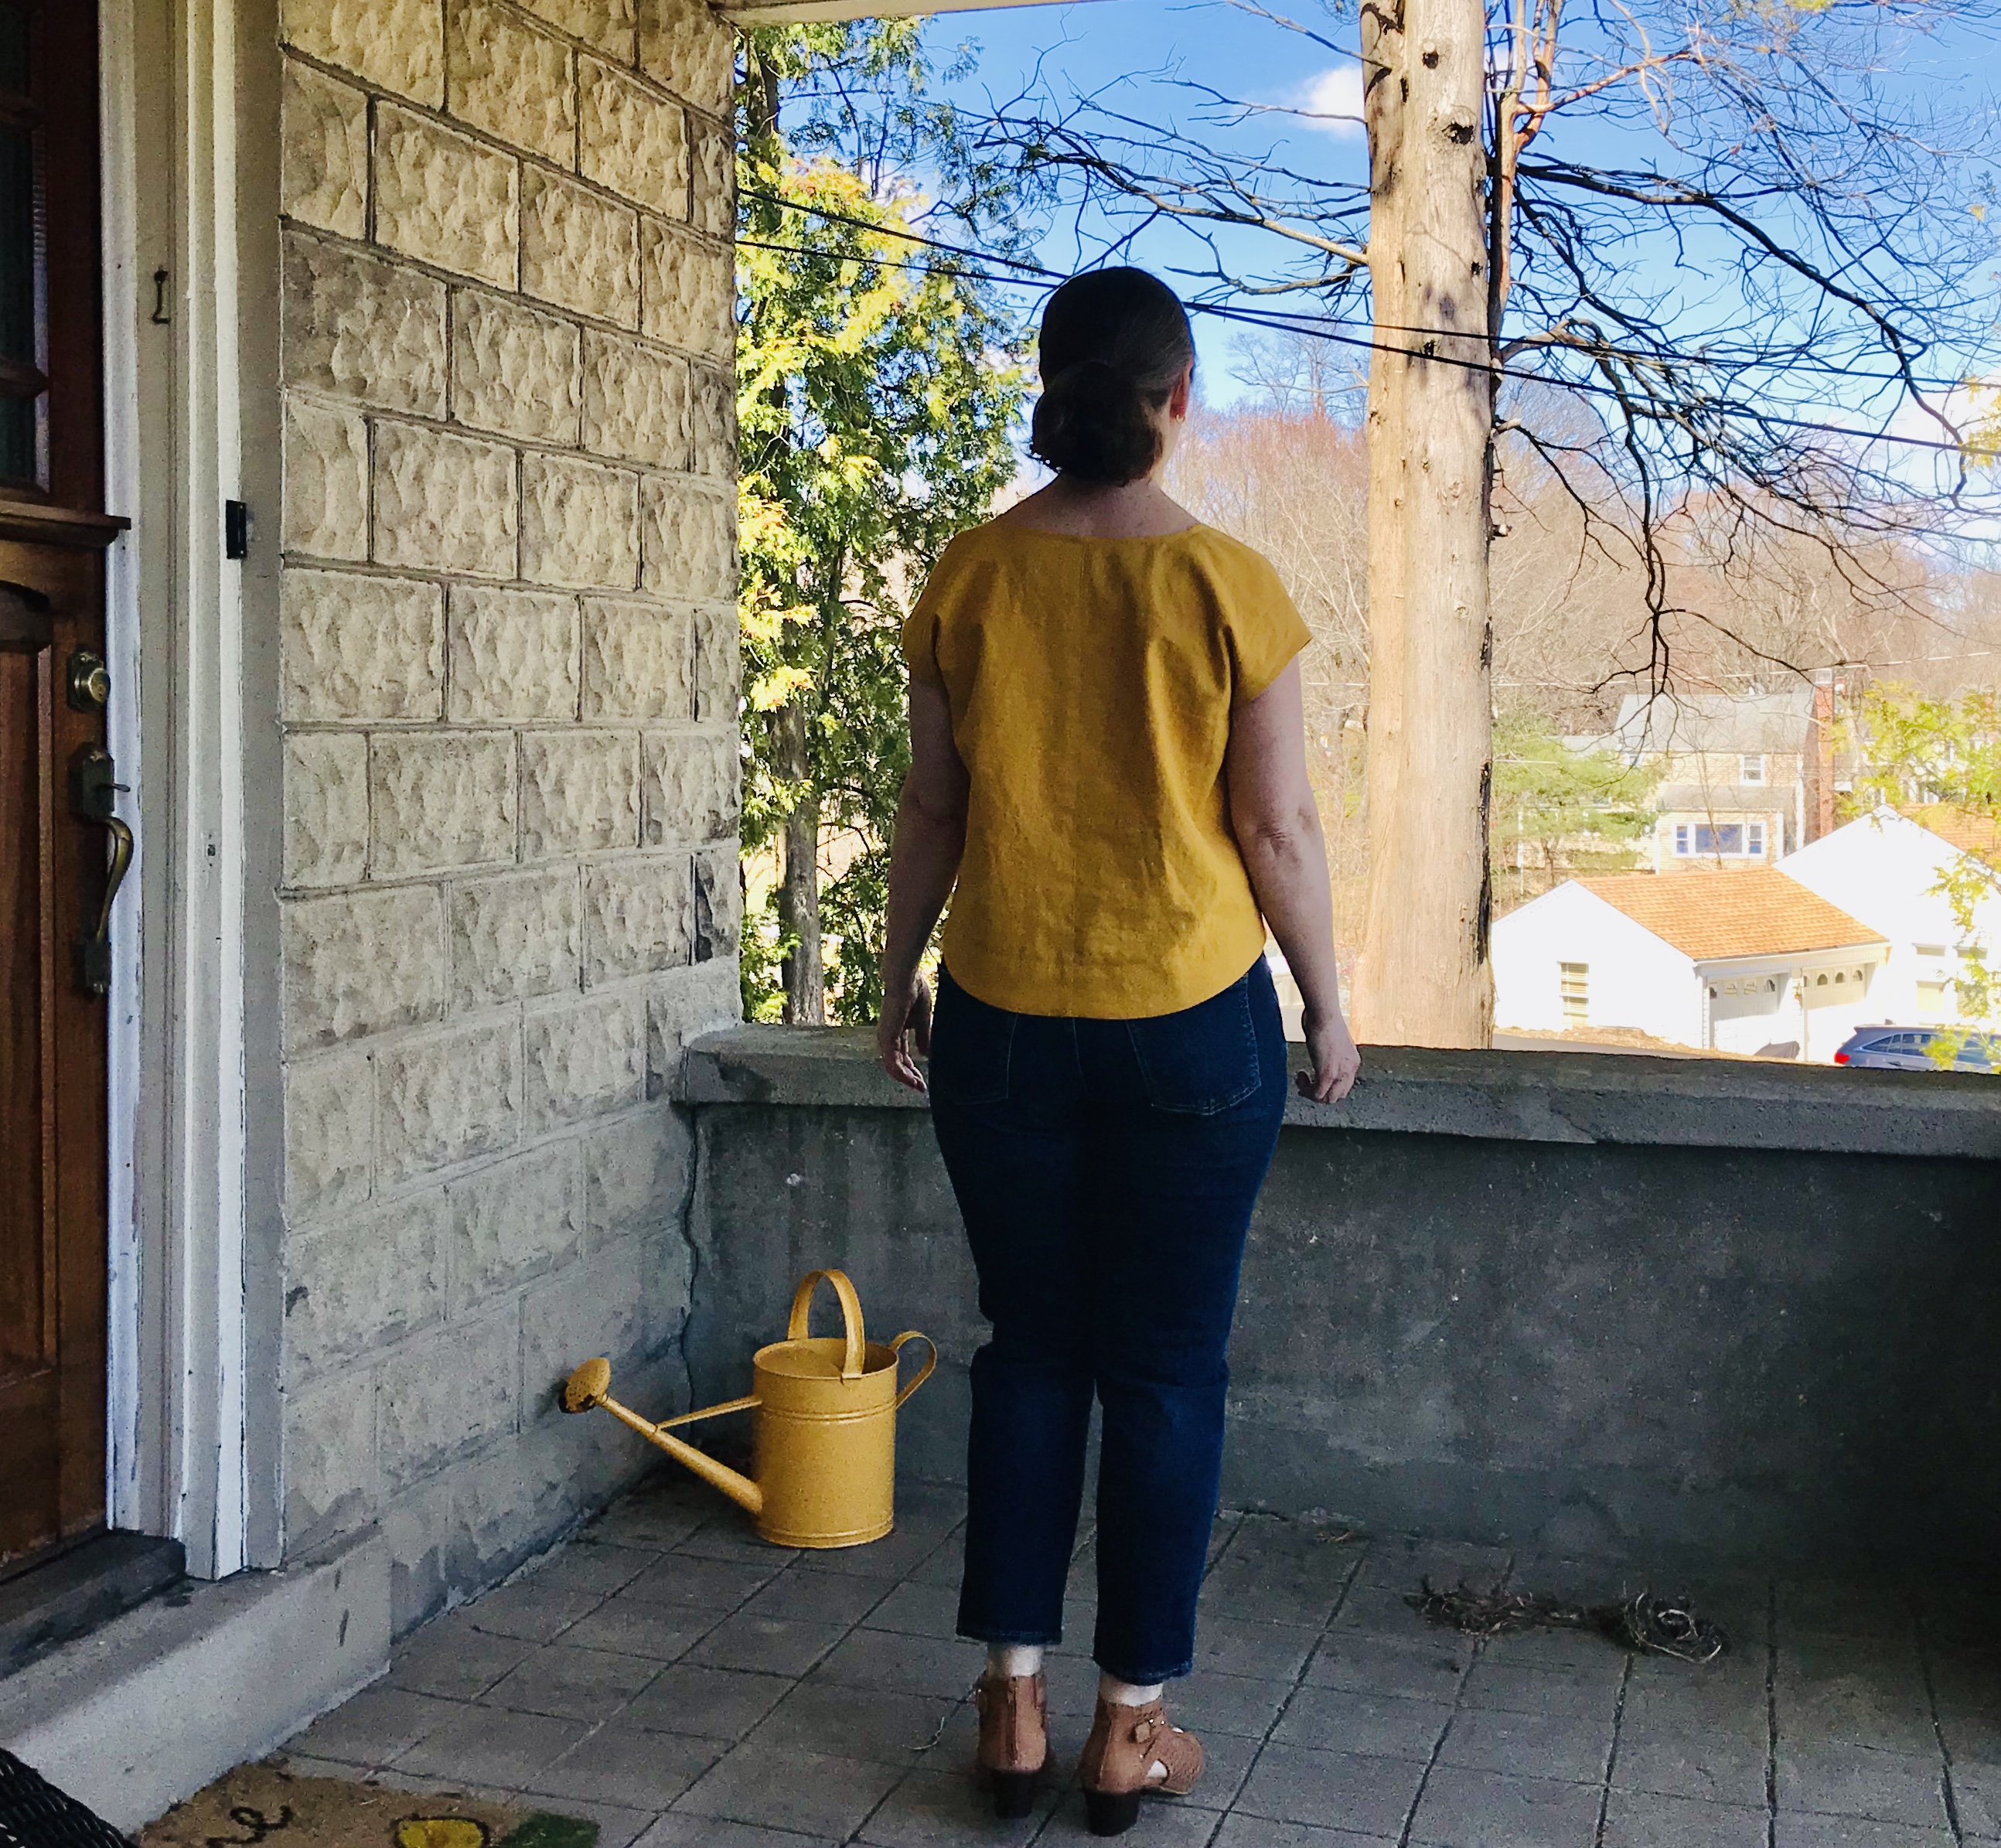
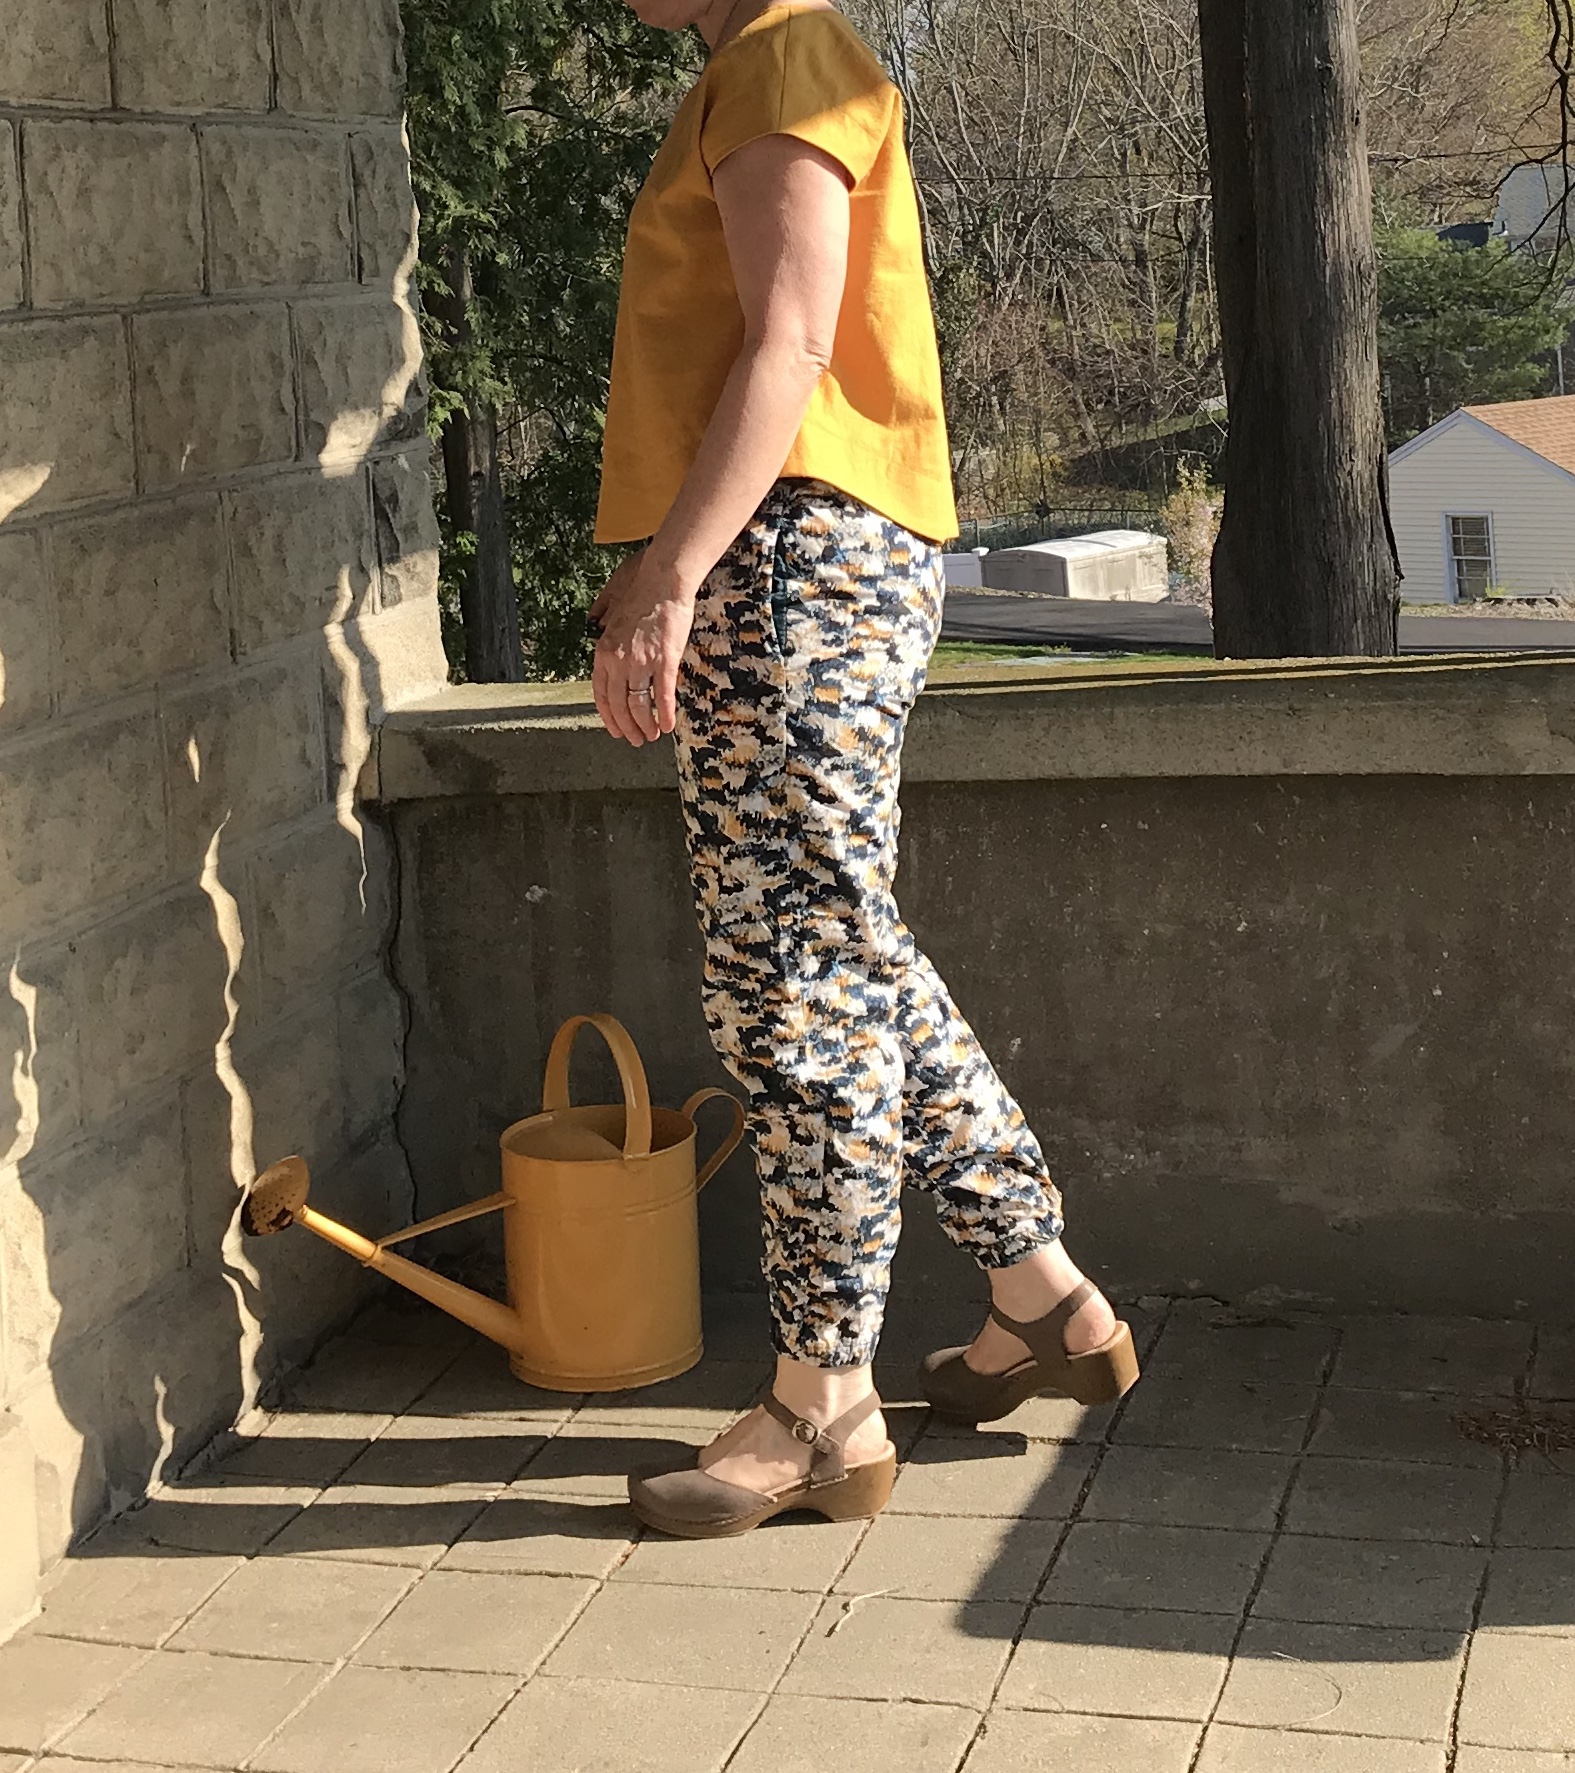
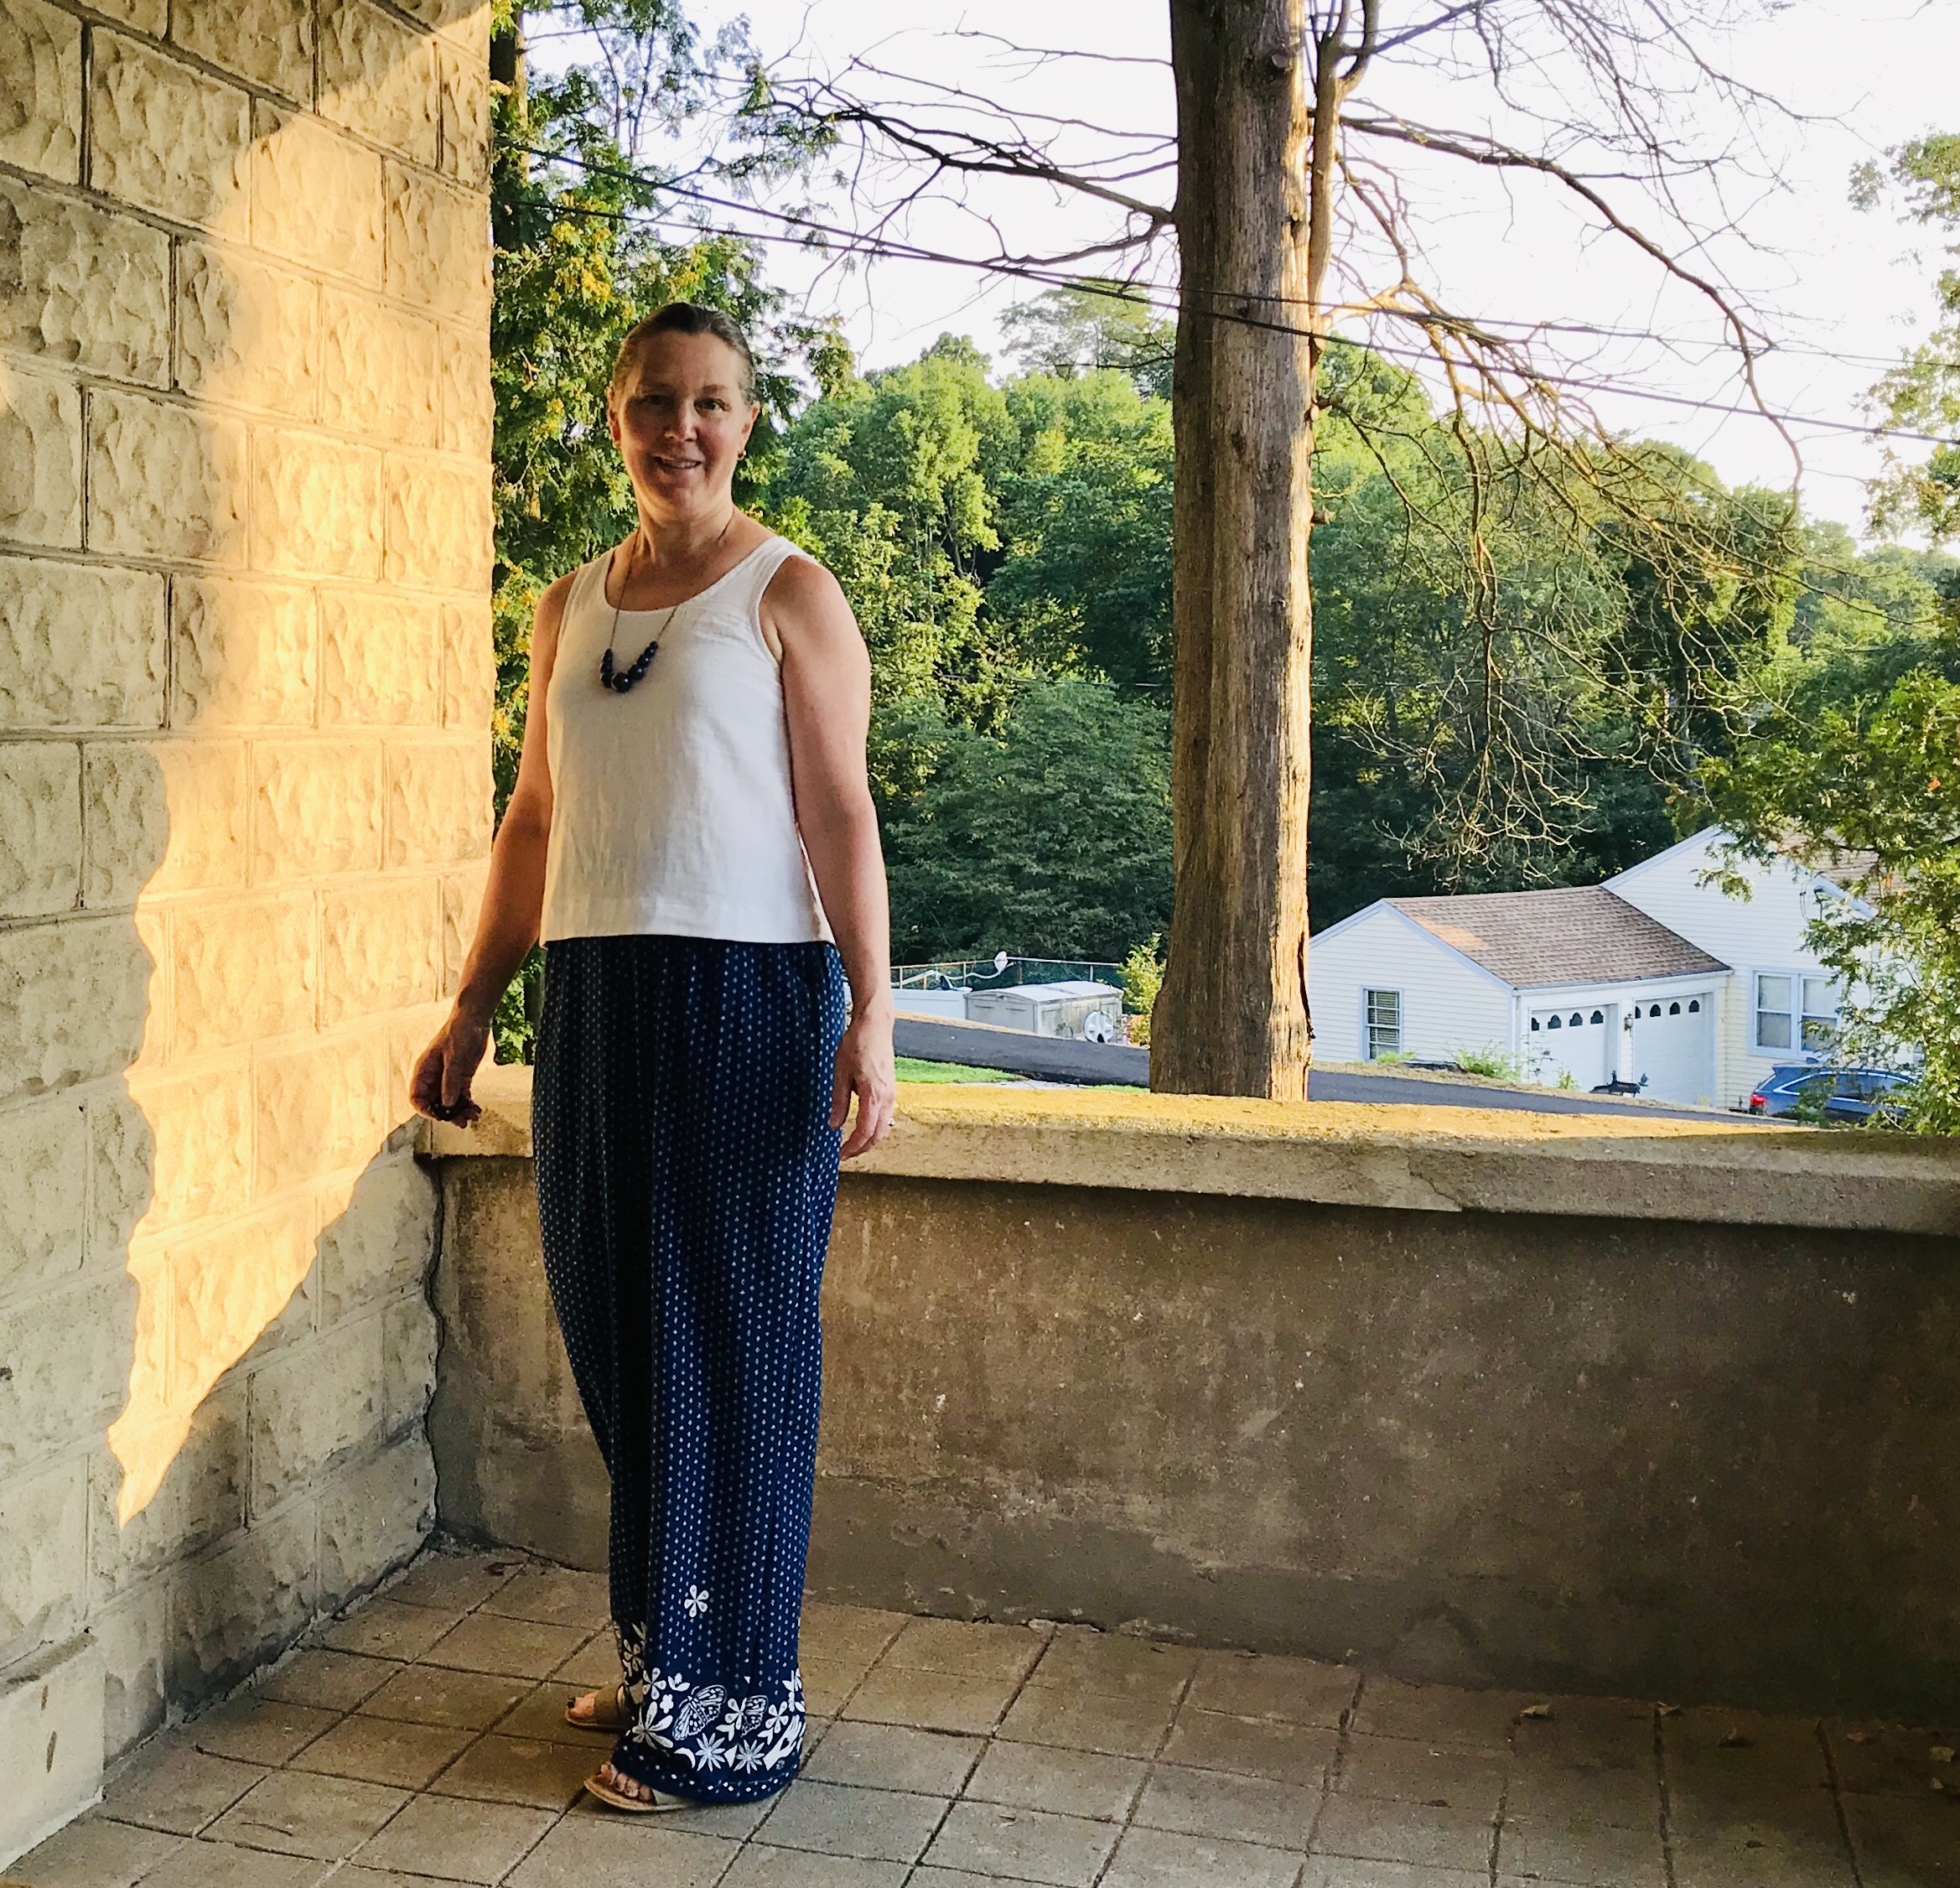
and have made myself a fun rayon version using a floral border print. I used a slightly different approach to better deal with the slippery fabric which I posted about here. Here they are worn with my recently cropped Gemma tank. I am loving wearing them.

img_1723

So much love for this pattern!

In our house, we now have a new motto:

img_1456

Standard
Bias Binding, Gemma Tank, Liberty Fabric, Made By Rae Patterns, Pearl Shift, Sewing

Gemma Tank with Gathered Skirt X 3

Last year about this time, I had the idea to use the Gemma Tank pattern and make some summer dresses. Rae posted a tutorial on her blog for adding a peplum to the tank which I tried and loved so I thought I would try just lengthening the ruffle to skirt length using two wider and longer rectangles for the skirt. Then I got distracted by other patterns and other sewing. It must be said that when I sewed my first version of this Gemma Dress, I used too long a bodice and it wasn’t balanced and I was too discouraged at that time to take apart the already gathered and attached skirt and shorten the bodice. It felt overwhelming. I did finish a version with a very long linen skirt and a Liberty of London cotton lawn floral top. I lined that version and it came out ok (pictures below) but I forgot to add a seam allowance to allow for the sausaging of the bodice and so the straps were narrower than I would have liked. All of this to say that this year, I had two versions of this dress cut out and partially but not completely sewn. One was made from a previously me-made chambray Bianca Dress

and a skirt I purchased about 15 years ago in a little boutique but rarely wore because I didn’t like the waist. I loved the fabric though so held onto it. The other version was in a beautiful cotton double gauze that I purchased on sale from Alewives Fabrics after years of wanting the fabric but not feeling that I could spend the money.  This May one of my goals is to finish some of these projects that have languished.

First up, the chambray and upcycled rtw skirt.

The skirt was lined with a gauzy green fabric which I used for the bias binding and hem facing. I added bra holders made of ribbon as I sewed the binding.

I used elastic thread to gather the skirt which worked great. I made the front skirt piece wider than the back. I am not sure of the exact measurement, I just used as much as I could of the ready to wear skirt. Since I had the issue with the bodice length, I sewed the bodice together and tried it on and then figured out where I wanted it to hit on the dress which was just at the bottom of the rib cage. I think I must have originally cut these pieces out thinking I would sew french seams because the bodice is a bit loose on this in the finished dress but I really don’t care. I wanted a loose, floaty, summer dress and it doesn’t need to be perfect. This is something I will wear on vacation with sandals or over a bathing suit. The price was right too since it was all recycled from clothes in my closet.

Before:

After:

And as worn:

The Liberty and Linen version was basically finished over the winter but I still hadn’t handsewn the lining to the waist, partially because I must have cut the two bodices slightly differently and things didn’t line up for me the way they usually do which threw me off. But I finally sewed everything in late April and it is ready to wear. It is a little sack like but I think will be nice for hotter days or with a jeans jacket or cardigan for cooler days. A good summer date night dress. Maybe a little bare for work although wearing a lab coat makes many less wearable options wearable. I bought the linen last spring and also made  a Josephine blouse with the same fabrics.

img_9671

I used the floral as a hem facing as well.

My gathering was a little rushed and the linen was not as easy to gather as softer fabric but I don’t think it really matters. It is linen and it will always look a little wrinkled-that is part of the charm. The skirt is also pieced so there is an extra seam. I was squeaking by making both of these projects with the fabric I had.

Front:

Back:

img_9651-1

And as worn before I hemmed it.

img_9406

I saved the best for last. I have loved this Cotton and Steel double gauze fabric since I first saw Rae’s Beatrix Blouse. At the time, the price per yard just seemed too much for me but I kept thinking about it and not buying it and then it was basically sold out everywhere and then one day, lo and behold, I found it on sale. I bought 2 yards thinking that I would make a Beatrix Blouse but I didn’t get around to it and then last year when I saw the Gemma with Ruffles, I had the idea to make this dress. I love everything about it. I sort of pattern-matched the sides of the skirt. I didn’t have enough fabric to really pattern-match the bodice but I don’t think it matters. I used two different techniques when I bound the neck and armholes. The binding is visible around the neck and turned under for the armholes.  Ribbon bra straps are sewn in because I remembered just in time! One of these days I am going to thread a bunch of snaps on ribbon and have them precut in a dish on my sewing table because you can sew them in right when you add the bias binding. Really easy and it makes wearing tank tops so much easier. 

I ended up hand sewing the neck binding down because the double gauze was so fiddly.

I used the elastic thread gathering technique for the skirts for all three of these dresses that Rae uses for the Isla. It doesn’t always work perfectly for me (it didn’t work as well  for the linen) but for the lighter fabrics, it worked a charm. I used a lightweight cotton batiste for my hem binding. Here is the finished dress on the front door of honor! I love it! It was worth the wait.

I wore it today and I will wear it forever until it is worn to shreds and I know it will only get better with age and wear.

View 1:

View 2:


So good! So I am off to a good start this May! More to come.

Standard
Helen's Closet Patterns, Made By Rae Patterns, Sewing

Fall Sewing: York Pinafore and Jade Tops

I have been trying to fill in my cold weather wardrobe with handmade basics and the York Pinafore and the Jade top are the perfect combination. This past holiday weekend, I finished a second fall version of the York and two more Jade tops, all of which will mix and match with my other fall York. With tights it is the perfect cold weather outfit. img_4778-1I sewed my second fall York using a light brown wide-wale corduroy that I bought for a song at FabScrap – a wonderful non-profit based in Brooklyn that is working to keep fabric out of landfills by recycling and reusing fabric that would otherwise be discarded. img_4679
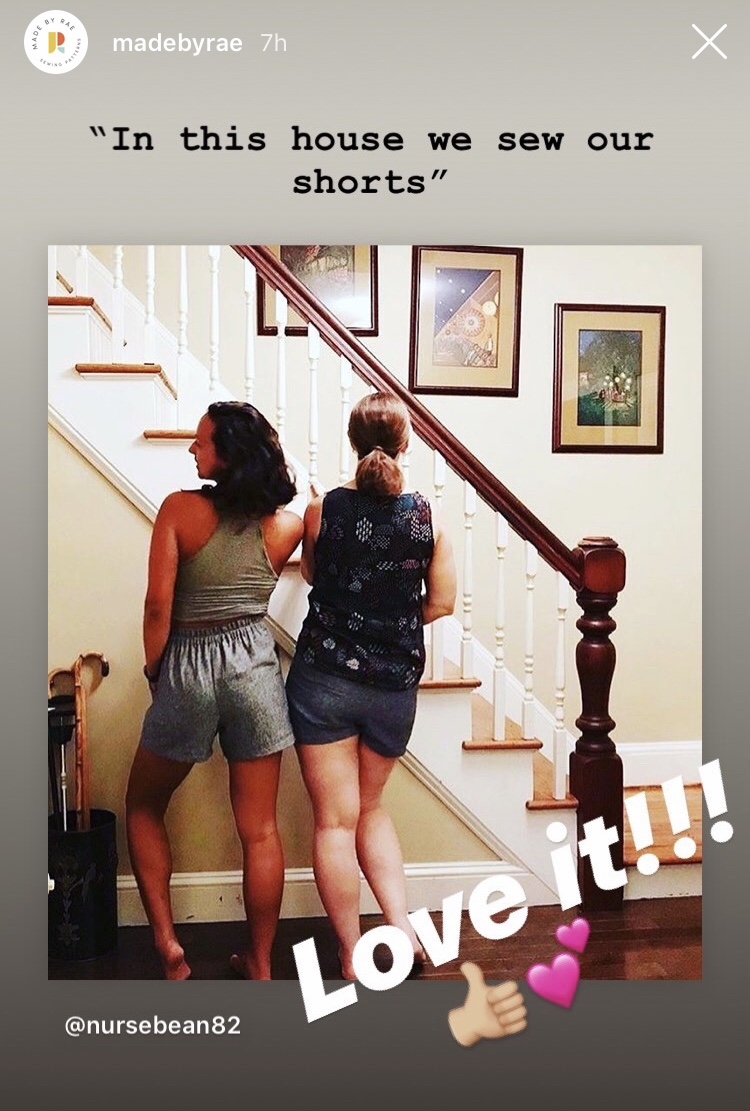
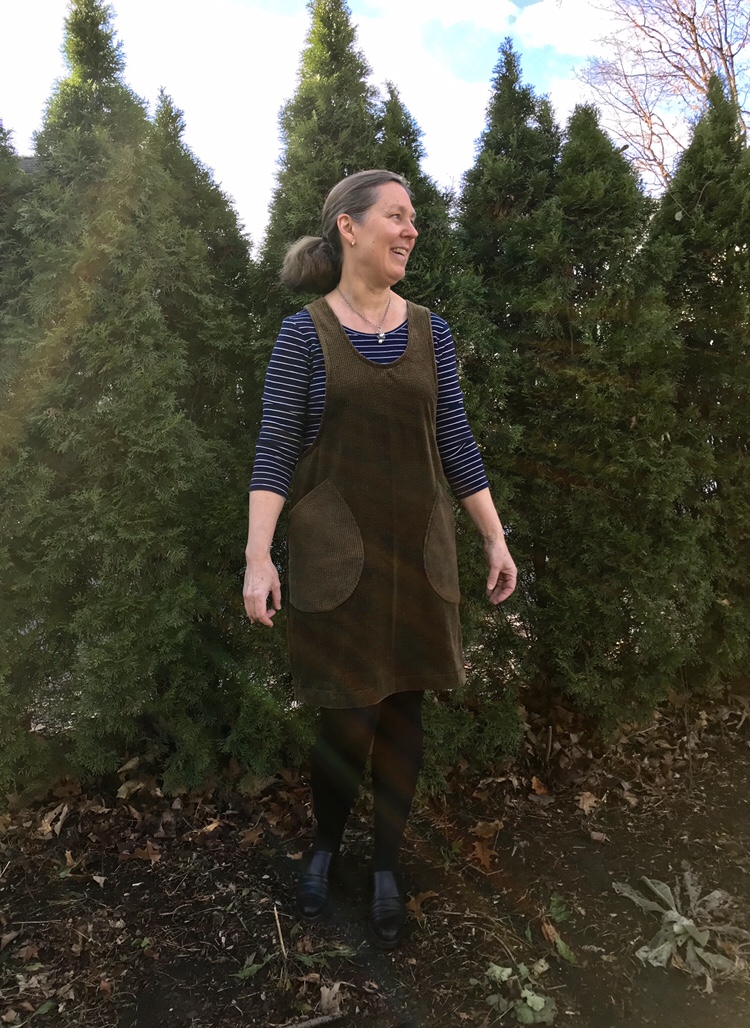
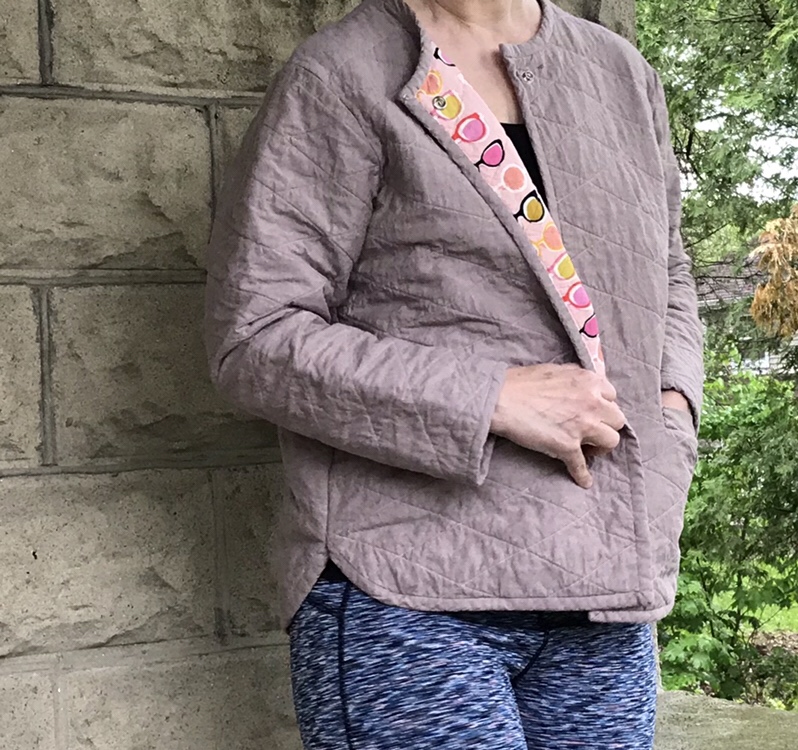
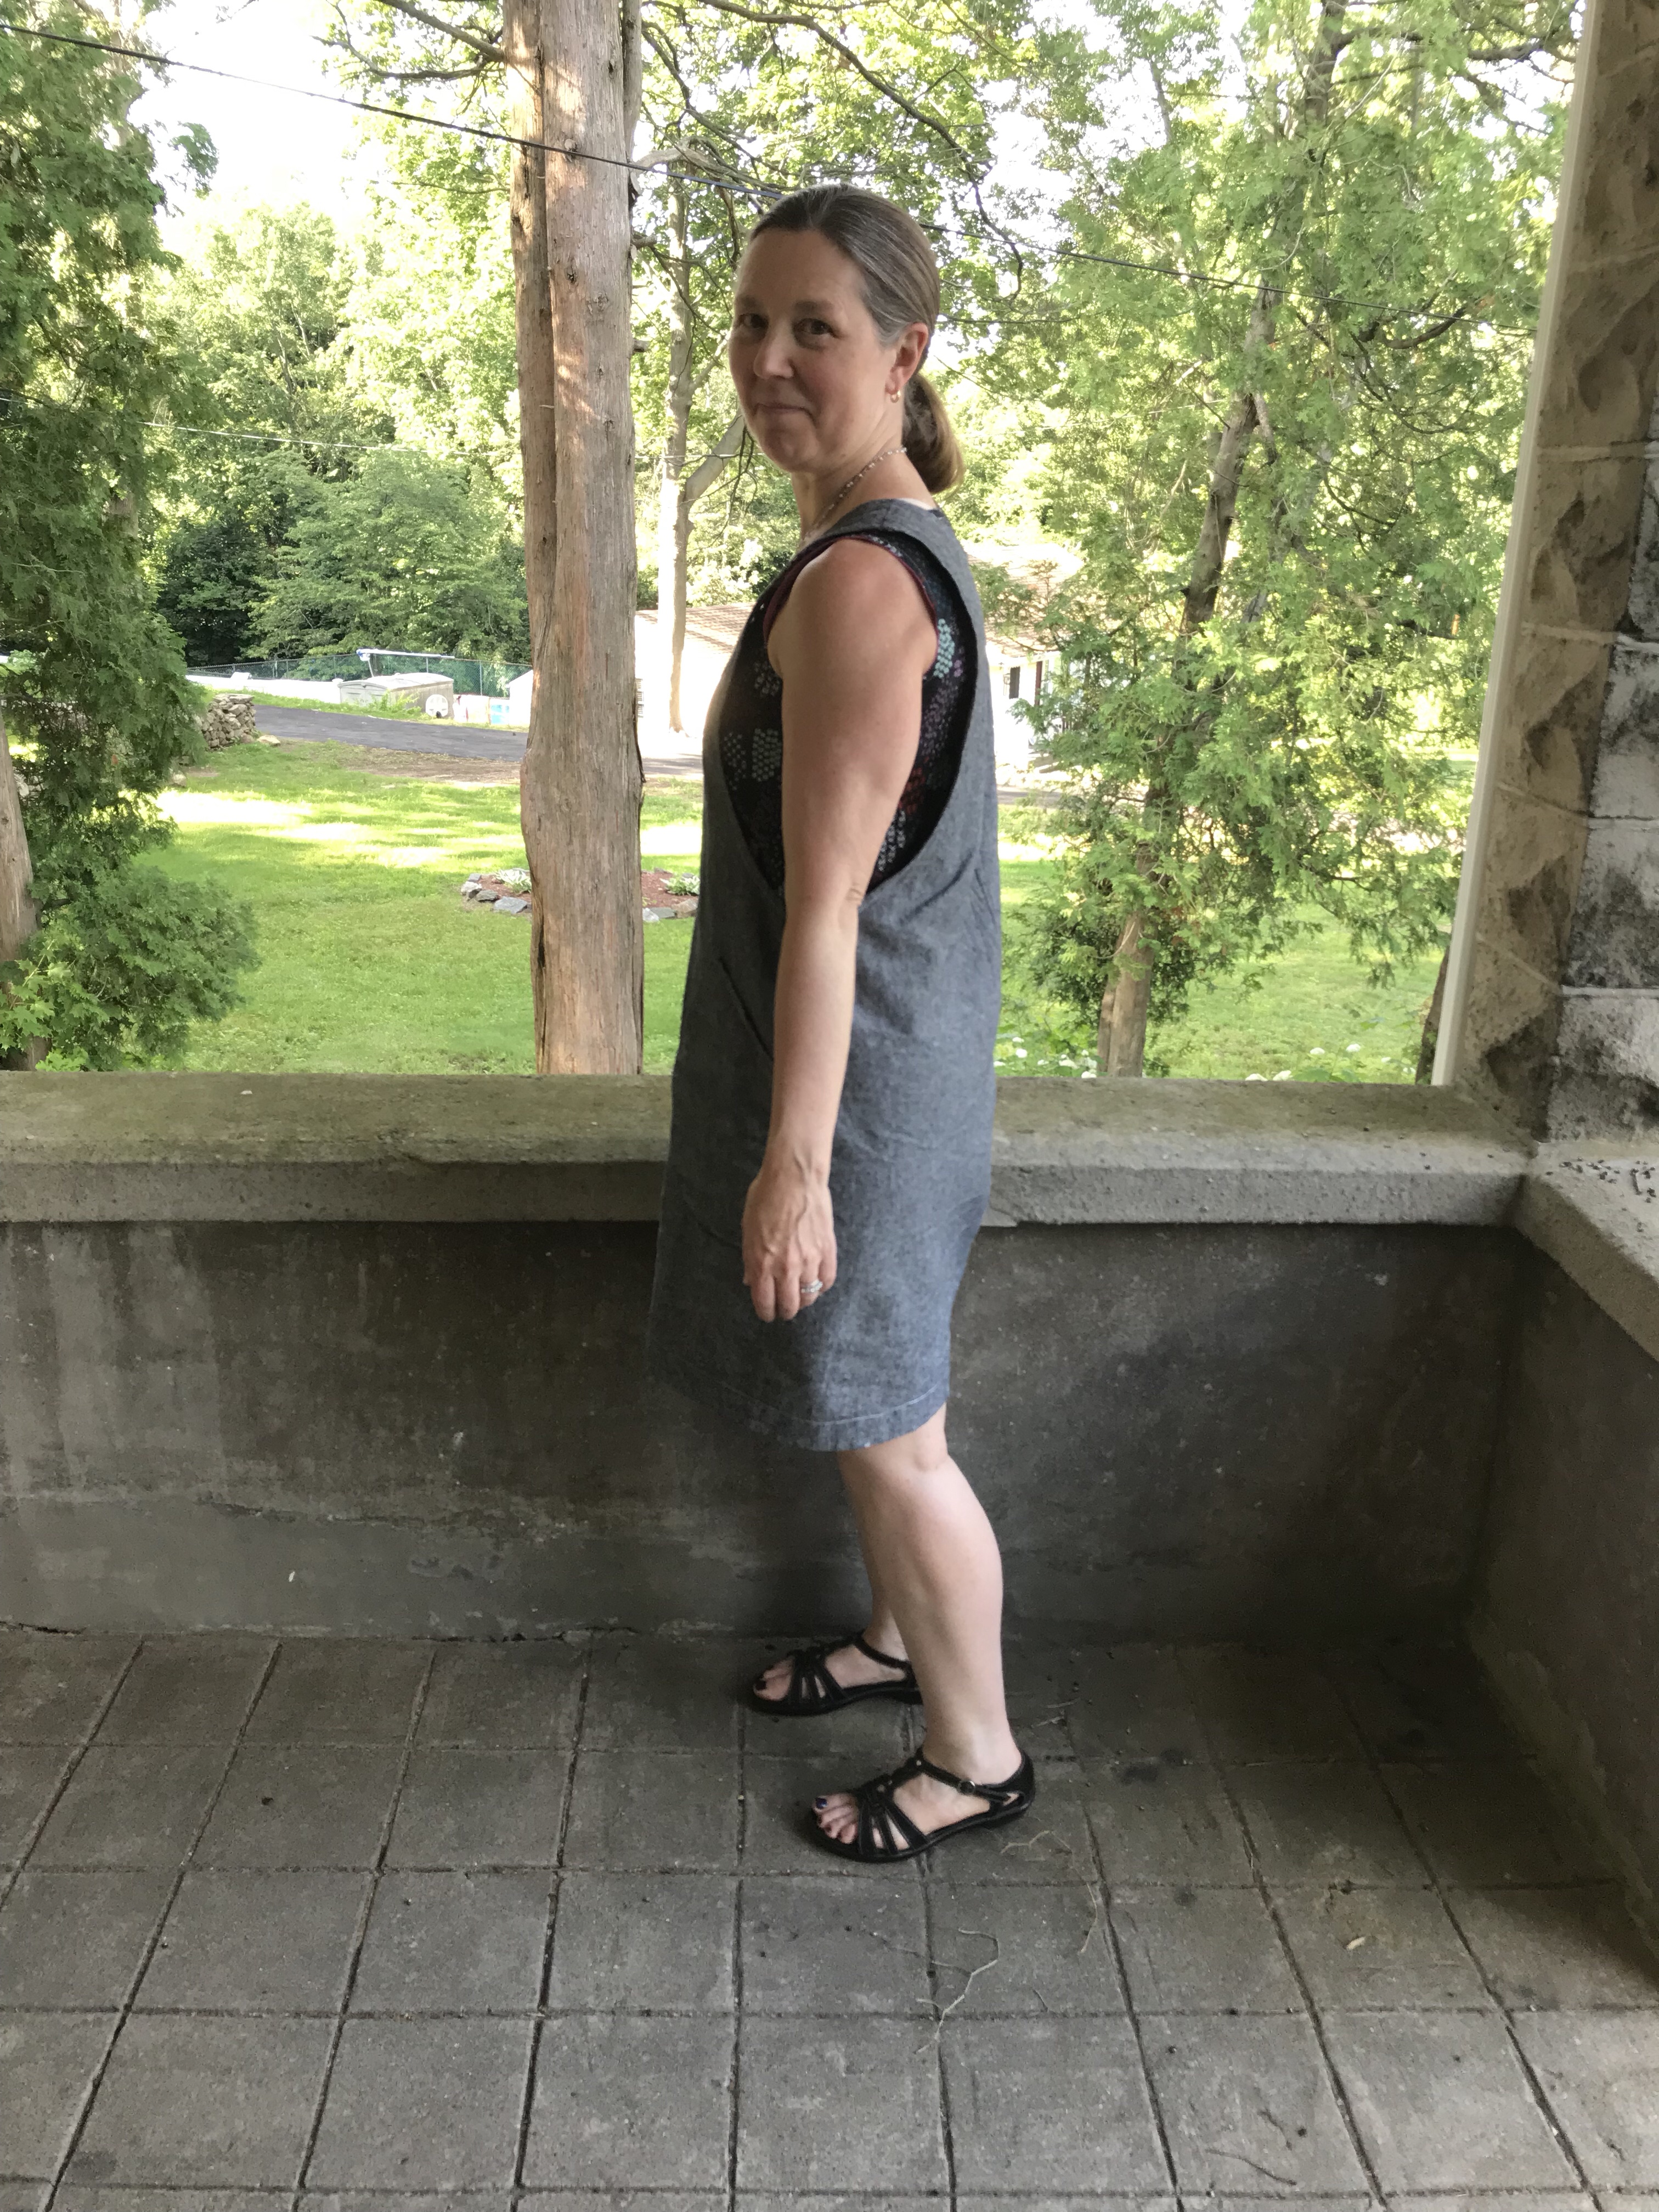
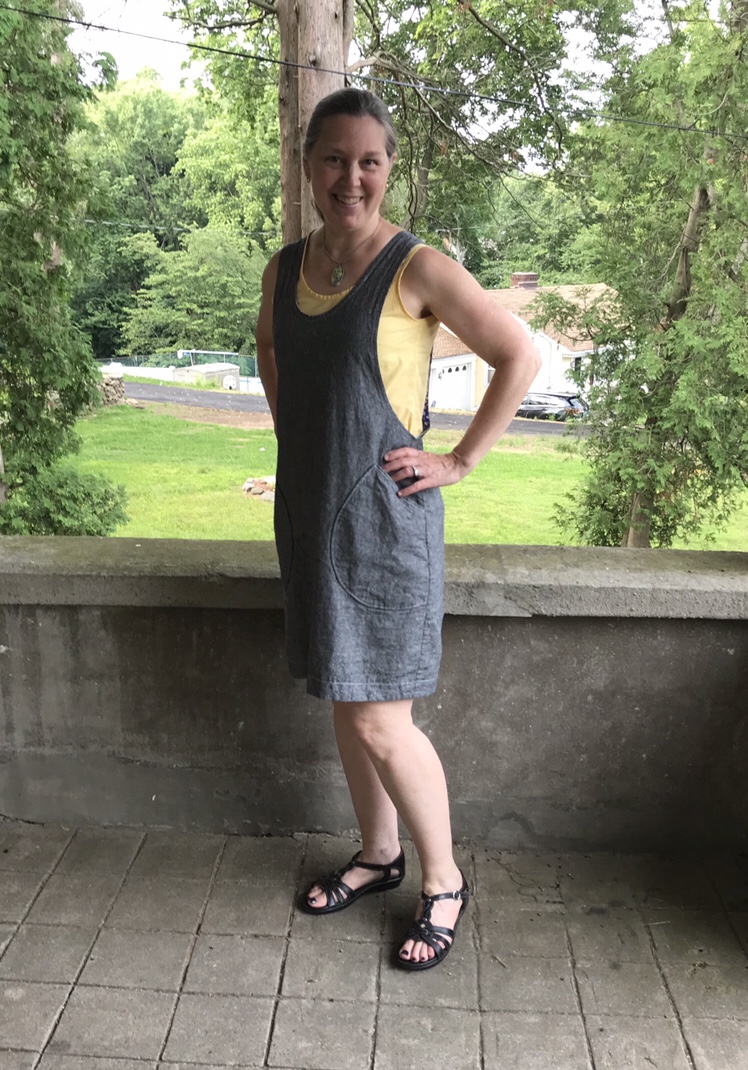
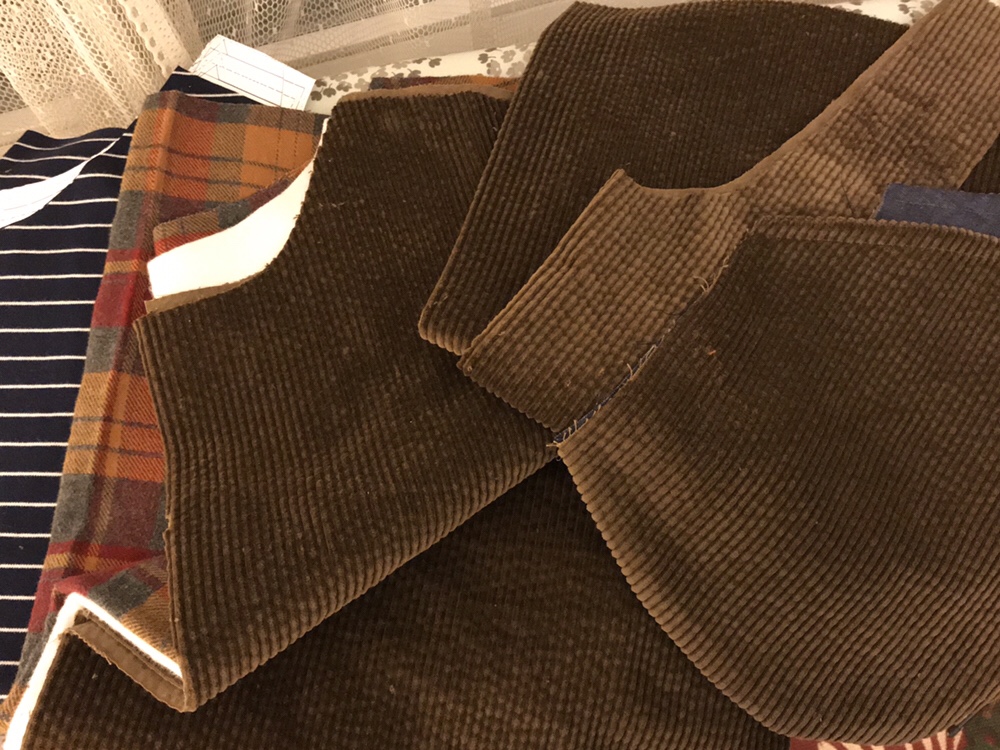
I lined the pockets with blue linen left over from a summer version of the York. You can see how nice the fabric is in this close-up. It is really soft and drapes so well-really surprising in a corduroy as they are often stiff.
img_4718
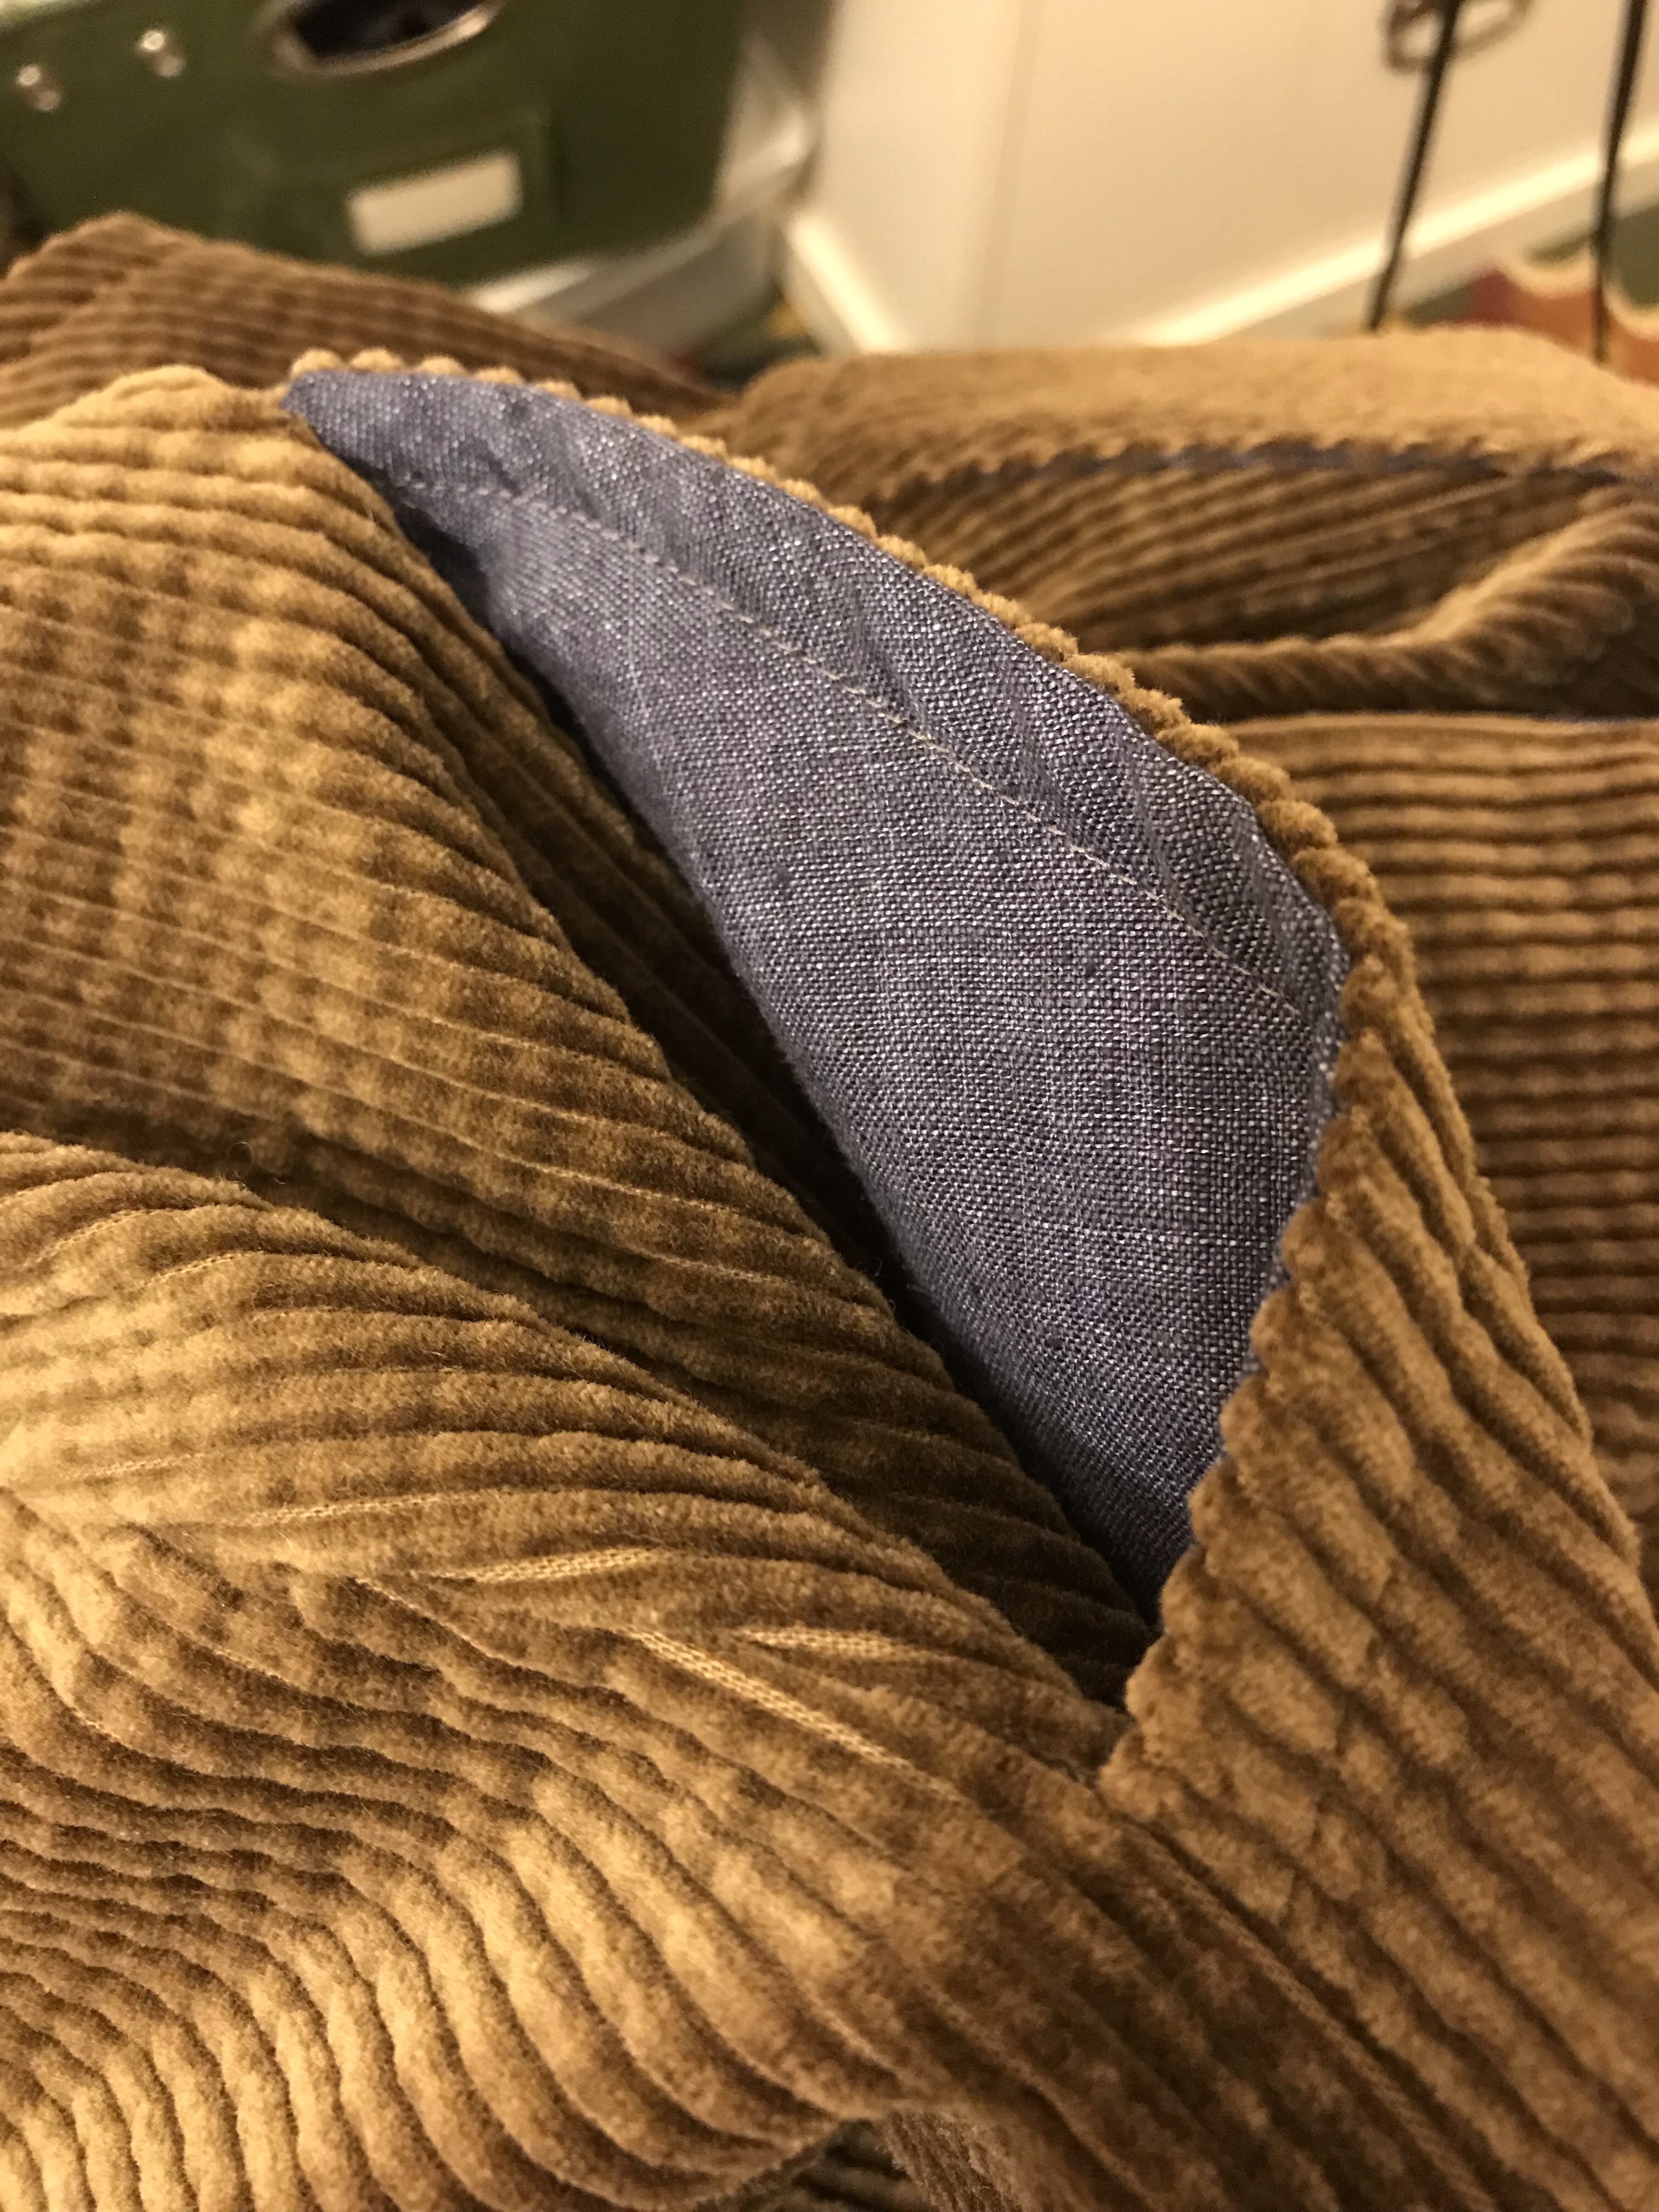
I had heard about FabScrap but had never visited their operation and then the Love to Sew ladies came to NYC and hosted a meet-up of local sewists there and I was lucky enough to be able to go.  I am a big fan of the Love to Sew podcast and Helen and Caroline were so warm and friendly in person and it was really fun to spend time with other sewing friends. It was such a fun evening!
img_4151At FabScrap, volunteers sort donated fabric and what can’t be sold as yardage is recycled and made into industrial felt. They even have recycled buttons and zippers and sometimes sell fabric online. They recently had a flash sale of corduroy for $5 a yard that I jumped on. I bought four colors thinking that it would be a great basic to have for clothing for myself but also for little jumpers and pants for future grandchildren and I am so glad I took the plunge. It will make great garments (I have plans for Lander pants and this amazing Charlie Caftan hack ) and the scraps will end up in some patchwork quilts I am making out of leftover heavyweight plaid flannel scraps. Altogether a great purchase. This summer I wore my Yorks with Gemma Tanks and now that the weather is colder, the Jade knit top is the perfect shirt to go under the pinafore. I made two this weekend including the navy and white striped version img_4677-1as worn here:
img_4785
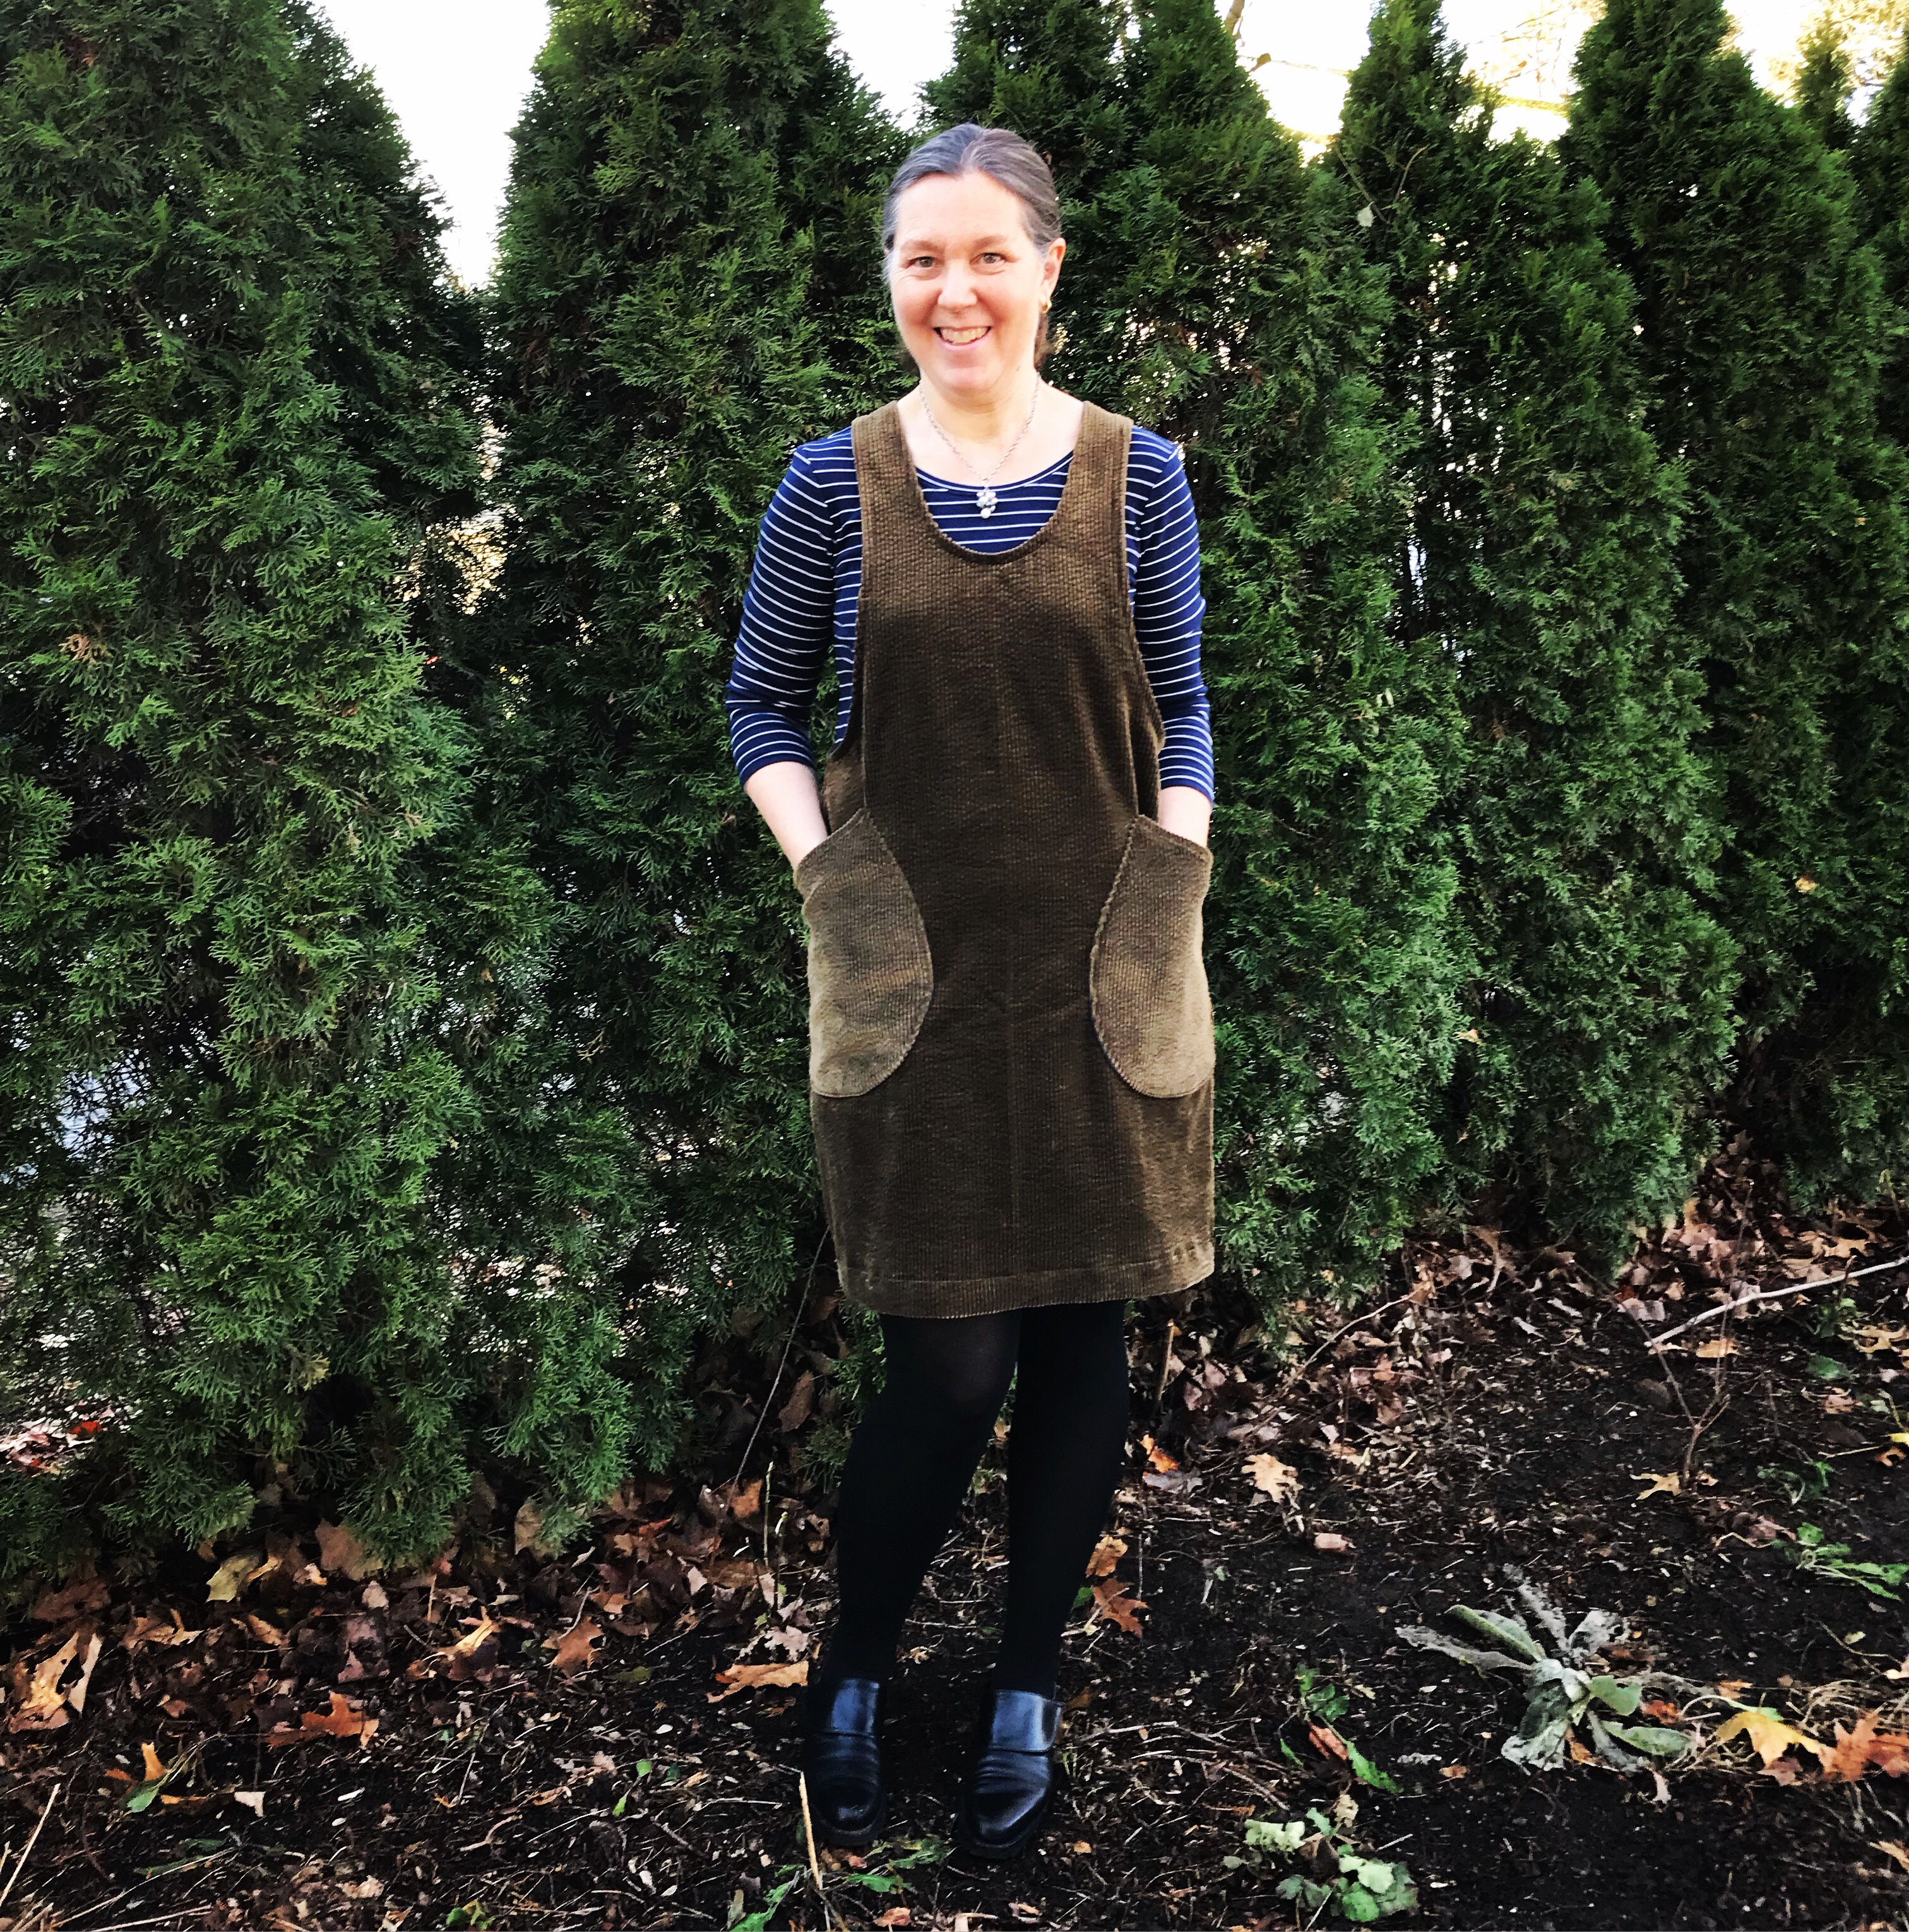
and have several more cut out. I discovered Cloud 9 organic cotton knits this spring when I was a tester for the Jade and made this version:img_0088
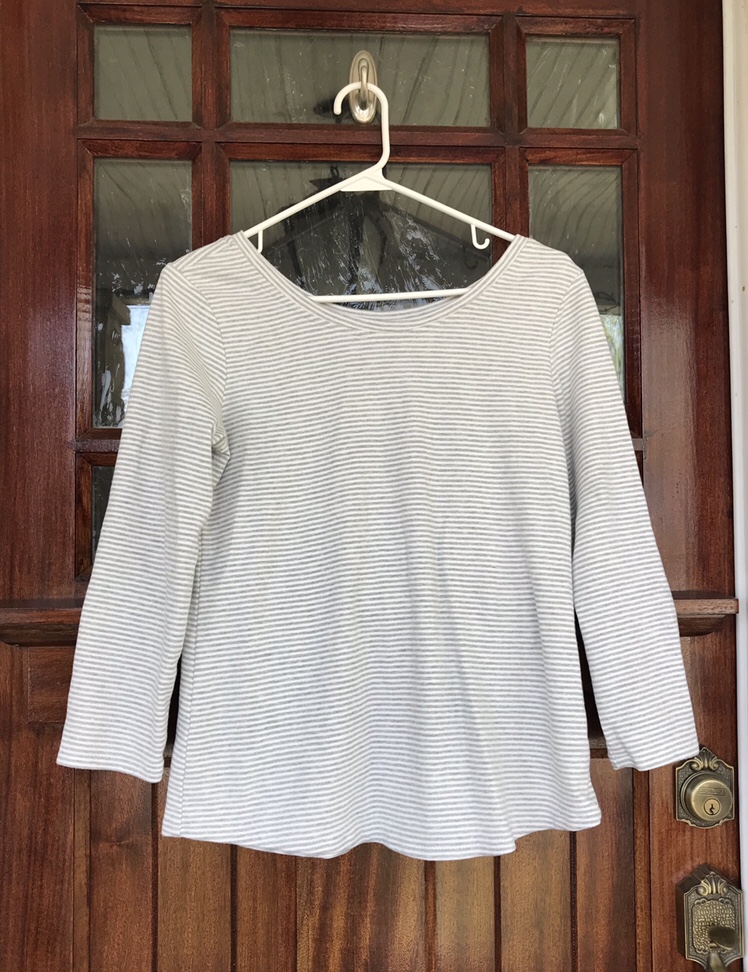
This fabric is a dream to sew with and is incredibly soft and comfortable to wear. I stocked up on several different colors and stripes this summer and I am sewing a wardrobe of shirts. It spoils you for any other knit. I highly recommend it. It would make great children’s tops as well.img_4723
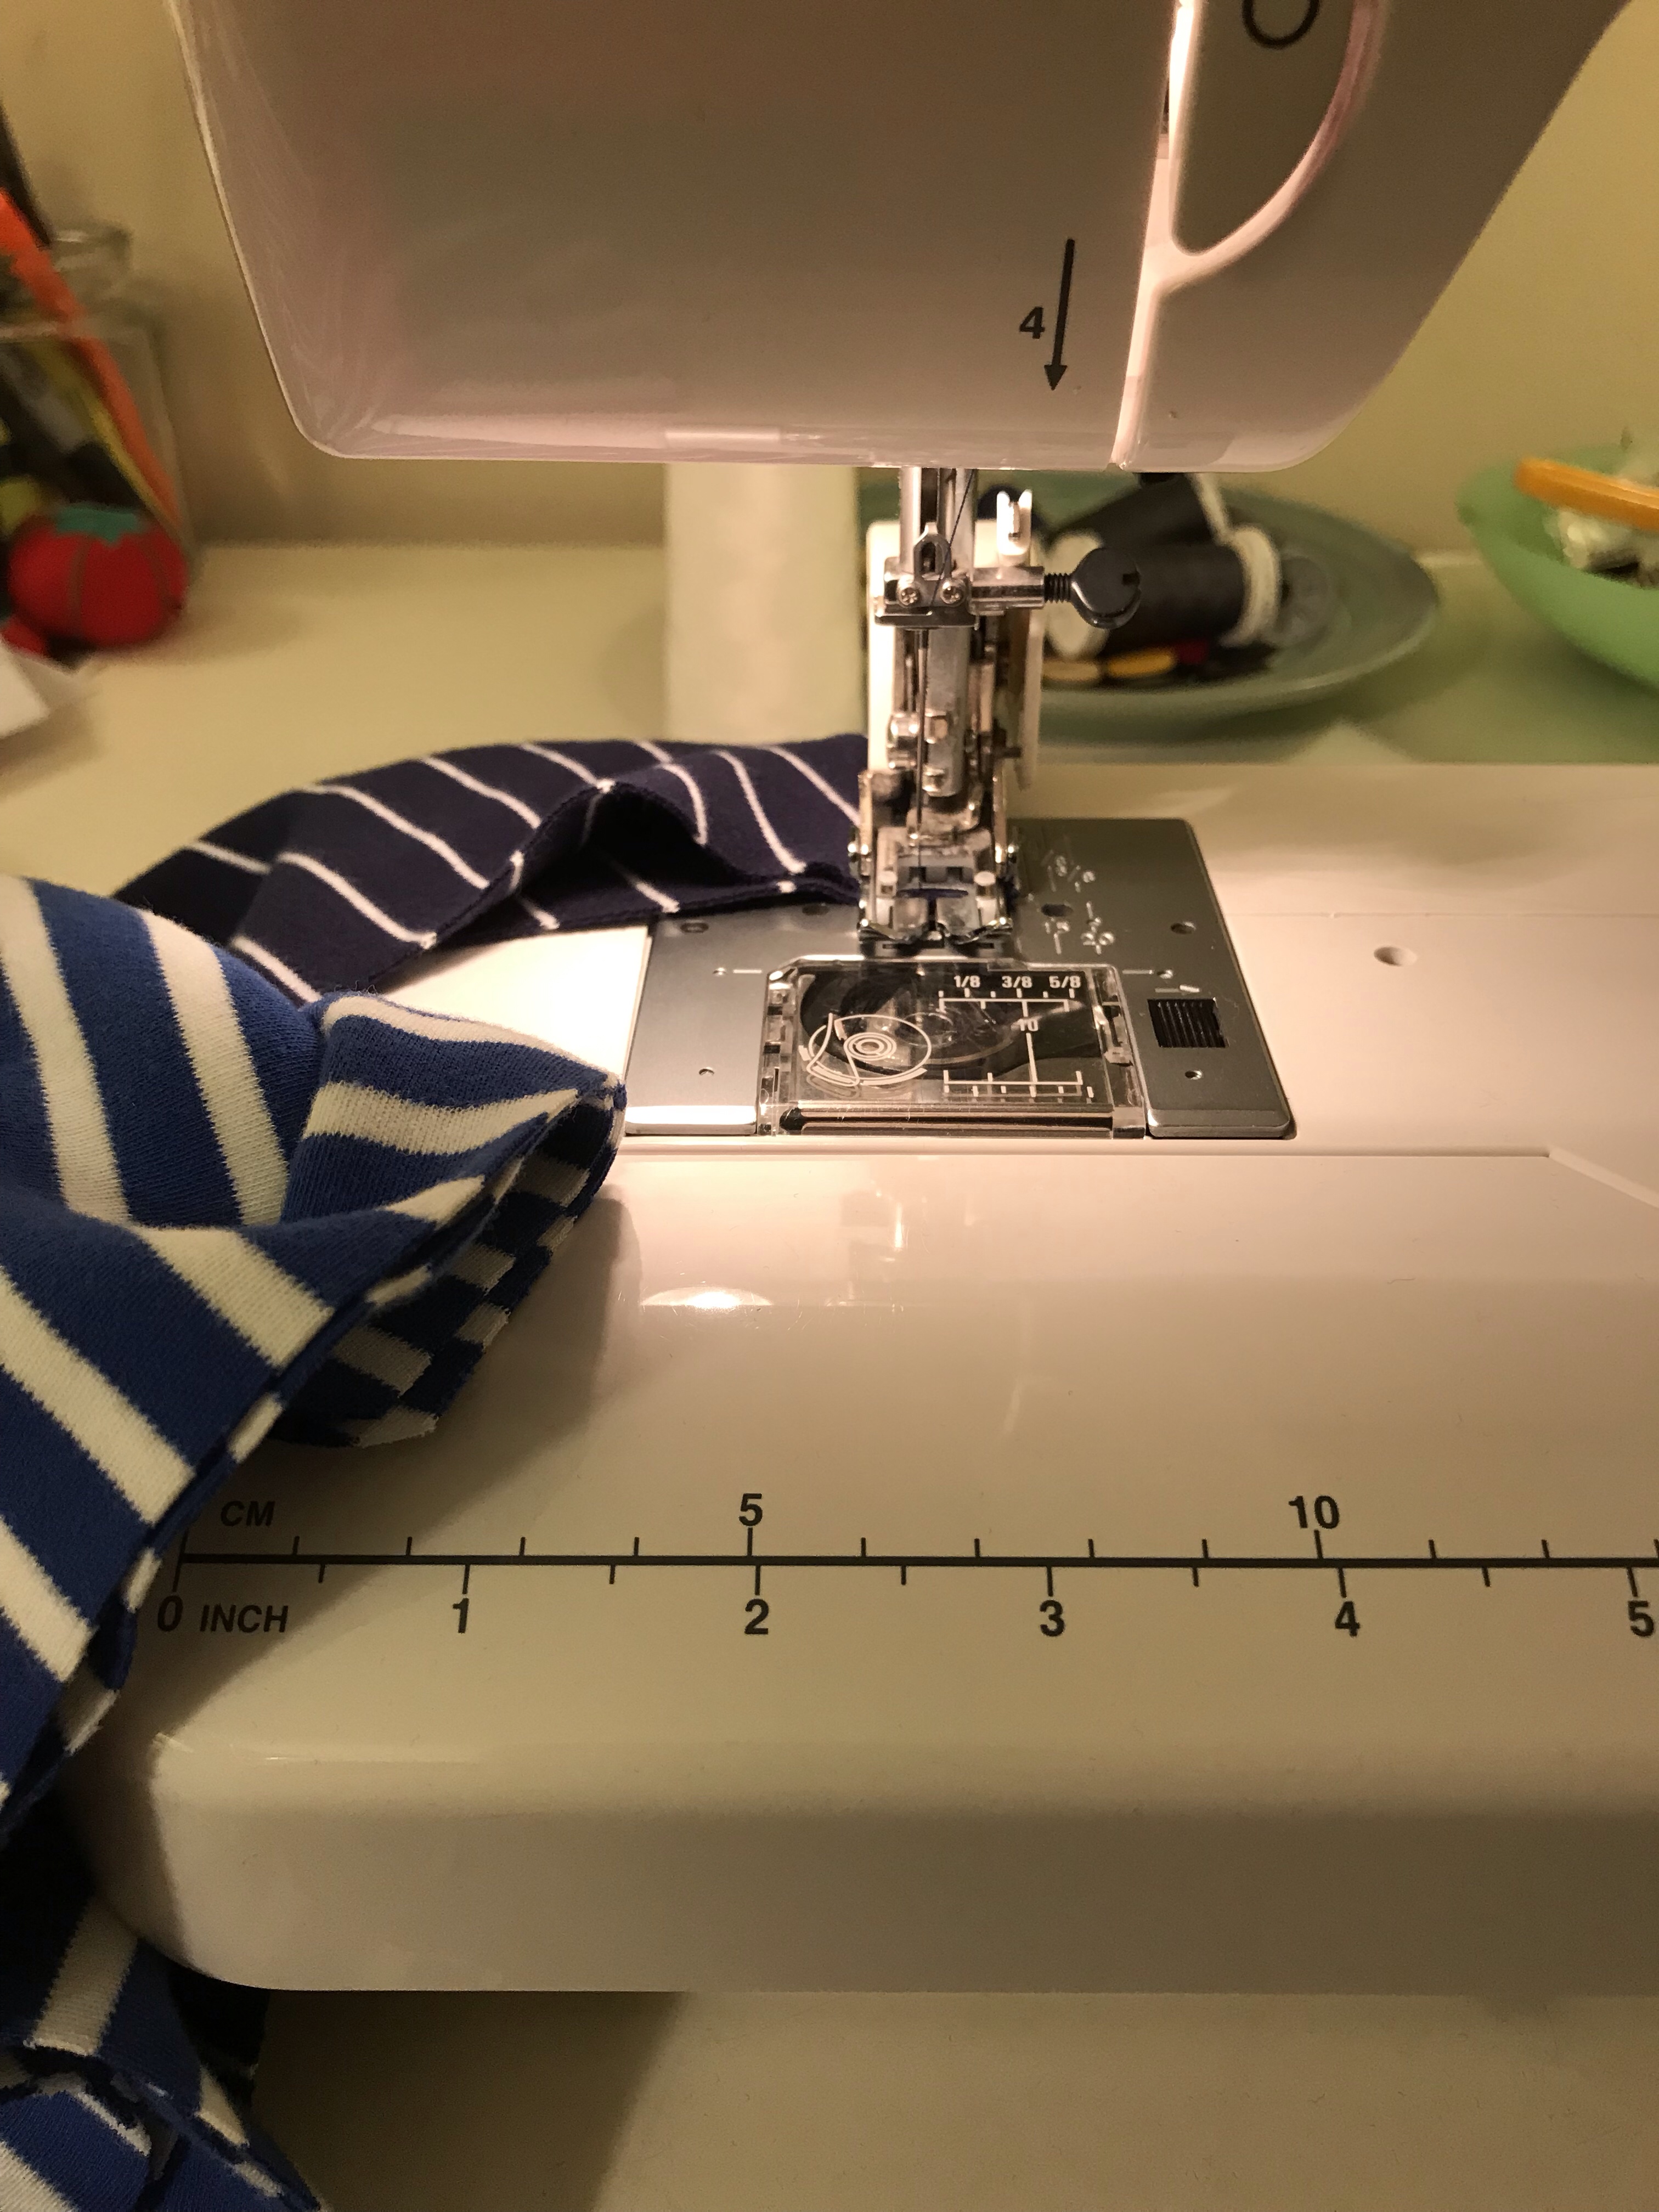
I also sewed a dark grey version of the Jade from lovely soft cotton knit fabric bought long ago from Peekaboo pattern company. I know this will get a lot of wear. It goes with everything.
And there you have it. Two great patterns that are quick to sew, don’t use a lot of fabric and mix and match with many possibilities. More versions to come!  Perfect for walking all over the city, something I have been lucky to do this fall. I really enjoyed walking through Central Park img_4522 
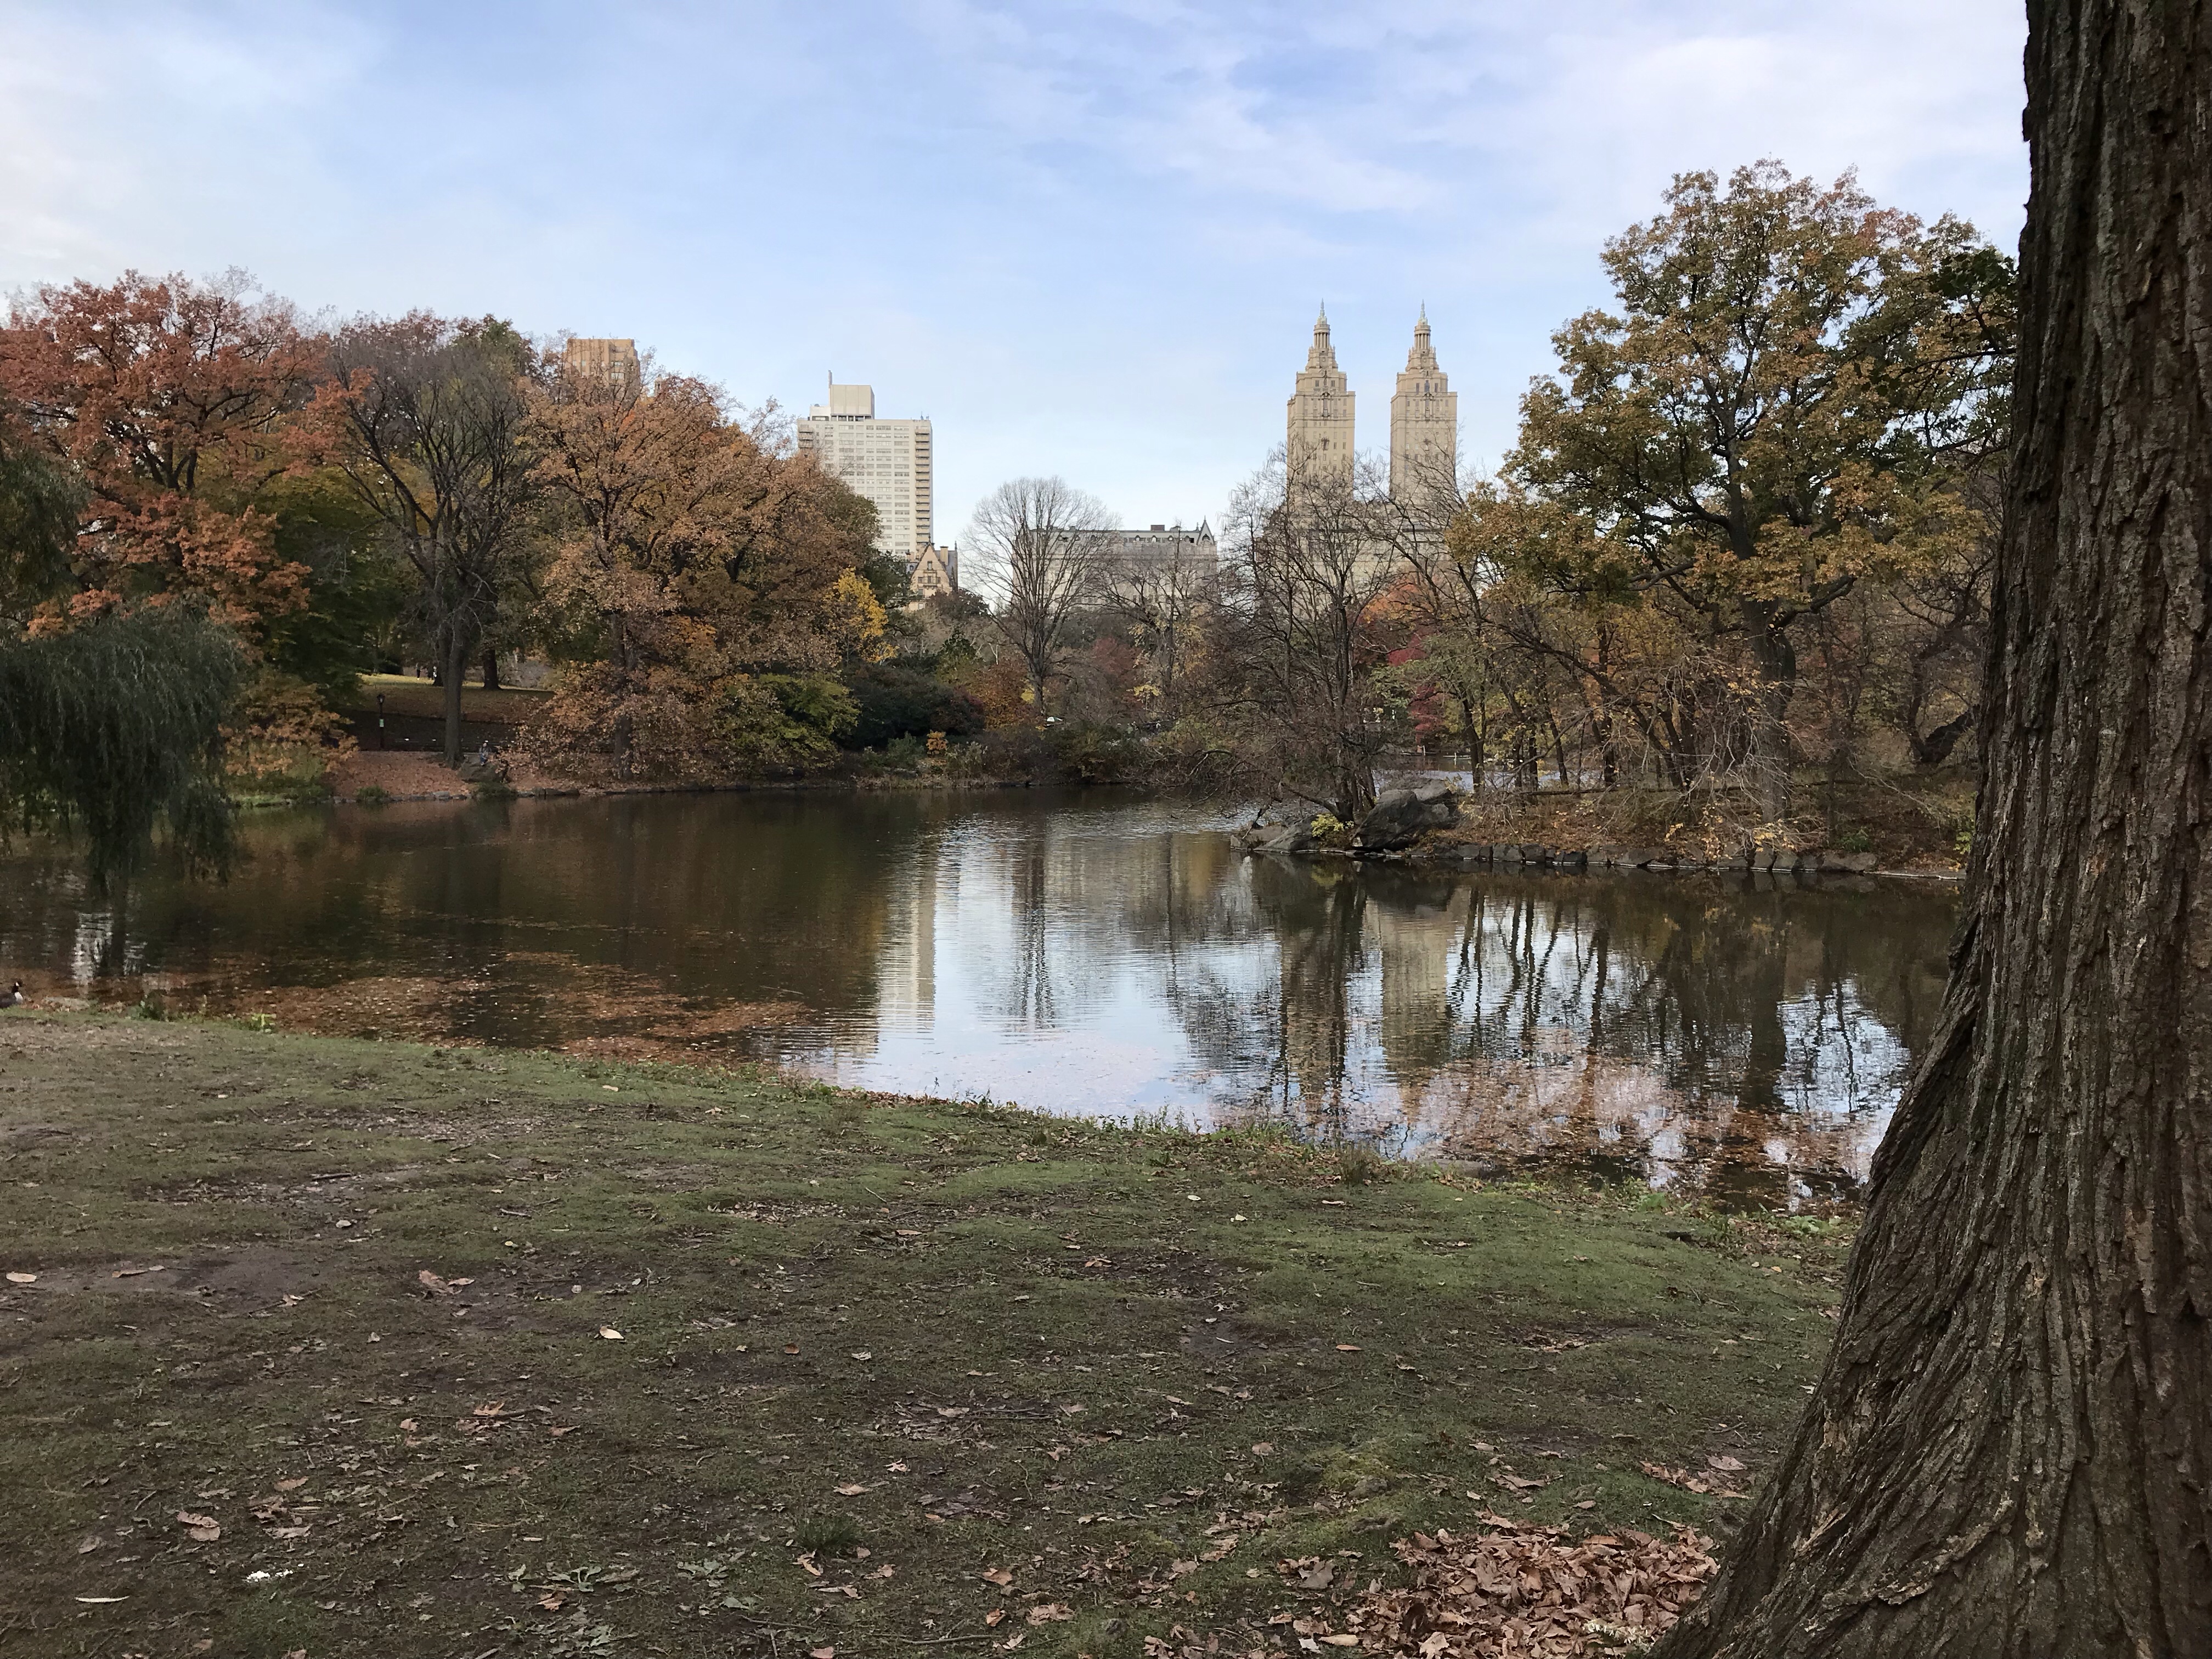
and going to the Guggenheim img_4552where I saw this amazing exhibit which is totally worth a visit. img_4544
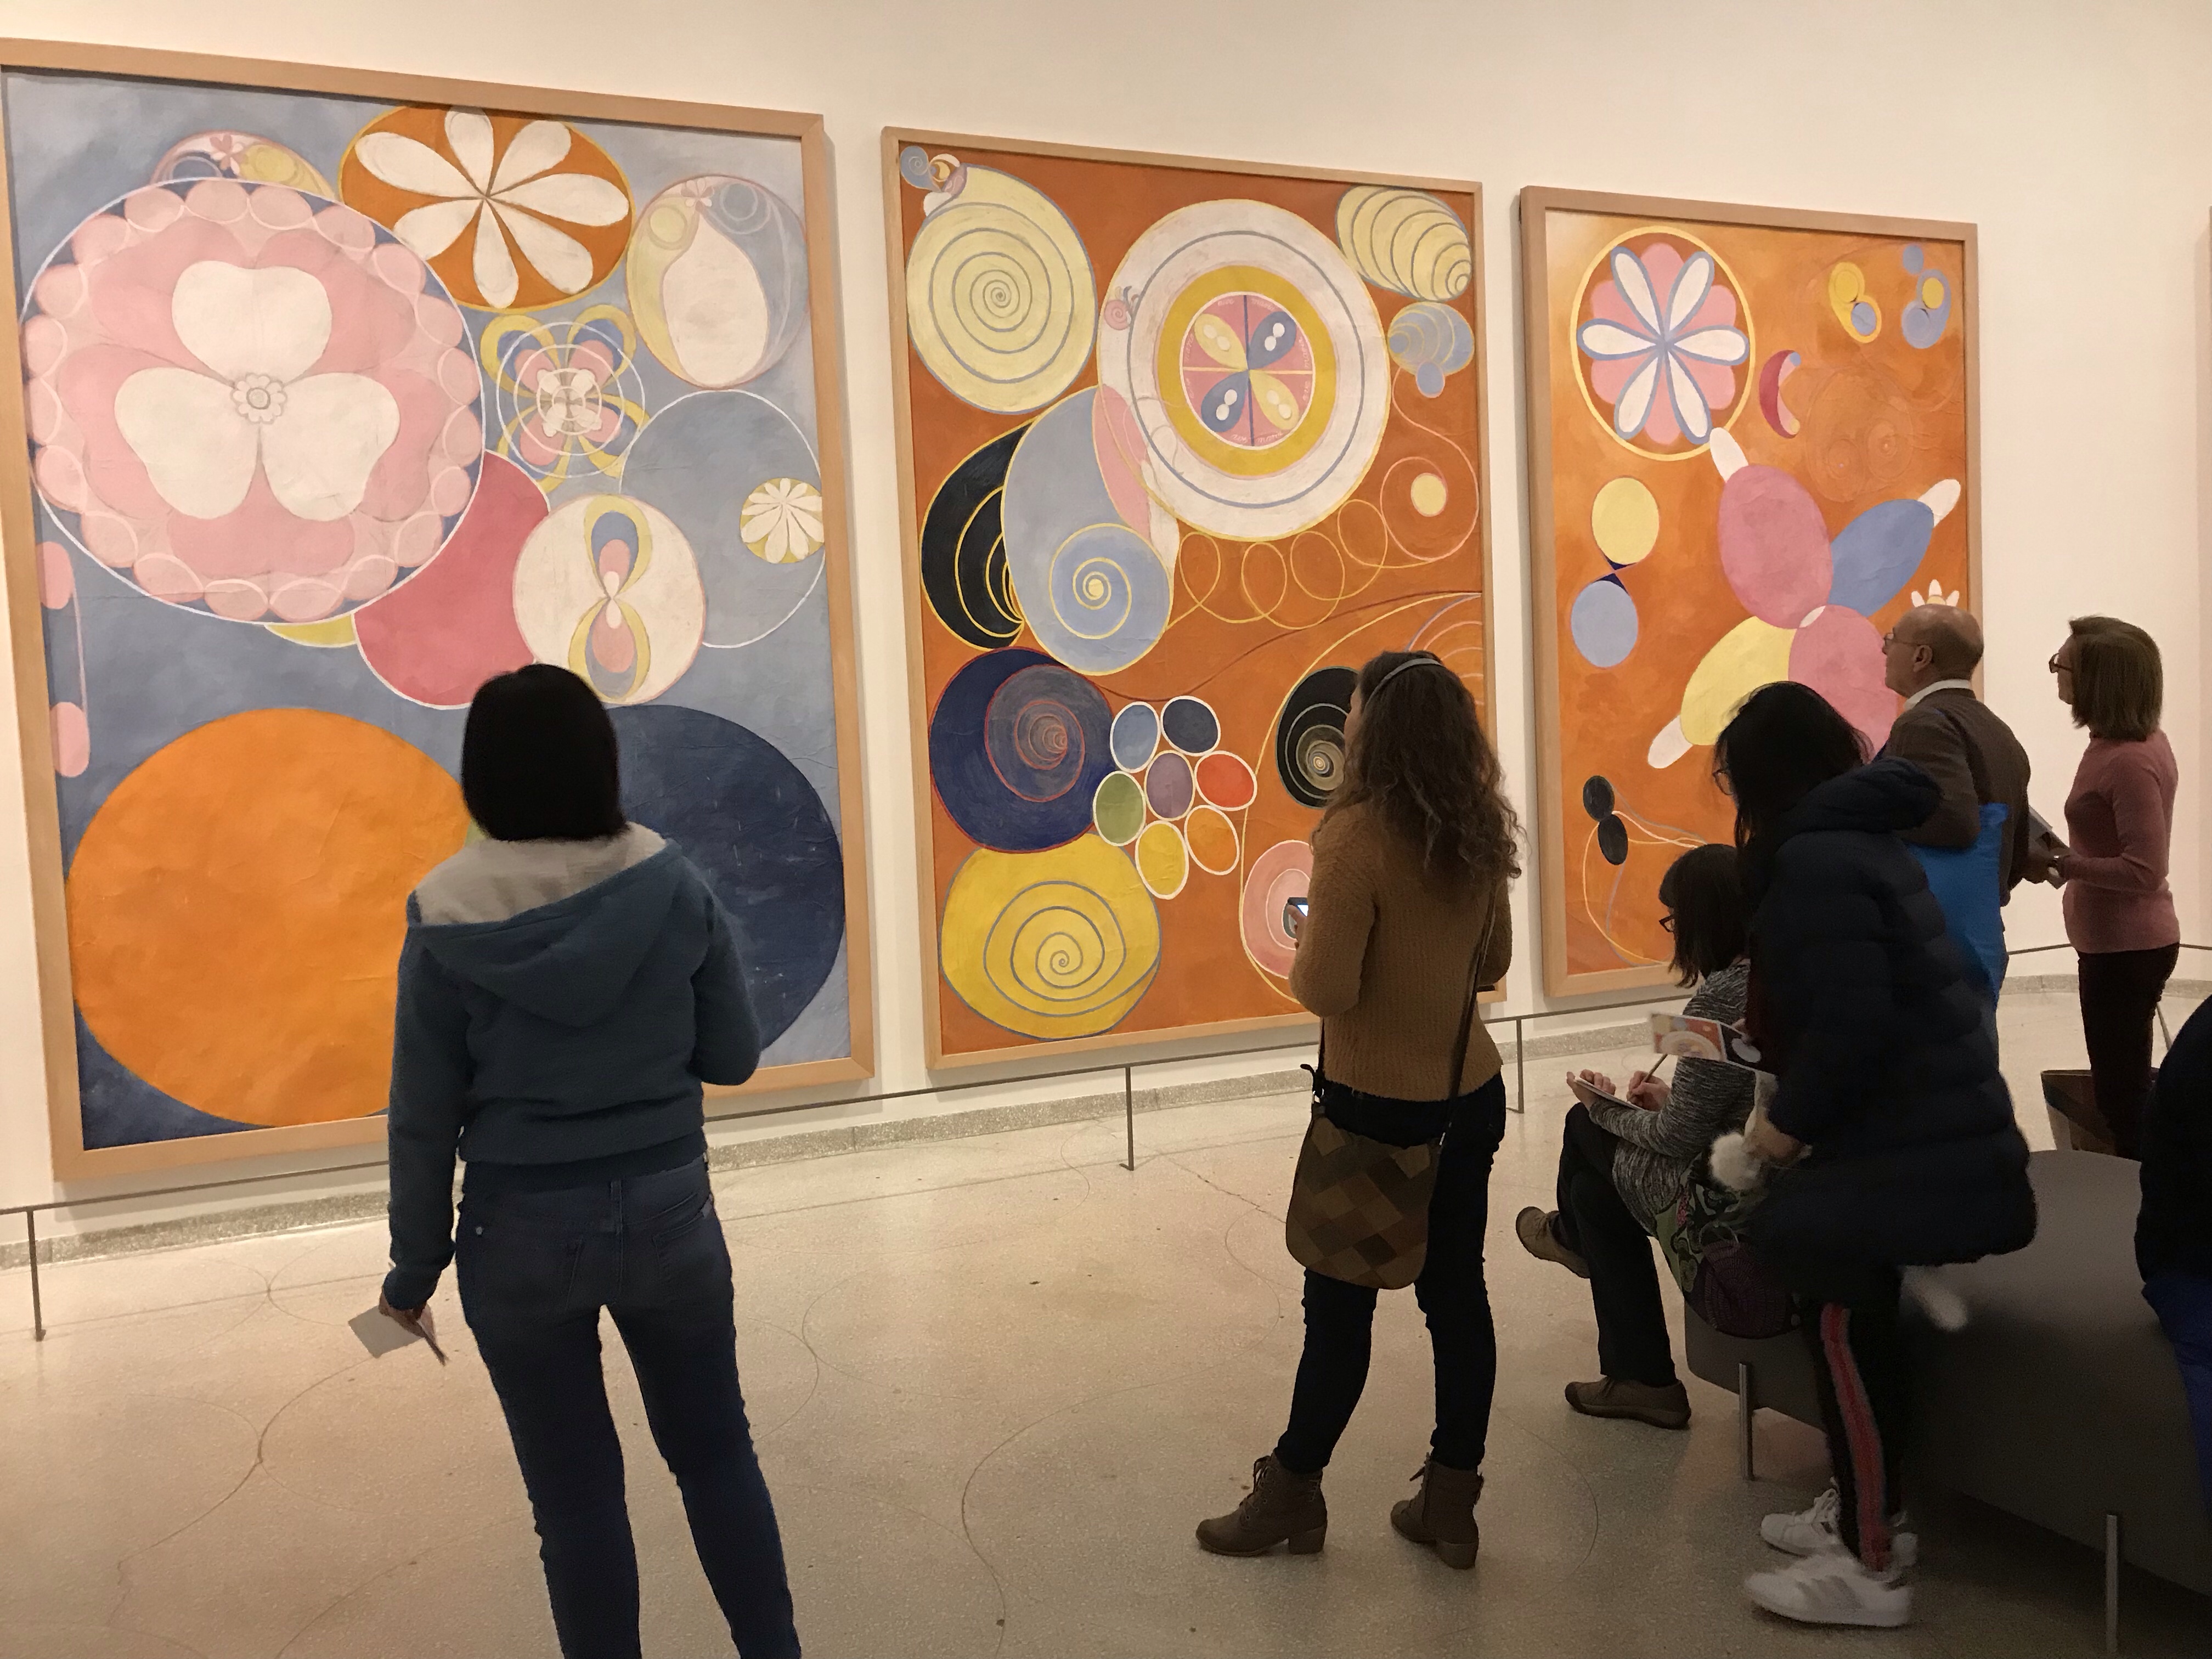
I will definitely be going back.  img_4540This past Sunday it was so warm (50 degrees in November!) and my husband and I spent the day exploring Clinton Hill in Brooklynimg_4850 
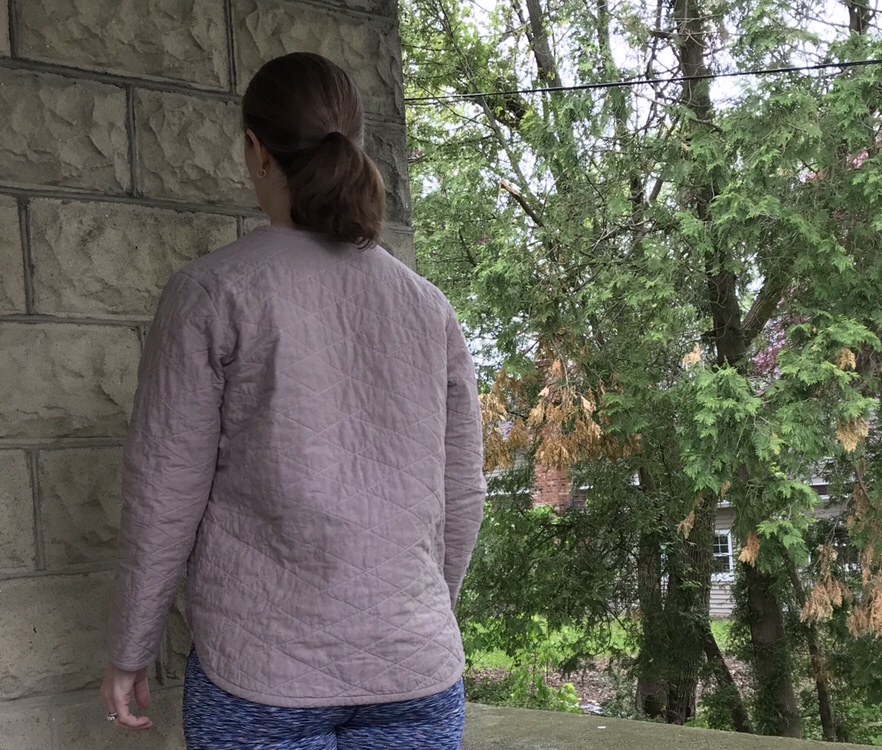
where we got to see the inside of the beautiful library at the Pratt Institute (yes I am wearing my Tamarack Jacket here-this was a selfie in the distance-the mirror was on the opposite wall and I couldn’t resist.)
img_4836We also went to a favorite bookstore where I bought this book (so good so far) and
img_4878 ended the day with ice cream eaten on the waterfront. It felt like spring-a perfect fall day.  (this is not us-just another lucky couple enjoying a beautiful NYC night.) Happy Fall!img_4865-1

Standard
Bias Binding, Helen's Closet Patterns, Sewing

Ojos Flame Challis York Pinafore

img_3226Ever since I saw this beautiful version of the Helen’s Closet York Pinafore, I knew I wanted to make one for myself. One of my goals this year has been to use some of nicer fabrics in my fabric stash (the ones I have been saving and afraid to cut into) to sew garments. This is a very sheer, float-y rayon and I have wanted to sew something but hadn’t been able to decide which pattern to try.

This weekend the temperature in Connecticut finally dipped below 80 degrees and I decided to take the plunge.

img_3192

Helen’s version of this longer pinafore used a facing and spaghetti straps instead of bias binding. I originally thought I would do that too but the more I thought about it, the more I thought I could achieve a similar effect by tapering the straps. I ended up piecing the front strap because I decided on this approach after I cut everything out (I had originally thought I would do the spaghetti straps but then changed my mind) but I don’t think the piecing is noticeable and it actually enabled me to get more length out of the relatively small piece of fabric.

img_3227

I tapered the straps so that they would be 1.5 inches at the top of the shoulder and used a navy cotton lawn for my bias binding. I feel as though the lawn gives a bit of structure to the strap and is less slippery so that the straps don’t slide off my shoulders. It is total heresy, I know, but I didn’t stay-stitch or under-stitch when I sewed the bias binding. I generally don’t. I try to handle the neck and arm holes very little and I don’t pin the binding on, I just hold it gently in place and sew.  When I iron the folded binding before top-stitching it in place, I just iron the fold into the lawn, not the rayon. Then I fold by hand and use wonder clips to hold it in place before I sew the top seam. You can see pictures of how I do this in my Gemma Tank posts. I spent a lot of time sewing bias binding when I made many Gemmas two summers ago and this approach is pretty quick and gives me good results.

img_3224

All in all this was a very quick sew. I like how swishy it is (you can see it in action on my Instagram post) and I like it with my white double gauze Gemma

img_3198

and also with my chambray Gemma, and I actually have a navy lawn Gemma that is almost finished (the source of the scraps I used for the navy lawn bias binding) which I think will also work well.

img_3211

I may also make or buy an inexpensive navy slip dress to layer under the pinafore which I think would be a nice casual look. I like that this garment works with dressier sandals but also with flip flops, as all the best summer dresses do.

img_3220

img_3219

I feel as though I achieved a similar feel to Helen’s floral longer York but preserved the nice armhole shape which is one of my favorite design elements (and good motivation to keep swimming those laps at the pool!)

img_3201

I cut the back piece a bit longer than the front, not on purpose-it just worked out that way- but I ended up leaving it a bit longer in back because I liked how it turned out.

img_3203

This is my fourth York Pinafore. I have three more cut out. What can I say? When I love a pattern, I love a pattern and this is such a good one. It is all I have been wearing this summer (with my many Gemma tanks). You can see some of the many outfits I have been able to make by searching the hashtag #wearyouryorkday.

Here is a version in Cloud 9 Linen-Cotton canvas print:

img_2680

img_2646

And this incredibly versatile version in Essex Linen which I blogged here:

img_2473

It goes with everything I own, literally.

img_2568

img_2276

img_2514

And my original lightweight linen muslin which I love so much:

img_2138

If you haven’t tried this pattern yet, what are you waiting for? Go forth and sew a linen or cotton or rayon York! You won’t regret it.


Standard
Helen's Closet Patterns, Made By Rae Patterns, Sewing, Washi Dress Pattern

Star Washi and Mustard Blackwood

img_6990
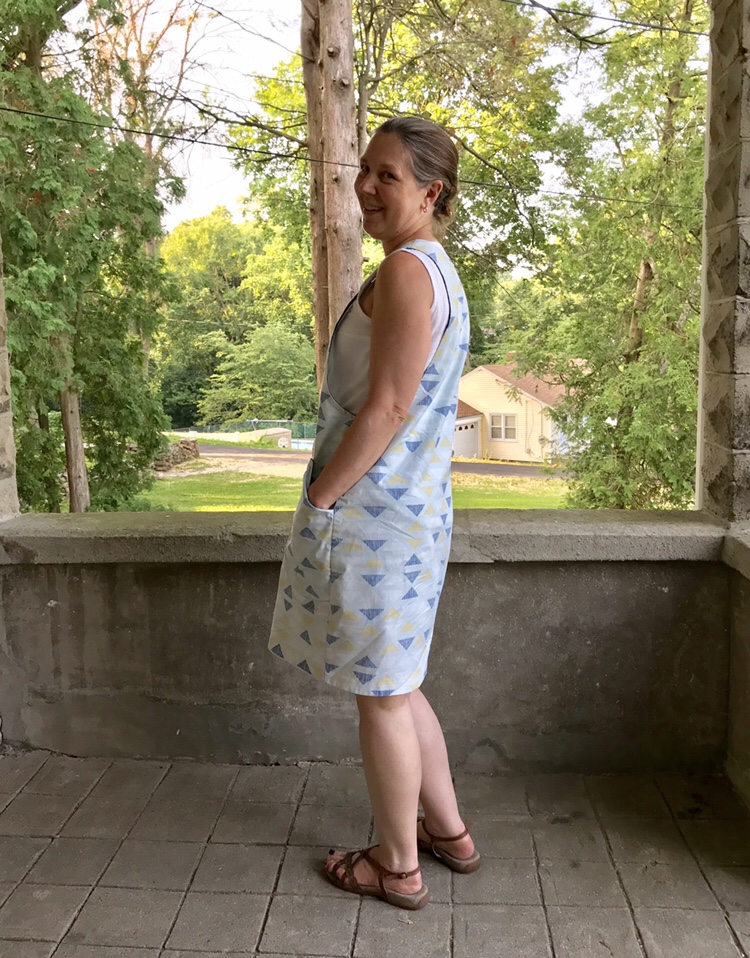
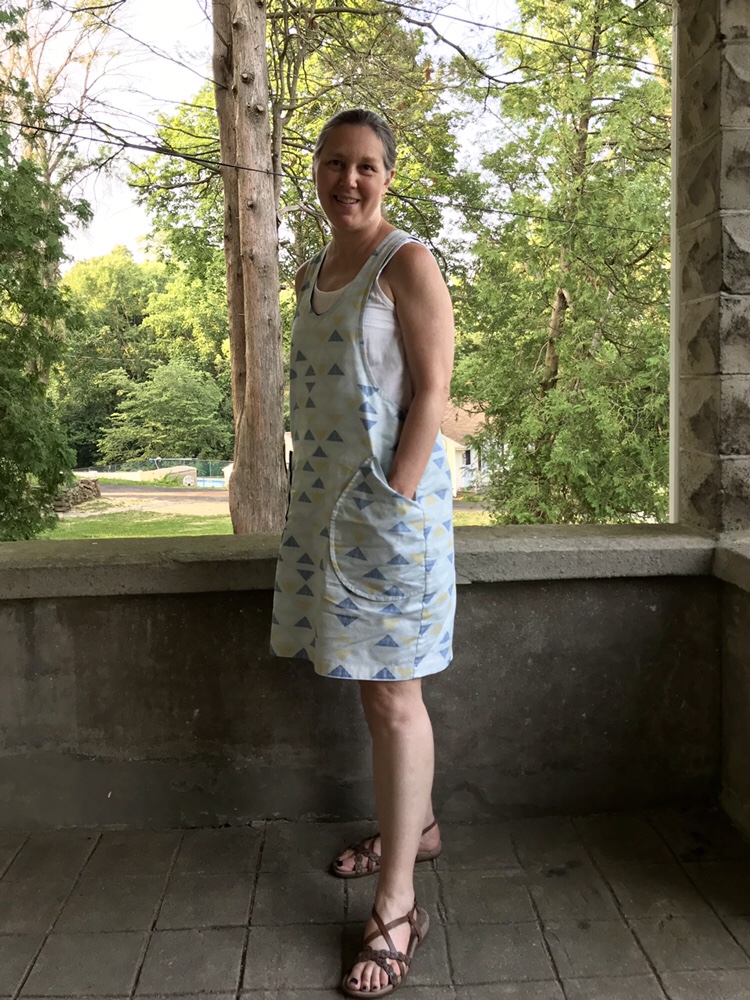
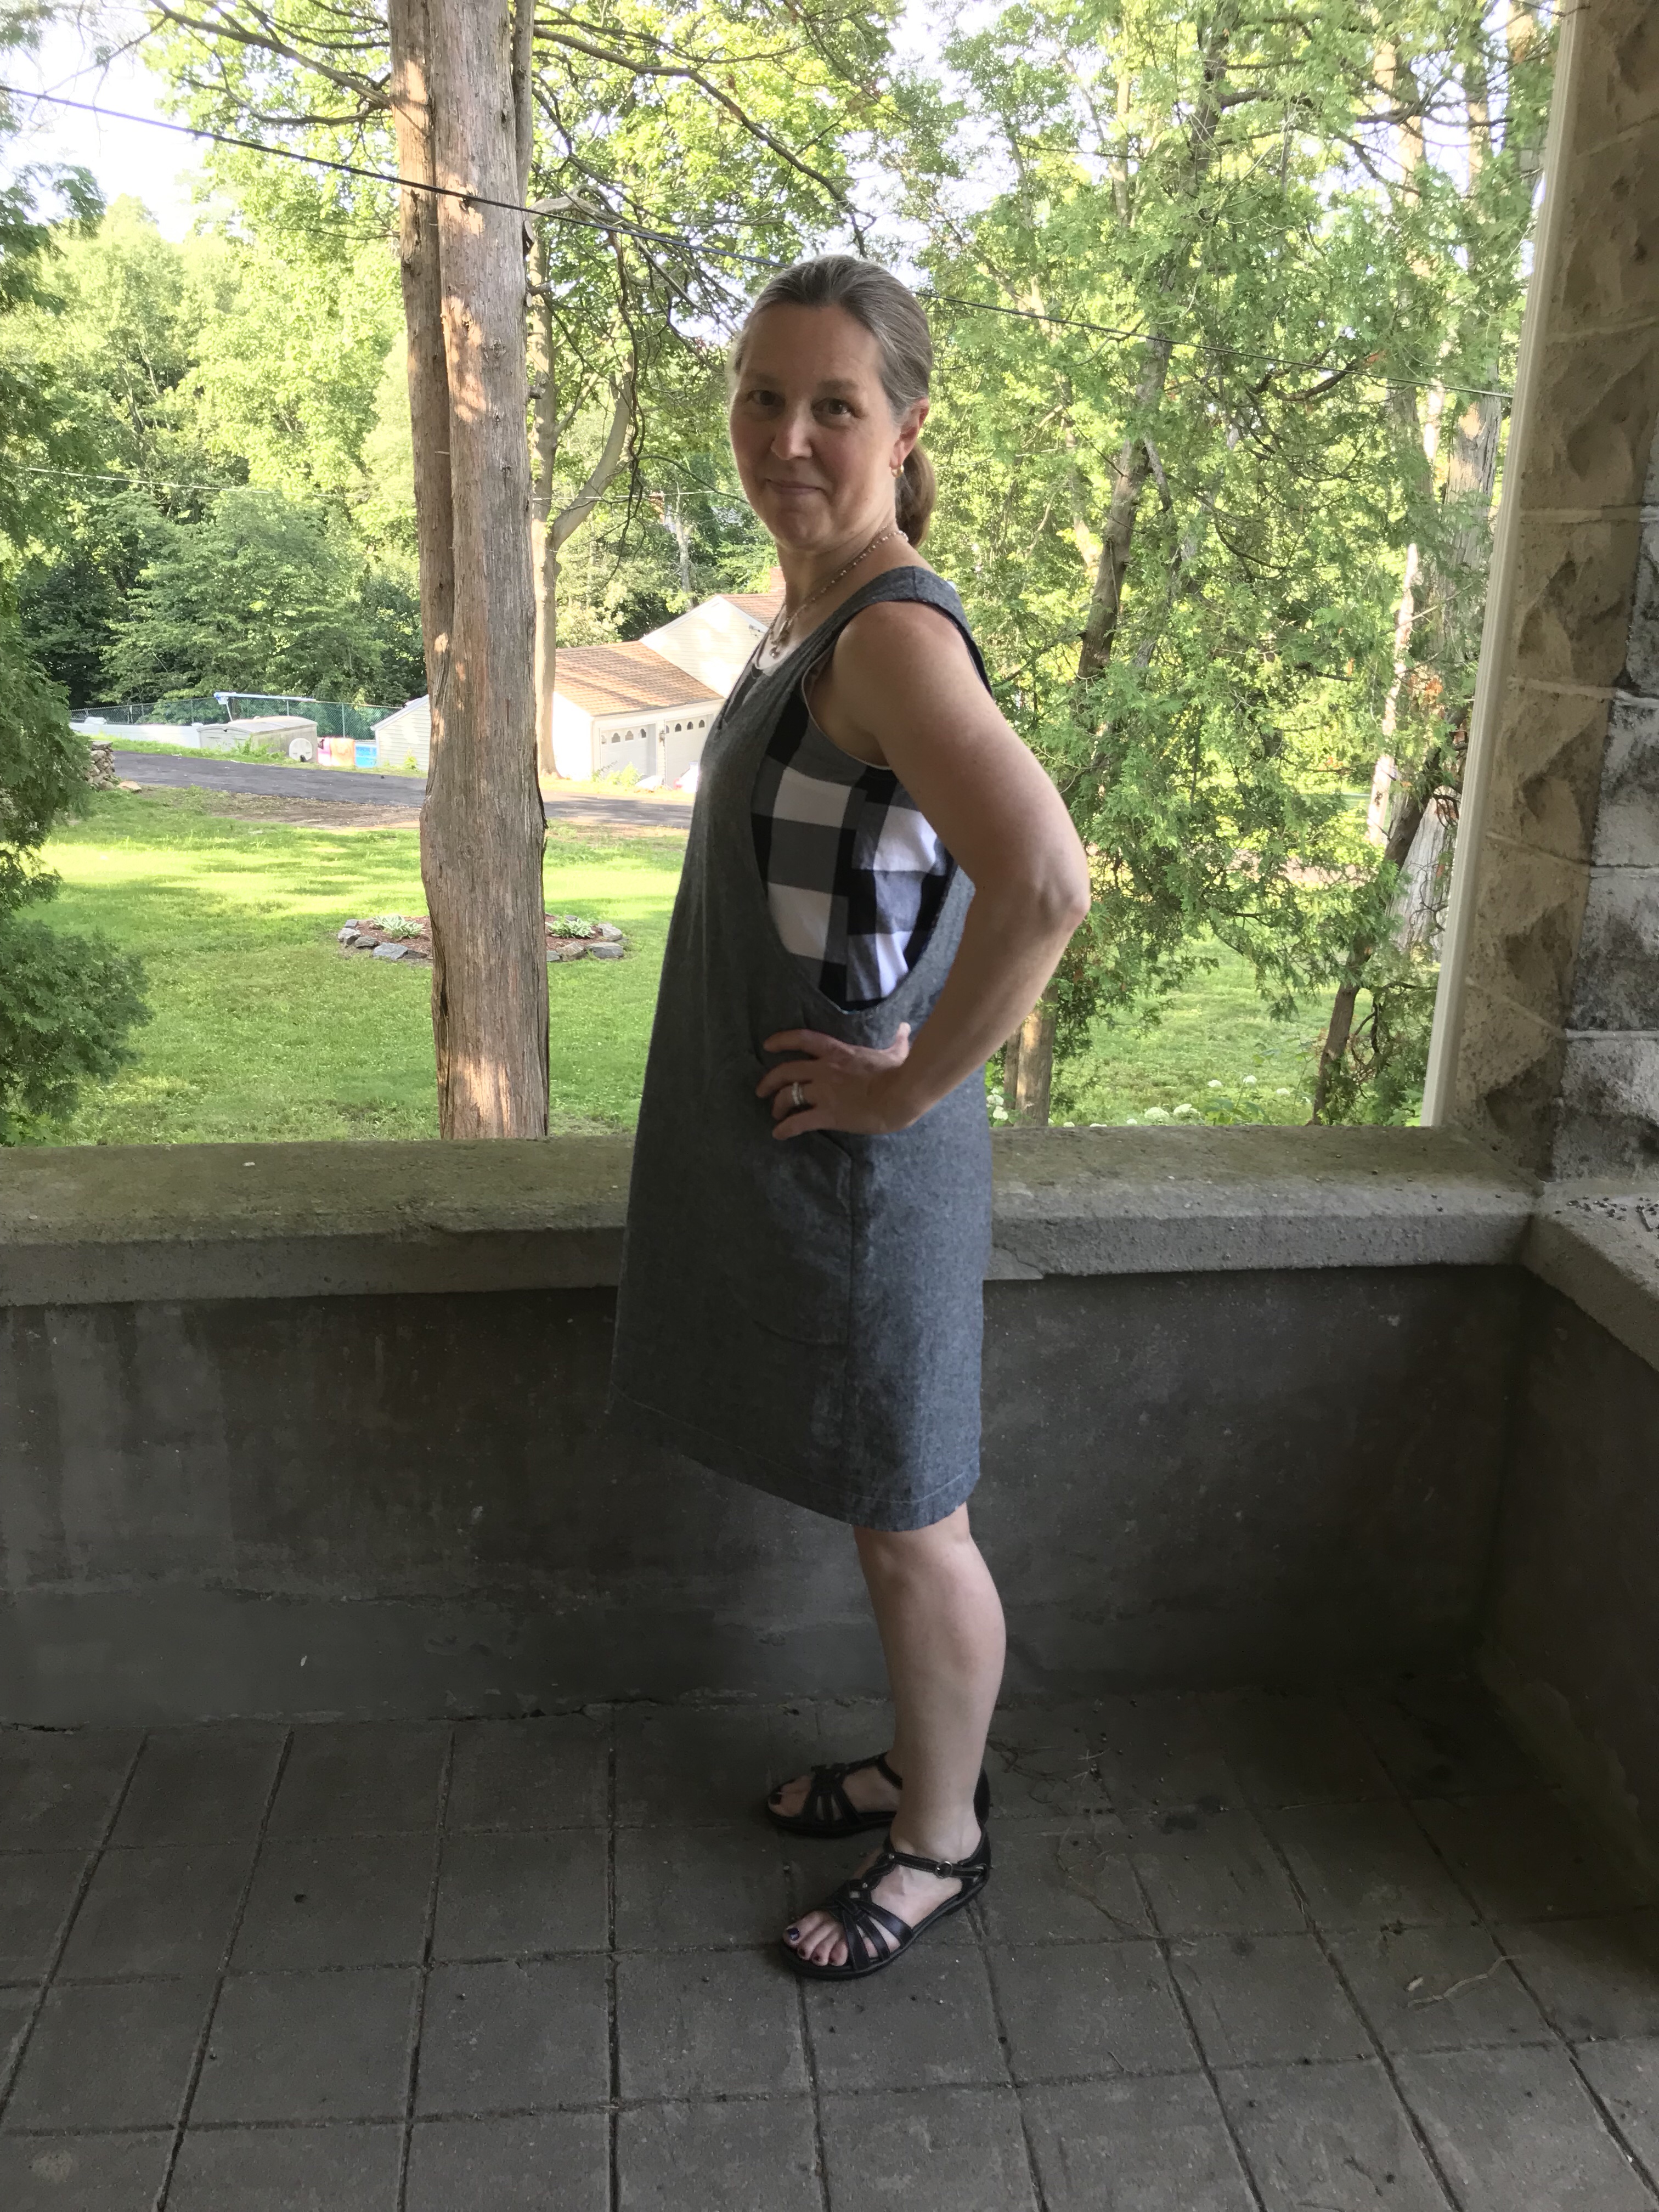
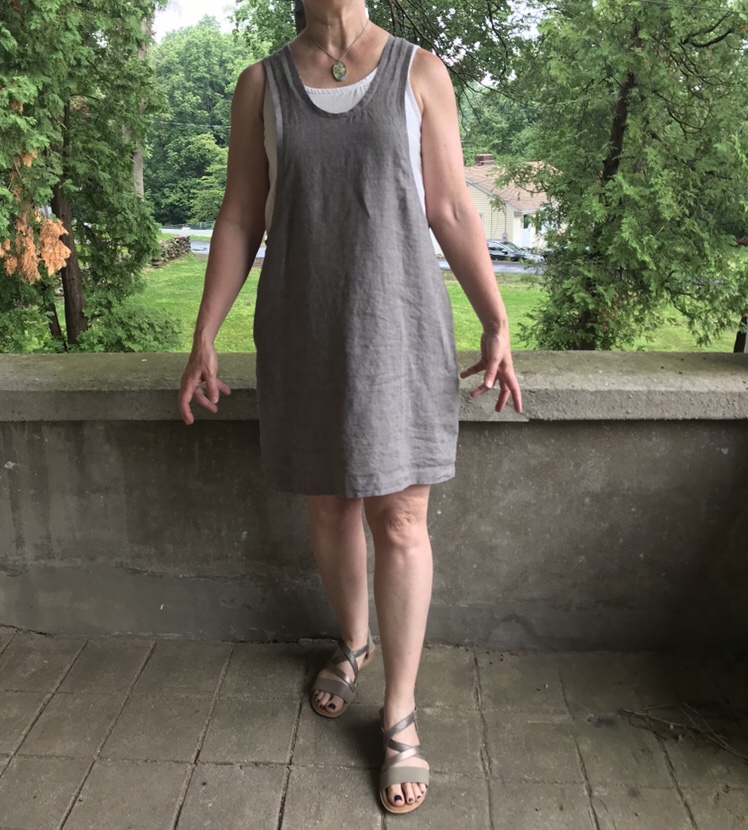
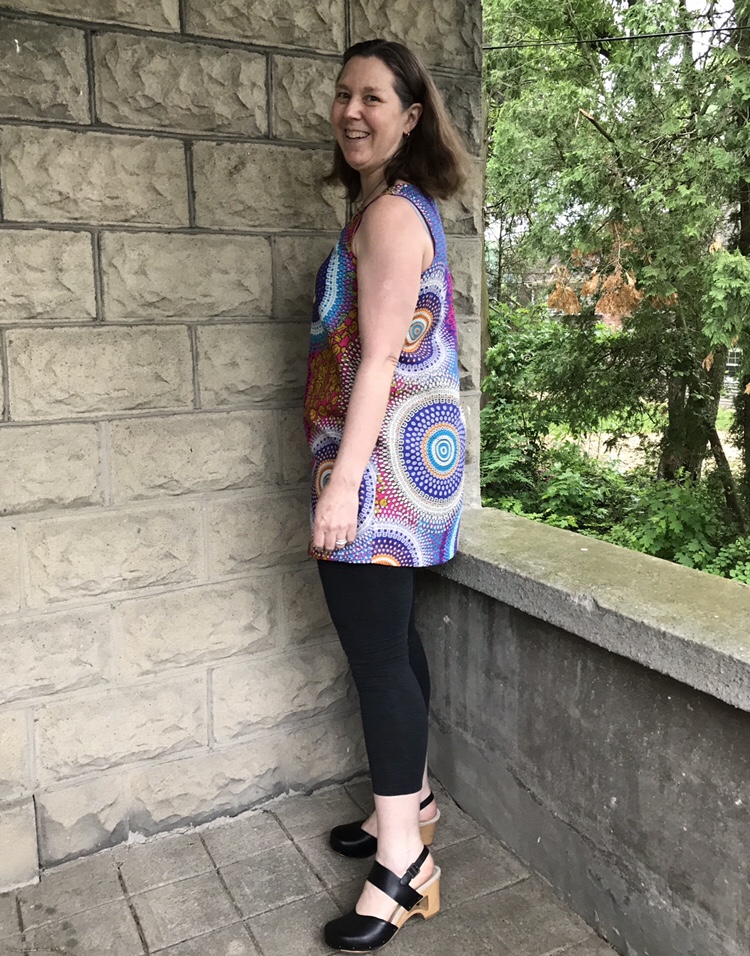
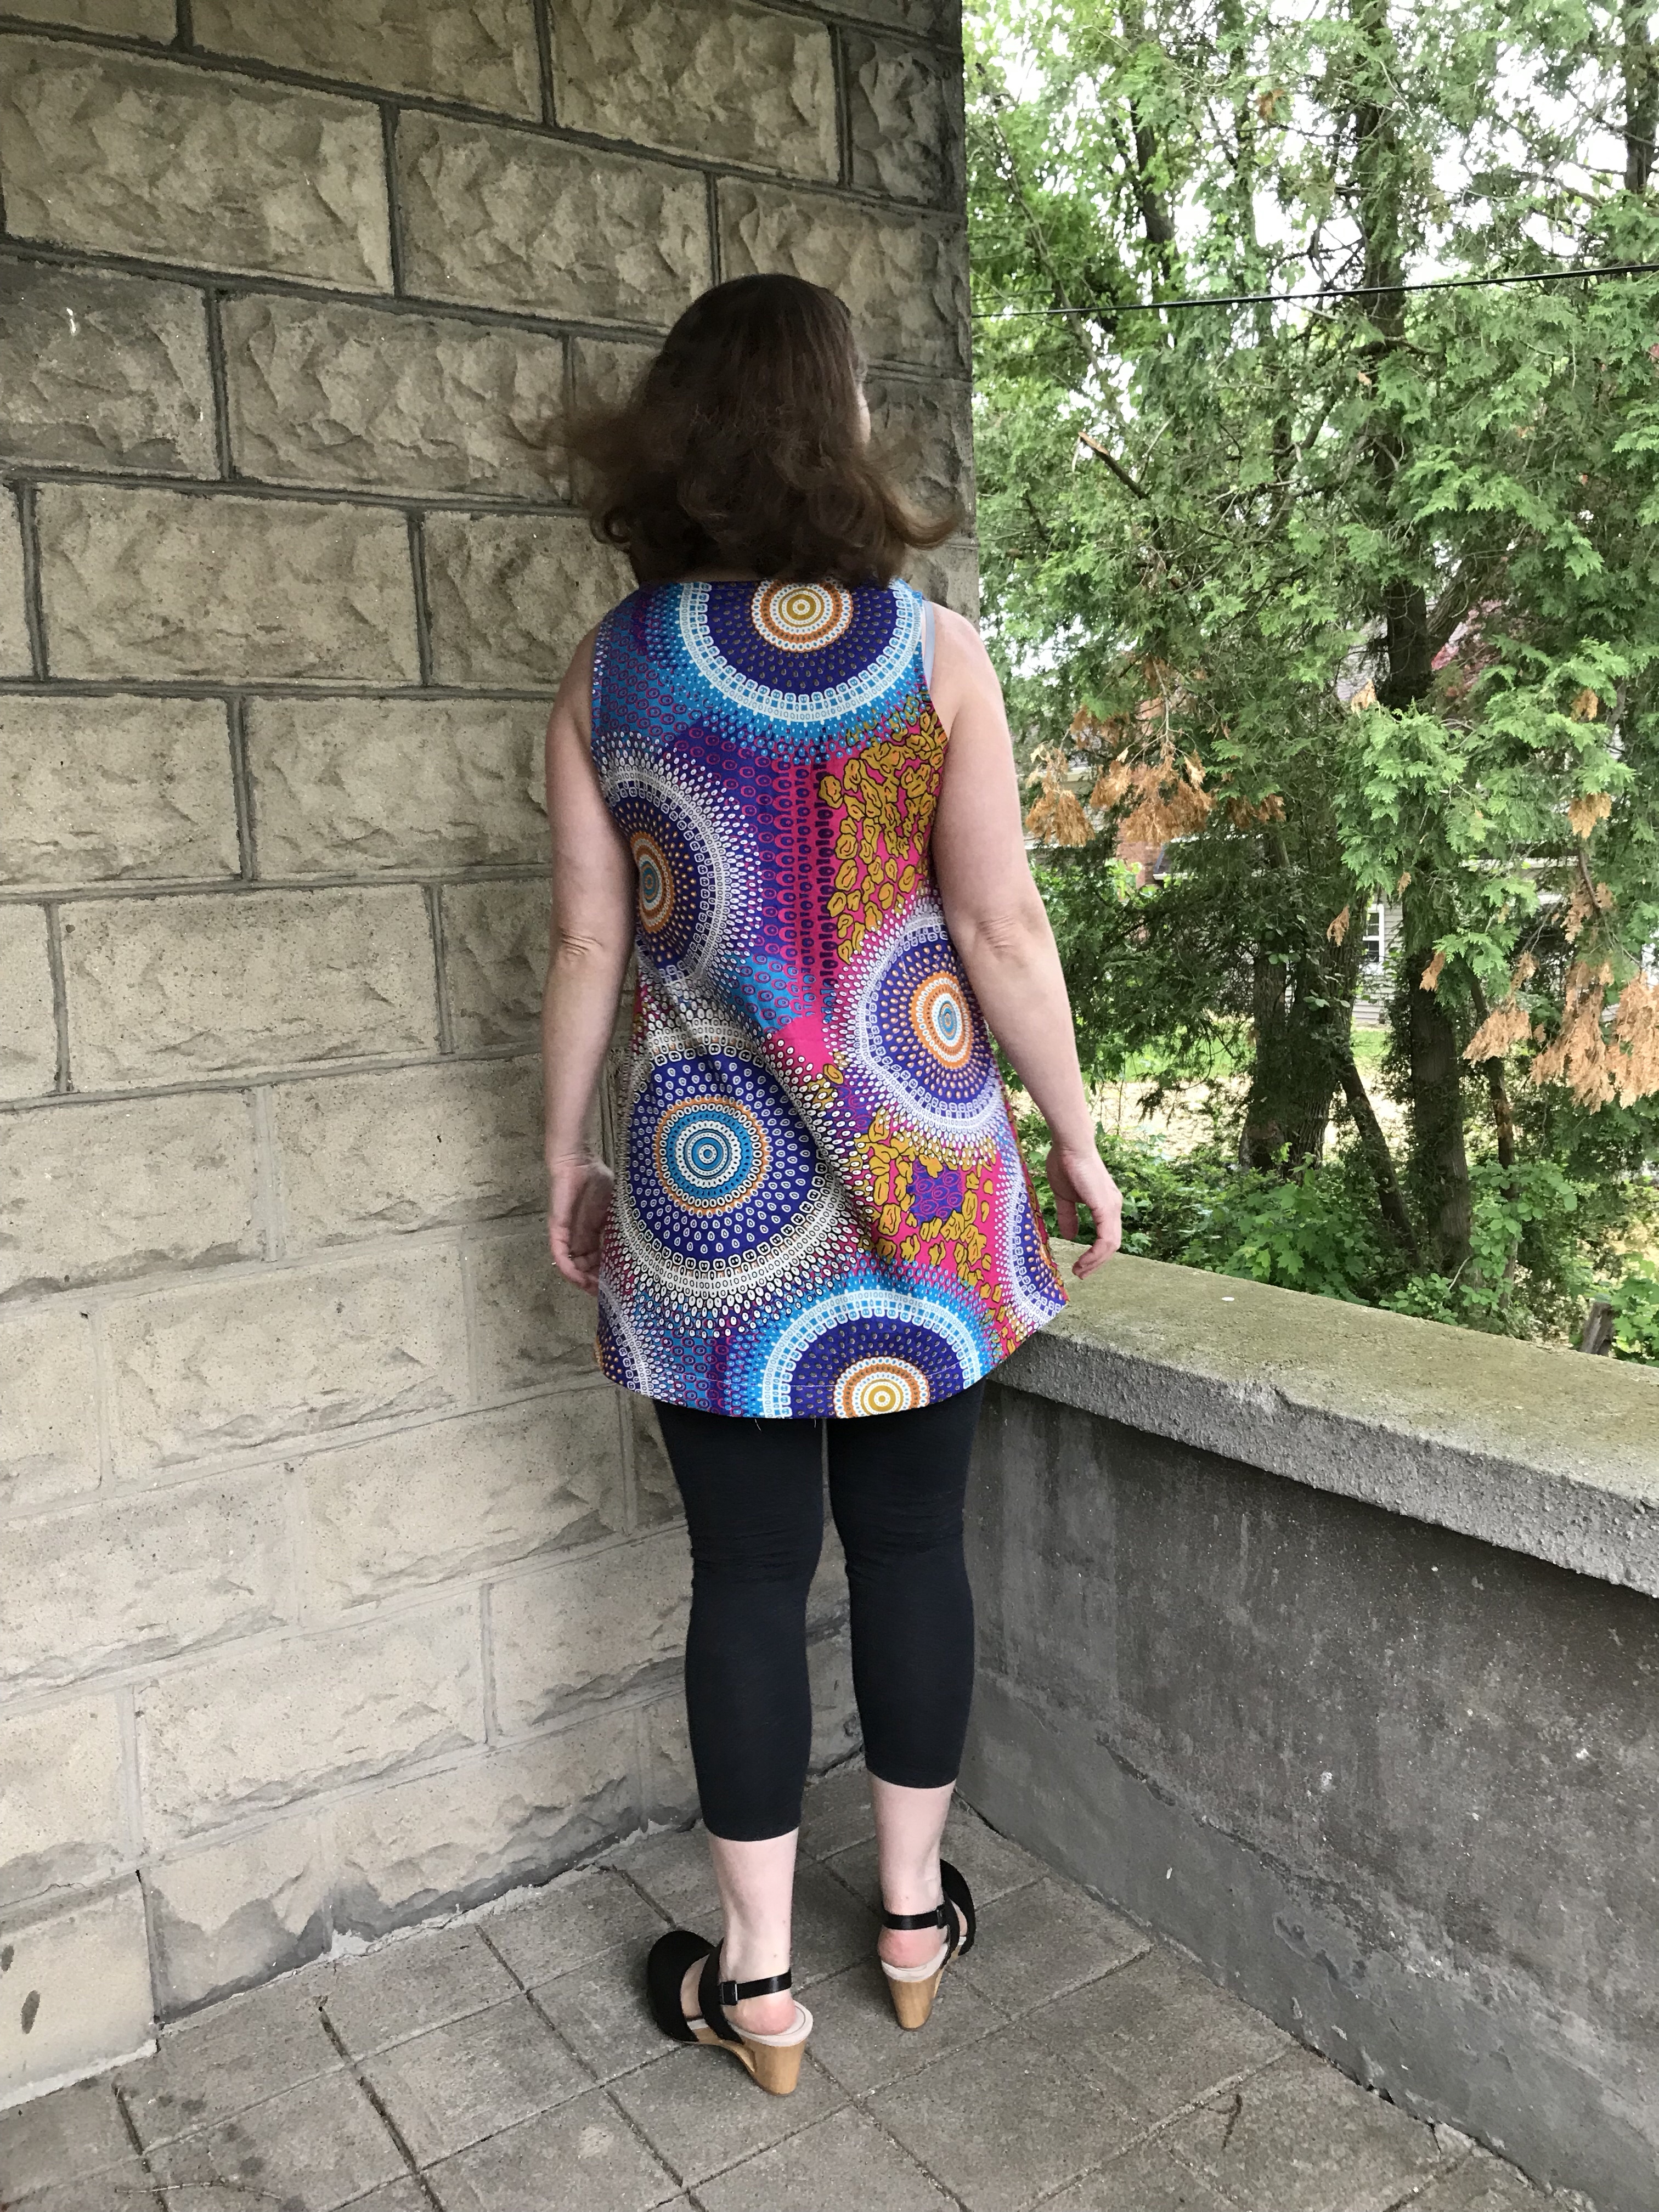
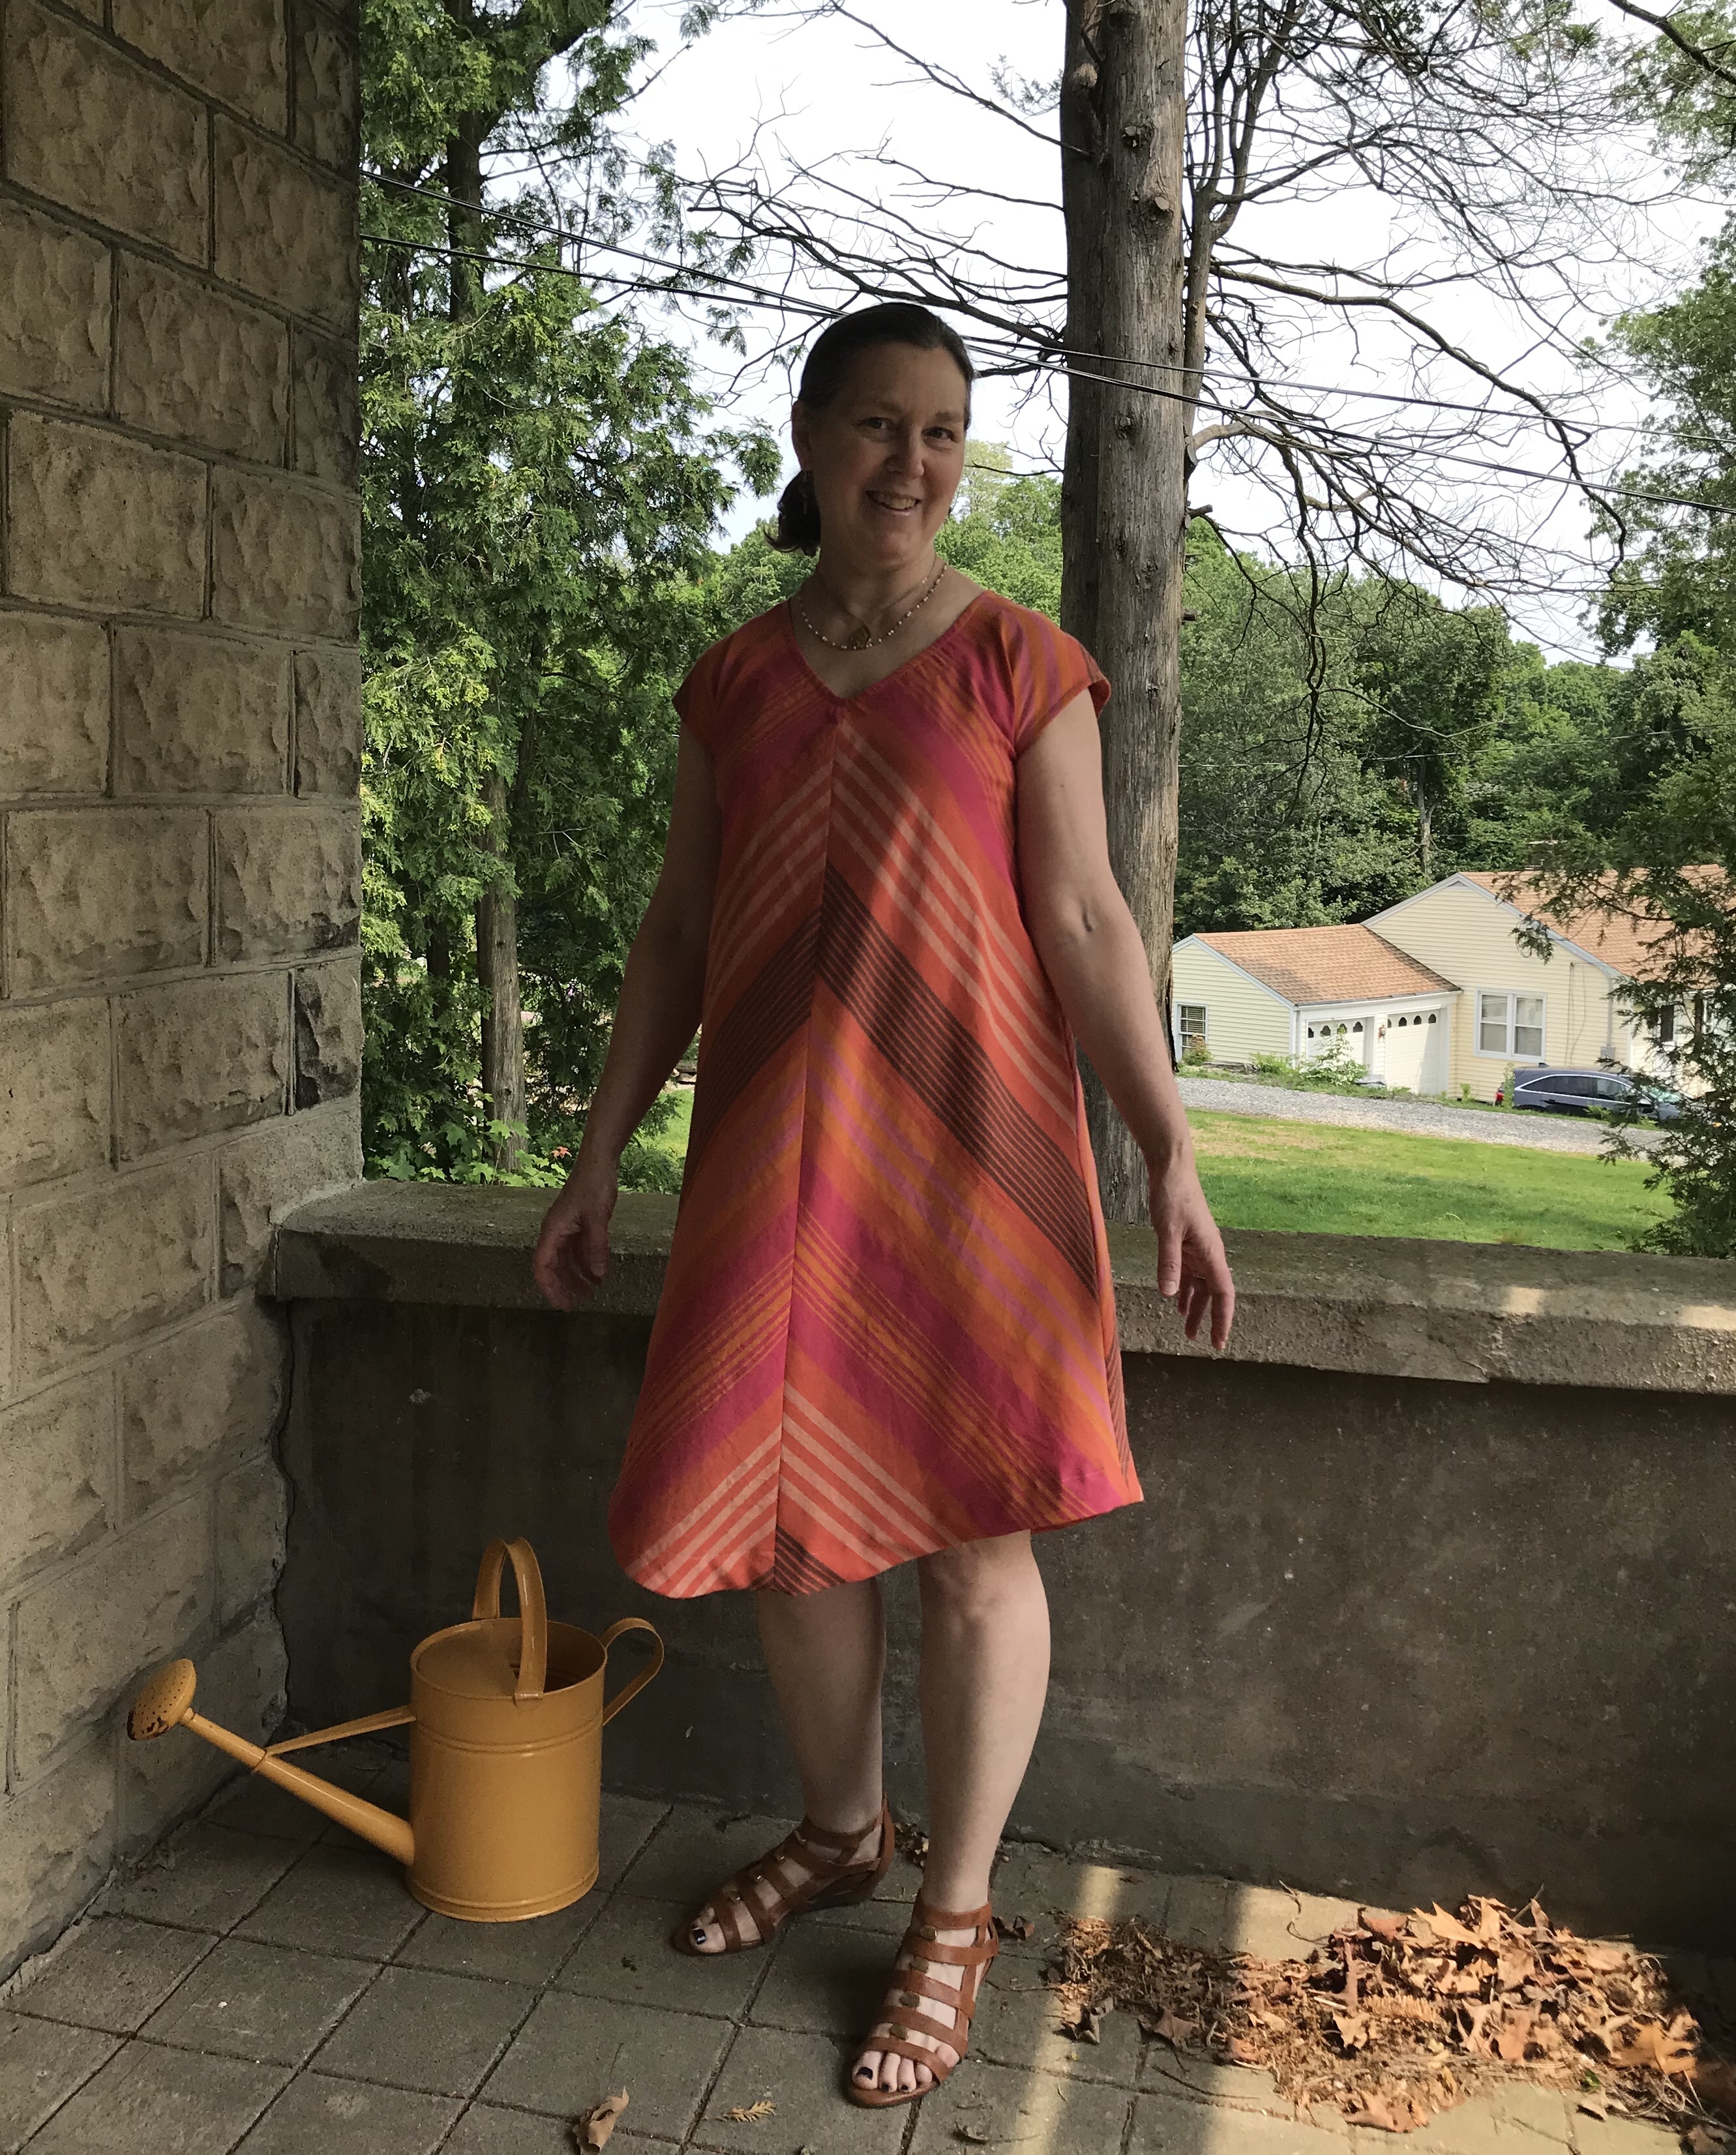
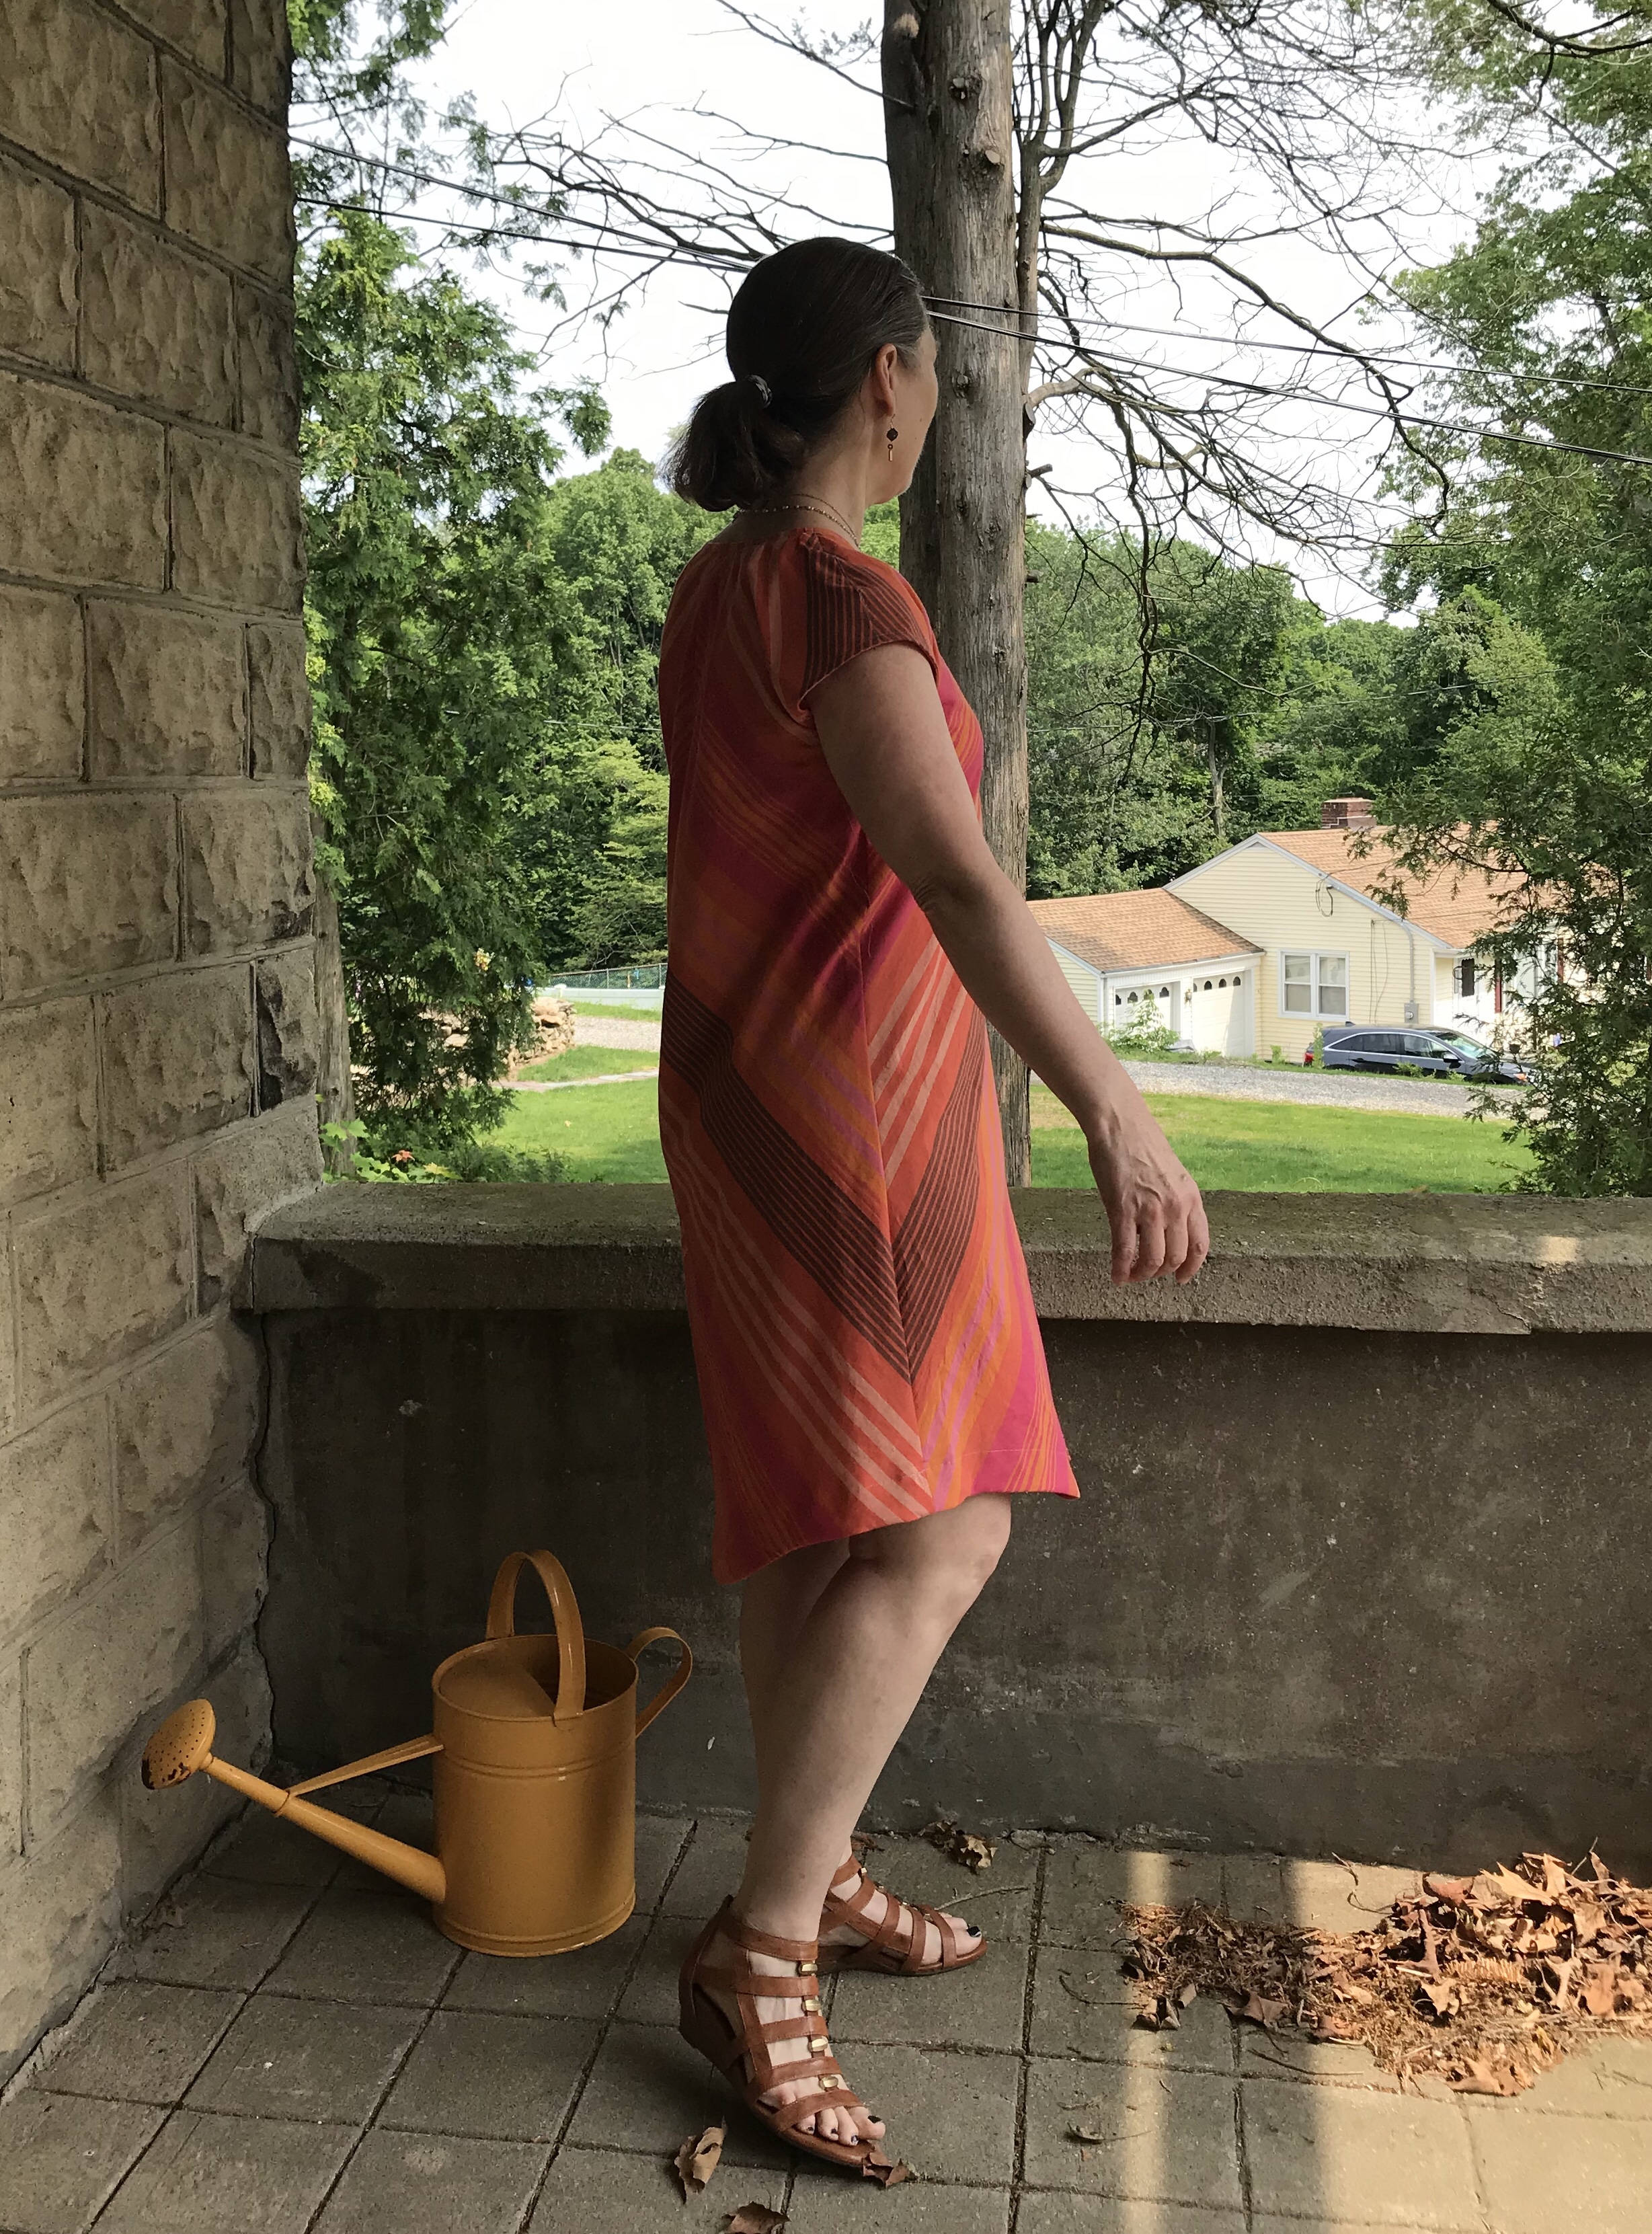
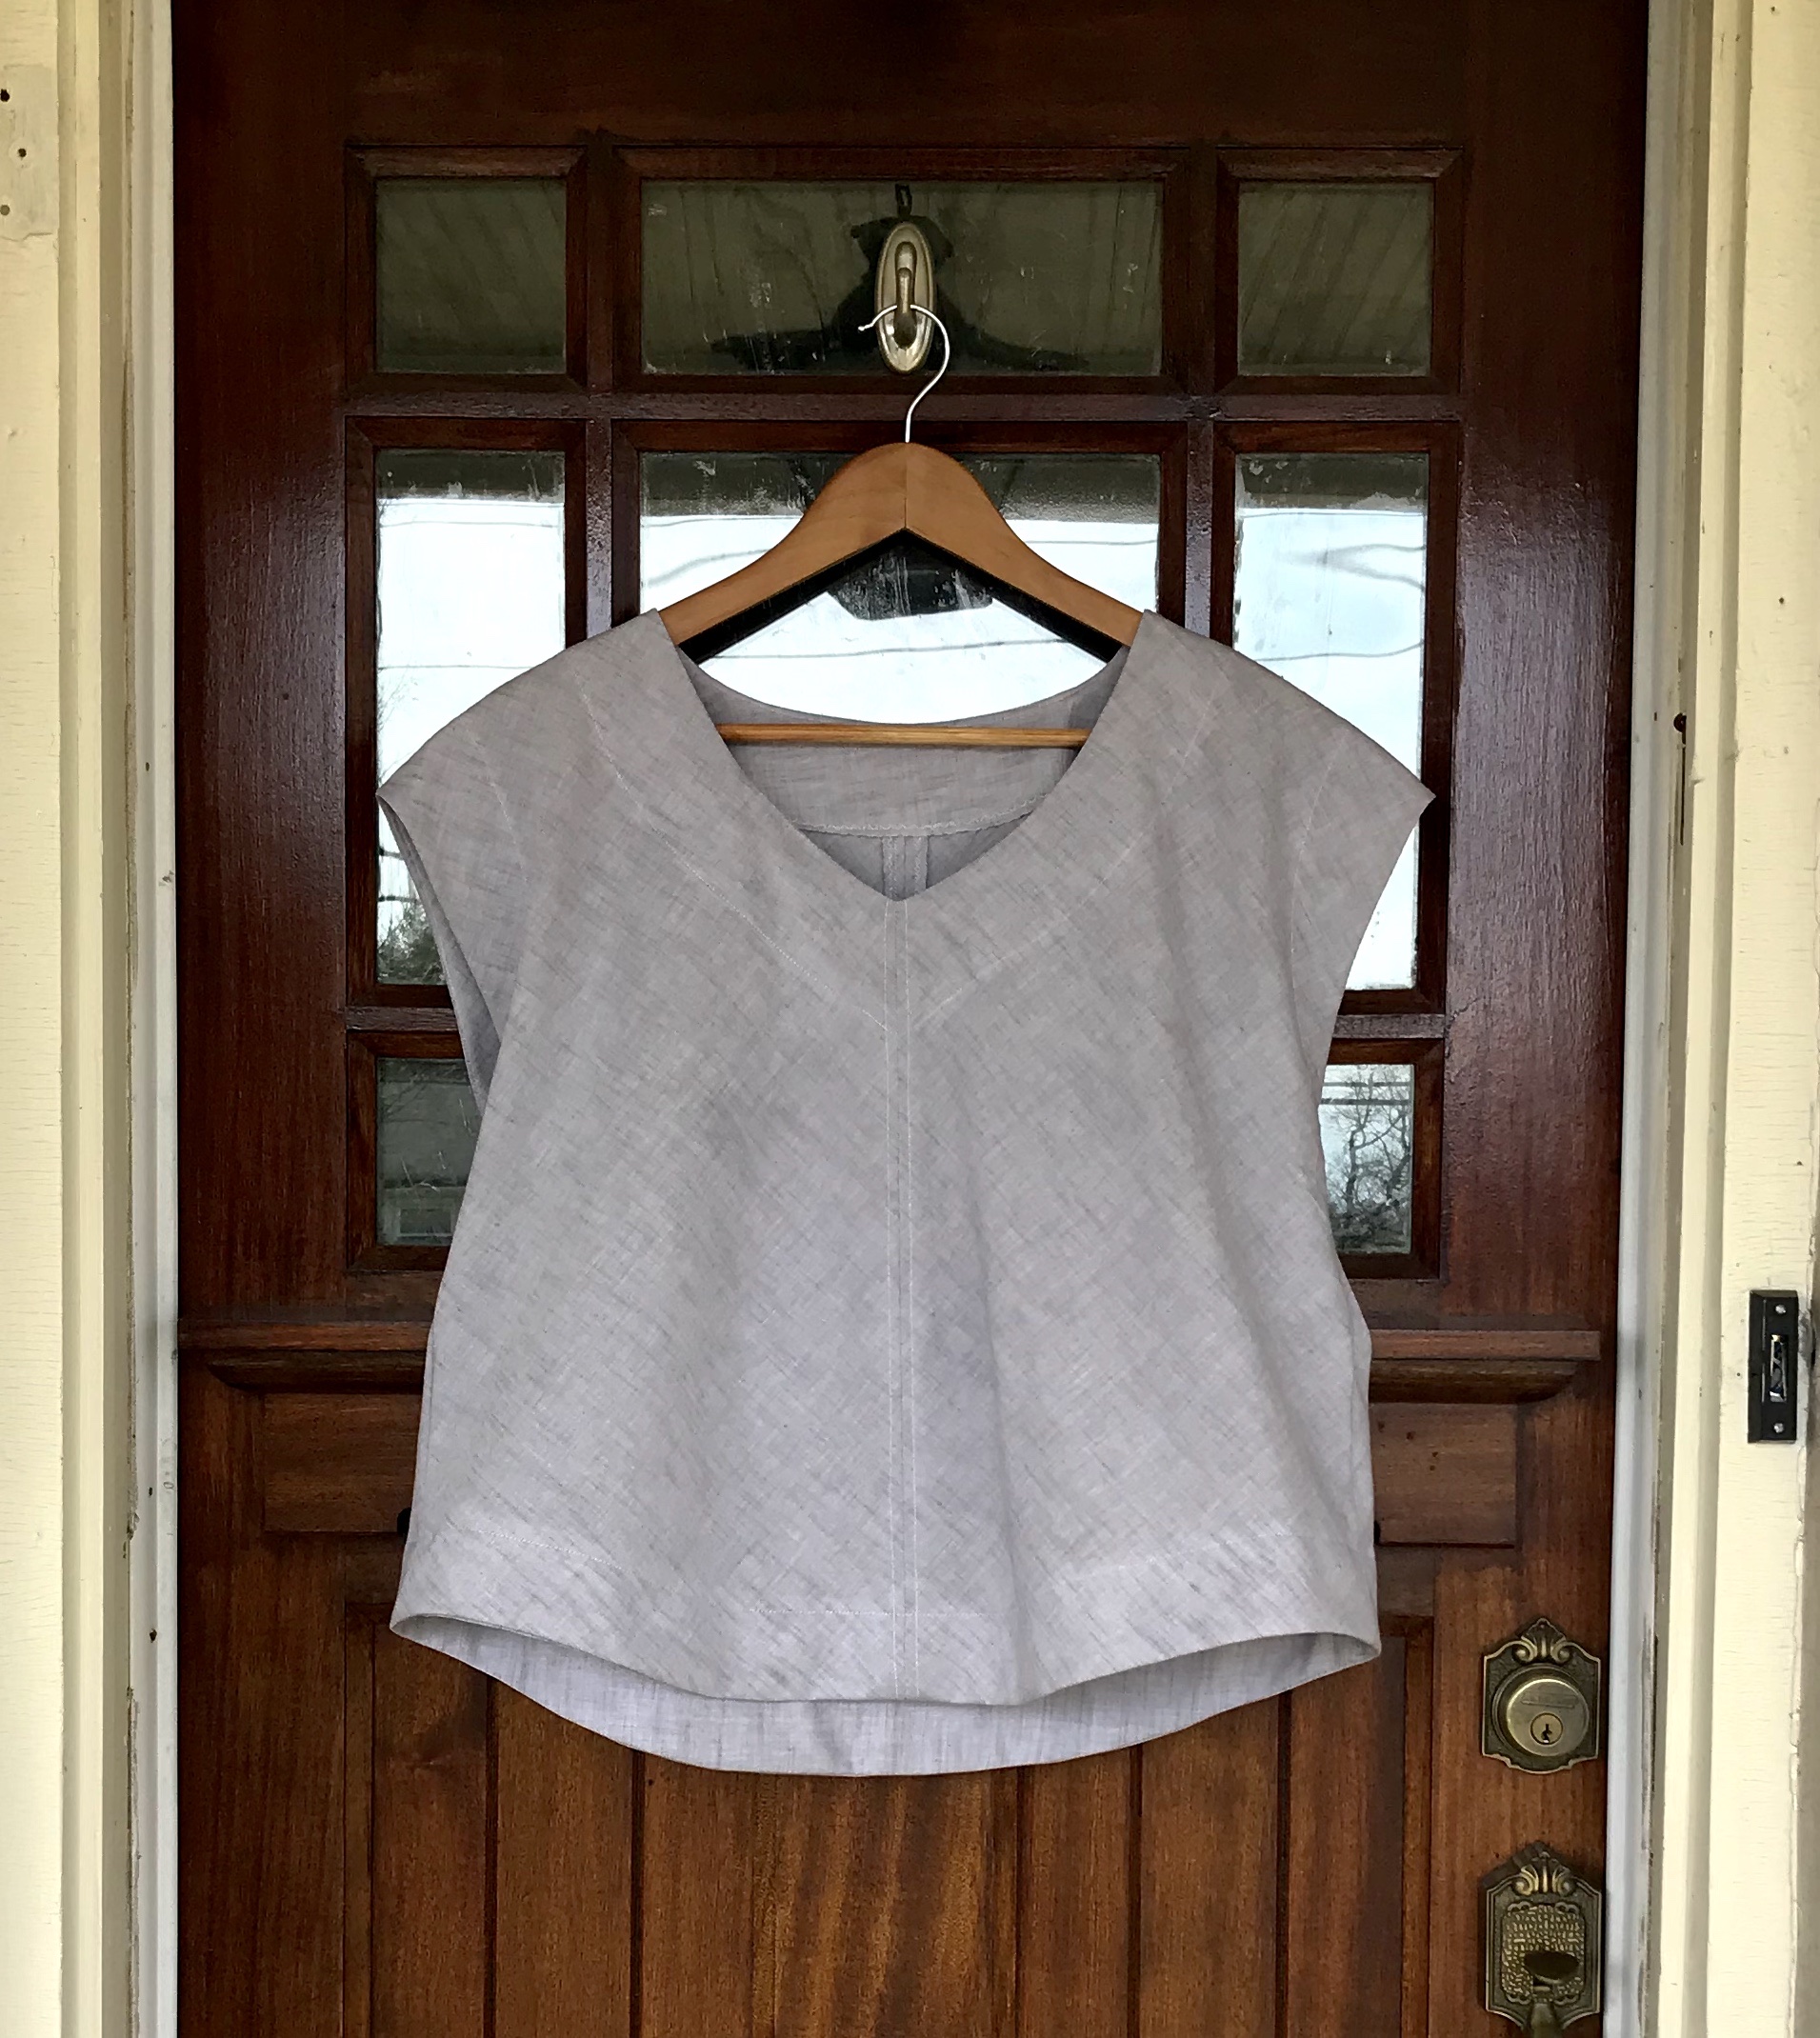
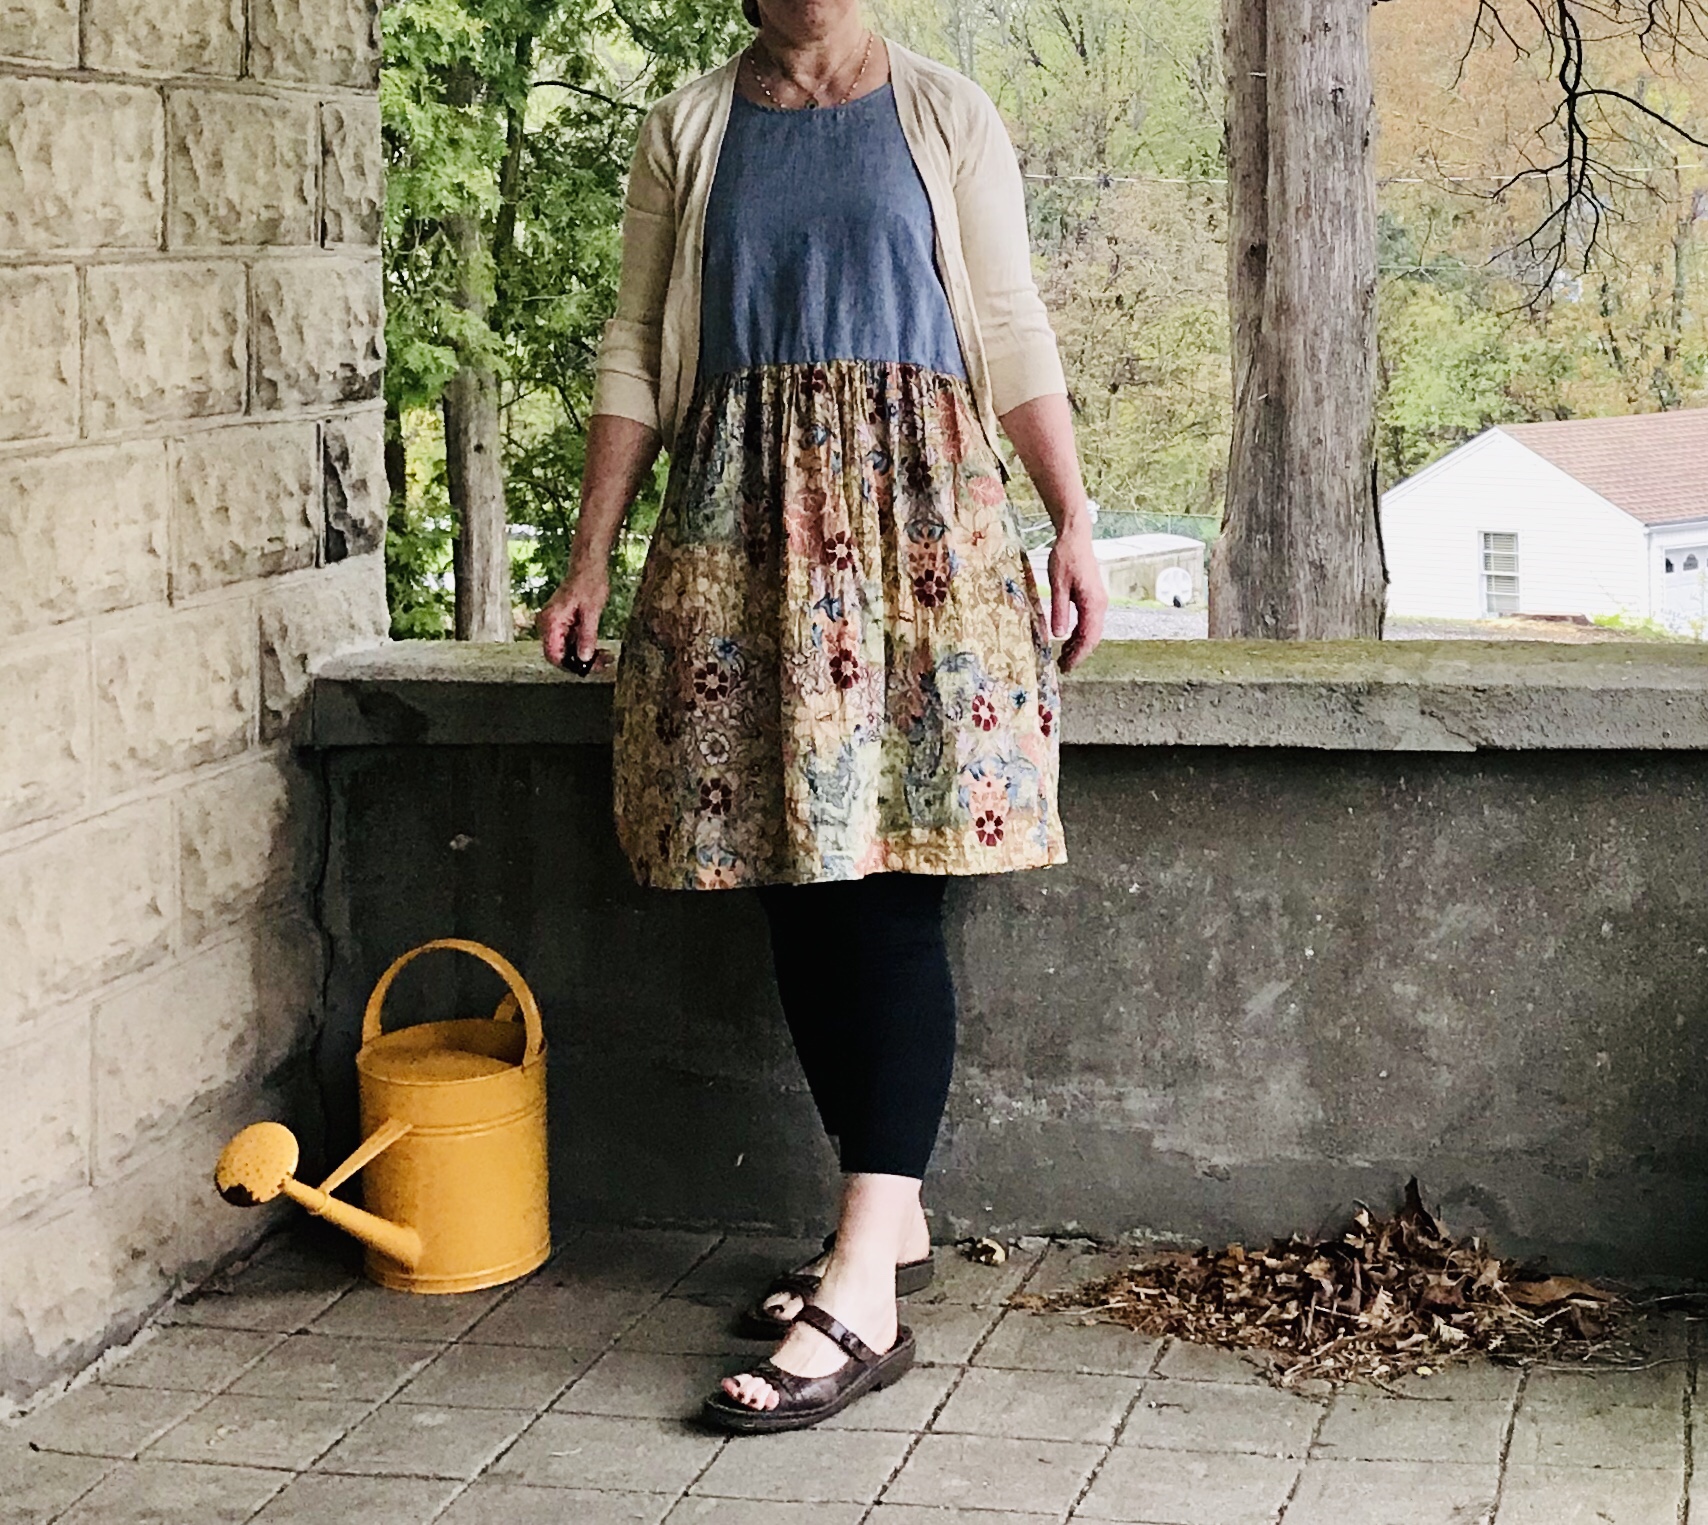
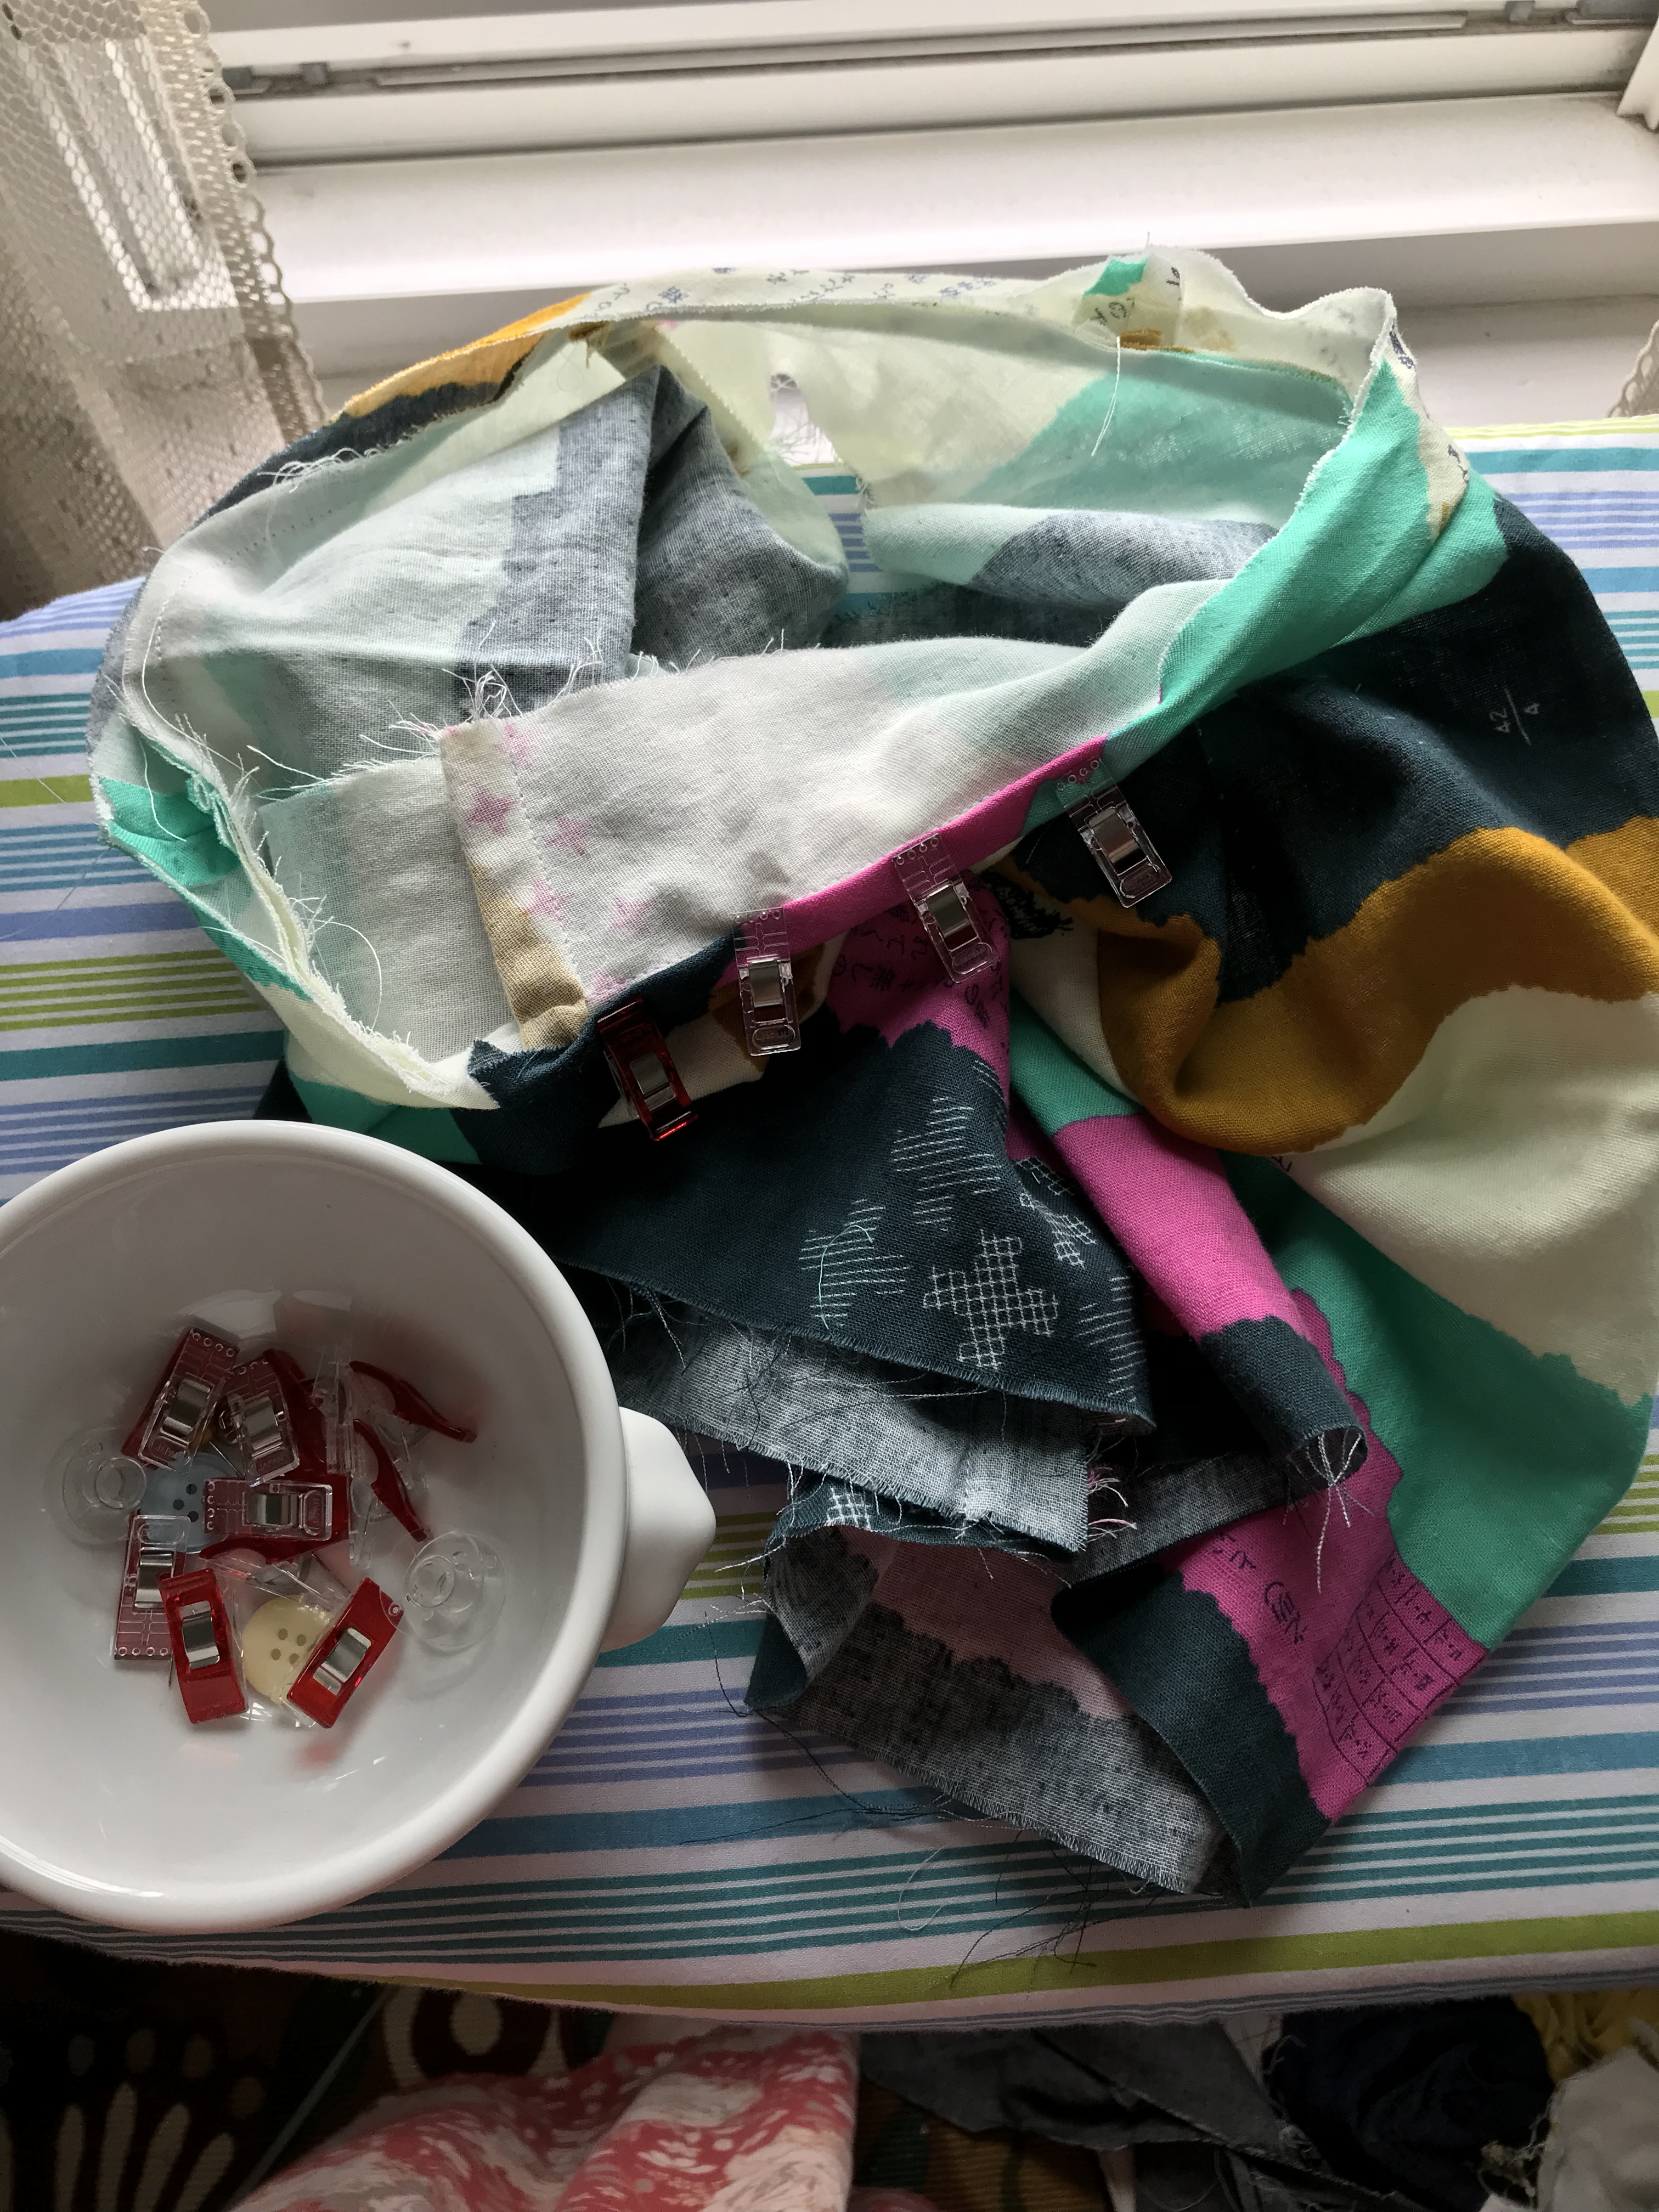
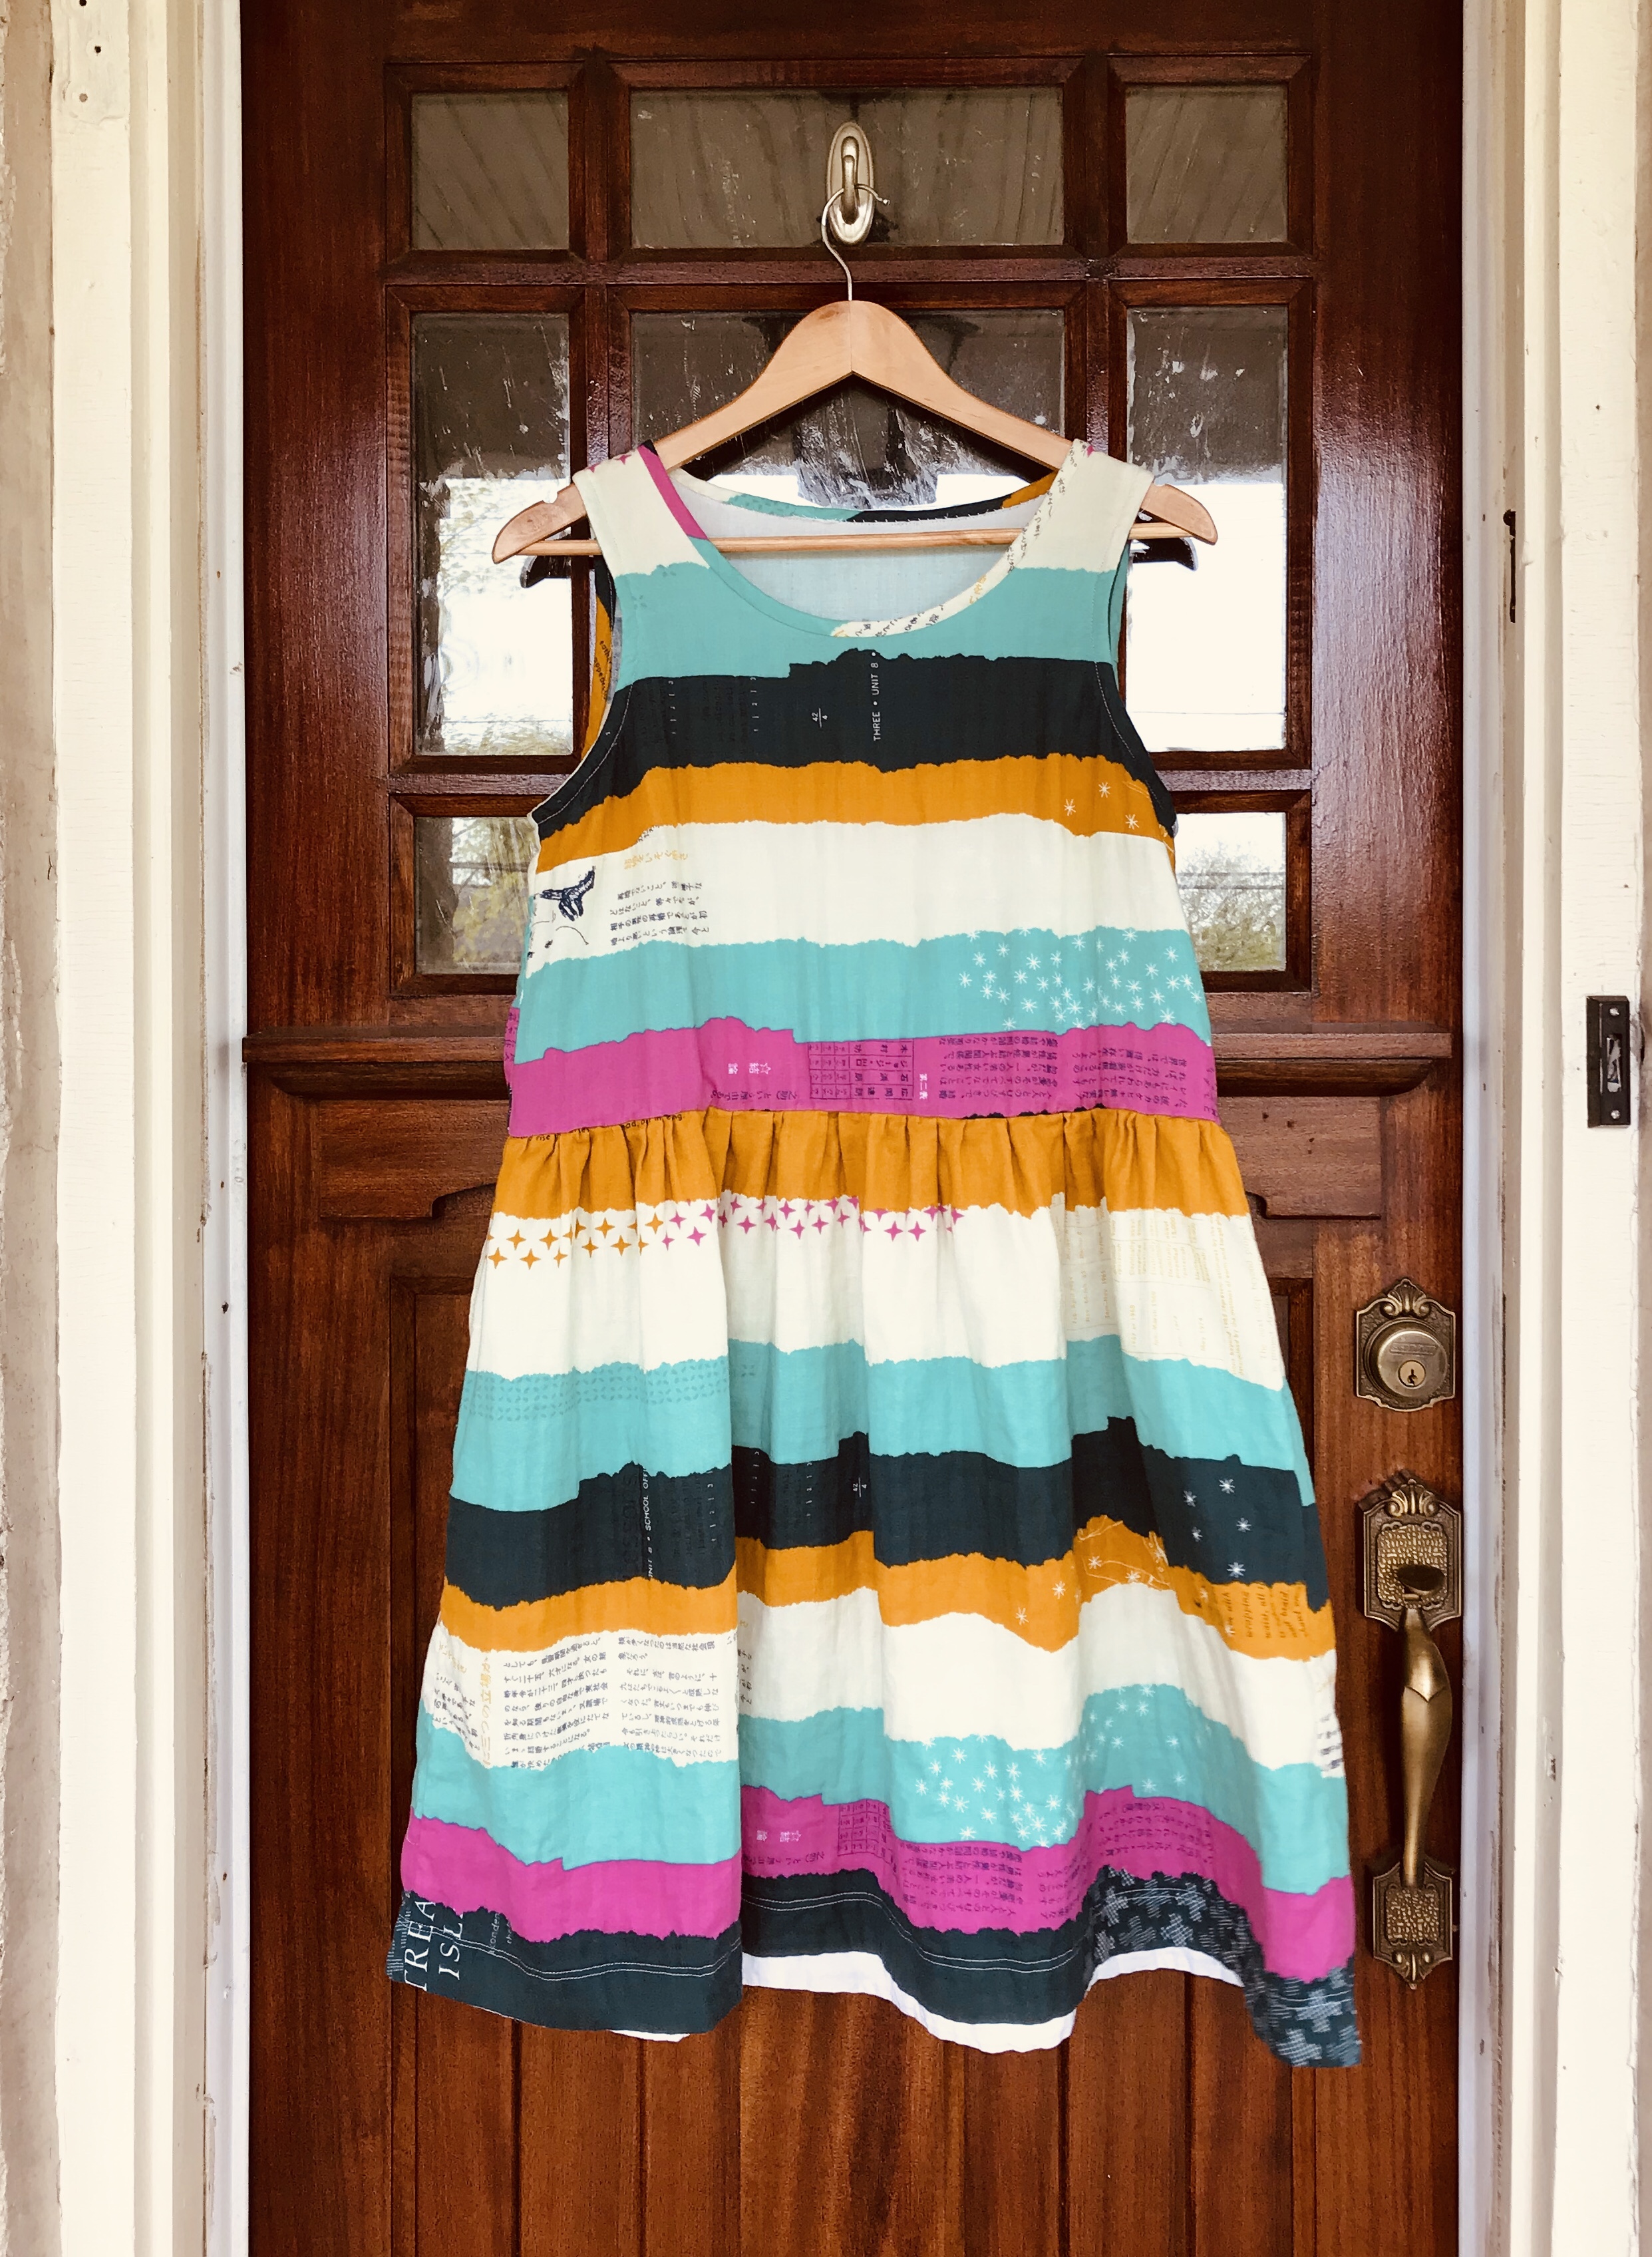
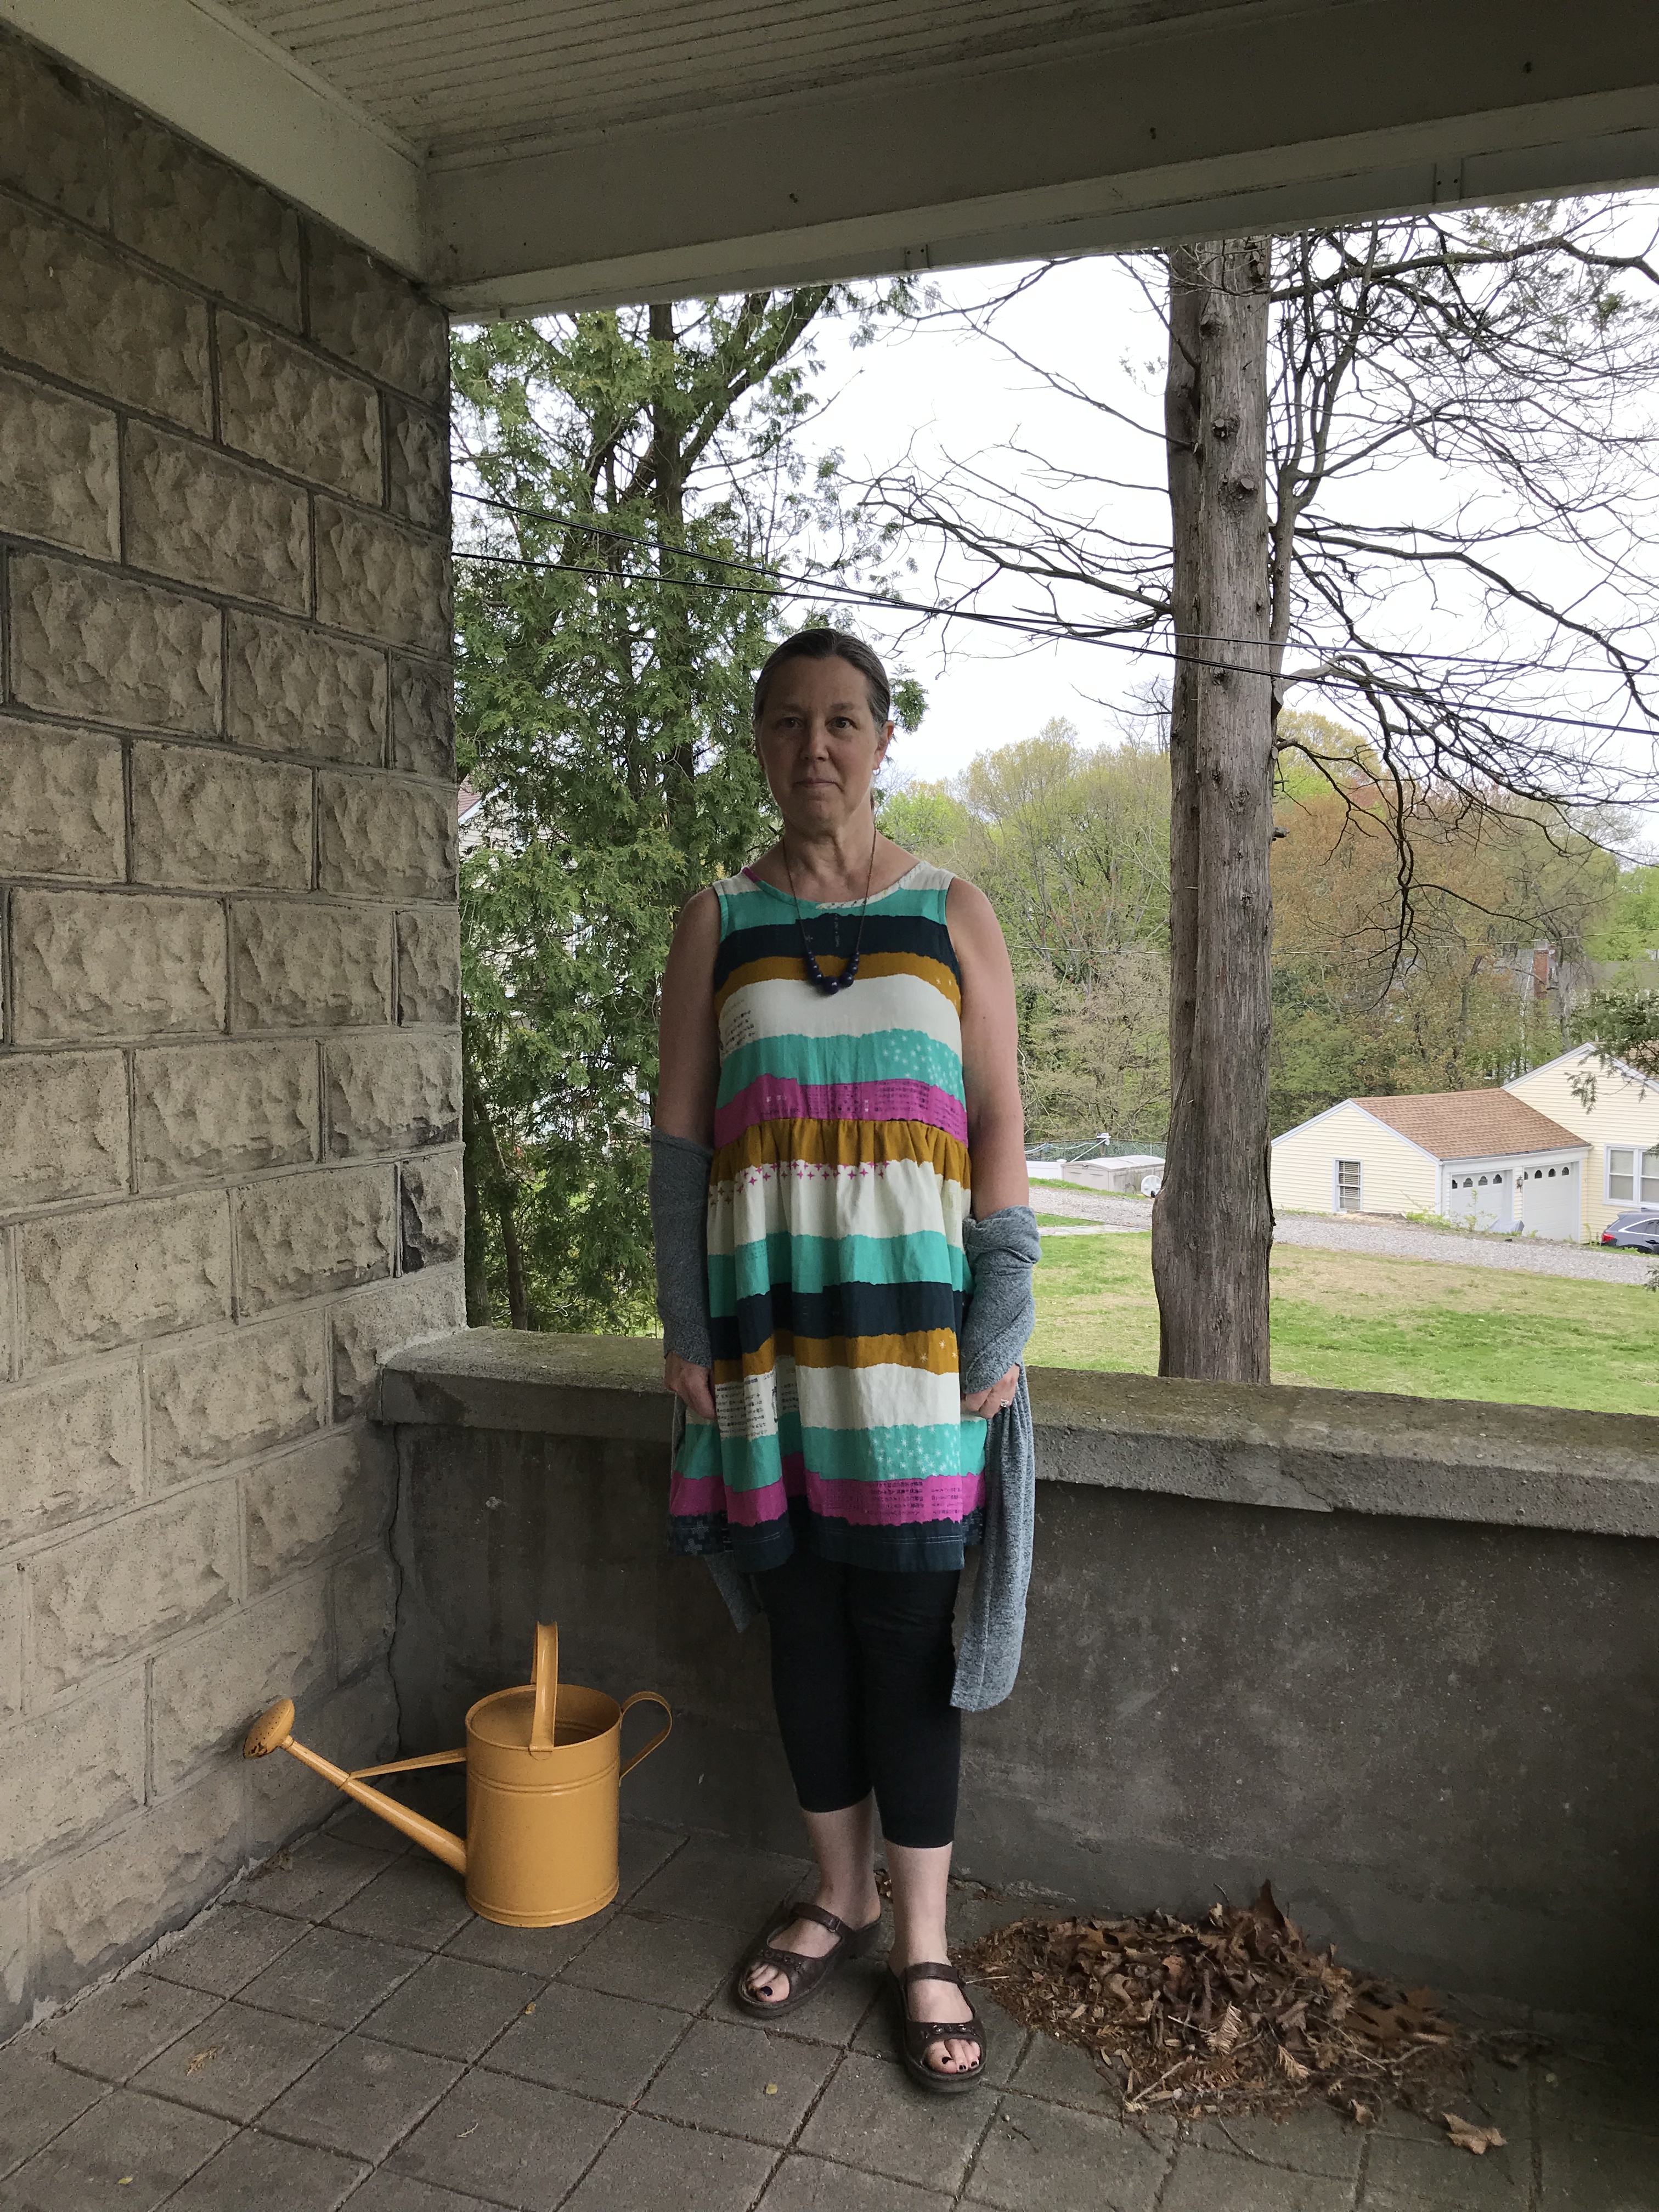
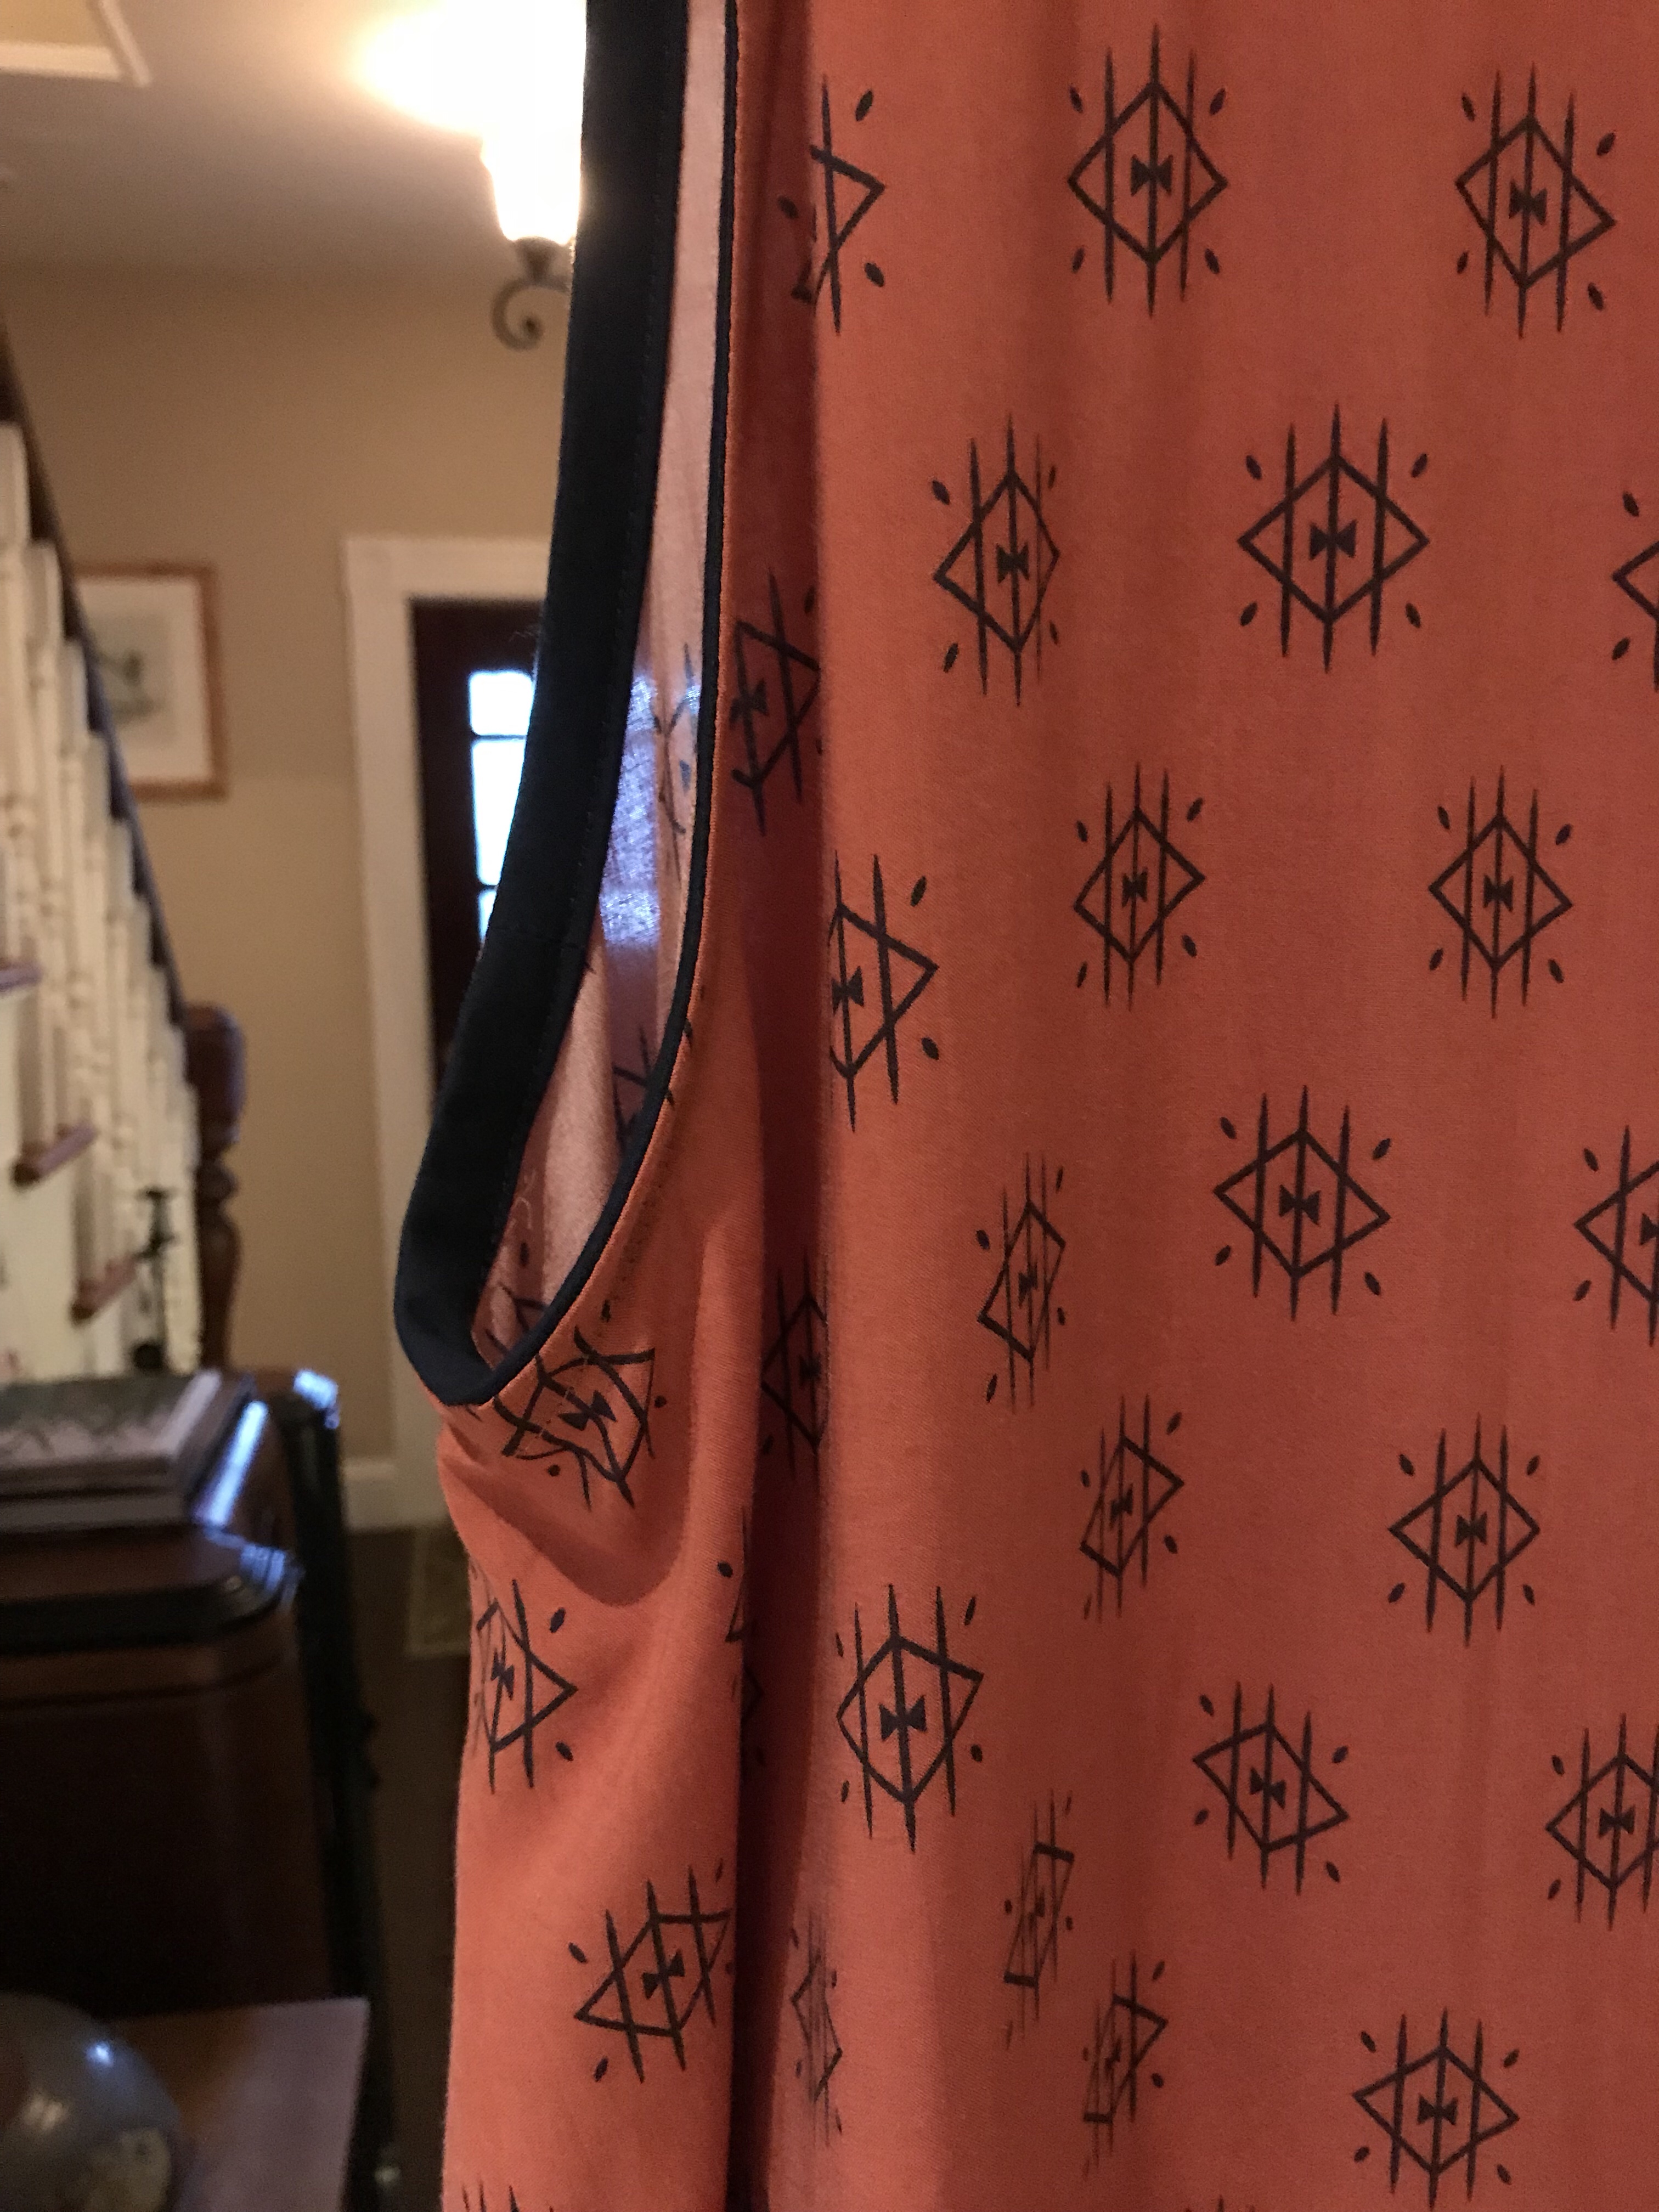
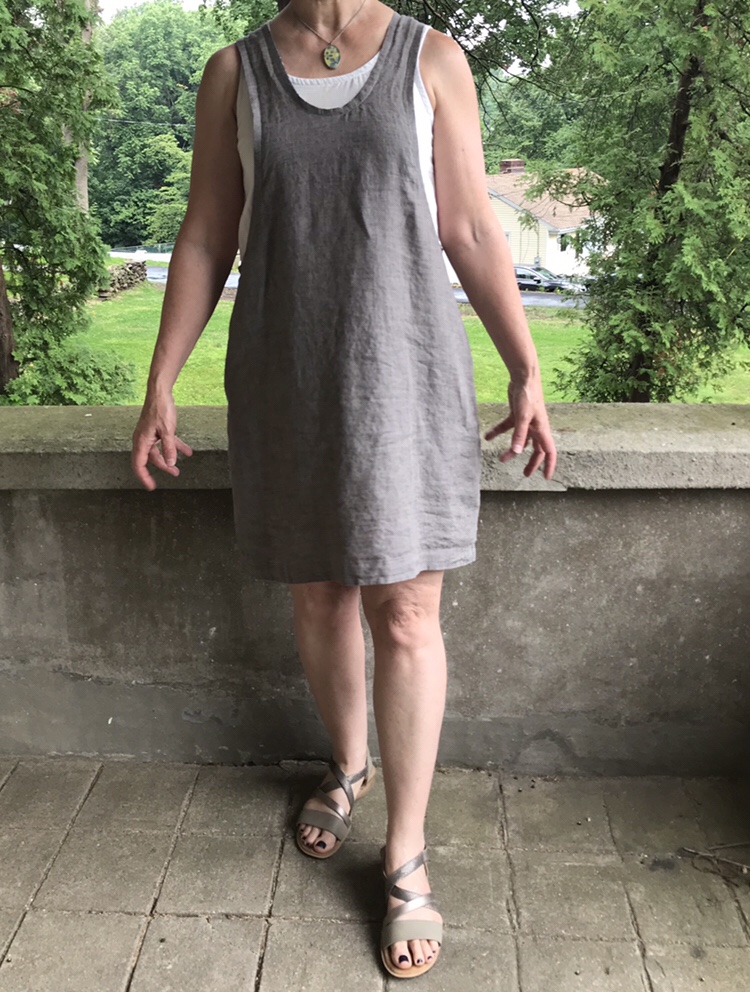
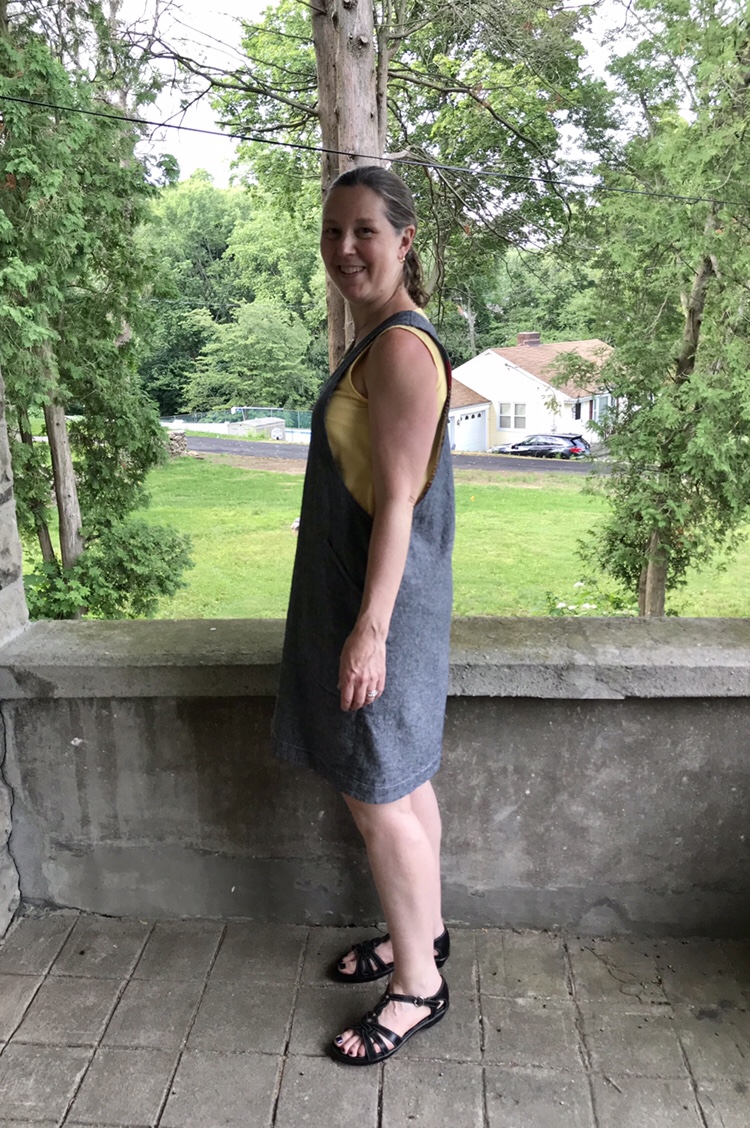
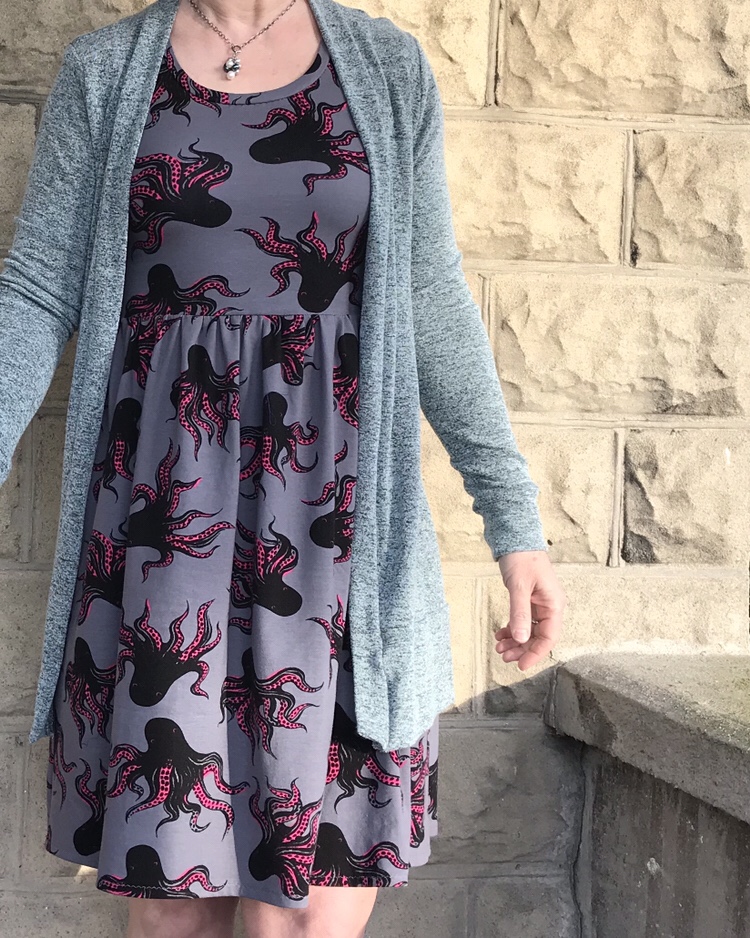
There are some dresses that just make you feel happy when you wear them and this Made By Rae Washi dress fits the bill. I made this last summer with Cotton and Steel quilting cotton that I bought at The Cloth Pocket on a trip to Austin. There is quilting cotton and there is quilting cotton. This fabric is really soft with a bit more heft than typical quilting cotton and it makes a nice summer dress.  I lined the bodice using Rae’s sausage technique. She has great video tutorials on her blog but I have done it so many times that I don’t need the video anymore. It is nice to know it is there though! I used one of my all-time favorite cotton lawns by Melody Miller.img_6977 
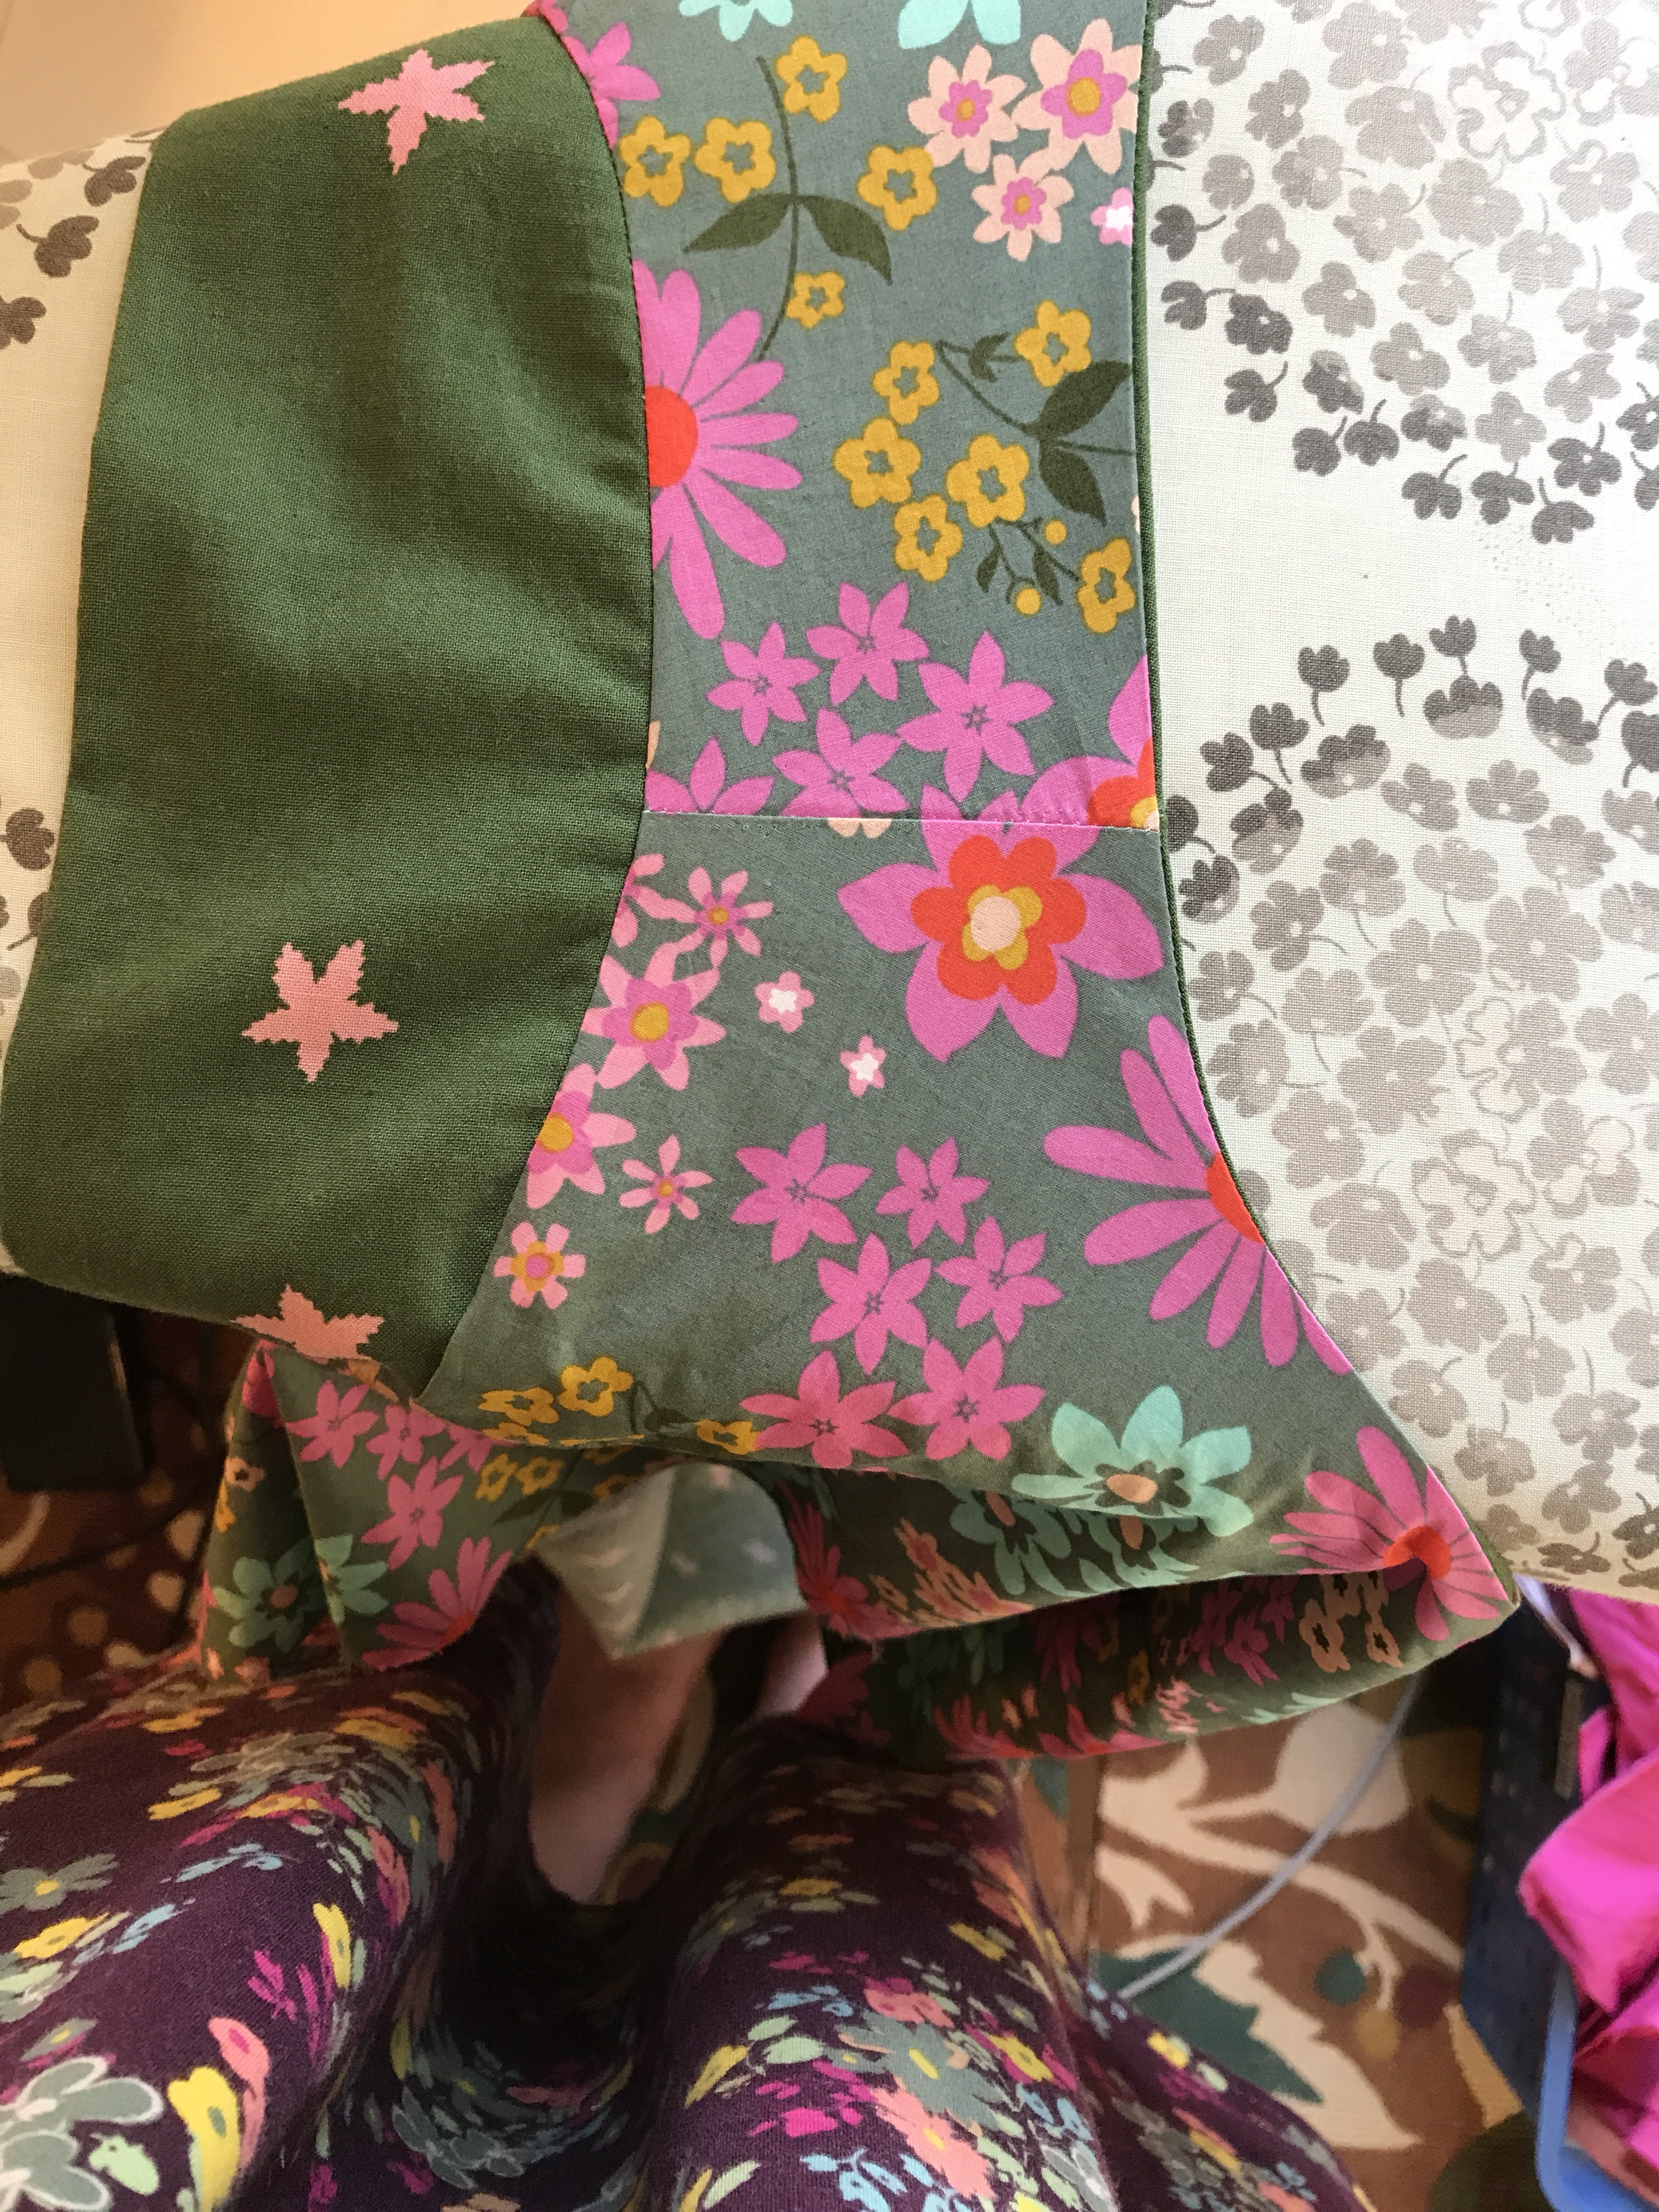
I love The Cloth Pocket and had the opportunity to visit in person and actually take a class there last year. Highly recommend! Great teachers, fabric and vibe. I buy most of my quilting fabrics from them online and they have a wonderful selection of chambrays.

I finished hems with a hem facing as I always do. I find it gives me much nicer results and it is fun!img_6998
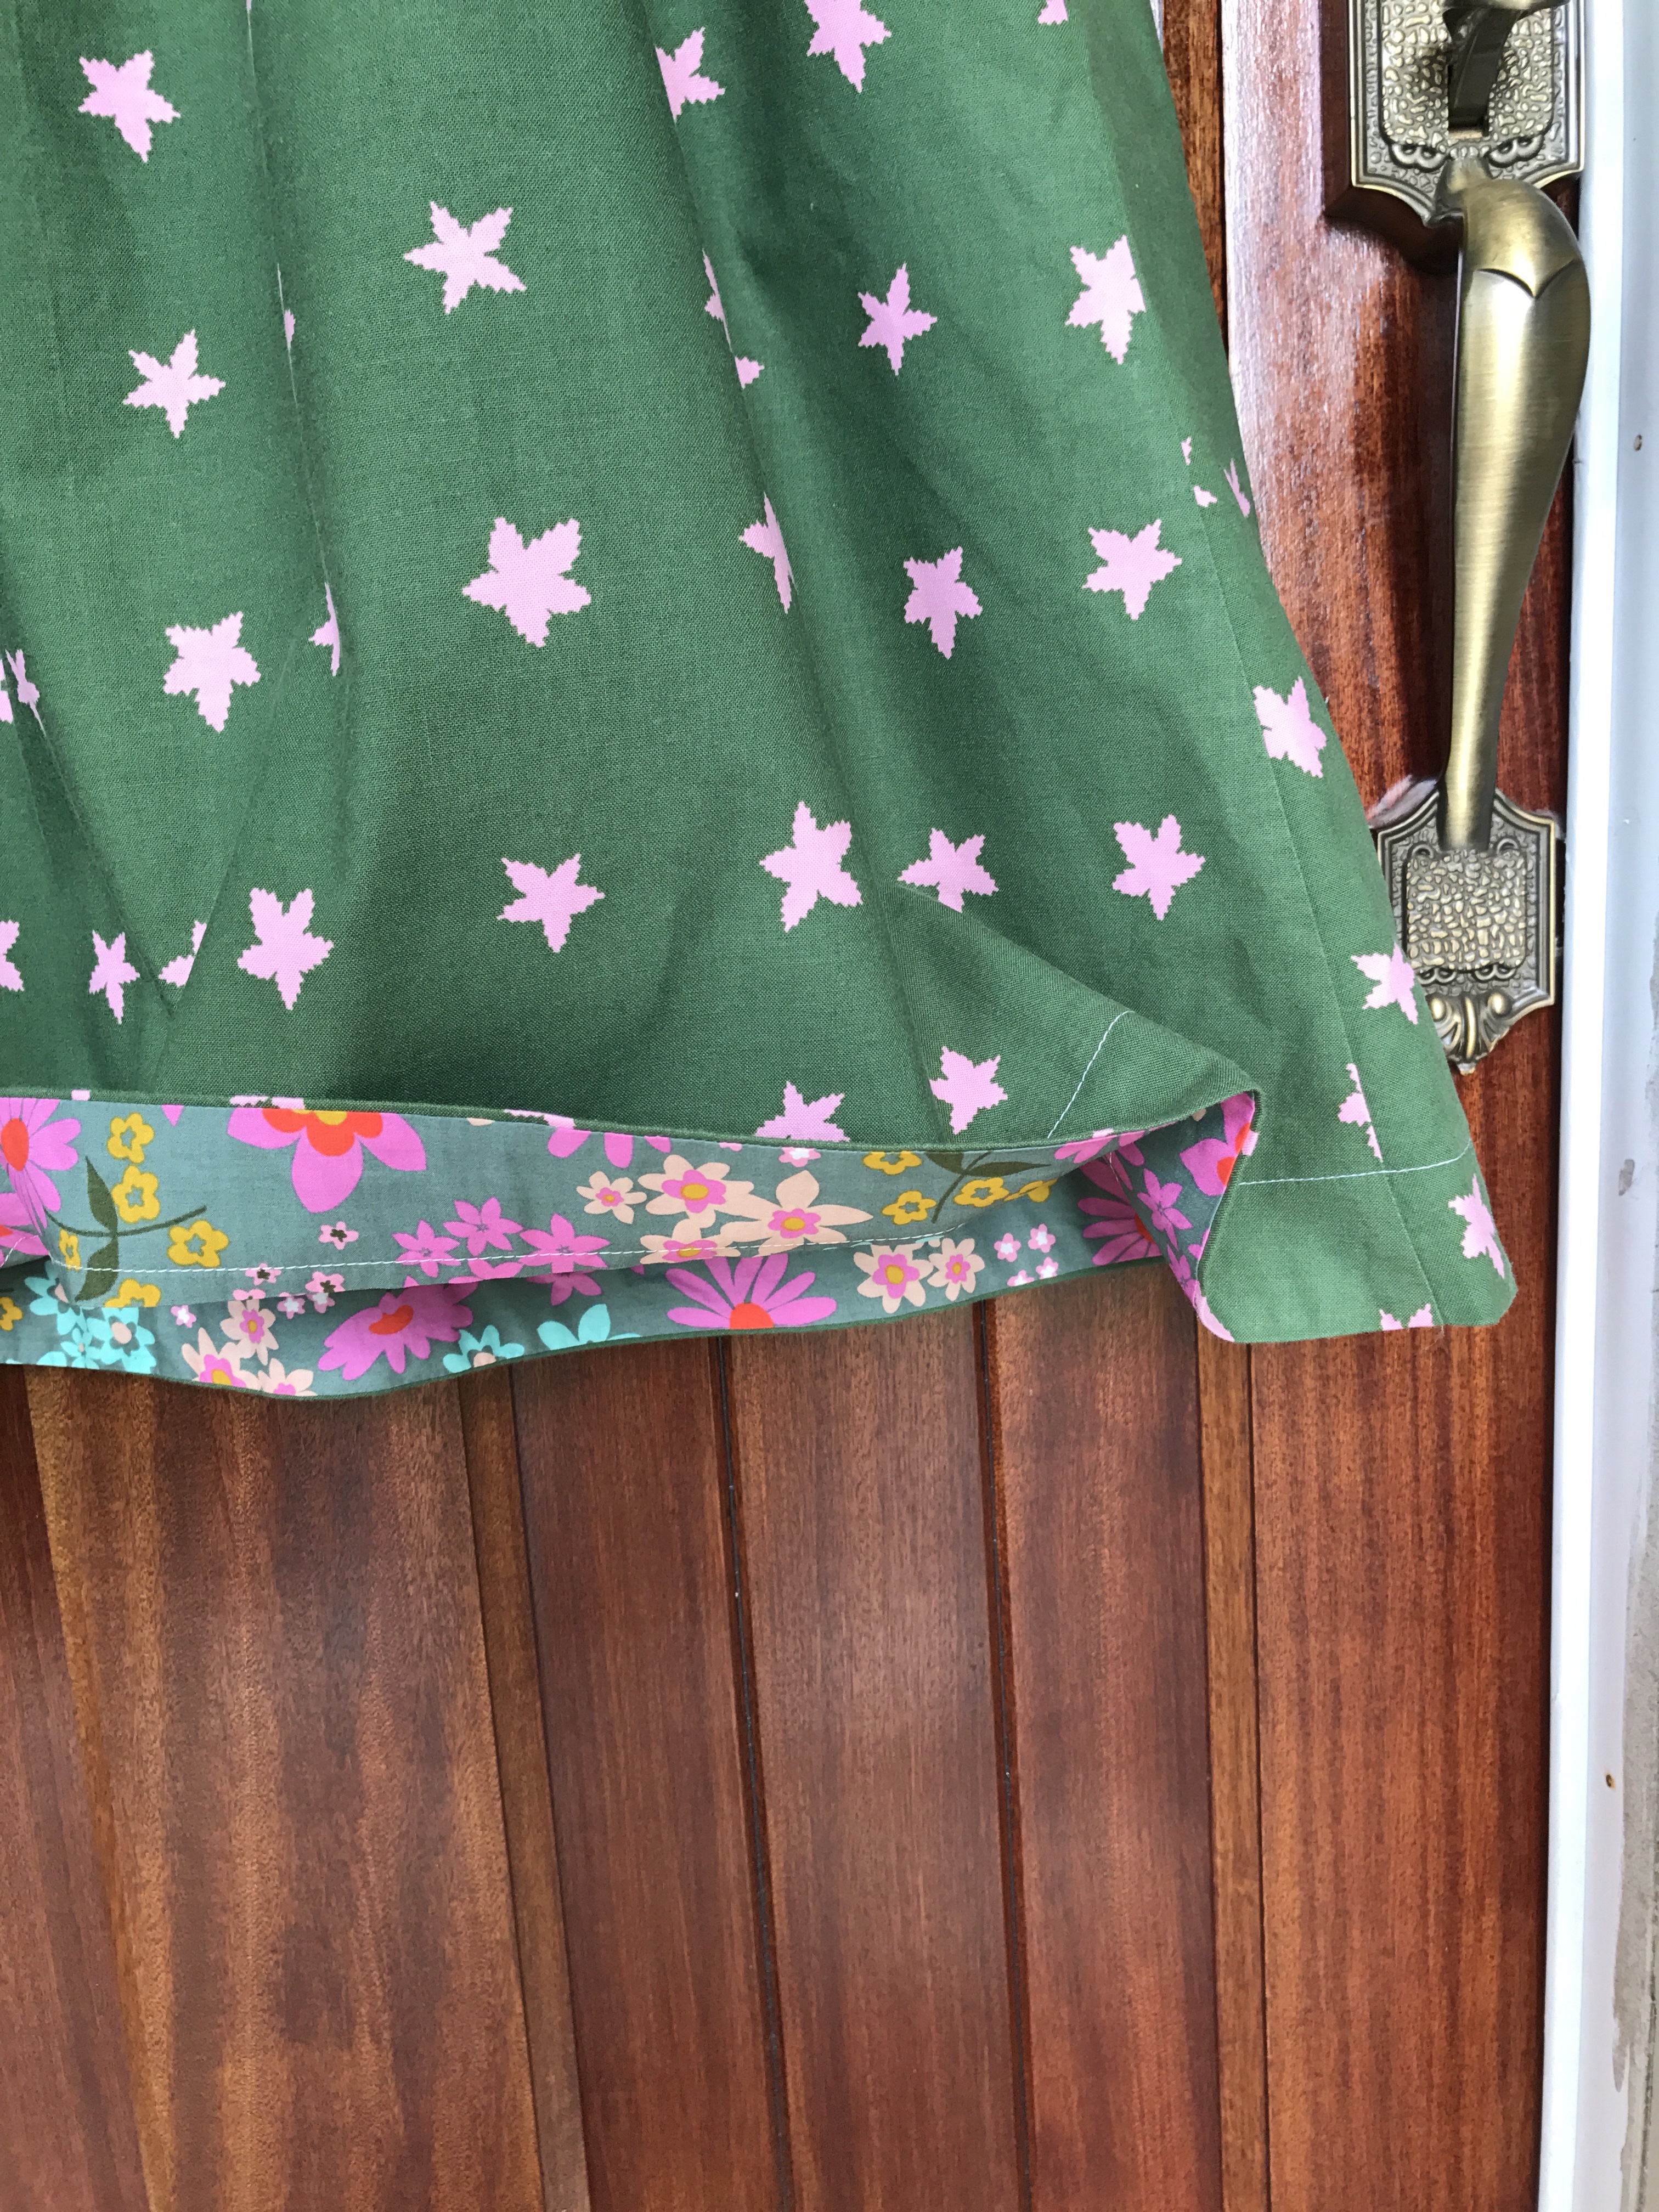
Since I was in the middle of sewing all the Cleo’s and spent a lot of last summer gathering skirts,  I decided on the spur of the moment to gather the skirt instead of using the pleats that are in the original Washi pattern. It was really quick and I love the swingy feel of the gathered skirt and the bright colors and pattern just feel like summer to me. I love pulling out my summer clothes after the long winter. It is like meeting up again with good friends. img_2390

img_2391
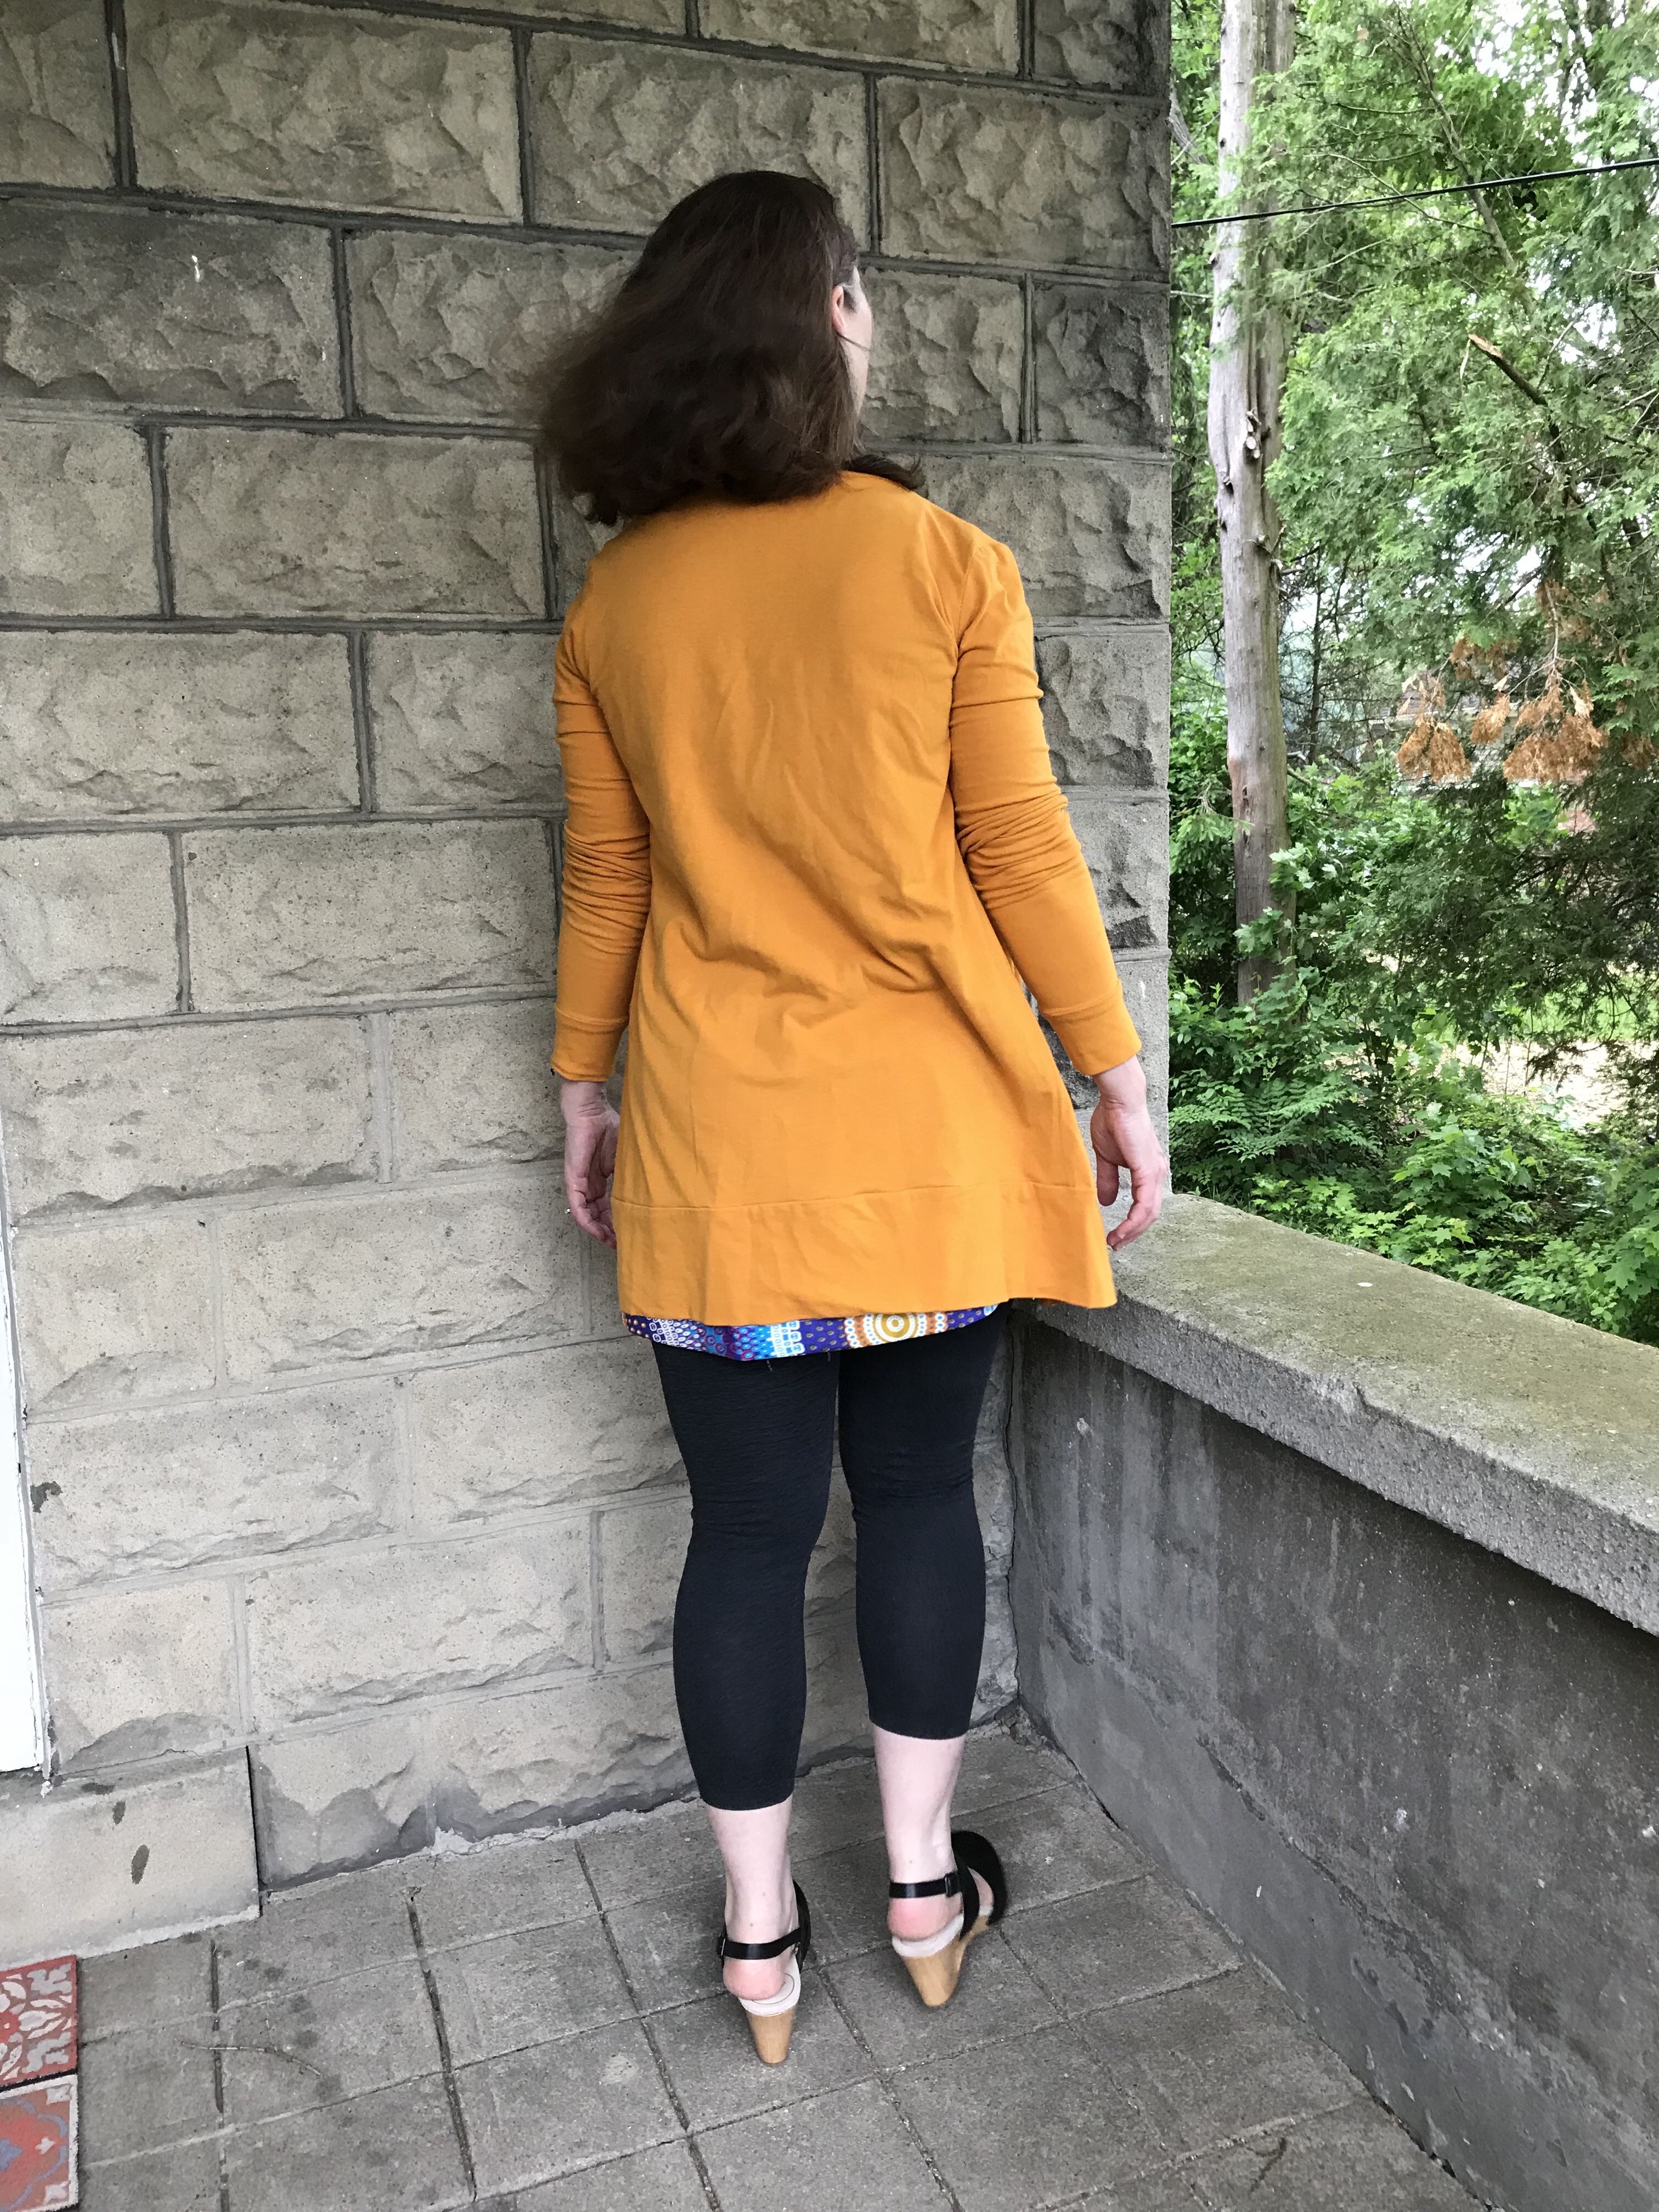
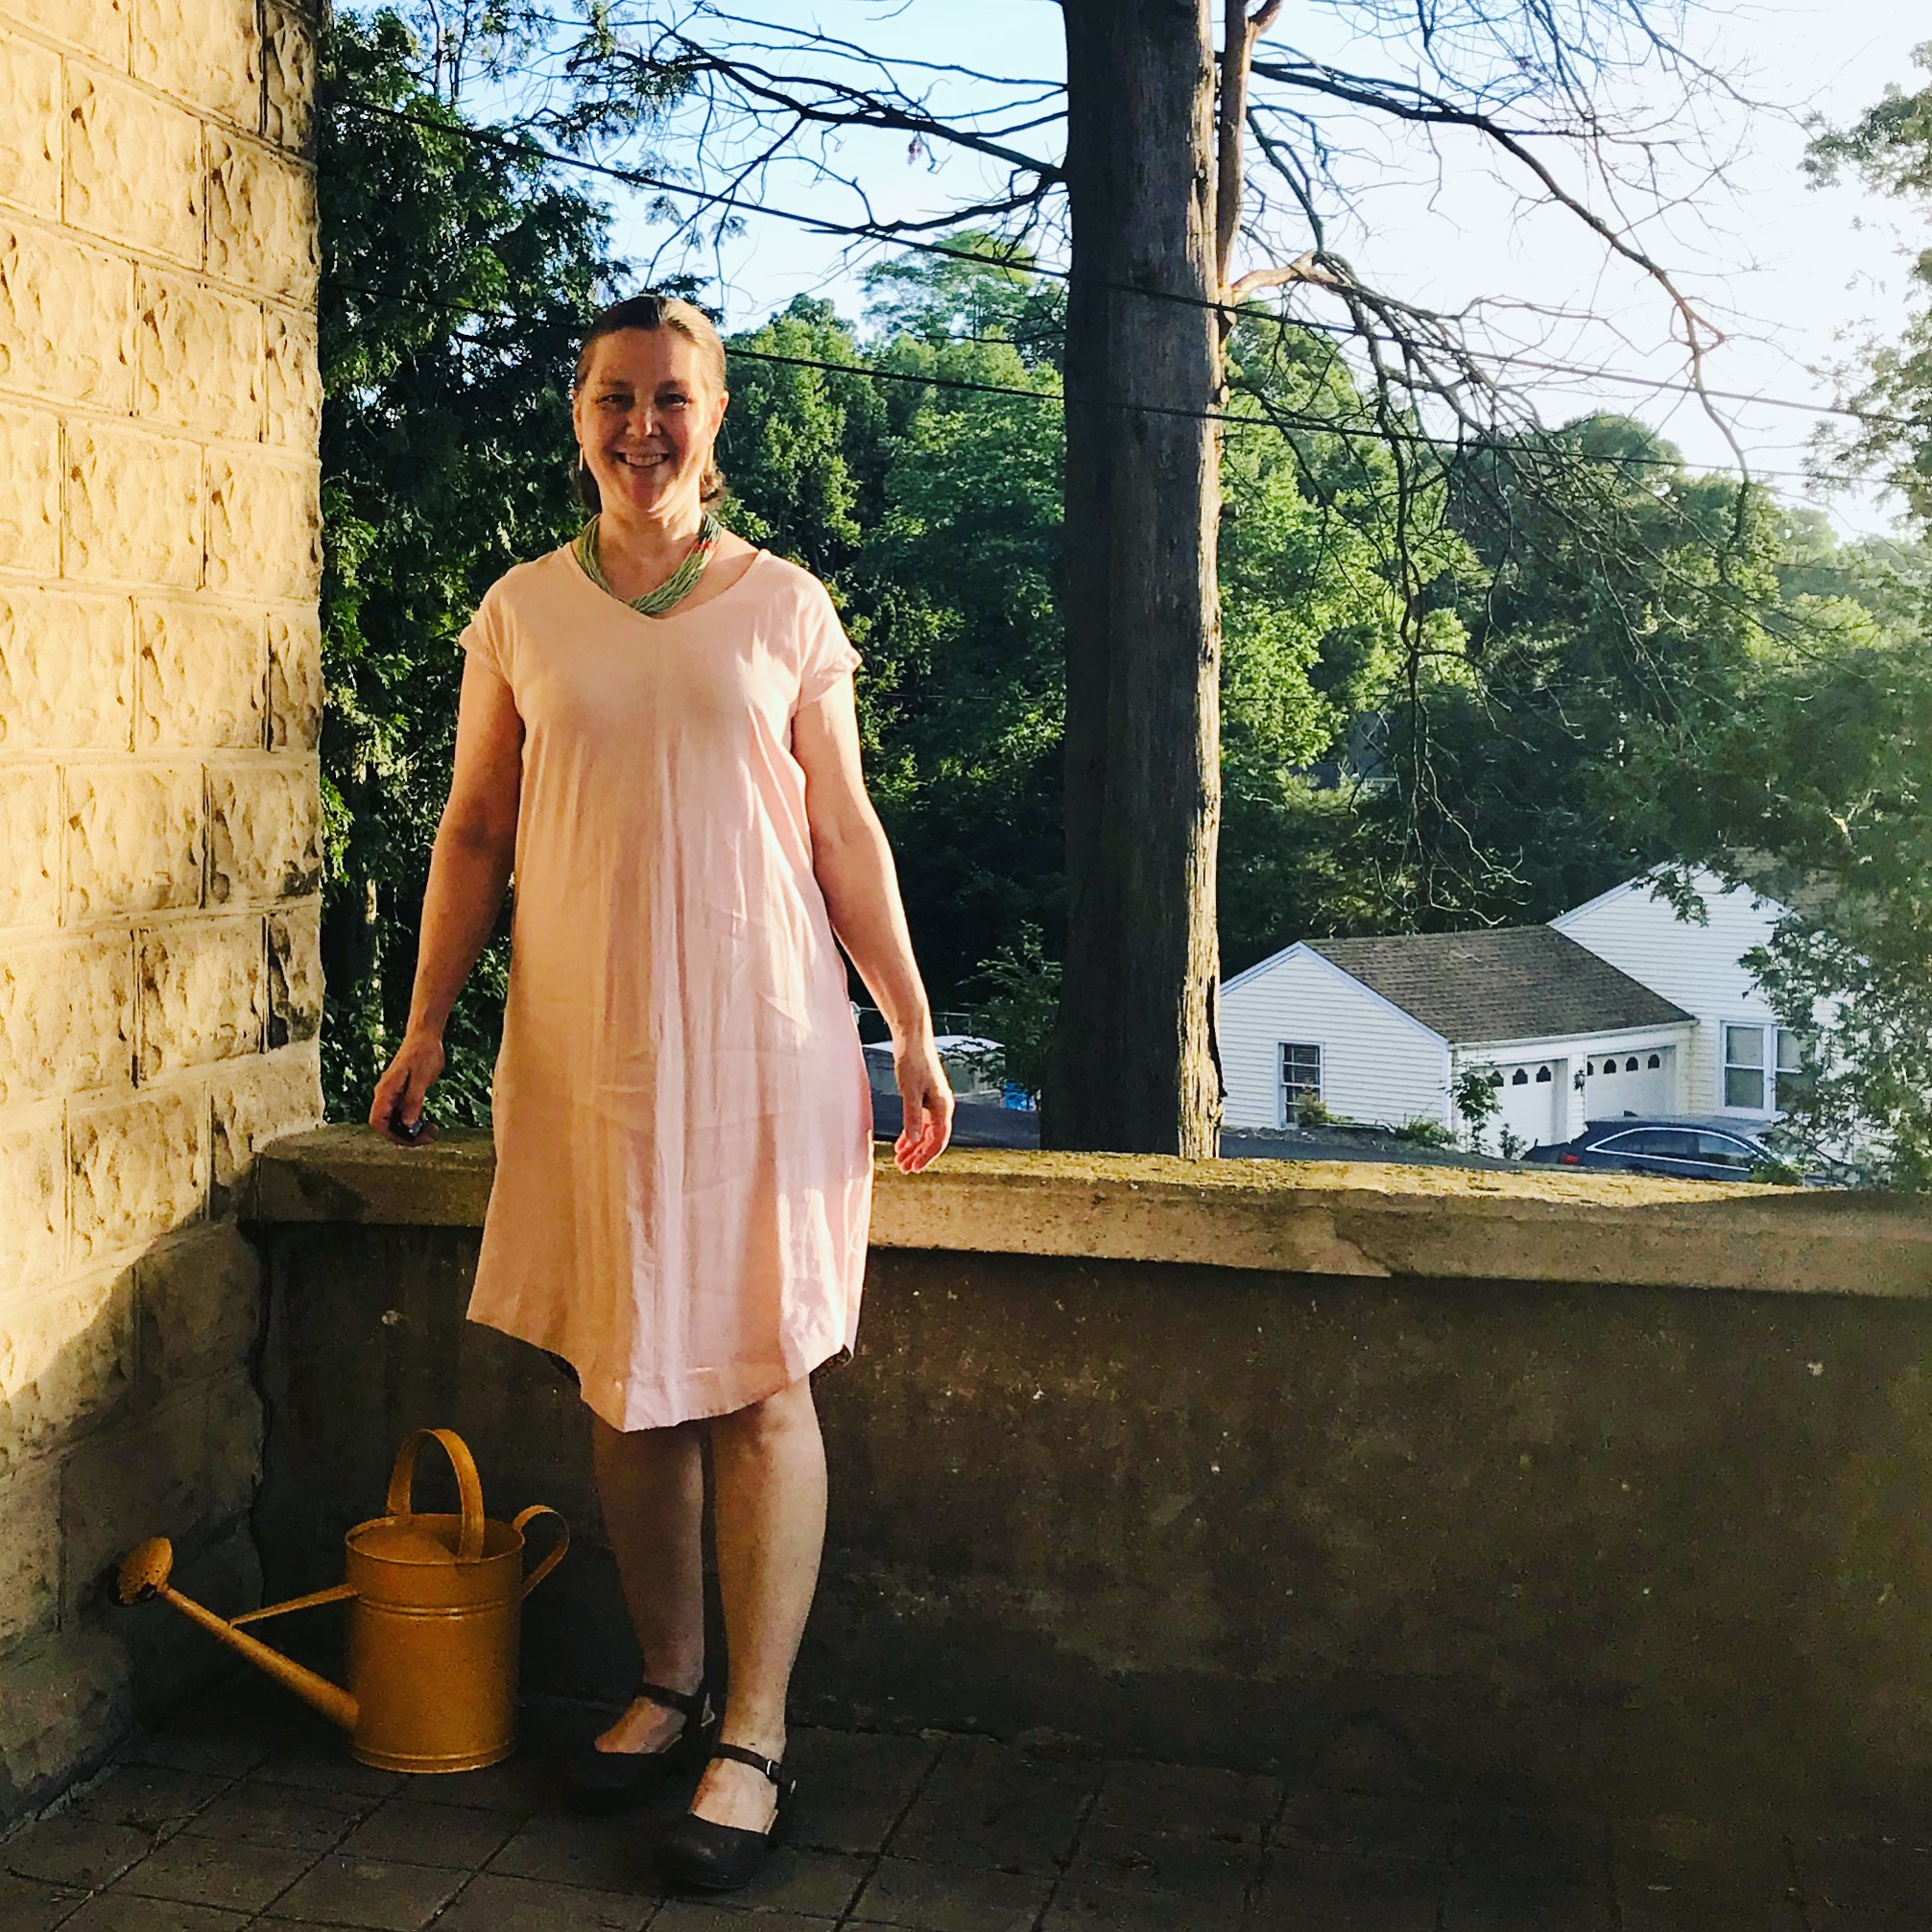
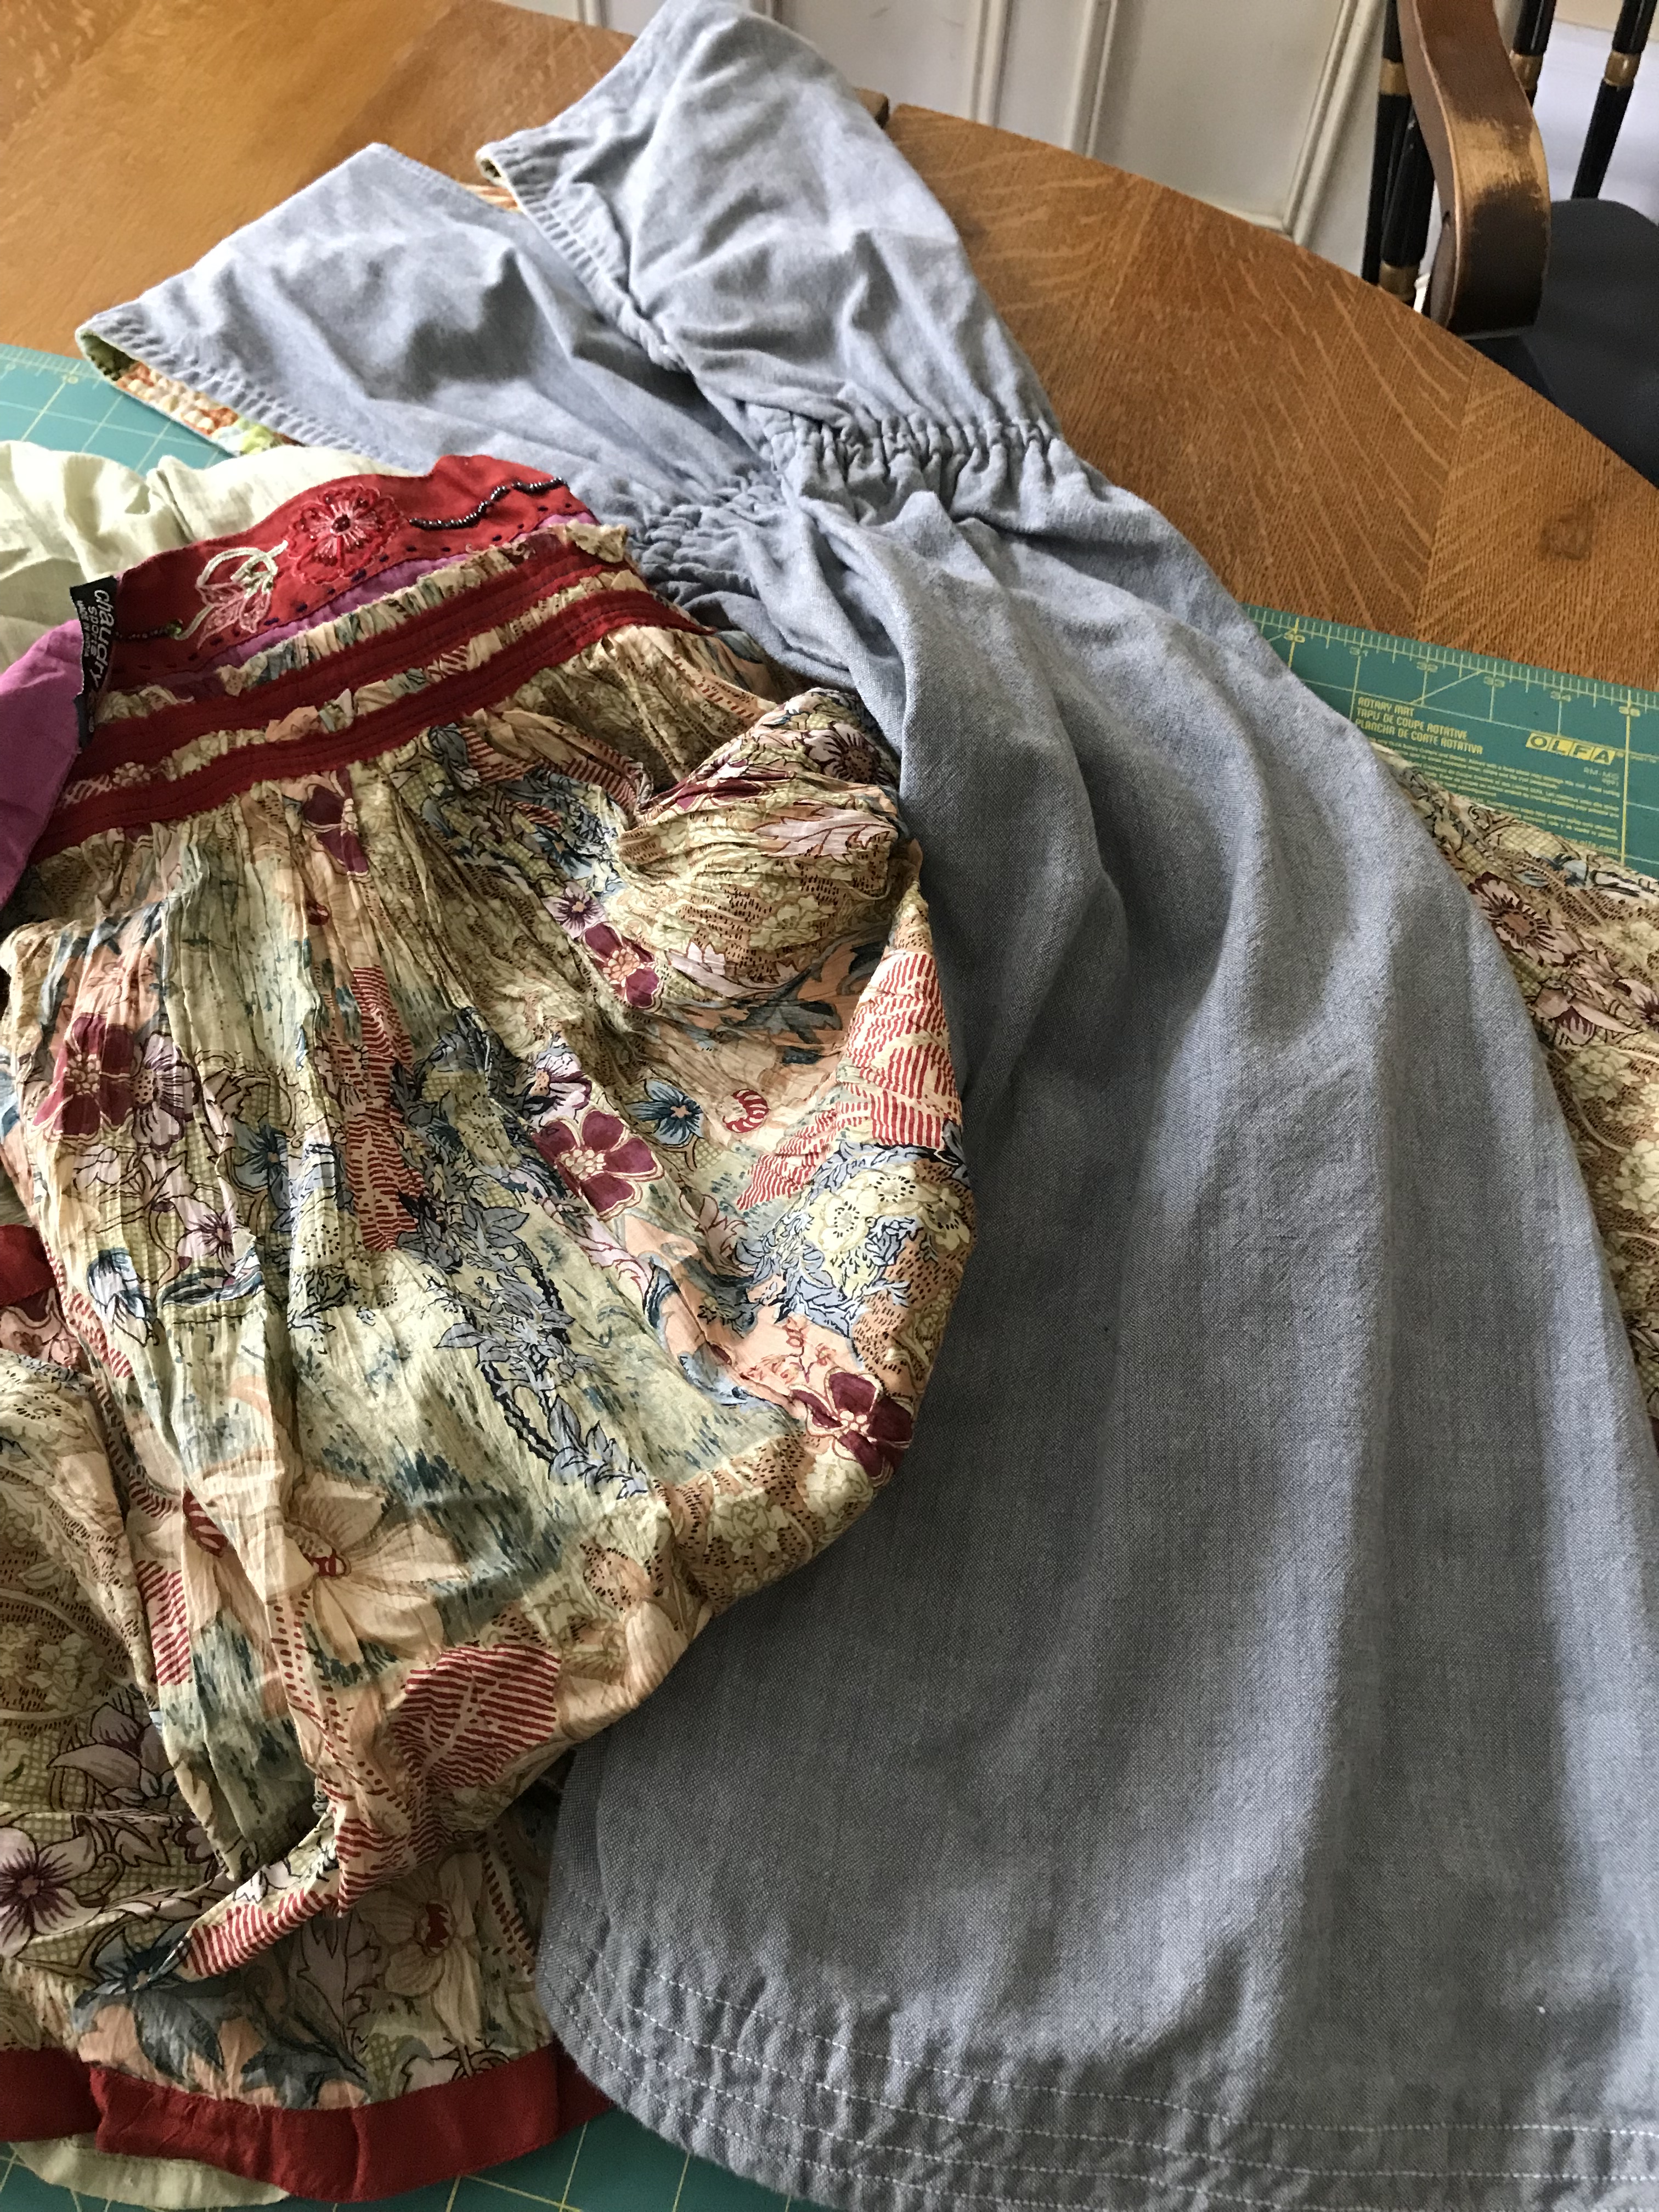
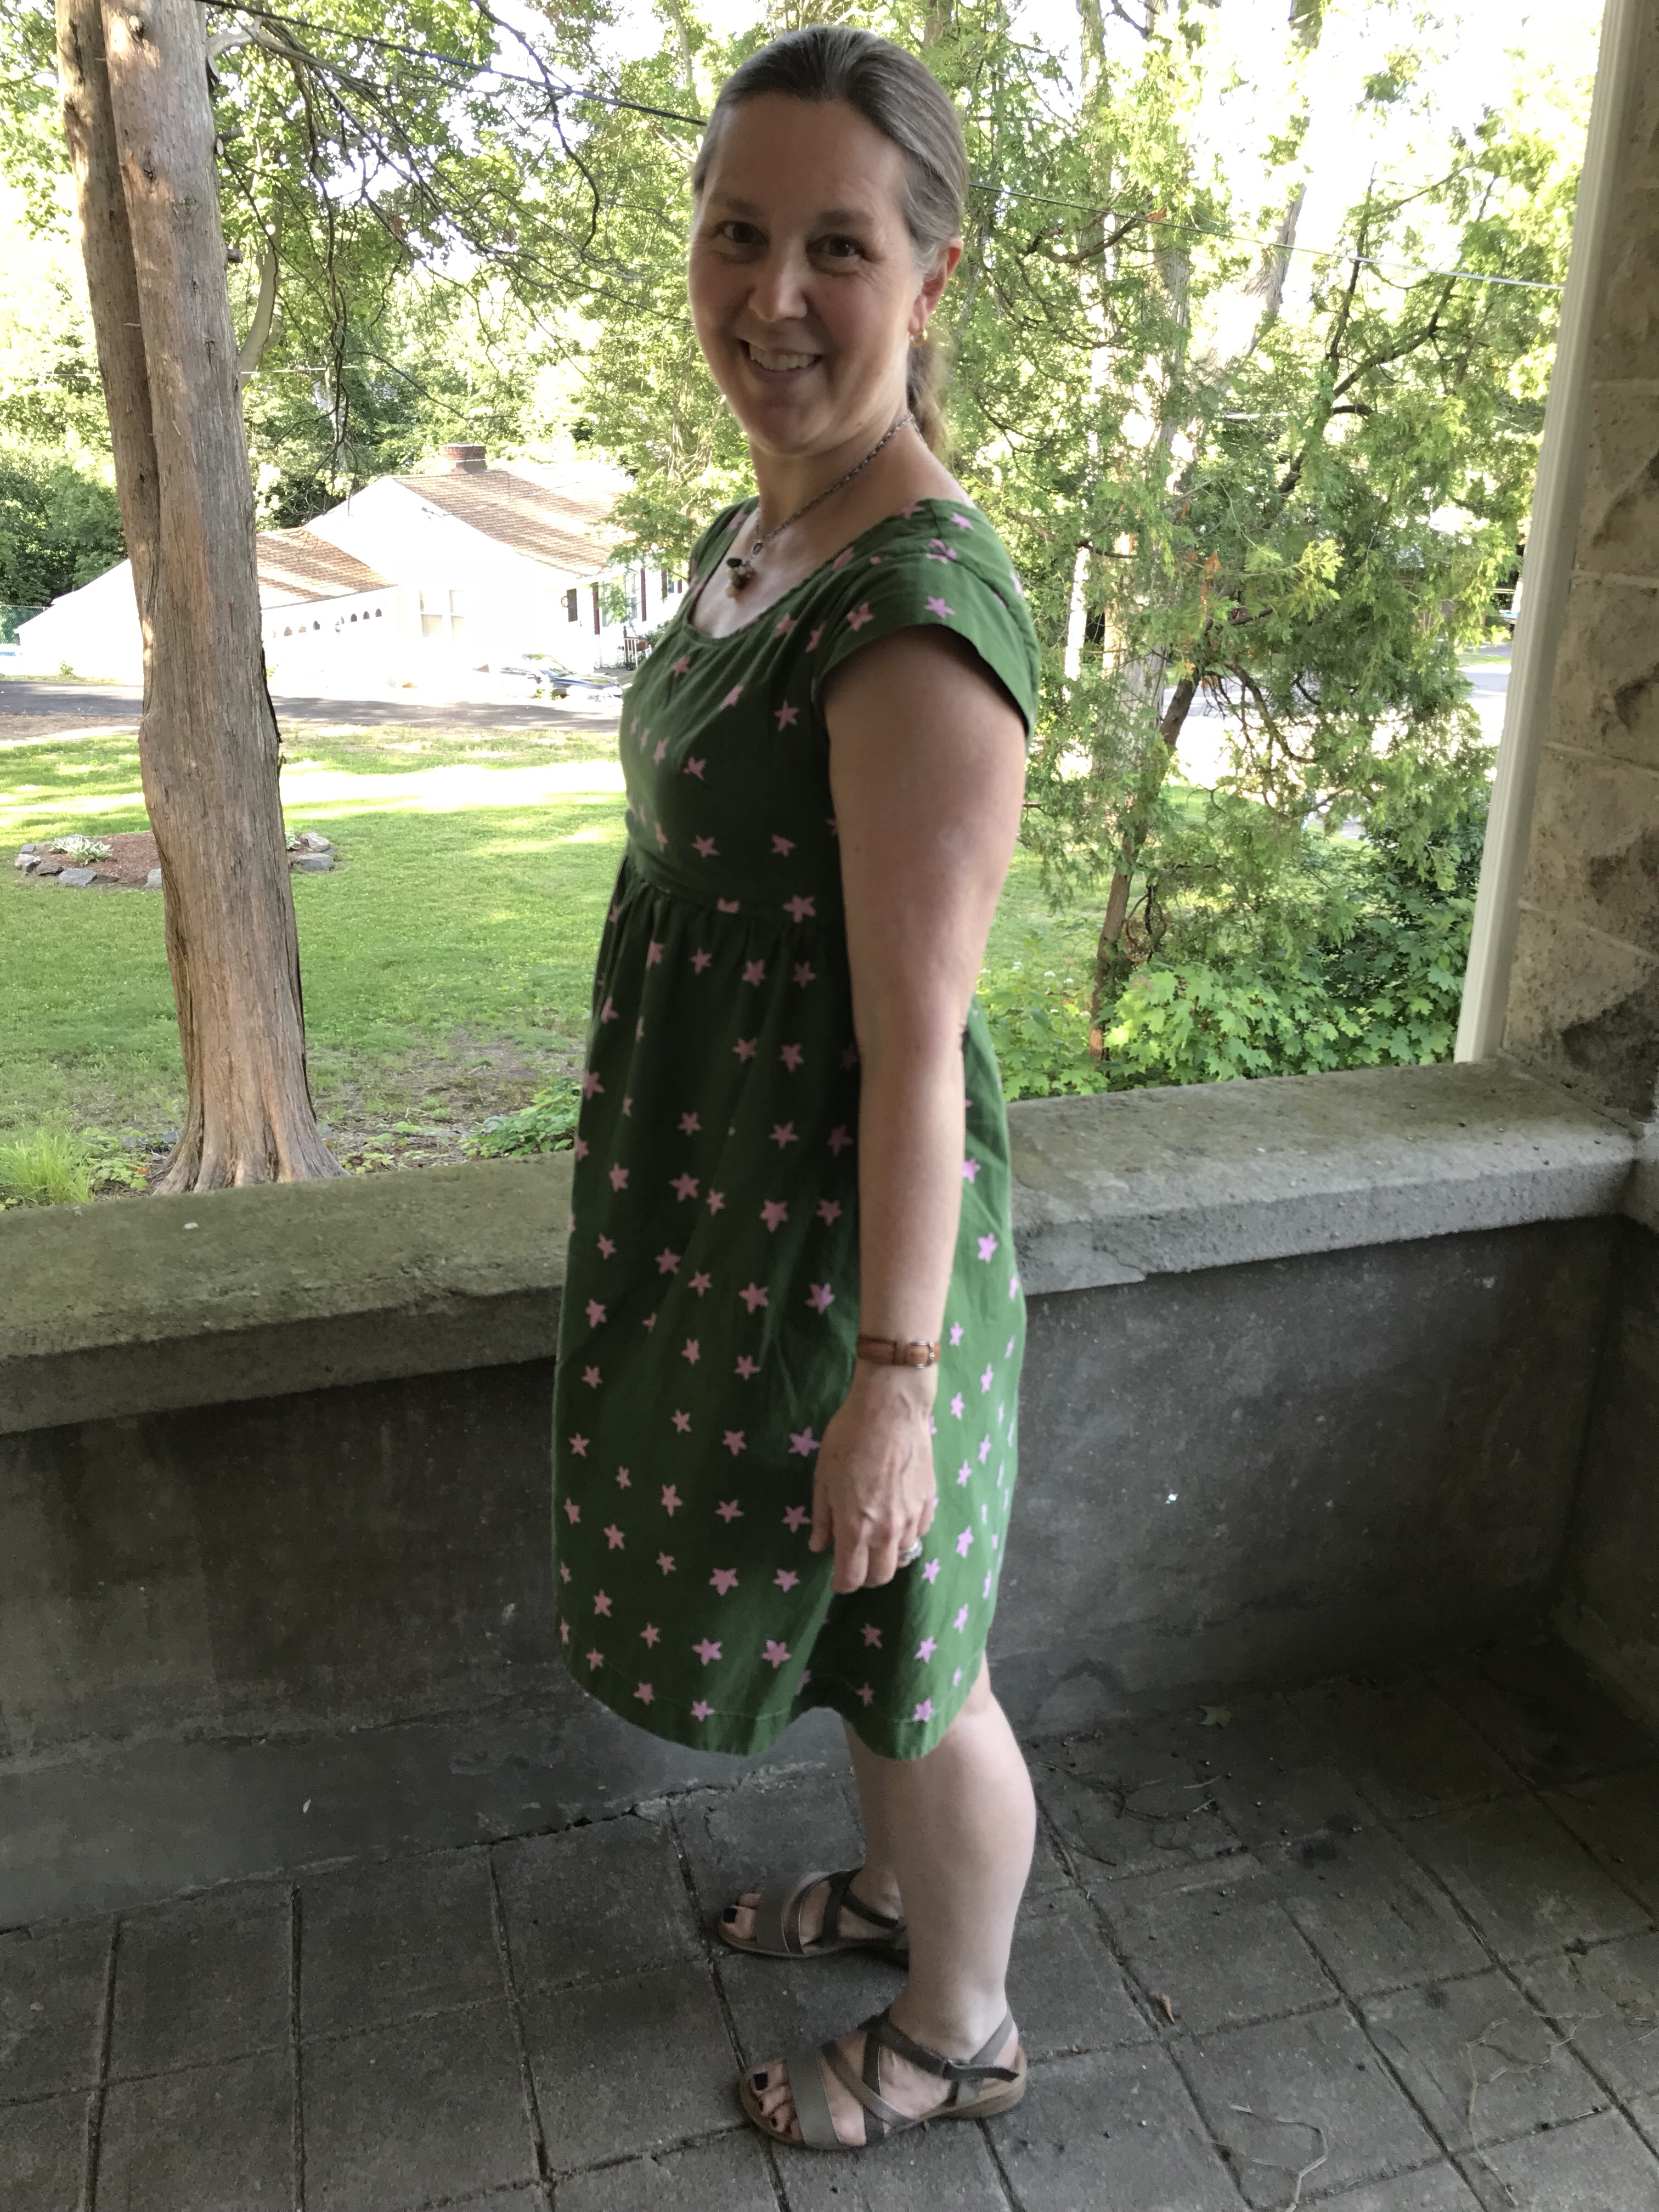
I made this in a hurry and used fewer lines of shirring than I normally do spaced a bit farther apart. I like it this way!img_2403
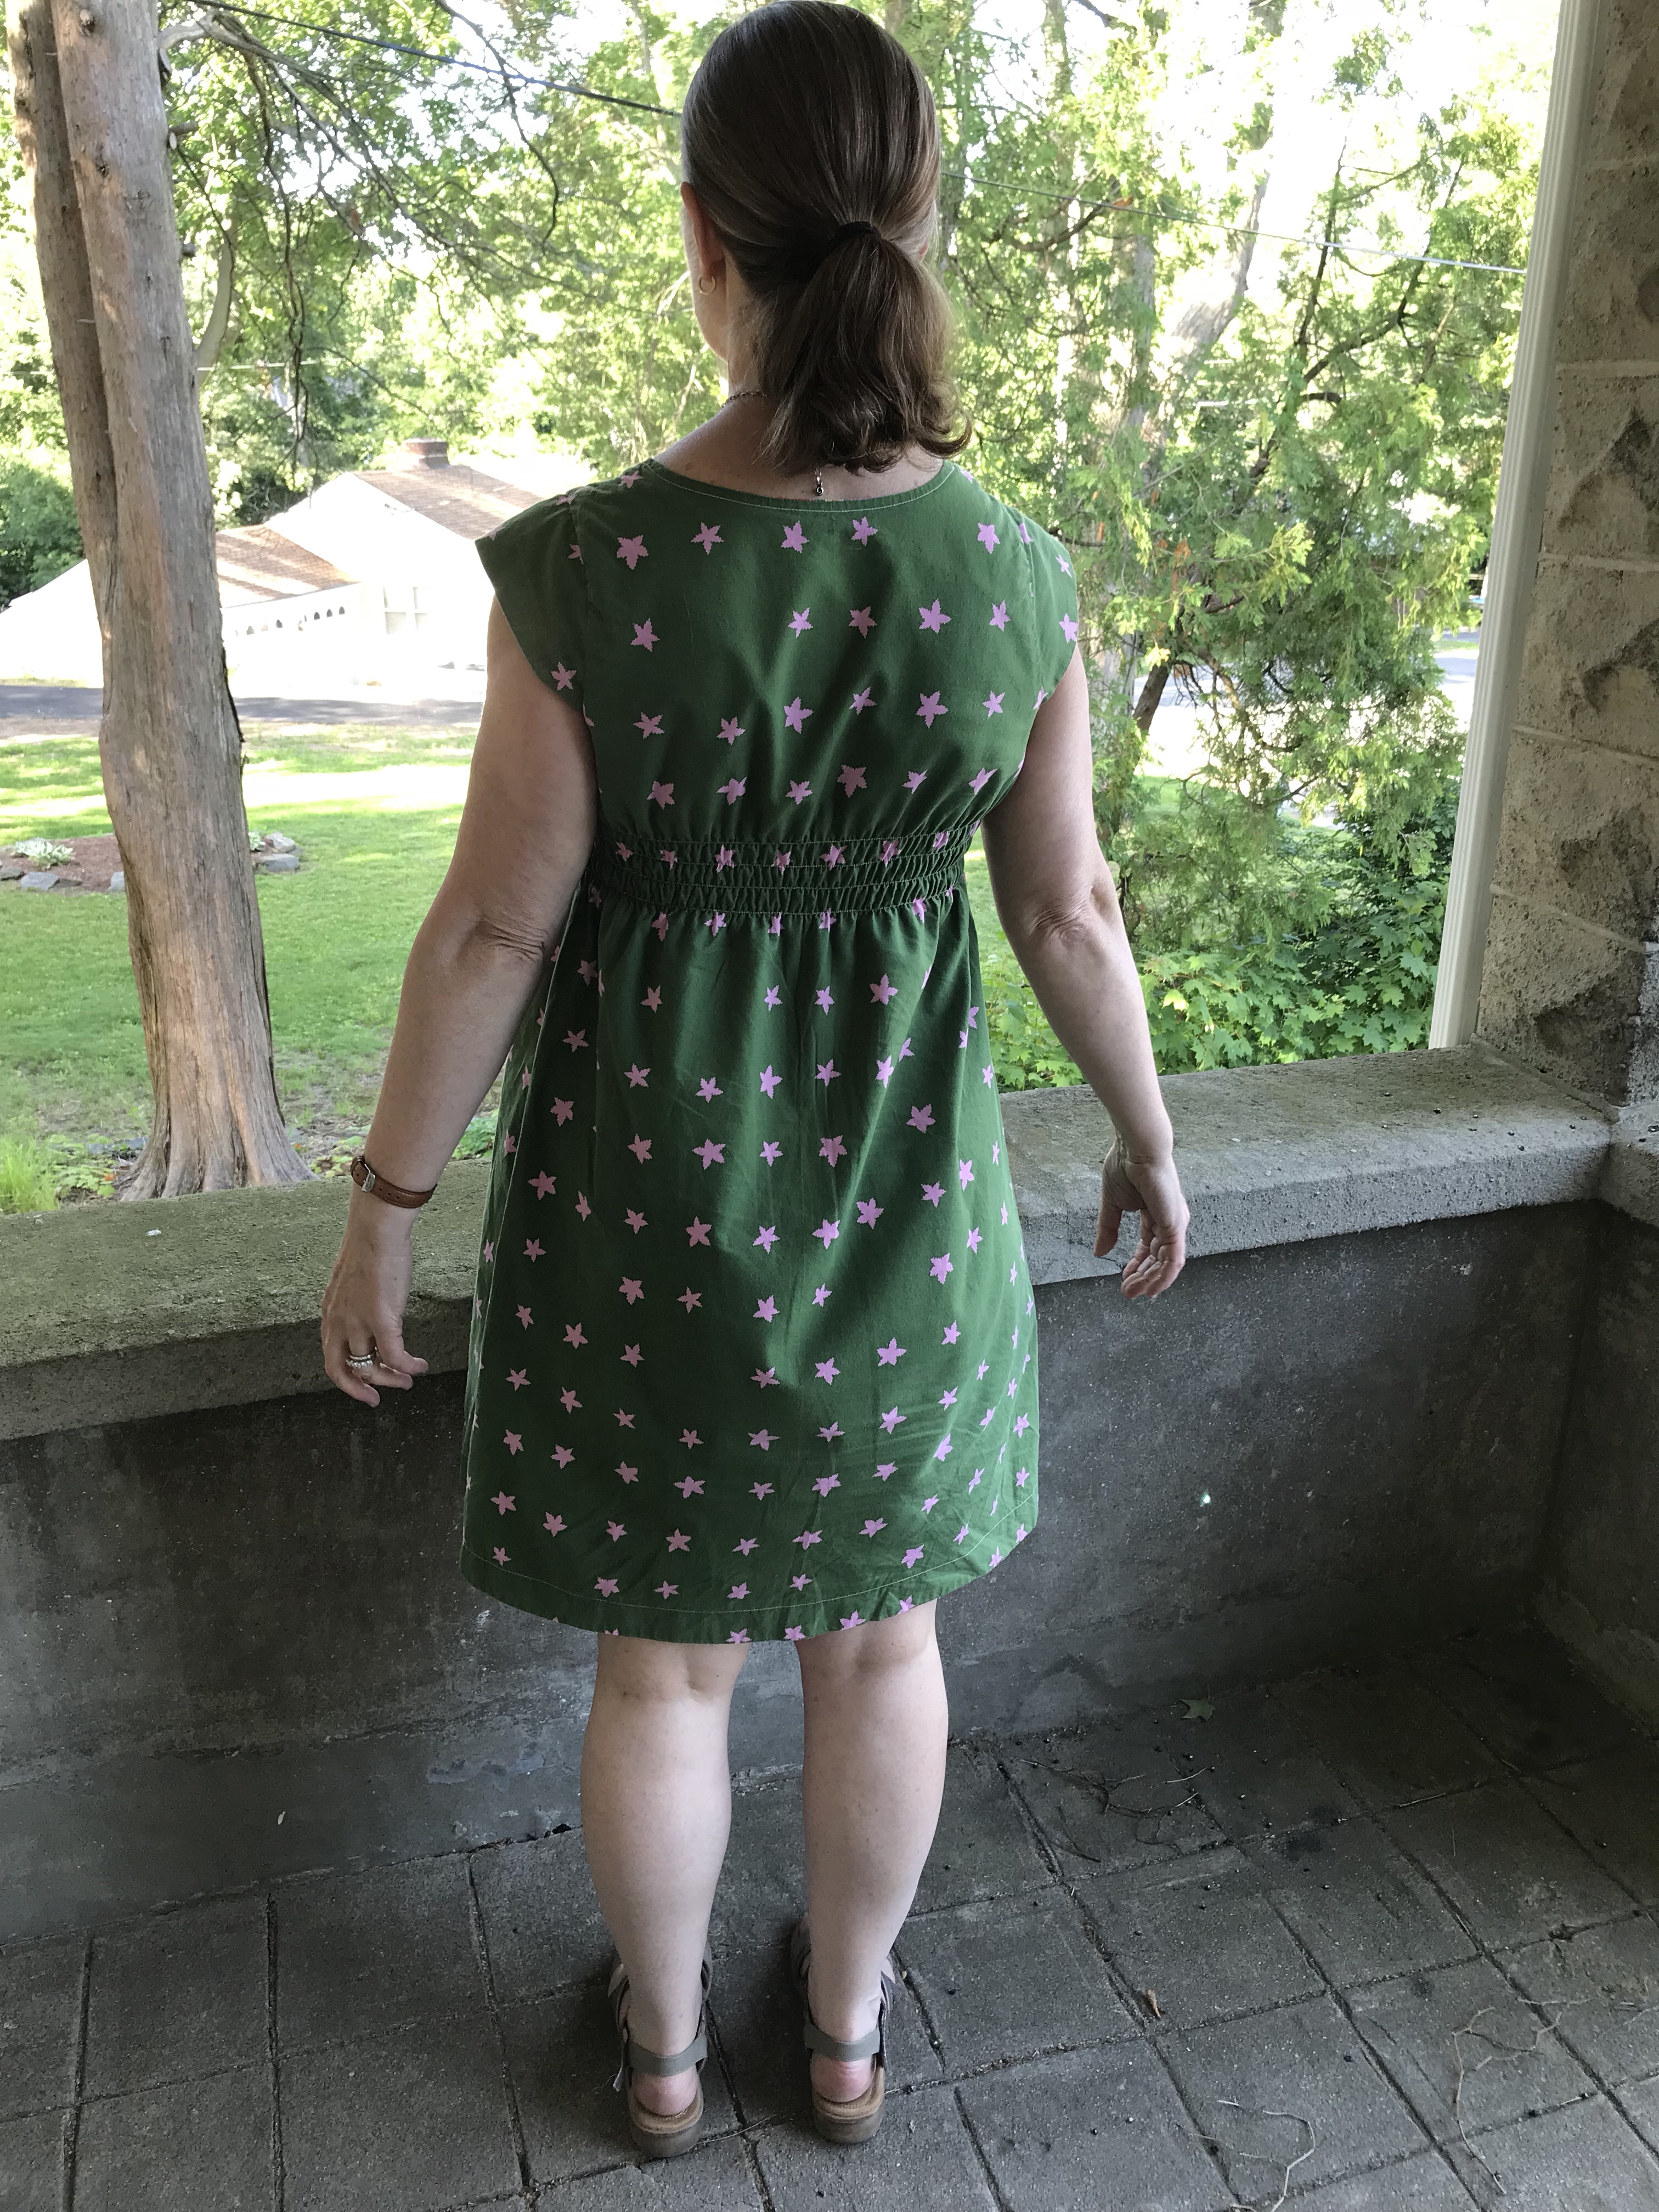
And a nice surprise was how well my new Blackwood Cardigan goes with this dress. I pulled it off the shelf this morning because it was cool and I love the colors together. Just like a bunch of summer flowers!img_2422
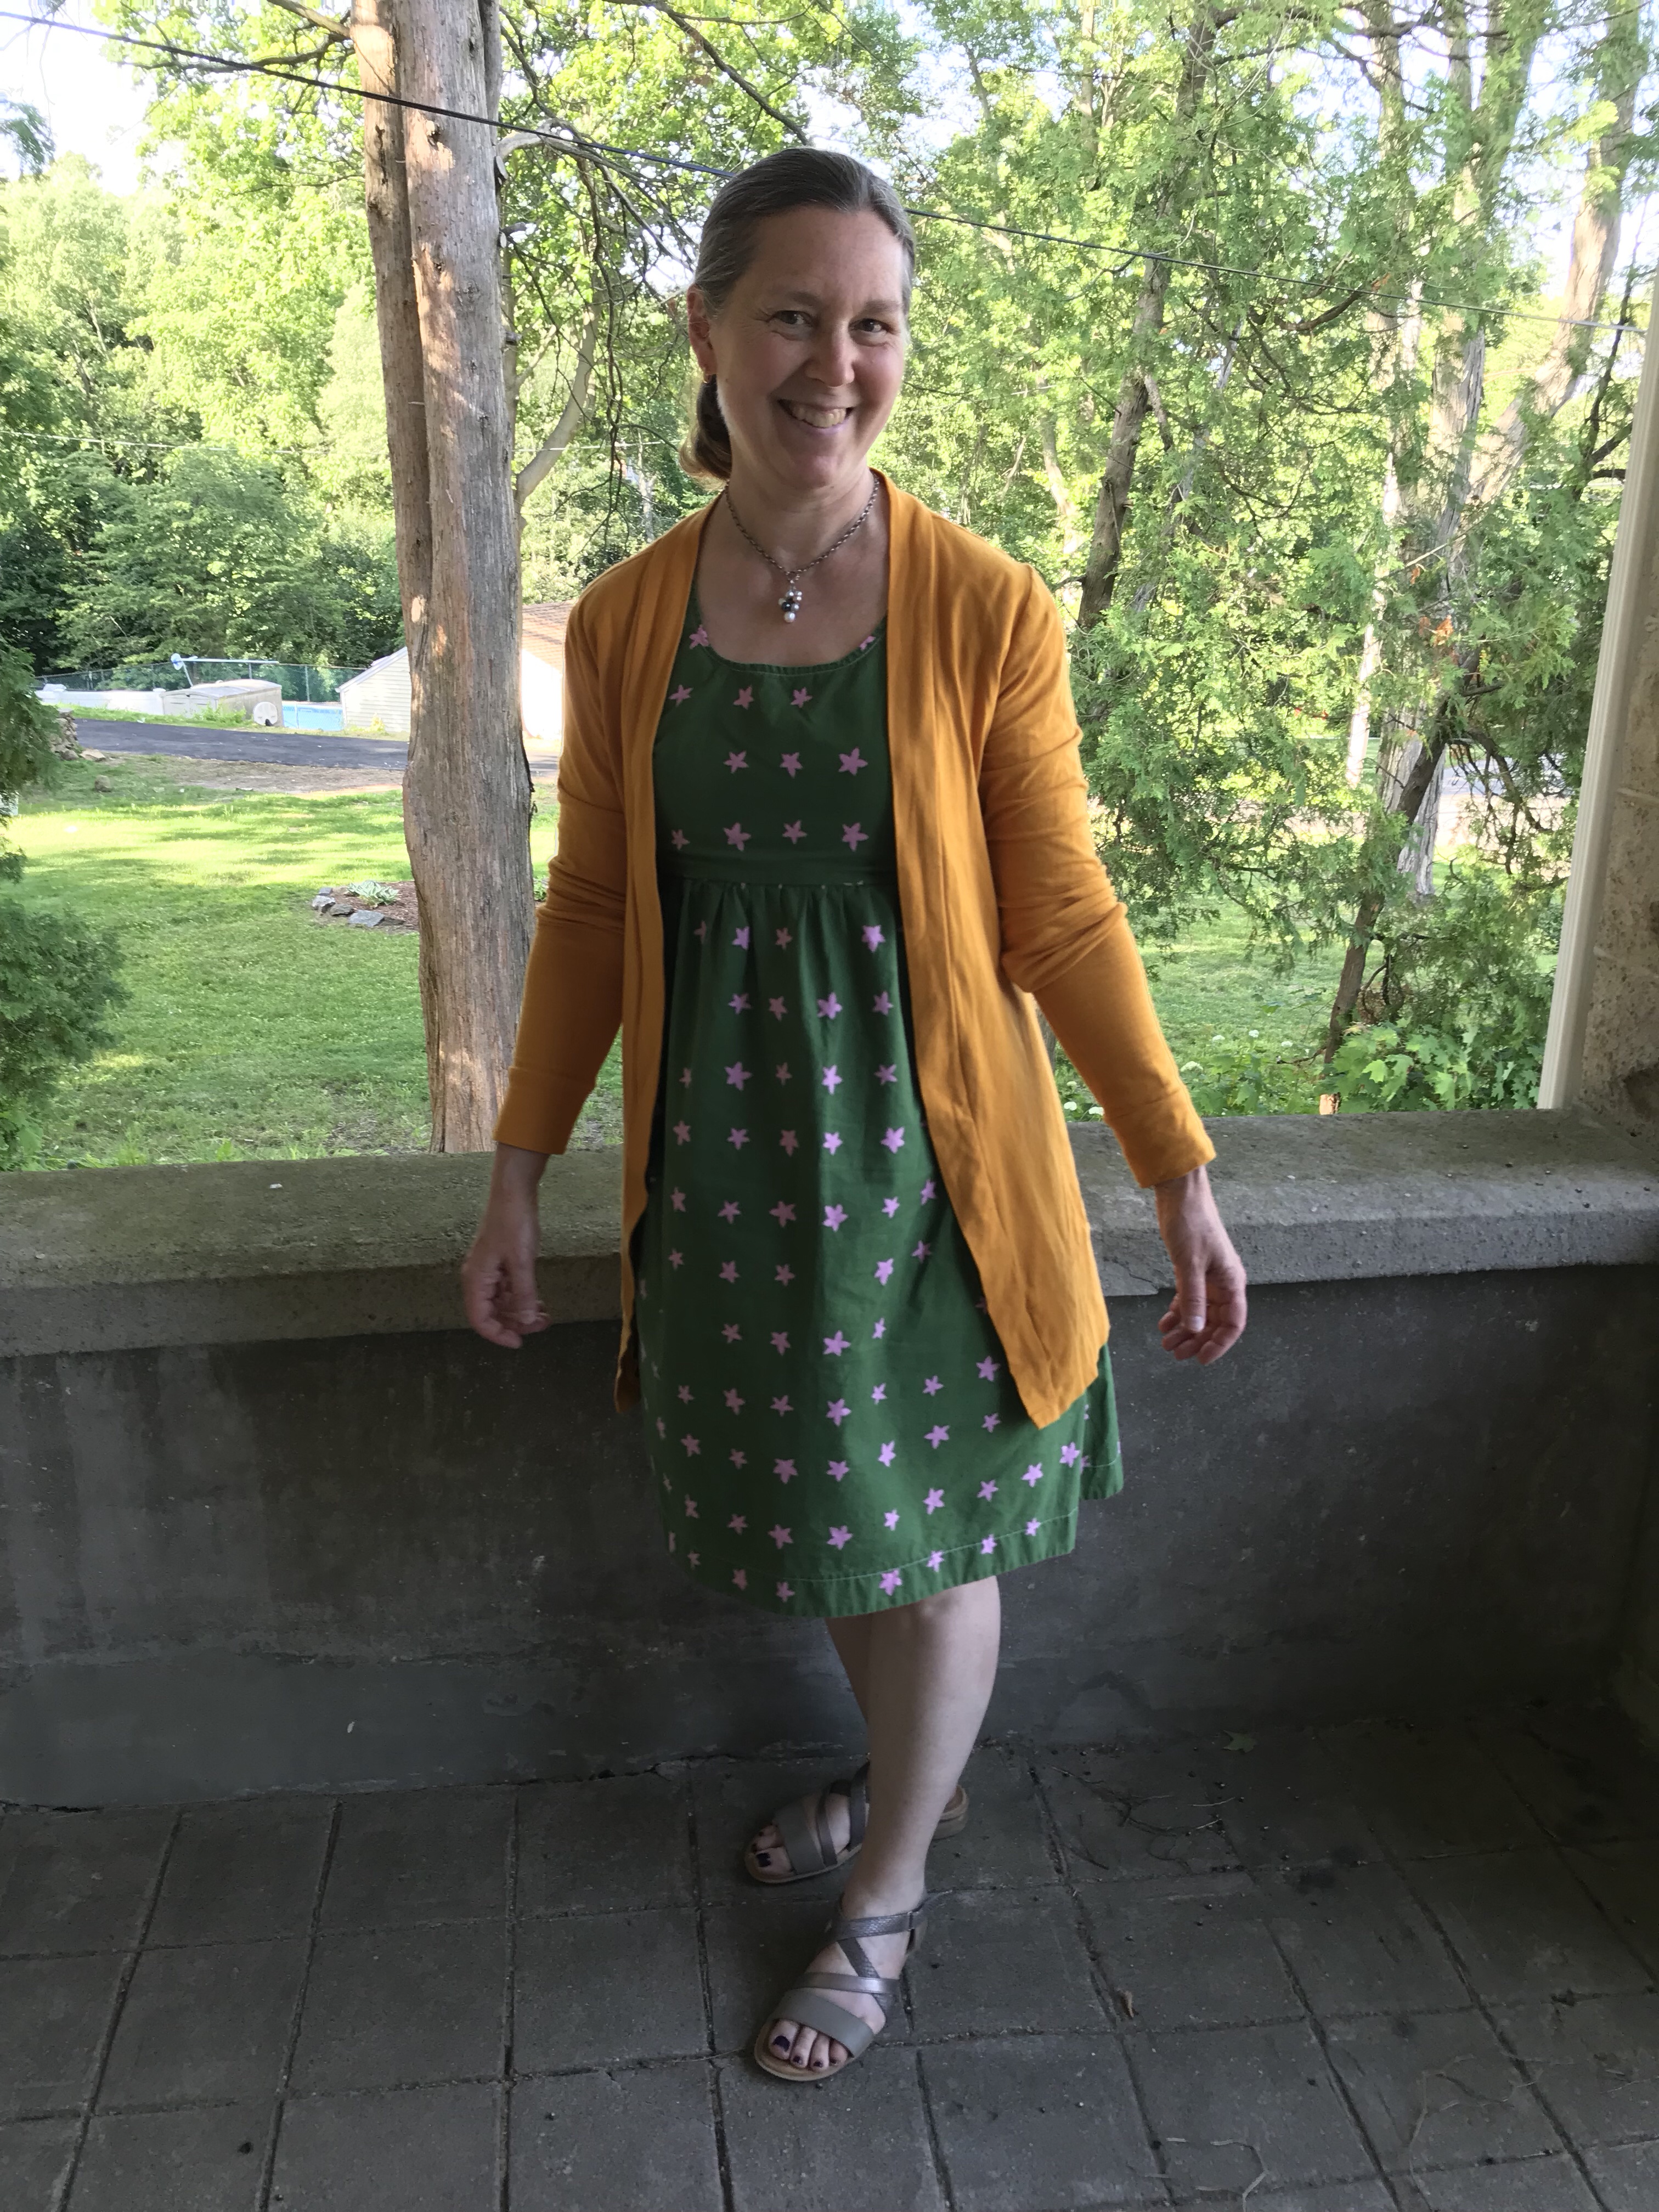
If you haven’t made the Washi or the
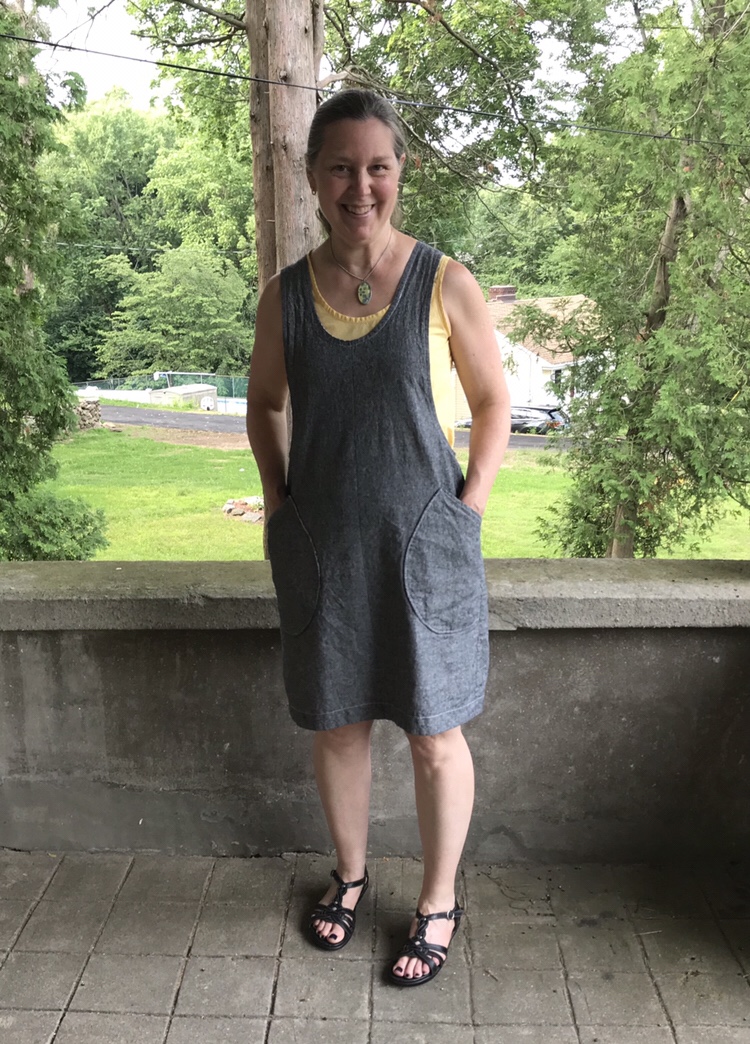
 Blackwood, what are you waiting for? They are both flattering, comfortable, cute and relatively easy to sew. And as it turns out, they are great together!

Standard
Gemma Tank, Helen's Closet Patterns, Made By Rae Patterns, Sewing

Helen’s Closet York Pinafore in Linen X 2

When I first spied a tester version of the Helen’s Closet York Pinafore during Me Made May before its official release, I knew it was going to be hugely popular. I guessed that this was Helen’s new pattern because I am a Patreon Supporter of the fantastic Love to Sew podcast hosted by Helen and Caroline and in one of the subscriber-only extra LTS podcasts, Helen mentioned that her to-be-launched new pattern was a modern take on a pinafore. Since I am from Connecticut, I didn’t know what she meant by pinafore-here in the US, we call this particular garment a jumper- but when the tester posted a picture during Me Made May and referred to the garment she was wearing as a pinafore, I knew it must be the pattern.

Since the pattern release, it has been popping up all over the place and for good reason. It is a cute modern design, a relatively easy sew and it is fun to customize. I was thrilled because now I have  a pattern to use to sew all the slightly heavier fabrics in my stash (I have a number of linen blends and heavier cottons I purchased for various reasons and have not yet used). And it only takes 2 yards of fabric. So the day it was launched, I purchased the pdf and printed it out.

I had some issues with my printer-it cut off parts of the pattern- but I connected the lines and it looked ok and I cut out the front and back from this linen and started playing with the fit. I cut my first version by cutting between the medium and large cutting lines which usually works for me. I basted the shoulder and side seams and then started trying on the jumper and playing around, taking it in a bit in here and there, sewing more rows of basting stitches, and pretty soon my seam allowances were all over the place but I liked the shape. I was actually afraid that if unpicked the basting seams to sew French seams or add pockets, I wouldn’t be able to replicate the shape, especially since the fabric I used was a lightweight, rumpled linen blend.  So, I sewed a line of stitching along the innermost line of basting stitches, trimmed off the rest of the wonky seam allowances and called it done.

Here are some pictures of the finished garment:

and as worn with my much loved Gemma Tank in white double gauze. It is a little wonky and sack-like but I love it.

img_2137

img_2152

img_2136

img_2143I had altered this Floral Voile Ruby Dress to make it into a blouse during Me Made May since I hadn’t worn it much in the year since I sewed it. I happened to have it in my sewing room and tried on the York over the blouse and realized it was a perfect match for the linen so I used the extra fabric to make bias binding and a hem binding since the length was a bit short  and I finished it in time to wear to my stepdaughters’ graduation.

Since I raced to finish this wearable muslin before going on vacation, I didn’t actually read the meticulous fitting instructions that Helen included in this pattern.

img_2165-1

After vacation, I printed out another set of pattern pieces and decided that this time I would read and follow the instructions. I was also excited for pockets!

Based on the instructions, my measurements put me in a size Large and given my 5’9” height, Helen’s directions suggest adding 1.5 inches to the pattern by adding 1/2 an inch in three separate places. But when I lined up the version I had already made, it was much smaller than the new pattern that I had printed out and pieced together and in particular, the straps were shorter in my first version and I was pretty happy with where the upper part of the skirt hit my torso on version one. I actually think with my long torso it is sometimes more flattering to have the waist of the garment hit a little higher than my natural waist. So despite the really wonderful, logical instructions, I did not add any length to the straps of the pattern and just cut the pattern out between the M and L lines except for the straps which I cut on the M line at the top and the L lines along the armholes to add a bit of width to the straps. Since the new printed pattern was so much longer than the version I had already sewn, I just cut along the L hem line and decided to sew it up and see what happened. As I did with version 1, I drew a new curve for the neckline about half-way between the two versions of the pattern.

I decided to go for broke and sew French seams even though they always take more than 5/8 inch when I sew them (I have a hard time enclosing all the fraying edges with the 1/4 and 3/8 seams used to create French seams as Helen instructs in the pattern. I ended up sewing a 3/8 seam with wrong sides together and then a 1/2 inch seam with right sides together since it seemed as though I would have lot of extra width. The finished version was longer than version one as planned but even with my 7/8 inch French seams, it was also more roomy. It did not completely make sense but I figured I must have made more adjustments than I realized with my first version- it was such a blur. I tried on version 2 and took pictures. I liked it but did not love it because the linen-cotton blend I used for version 2 was more stiff than the linen I used for version 1 and I felt that overall, the finished garment was less flattering. Here it is with another favorite Gemma tank. I used quilting cotton for the top-stitching to accent the design features and this version had pockets but I didn’t like it as much because it was bigger and didn’t drape as nicely and felt a bit more dowdy.

img_2222

I had even lined the pockets using beautiful fabric given to me by a friend (leftover from a Gemma tank that I sewed during Me Made May.)

img_2239I was a bit disappointed but I chalked it up to a learning experience and figured I would try washing it and see if the fabric would soften up a bit.

And YAY! it not only softened up but it shrunk as well and now I love it! Go figure! Here are more pictures with more Gemmas. It is just a bit shorter, just a bit more fitted and much drapier. It is like a whole new garment.

img_2268

img_2298

img_2302

img_2276

img_2252

img_2244
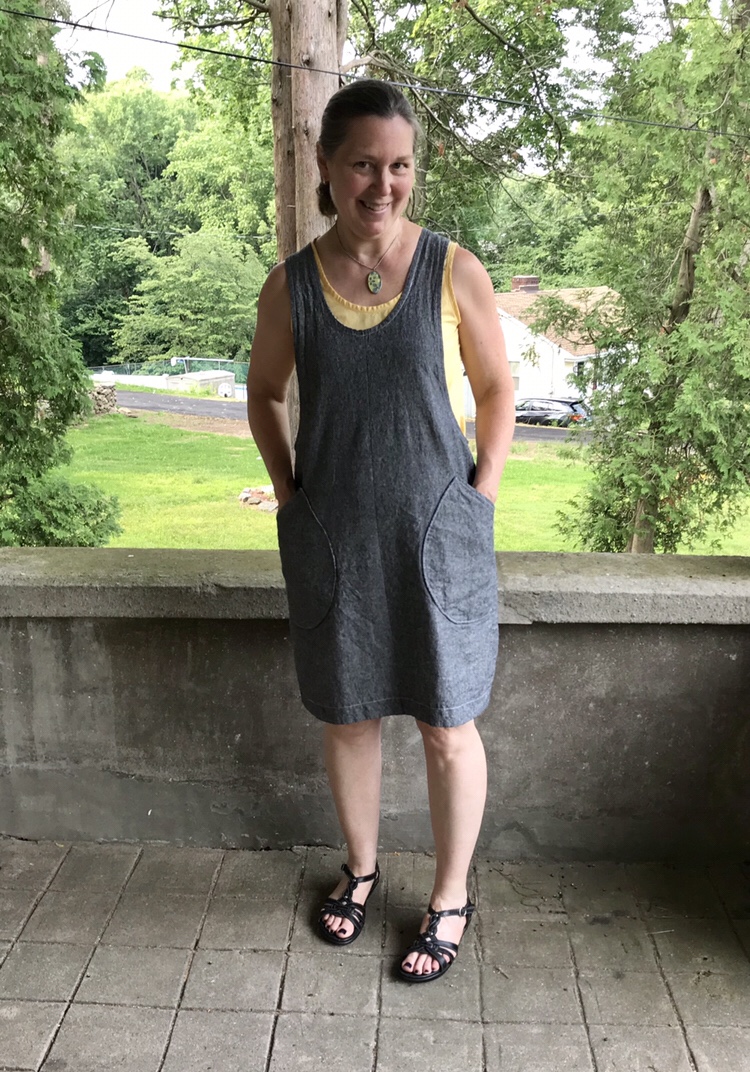
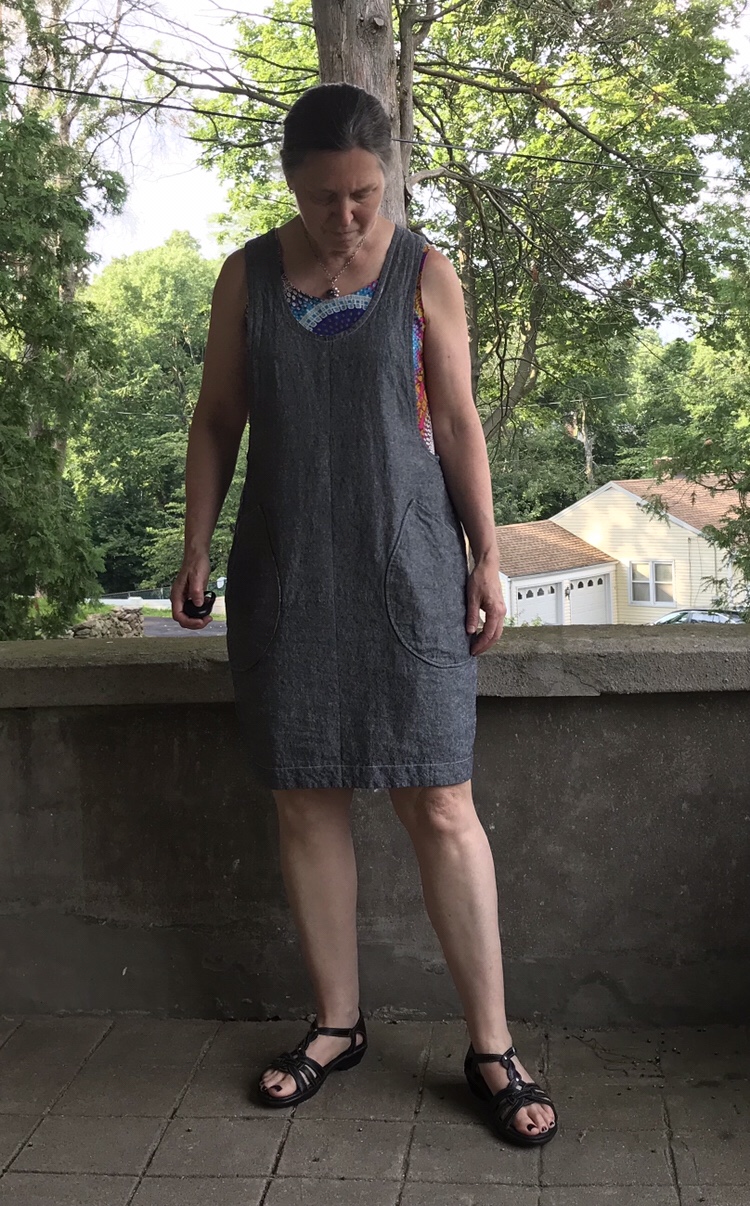
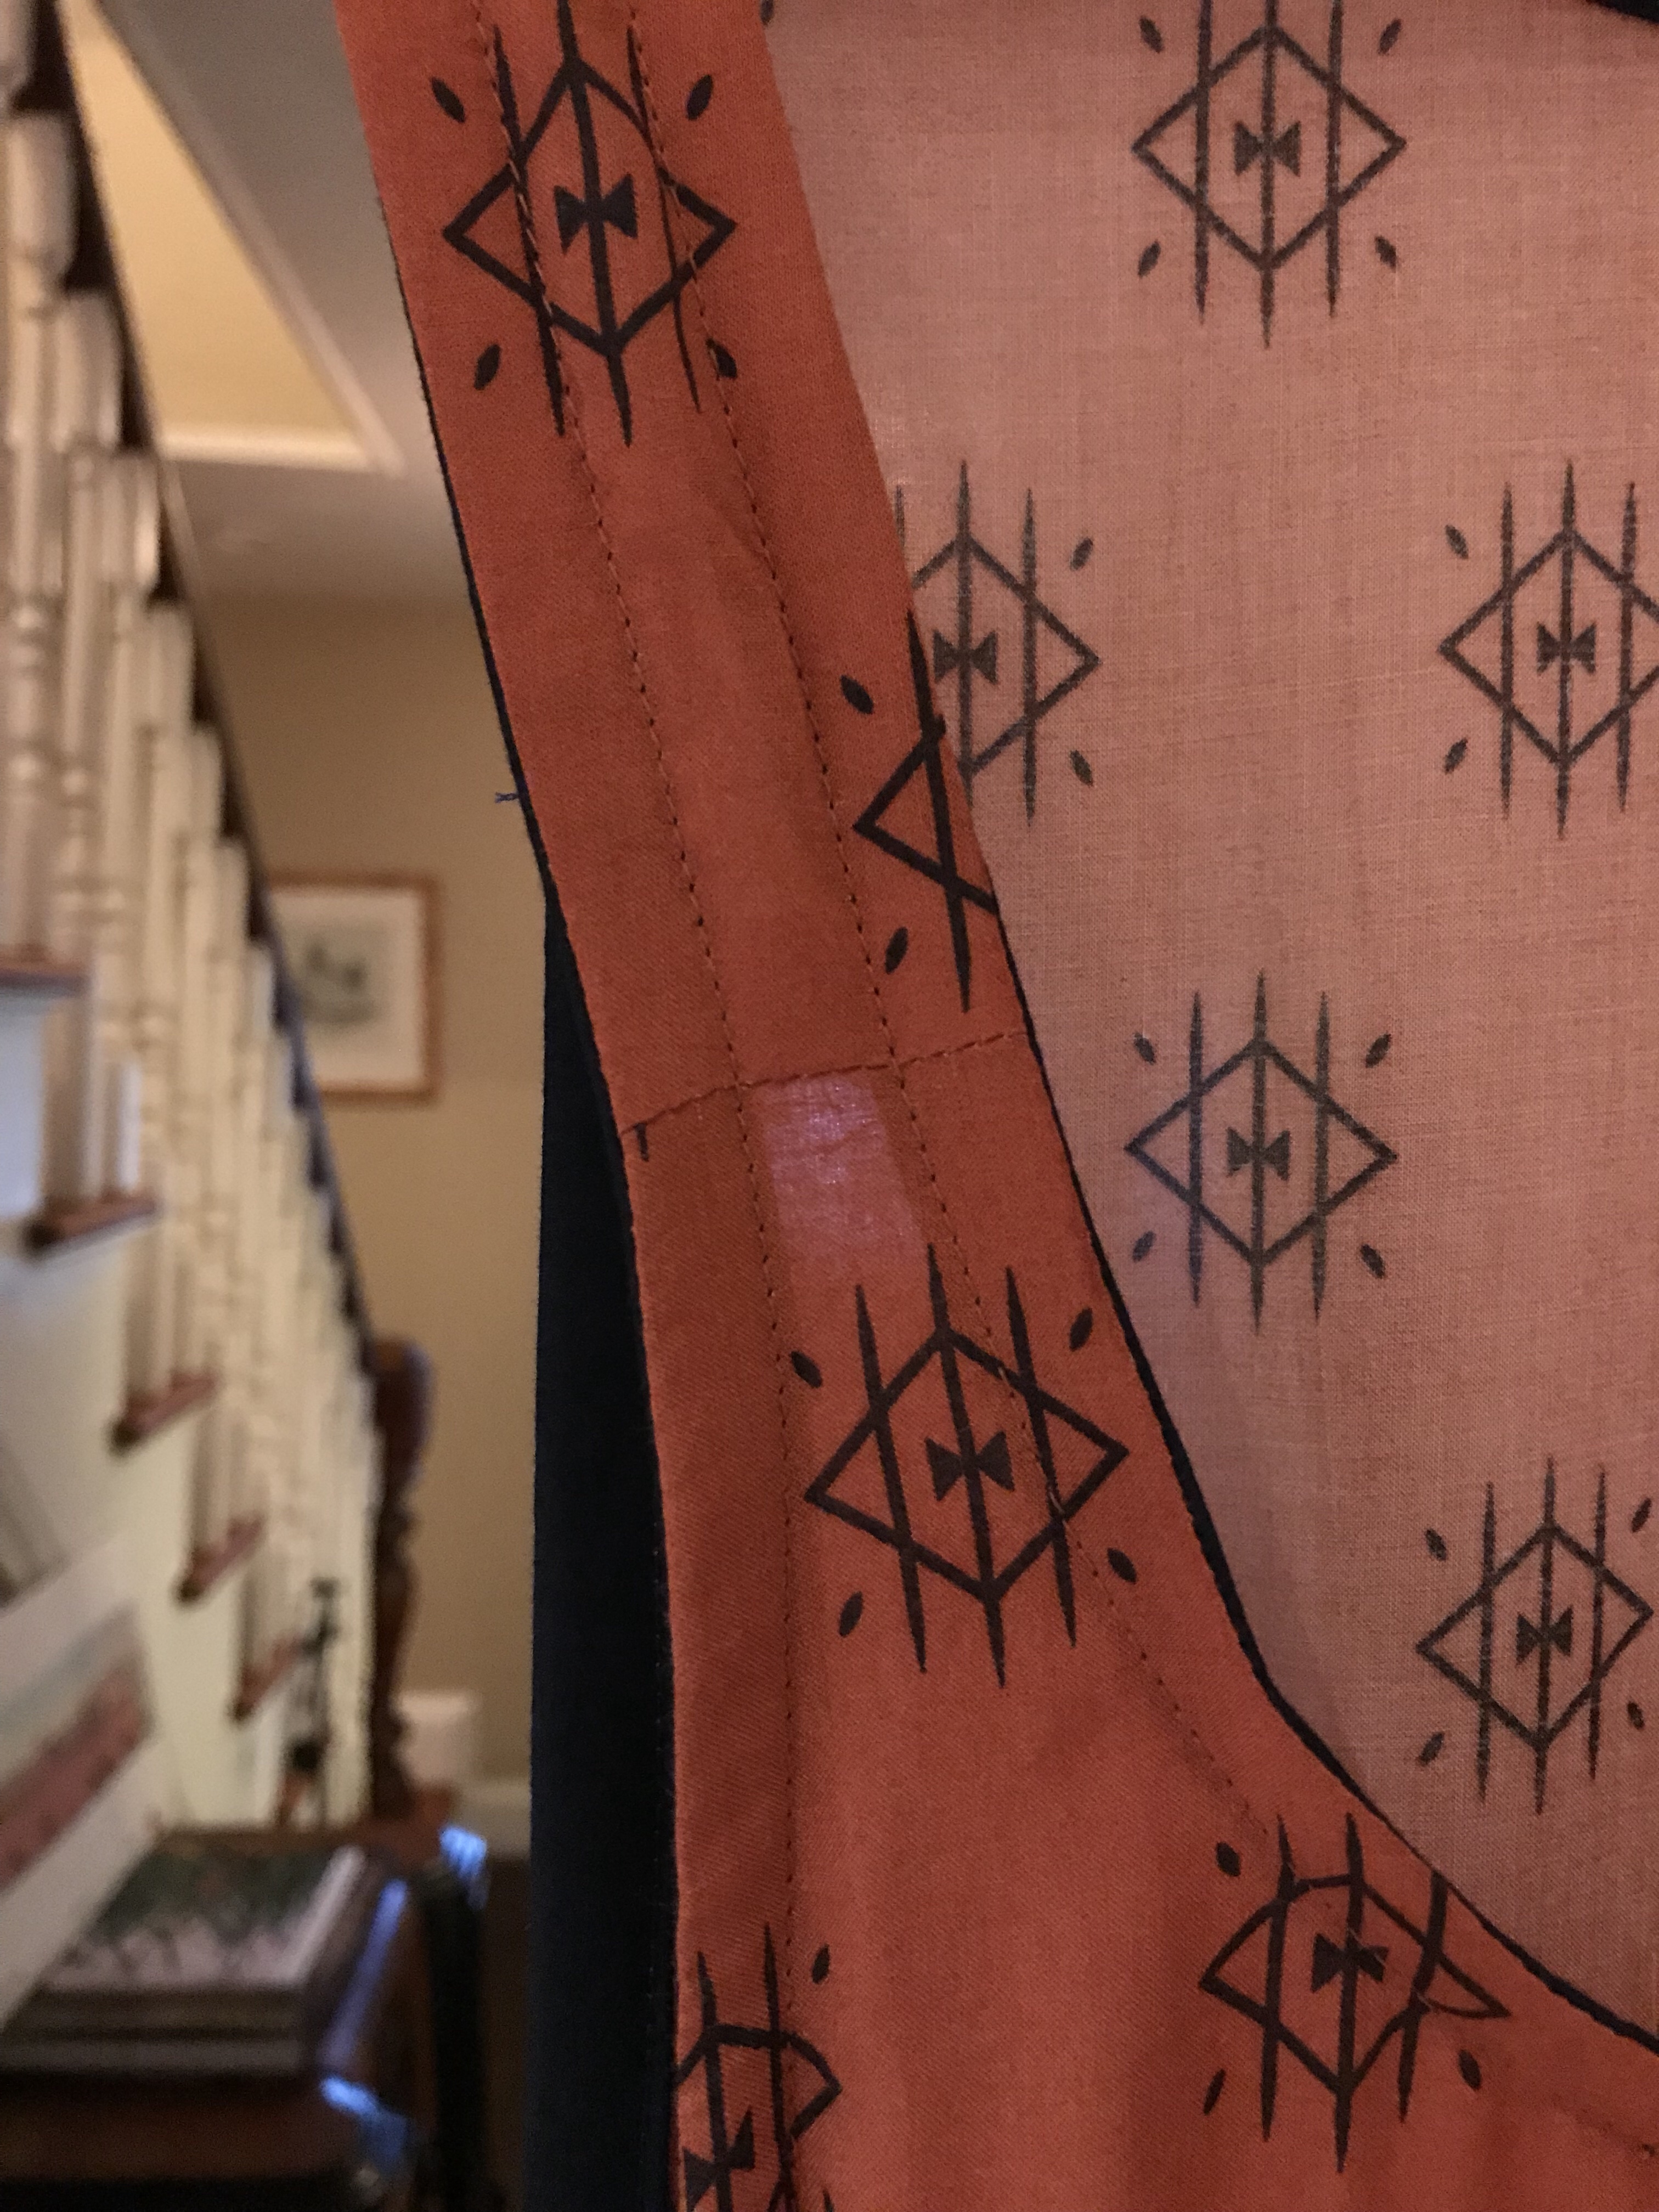
So maybe the fabric I cut out hadn’t been pre-washed (although I am almost positive I had washed it before I put it away last year) or maybe this linen-cotton blend really shrinks a lot? Either way, I am thrilled because after taking the time to line the pockets

and sew French seams and do all the things,

I am really happy with it. Now the only challenge is to figure out what to do about version 3. I am thinking that I will need to make more adjustments to my paper pattern. Such is the life a sewist.

In any event, I plan to wear this all summer. It goes with everything in my closet, especially my huge collection of Gemma Tanks.

Several years back I made many versions of the Made By Rae Gemma tank and I plan to wear my York every week this summer with a different Gemma. I think I have enough that I can wear a different combination every week. Want to join me? I will post every Tuesday with the hashtag #wearyouryorkday I actually have a couple of Gemmas cut out that I have been wanting to finish and this is just the incentive I need.

Congratulations to Helen on such a wonderful new pattern. I made four versions of the her Blackwood Cardigan this May and have more planned. She is on a roll!


Standard
Made By Rae Patterns, Sewing

Me Made May 2018 Makes part 2

Me Made May 2018 is coming to a close and I am running out of steam but it was a very productive month. You can read my first #mmmay18 blog post here. I will be wrapping up the month with this post.

As of May 28th, I have completed 14 projects, one every other day. This is not a sustainable pace, clearly, but I had been out of my sewing groove for a while and the energy of the sewing community during this month is contagious. It has been great to try some new patterns and I love everything I made. They will all be things I wear and enjoy. I have one more work in process that I will probably complete by the end of the month (a York Pinafore in a linen blend) but today I am putting away the piles of fabric and pattern pieces that are scattered about the house and getting ready to go on vacation. Here is the final tally:

1 Made By Rae Jade knit shirt (the first of many). I was a pattern tester for this shirt. It fits beautifully and I love the striped fabric, an organic cotton knit by Cloud 9 Fabrics, that I was given to use in the testing. I went out and bought more to make a Blackwood cardigan (seen below) and also bought some of the same fabric in navy and black with a thin white stripe which will become Jades. The Jade pattern was just released. You can see more versions on Rae’s blog here.img_0088-1

6 Isla Dresses: a tried and true pattern, also by Made By Rae, now with sleeve options using the Jade pattern. I made 3 using the traditional sleeveless pattern and added sleeves to three including a maxi-dress version. This is the dress I most often turn to in the morning. Comfortable and cute.img_1902-1

I bought this fabric planning to make a Jade top to go with the striped Blackwood cardigan but it just called out to become a Maxi Dress. What could I do but listen?img_1903-1

I love this version of the Isla in Mystery Food cotton knit by Sarah Watts. It makes me smile. Worn with my second most made pattern this month, the Blackwood cardigan.img_0445-1

I made 4 Blackwood cardigans this  month and I wore one of them pretty much every day. This is a pattern I had been meaning to make for a long time and it was worth the wait! I experimented with the length and decided that 3 inches shorter than the long version of the pattern as drafted was best for me. The mustard and grey sweater knit versions are that length. The black and grey version is the length as drafted. I didn’t add pockets but I plan to add them to the striped versions.img_1901I finished sewing a boho blouse using the Made By Rae Josephine pattern and Loominous fabric by Anna Maria Horner-I love how this turned out! I am thinking a white double gauze version will be up next-I think it would be great with the York pinafore.img_0773-1

Here is it as worn.img_0786-1

I also finished a tunic length Gemma Tank using beautiful wax print fabric given to me by a friend. I am going to wear this all summer.img_1787-1

img_1790-1

My mustard cotton Blackwood works perfectly with it.

img_1770-1

You can see the sweater length I ended up liking best on this back view below.

img_1772-1

Last but not least, I made a Grainline Tamarack Jacket start to finish this month. I had been wanting a spring weight jacket and didn’t want to buy one. In previous years, I would layer a jeans jacket over a cardigan but I really wanted a nice jacket to bridge the seasons from winter to sweltering and I am so pleased with this jacket!

I am definitely going to be wearing this so much. I love the soft chambray I ended up using from one of my favorite fabric stores. It just gets softer with washing. I know this is just going to get better with age. And the lining makes me smile.

Finally, here is a picture with all 12 of the versions of the Isla that I have worn so far this month (I actually have made more than these-closer to 20.) All the versions I have made are still in frequent rotation. I can’t recommend this pattern more highly on its own and especially now with the addition of the Jade pattern sleeves.

If you have questions about any of the patterns or fabrics, feel free to comment. More pictures and details on my instagram: @nursebean82.

Also, if you are reading this and are inspired to sew for yourself, my friend Natalie is hosting a series of monthlong dress sewalongs in June and July. She has chosen two beginner-friendly, beautiful summer dress patterns. Natalie’s enthusiasm and creativity are contagious and she is a wonderful teacher. Check out her blog http://www.hungryhippiesews.com to learn more.

Happy summer everyone!

Standard