
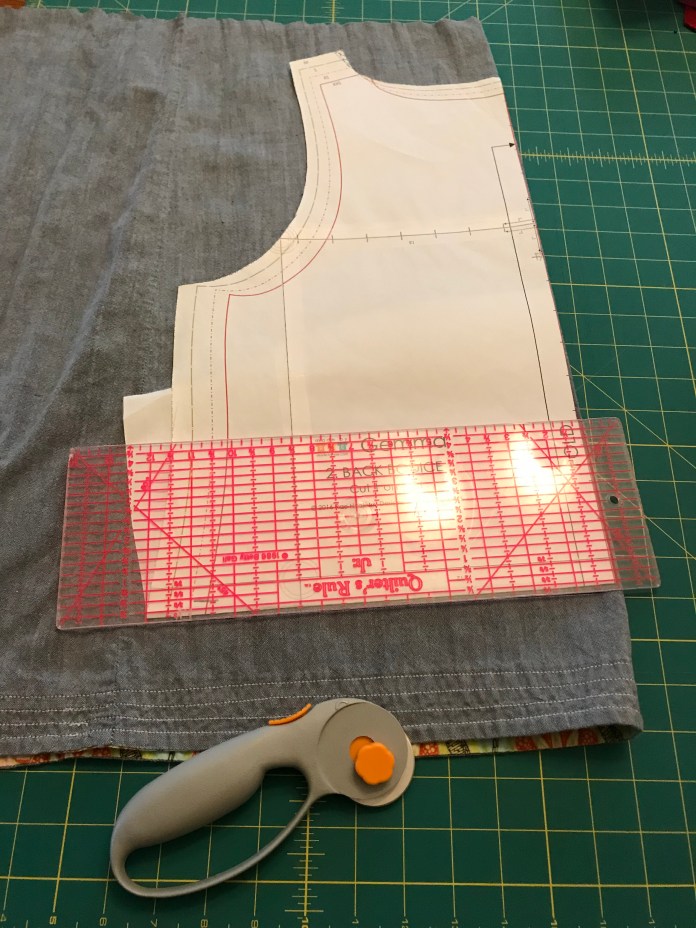
Last year about this time, I had the idea to use the Gemma Tank pattern and make some summer dresses. Rae posted a tutorial on her blog for adding a peplum to the tank which I tried and loved so I thought I would try just lengthening the ruffle to skirt length using two wider and longer rectangles for the skirt. Then I got distracted by other patterns and other sewing. It must be said that when I sewed my first version of this Gemma Dress, I used too long a bodice and it wasn’t balanced and I was too discouraged at that time to take apart the already gathered and attached skirt and shorten the bodice. It felt overwhelming. I did finish a version with a very long linen skirt and a Liberty of London cotton lawn floral top. I lined that version and it came out ok (pictures below) but I forgot to add a seam allowance to allow for the sausaging of the bodice and so the straps were narrower than I would have liked. All of this to say that this year, I had two versions of this dress cut out and partially but not completely sewn. One was made from a previously me-made chambray Bianca Dress
and a skirt I purchased about 15 years ago in a little boutique but rarely wore because I didn’t like the waist. I loved the fabric though so held onto it. The other version was in a beautiful cotton double gauze that I purchased on sale from Alewives Fabrics after years of wanting the fabric but not feeling that I could spend the money. This May one of my goals is to finish some of these projects that have languished.
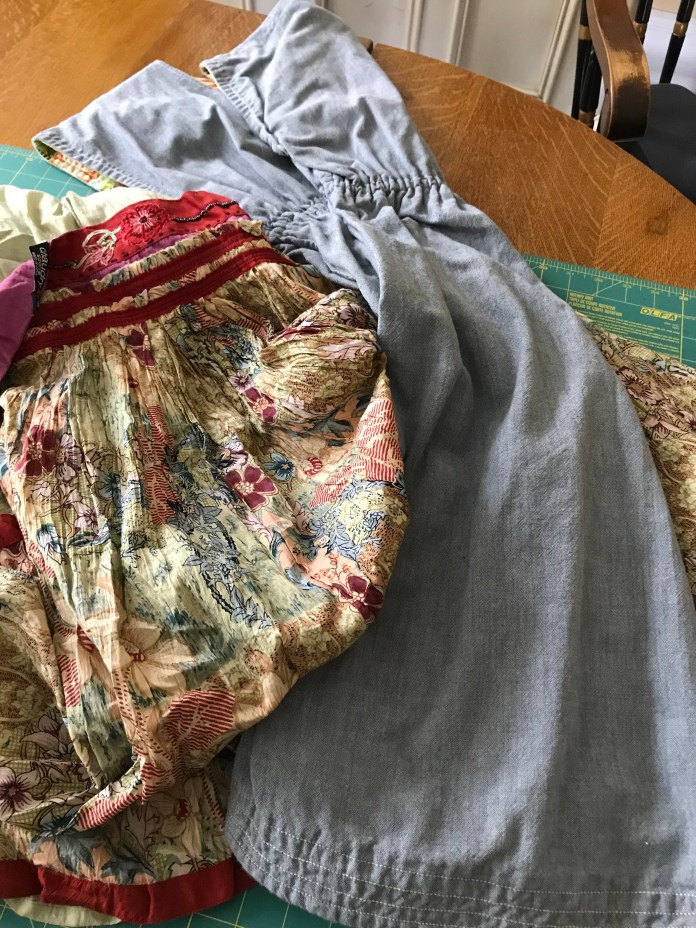
First up, the chambray and upcycled rtw skirt.

The skirt was lined with a gauzy green fabric which I used for the bias binding and hem facing. I added bra holders made of ribbon as I sewed the binding.
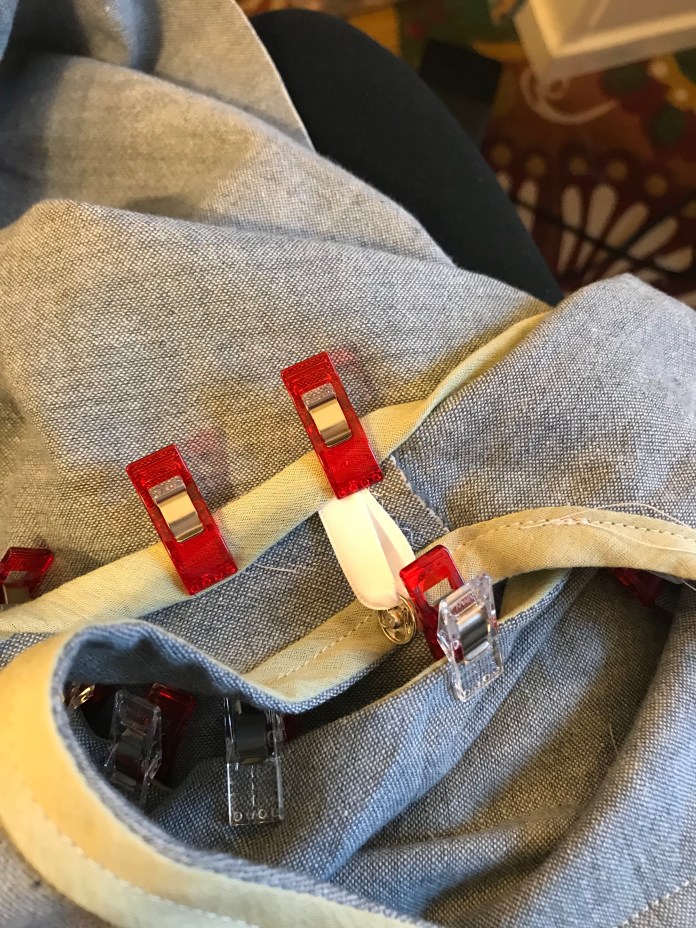
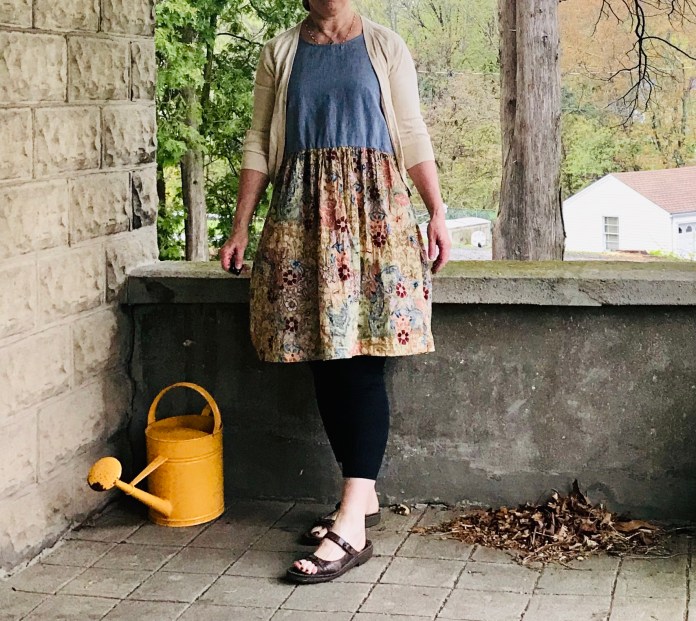
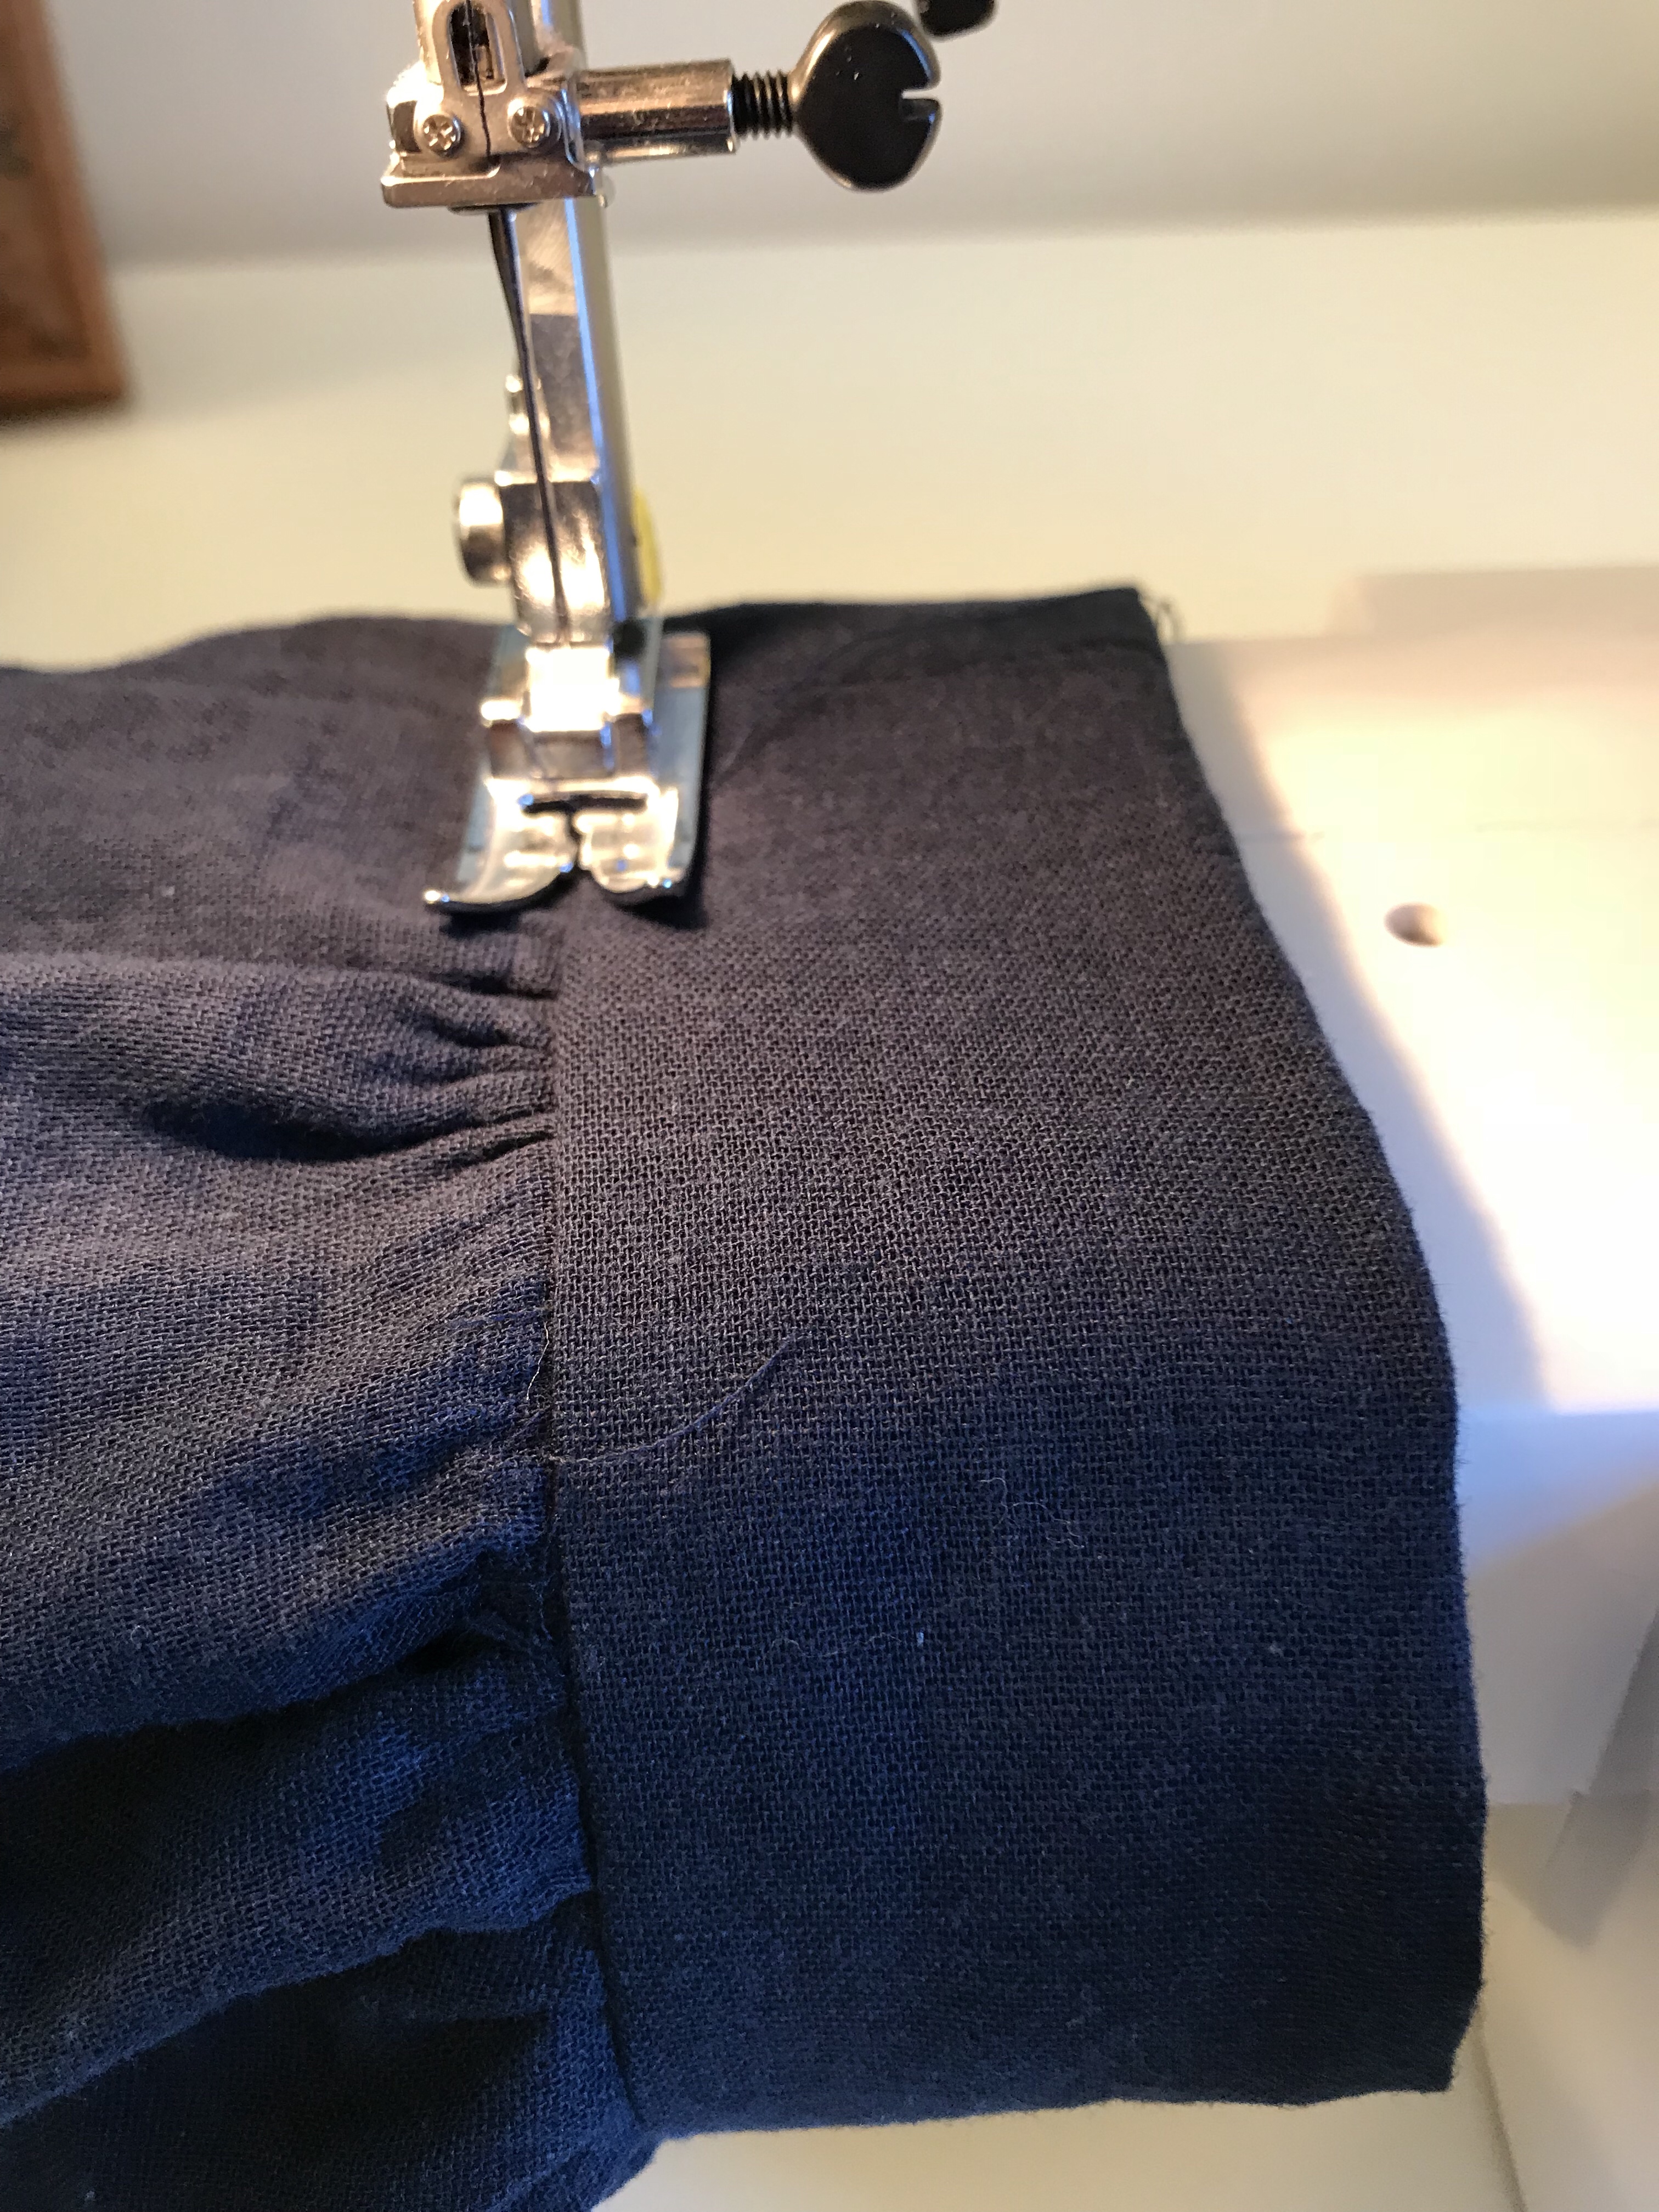
I used elastic thread to gather the skirt which worked great. I made the front skirt piece wider than the back. I am not sure of the exact measurement, I just used as much as I could of the ready to wear skirt. Since I had the issue with the bodice length, I sewed the bodice together and tried it on and then figured out where I wanted it to hit on the dress which was just at the bottom of the rib cage. I think I must have originally cut these pieces out thinking I would sew french seams because the bodice is a bit loose on this in the finished dress but I really don’t care. I wanted a loose, floaty, summer dress and it doesn’t need to be perfect. This is something I will wear on vacation with sandals or over a bathing suit. The price was right too since it was all recycled from clothes in my closet.
Before:
After:

And as worn:
The Liberty and Linen version was basically finished over the winter but I still hadn’t handsewn the lining to the waist, partially because I must have cut the two bodices slightly differently and things didn’t line up for me the way they usually do which threw me off. But I finally sewed everything in late April and it is ready to wear. It is a little sack like but I think will be nice for hotter days or with a jeans jacket or cardigan for cooler days. A good summer date night dress. Maybe a little bare for work although wearing a lab coat makes many less wearable options wearable. I bought the linen last spring and also made a Josephine blouse with the same fabrics.
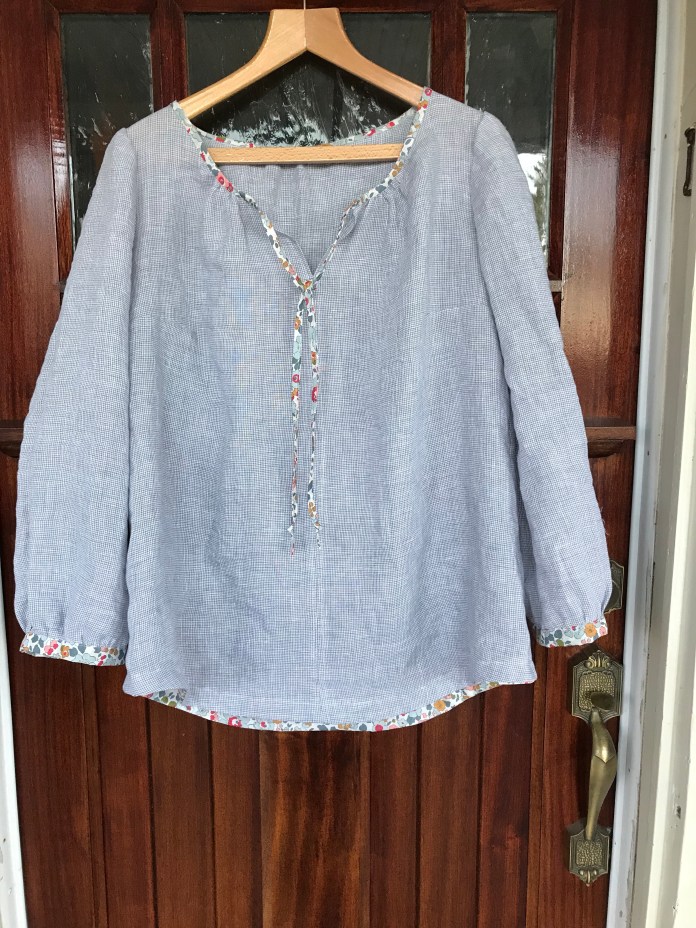
I used the floral as a hem facing as well.

My gathering was a little rushed and the linen was not as easy to gather as softer fabric but I don’t think it really matters. It is linen and it will always look a little wrinkled-that is part of the charm. The skirt is also pieced so there is an extra seam. I was squeaking by making both of these projects with the fabric I had.
Front:

Back:

And as worn before I hemmed it.
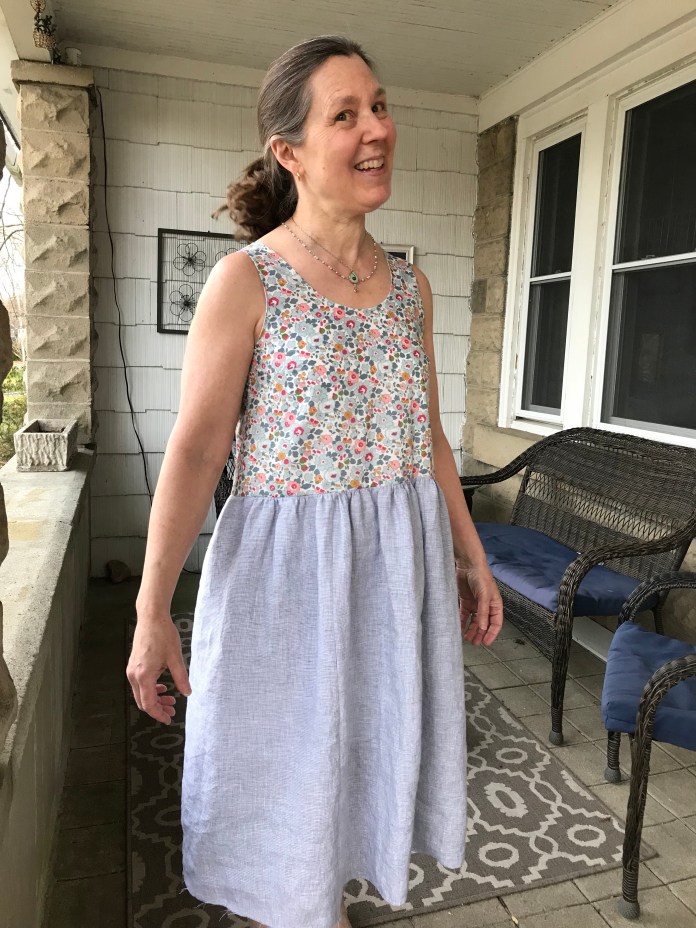
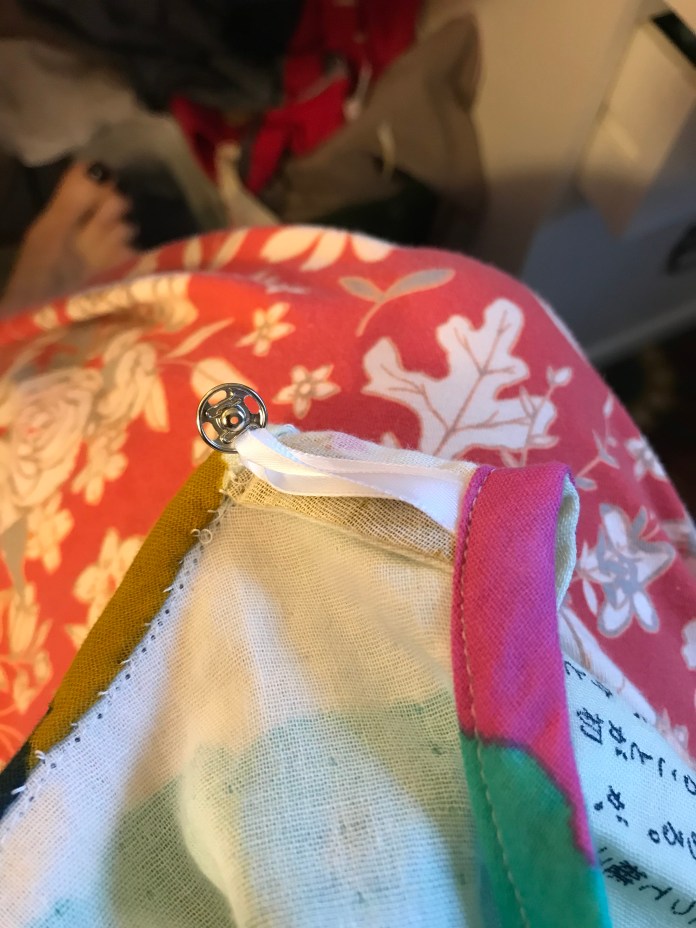
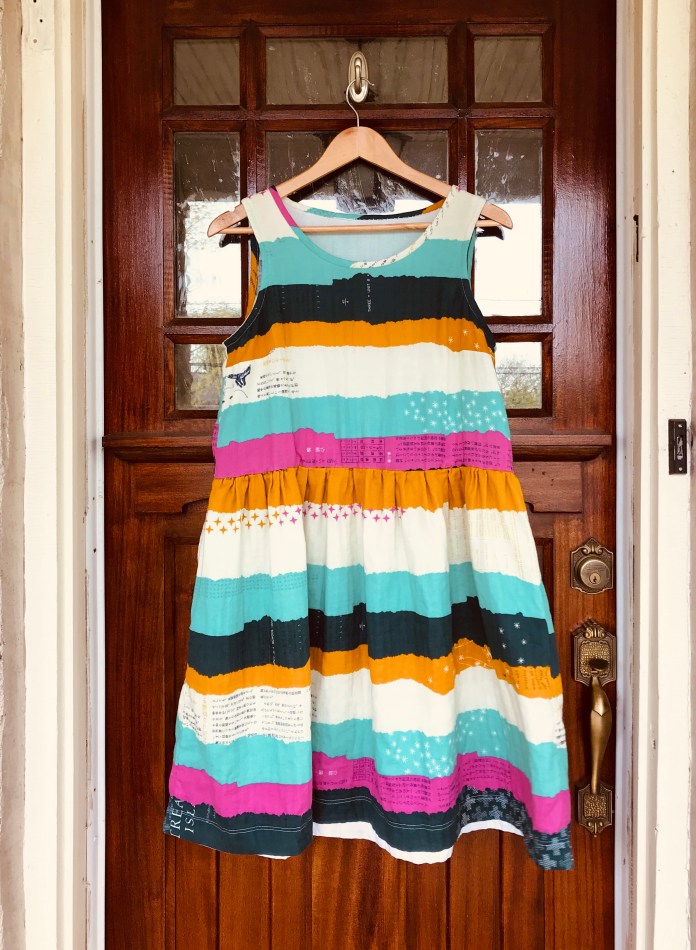
I saved the best for last. I have loved this Cotton and Steel double gauze fabric since I first saw Rae’s Beatrix Blouse. At the time, the price per yard just seemed too much for me but I kept thinking about it and not buying it and then it was basically sold out everywhere and then one day, lo and behold, I found it on sale. I bought 2 yards thinking that I would make a Beatrix Blouse but I didn’t get around to it and then last year when I saw the Gemma with Ruffles, I had the idea to make this dress. I love everything about it. I sort of pattern-matched the sides of the skirt. I didn’t have enough fabric to really pattern-match the bodice but I don’t think it matters. I used two different techniques when I bound the neck and armholes. The binding is visible around the neck and turned under for the armholes. Ribbon bra straps are sewn in because I remembered just in time! One of these days I am going to thread a bunch of snaps on ribbon and have them precut in a dish on my sewing table because you can sew them in right when you add the bias binding. Really easy and it makes wearing tank tops so much easier.
I ended up hand sewing the neck binding down because the double gauze was so fiddly.
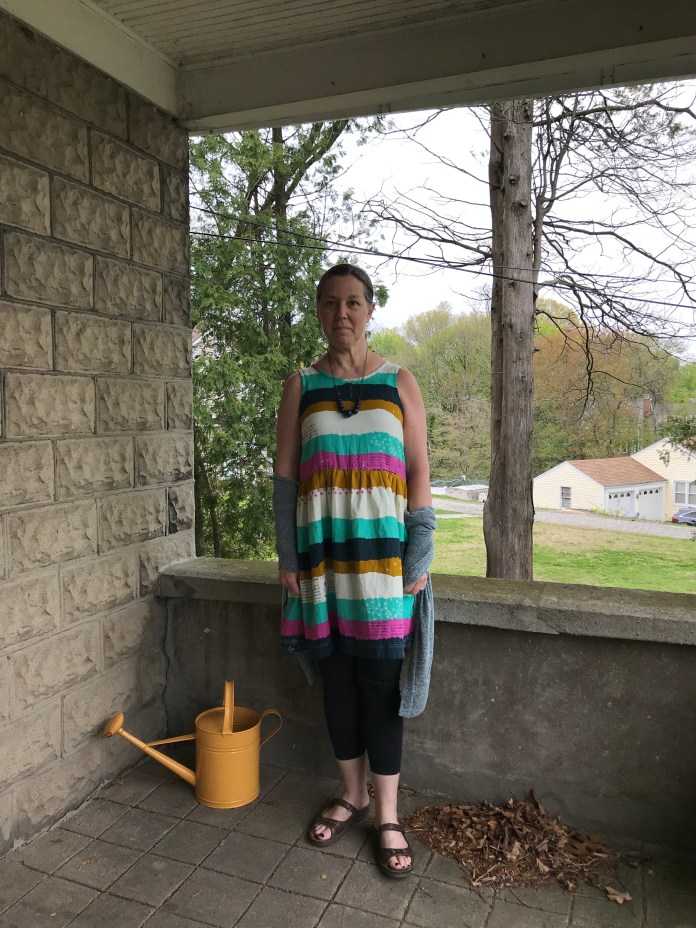
I used the elastic thread gathering technique for the skirts for all three of these dresses that Rae uses for the Isla. It doesn’t always work perfectly for me (it didn’t work as well for the linen) but for the lighter fabrics, it worked a charm. I used a lightweight cotton batiste for my hem binding. Here is the finished dress on the front door of honor! I love it! It was worth the wait.
I wore it today and I will wear it forever until it is worn to shreds and I know it will only get better with age and wear.
View 1:
View 2:

So good! So I am off to a good start this May! More to come.


 I cut Mediums in both the skirt and tank and added a bit to the length for the tank as I am tall. I don’t actually lengthen the pattern, I just eyeball it and add about an inch to an inch and a half. I cut view B of the Cleo shortened to just below the midpoint of the knee which I find is the best length for me.
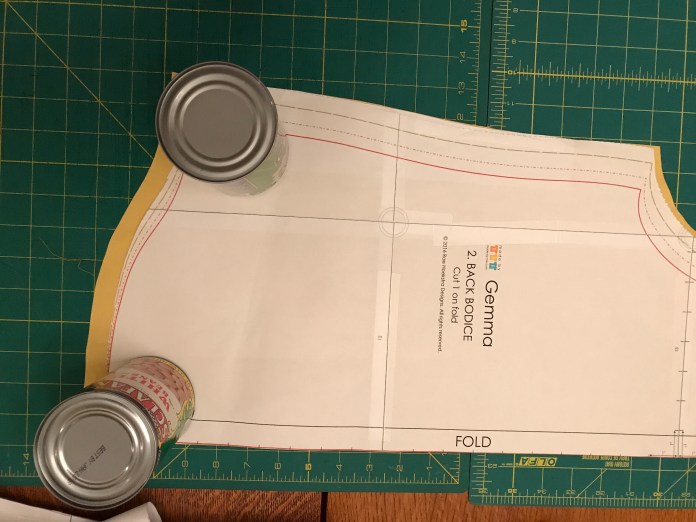 In preparation for the bias binding, I cut bias strips of the leftover lawn and also some wider strips on the grain to use as a hem facing for the two skirts.
 Both fabrics were great to work with. Not too slippery but very light and flowy. To save time since I was planning on making several skirts, I eliminated the pocket. I actually love the pockets on the Cleo skirt but since I almost always wear a lab coat at my job as a nurse practitioner, I never use skirt pockets since I have large built in pockets already. I wouldn’t recommend this for most sewists because the pockets are a great design feature.
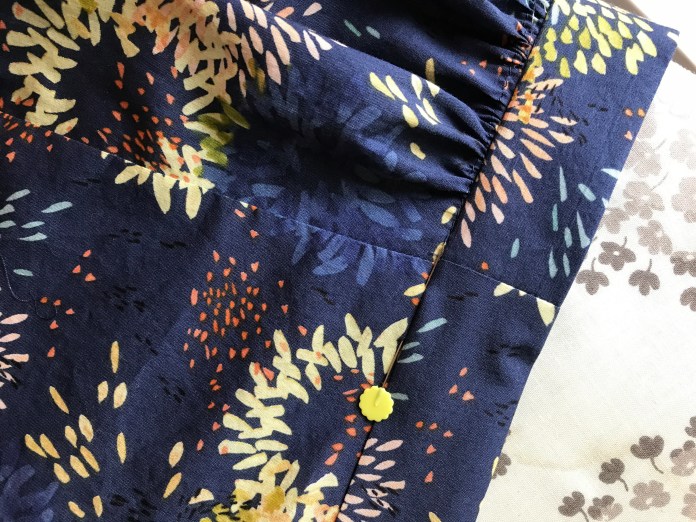 Since I was making more than one, I basically sewed each step and then repeated the step on the next skirt, etc. They came together pretty quickly. Finished skirt #1 below in Brushed Peony.
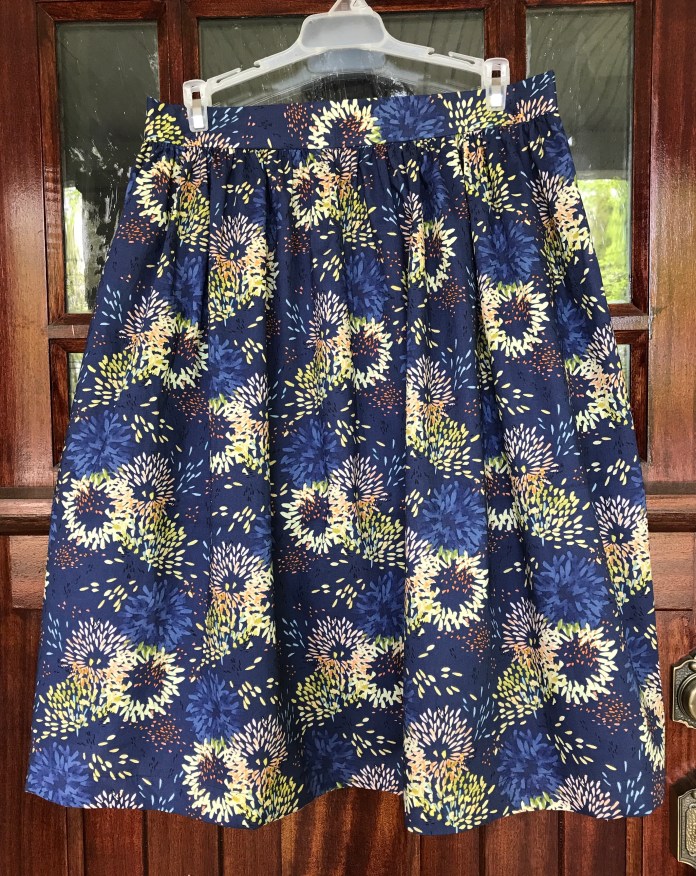 And as worn on the last day of Me Made May. I had been waiting to finish the yellow tank top to wear with it but alas, it is still awaiting the bias binding which is generally the fate of most of the Gemma tanks I have sewn. My sewing room becomes a Gemma Tank way station until I have the time to sew that last step. I had finished my new white double gauze Gemma, however, and it goes with everything, as seen below.
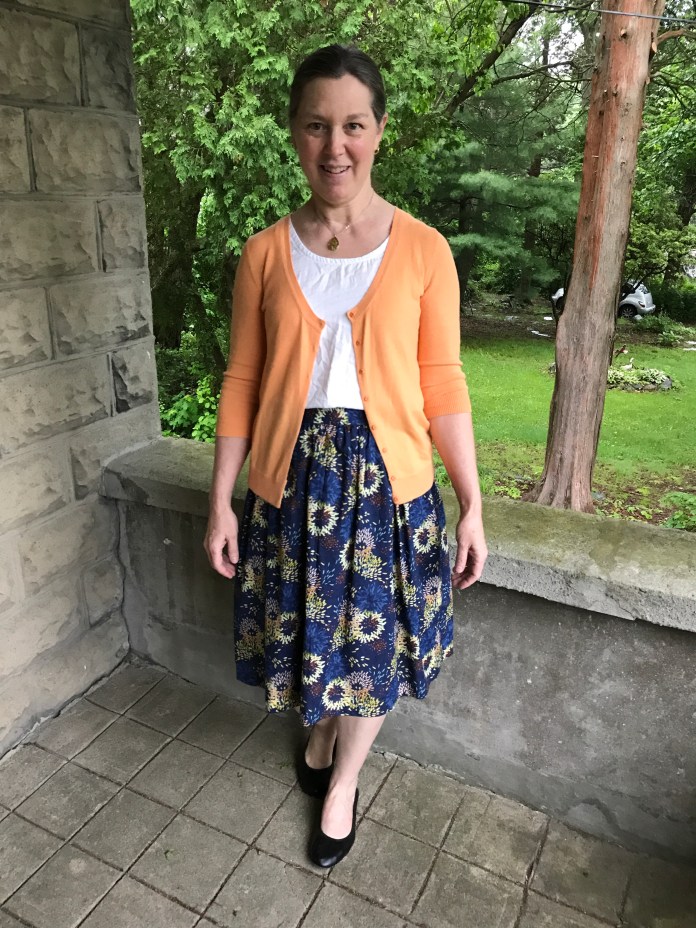 The second skirt is another print from that same line. I might love it even more. I did the same thing, no pockets and yellow hem facing using the same strips.
 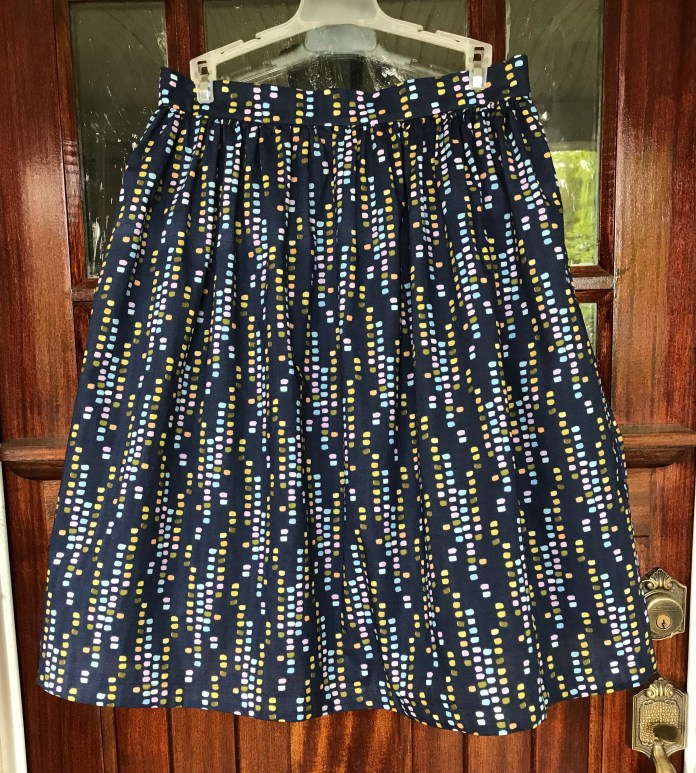 And as worn on day 2 of Me Made May with a cotton-linen blend
 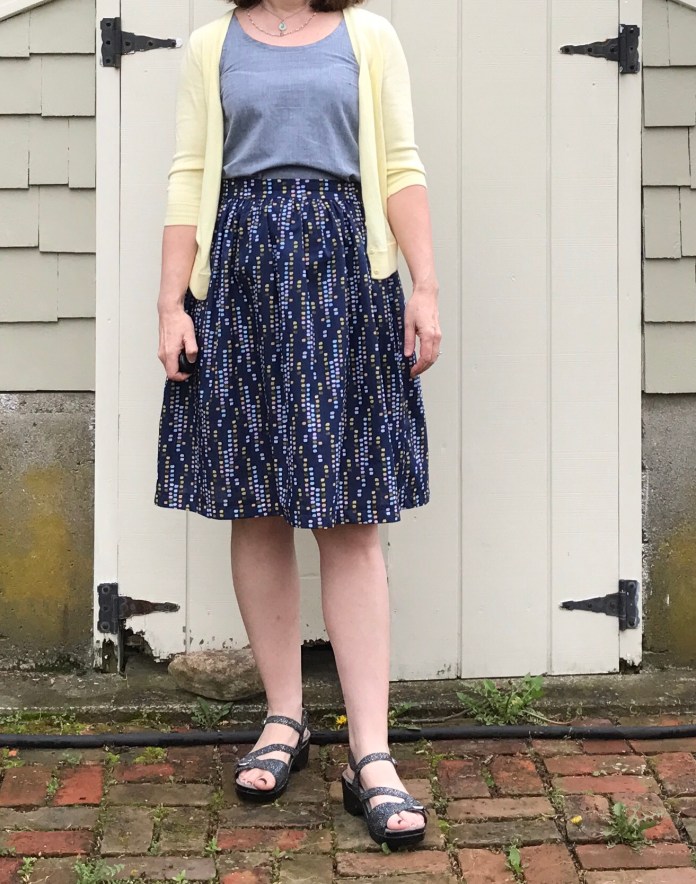 Some pictures of the hem binding process below. This is my go-to approach to binding. It is quick and I love the look of the contrasting hem facing. I also find that having the seam that joins the hem and the hem facing as my guide enables me to have a nice even hem. Every aspect of the hem is machine-sewn so very quick.


 I hadn’t planned to make the Cleo below but I happened on this fabric at Joanne on sale and really liked it. I wasn’t sure at first what to make with it and considered making a new
  I used a lightweight white cotton batiste for this hem facing and matched the stripes on the side seams. I cut the waistband across the grain for more visual interest as I did when I made this


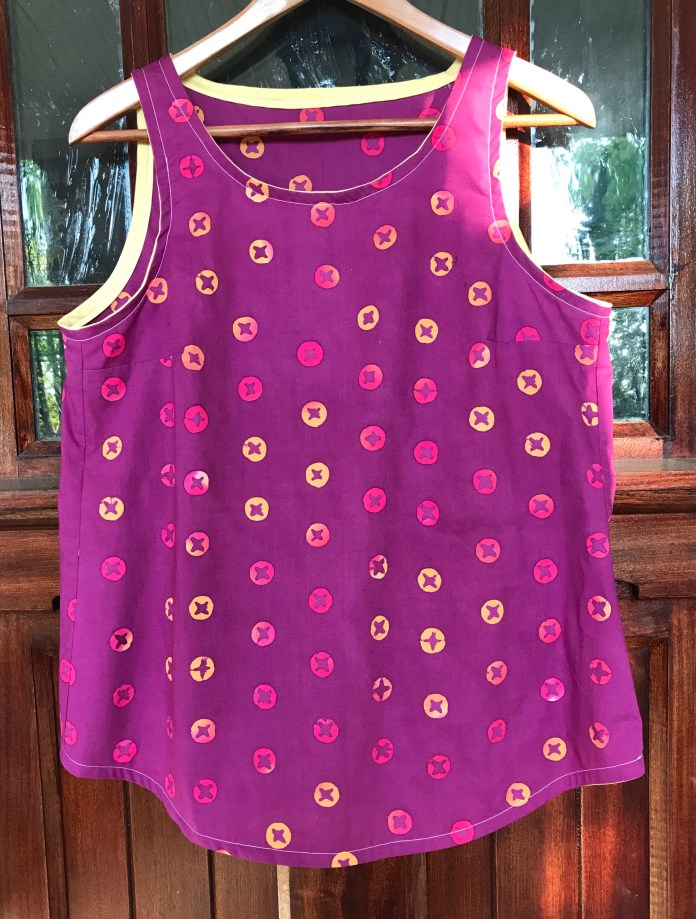
 I did actually finish a Gemma Tank that had been mostly finished since last summer (just needed the bias binding). Ironically, when the yellow bias strips were on my ironing board, they were also right next to this Allison Glass Gemma
 and I realized that the yellow would make a great contrasting binding for this tank so I finished it
  and wore it on a quick visit to New London with my husband.

 I love this tank with my khaki
  The
The 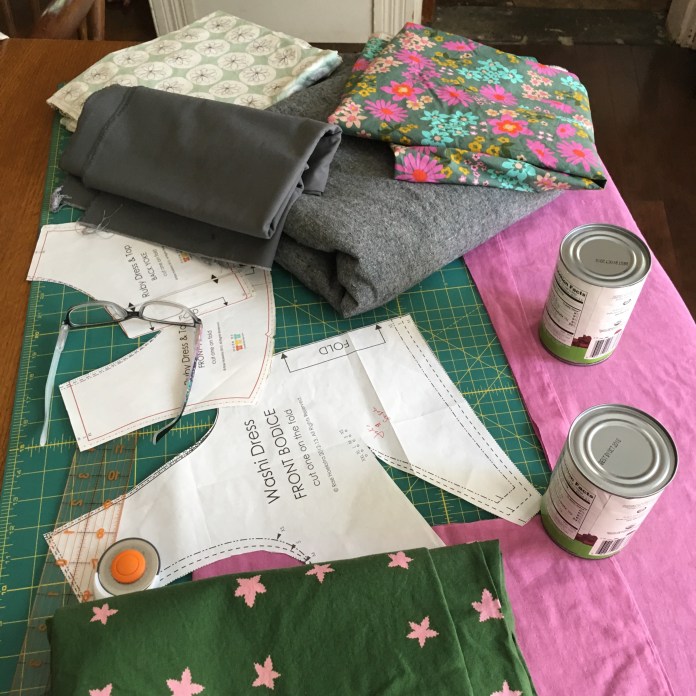 When I saw the floral lawn fabric next to the plum double gauze, I realized that it would be just the thing to line the bodice. I also noticed that the plum would be a perfect lining for a planned Washi in green with pink stars. These garments are hopefully going to be a mini Summer capsule wardrobe one day. I have a sleeveless
 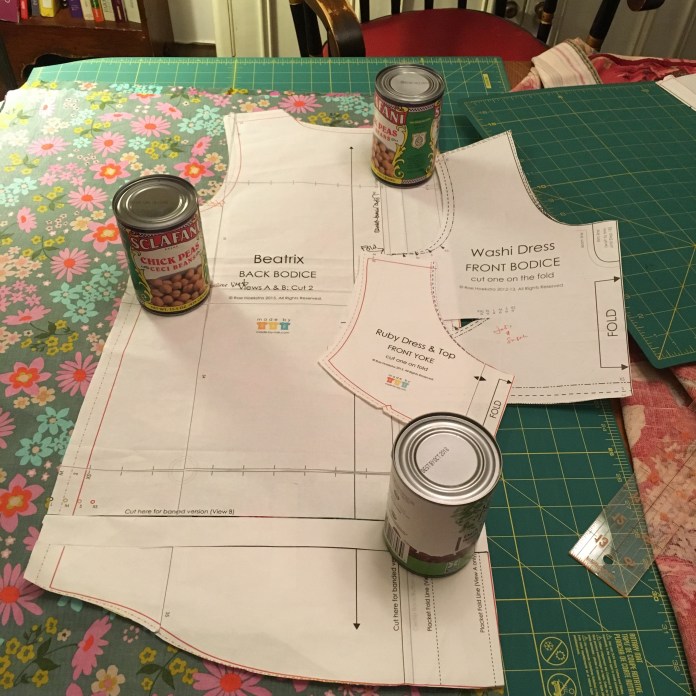 The lawn is such nice lightweight fabric, it is the perfect weight to go with the double gauze and I have loved this fabric from afar for quite a while. I am happy that it will find its way into at least three garments (I have enough left over to face the waistband of at least one of the skirts.) Rae has great
 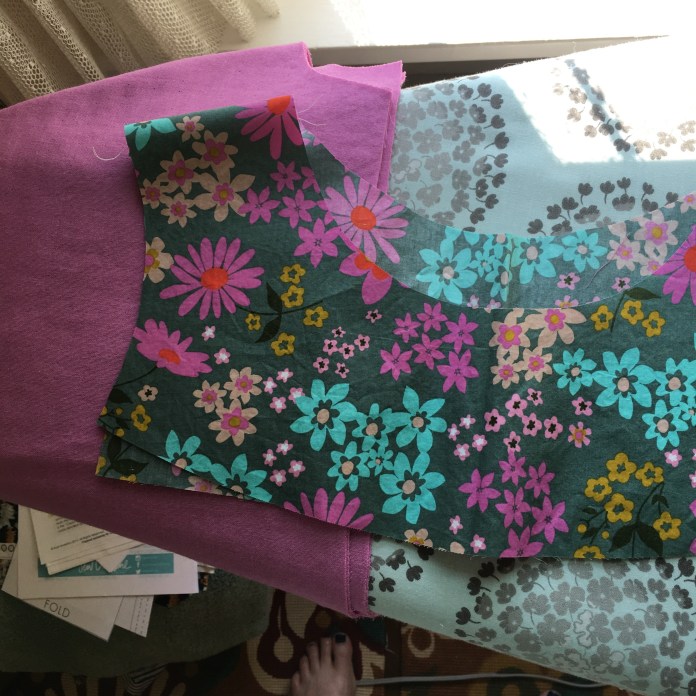 It involves something she calls the sausage technique. I have used it for most of my Ruby and Washi garments. It works like a charm. Some steps pictured below.


 Side view below shows that the armhole is comfortable but not overly revealing.
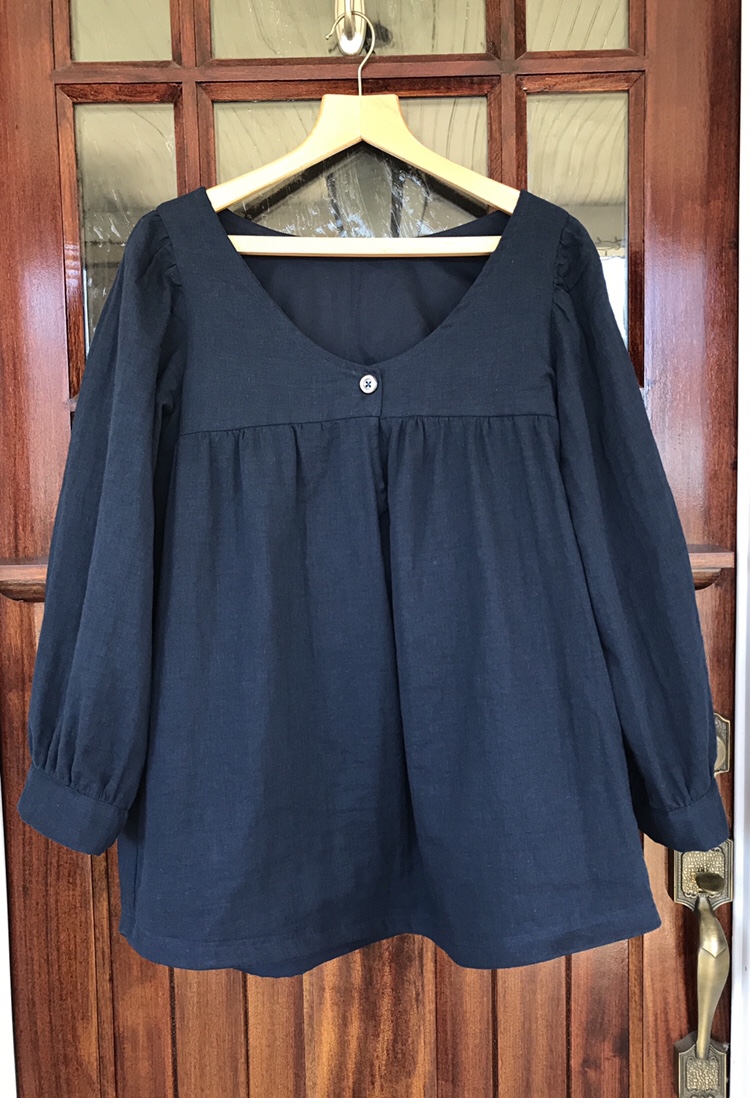
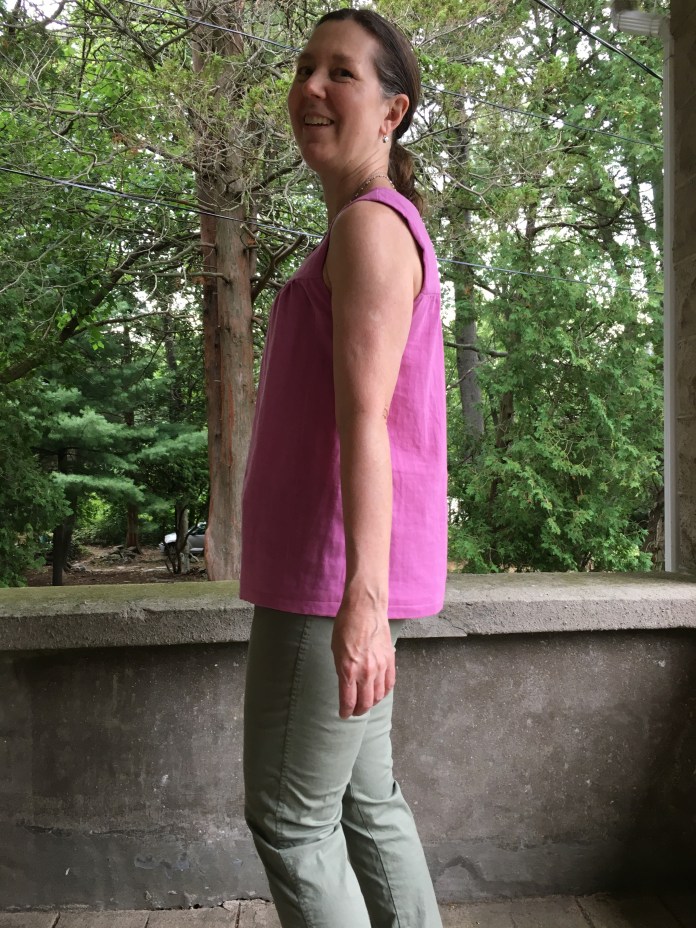 Up next, I have my floral lawn Beatrix blouse planned and a navy Ruby dress cut out and ready to go in
 I used chalk to mark the shirring lines but I usually end up just using one chalked line and then using the first sewing line to guide the rest of my seams. Shirring using elastic thread is actually amazingly easy. Rae’s tutorial
 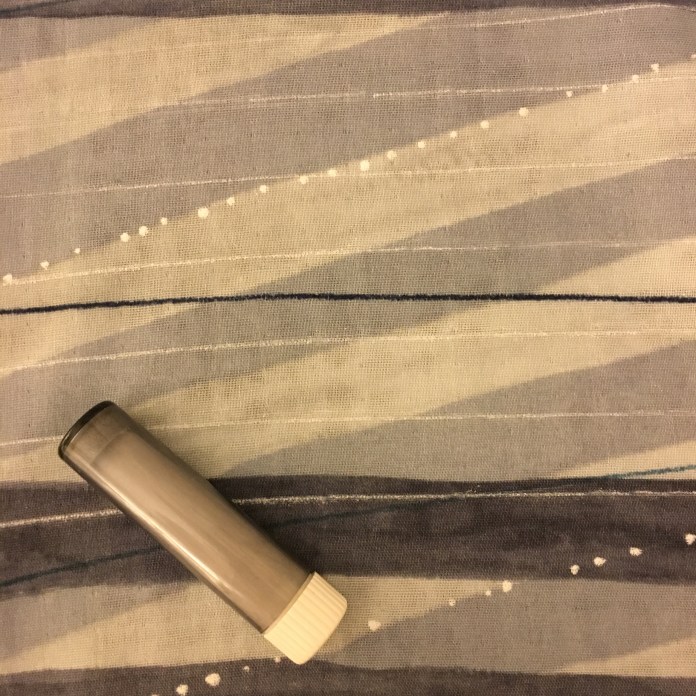 I used organic natural colored cotton batiste to line the bodice using
 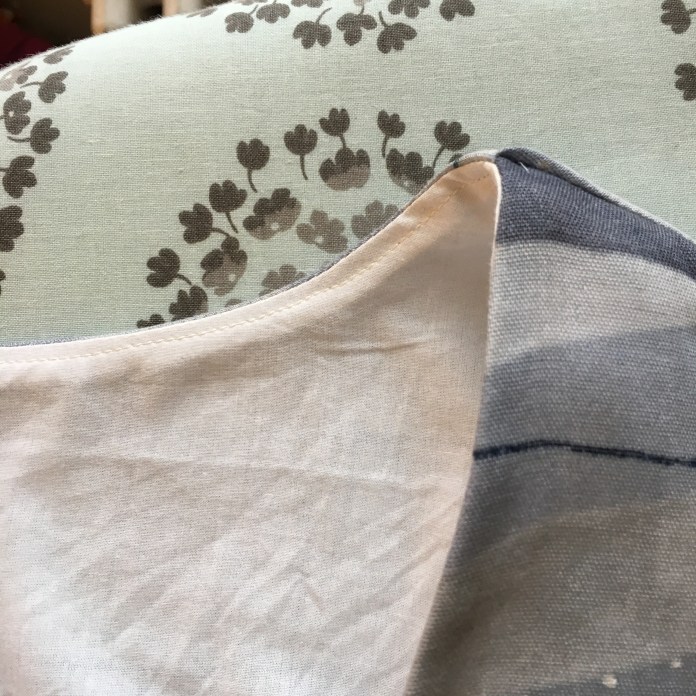 I added a ribbon with snaps for bra strap holders as I sewed the fabric sausage.
 A fabric sausage pinned and ready to be sewn.
 Finished shirring visible as I sew the bodice lining.
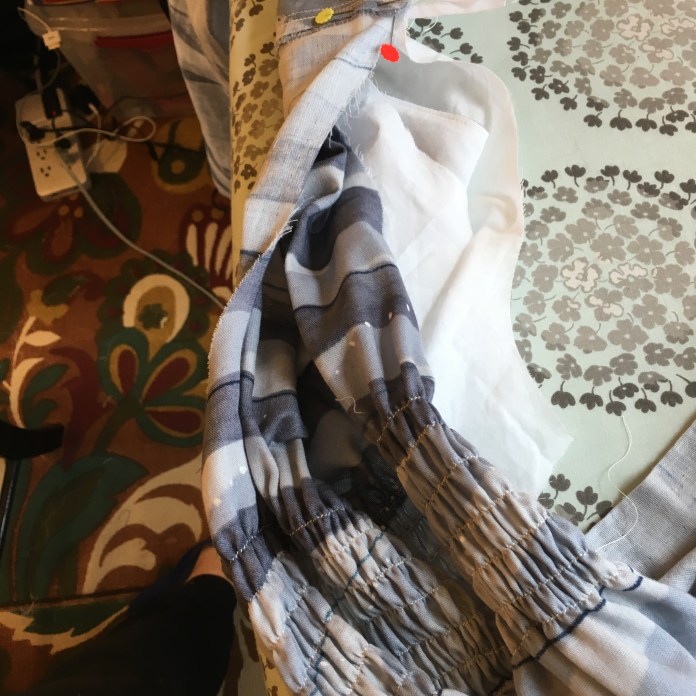 Once again I used a lightweight quilting cotton in a neutral light pink for hem facing. I have used it for several garments. I have almost run out!
 Hem pinned and ready to be sewn.
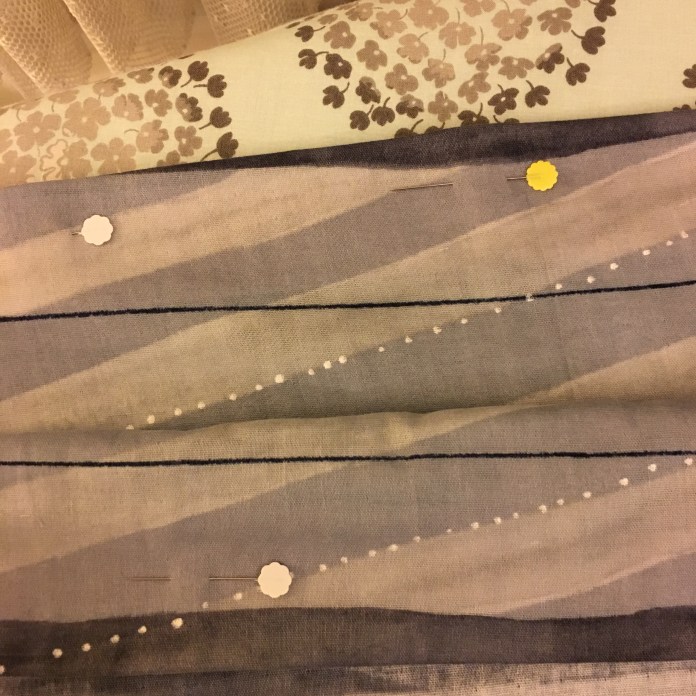 Hem.
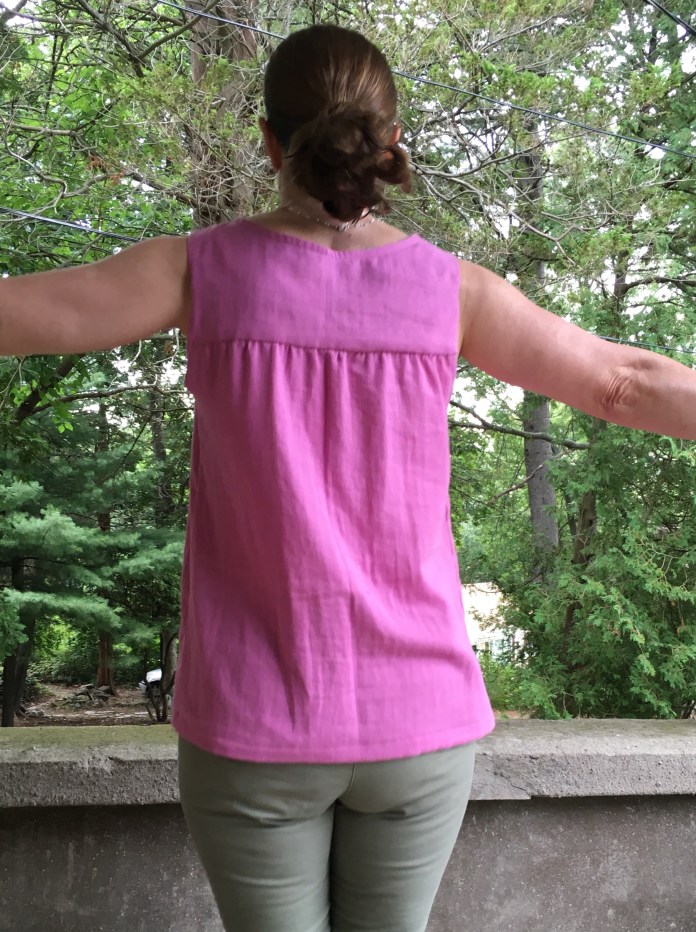
Hem. Finished dress back view. The stripes don’t line up on the side but I am happy with the way the back stripes ended up. The photo bomber is my sweet dog Sadie.
 Close up of the beautiful nani iro fabric.
 Shades of grey can be beautiful!
 Earlier this year I made two patterns from the Basics Collection by Cali Faye. They are both straightforward to sew and flattering to wear. I was inspired to make the Voila Shirt by
 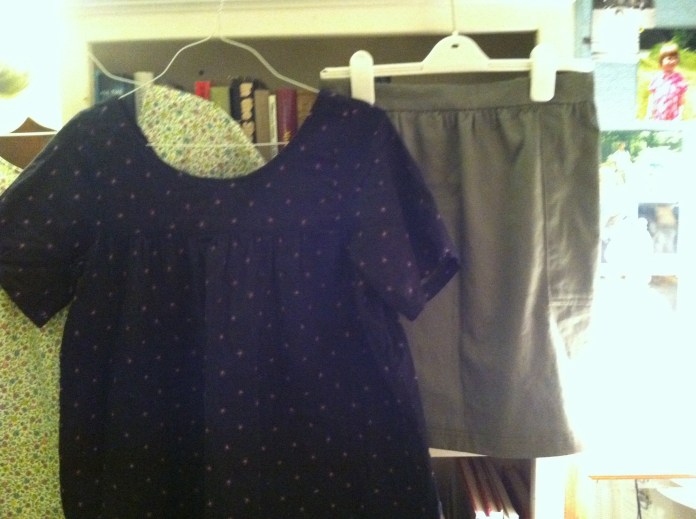 I then went on to make two more Voila blouses with leftover fabric from my quilting days. I thought these cotton floral prints would work well with the shape for summer blouses.
  I made the two blouses at the same time which went fast. I lined the bodice of the cotton versions with white cotton muslin and I lined the navy double gauze version with the shirt fabric. I took 8 inches out of the width of the front and back of the floral shirts since the first navy blouse was still very full even after taking 6 inches of volume out front and back.
 Shirt above prior to hemming. Shirt below getting bra straps added to lining of bodice.
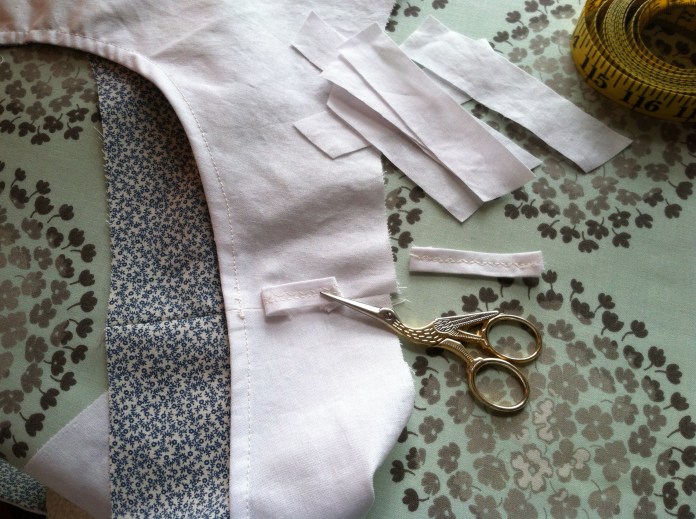 The shirts fit well and the neckline is flattering.
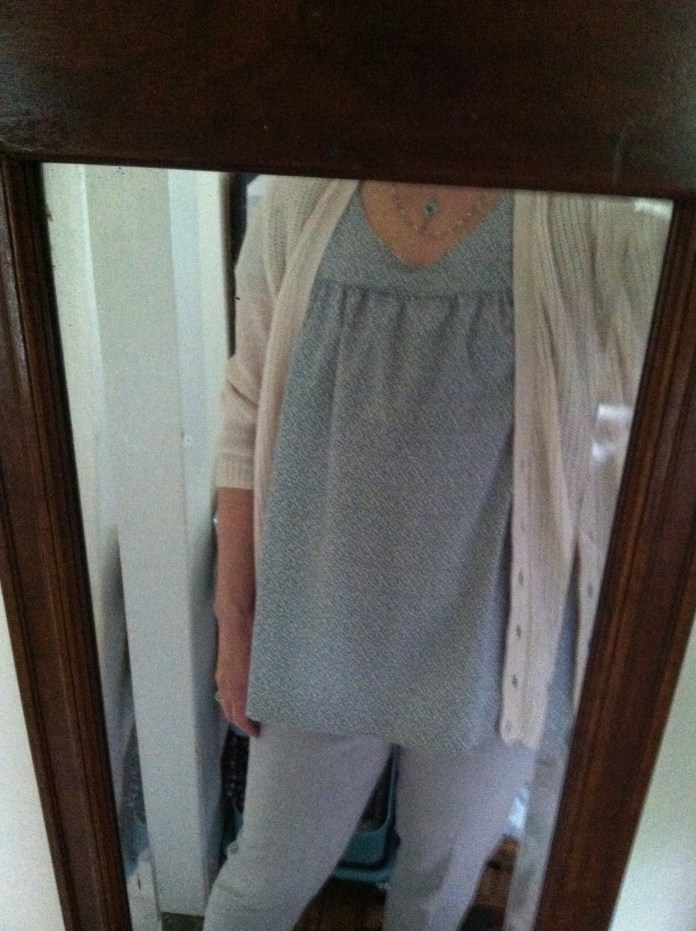 I made the Pocket Skirt in a khaki green heavy cotton from Joanne’s. It worked well for the skirt and it has become a basic that I wore often all summer.
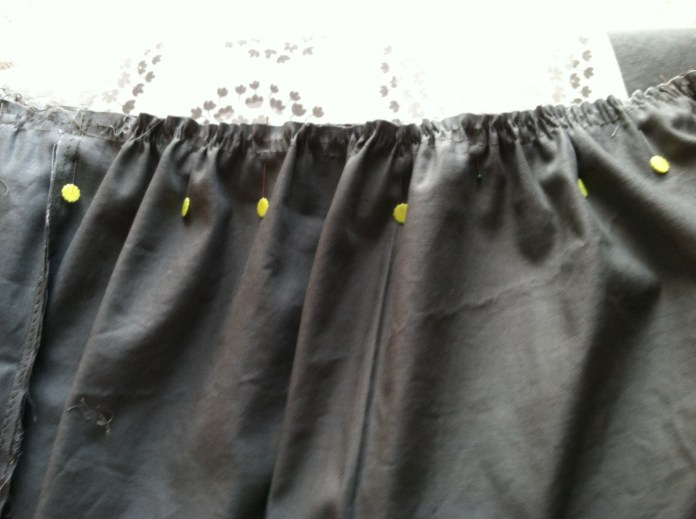 I cut a large and added 2 inches to the length. Pocket detail below. The construction is very straightforward.
  Attaching the waistband.
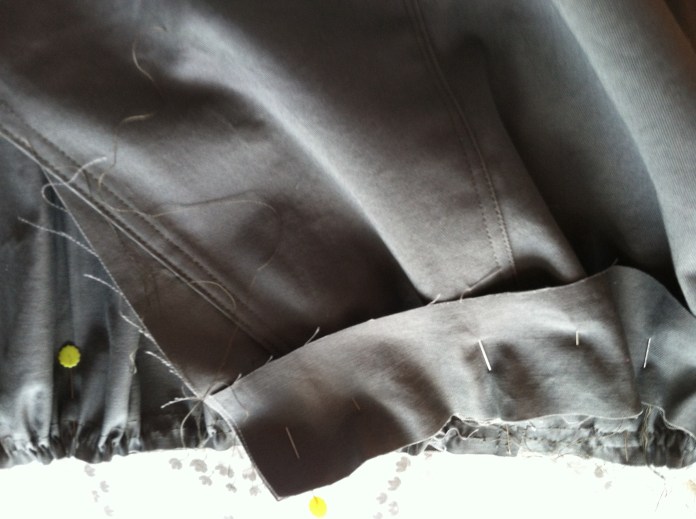
 In the process of making the second skirt, I realized that I had reversed the front and back of the waistband when I made version one and so fixed that on version 2. Ironically, the second skirt did not fit as well because the front of the Calie Faye skirt is designed with more fullness than the back and my shape is the opposite. Luckily my daughter wears the same size but has a slightly different shape and it fits her perfectly so off it went to Florida where she wore it last summer.
 When I made version two, I sewed the zipper a bit low leaving a gap at the top of the waistband so I made a button placket to hide the gap. I am happy with how it turned out.
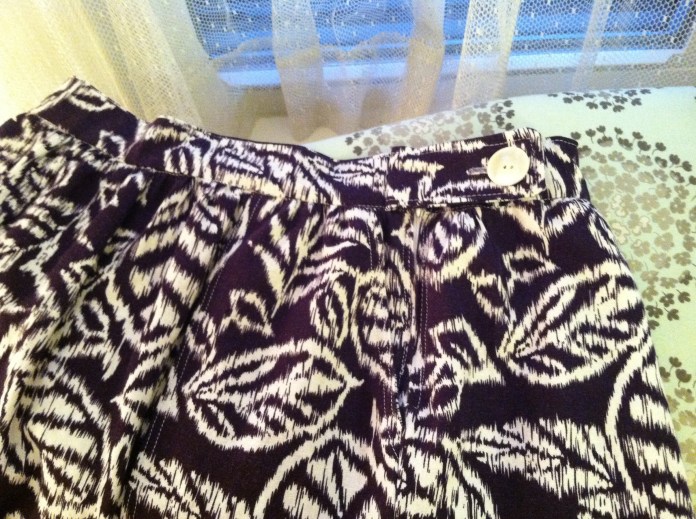
 I will definitely be making new versions of both of these patterns. Things I will do differently next time: french seams on the double gauze versions due to fraying, reverse the waistband on the pocket skirt, add more length if I make it in another flowy fabric such as linen or rayon. It was fine at the shorter length in the khaki but I think longer would be more flattering in flowy fabrics. I would also do hem facings for future shirts and skirts to cut down on fraying.