When I first spied a tester version of the Helen’s Closet York Pinafore during Me Made May before its official release, I knew it was going to be hugely popular. I guessed that this was Helen’s new pattern because I am a Patreon Supporter of the fantastic Love to Sew podcast hosted by Helen and Caroline and in one of the subscriber-only extra LTS podcasts, Helen mentioned that her to-be-launched new pattern was a modern take on a pinafore. Since I am from Connecticut, I didn’t know what she meant by pinafore-here in the US, we call this particular garment a jumper- but when the tester posted a picture during Me Made May and referred to the garment she was wearing as a pinafore, I knew it must be the pattern.
Since the pattern release, it has been popping up all over the place and for good reason. It is a cute modern design, a relatively easy sew and it is fun to customize. I was thrilled because now I have a pattern to use to sew all the slightly heavier fabrics in my stash (I have a number of linen blends and heavier cottons I purchased for various reasons and have not yet used). And it only takes 2 yards of fabric. So the day it was launched, I purchased the pdf and printed it out.
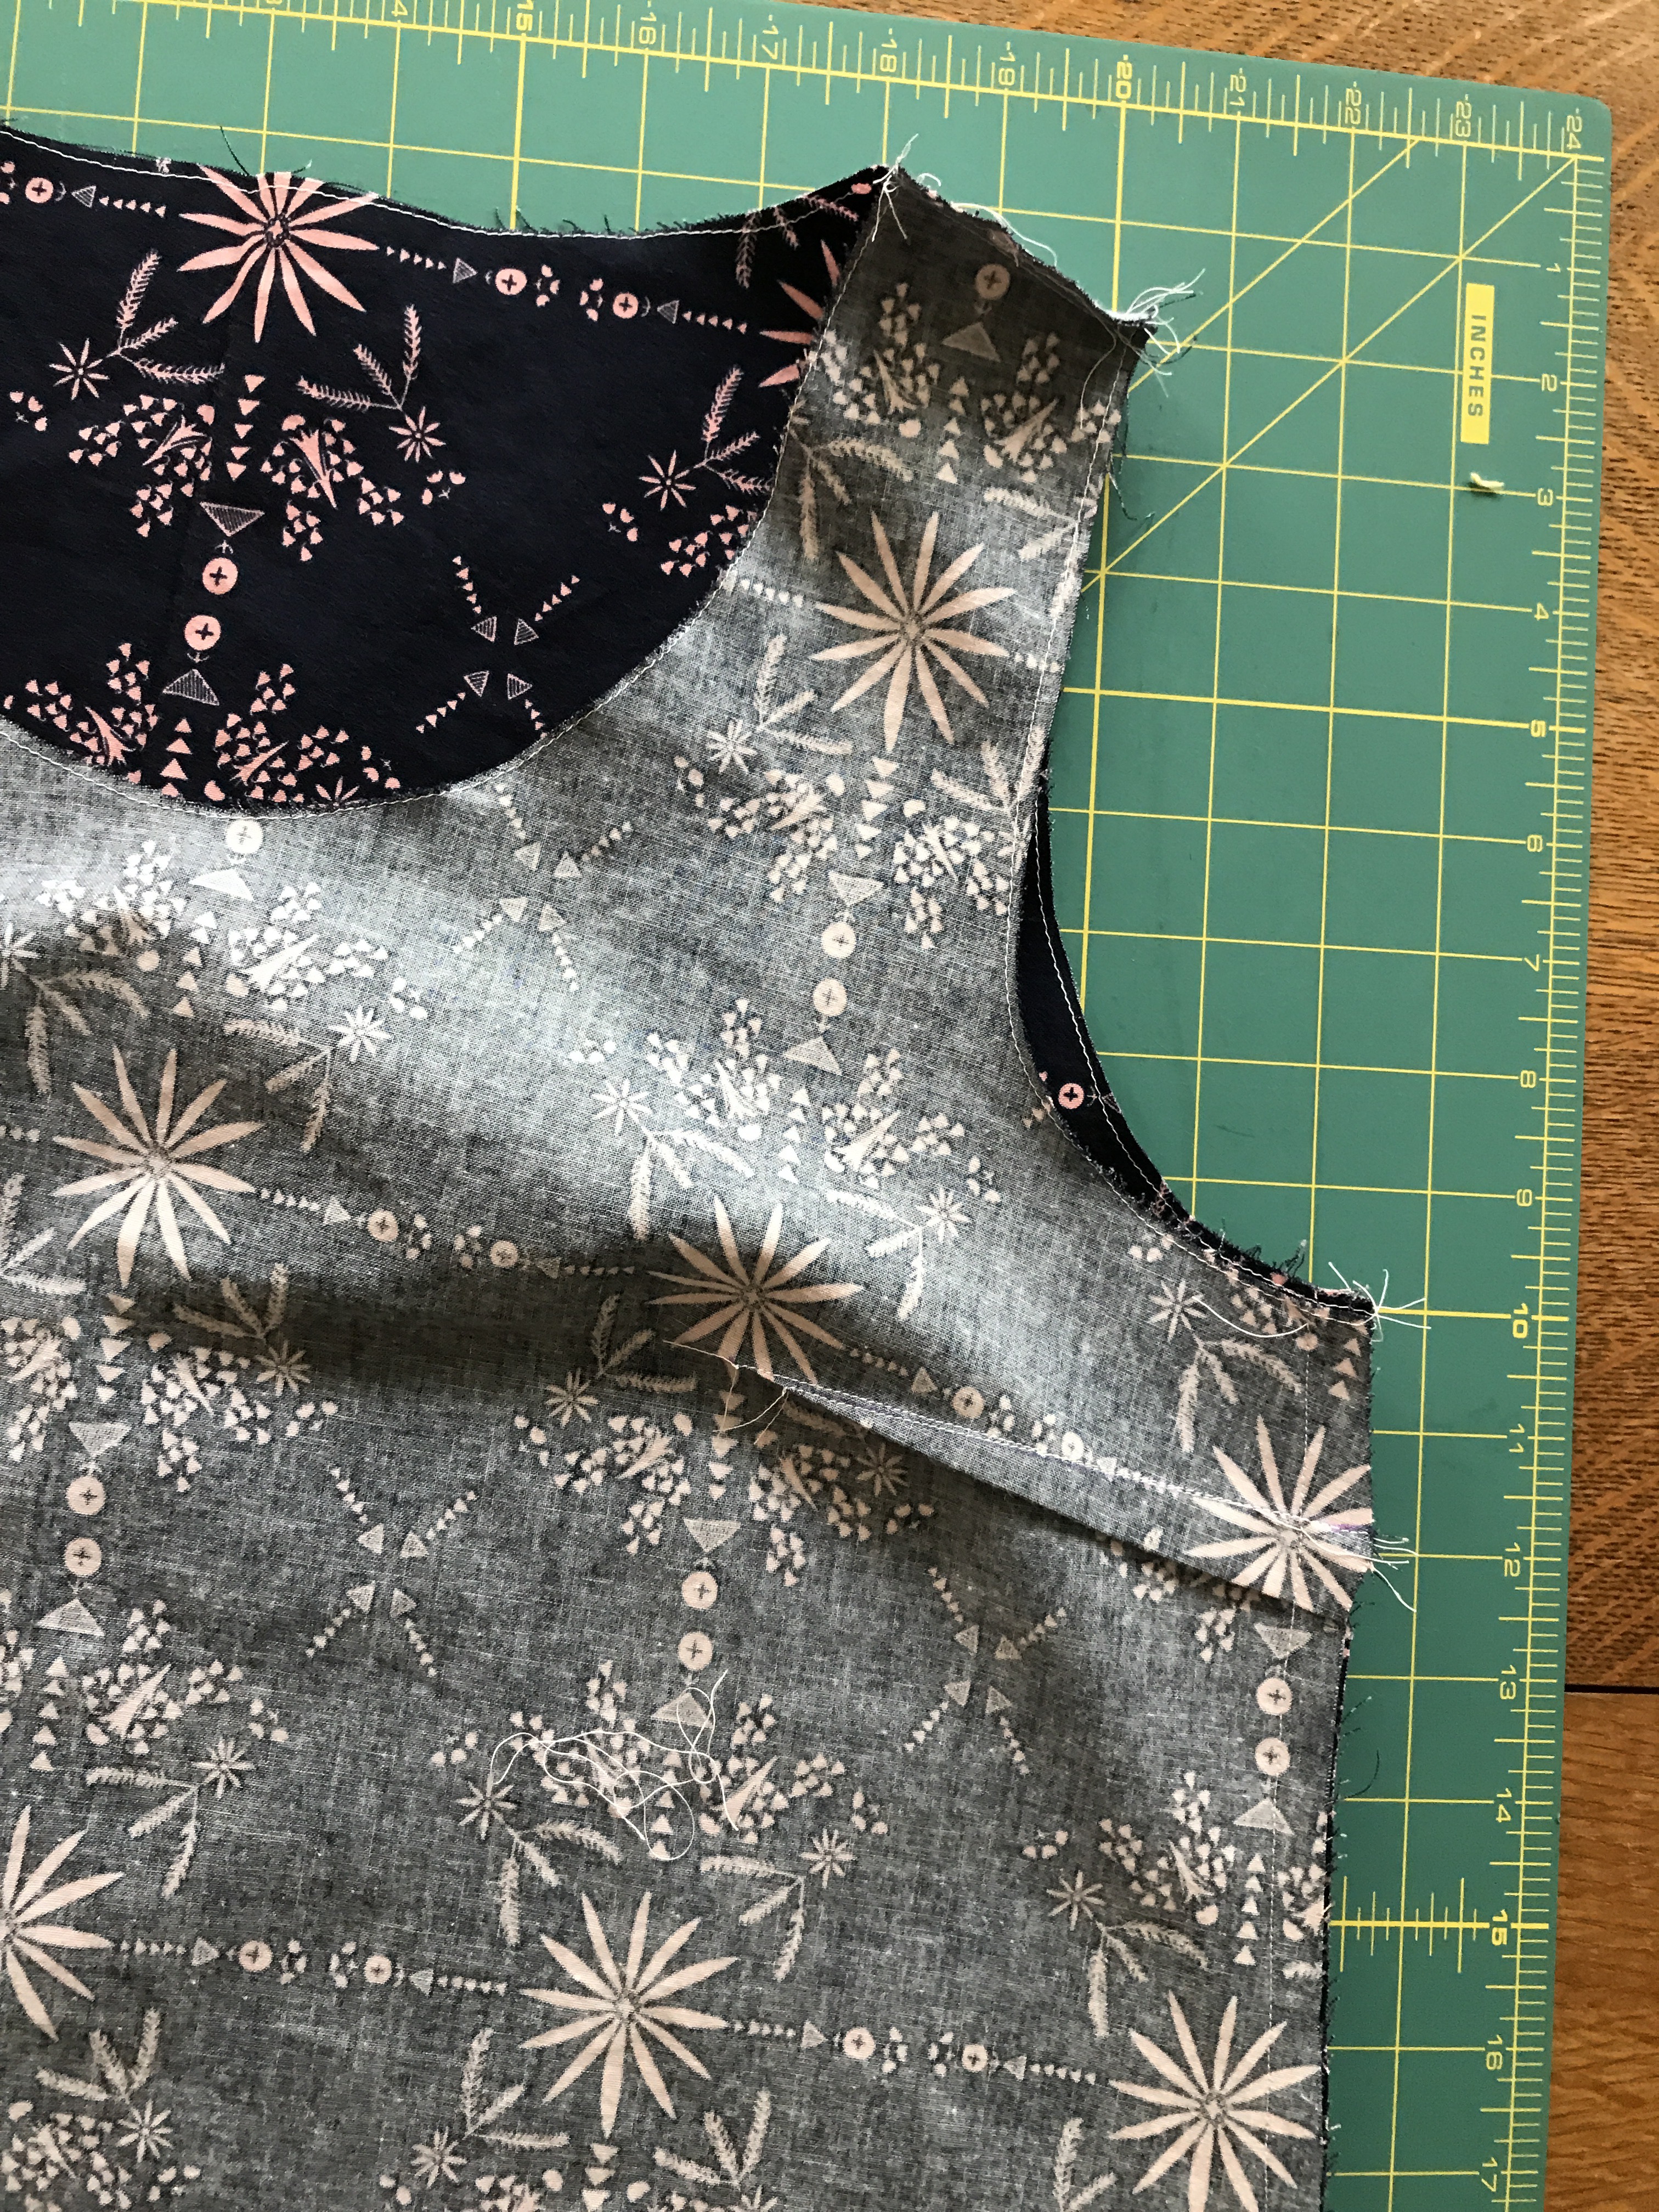
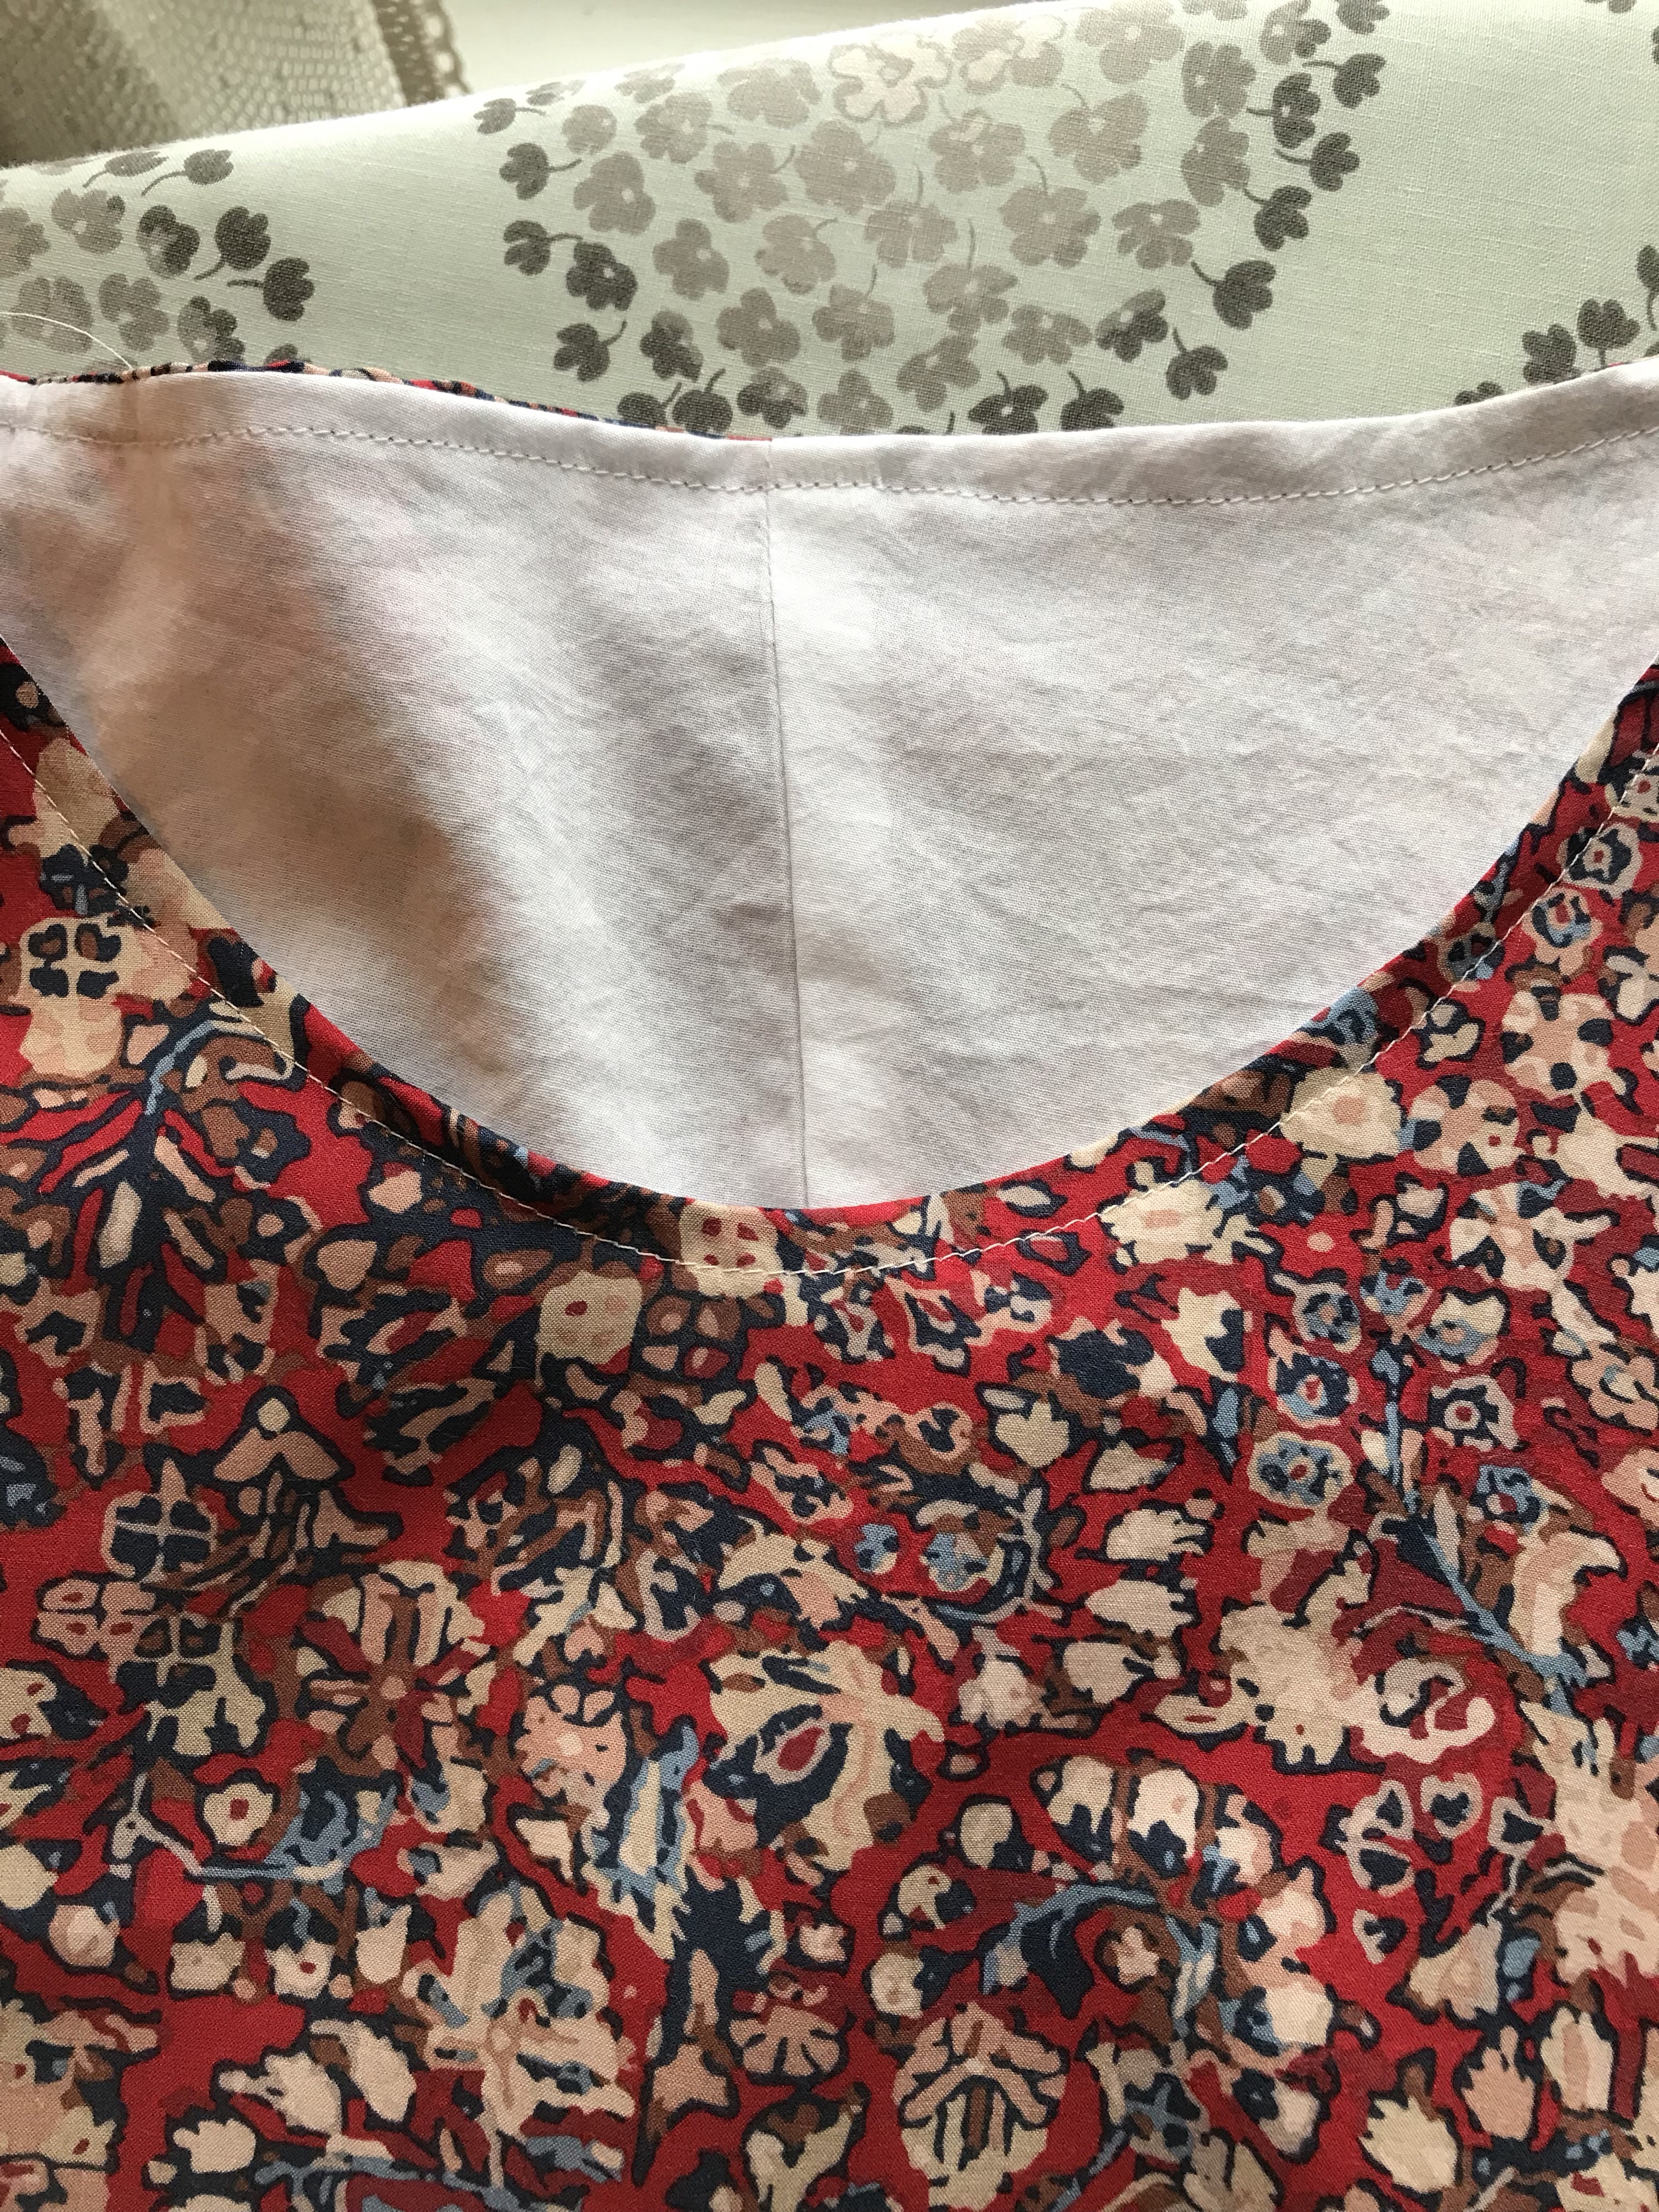
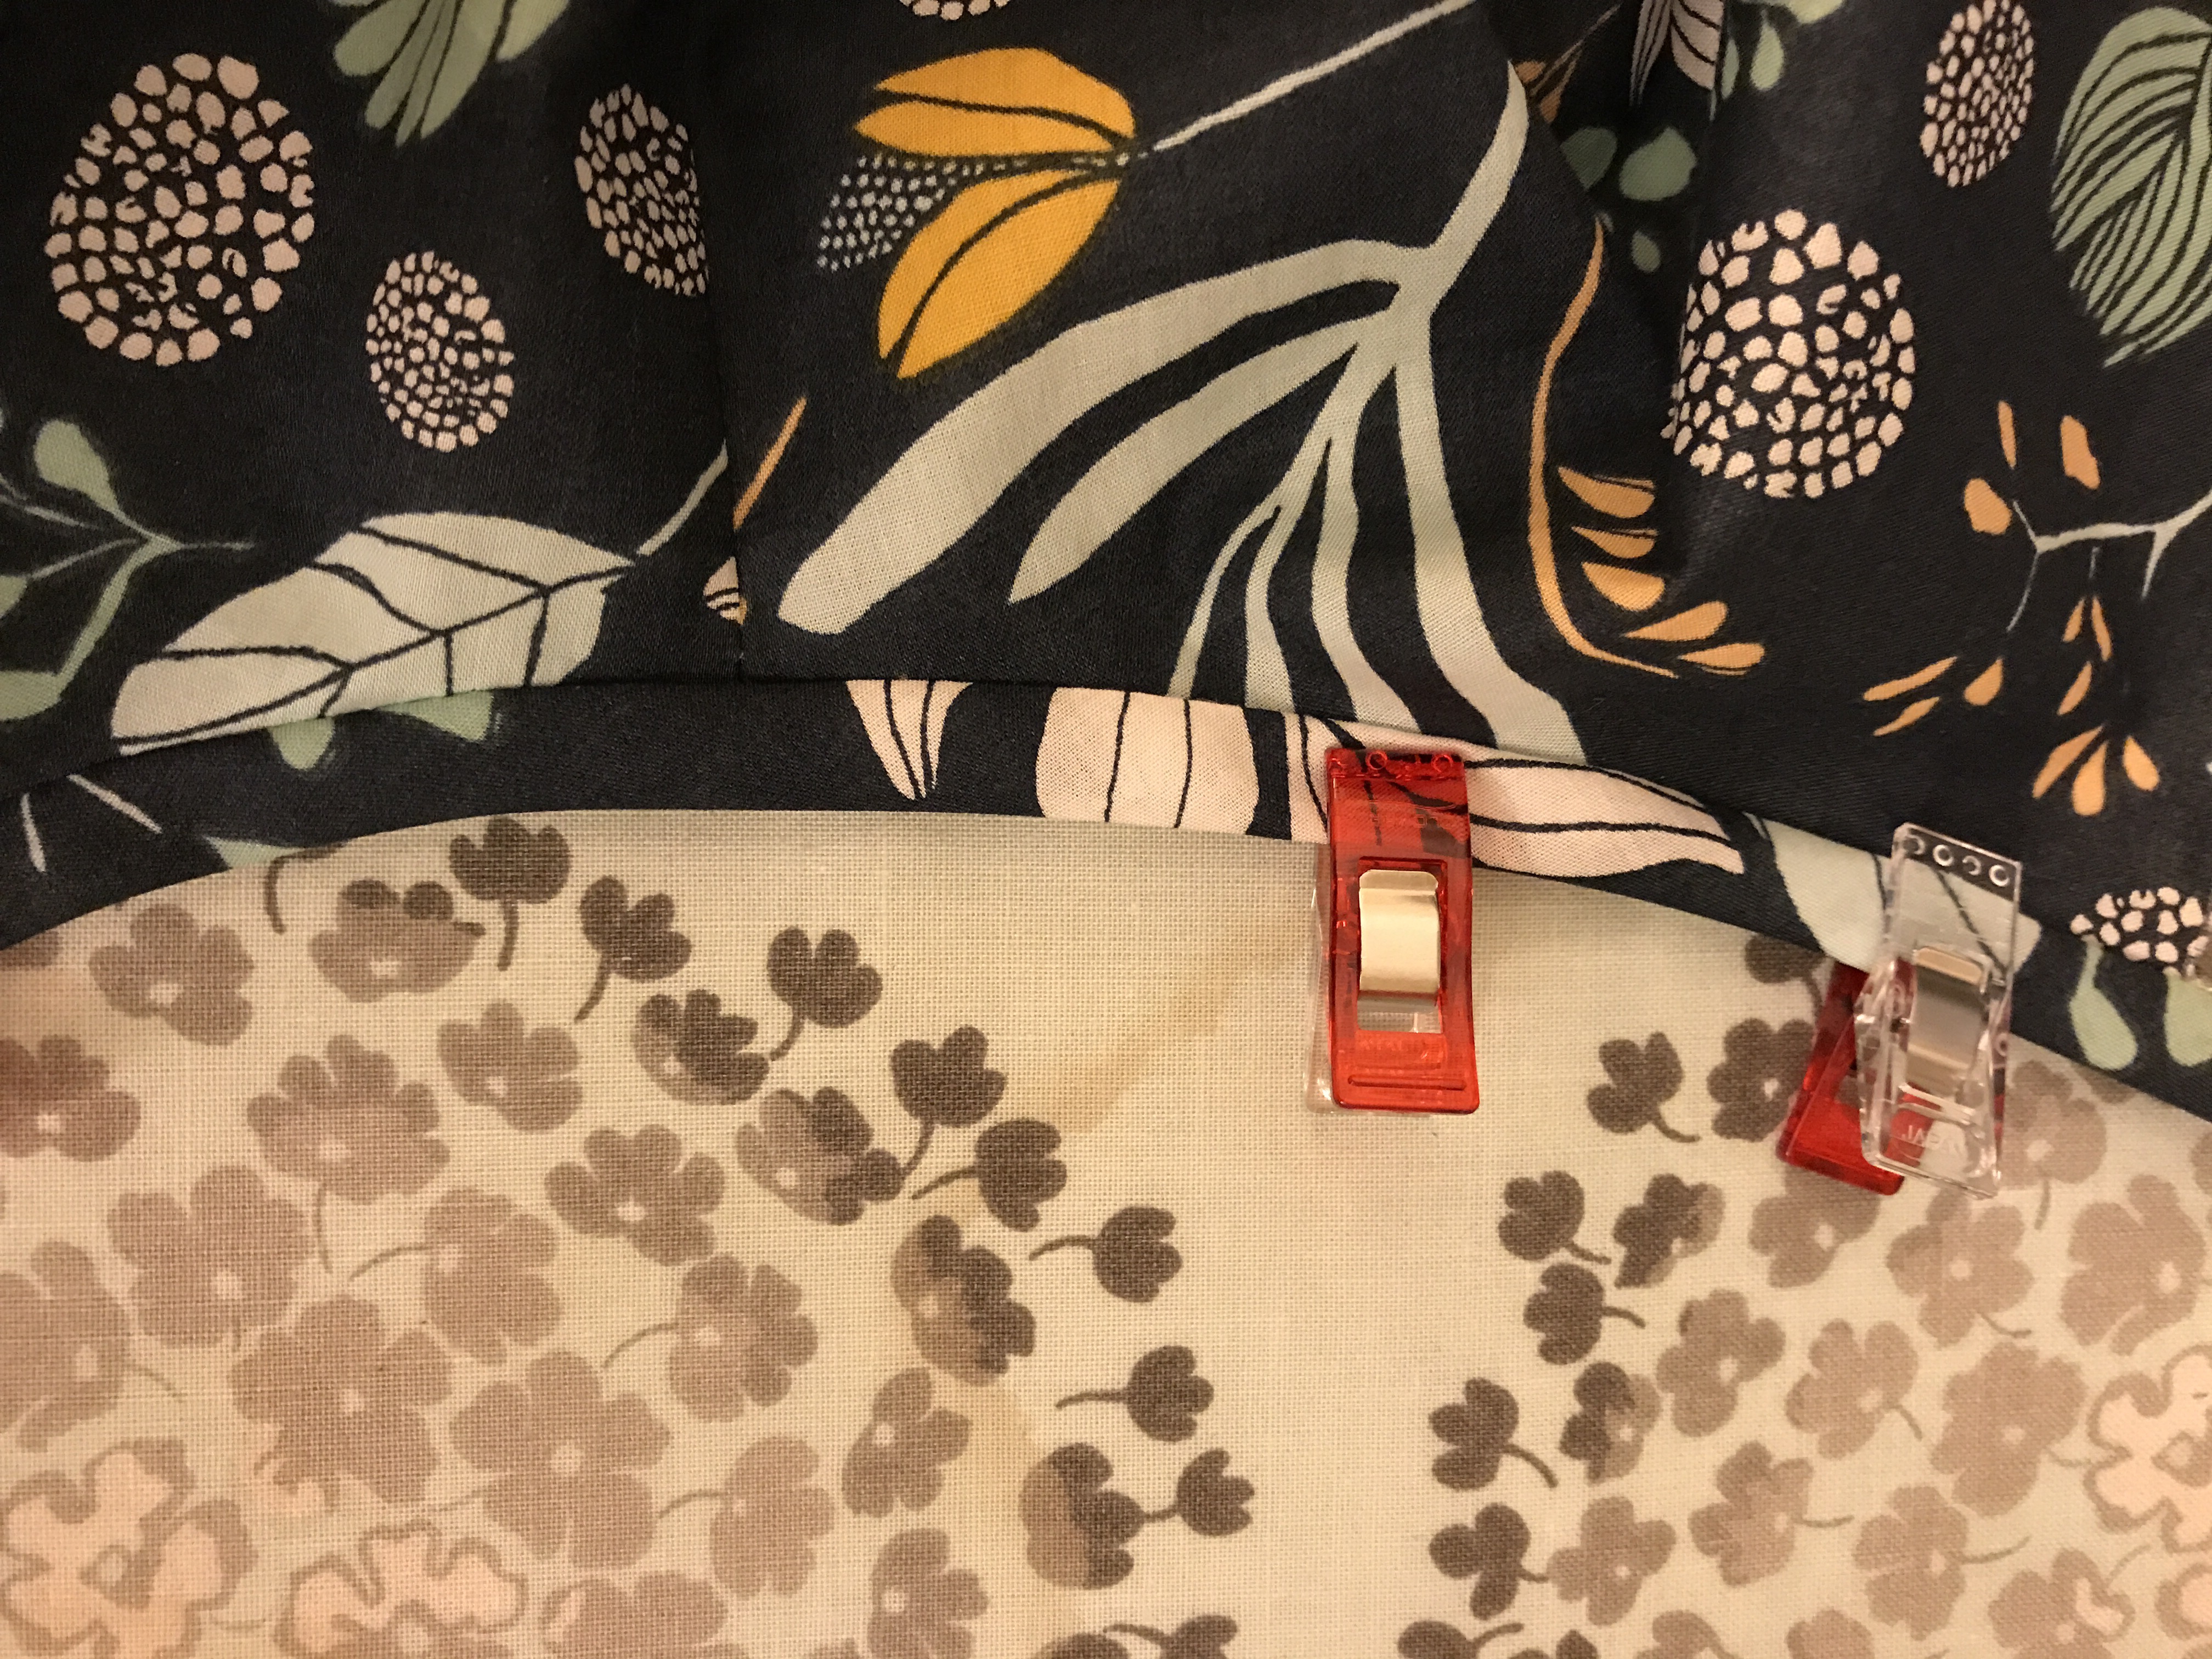
I had some issues with my printer-it cut off parts of the pattern- but I connected the lines and it looked ok and I cut out the front and back from this linen and started playing with the fit. I cut my first version by cutting between the medium and large cutting lines which usually works for me. I basted the shoulder and side seams and then started trying on the jumper and playing around, taking it in a bit in here and there, sewing more rows of basting stitches, and pretty soon my seam allowances were all over the place but I liked the shape. I was actually afraid that if unpicked the basting seams to sew French seams or add pockets, I wouldn’t be able to replicate the shape, especially since the fabric I used was a lightweight, rumpled linen blend. So, I sewed a line of stitching along the innermost line of basting stitches, trimmed off the rest of the wonky seam allowances and called it done.
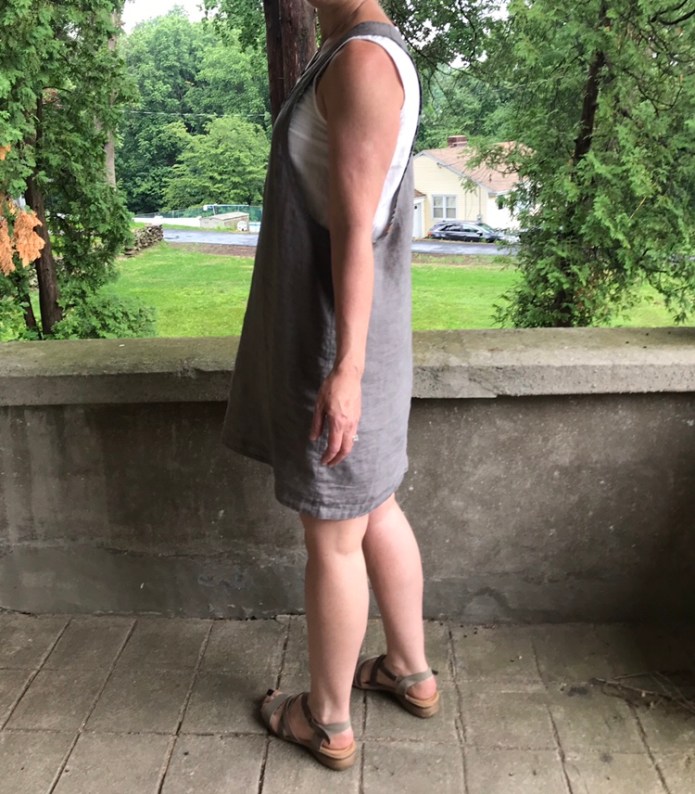
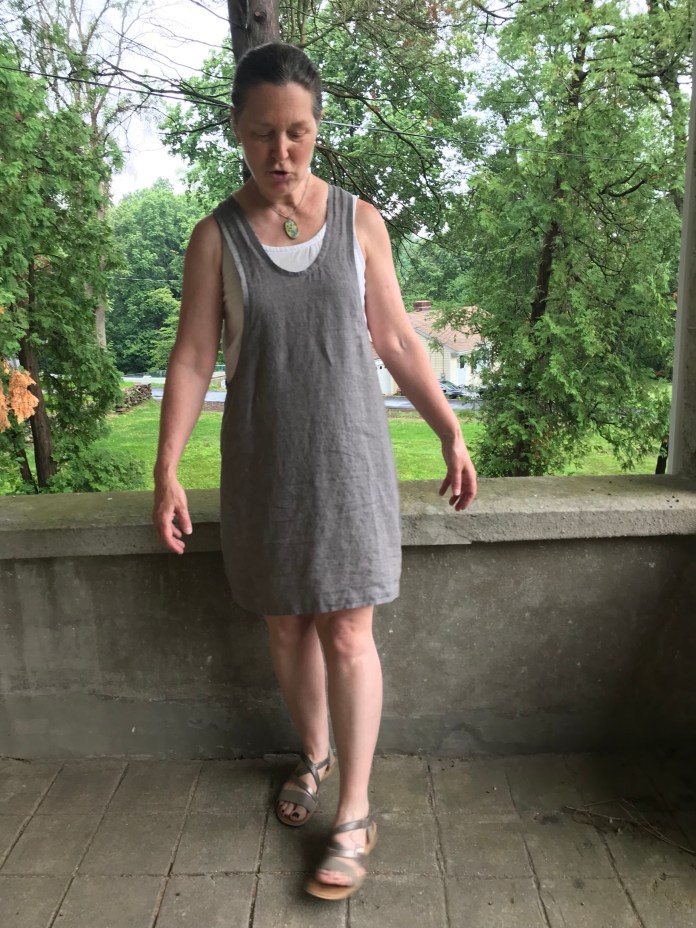
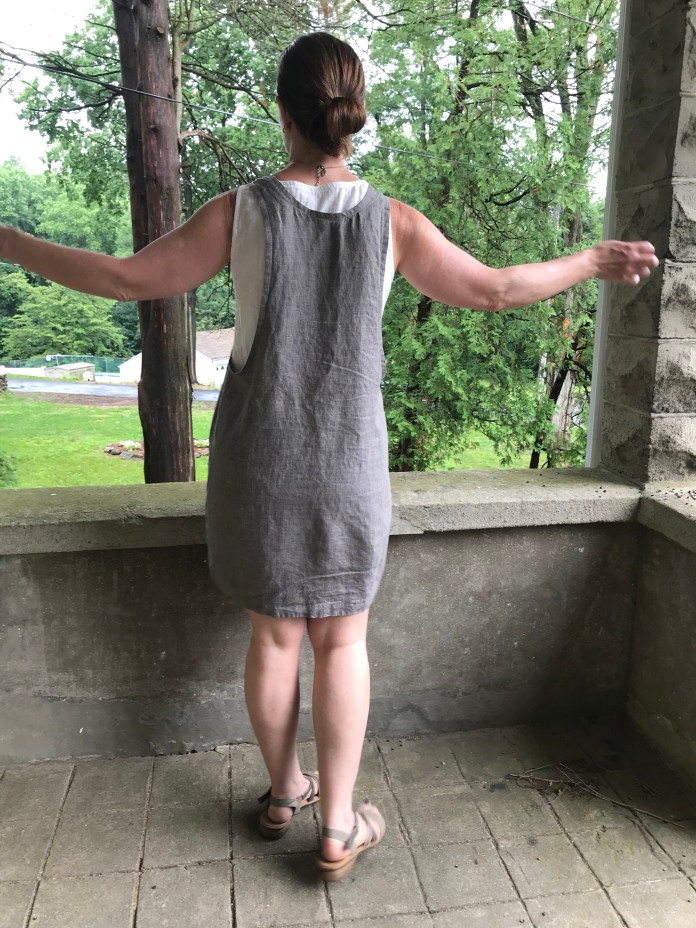
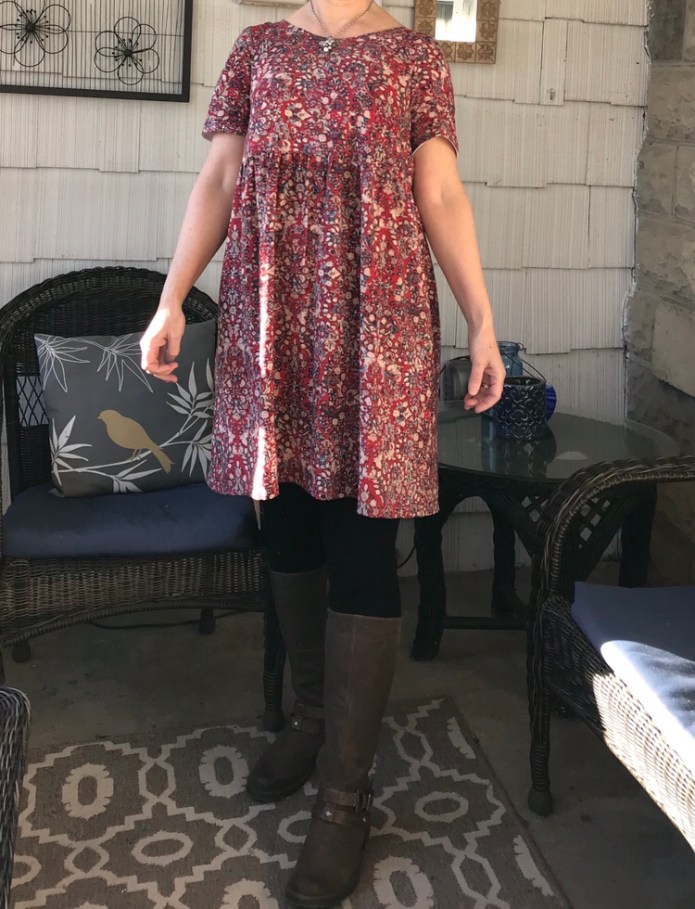
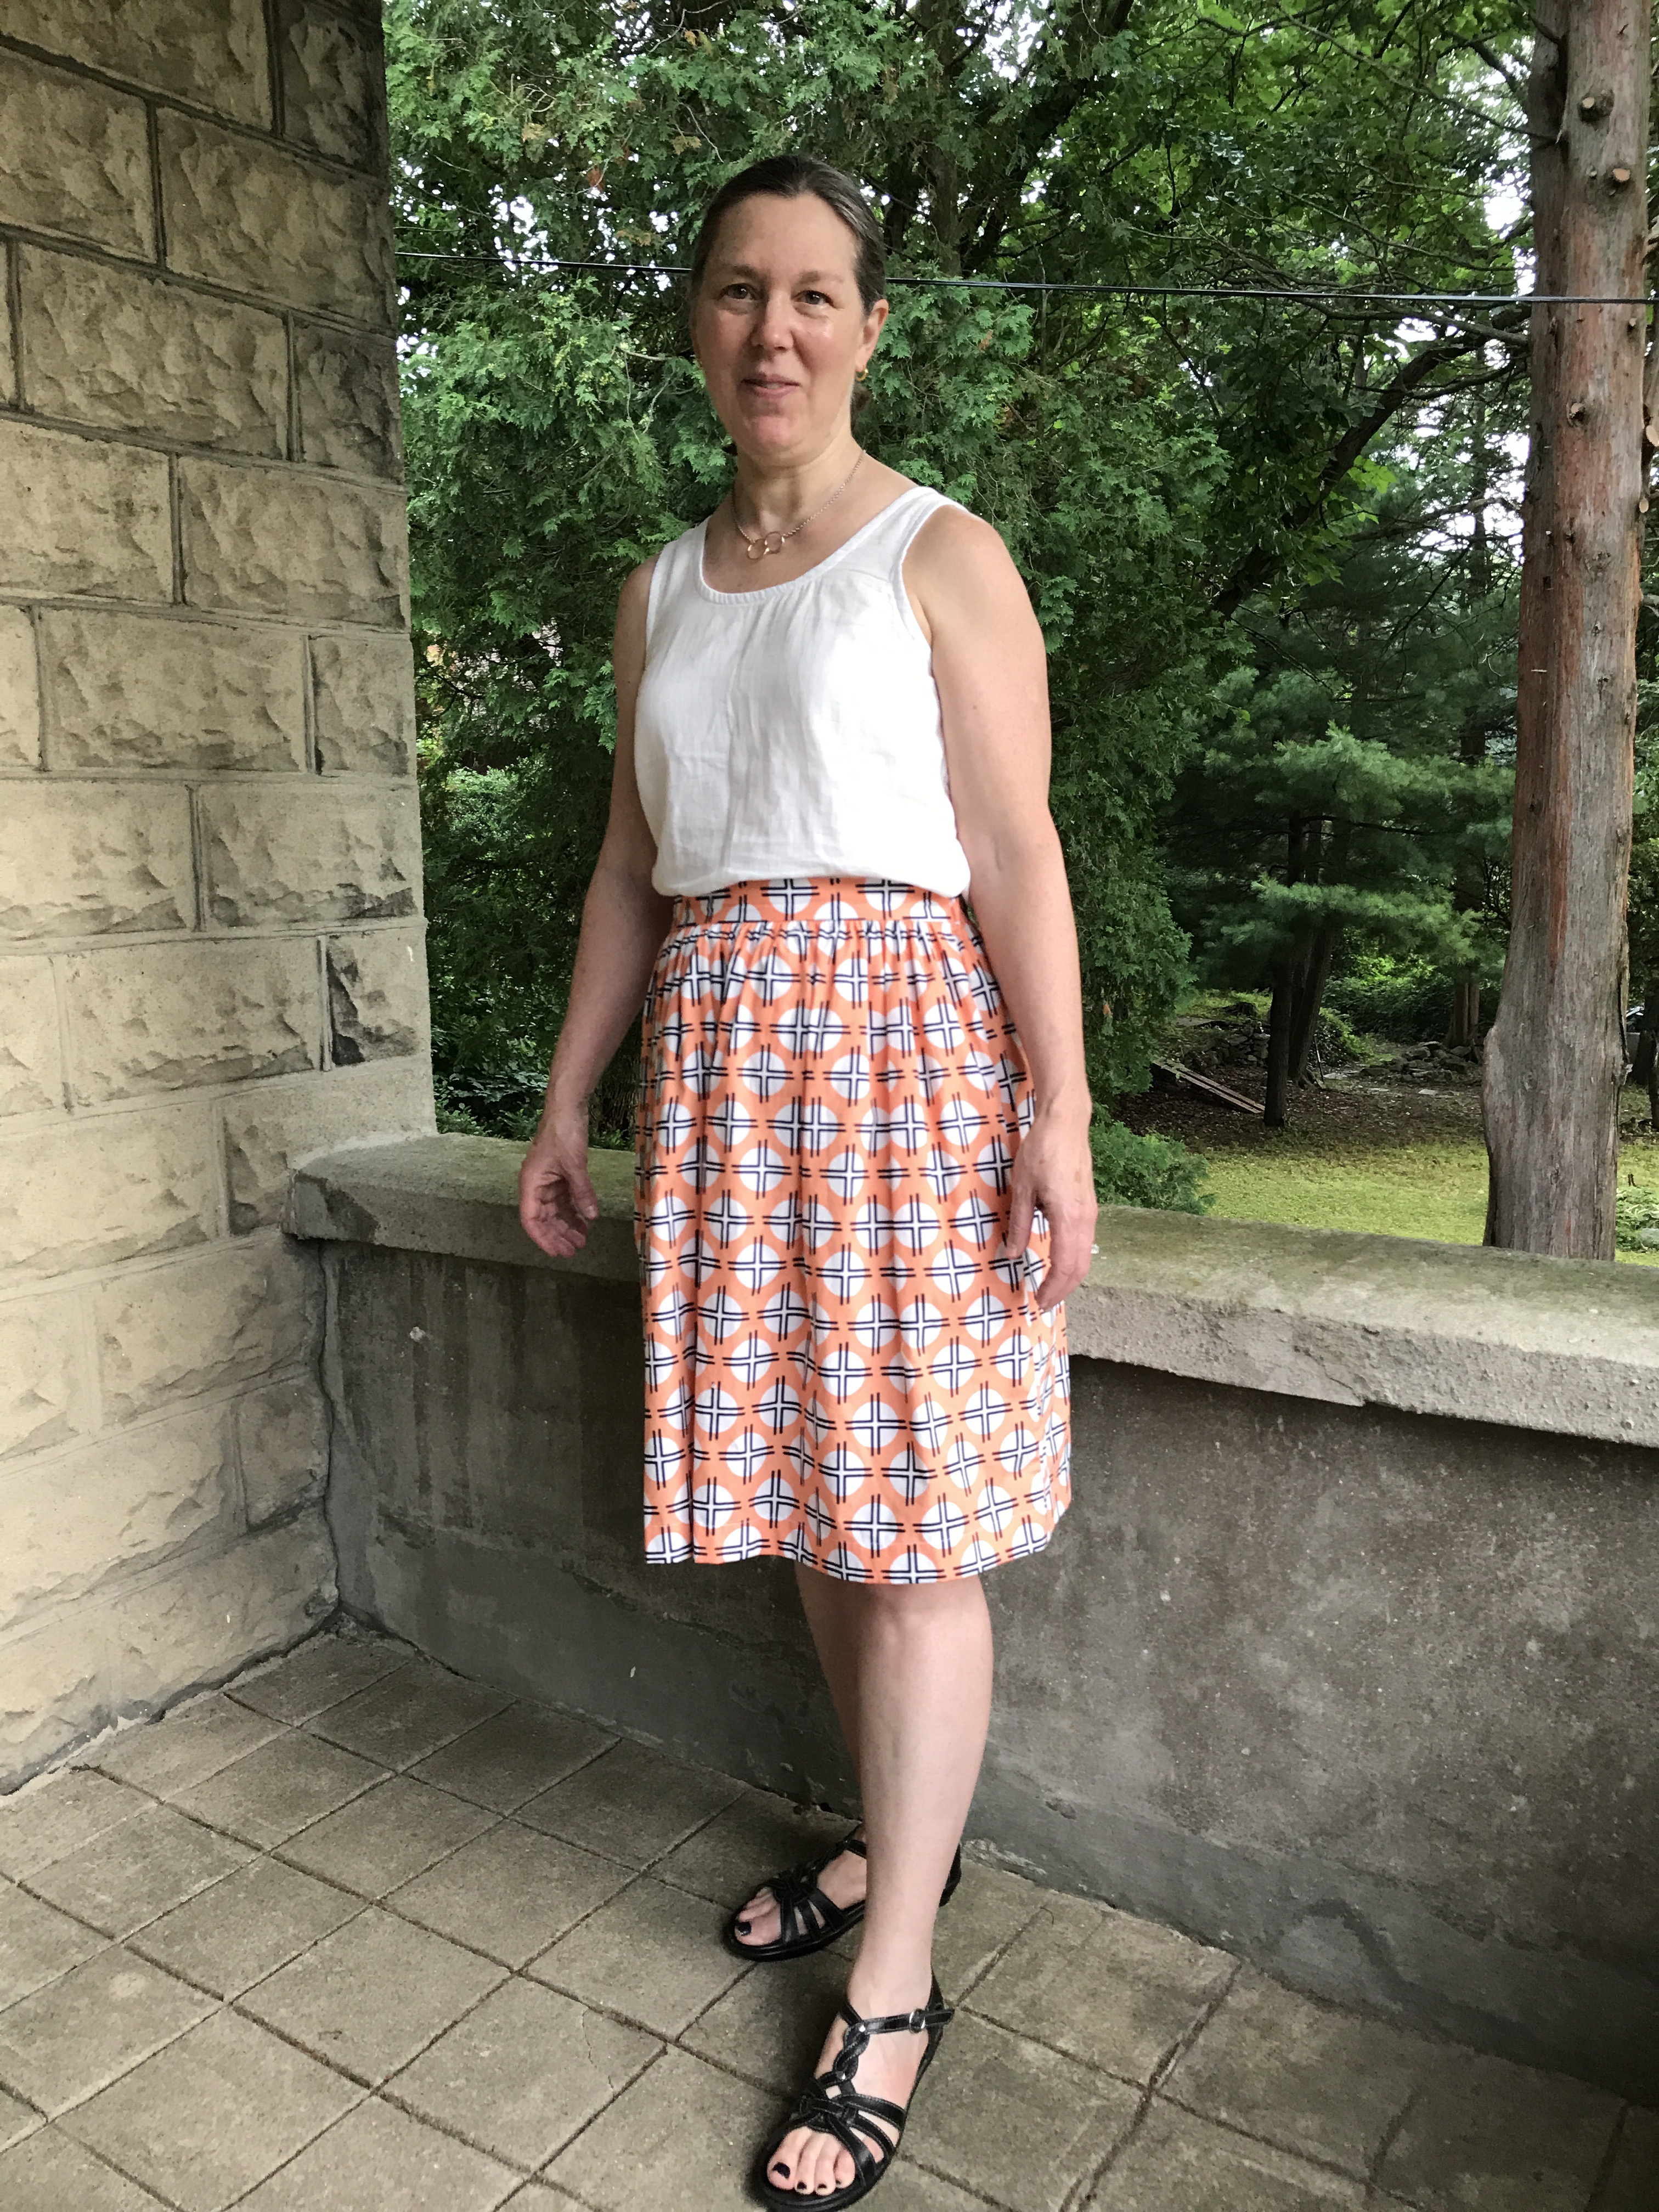
Here are some pictures of the finished garment:


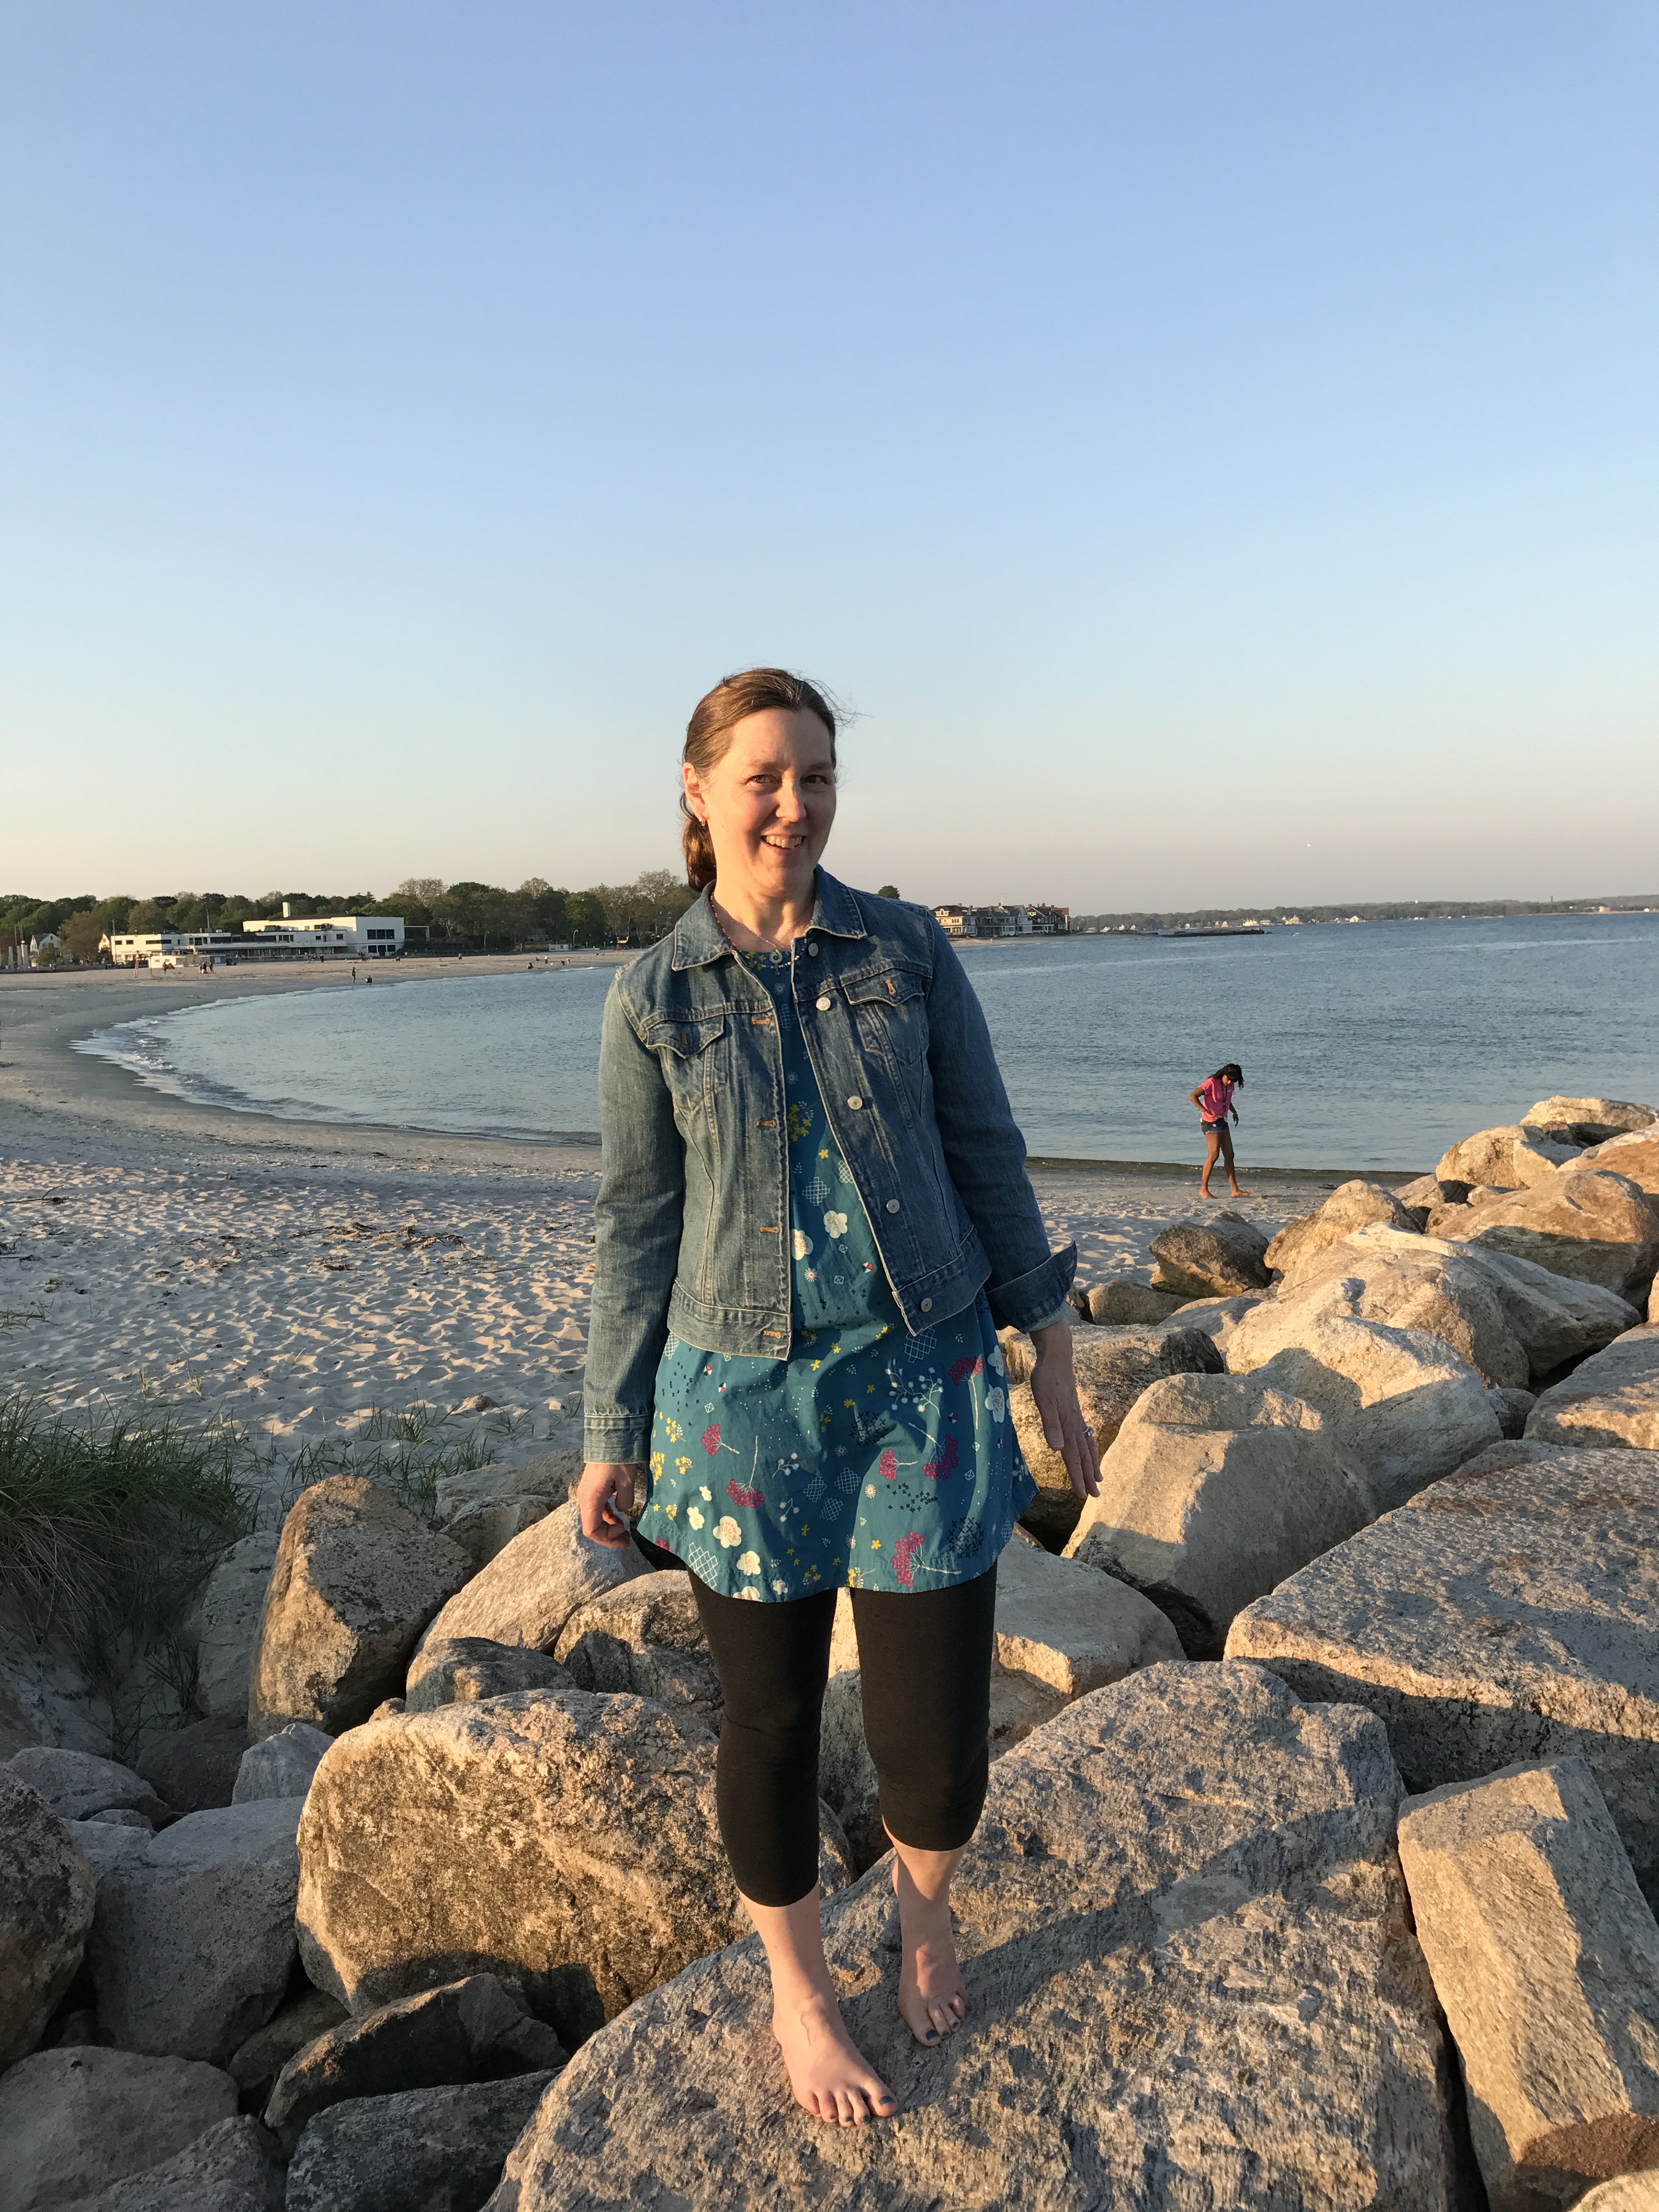
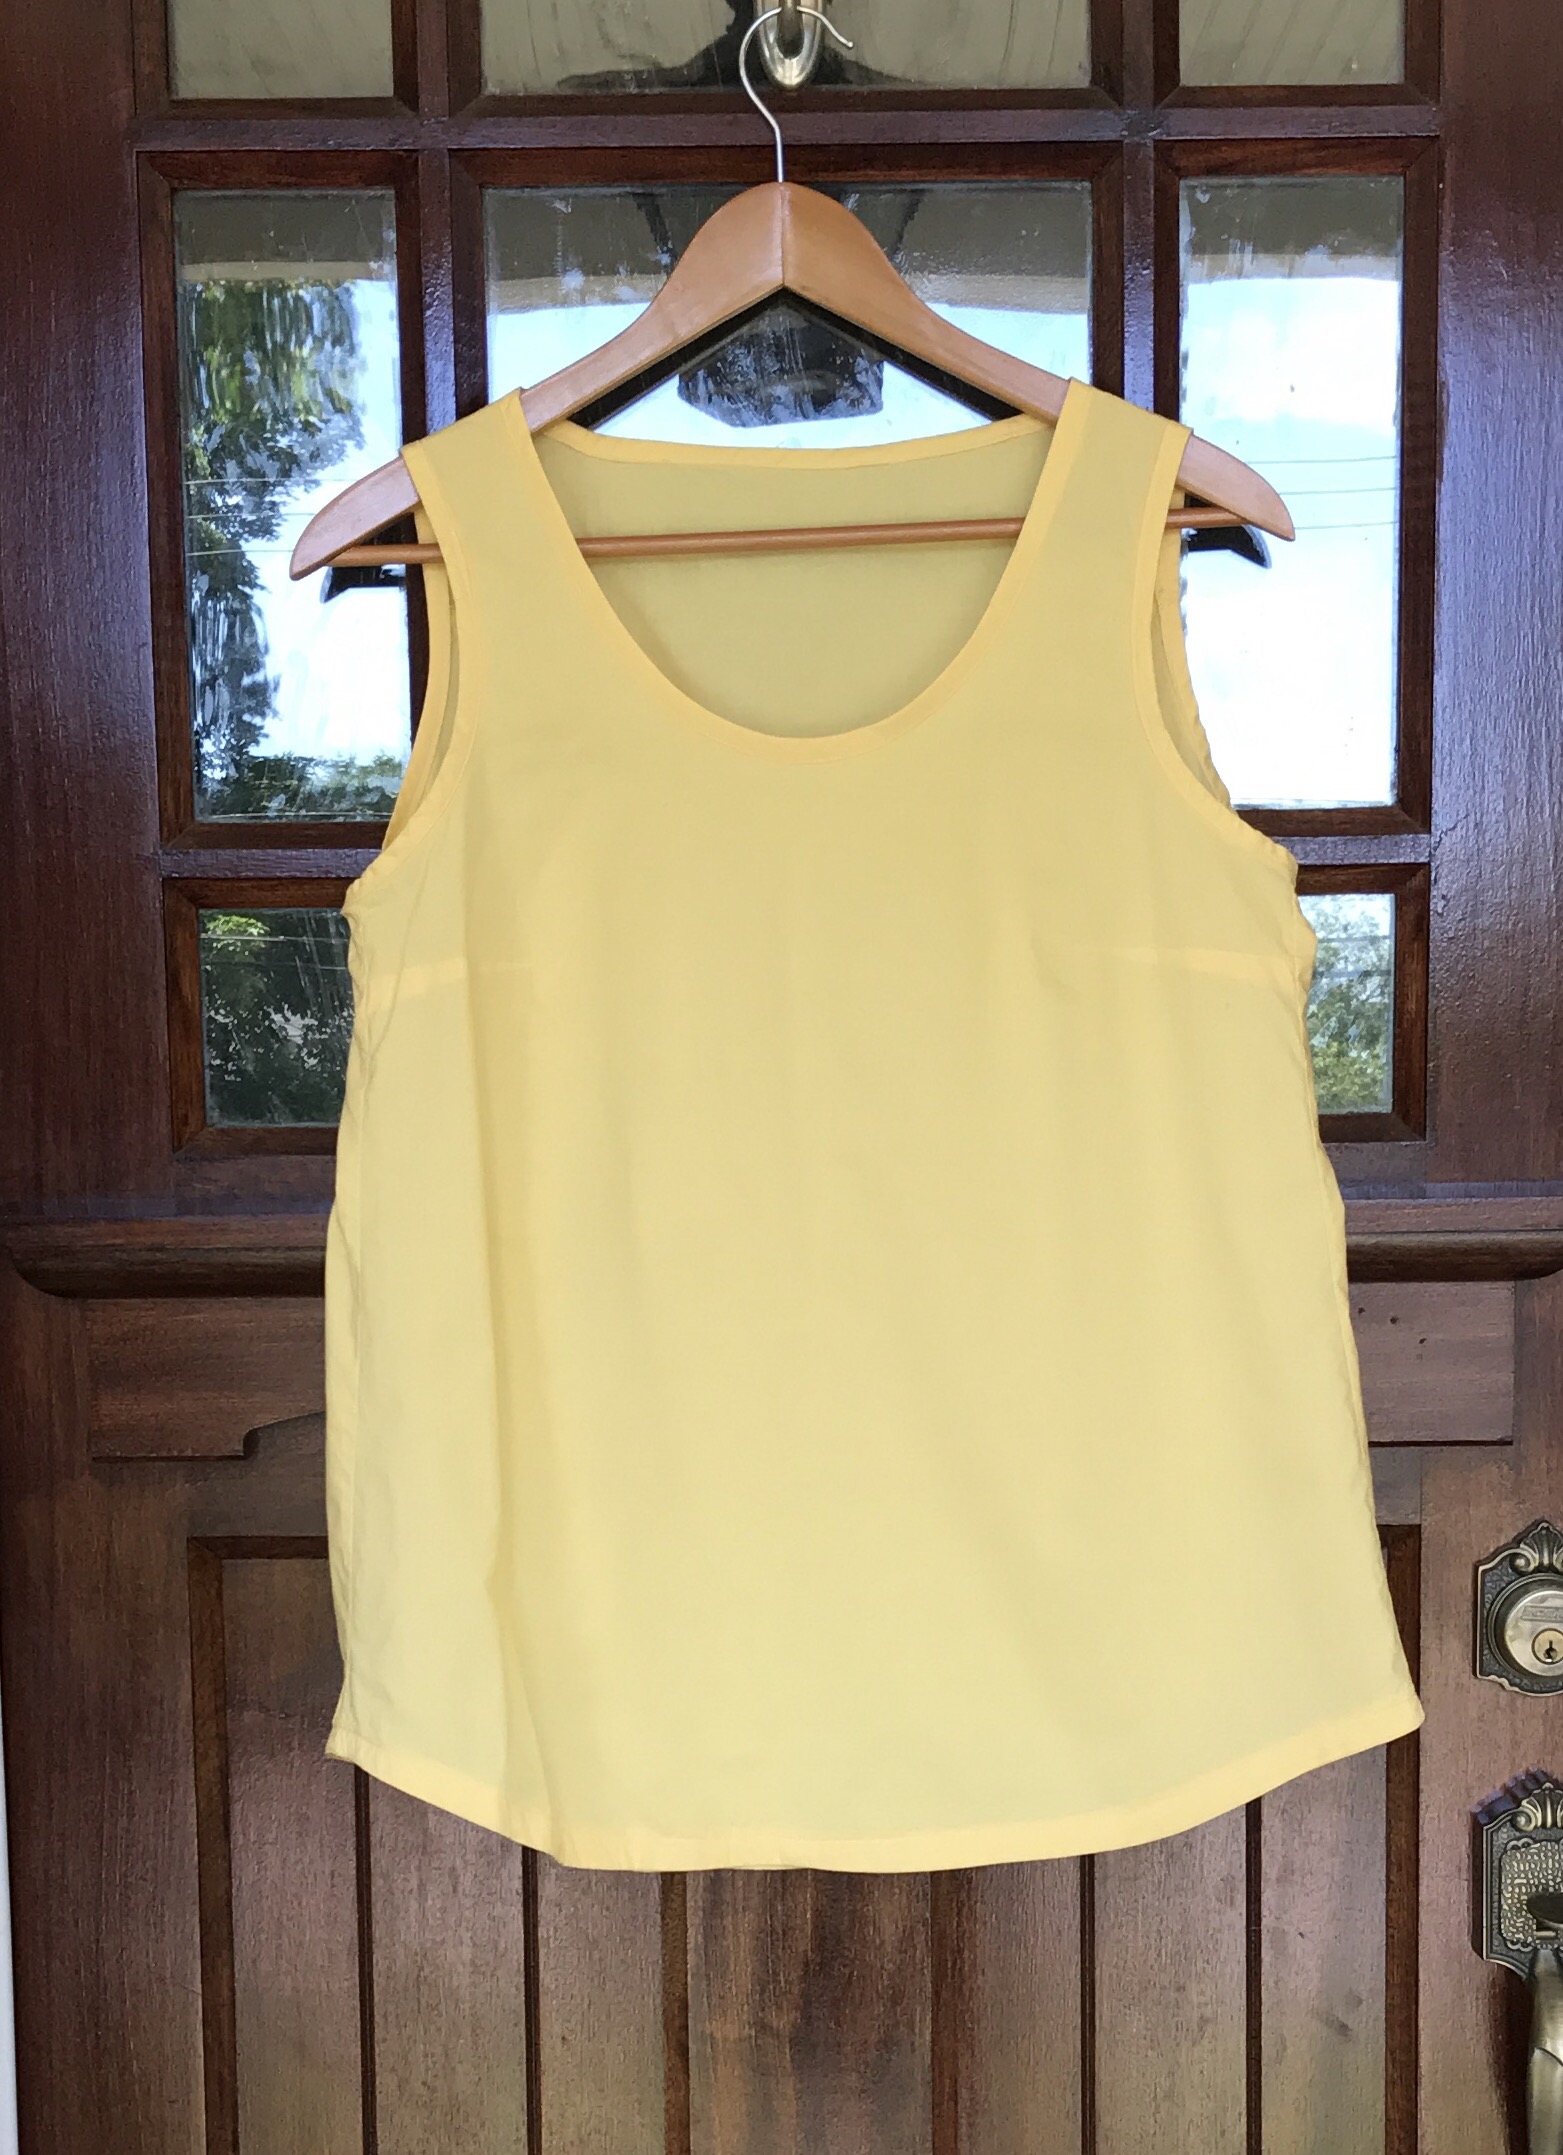
and as worn with my much loved Gemma Tank in white double gauze. It is a little wonky and sack-like but I love it.
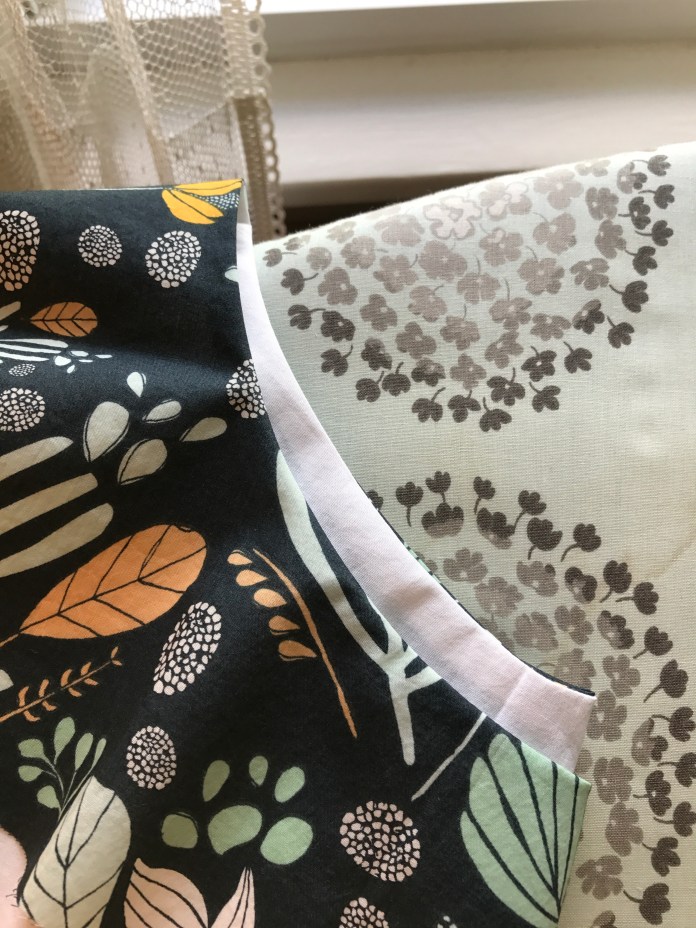
 I had altered this Floral Voile Ruby Dress to make it into a blouse during Me Made May since I hadn’t worn it much in the year since I sewed it. I happened to have it in my sewing room and tried on the York over the blouse and realized it was a perfect match for the linen so I used the extra fabric to make bias binding and a hem binding since the length was a bit short and I finished it in time to wear to my stepdaughters’ graduation.


Since I raced to finish this wearable muslin before going on vacation, I didn’t actually read the meticulous fitting instructions that Helen included in this pattern.
After vacation, I printed out another set of pattern pieces and decided that this time I would read and follow the instructions. I was also excited for pockets!
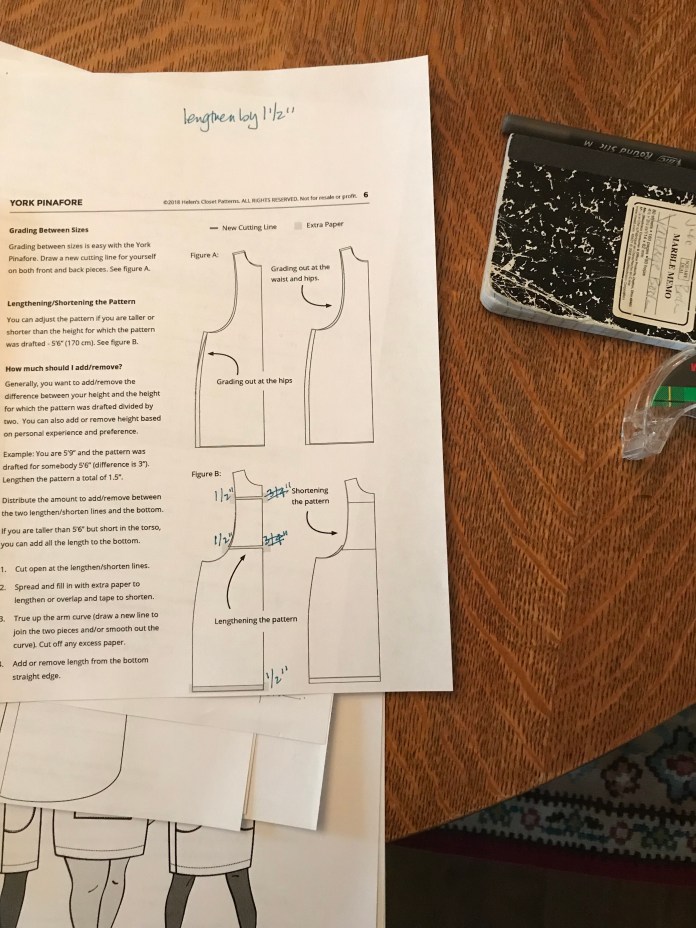
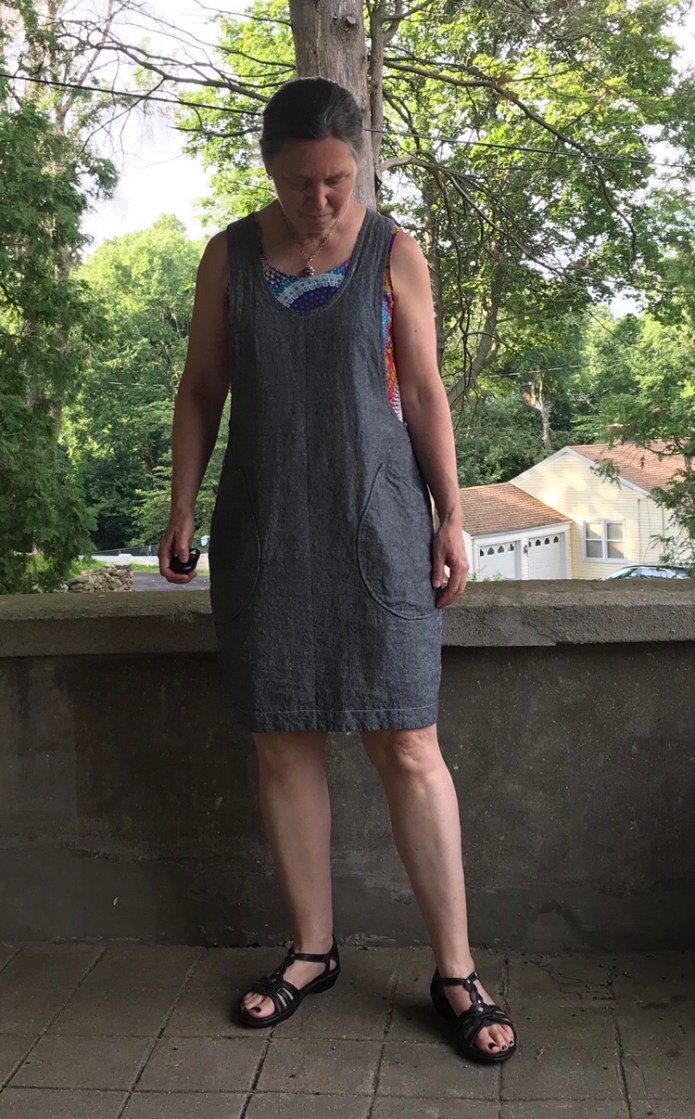
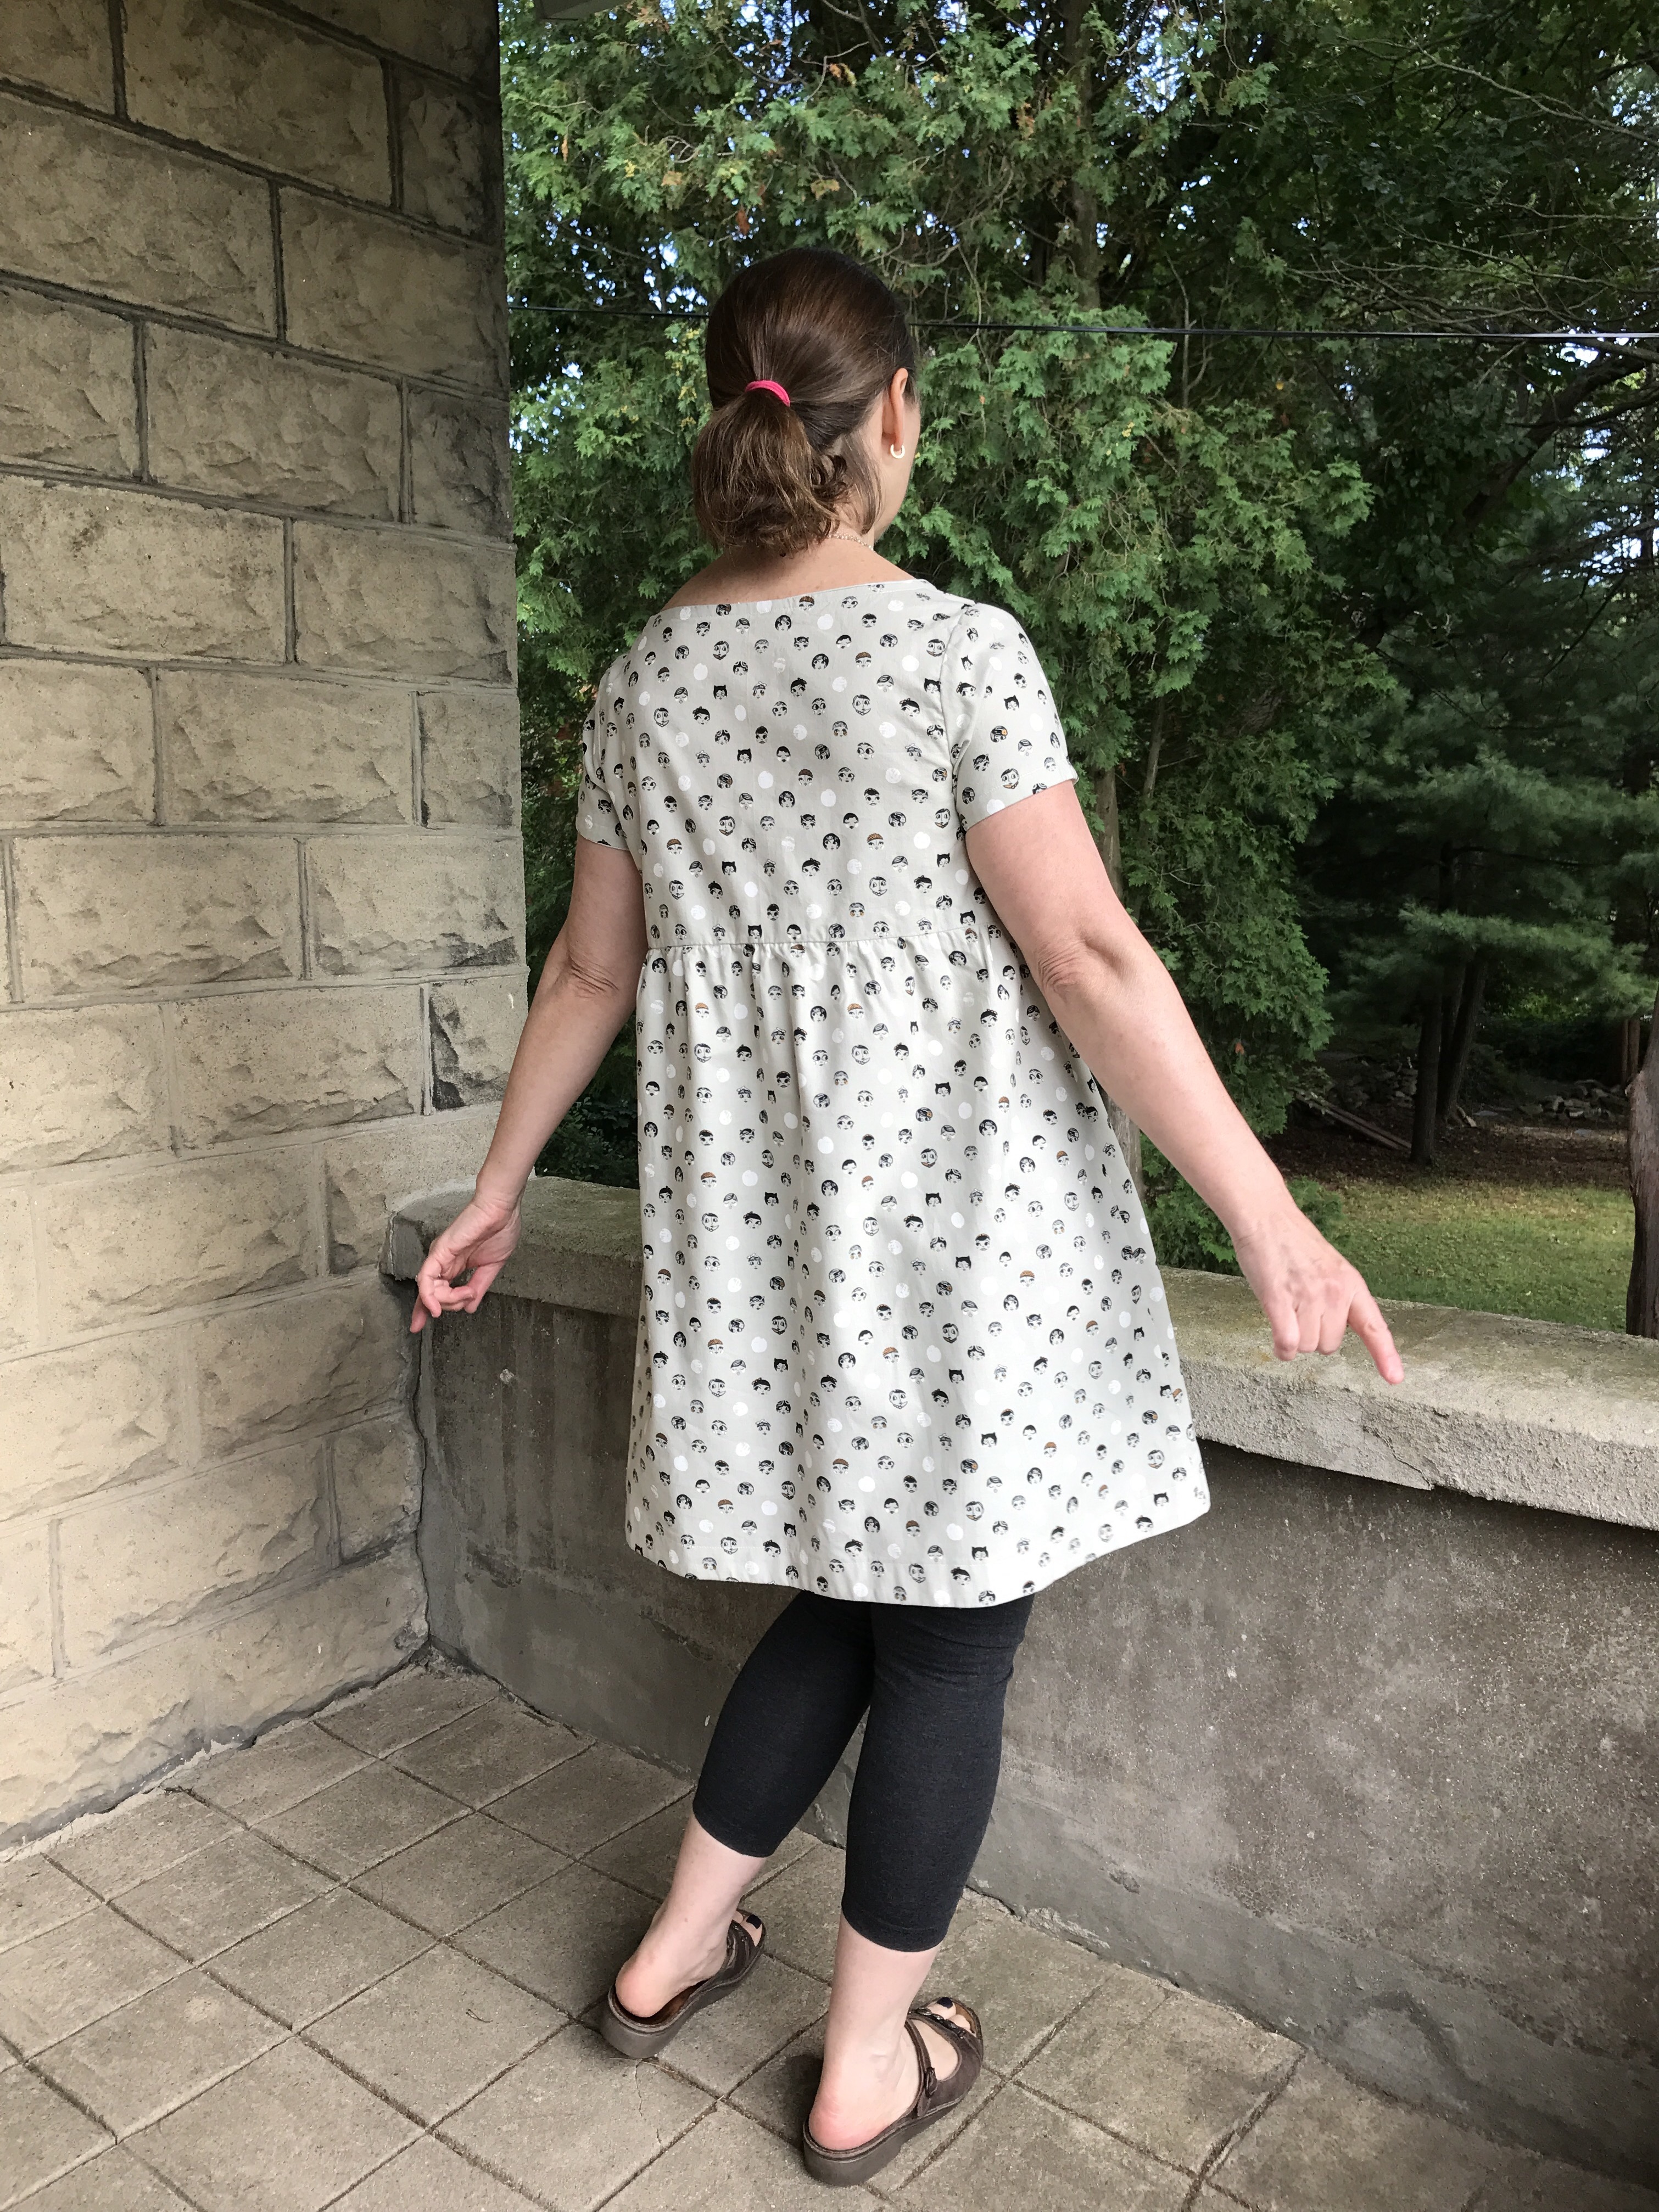
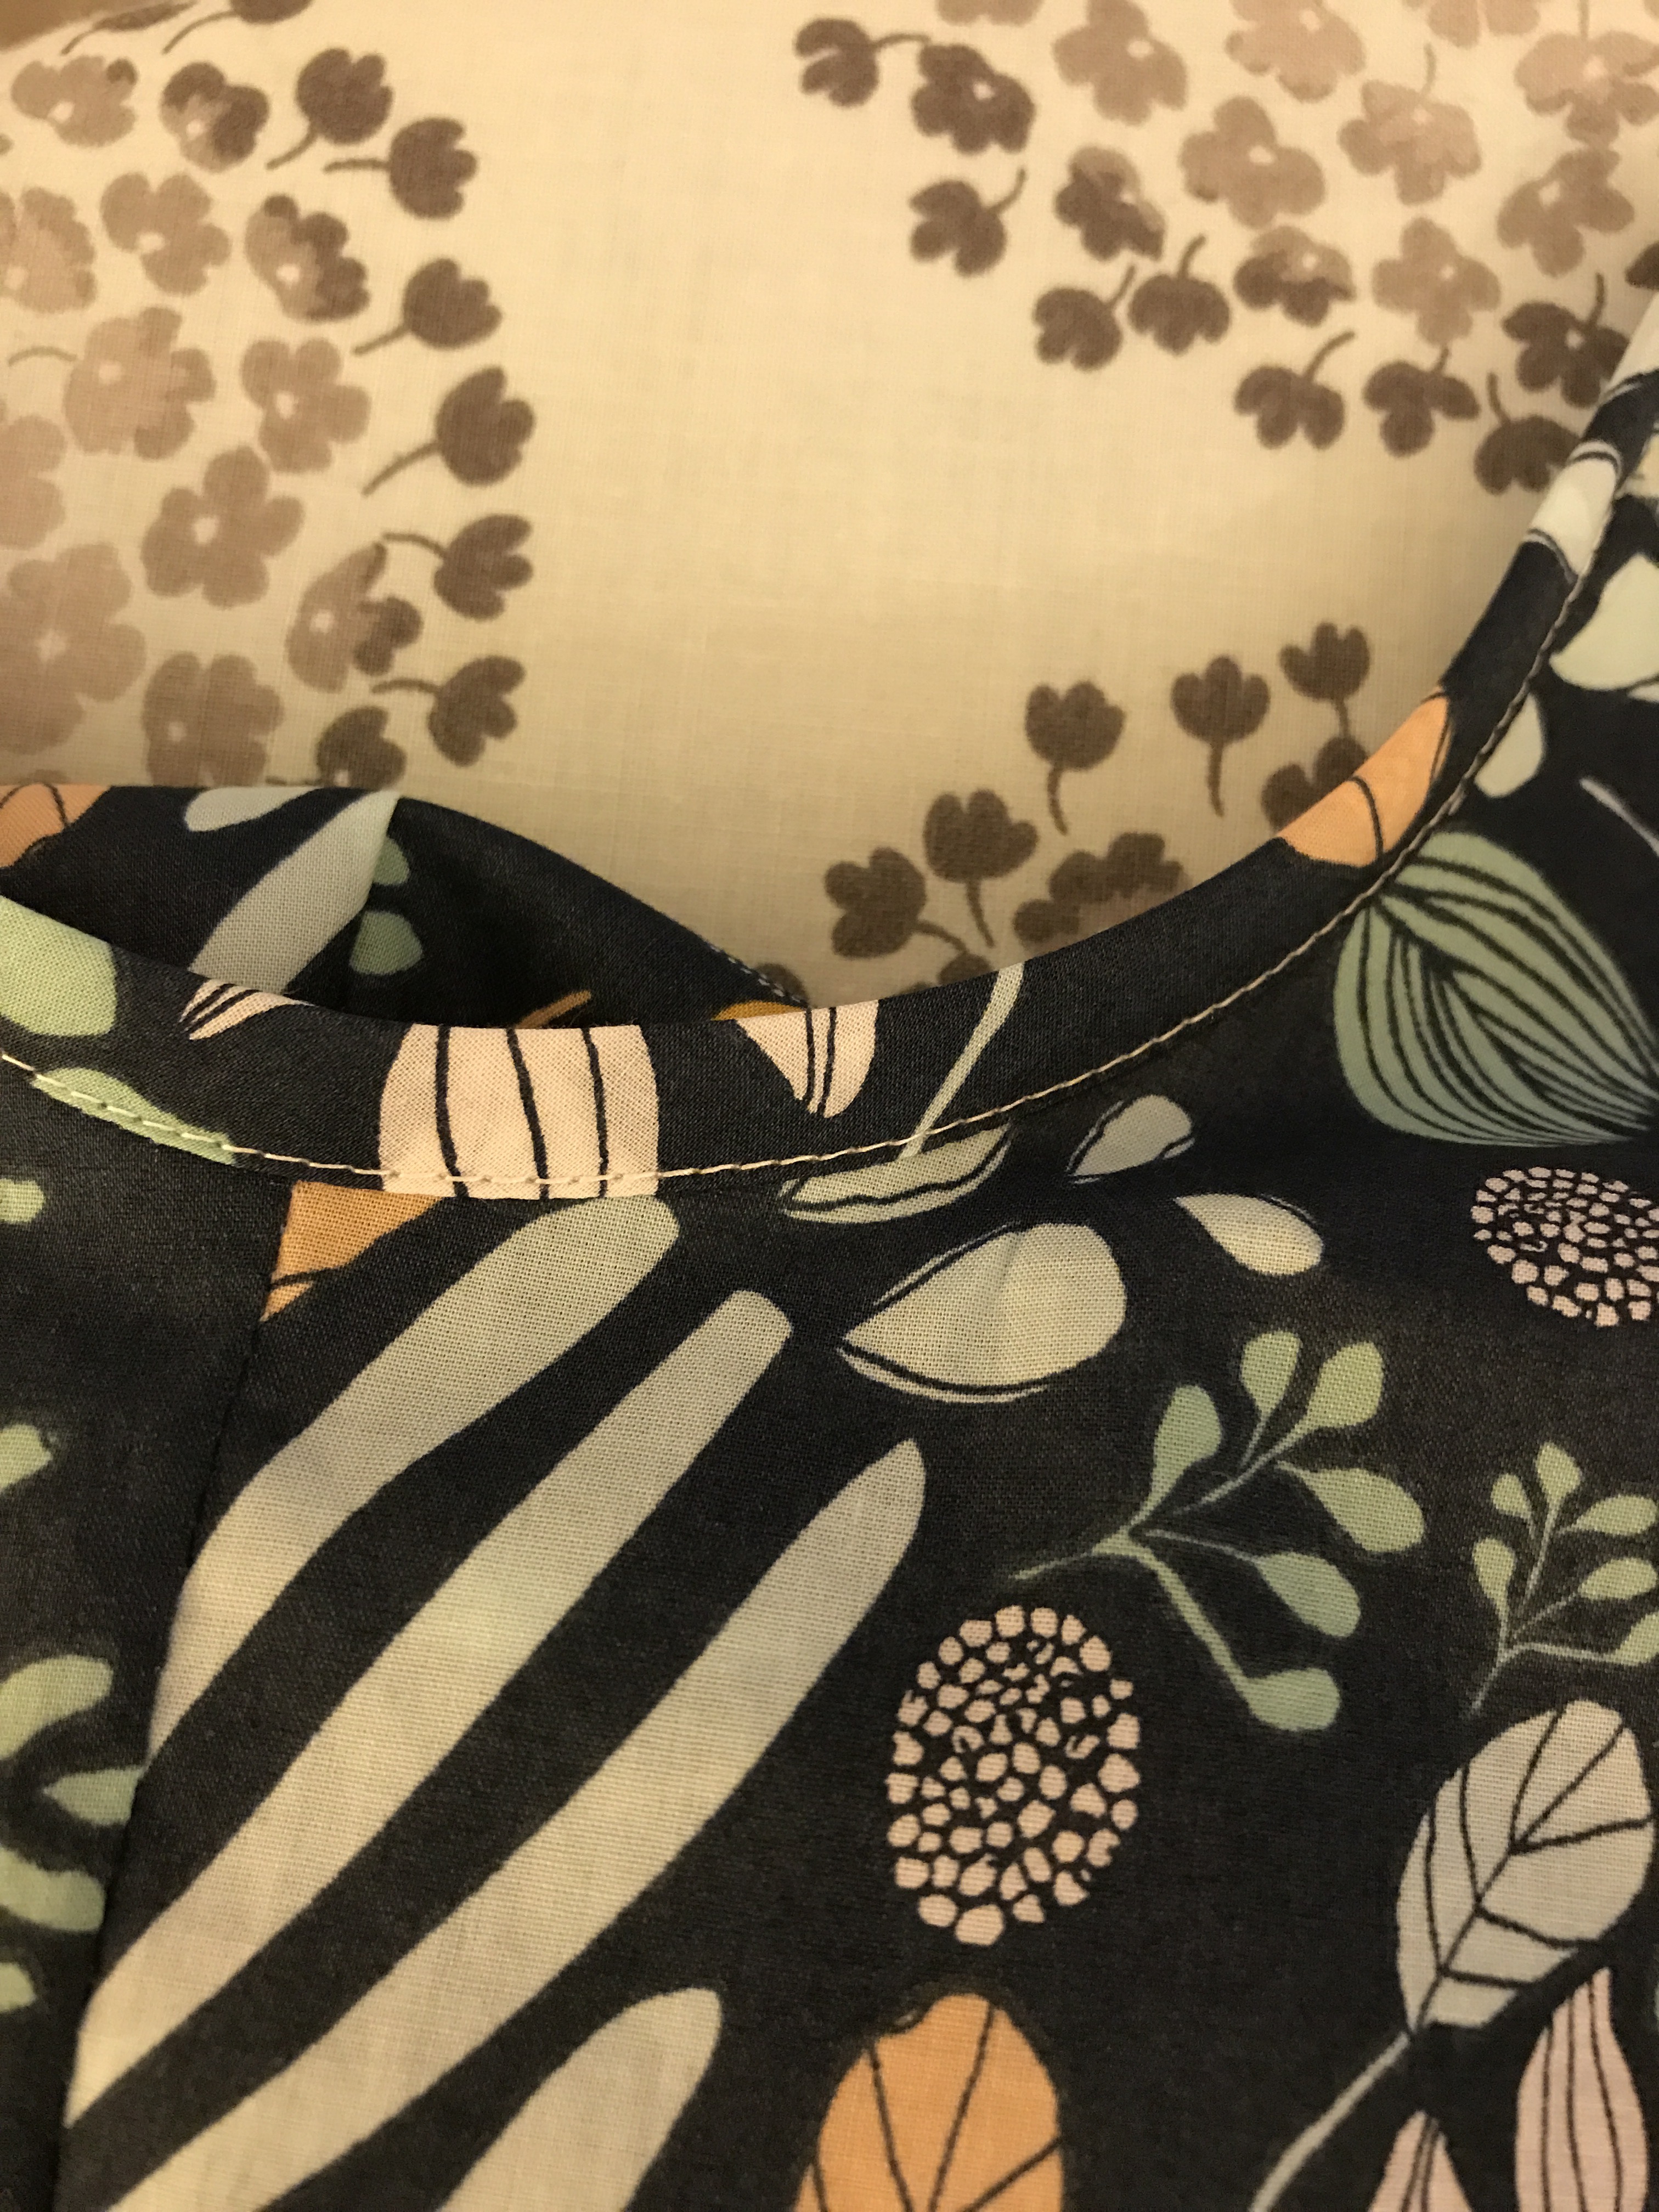
Based on the instructions, my measurements put me in a size Large and given my 5’9” height, Helen’s directions suggest adding 1.5 inches to the pattern by adding 1/2 an inch in three separate places. But when I lined up the version I had already made, it was much smaller than the new pattern that I had printed out and pieced together and in particular, the straps were shorter in my first version and I was pretty happy with where the upper part of the skirt hit my torso on version one. I actually think with my long torso it is sometimes more flattering to have the waist of the garment hit a little higher than my natural waist. So despite the really wonderful, logical instructions, I did not add any length to the straps of the pattern and just cut the pattern out between the M and L lines except for the straps which I cut on the M line at the top and the L lines along the armholes to add a bit of width to the straps. Since the new printed pattern was so much longer than the version I had already sewn, I just cut along the L hem line and decided to sew it up and see what happened. As I did with version 1, I drew a new curve for the neckline about half-way between the two versions of the pattern.


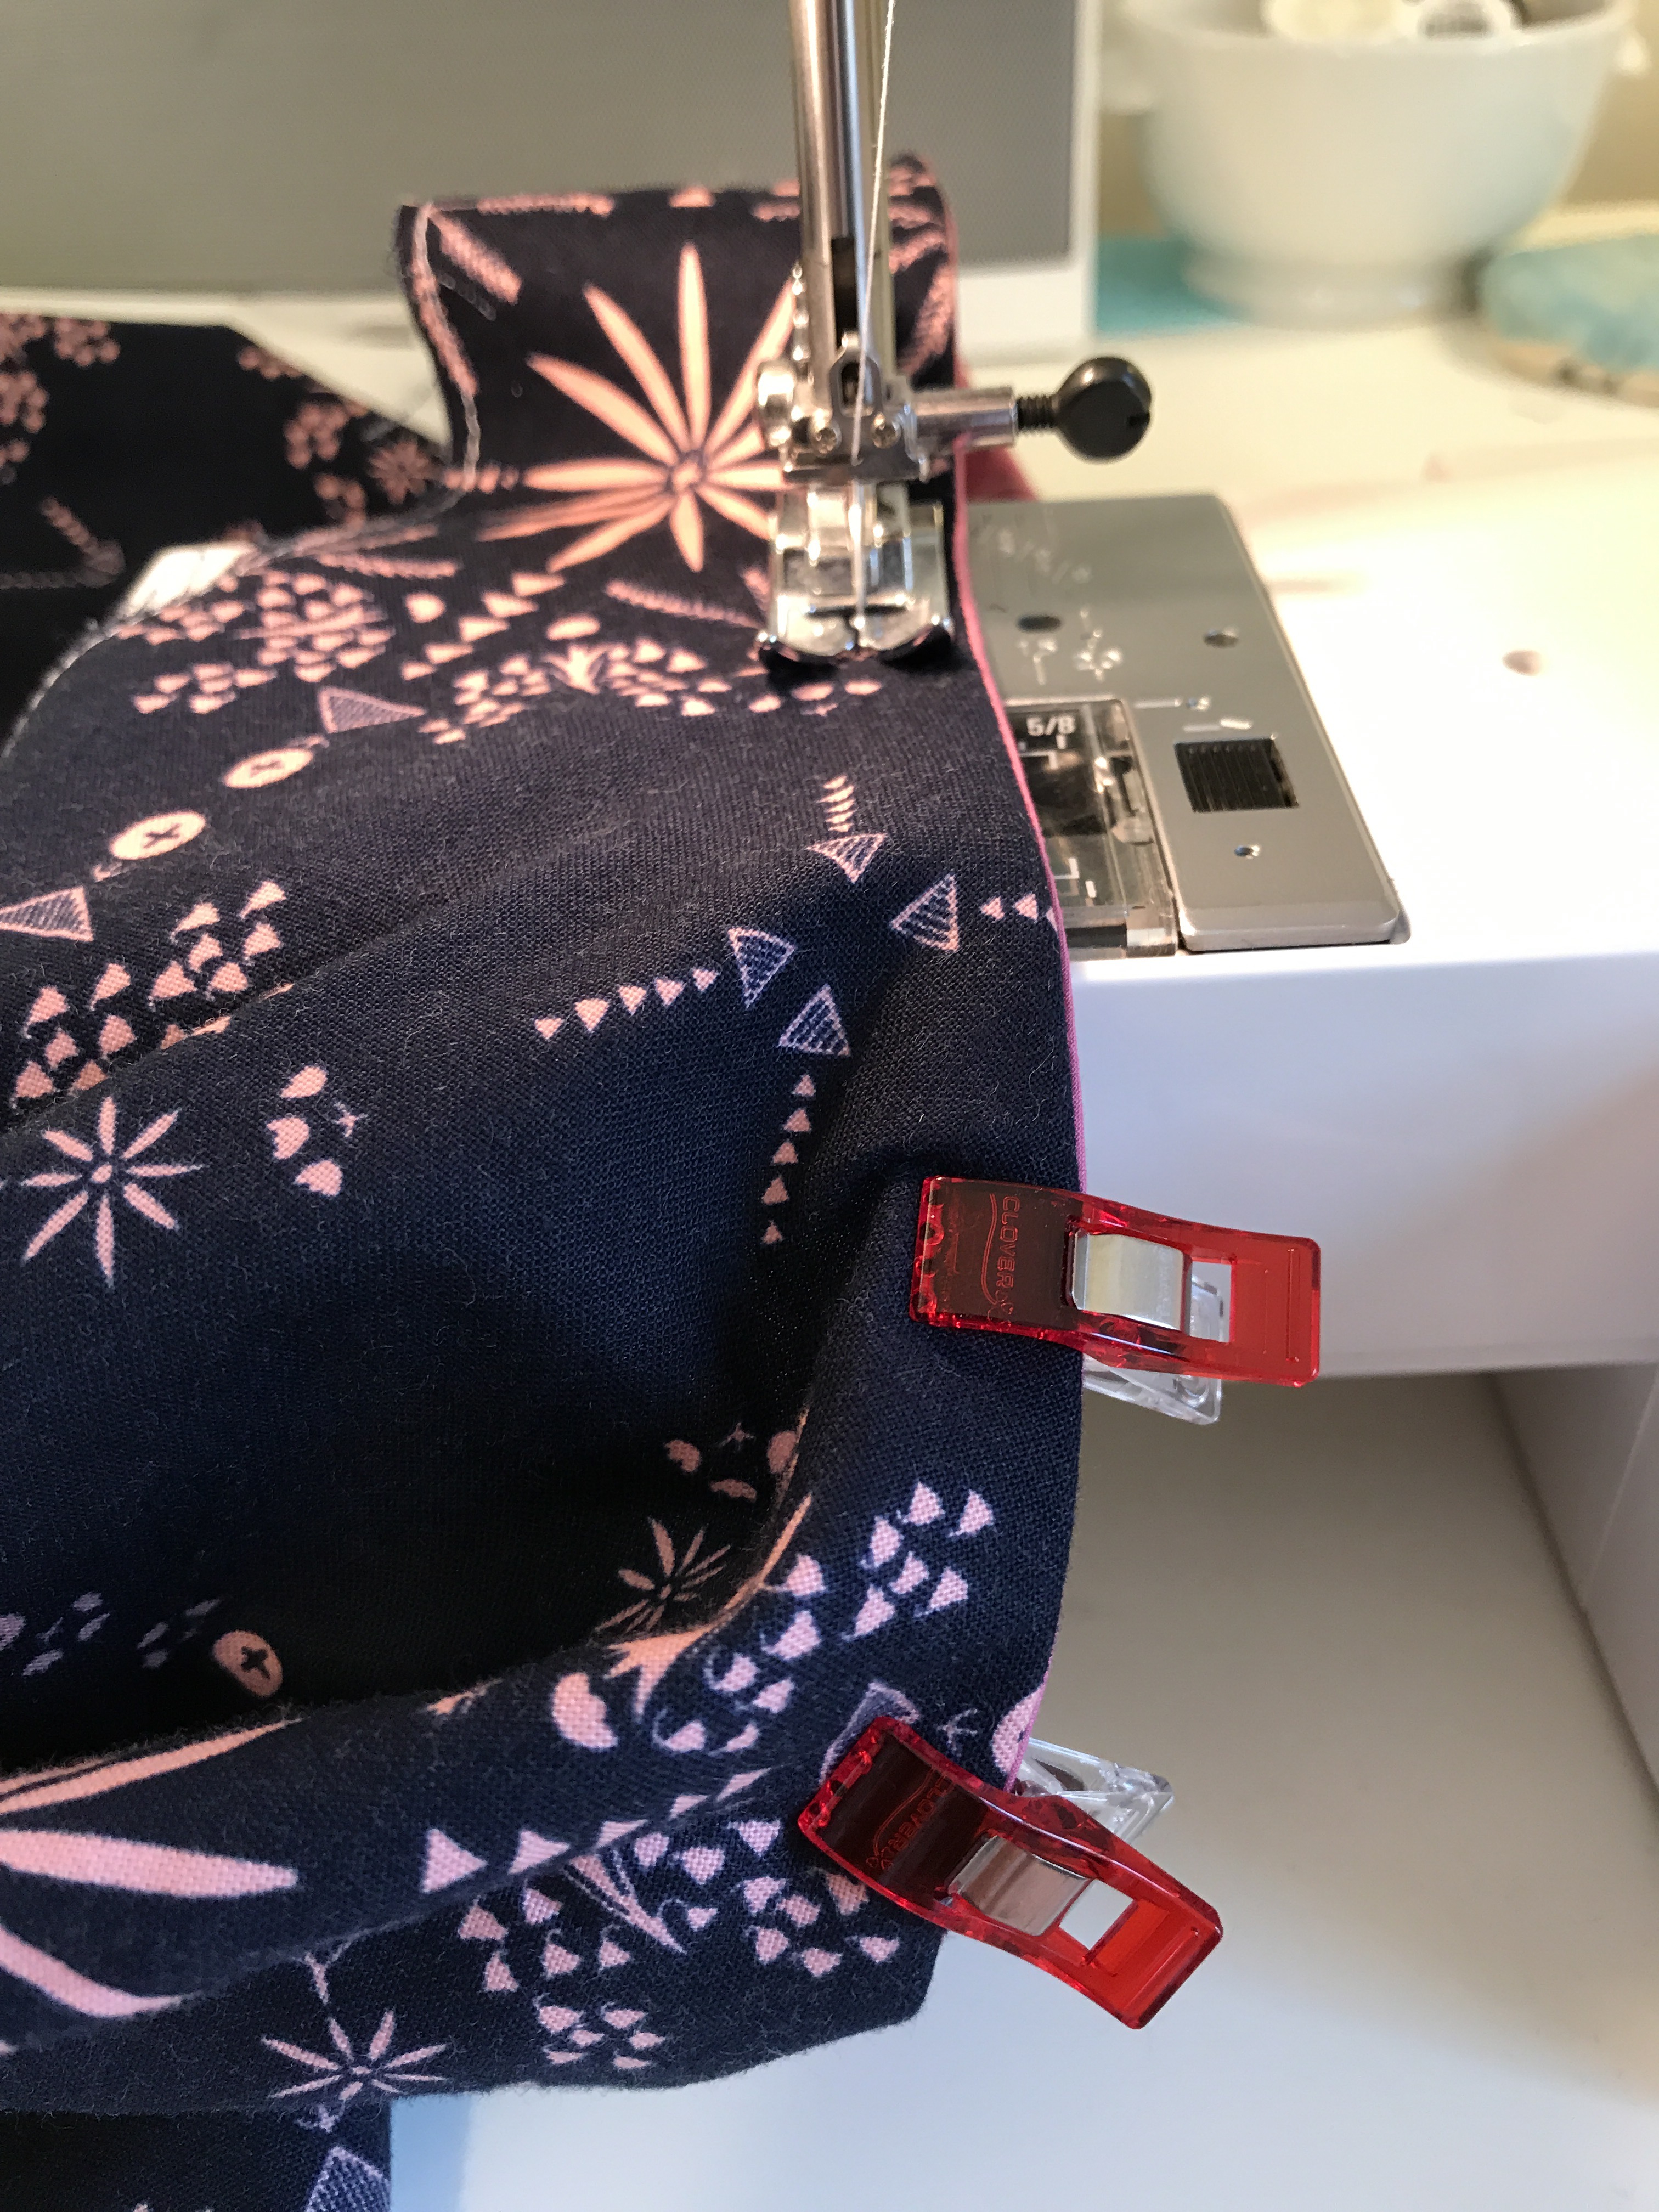
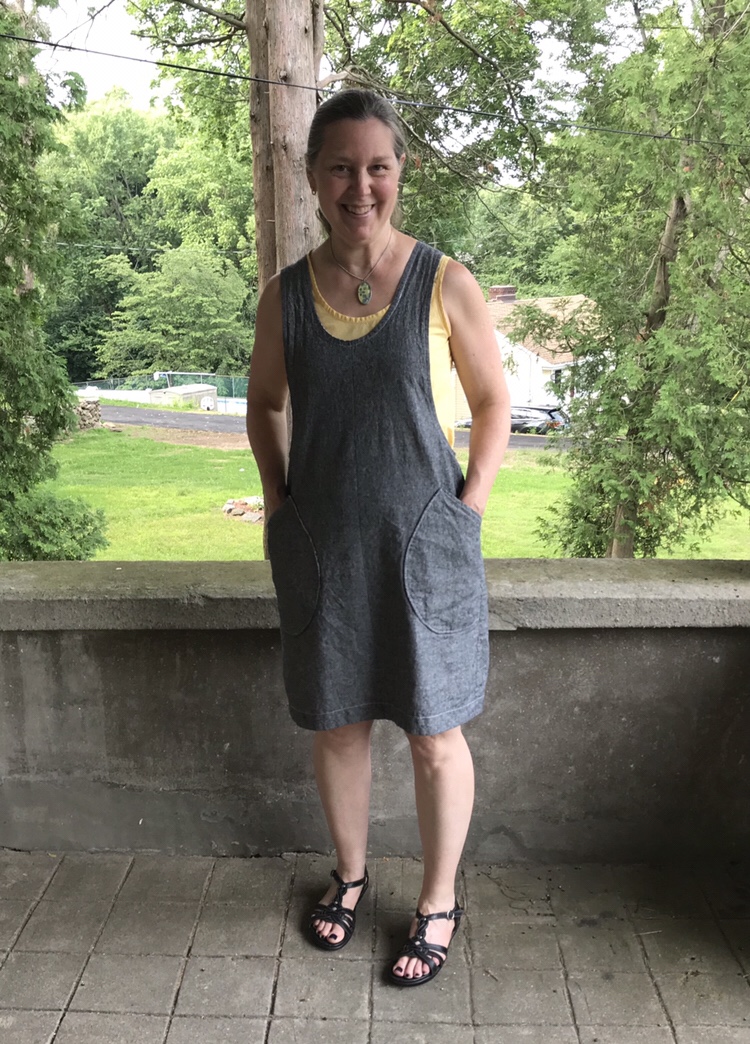
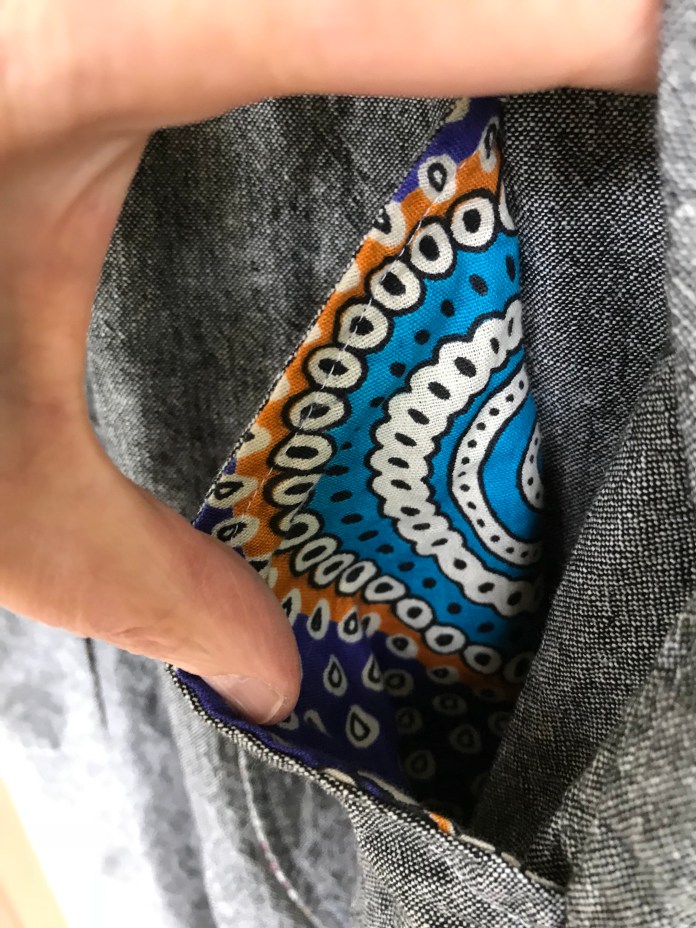
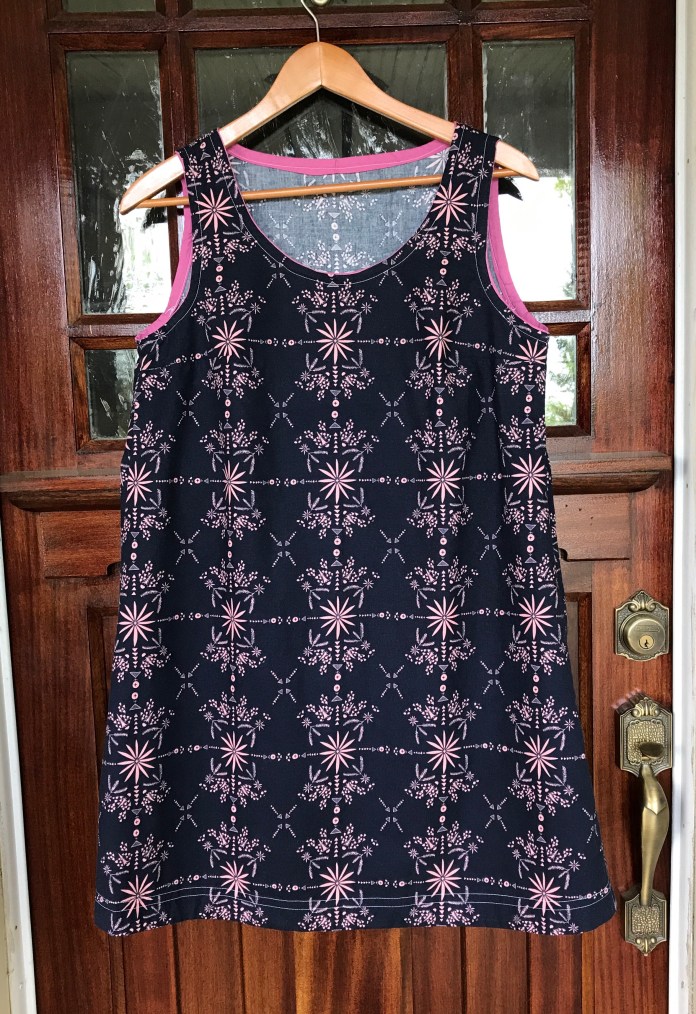
I decided to go for broke and sew French seams even though they always take more than 5/8 inch when I sew them (I have a hard time enclosing all the fraying edges with the 1/4 and 3/8 seams used to create French seams as Helen instructs in the pattern. I ended up sewing a 3/8 seam with wrong sides together and then a 1/2 inch seam with right sides together since it seemed as though I would have lot of extra width. The finished version was longer than version one as planned but even with my 7/8 inch French seams, it was also more roomy. It did not completely make sense but I figured I must have made more adjustments than I realized with my first version- it was such a blur. I tried on version 2 and took pictures. I liked it but did not love it because the linen-cotton blend I used for version 2 was more stiff than the linen I used for version 1 and I felt that overall, the finished garment was less flattering. Here it is with another favorite Gemma tank. I used quilting cotton for the top-stitching to accent the design features and this version had pockets but I didn’t like it as much because it was bigger and didn’t drape as nicely and felt a bit more dowdy.

I had even lined the pockets using beautiful fabric given to me by a friend (leftover from a Gemma tank that I sewed during Me Made May.)
 I was a bit disappointed but I chalked it up to a learning experience and figured I would try washing it and see if the fabric would soften up a bit.
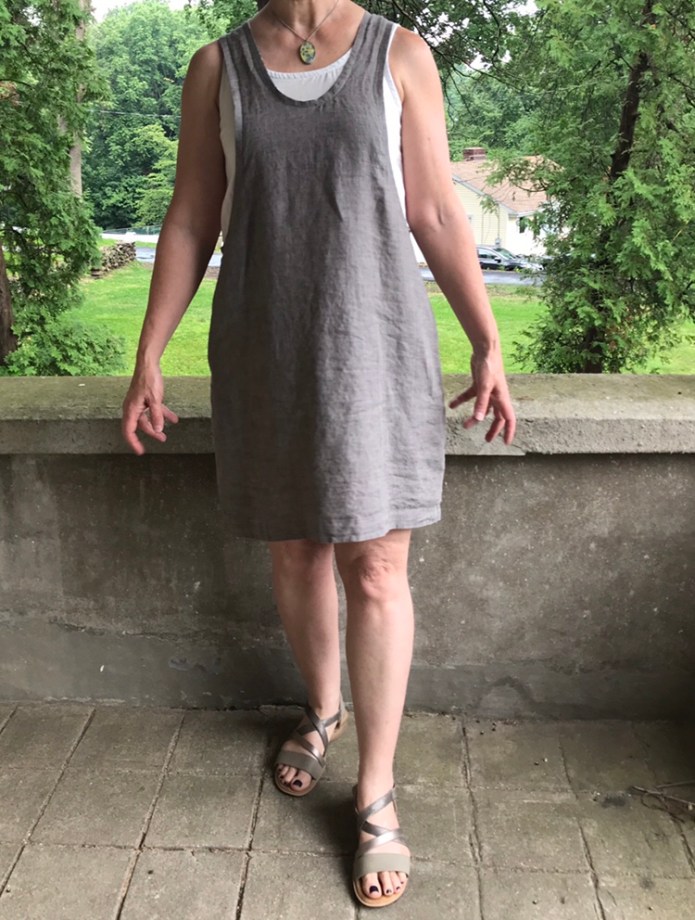
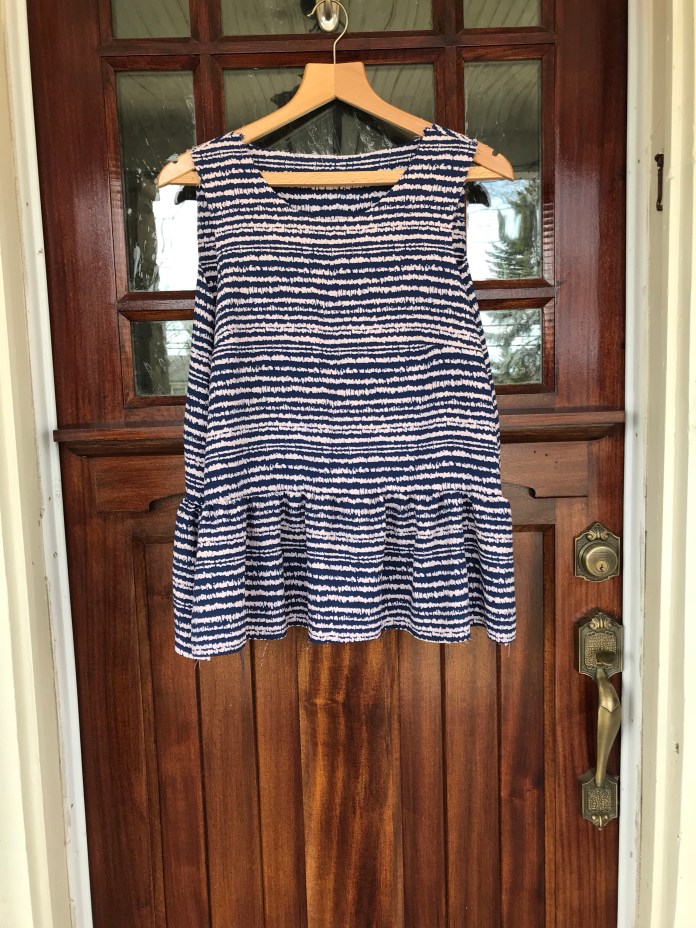
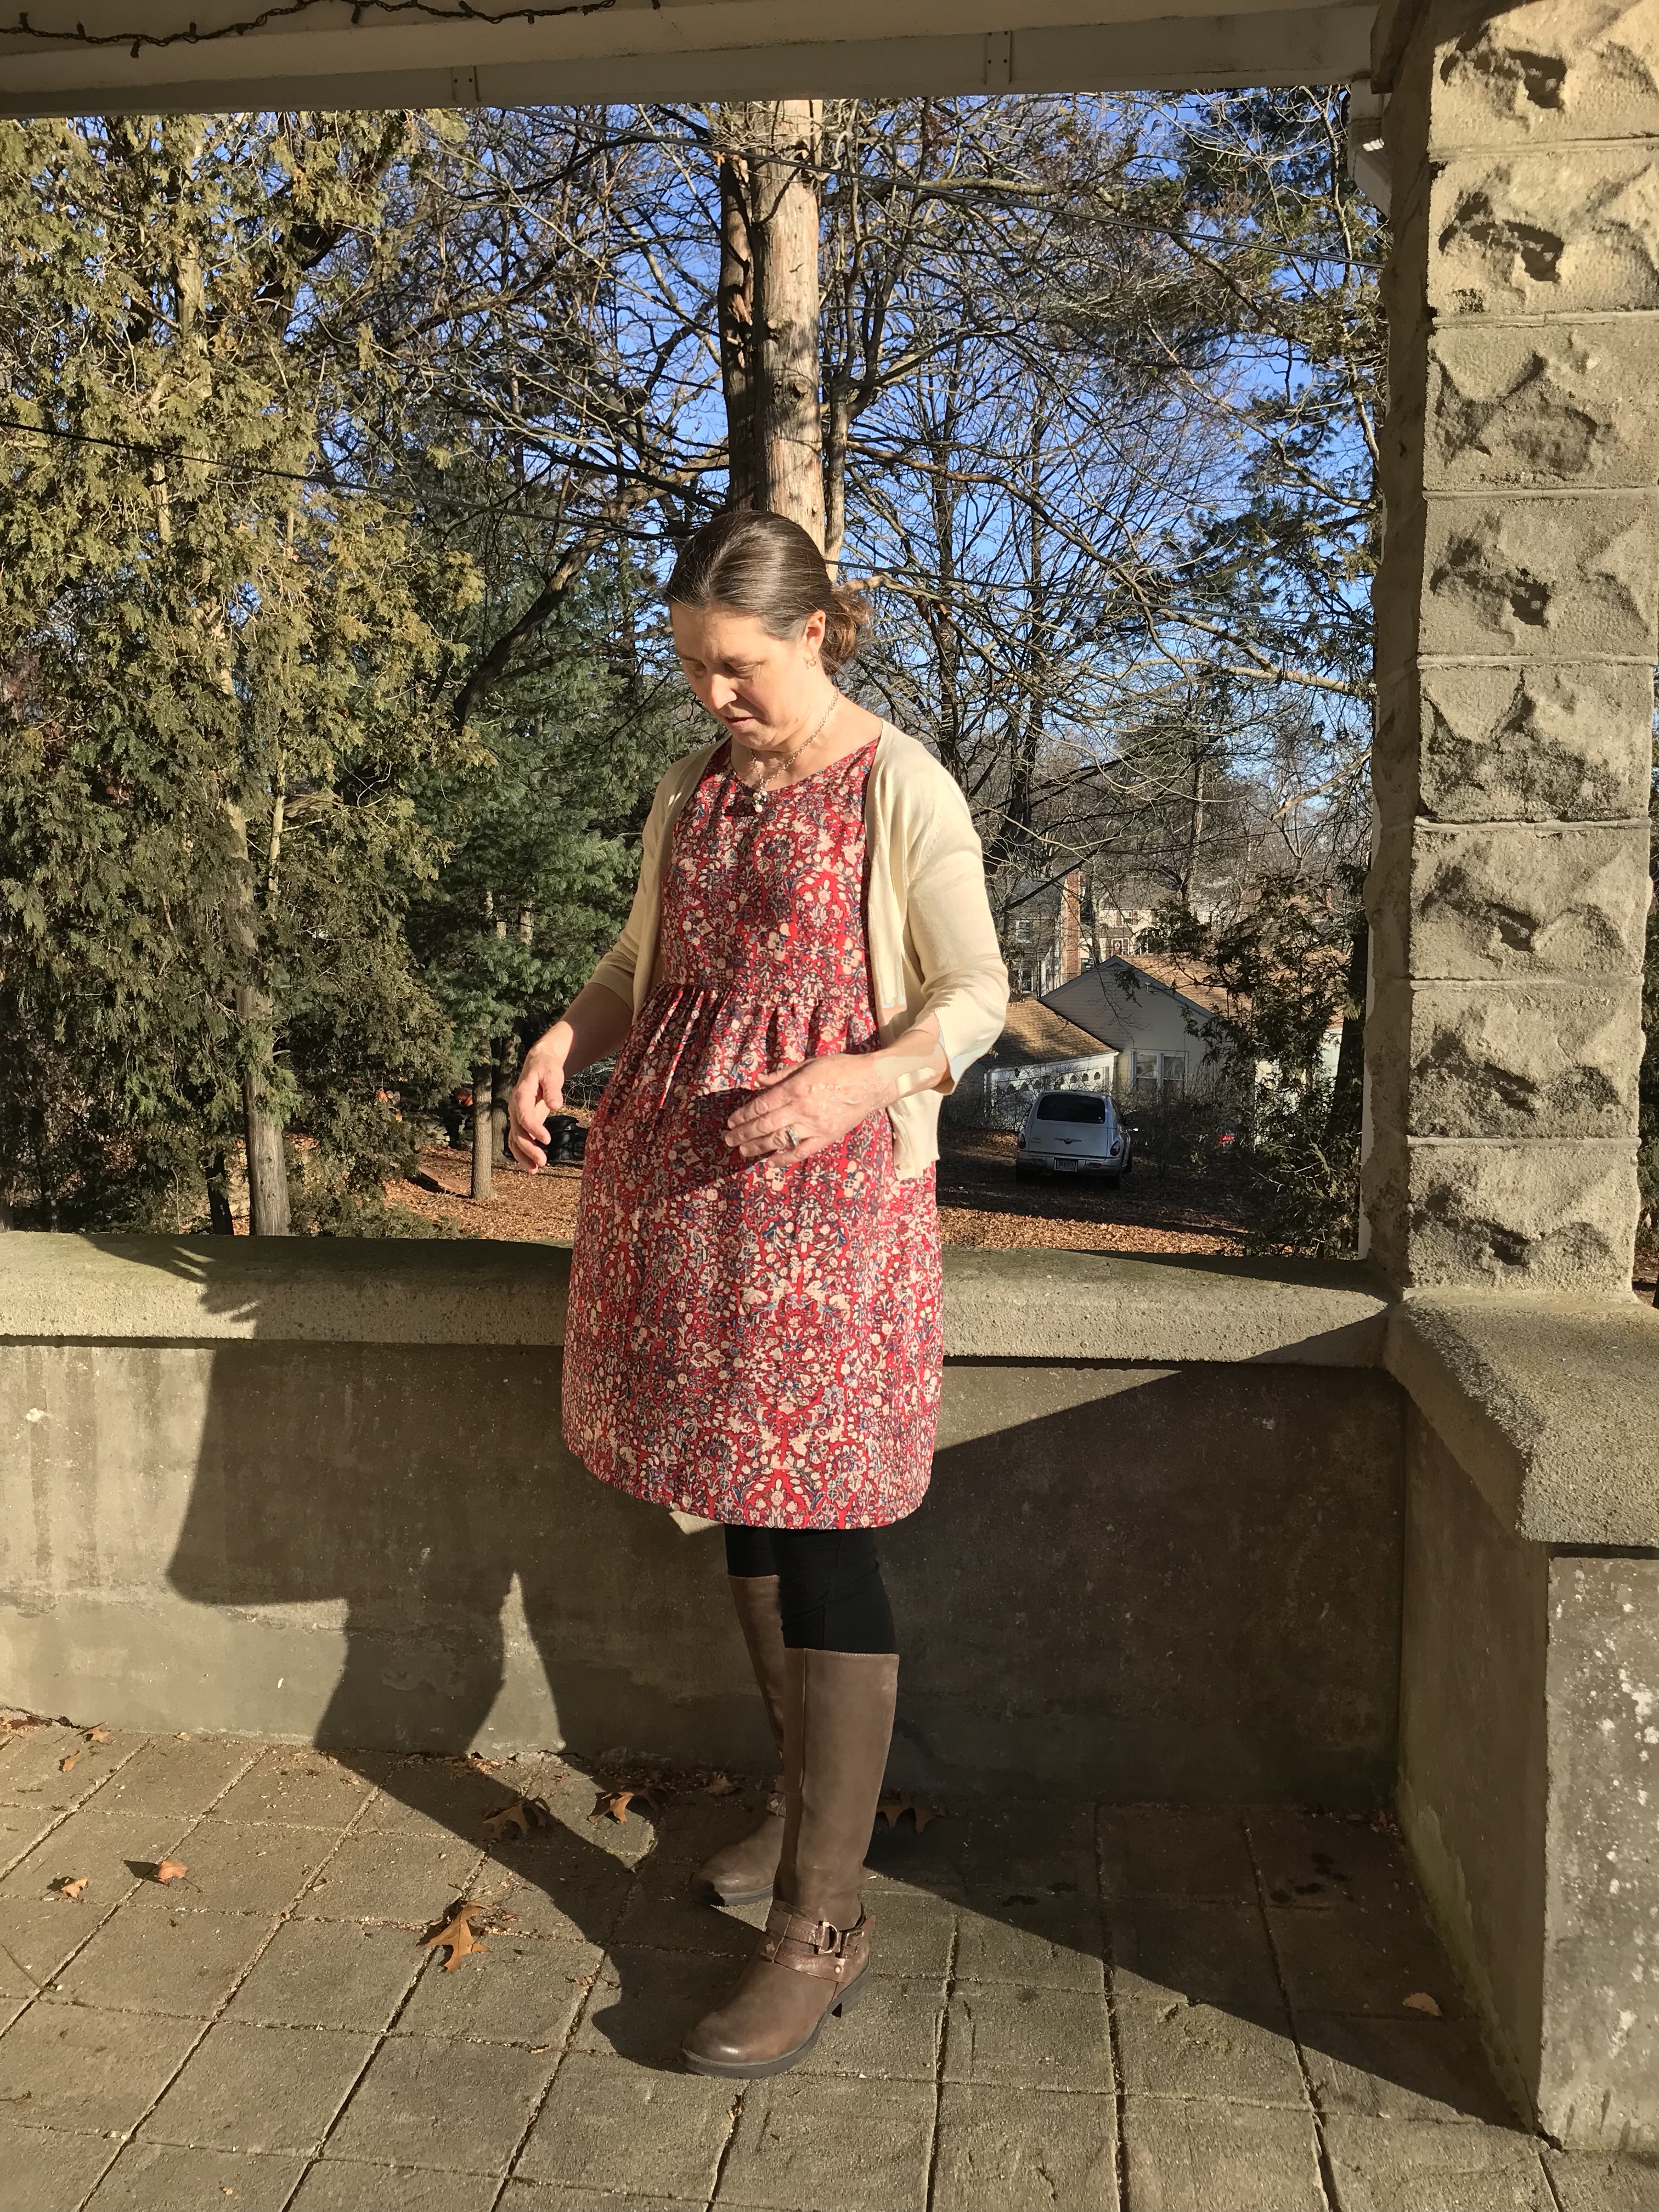
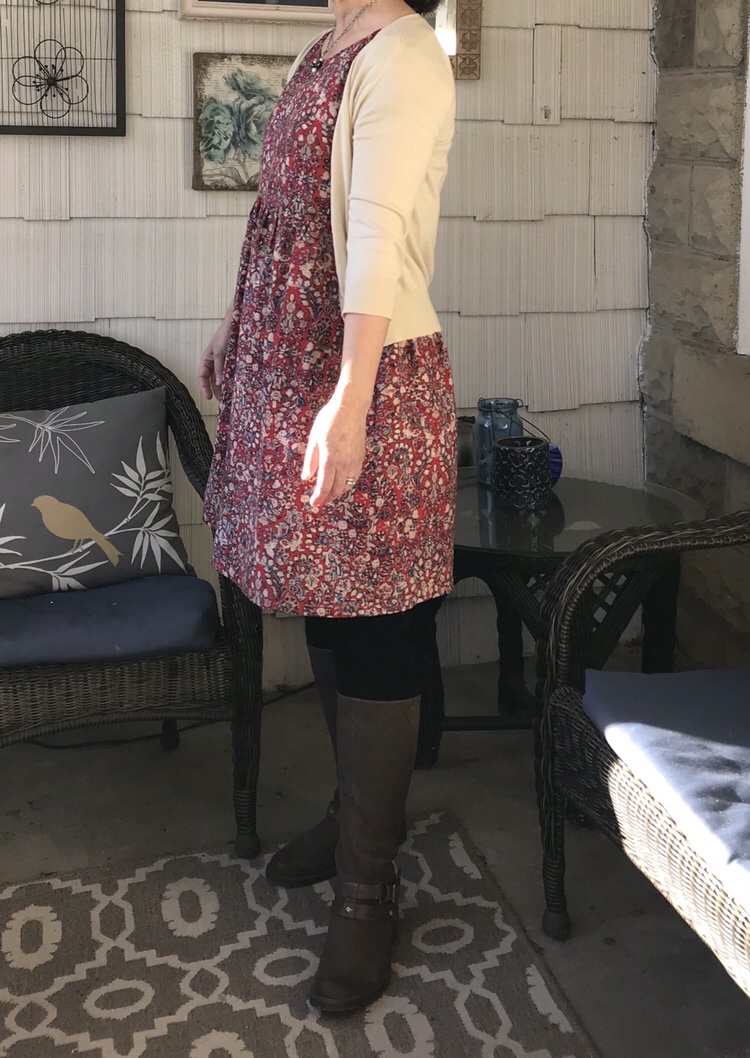
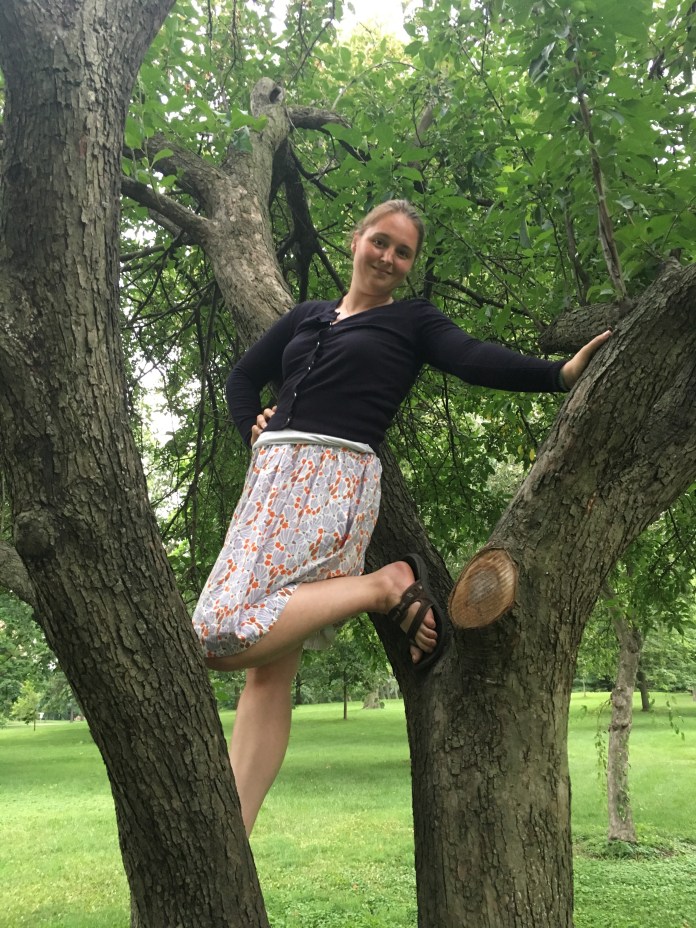
And YAY! it not only softened up but it shrunk as well and now I love it! Go figure! Here are more pictures with more Gemmas. It is just a bit shorter, just a bit more fitted and much drapier. It is like a whole new garment.


 So maybe the fabric I cut out hadn’t been pre-washed (although I am almost positive I had washed it before I put it away last year) or maybe this linen-cotton blend really shrinks a lot? Either way, I am thrilled because after taking the time to line the pockets


and sew French seams and do all the things,


I am really happy with it. Now the only challenge is to figure out what to do about version 3. I am thinking that I will need to make more adjustments to my paper pattern. Such is the life a sewist.


In any event, I plan to wear this all summer. It goes with everything in my closet, especially my huge collection of Gemma Tanks.


Several years back I made many versions of the Made By Rae Gemma tank and I plan to wear my York every week this summer with a different Gemma. I think I have enough that I can wear a different combination every week. Want to join me? I will post every Tuesday with the hashtag #wearyouryorkday I actually have a couple of Gemmas cut out that I have been wanting to finish and this is just the incentive I need.
Congratulations to Helen on such a wonderful new pattern. I made four versions of the her Blackwood Cardigan this May and have more planned. She is on a roll!


 I finished sewing a boho blouse using the


 The Josephine is usually made with pleats but Rae posted a
 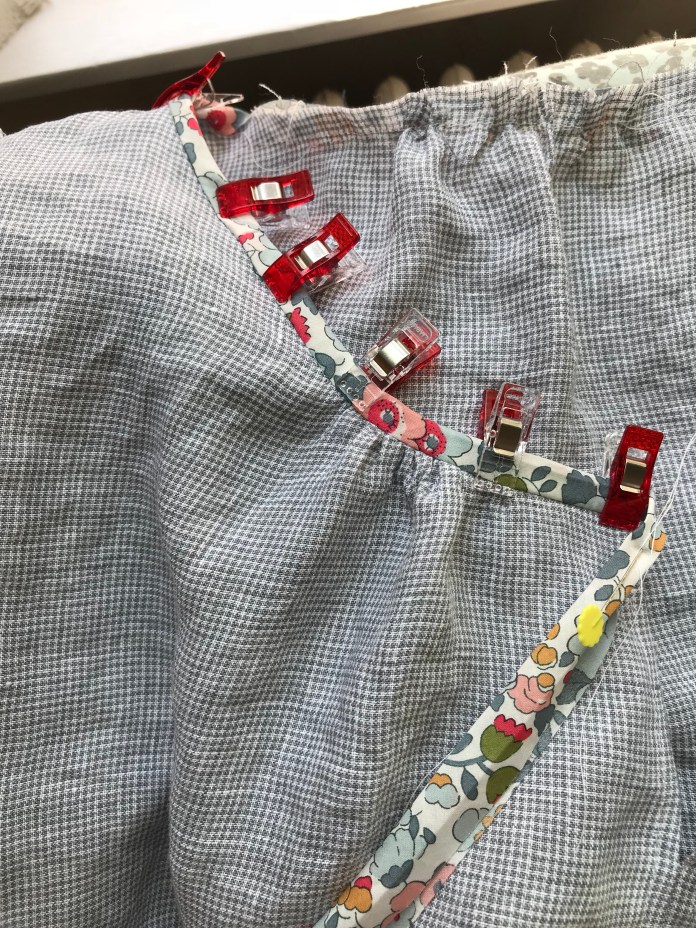 The actually cutting and sewing of the pattern is very straightforward. The front is sewn together and the back is one piece cut on the fold. You gather the fabric in the center back and the center of the two front pieces. You cut the two mirror halves of the front, one back piece and two sleeves.
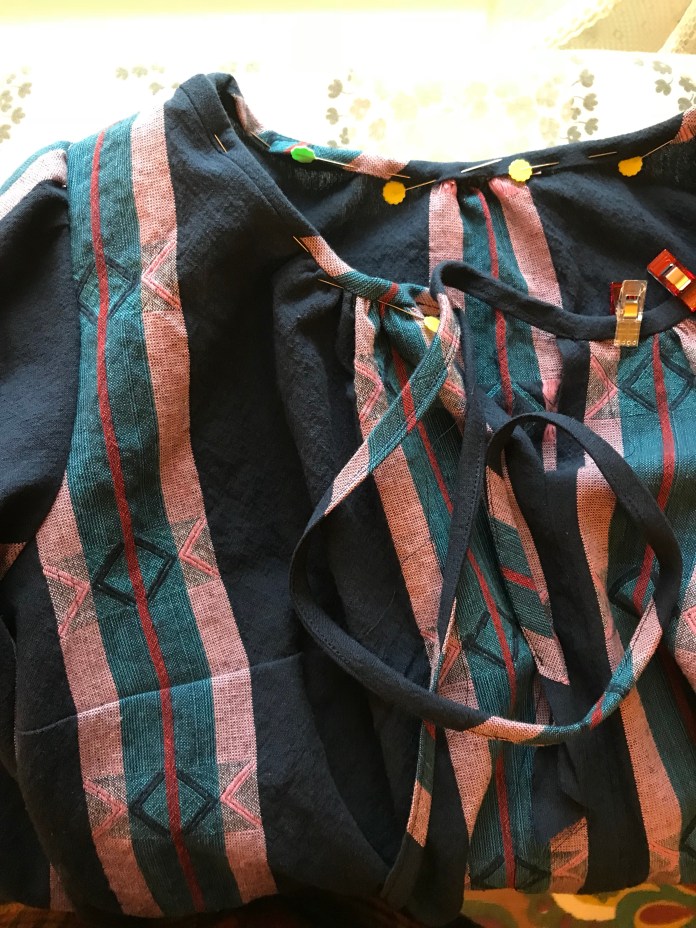
 I usually stitch just on the edge of the cuff, not in the ditch.
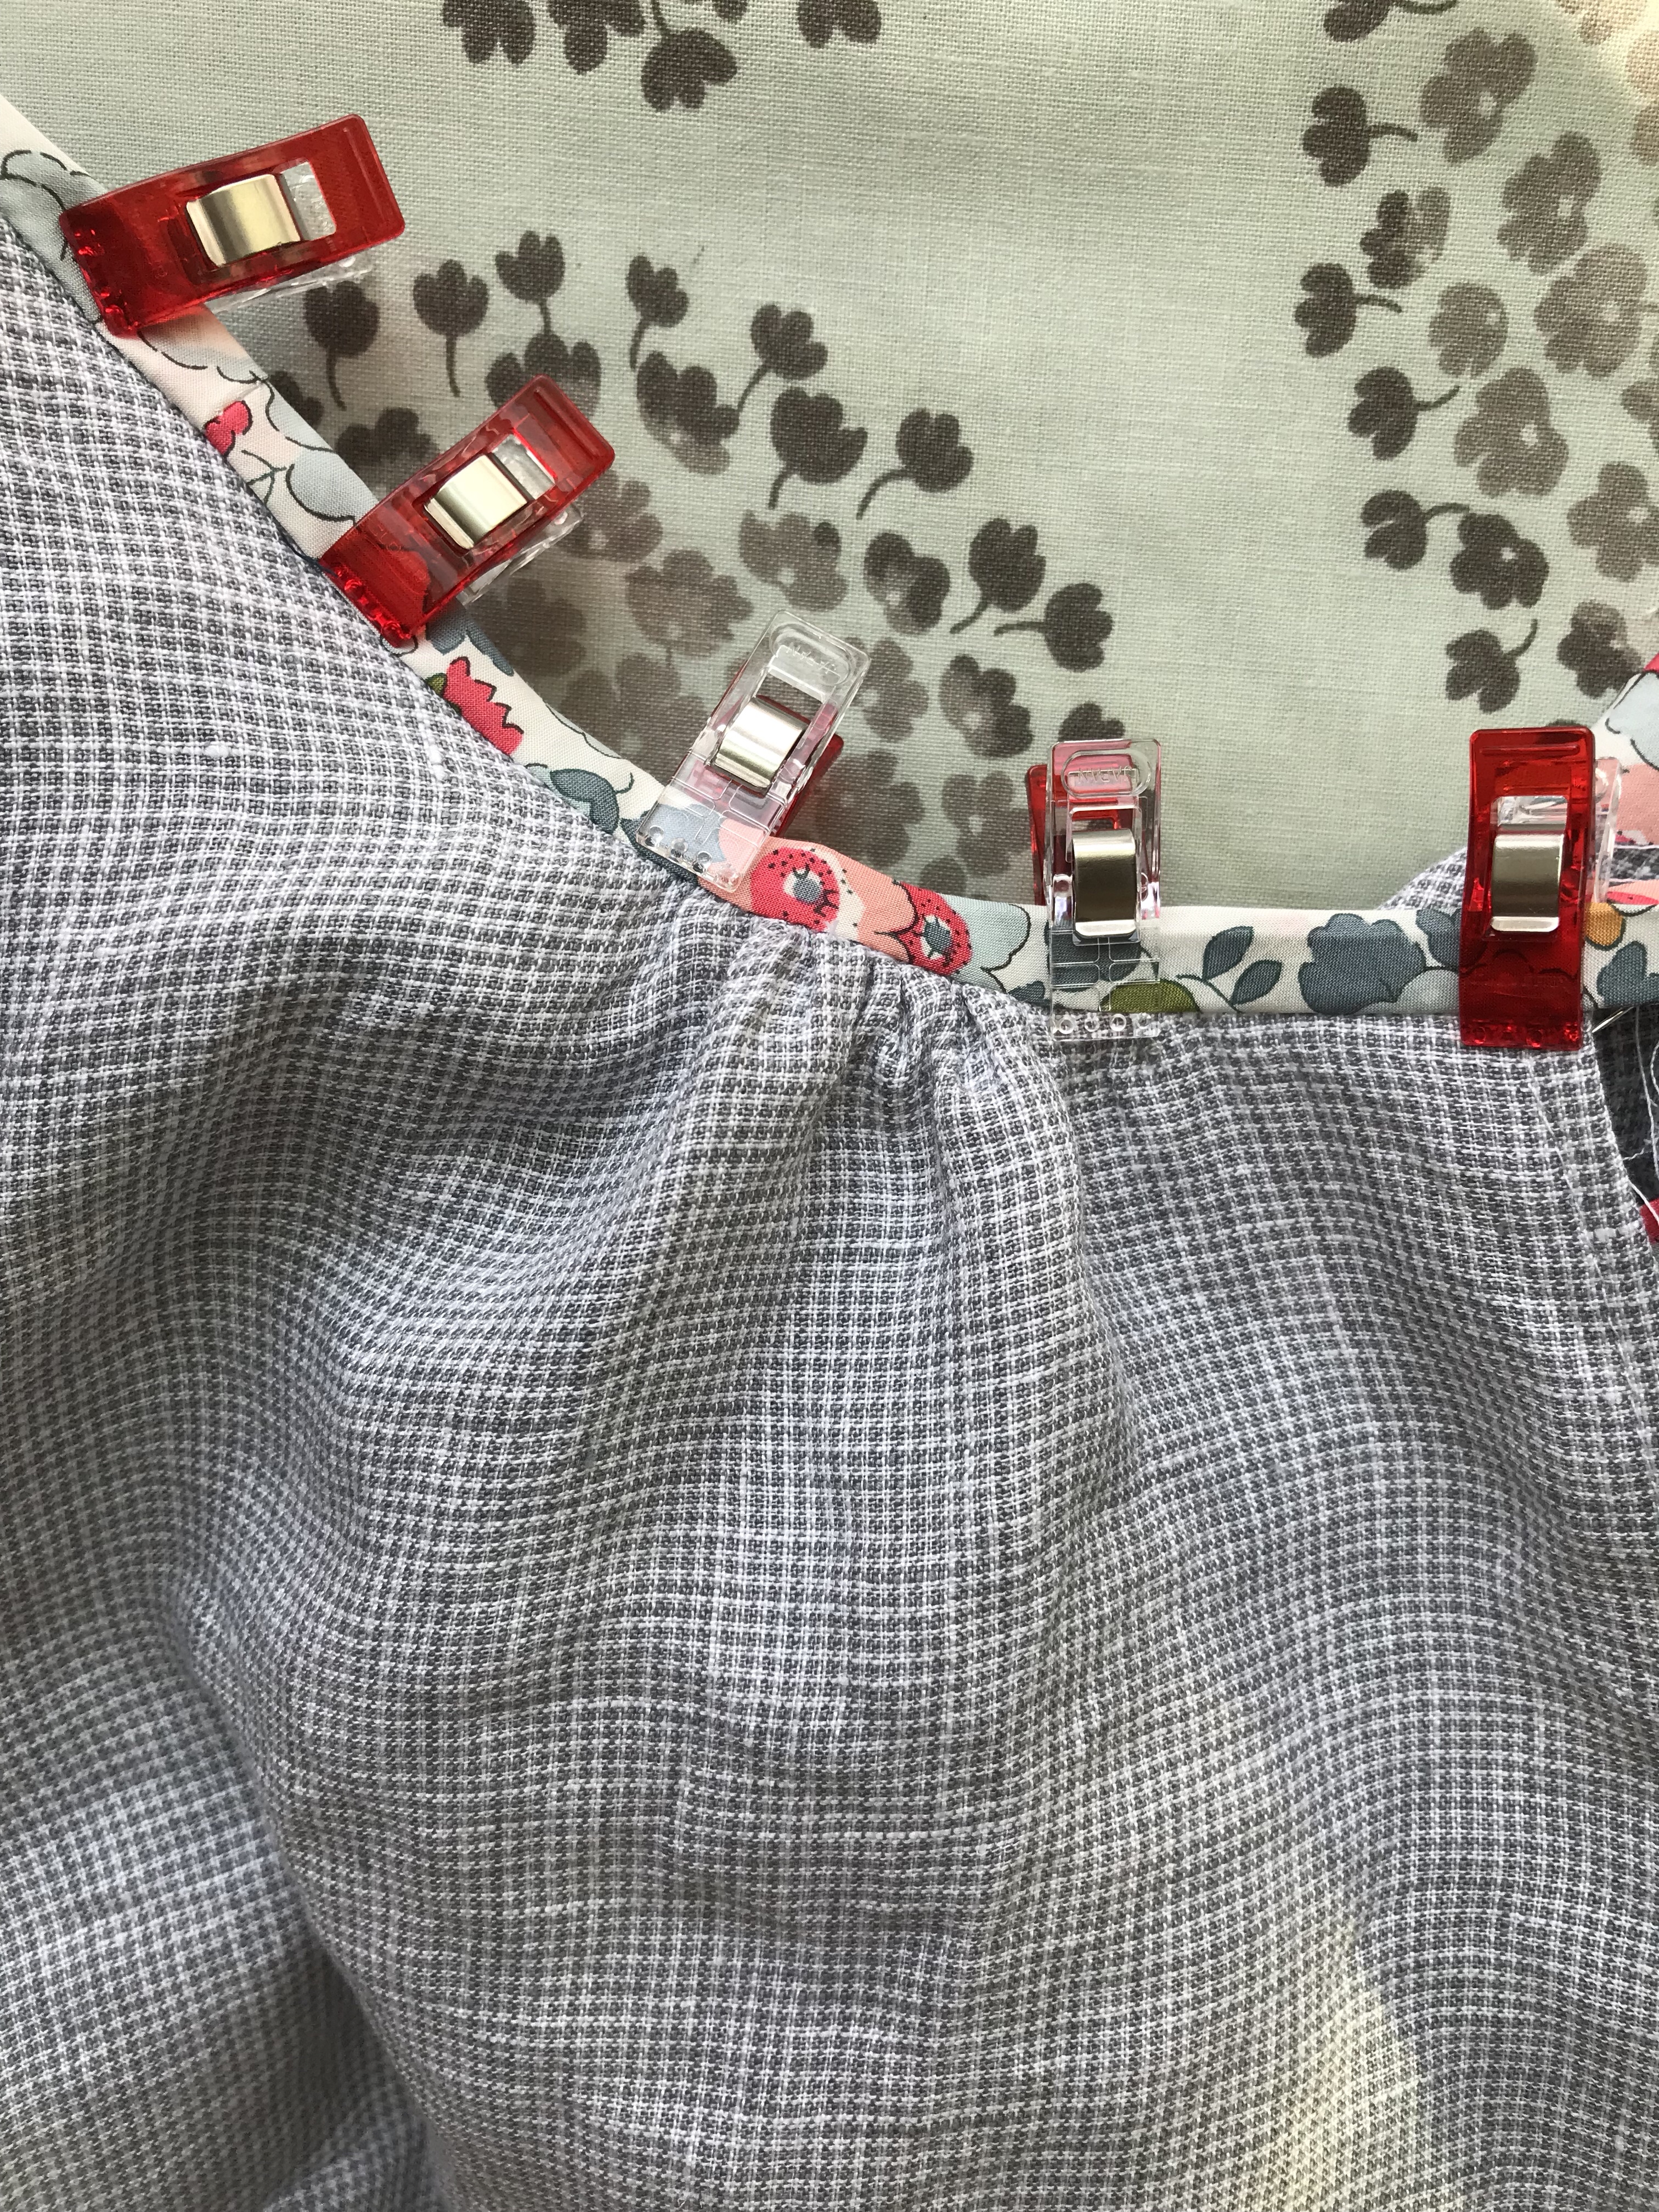
 I have to say I was thrilled with how this turned out. I used bias strips of Liberty as hem facings, as one does.
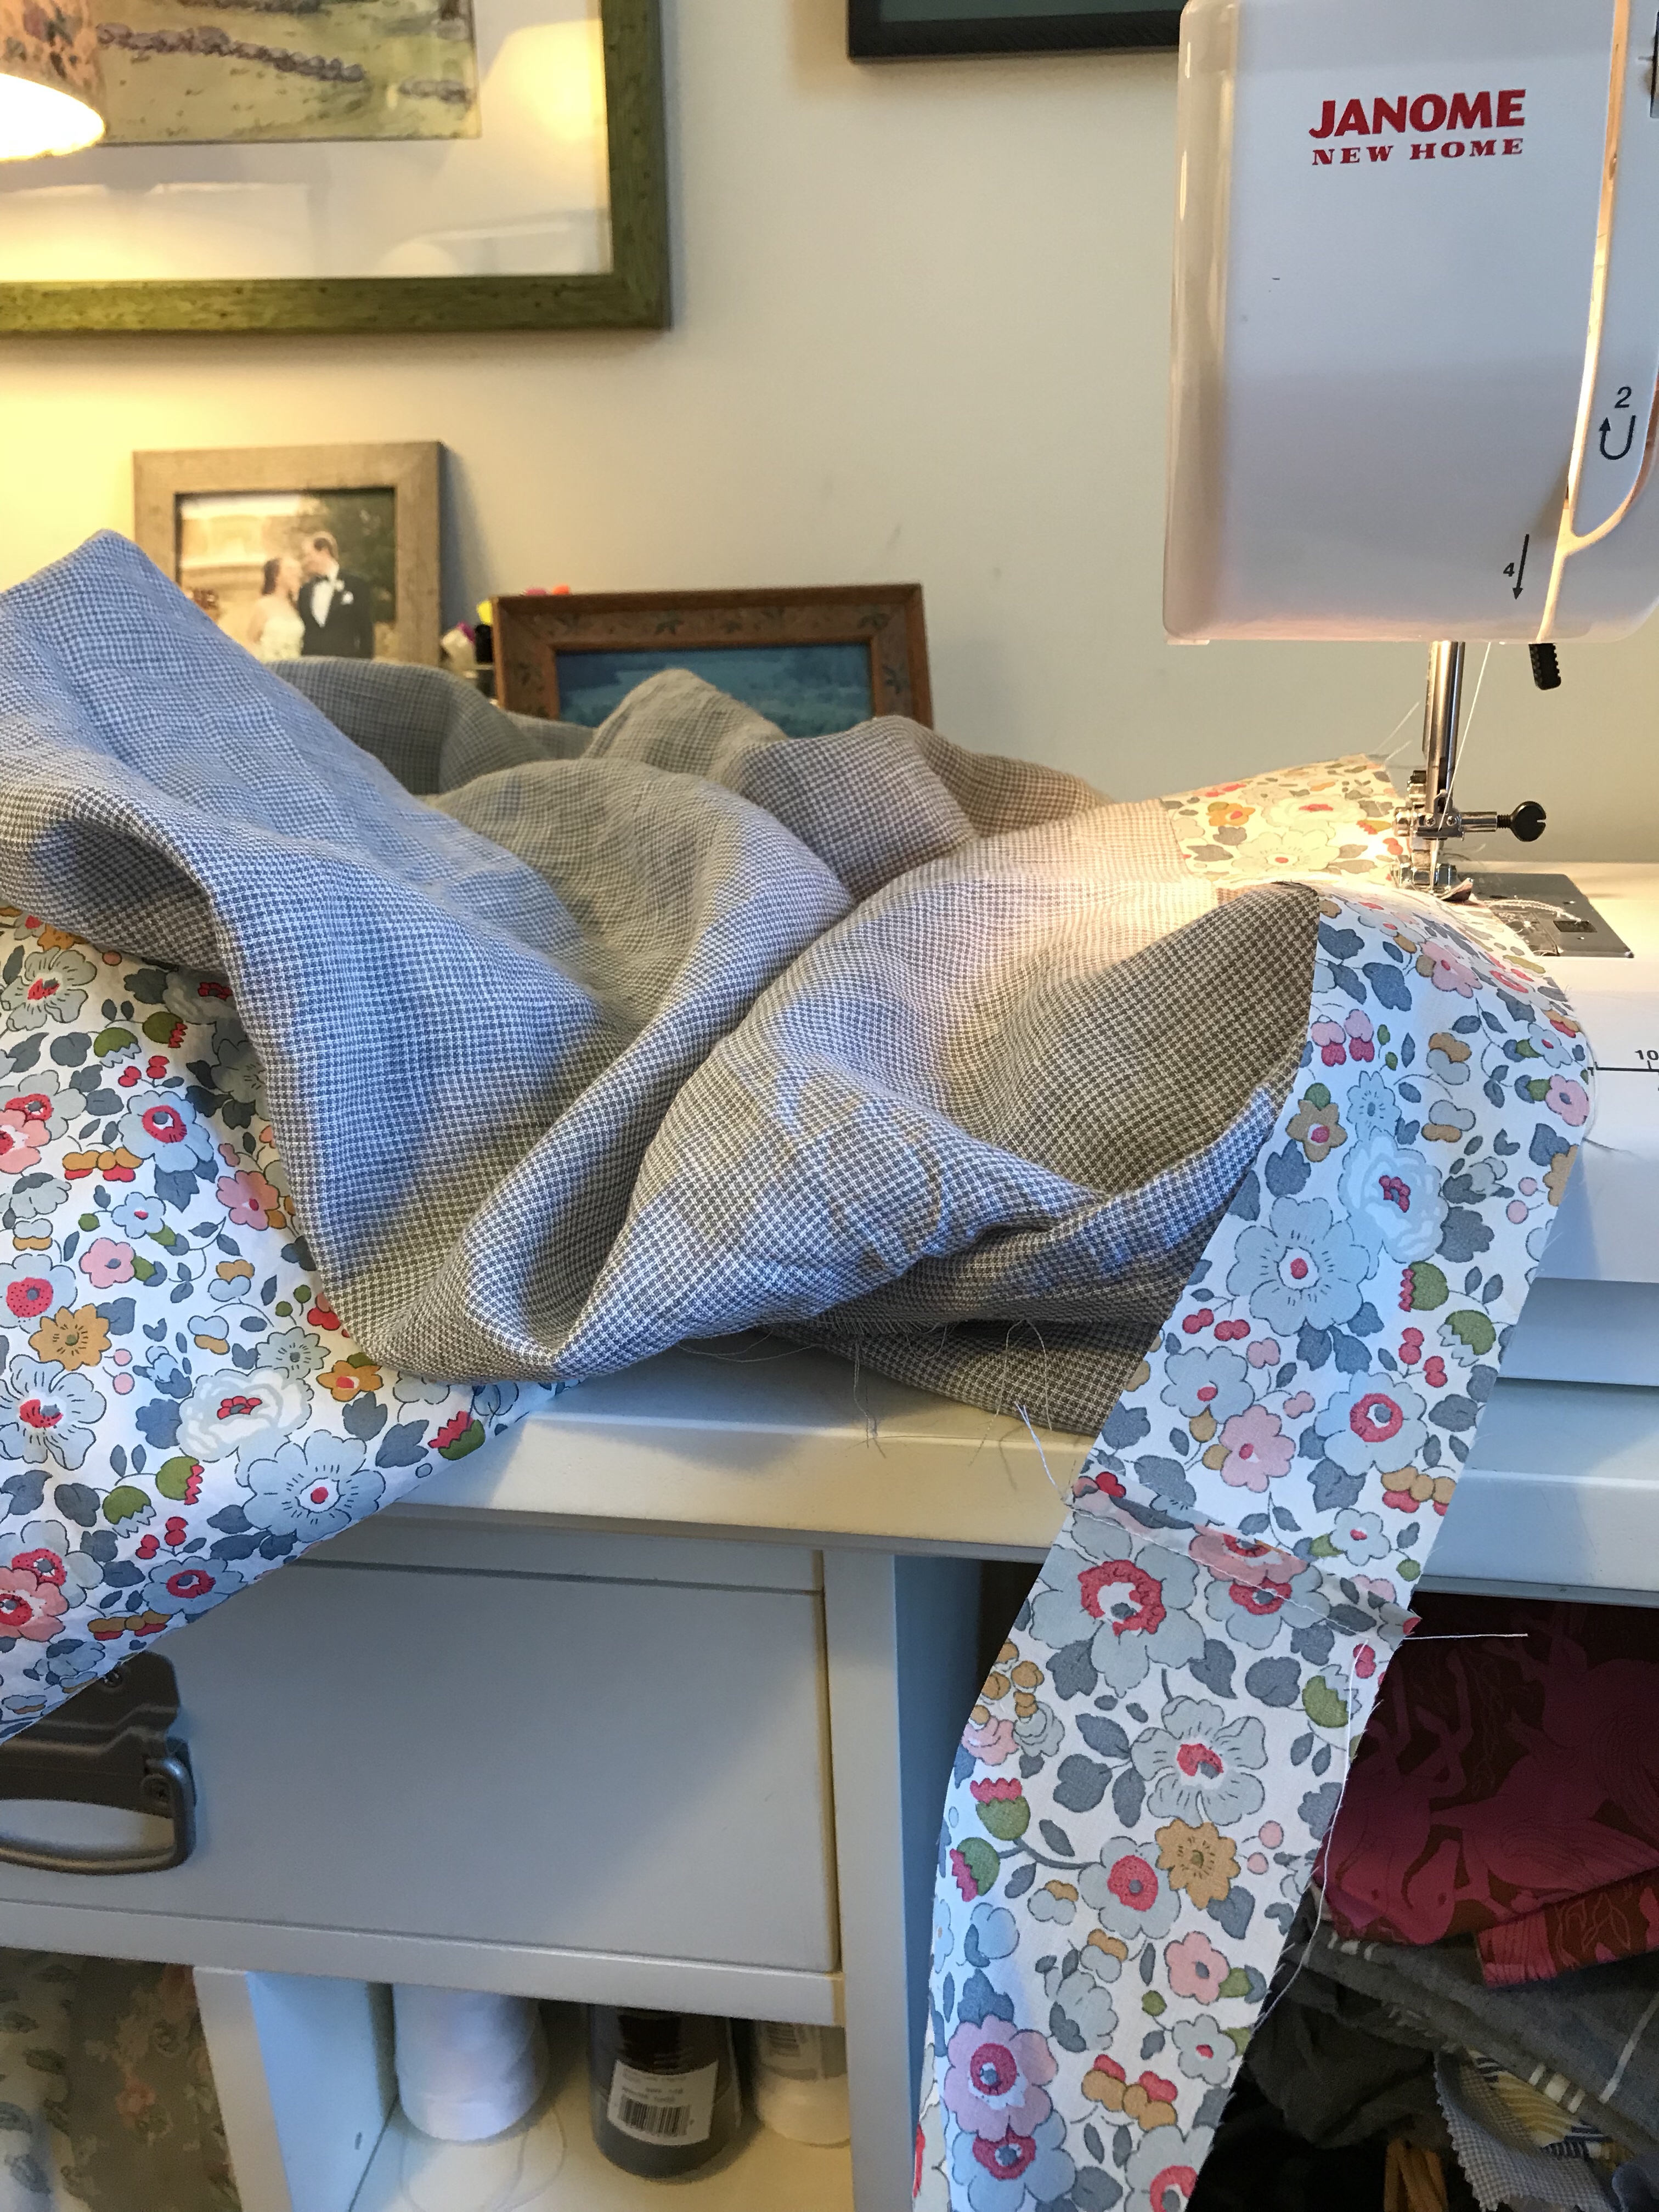
 My sewing room has one window that faces west. Such beautiful light.
 I had enough of these two fabrics to also make a version of the


 I used the curved hem from the Gemma tank as my guide for this hem. I love how you can mix and match Rae’s patterns.
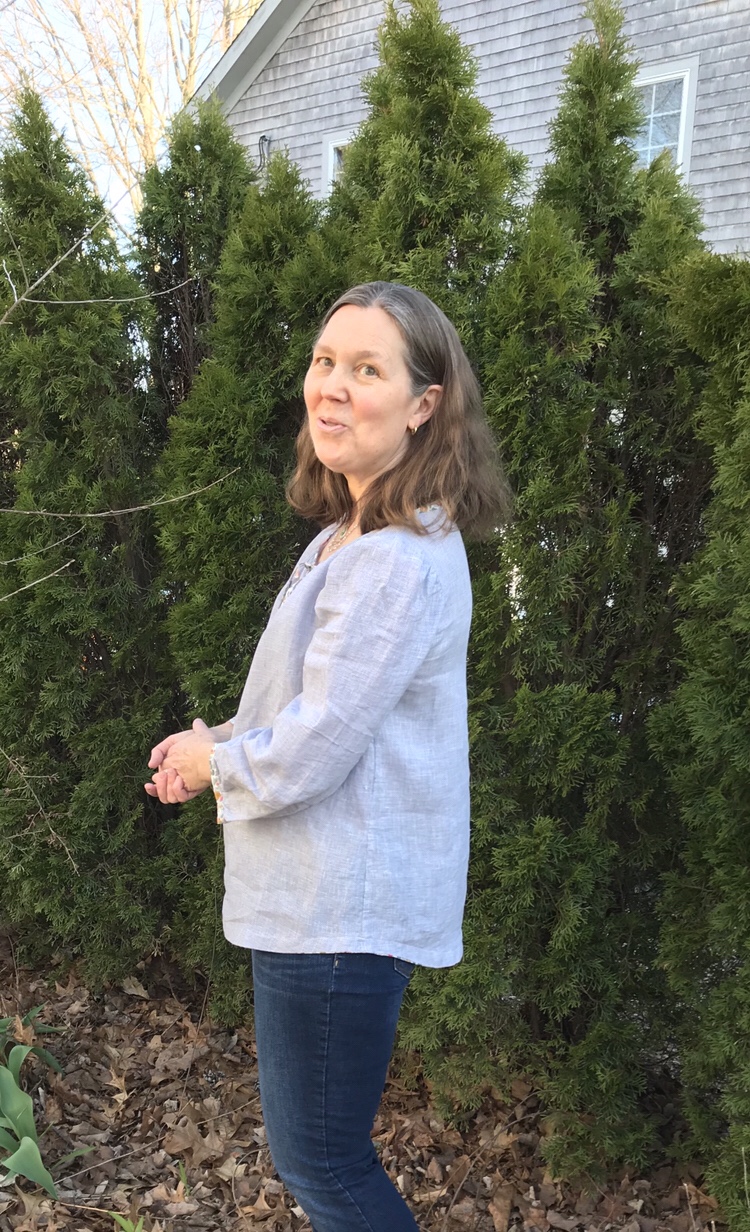
 The other side view.
 I look as though I am summoning the backyard spirits but I think my husband caught me on the way to fix my hair and put it behind my ears.
 As you can see in the next picture. He takes a zillion pictures and then I whittle them down to a few.
 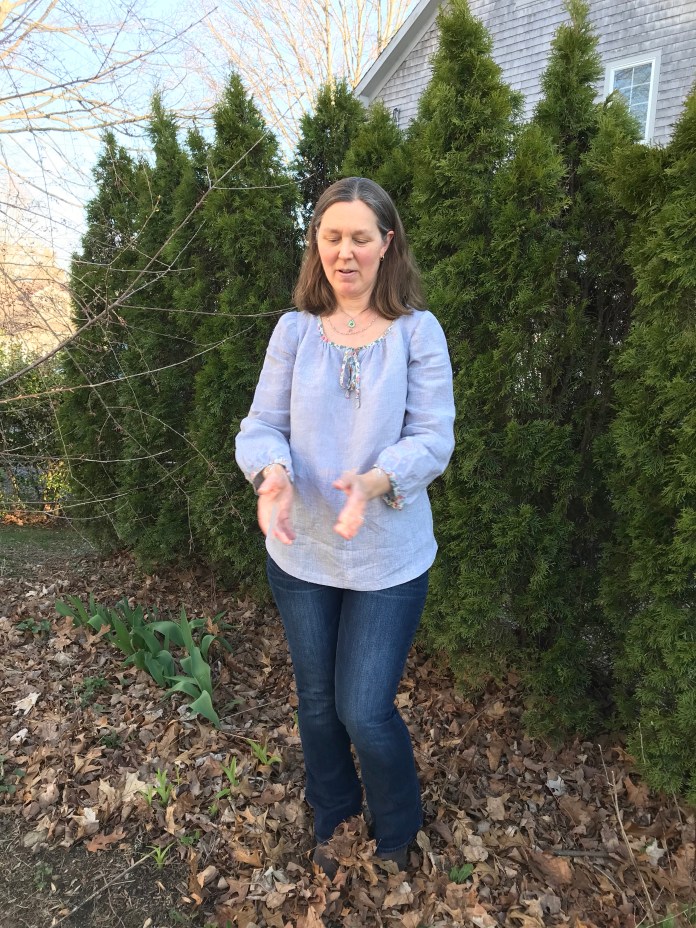 What can I say? Perfect combination of pattern and fabrics. The Loominous version is going to be great too.
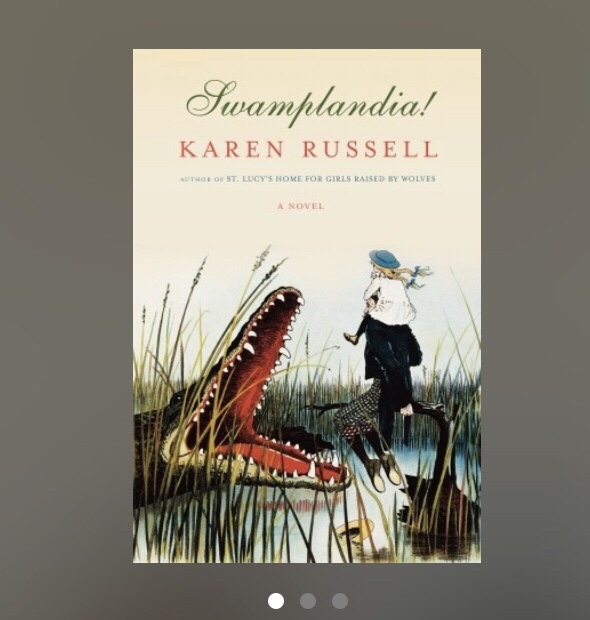 I heard about the next book from
  The next book is a non-fiction account of a series of murders of members of the Osage tribe in the early 1900’s in Oklahoma and how that related to the beginning days of the FBI. It was well researched and I am so glad I read it because it is a chapter in history that I knew nothing about. Side note, I was an America History major in college and it still shocks me how little I seem to know about history. Trying to remedy that but it is a project. 🙂
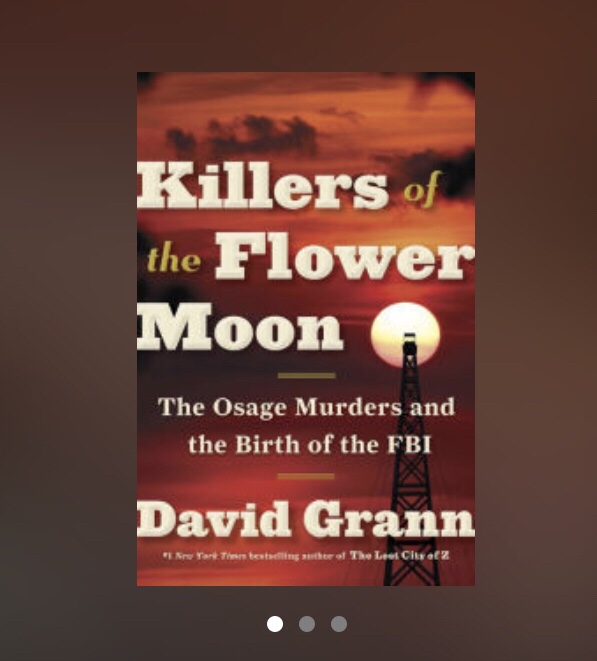 The Heart’s Invisible Furies was recommended to me by
  I listened to Sourdough at the suggestion of my daughter who is a passionate home chef and loves to try new recipes. When she read this, she was inspired to bake all the bread and I can see why. The book was very entertaining and I appreciated the humorous take on some of the current non-food, food trends.
  I listened to the next book on audio. Joshilyn Jackson is an actress and she narrates most of her own books. I enjoyed it and will continue to work through her backlist. They make great car listening because they are entertaining enough that you stay engaged in the story, but don’t require a huge amount of focus.
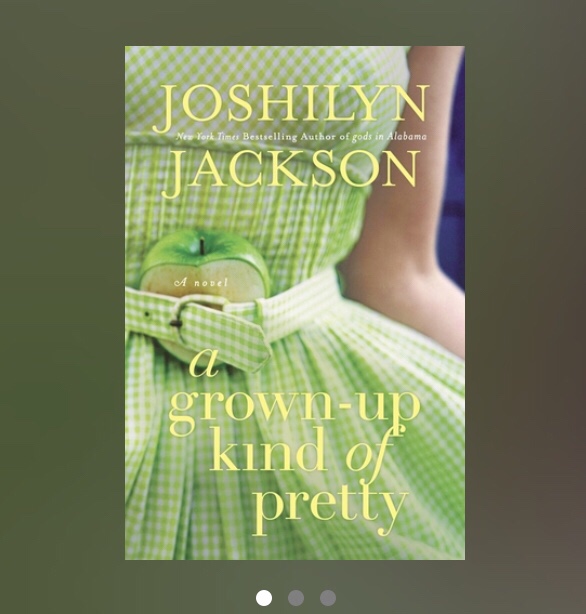 I read this sweet little book because I had gotten it on a
  This is the book I am currently reading and I am so engaged in the story of the central character Jojo. I am about 100 pages in and loving it although the themes are hard. I read Salvage the Bones earlier this year and I highly recommend both. She is really an amazing writer. I picked up her memoir at our local independent book store and have added it to the stack of books I am taking on vacation in June.
 Next up will be this book which was my April

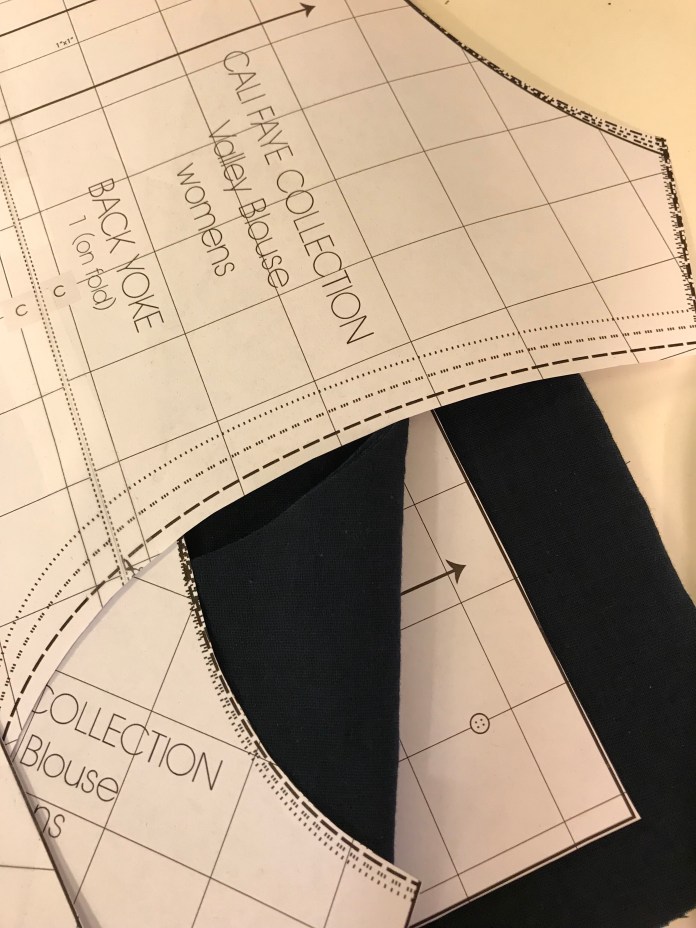 After feeling a bit discouraged with the somewhat voluminous shape of the Valley blouse, I decided to try the Josephine Blouse by Made by Rae, a pattern which I bought several years ago and have never made. I was inspired by
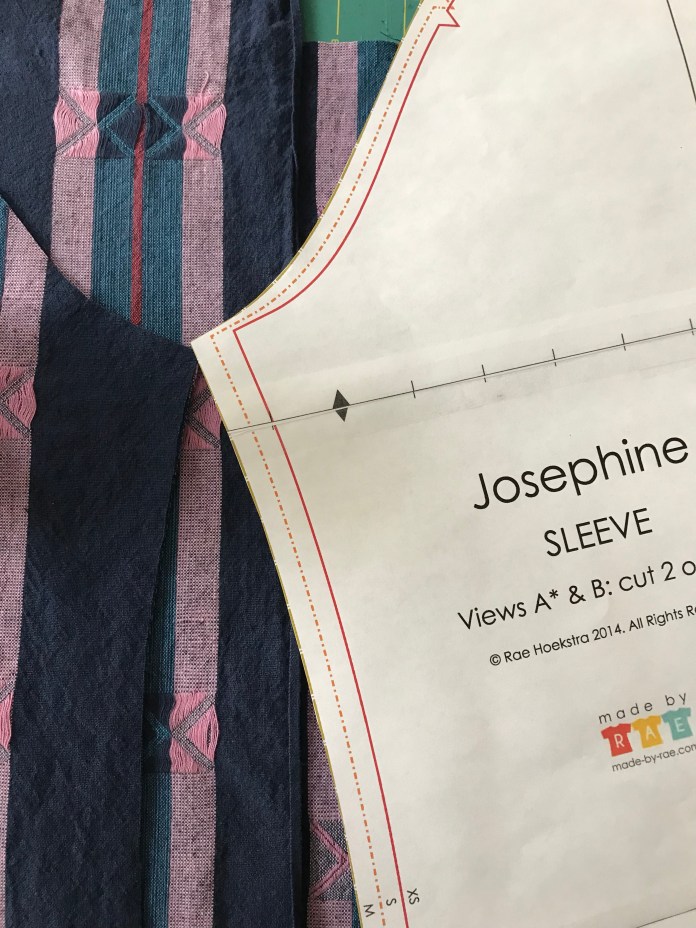
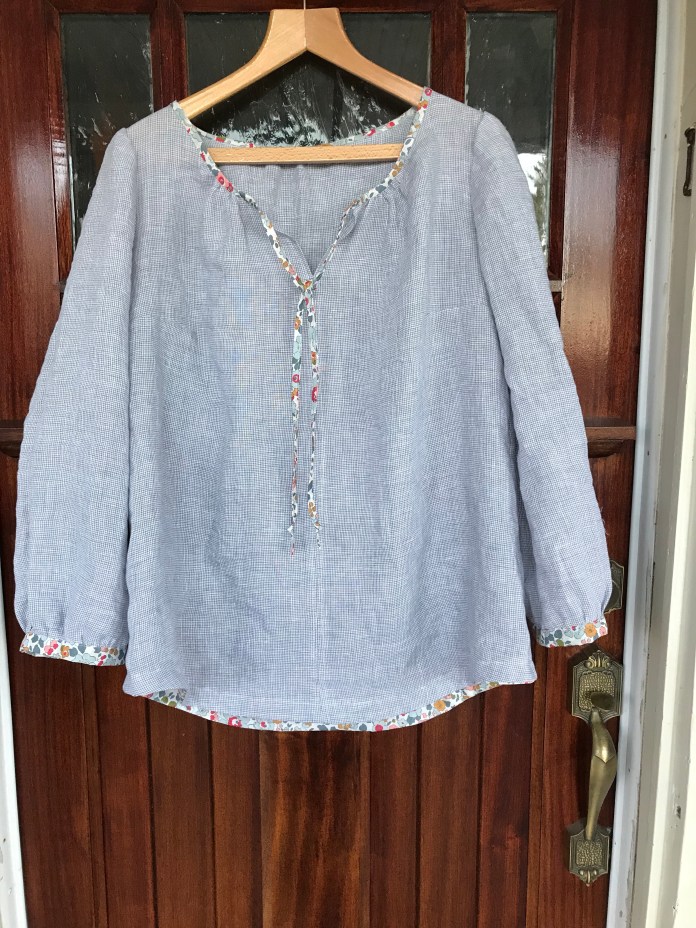
 After having some success with the Josephine, I happened to see a version of the Roscoe blouse on instagram where the sewist had used a contrasting fabric for bias binding the neck and for the sleeve cuffs and I thought aha! I had already bought some linen to use for summer dresses but once this idea got into my head, I just had to try it. This is going to be a checked linen Josephine blouse with bias binding made of Liberty fabric. I am really happy where this is going.
 Also inspired by Rae and in the same vein as
 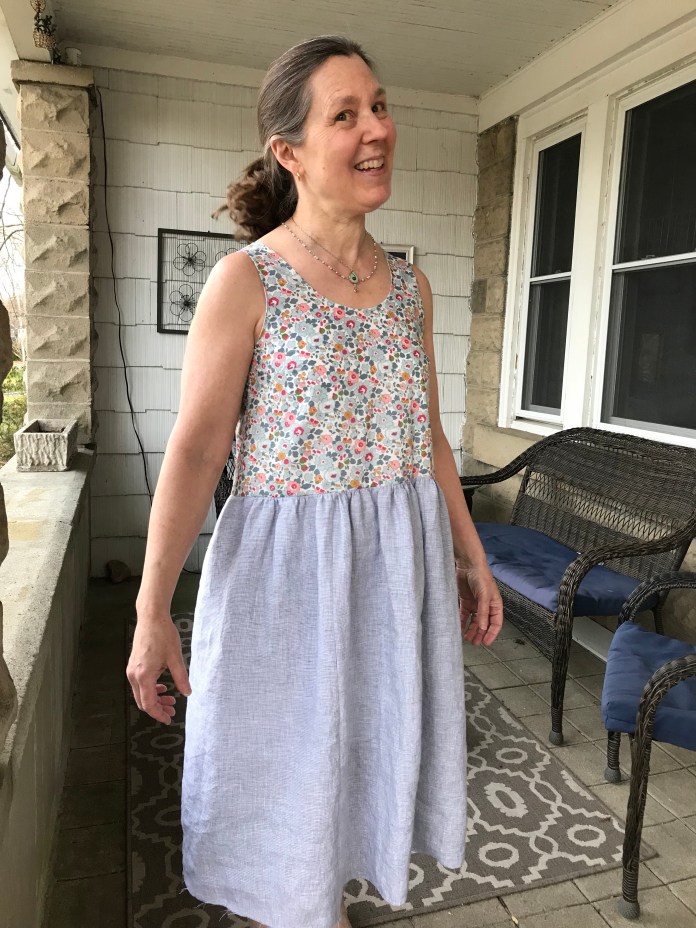 Here are some shorter versions in process in quilting cotton and rayon. You can find
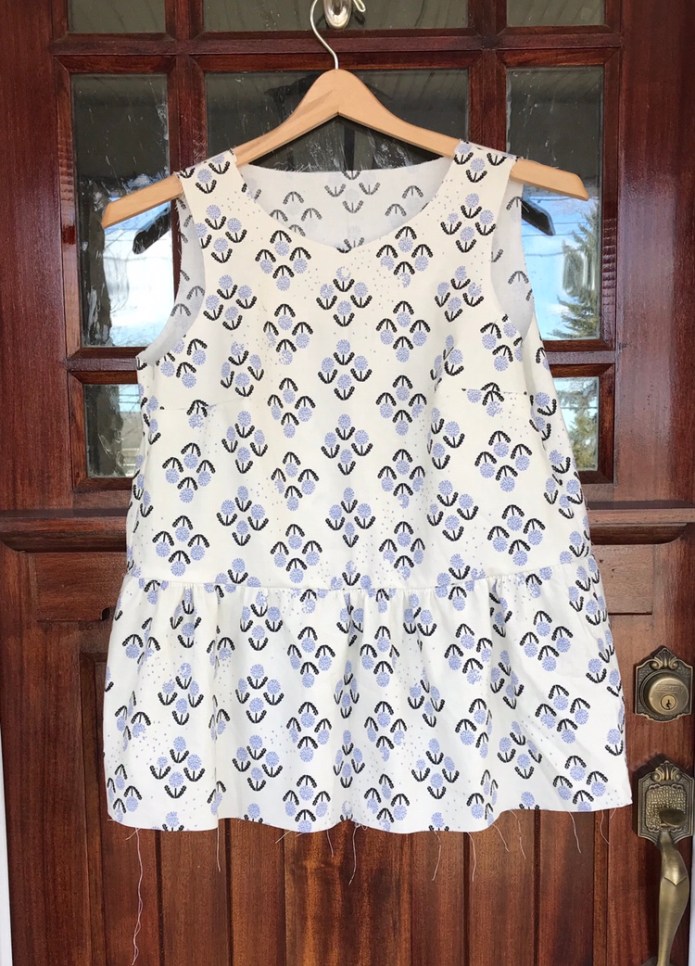
 I continue to hand quilt this antique top I bought probably 20 years ago. It is my go-to when I need something quiet and meditative to do. I am always inspired by the creativity of those women who came before us who pieced little scraps into these works of art and love.
 And finally, I joined the rest of the sewing and knitting community in buying this book and plan to make at least two versions of the Uniform Tank. This is watercolor linen from Purl Soho for a long-sleeved version and a floral cotton sateen by Nani Iro (also from Imagine Gnats) for a sleeveless version. And then I will need to learn to knit!
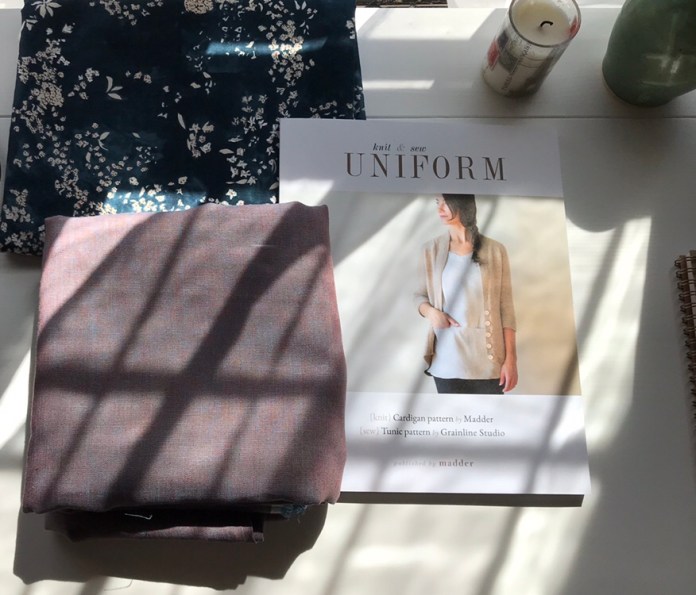 I have been doing some more writing and set up this little desk on our third floor. This was taken yesterday in the early morning sunshine. I am typing here now and it cold and windy. And there you have it, our spring in a nutshell. I can’t wait for May and warmer weather!
 I am linking up today with the Modern Mrs. Darcy blog quick lit post which you can find
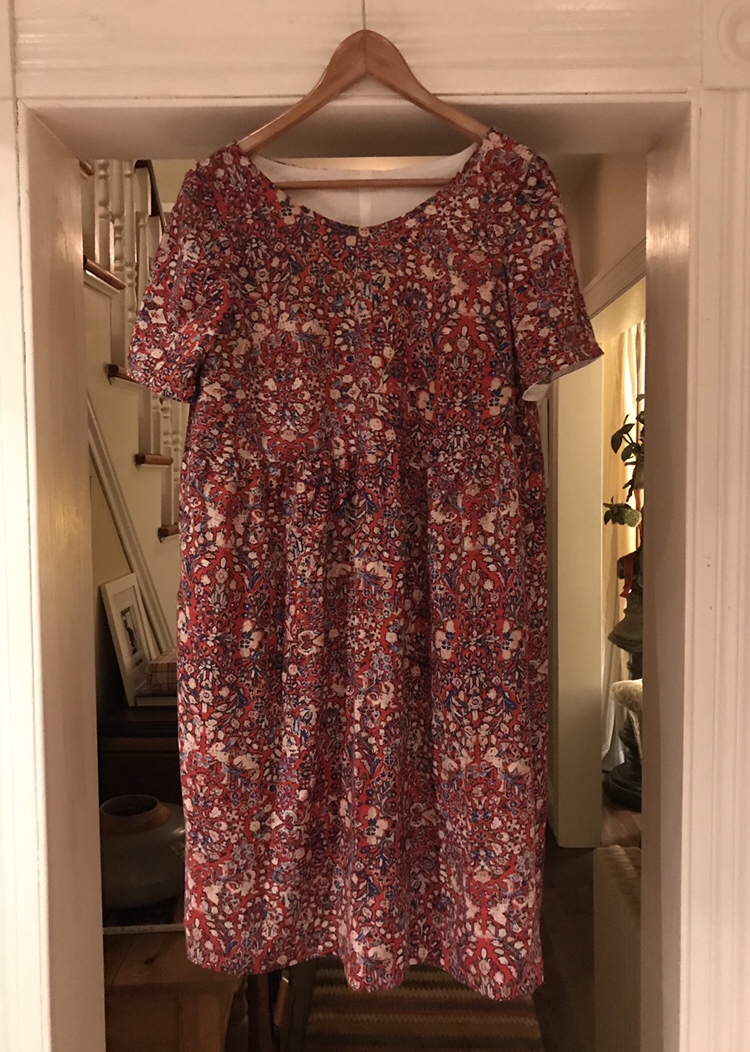


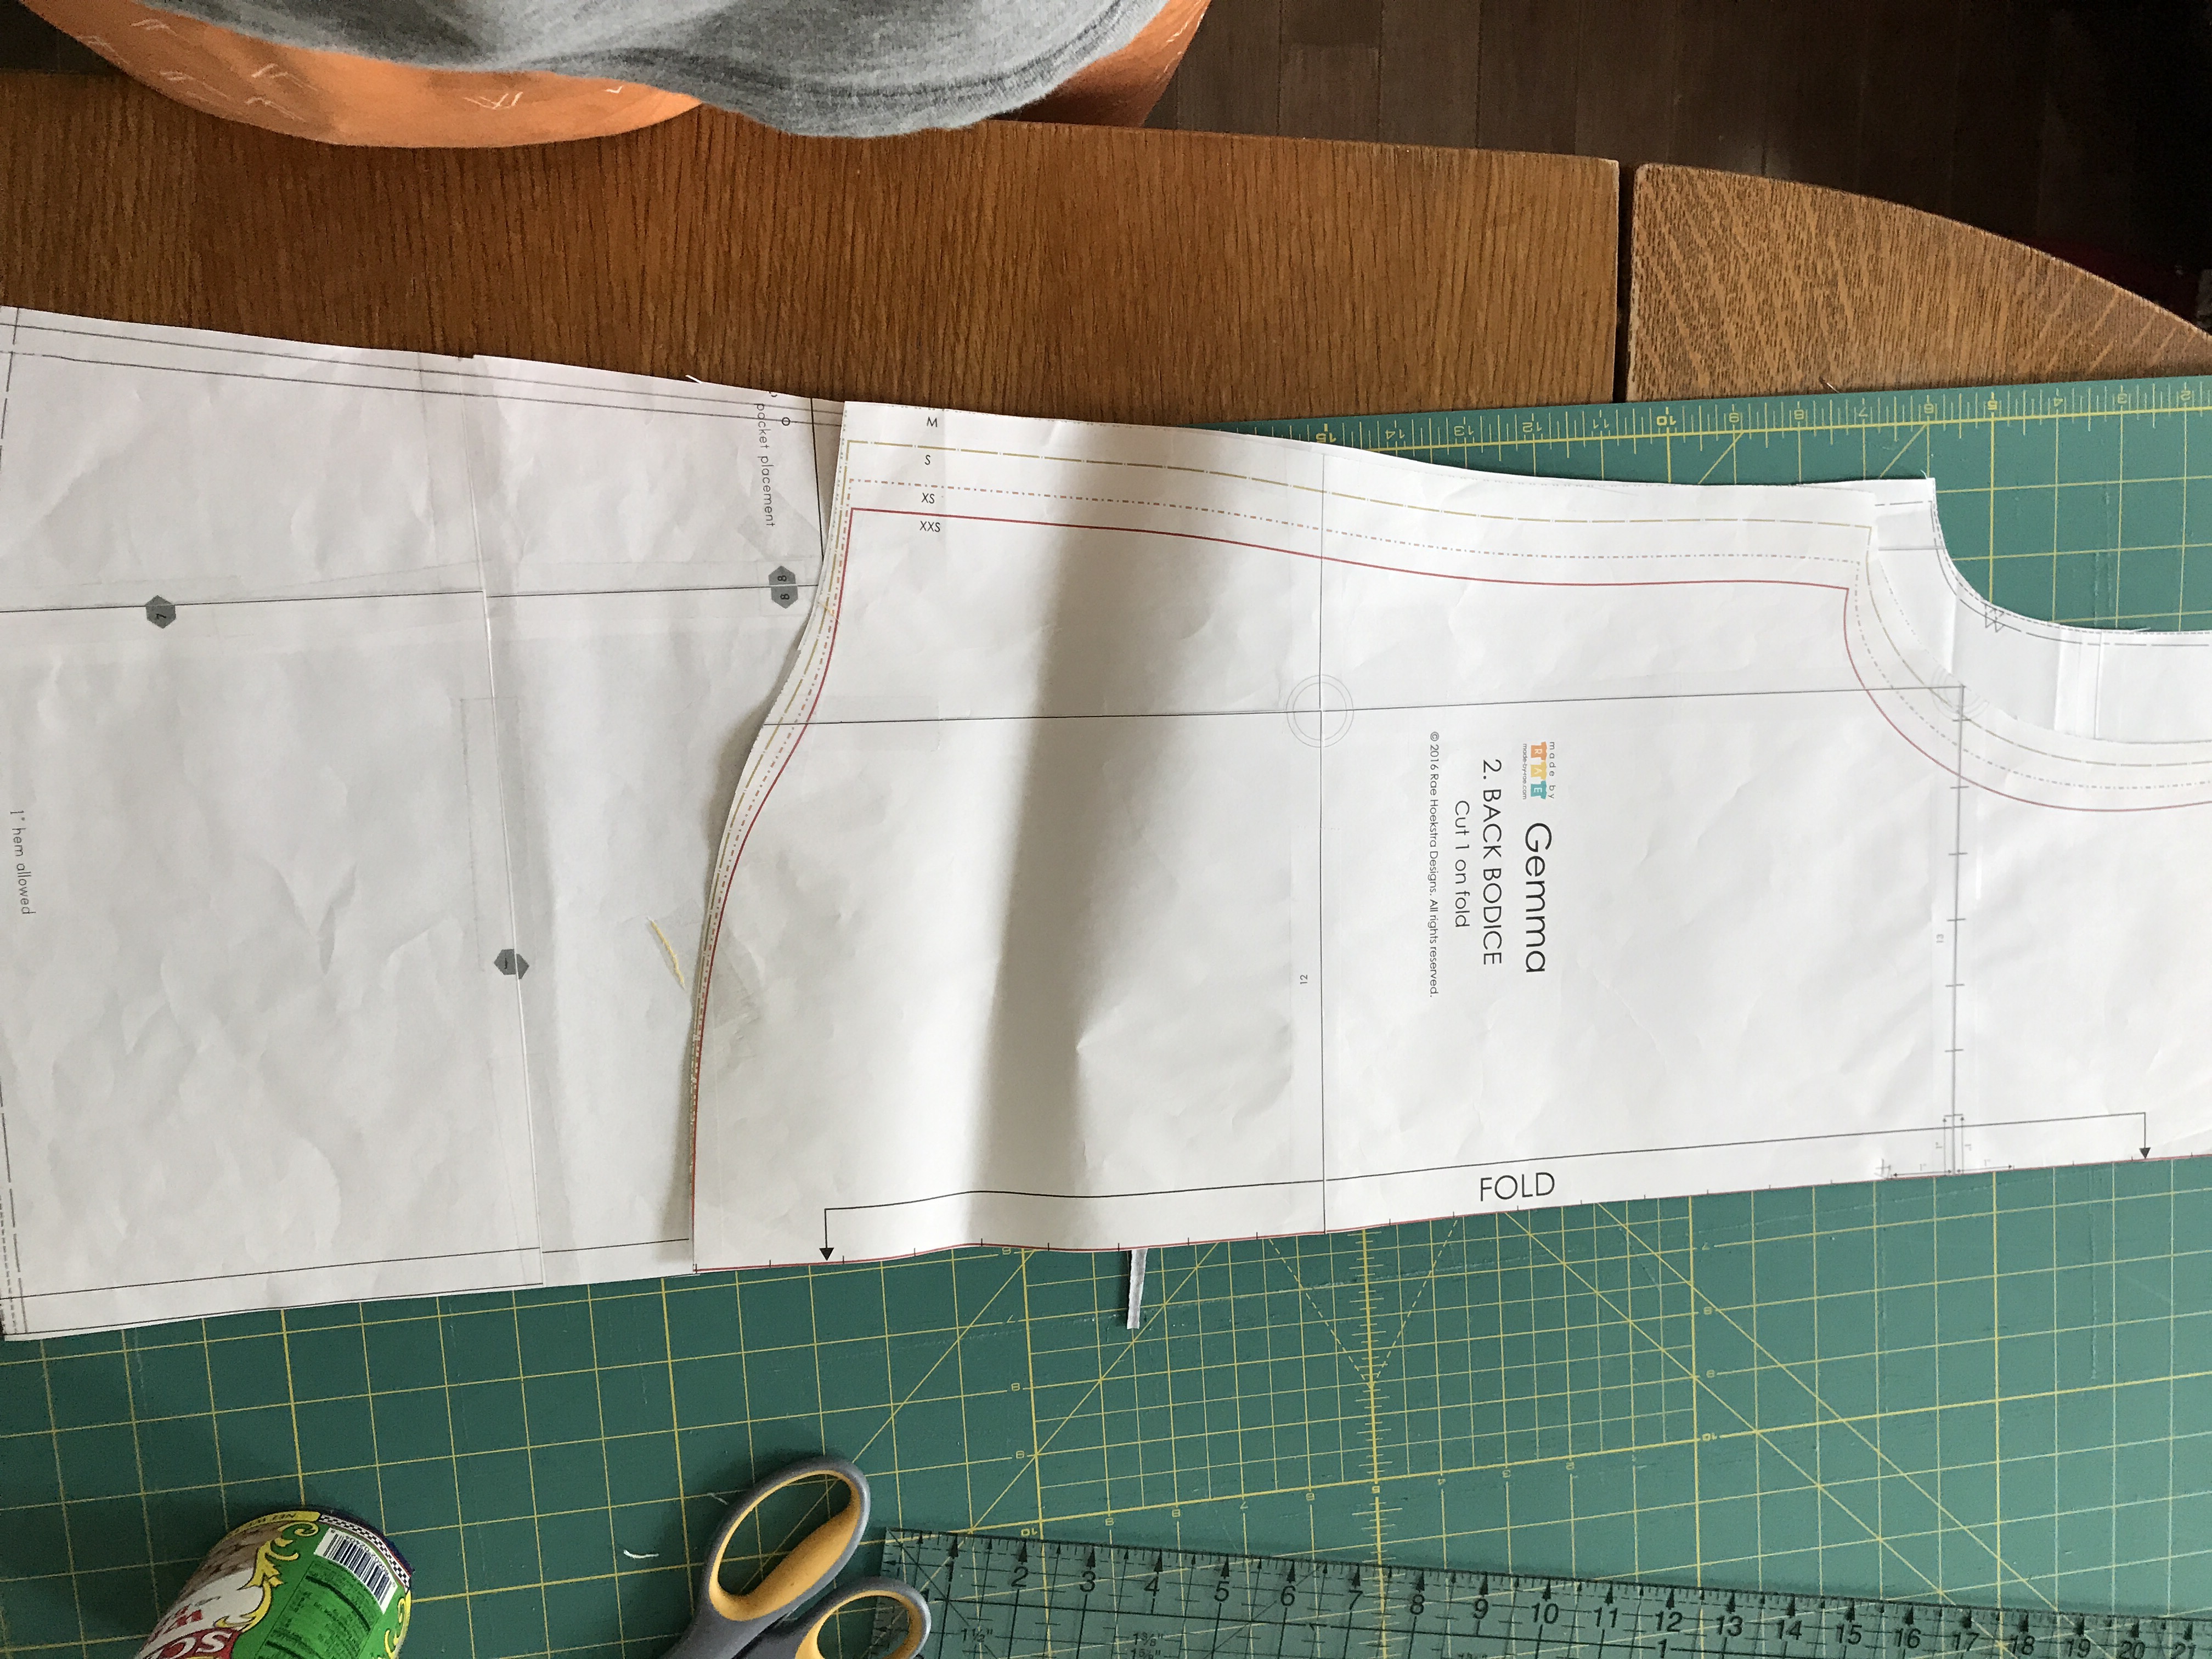
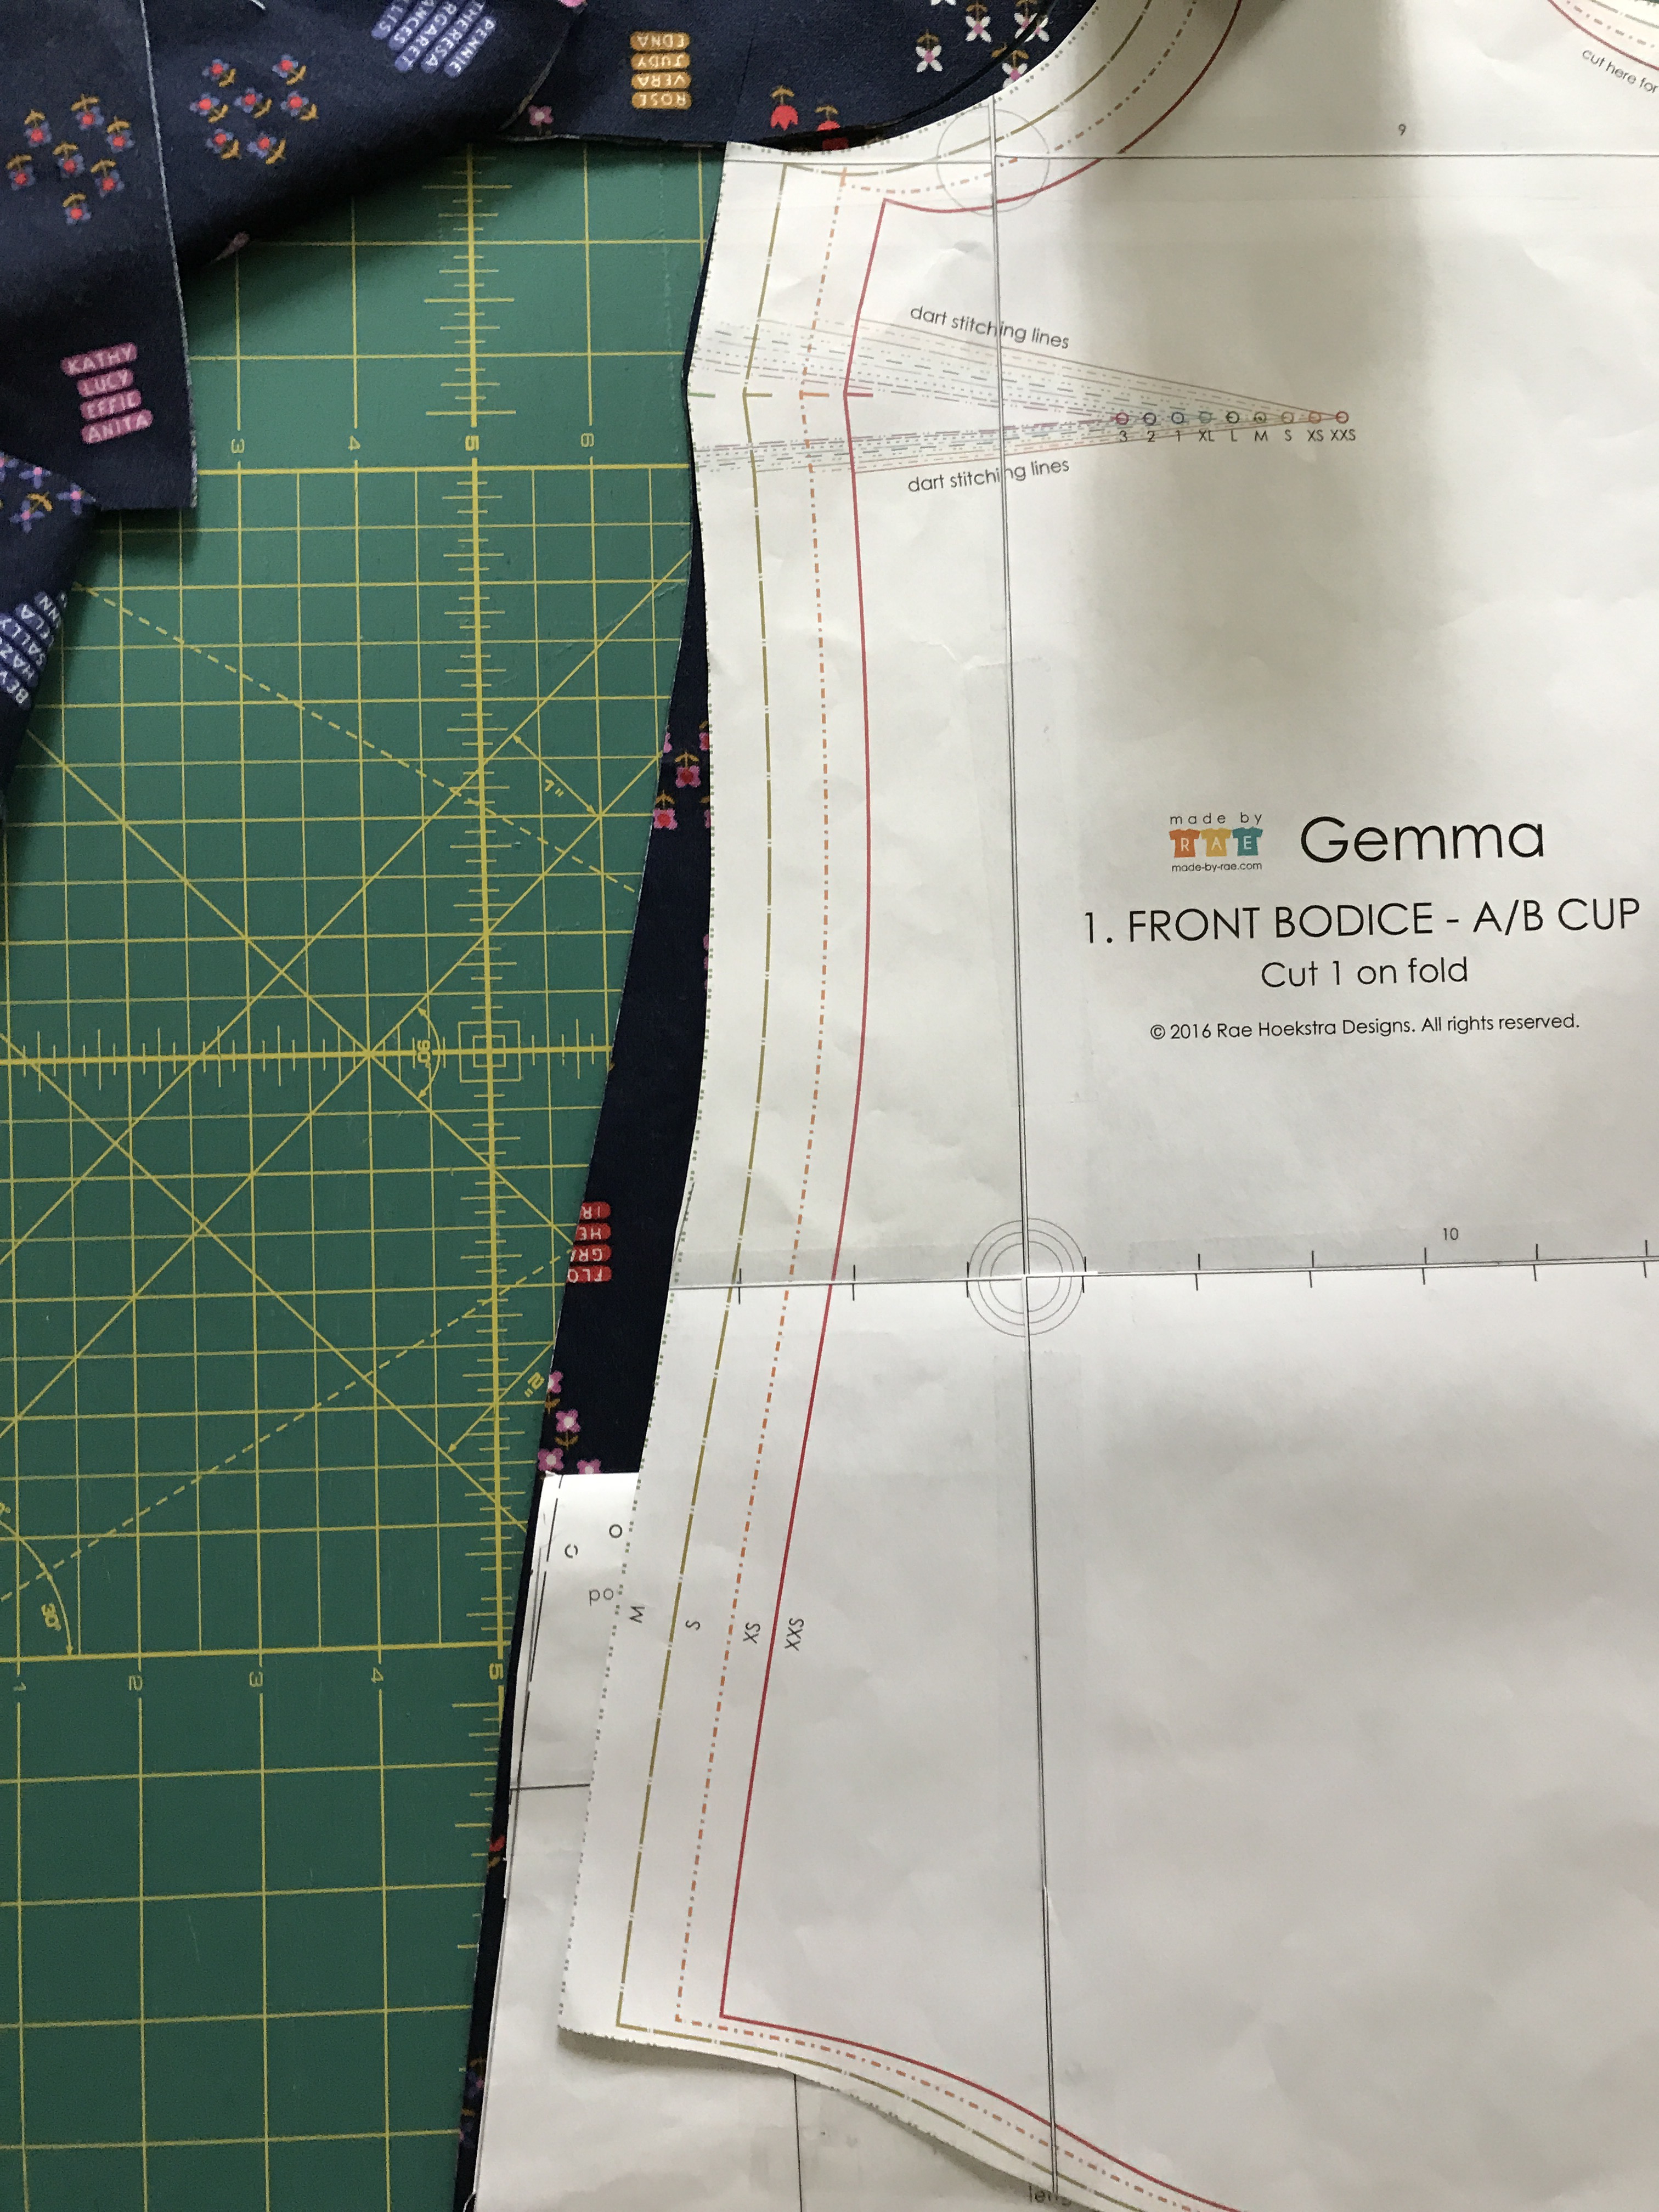
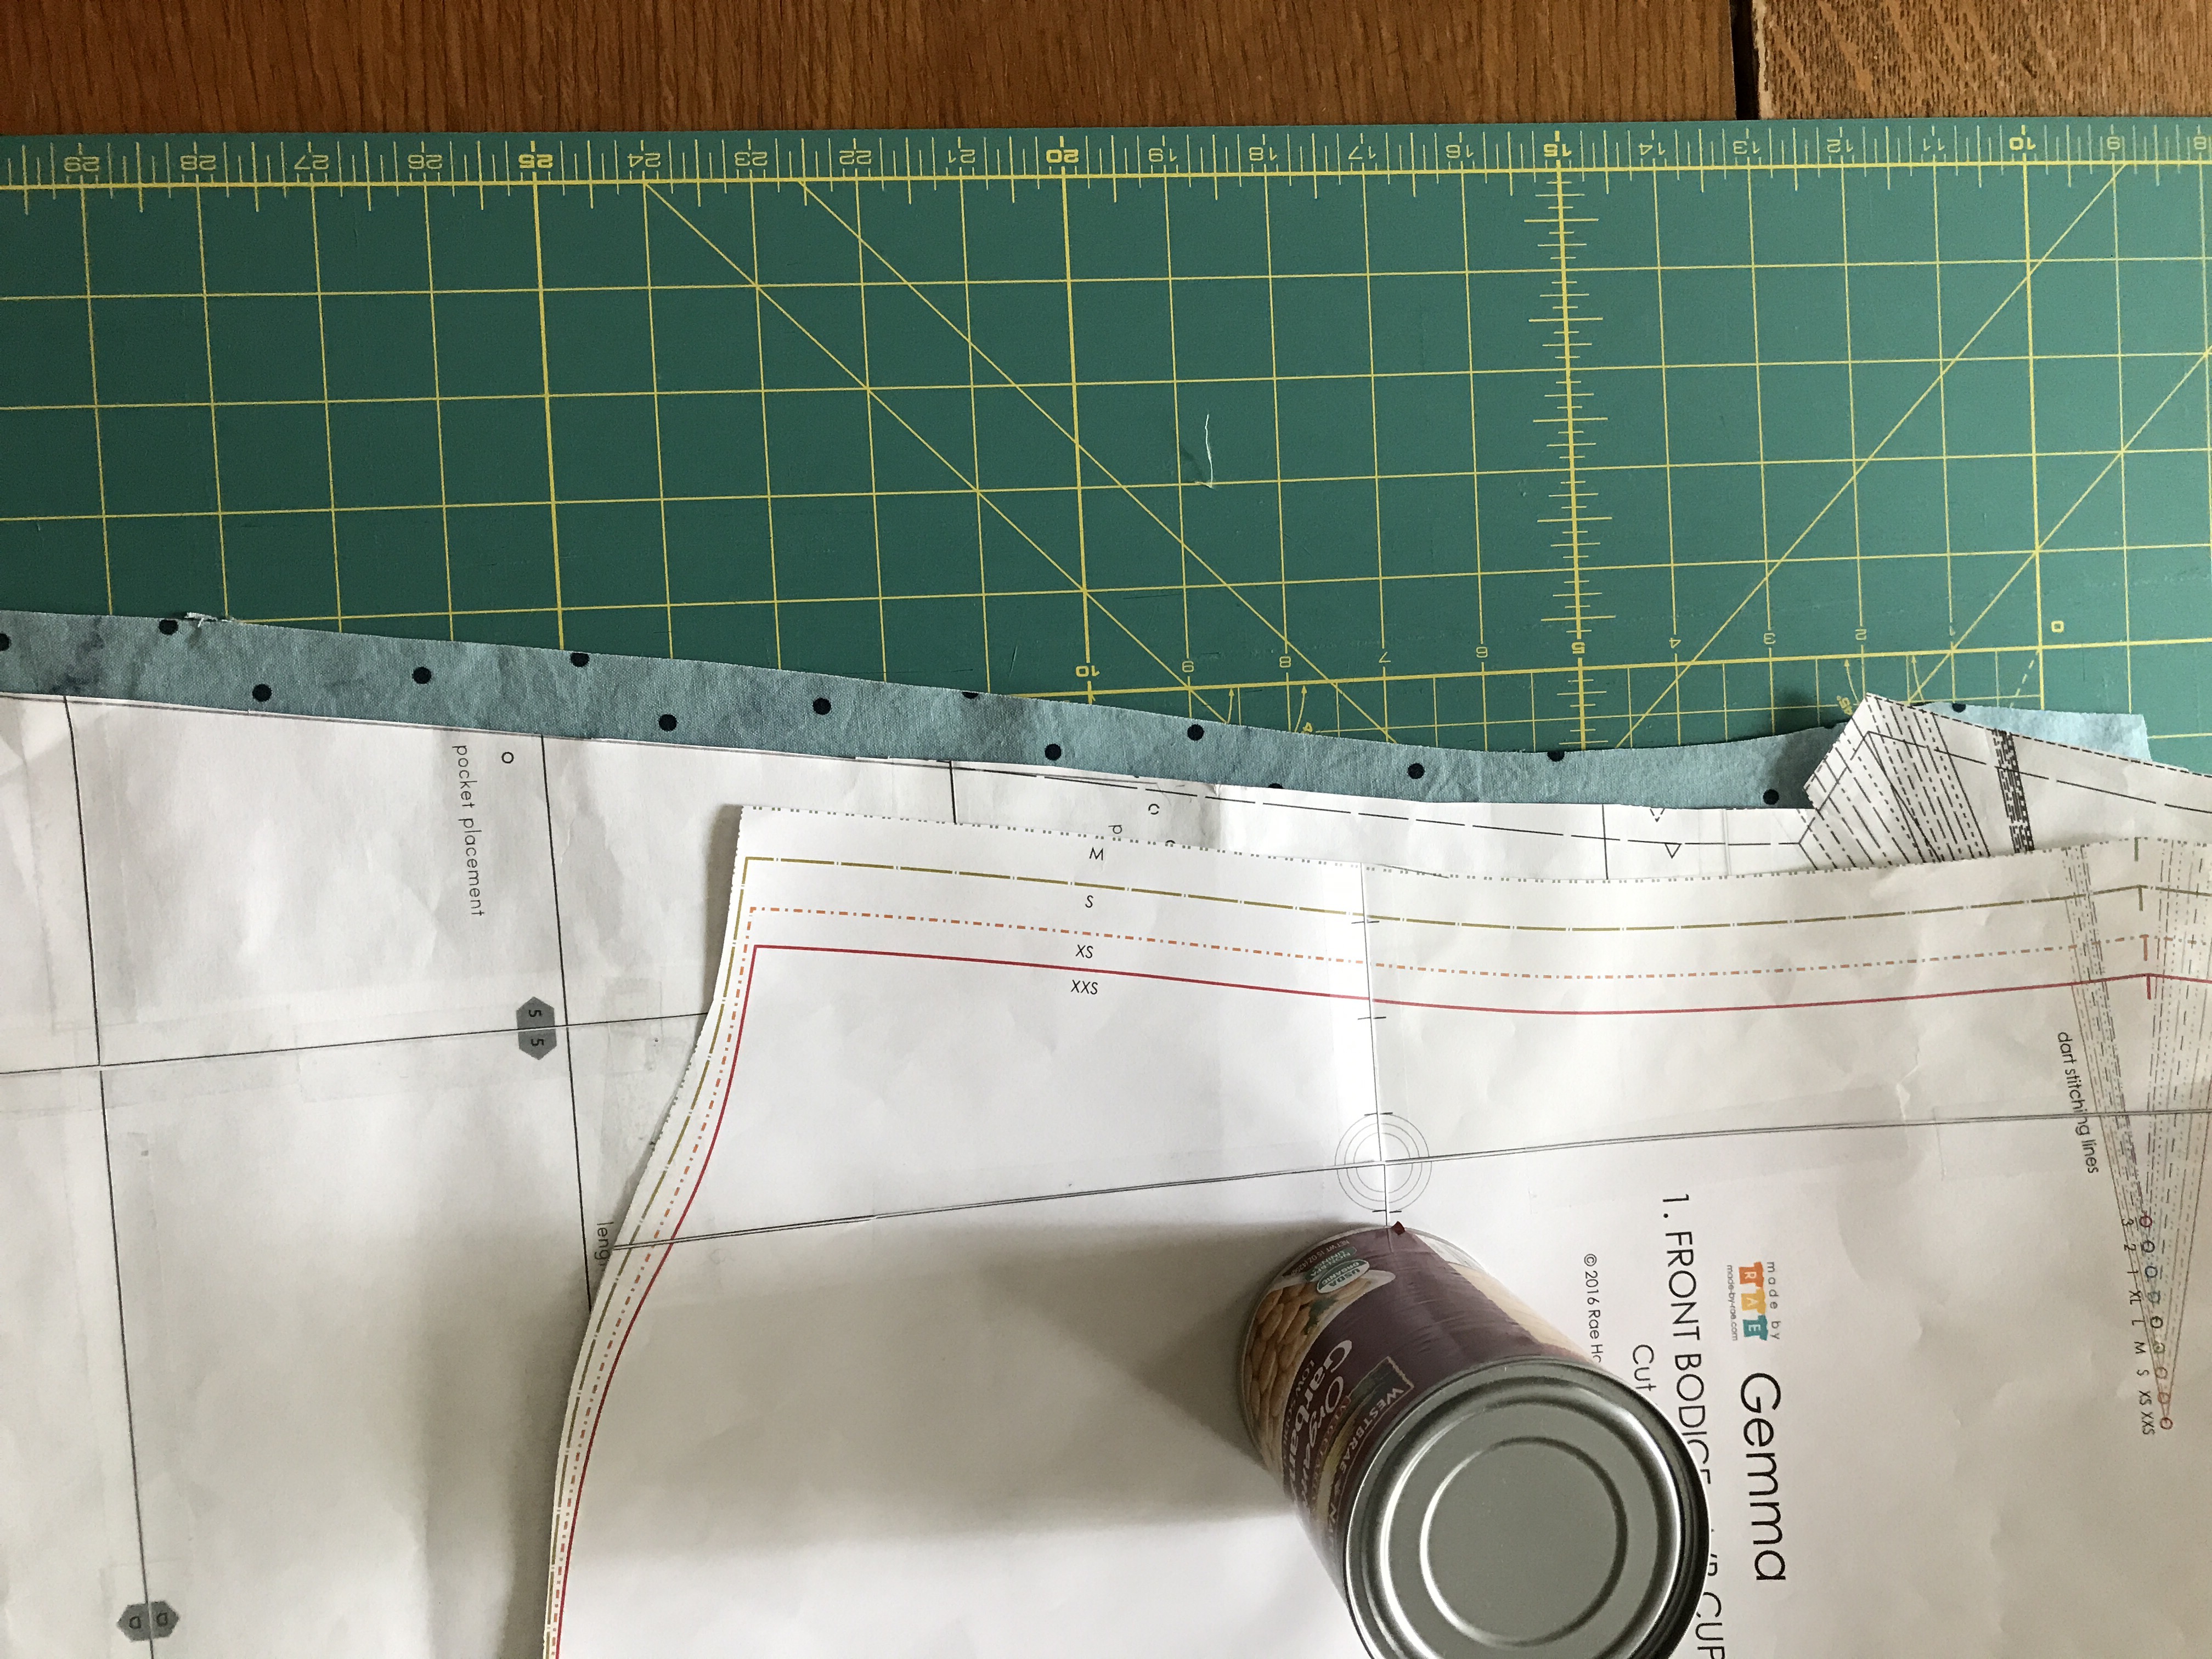
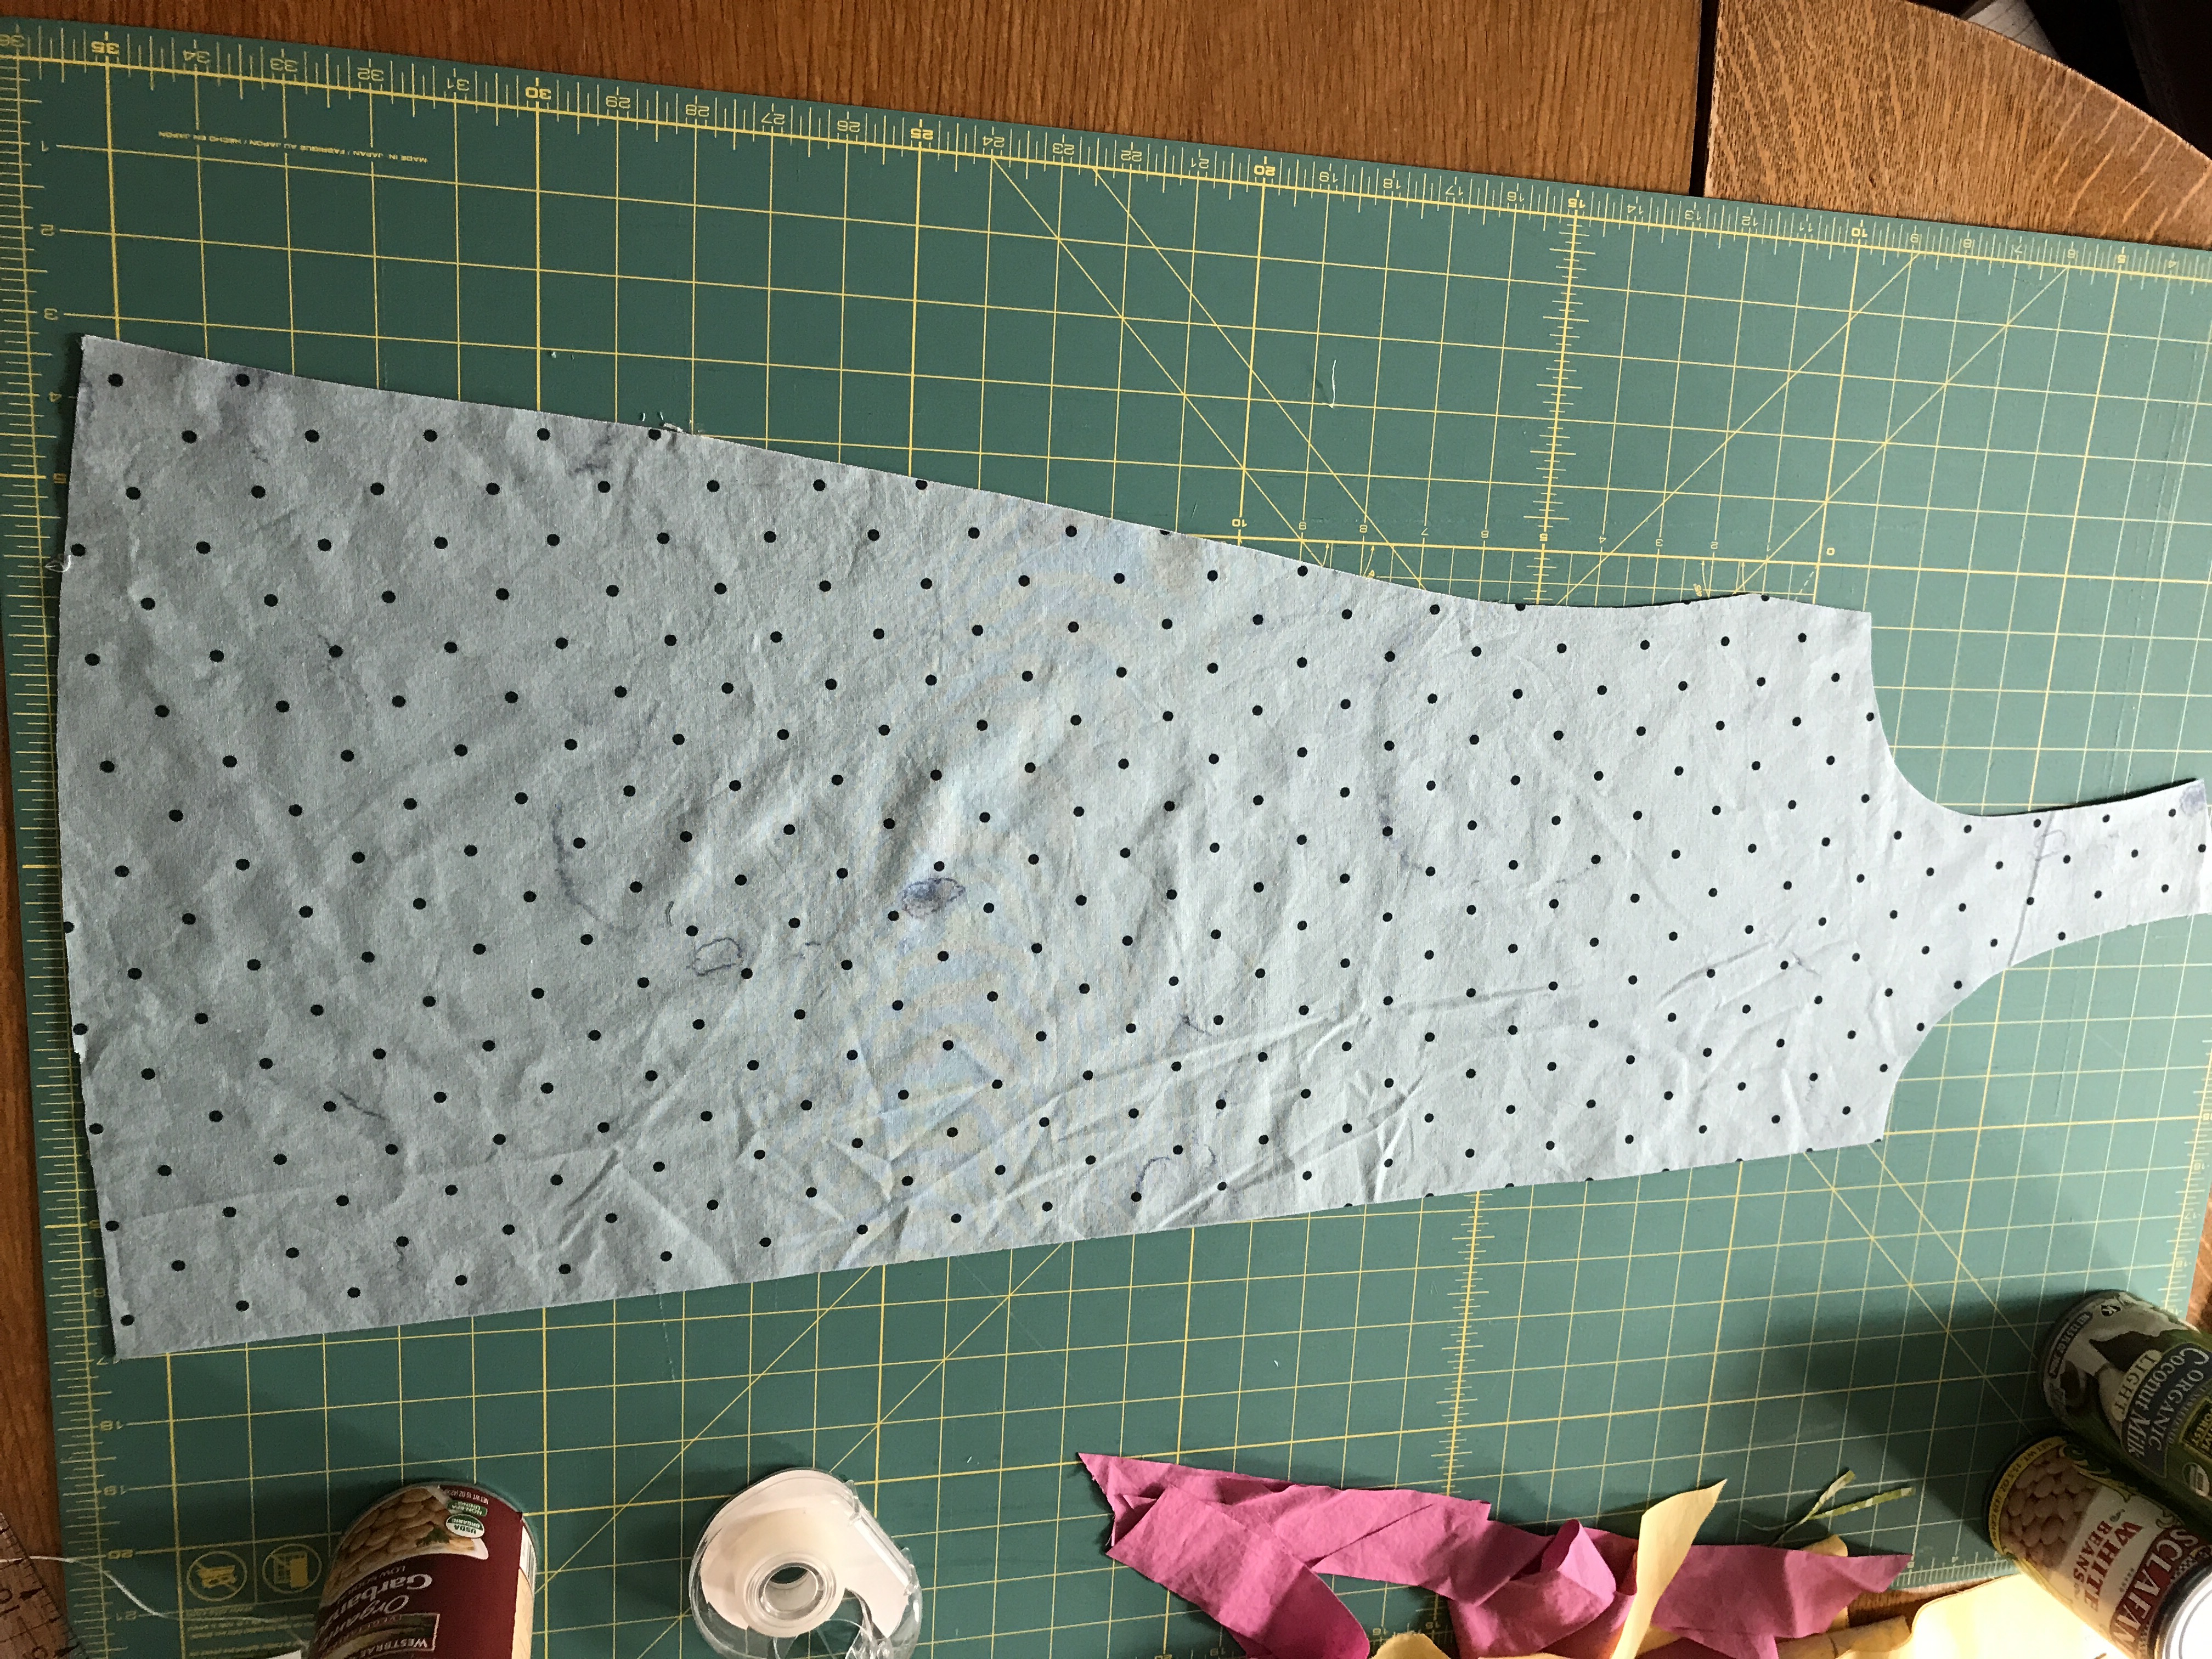
 Pictures of sewing the bodice below.


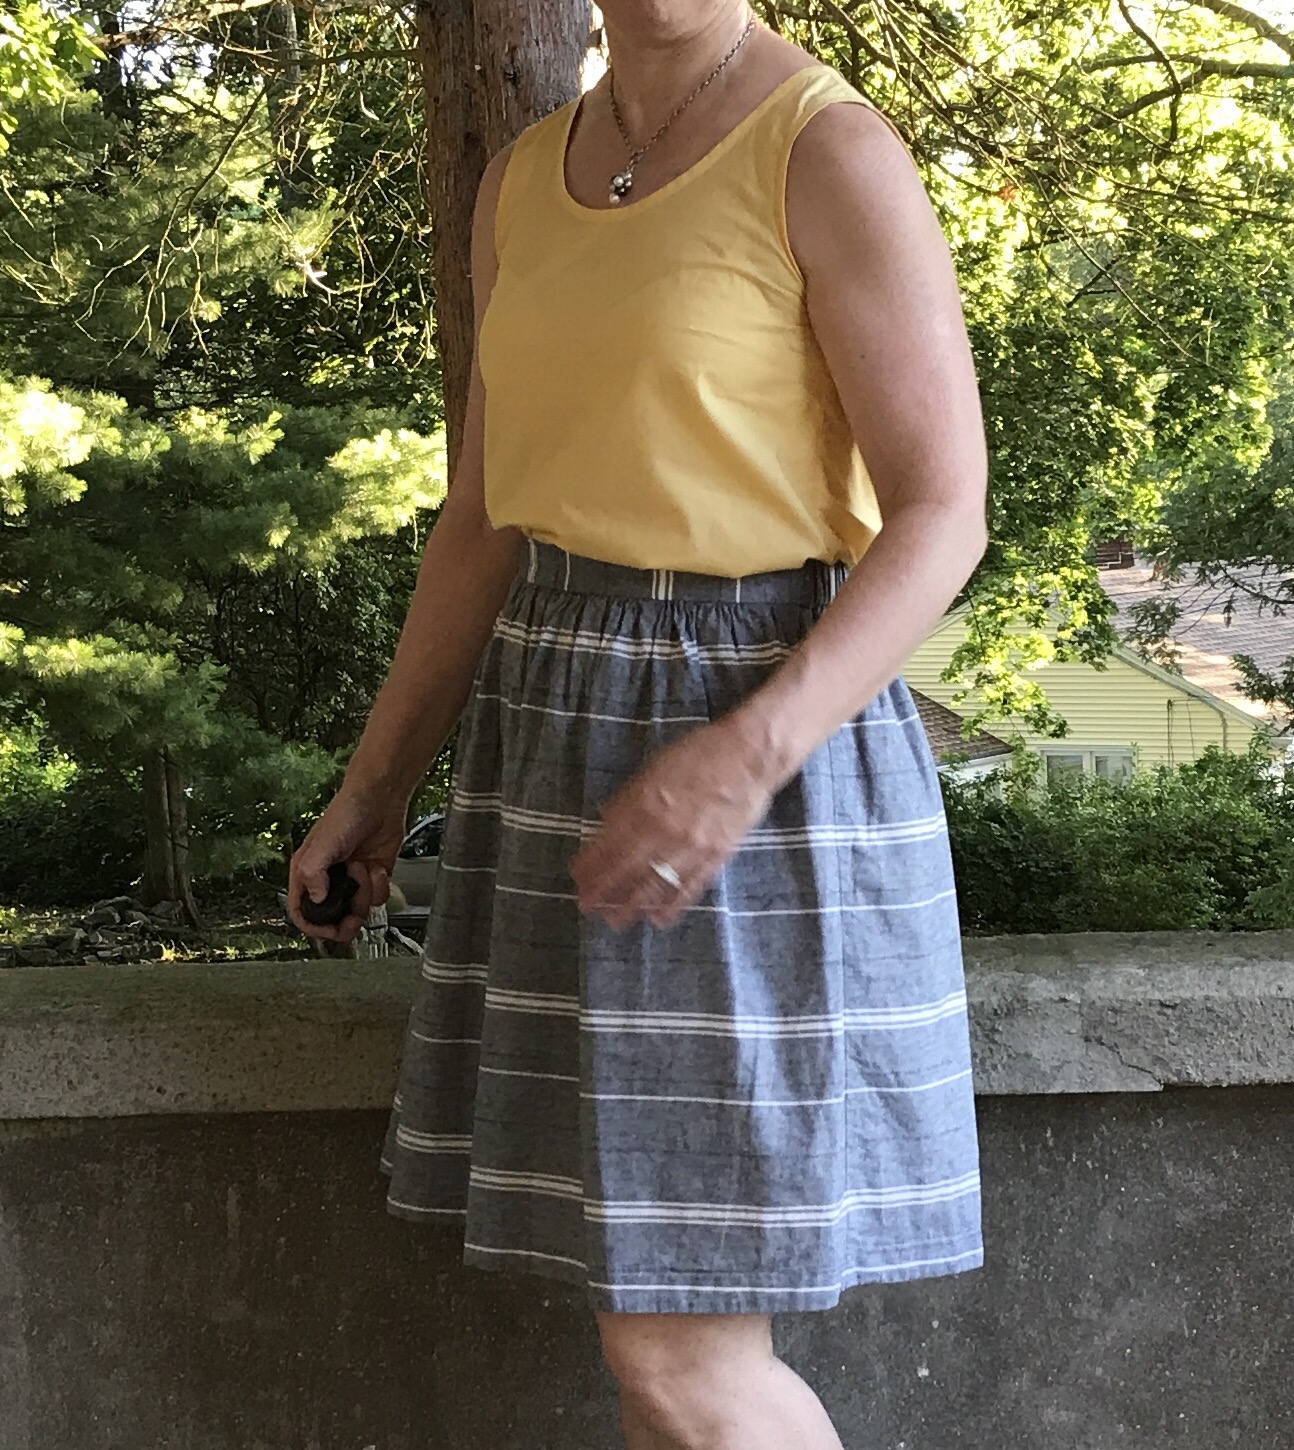
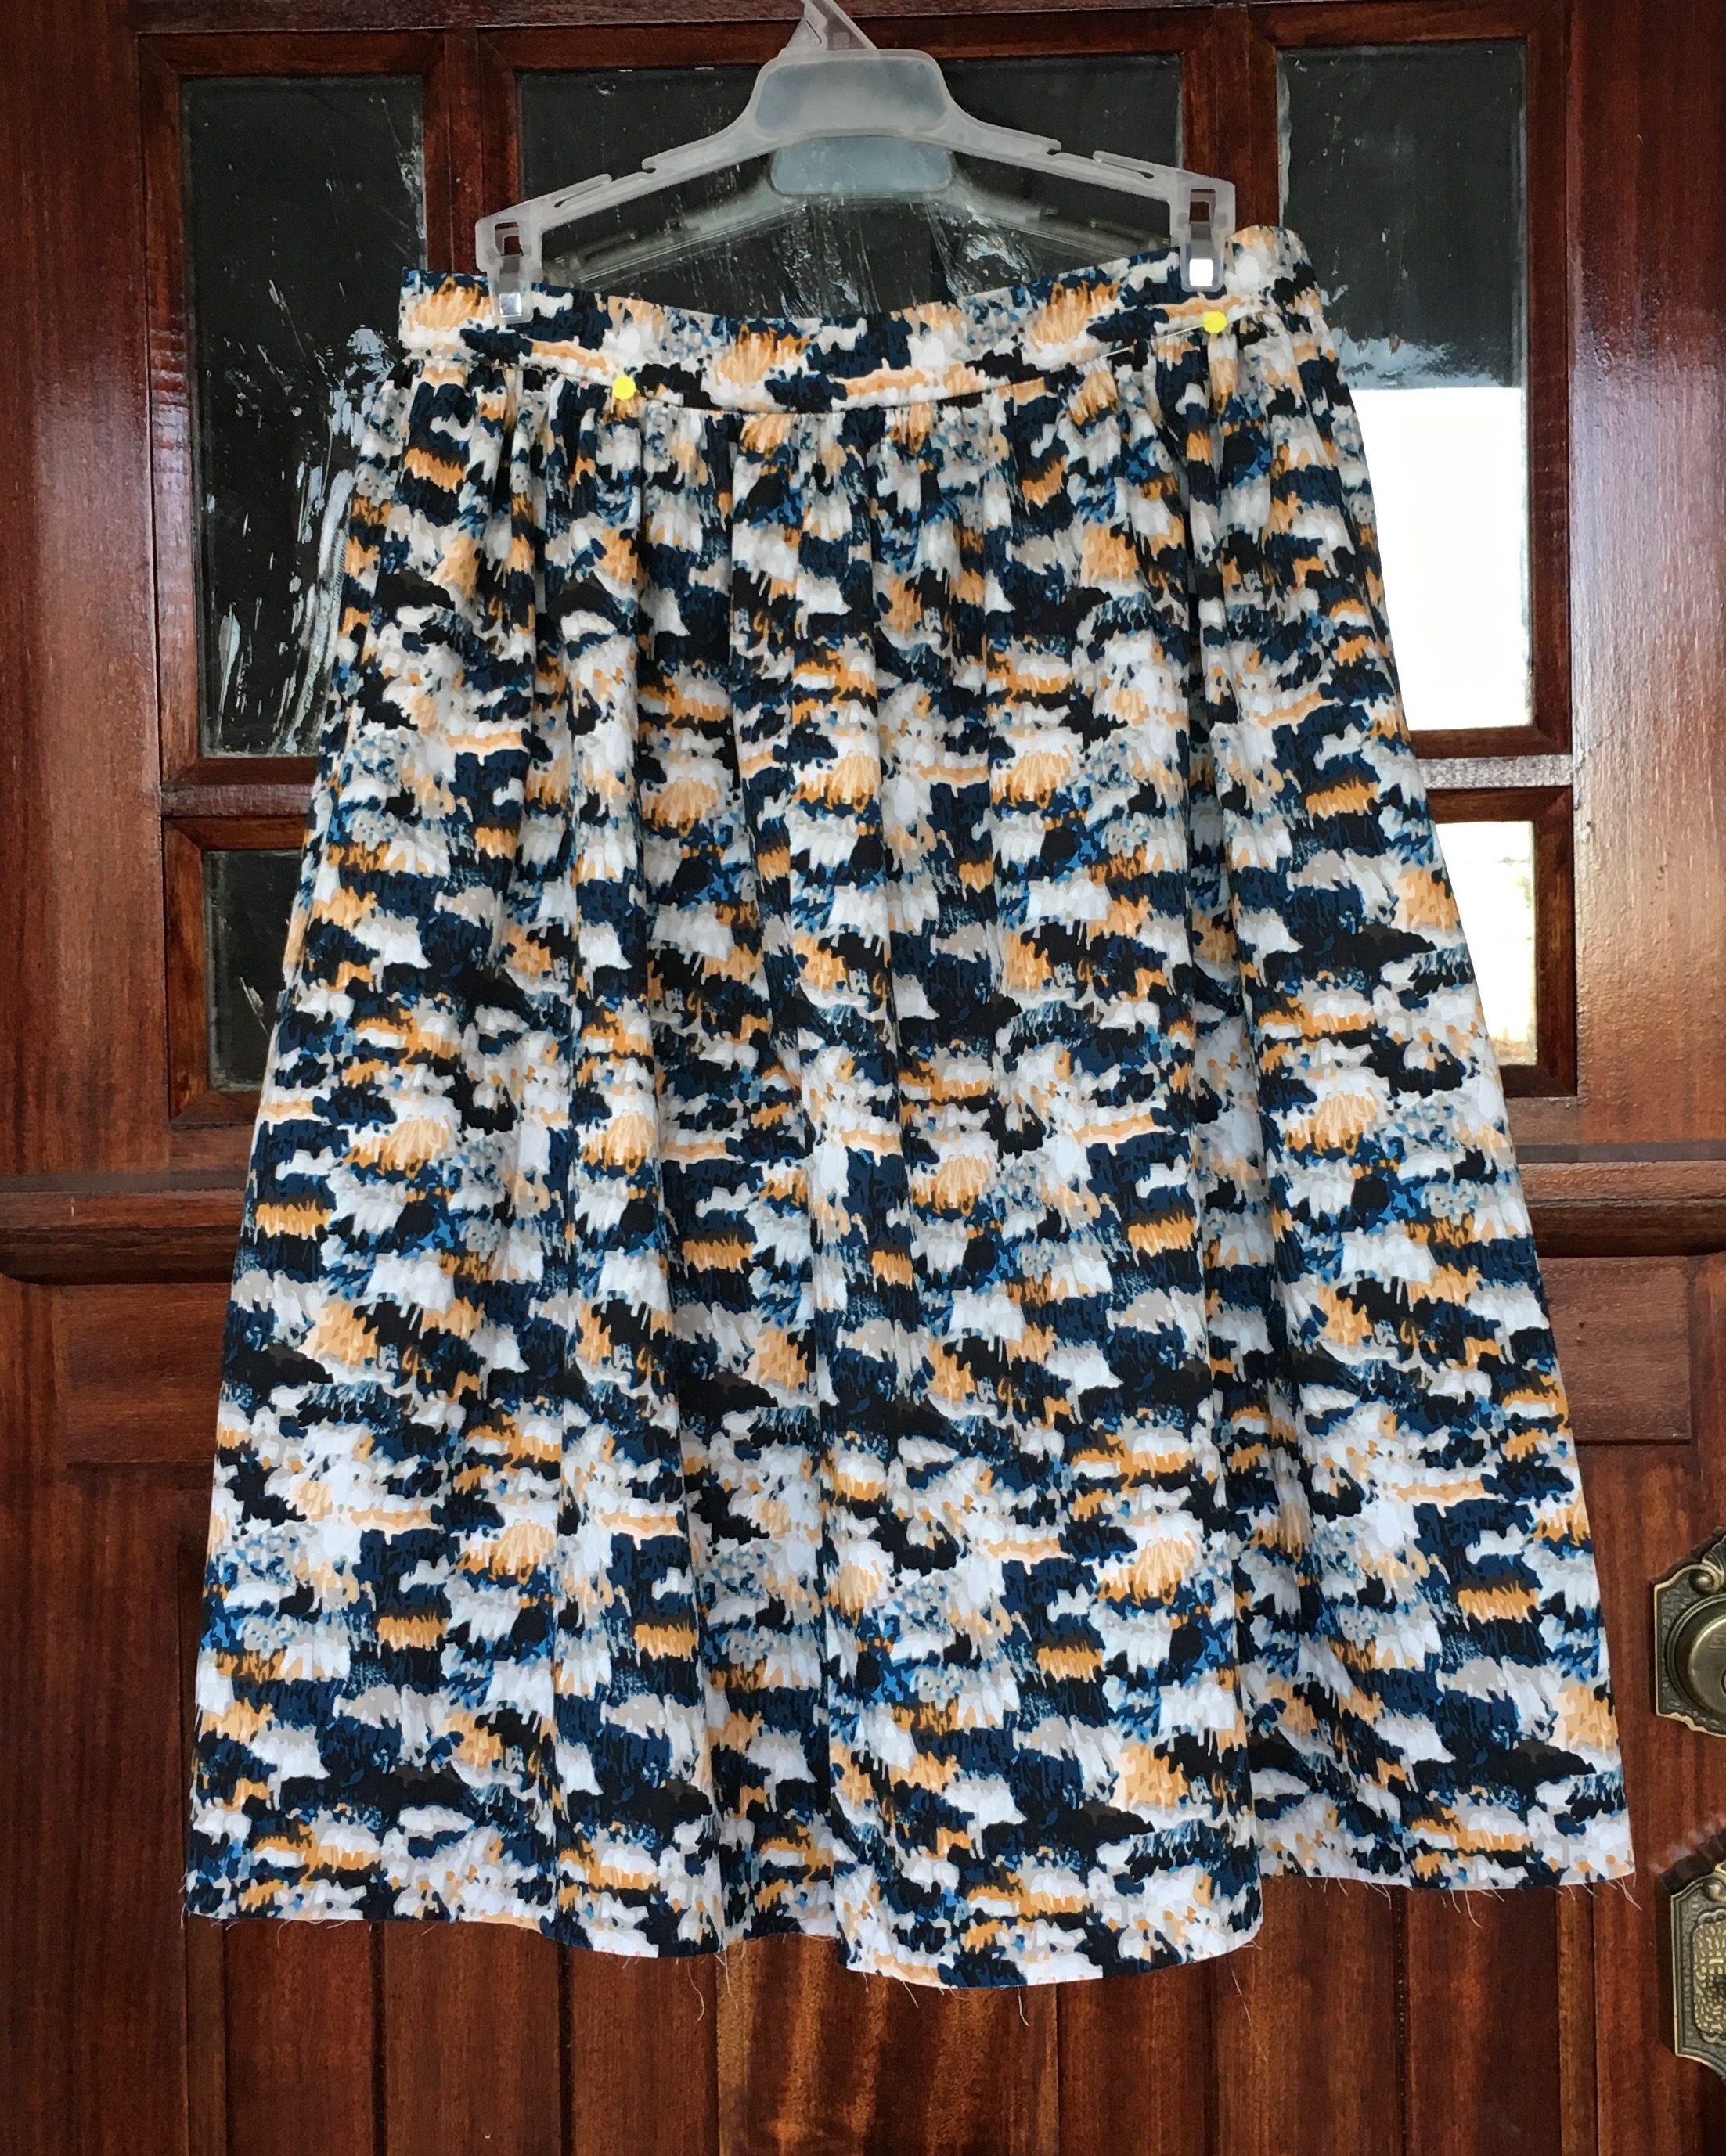
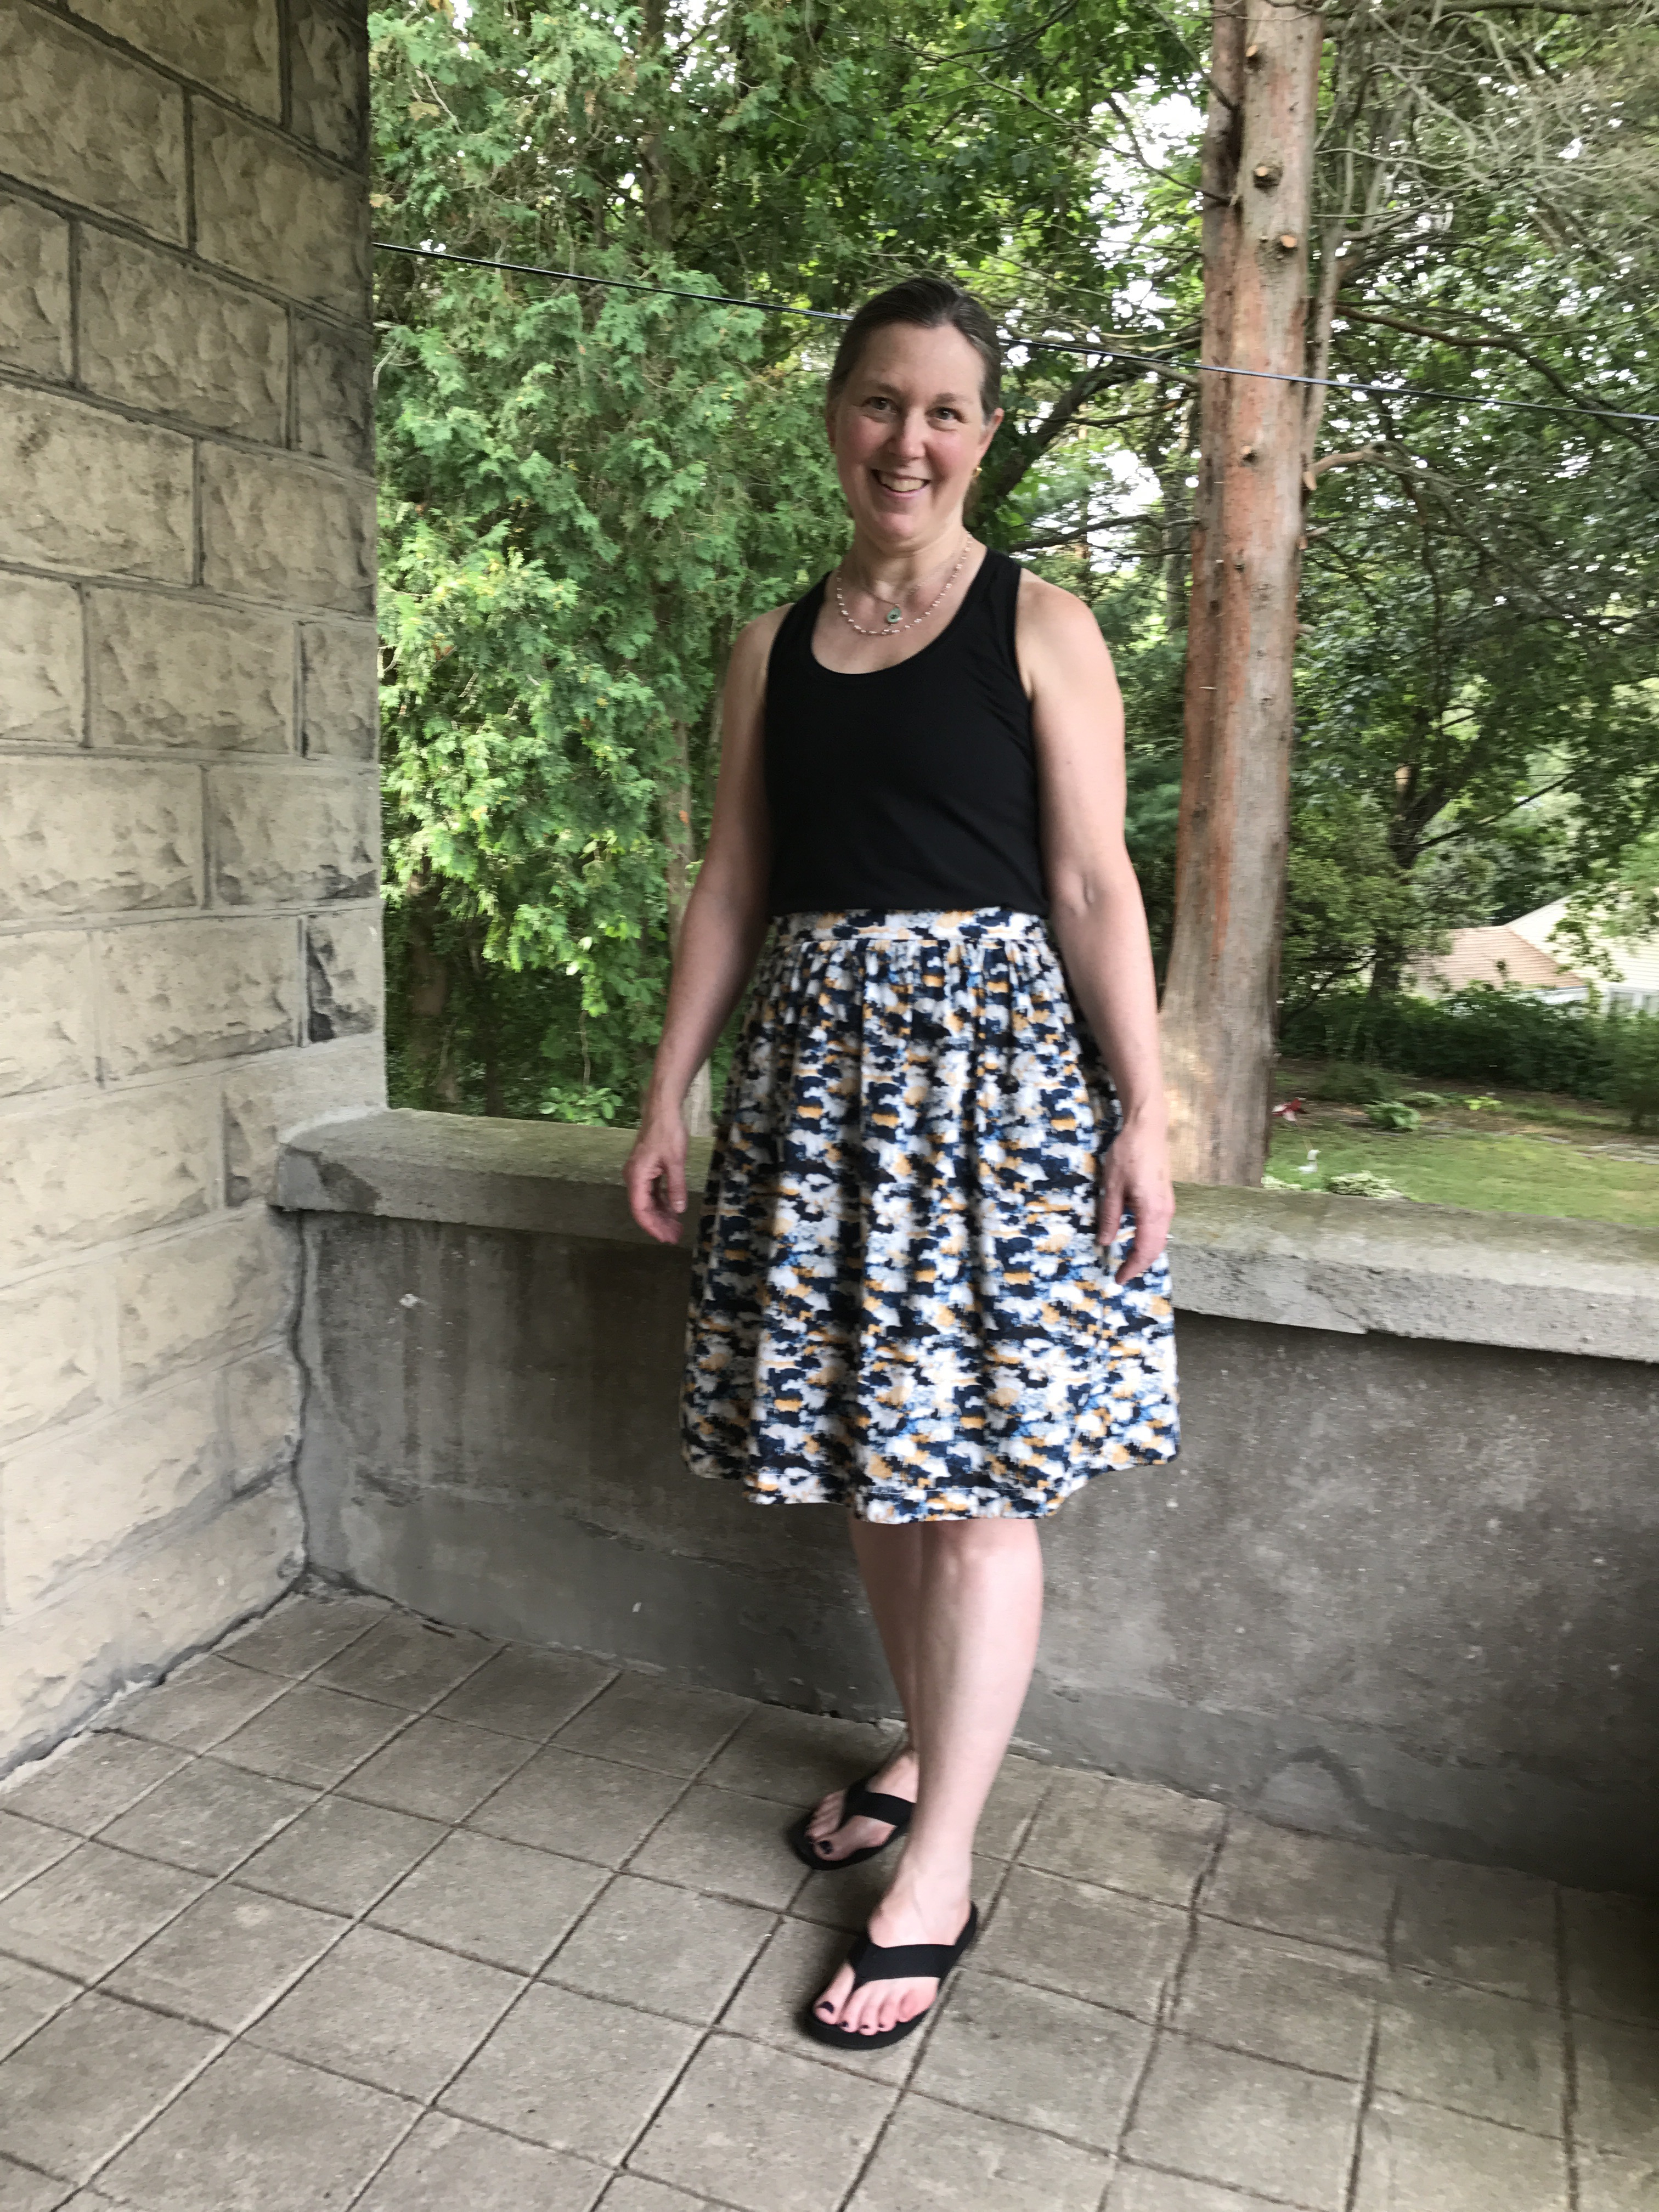
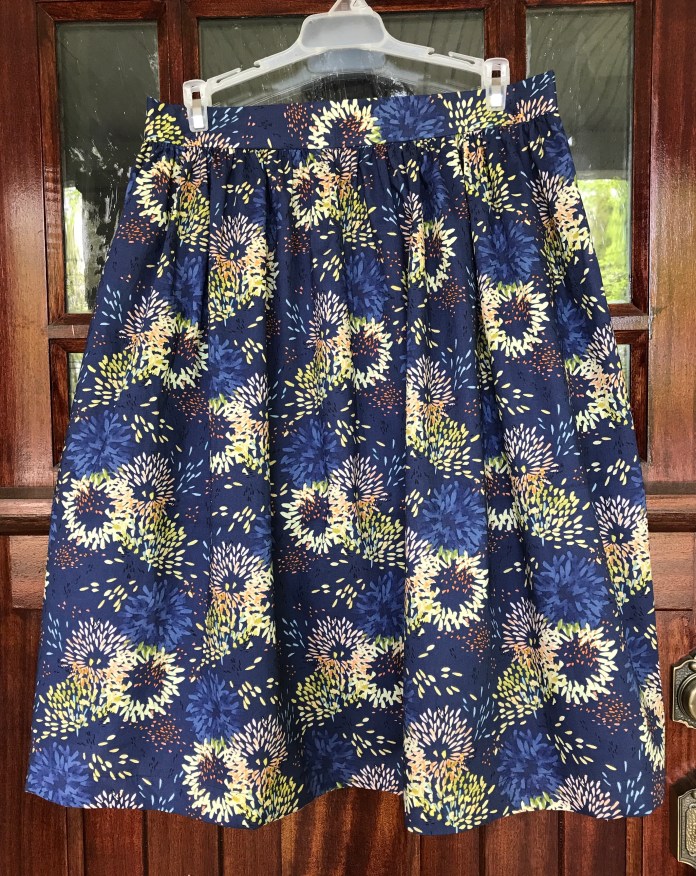 Version 2:
 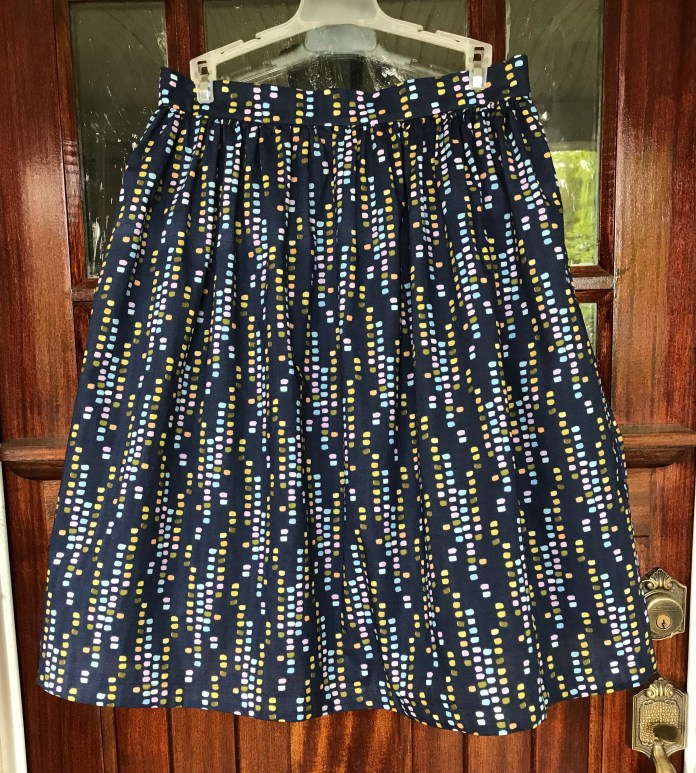 I couldn’t decide which fabric to buy so I bought them both and I love both skirts. This fabric is lightweight and swishy. It was easy to sew with. It drapes beautifully. I am a total fan.
 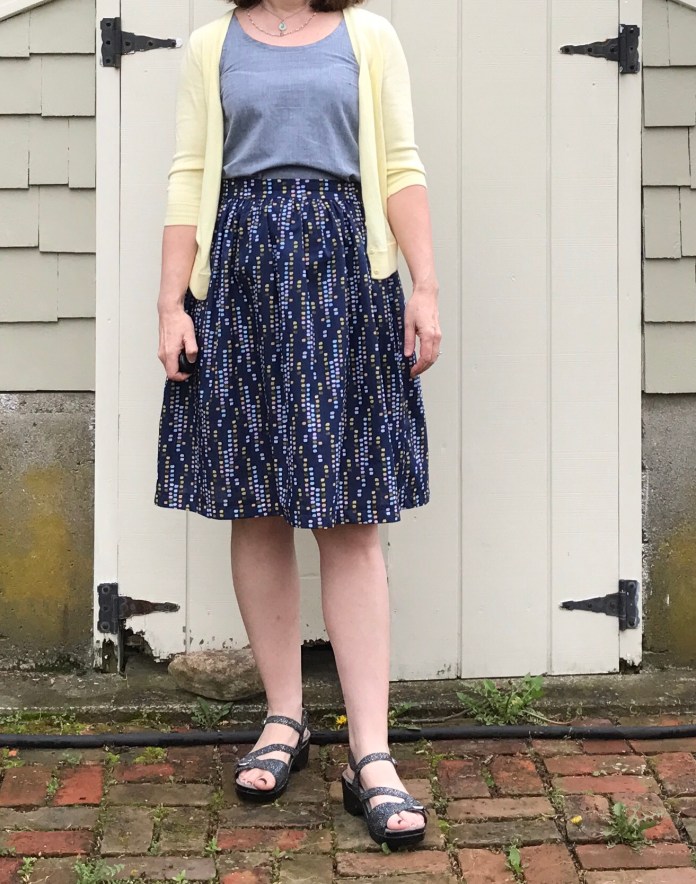 They are both perfect with my
 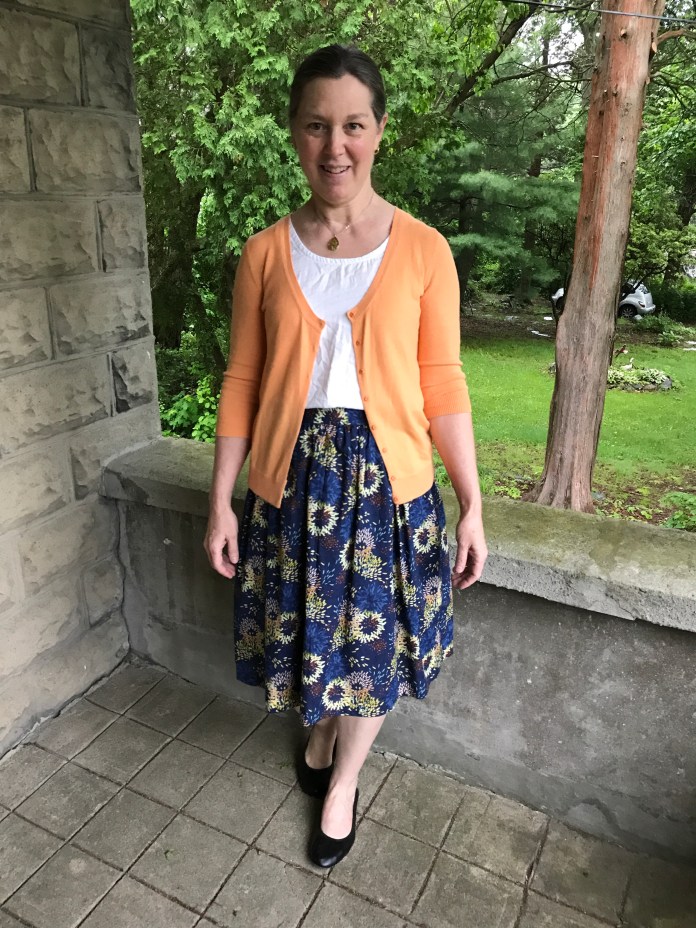 My
My 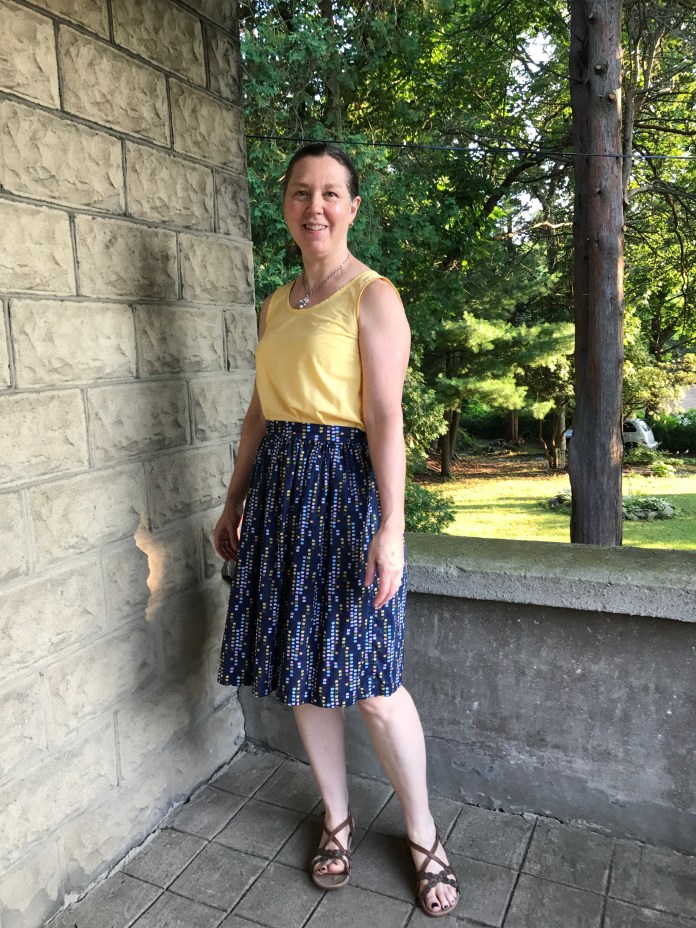 I used scraps of the yellow for a facing for the hems for all three of my voile and lawn Cleos. The
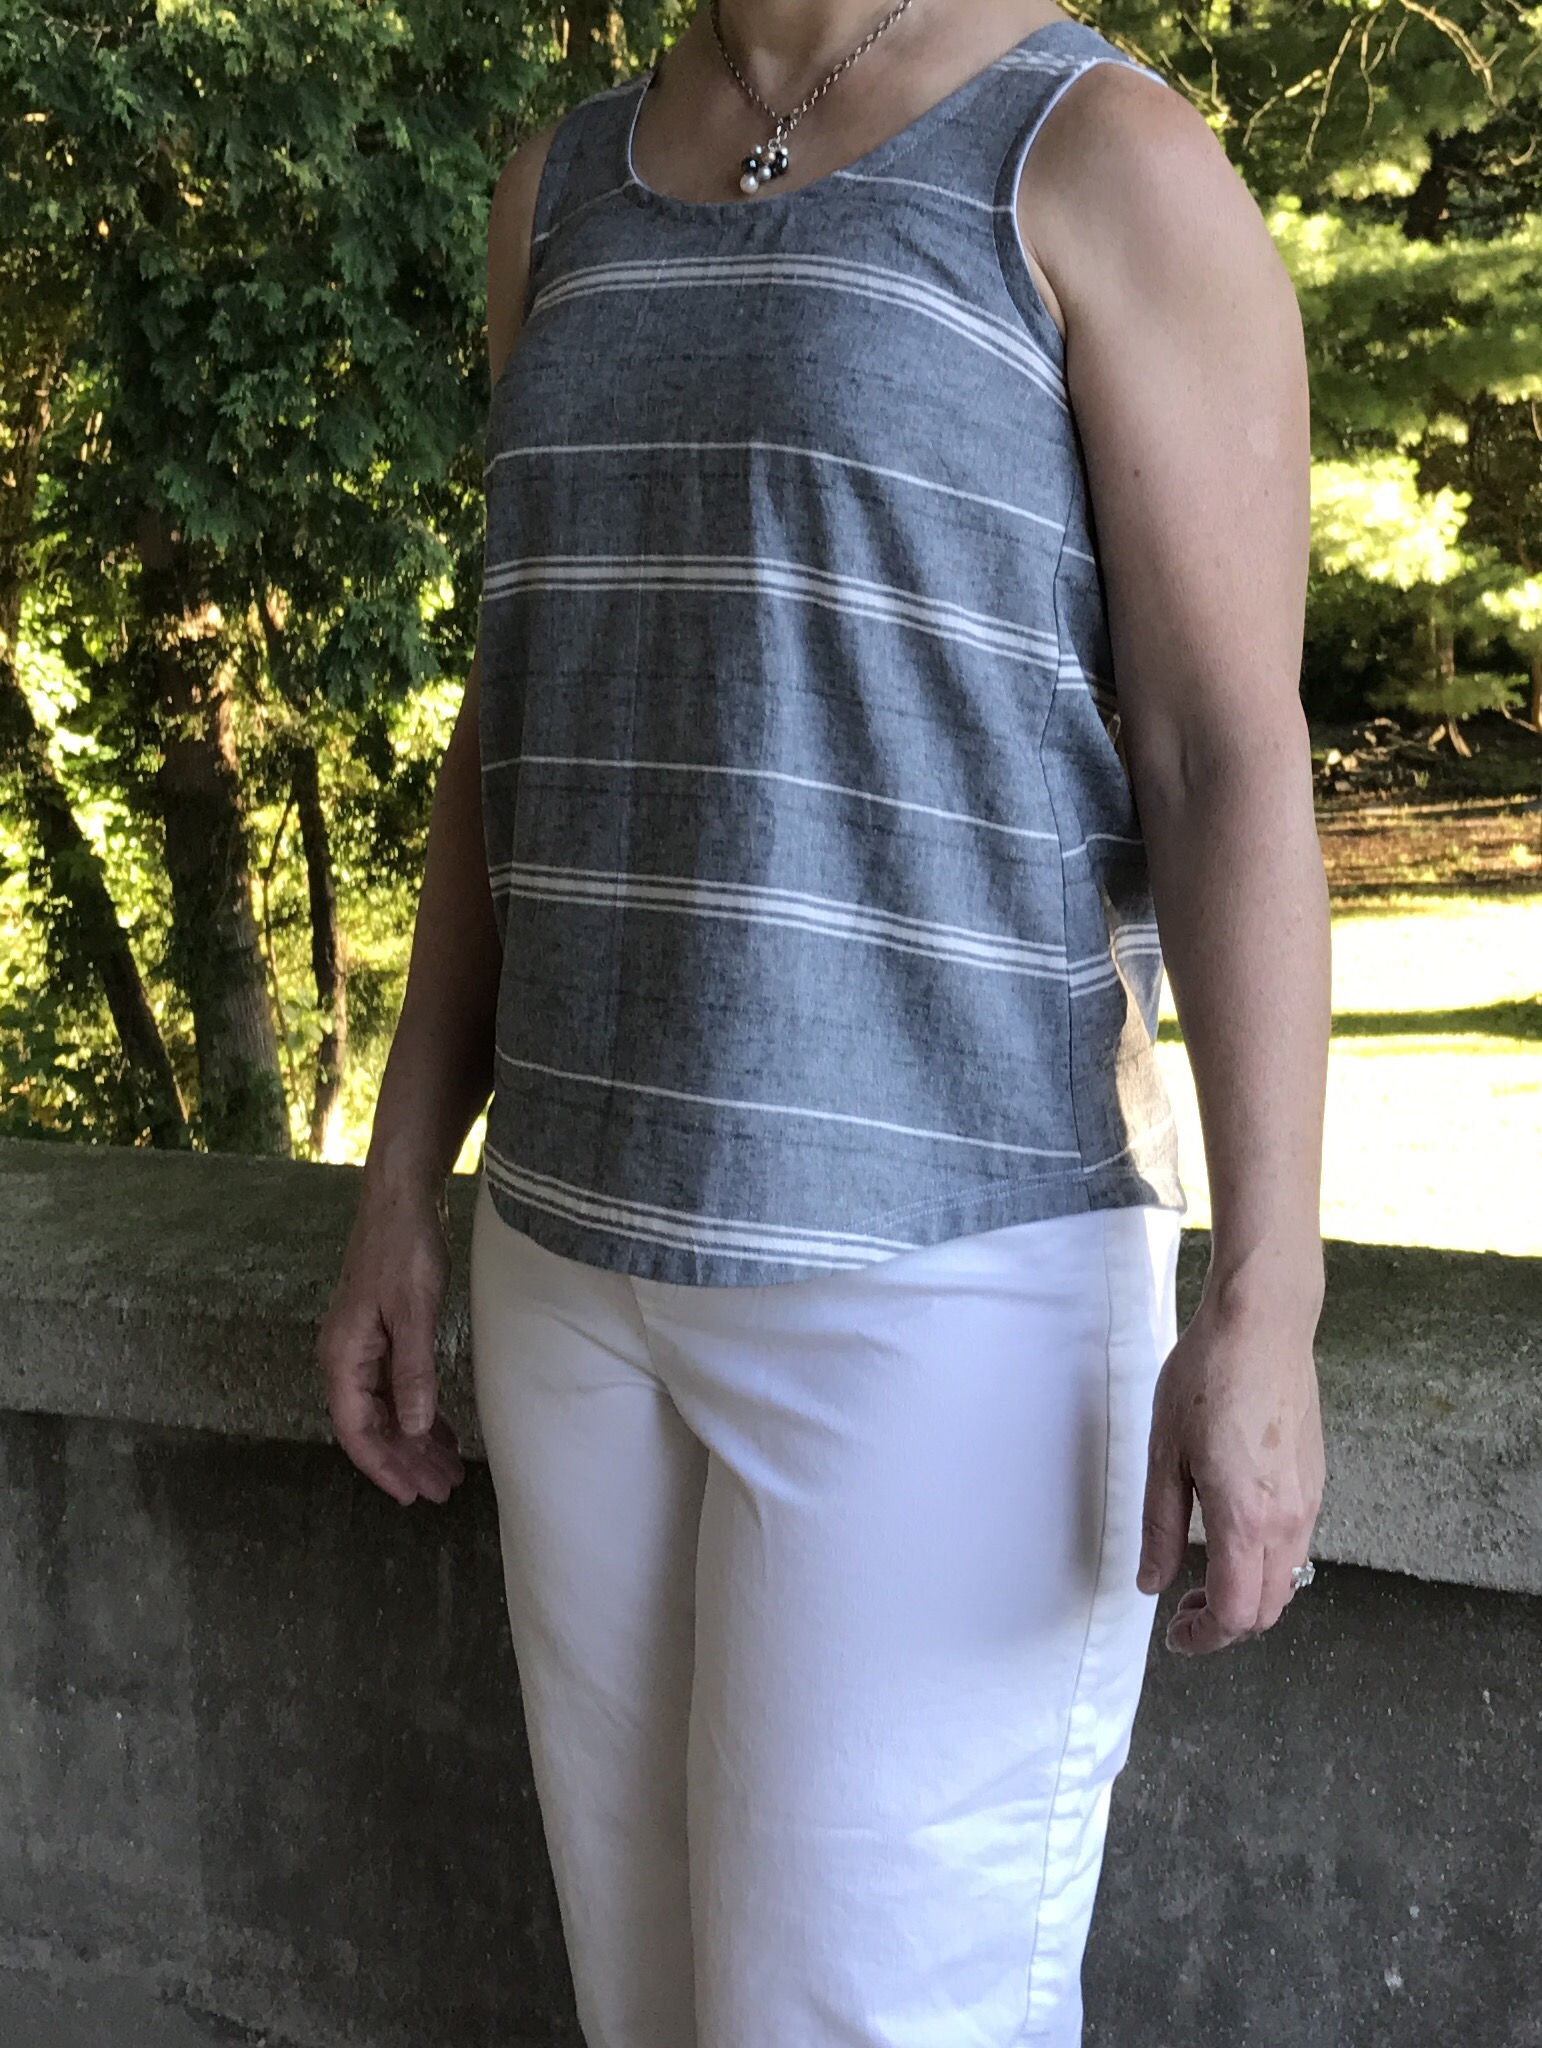
  The Cleo is also great in lightweight woven fabrics. I made this version with a woven cotton-linen blend from Joanne Fabric. I also made a matching Gemma Tank which I love although I like them better worn separately.
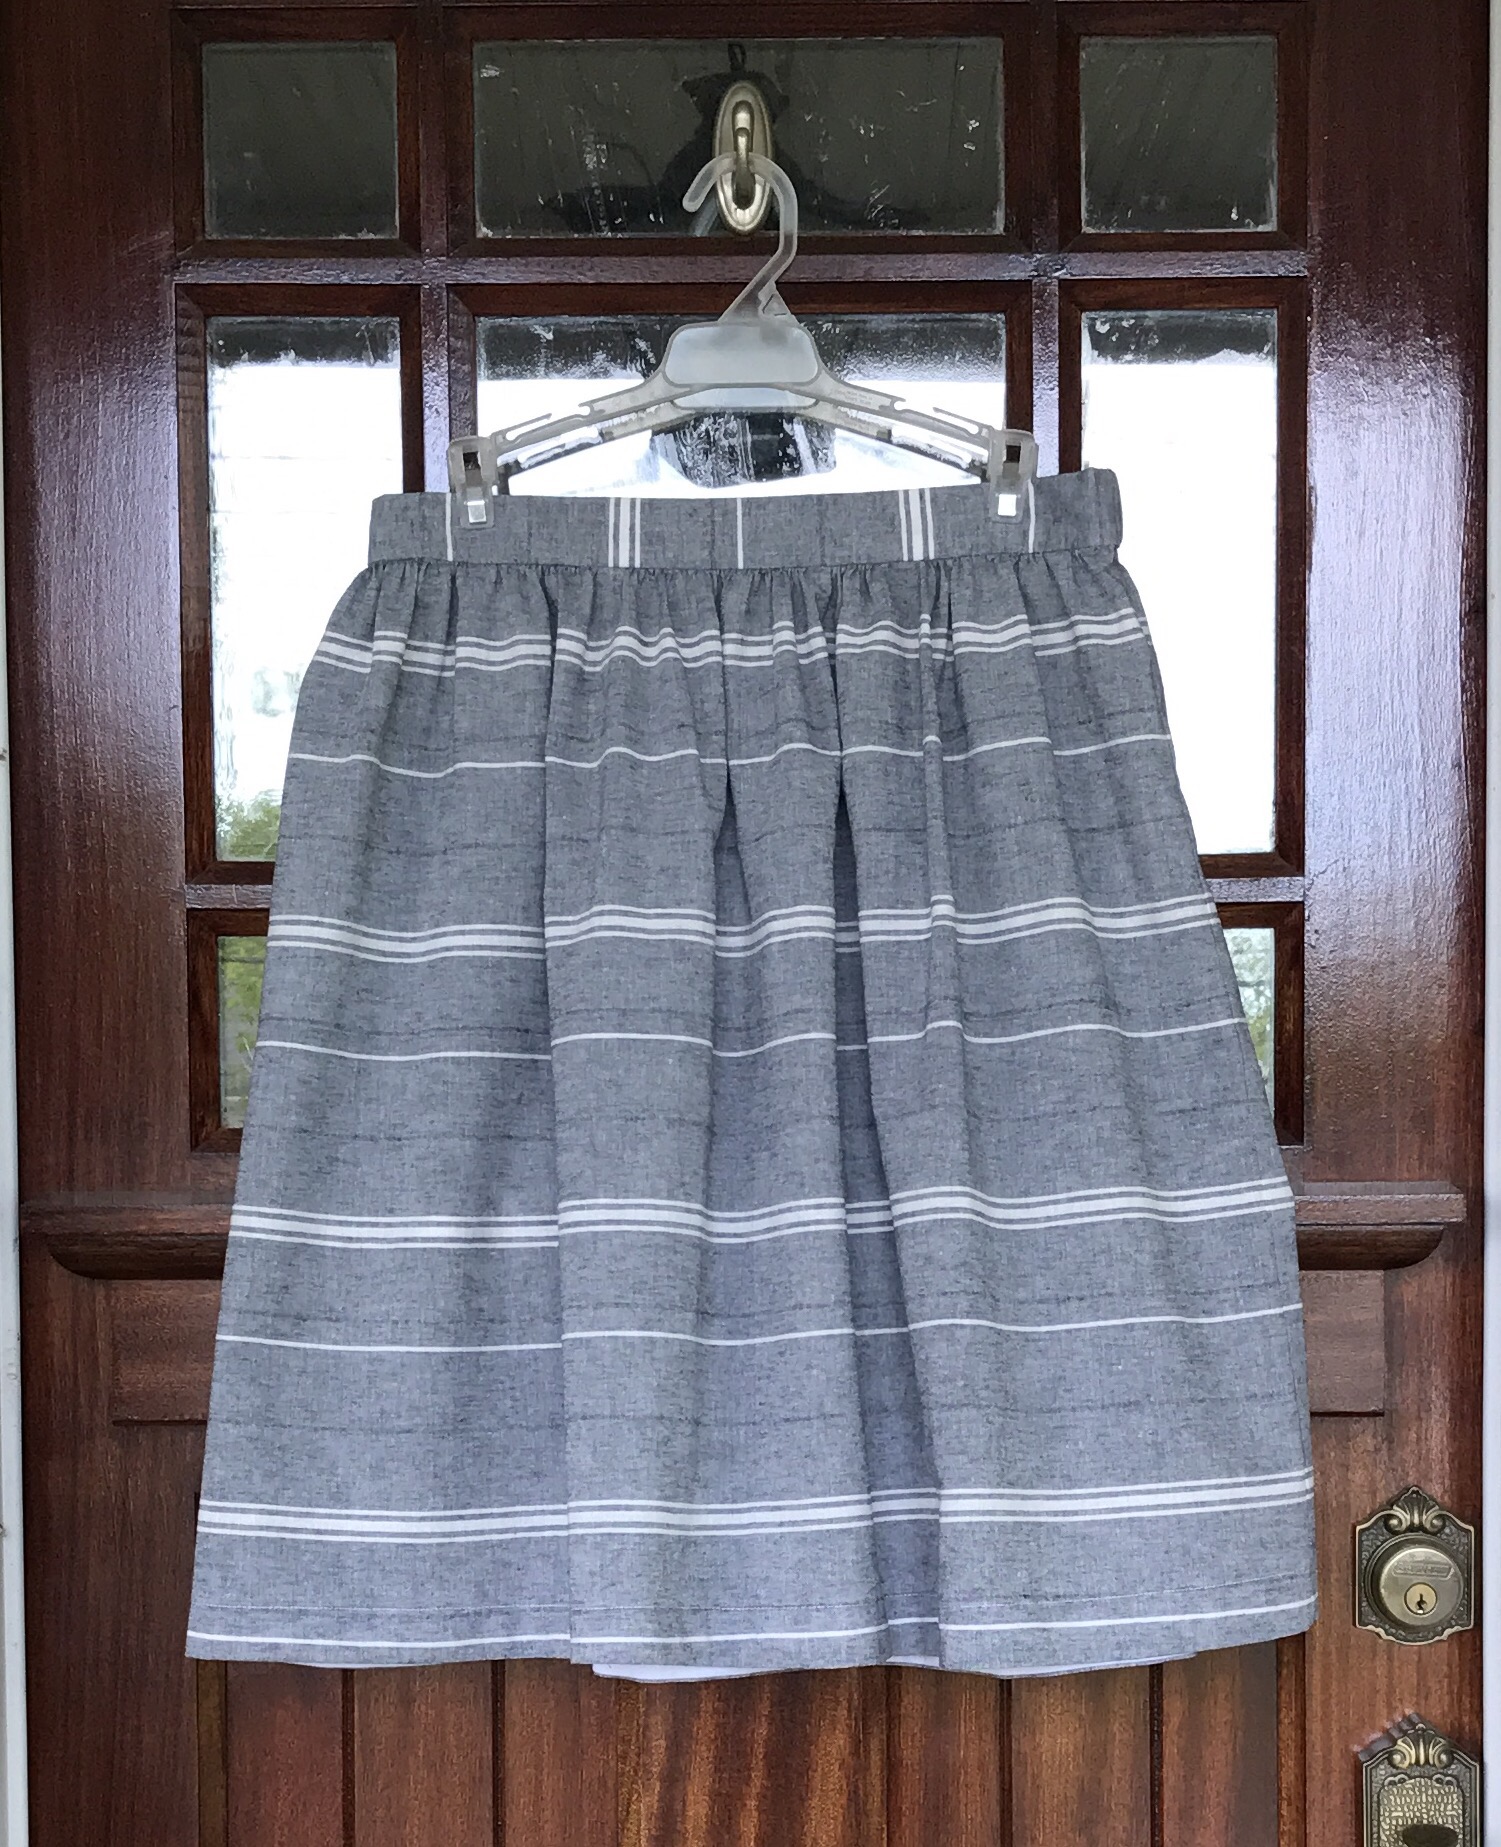


 I have really enjoyed wearing it this summer. It is perfect for hot summer days. This is a bit rumpled right out of the dryer and I don’t even care.
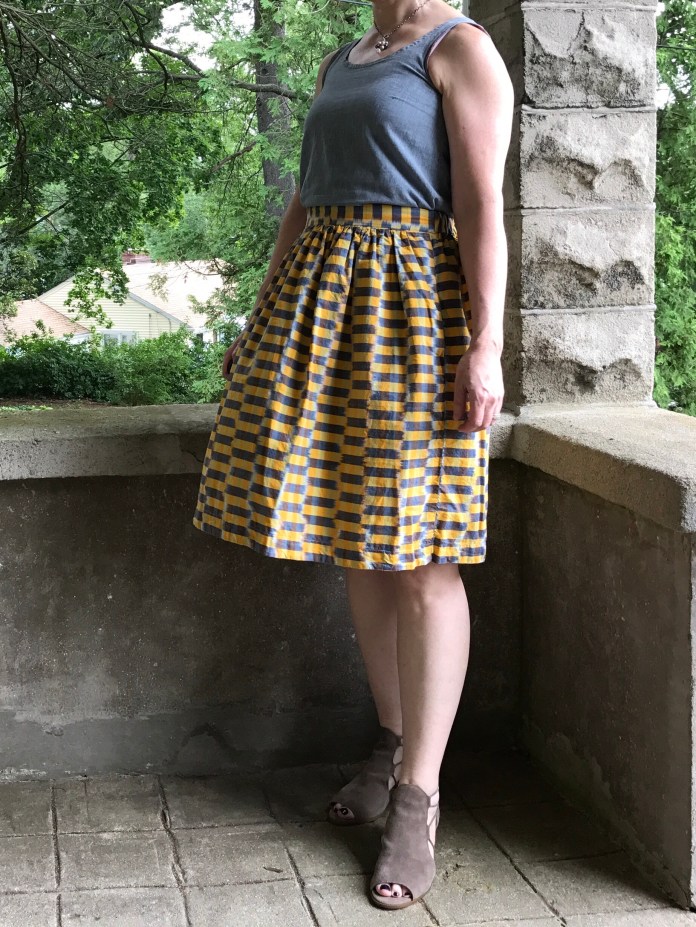 I also sewed several versions of the Cleo in quilting cotton. I saw a beautiful Ruby dress on Instagram made with
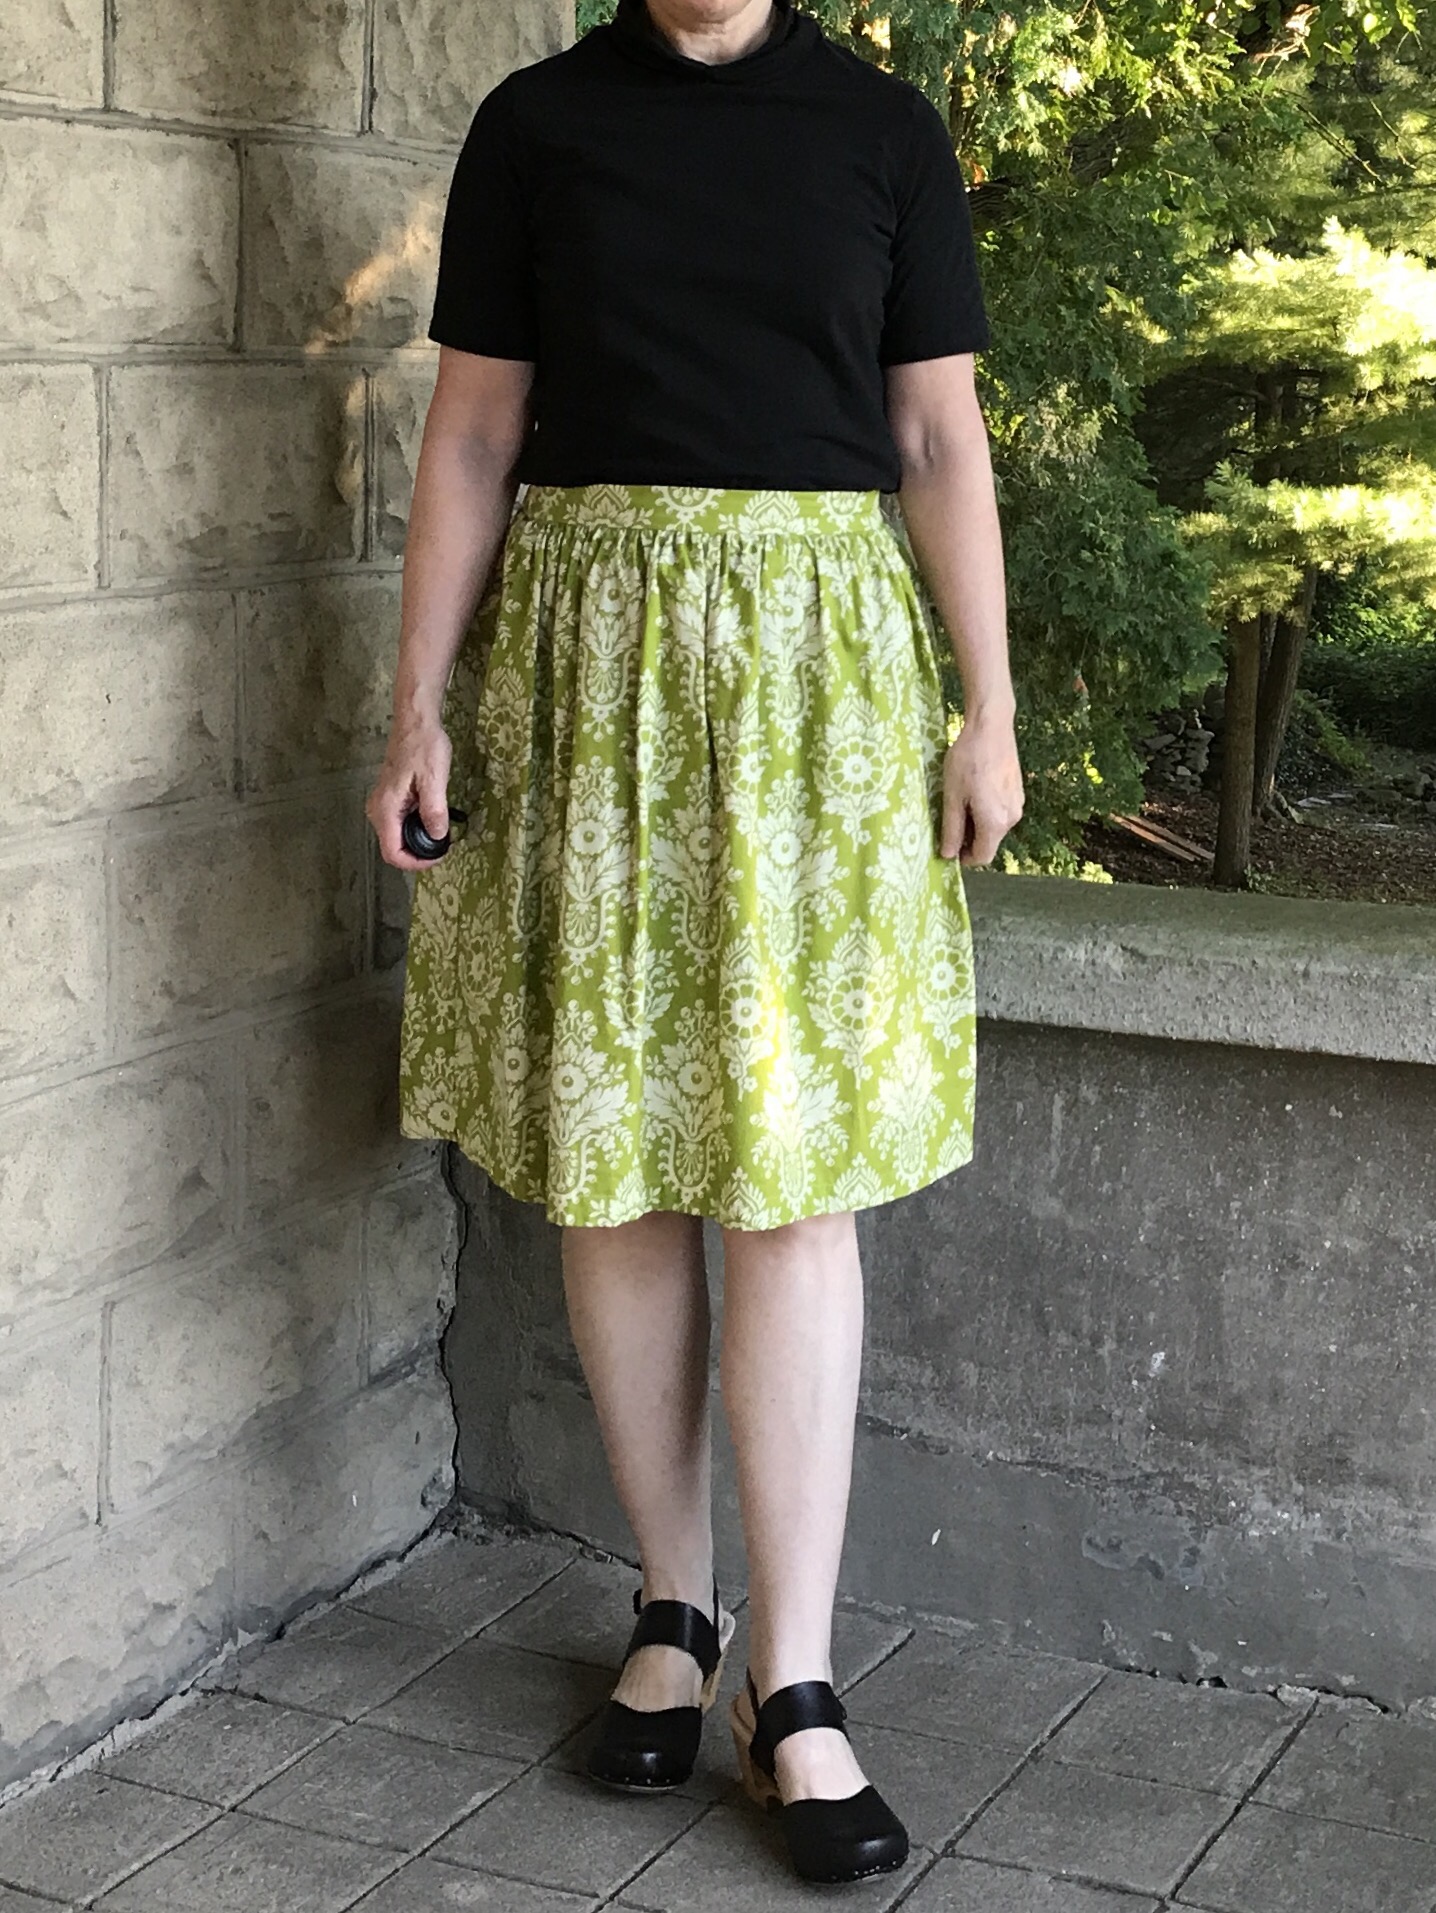

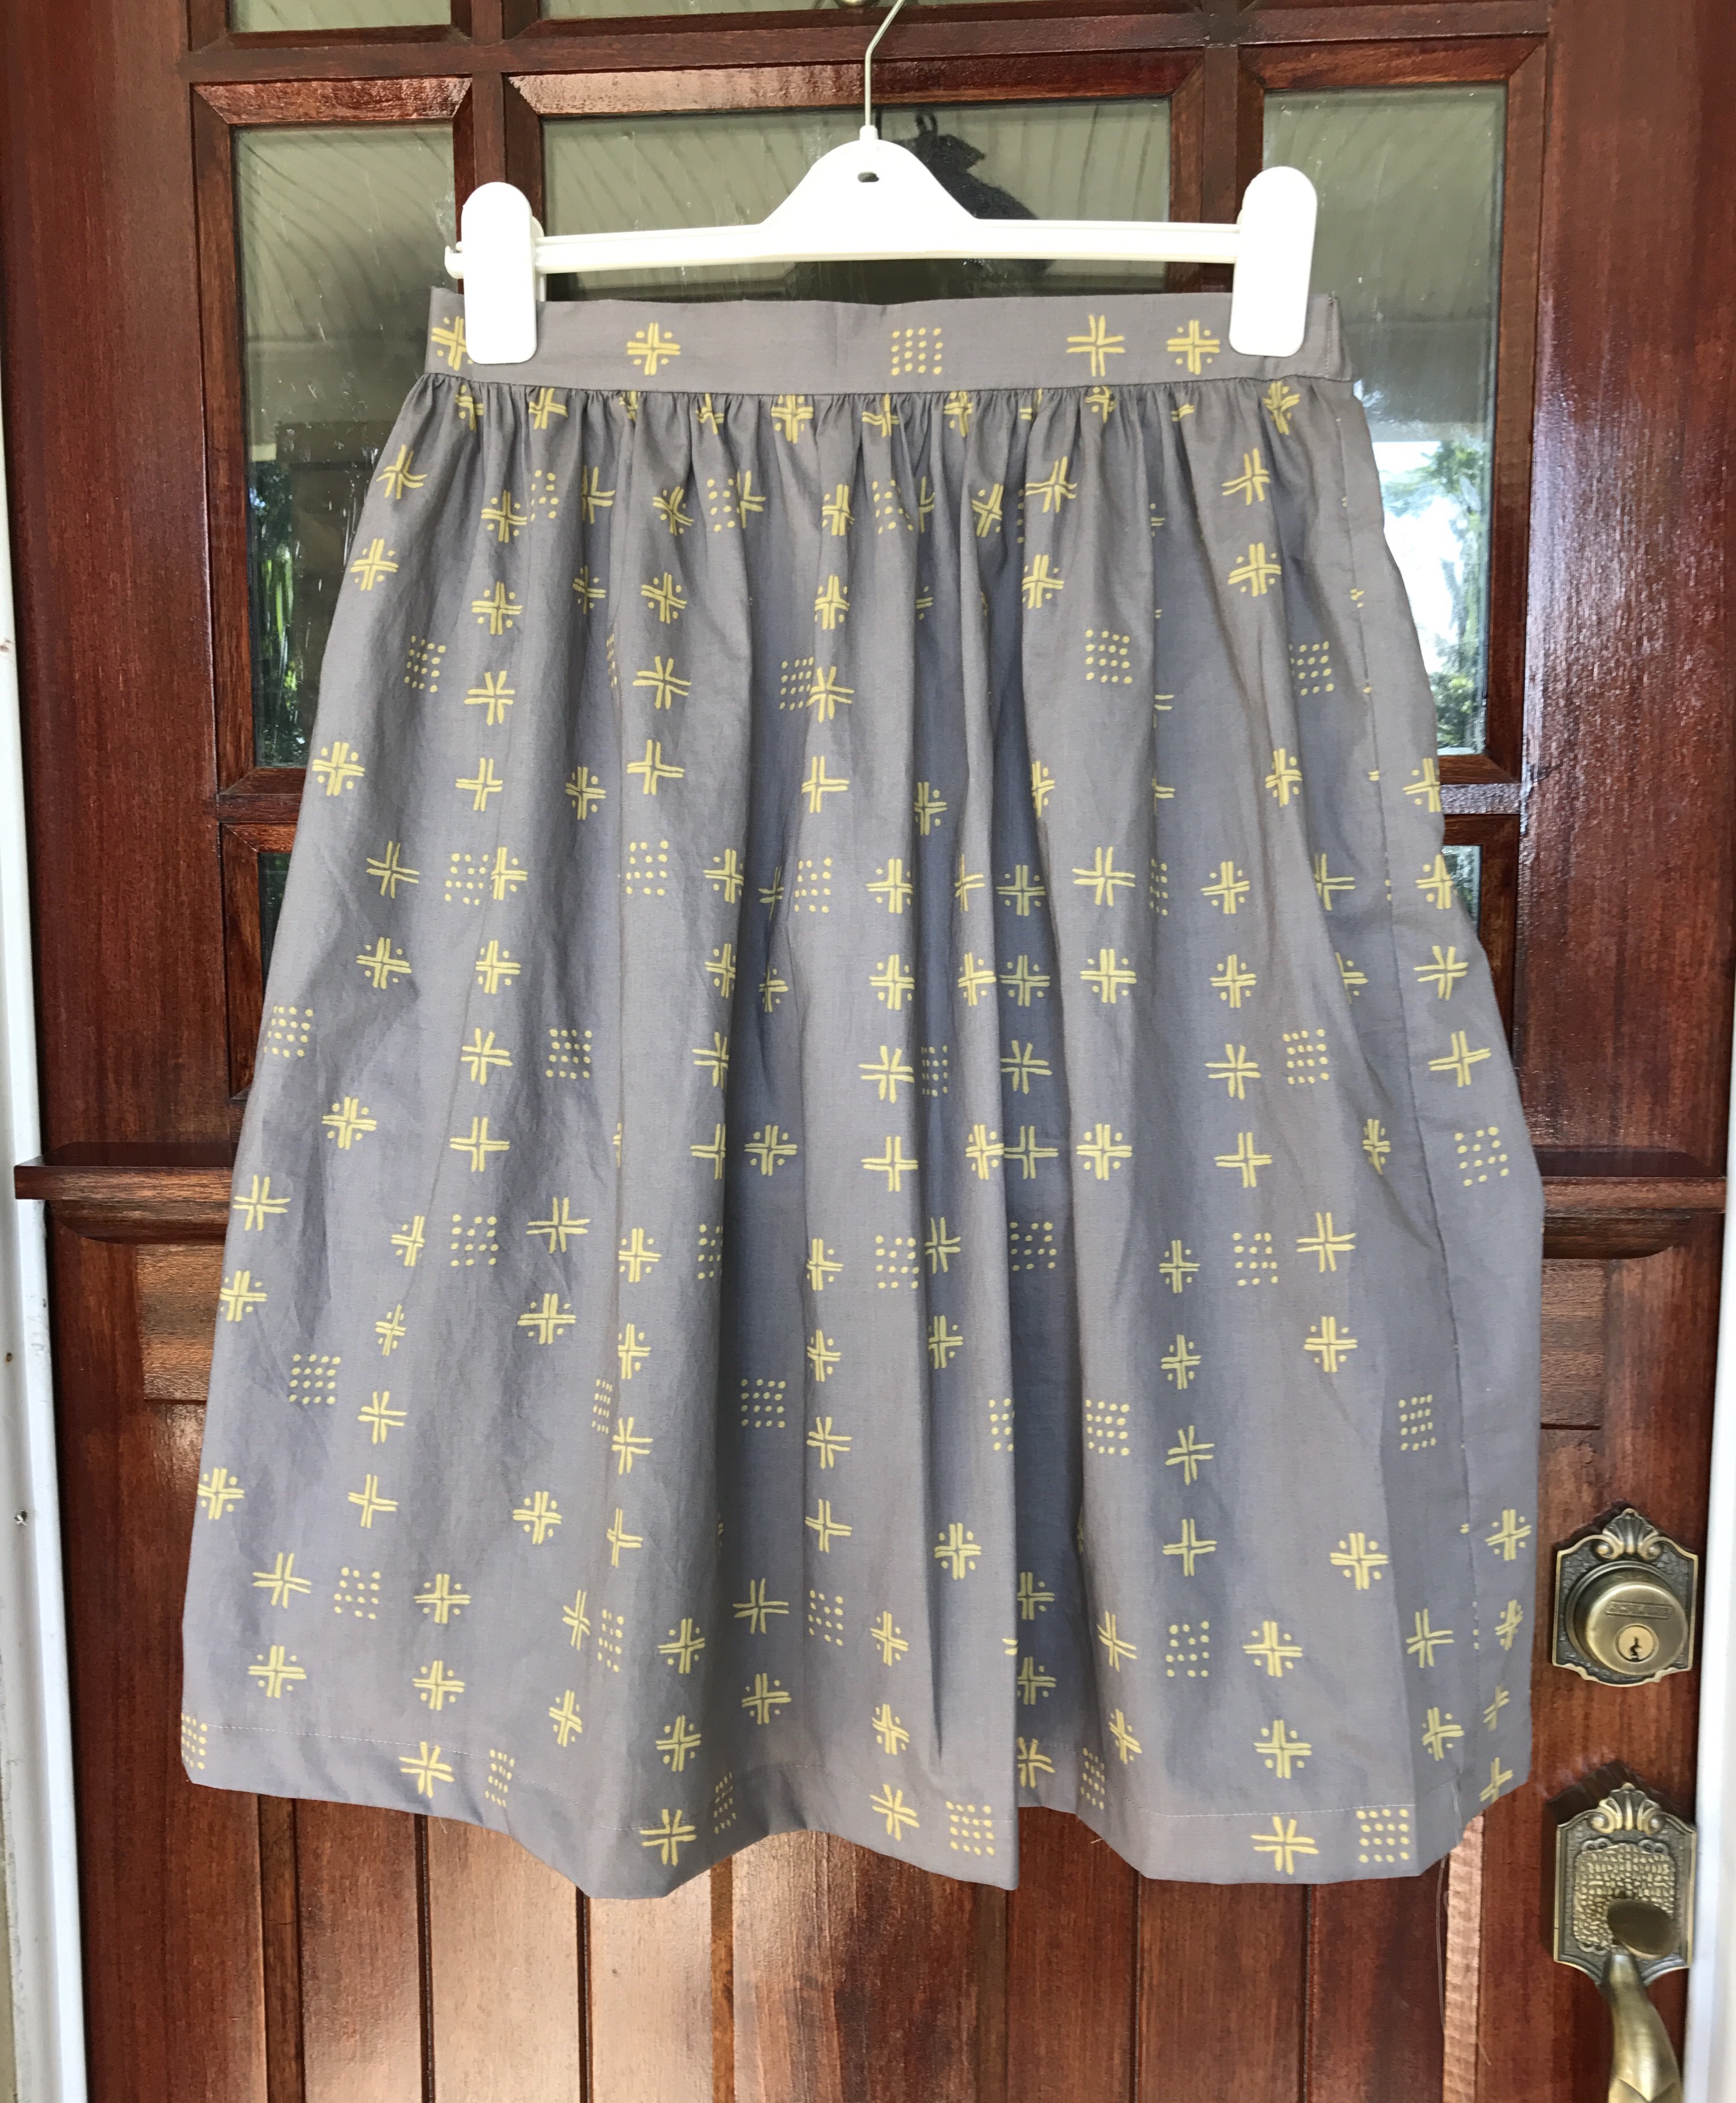
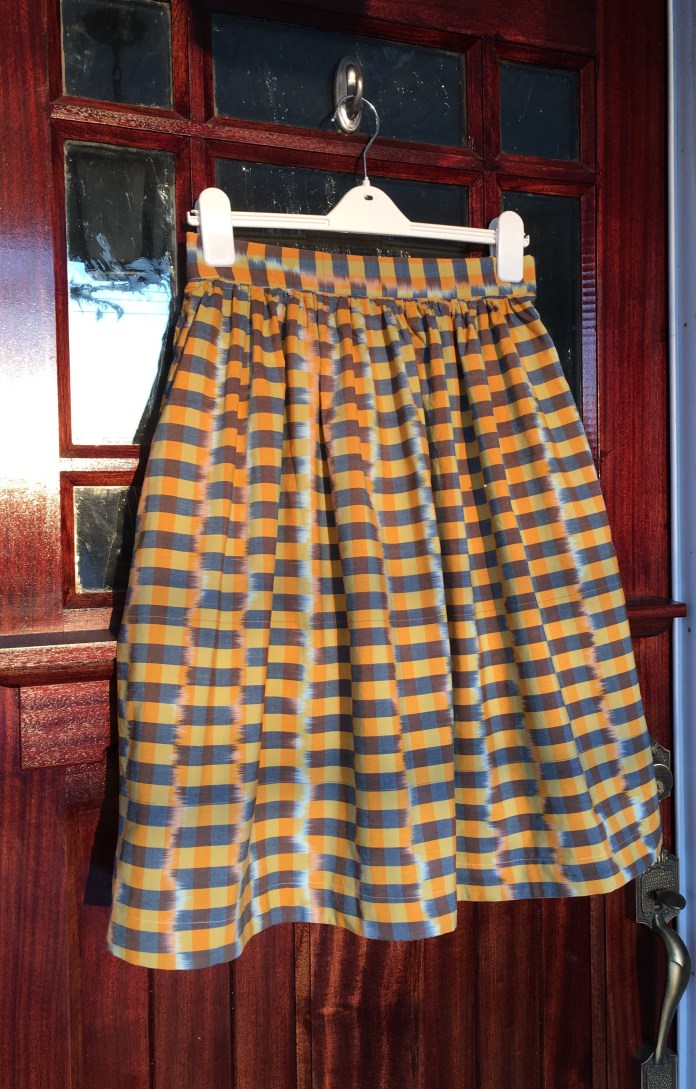
 I enjoy experimenting with designs and patterns and I had this fabric in my stash. It is from the Arizona collection also from April Rhodes. I had fun sewing this skirt and seeing how this pattern looks with the gathers. This fabric is now available in a
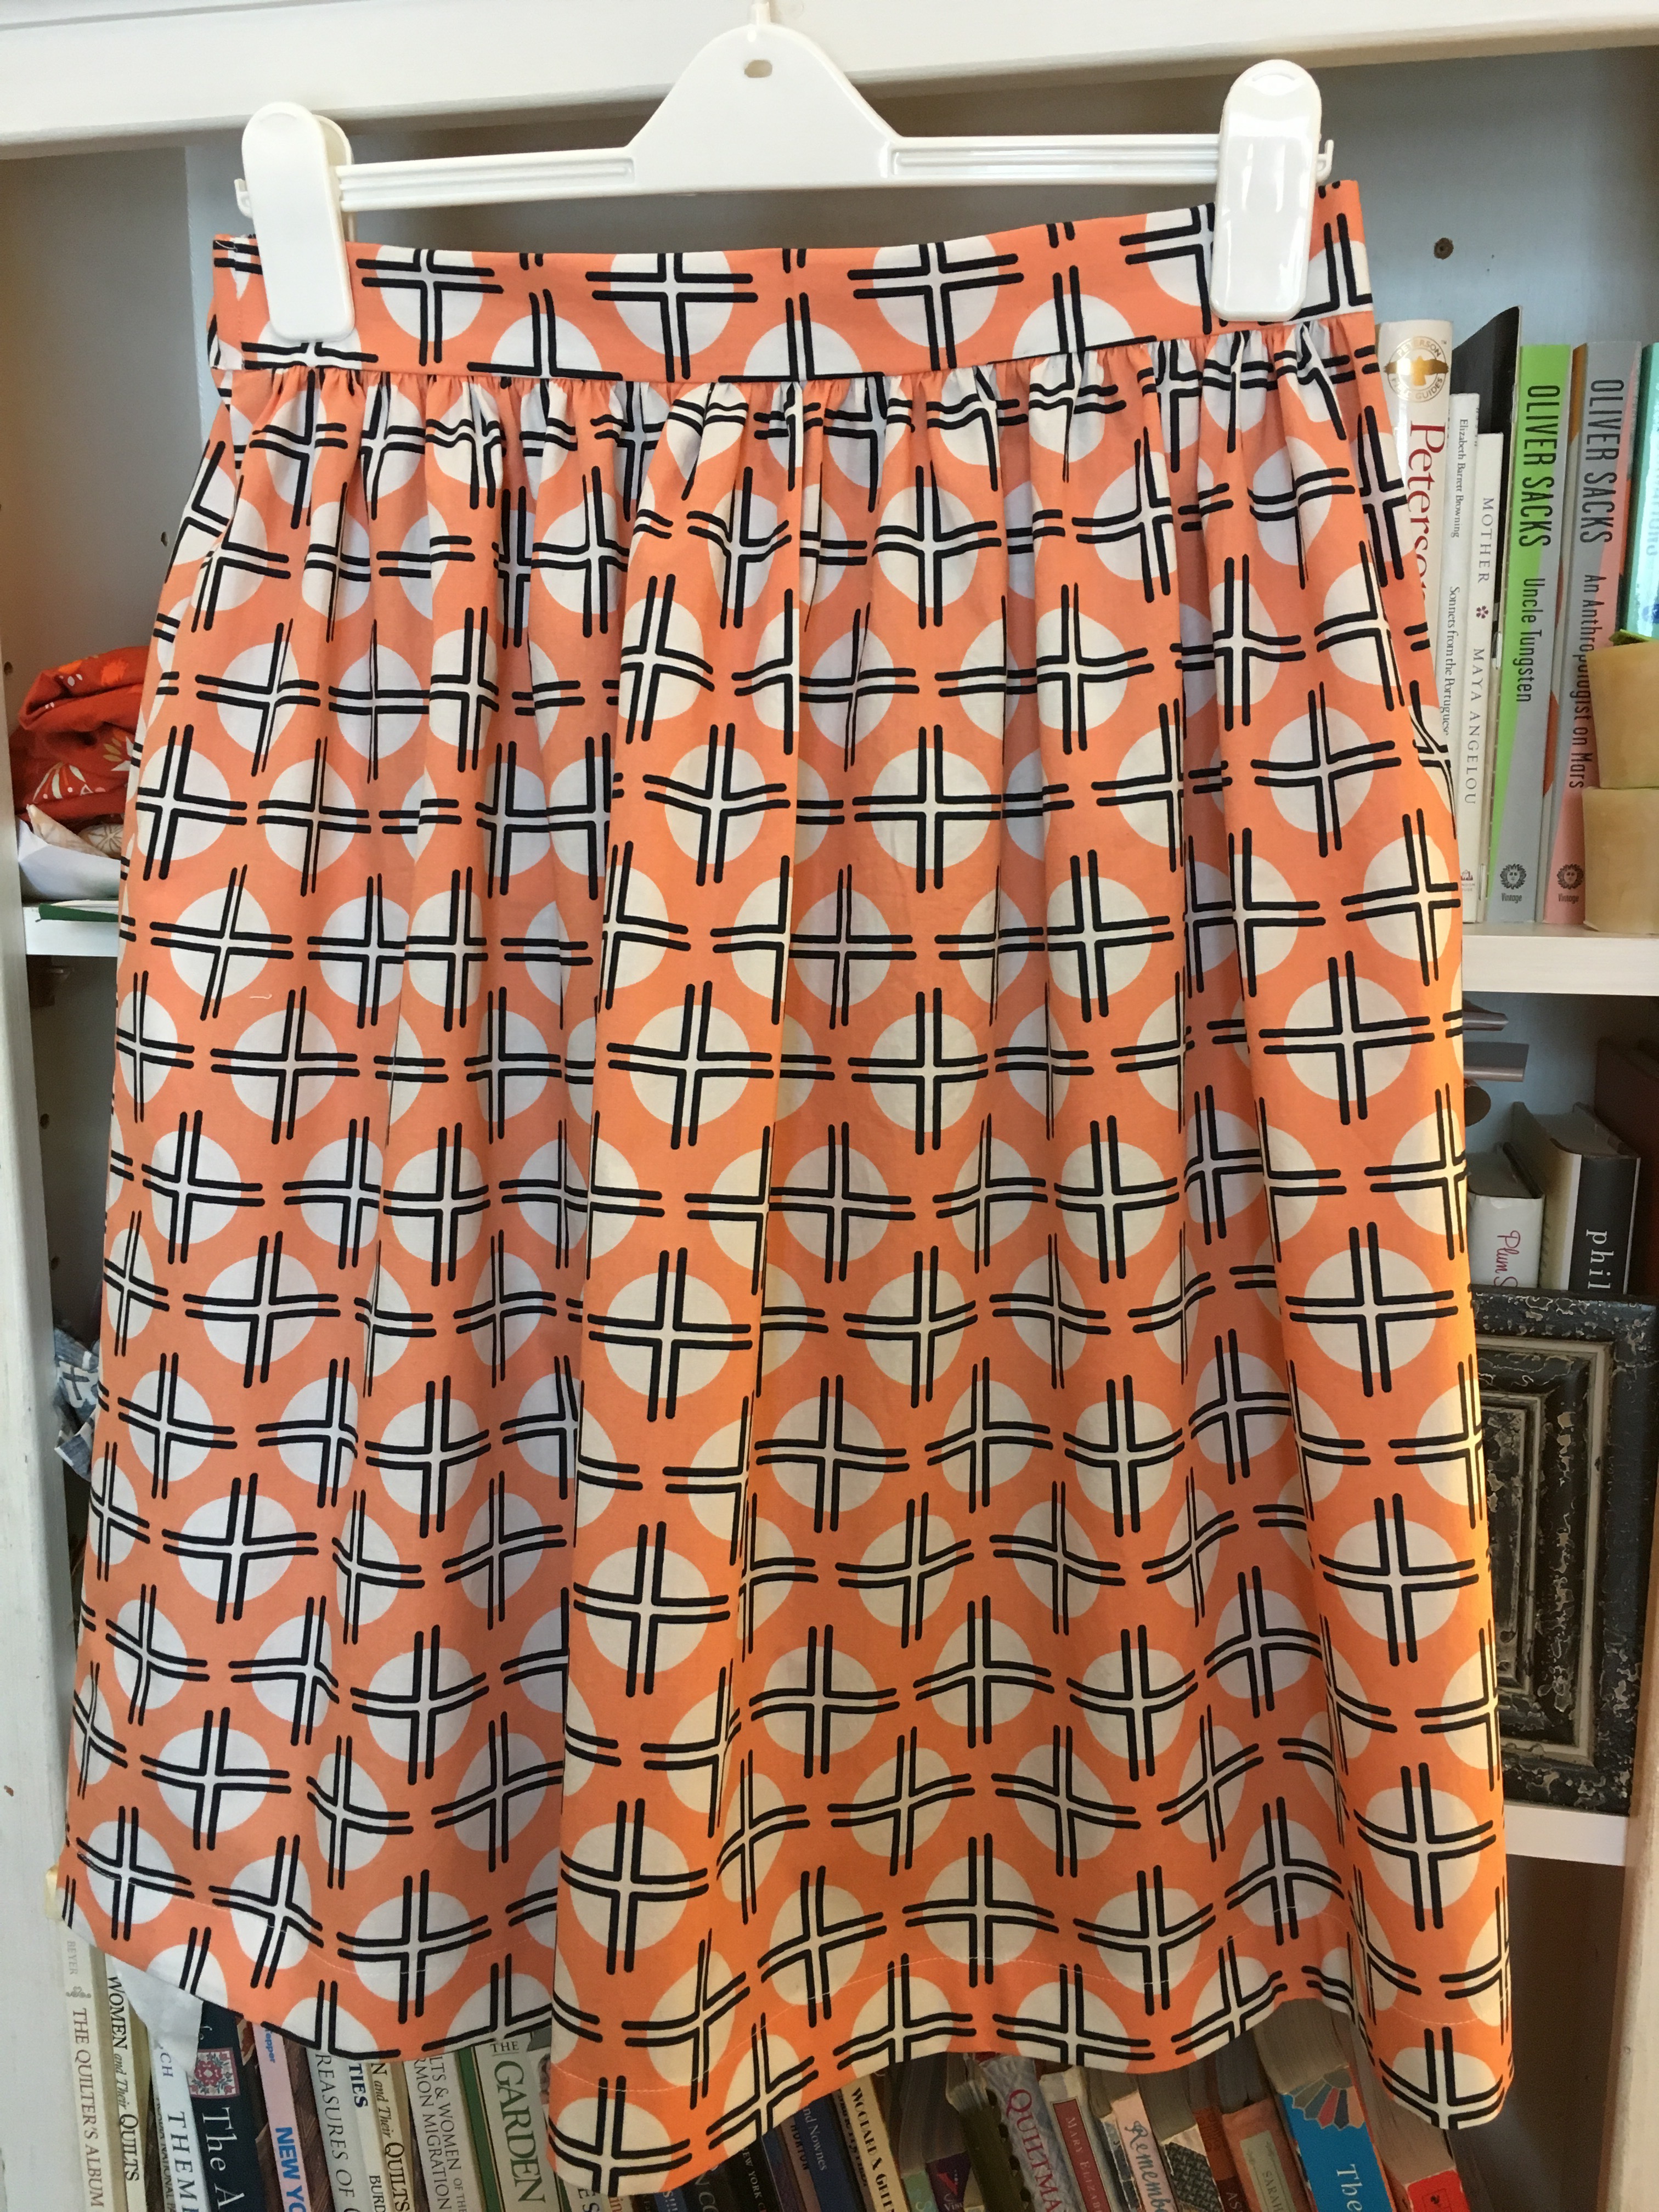


 The Cleo would also be amazing in
 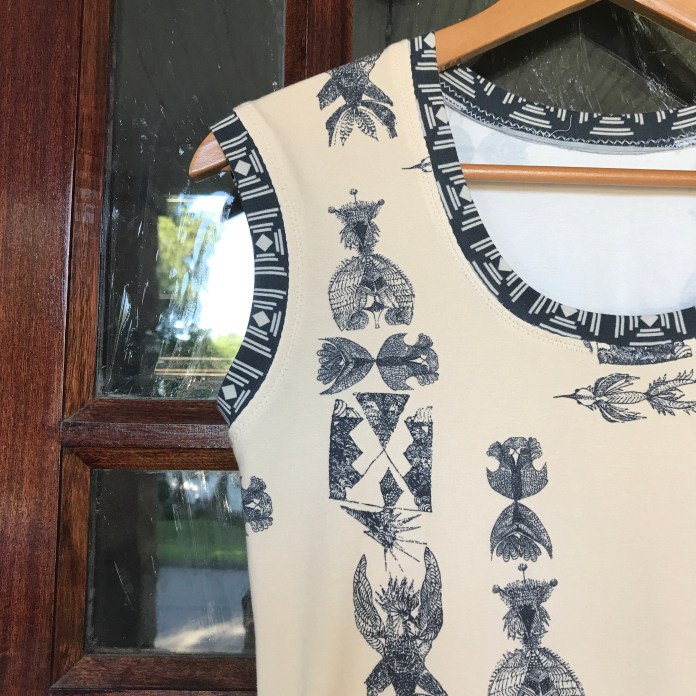 A little more than two years ago, I started sewing my own clothes and last fall, I took the
  And as worn here:
 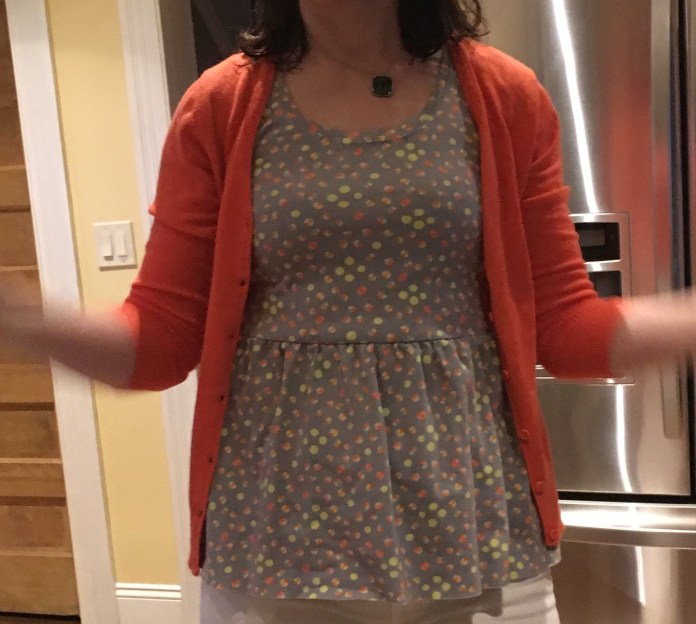 This would seem to be plenty: 3 summer dresses. And then,
 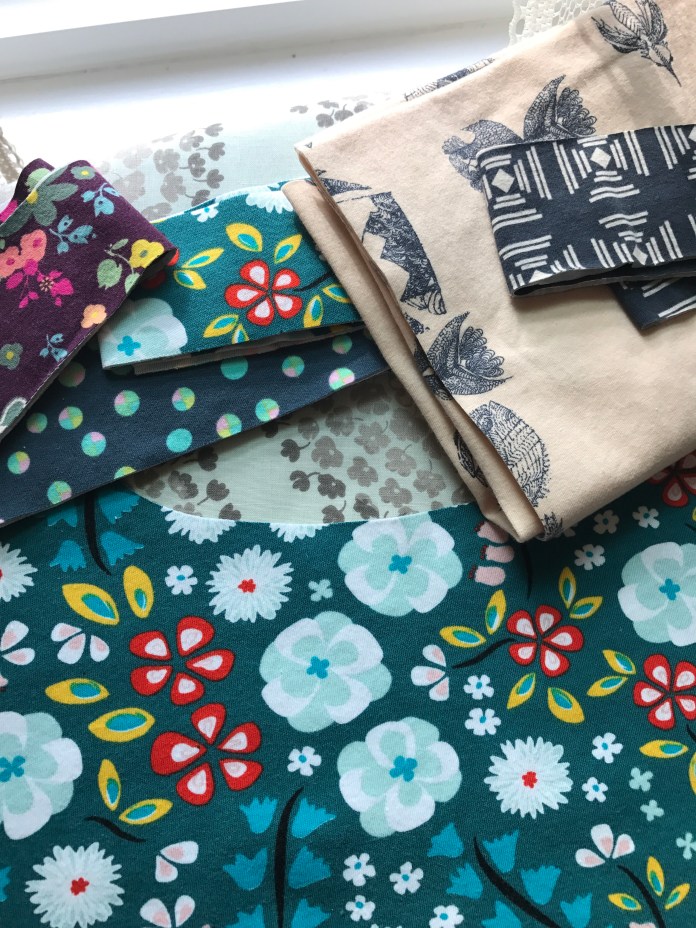 Other than adding an inch to the length of the skirt (which I neglected to do for the Glow version, I am not sure why) I followed exactly the same methods I used for my first batch of Isla’s which was to use all the tricks that my Instagram friends shared with me and which can be found in
 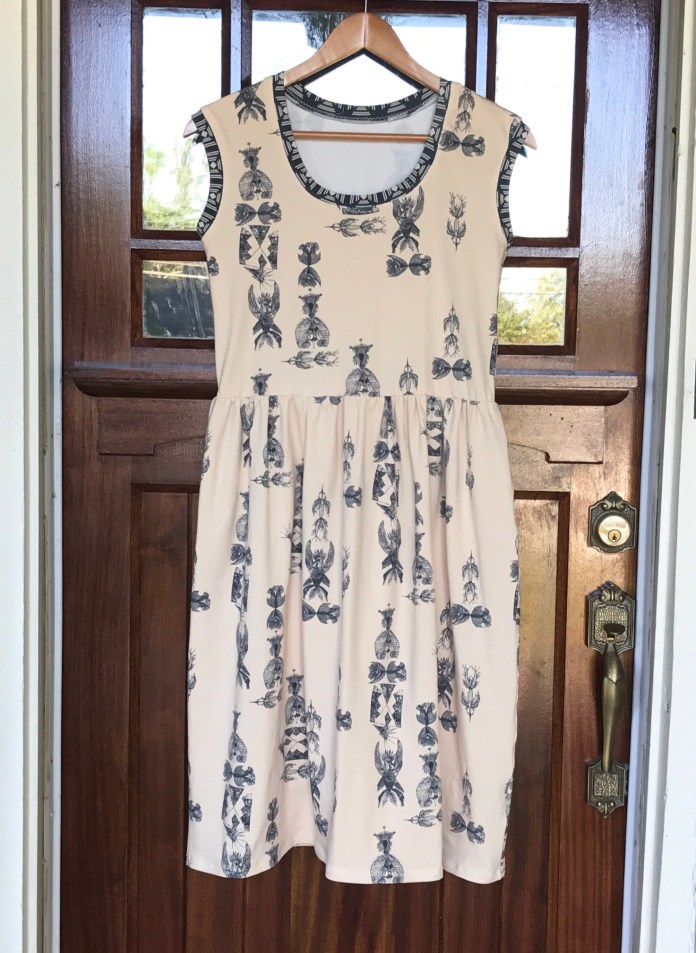 And as worn:
  Next up I made the Sidewalk fabric version. I knew it would be good because I had seen
  This fabric is really nice to work with and I am so happy with how this version turned out.
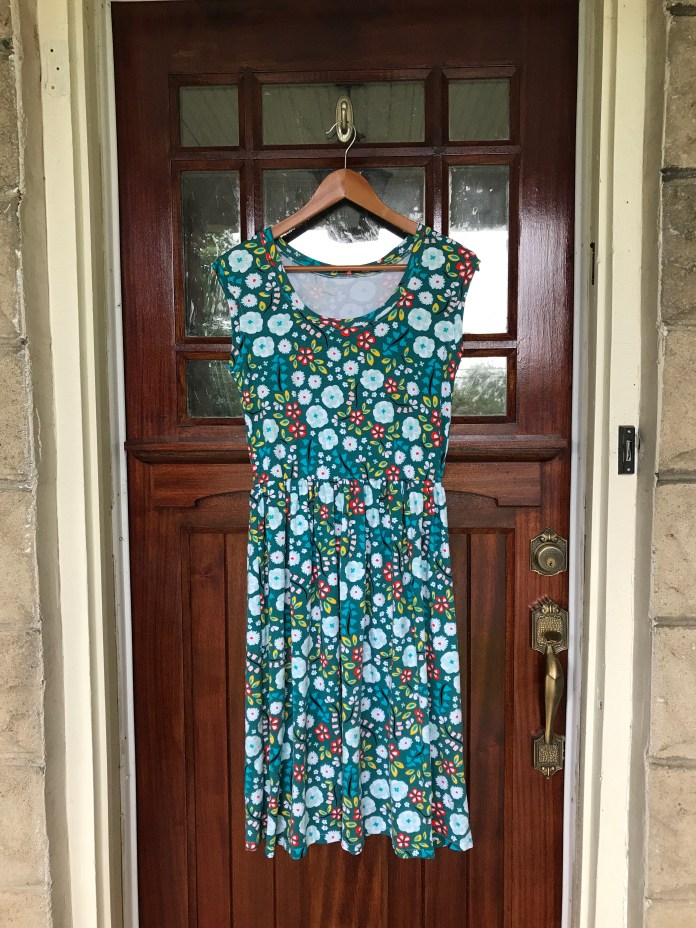 And as worn:
 Next I sewed the
  And as worn:
 The Amy Butler version is a bit shorter which came in handy when we recently had a heatwave. I didn’t think I cut it differently but I must have.
 This fabric is a bit heavier than the others. It is really easy to sew with and would be great for someone new to knits.
 And that would have been it, except that
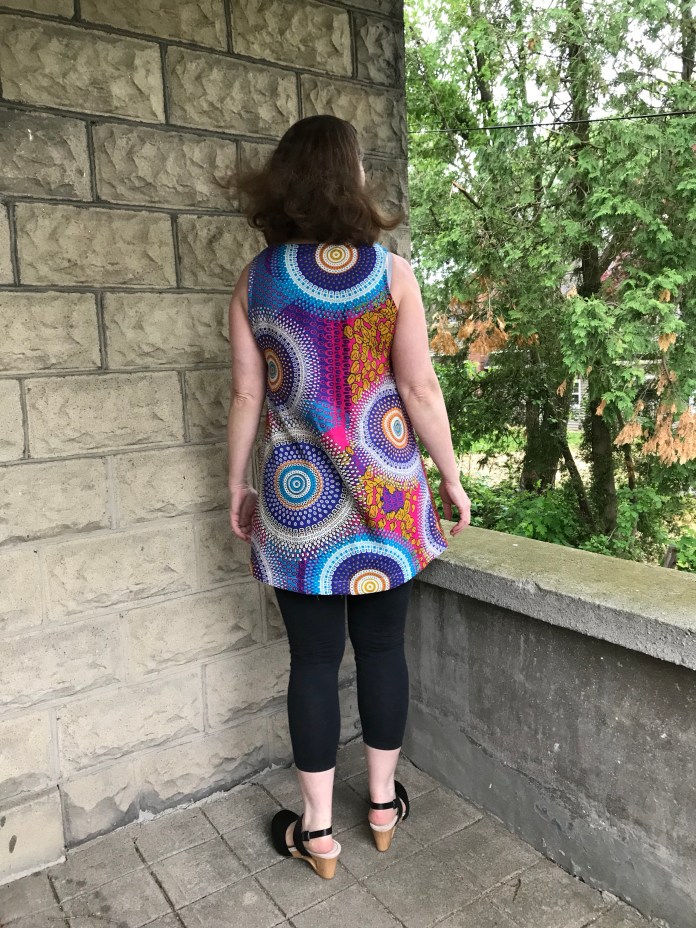
  It is amazingly comfortable, flattering and doesn’t wrinkle.
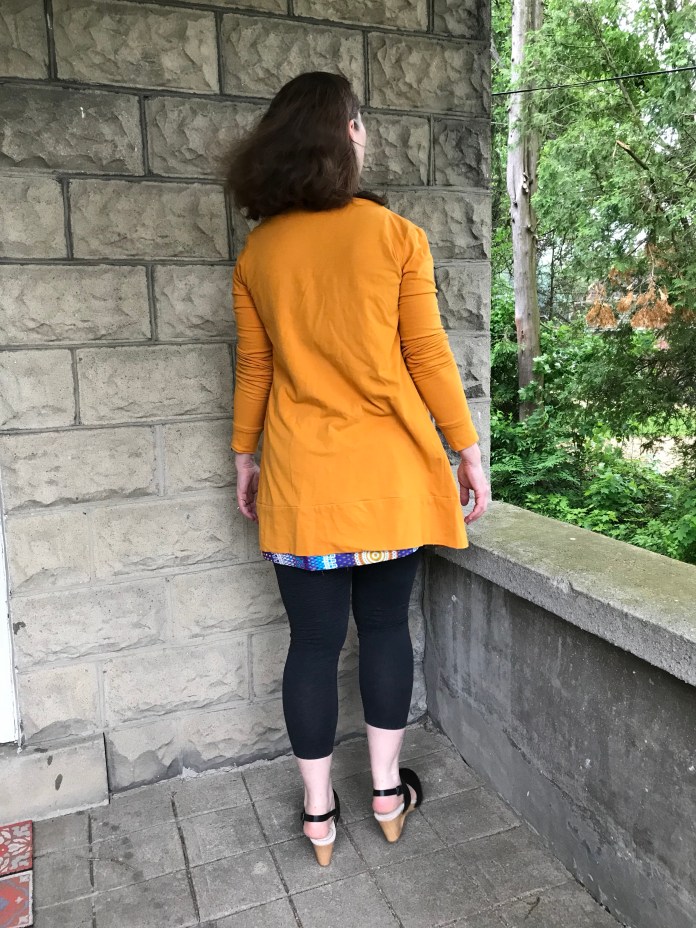
 Perfect for a trip to someplace amazing. Now all I need are airplane tickets. Mr. NB, take note! And it is even better with my mustard cardigan, as most of my dresses are.
 One of my favorite winter Islas did get some wear time this summer on one of our cooler days. Here it is with leggings and sneakers. I can’t recommend this pattern more highly!


 The Ruby is a great project. It is uncomplicated but the details are pretty, I always enjoy sewing it and this was no exception. I sewed the lined yoke using the Made by Rae
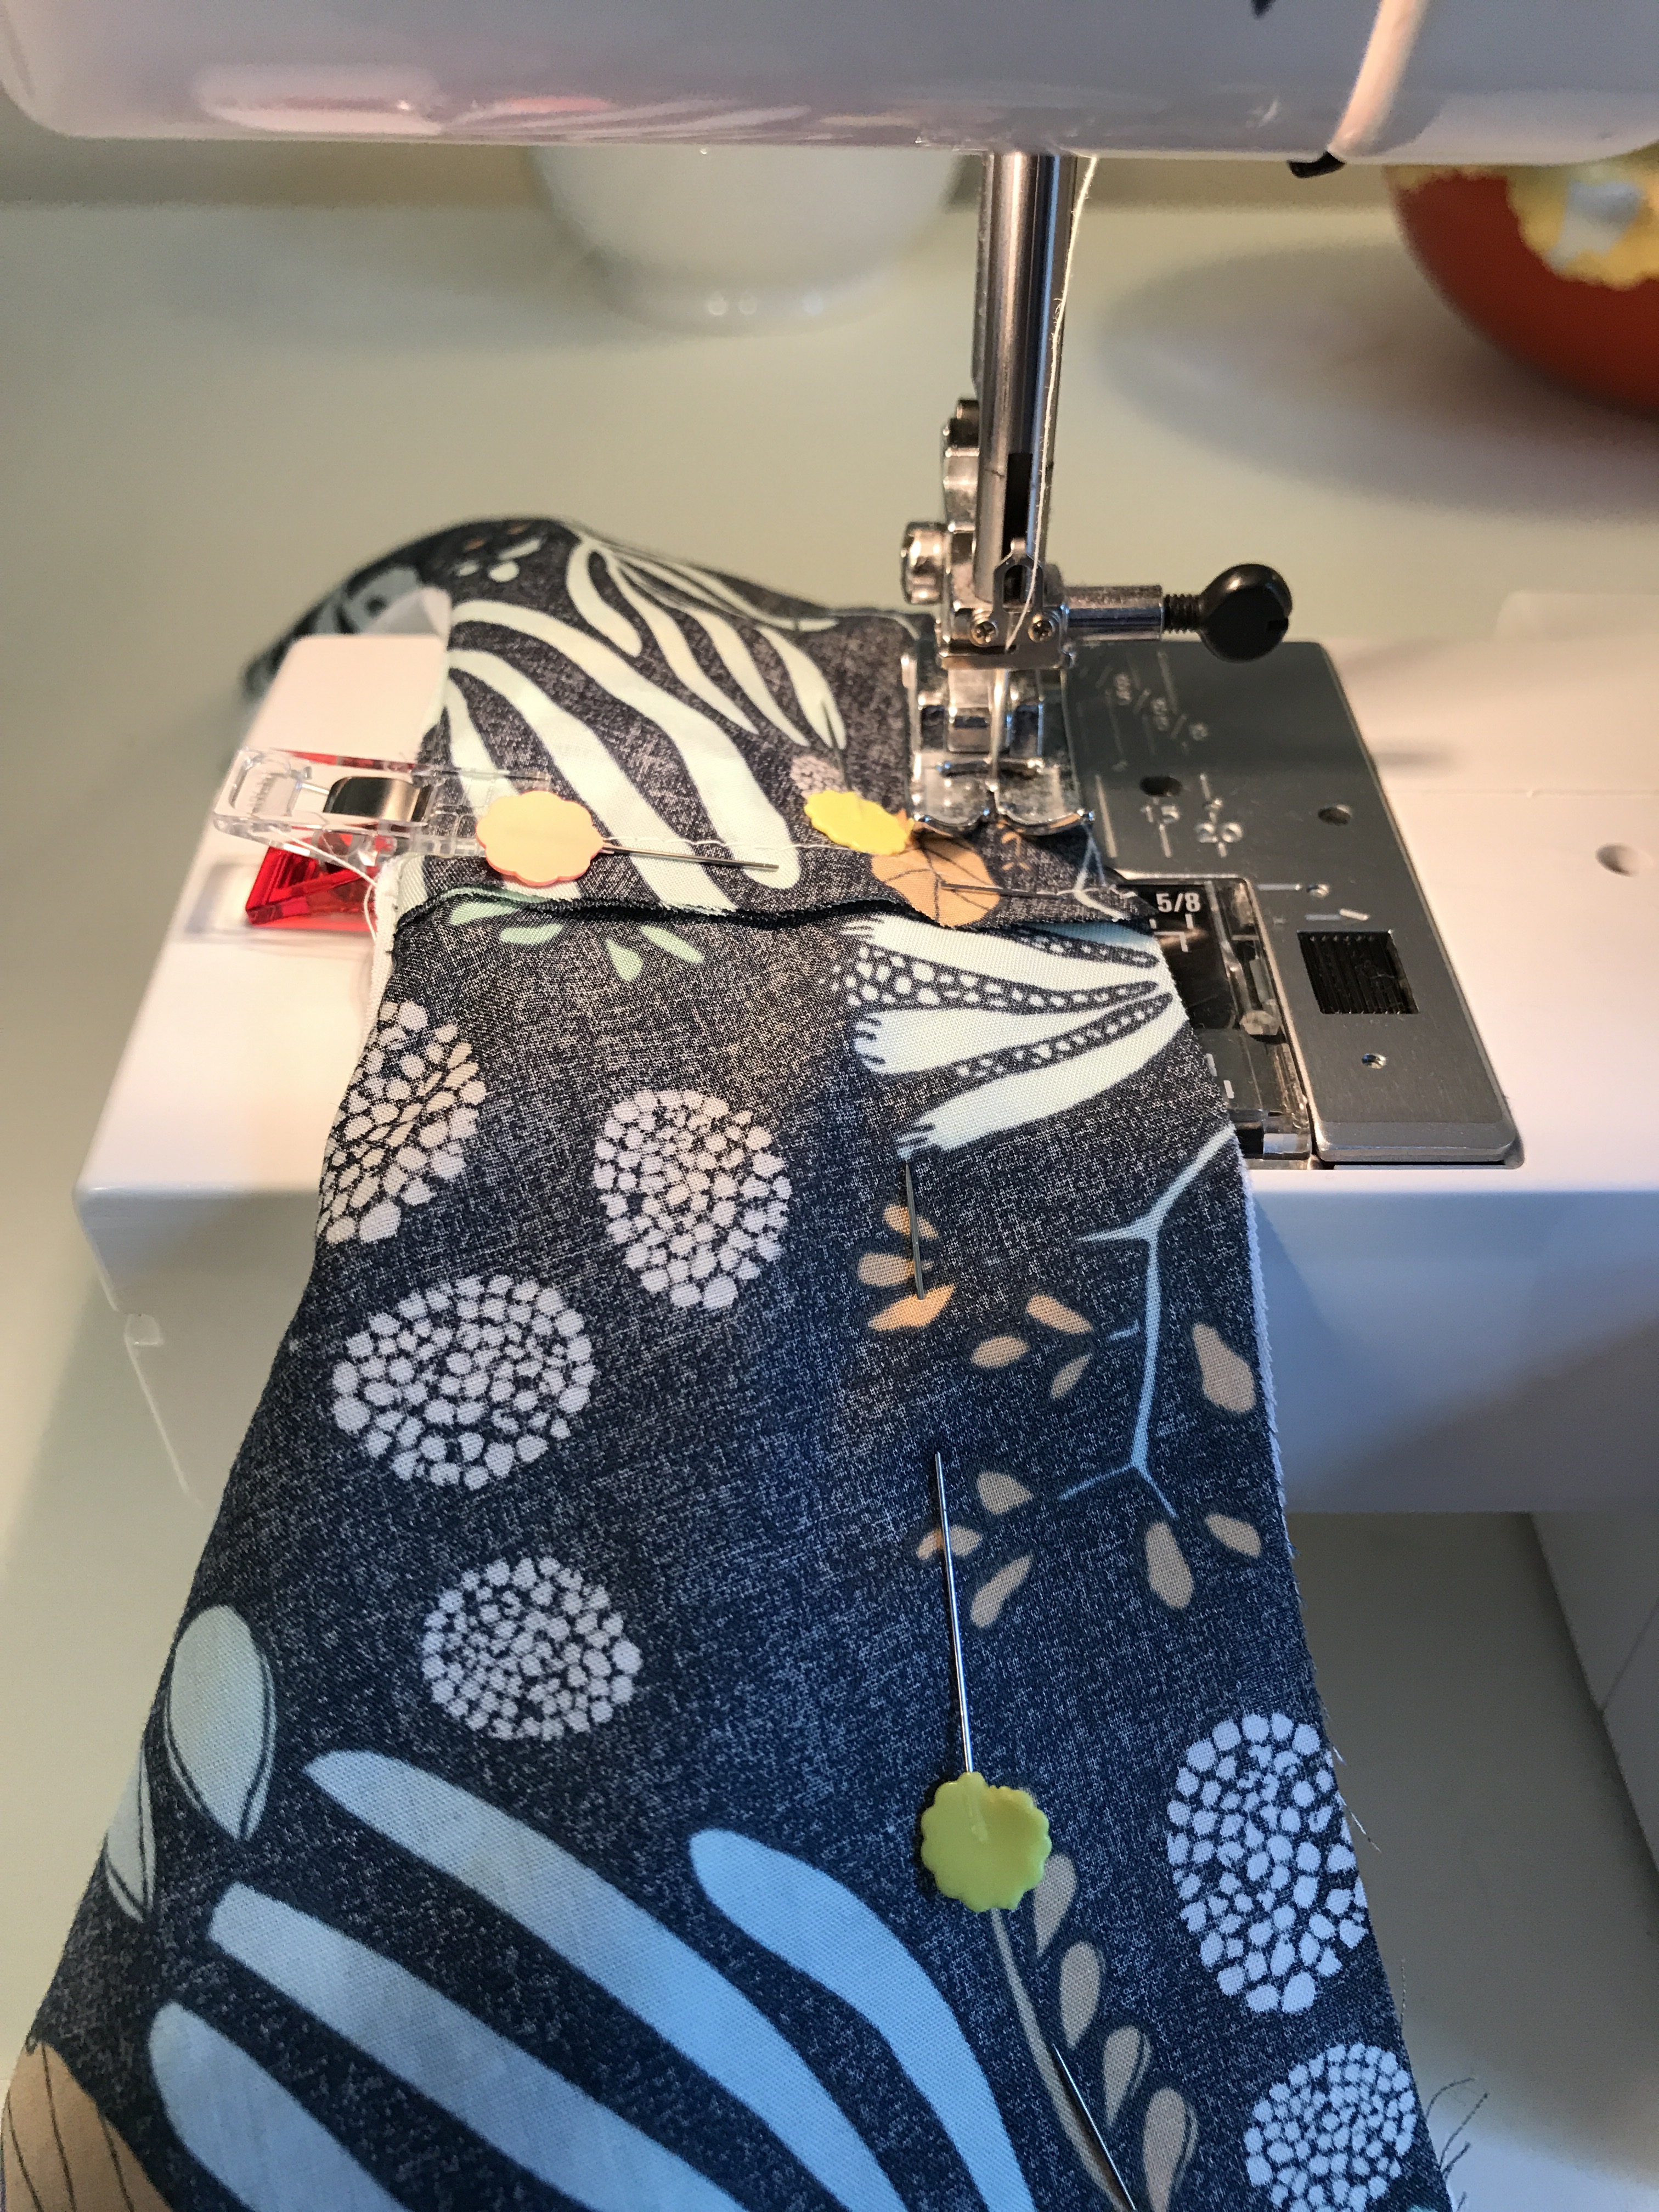


 I had been wanting to try making a