
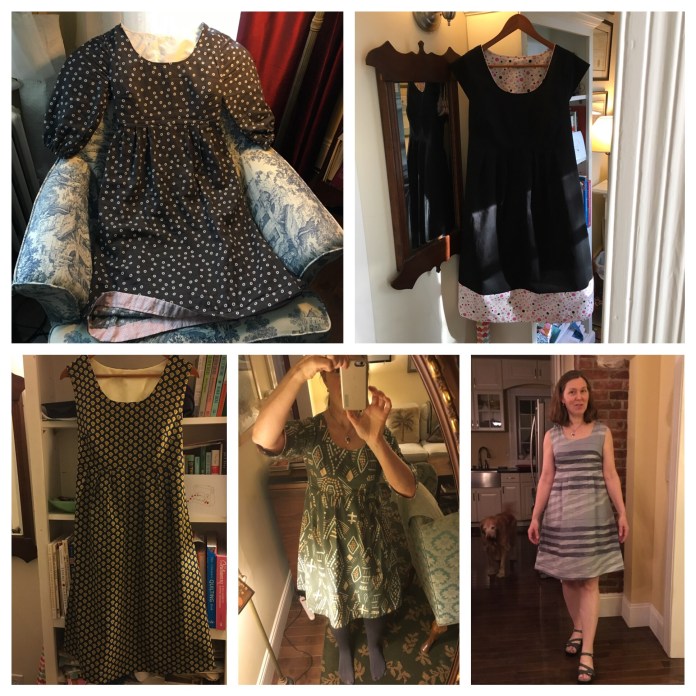
 It is hard to believe that it was only two years ago that I sewed my first me-made garment, a Made By Rae Washi dress. Since that time I have sewn so many Washi dresses for myself, my daughter, my sister and my mom as well as many other dresses, tops, pants and now skirts.
This week we had a storm in the Northeast. It wasn’t enough to cause a huge disruption in our lives-we didn’t lose power or have trees down and because we knew the storm was coming I planned ahead to stay home and take a vacation day from work since clinic was closed and our patients were rescheduled. It was the perfect snow day.
I took advantage of the day to do a little sewing. I have had two plaid flannel Pearl shifts cut out since before Christmas, one for my daughter and one for me. The only tricky part of this pattern is inserting the zipper so inserted the zipper on the purple Pearl destined for my daughter (I only had to unpick it once)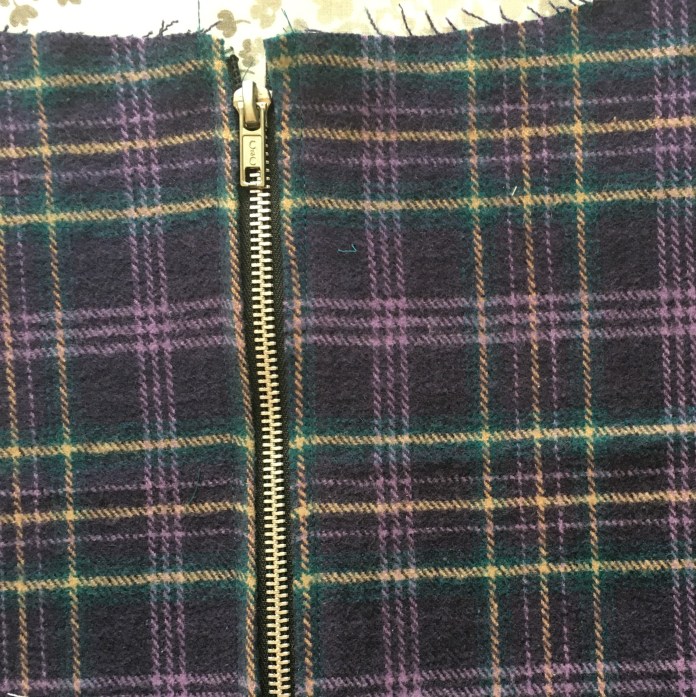 and then, since I had already loaded the machine with a deep teal thread, I decided to sew a up the teal double gauze Ruby blouse that I cut out last July (!)
 I tend to cut projects out way before I actually sew them, often because I want to use the fabric for more than one project. It works best for me if I lay out the pattern pieces for both projects at the same time so I can be sure to cut the pattern pieces in such a way as to have enough for both projects. In this case, I had used the teal for the pockets and waist facing for my Fringe Luna Pants so I cut the Ruby pieces at the same time. I had originally thought I would sew it last summer but then Rae released the Gemma Tank pattern and Gemma Madness ensued.
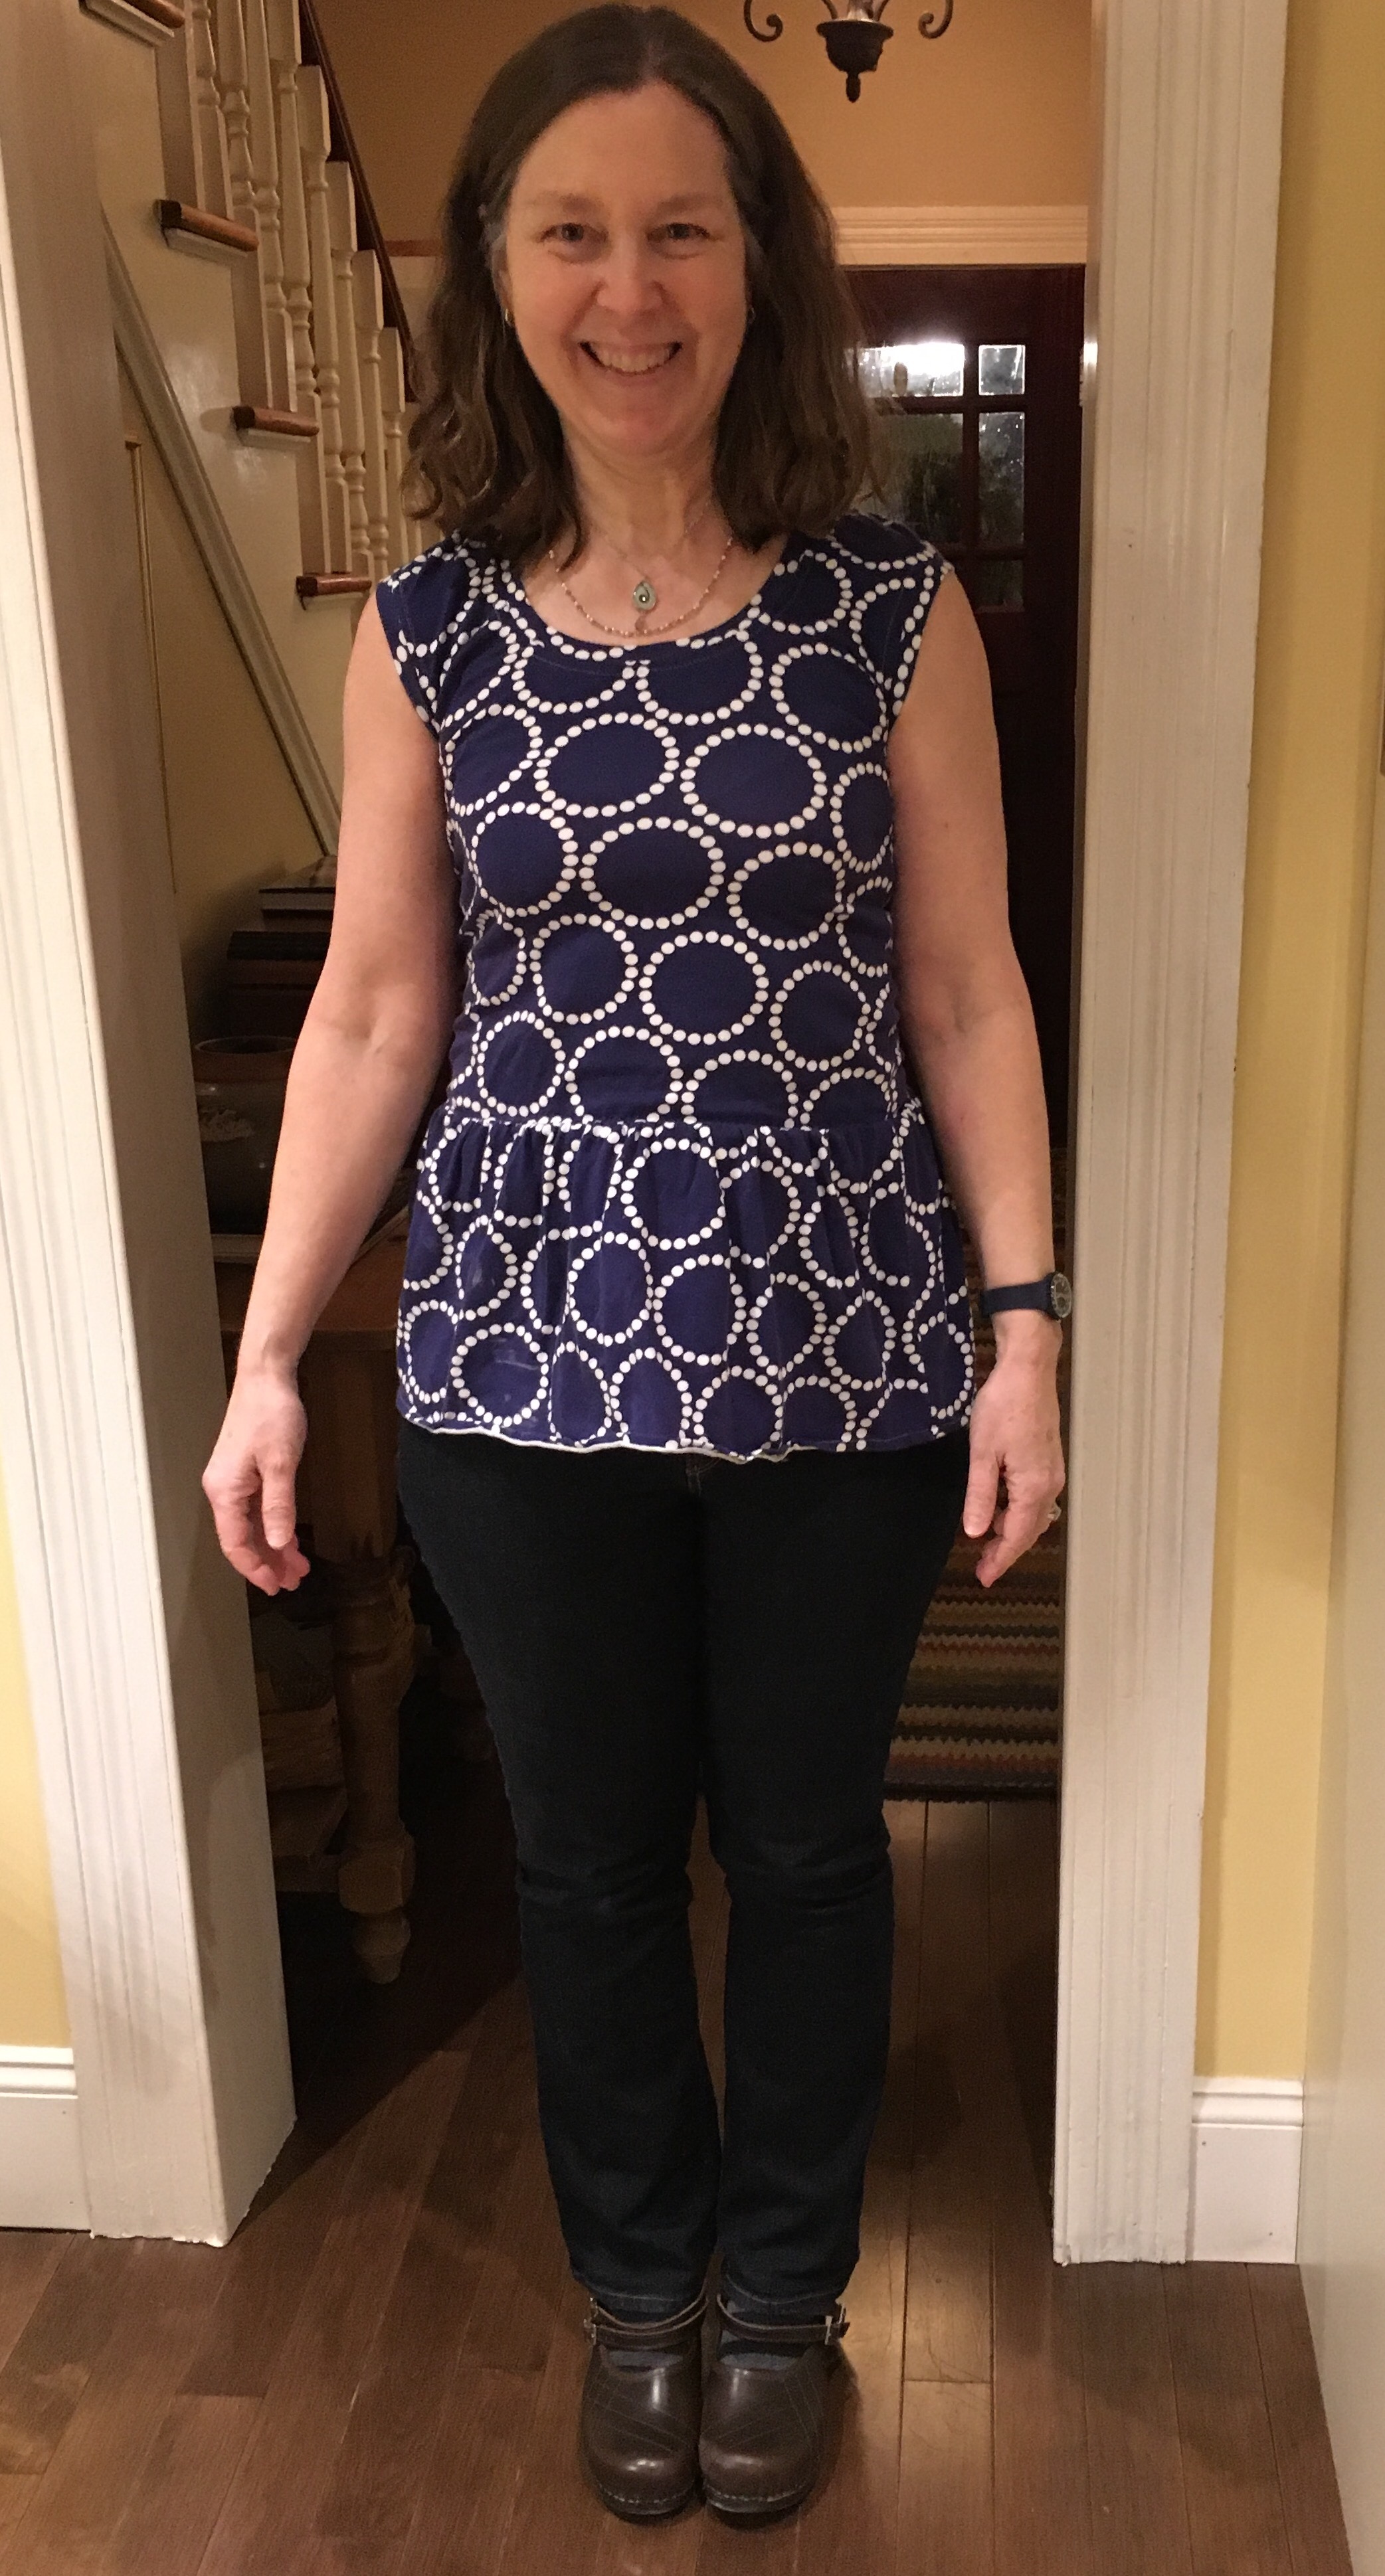
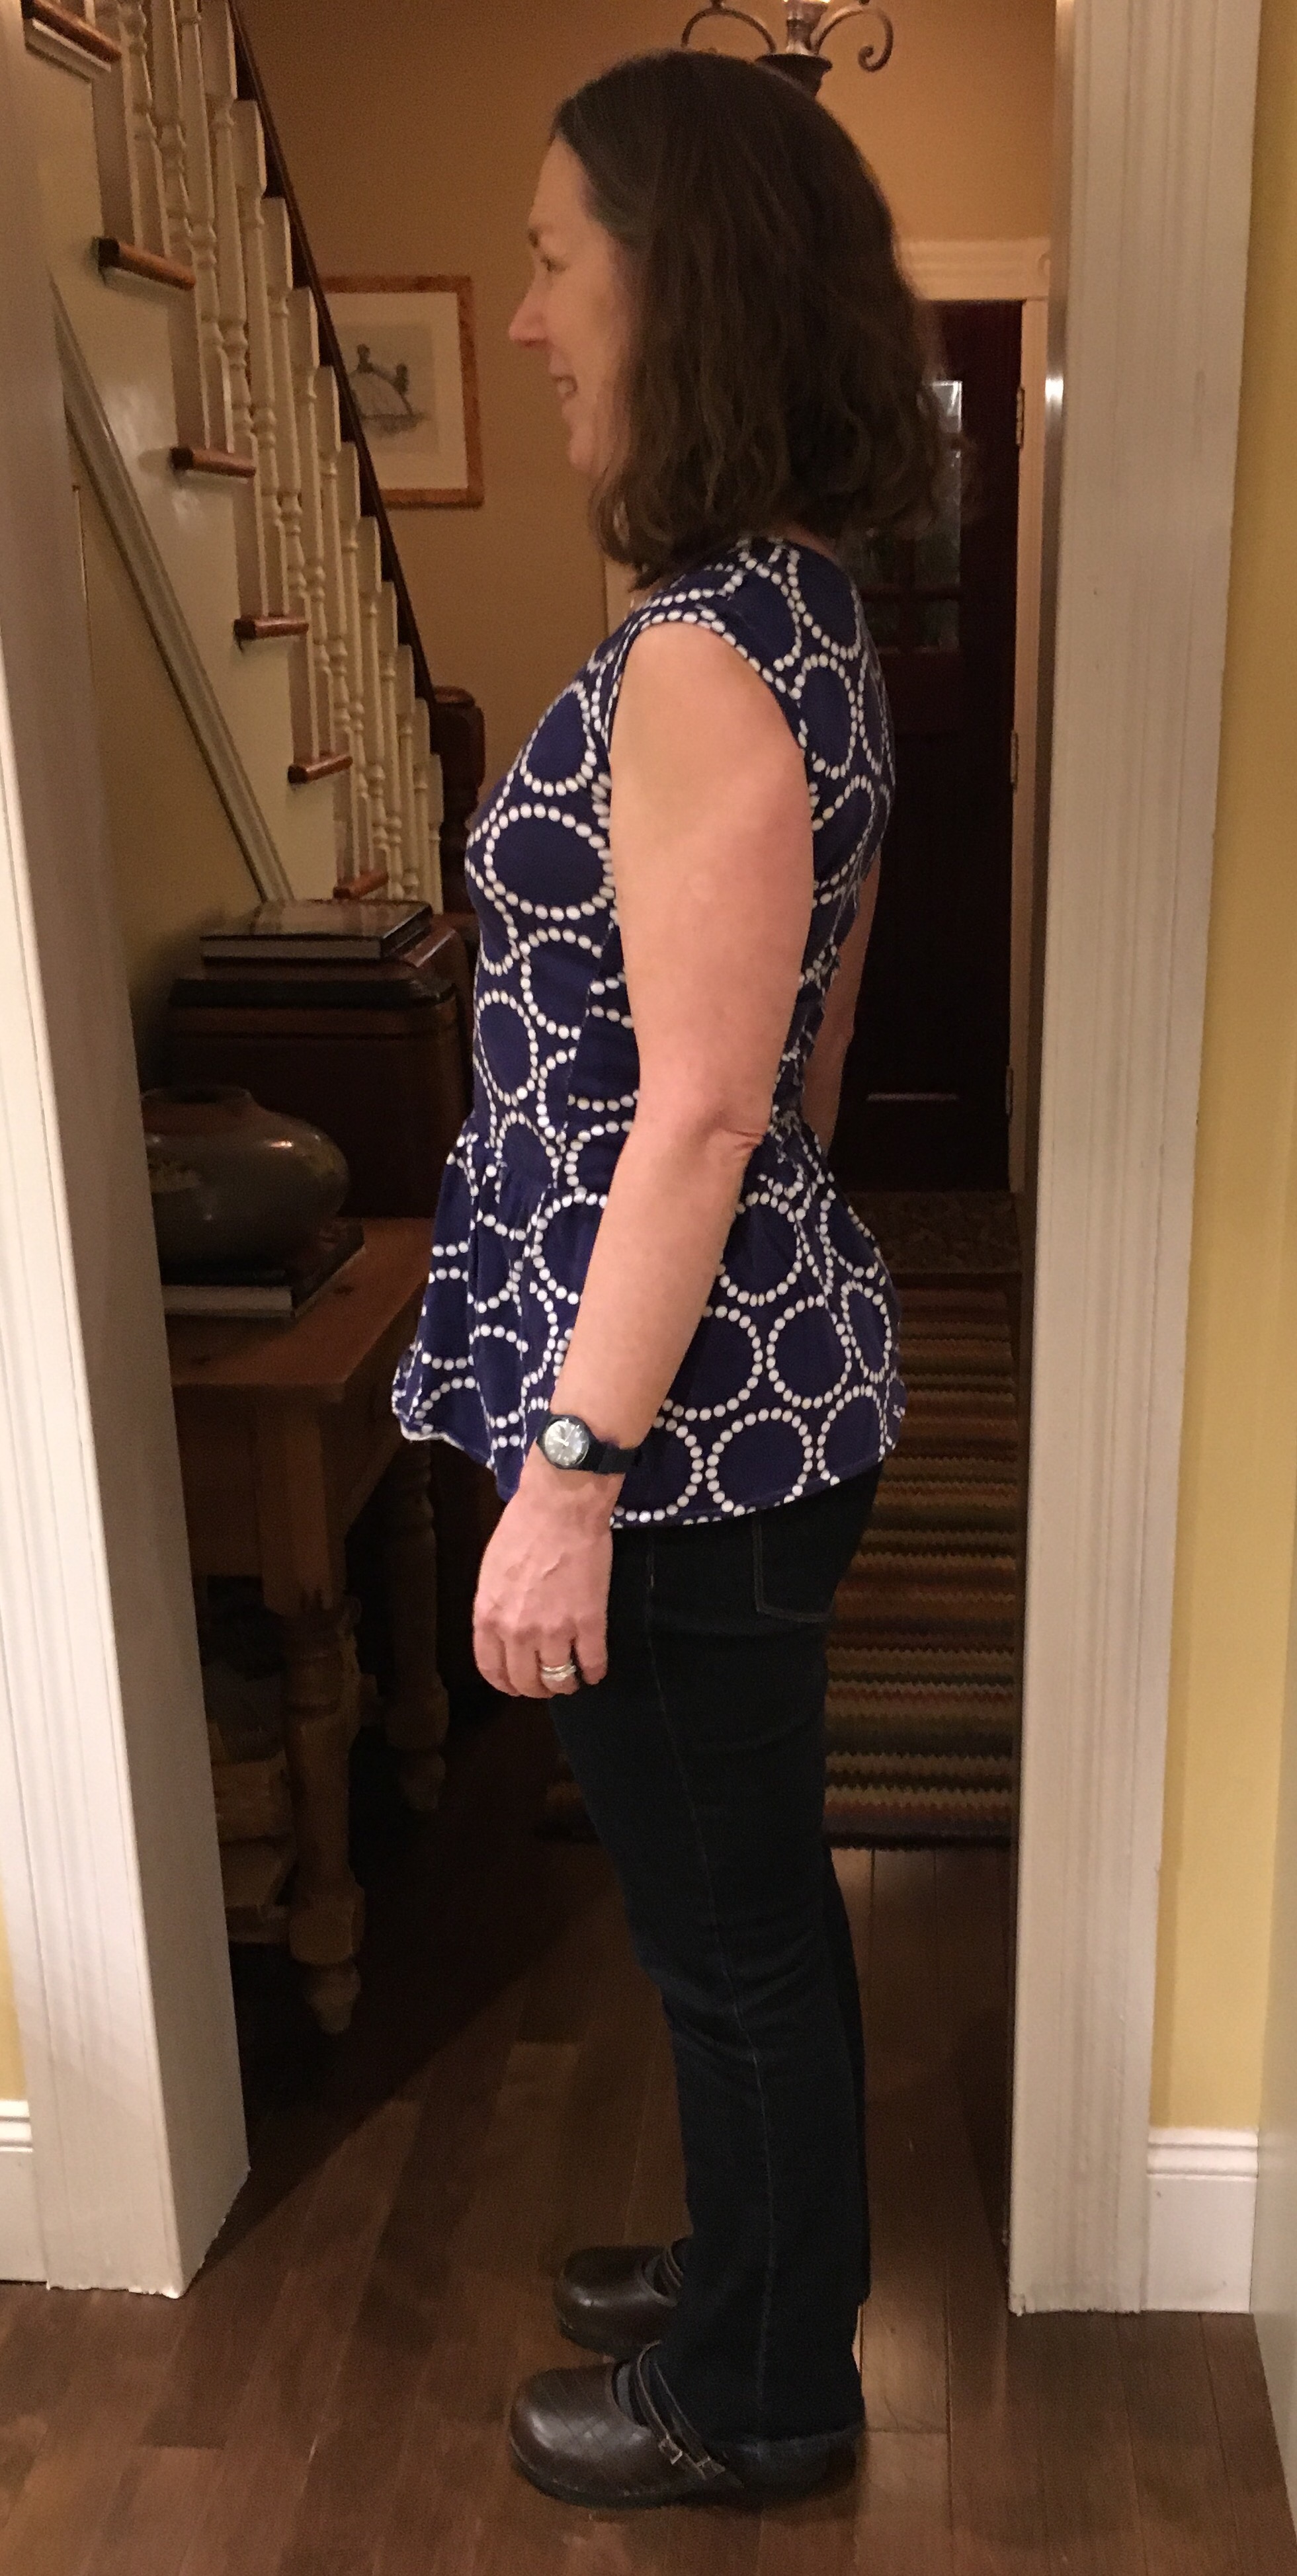
I made my first double gauze Ruby last summer, a plum version. I have been wearing that blouse more now in the winter than I did last summer-it is one of my most-worn me-made garments. See below after many washes and wears.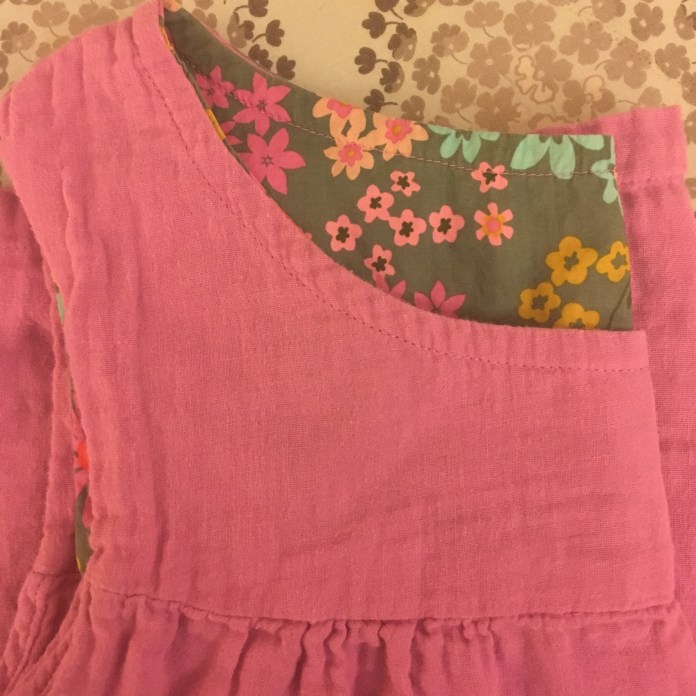 I made it using Rae’s sausage technique for lining the bodice. See this post about a favorite Ruby Dress for a detailed illustration with links. Both the bodice lining (a floral lawn that is one of my favorite fabrics) and the pink double gauze fabrics are from Cotton and Steel. It is the perfect layering piece under a cardigan and I tend to wear it with an olive green or grey cardigan with dark jeans. Add a necklace and it is a comfortable, flattering look for winter on those work days when I don’t see patients and am just catching up on paperwork. I have probably worn my pink Ruby over 20 times since I made it last summer. It just gets softer and softer and I can wear it right out of the dryer-no need to iron. I originally purchased the teal fabric online on sale from Fabric.com. It is also Cotton and Steel double gauze and it is called Indigo. I actually thought it was going to be navy which I thought would be a great basic and when it came in the mail, I wasn’t sure if I was going to like the teal as much as the navy but then I thought of how great it would be with my mustard cardigan. So when I had an unexpected snow day this week, I decided sewing up this Ruby would be the perfect way to spend it.
The Ruby Blouse by Made by Rae is a relatively simple sewing project but lining the bodice elevates it to a more polished garment and makes it more fun because you can choose a fun fabric to use for the lining which only requires a fat quarter of fabric. I looked through my ever-growing stash and found a fat quarter of a beautiful floral quilting cotton from the Cotton and Steel Cat Lady collection. No cats in sight on this fabric, at least that I could see, but I love the colors and how it works with the teal. 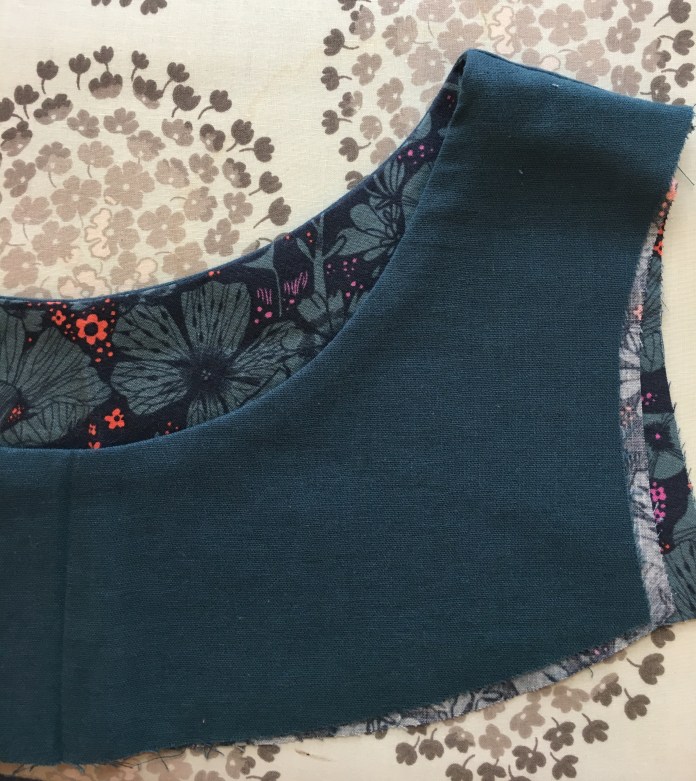 I have used the sausage technique so many times on my many Washi dresses and Ruby dresses and blouses that I didn’t need to refer to the videos but they are awesome.
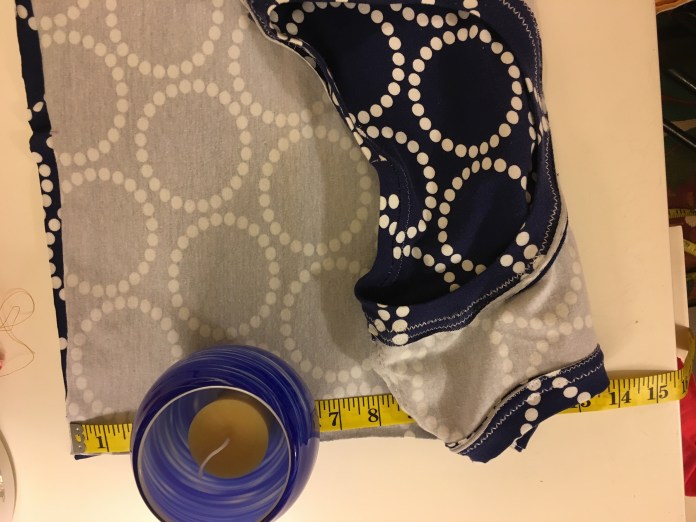
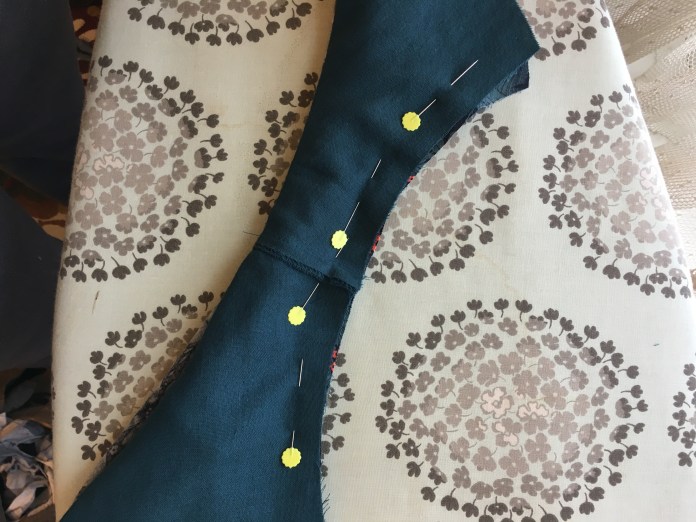 I did look back at the videos briefly to remind me how to do the bias binding on the lower armholes. I use a 1.5 inch strip rather than 1.25 inches. I do find that part a bit tricky with double gauze but a couple of hand stitches on the inside of the blouse fixed the areas that my machine stitching missed. Before sewing the sausage I generally topstitch around the neck. I used matching thread.
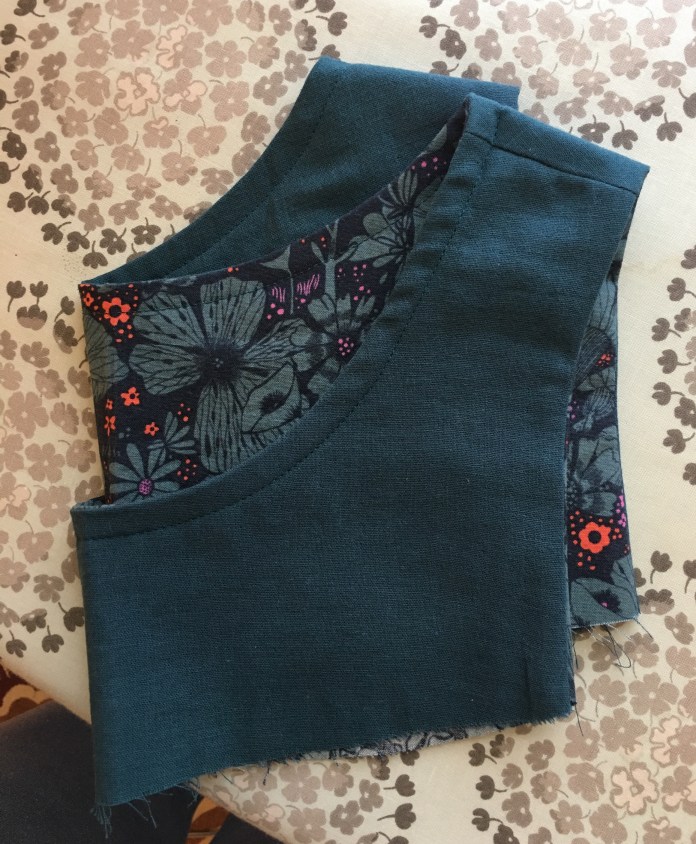 I machine wash my garments and it seems as though that extra stitching gives the neckline a bit more stability and strength.
 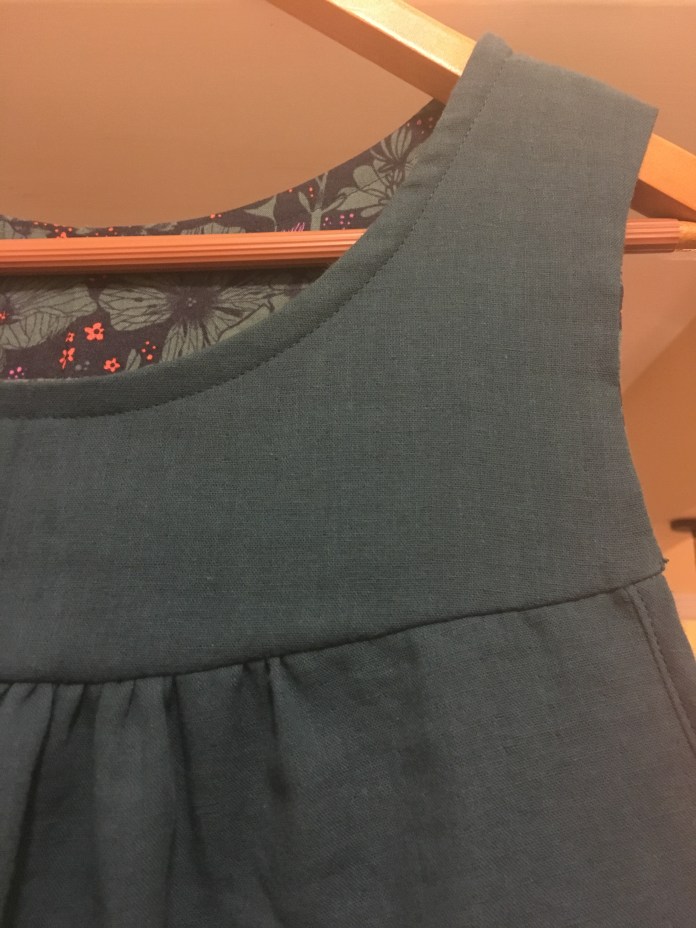 The sausage technique leaves two seams on the inside of the blouse that require hand stitching. I actually enjoy hand stitching so I enjoyed this part of the project. I was able to sew the entire blouse in an afternoon and wear it to work the next day without rushing or cutting corners. It is sometimes very relaxing to just enjoy the process and make something beautiful without worrying about how long it takes.
 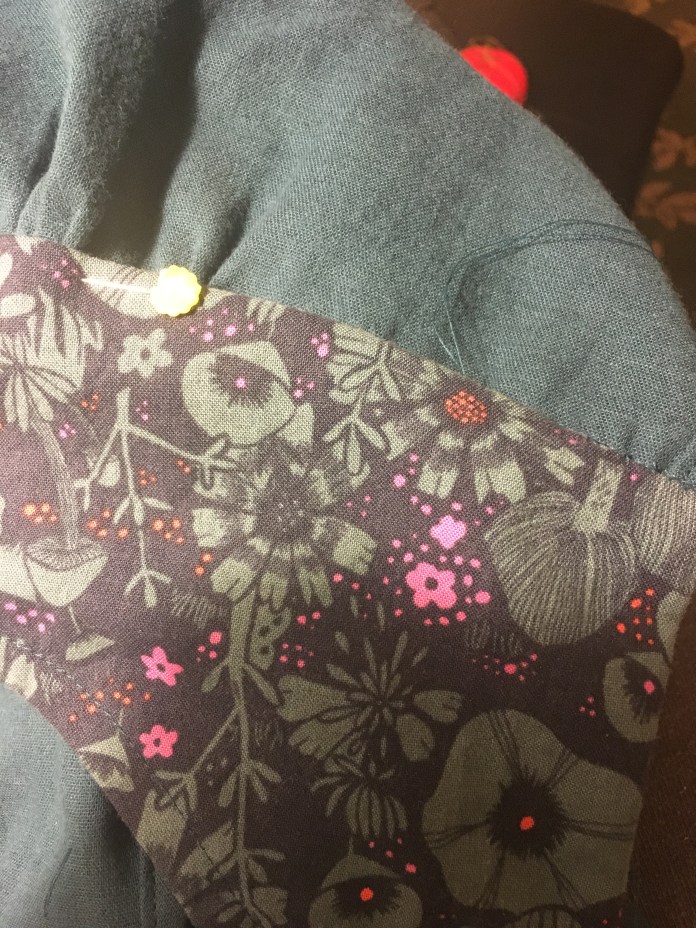 I even had time to make home-made soup for dinner after I finished sewing. I often make what I call “refrigerator soup” where I look in the refrigerator and see what I have and make it into soup. A couple of weeks ago, I had half a butternut squash, a sweet potato and some carrots and I ended up making soup with some sautéed onions, chicken broth, fresh ginger and a little curry for seasoning. It was fantastic so today I made it on purpose. “Vitamin A Soup” below. I think the bright orange and yellow color speaks to me in the dark days of winter.
 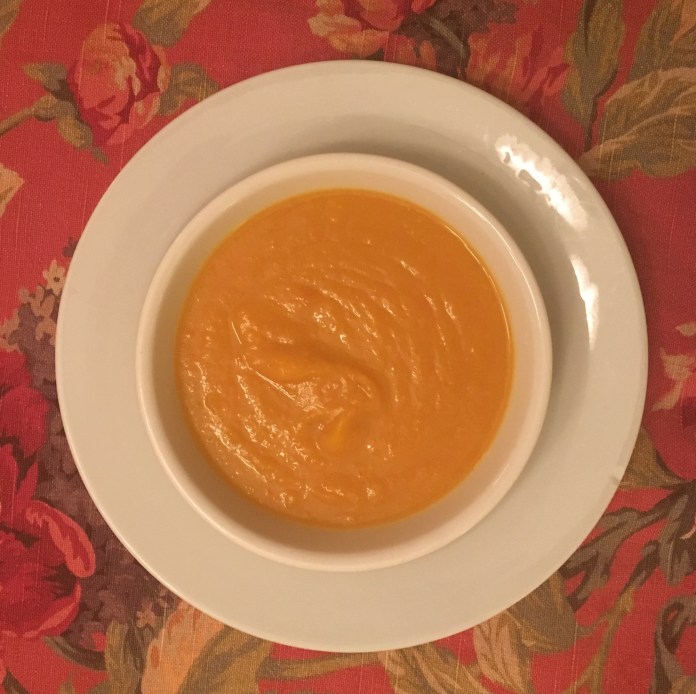 I have been drawn to oranges and yellows all winter. I have made several Isla Dresses in these colors and am very partial to this one below which I recently wore to NYC for a birthday celebration with my mother with whom I share a birthday. What are the odds of that?
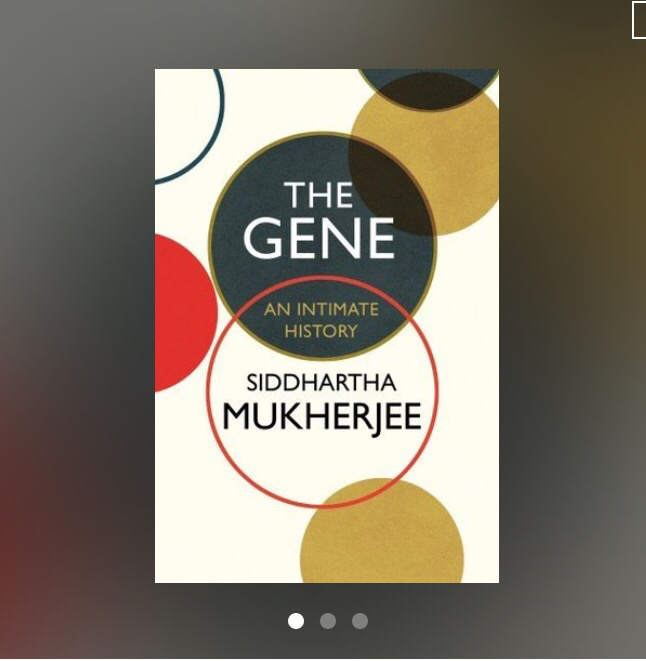
 I am also loving this book which coincidentally has an orange cover and have this fabric on order from my favorite fabric shop with plans to make this skirt. So many things to look forward to on this snow day! Winter has its consolations. Finished Ruby blouse below. I know it will be worn and worn. I highly recommend this pattern in double gauze. It is worth the bit of extra effort.


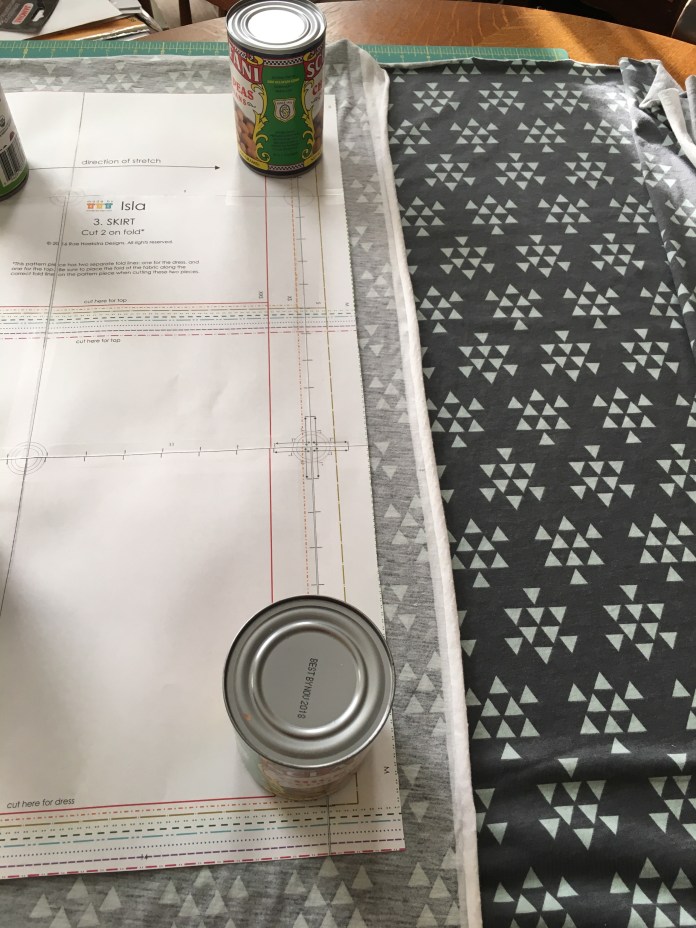
 I ordered the fabric and efficiently I thought, cut out the pattern pieces in an evening.
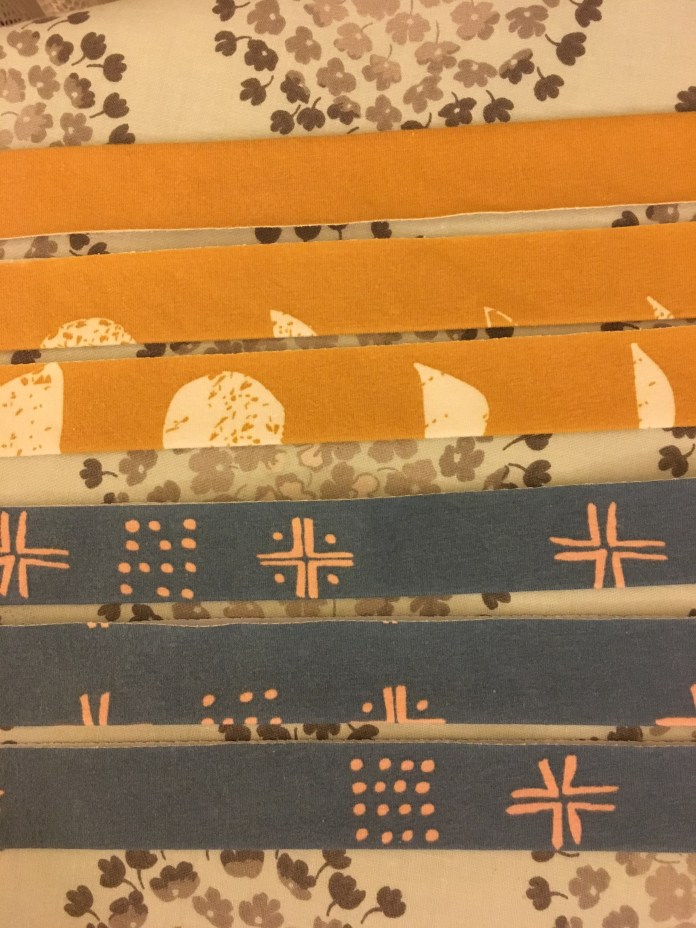 I used the adjustments that I made to my first version which added an inch to the bodice length.
  I chose 2 yellow/mustard fabrics, one for a top and one for a dress and a second two blue fabrics with the same plan.
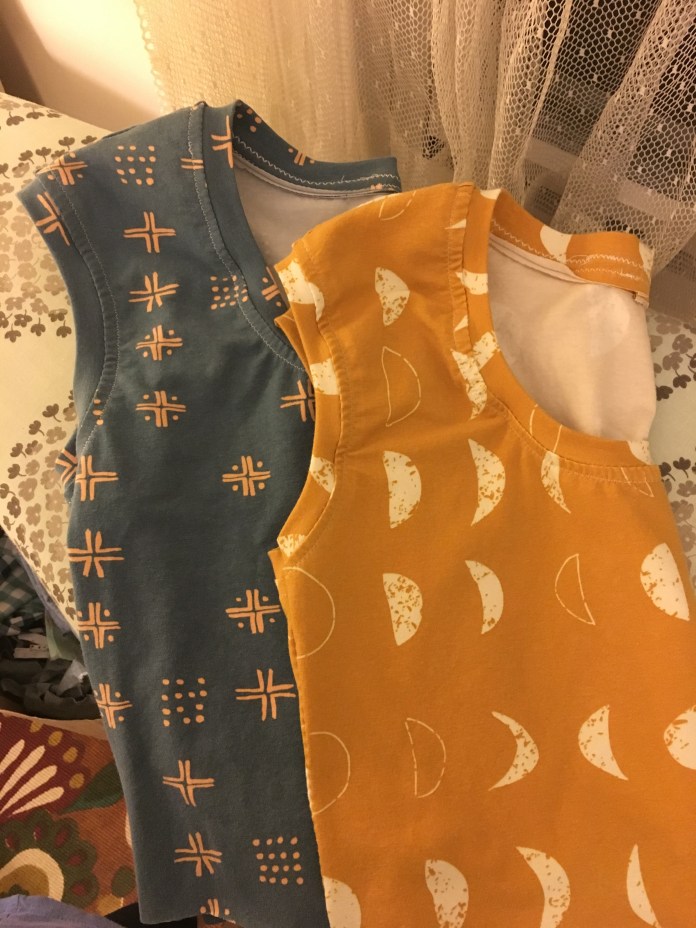 I also wanted a neutral top so I decided to sew one in a cream color. I like patterns that evoke stripes without being completely traditional and I loved this fabric from Art Gallery Knits which I thought would be perfect, so I sewed it first.
  It is a really soft nice feeling knit and it sewed up beautifully. I added an inch to the length of the ruffle as well. Here is the finished top. Cute, right? I was happy with how nicely the stripes worked with the neck and arm bands.
 Then I tried it on and I was not thrilled. I have a very long torso and so even after adding the extra inch, this hit me way above my natural waist. It didn’t bother me with the dress because it draped nicely but the top didn’t work as well for my shape. Here are some pictures. It’s not terrible but not great and when I wear it, it feels as though it keeps riding up which doesn’t happen with my dress versions. I just didn’t think about the fact that the torso adjustment might be different for the top vs the dress. So for those of you with long torsos, take heed!
 The side view shows that I probably could have used another 2 or 3 inches.
  Back
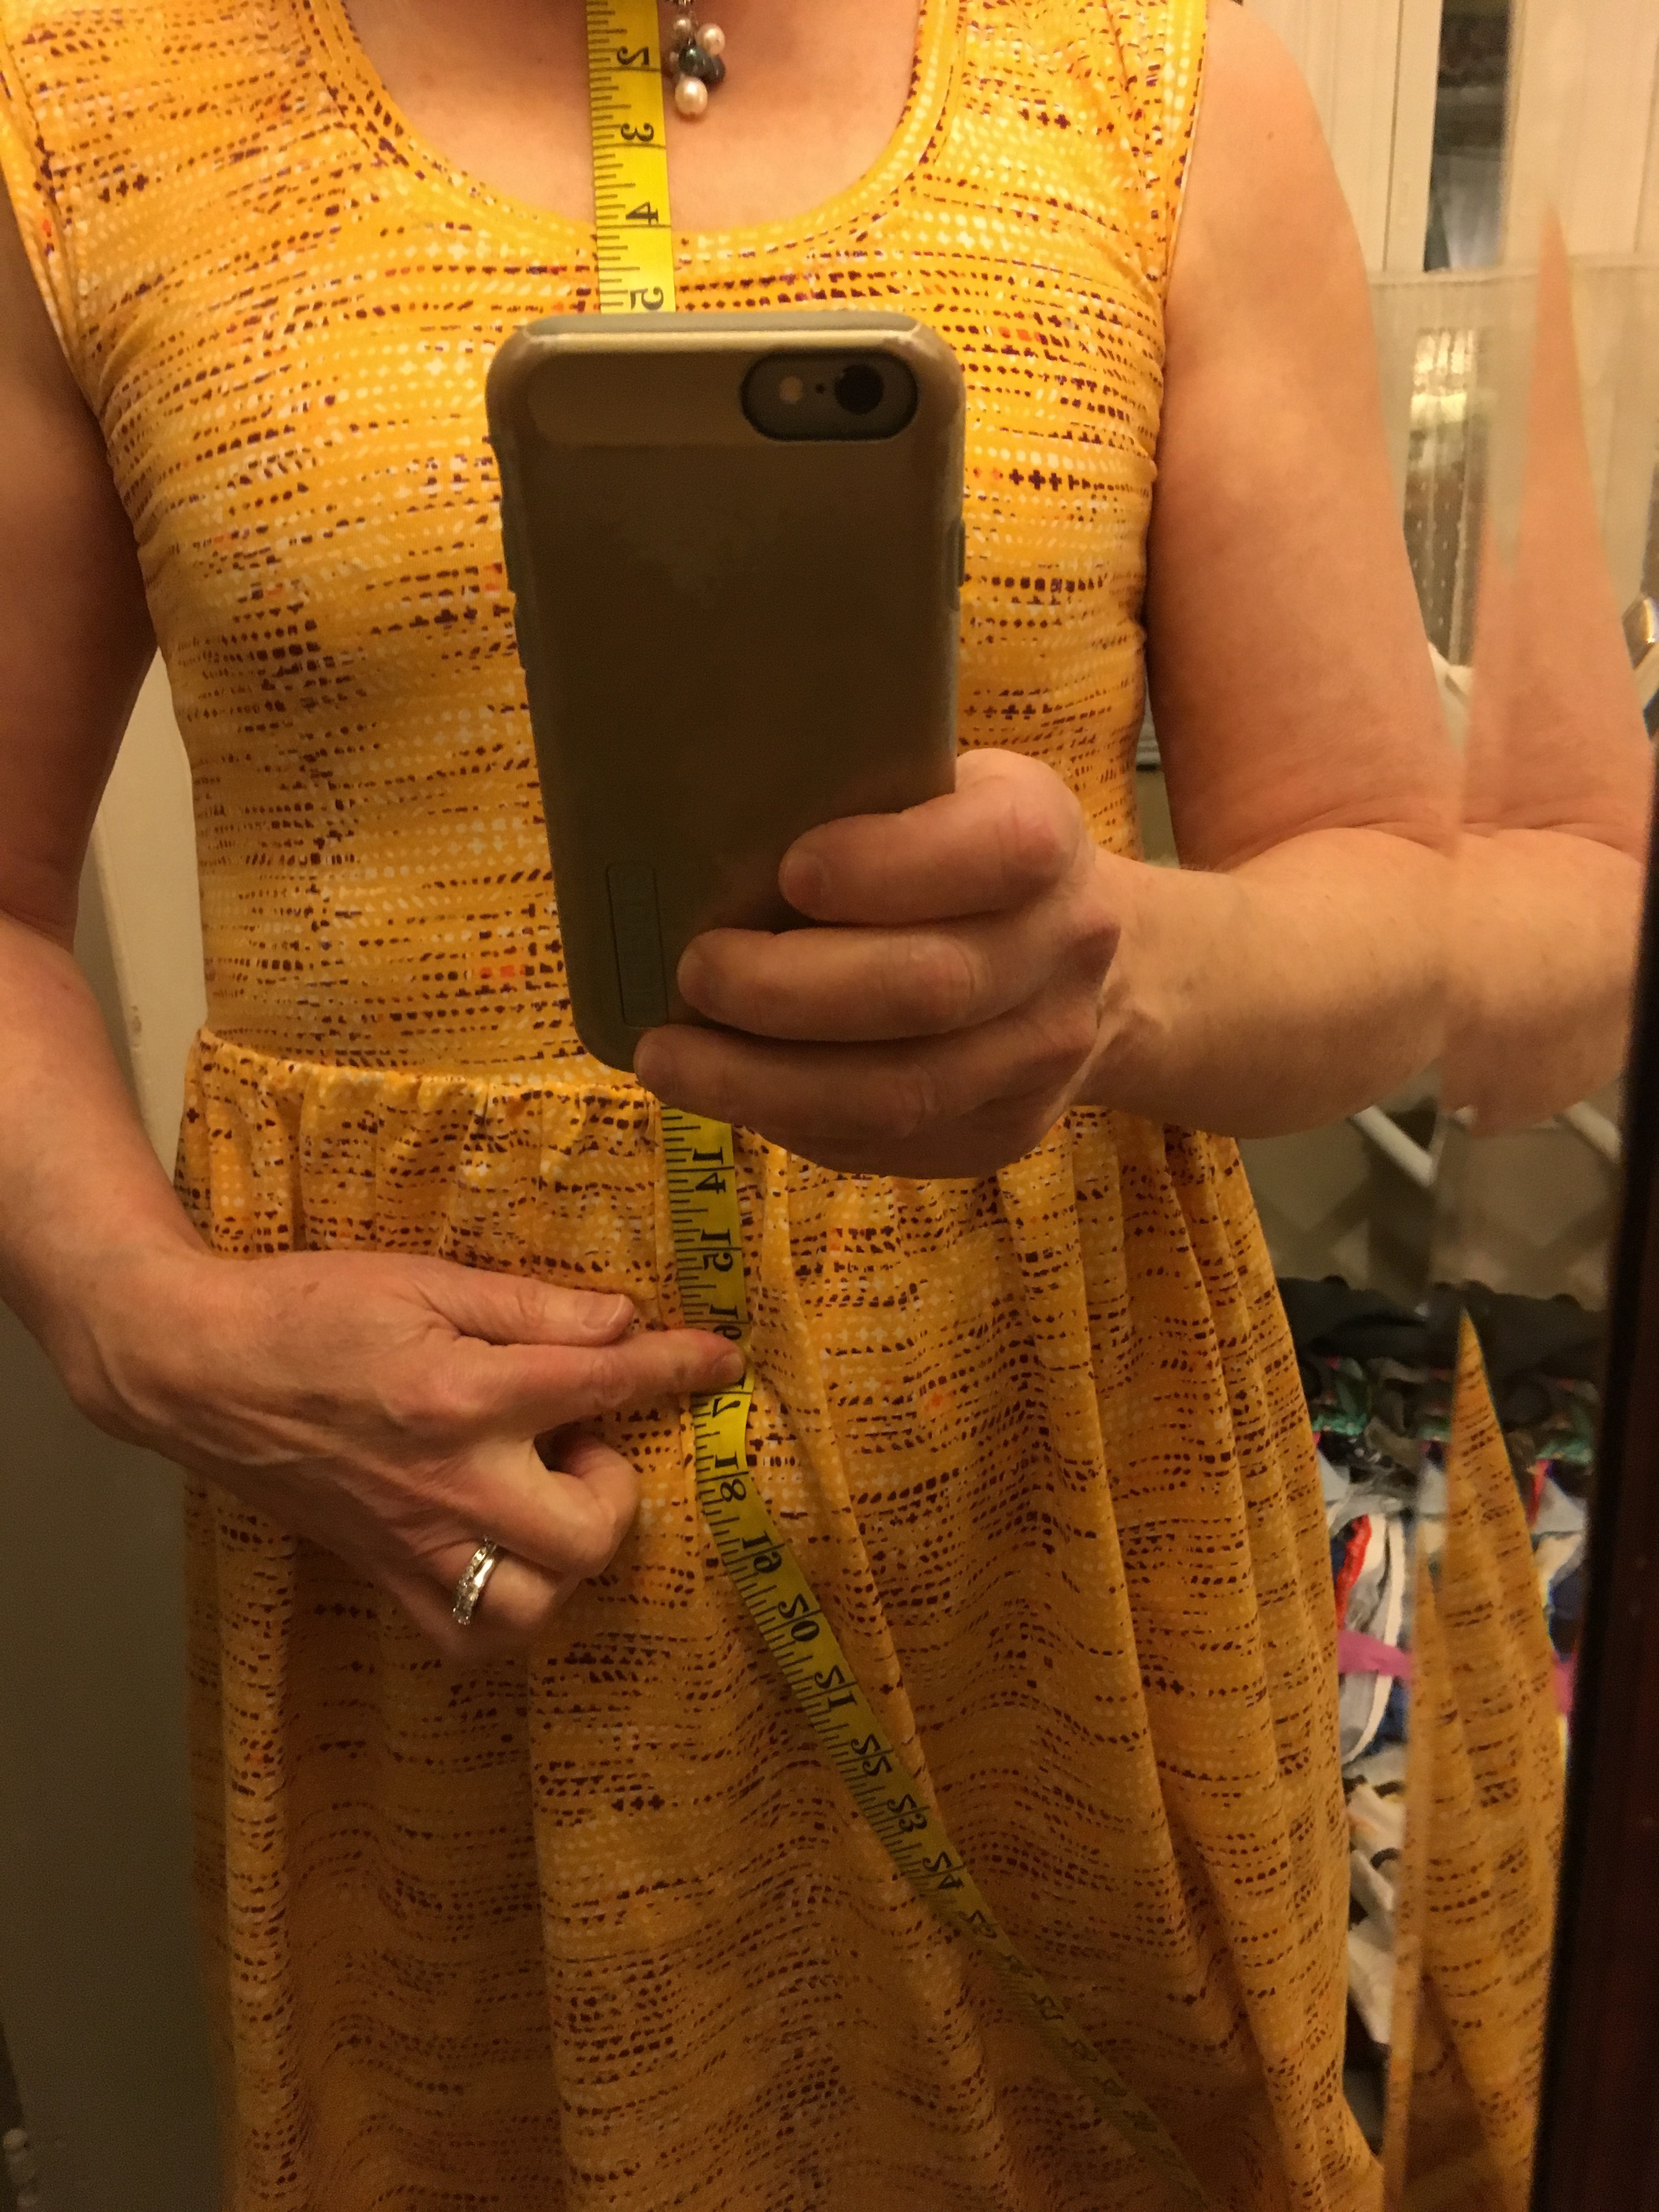
Back Sometimes being too efficient ends up being a problem because I now had already cut out all my pattern pieces and I knew that those that had been destined for tops would not end up being garments I loved. So I ended up buying another yard each of the two fabrics I had intended for tops. I used the bodice pieces I had already cut and cut the dress length skirt pieces out of the extra yard and have saved the top length skirt pieces for another project. So now I have 2 blue dresses and 2 mustard dresses. With leggings, boots and a cardigan, I am all set for the week. Just to show you how long my waist is, I had my daughter take pictures of my first Isla, which has one inch added to the bodice length and one of the second batch of Islas that has 2 inches added to the bodice length with me putting my hands at my natural waist.
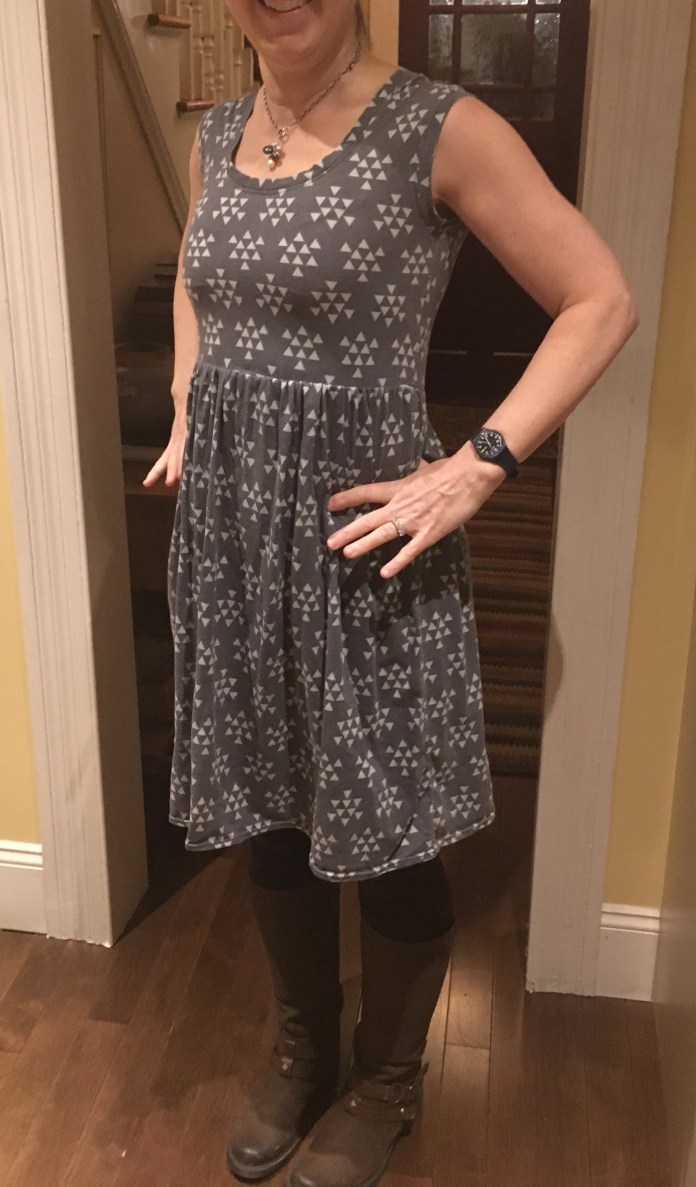 Yes that is really where my waist is. Here is version two with 2 inches added to the bodice.
 I can’t actually say I like one better than the other. I think that they are both fine. Word to the wise, make sure whatever you add to the bodice, you subtract from the skirt so you end up with the right length. I think the Isla is most flattering above the knee. I actually am not sure that adding the extra length to the bodice really makes a difference for the dress. I know that some people don’t like the high waist style but I find it skims right over my midsection which I like. I think if I try the top again, I will add enough to the bodice to actually have it hit my waist. That would be a lot of inches.
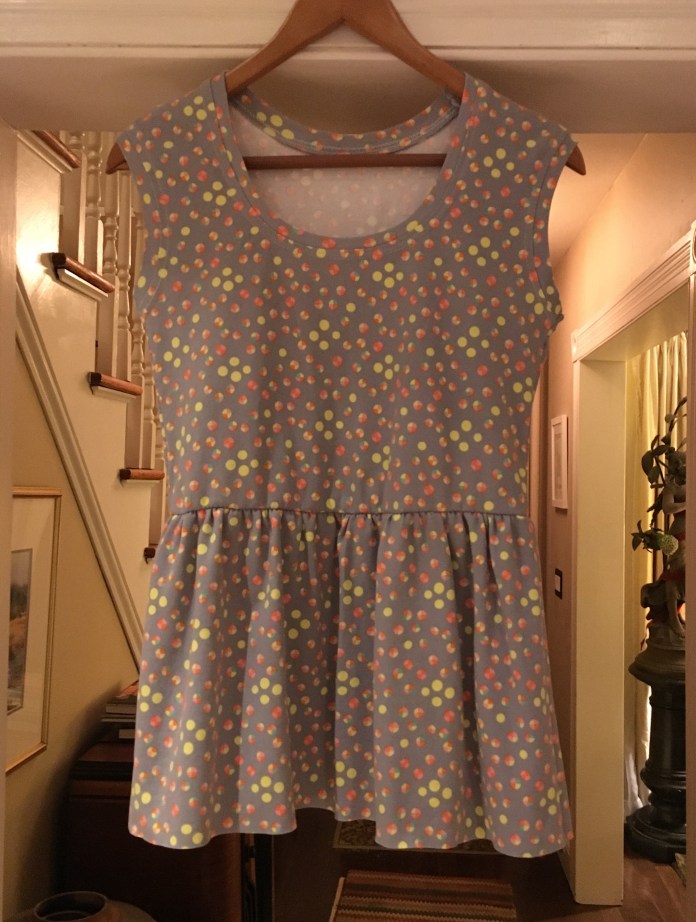 I haven’t hemmed it and I am not sure if I will because I need the length. Here it is on. I love the fun print. I think the top would be fine a bit longer.
 Sewing this many versions gave me the chance to figure out which techniques I prefer for the arm and neck bands. I ended up following Rae’s directions for the arm bands but stretched a bit more as I sewed. I don’t pin.
 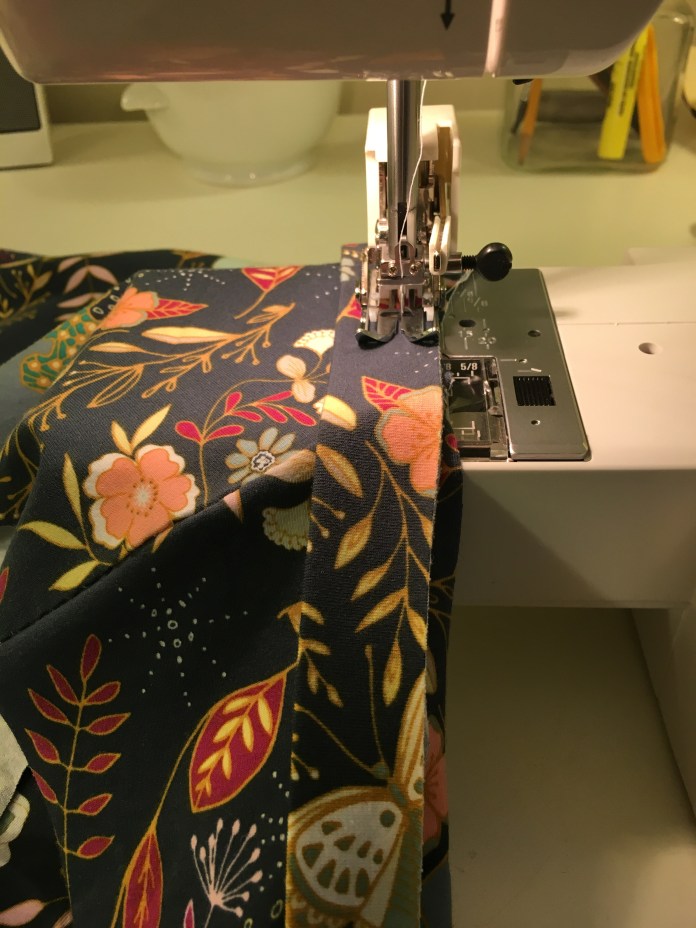 I ended up using about 1 inch less than the band as cut. This gave me a nice fit. I sewed a narrow zig zag along the seam.
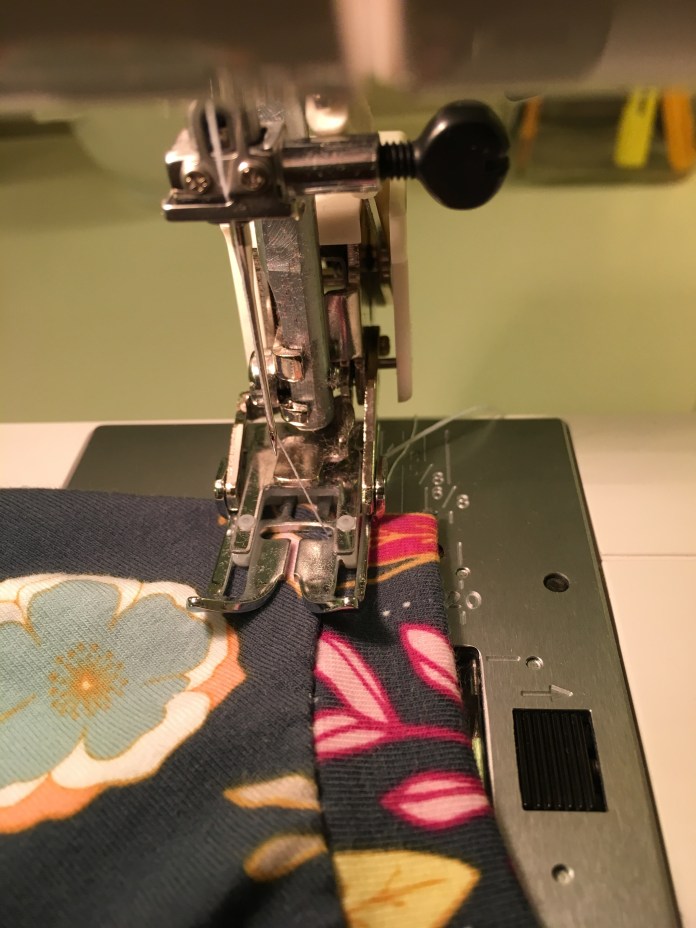 This gives it a nice finish. I used a double needle for one of my tops and I don’t think I love it that much more than the zig zag, which is so much quicker.
 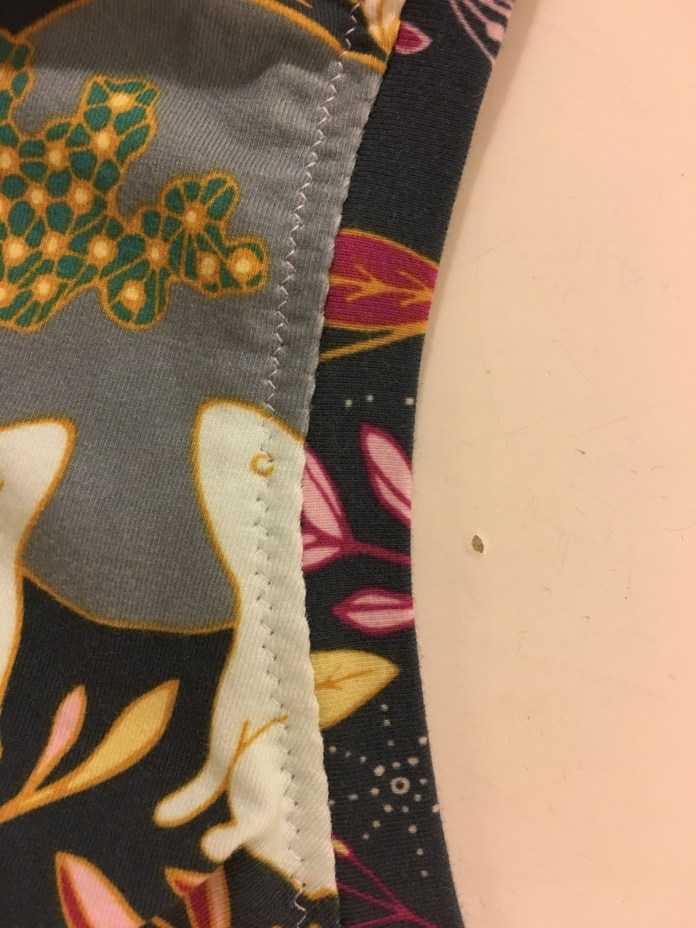 For the neckband, I tried the technique in the pattern which has you sew just one shoulder and then add the neck band and then join the second shoulder and neck band as a unit. I found for me that I ended up with a bit of bulk so I used
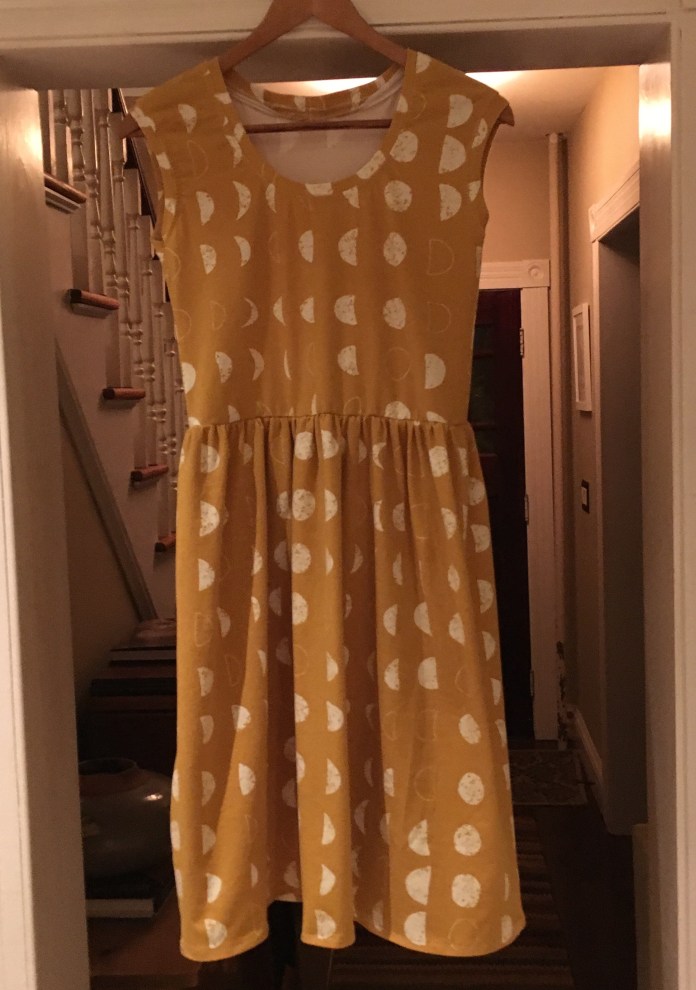


 And as worn and in action (whirlwind photo sessions with my husband was more like dress as modern art.)
 The wrinkles in the shoulders above are due to my poor posture, not the pattern. Growing up my dad used to tell me to put my shoulders back and now my daughter does.
 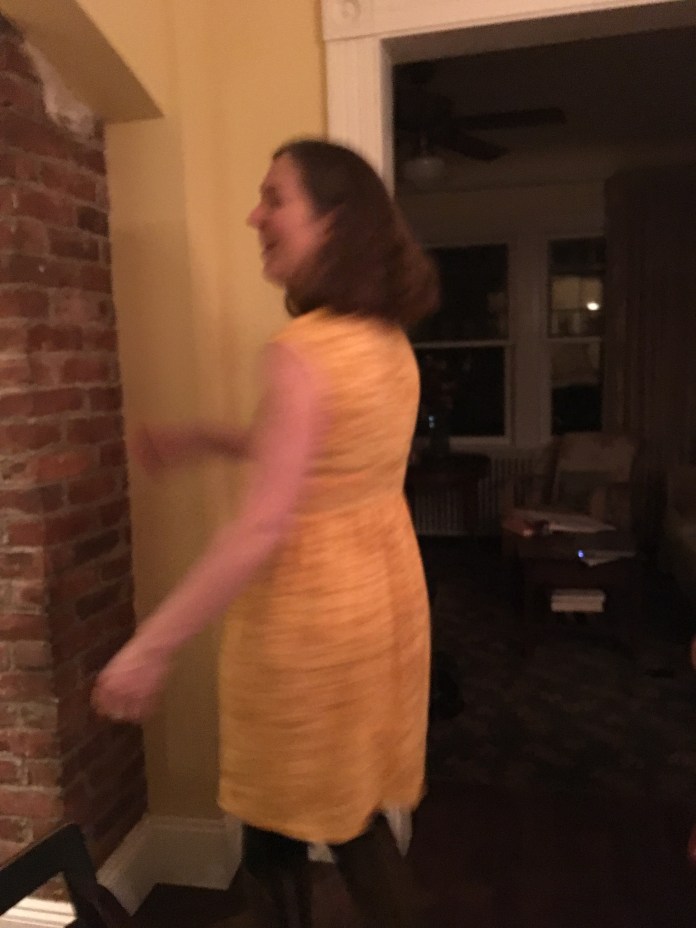 This one might be my favorite. It was supposed to be a top with jeans because I thought the bunnies might be too childlike but it makes a great dress.
 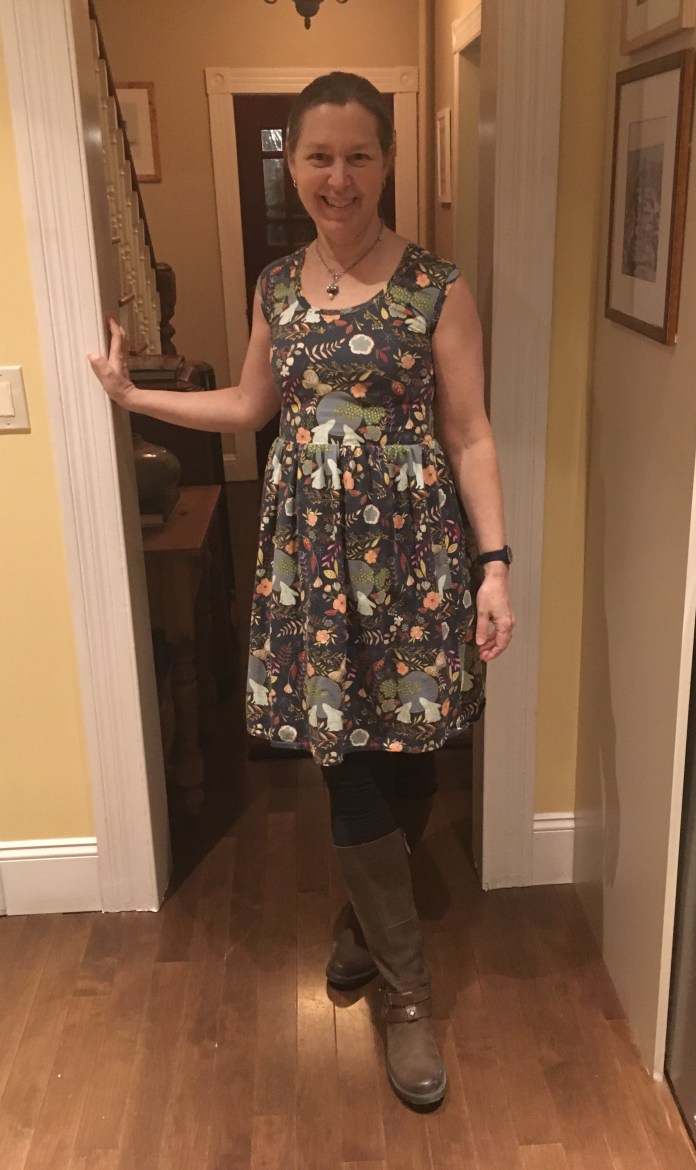 Just be careful when you cut out the neck band to not cut the bunnies in half as I did at first. I cut a new neckband when I noticed my mistake.
 This pattern is a quick sew that makes a flattering, comfortable, cute dress that doesn’t need ironing and looks great under a labcoat. What could be better?
 I think I have now gotten sewing with knits out of my system for a while and am ready to take the walking foot off the machine, switch the needles and get ready to sew with wovens again. There is a great new
  I have some beautiful fabrics lined up to sew a couple of versions, just in time for spring. But in the meantime, my Isla capsule wardrobe will be just the thing to get me through the winter.


 I have two more Washi dresses cut out that I plan to finish soon. One is the
  I am excited to see how the XP version turns out. I think it will be perfect with a sweater and tights and boots for winter. I cut this out way back in the spring when I made a baby quilt for a friend and used this for the binding.
 I lengthened the Beatrix to a tunic length using the Pearl Shift pattern as my guide and made this
  I have two more cut out and ready to sew, one for my daughter and another plaid flannel version for me. The
  I was surprised at how flattering they ended up being and they are incredibly comfortable.
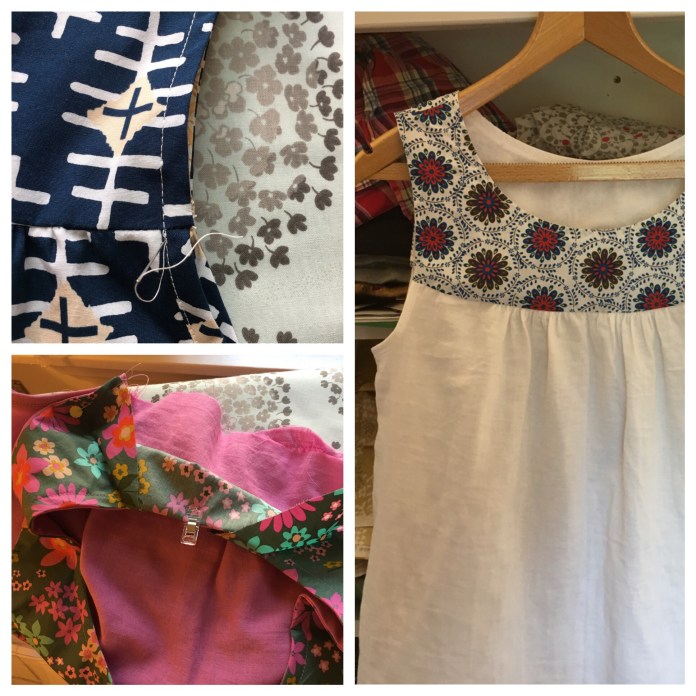 I have several other versions of the Ruby blouse cut out and ready to sew. Sew all the WIPs is going to be my resolution for 2017!
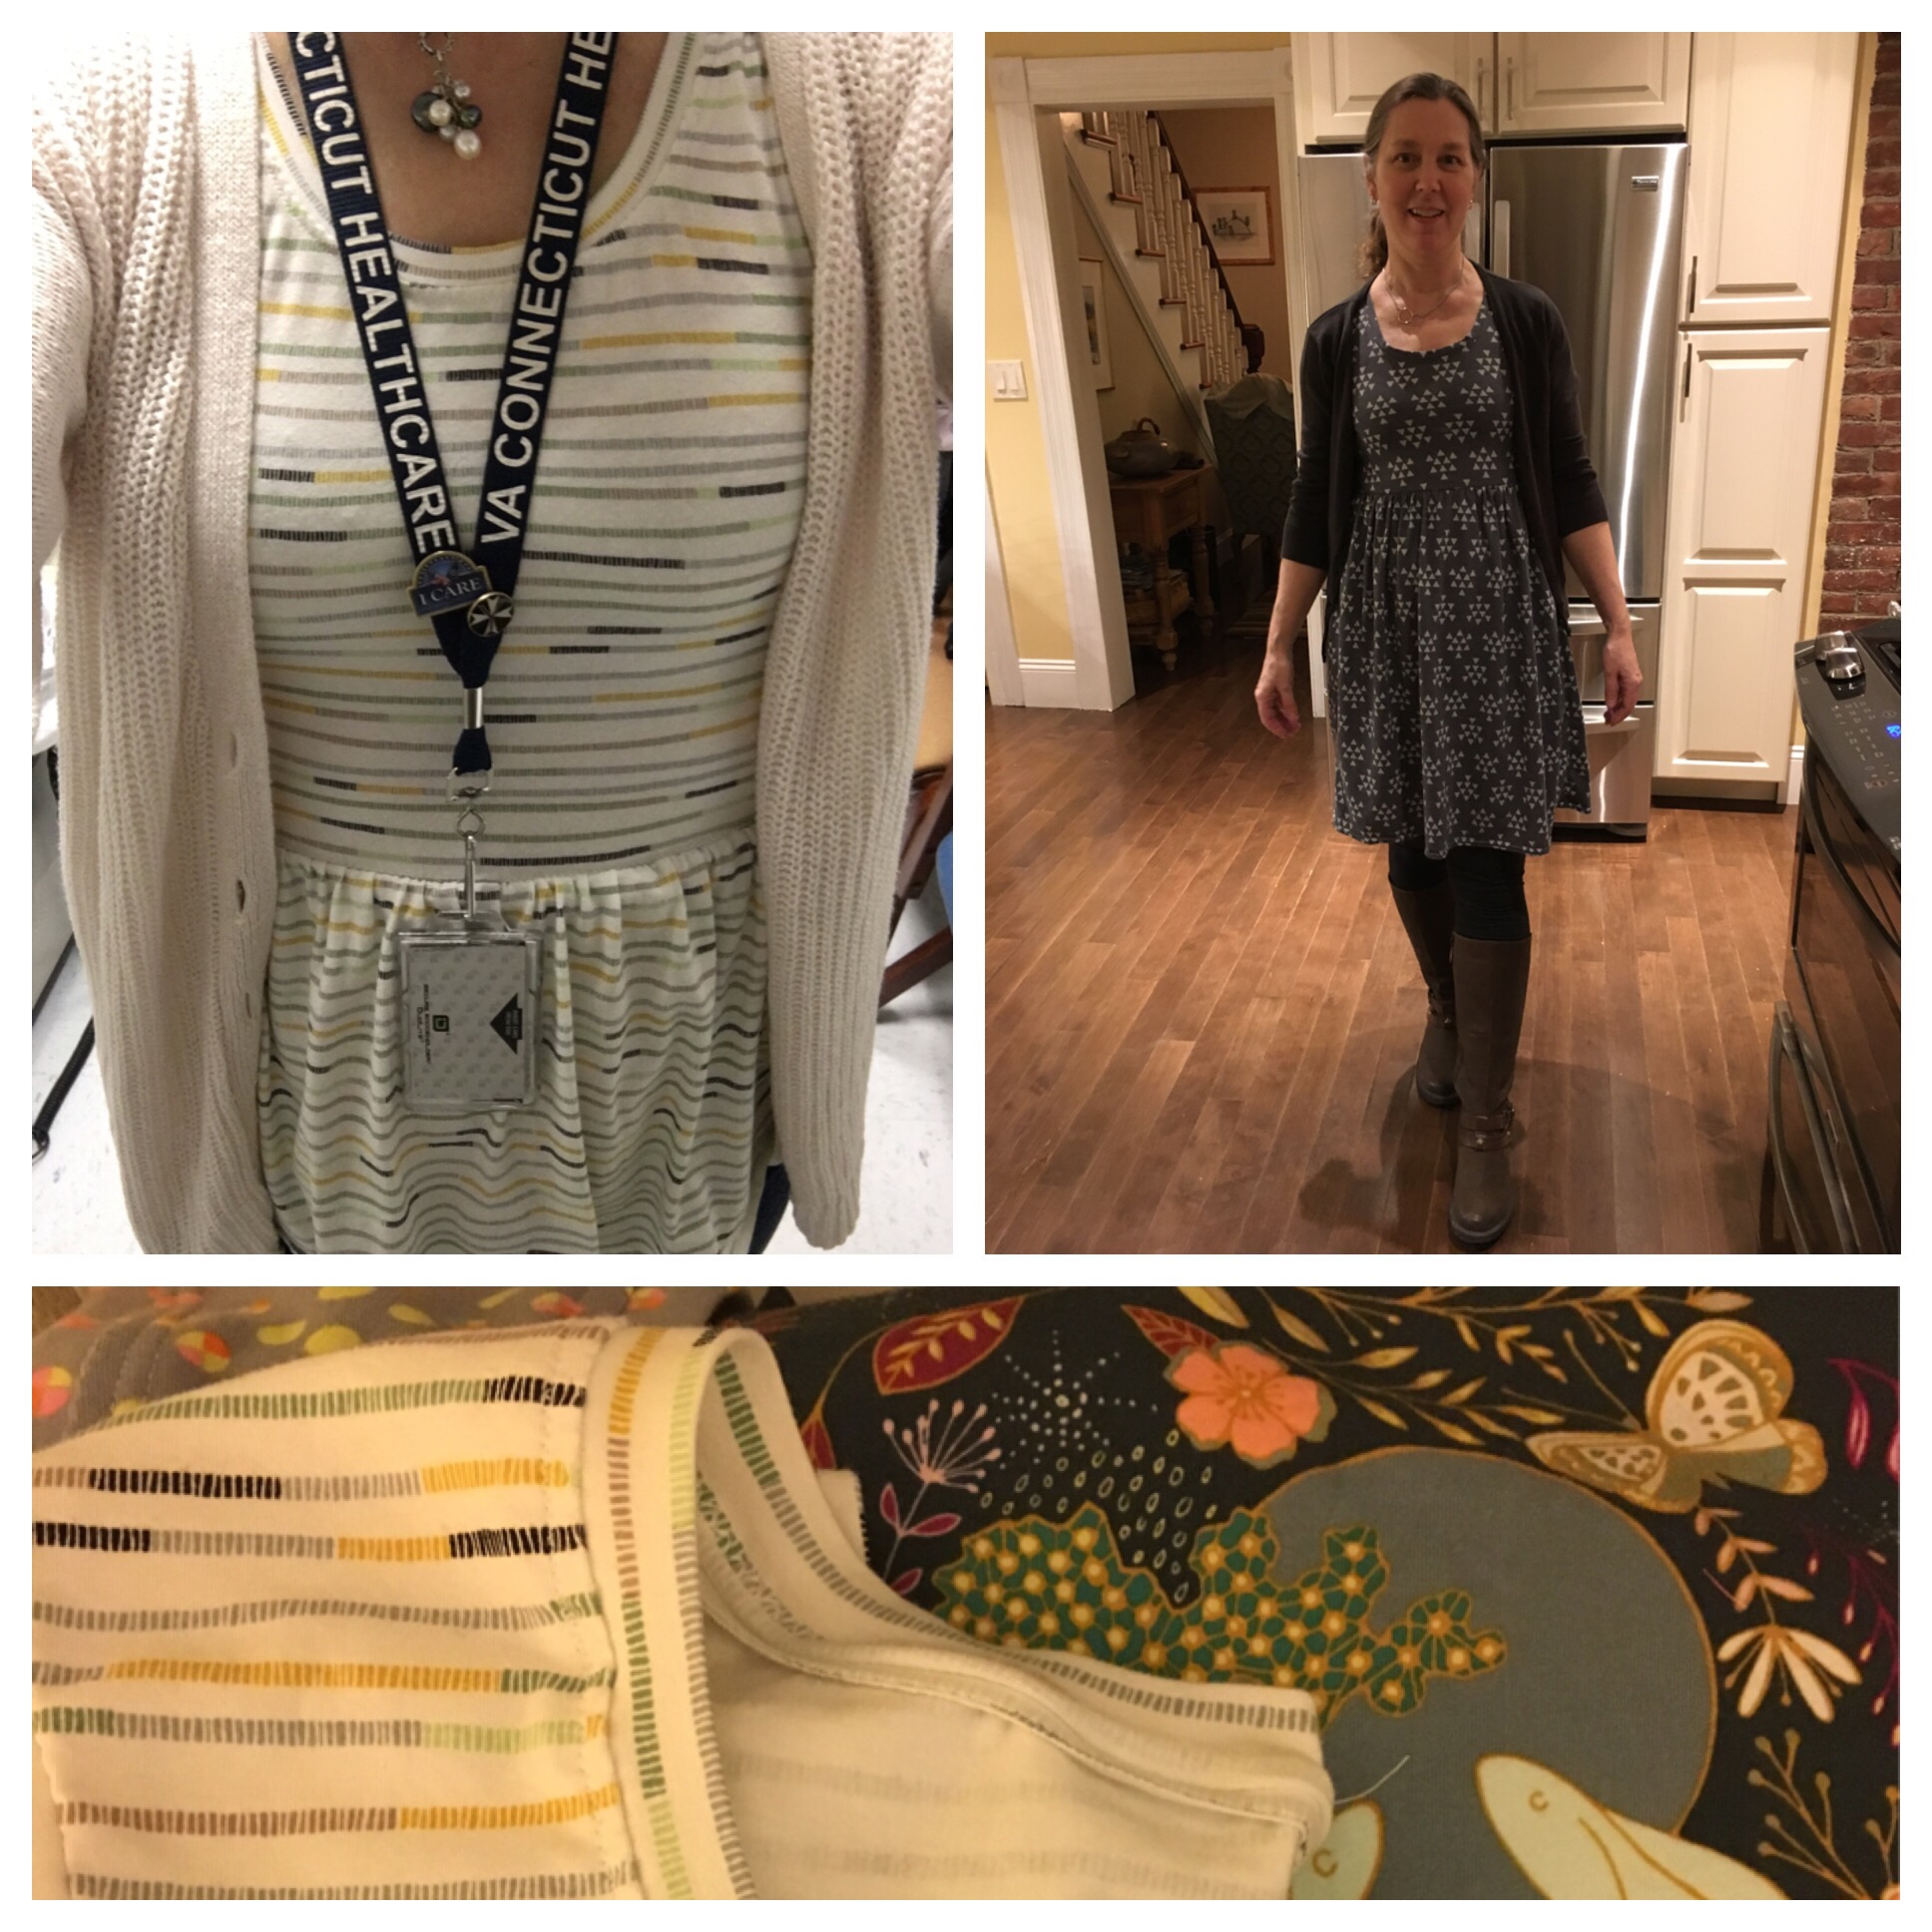
 I have several more cut out and ready for an afternoon when I can sew them up. I highly recommend this pattern for those of you who are new to sewing knits.
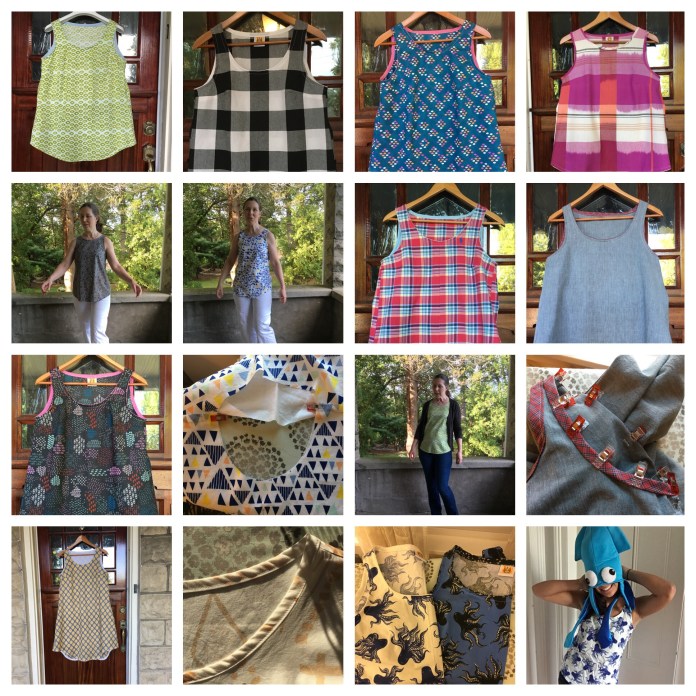 Other non-garment items I sewed this year were

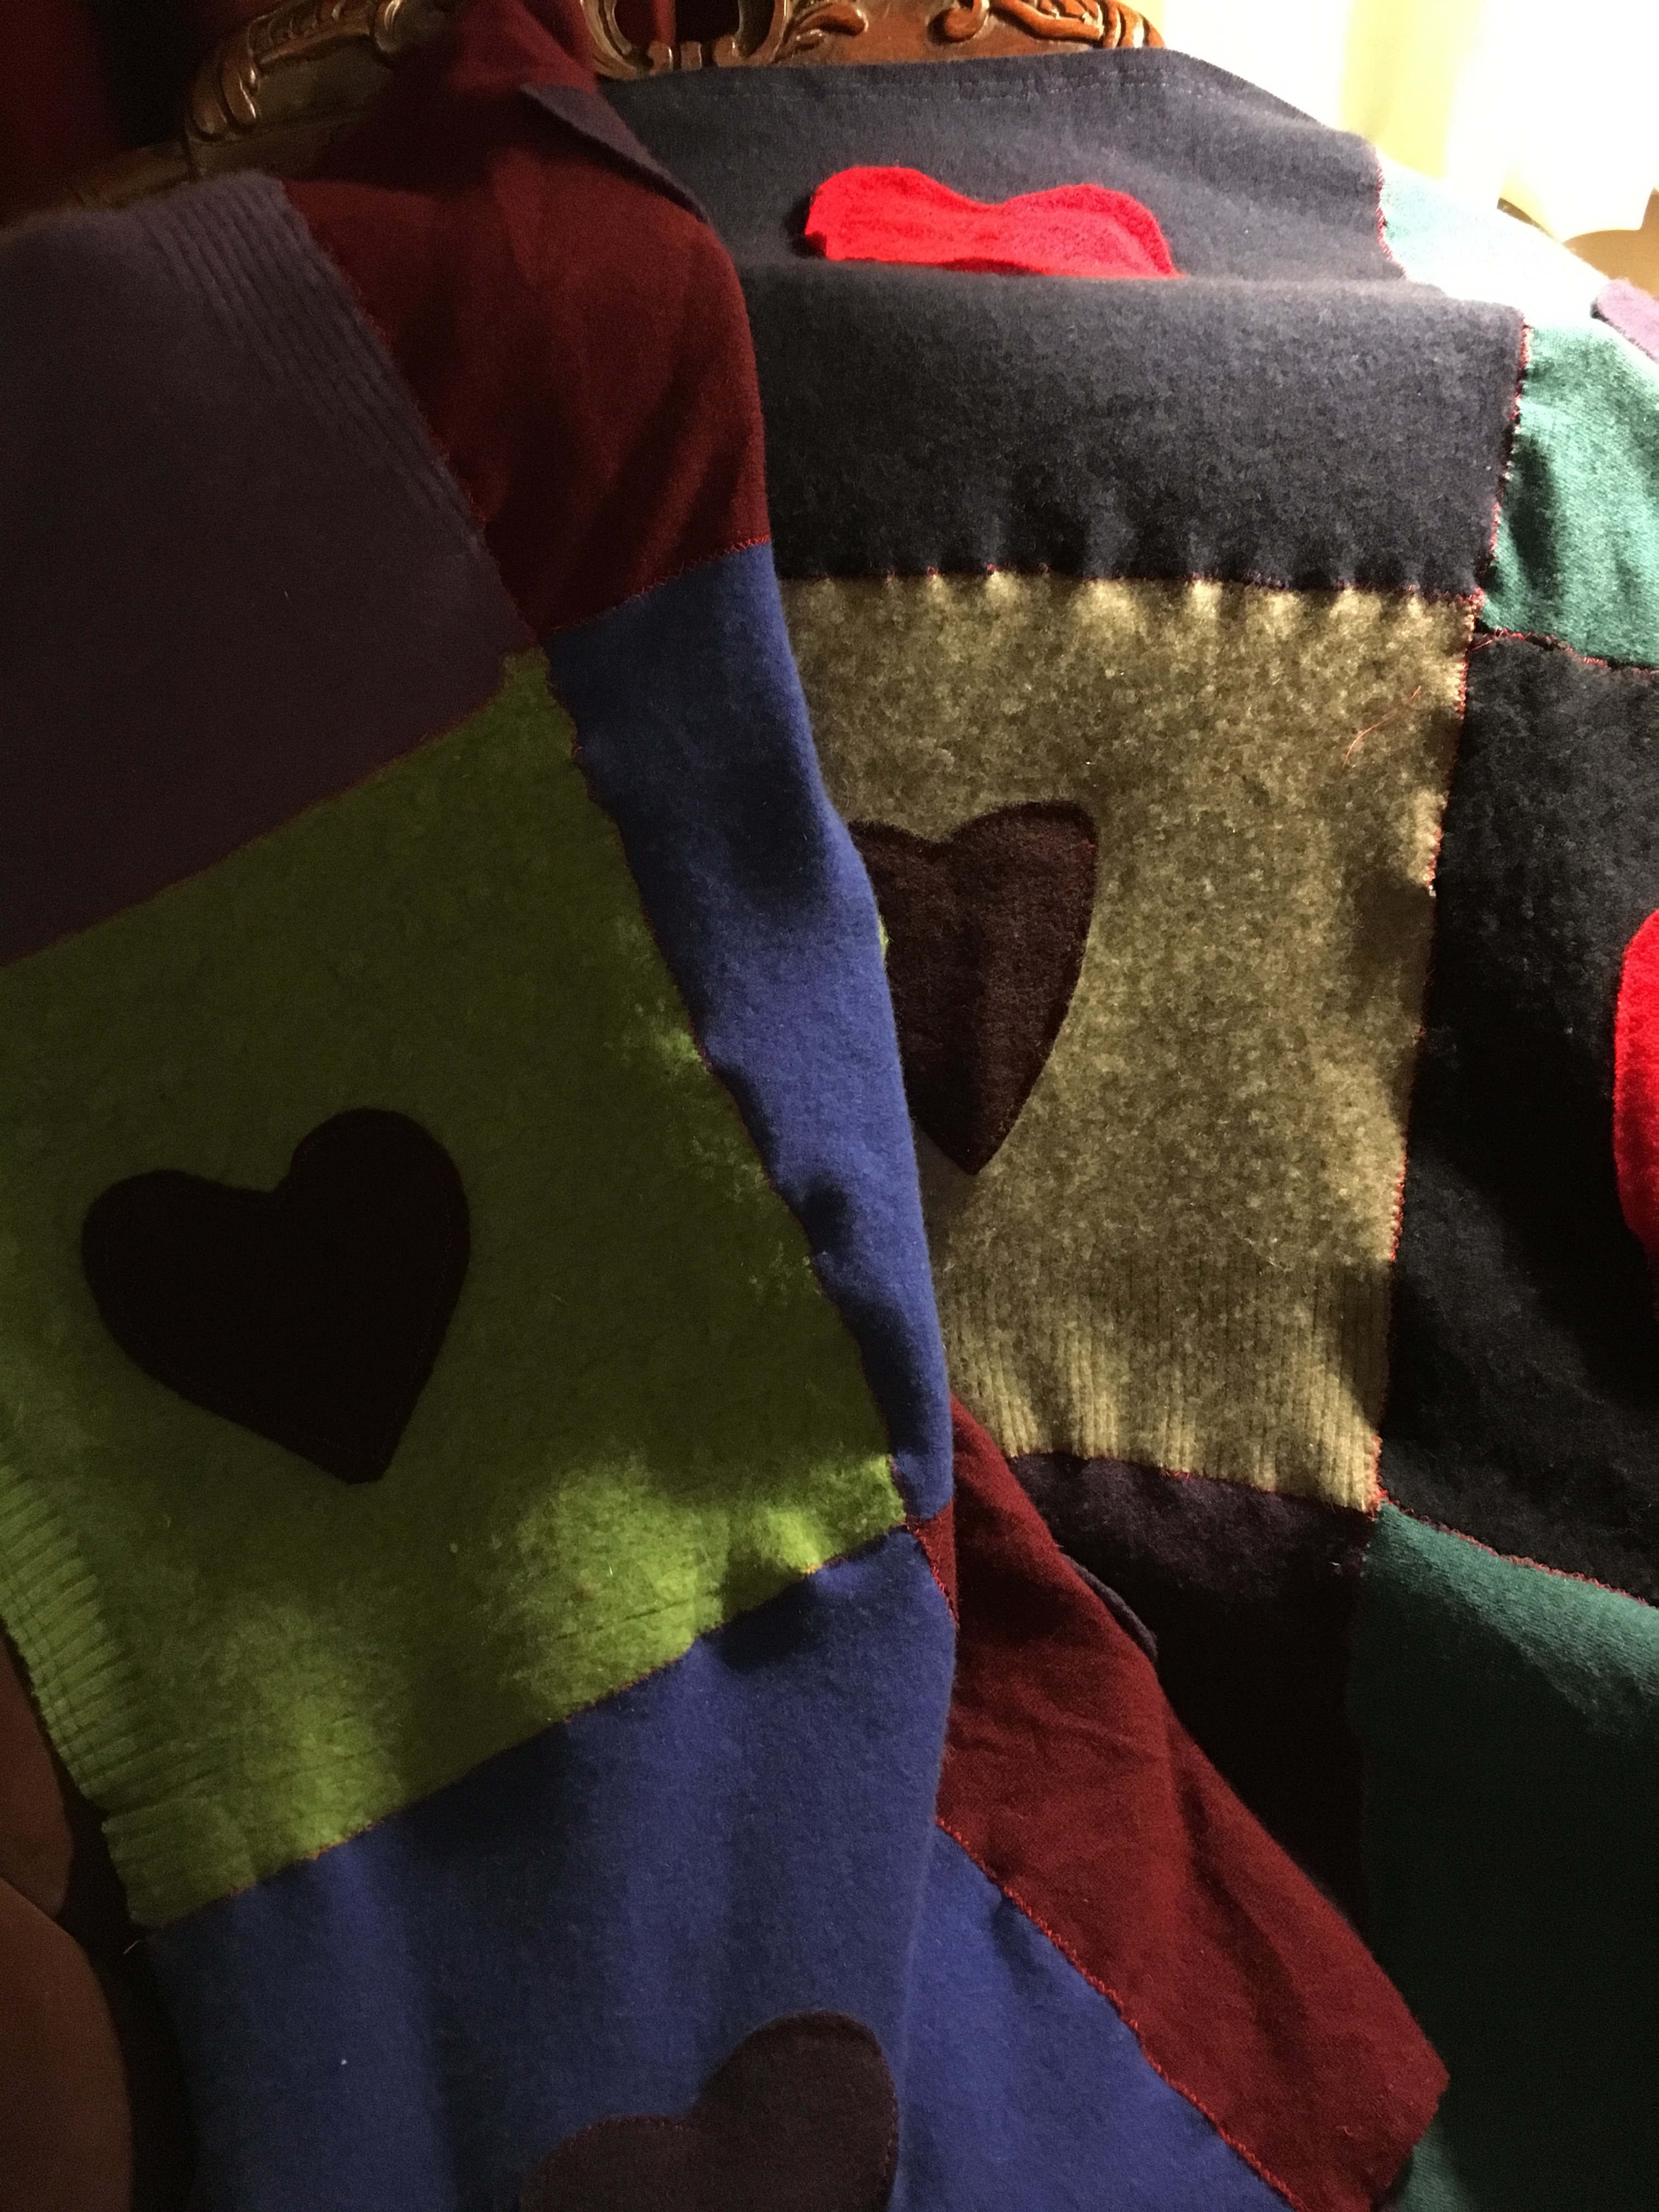


 It was hand delivered with love.


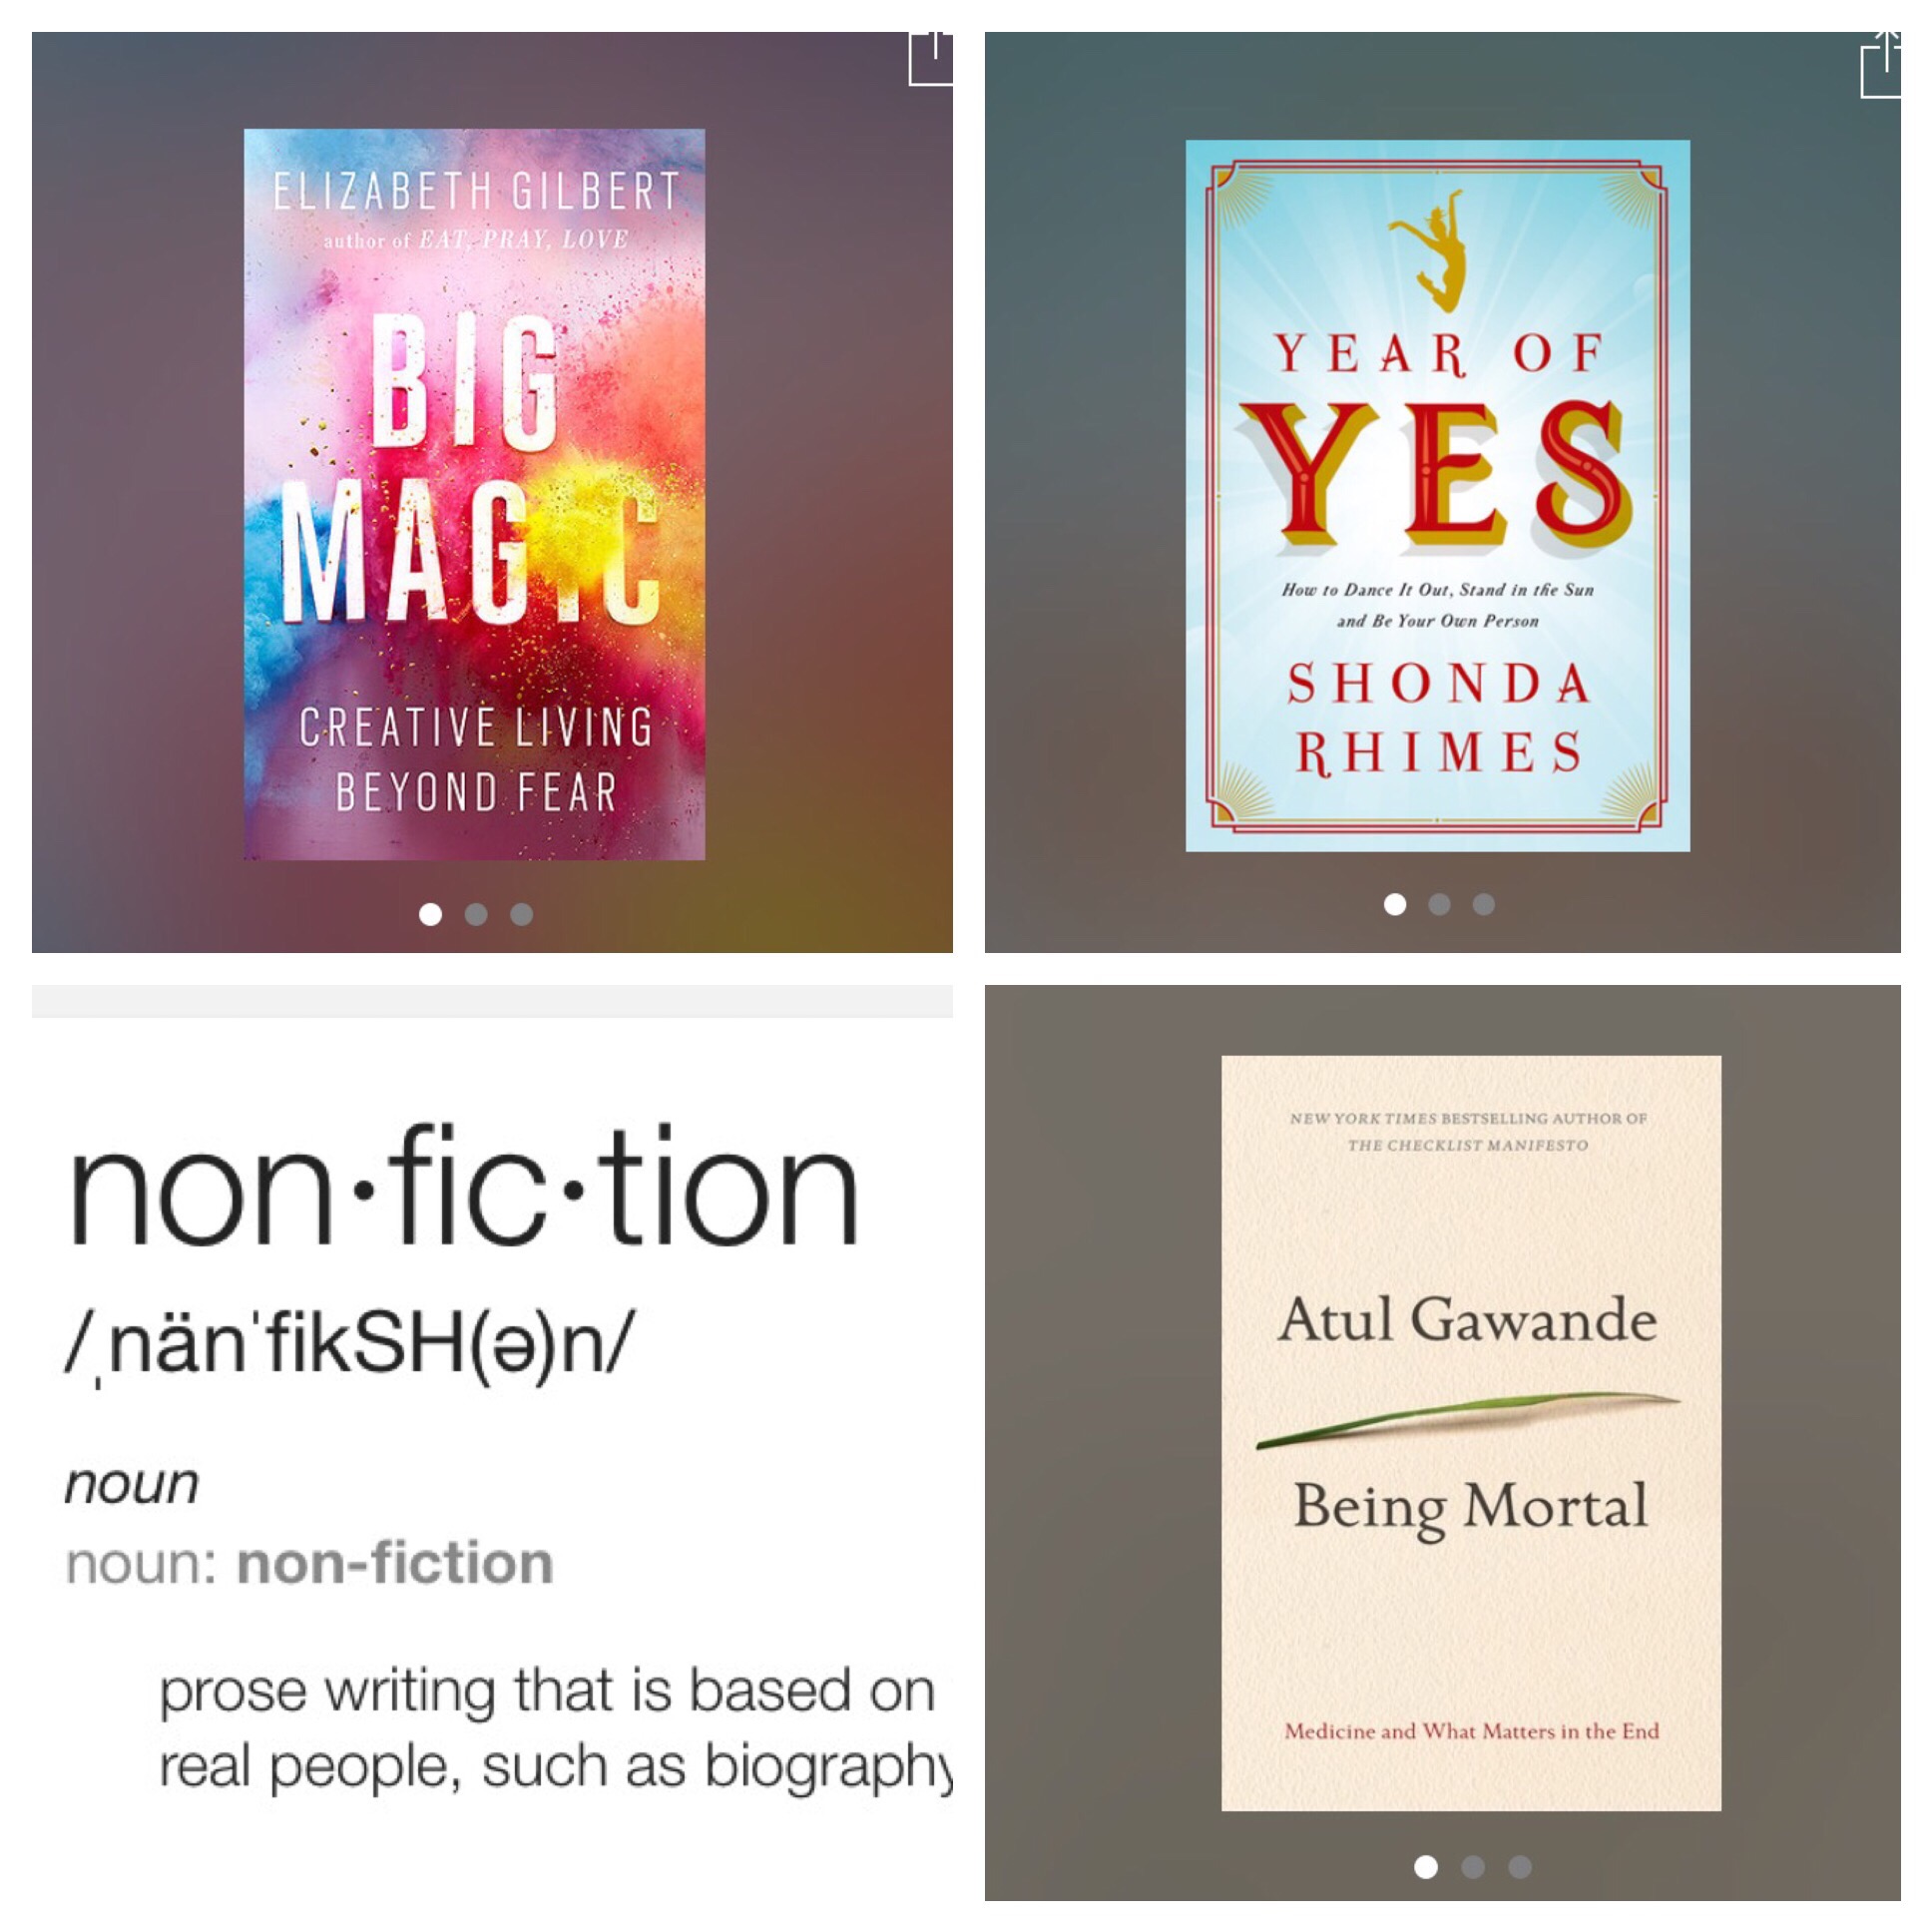

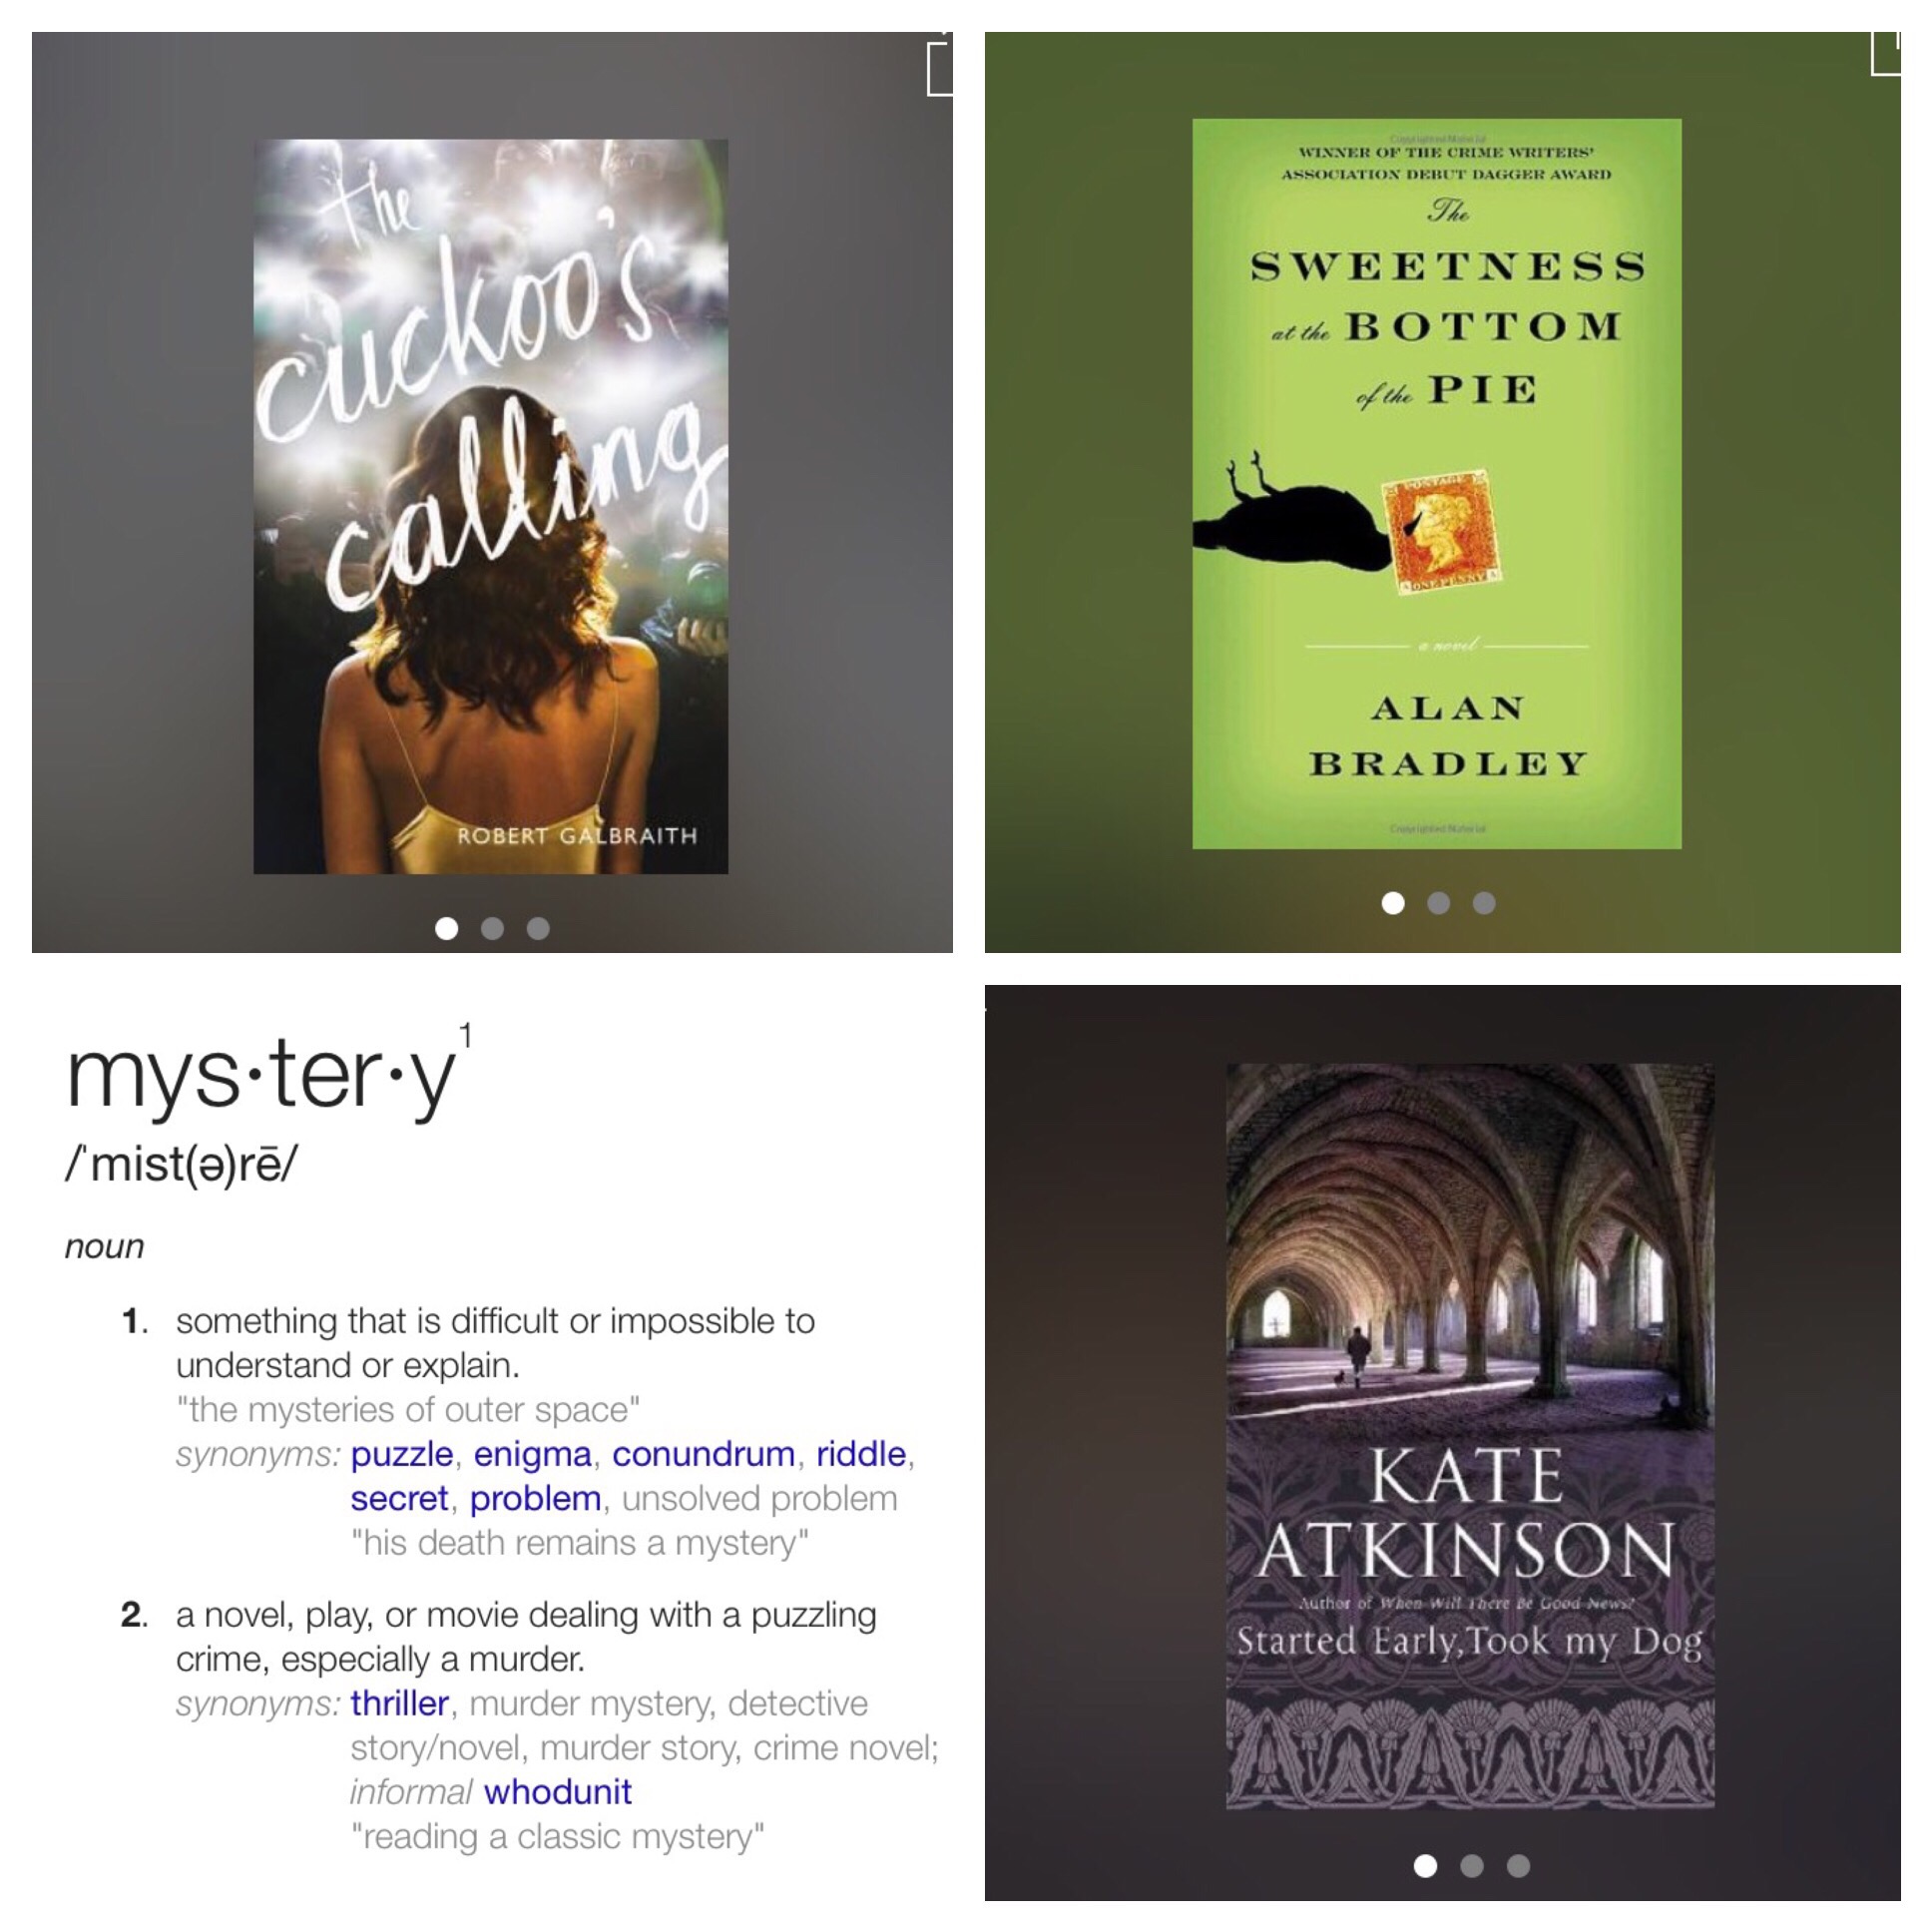
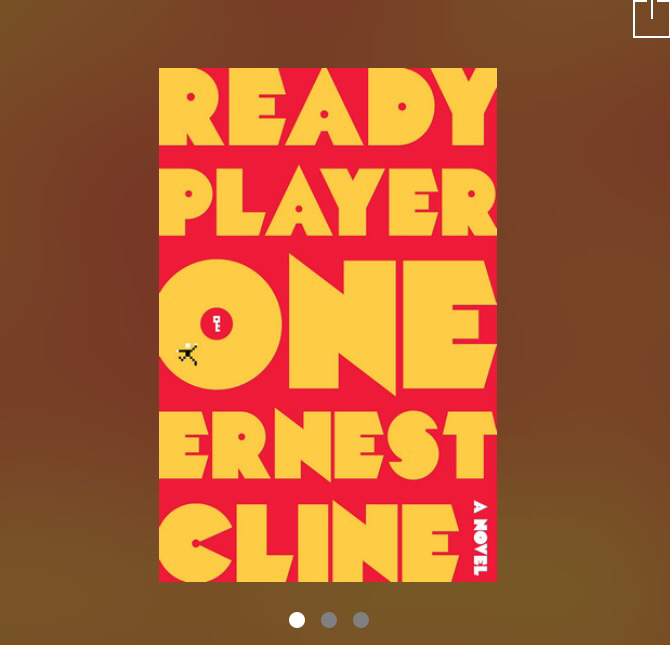
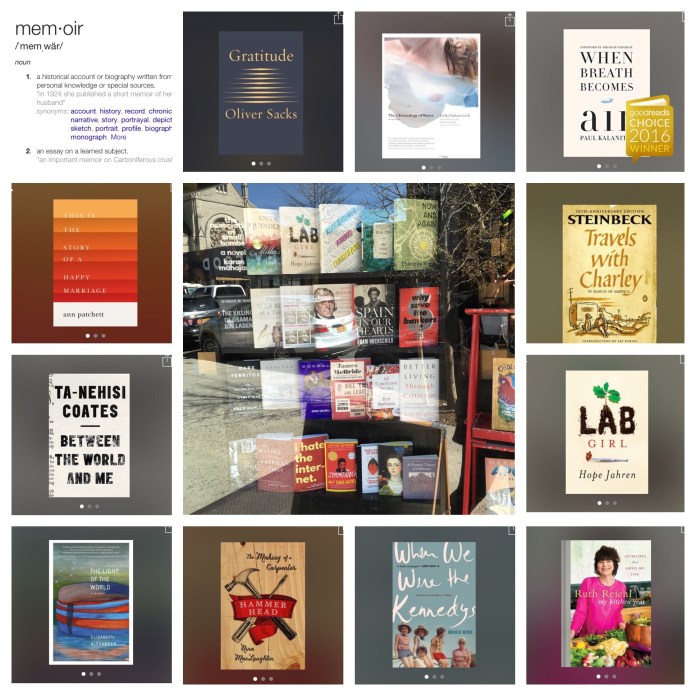 Memoir: My favorite book genre is memoir and I read many this year and had a hard time narrowing my list so here are eleven that are all fantastic. I loved Travels with Charley by Steinbeck which I had never read before this year. He started on a trip across the U.S. in January 1961, the month I was born, and started his trip in a small town in Maine which resonated with other books I read including When We Were the Kennedys, another fantastic memoir by the author of One-in-a-Million Boy. It was so interesting to hear him describe what the towns were like and what he encountered across the country. So much of it resonated even in this day and time. The more time passes, the more the same issues are present in our culture. It felt really timely to read it now. I won’t go into detail on all of the other books in this category. Many are well known. But suffice to say that they were all great reads that I would highly recommend. As I read my way through this year, I wrote several posts where I did mini-reviews of most of them. You can link to my other posts about my reading life
  But I wasn’t thrilled with the results I got using my regular sewing machine. When
 I tried a stretch stitch on my machine based on
  This is what the test sample of the stretch stitch looked like on a scrap.
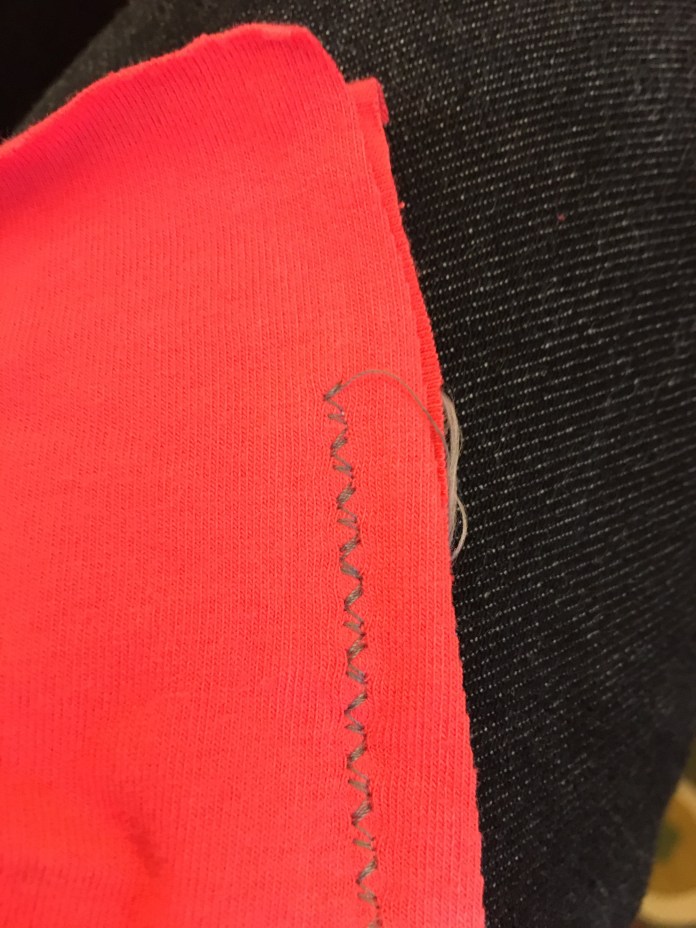 These are the settings I used for the stretch stitch which I used for all my seams.
  And here are the settings I used for the zig zag stitch that I used around the arms and neck to tack down the seam allowances after attaching the binding.
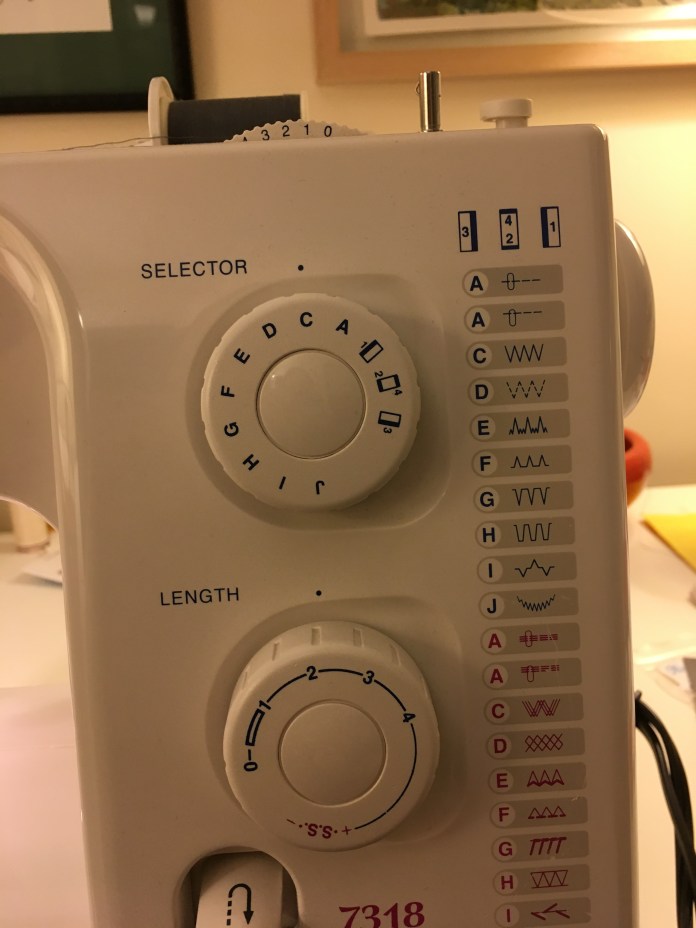 Here is a close up of the arm binding with the zig zag sewn about 1/8th inch from the seam. The walking foot worked really well feeding the fabric in evenly and helped the machine handle the bulk where seams were joined.
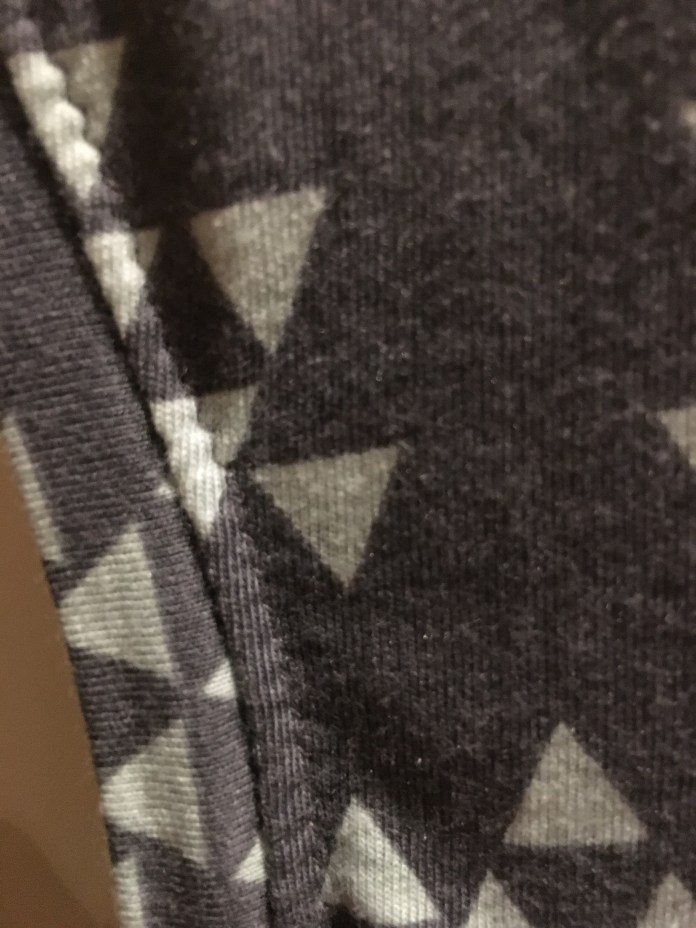 I used the same tension I always use for all of the stitching, even the gathering stitch with elastic thread, and it worked fine.
 The gathering technique is magical. Using elastic thread in the bobbin and a zig zag stitch, the skirt was gathered exactly the right amount. I have learned after sewing many MBR patterns to just trust Rae. She knows. Her instructions are straightforward and work great when followed.
 but that may also be because I am very small busted. I will try to make the neckline binding a bit smaller next time ( I find that it usually takes me 2-3 tries to get a pattern down,) but I am overall really happy with my first version.
 I used a twin needle with stretch thread in the bobbin to sew the hem. I ironed the hem before sewing.
  I used wonder clips to hold the hem in place for sewing.
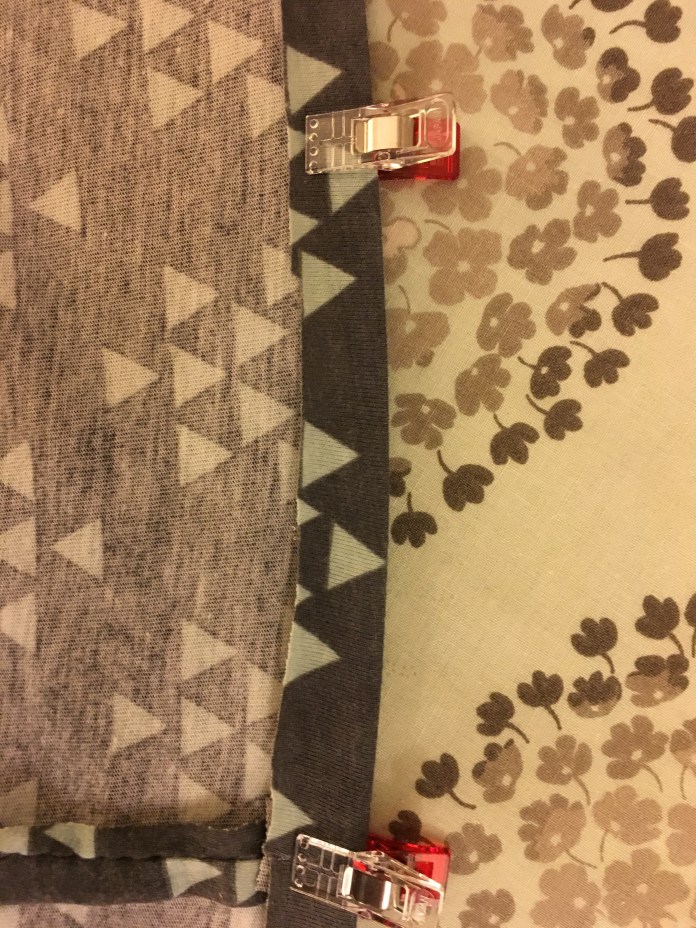 Test fabric showing the twin needle hem.
 I used the presser foot edge as a seam guide and got really good results with the twin needle.
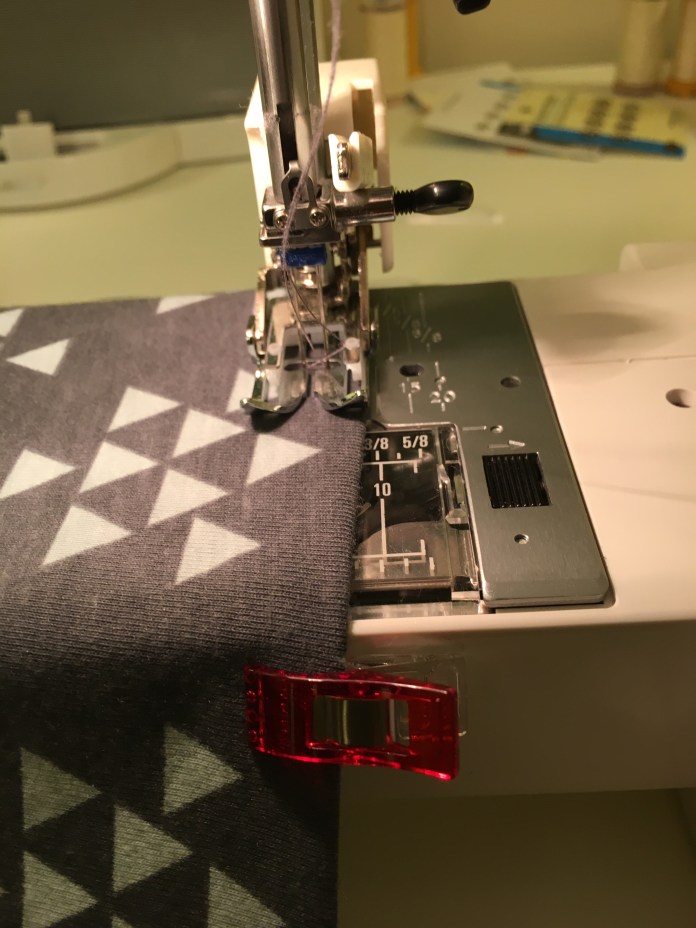 Hem as stitched below.
 Hem seam as seen on the inside. It lies pretty flat but I think I will have even better results with a slightly heavier knit. This is pretty thin fabric.
 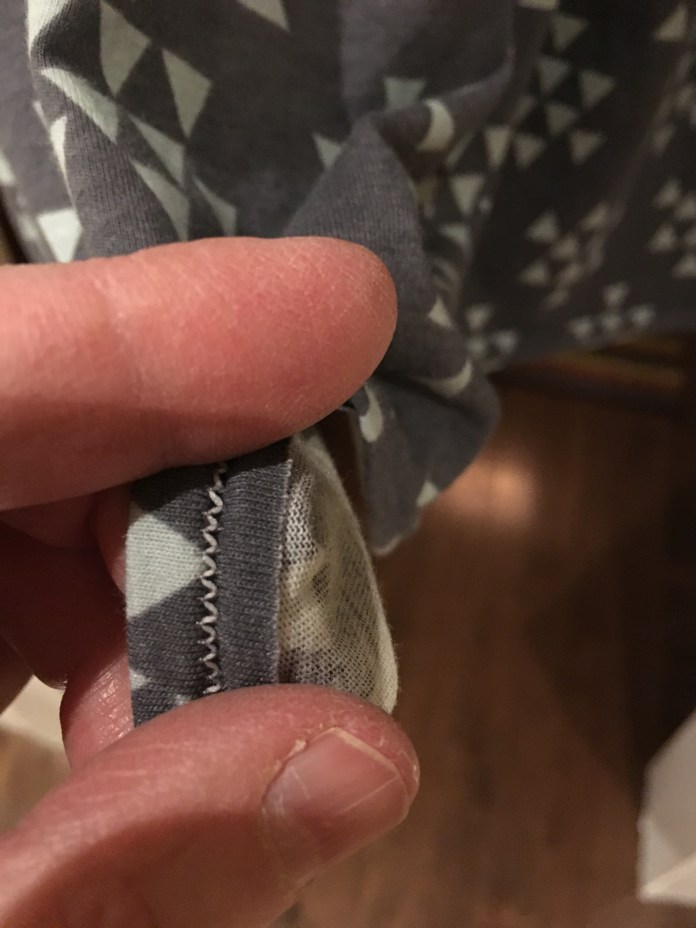 Twin needle settings below. (I take pictures so I remember for the next time.)
 Finished dress below. The bodice looks a little wonky on the hanger but it seems less so as worn. I think the next time I make this, I will sew my elastic gathering seam a bit farther away from the edge because my machine was chewing up the edge. It is actually amazing how well it ended up considering. I did not take out the stitches or redo the gathering or the seam where I joined the bodice to the skirt and it looks relatively even.
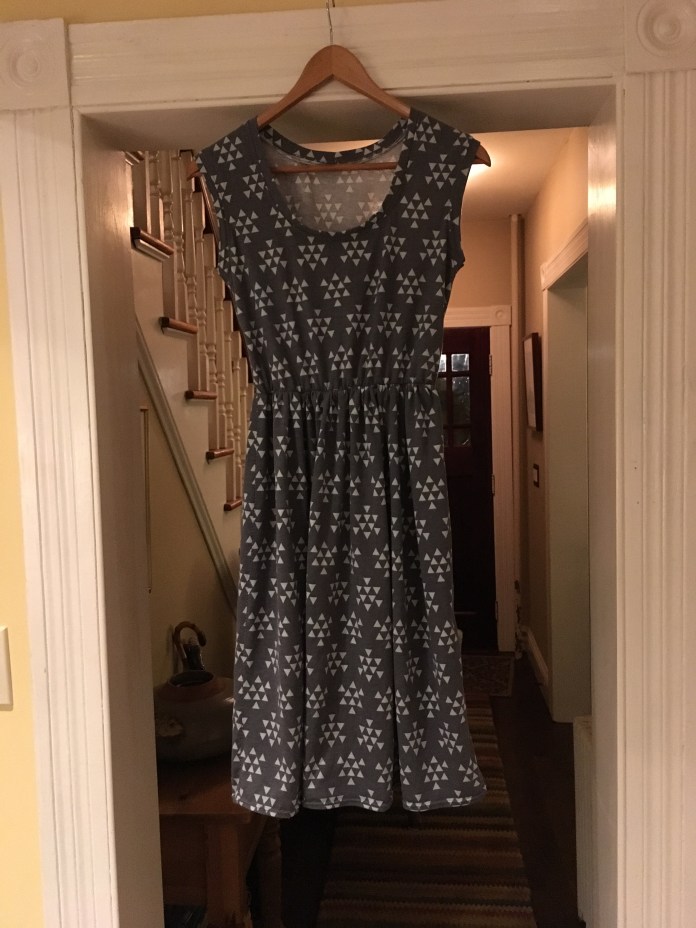 And as worn. I am not sure if I want to keep the bodice this length or shorten it or lengthen it. This is with an added inch so you can see that it is pretty short as drafted. I have a really long torso and I haven’t decided which would be the most flattering.
 I am very happy with the fit around the arms and the neck.
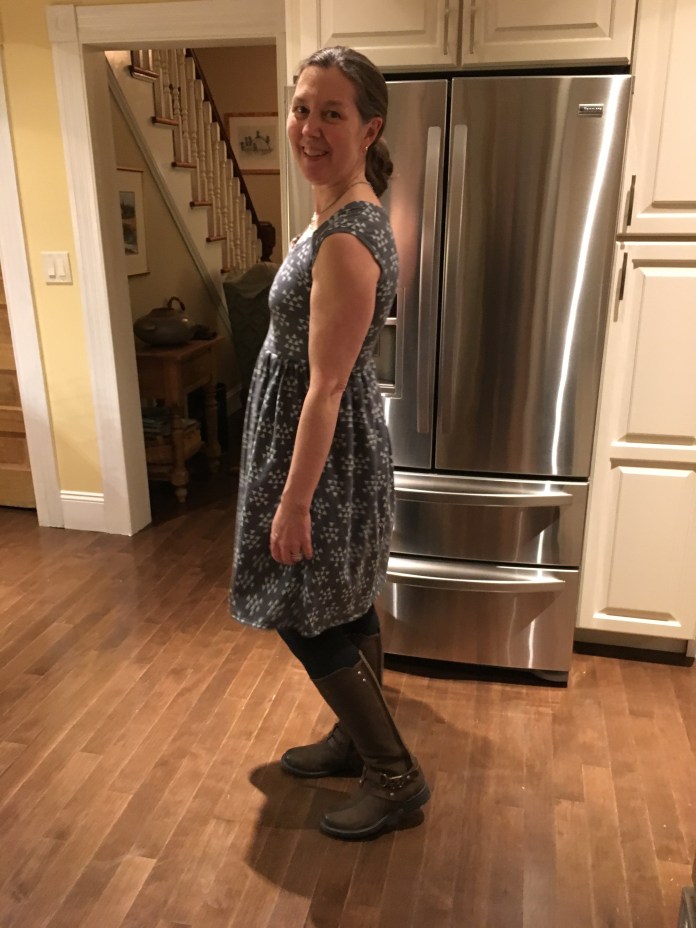 Back view.
 And with a cardigan which is how I will be wearing it this winter.
 This pattern is a quick sew. What I loved about it: gathering the skirt with elastic thread. Brilliant! I used a zig zag stitch, not a stretch stitch for gathering and sewing the bodice to the skirt with elastic thread in the bobbin. I highly recommend this pattern and the little knit tricks I learned above which enabled me to have a really nice result with a regular, inexpensive, sewing machine. Next time I will use the twin needle instead of the zig zag around the neck and arms, but otherwise, I am really happy with the results. This pattern is a keeper!
 I also highly recommend reading this