This is the before picture. When I made my first Washi Dress last winter, I didn’t have enough fabric and ended up adding a strip of a different fabric as a border. I was really happy with the result. I was new to this sewing business and if you look closely you can see that I didn’t match up the seams on the main part of the dress and the border but to be honest, it doesn’t even matter. It is cute. I wear it all the time and I get lots of compliments. It is a tribute to Rae that even my first attempts at her patterns have turned out to be wearable and cute.
 I wanted to make the pattern again and decided to use some black quilting cotton from my stash to make a black Washi. I realized that I had enough black cotton to make almost two dresses but not quite so I decided to use a second fabric to make a contrasting band at the bottom of each skirt. I ended up making two versions: one for my daughter with polka dots and for myself, I used fabric leftover from my younger daughter’s grade school Invention Convention project, which was a “puppymobile”. Details of the two dresses can be seen here in my original post.
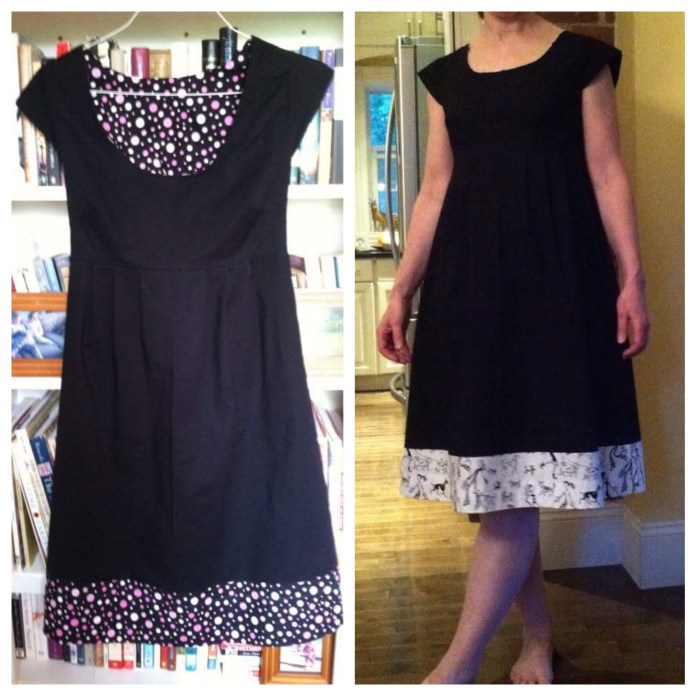 I was really happy with the effect this little change made to a basic black dress and I was happy to be able to make two dresses using fabric I already had. My sister saw the polka dot version I made for Sarah and said she really liked it. I happened to have the polka dot fabric in a different colorway so I offered to make her one.
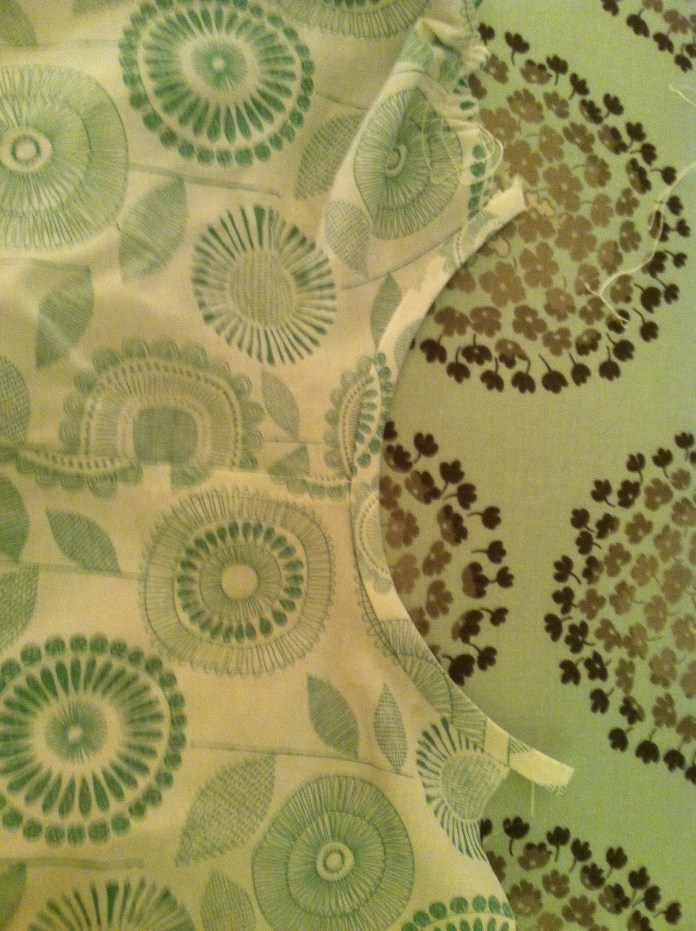
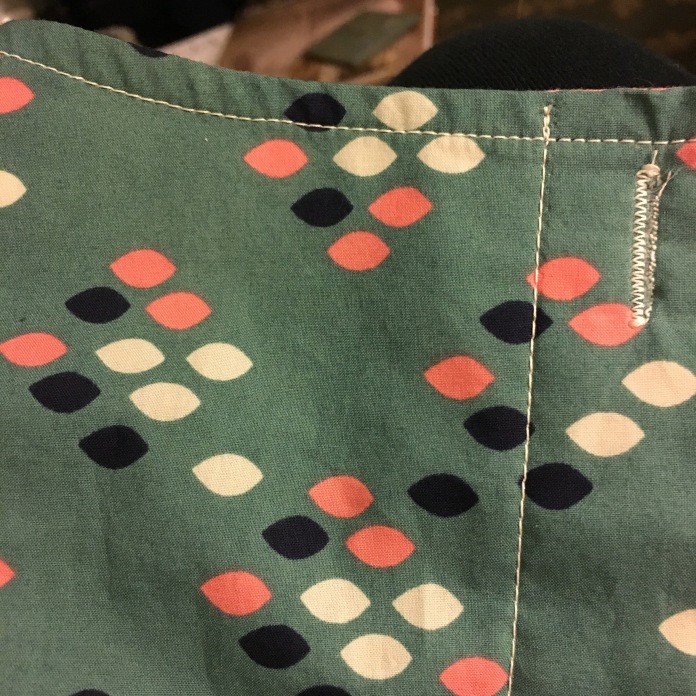
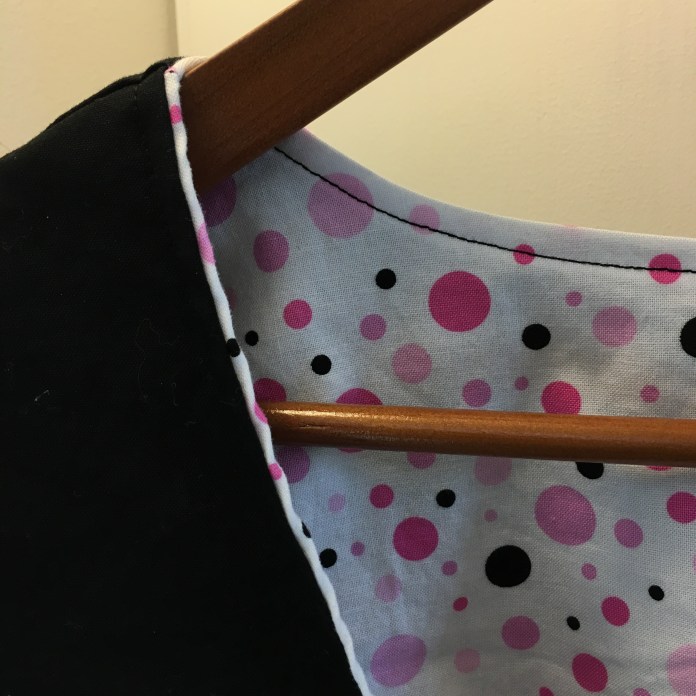 When I made my own black washi with the puppy fabric lining, I must have cut the lining a bit bigger than the bodice pieces for the dress dress and when I went to topstitch the neckline, it shifted a bit.
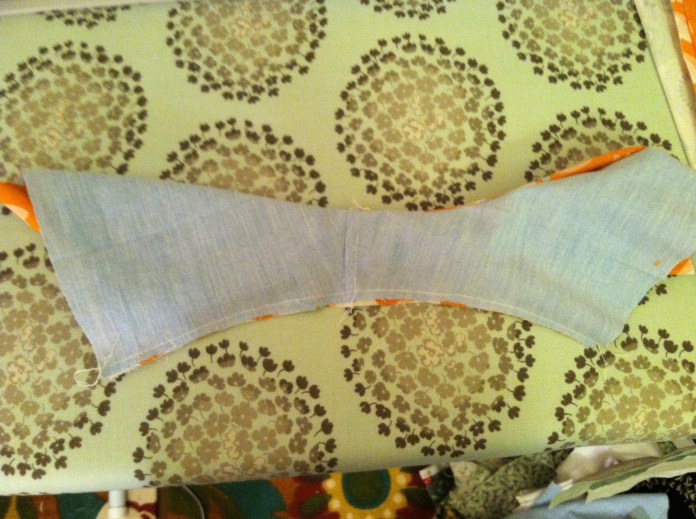
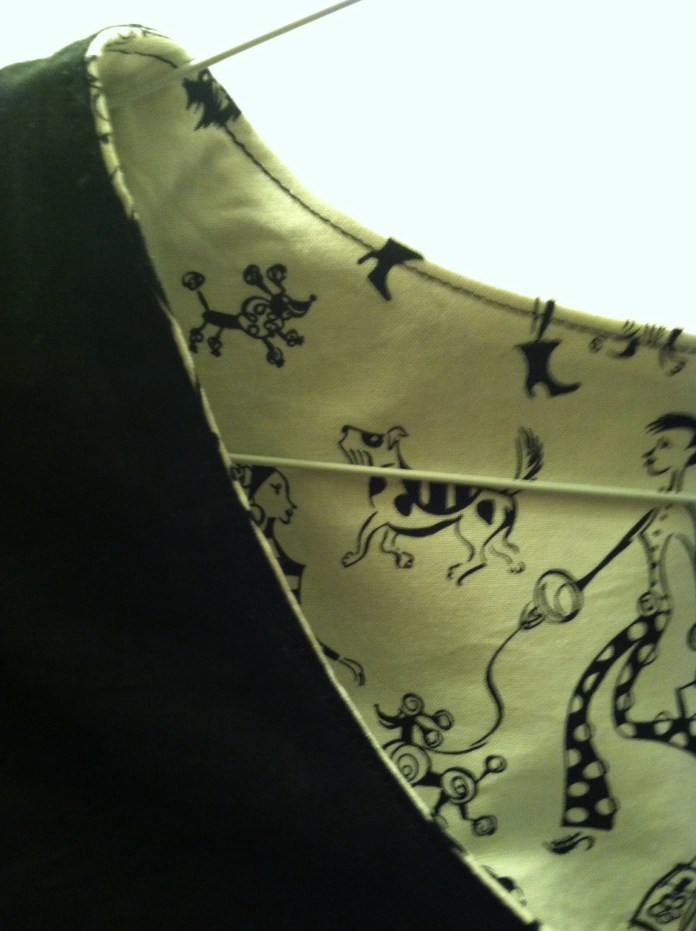 I ended up doing it on purpose to create the effect of piping without actually having to make piping. I did that for Madeleine’s dress as well. It is such an easy thing to do and I love the effect.
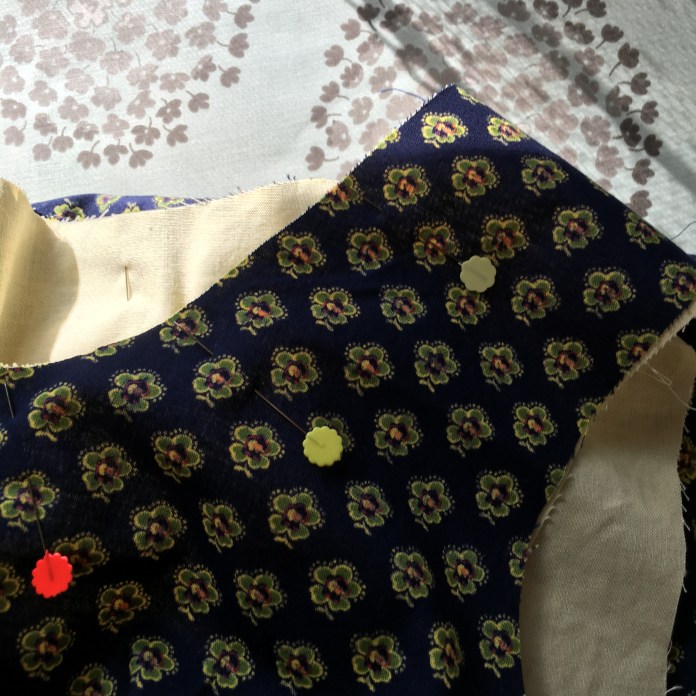
 Once again, I used the wonderfully clear Made By Rae videos to walk me through the sausage technique to get a clean finish for the lined bodice-finished dress inside out above. Sausage in process below.
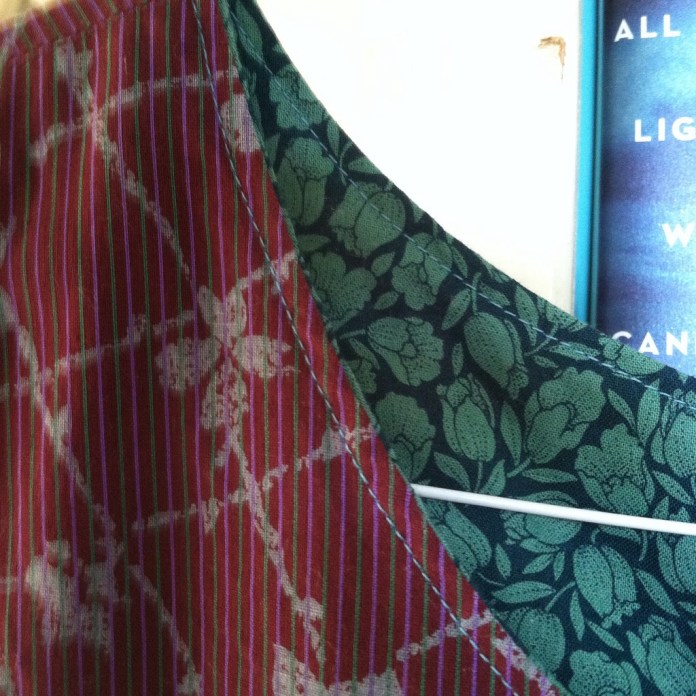
 I used the cutting lines for the Washi tunic and added several inches to create my seam line for the main part of the dress. I sewed all the side seams and added the contrasting border at the end lining up the seam in the border with the side seams of the dress.
 After sewing on the border, I ironed the seam and then topstitched for a more finished look and for durability, something that is important to me as I machine wash everything. Dry cleaning costs are just not in my budget.
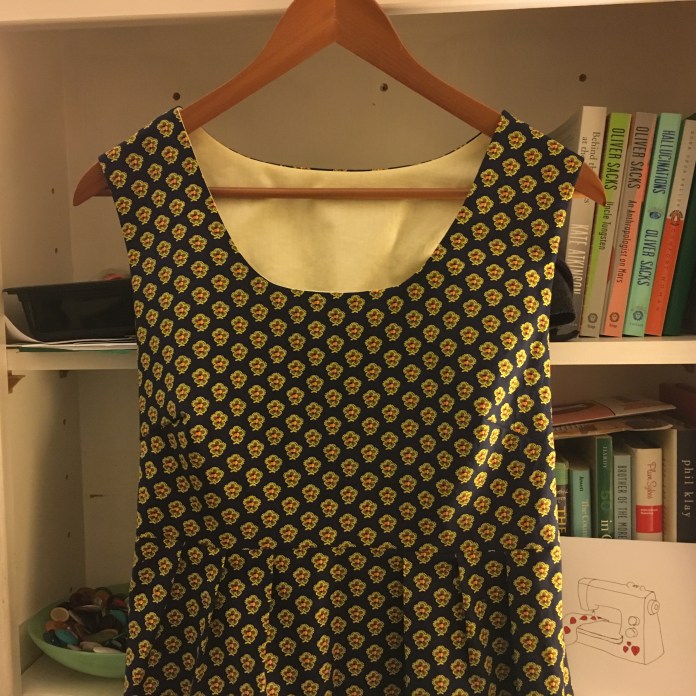
 I am really happy with the way it turned out. The polka dots add just enough cute to be fun.
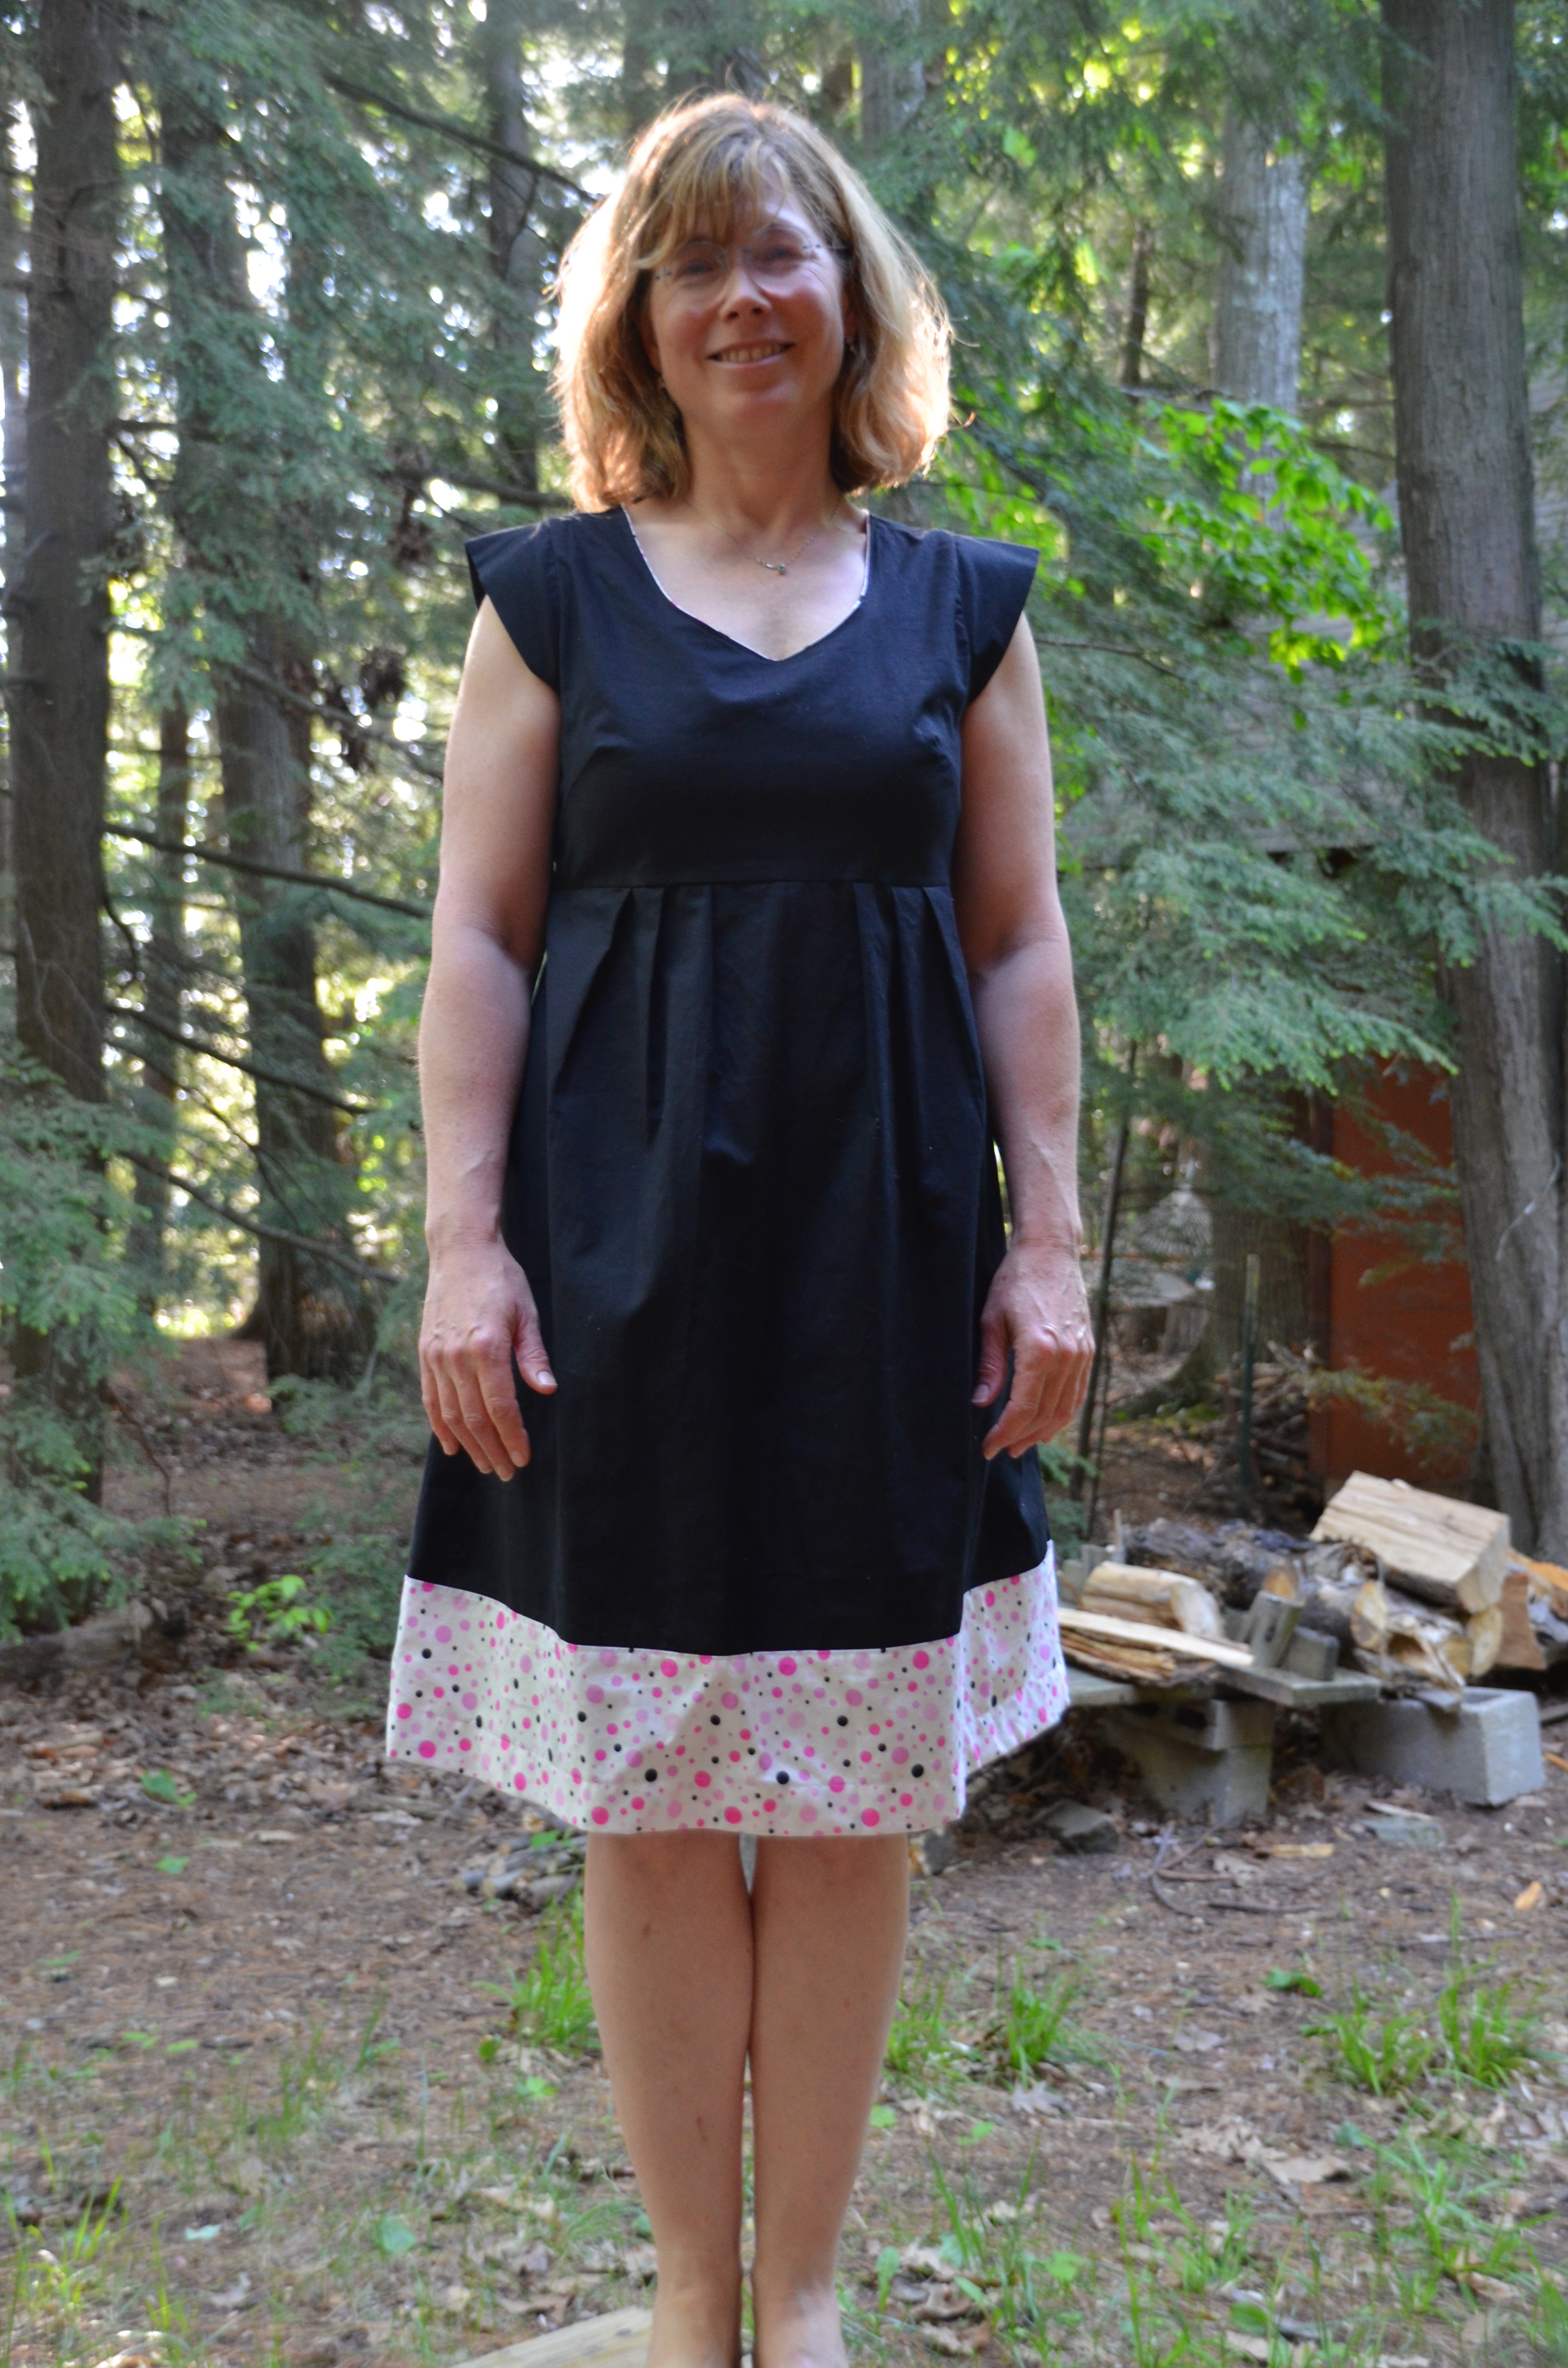
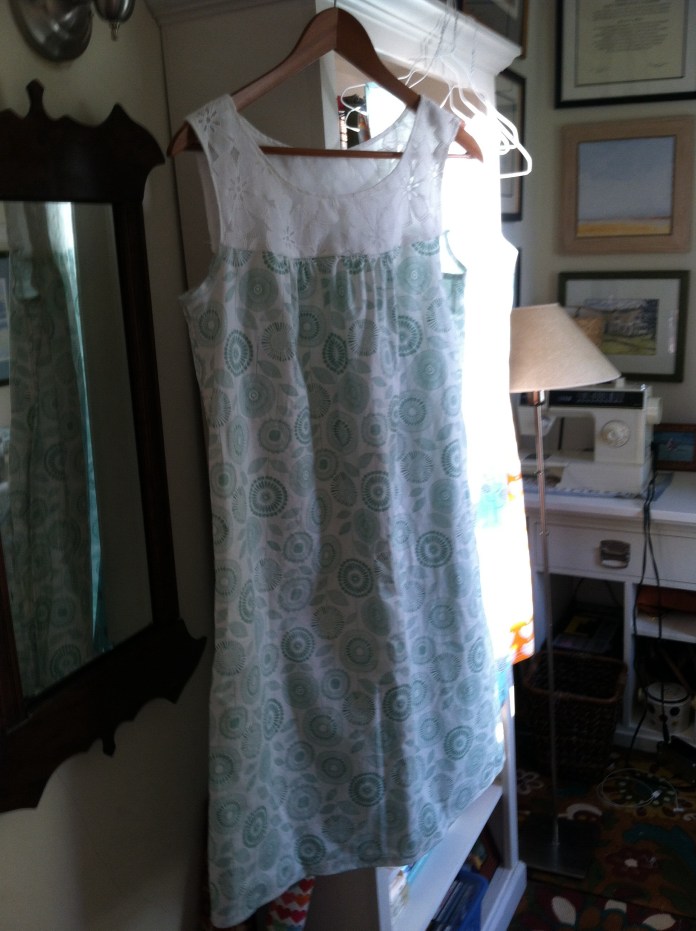
 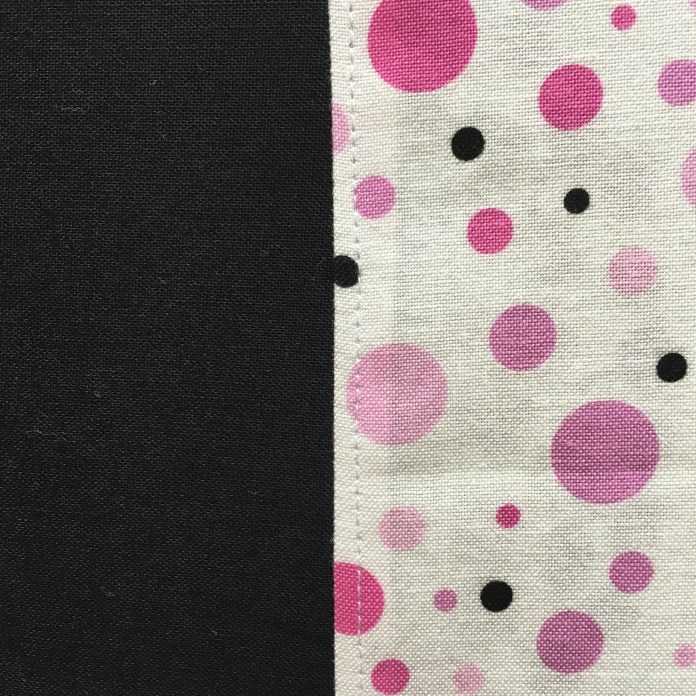 And here is the finished dress which was mailed out to Michigan for the birthday girl.
 The puppy version (slightly rumped) below. I wear it often.
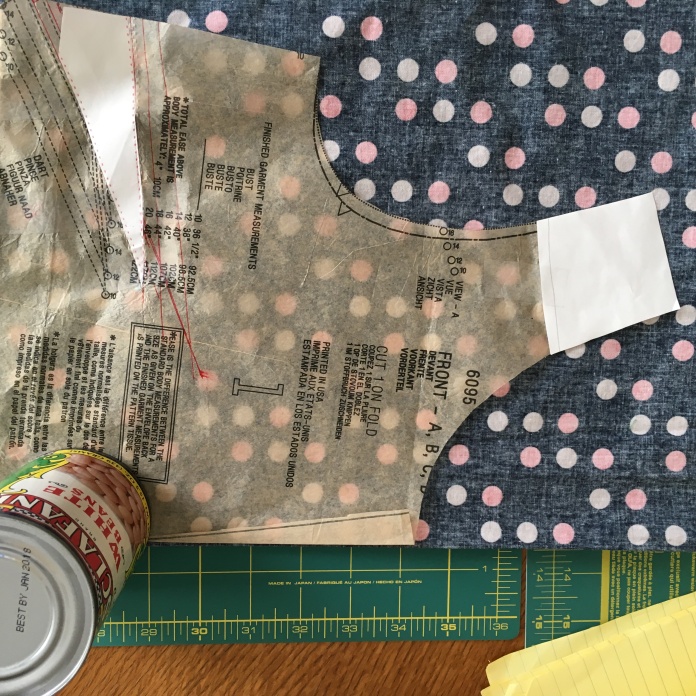
 I decided to make a dress for my mother for Mother’s Day with one of my favorite patterns, the
 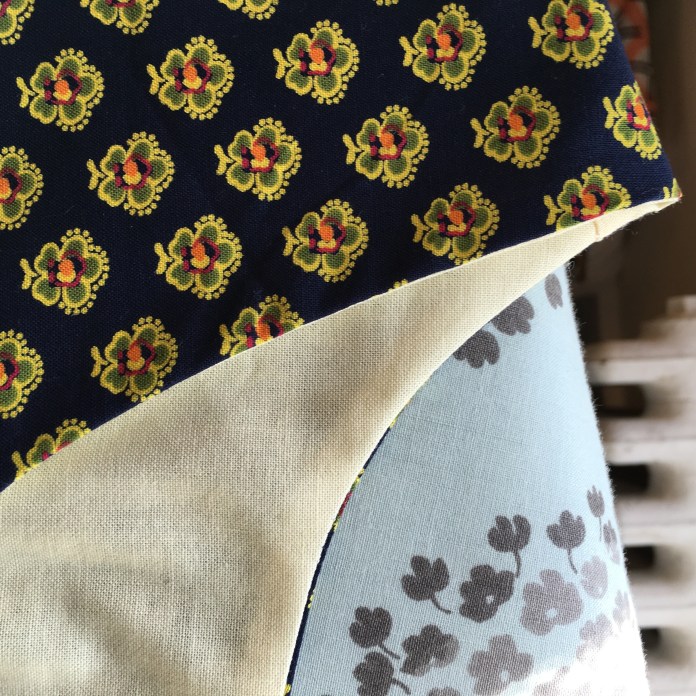 This felt like the perfect fabric for my mother because she is a Professor of French Literature and has studied and lived in France. I made a medium and lengthened it by 2 inches because we are pretty much the same size. The fabric was a dream to work with.
 I shirred the back. Rae has a great shirring tutorial
  It is
It is 
 The contrast is so pretty.
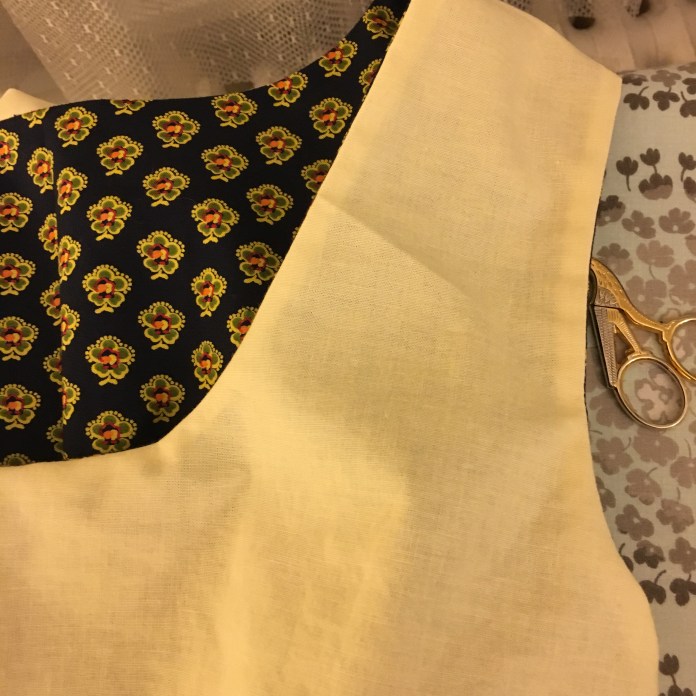
 I added loops of ribbon for bra straps, a little touch that makes a huge difference for those of us with sloped shoulders. (inside back view below)
 I used the navy fabric and made a hem facing. I generally use hem facings to get a cleaner finish as I wrote about
  I am really happy with the final product and hope that she will enjoy wearing it all summer. She actually has already worn it to the theater in New York. Check it out! Beautiful, am I right?
 I may have to make one just like it for myself! I will have to check and see how much of this fabric I have left. 🙂
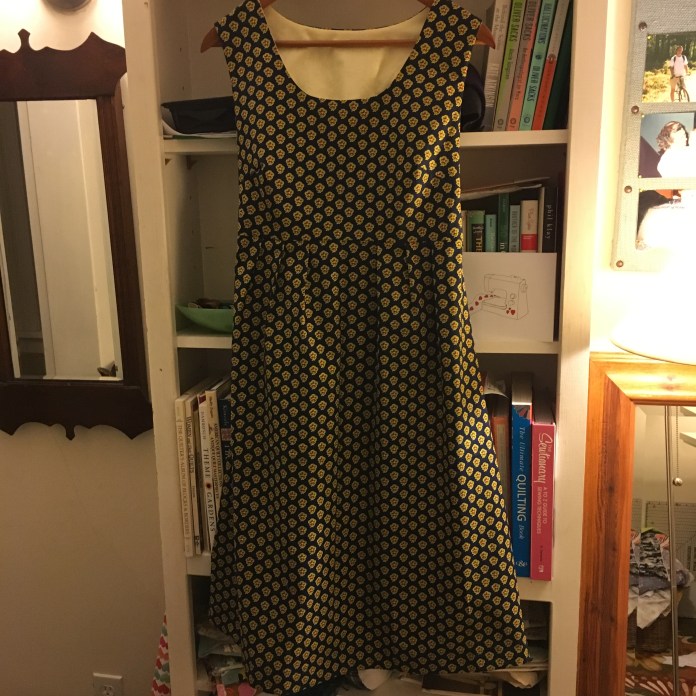 The Washi-such an awesome pattern! Next up, a polka dot Washi for my sister. 😉
 I used chalk to mark the shirring lines but I usually end up just using one chalked line and then using the first sewing line to guide the rest of my seams. Shirring using elastic thread is actually amazingly easy. Rae’s tutorial
 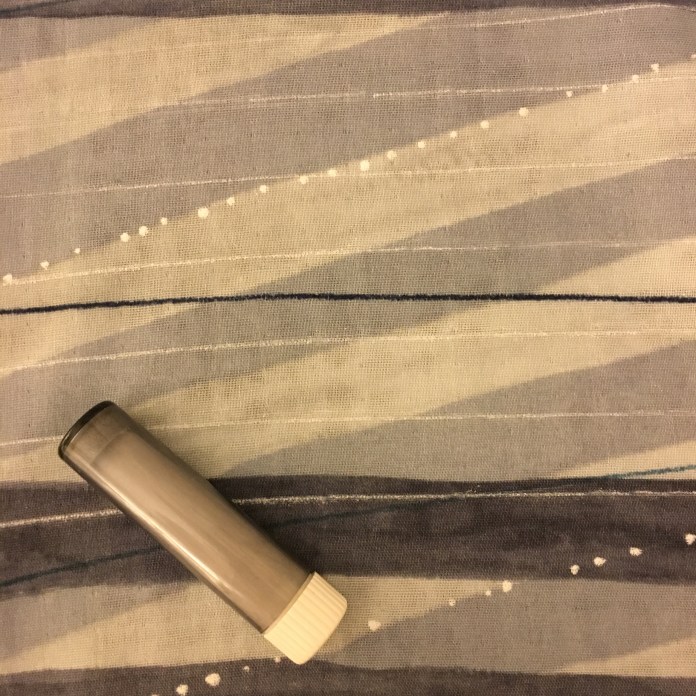 I used organic natural colored cotton batiste to line the bodice using
 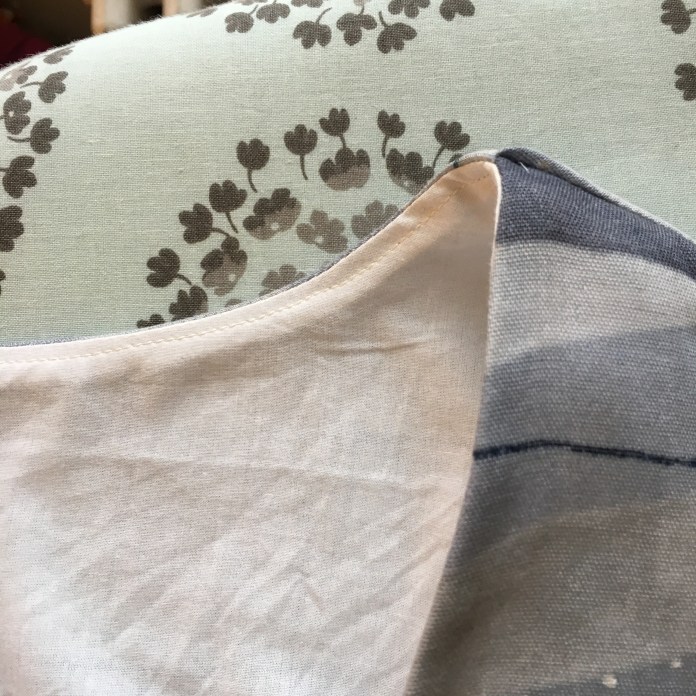 I added a ribbon with snaps for bra strap holders as I sewed the fabric sausage.
 A fabric sausage pinned and ready to be sewn.
 Finished shirring visible as I sew the bodice lining.
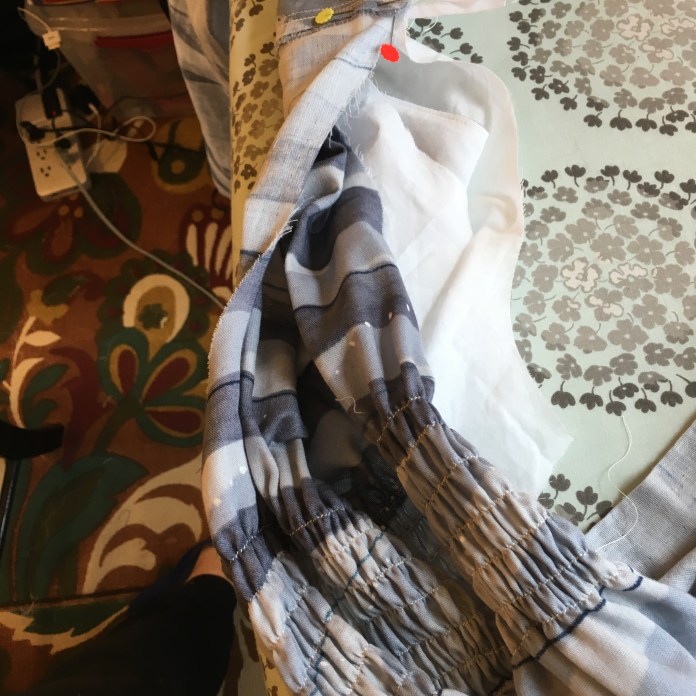 Once again I used a lightweight quilting cotton in a neutral light pink for hem facing. I have used it for several garments. I have almost run out!
 Hem pinned and ready to be sewn.
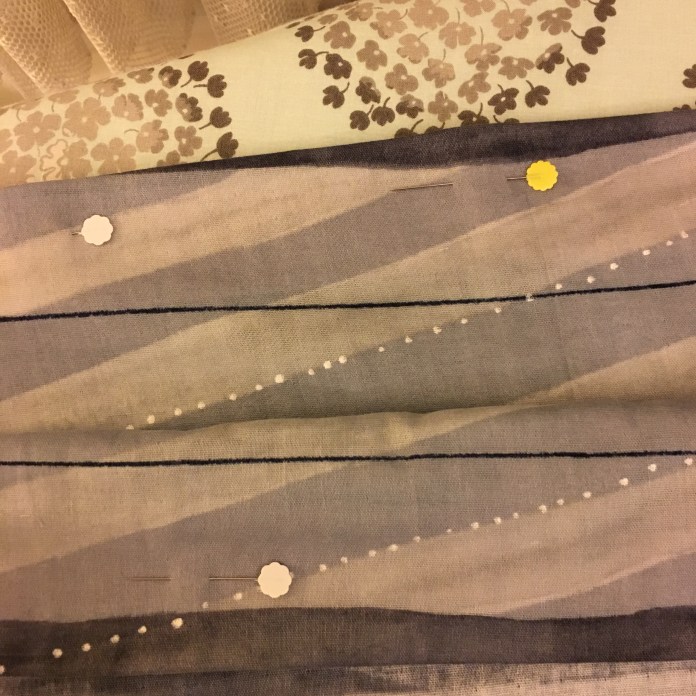 Hem.
Hem. Finished dress back view. The stripes don’t line up on the side but I am happy with the way the back stripes ended up. The photo bomber is my sweet dog Sadie.
 Close up of the beautiful nani iro fabric.
 Shades of grey can be beautiful!
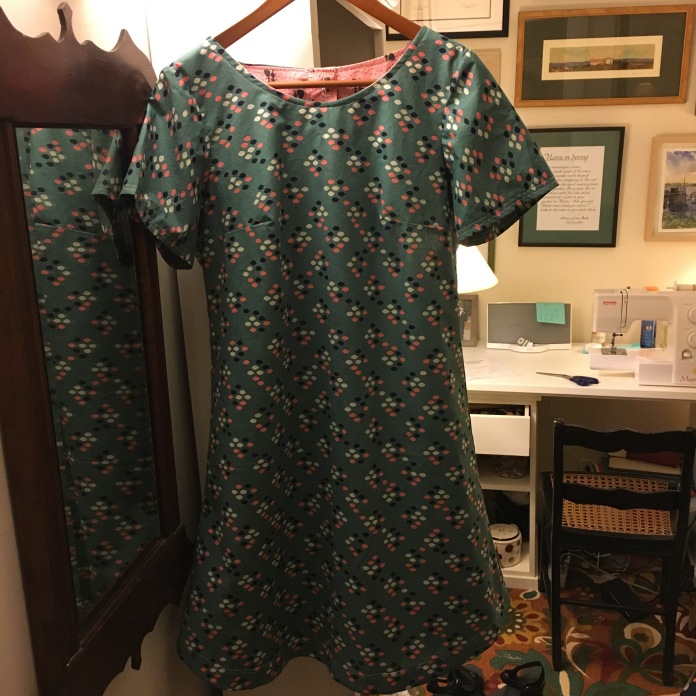 I have had this Cookie Drop Beatrix Tunic in my head since I made my
 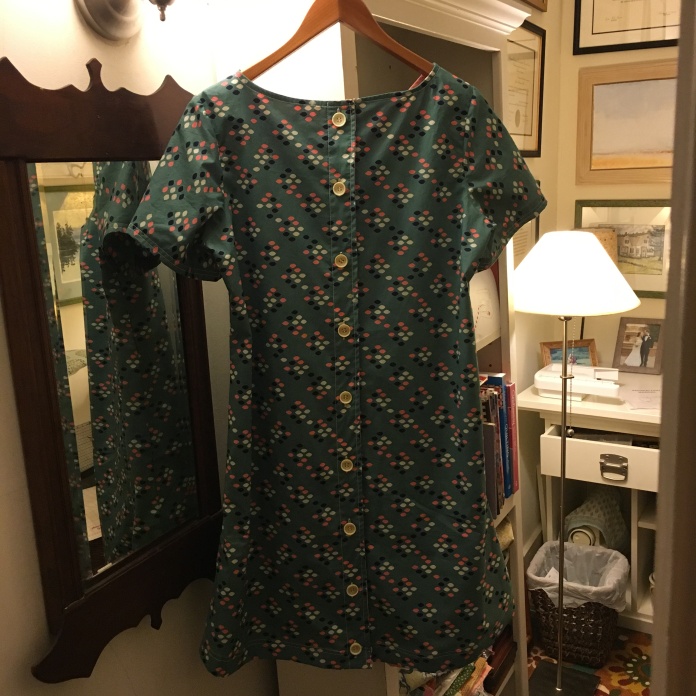 I have always loved this green color. It reminds me of the greens used in so many of the depression era quilts and of my grandparents’ house in Louisville, Kentucky. The mirror below hung in their front hall for over 60 years.
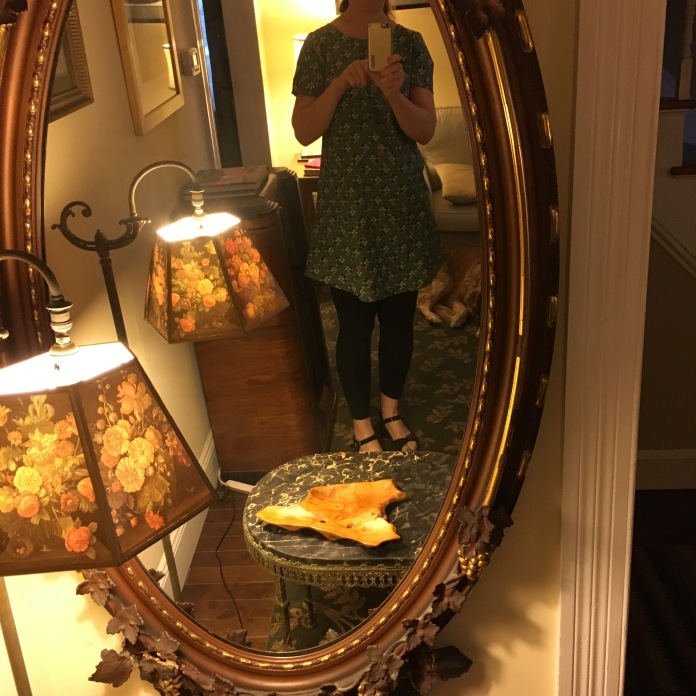 My grandmother loved soft blue greens and those colors predominated in their home. I had the idea for the pop of pink and used this fun fabric for contrasting facings.
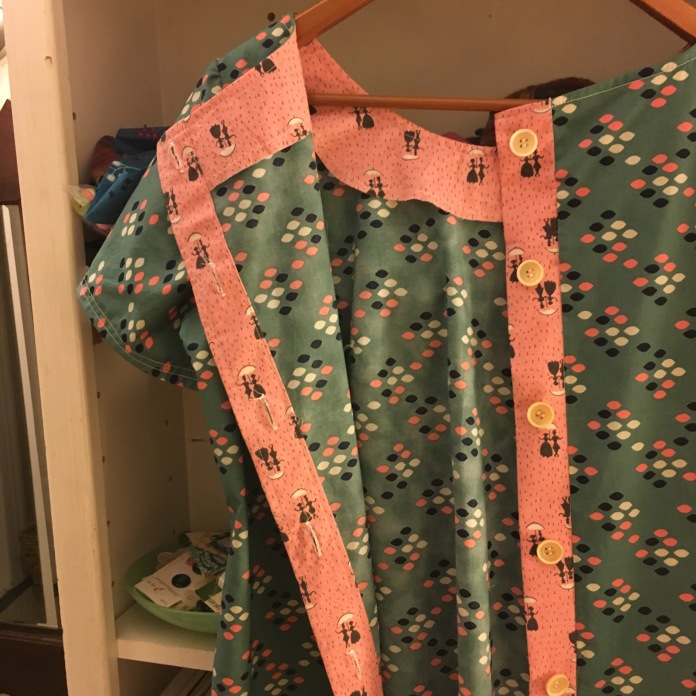 I don’t remember where I got this pink fabric but a friend recognized it. I think she may have given it to me years ago when I had an idea for a quilt with lots of pinks because it was my daughter’s favorite color. That quilt never got made because life got in the way. It may end up being a future project. I still have quilt sized scraps left over.
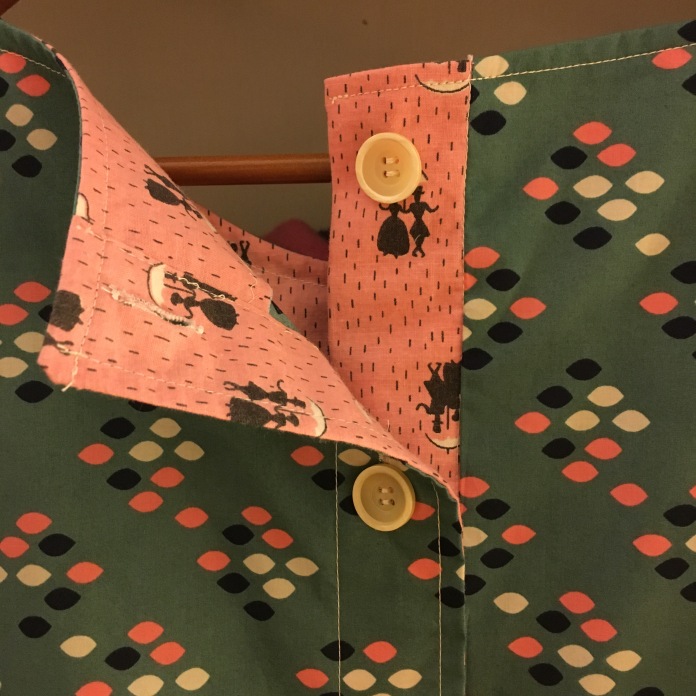 An online friend on instagram commented that the pink fabric reminded her of Mary Poppins. I hadn’t thought of that before but once she said it, I could totally see it. I love Mary Poppins. Who doesn’t? I read all the original books as a child and with my children.
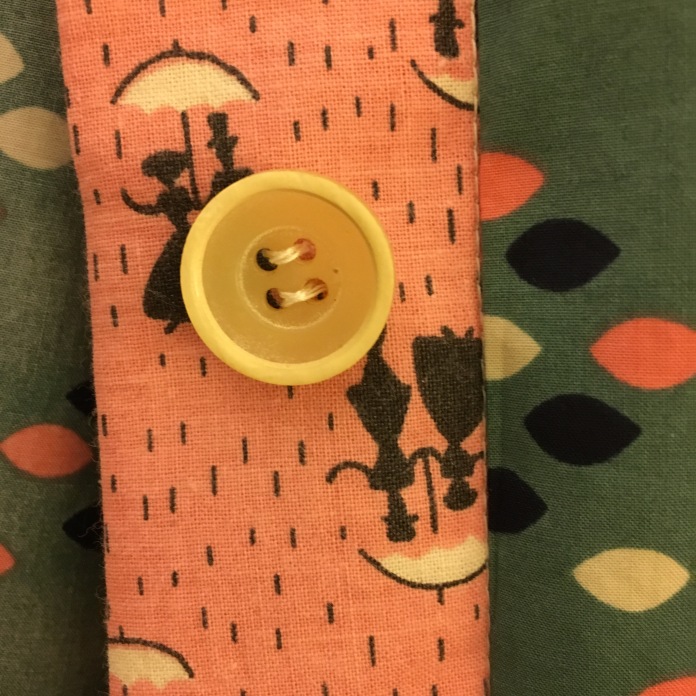 I love the versatility of the
 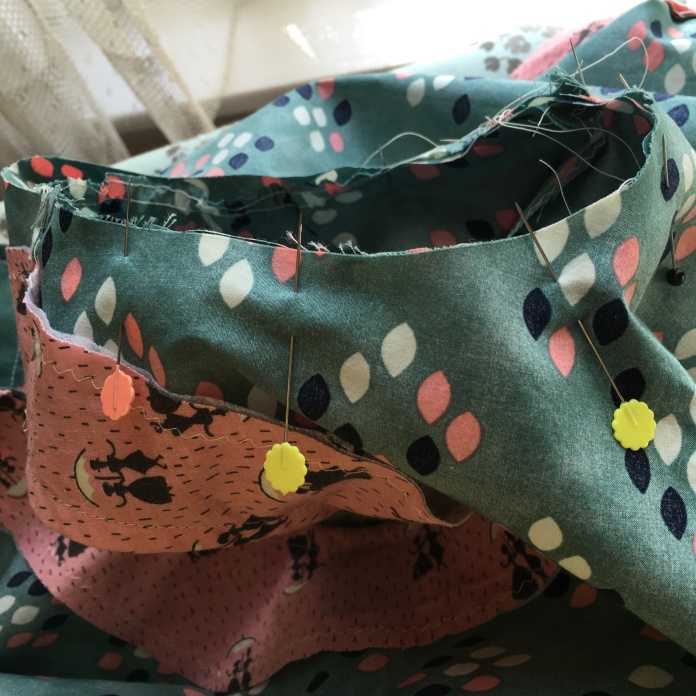 This time, I modified the pattern to use the contrasting fabric just on the inside of the garment. I used Rae’s instructions as if I was going to do a contrasting button placket using the standard measurements on the side with the buttons and then on the side with the button holes, I made the green portion wider and the pink portion narrower adding a seam allowance to each, folding the fabric at the seam where the two fabrics are sewn together, a technique I use for most of my hems. I am really happy with how it turned out. I think the pink on the outside was a little bolder than I wanted to go but I love the way it peeks out. In order to make Mary Poppins and Bert upright, I had to piece the placket facing but I think it came out fine. Waste not want not! The people are sideways on the hem facing which was necessary given the long strip that I needed for the hem facing.
  This fabric is a cotton lawn so it drapes well but was really easy to work with. Although I originally planned to use these green buttons:
 I decided instead to use these slightly worn, older, cream colored buttons that I rescued from a button jar that I picked up at a tag sale when I first moved to Connecticut in 1995 (buttons seen below with all of my long threads after sewing button holes. I left the threads long deliberately in order to pull them through to the underside and knot them. It didn’t take that long and it looks so much neater.) I like the fact that the buttons have variations in their colors and aren’t exactly matching. I used a cream colored thread which is much softer looking than bright white. I like to sew the two rows of stitches on my button plackets because they help me line up my button holes and I like the look of the stitching.
 I used more of the pink fabric for the facing and hemmed the tunic using the facing technique that I explained

 Drops and dots. What could be better? The cotton and steel cotton lawn fabrics that I used for my Beatrix tunics are still available at fabric.com as of this writing. Happy spring!

 Last week I had an unexpected hospitalization. I am fine but in the process of figuring that out, I had a medical procedure that requires me to not bear weight on my right wrist for two weeks. Yikes! No ironing, no rotary cutting, no hand quilting, ergo no sewing. I was also told not to drive for 48 hours so am unexpectedly home from work. Extra time but not able to sew. Quite the irony. But I am trying to stay positive (having a health scare turn out to be just a scare definitely makes me grateful), do some more reading and think about all the things I will sew once I am back to normal. I definitely plan to make more versions of the patterns I have found to be tried and true for me but I am most excited to try out a new-to-me pattern by


 I am going to be honest and say that I did not expect to love this pattern. It seemed a little boring, a little sack-like and I did not expect it to be flattering but I saw
  I am also thinking that this fabric would great as a Pearl Tunic, or really, anything. LOVE it.
 I have a couple of works in process. One is a second version of a
  I am also working on another
  I also have some unfinished
 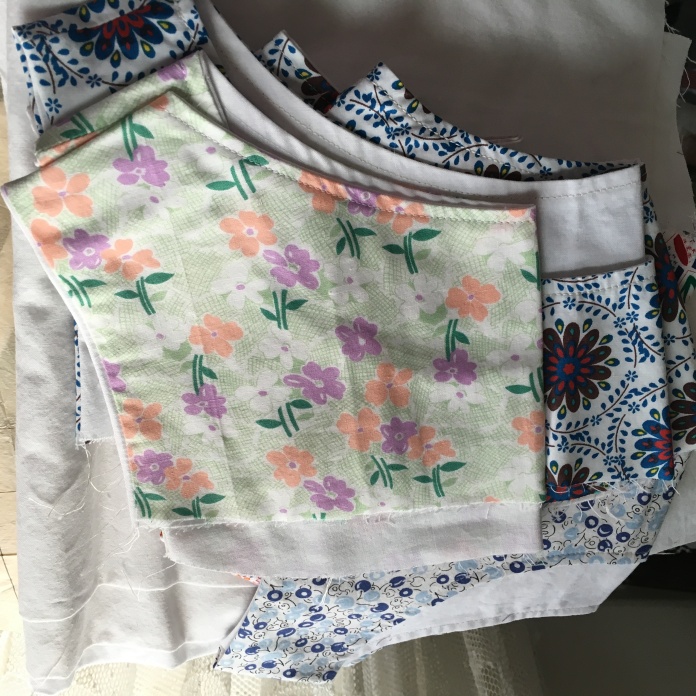 I also expect to have a couple of new

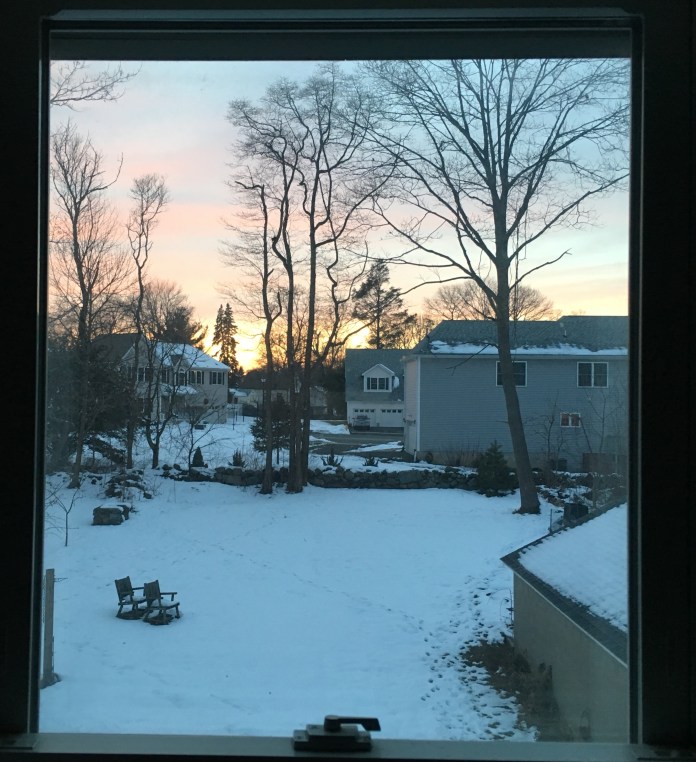 The view out the window of my sewing room on a recent unplugged Sunday.


 I also made 3 dresses that were fails- all of which were for other people. I find it a challenge to sew for people other than myself and the one daughter who is close to my size. Two of my fails were made of knit fabric-I need to work on my sewing with knits skills- and one dress made of a somewhat stiff satiny party dress material that is hard to work with. I also sewed 2 felted wool sweater quilts that were not fails! These were inspired by a beautiful blanket I purchased over ten years ago in the Berkshires from
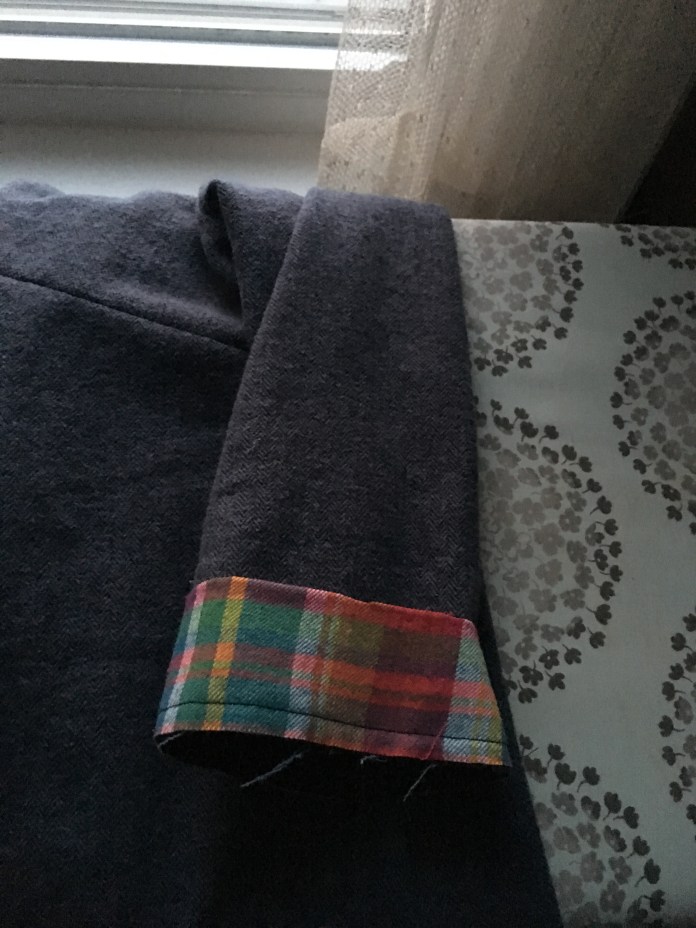
 As were the recipients.
 I used the leftover plaid flannel for facings on a Pearl Shift.
 I finished these two early this week so technically first garments of the new year! They have already been worn to work. I bought some heavy cotton flannel on sale at Joanne’s before Christmas. I am so happy with my first Pearl and I know these will get worn all the time too. Great for those snowy cold days with leggings or skinny jeans and boots.
  So all in all 35 successful garments, 3 learning experiences and the 2 afghans. I am going to be honest and say that I am not sure how I did this but many of the suggestions that Christine Haynes makes in her


 Earlier this year I made two patterns from the Basics Collection by Cali Faye. They are both straightforward to sew and flattering to wear. I was inspired to make the Voila Shirt by
 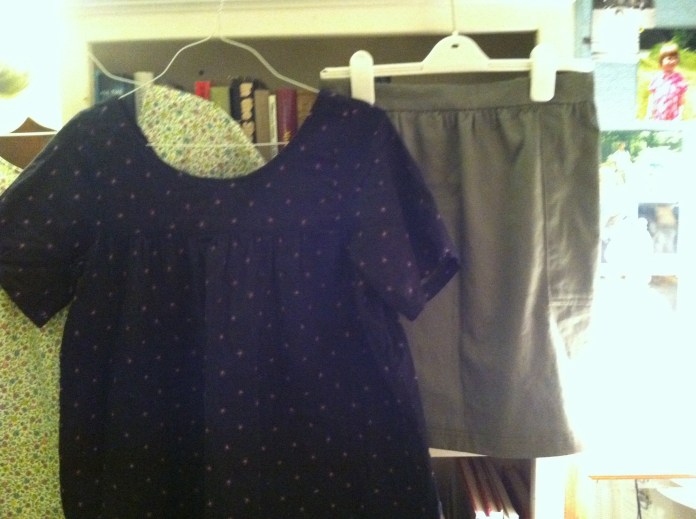 I then went on to make two more Voila blouses with leftover fabric from my quilting days. I thought these cotton floral prints would work well with the shape for summer blouses.
  I made the two blouses at the same time which went fast. I lined the bodice of the cotton versions with white cotton muslin and I lined the navy double gauze version with the shirt fabric. I took 8 inches out of the width of the front and back of the floral shirts since the first navy blouse was still very full even after taking 6 inches of volume out front and back.
 Shirt above prior to hemming. Shirt below getting bra straps added to lining of bodice.
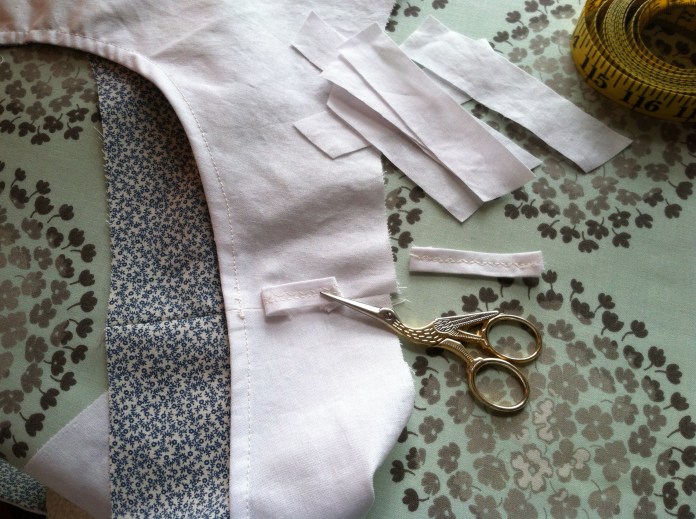 The shirts fit well and the neckline is flattering.
 I made the Pocket Skirt in a khaki green heavy cotton from Joanne’s. It worked well for the skirt and it has become a basic that I wore often all summer.
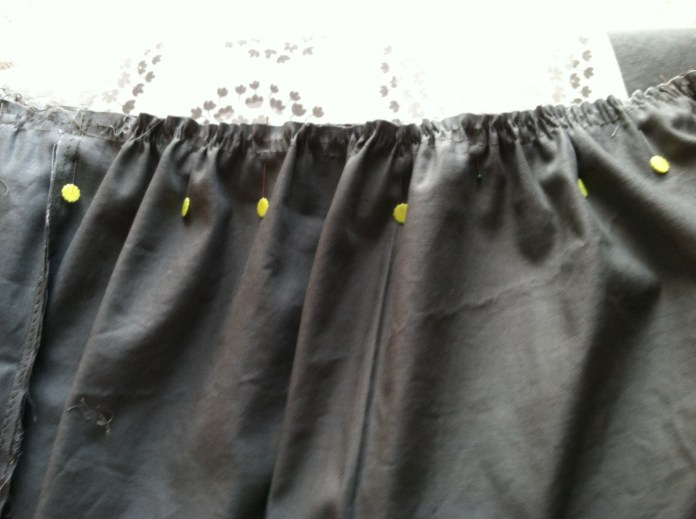 I cut a large and added 2 inches to the length. Pocket detail below. The construction is very straightforward.
  Attaching the waistband.
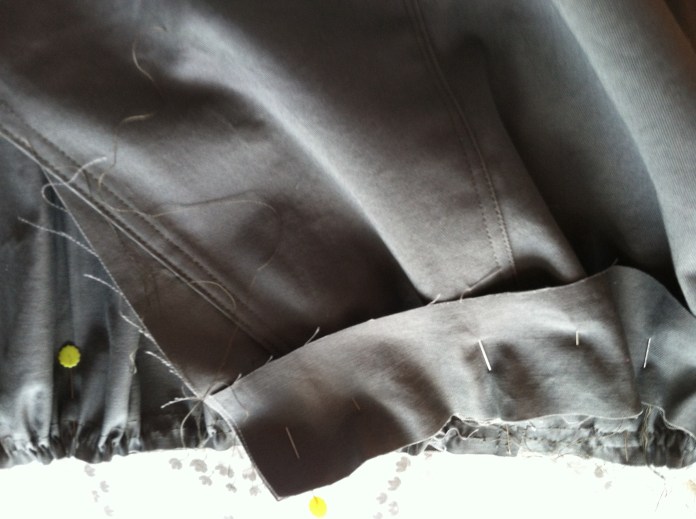
 In the process of making the second skirt, I realized that I had reversed the front and back of the waistband when I made version one and so fixed that on version 2. Ironically, the second skirt did not fit as well because the front of the Calie Faye skirt is designed with more fullness than the back and my shape is the opposite. Luckily my daughter wears the same size but has a slightly different shape and it fits her perfectly so off it went to Florida where she wore it last summer.
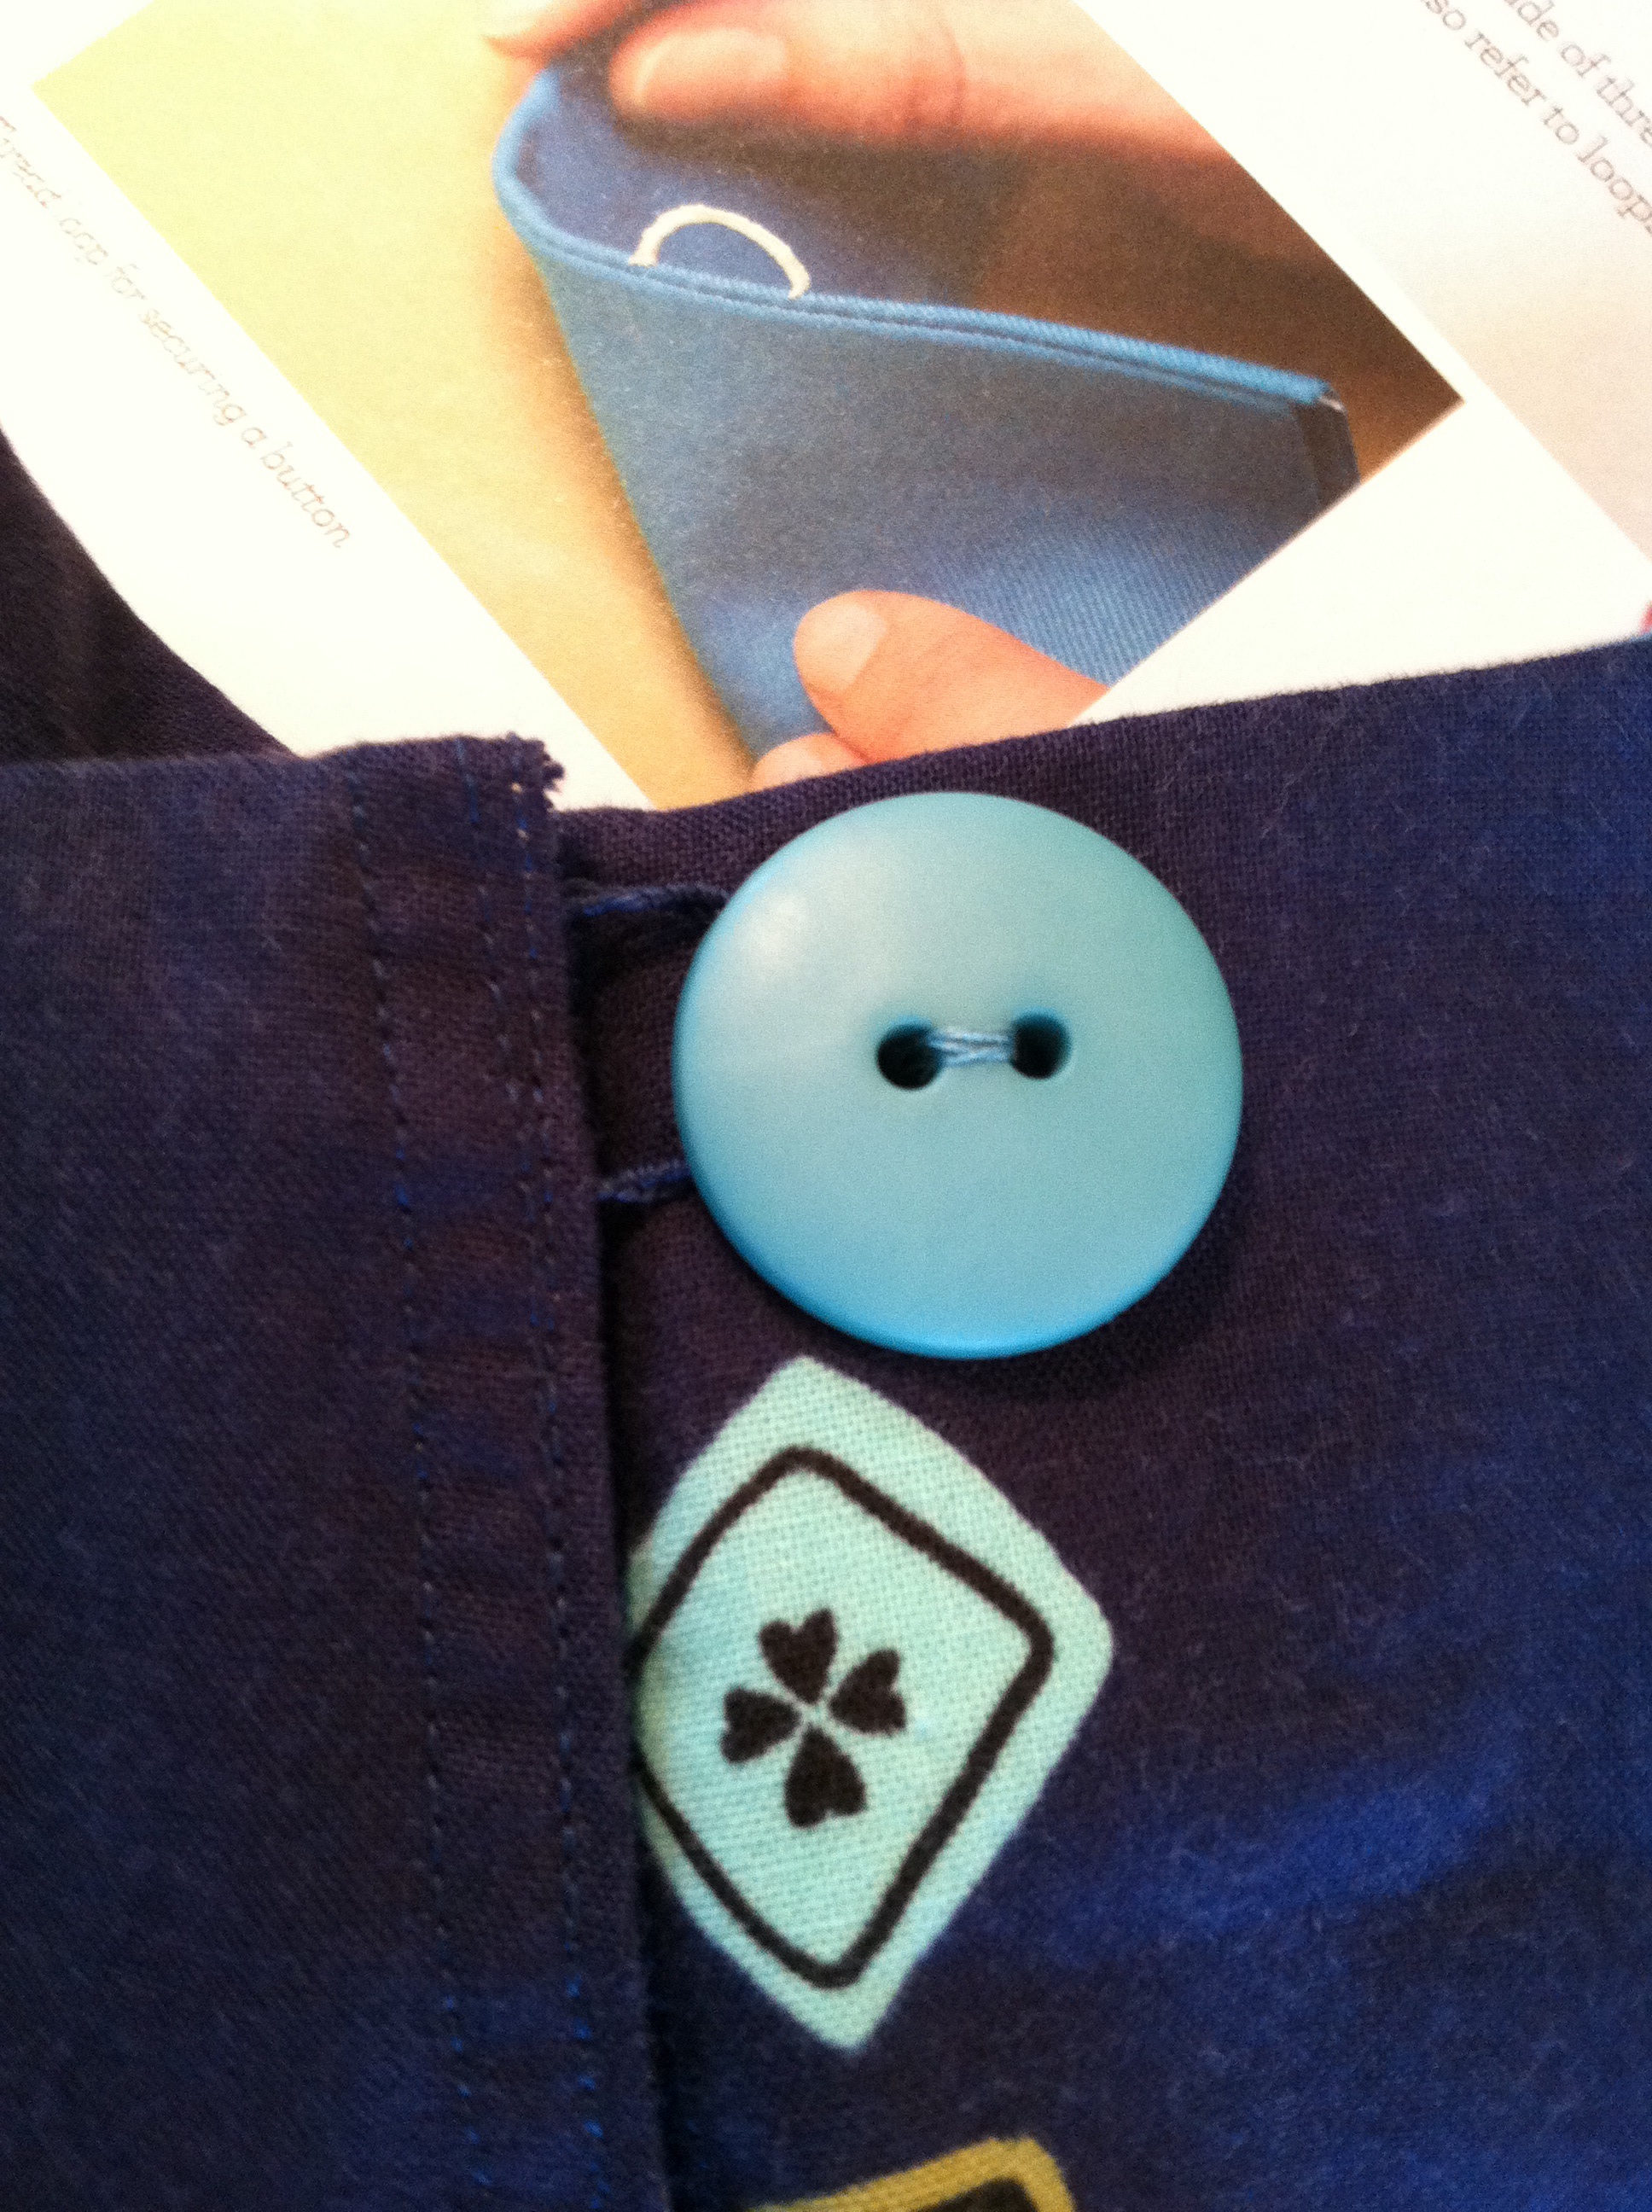
 When I made version two, I sewed the zipper a bit low leaving a gap at the top of the waistband so I made a button placket to hide the gap. I am happy with how it turned out.
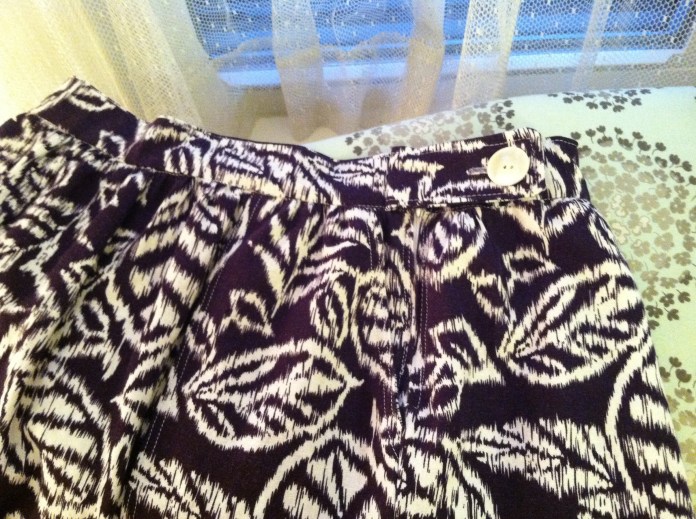
 I will definitely be making new versions of both of these patterns. Things I will do differently next time: french seams on the double gauze versions due to fraying, reverse the waistband on the pocket skirt, add more length if I make it in another flowy fabric such as linen or rayon. It was fine at the shorter length in the khaki but I think longer would be more flattering in flowy fabrics. I would also do hem facings for future shirts and skirts to cut down on fraying.


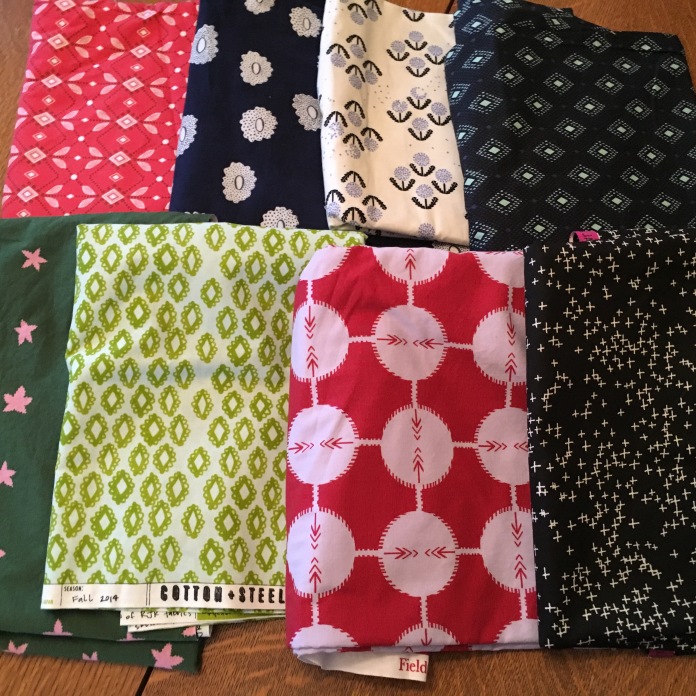
 Finally I decided to make a Ruby all in one fabric. I was inspired by Allie from IndieSew whose
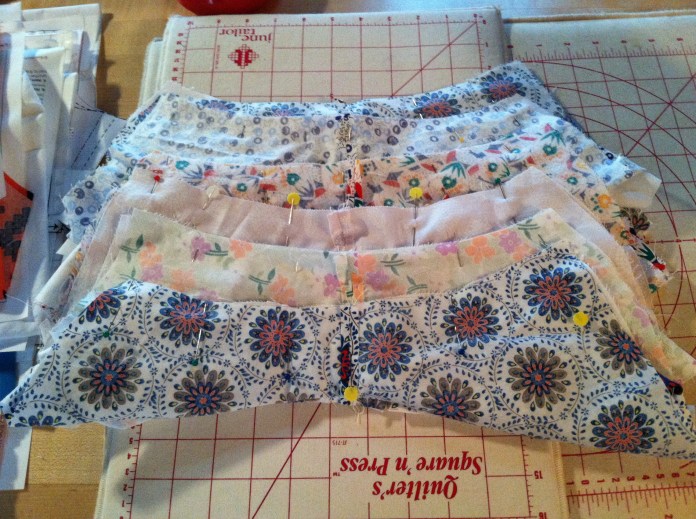
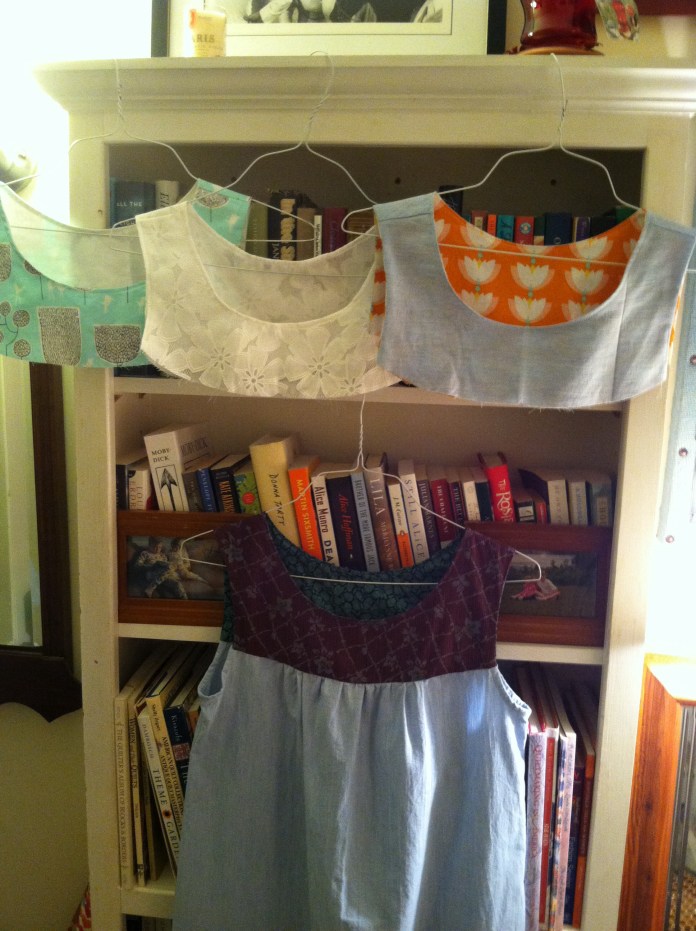
  Once I realized that a fat quarter was all it took to make the Ruby bodice, I rummaged around in my stash and found several unused fat quarters to make a week’s worth of Ruby blouses. These will be great all summer and since I had leftover white cotton fabric, making these is basically free. Since I usually make two things at a time, I cut the fat quarters and chained pieced the bodices as one would a quilt.