
It is January! So I am sharing one of my 2018 completed projects, a Christmas quilt for my daughter!

This year I finally made a quilt with a pattern I had been meaning to try since I saw her awesome version here. I have been endlessly inspired by Erin’s beautiful quilts and color palates and I knew that this would be the perfect pattern to use for a Christmas quilt for my middle child who carries Christmas in her heart all year long.
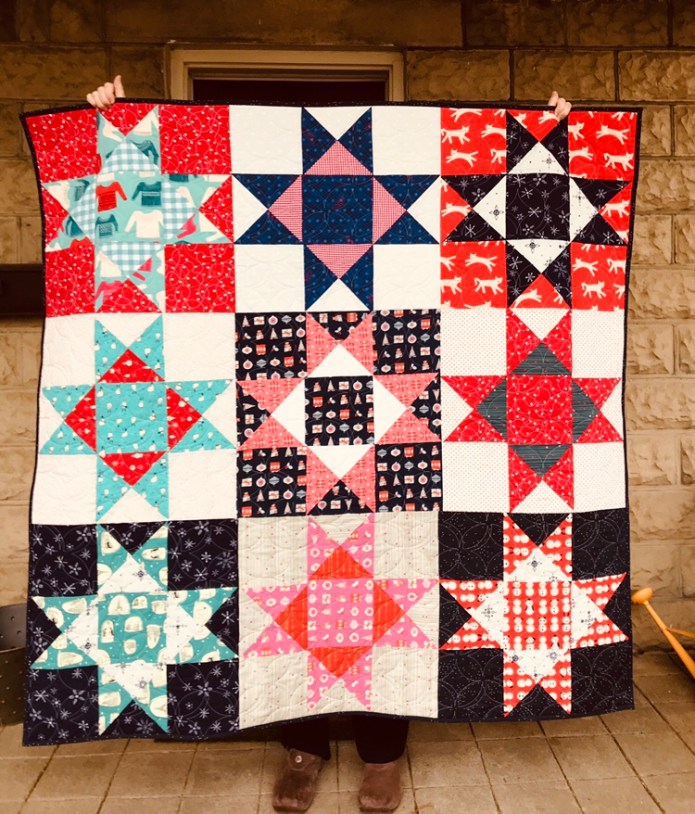
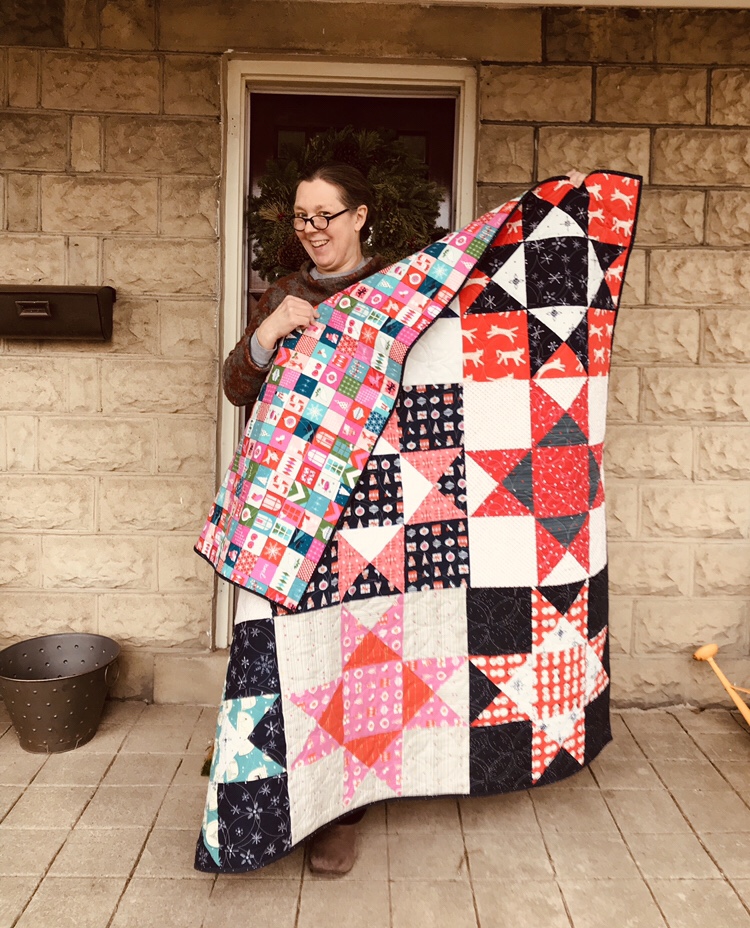
I have nicknamed her my Christmas elf. She and her husband throw themselves wholeheartedly into the Christmas season and I thought it would be nice for them to have a special quilt to use during advent. Erin’s free pattern fit the bill. I love these oversized Ohio stars. I used a mixture of Christmas fabrics from the original Cotton and Steel designers lines (some of which I bought in a panic last spring when I worried that I wouldn’t be able to get them anymore) together with scraps from my stash, which included this red gingham left over from a set of matching duvet covers that were on my children’s bunkbeds back in Brooklyn when my Christmas elf was 3 (she is now almost 29!) I stuck mostly to blues and reds and aqua. I love that you can use so many different colors and still have a cohesive quilt. I have different versions floating through my head now.

I machine-pieced 9 blocks using the larger size of the stars from Erin’s pattern to make a throw quilt that is a bit bigger than 60 inches square. Then I started machine quilting it. Unfortunately, my machine had other ideas. I am generally a hand quilter and most of the machine quilting I have done has been on small pieces like the Tamarack Jacket. It worked a charm for that project but not so much for this quilt. Fortunately, I had seen Crinklelove‘s beautiful work on Instagram. It couldn’t have been easier to bundle off my top and bottom fabrics, choose a quilting design and wait a very short time. When I got the beautifully quilted quilt back, I was so pleased. I chose the orange peel design for the quilting because I like the juxtaposition of curved lines with straight-line piecing as can be seen here and here in my hand-quilted projects. I also liked the repeating star-like pattern in the quilting and the idea of an orange which brought me back to reading about early Christmas traditions that included oranges in the stocking. (Did that happen in the Little House books? I think it might have.) Here are some pictures of the finished quilt. Some of the fabrics are from stores I visited in person including The Cloth Pocket and Stitchlab in Austin, Tx. Using the fabrics in the quilt brought back memories of fun trips to those stores.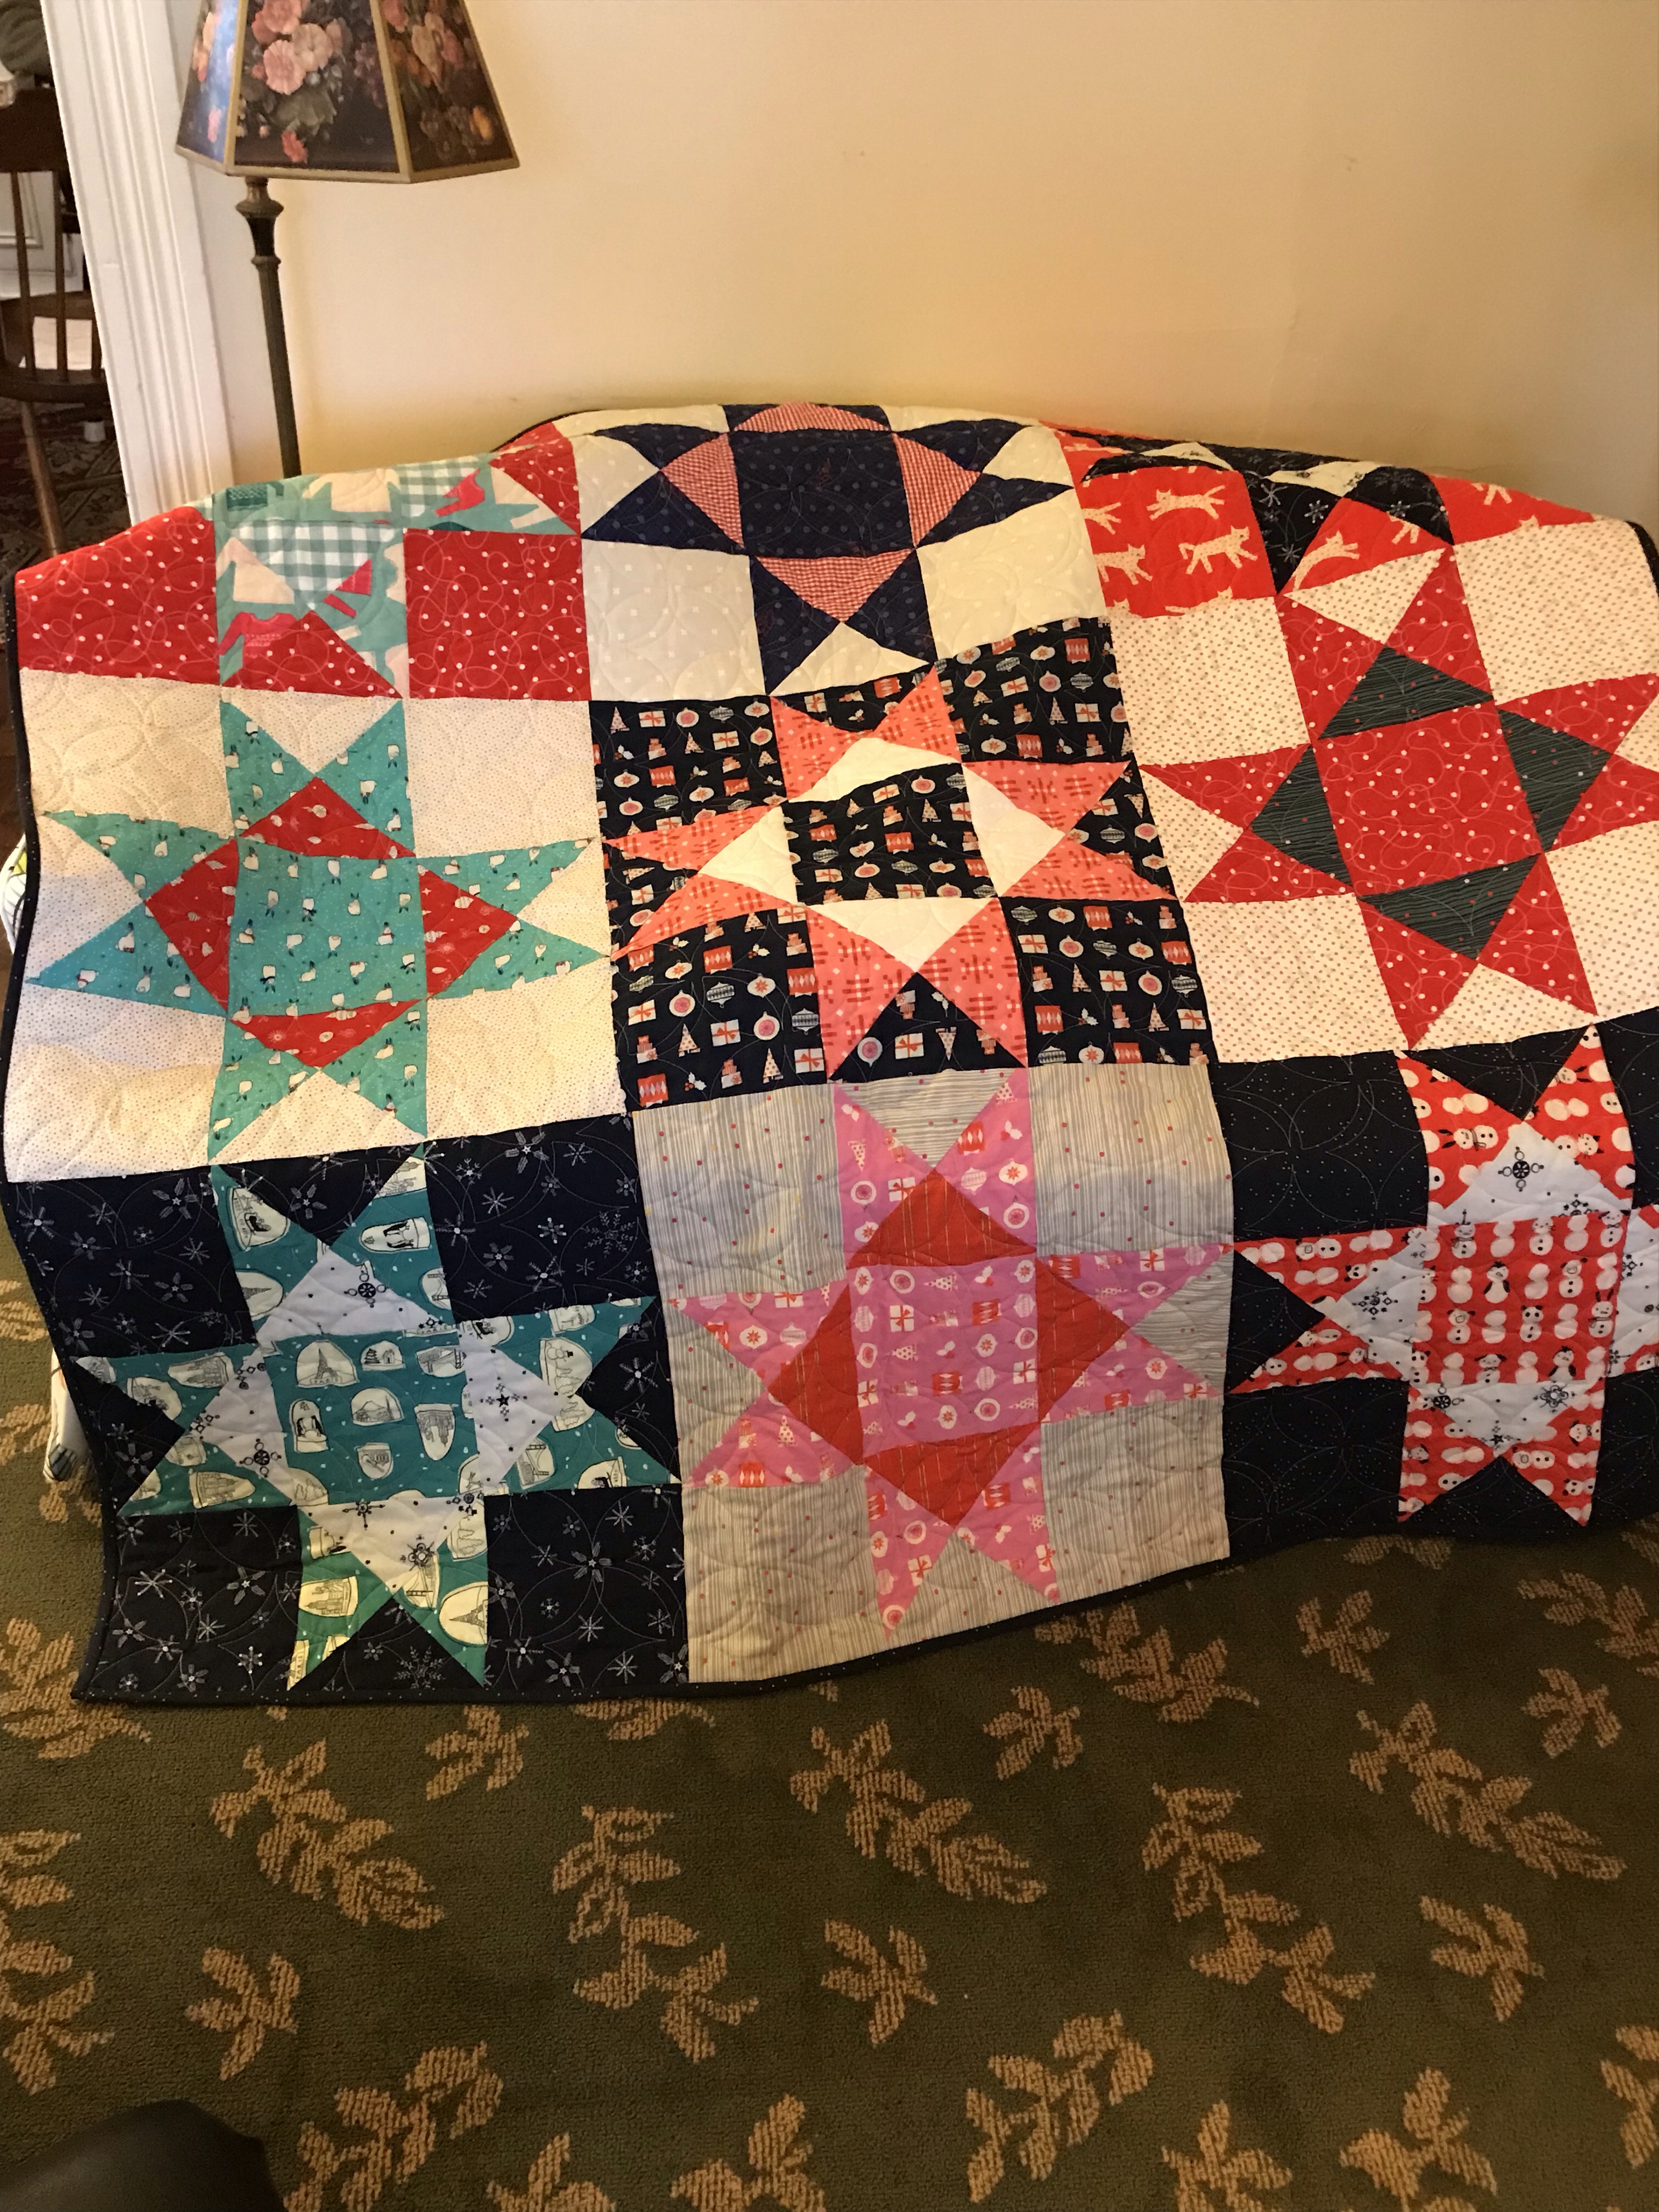
The oversized blocks came together so easily and it was just enough thinking-picking three fabrics that worked for each oversized-20 inch block-but not too much. I just made them at random but once I had 7 blocks, I laid them out to see how the values worked and then did a sort of tic tac toe grid alternating darker and lighter backgrounds which you can see here.

It is fun to finally share this project! I used the vivid filter in this picture to give a better idea of what the colors look like. The light was very stark on the day we took pictures. I have been vivifying all the things lately. 🙂

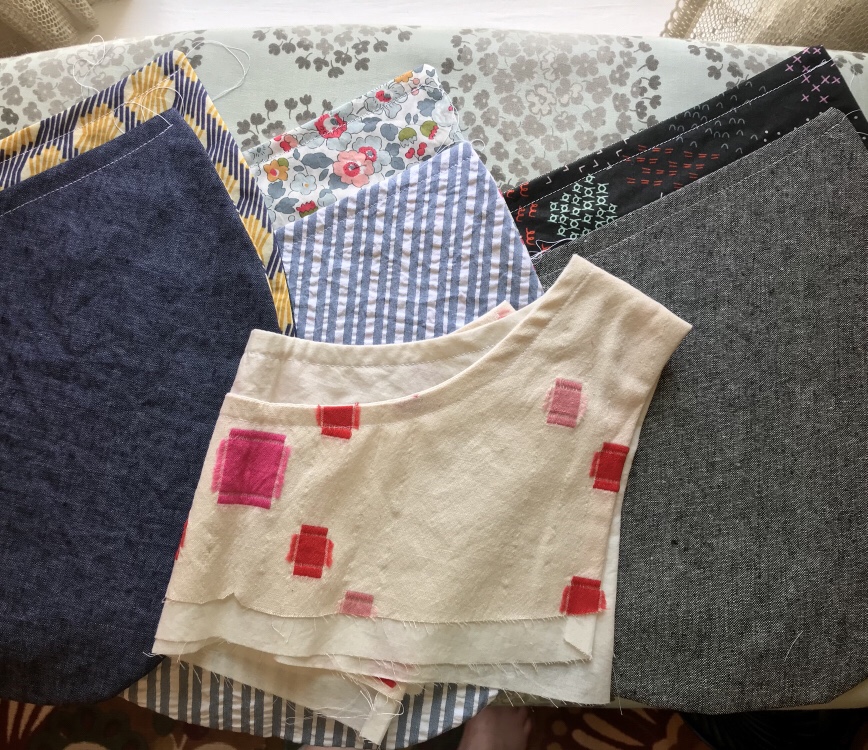
I can’t recommend Erin’s blog, quilt patterns and tutorials more highly. She will be hosting a sewalong on Instagram for her new beautiful squash blossom pattern this spring and believe me, I will be participating. After 4 busy years of sewing, I have accumulated quite a bit of fabric and I am excited to make all the quilts this year. If you are new to quilting, try this pattern! It is a great place to start. I plan to try to make one of these for each of the rest of my children. Between us, my husband and I have five which seems like a lot of work but really you could piece this top in a couple of afternoons, even if you new to sewing. I am also saving all of my linen scraps to make a larger version for our bed.
Give it a try! Happy sewing and happy quilting! Ho ho ho!

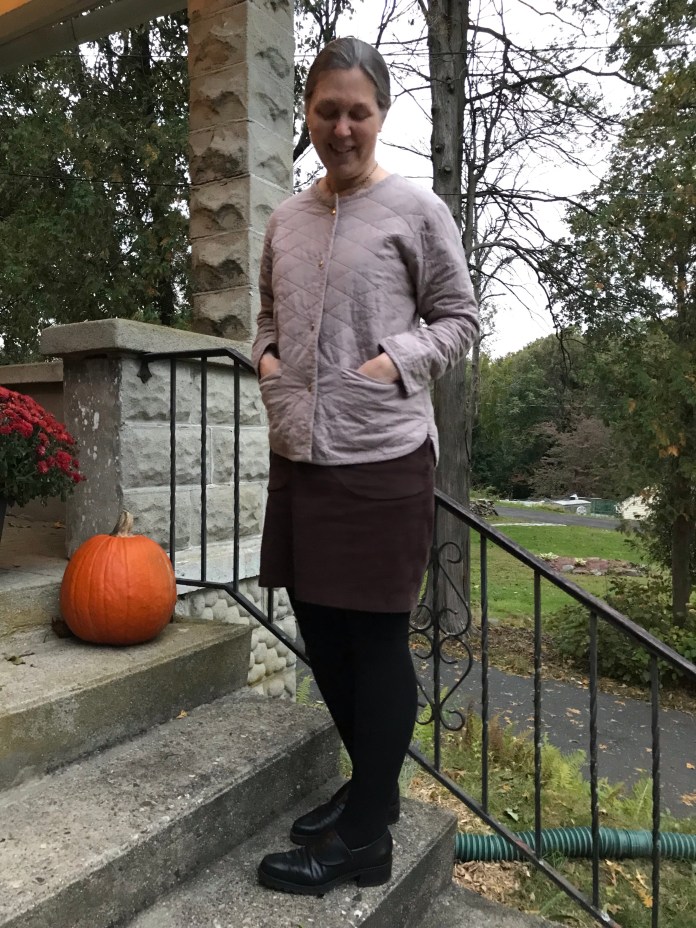
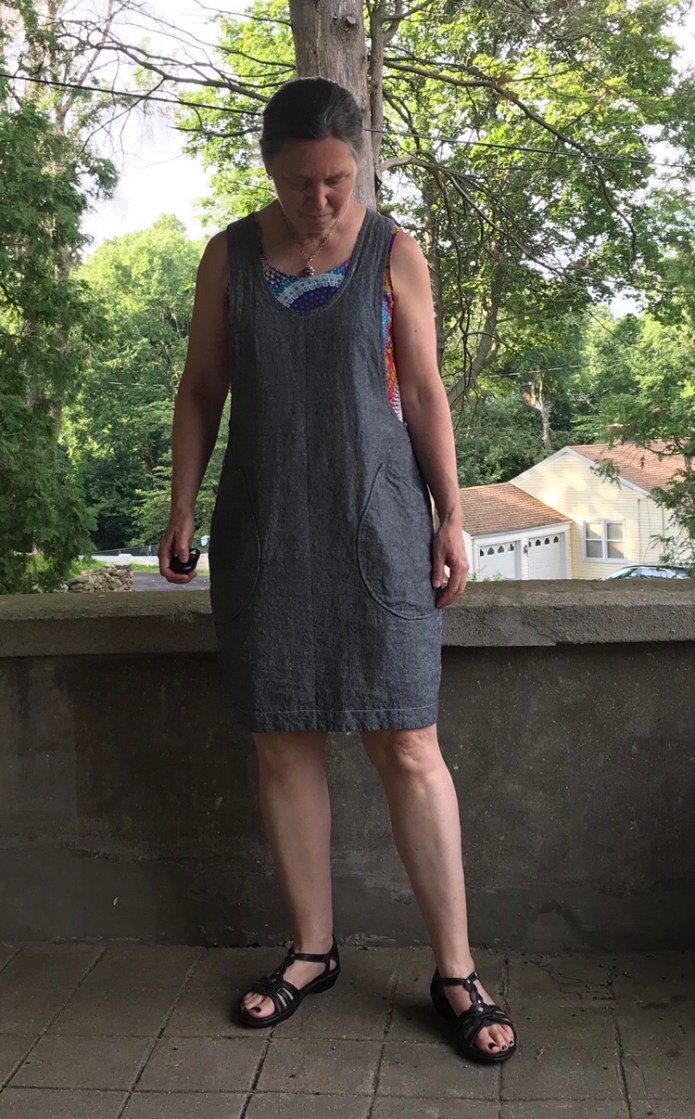
 I lined the pockets with blue linen left over from a summer version of the York. You can see how nice the fabric is in this close-up. It is really soft and drapes so well-really surprising in a corduroy as they are often stiff.
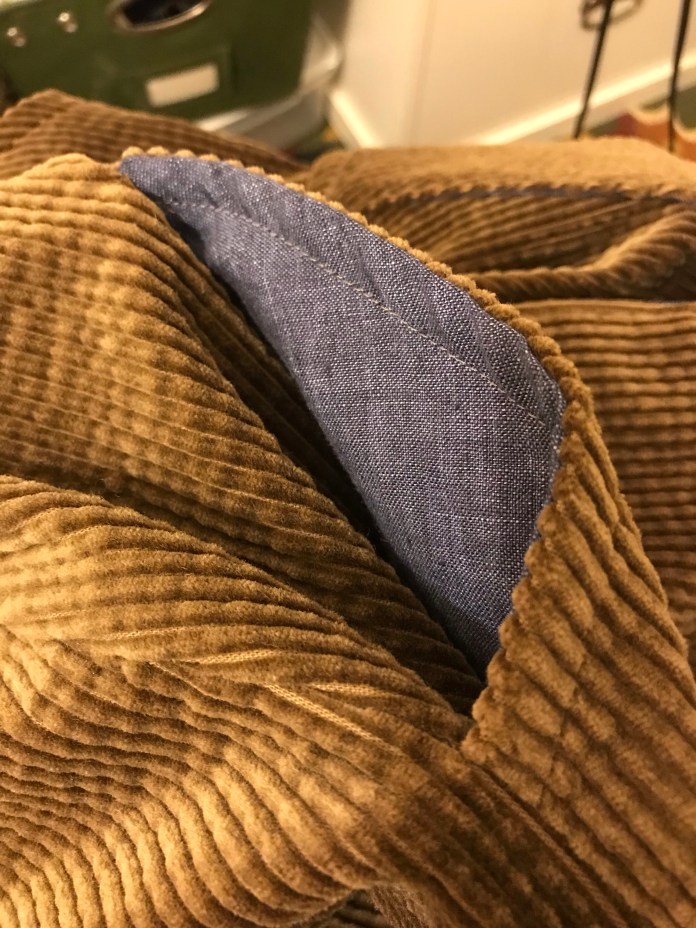 I had heard about FabScrap but had never visited their operation and then the Love to Sew ladies came to NYC and hosted a meet-up of local sewists there and I was lucky enough to be able to go. I am a big fan of the
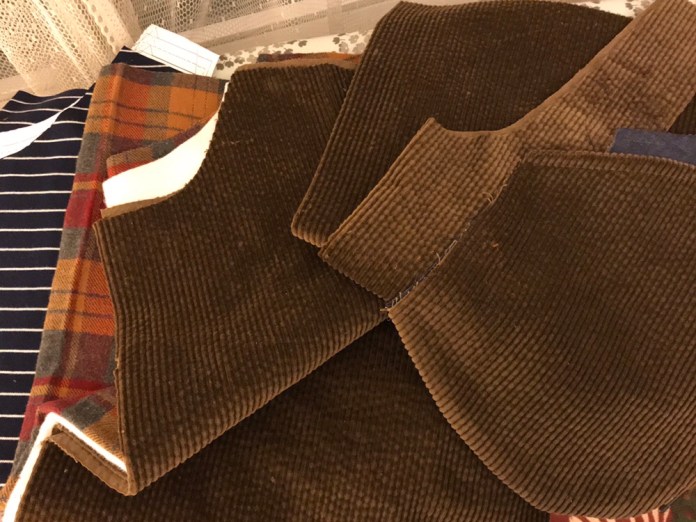
  At FabScrap, volunteers sort donated fabric and what can’t be sold as yardage is recycled and made into industrial felt. They even have recycled buttons and zippers and sometimes sell fabric online. They recently had a flash sale of corduroy for $5 a yard that I jumped on. I bought four colors thinking that it would be a great basic to have for clothing for myself but also for little jumpers and pants for future grandchildren and I am so glad I took the plunge. It will make great garments (I have plans for Lander pants and this amazing
  as worn here:
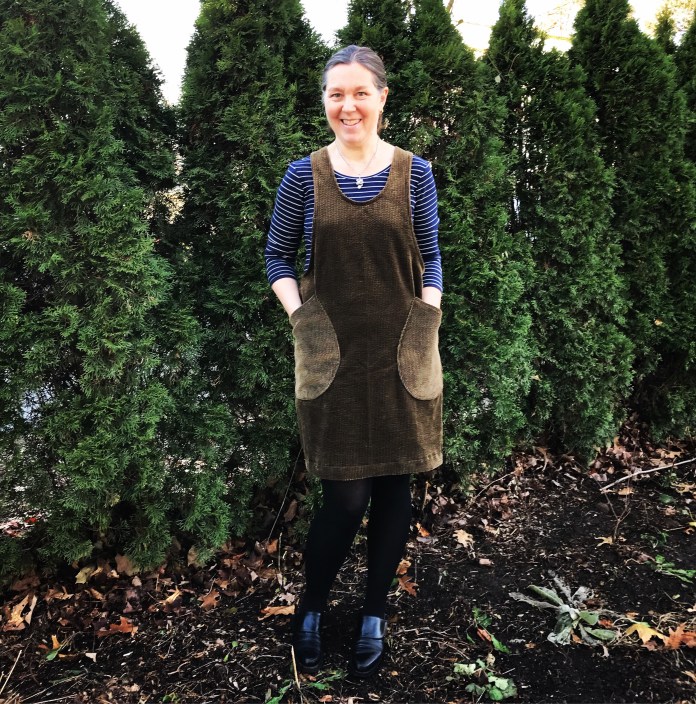 and have several more cut out. I discovered Cloud 9 organic cotton knits this spring when I was a tester for the Jade and made this version:
 This fabric is a dream to sew with and is incredibly soft and comfortable to wear. I stocked up on several different colors and stripes this summer and I am sewing a wardrobe of shirts. It spoils you for any other knit. I highly recommend it. It would make great children’s tops as well.
 I also sewed a dark grey version of the Jade from lovely soft cotton knit fabric bought long ago from
  And there you have it. Two great patterns that are quick to sew, don’t use a lot of fabric and mix and match with many possibilities. More versions to come! Perfect for walking all over the city, something I have been lucky to do this fall. I really enjoyed walking through Central Park
 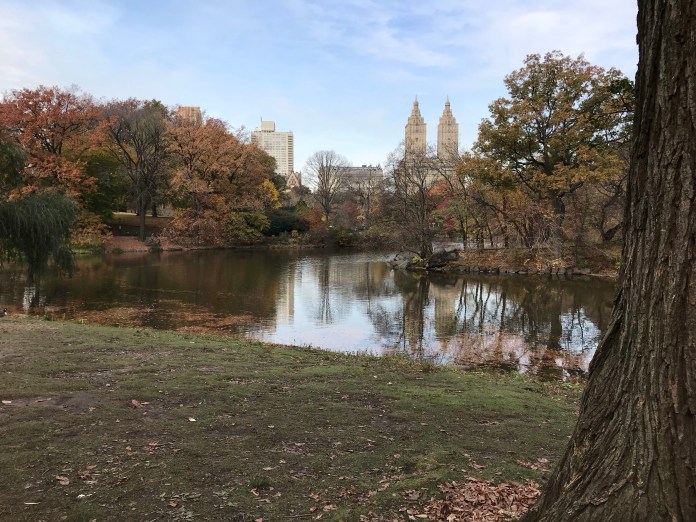 and going to the Guggenheim
  where I saw this
  I will definitely be going back.
  This past Sunday it was so warm (50 degrees in November!) and my husband and I spent the day exploring Clinton Hill in Brooklyn
 where we got to see the inside of the beautiful library at the Pratt Institute (yes I am wearing my Tamarack Jacket here-this was a selfie in the distance-the mirror was on the opposite wall and I couldn’t resist.)
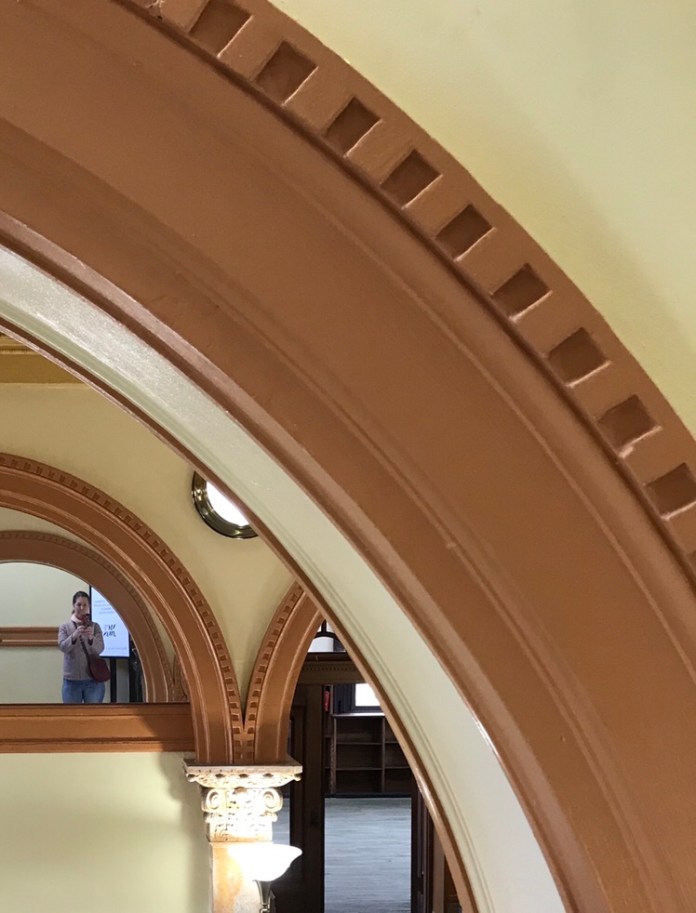 We also went to a
  ended the day with ice cream eaten on the waterfront. It felt like spring-a perfect fall day. (this is not us-just another lucky couple enjoying a beautiful NYC night.) Happy Fall!
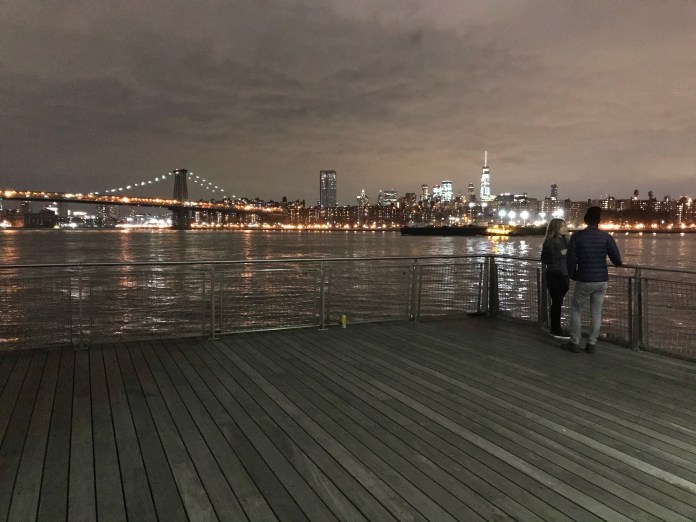
 I wore the Helen’s Closet
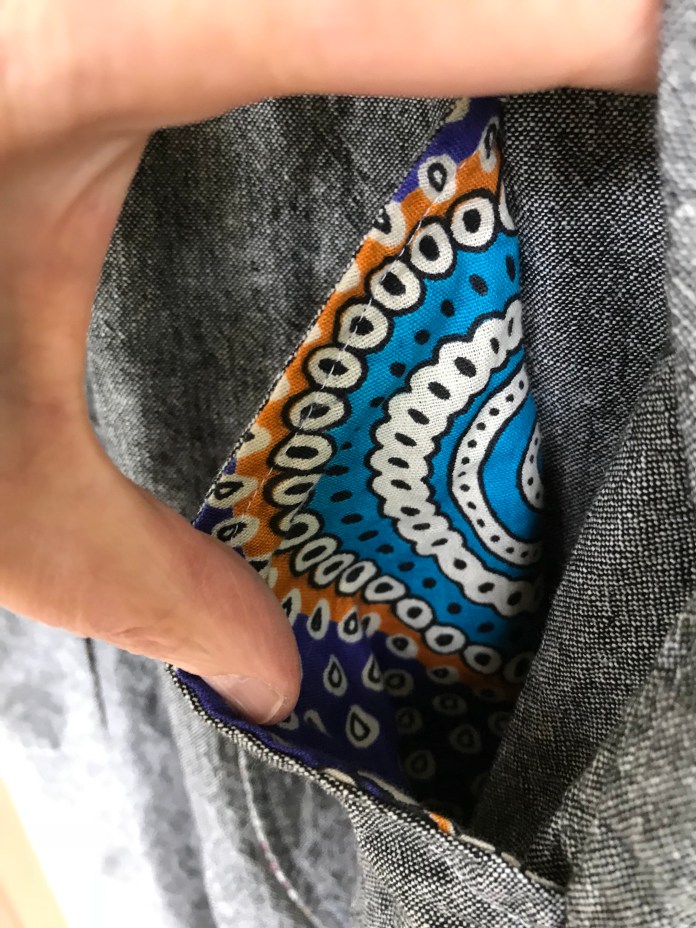
  I had some beautiful paisley rayon challis left over from making
  Bias Binding Close-up
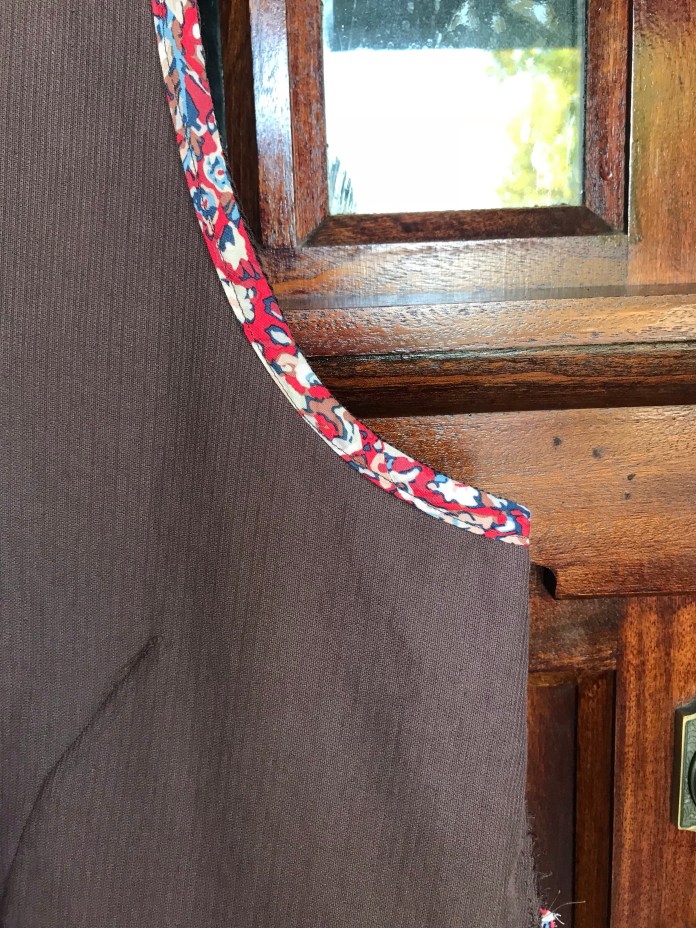 I love the little pop of patterned fabric
 I like to line the pockets and this paisley lining is really lovely, almost feels like silk.
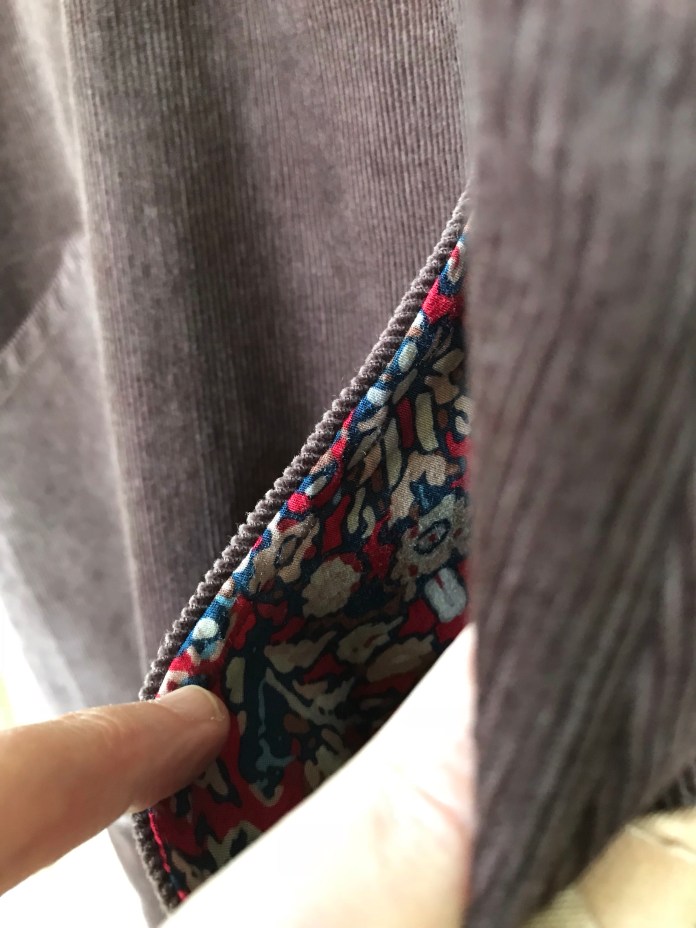 It was a bit slippery going with the bias binding but worth it. I made a size large as I have been doing but probably could have taken it in a bit because the fabric doesn’t drape like linen. I plan to make several
 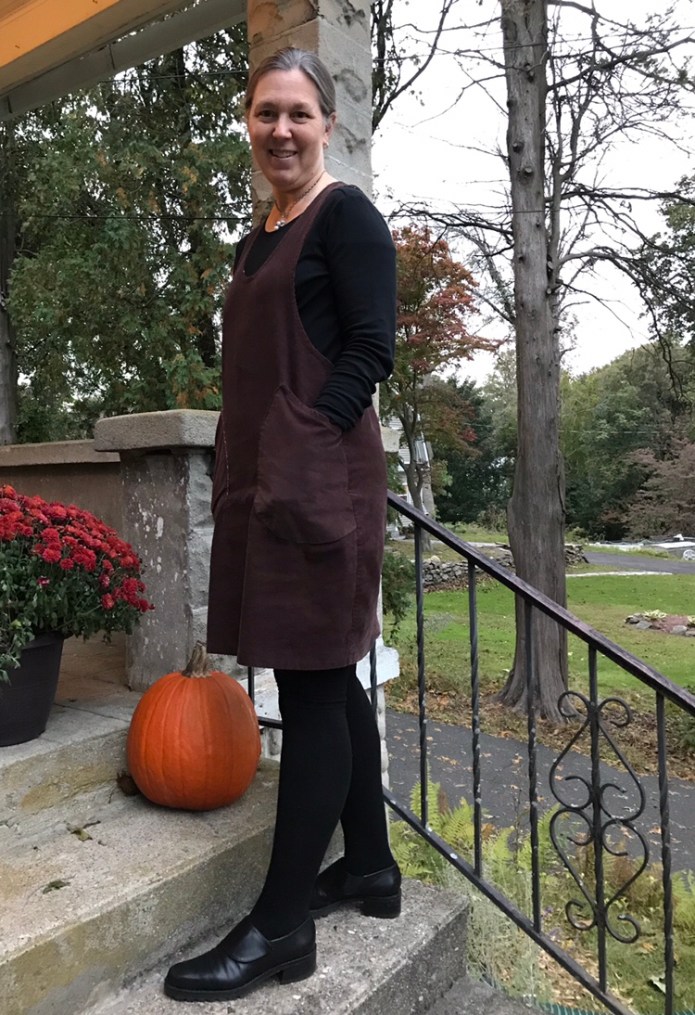 This fall I am busy as I always am in the fall, teaching new nursing students, so I appreciate my go-to patterns that enable me to still make a wearable garment in a day. This was a Sunday project. Probably more versions to come, likely a black wide wale version.
  I have to say that my Tamarack Jacket goes with this outfit as it goes with just about everything. I am loving wearing it.
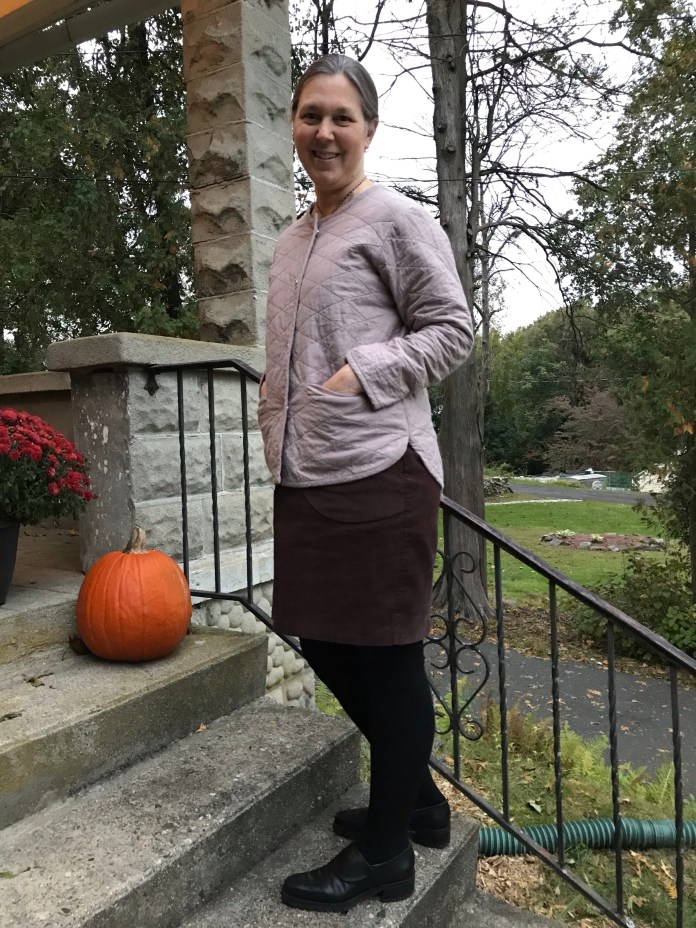 My pockets were not as neat as I would have liked on the inside and so I cut a large square of the lining fabric and hand-stitched it over each pocket on the inside of the jacket.
 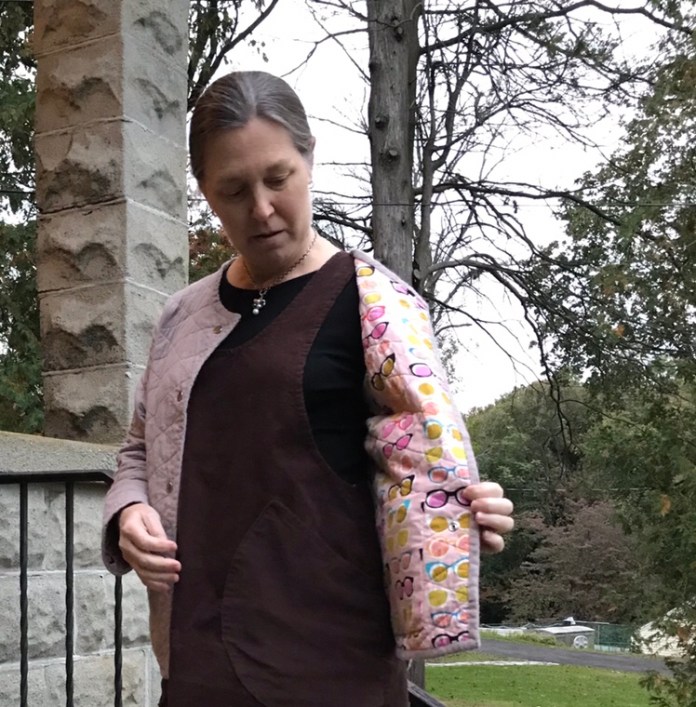 I love the neat look and I think it will be more durable and it doesn’t interfere at all with putting anything in the pocket. I also like that I was able to include some of the selvage with the designers’ names.
  I am slowly building a fall wardrobe of basics that work together. The


 Ever since I saw


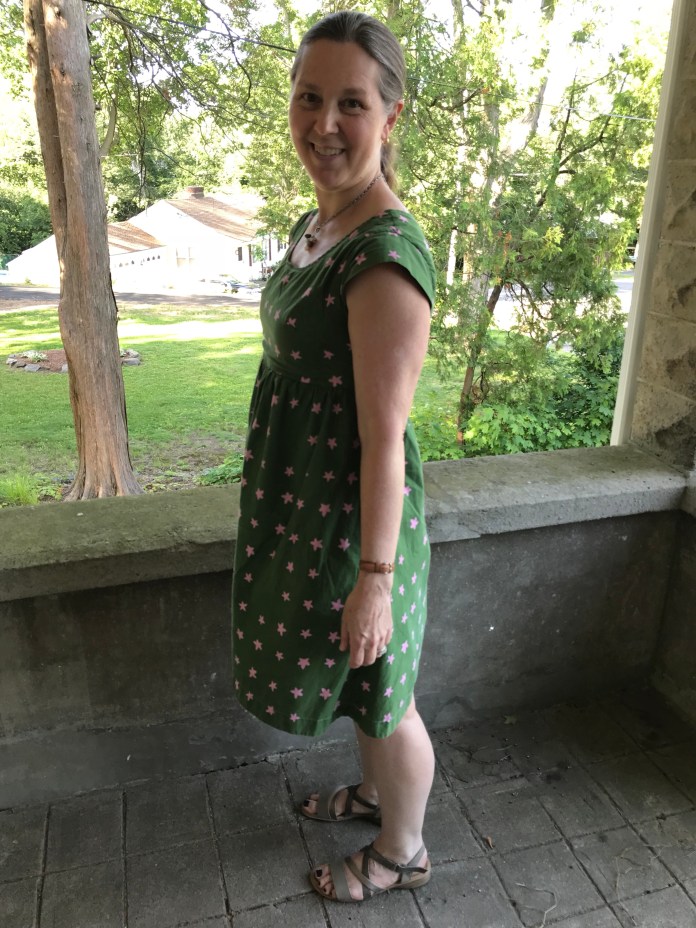
 There are some dresses that just make you feel happy when you wear them and this
  I love The Cloth Pocket and had the opportunity to visit in person and actually take a class there last year. Highly recommend! Great teachers, fabric and vibe. I buy most of my quilting fabrics from them online and they have a wonderful selection of chambrays.
 Since I was in the middle of sewing
 I made this in a hurry and used fewer lines of shirring than I normally do spaced a bit farther apart. I like it this way!
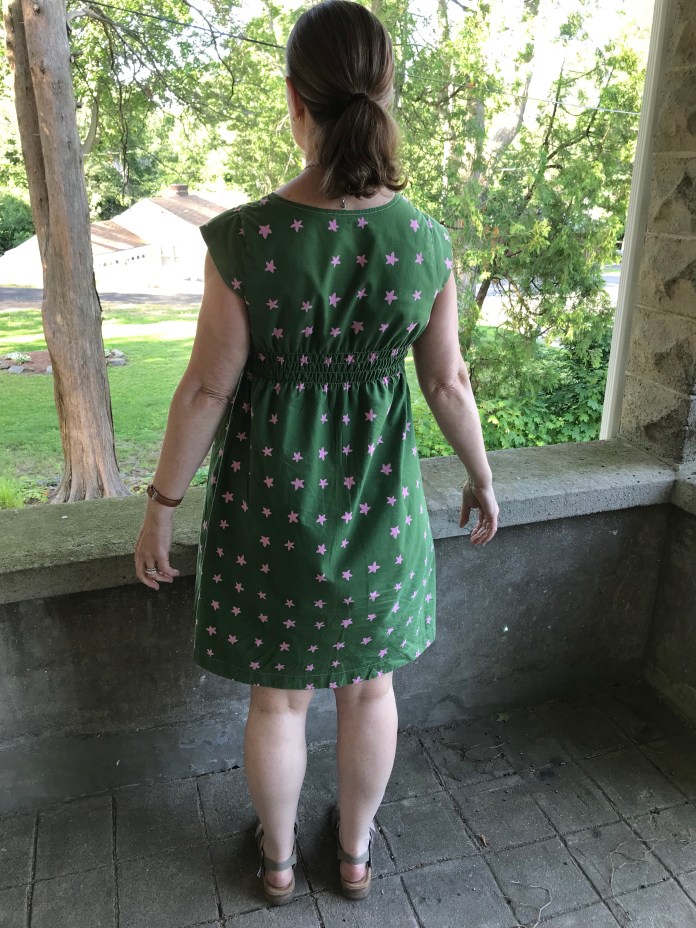 And a nice surprise was how well my new
  If you haven’t made the Washi or the
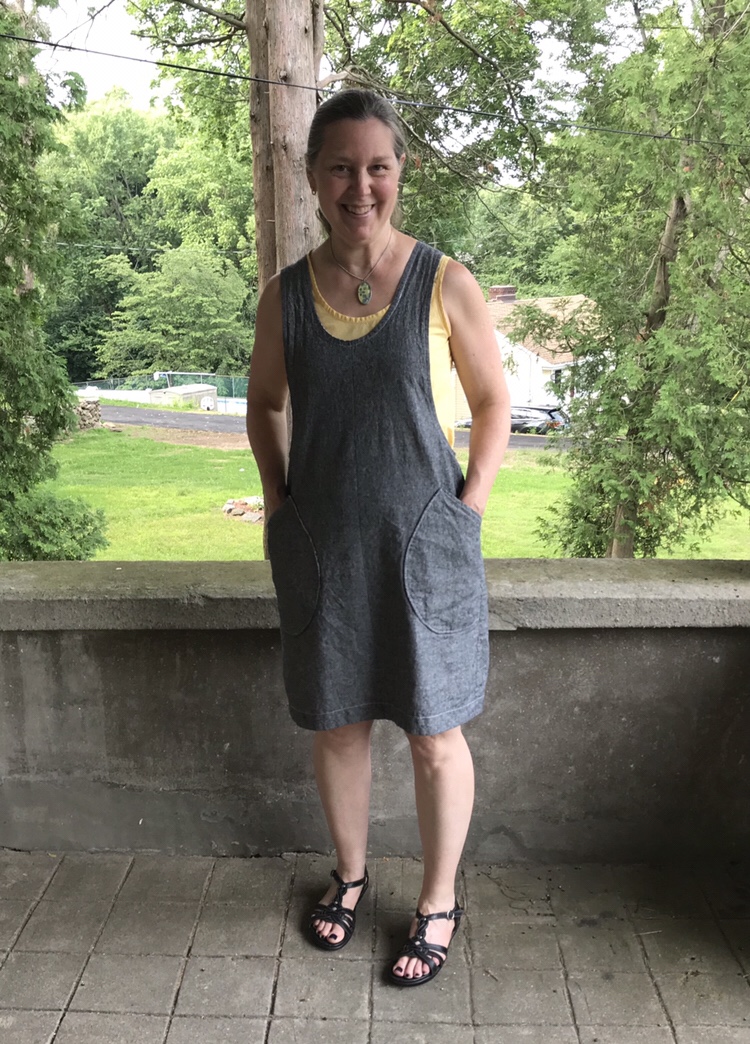


 I had altered


 I was a bit disappointed but I chalked it up to a learning experience and figured I would try washing it and see if the fabric would soften up a bit.


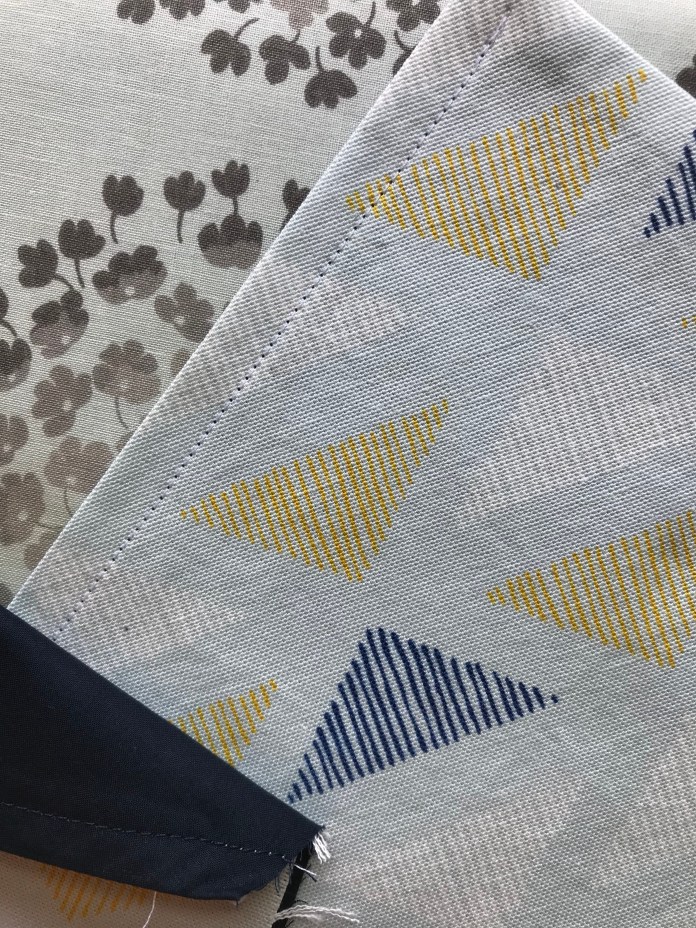
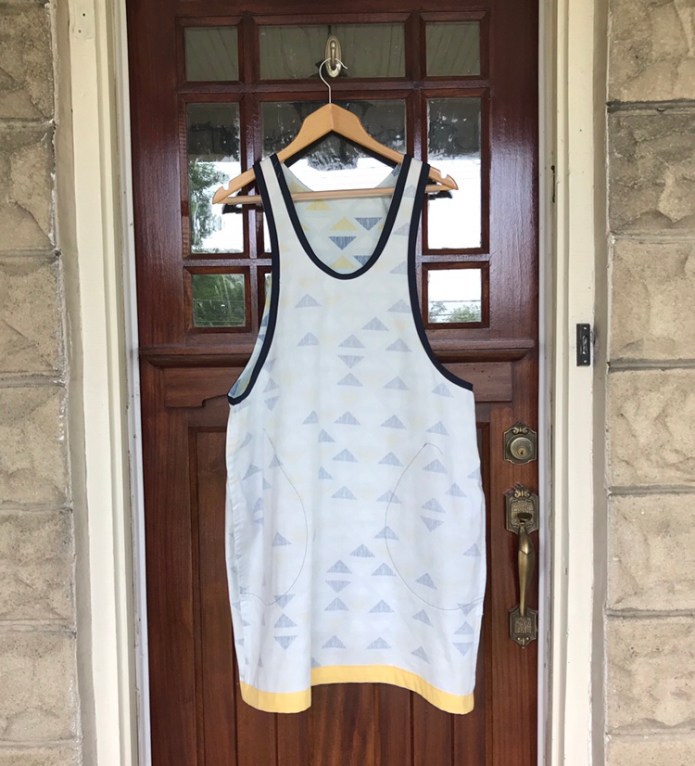
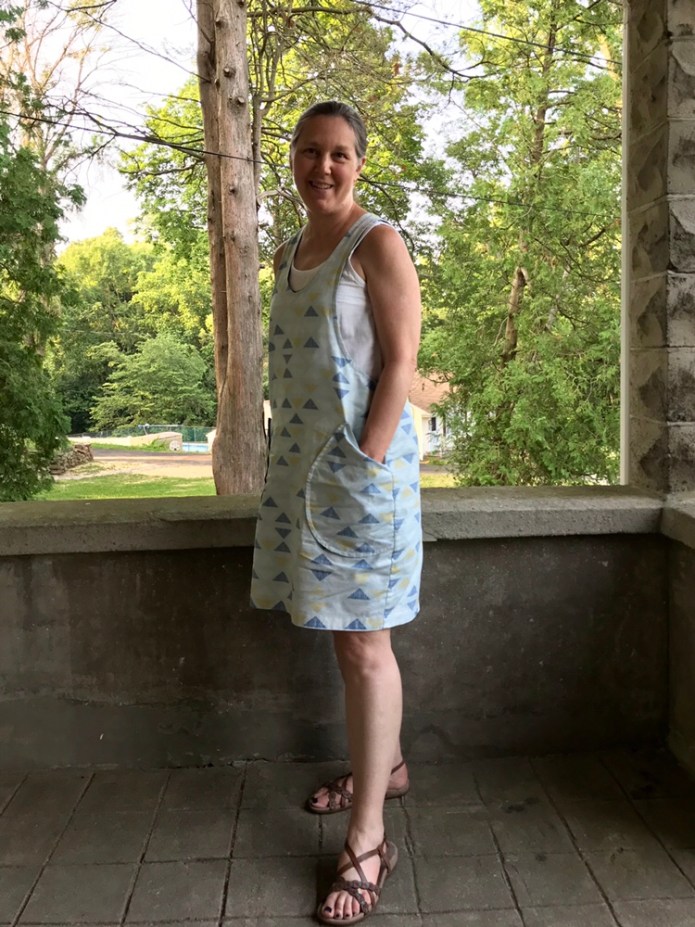
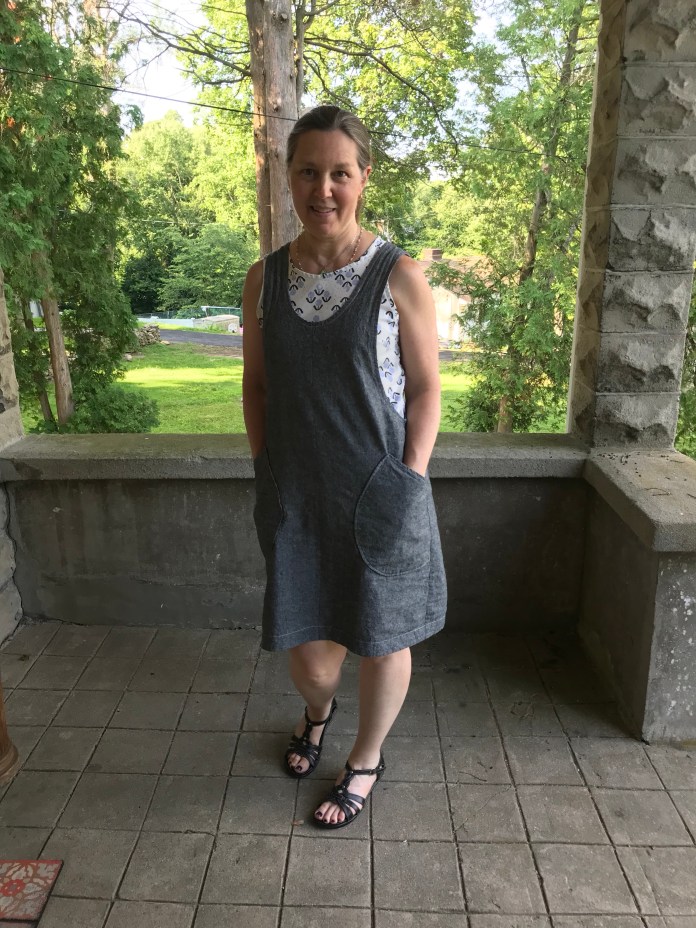
 So maybe the fabric I cut out hadn’t been pre-washed (although I am almost positive I had washed it before I put it away last year) or maybe this linen-cotton blend really shrinks a lot? Either way, I am thrilled because after taking the time to line the pockets


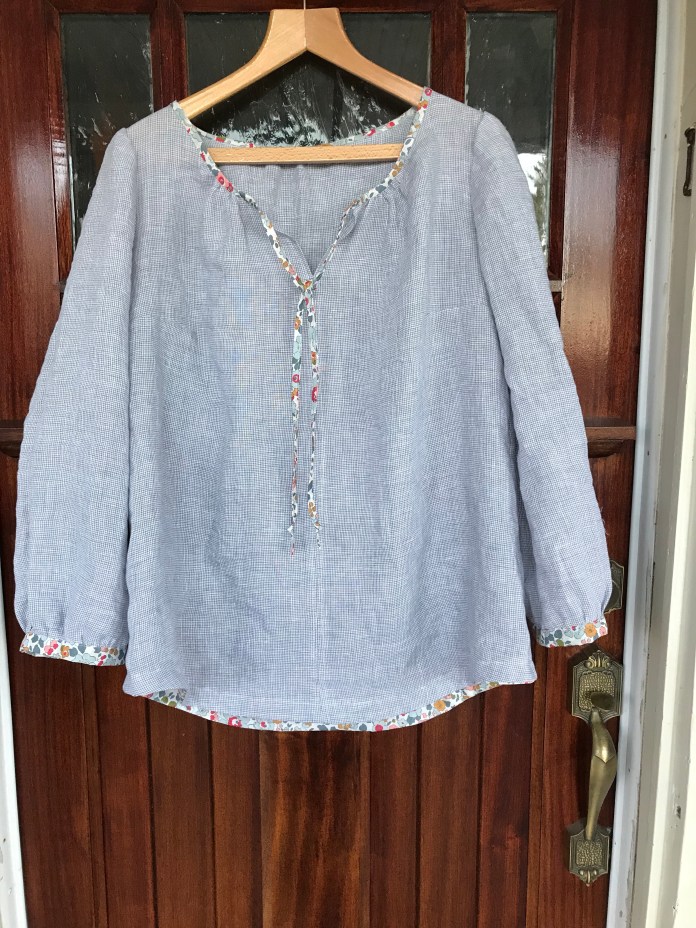
 I finished sewing a boho blouse using the


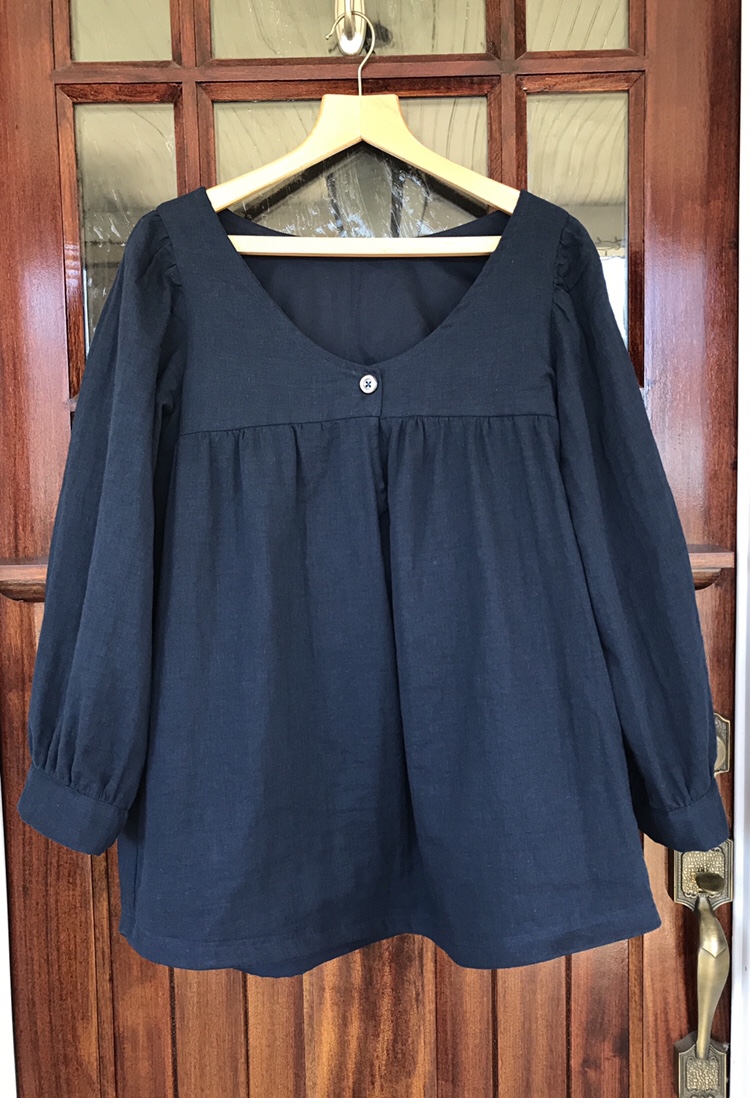


 The Josephine is usually made with pleats but Rae posted a
 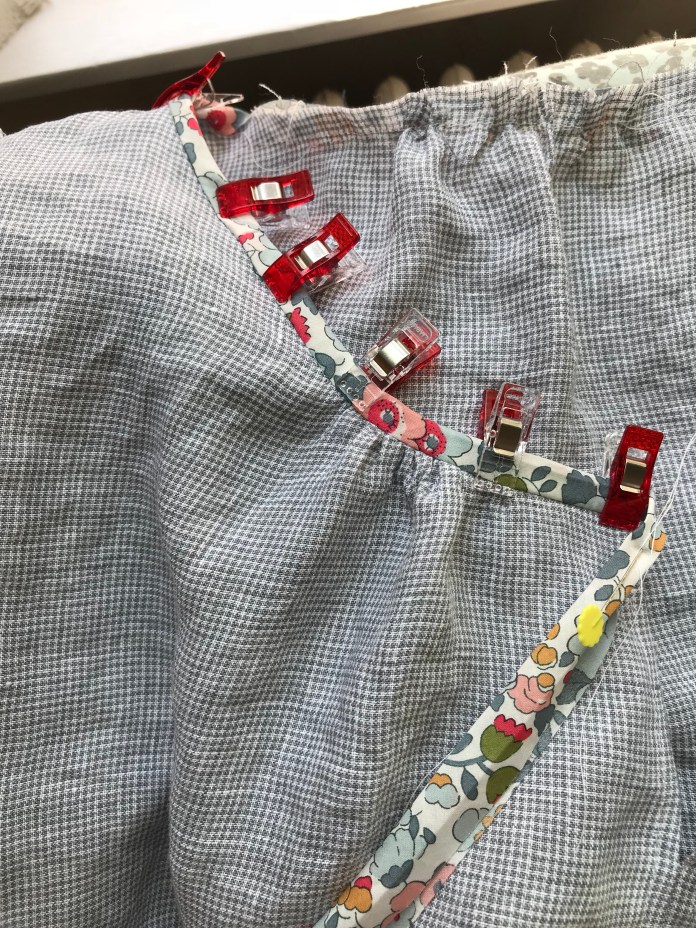 The actually cutting and sewing of the pattern is very straightforward. The front is sewn together and the back is one piece cut on the fold. You gather the fabric in the center back and the center of the two front pieces. You cut the two mirror halves of the front, one back piece and two sleeves.
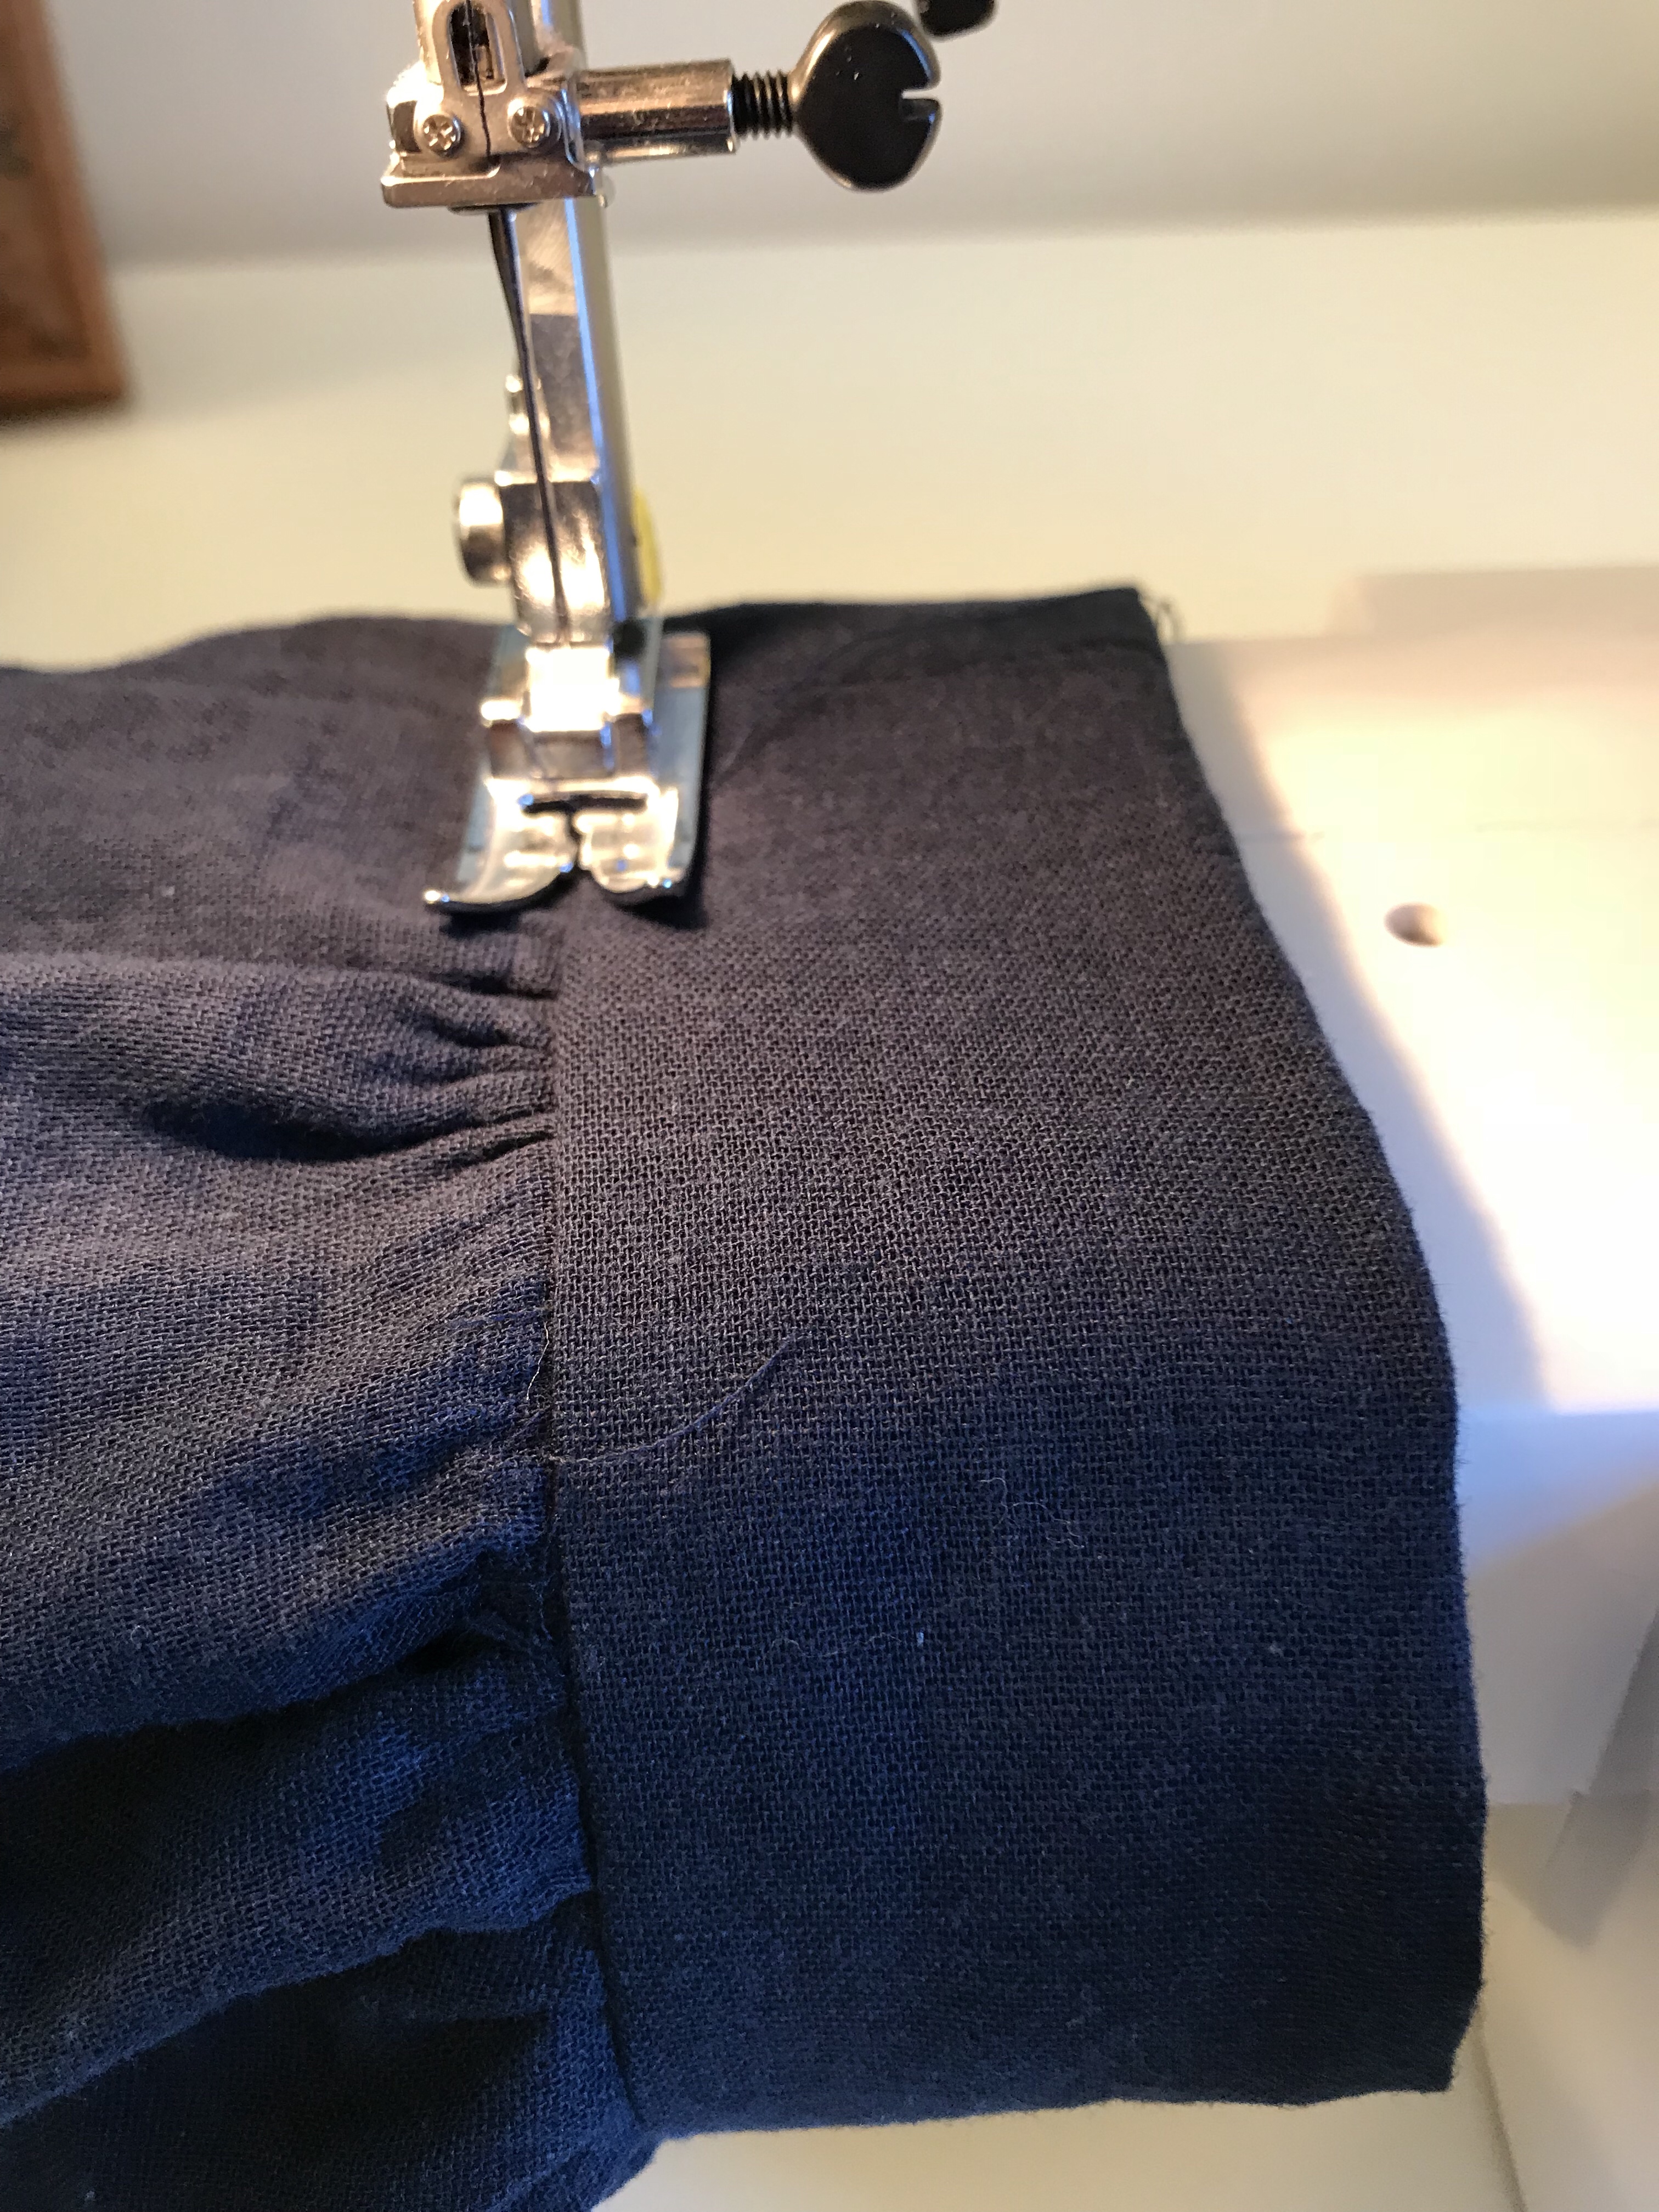
 I usually stitch just on the edge of the cuff, not in the ditch.
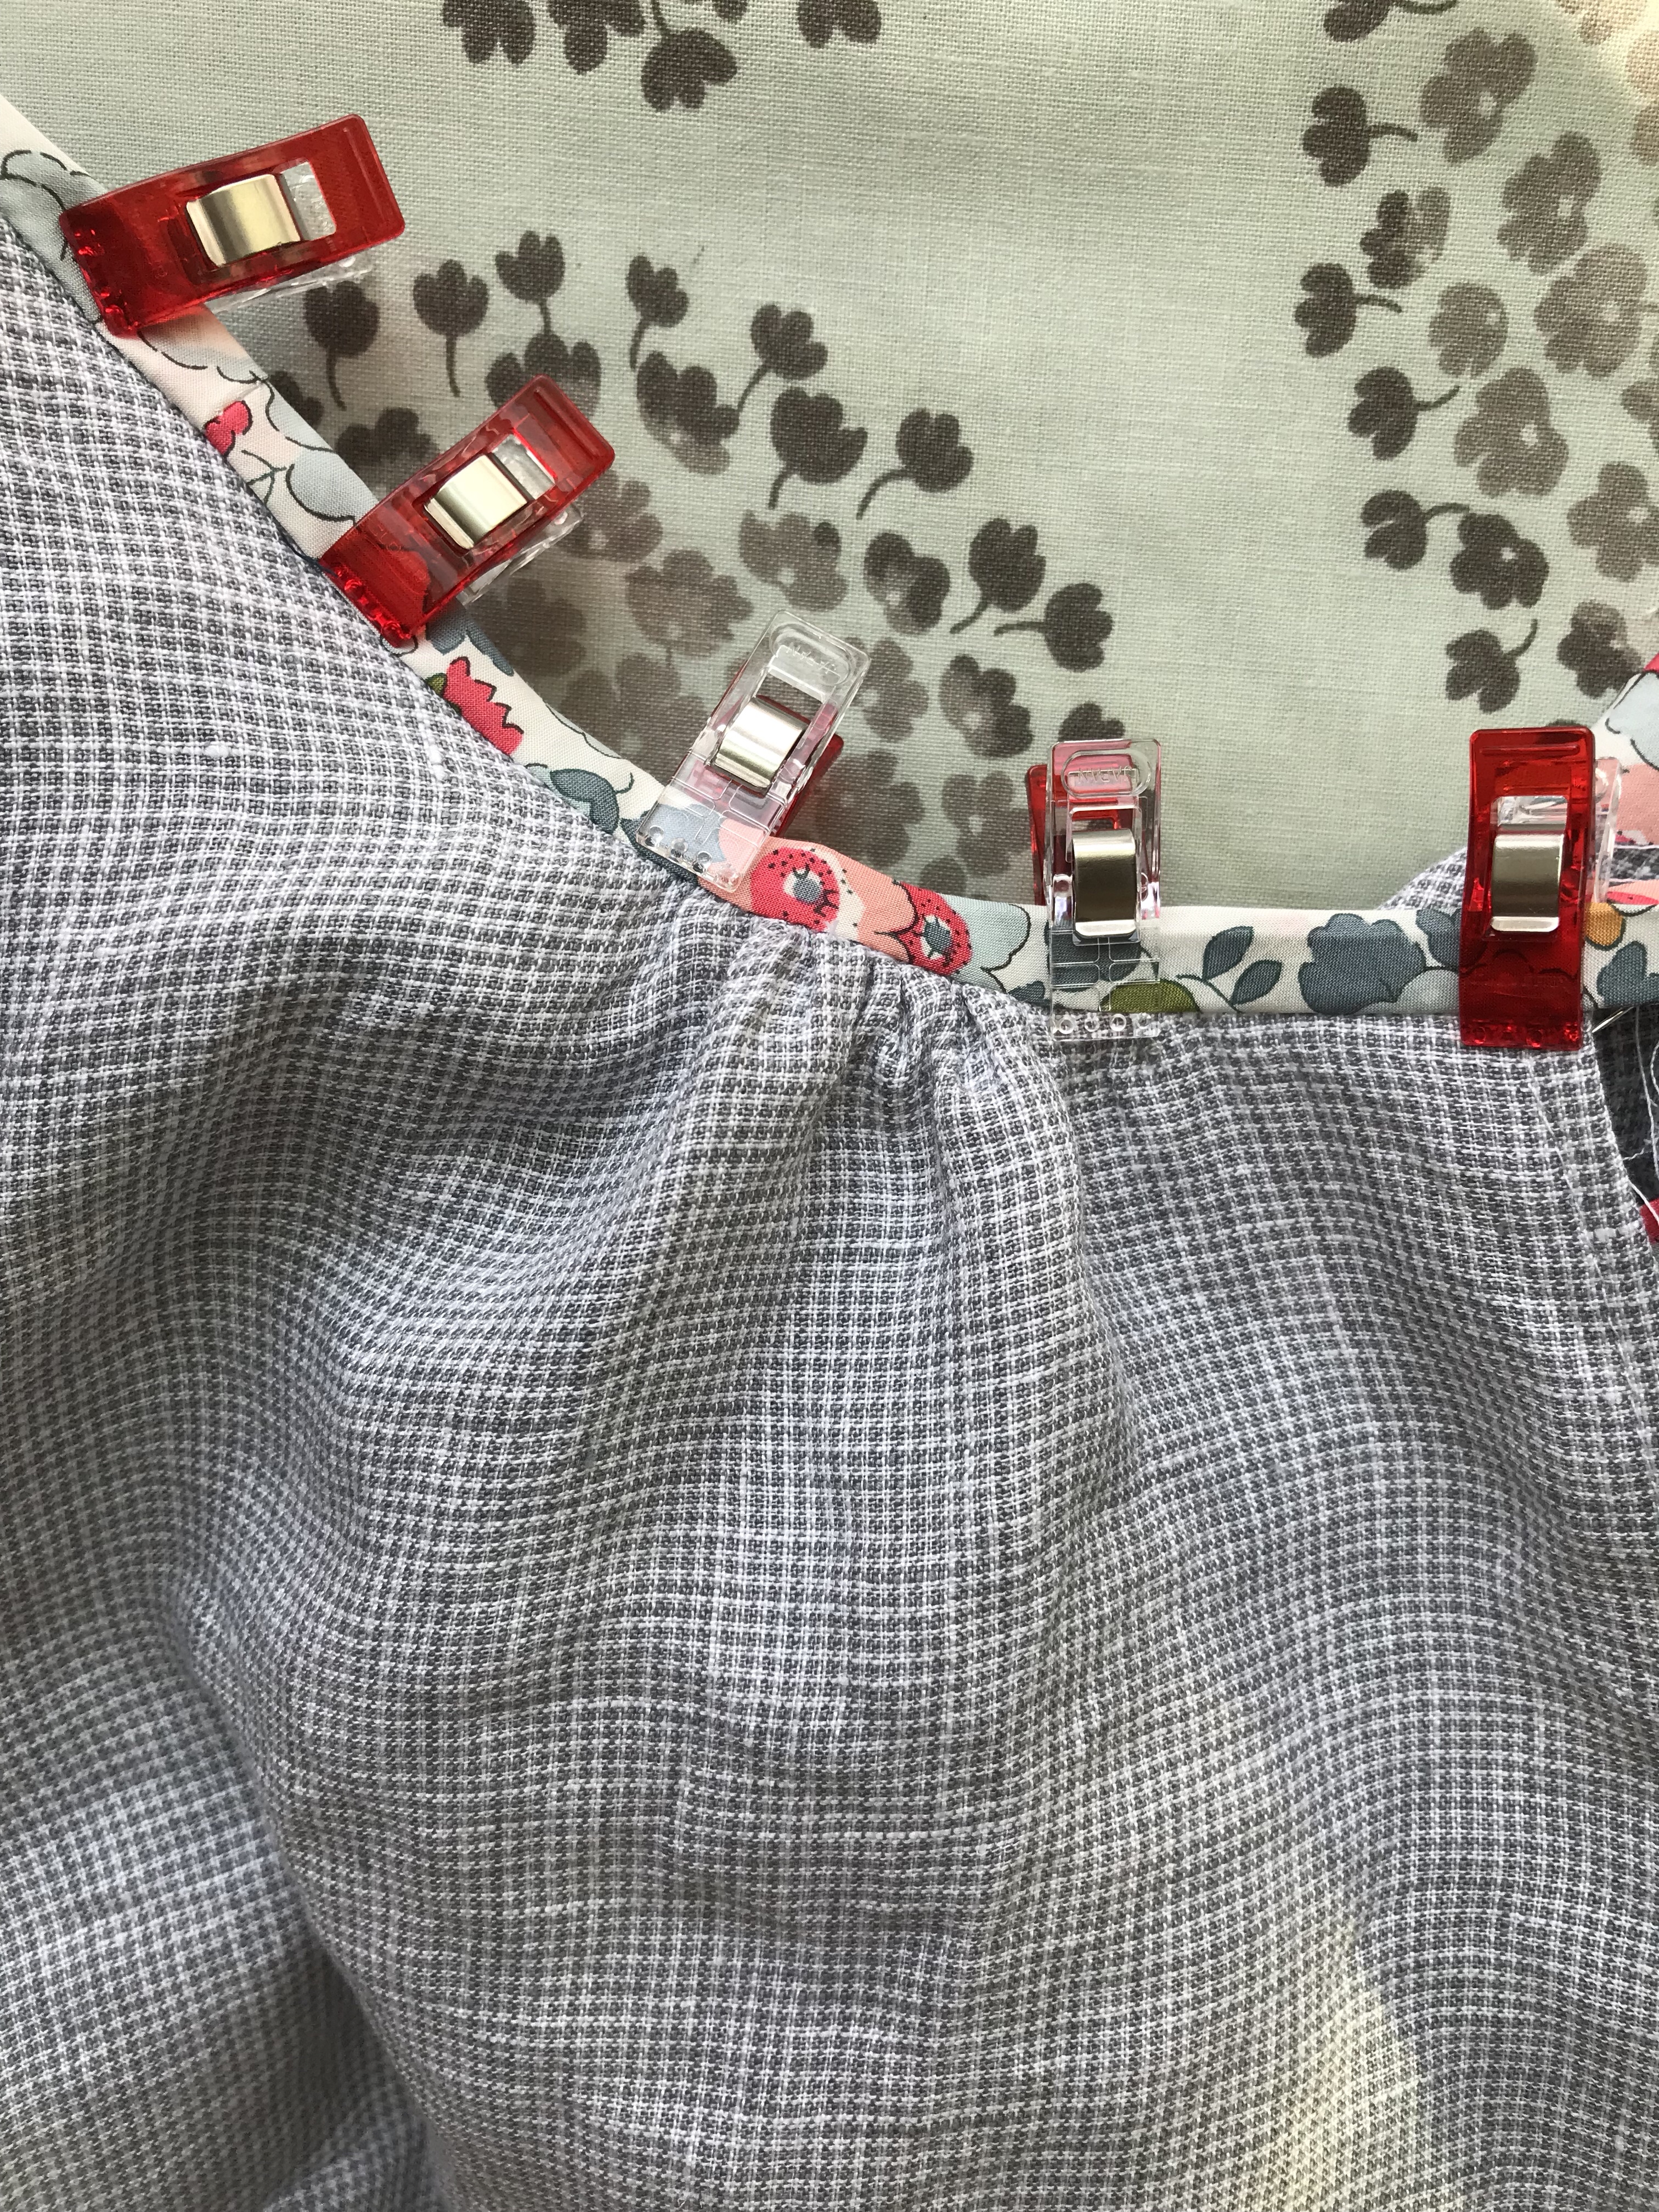
 I have to say I was thrilled with how this turned out. I used bias strips of Liberty as hem facings, as one does.
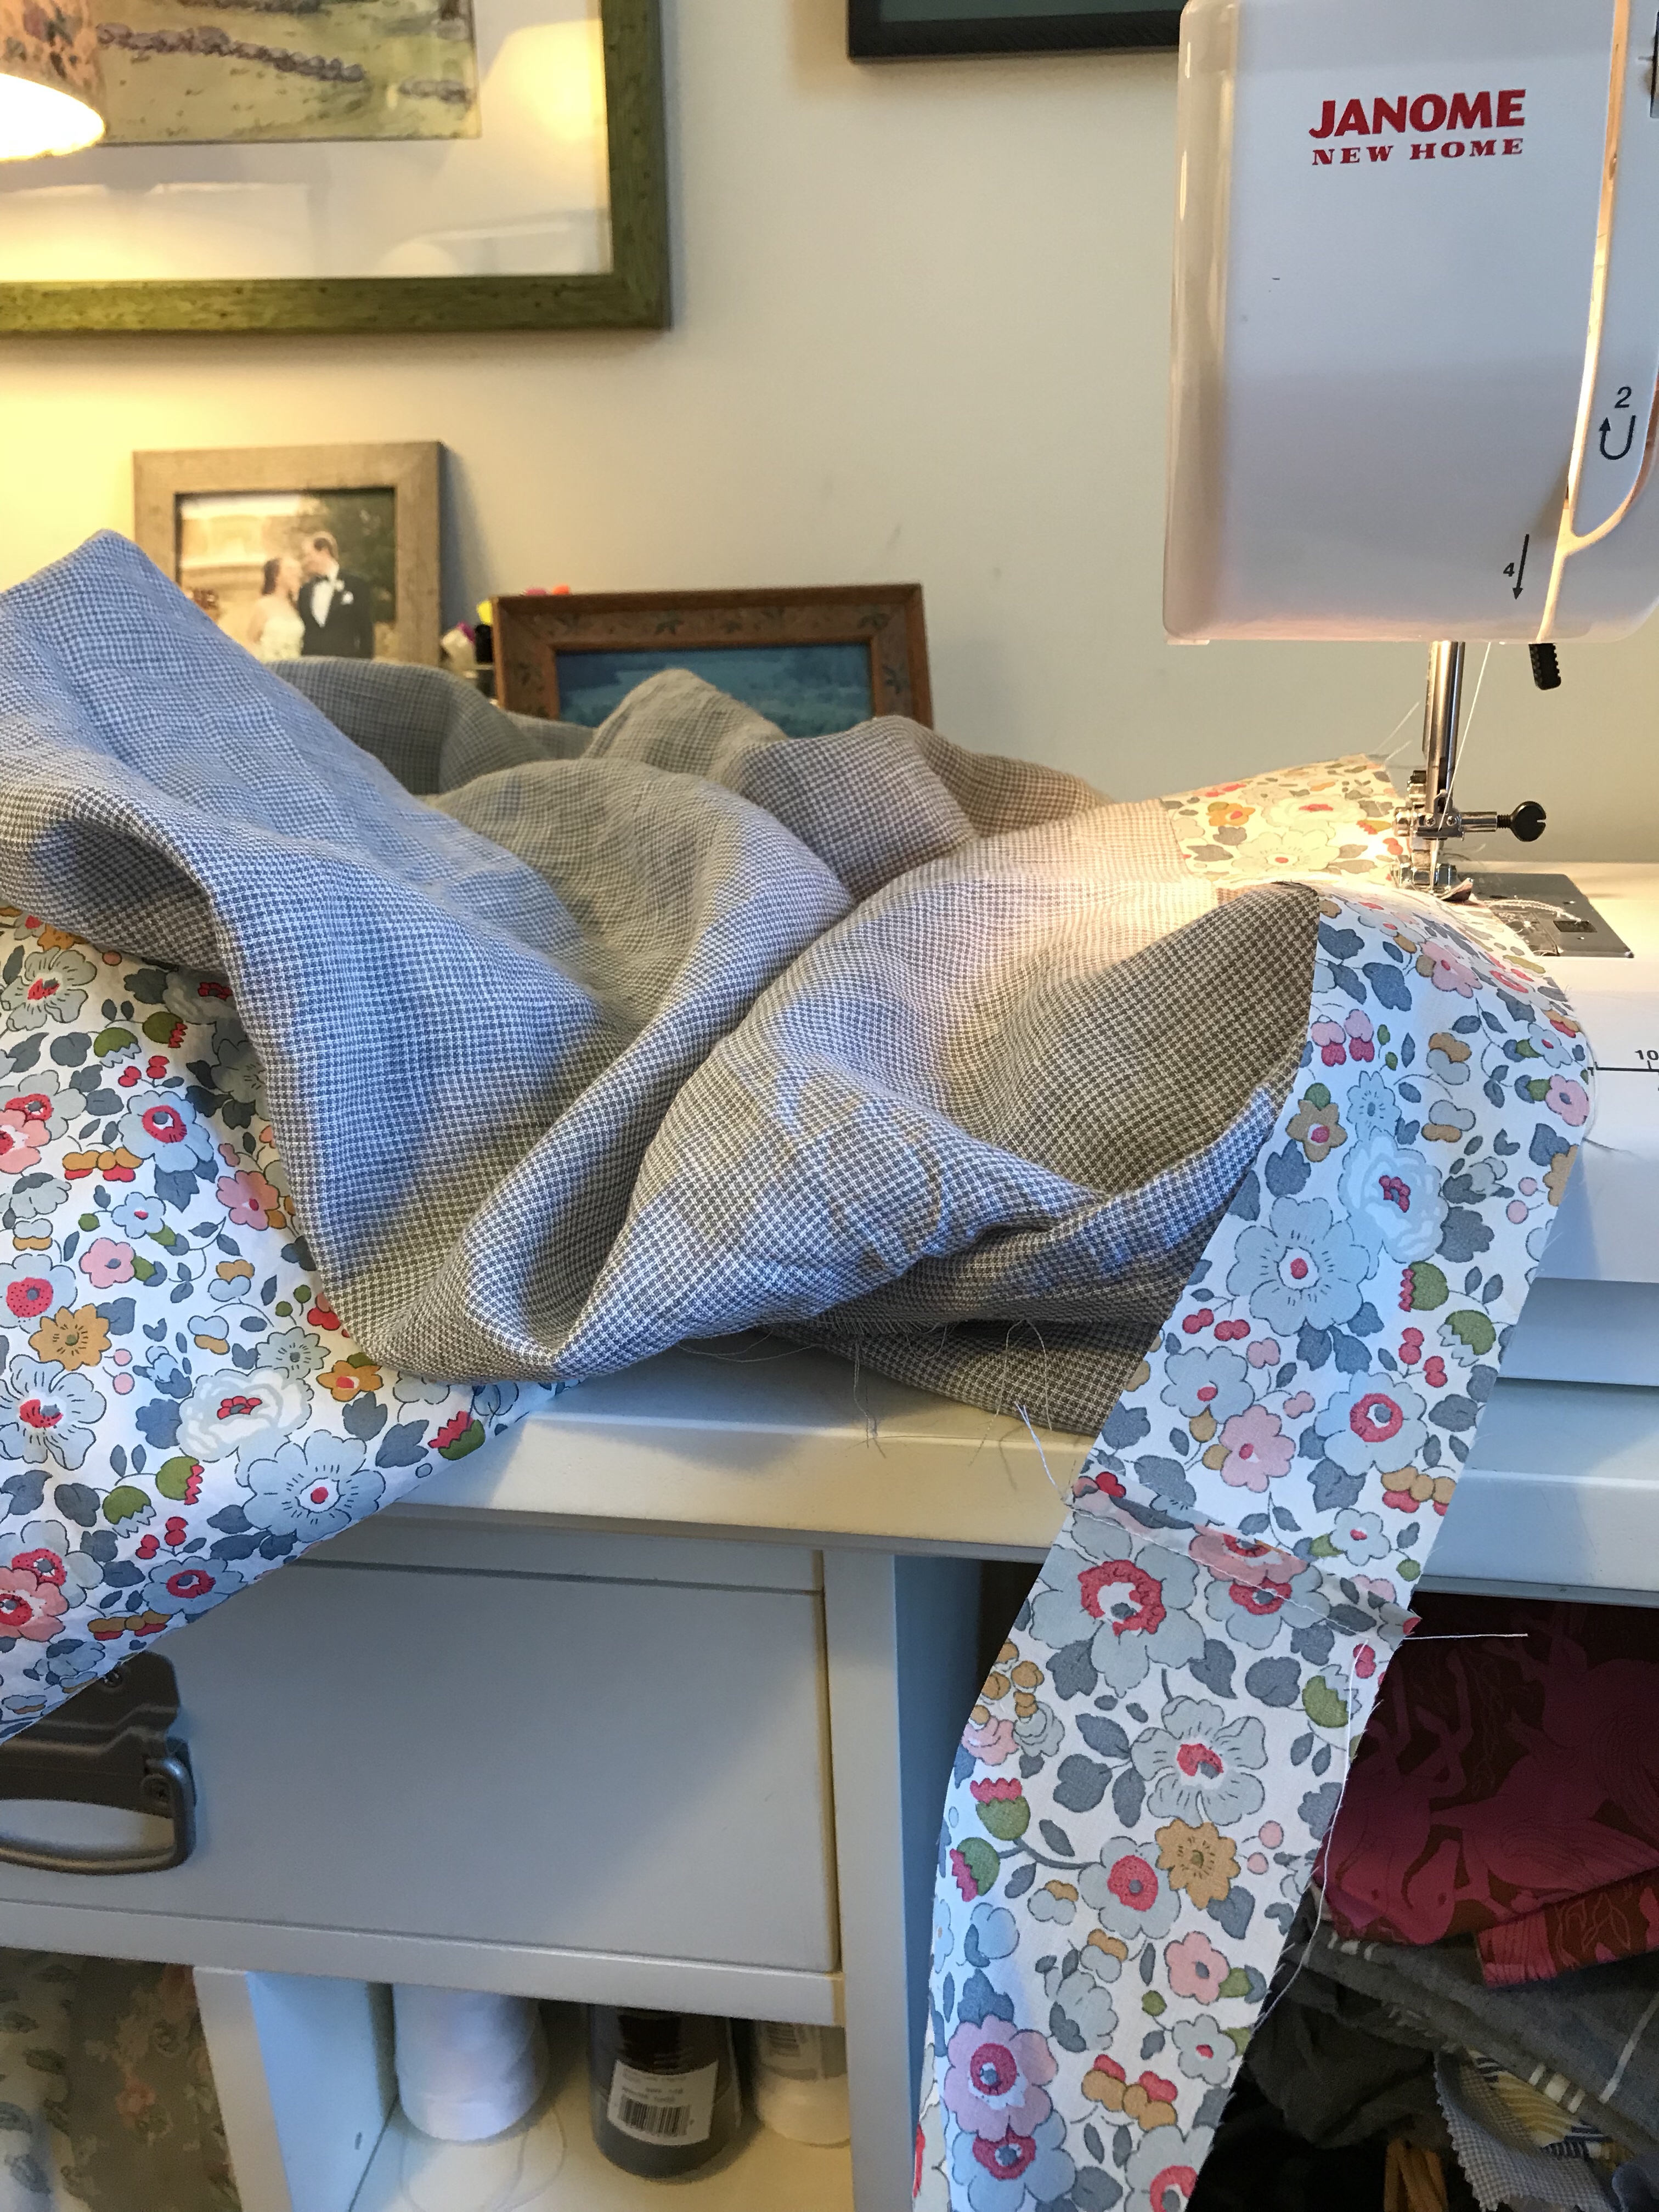
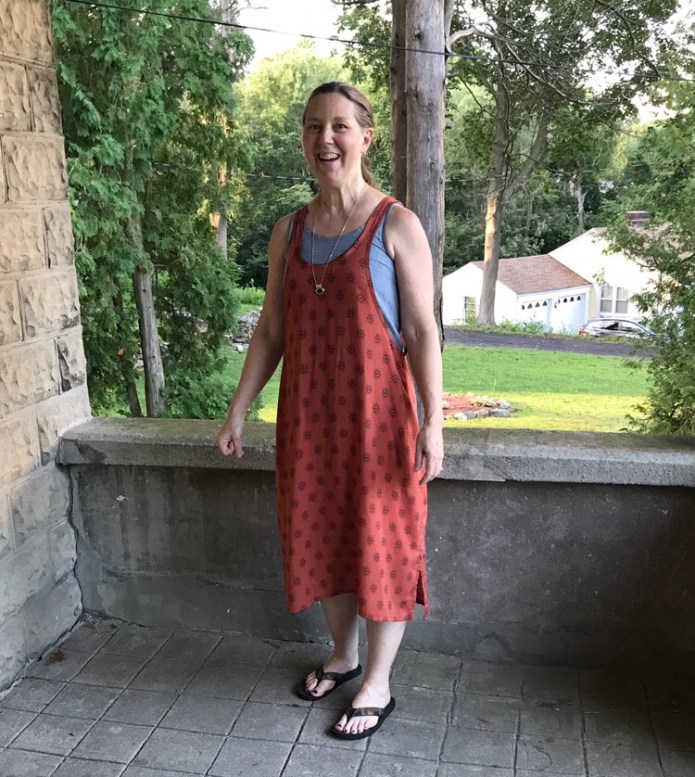
 My sewing room has one window that faces west. Such beautiful light.
 I had enough of these two fabrics to also make a version of the


 I used the curved hem from the Gemma tank as my guide for this hem. I love how you can mix and match Rae’s patterns.
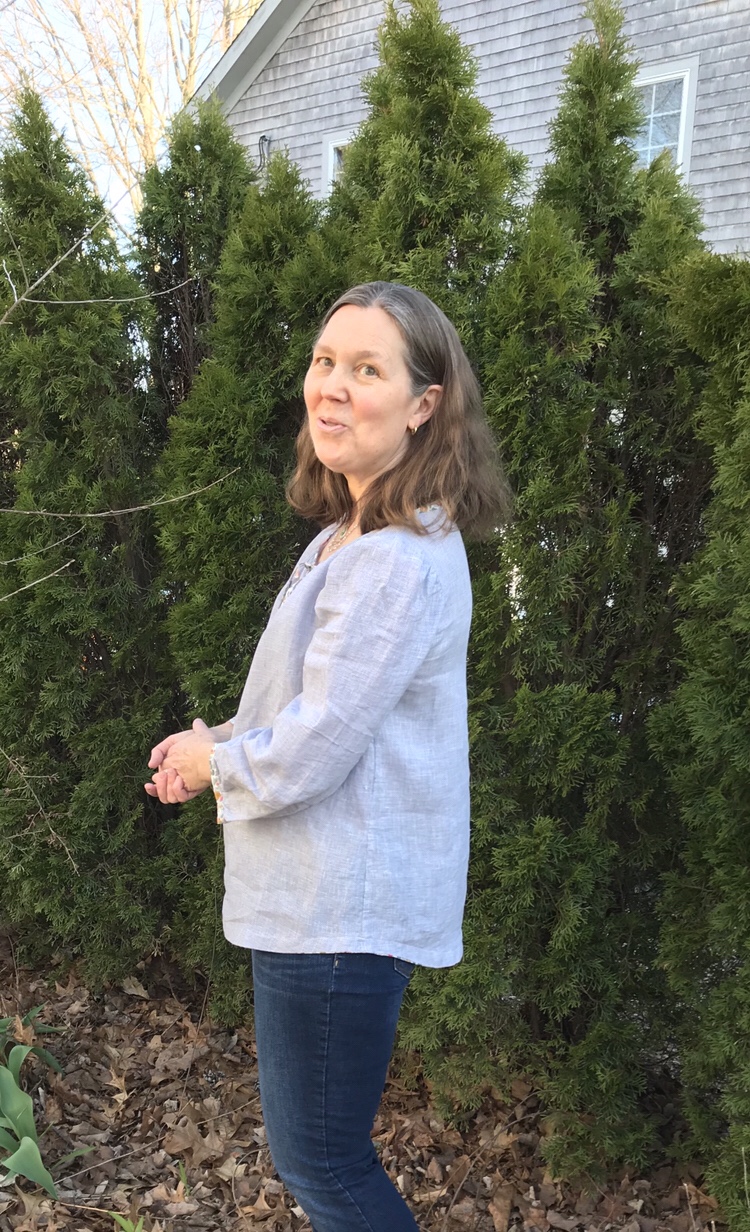
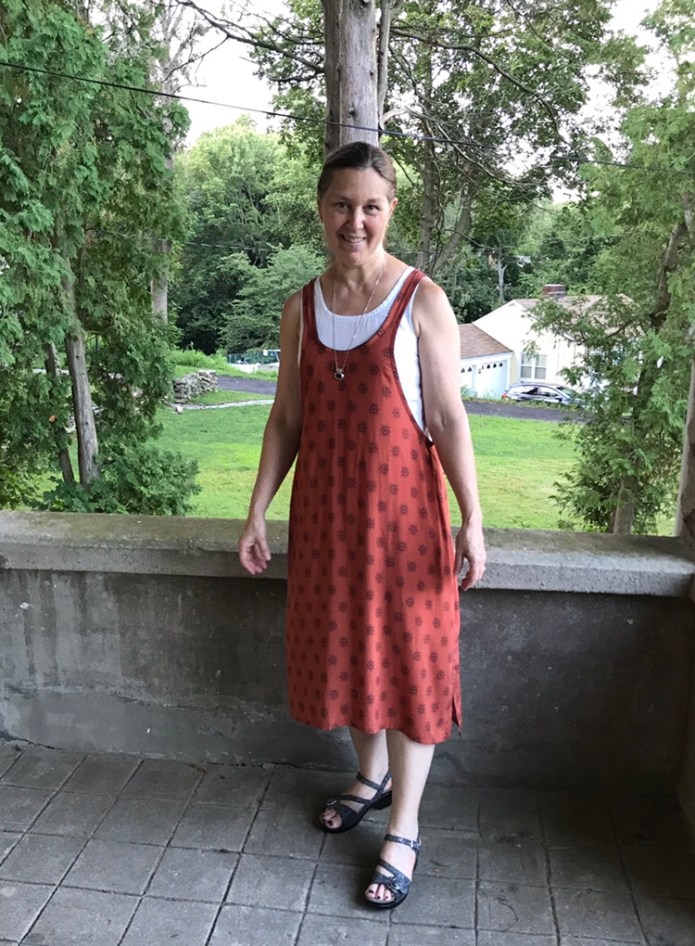
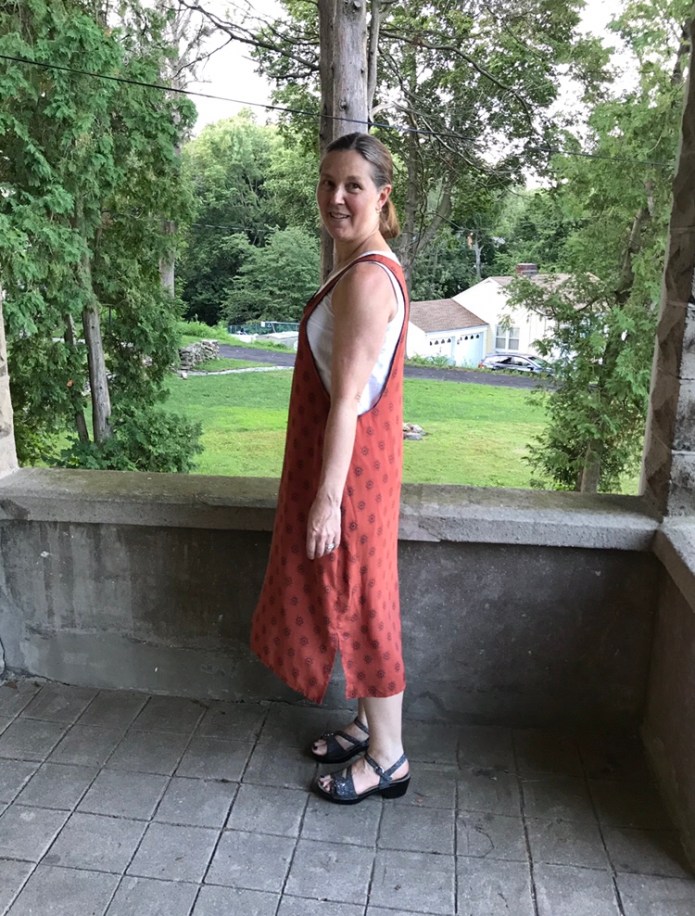
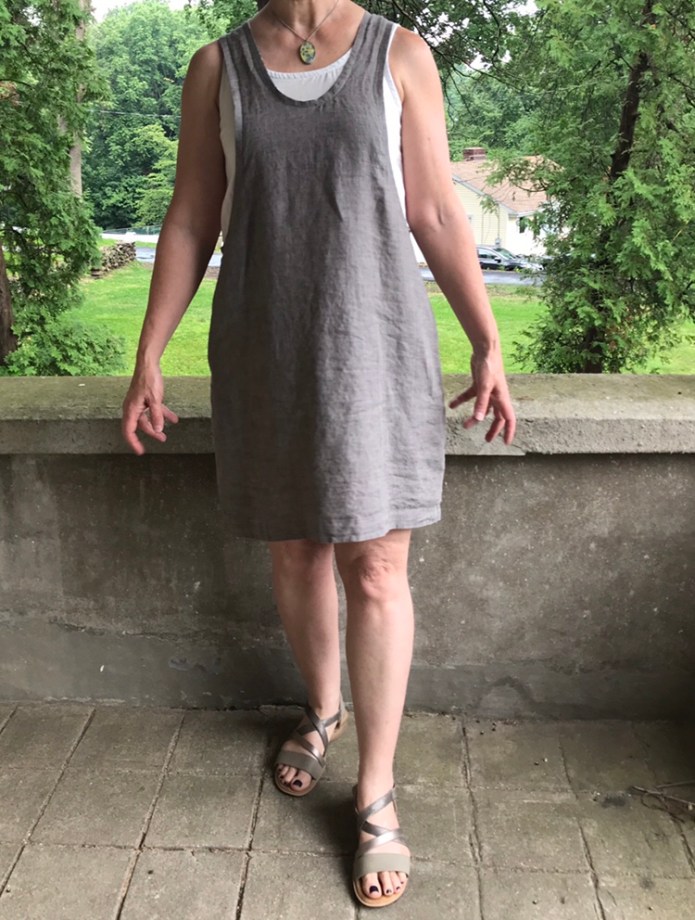
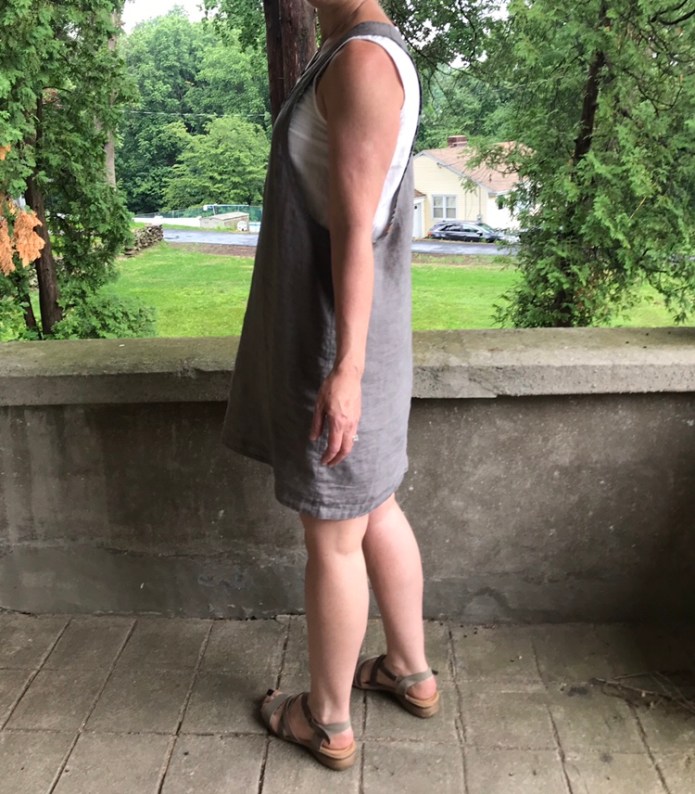
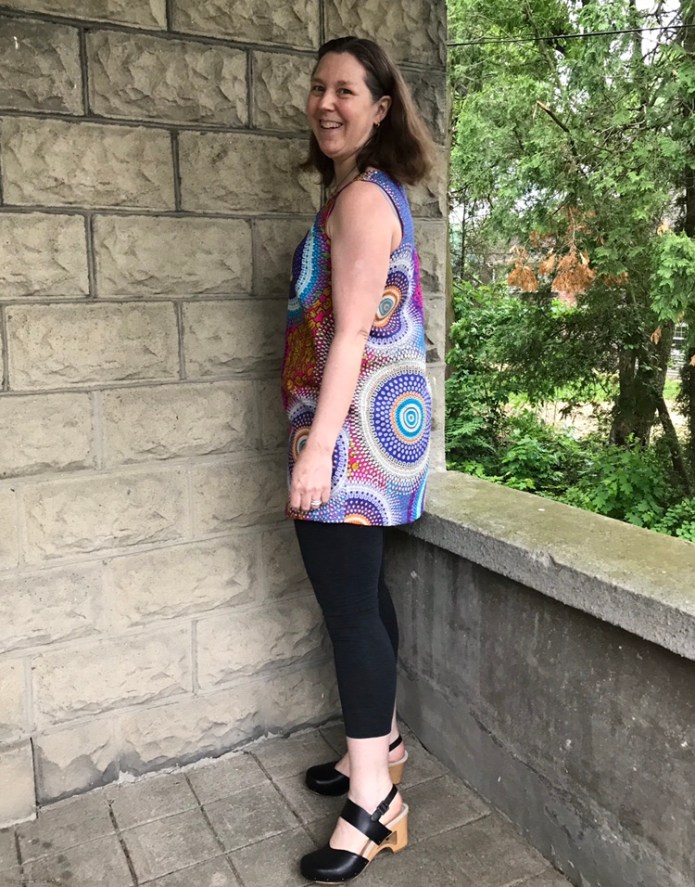
 The other side view.
 I look as though I am summoning the backyard spirits but I think my husband caught me on the way to fix my hair and put it behind my ears.
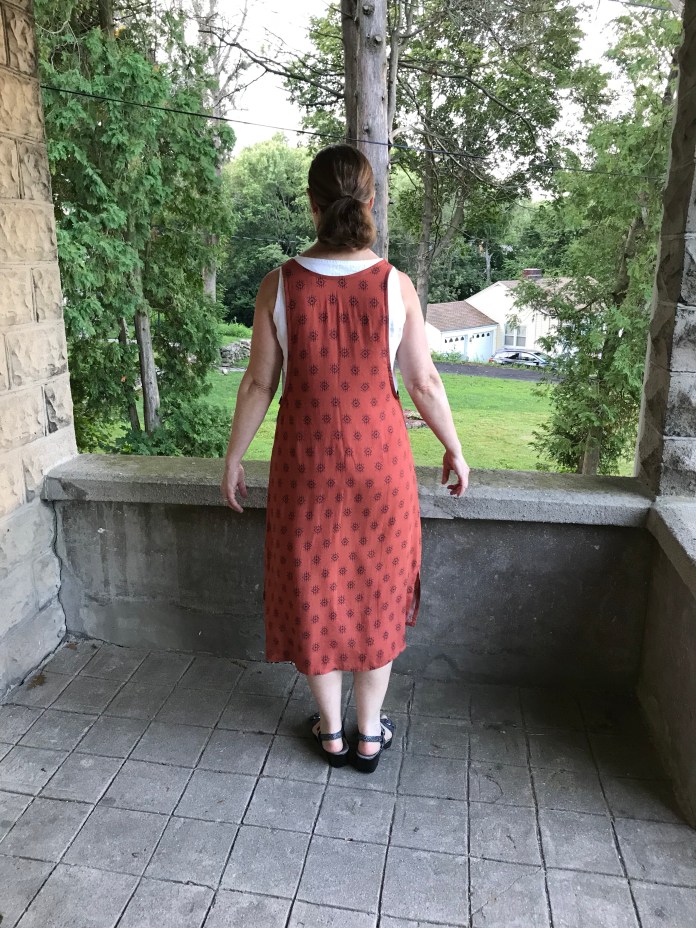
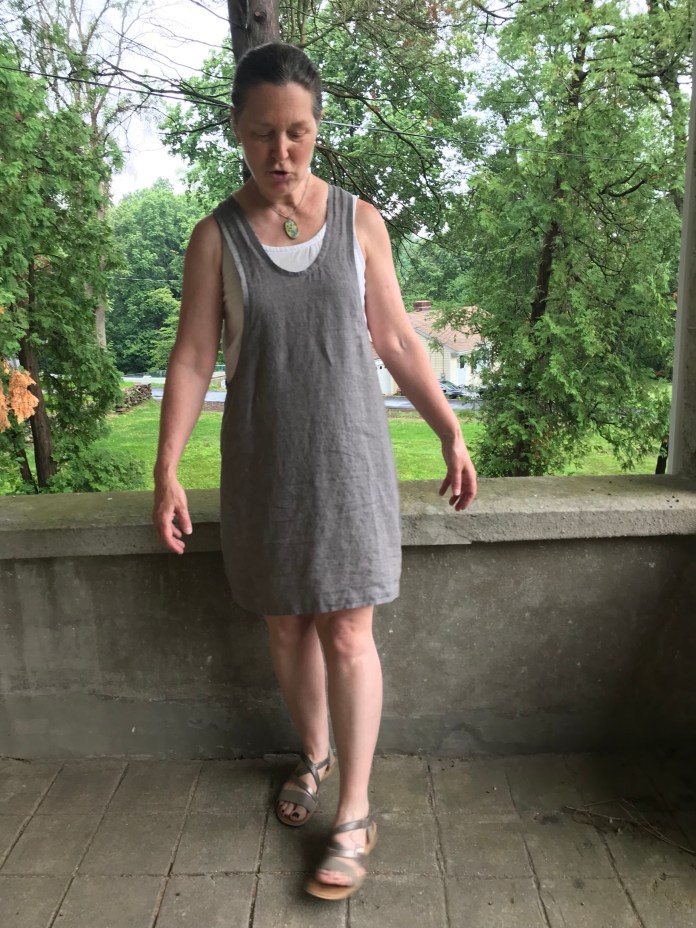
 As you can see in the next picture. He takes a zillion pictures and then I whittle them down to a few.
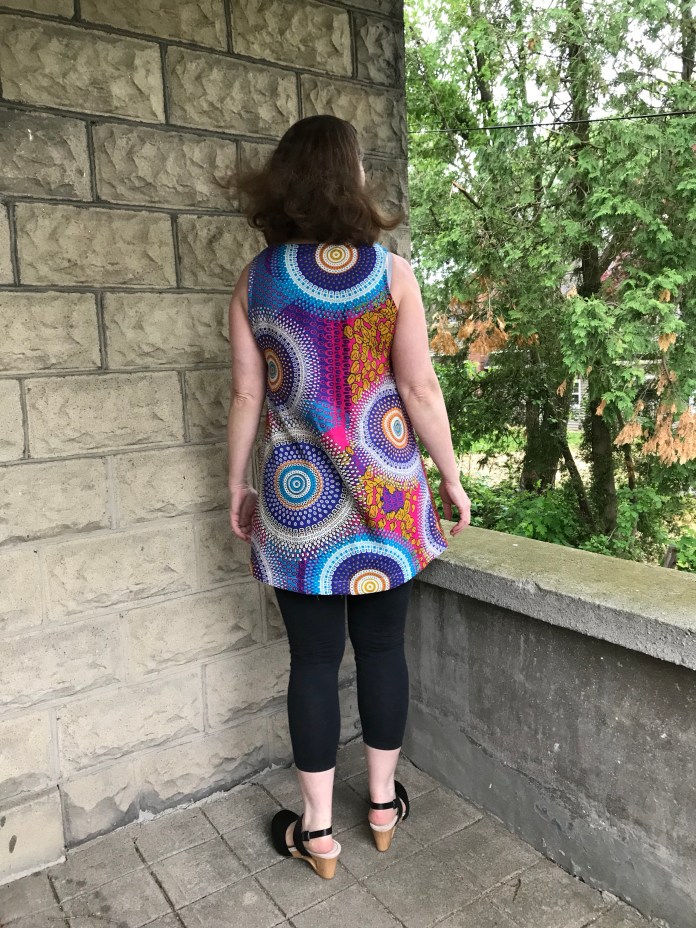
 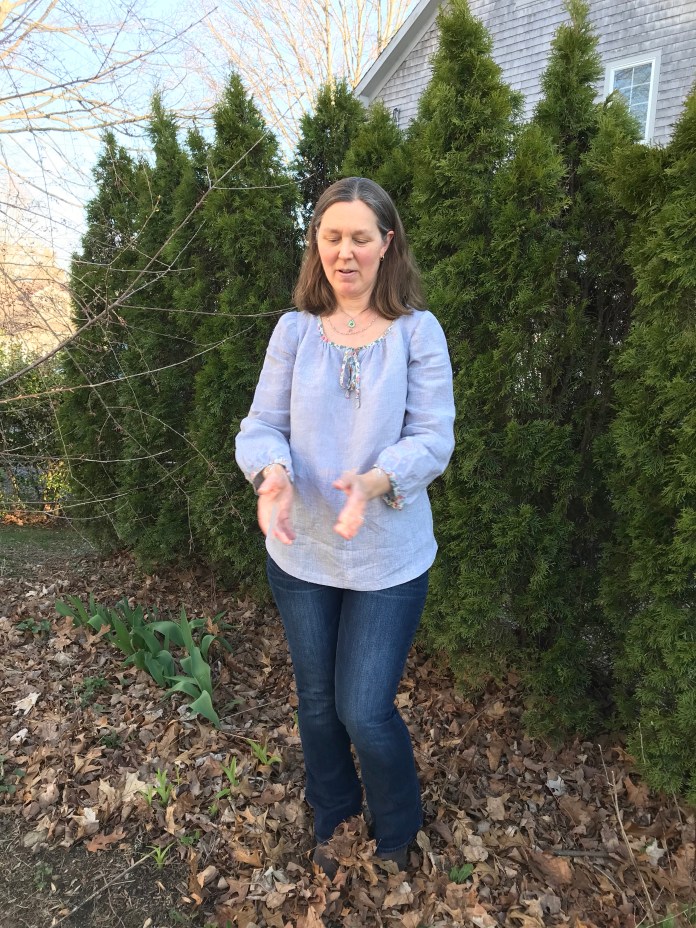 What can I say? Perfect combination of pattern and fabrics. The Loominous version is going to be great too.
