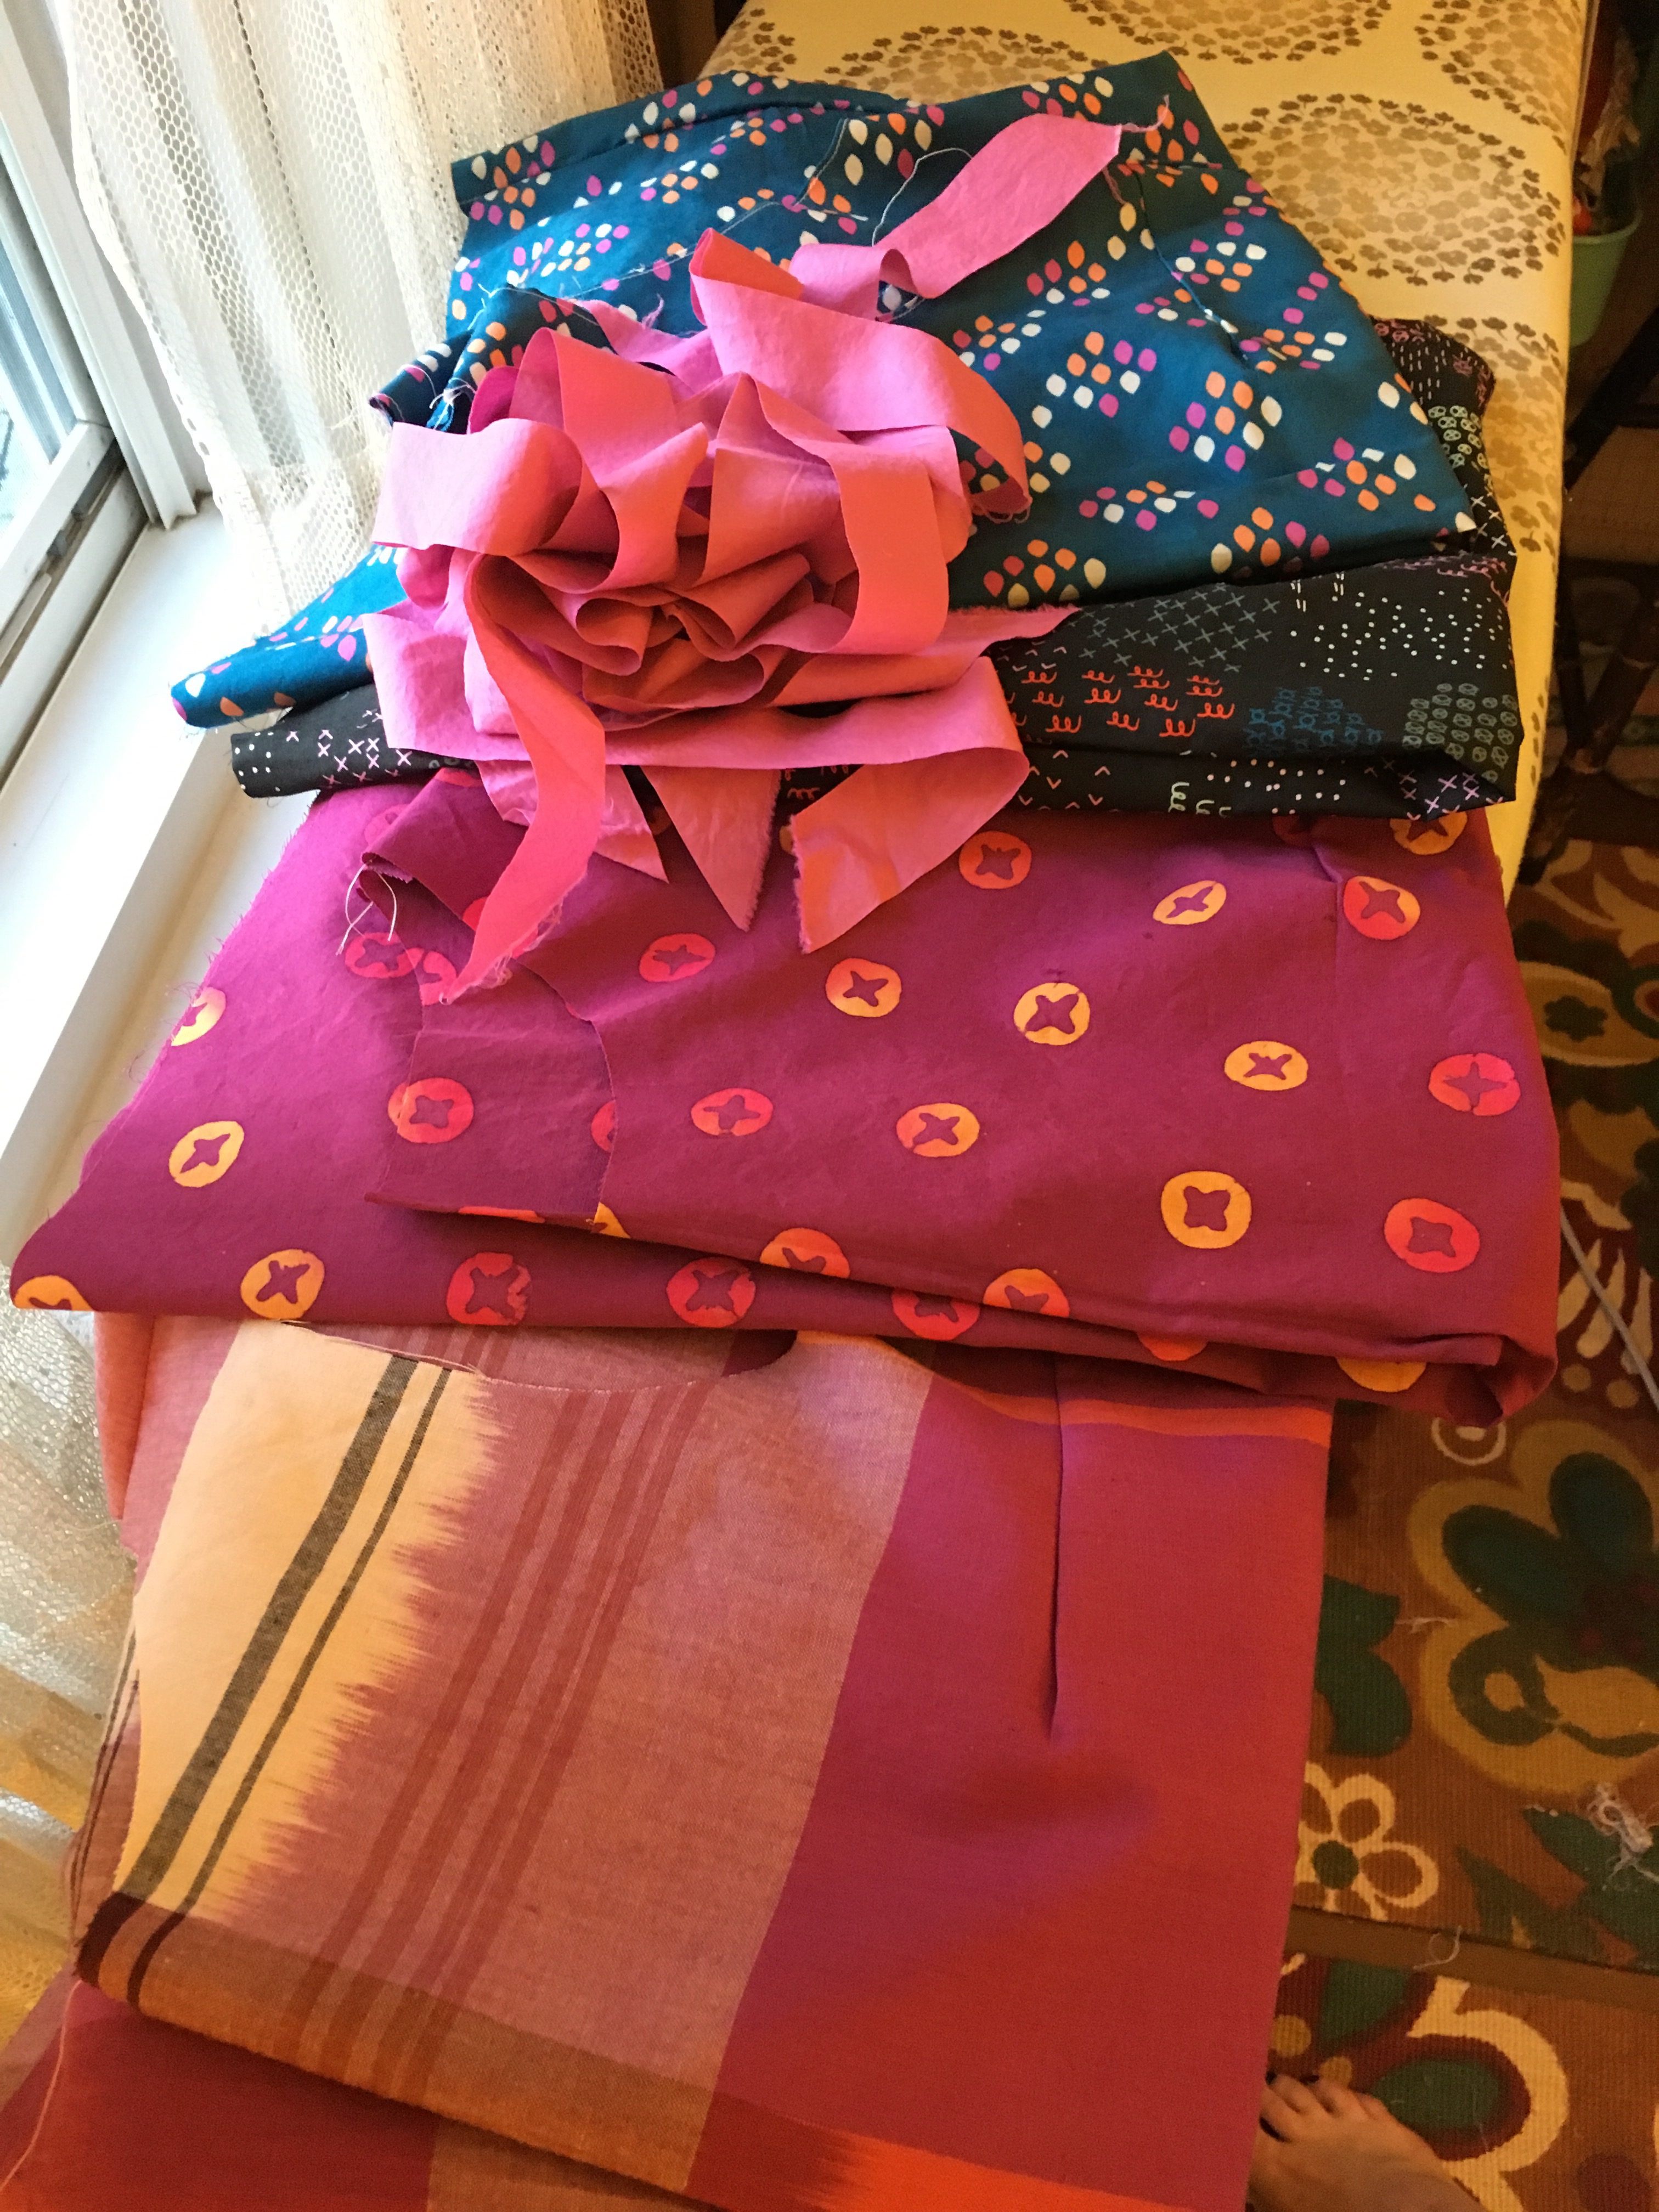
I sewed a lot of garments in 2016, close to 40-I have lost track of the actual total. Most of them were for me, some were for others. When I looked back over the year, I found that although I sewed many garments, I actually made several versions each of seven favorite patterns: the Pearl Shift pattern from Green Bee Patterns and six patterns from Made by Rae: the Washi Dress, the Beatrix Blouse, and the Ruby Blouse which I had made before and the Luna Pants pattern , the Isla knit dress pattern and the Gemma Tank which were new to me in 2016. The newer patterns are from a line that Rae calls Presto patterns. They are less expensive and simpler to sew, which is probably why I was able to sew so many! Here are a couple of pictures of some of my makes with links to the patterns and my blog posts about things I learned while making them. I tend to make things in multiples because it is not much more work to cut out two versions than to cut out one.
The Washi Dress by Made By Rae, which I made for myself three times: two versions had sleeves and two versions were in double gauze. I also made a version with polka dots for my sister and a paisley version for my mother. The double gauze, while a bit tricky to work with, makes a wonderful winter version of the Washi. I have my eye out for another double gauze to make another long sleeved version of the Washi. I wear my charm version all the time.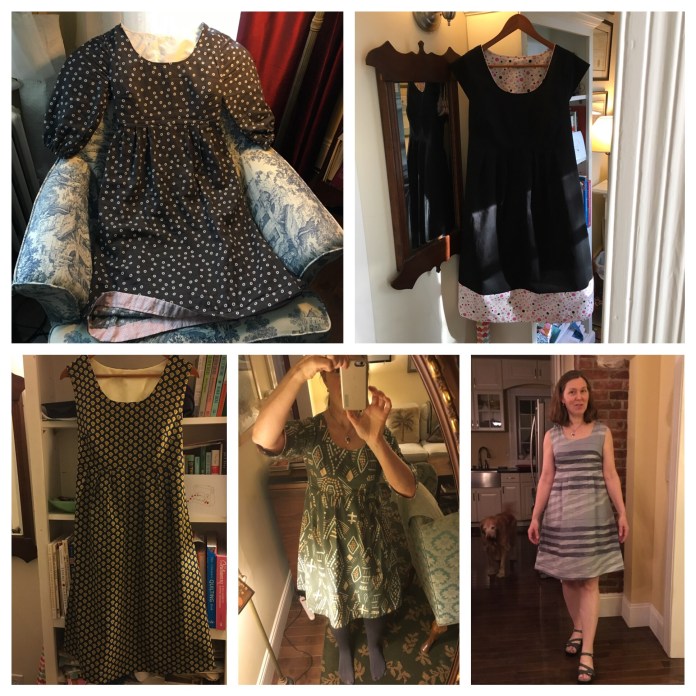 I have two more Washi dresses cut out that I plan to finish soon. One is the Washi XP with a bow. I cut them out last summer before Gemma Madness took over my sewing life. Finishing my WIPs will be a priority for me this winter.
 I am excited to see how the XP version turns out. I think it will be perfect with a sweater and tights and boots for winter. I cut this out way back in the spring when I made a baby quilt for a friend and used this for the binding.
I also sewed several new versions of the Beatrix blouse and modified a shift dress pattern by adding Beatrix sleeves. I lengthened the Beatrix to a tunic length using the Pearl Shift pattern as my guide and made this Cookie Book version with a curved hem and this Alison Glass version with an exposed zipper and a straight hem. I wear them all the time with leggings and jeans.
I made the Pearl Shift four times: two in heavy cotton flannel and one each in a cotton-linen blend and in a black and white checked fabric.  I have two more cut out and ready to sew, one for my daughter and another plaid flannel version for me. The original plaid Pearl that I made a year ago in the fall is probably my most worn garment ever.
I surprised myself this year by making pants! I highly recommend the Luna Pants pattern from Made By Rae. I made this clay colored version and this Fringe version, both with fabric by April Rhodes. I lived in them all summer.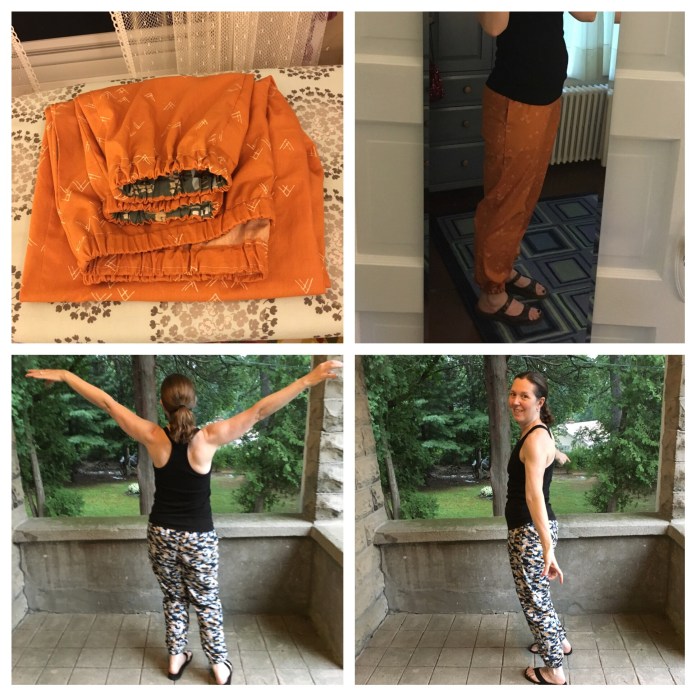 I was surprised at how flattering they ended up being and they are incredibly comfortable.
I made three versions of the Ruby Pattern this summer, a plum colored double gauze blouse for me, a double gauze blouse with a yoke made of quilting cotton for a friend and a dress which I love in April Rhodes fabric. I just love her designs for garments.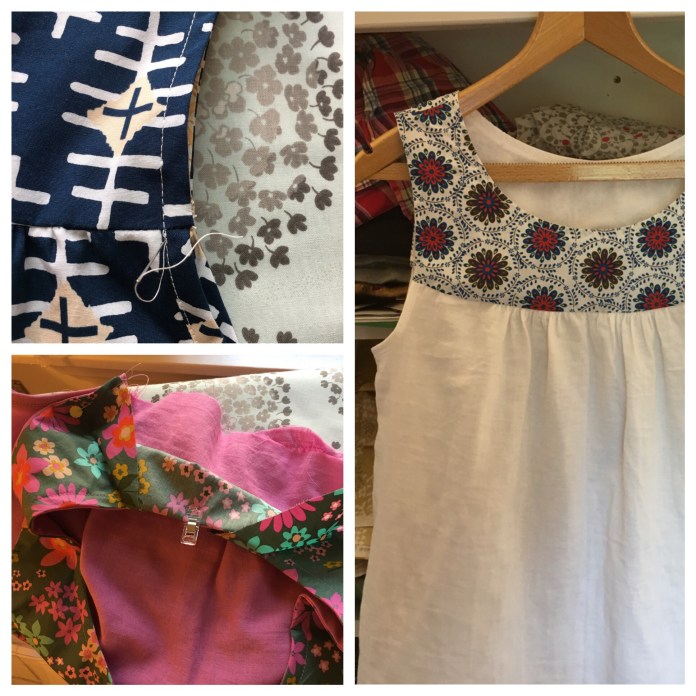 I have several other versions of the Ruby blouse cut out and ready to sew. Sew all the WIPs is going to be my resolution for 2017!
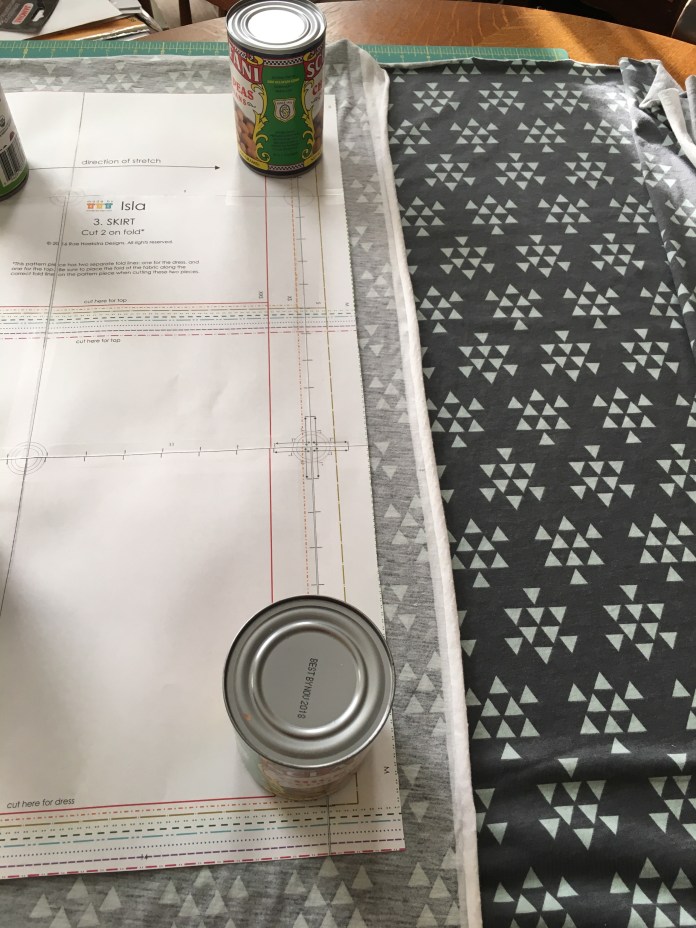
I learned a bit about how to sew knits on a regular sewing machine and made one each of the dress and top versions of the Isla Pattern. 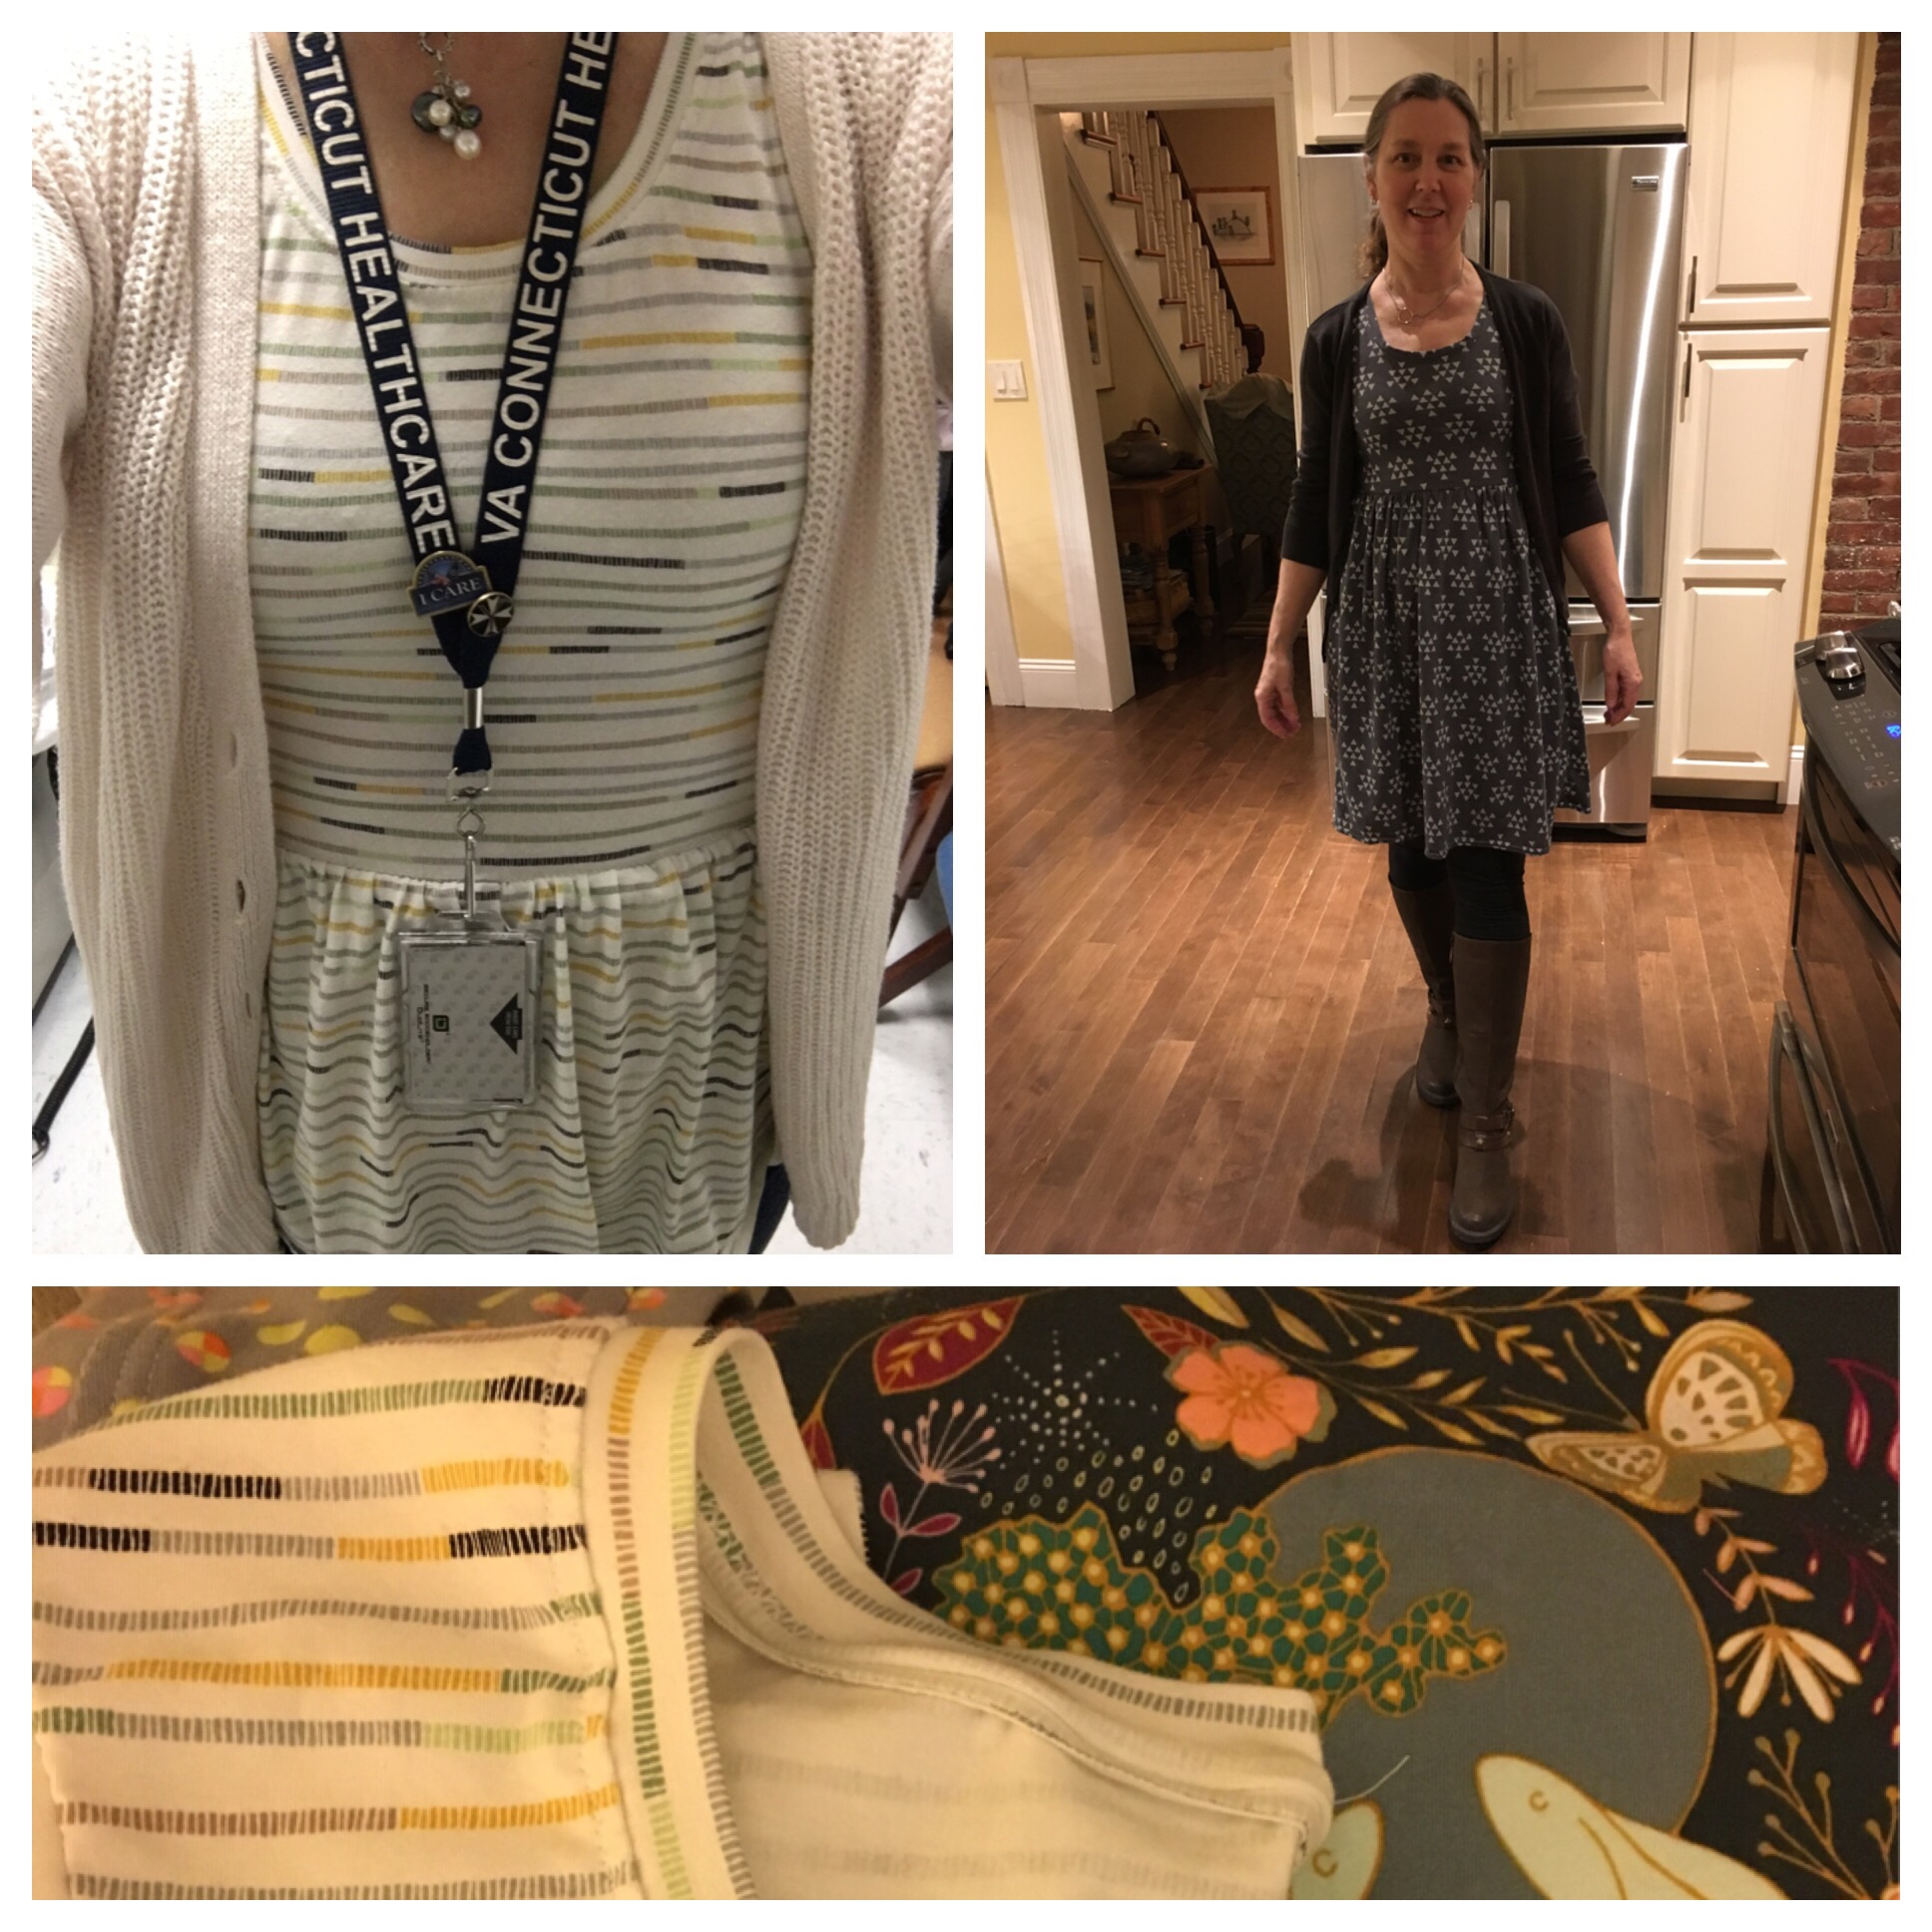
 I have several more cut out and ready for an afternoon when I can sew them up. I highly recommend this pattern for those of you who are new to sewing knits.
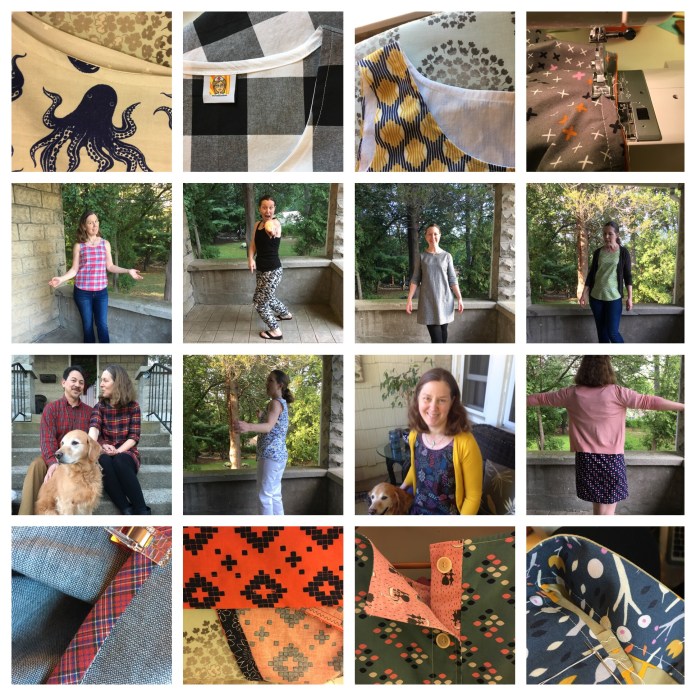
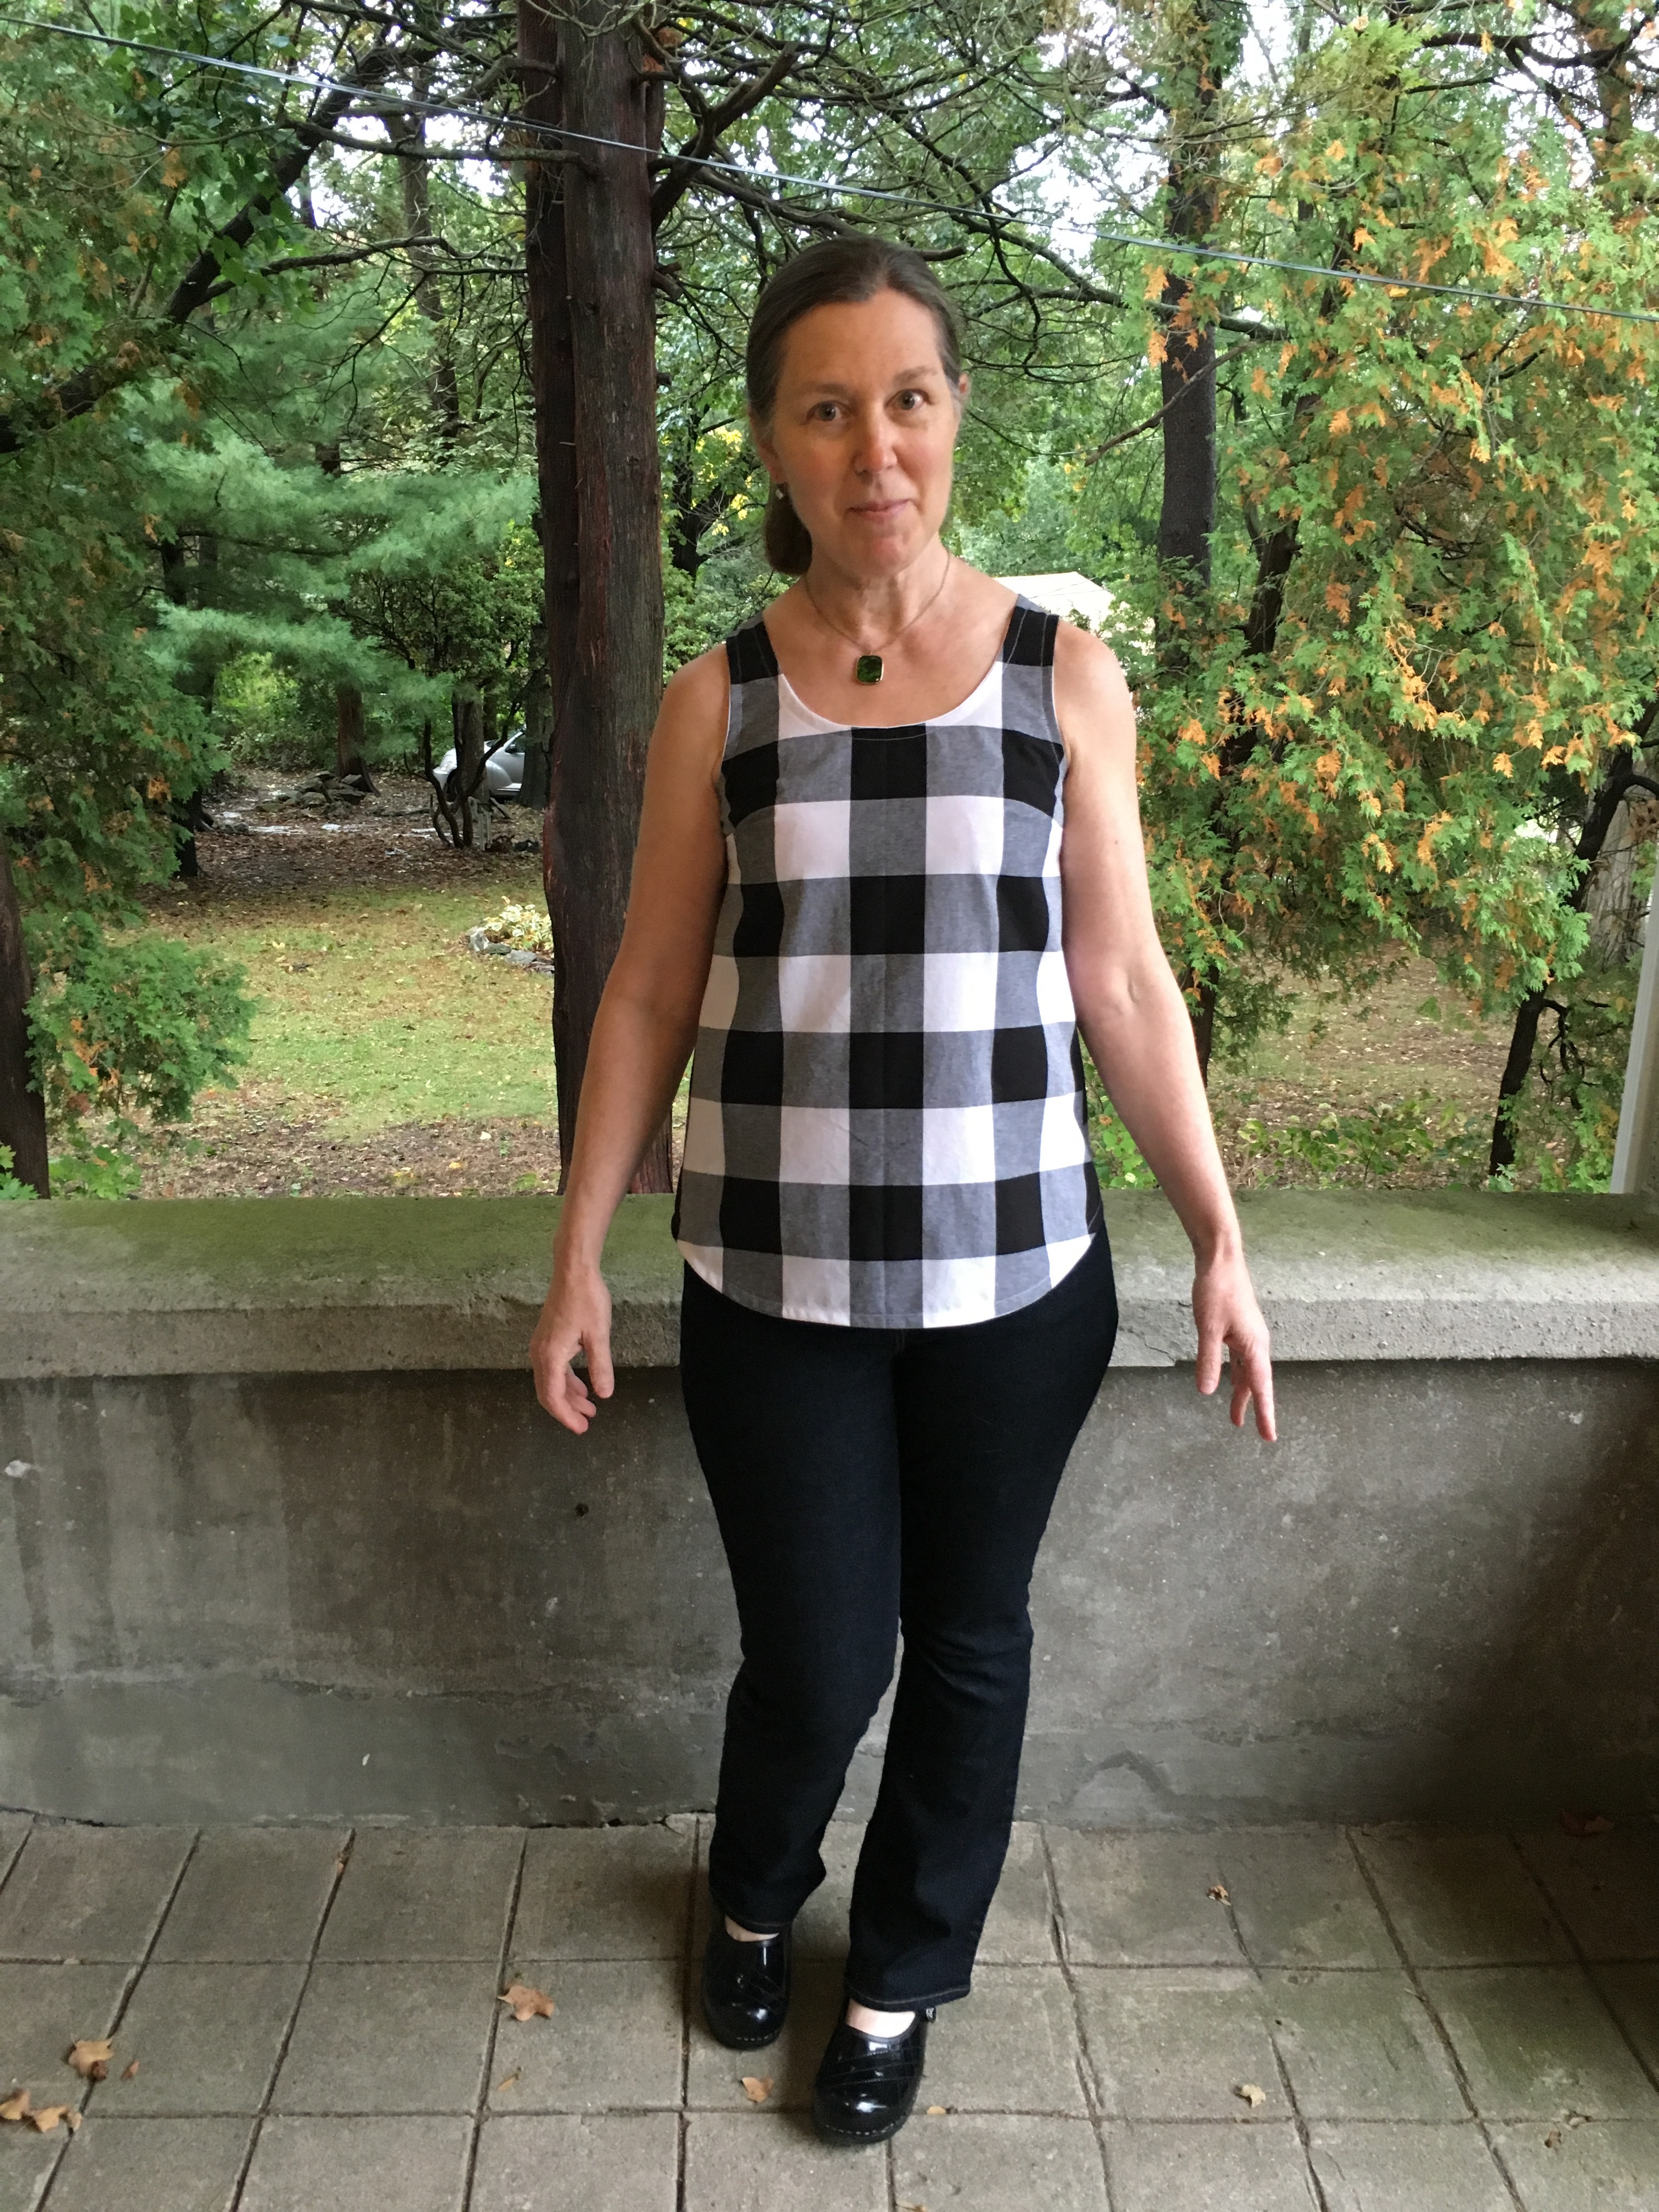
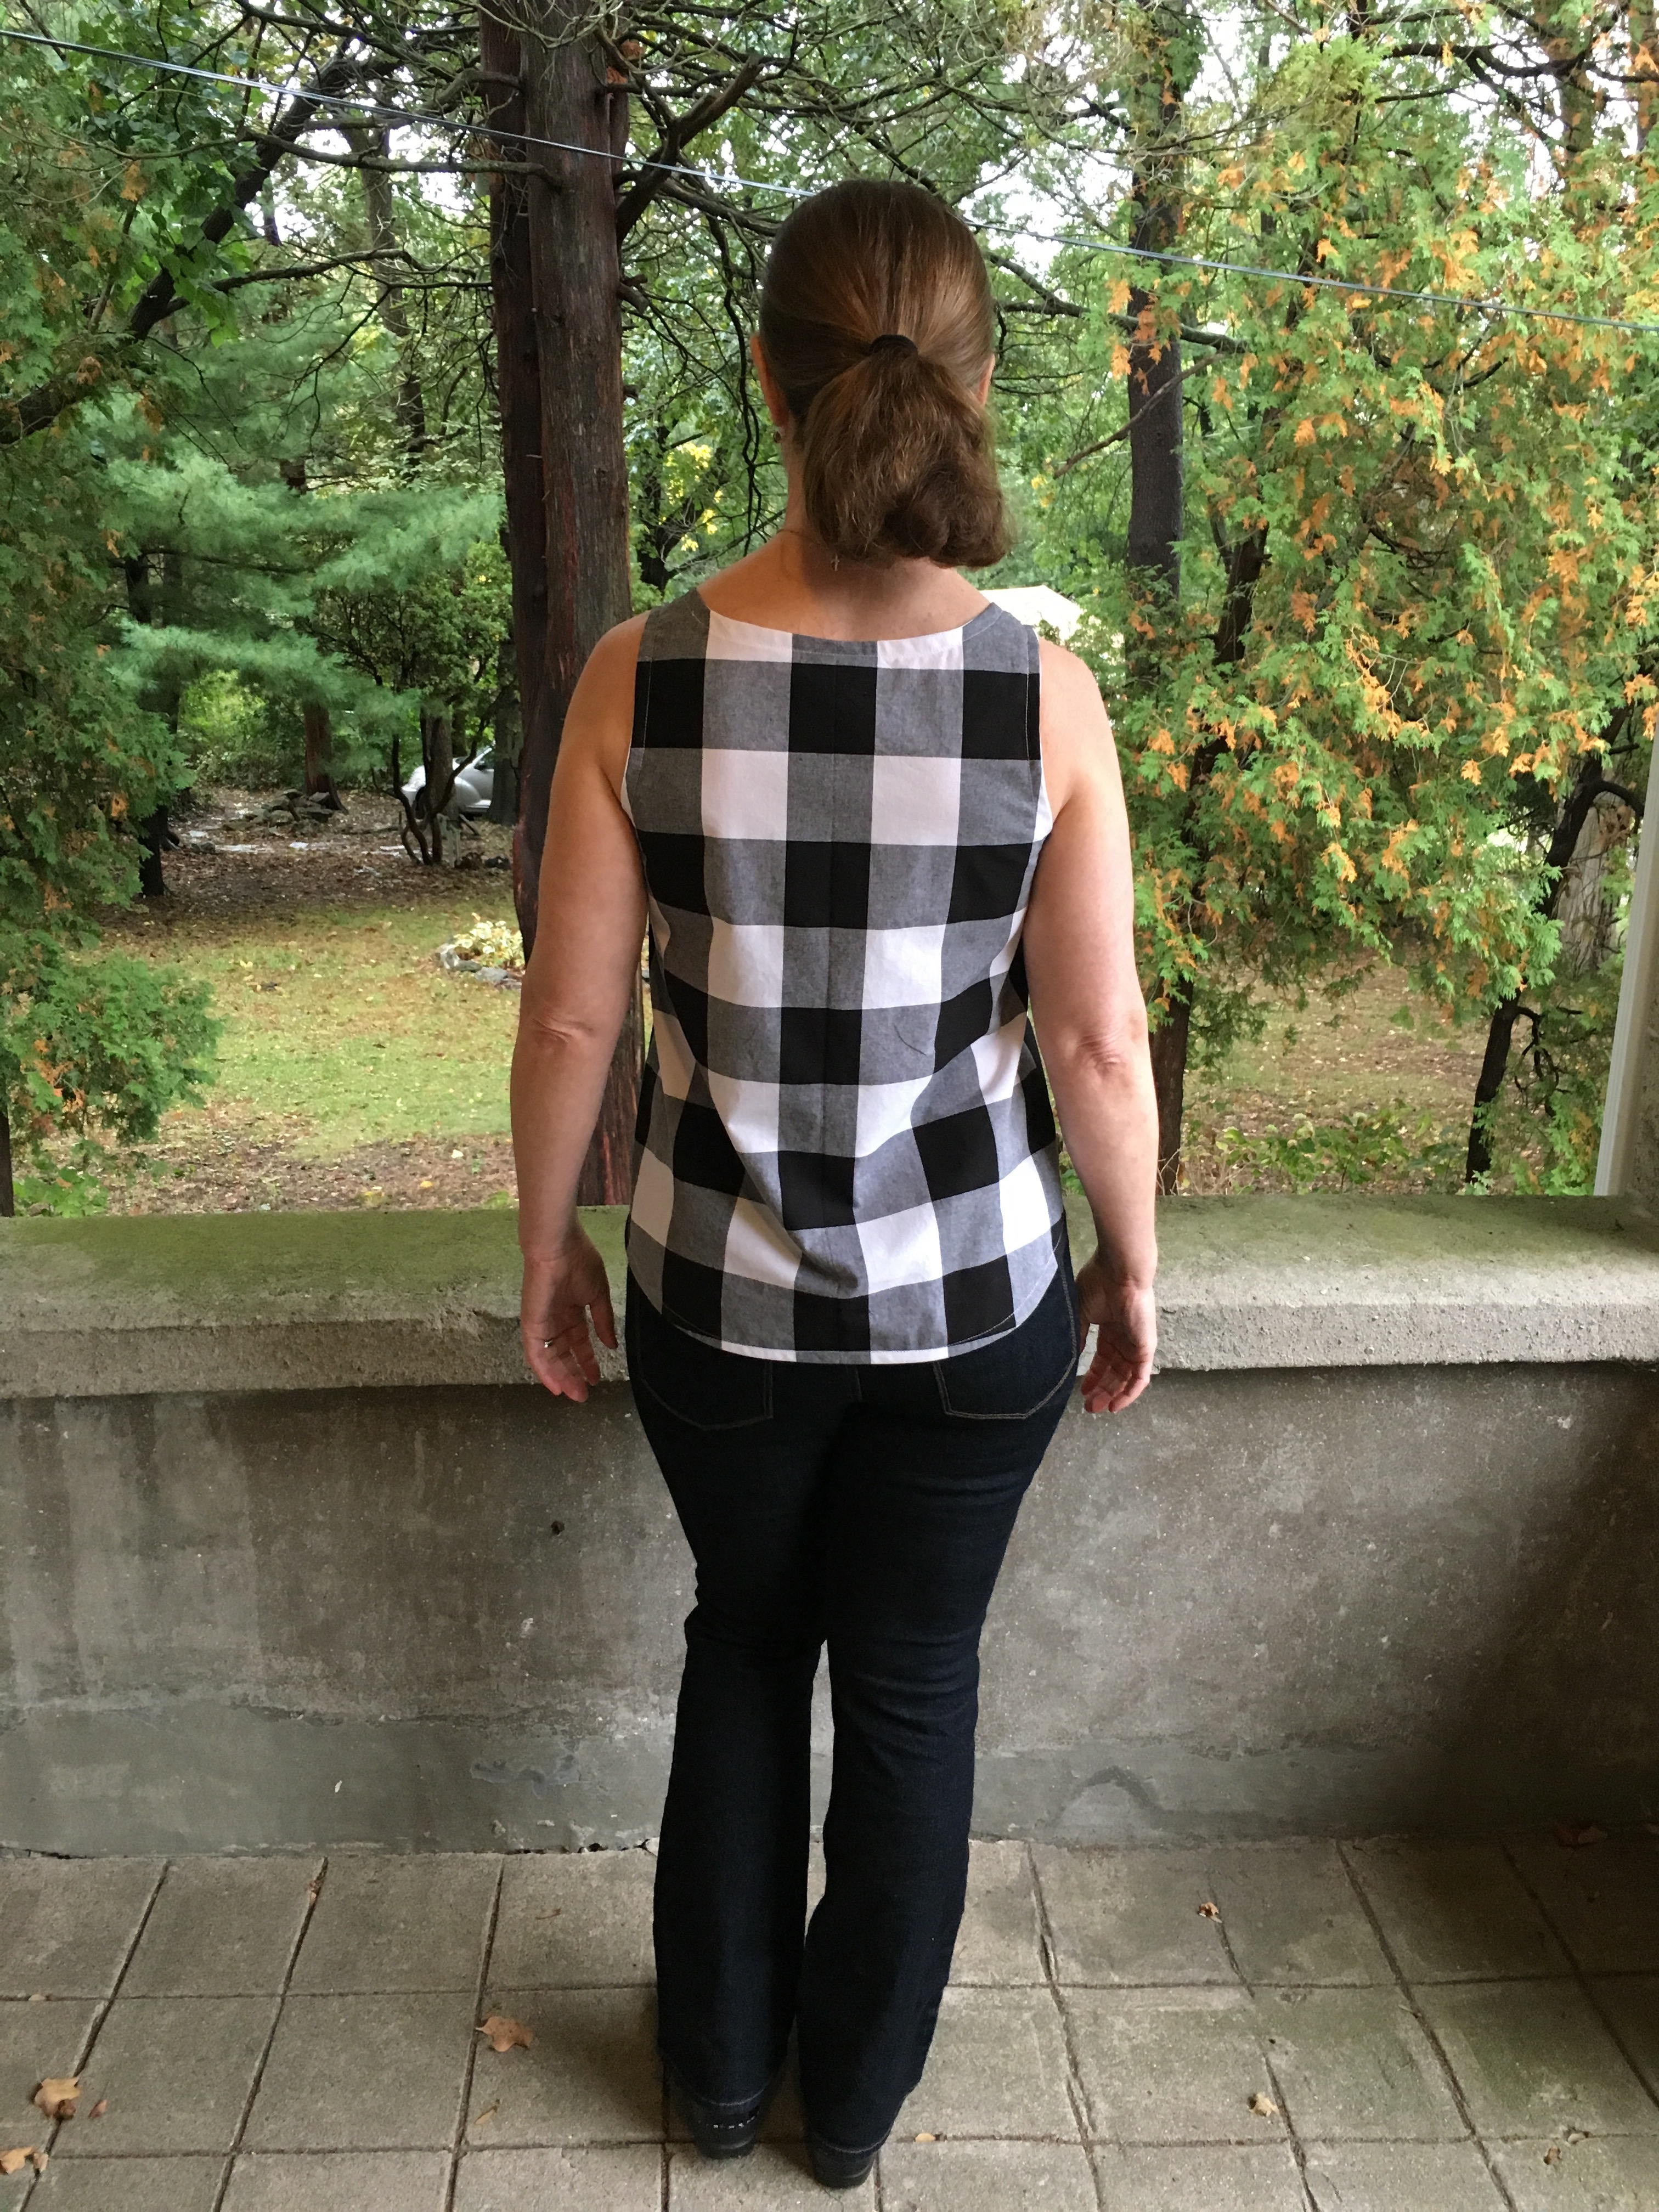
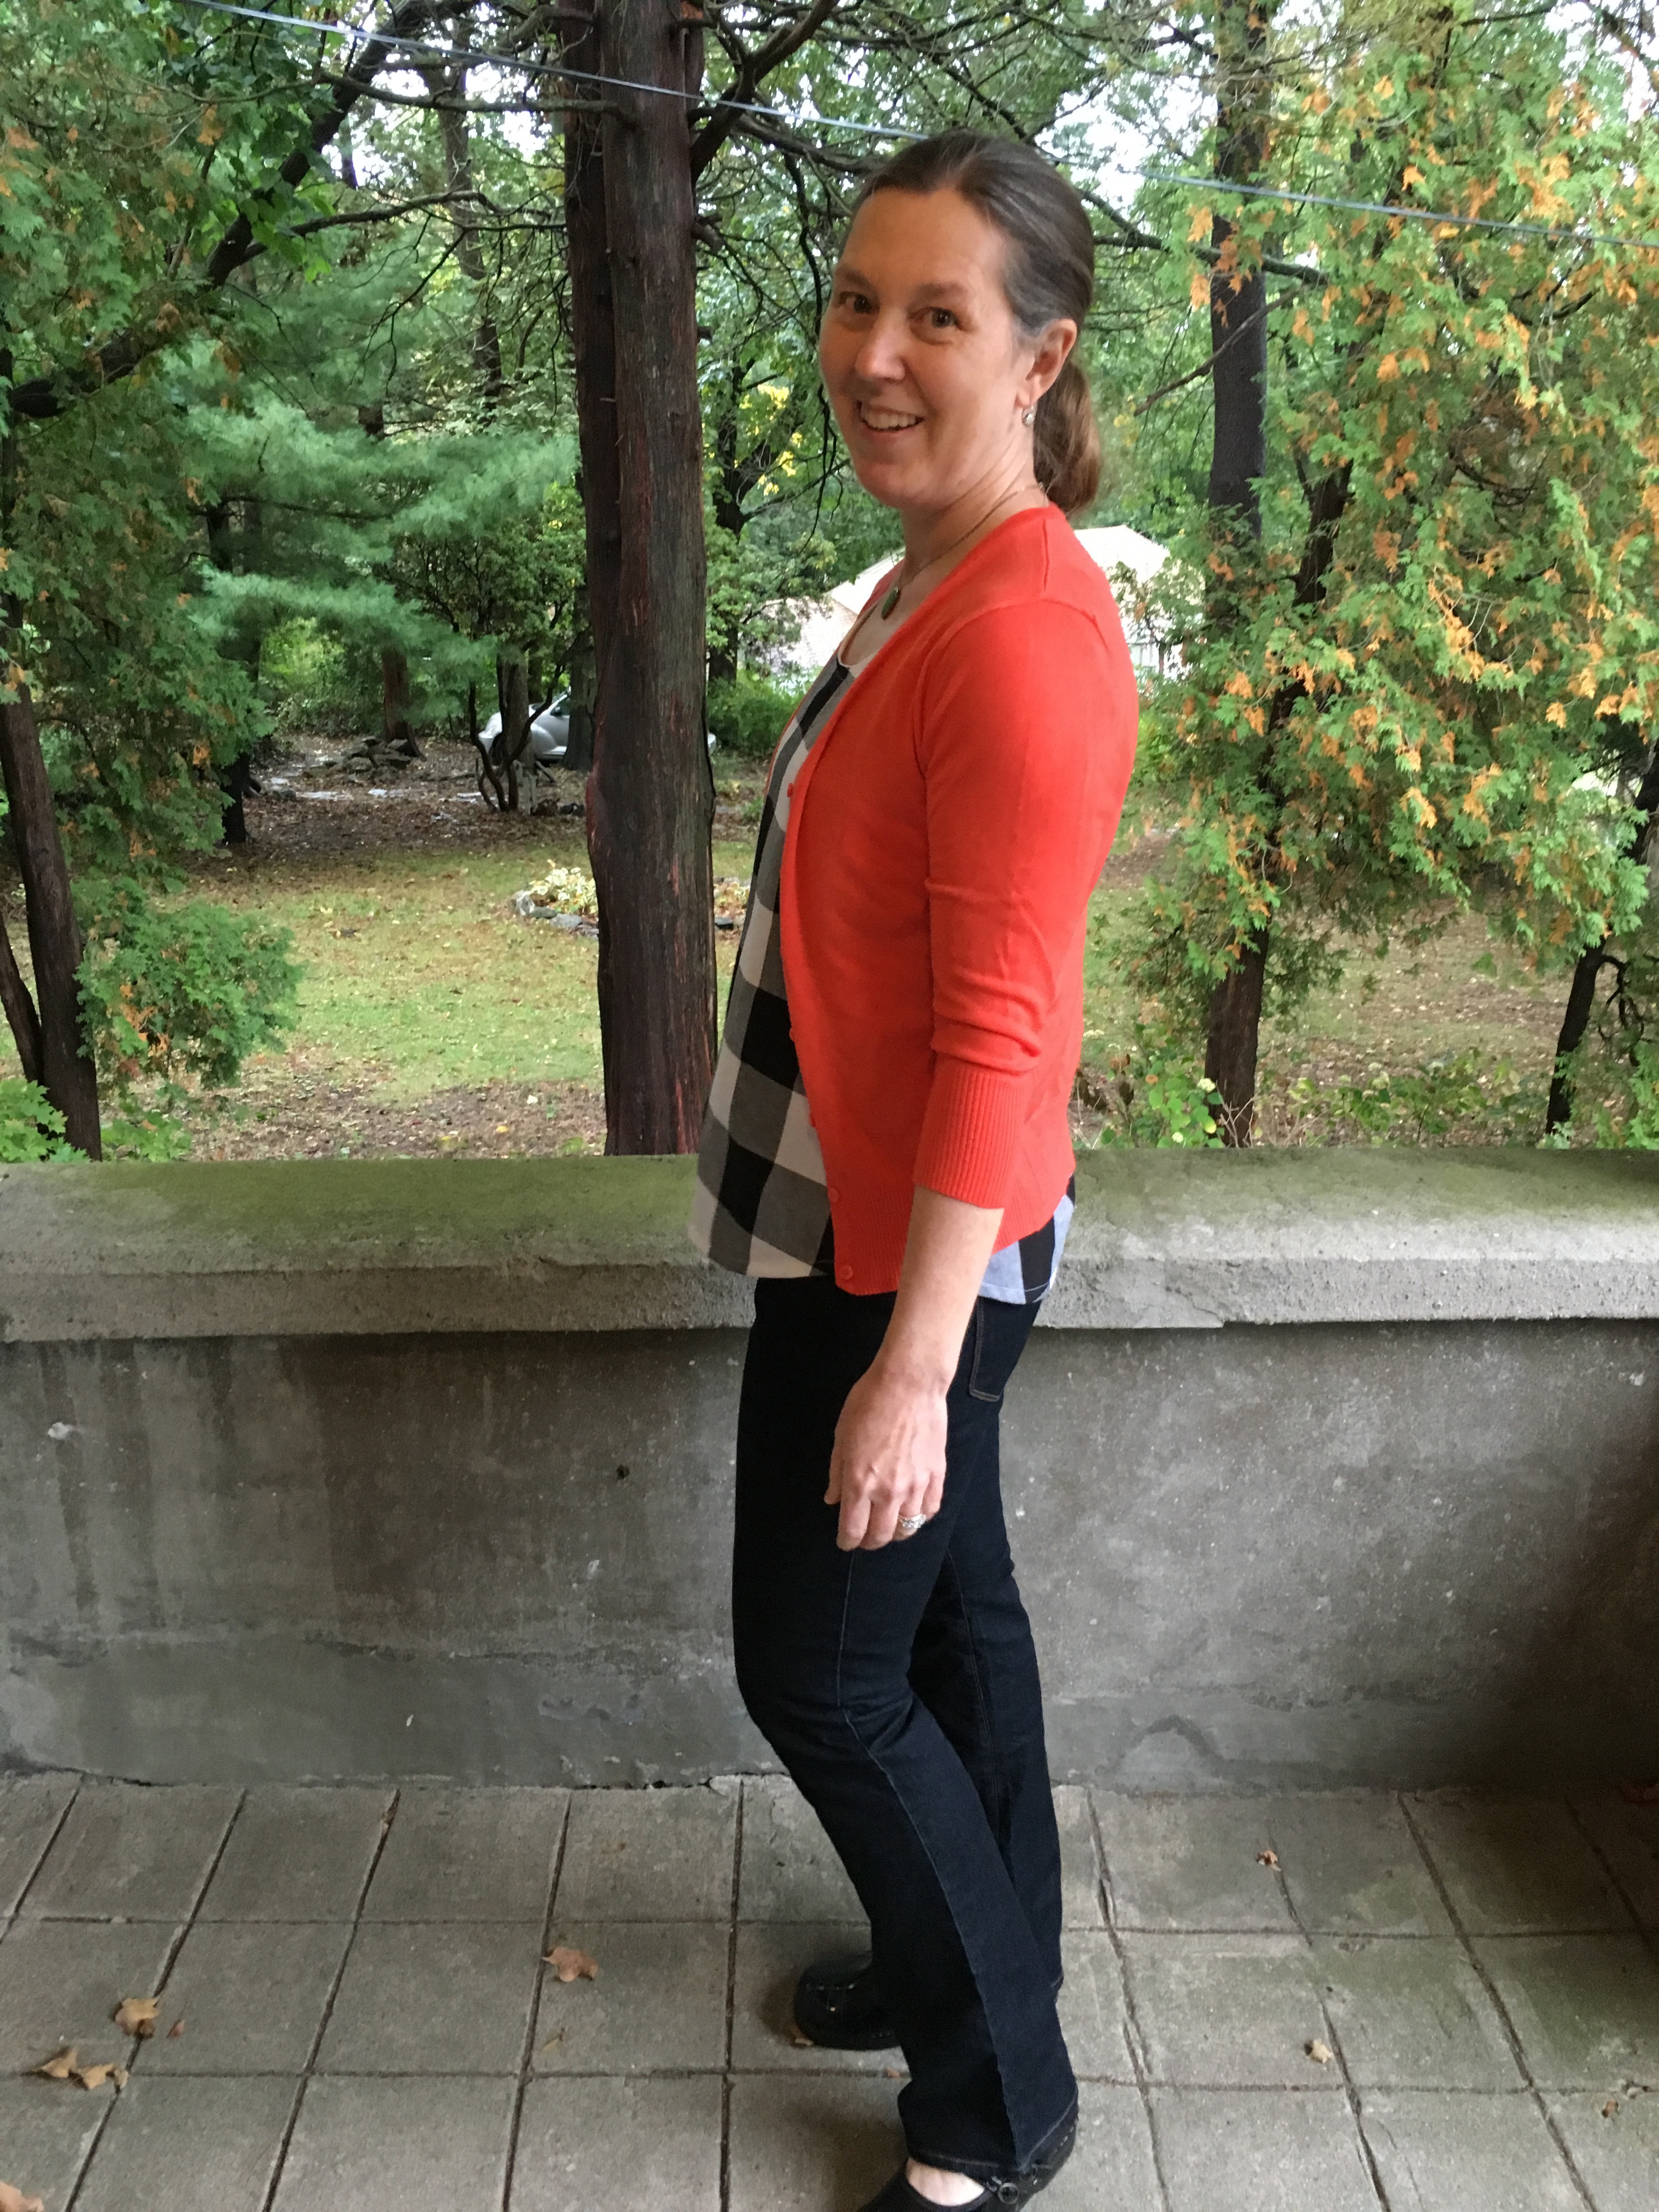
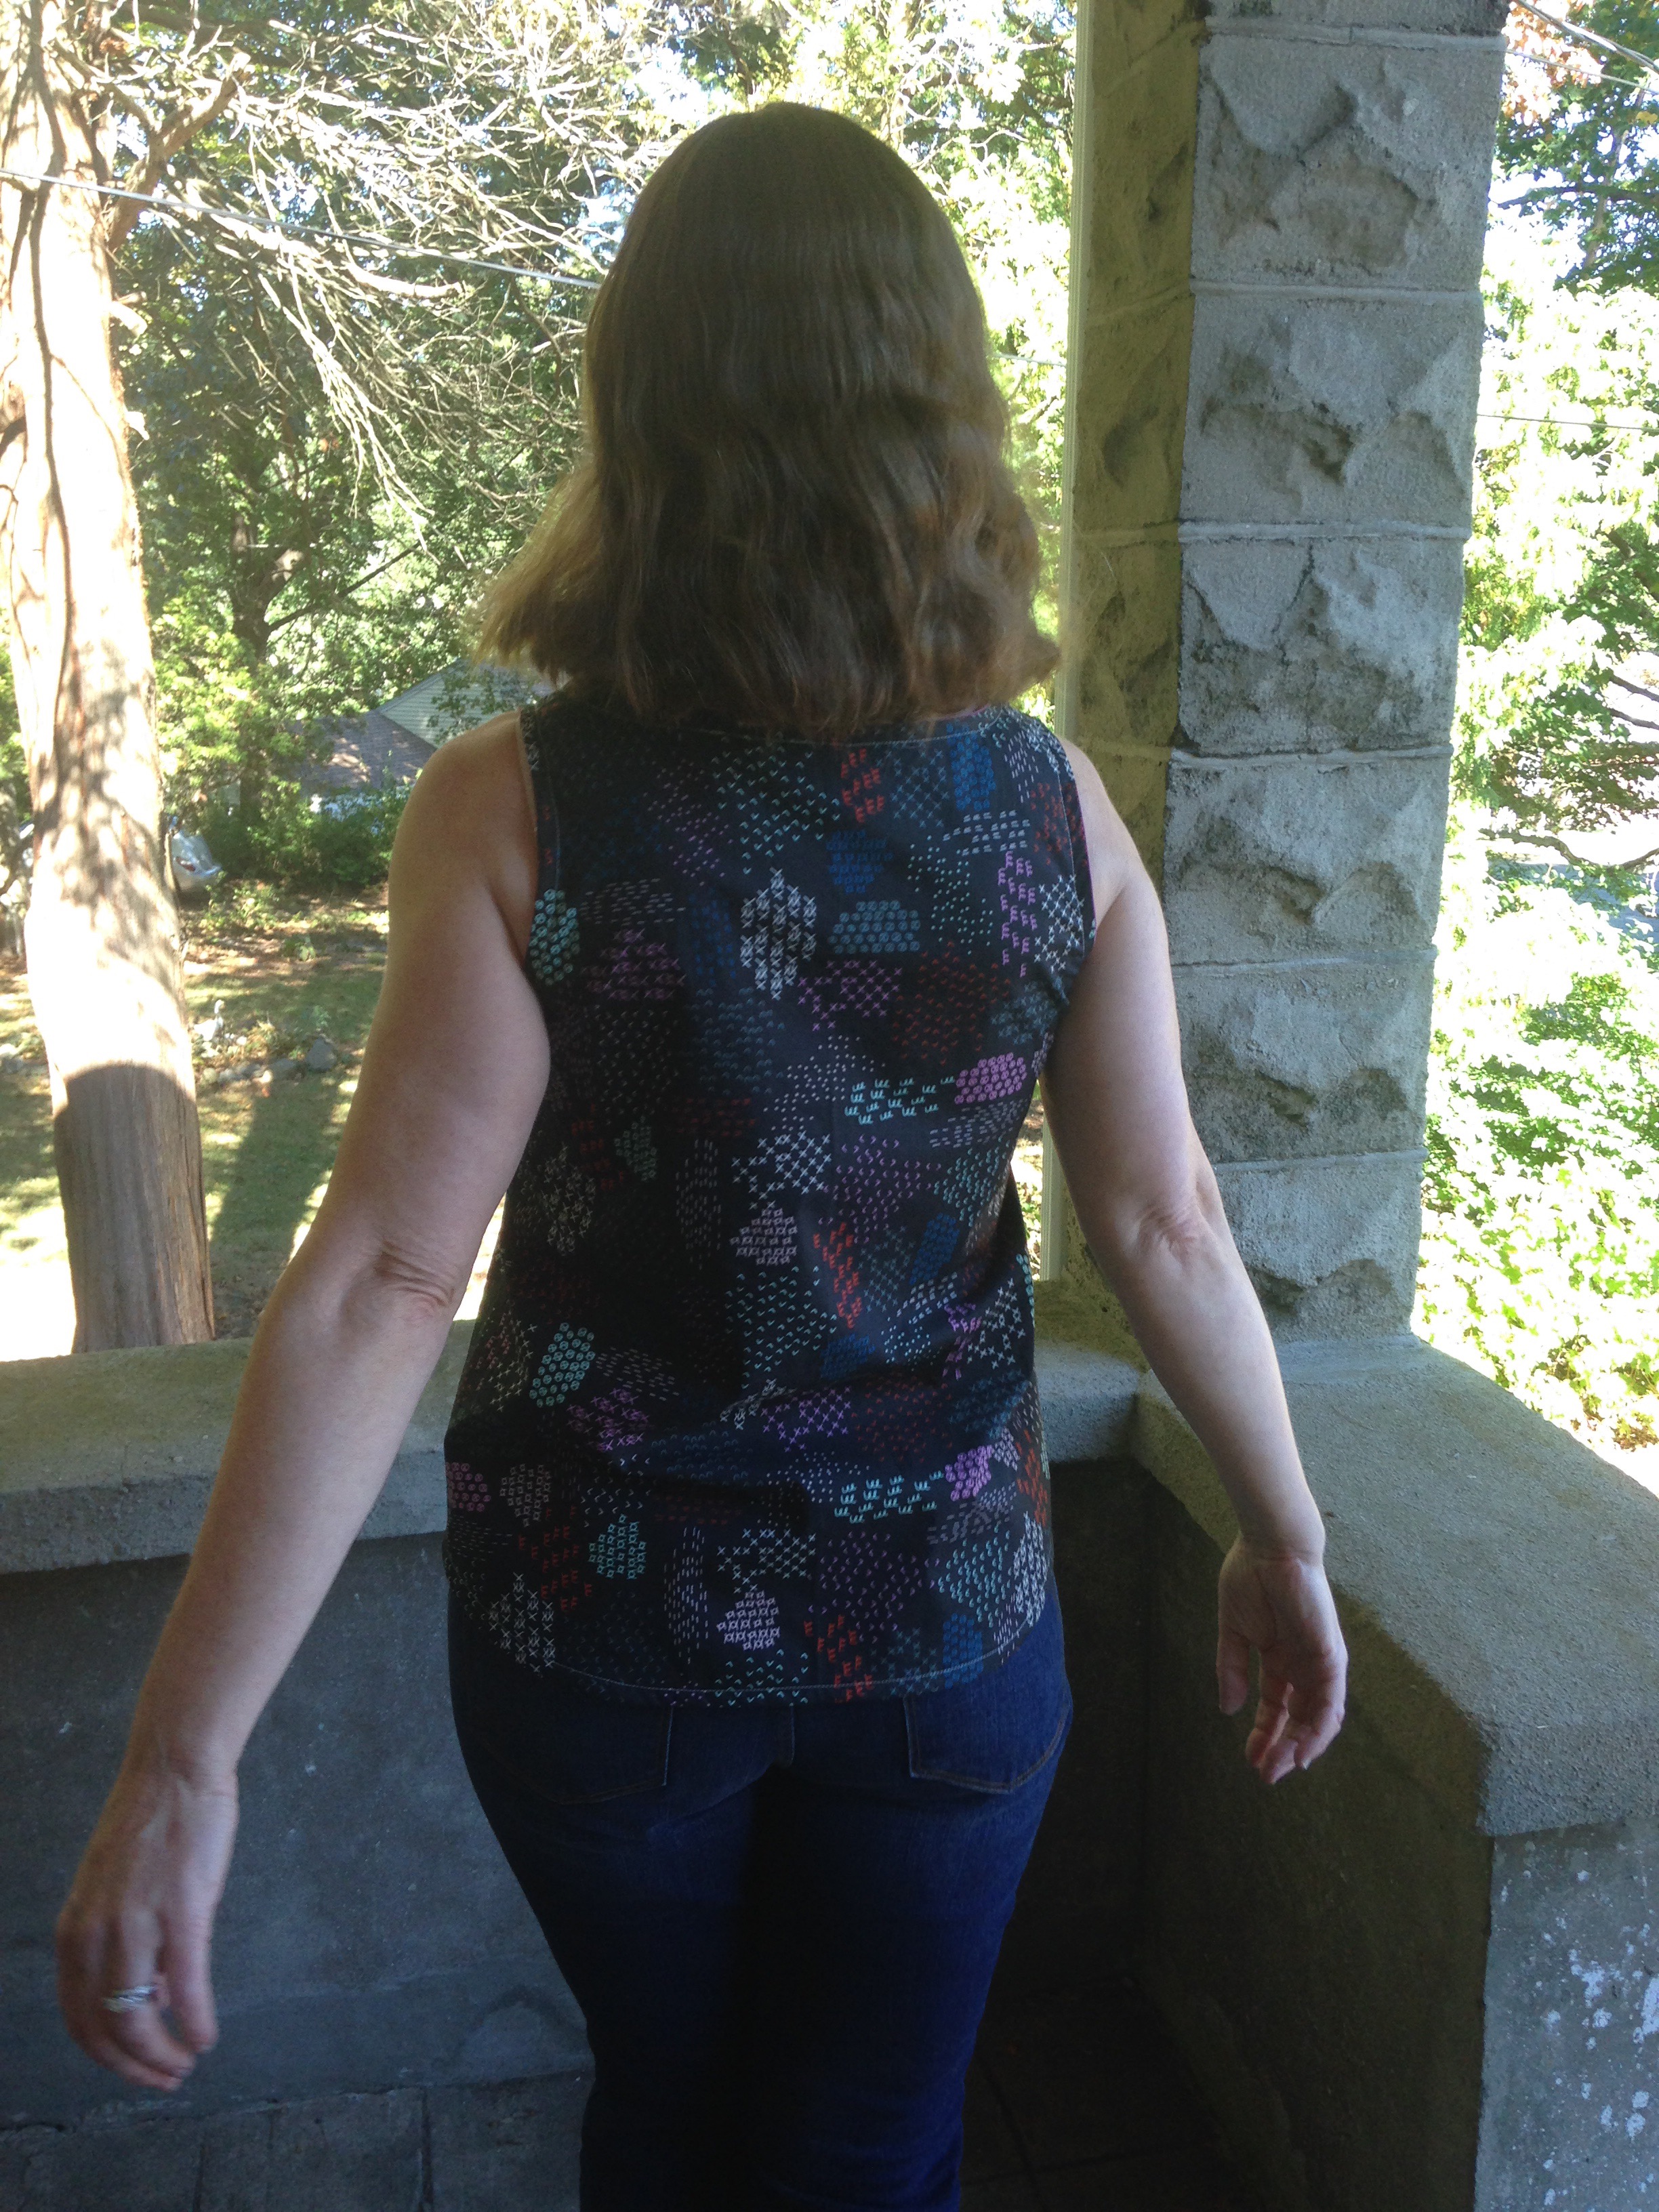
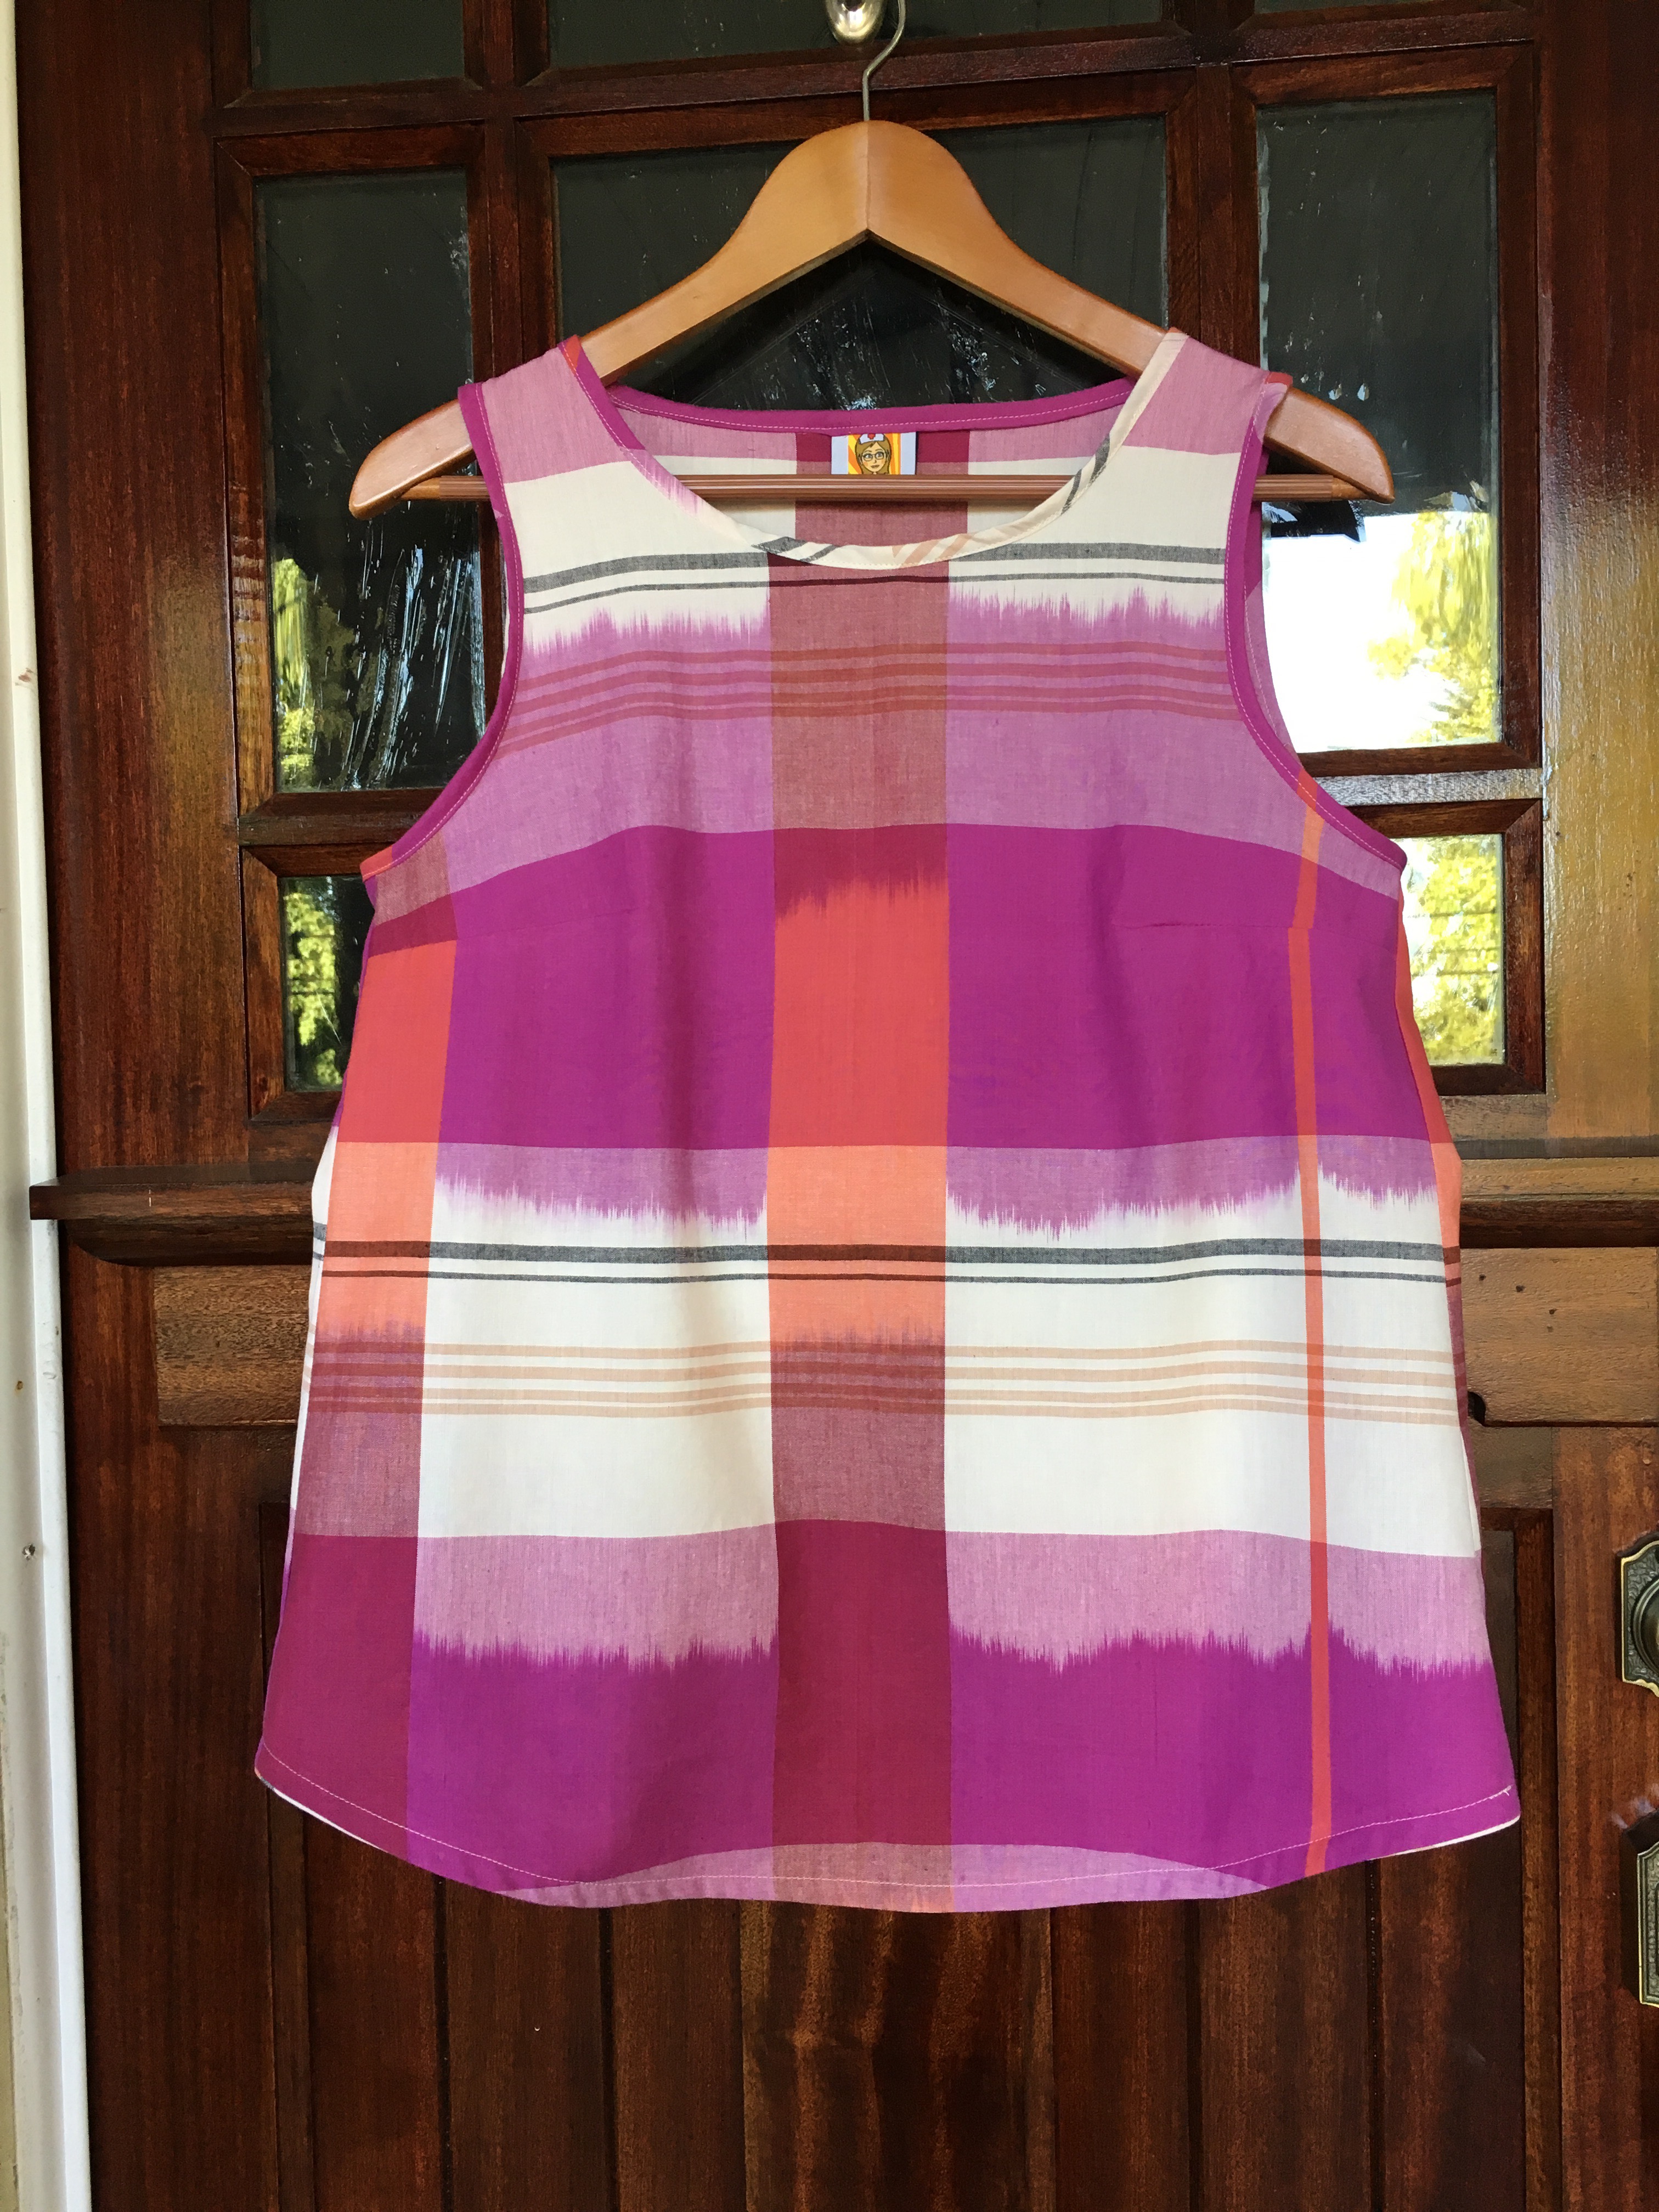
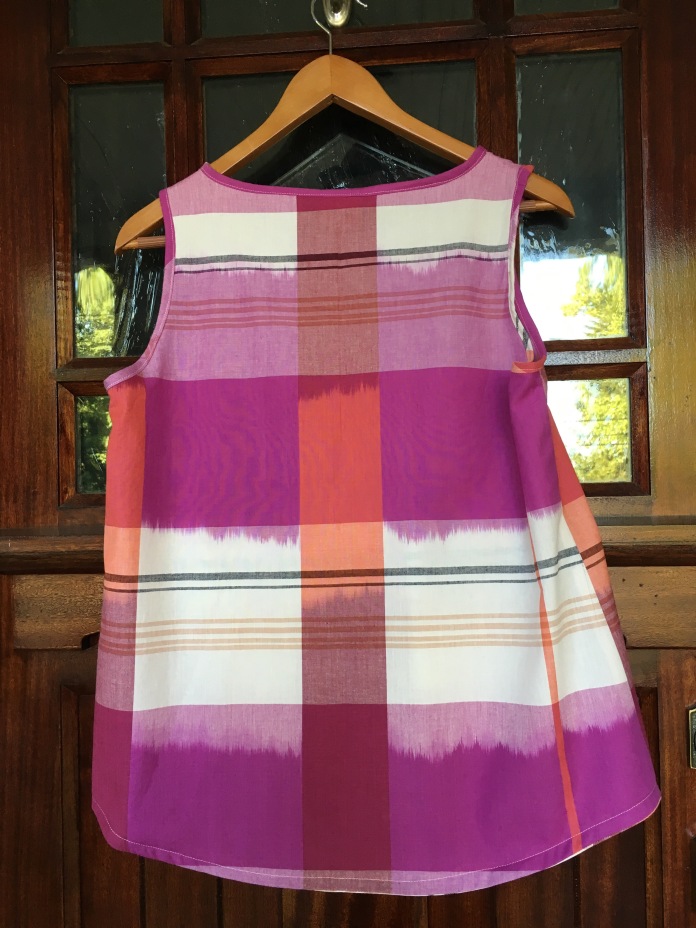
The pattern I sewed the most though turned out to be the Gemma Tank. Rae launched this pattern over the summer and once she did, all my other WIPs went by the wayside. I literally have things I cut out to sew back in July that never got sewn because I was too busy sewing so many versions of the Gemma. I lined it, I lengthened it, I sewed it for my kids, I sewed many versions for myself. I sewed it out of thrifted men’s shirts and I learned a lot about bias binding. It was a lot of fun, a bit crazy but a great way to experiment with different fabrics. I am wearing them all the time. It has become a great layering piece for me. These are actually not even all of the Gemmas I made. Craziness!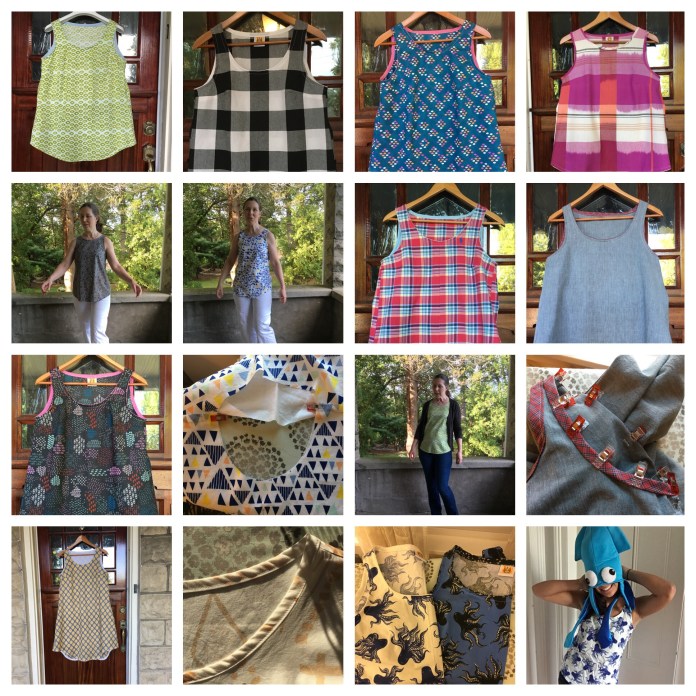 Other non-garment items I sewed this year were this quilt for a much awaited new baby boy-so much fun! and an afghan for my mother in law made from thrift shop sweaters. I also was privileged to be a pattern tester for the first time for this great skirt pattern which will be launched in the new year. I have fabric picked out and ready to go. It is going to be a great new basic to add to my rotation.
Highlights of my sewing year included Me Made May-which is always fun and which brings so much inspiration from other sewers and a couple of mini-breaks (long weekends,) one in Maine and one at home and a micro-mini break (afternoon) that I spent exploring my old neighborhood. I also read a lot this year and tried very hard to stick to my 2016 New Year’s resolution to commit one day a week to being unplugged. That worked for about half the year and then life got busy and I ended up having to spend time each Sunday in the office. But I tried to spend at least some of each Sunday unplugged from media, reading, taking walks,, going to church regularly and doing yoga. These are things I hope to find more time for in the New Year.
With best wishes to all for a happy and healthy New Year and time and energy to finish the sewing projects (I know that I can’t cut out one more thing until I sew through the pile I have accumulated of cut out projects, ) and thanks to all for following along with my sewing adventures!
 But I wasn’t thrilled with the results I got using my regular sewing machine. When
 I tried a stretch stitch on my machine based on
 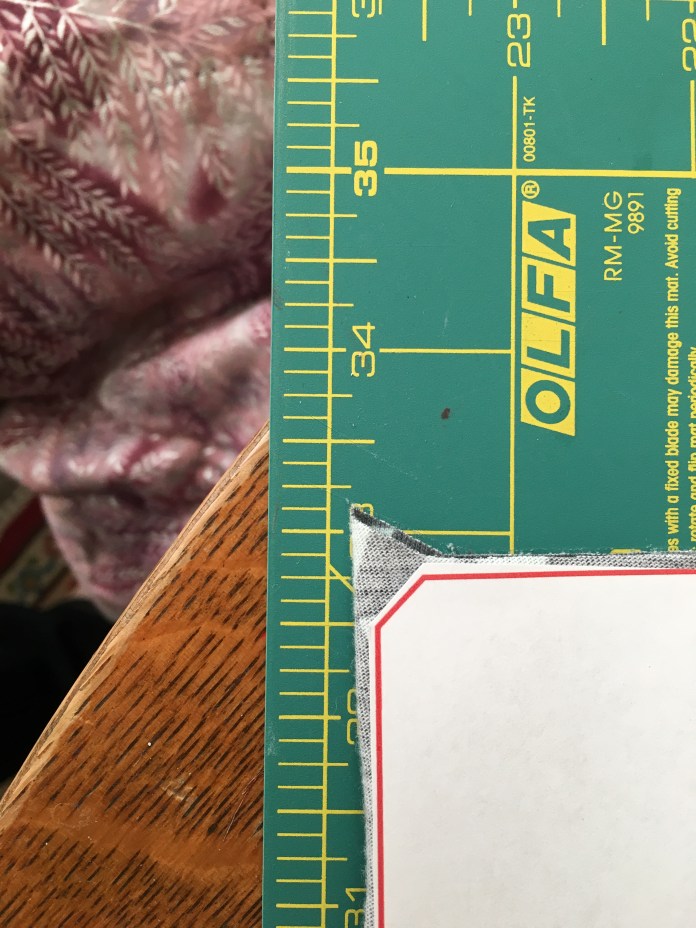 This is what the test sample of the stretch stitch looked like on a scrap.
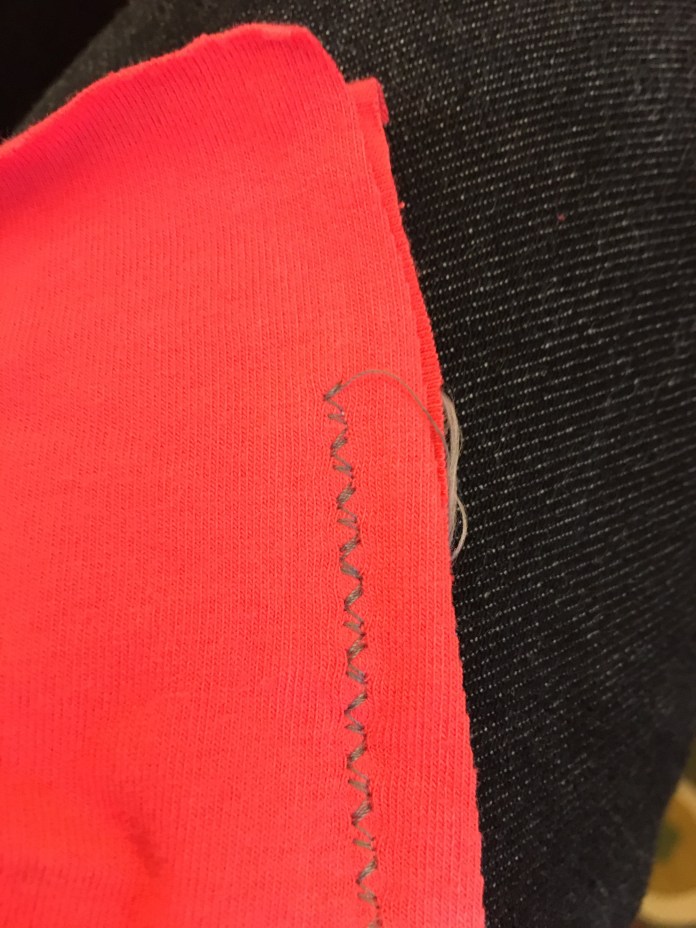 These are the settings I used for the stretch stitch which I used for all my seams.
  And here are the settings I used for the zig zag stitch that I used around the arms and neck to tack down the seam allowances after attaching the binding.
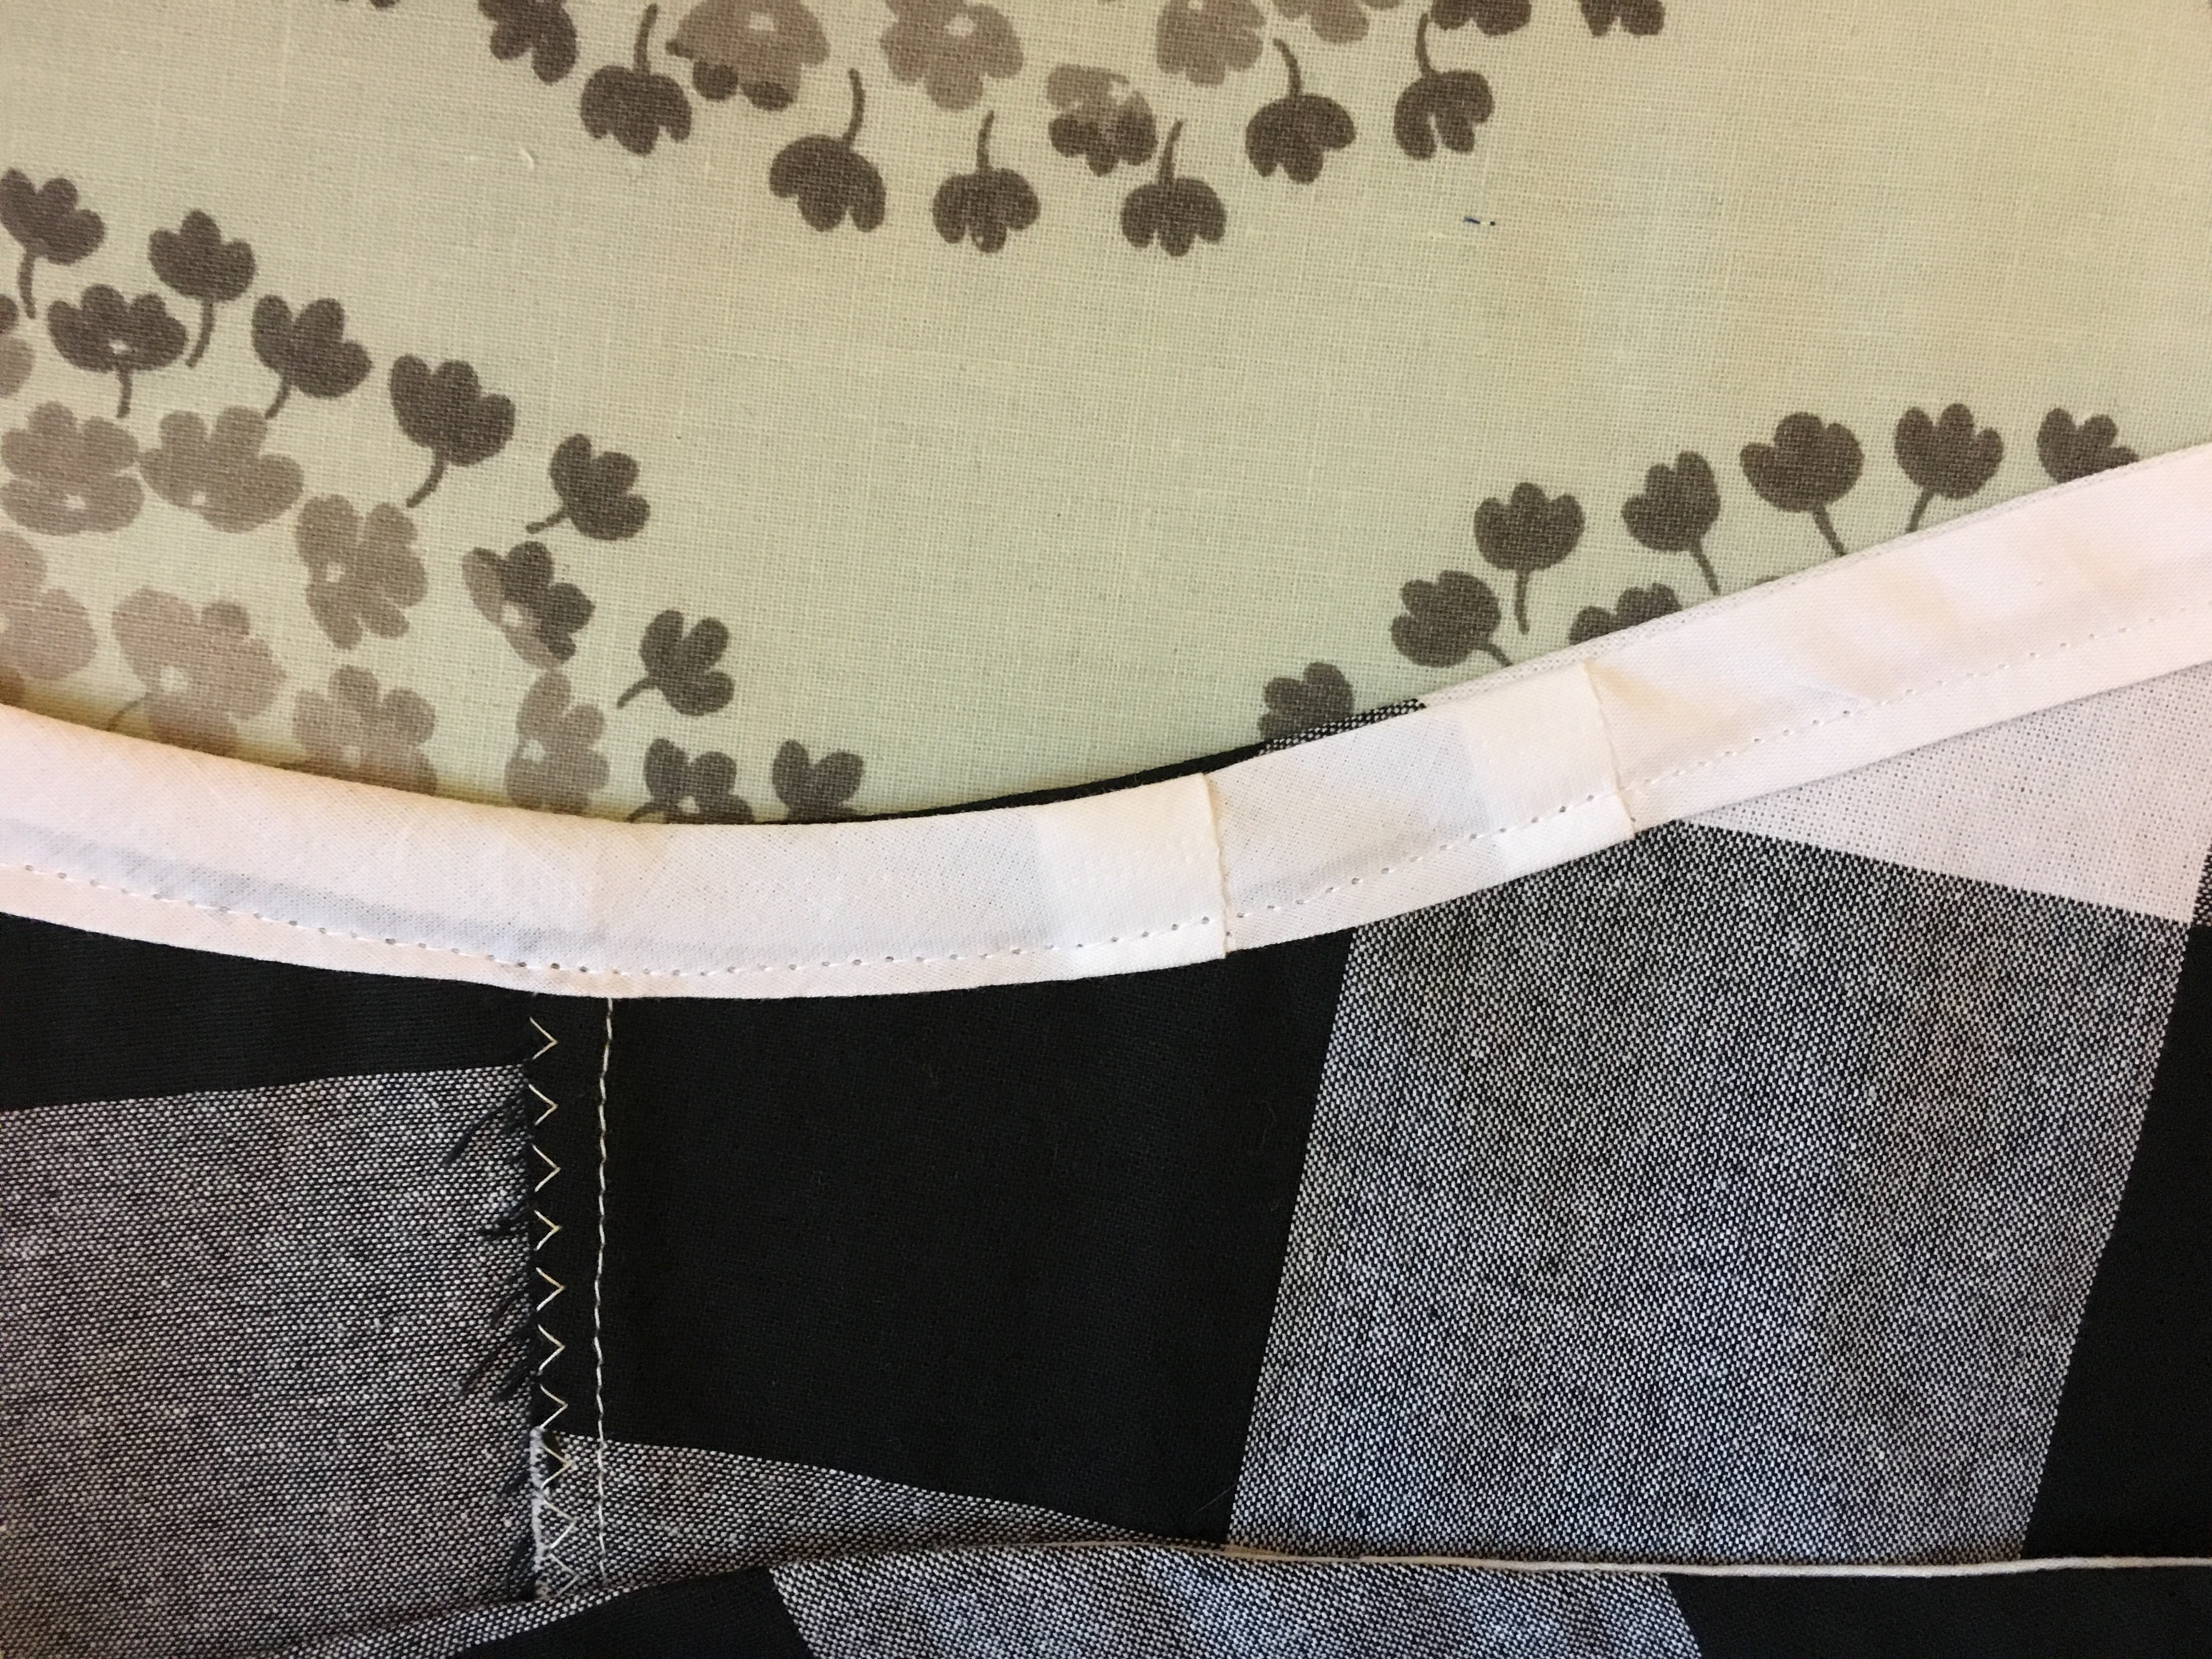
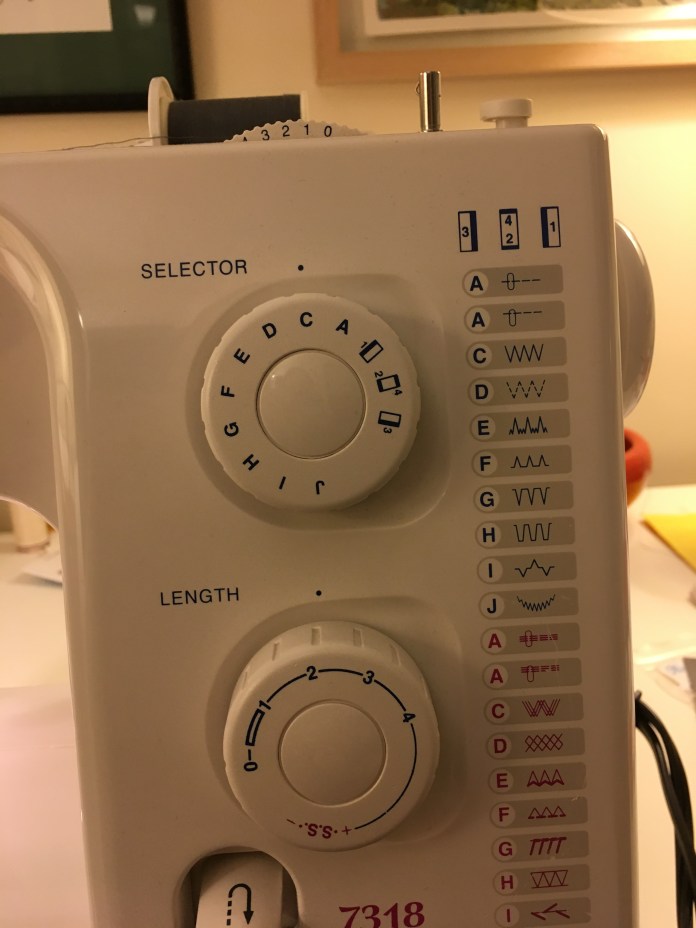 Here is a close up of the arm binding with the zig zag sewn about 1/8th inch from the seam. The walking foot worked really well feeding the fabric in evenly and helped the machine handle the bulk where seams were joined.
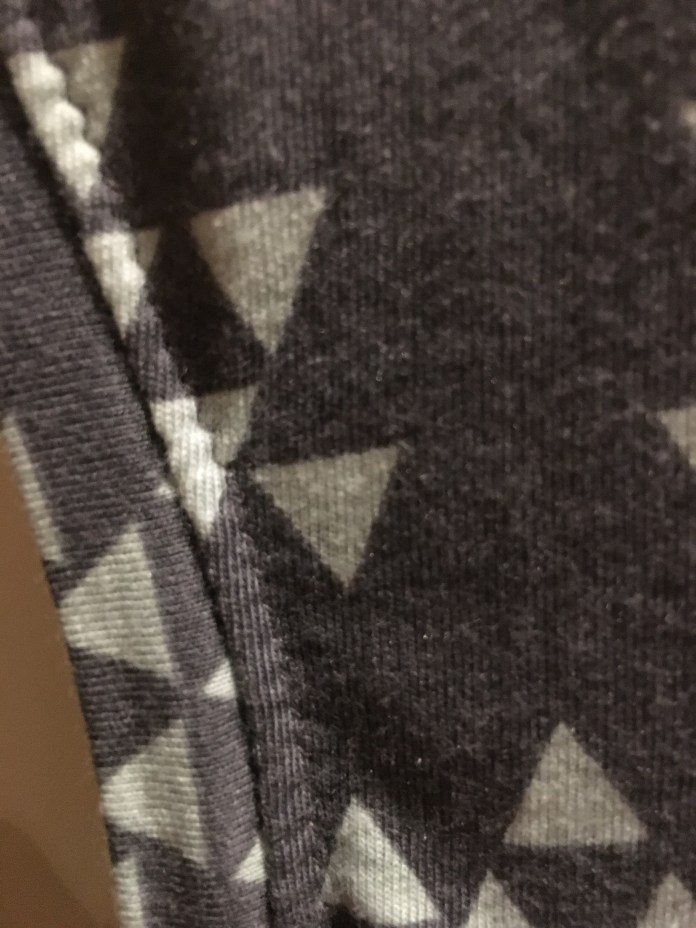 I used the same tension I always use for all of the stitching, even the gathering stitch with elastic thread, and it worked fine.
 The gathering technique is magical. Using elastic thread in the bobbin and a zig zag stitch, the skirt was gathered exactly the right amount. I have learned after sewing many MBR patterns to just trust Rae. She knows. Her instructions are straightforward and work great when followed.
 but that may also be because I am very small busted. I will try to make the neckline binding a bit smaller next time ( I find that it usually takes me 2-3 tries to get a pattern down,) but I am overall really happy with my first version.
 I used a twin needle with stretch thread in the bobbin to sew the hem. I ironed the hem before sewing.
  I used wonder clips to hold the hem in place for sewing.
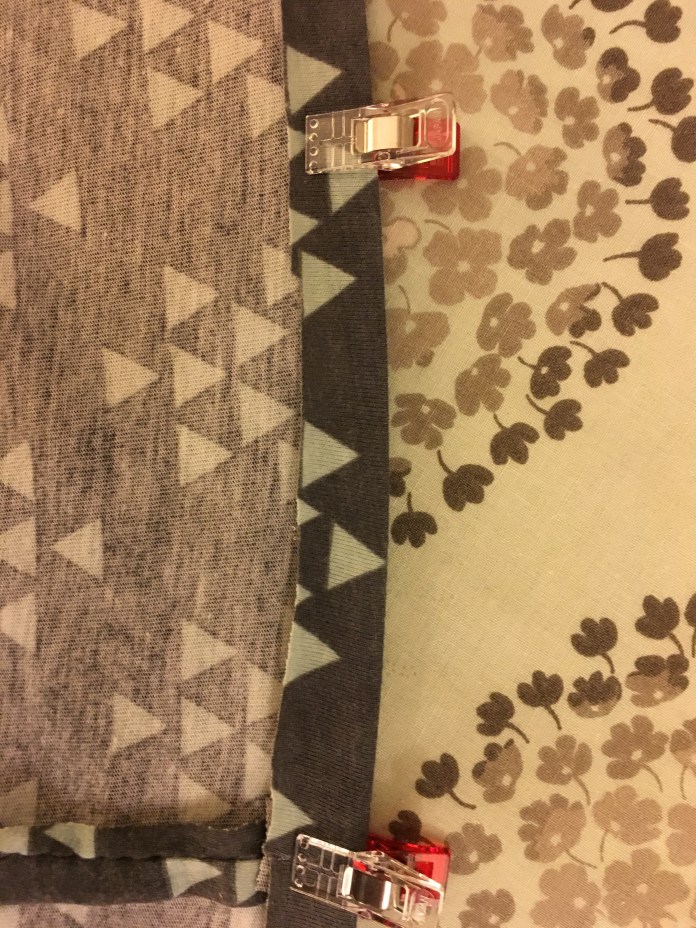 Test fabric showing the twin needle hem.
 I used the presser foot edge as a seam guide and got really good results with the twin needle.
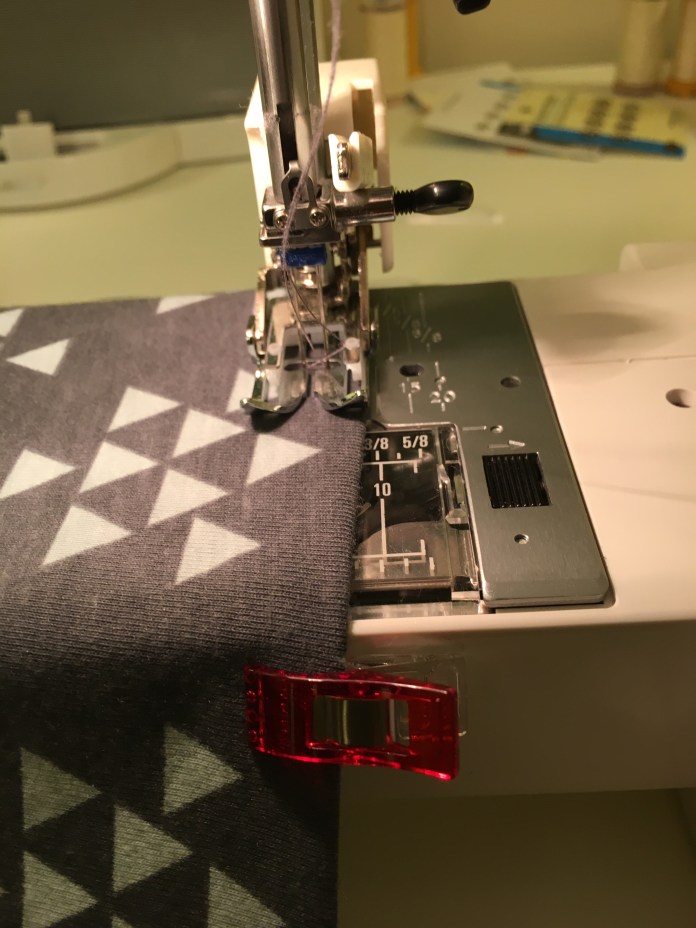 Hem as stitched below.
 Hem seam as seen on the inside. It lies pretty flat but I think I will have even better results with a slightly heavier knit. This is pretty thin fabric.
 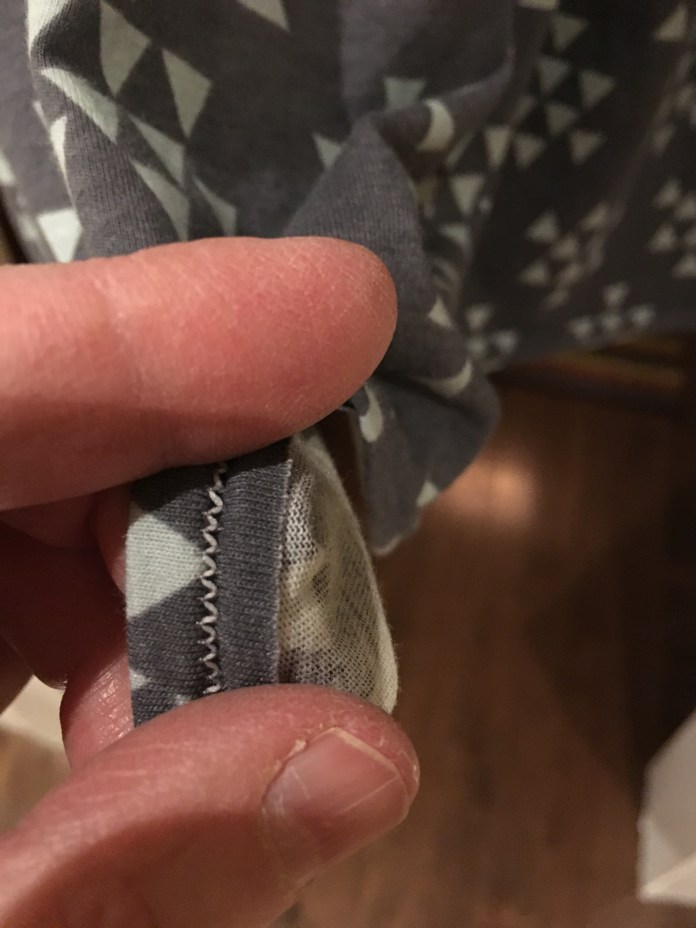 Twin needle settings below. (I take pictures so I remember for the next time.)
 Finished dress below. The bodice looks a little wonky on the hanger but it seems less so as worn. I think the next time I make this, I will sew my elastic gathering seam a bit farther away from the edge because my machine was chewing up the edge. It is actually amazing how well it ended up considering. I did not take out the stitches or redo the gathering or the seam where I joined the bodice to the skirt and it looks relatively even.
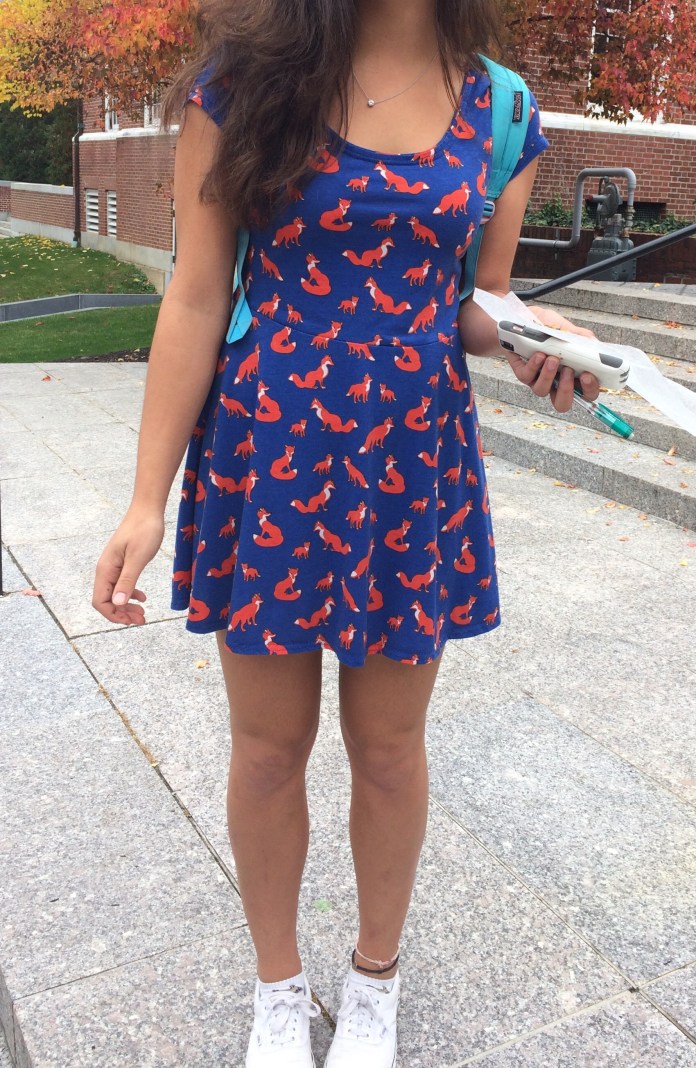
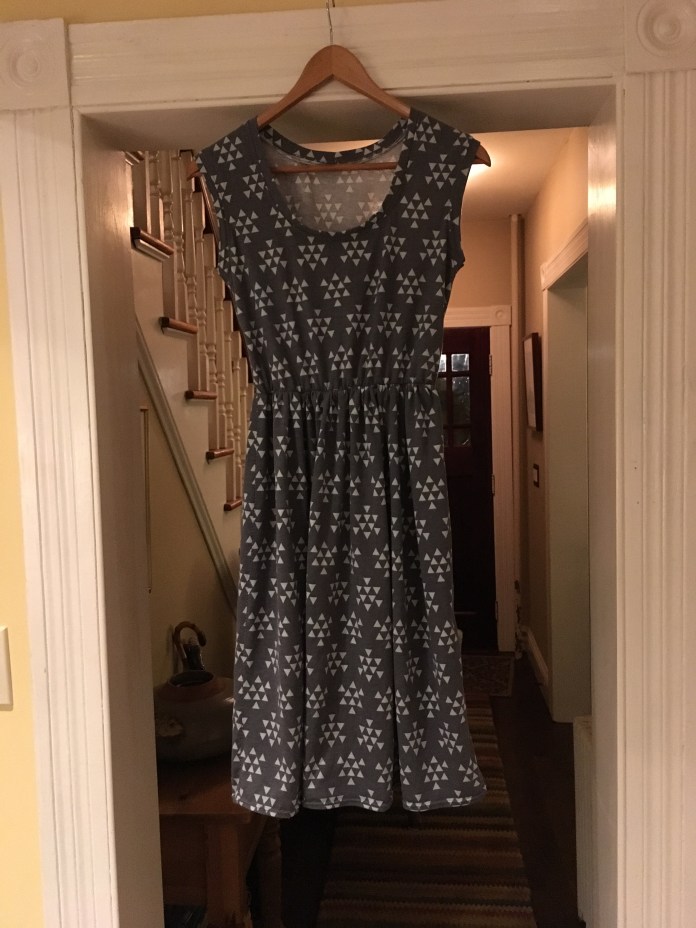 And as worn. I am not sure if I want to keep the bodice this length or shorten it or lengthen it. This is with an added inch so you can see that it is pretty short as drafted. I have a really long torso and I haven’t decided which would be the most flattering.
 I am very happy with the fit around the arms and the neck.
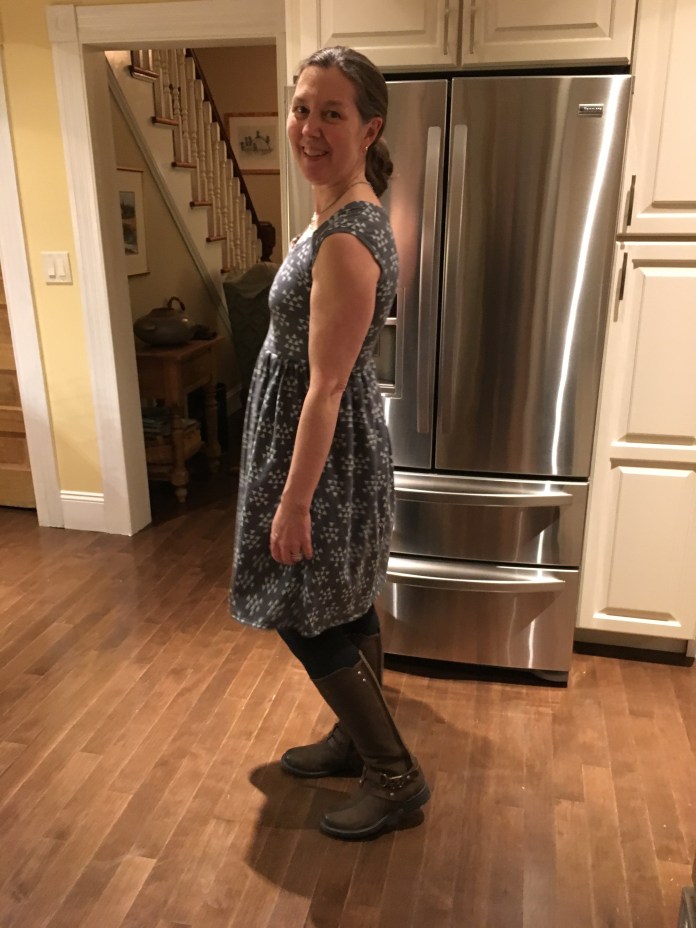 Back view.
 And with a cardigan which is how I will be wearing it this winter.
 This pattern is a quick sew. What I loved about it: gathering the skirt with elastic thread. Brilliant! I used a zig zag stitch, not a stretch stitch for gathering and sewing the bodice to the skirt with elastic thread in the bobbin. I highly recommend this pattern and the little knit tricks I learned above which enabled me to have a really nice result with a regular, inexpensive, sewing machine. Next time I will use the twin needle instead of the zig zag around the neck and arms, but otherwise, I am really happy with the results. This pattern is a keeper!
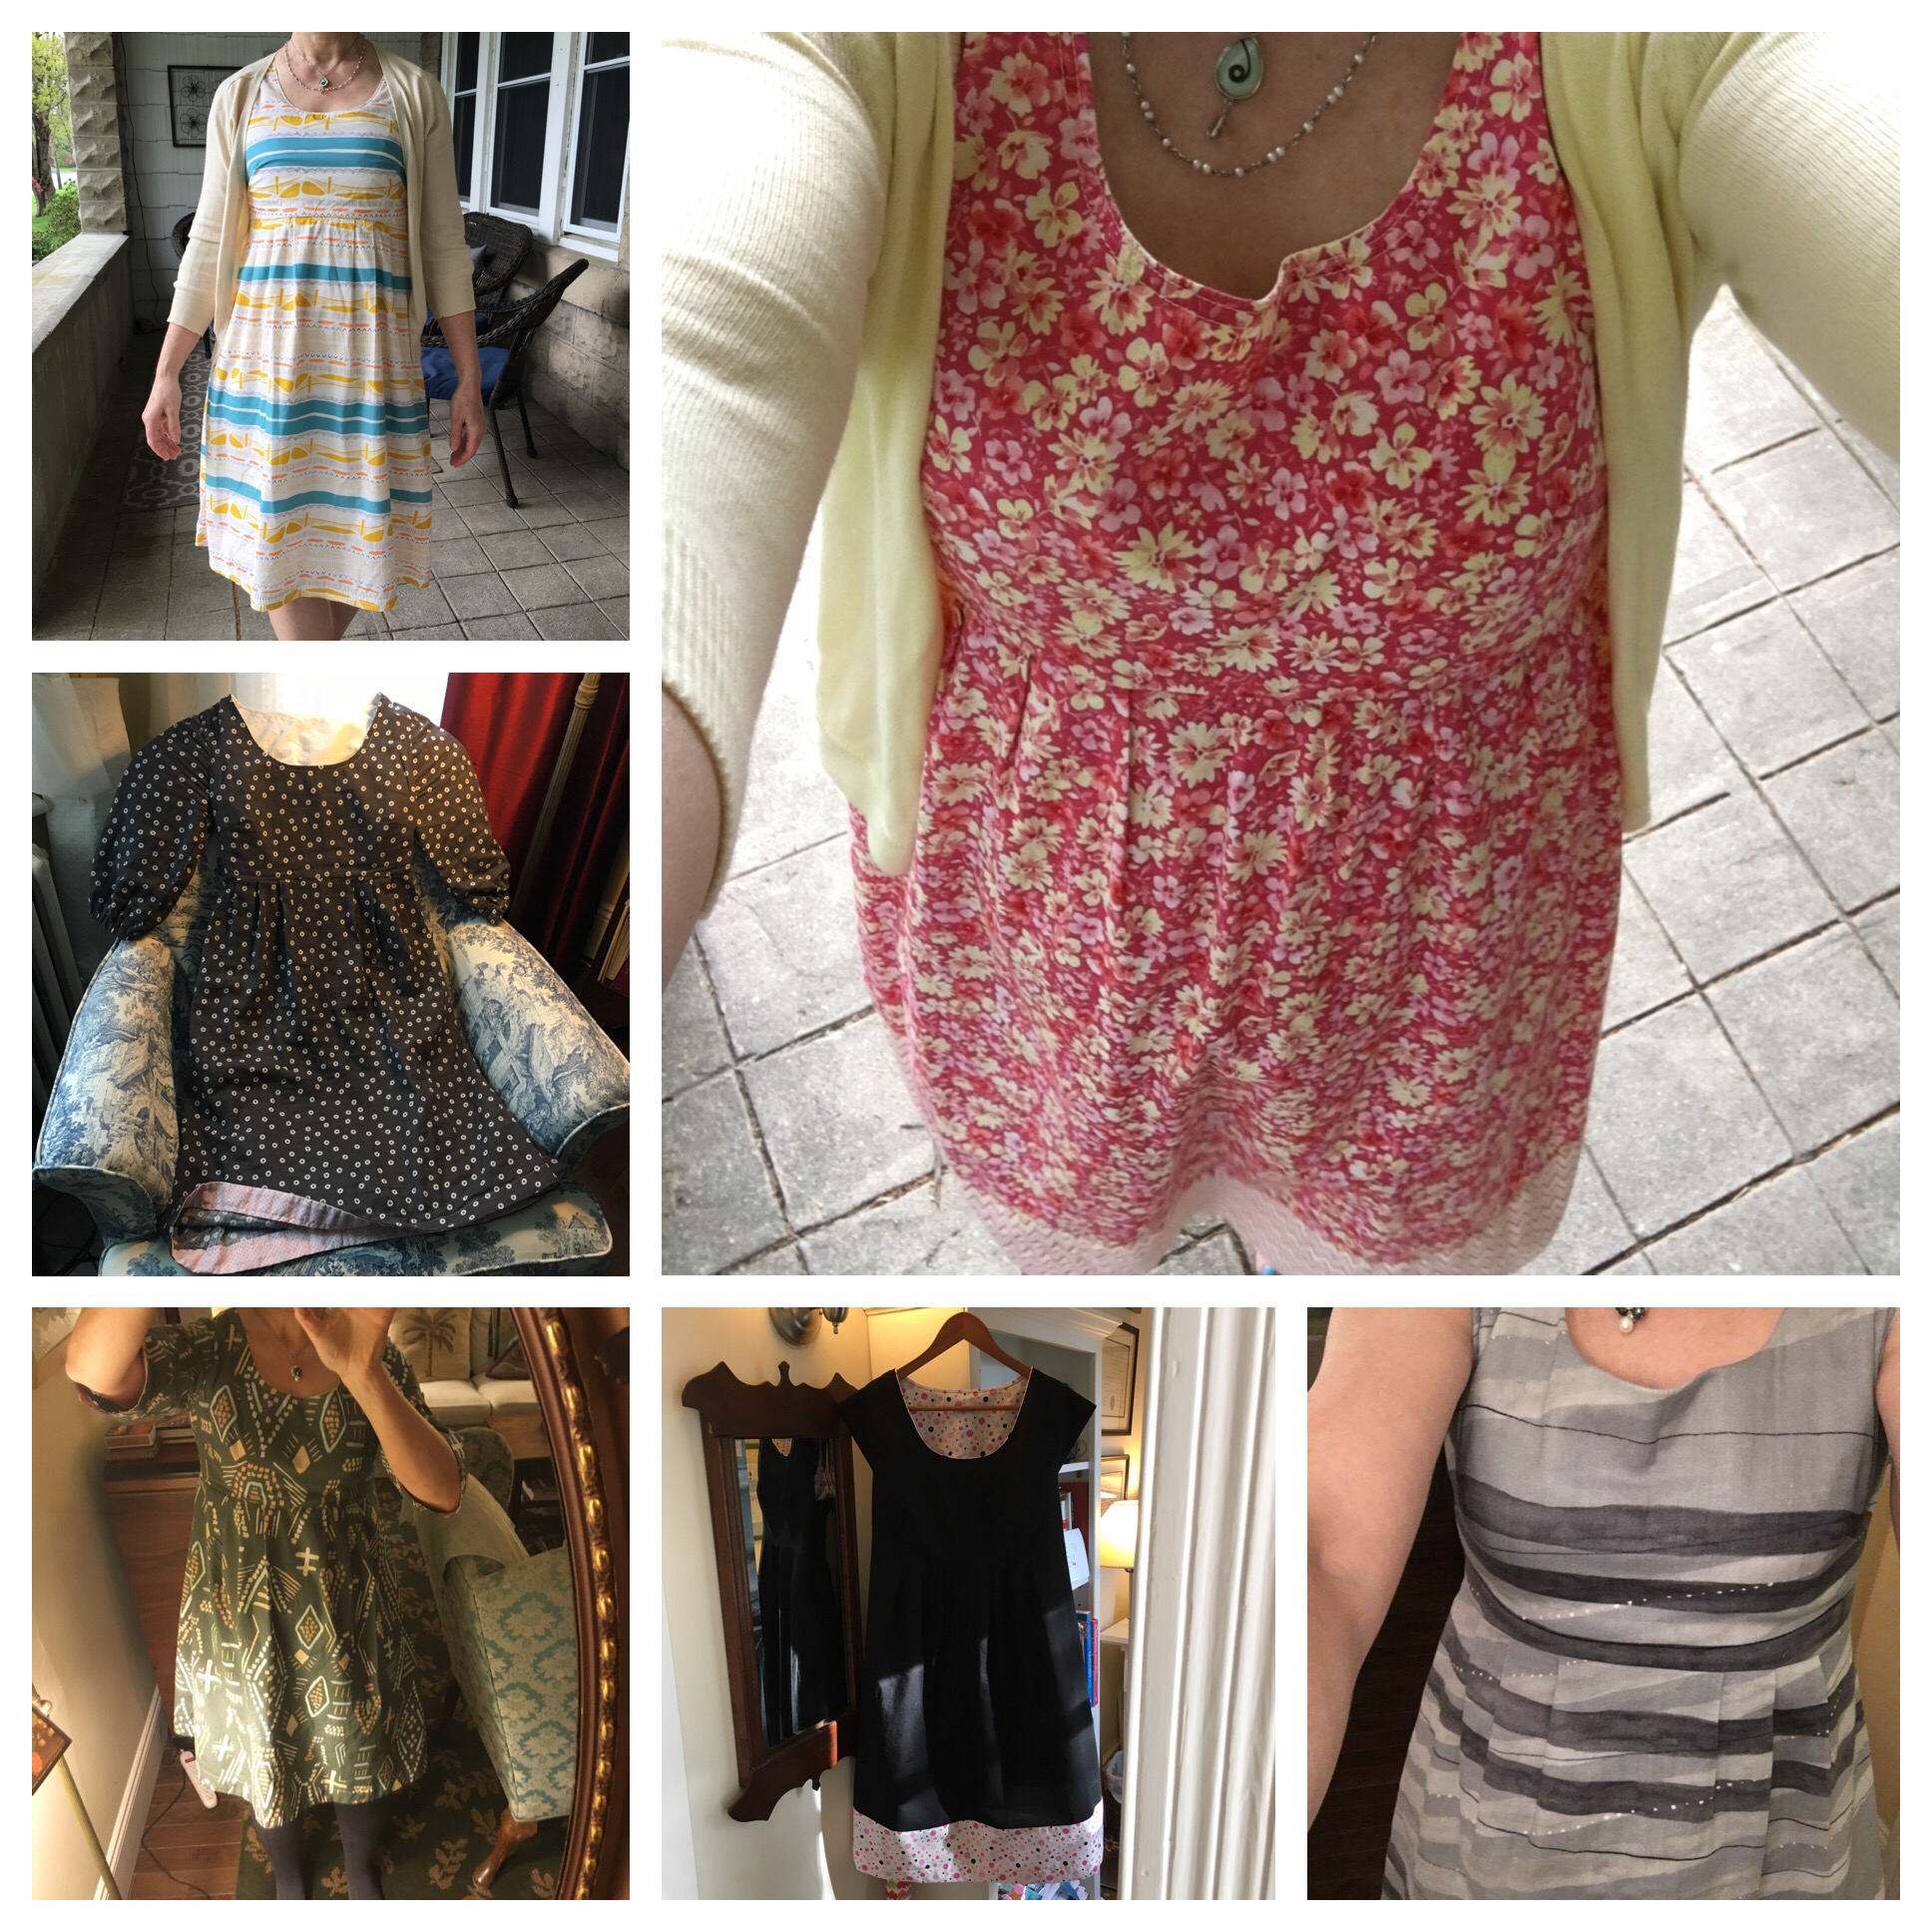
 Third row down from the left, wearing a
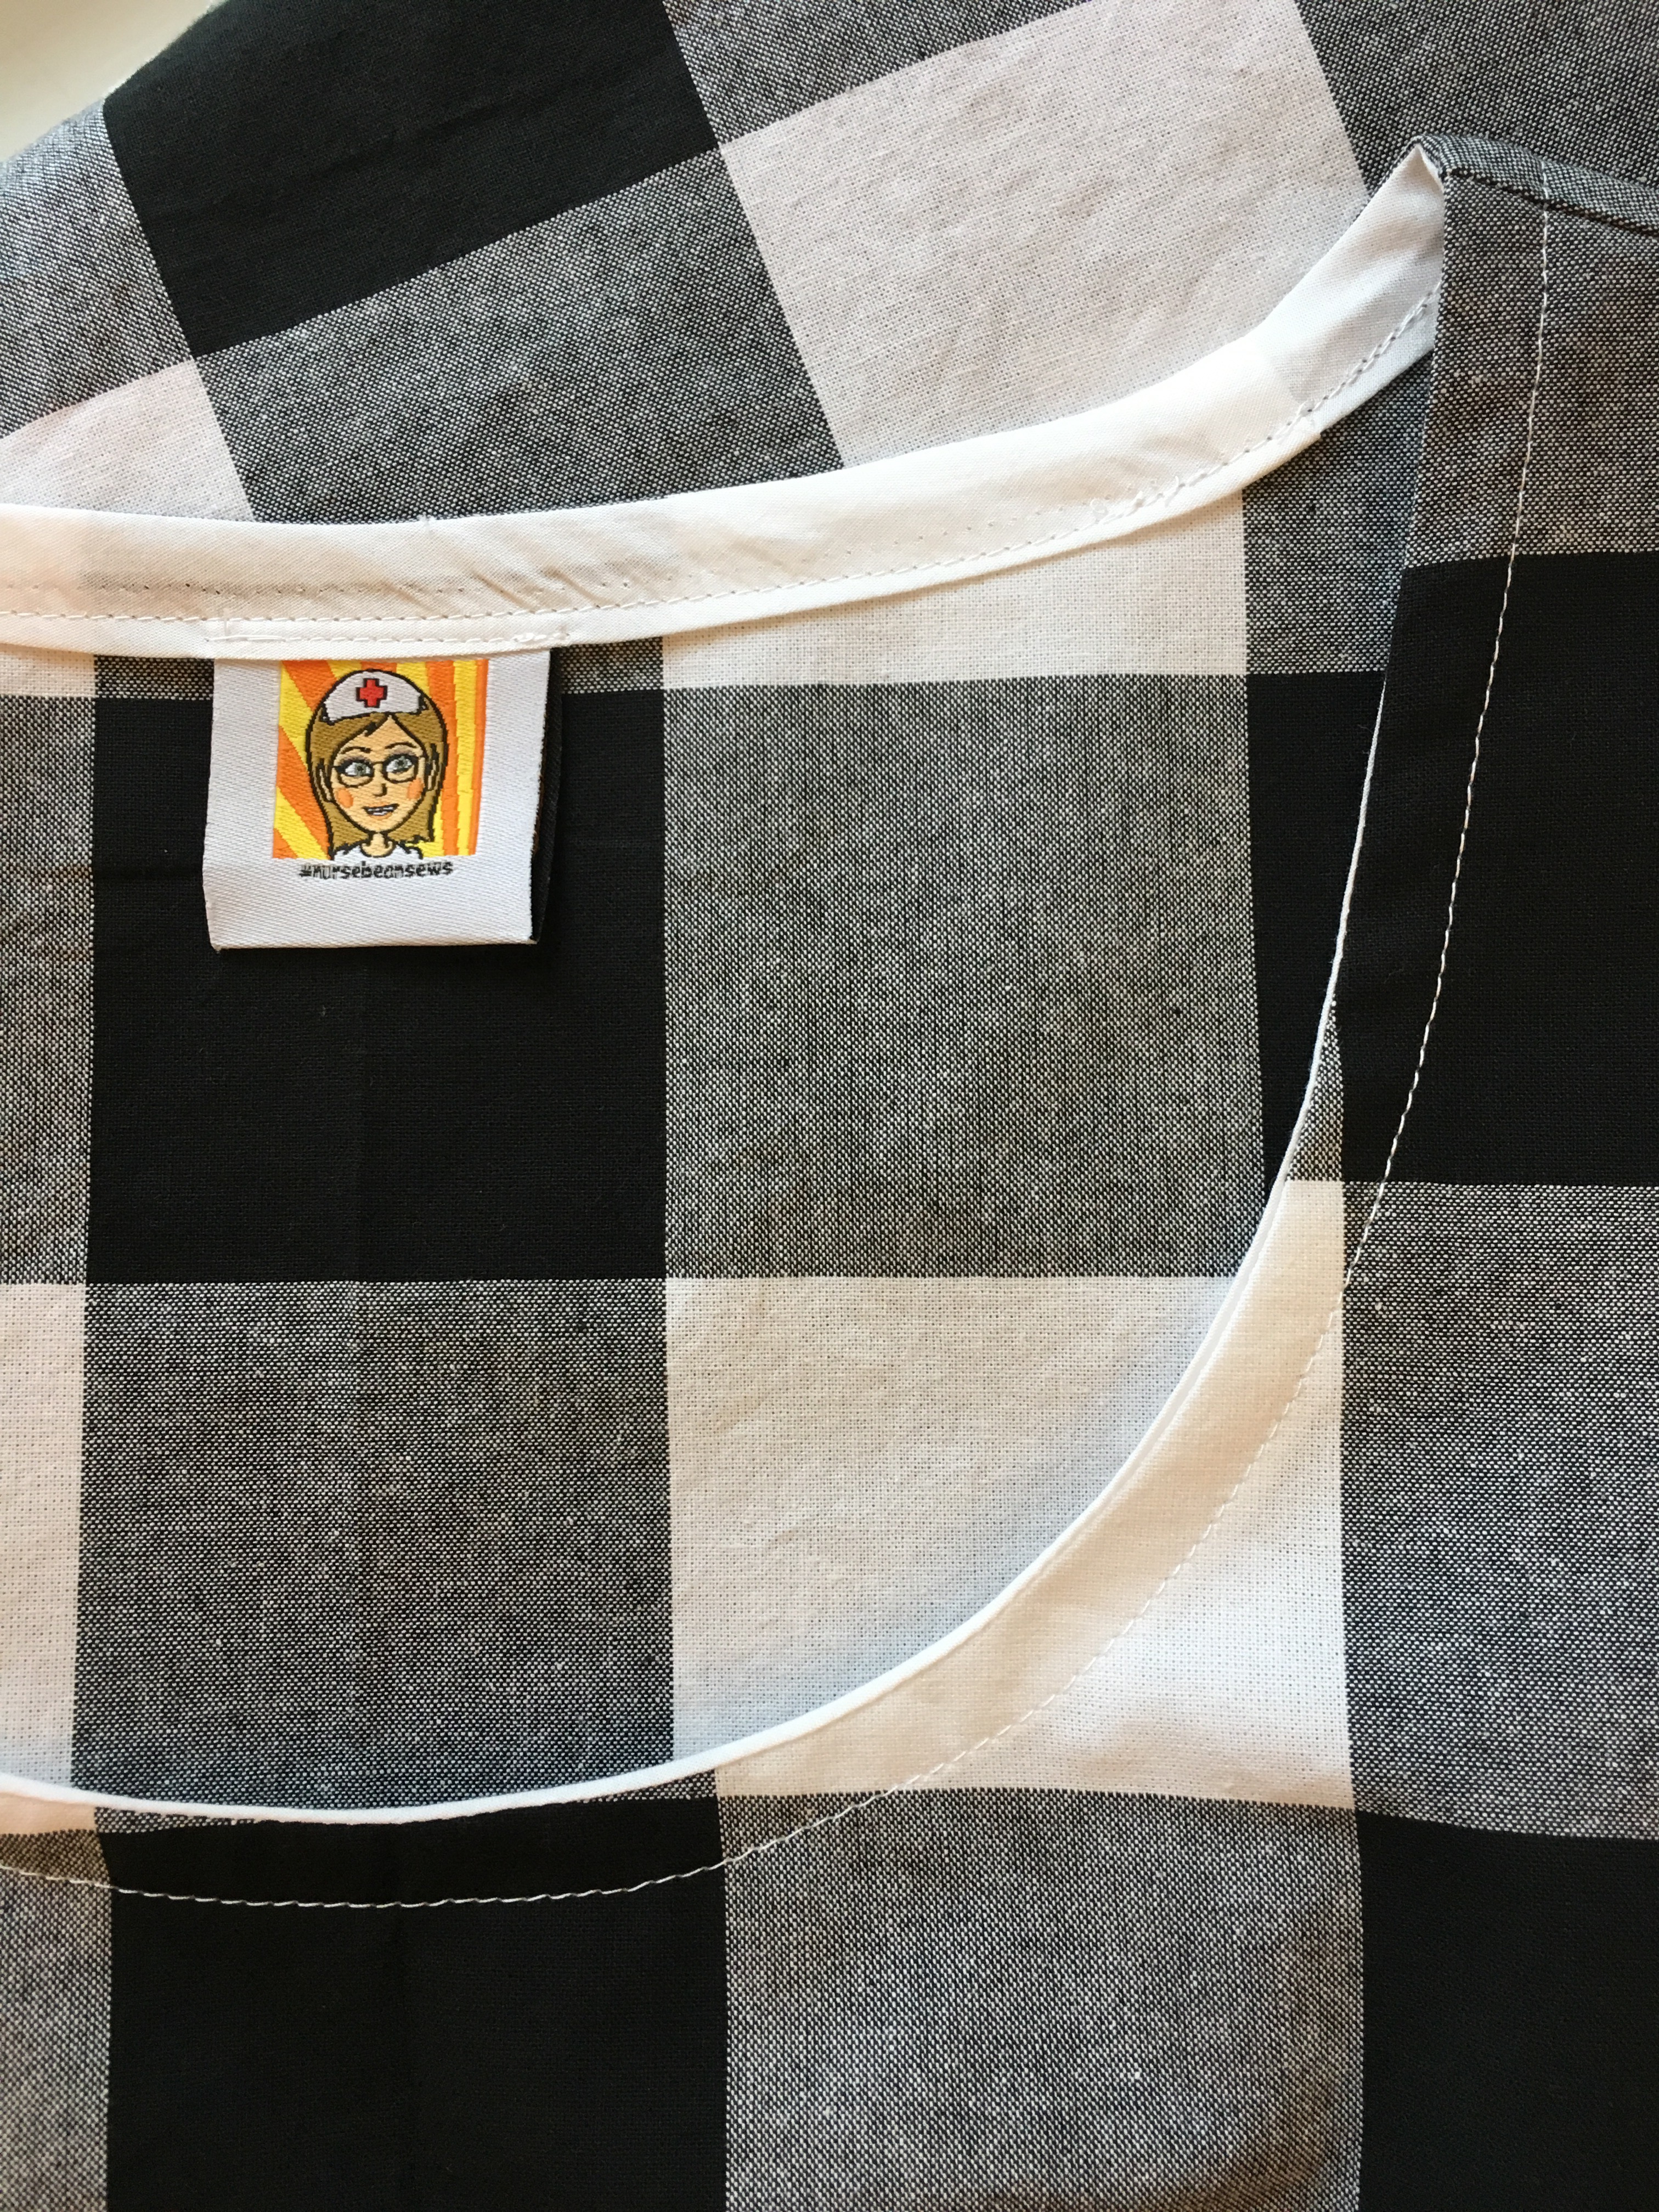


 I use my fingers between the layers to help line up the two edges as I press.
 I then top stitch around the neckline.
 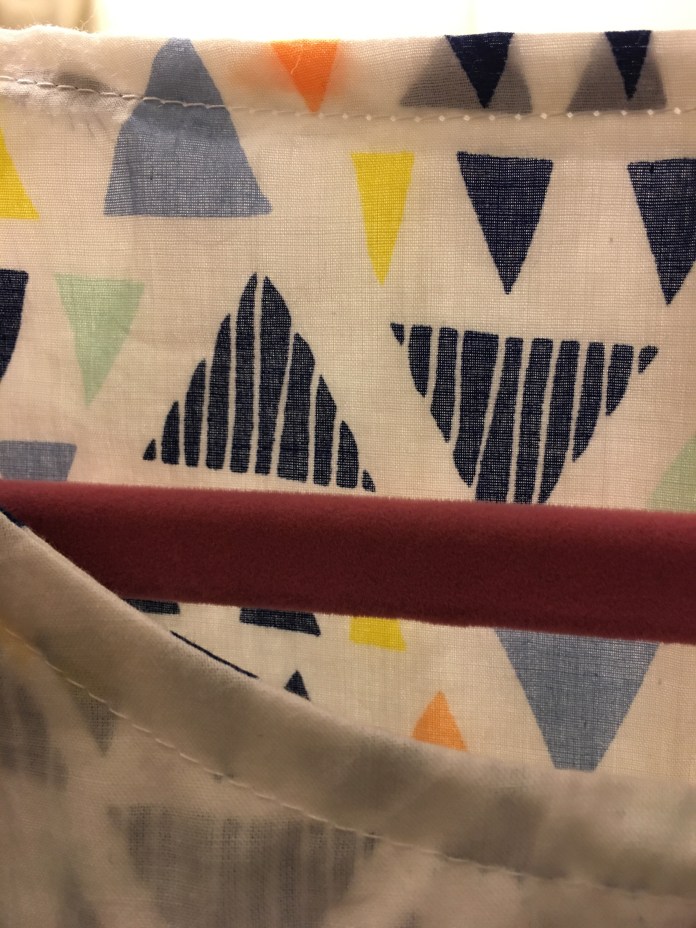 You can see examples of this technique it in my Ruby post
 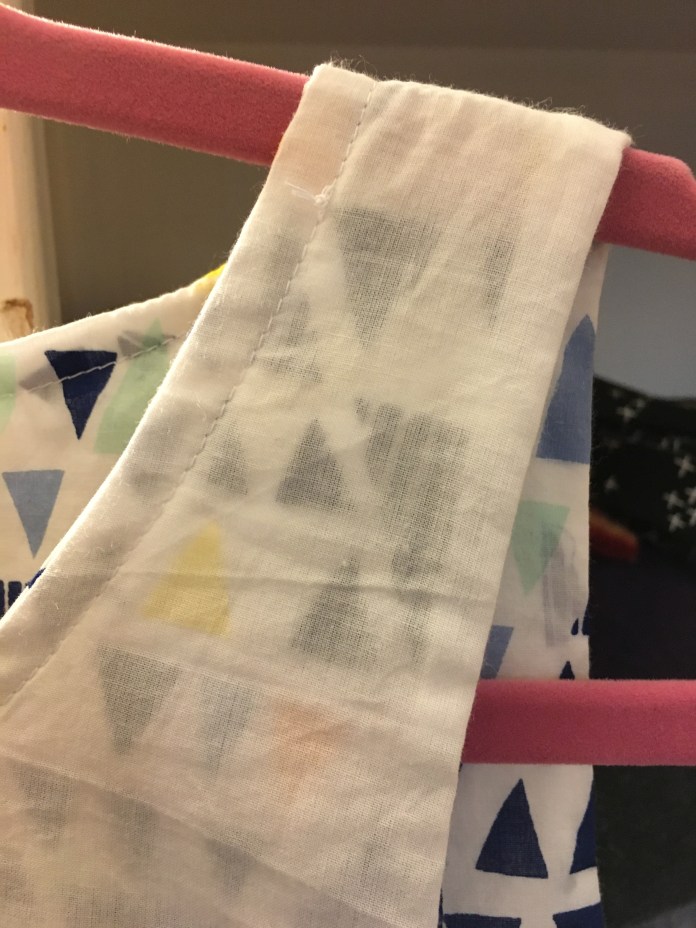 Pictures below are from the dress-length lined Gemma which I worked on this week. This is also
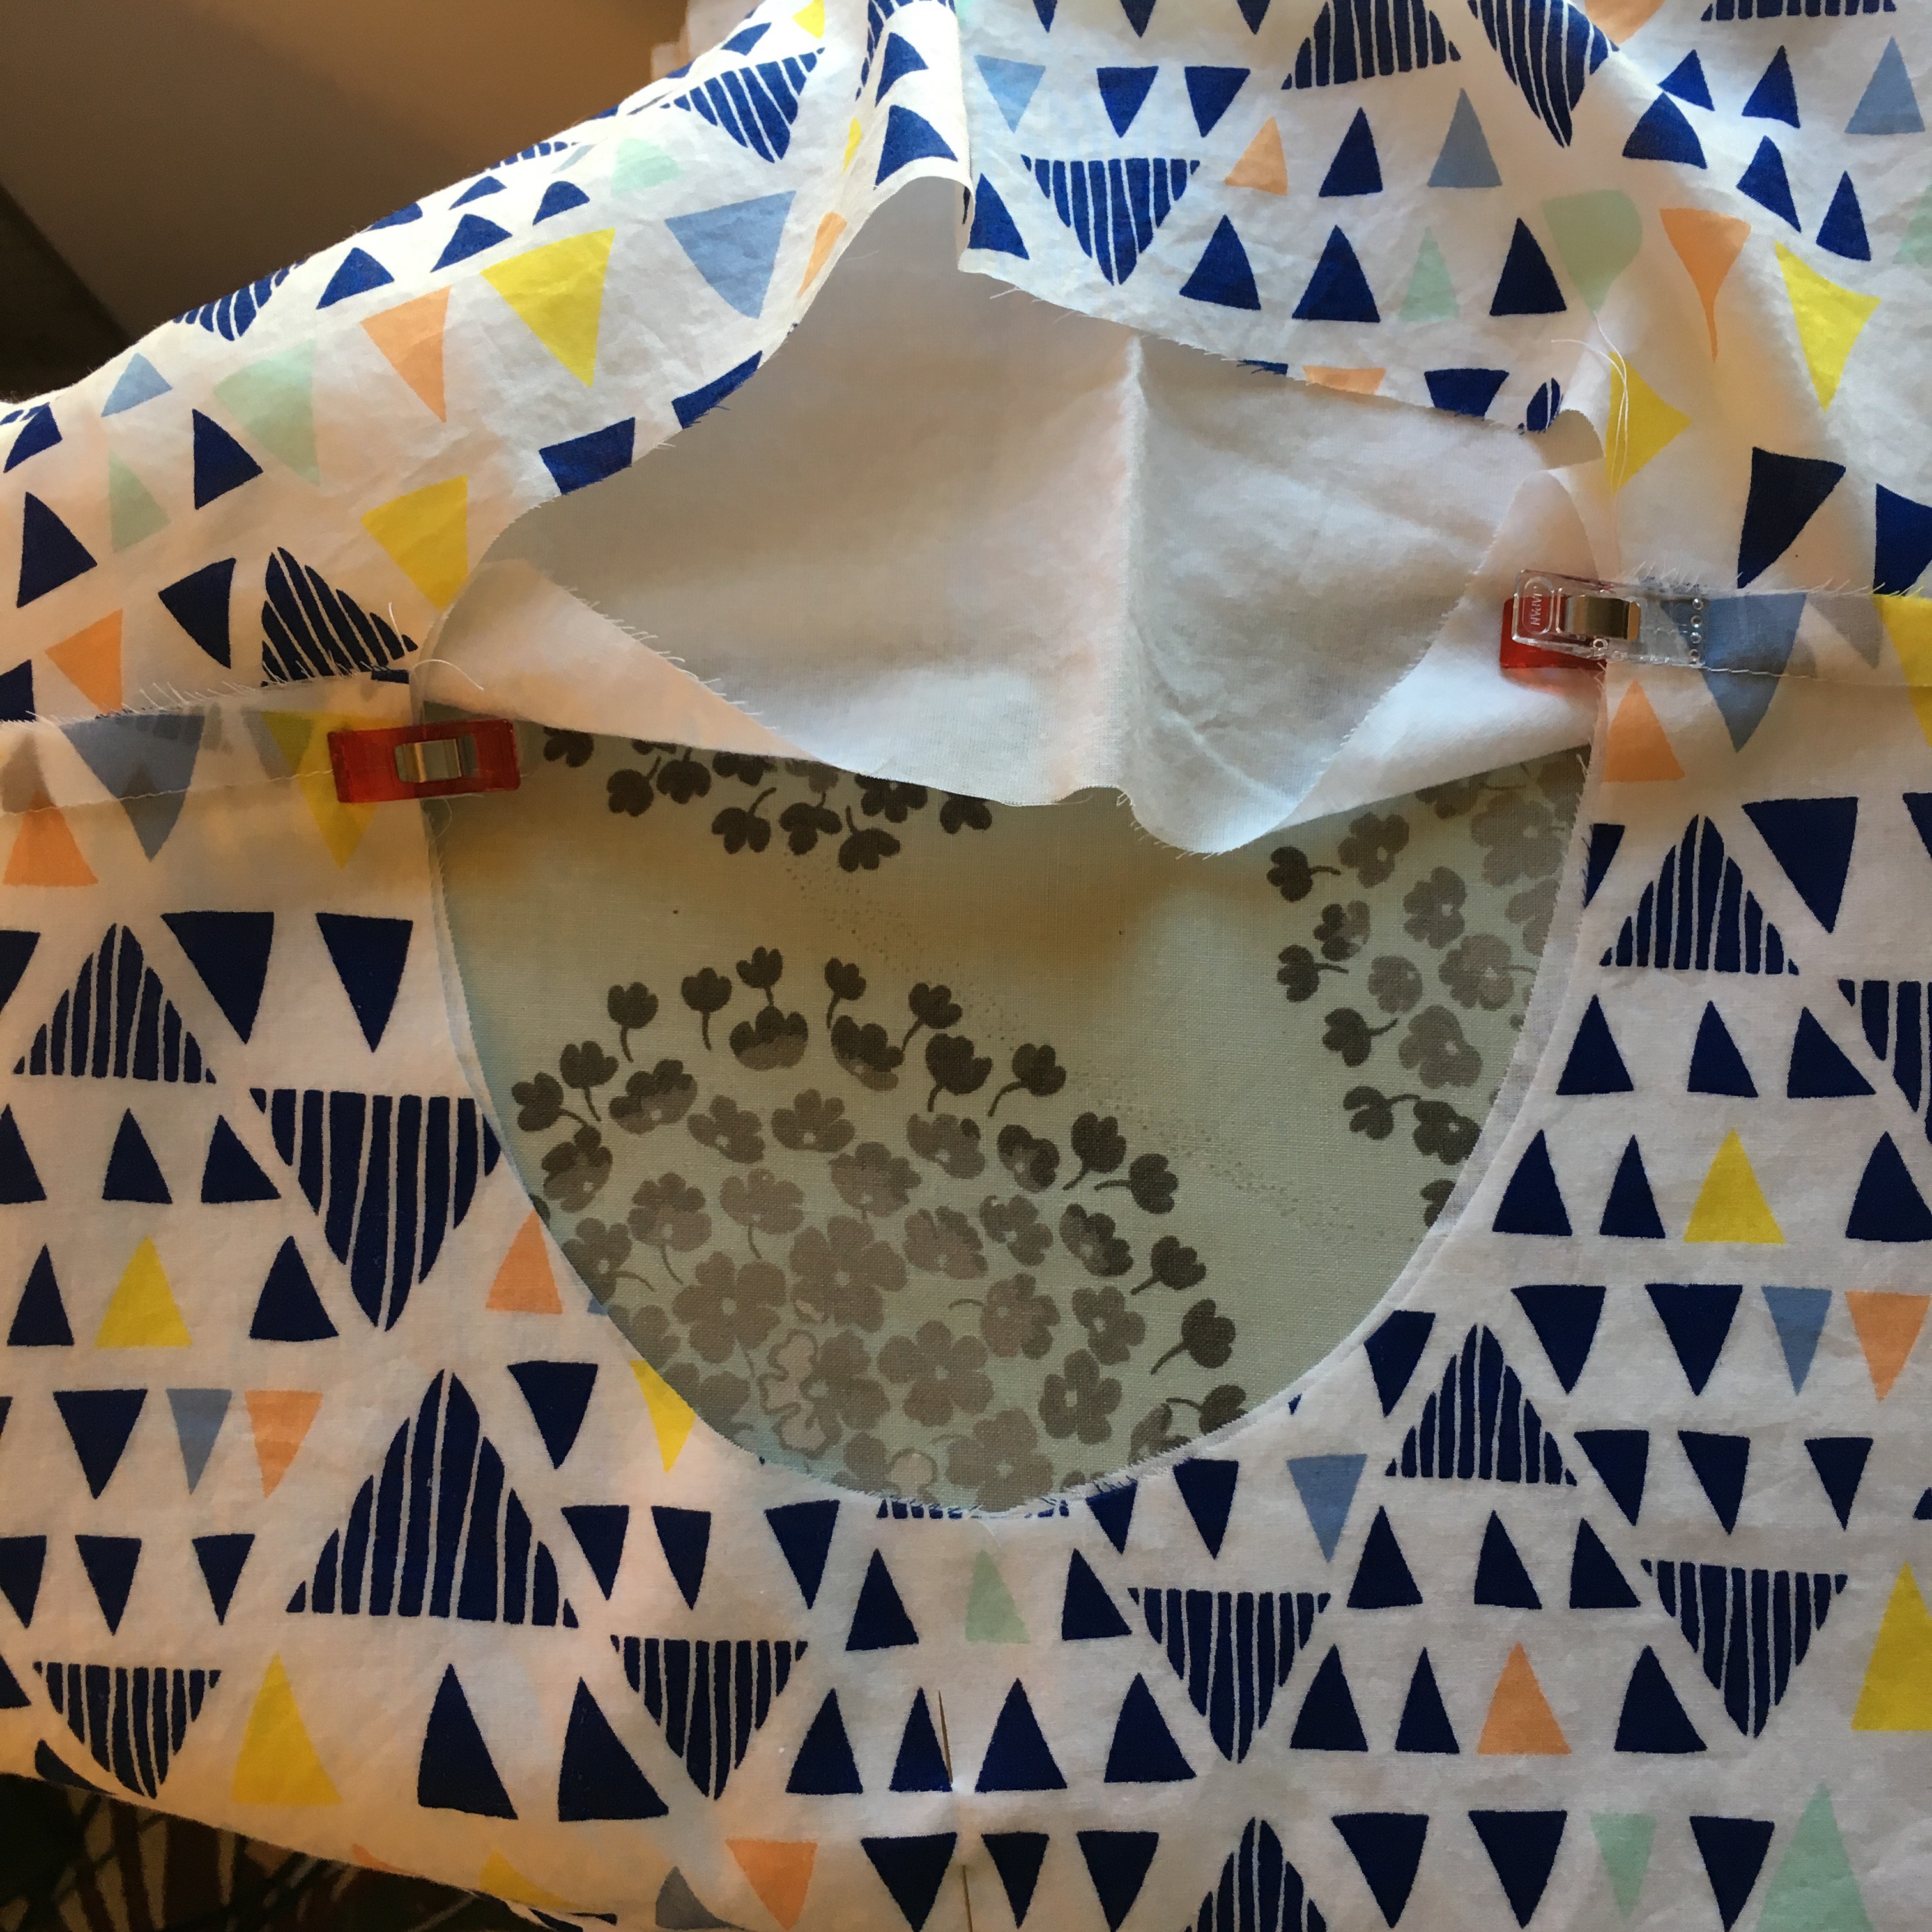
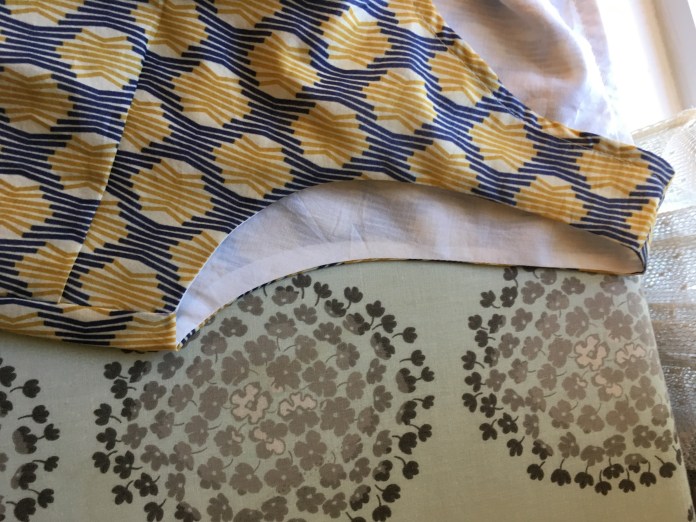
 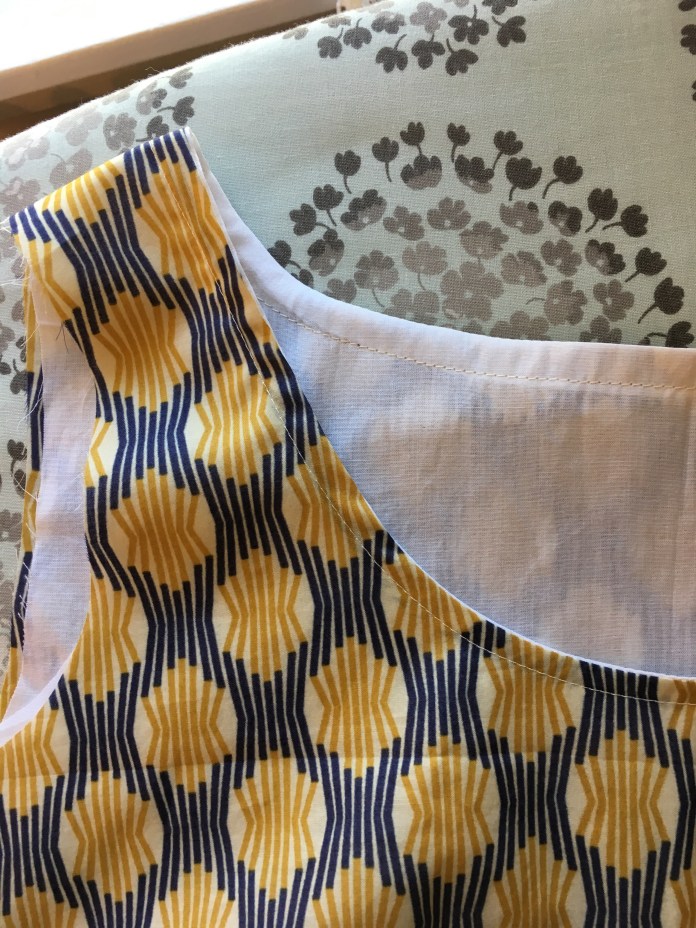 The picture below is the sewn armhole. To orient you, the seam you can see is the bust dart. I didn’t do anything special, just sewed the sausage, turned it out and then sewed each of the four side seams-two for the dress and two for the lining. I have to confess that on version 1, I actually sewed the front piece of the lining to itself, rather than to the back. I was like-this is lining up so perfectly and then oops realized my mistake. It gets confusing when you have the layers of fabric. Just take a minute to orient yourself so that you are sewing the appropriate front to the appropriate back. I was really happy with the results when I did it correctly.
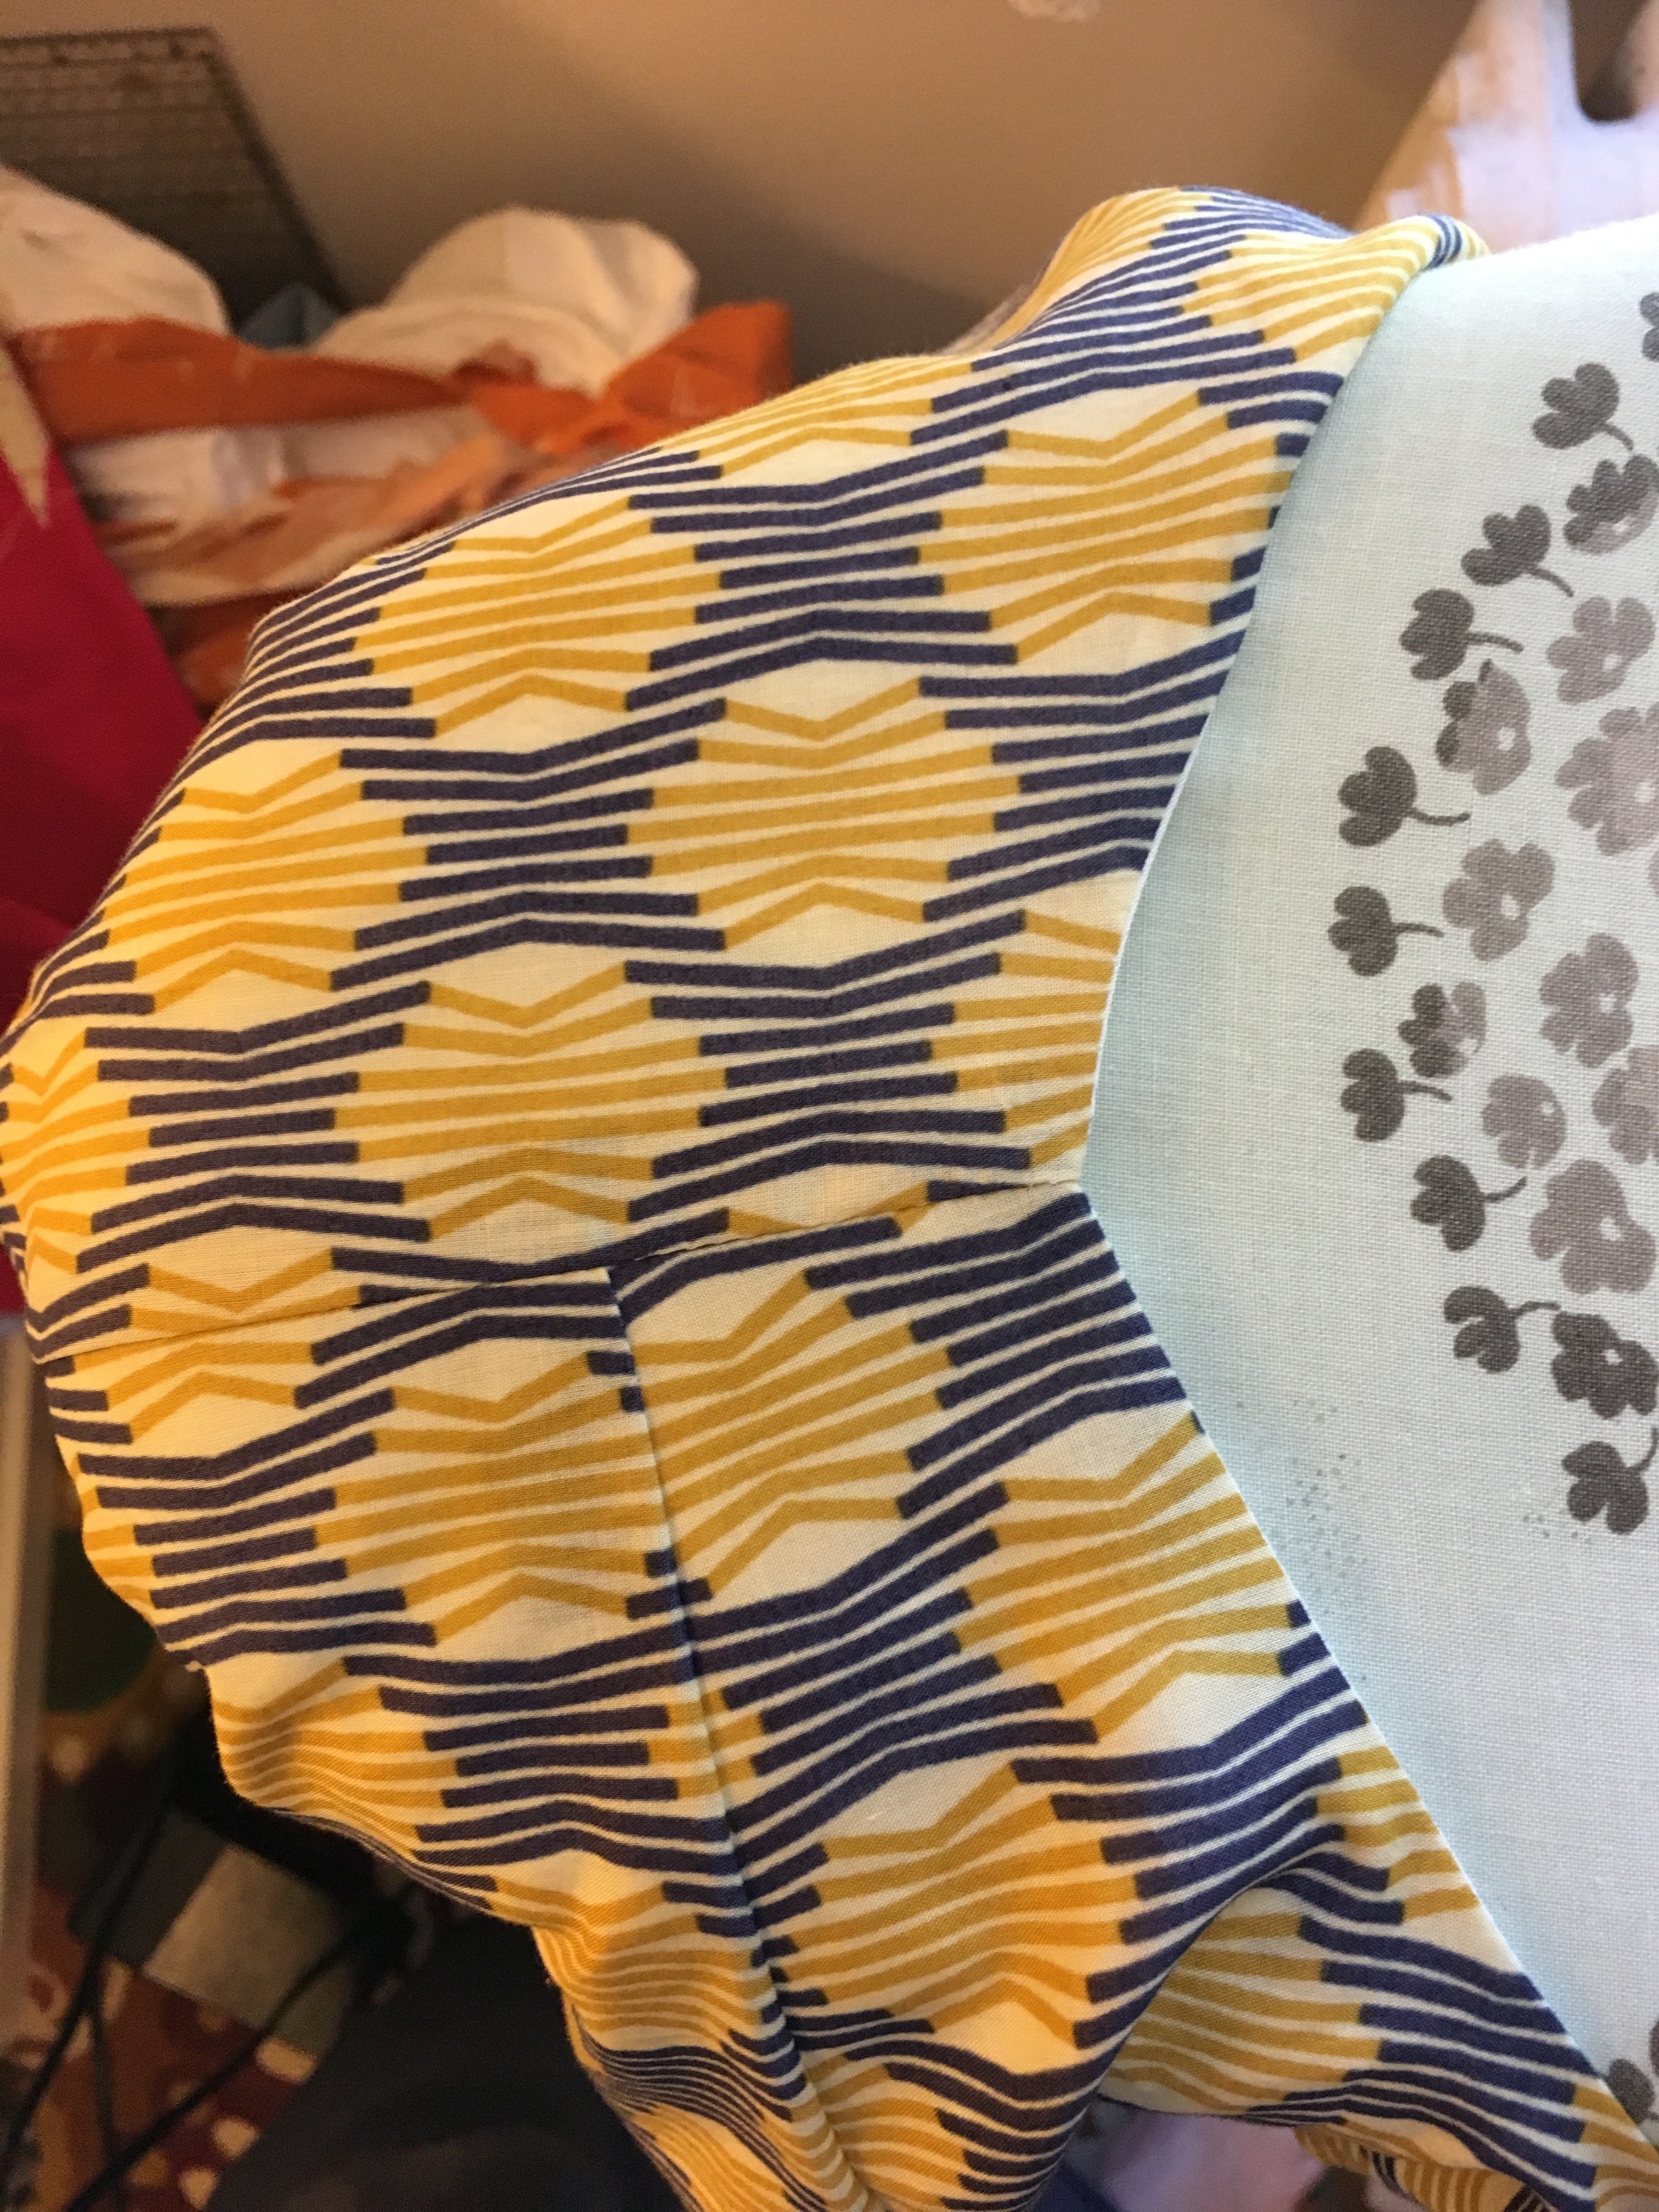
 I topstitched around the neck and armholes for strength, I have had good success doing it this way.
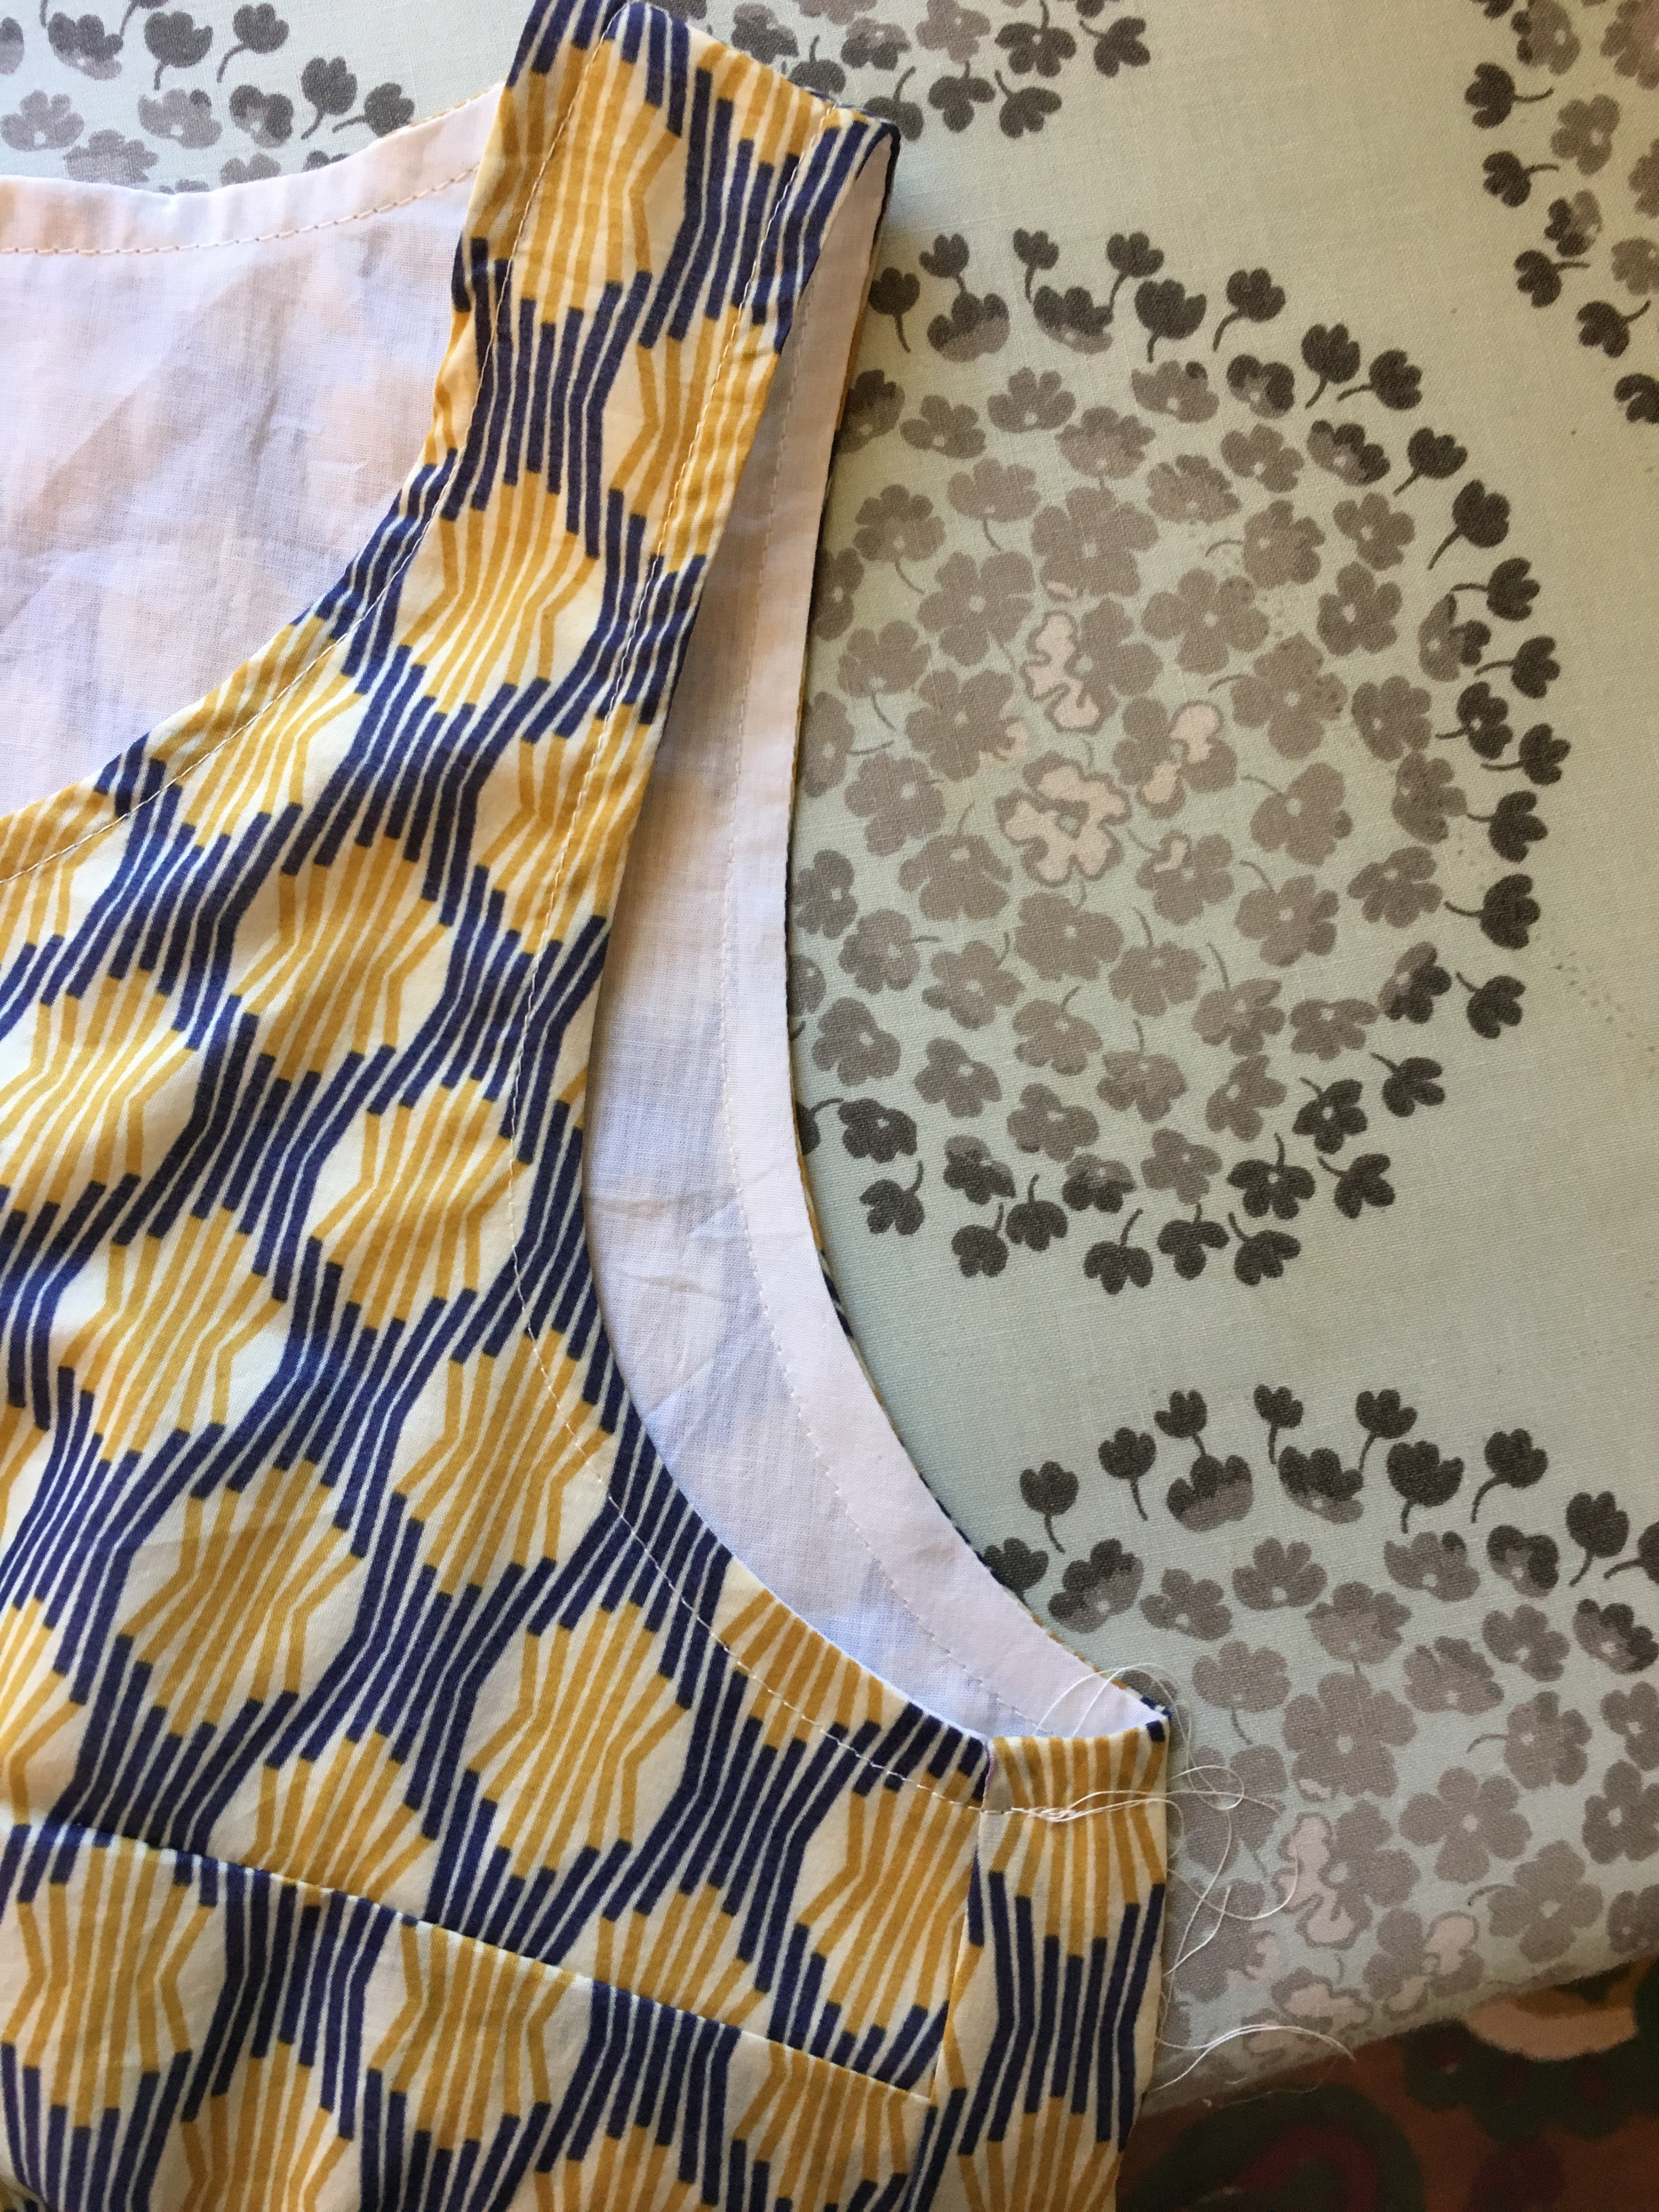


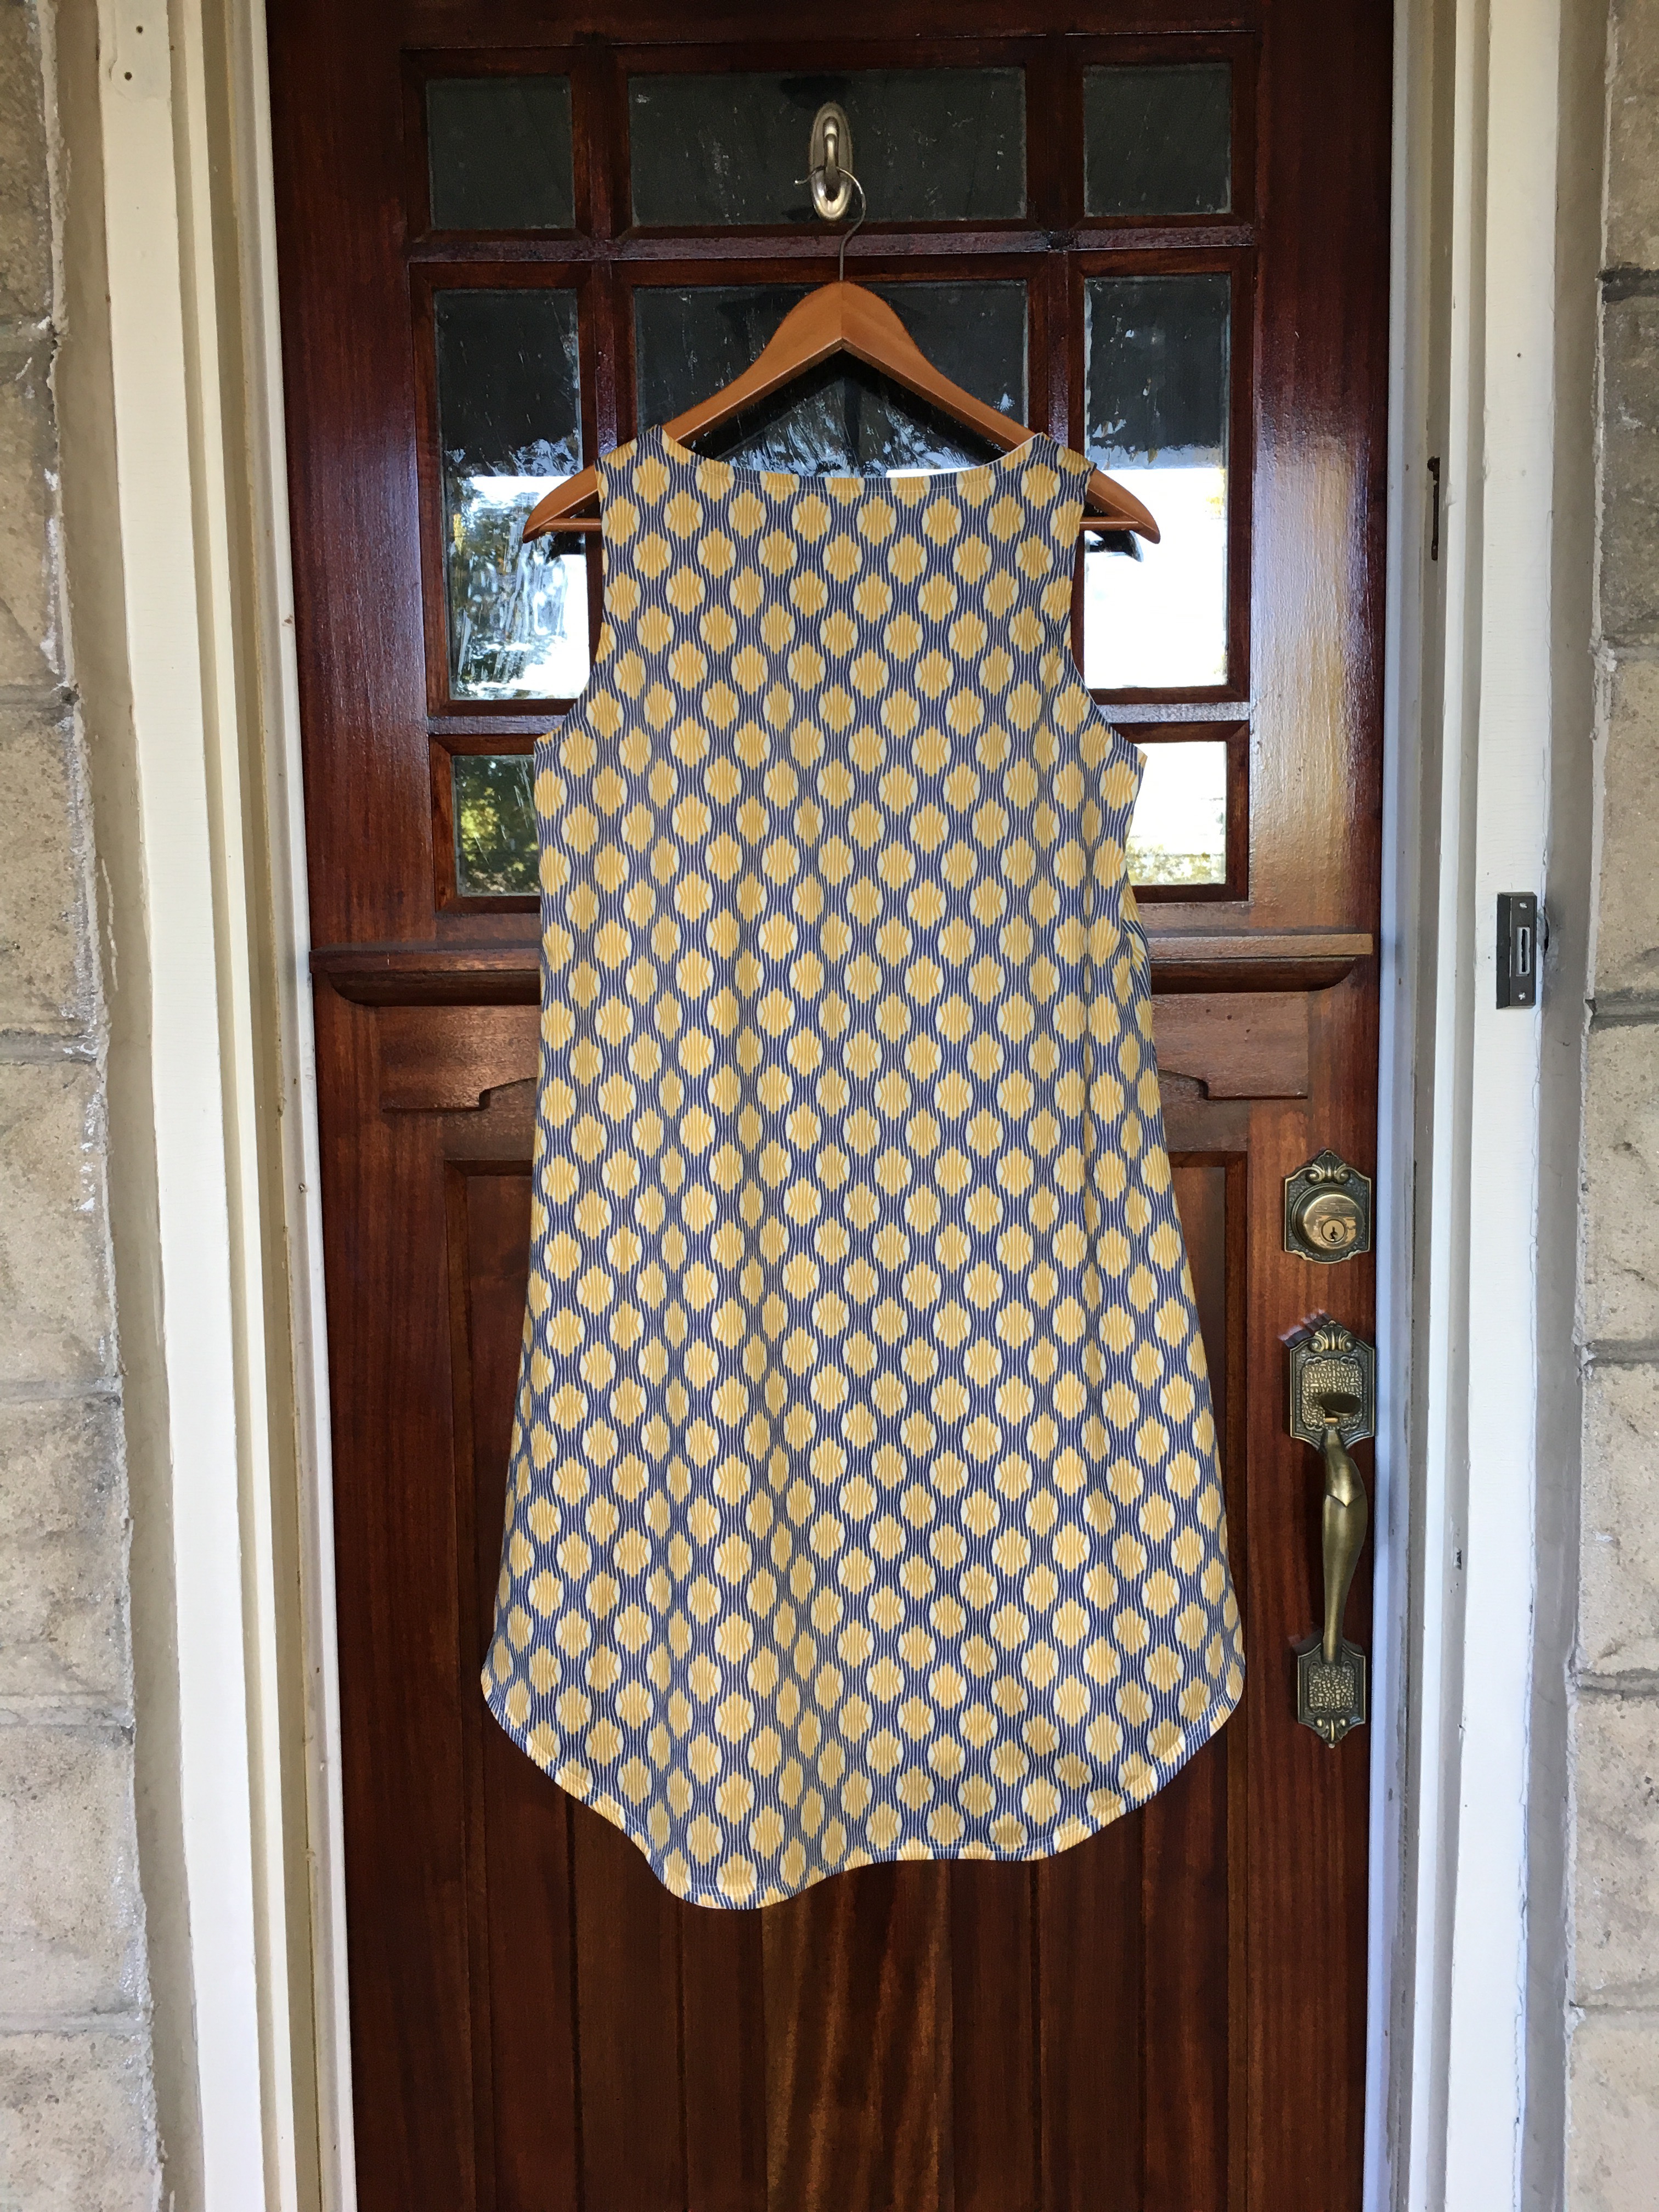
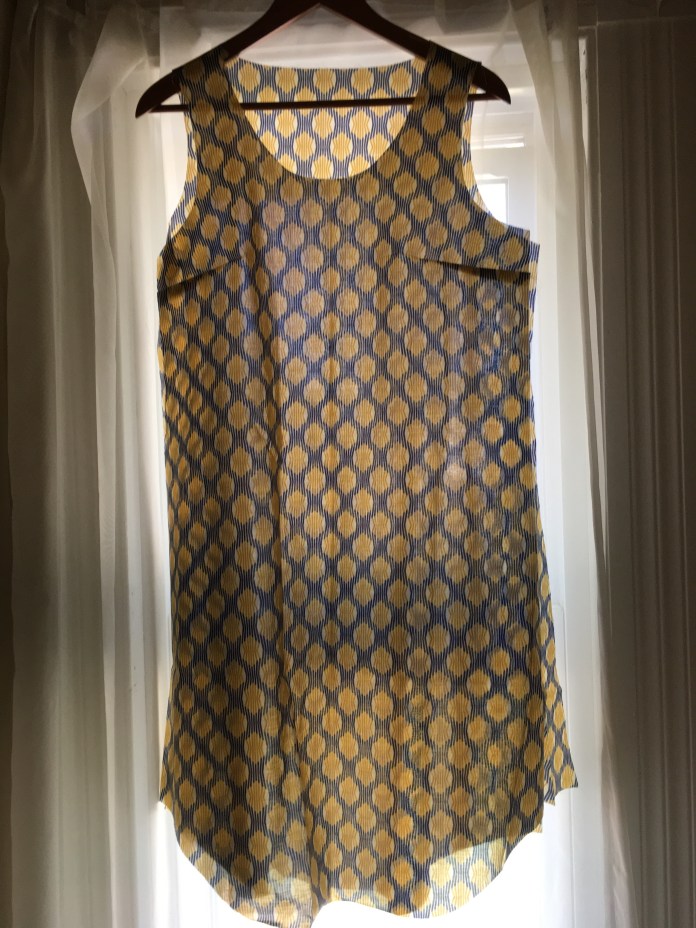 I did cut a second version in the tank length with the leftover fabric. It would be very elegant over a lacy camisole. Finished dress hanging on the front door. I am going to have to find a new place to take pictures when winter comes to Connecticut.
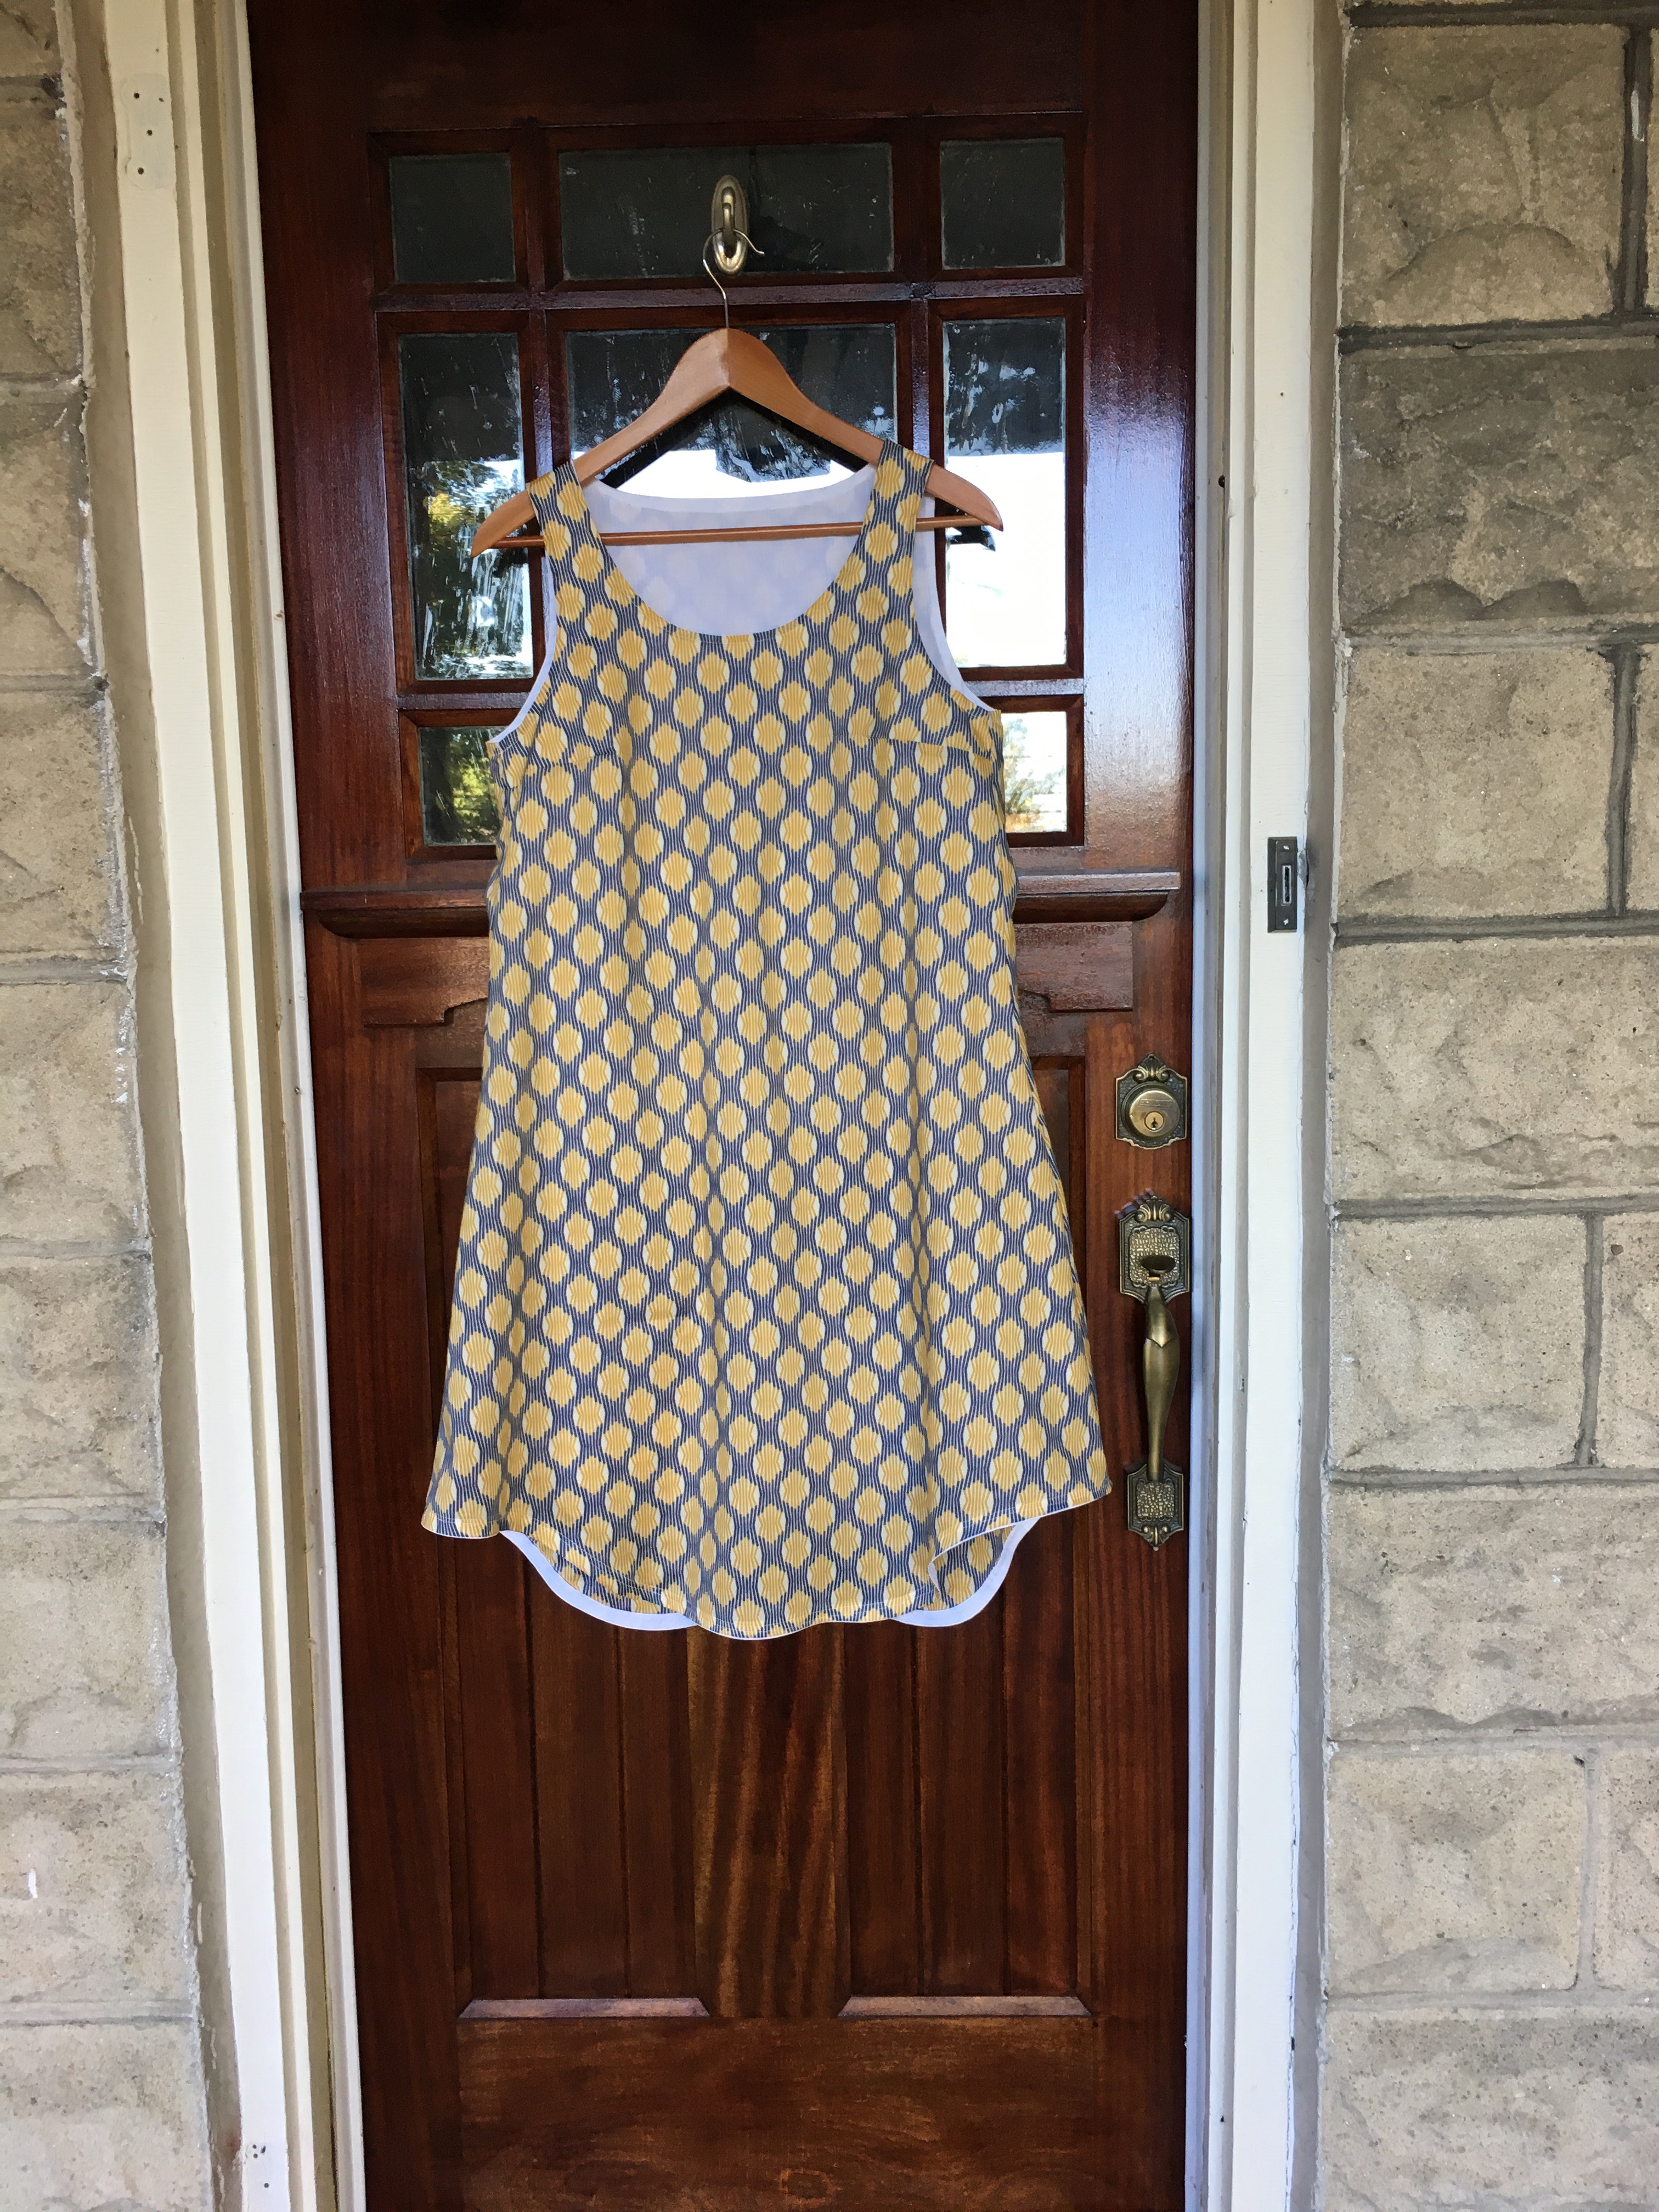
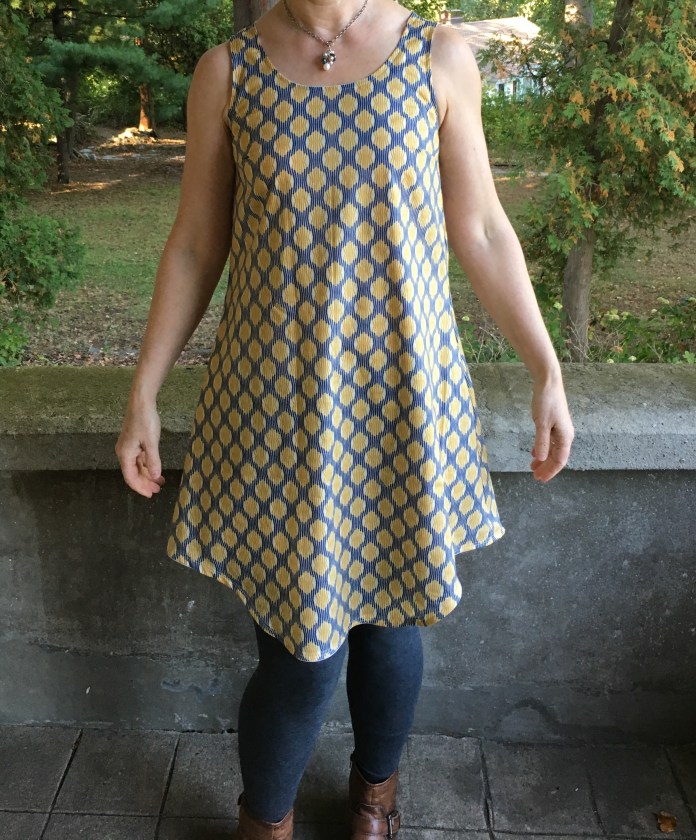 This was a hasty photo shoot-literally 2 minutes when I was running out to work. The shoulder lies nice and flat, not the way it looks in the photo below.


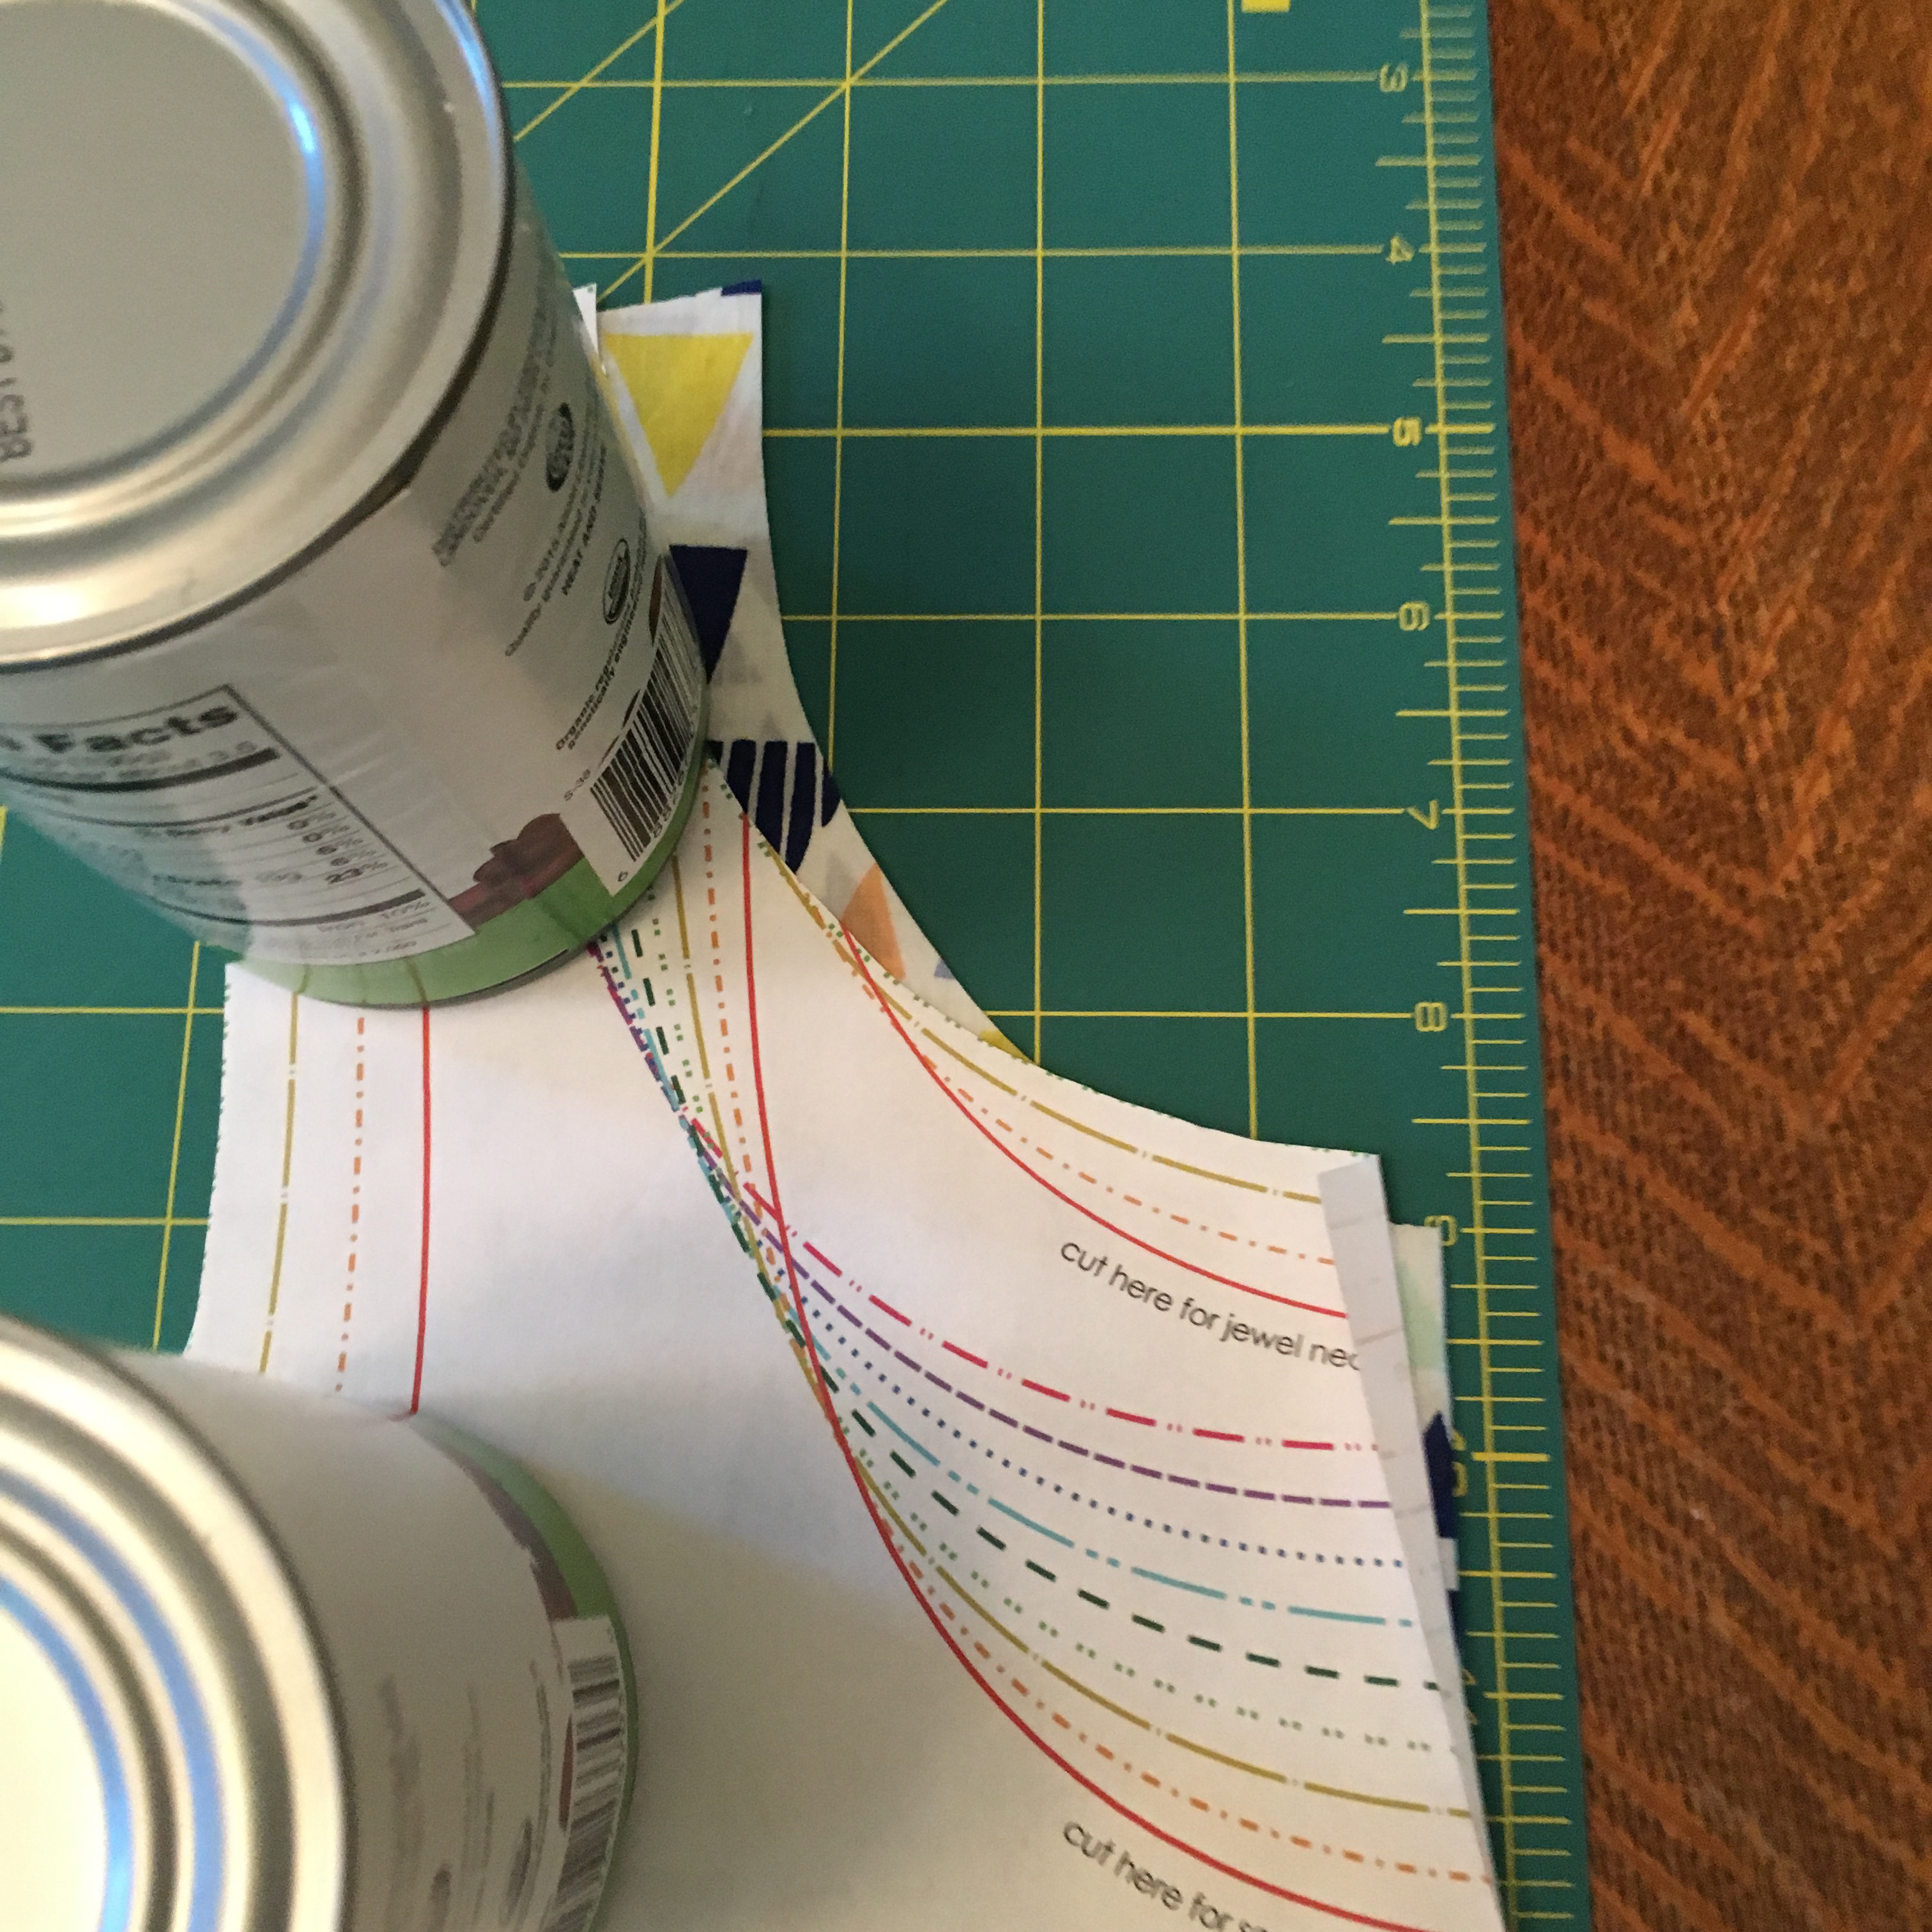
 The thing about this pattern is that the initial sewing goes very quickly and then there is the bias binding which is not terrible but somewhat of a challenge for me. So now I am finishing these projects one by one and today I had time to finish this.

 In addition to the details of the other binding method that I use explained in
  #beforethebinding picture below.
 You can link to my previous posts about the Gemma Tank
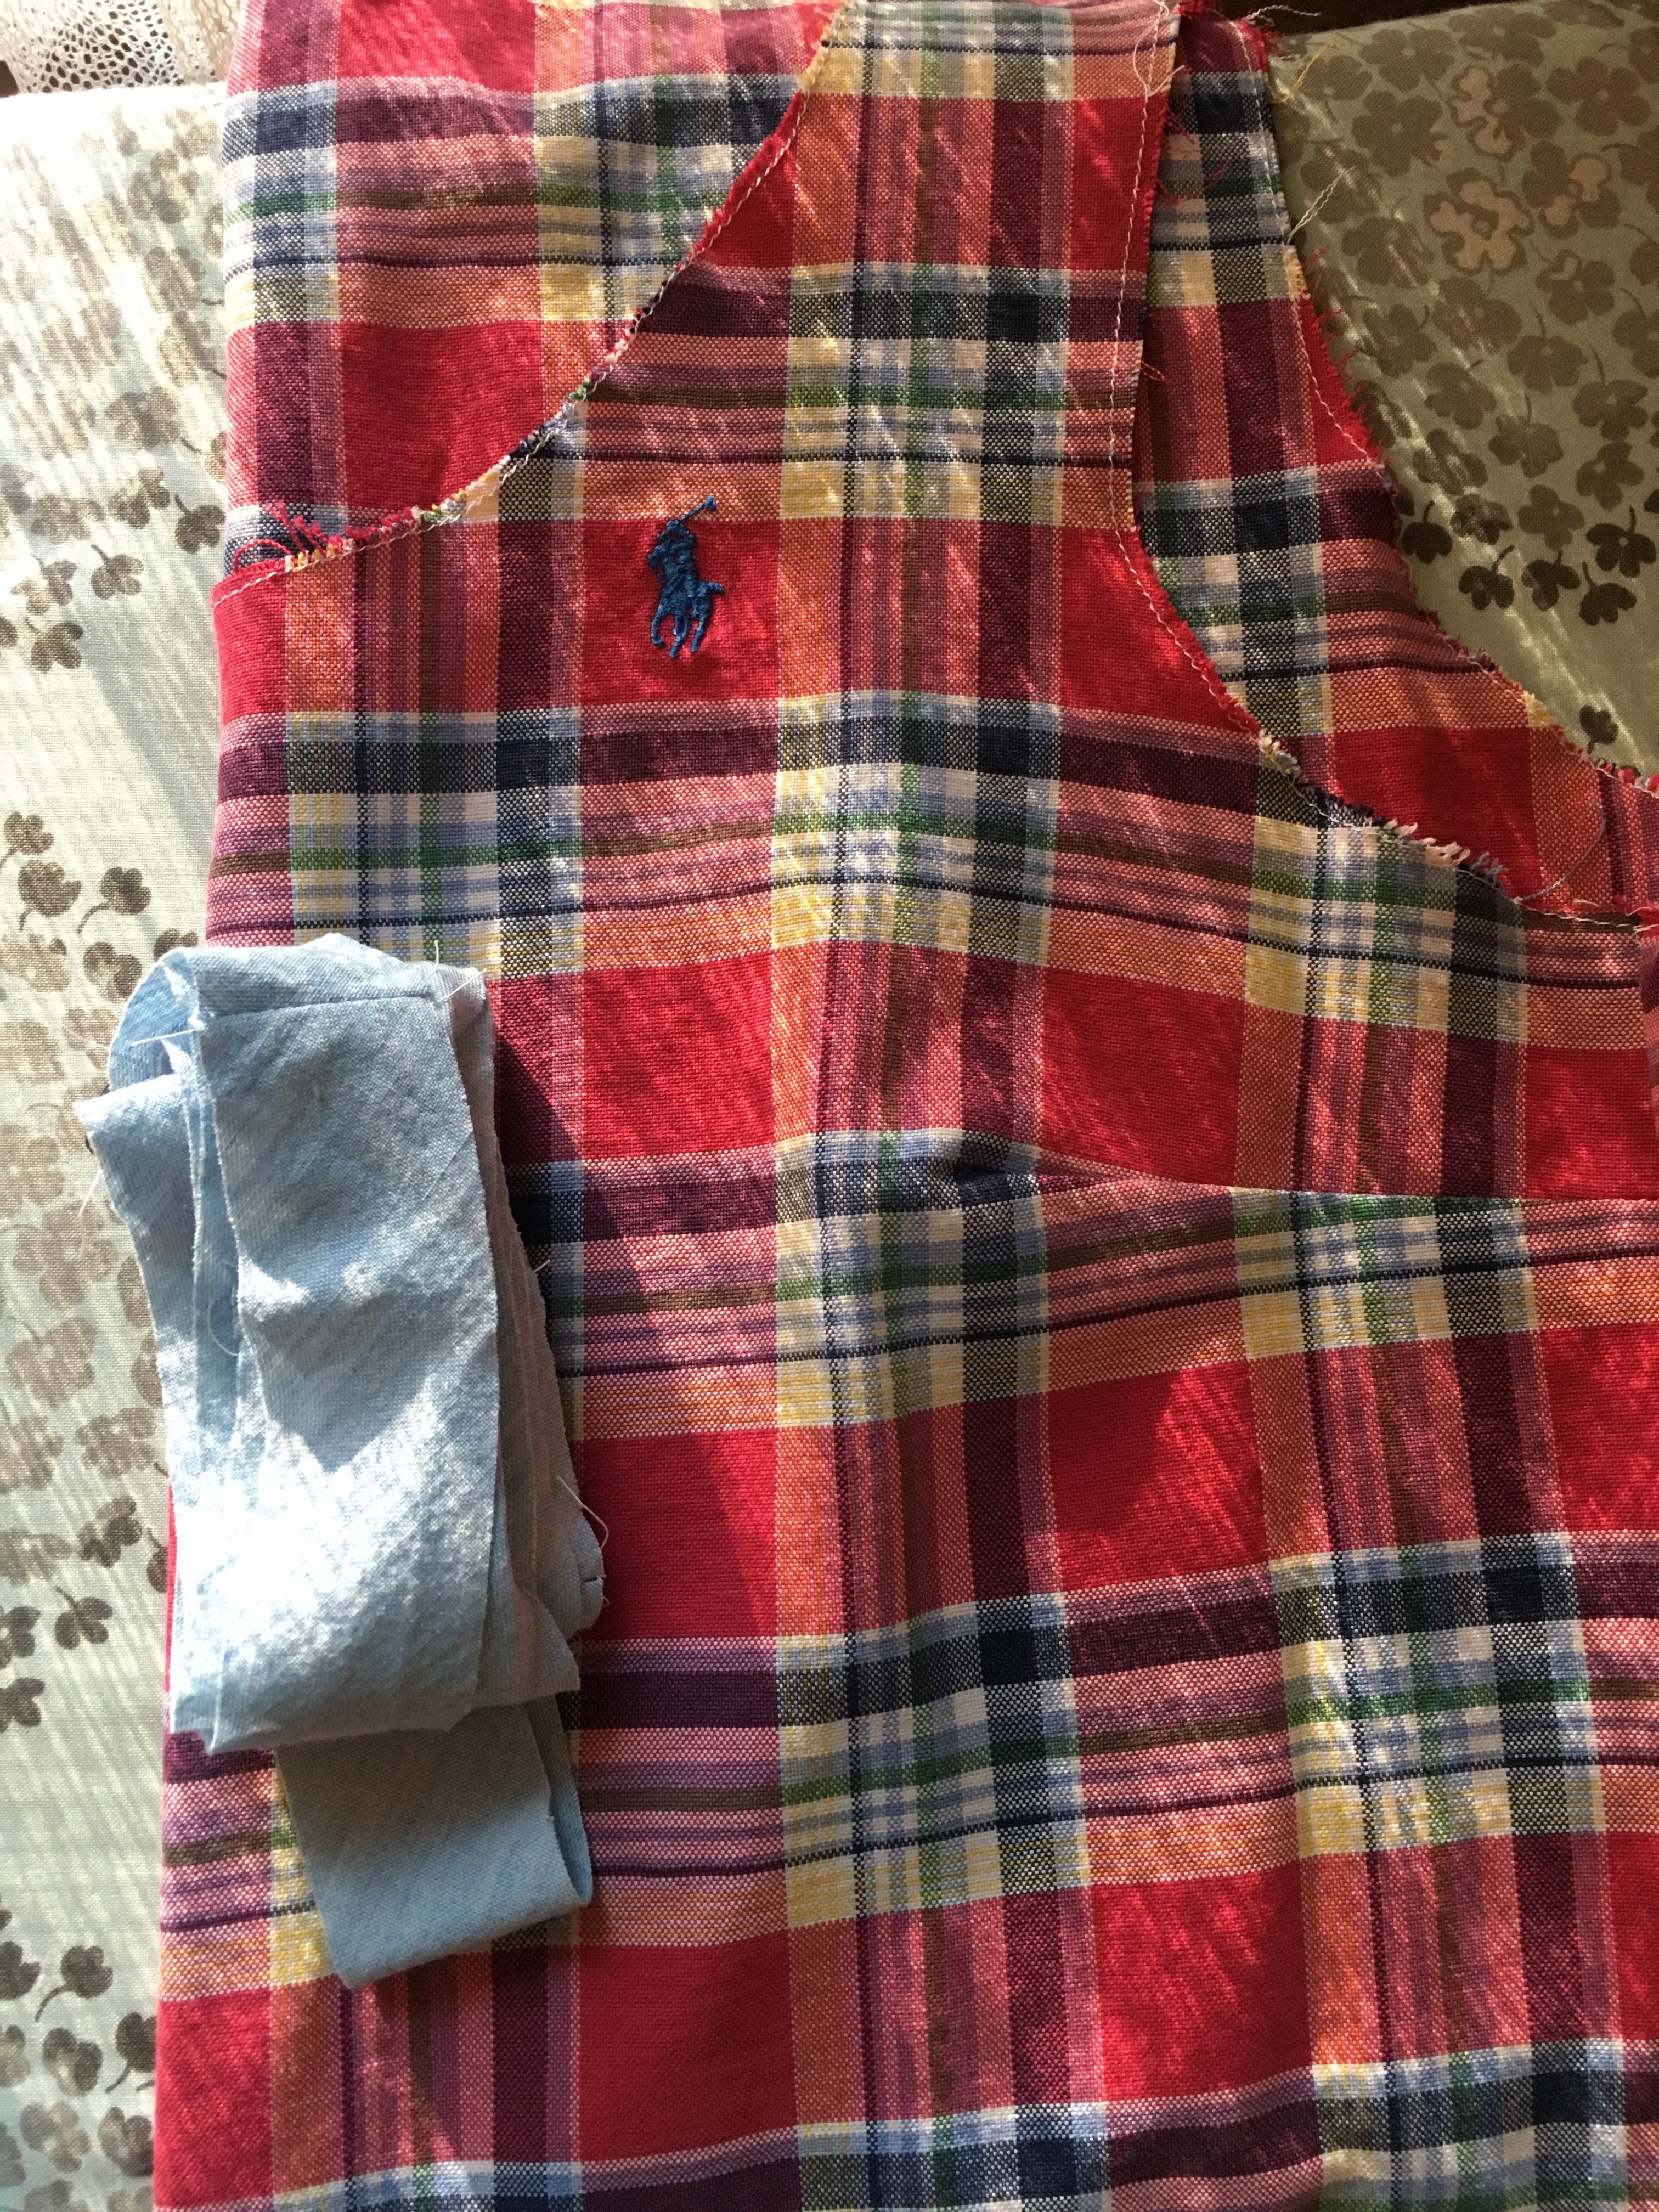


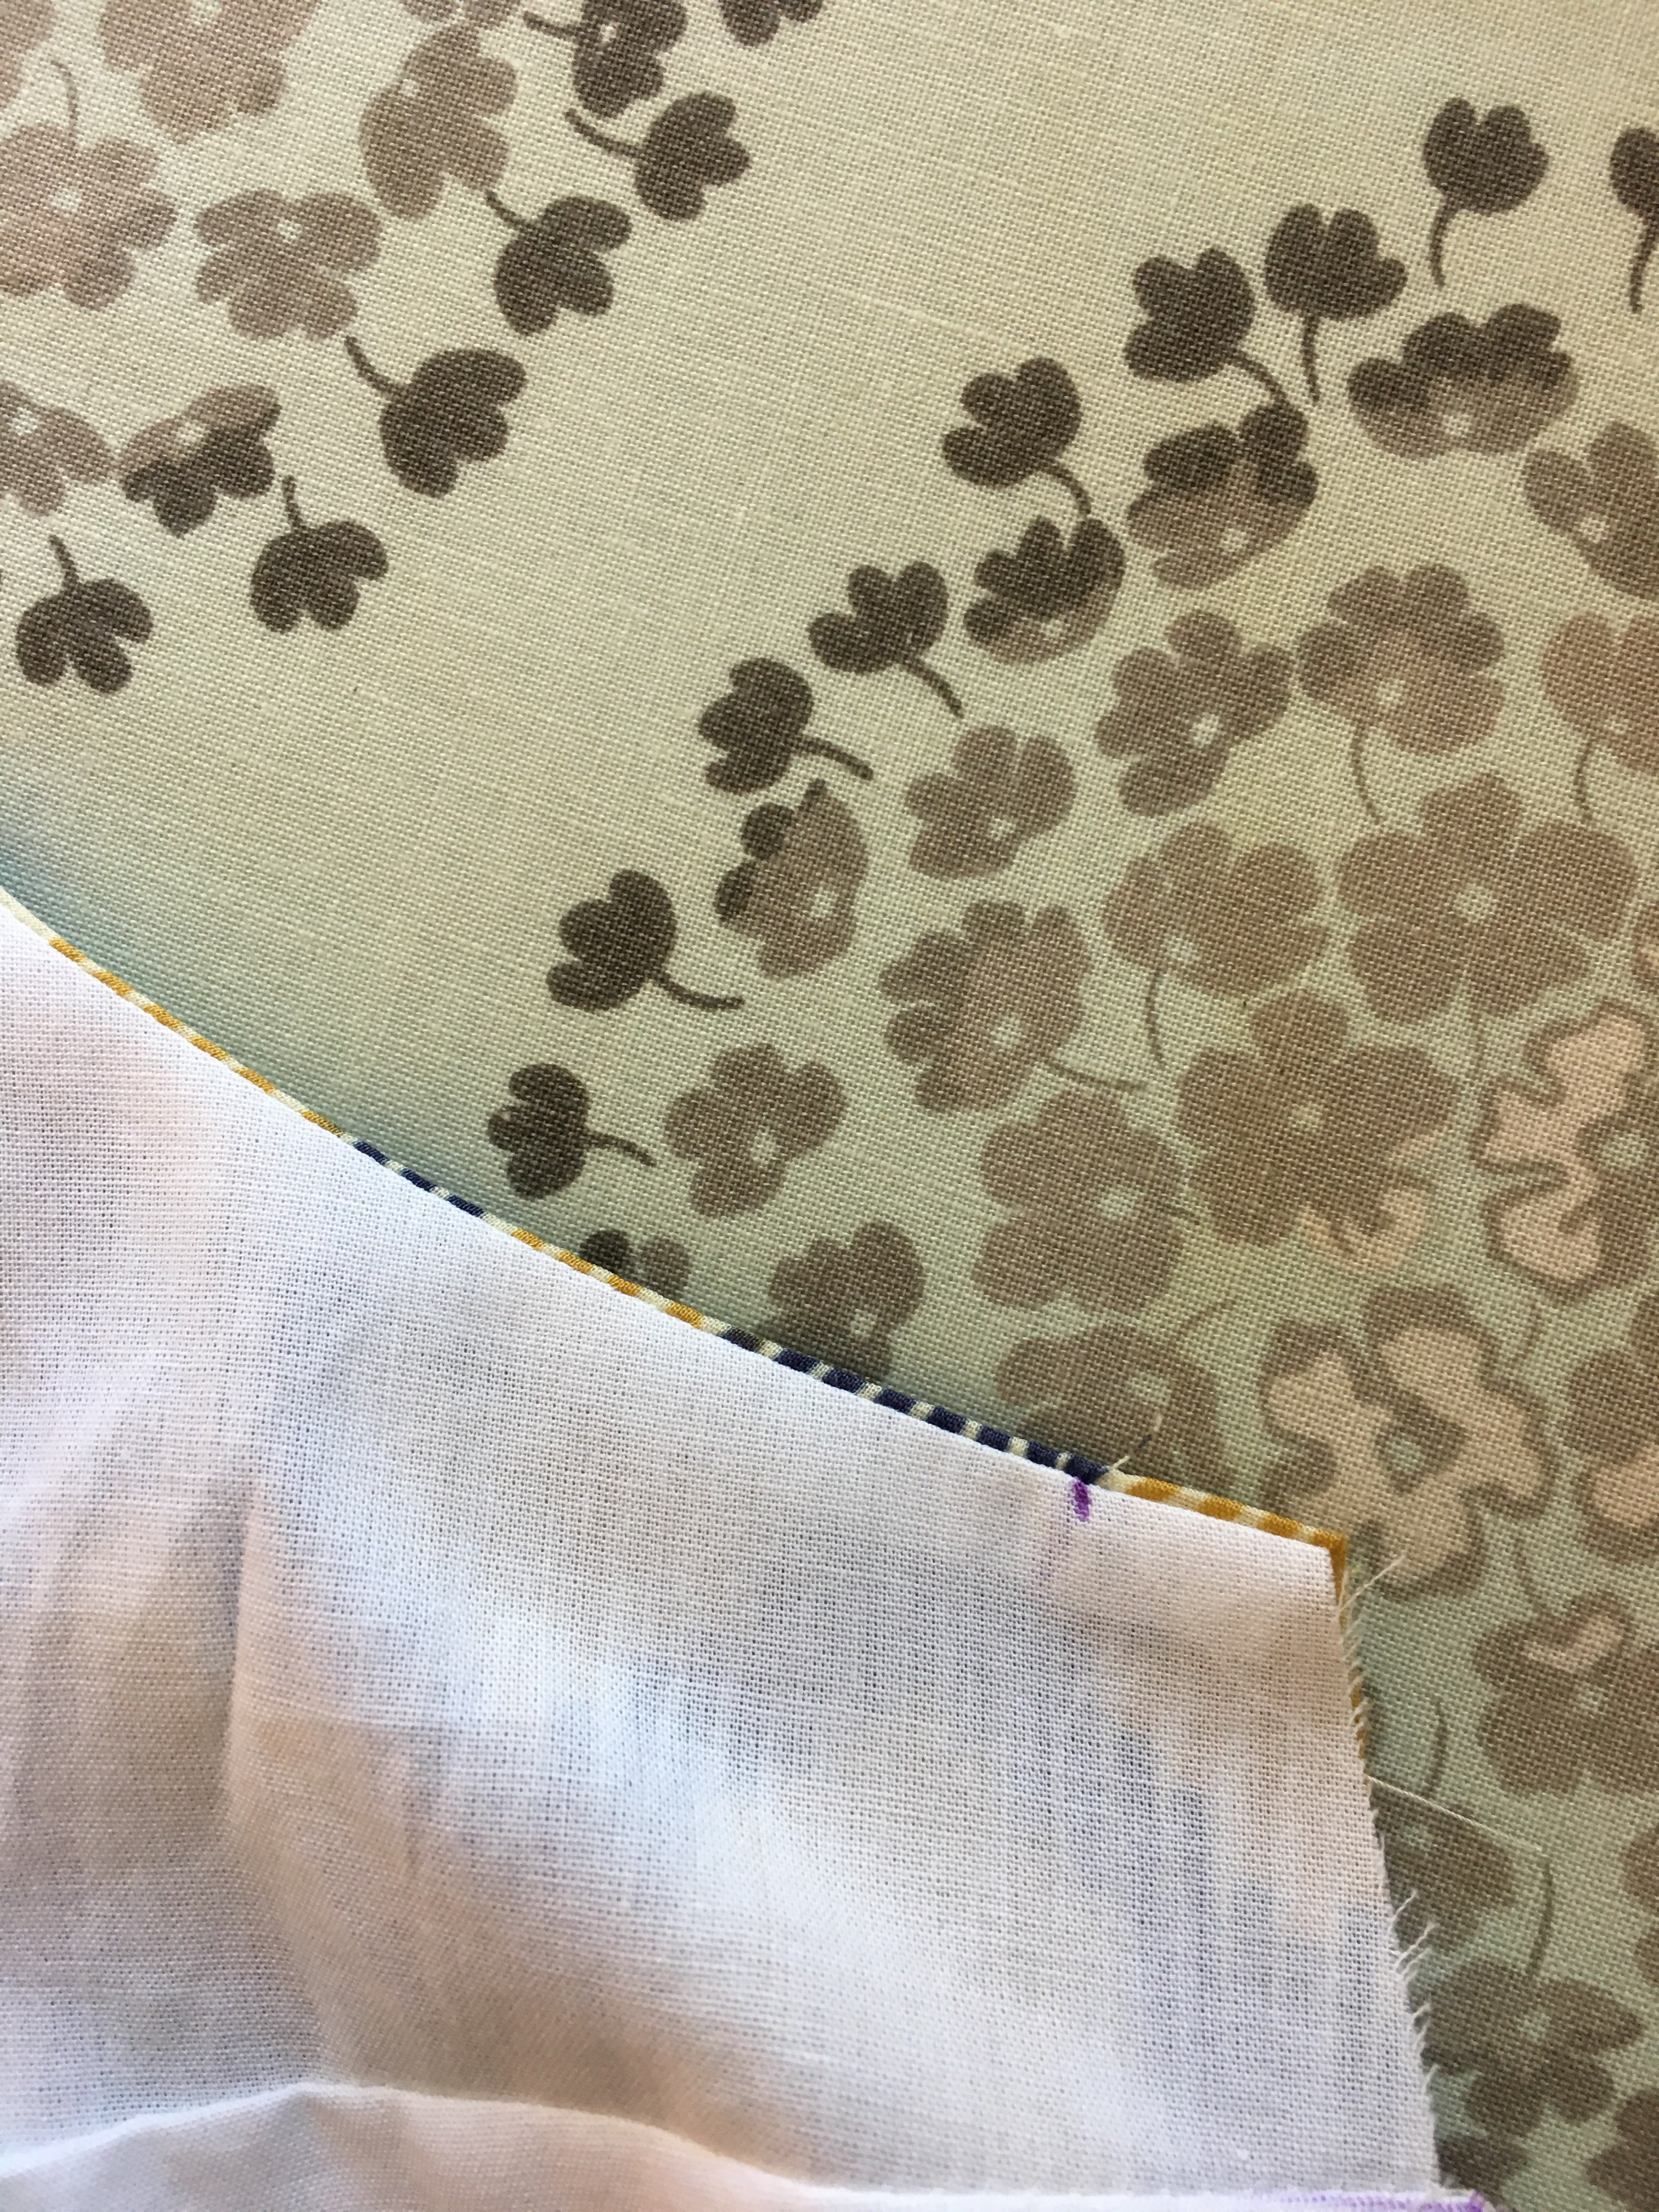
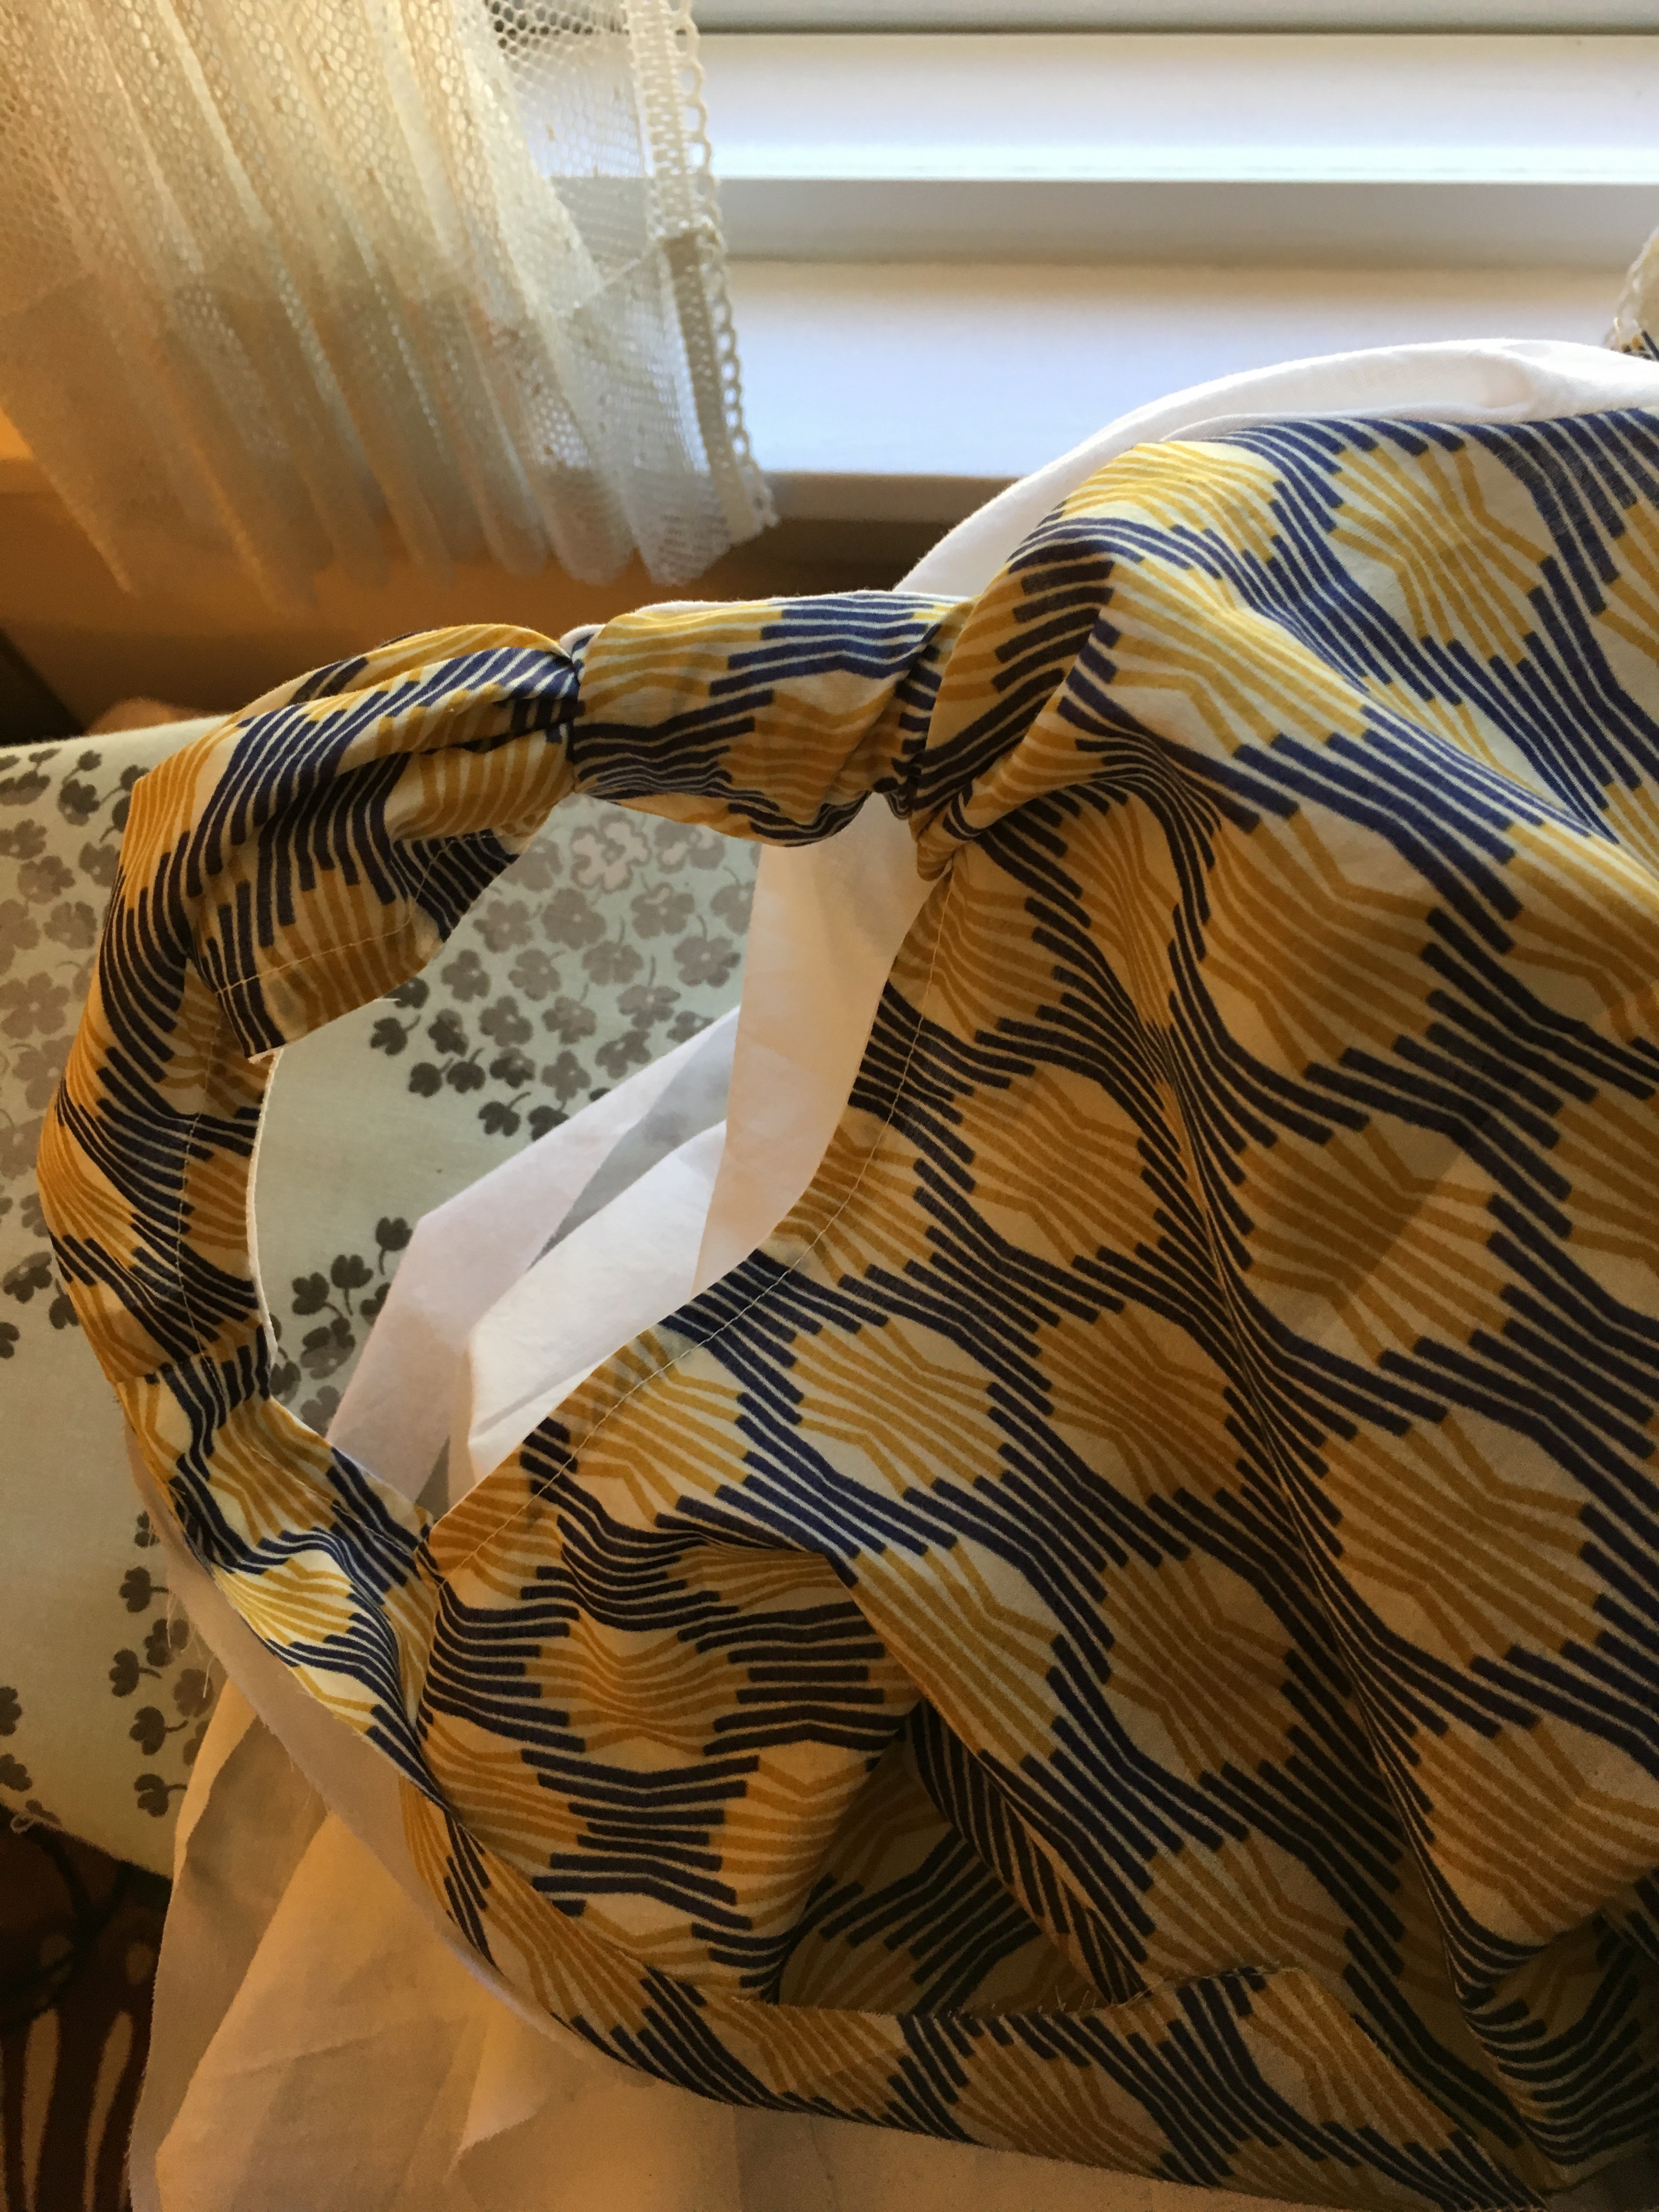
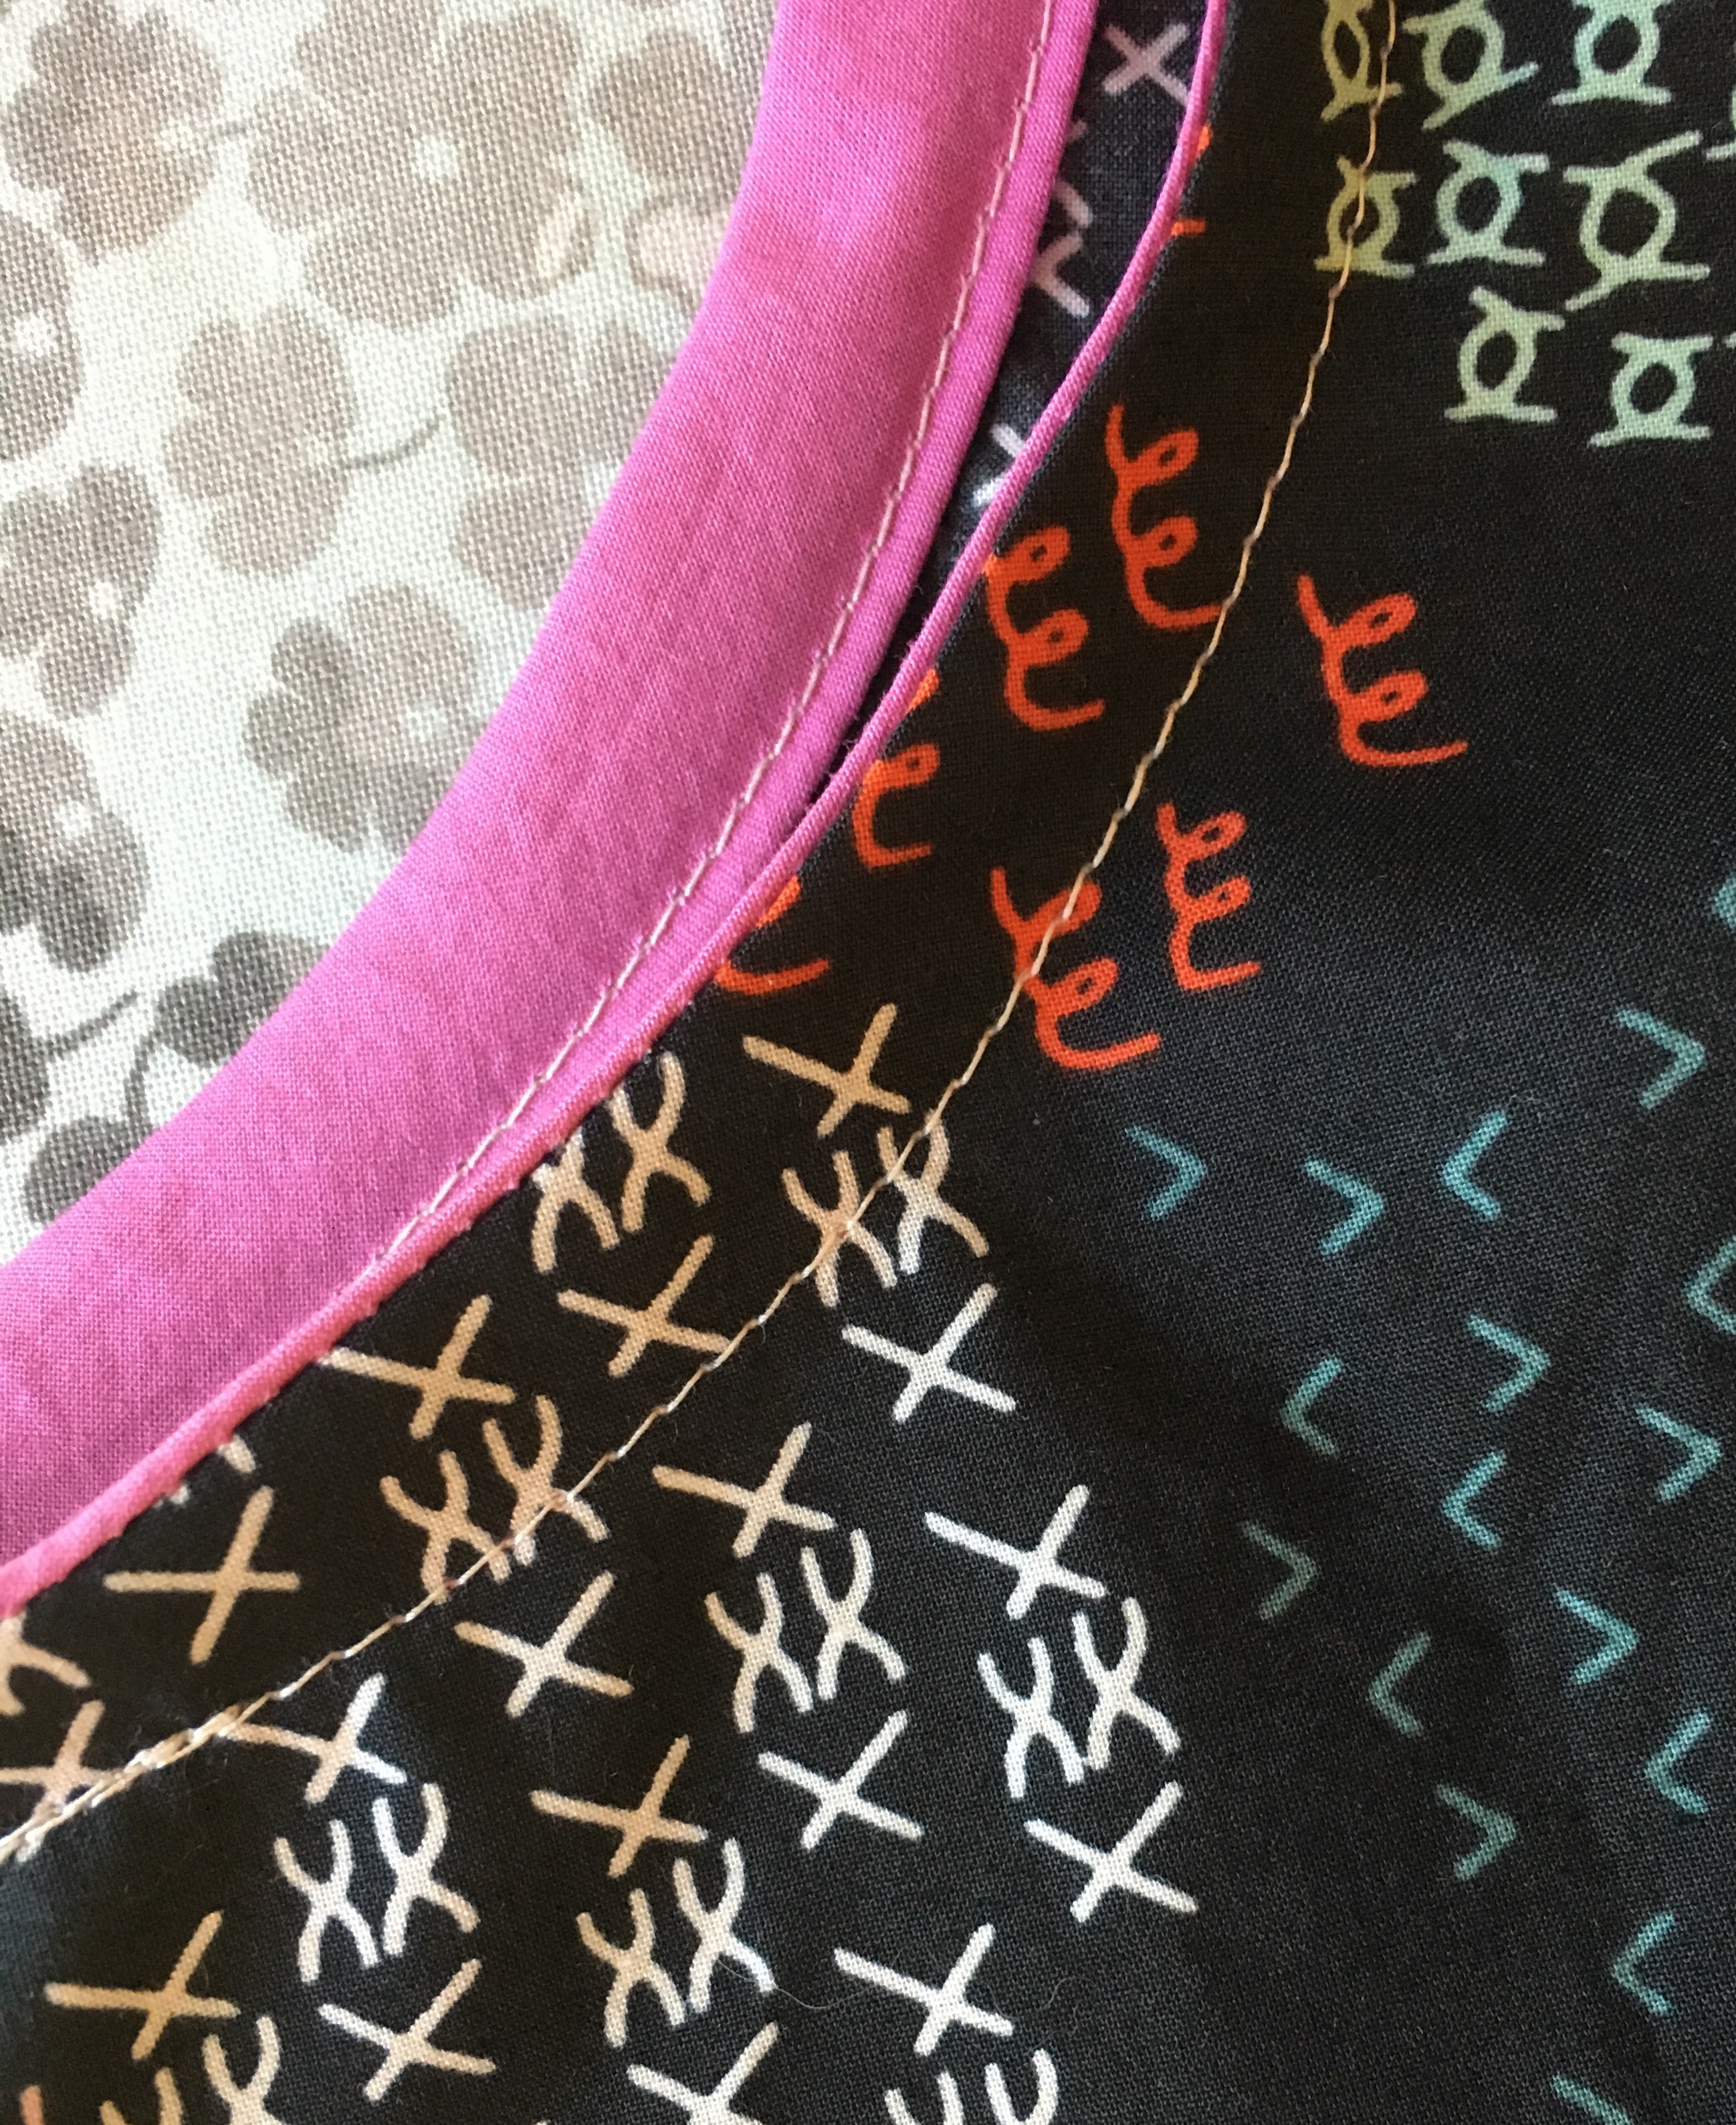
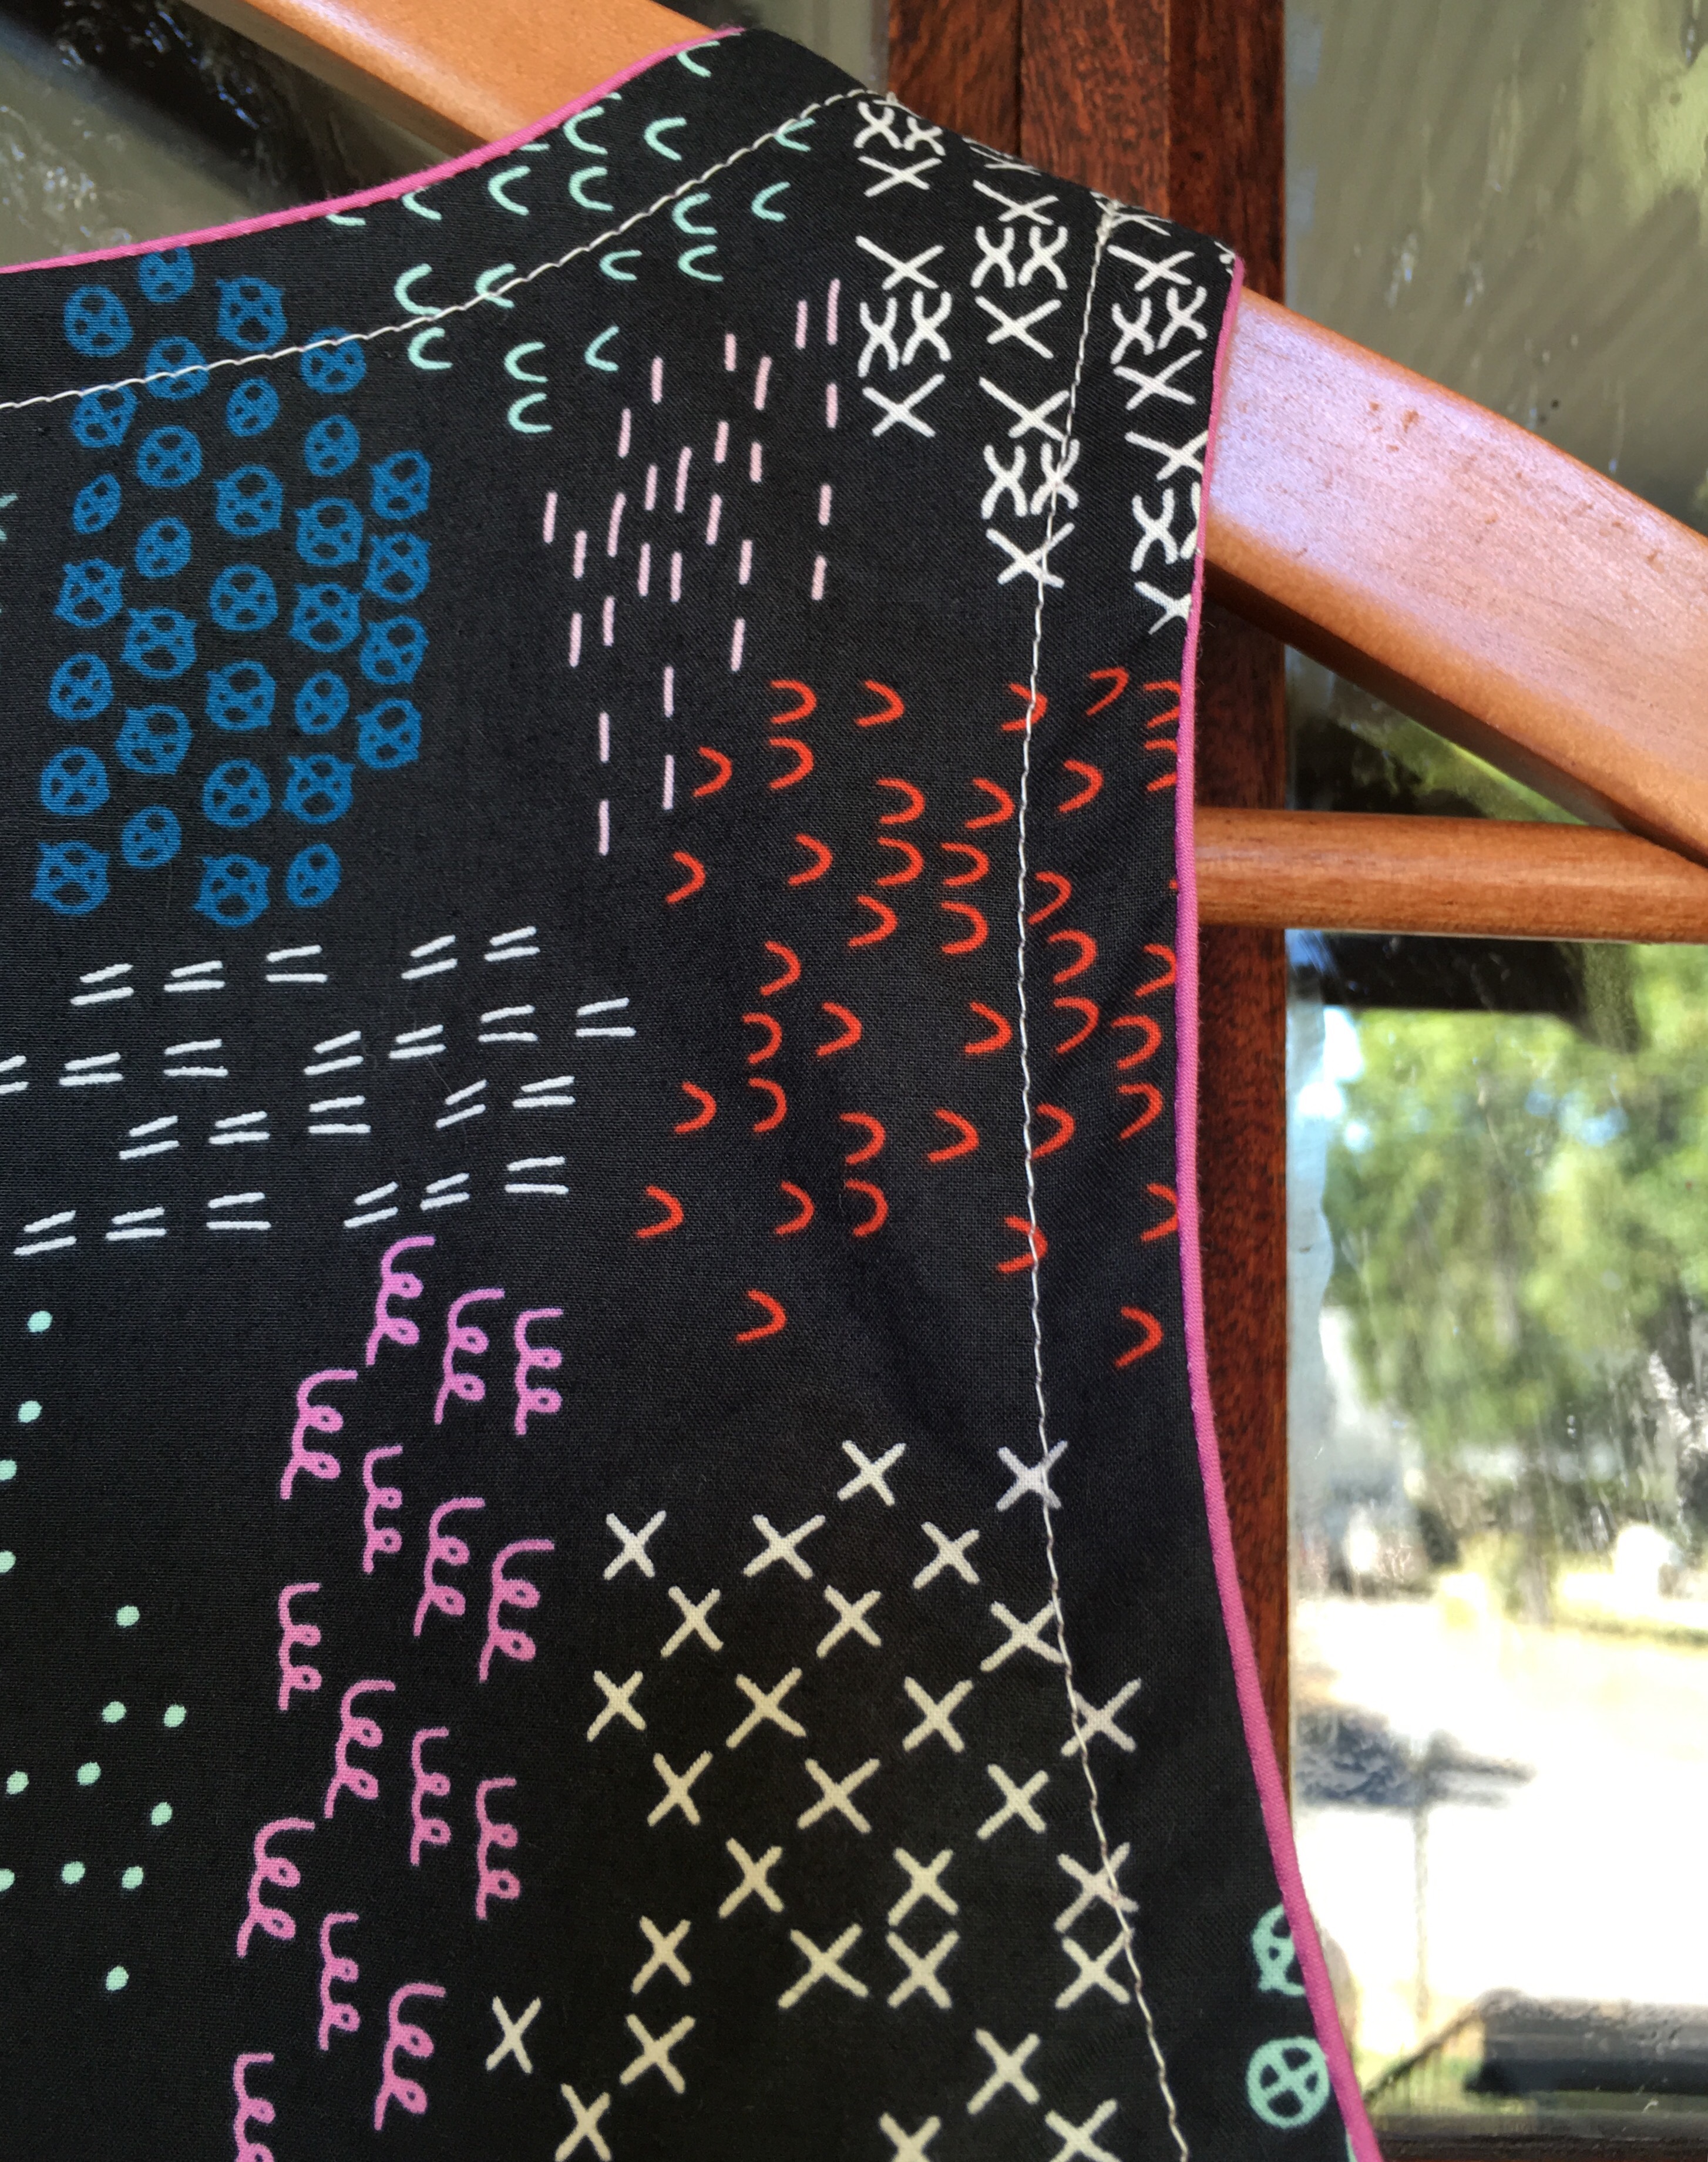
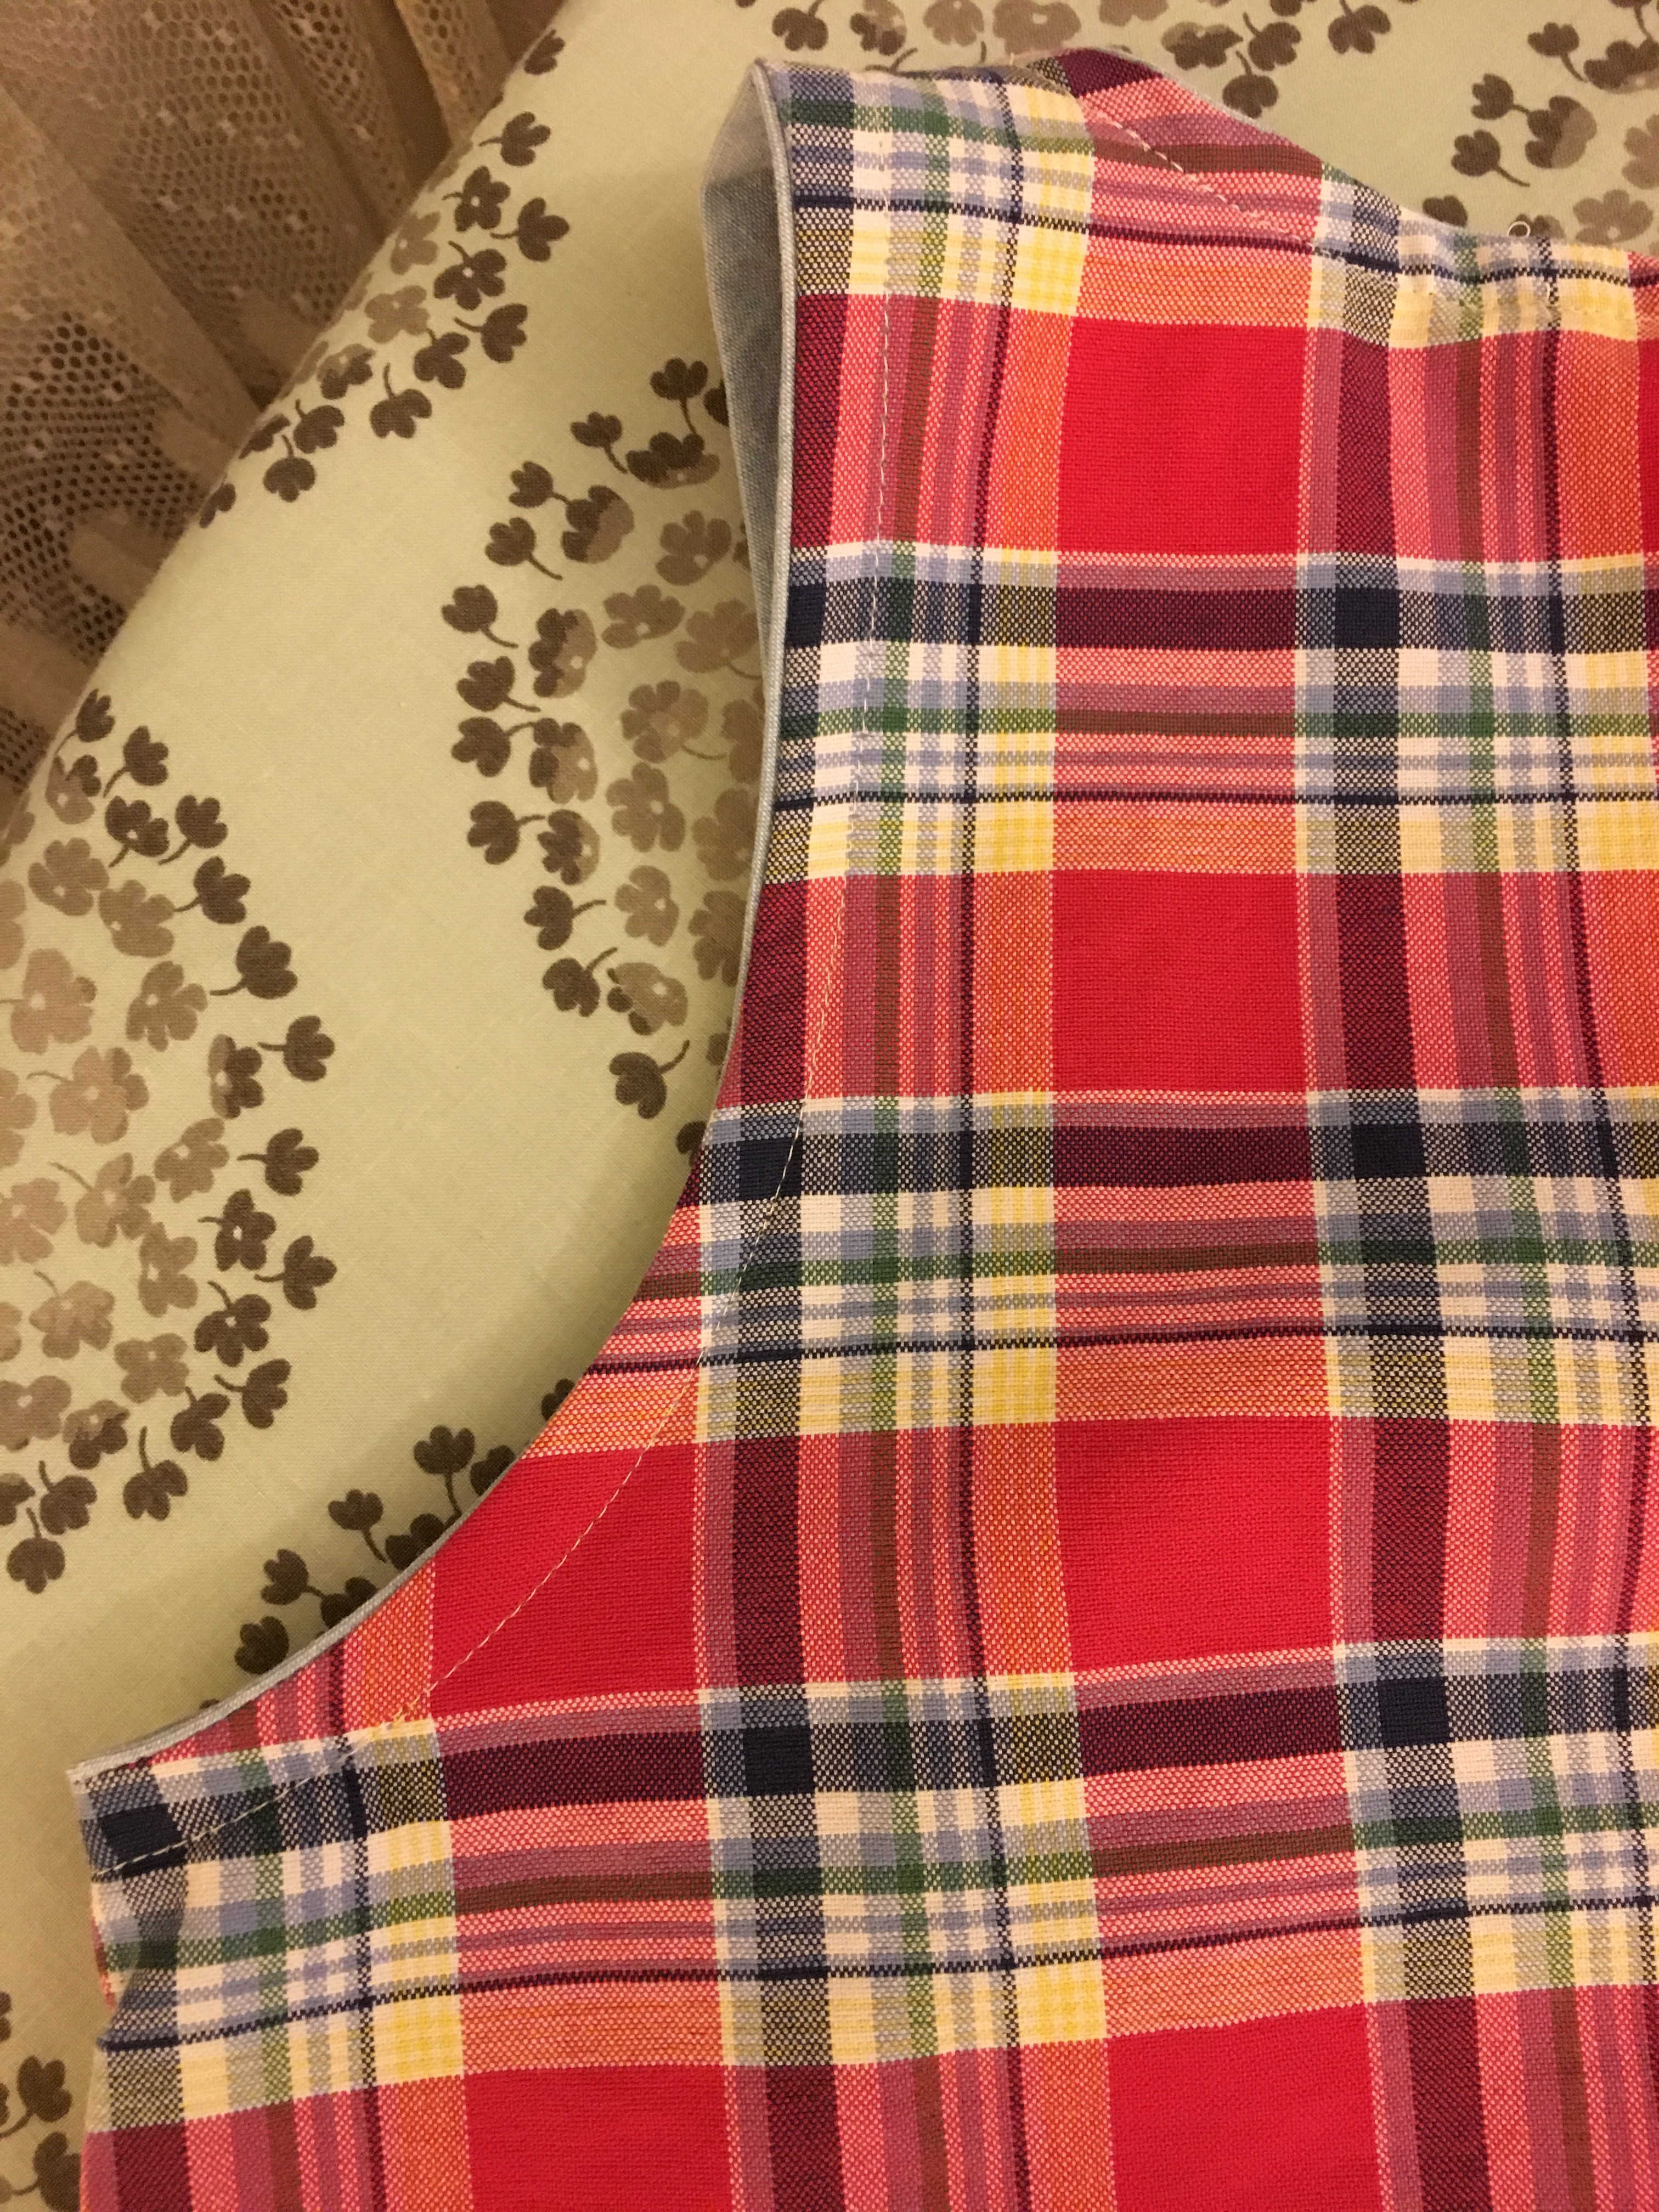
 Luckily there was no pocket to contend with but there was the polo player who ended up in just about the right spot. I really like the contrasting blue edge around the neck and arms.


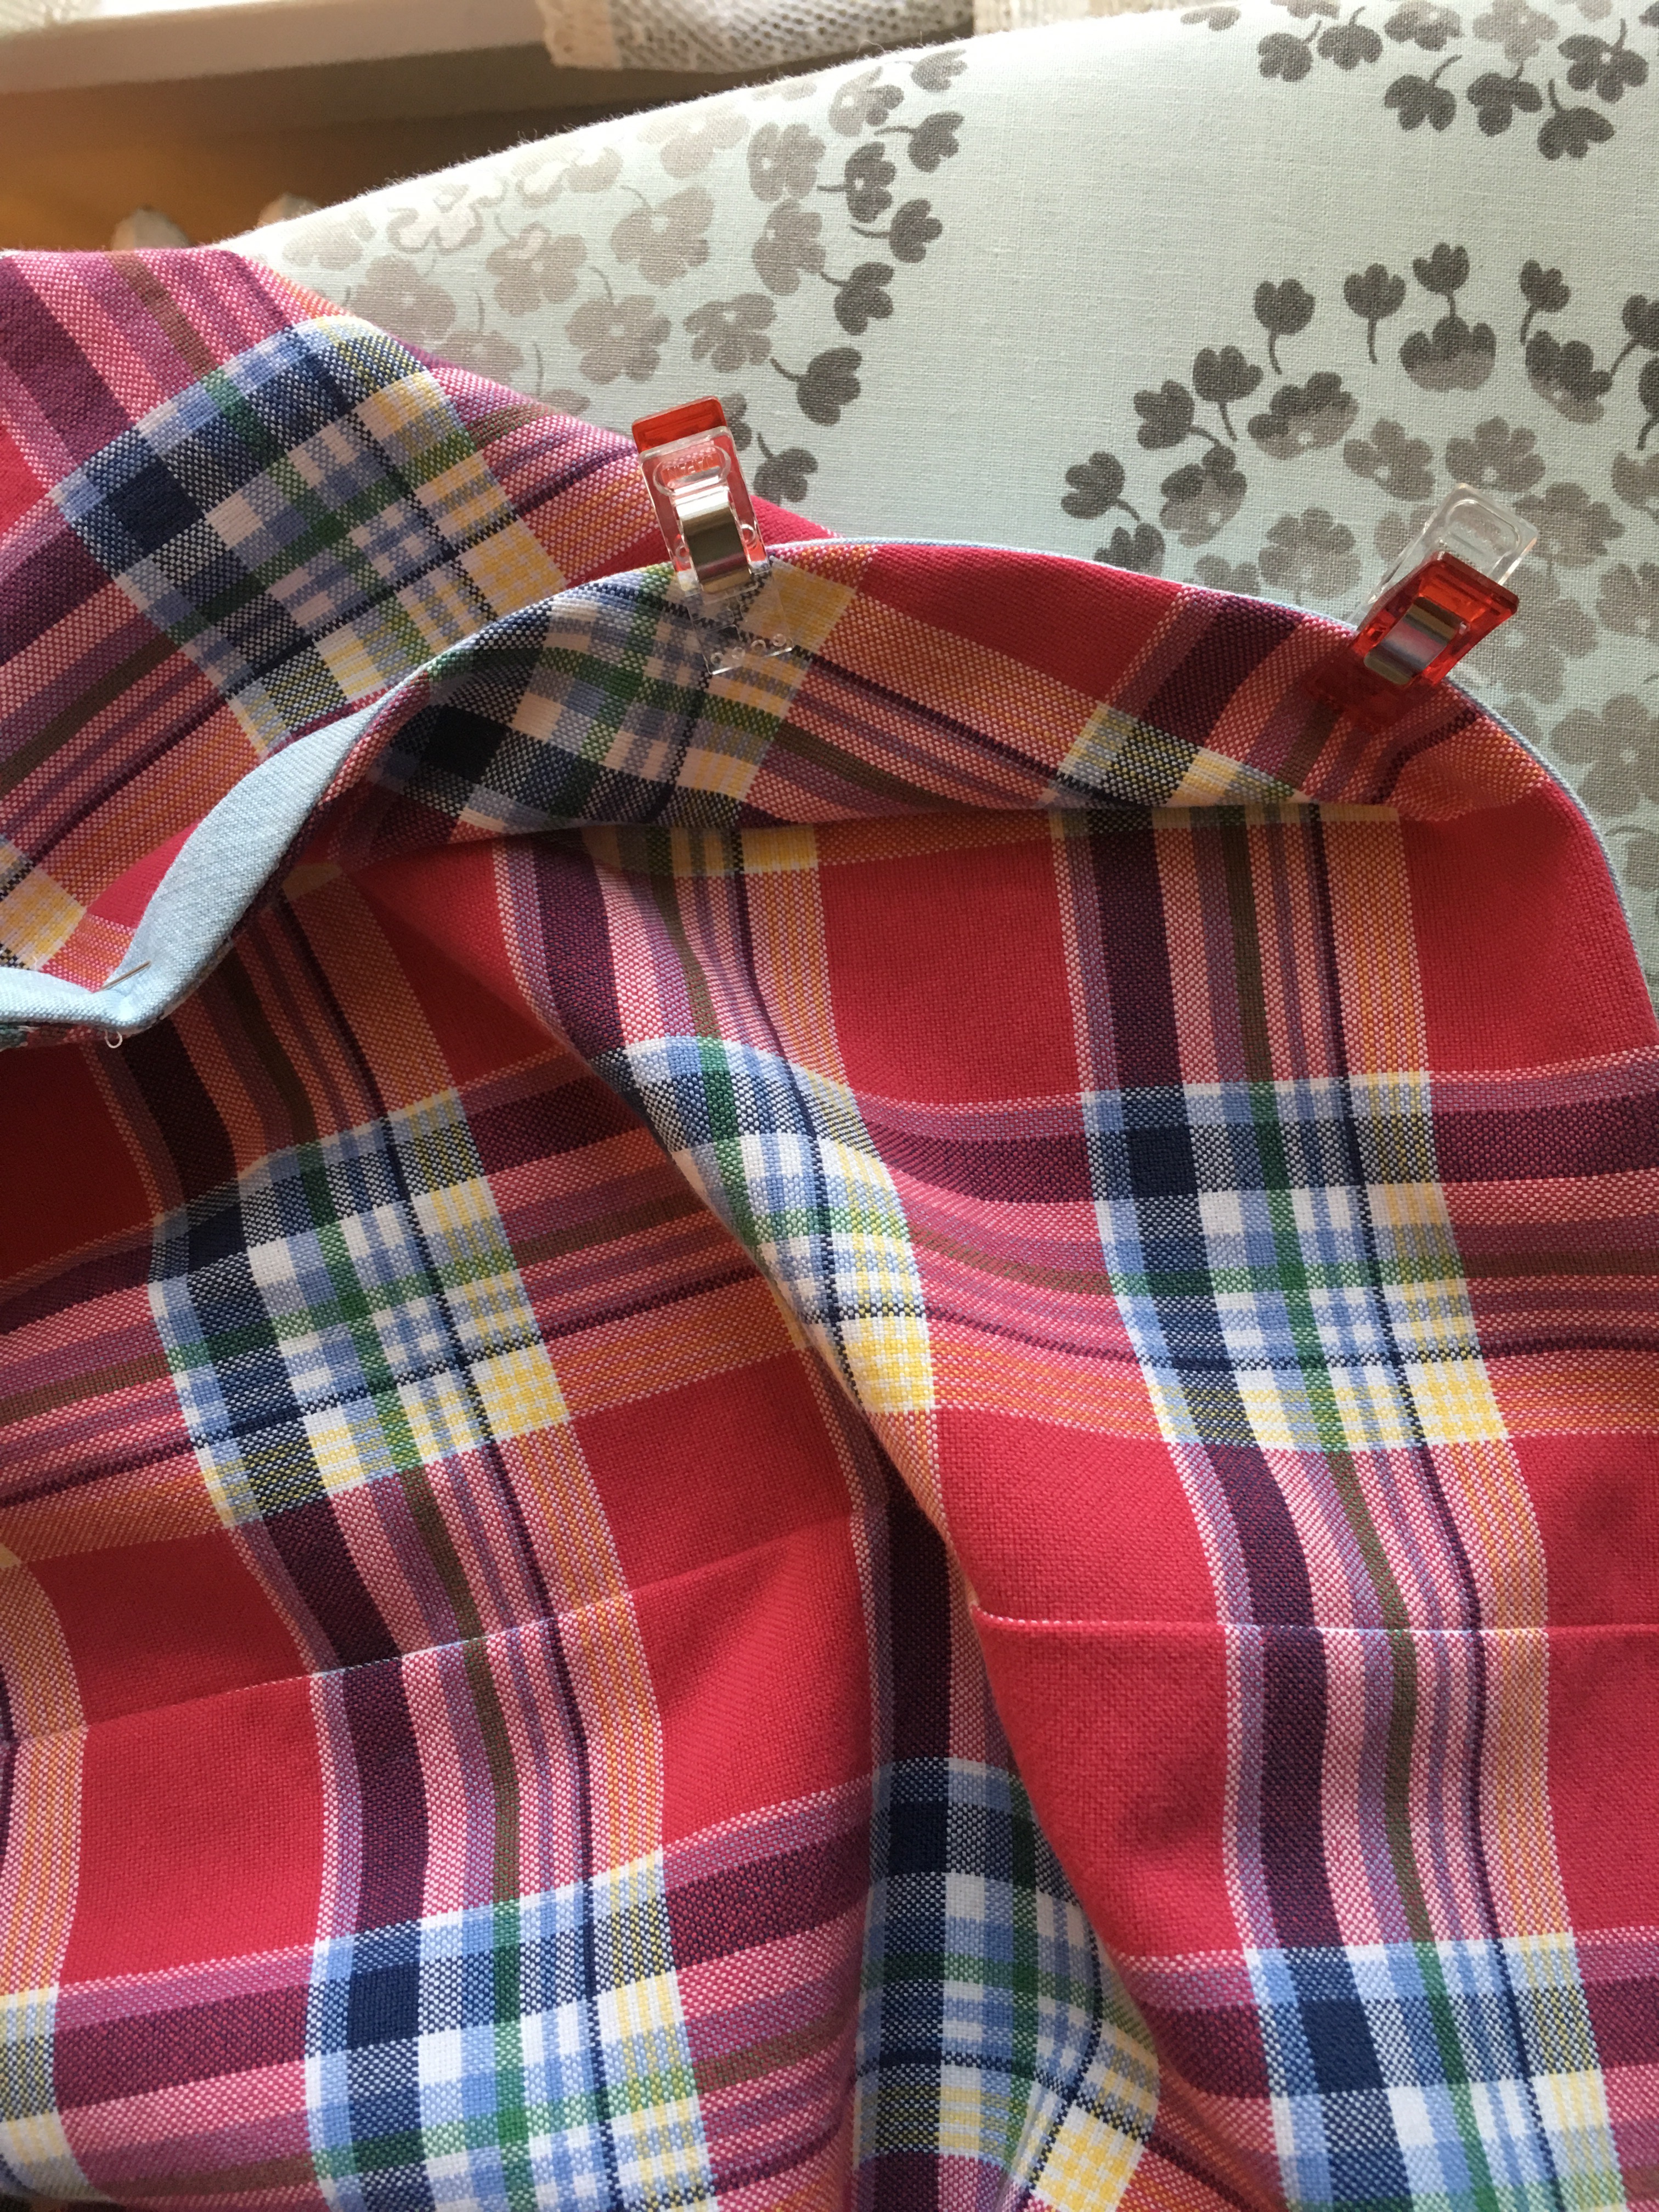

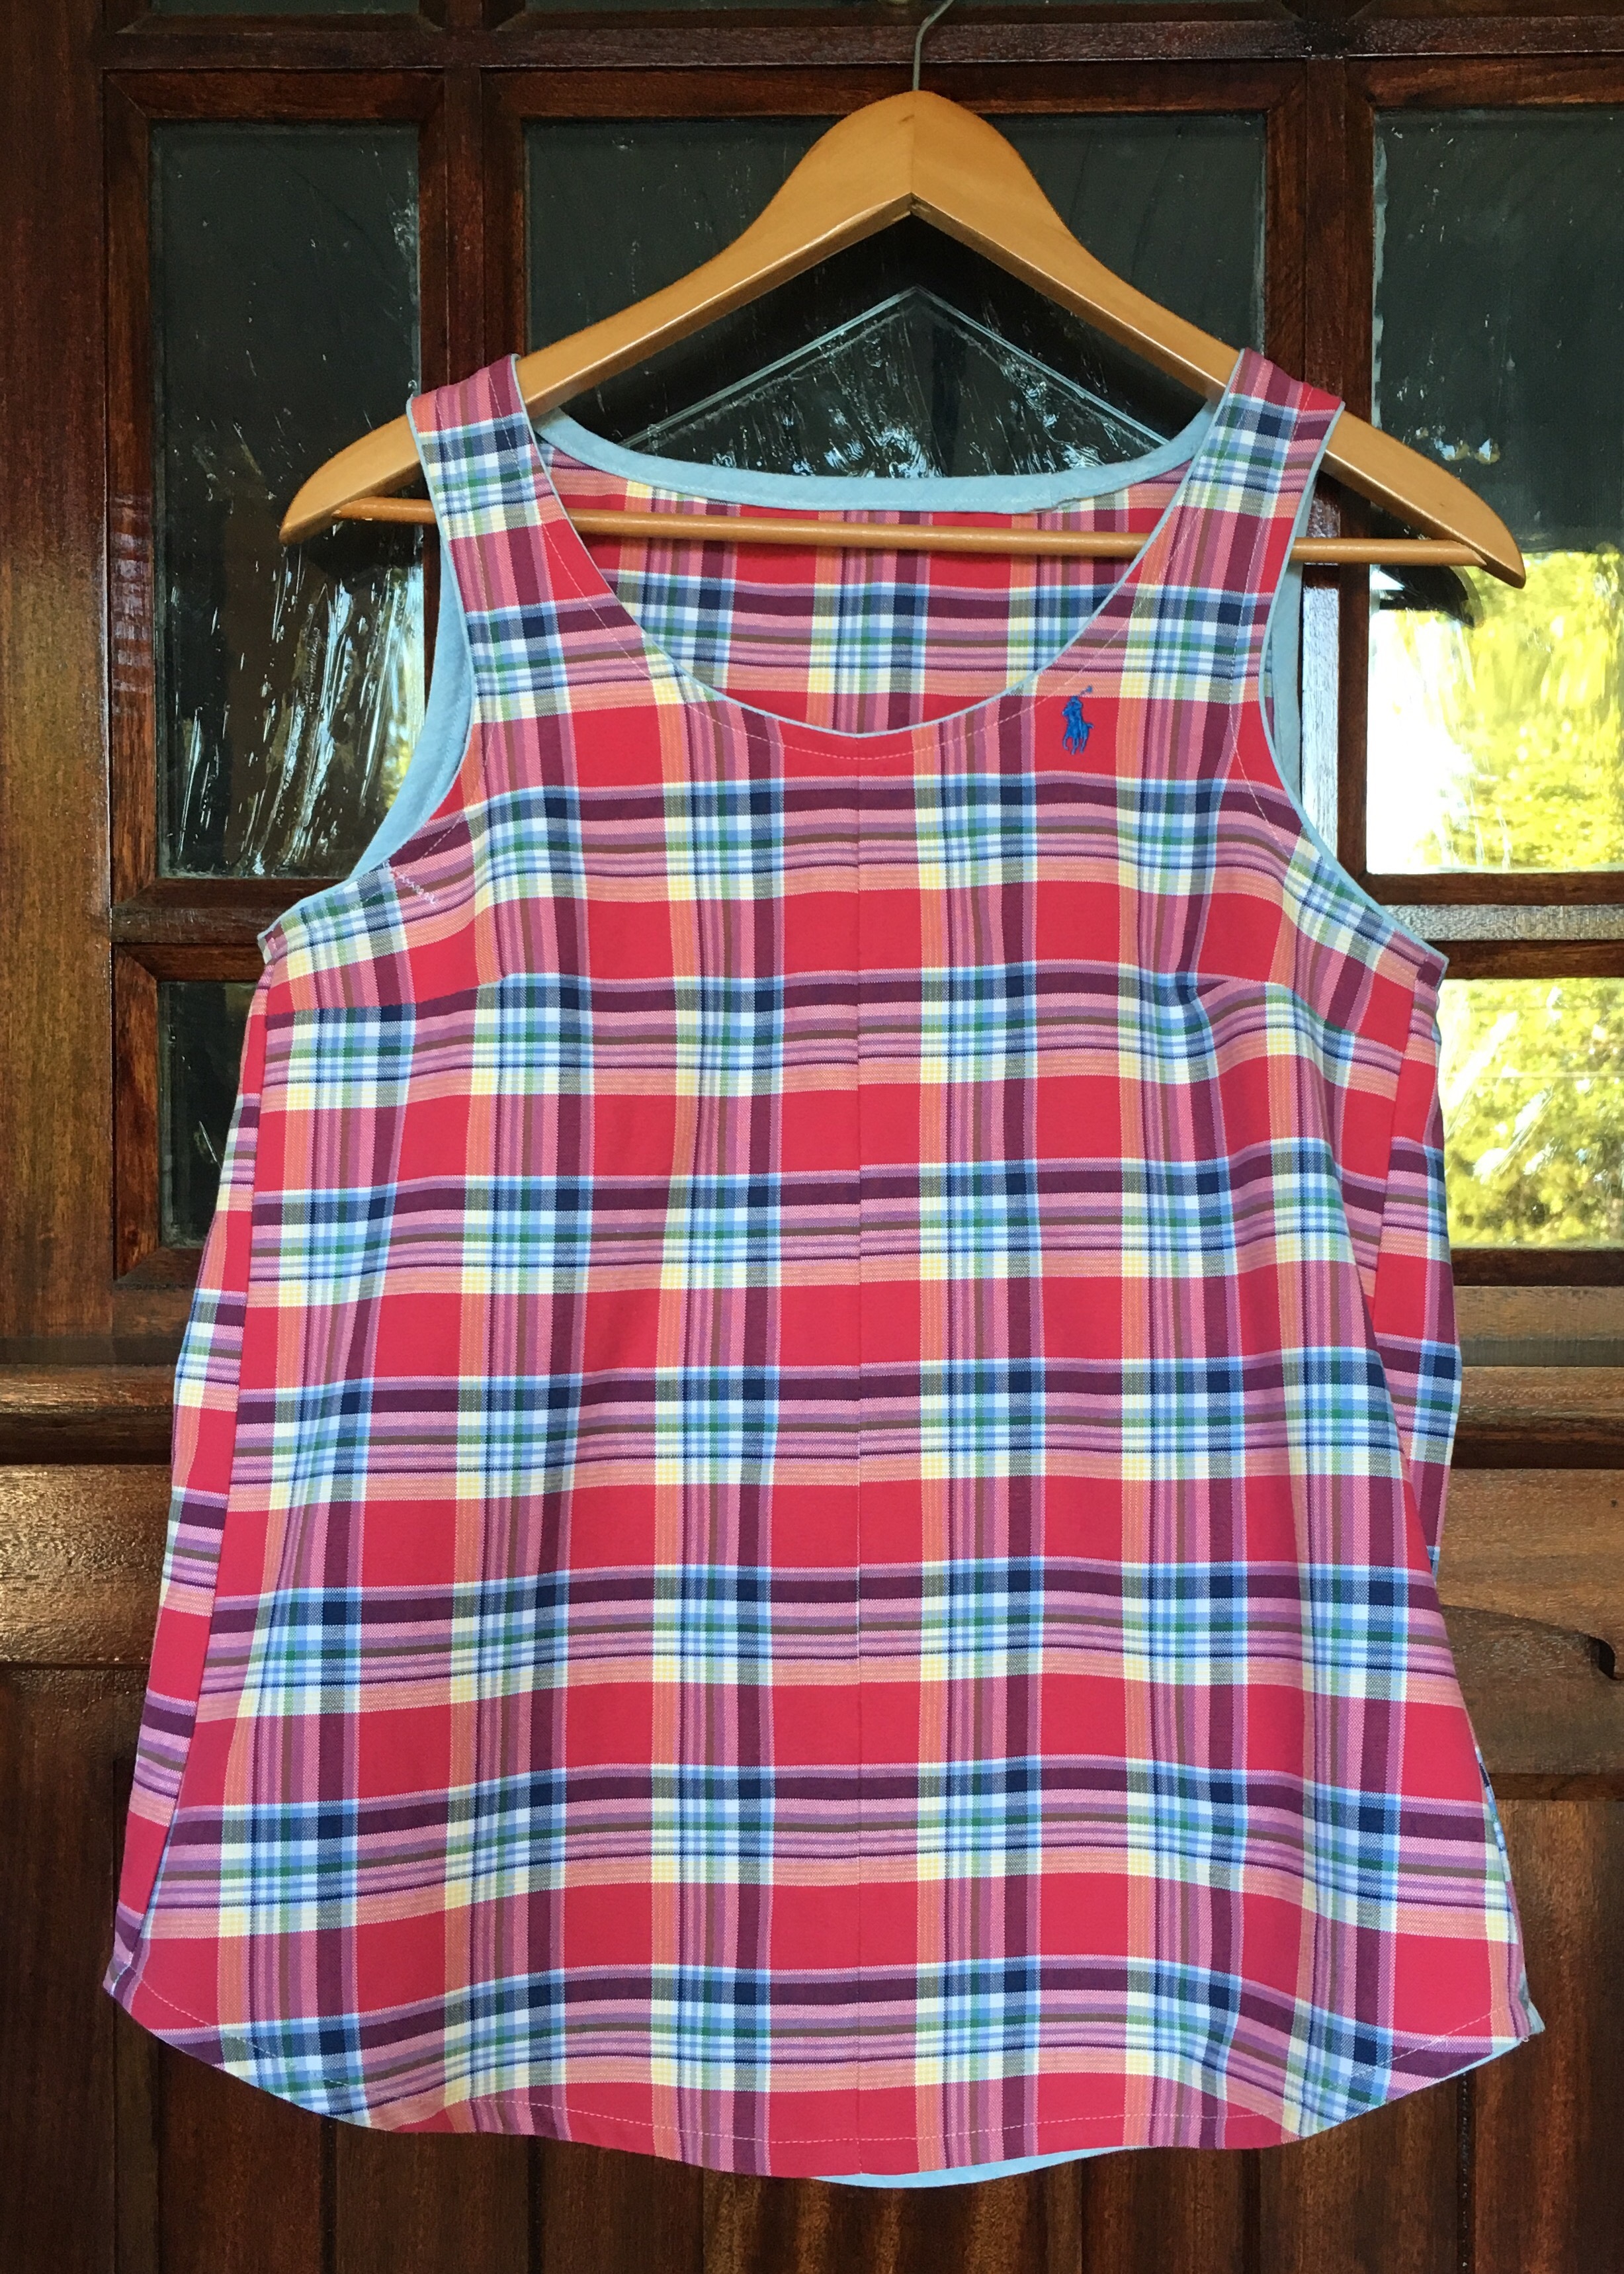
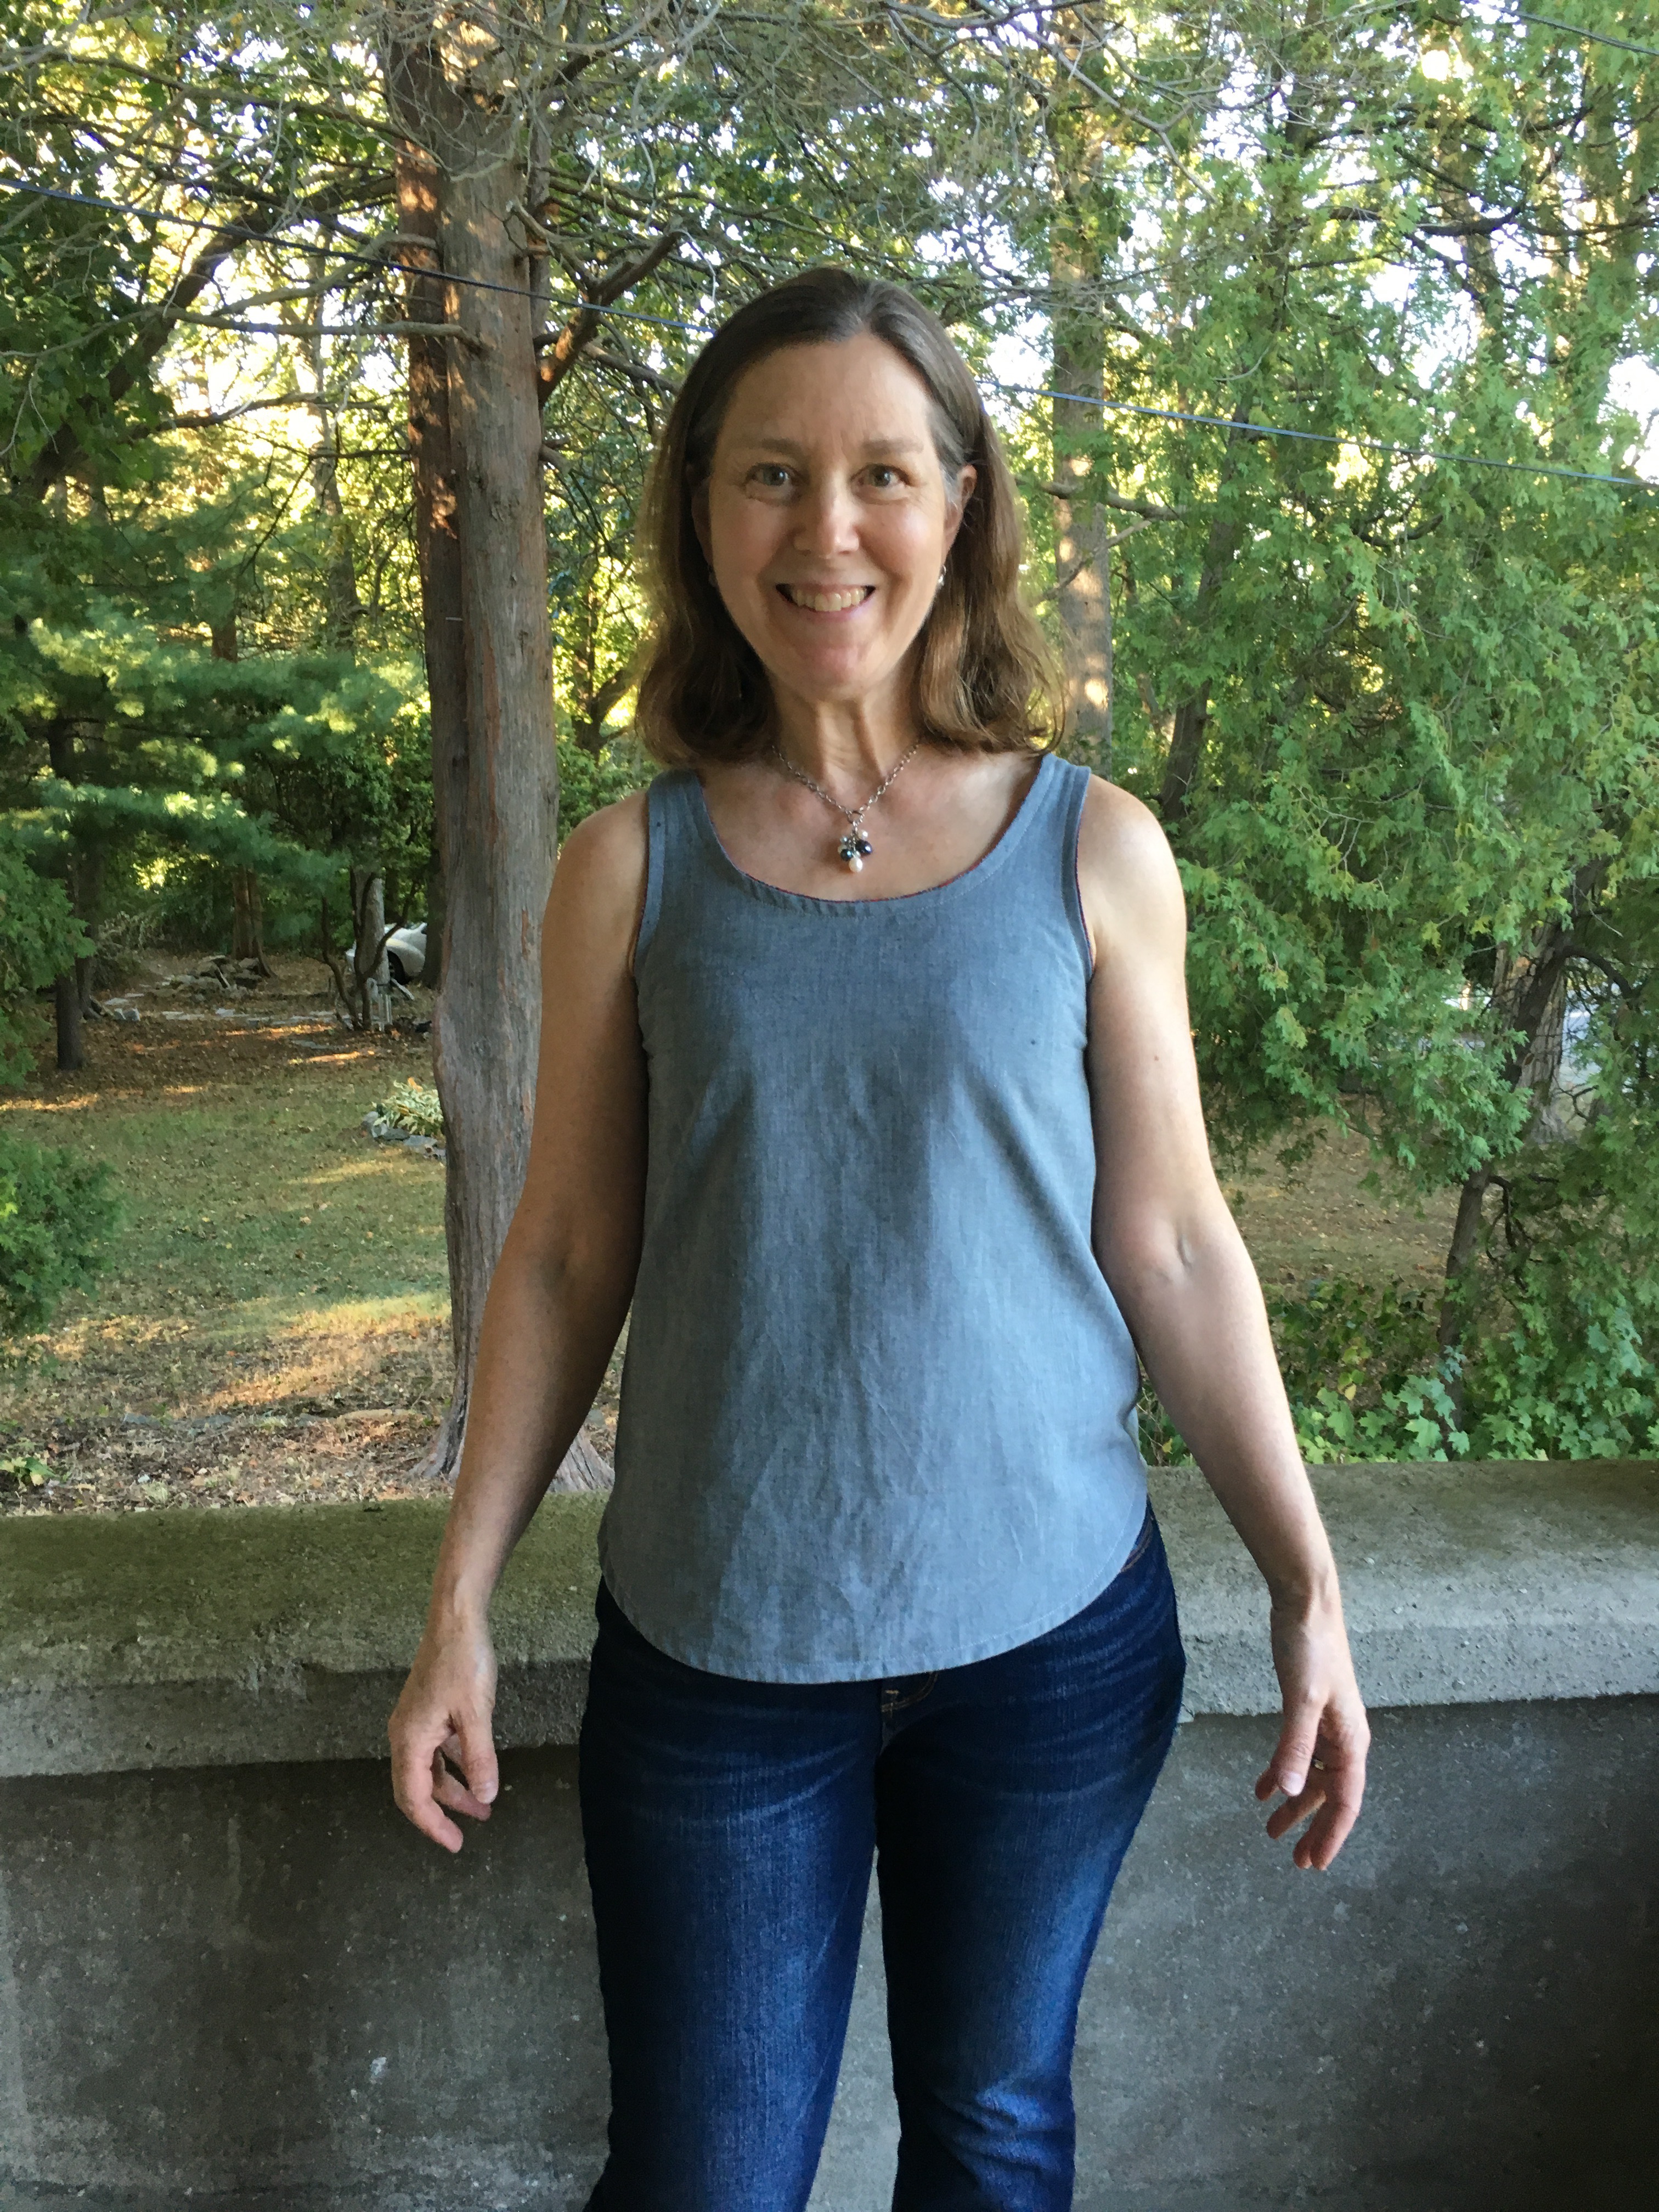
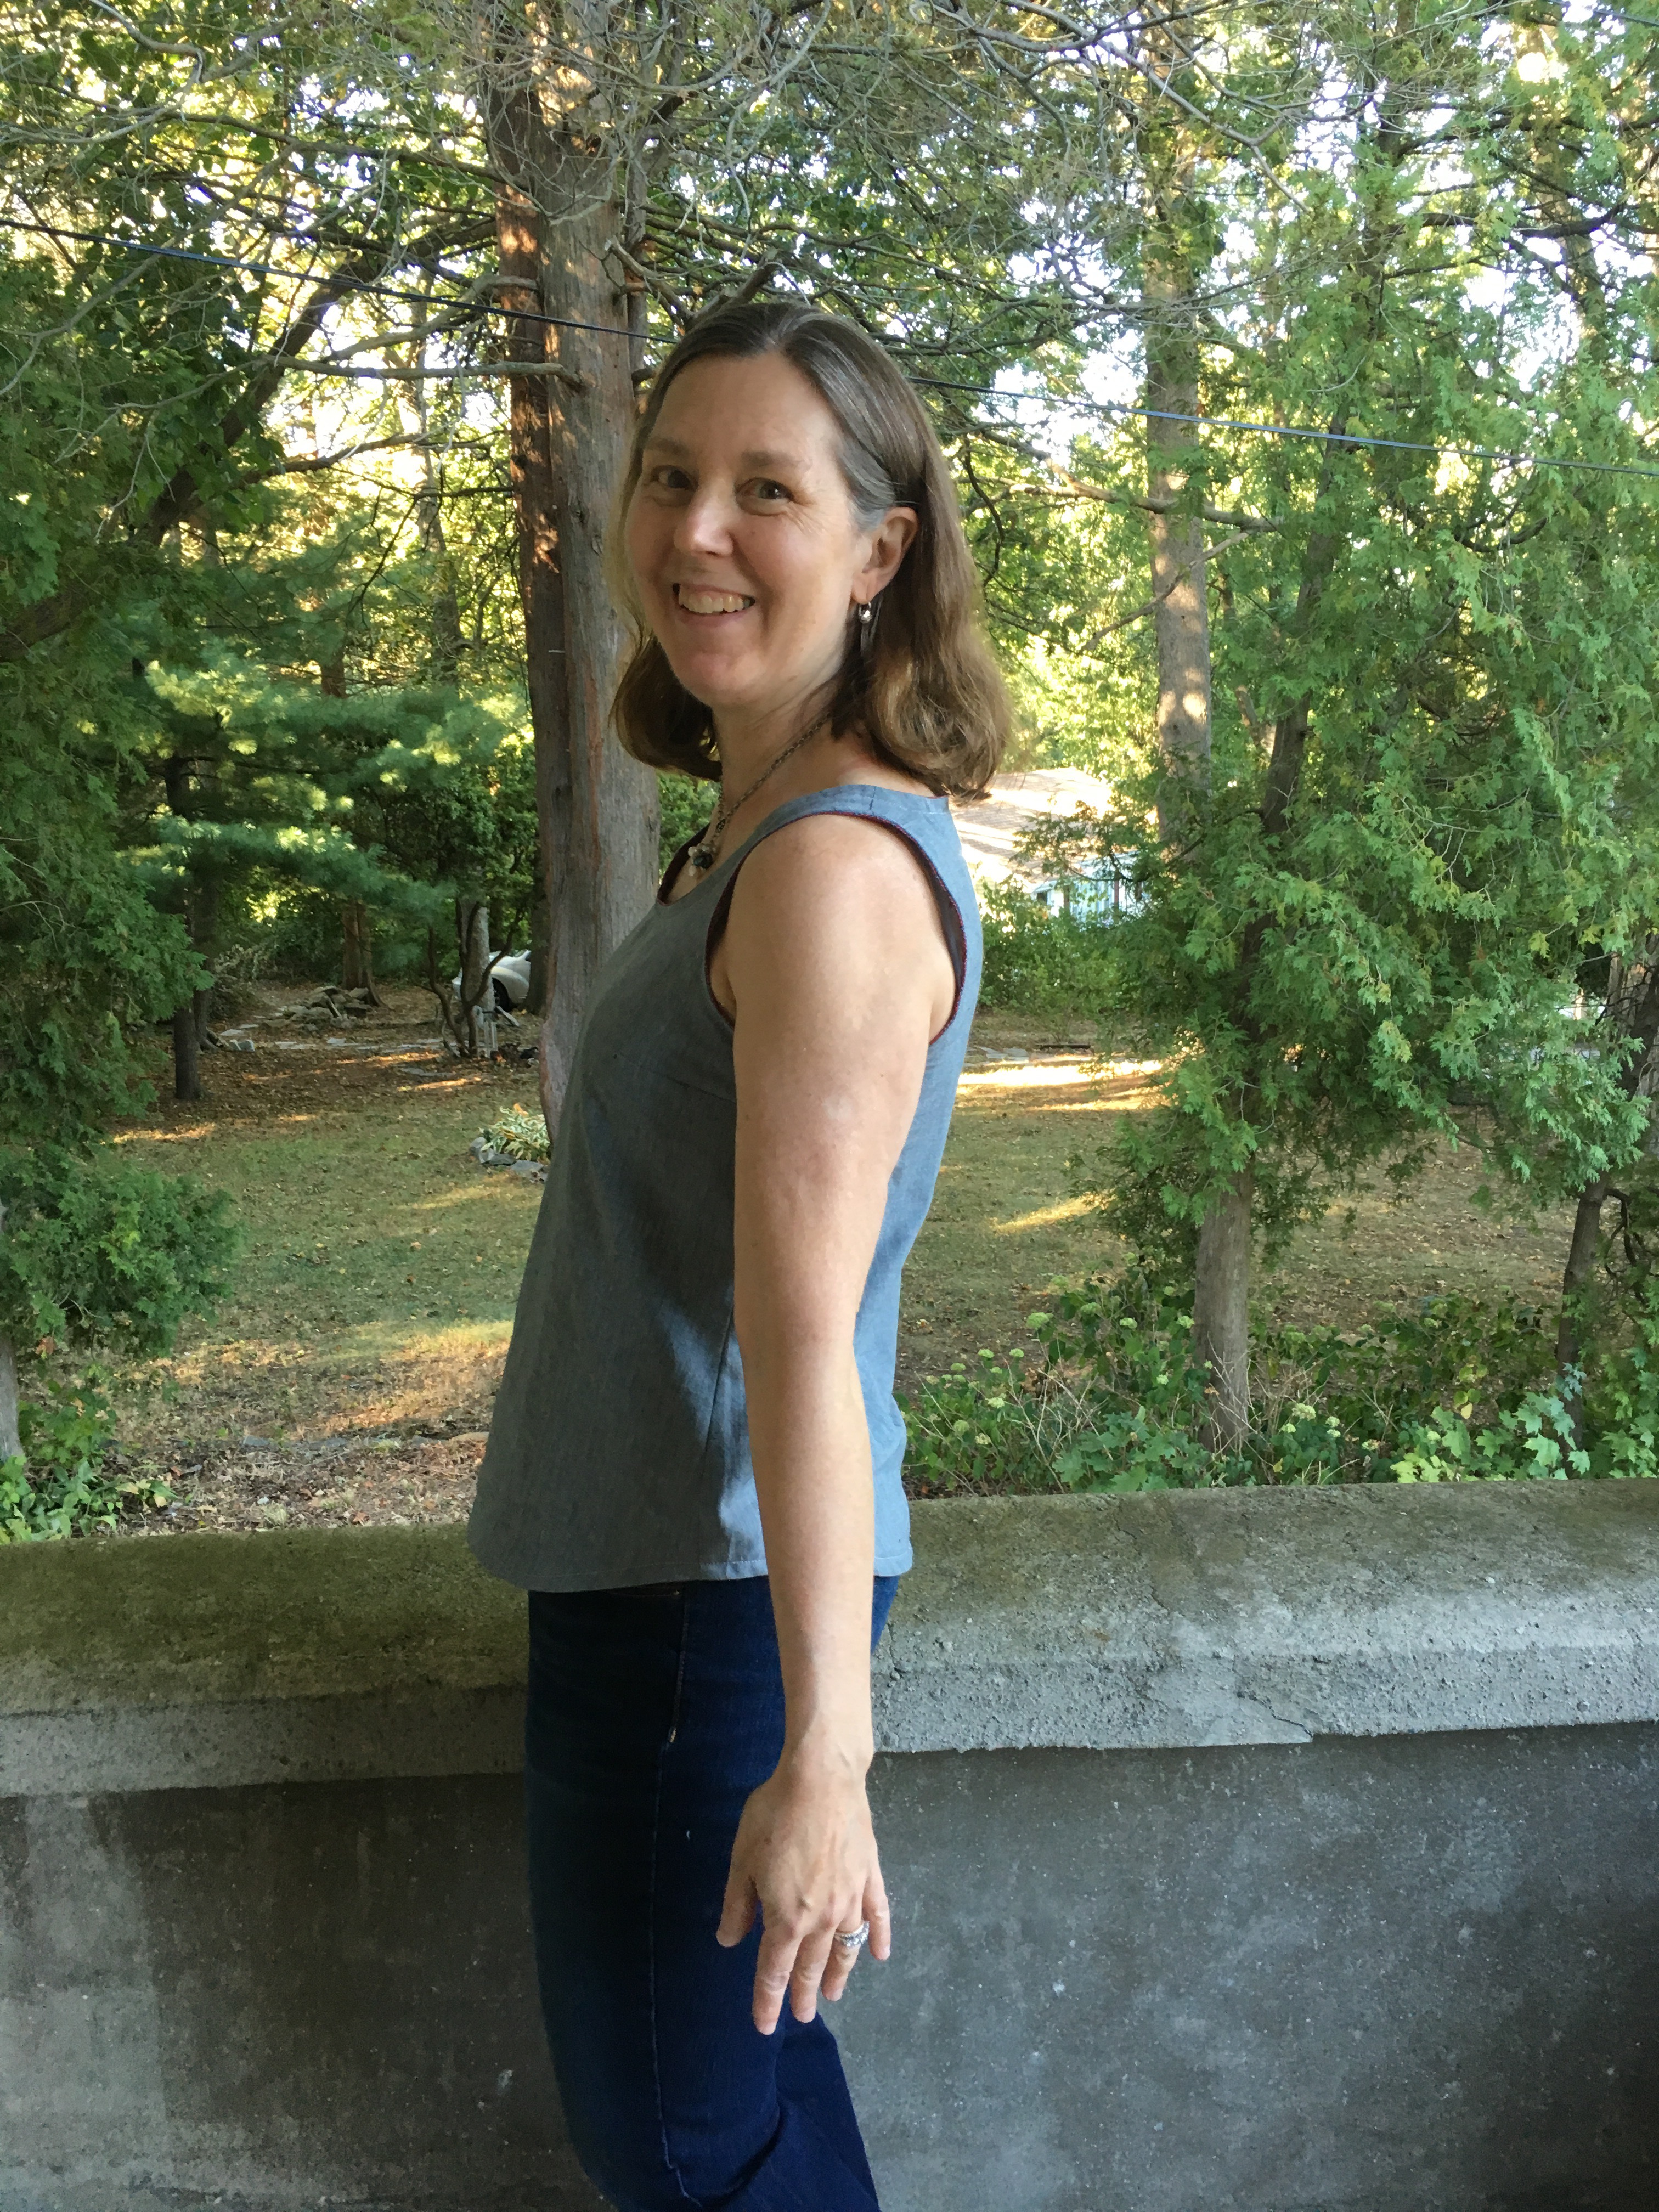


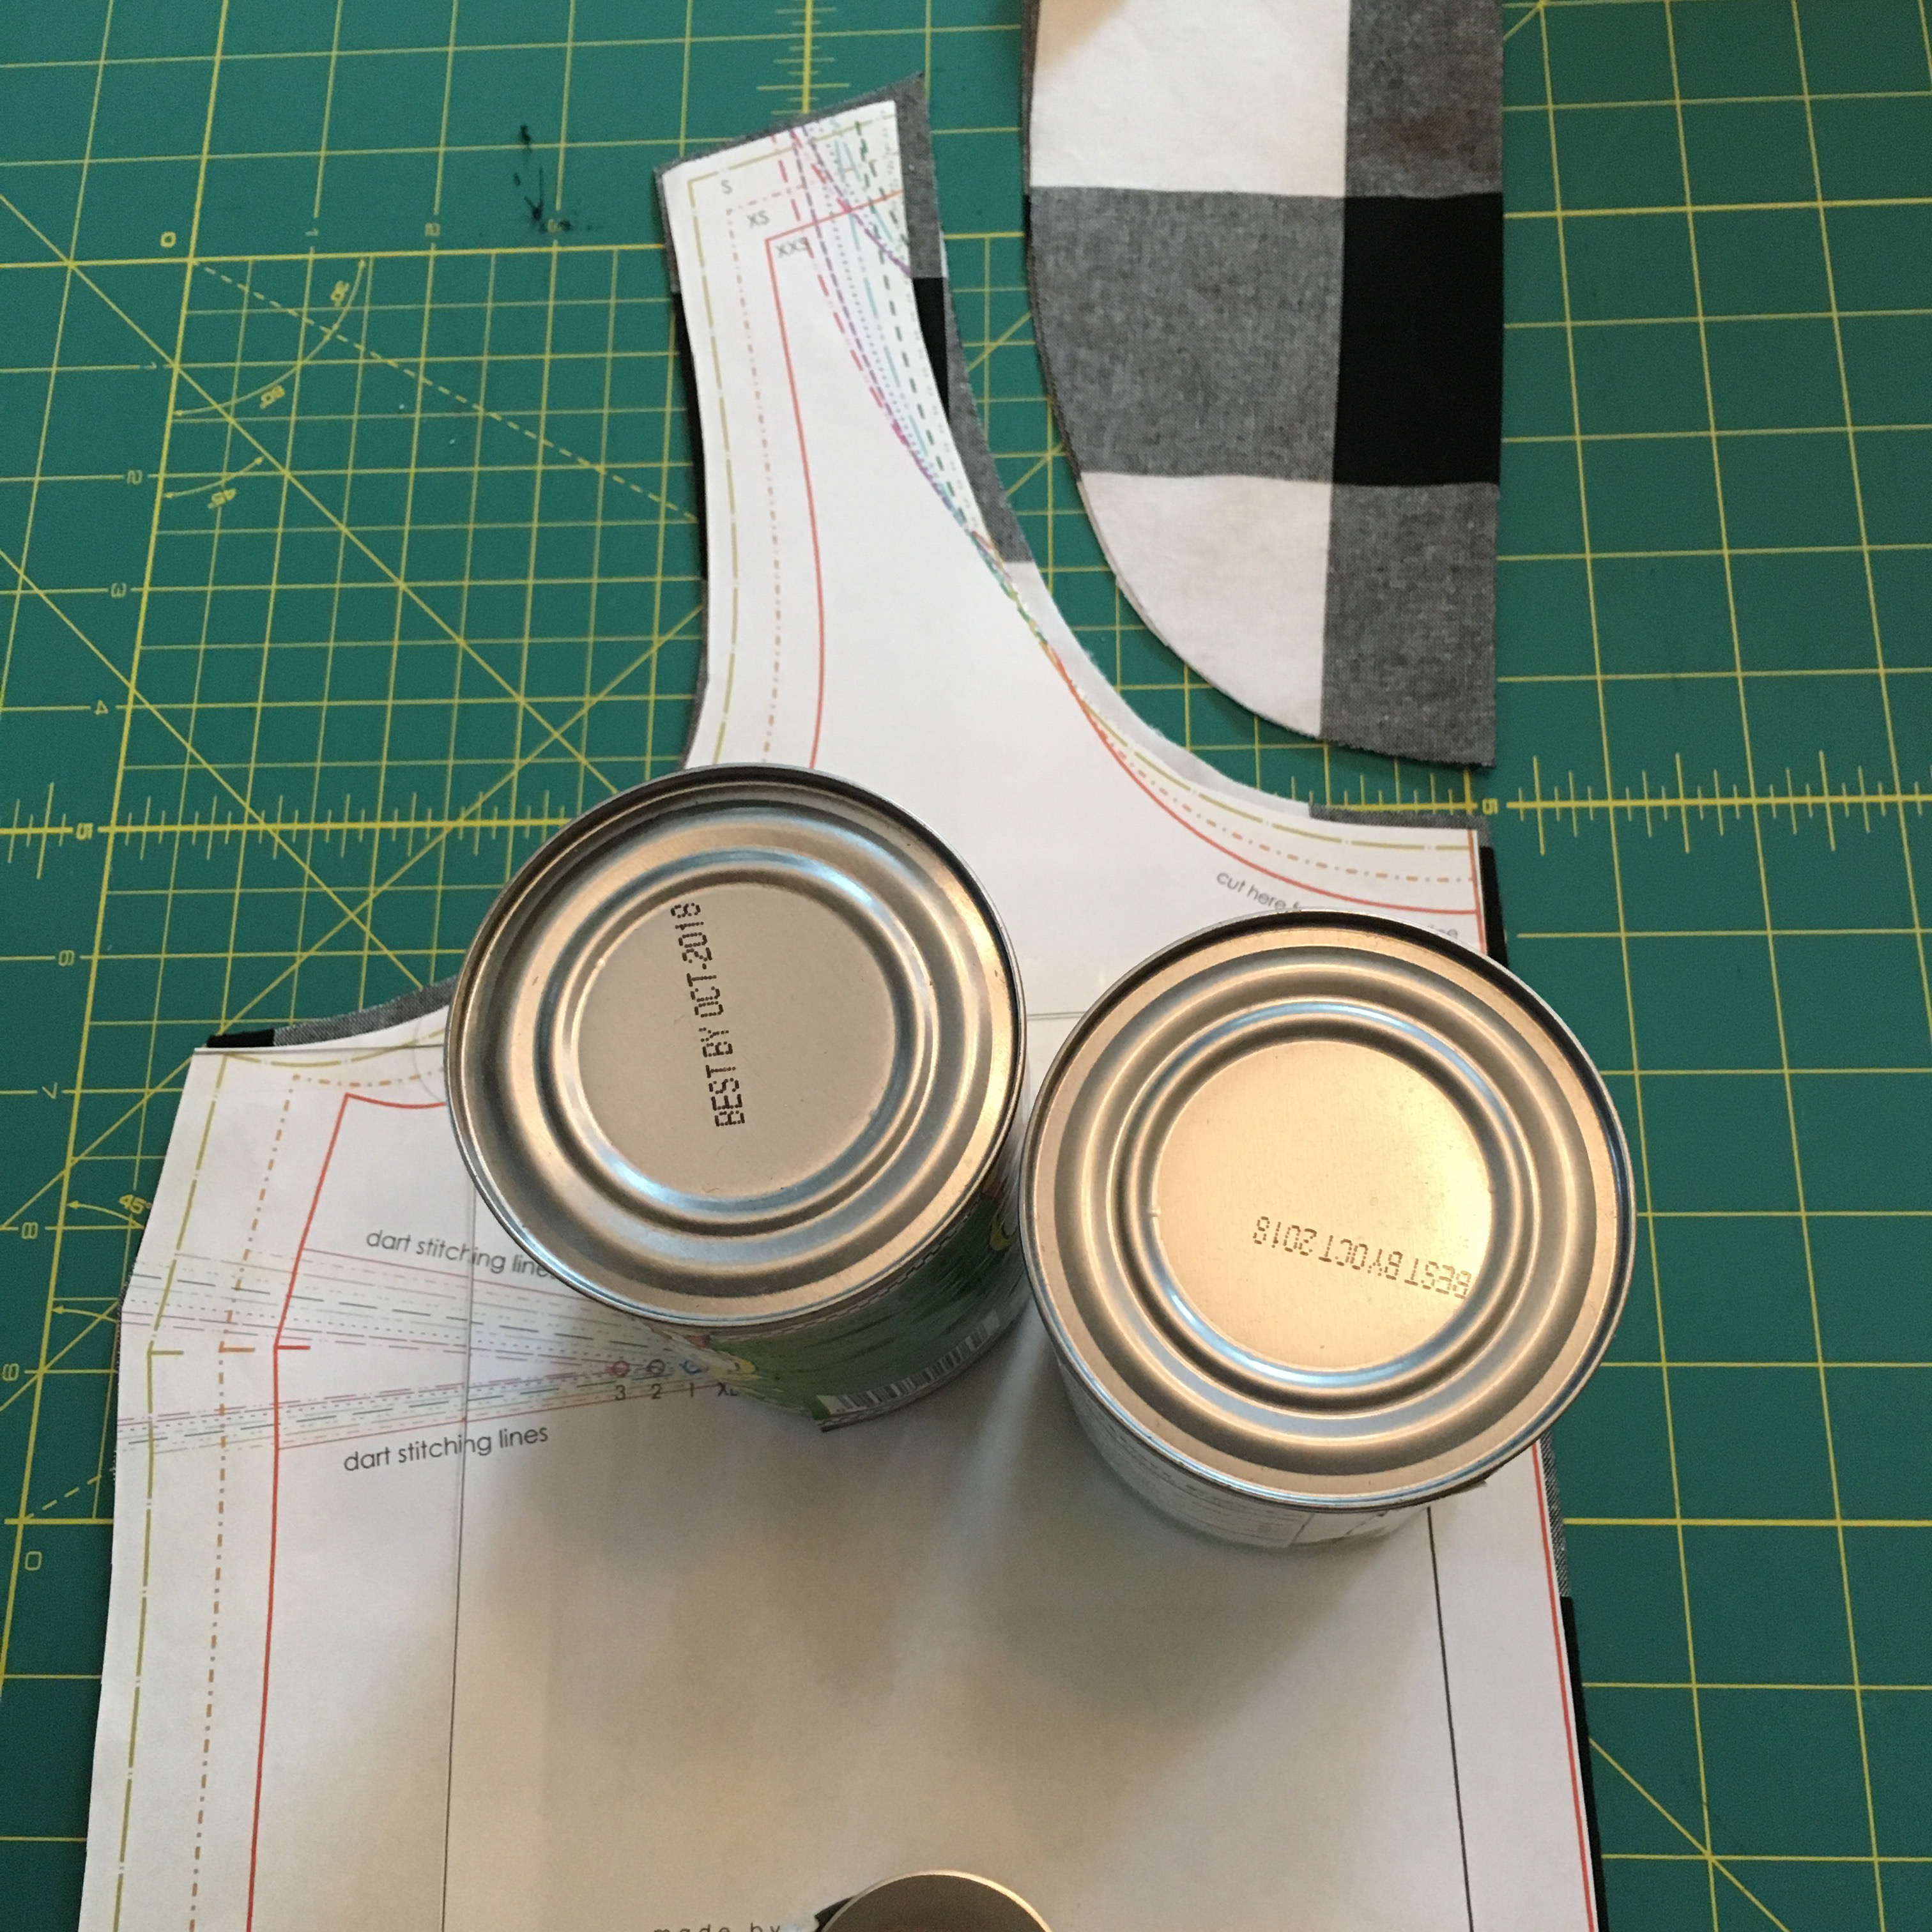
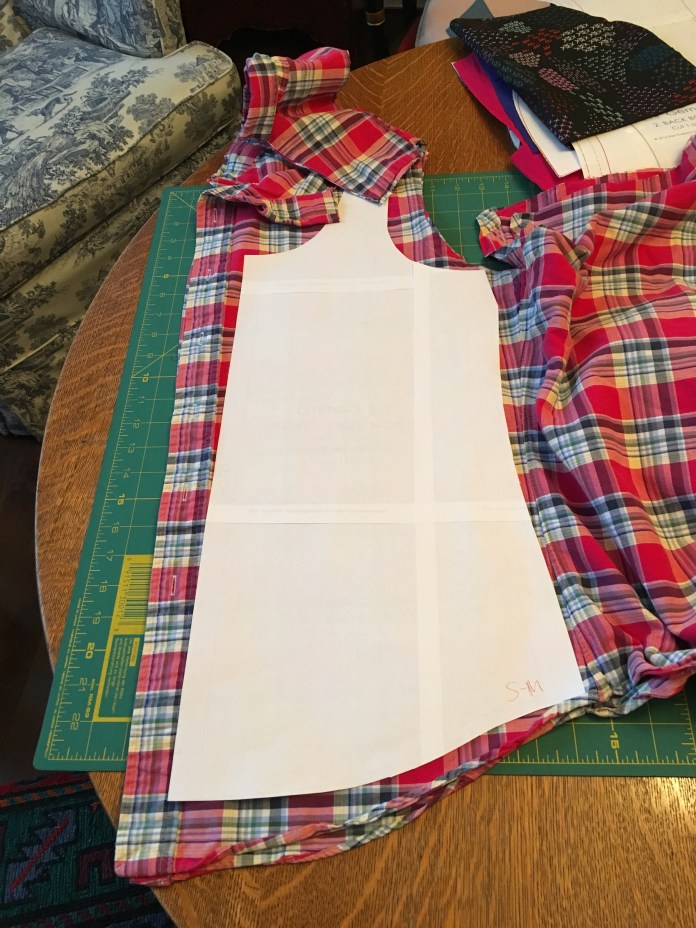
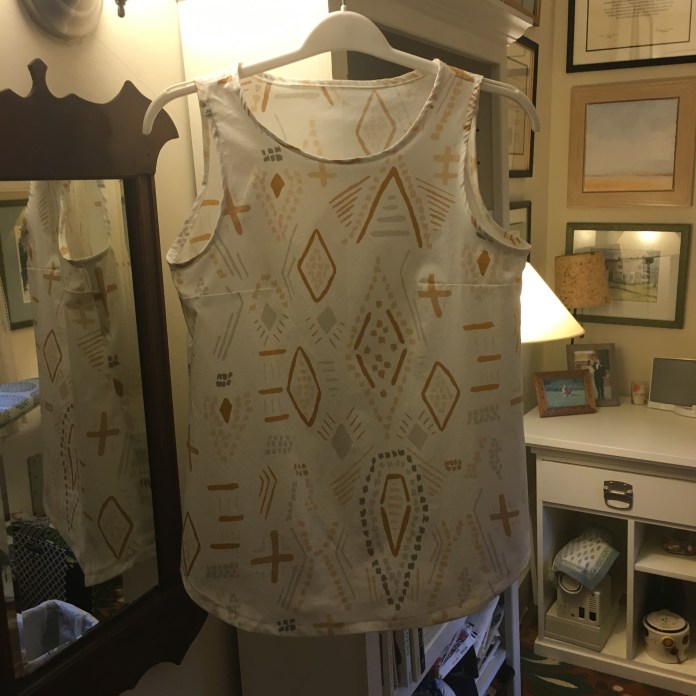 I cut a Medium with the higher neck option, although I shaved a small bit off the front of the neck. You can see approximately how much I took off below although the picture below is a different Gemma (made the same way). I just slid the pattern down and cut a bit lower using the same curve so that the edge would be below the collarbones.
 I also lengthened it by approximately two inches.
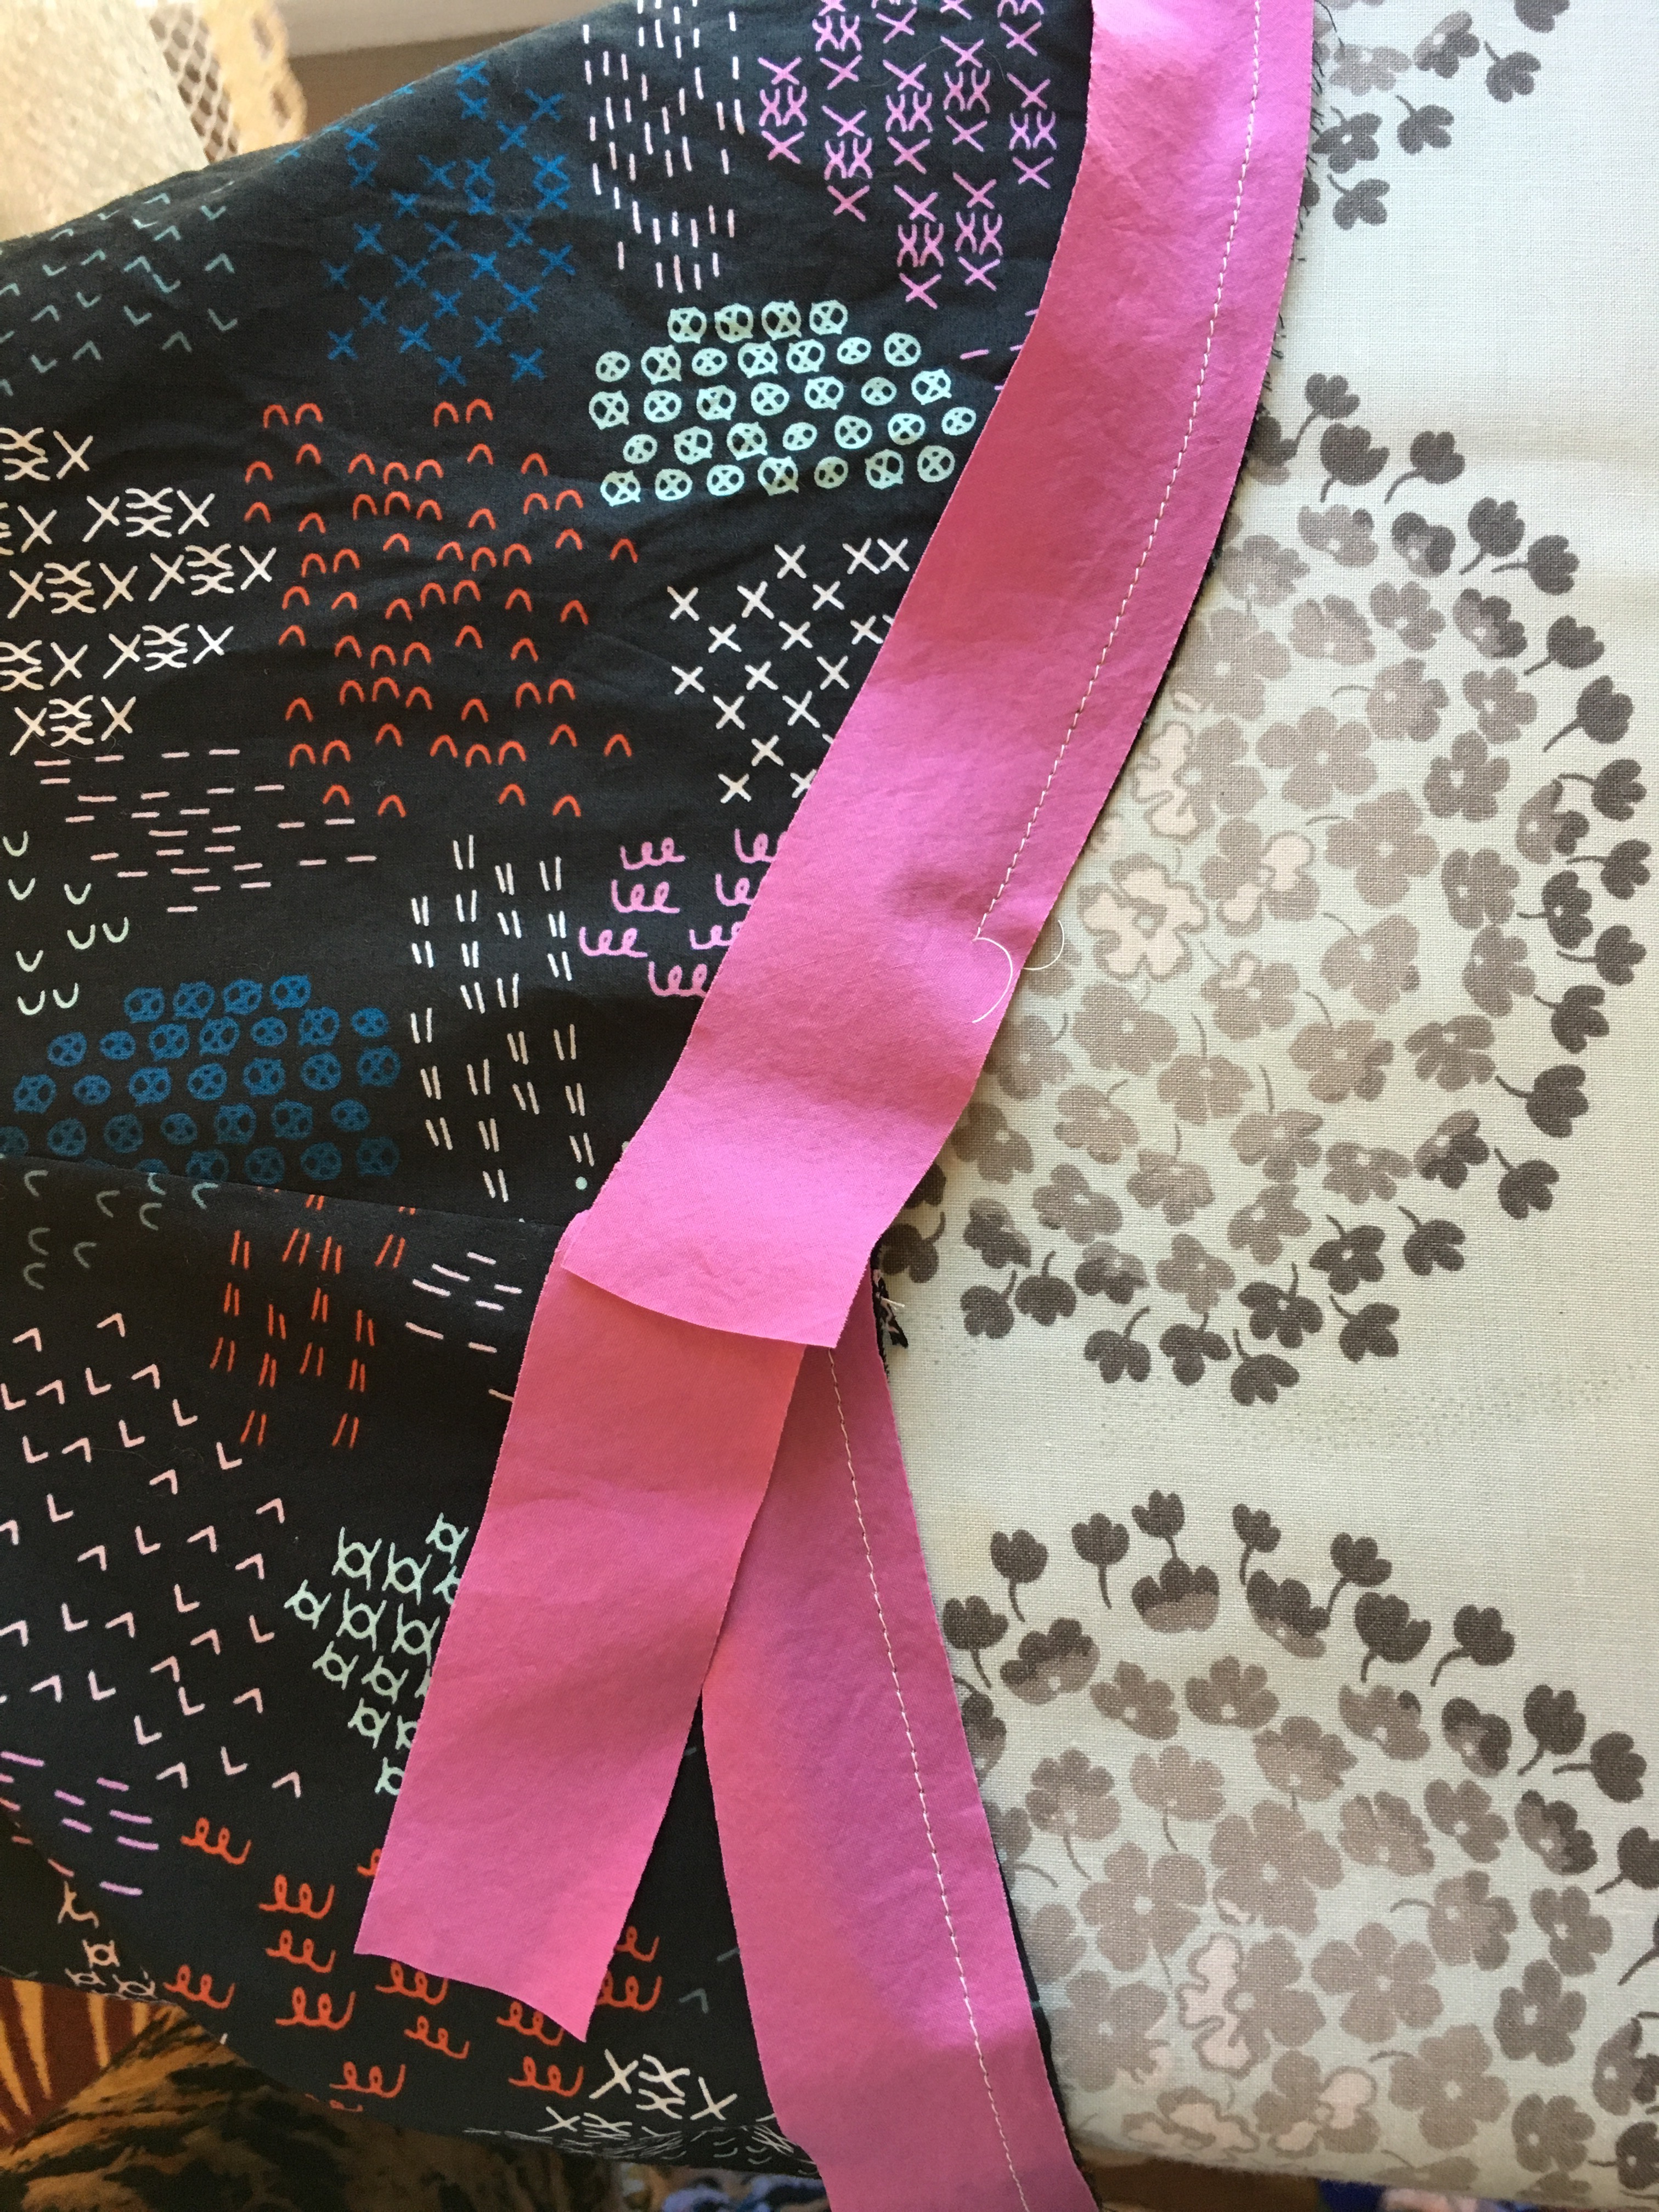
 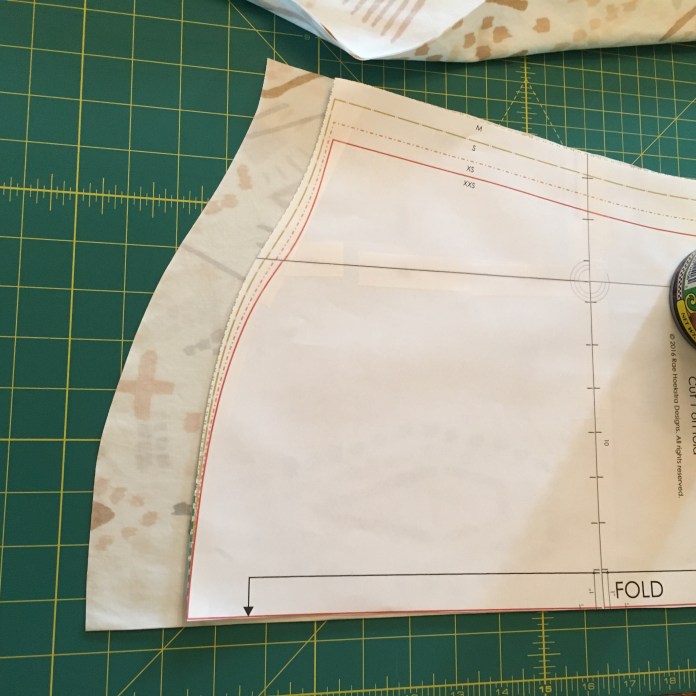 I mostly followed the directions for the bias binding using the
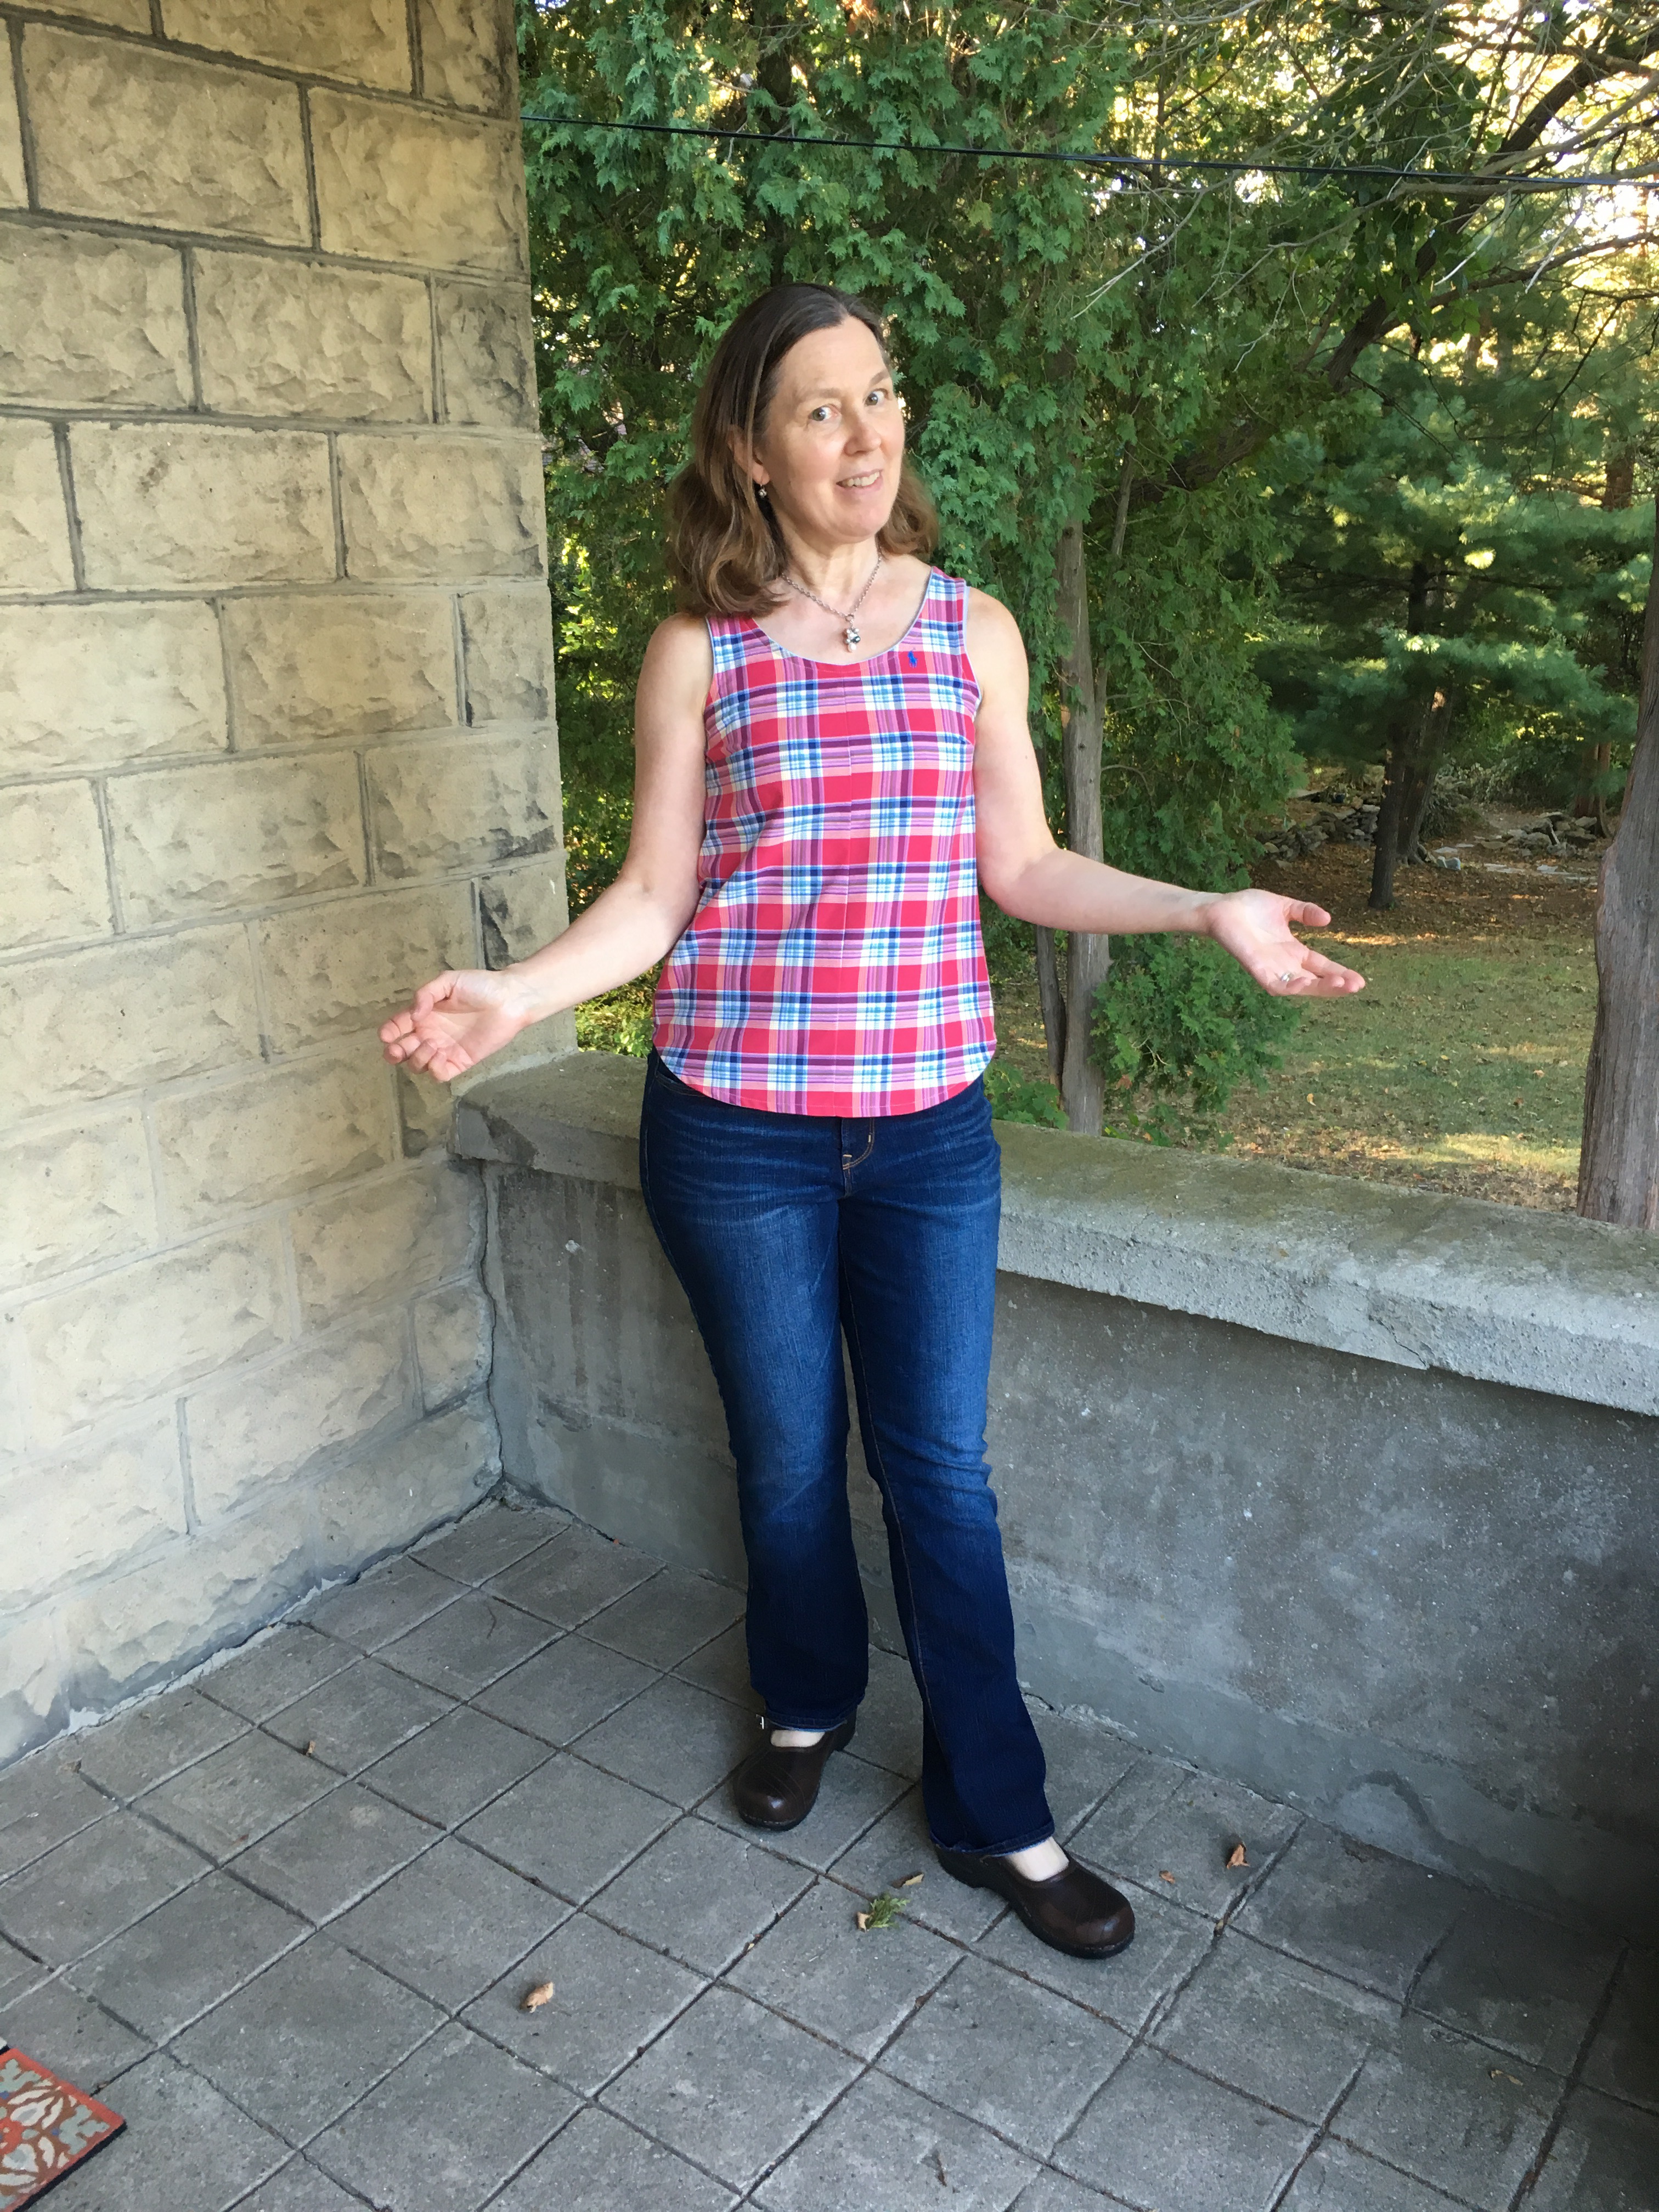
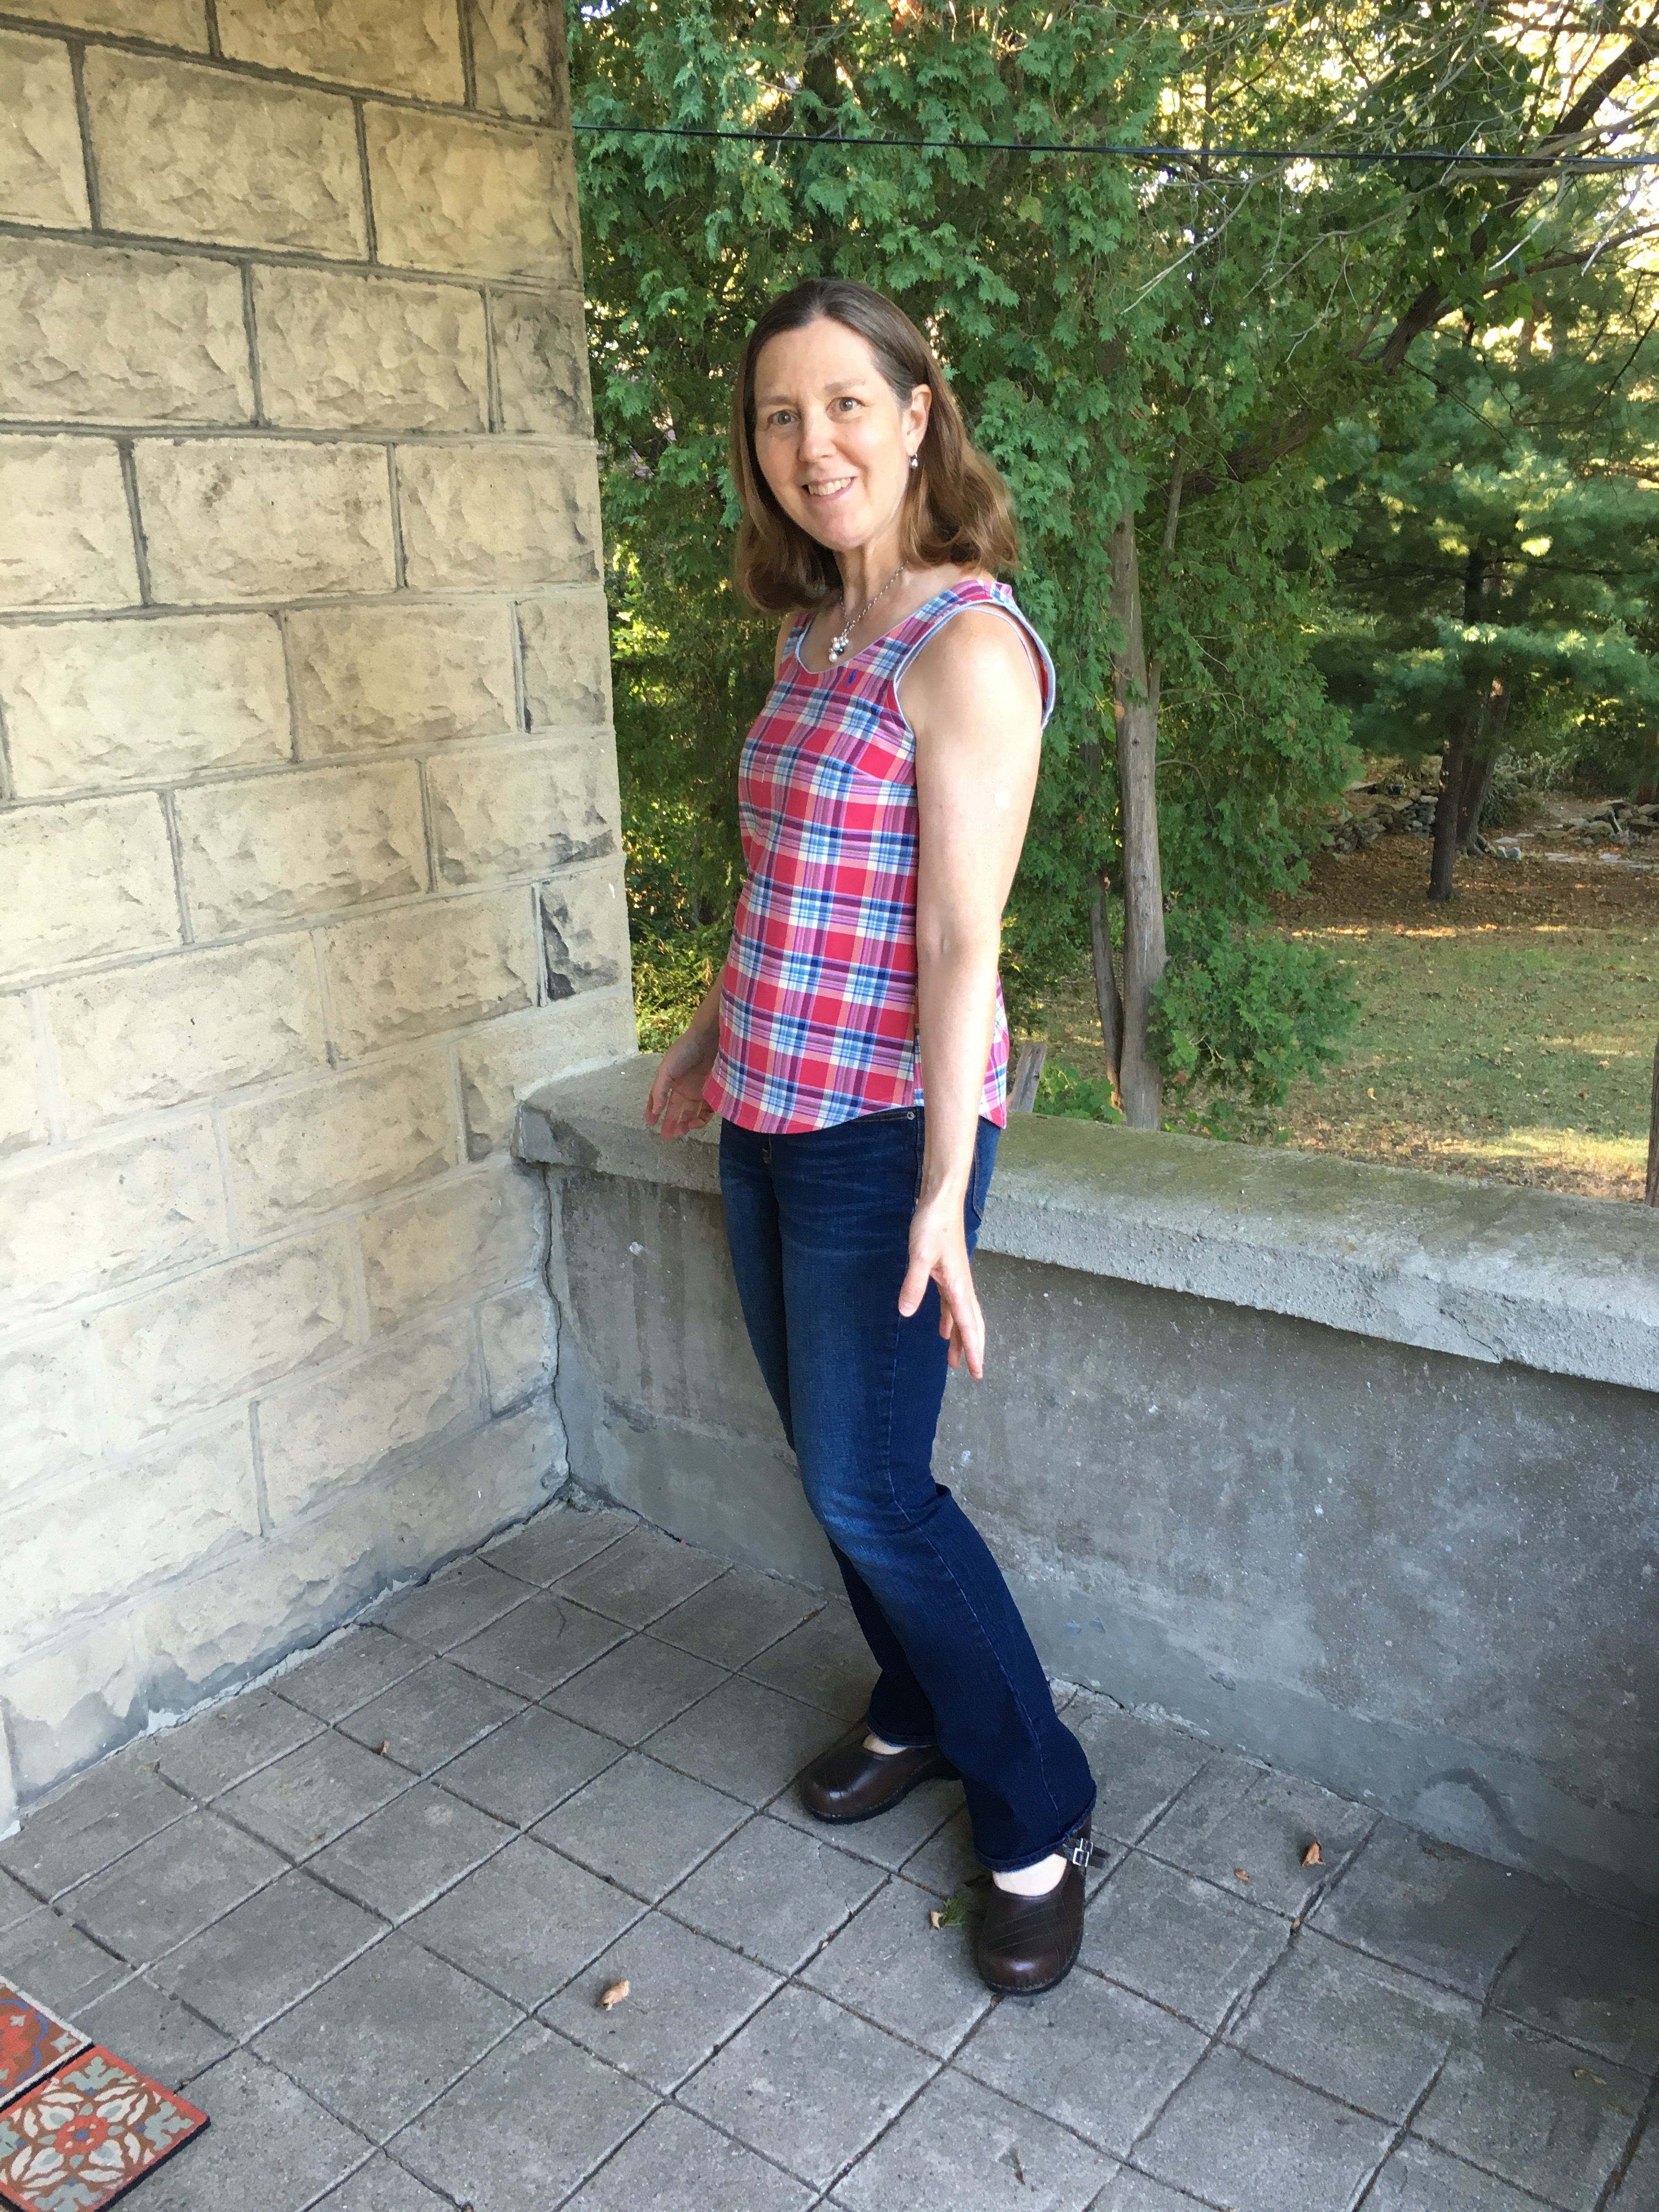
 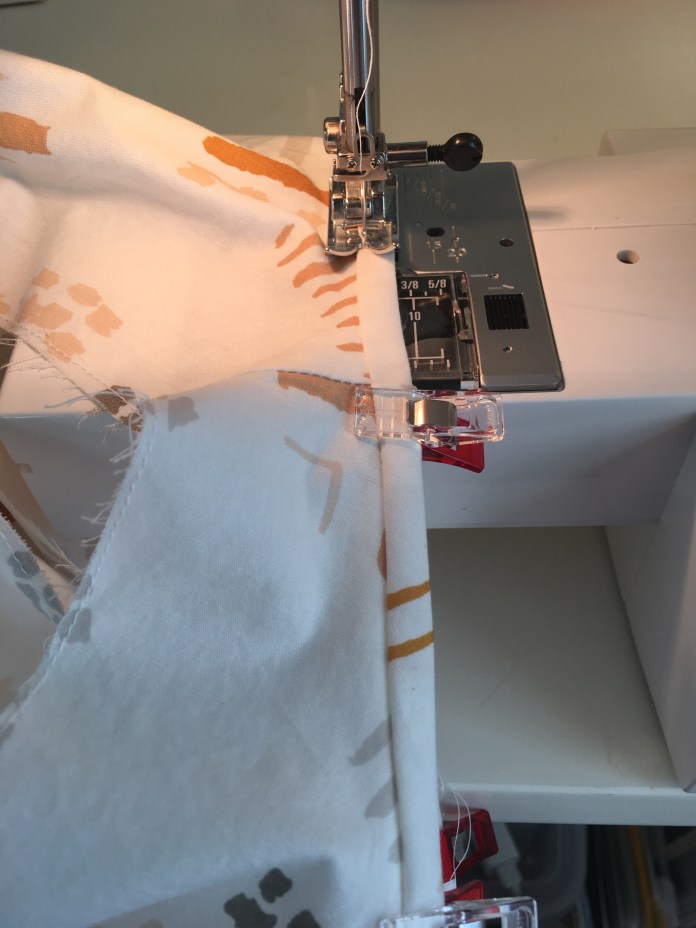 I used this beautiful cream colored Art Gallery quilting cotton by
  I was so happy with the feel of the fabric-it is soft and works beautifully for sewing garments. It is more like a lawn than quilting cotton. In fact, I bought another 3 yards of the green as a back up plan. I have done that only a few times but I was so happy with my
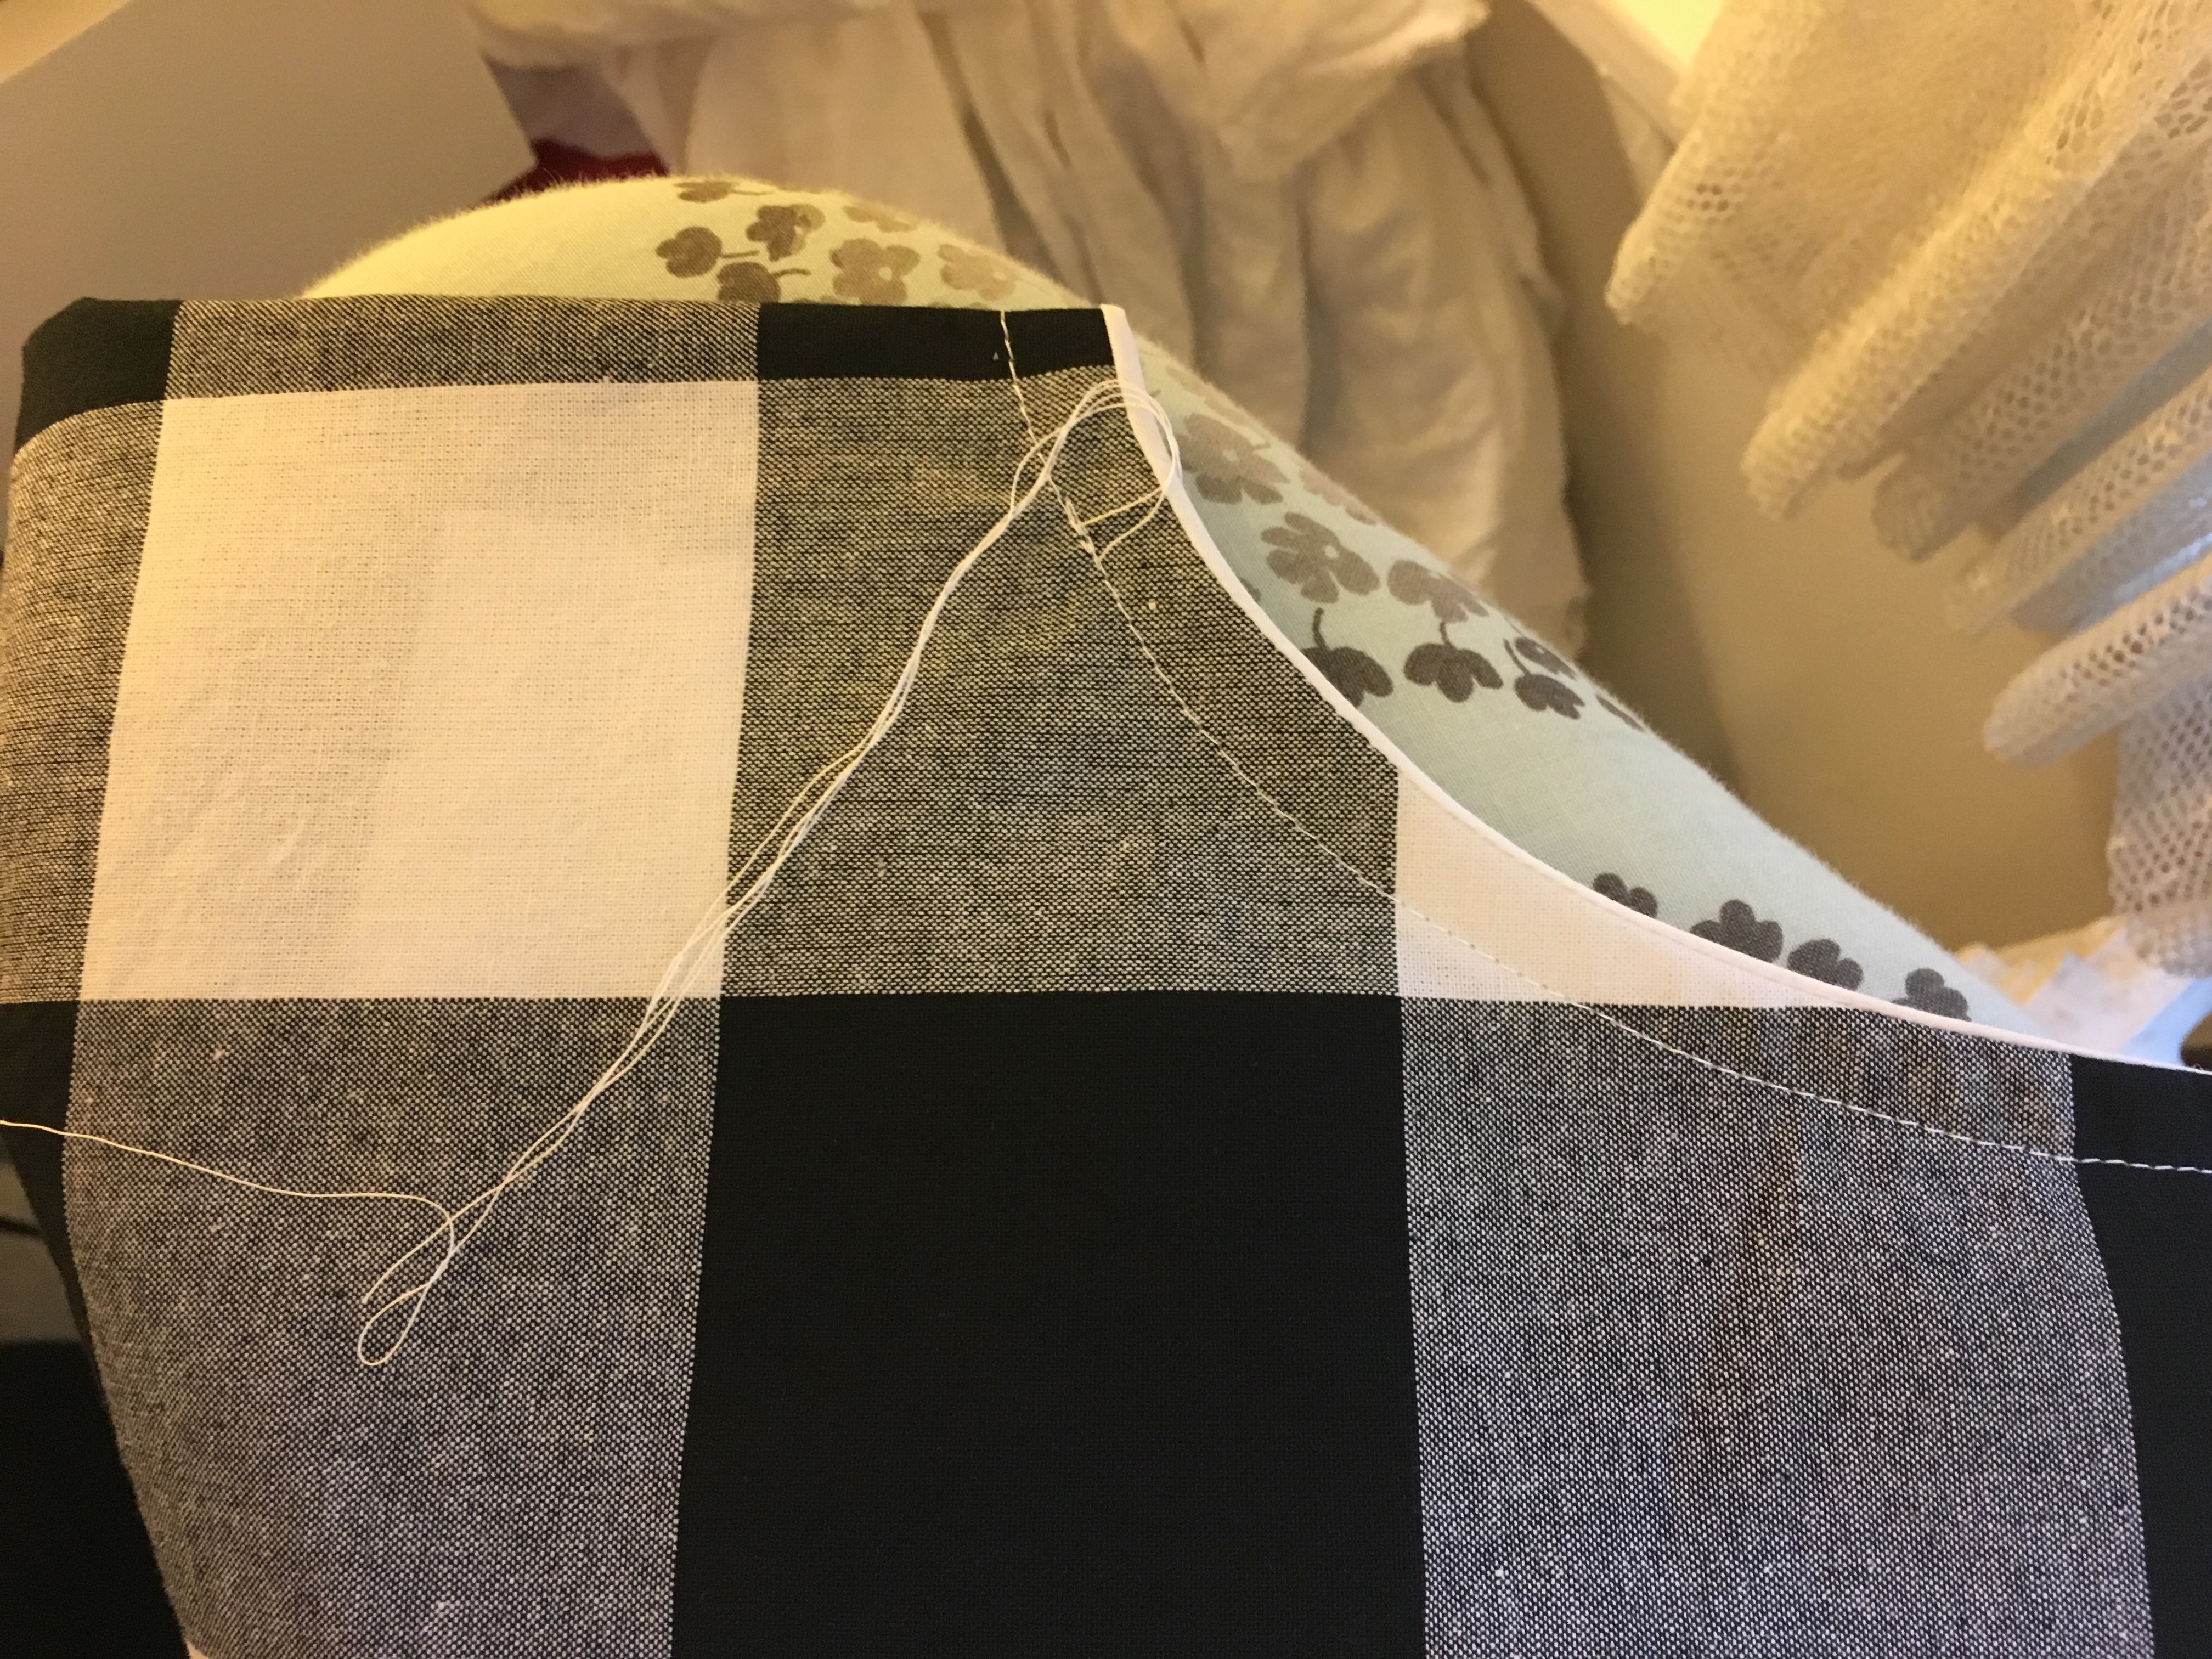
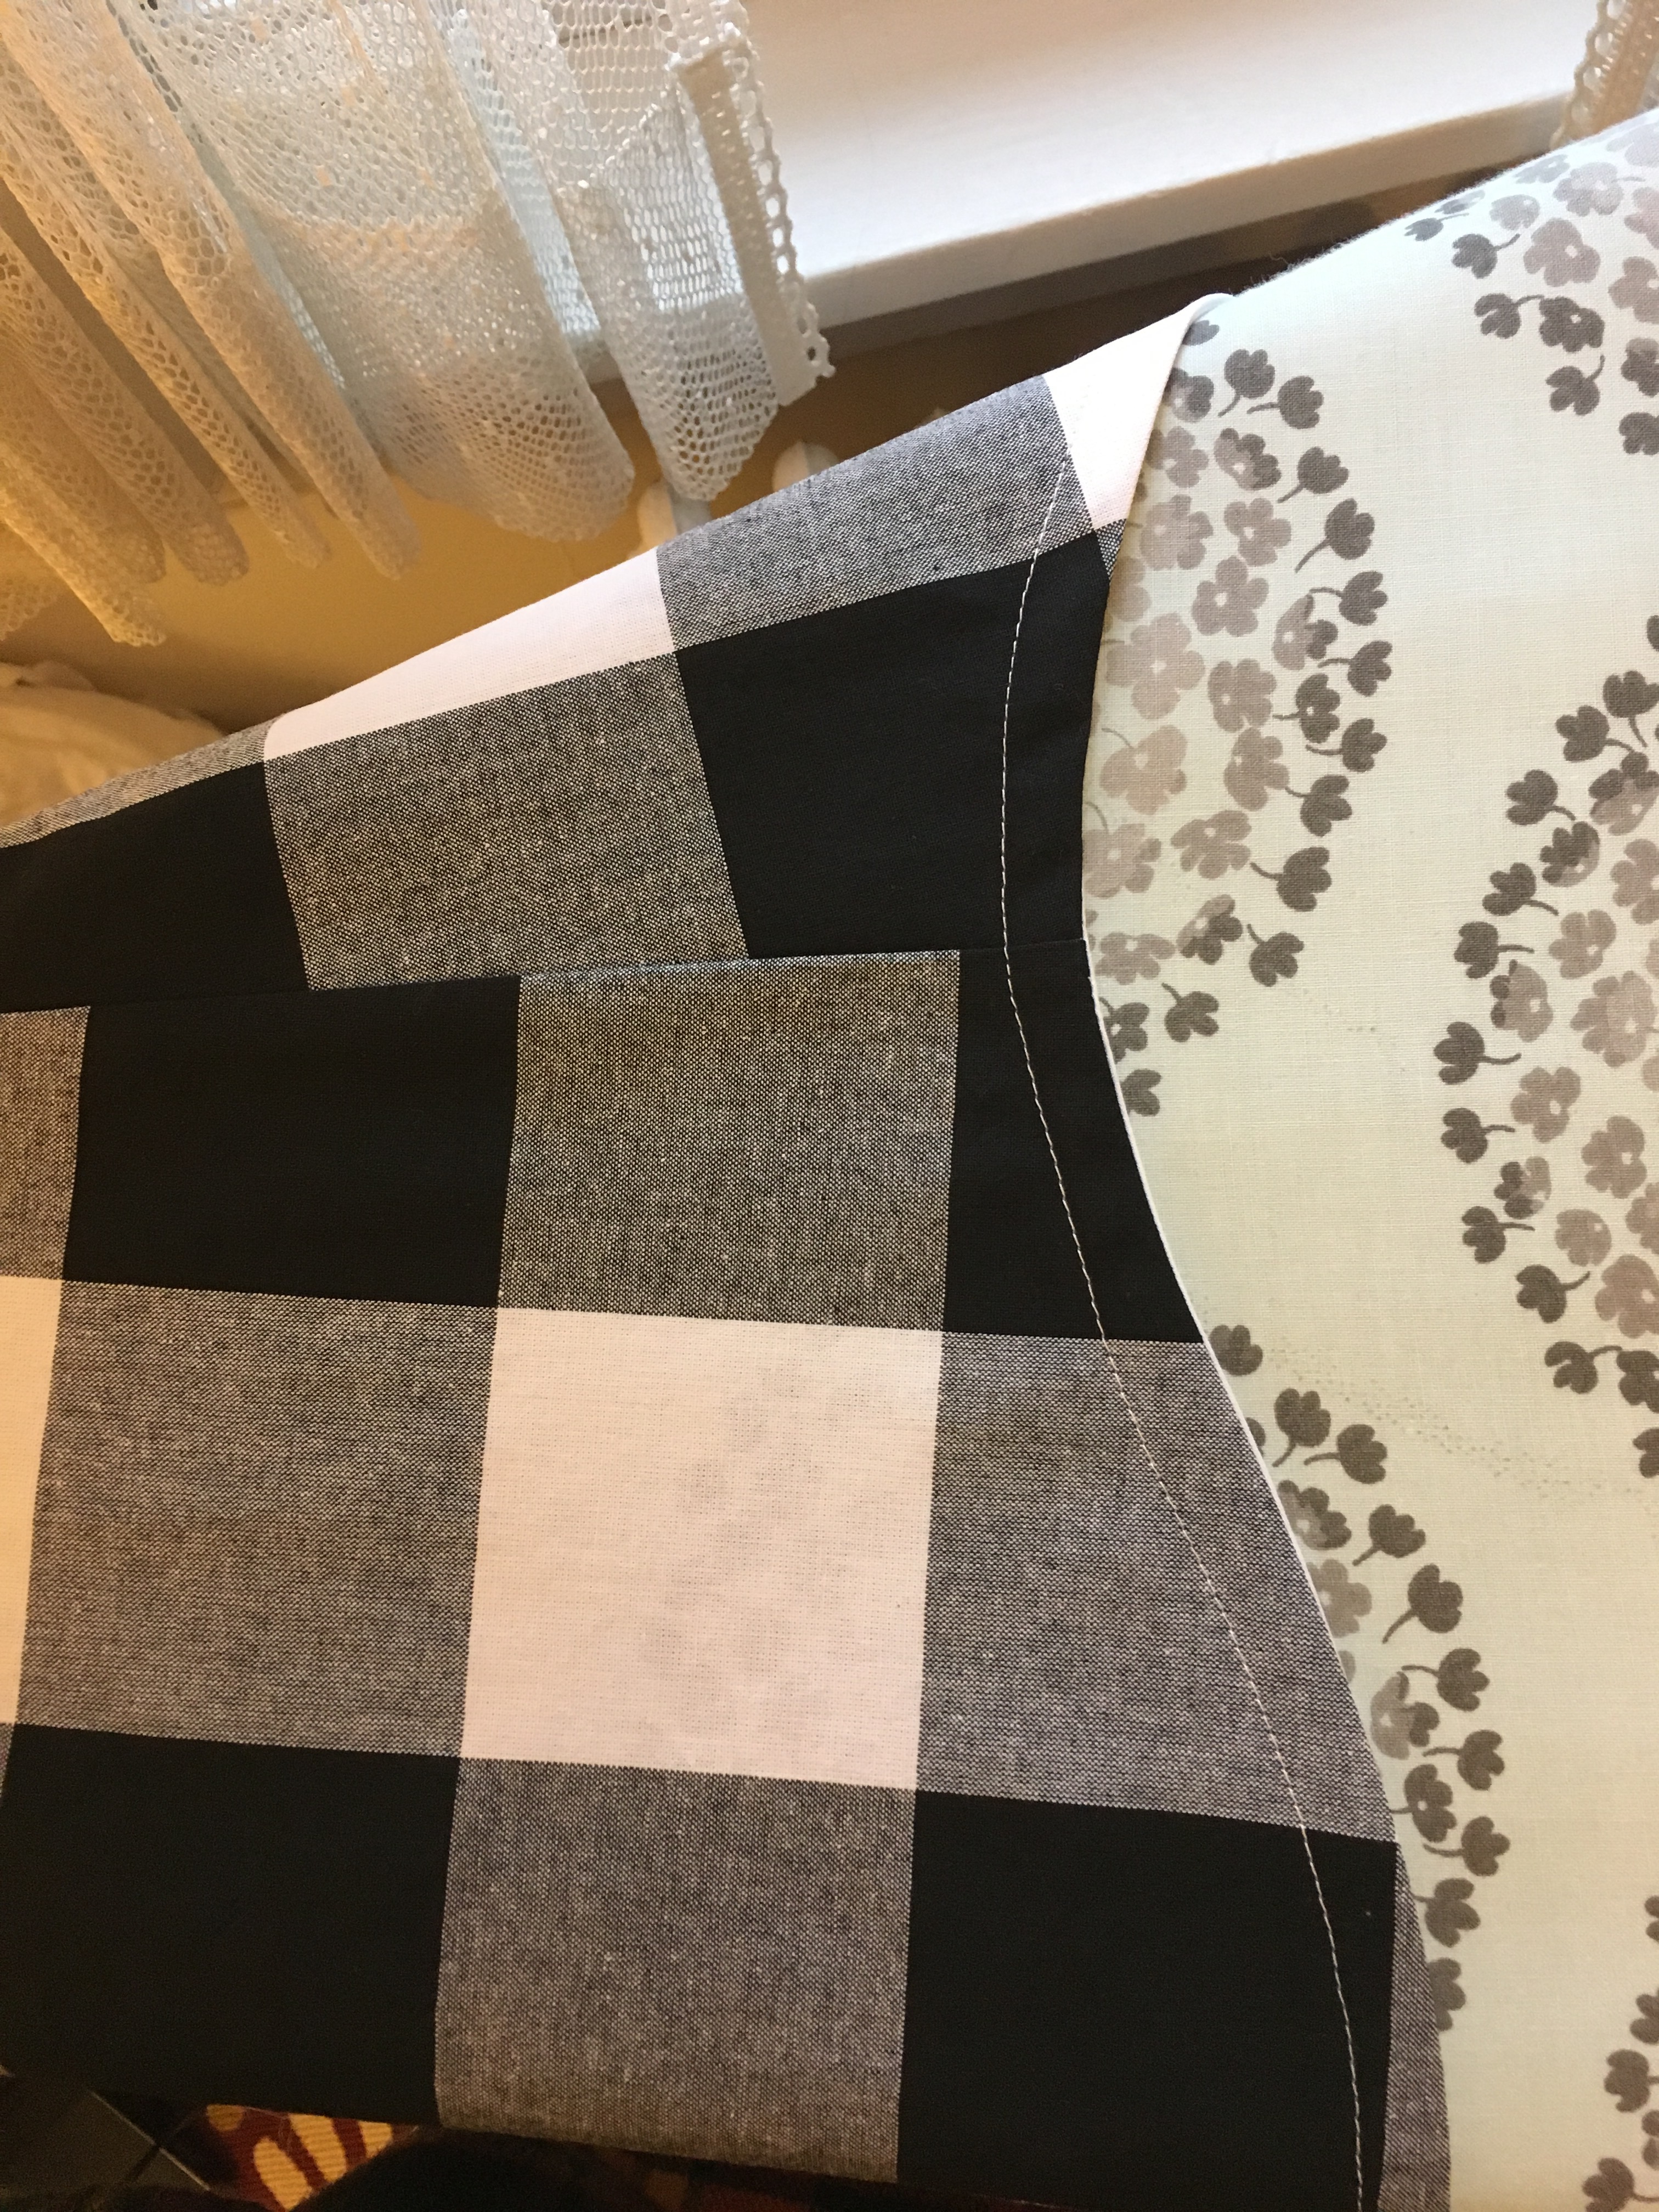
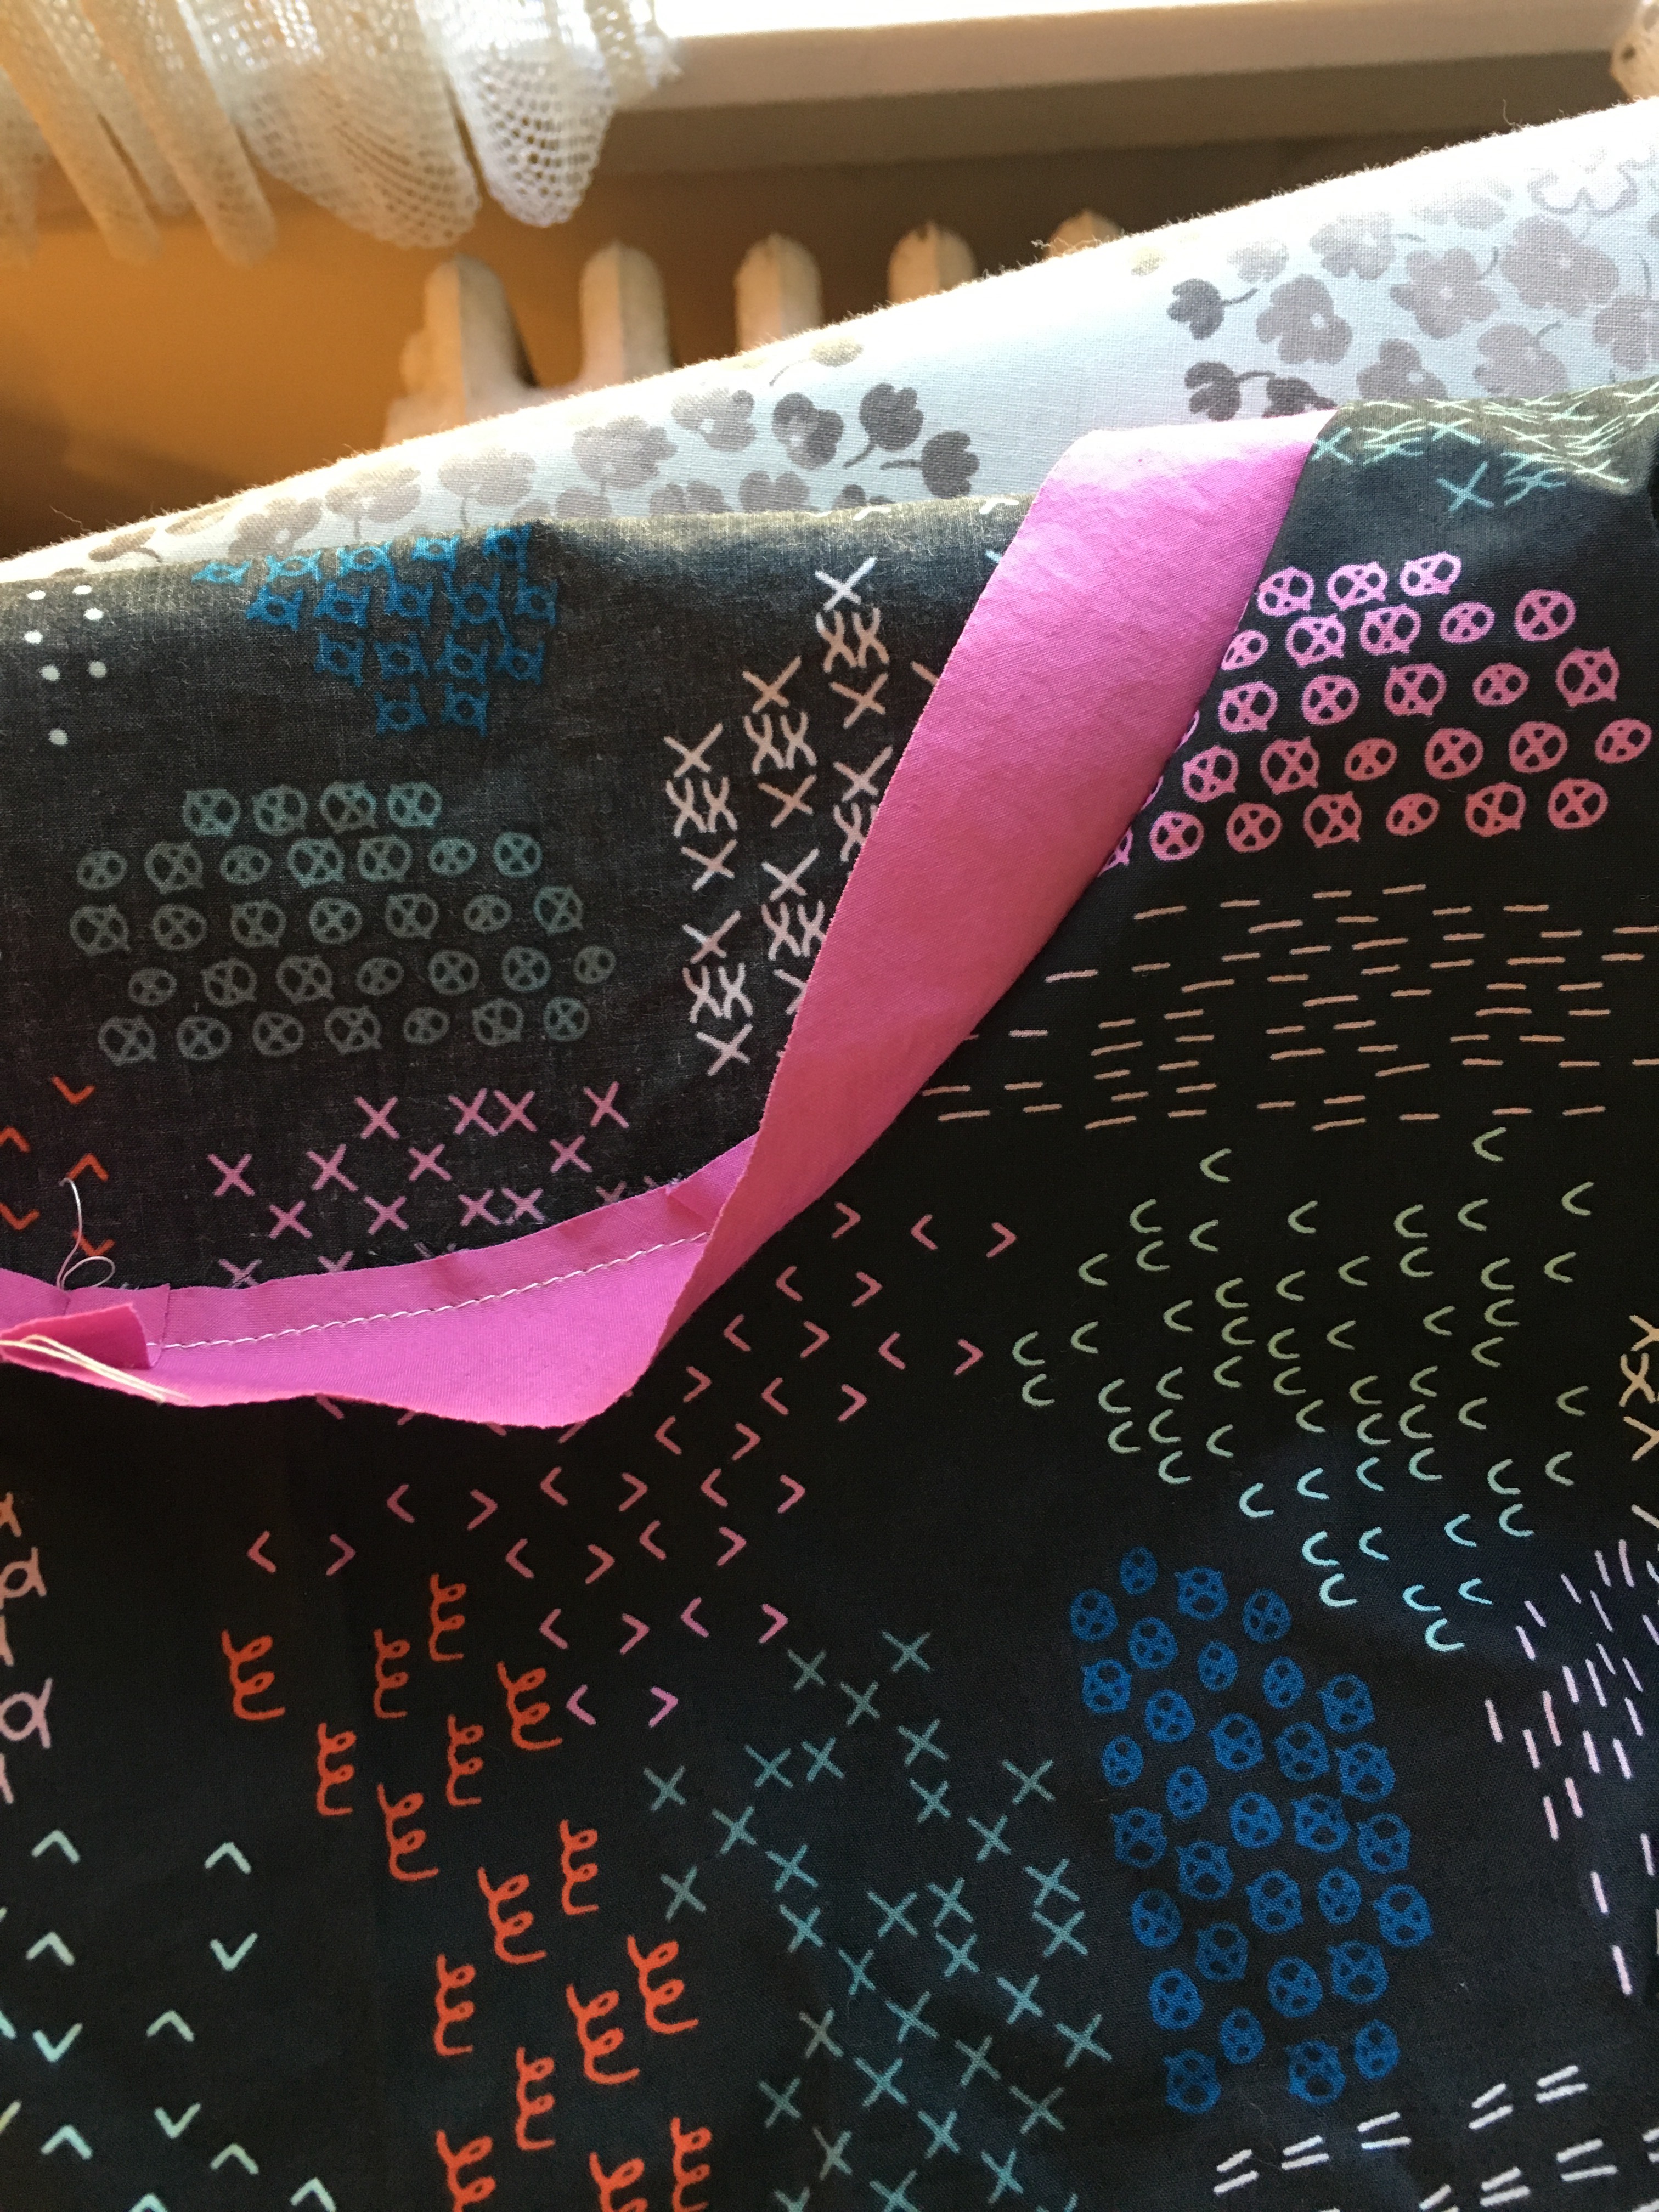
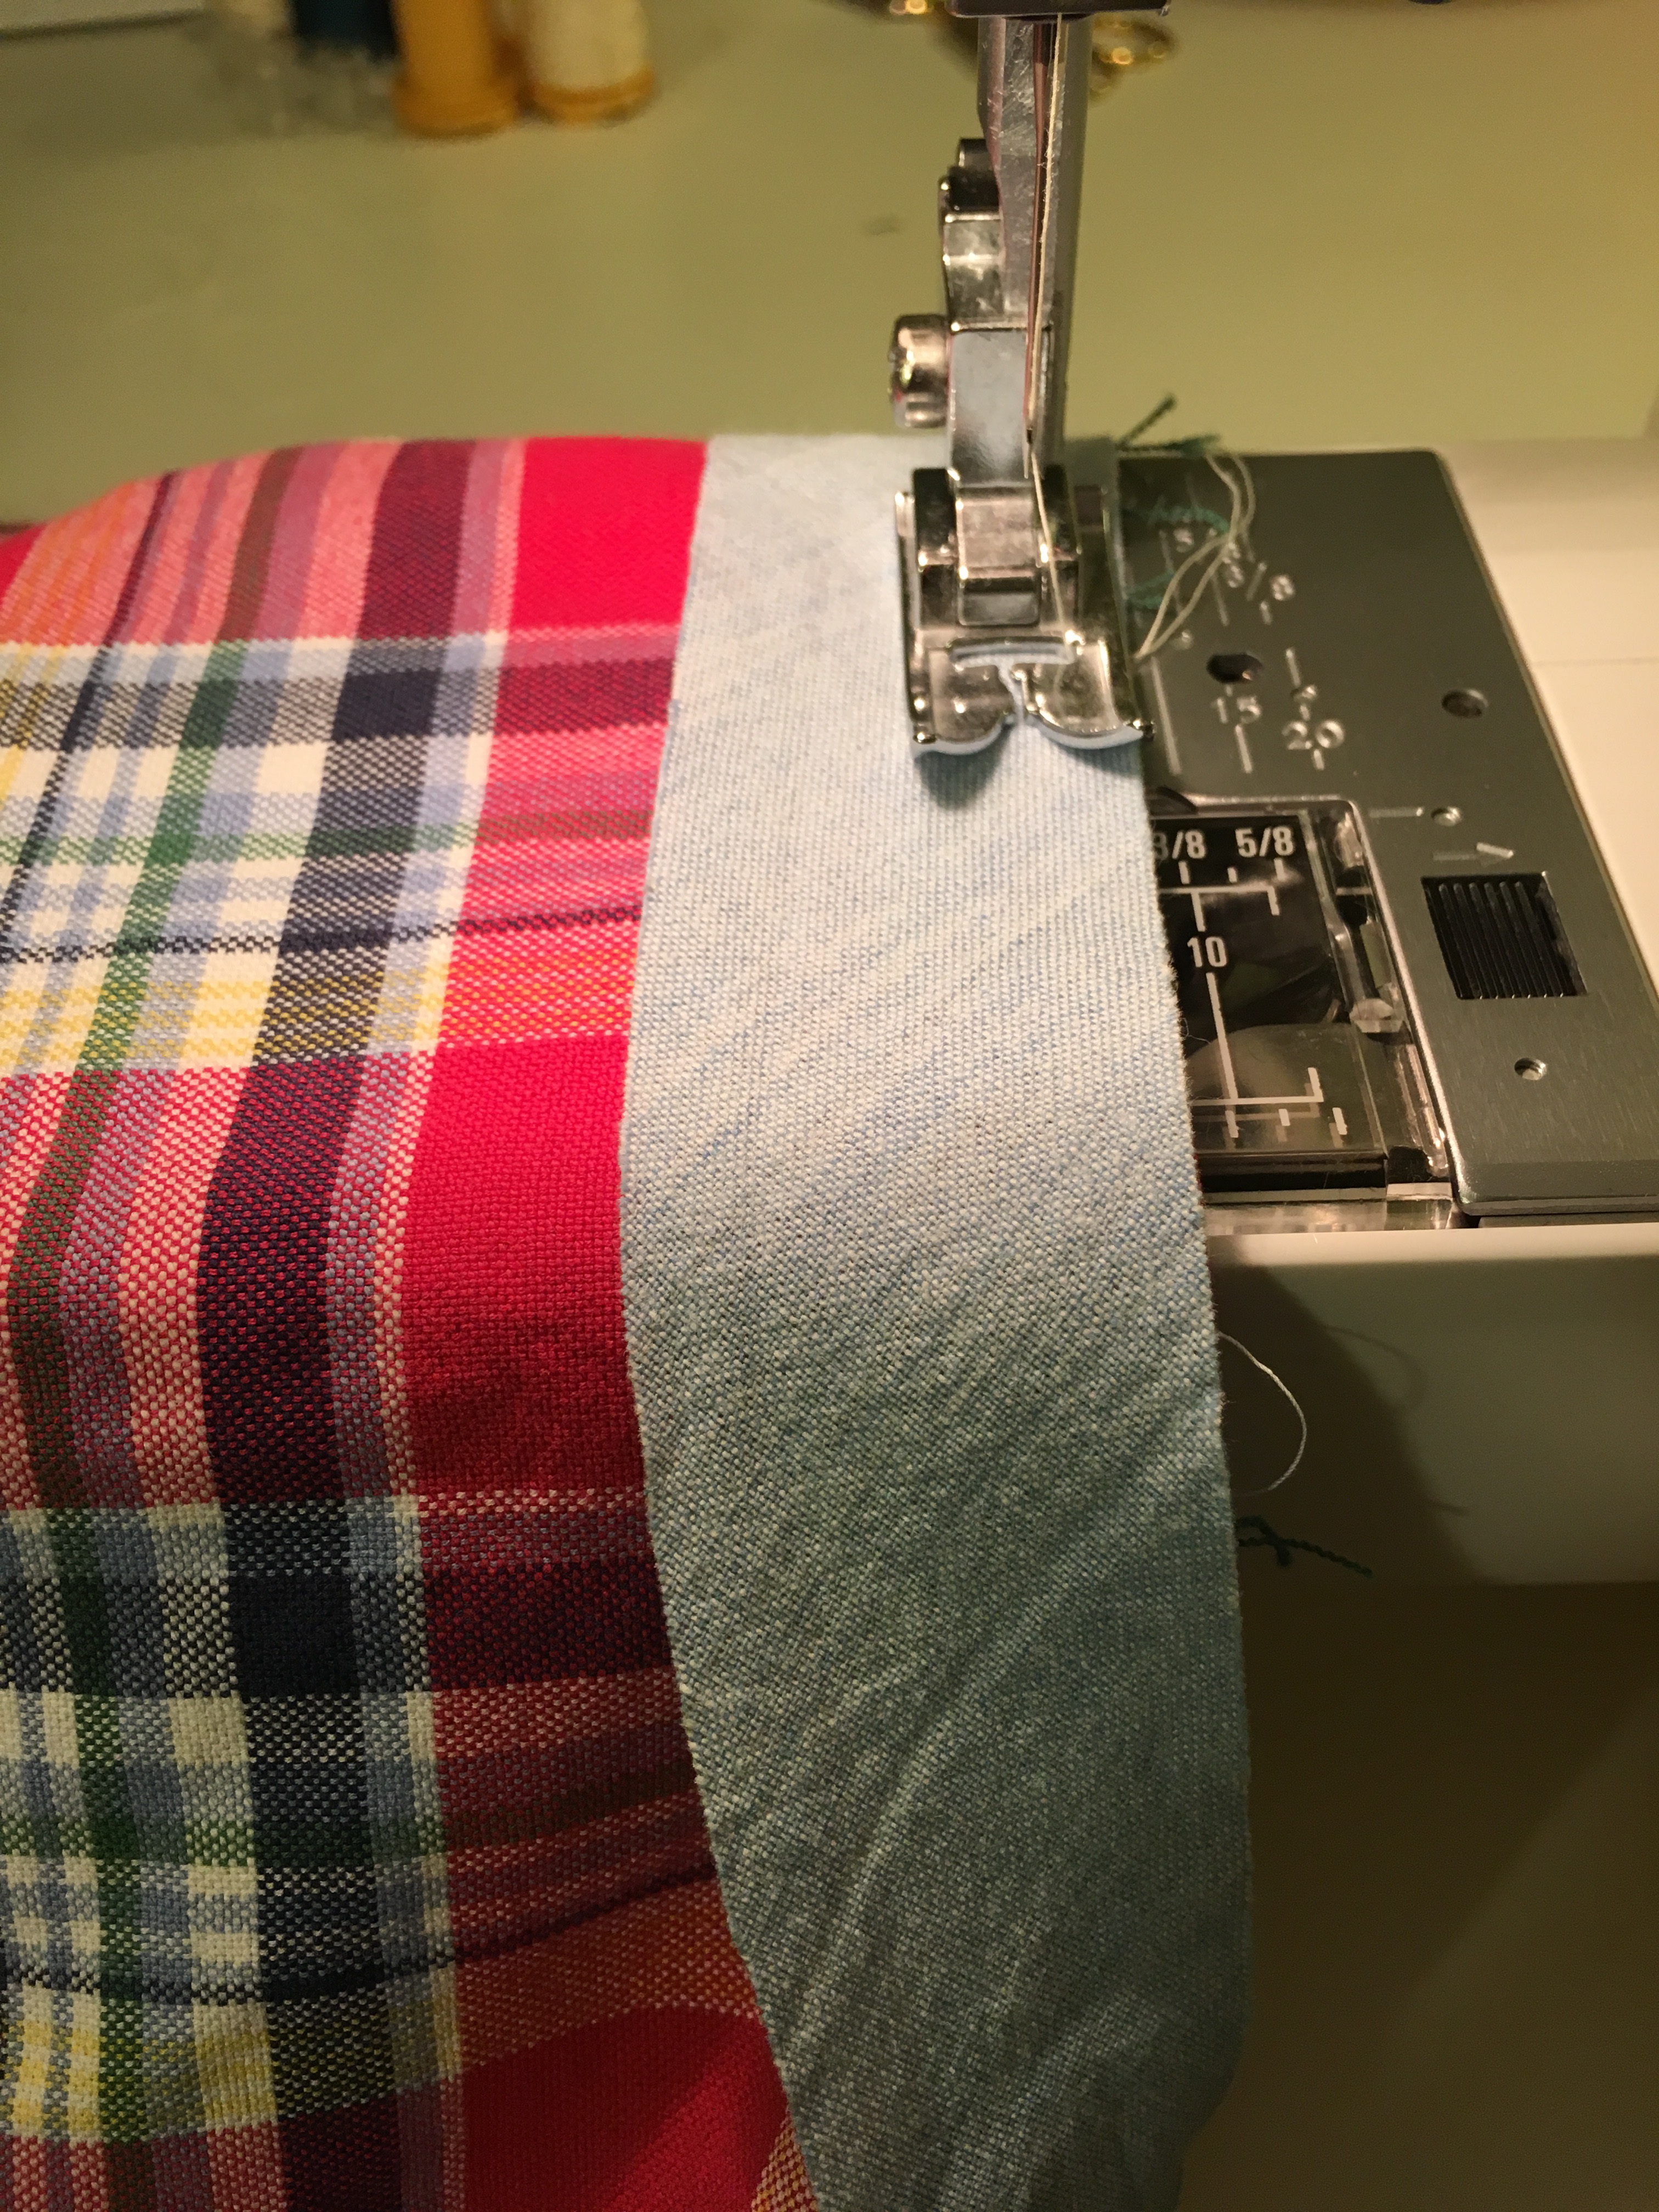
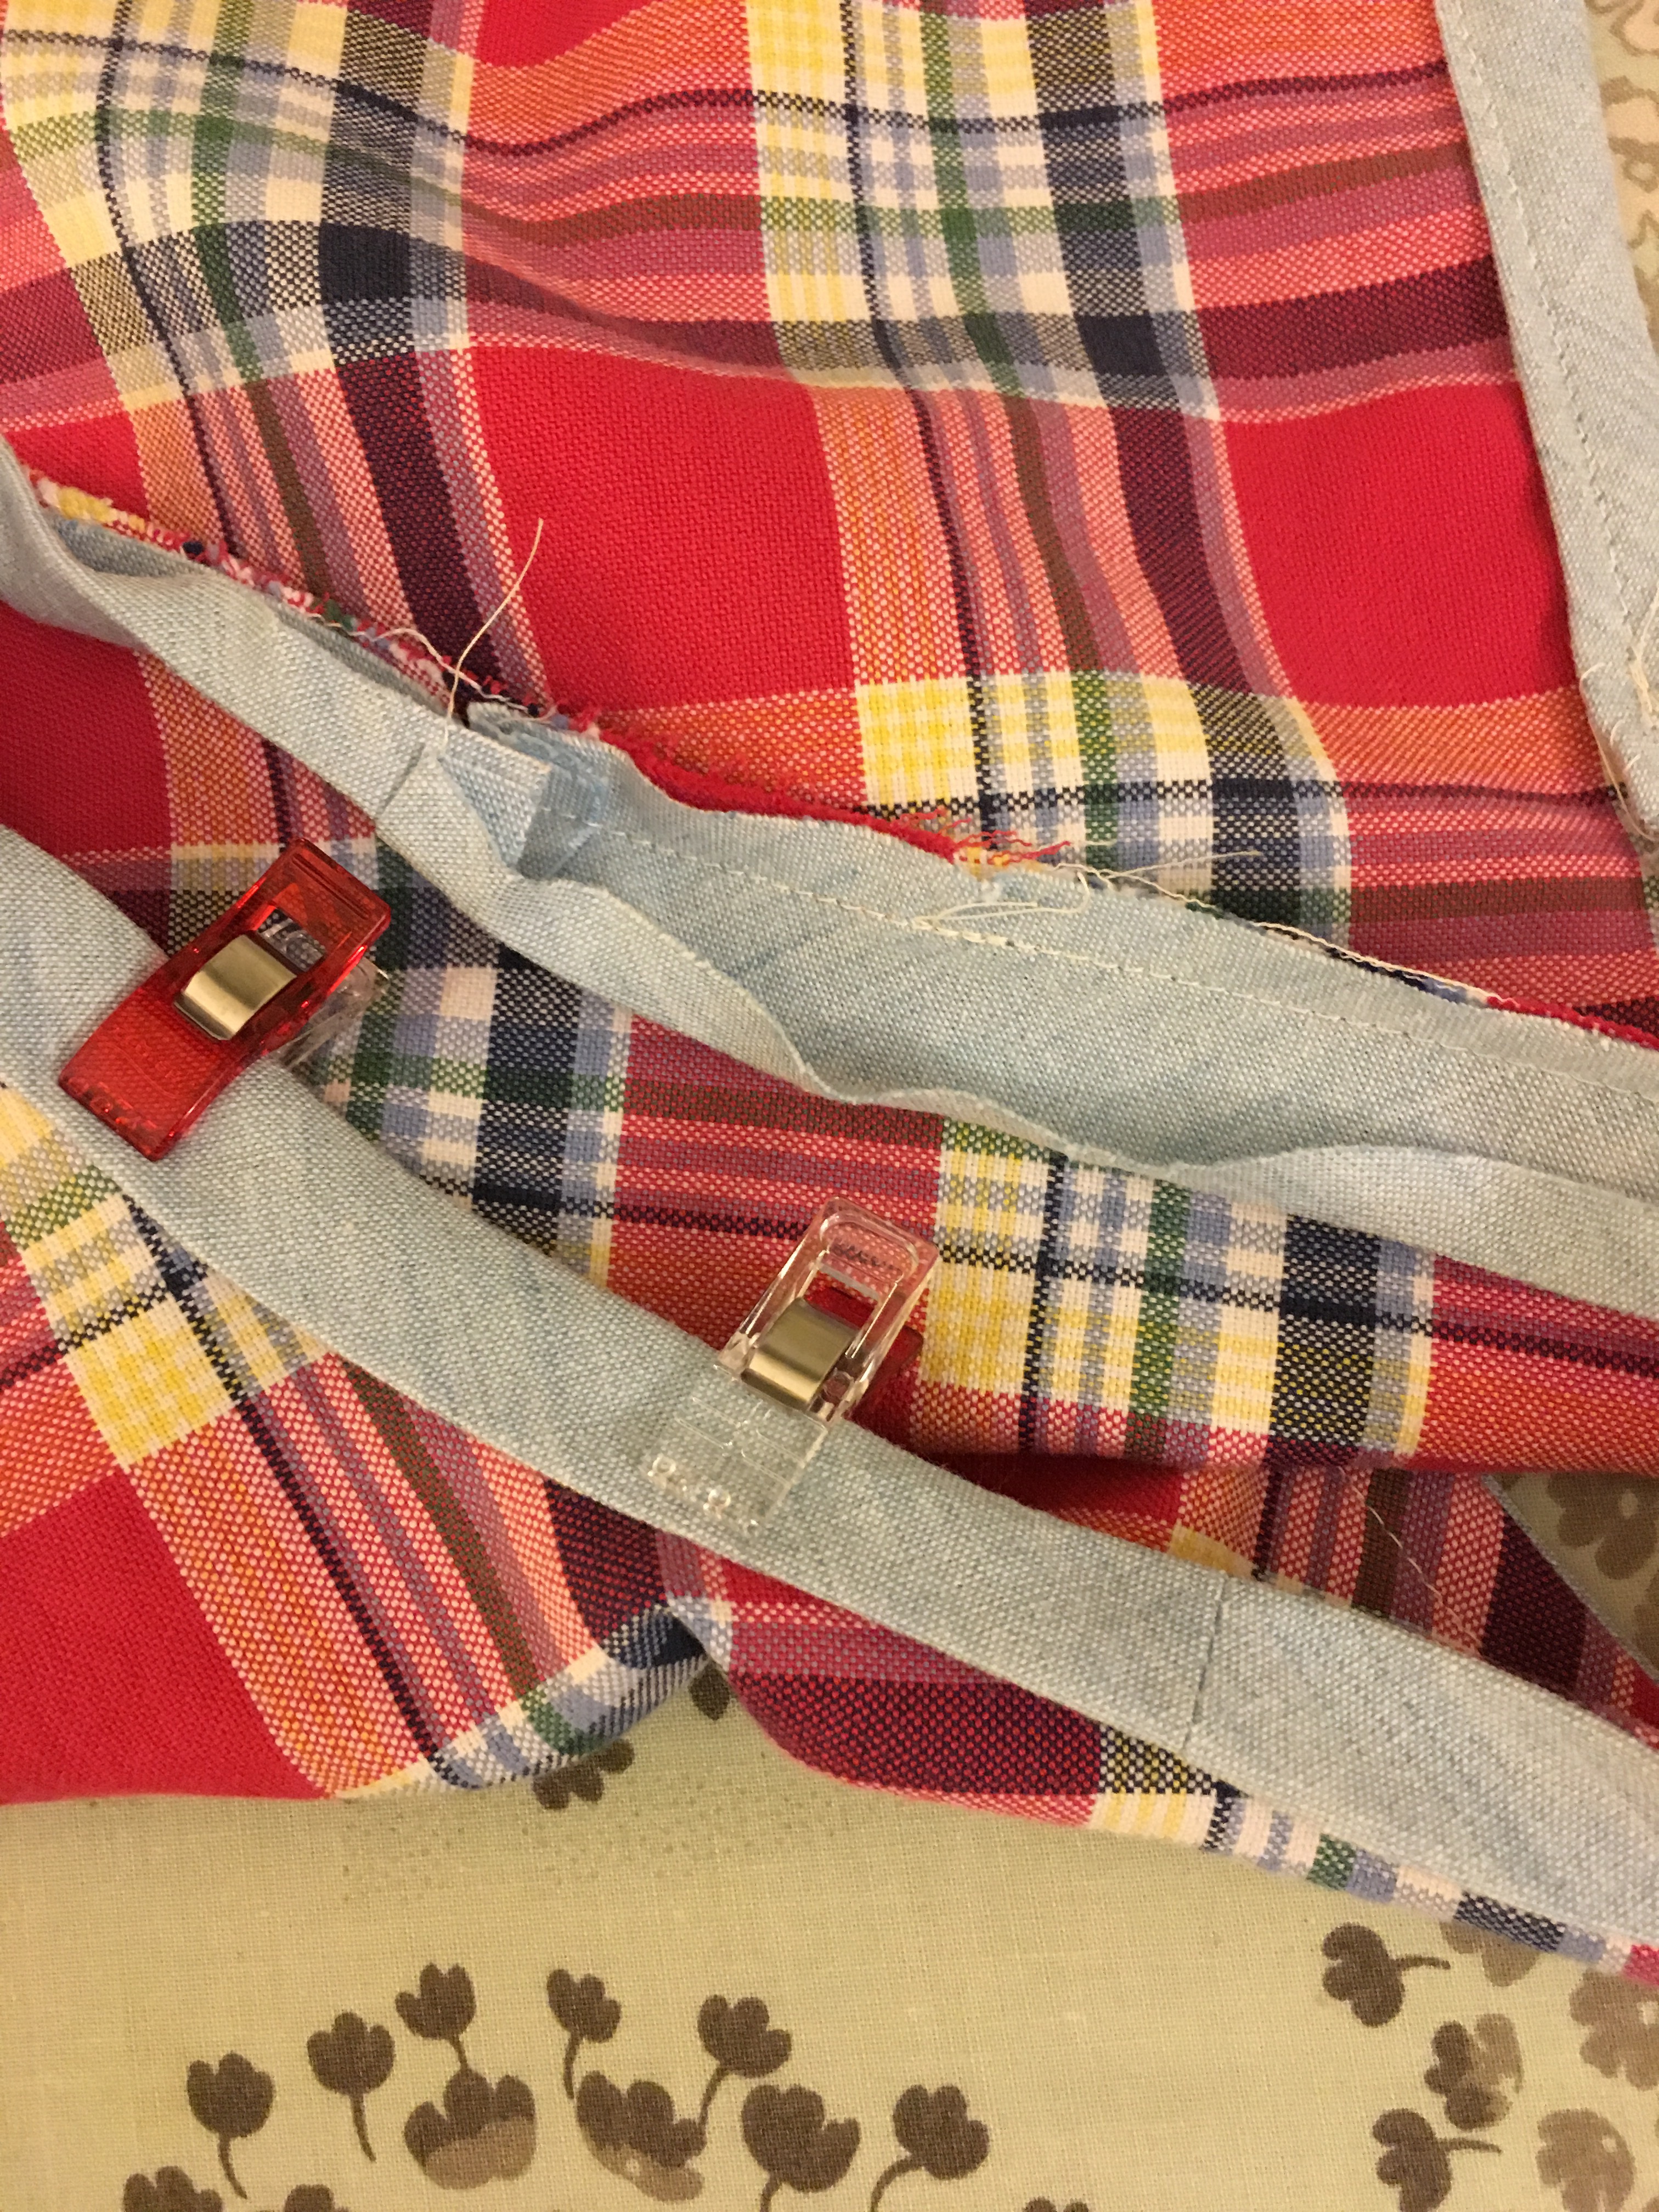
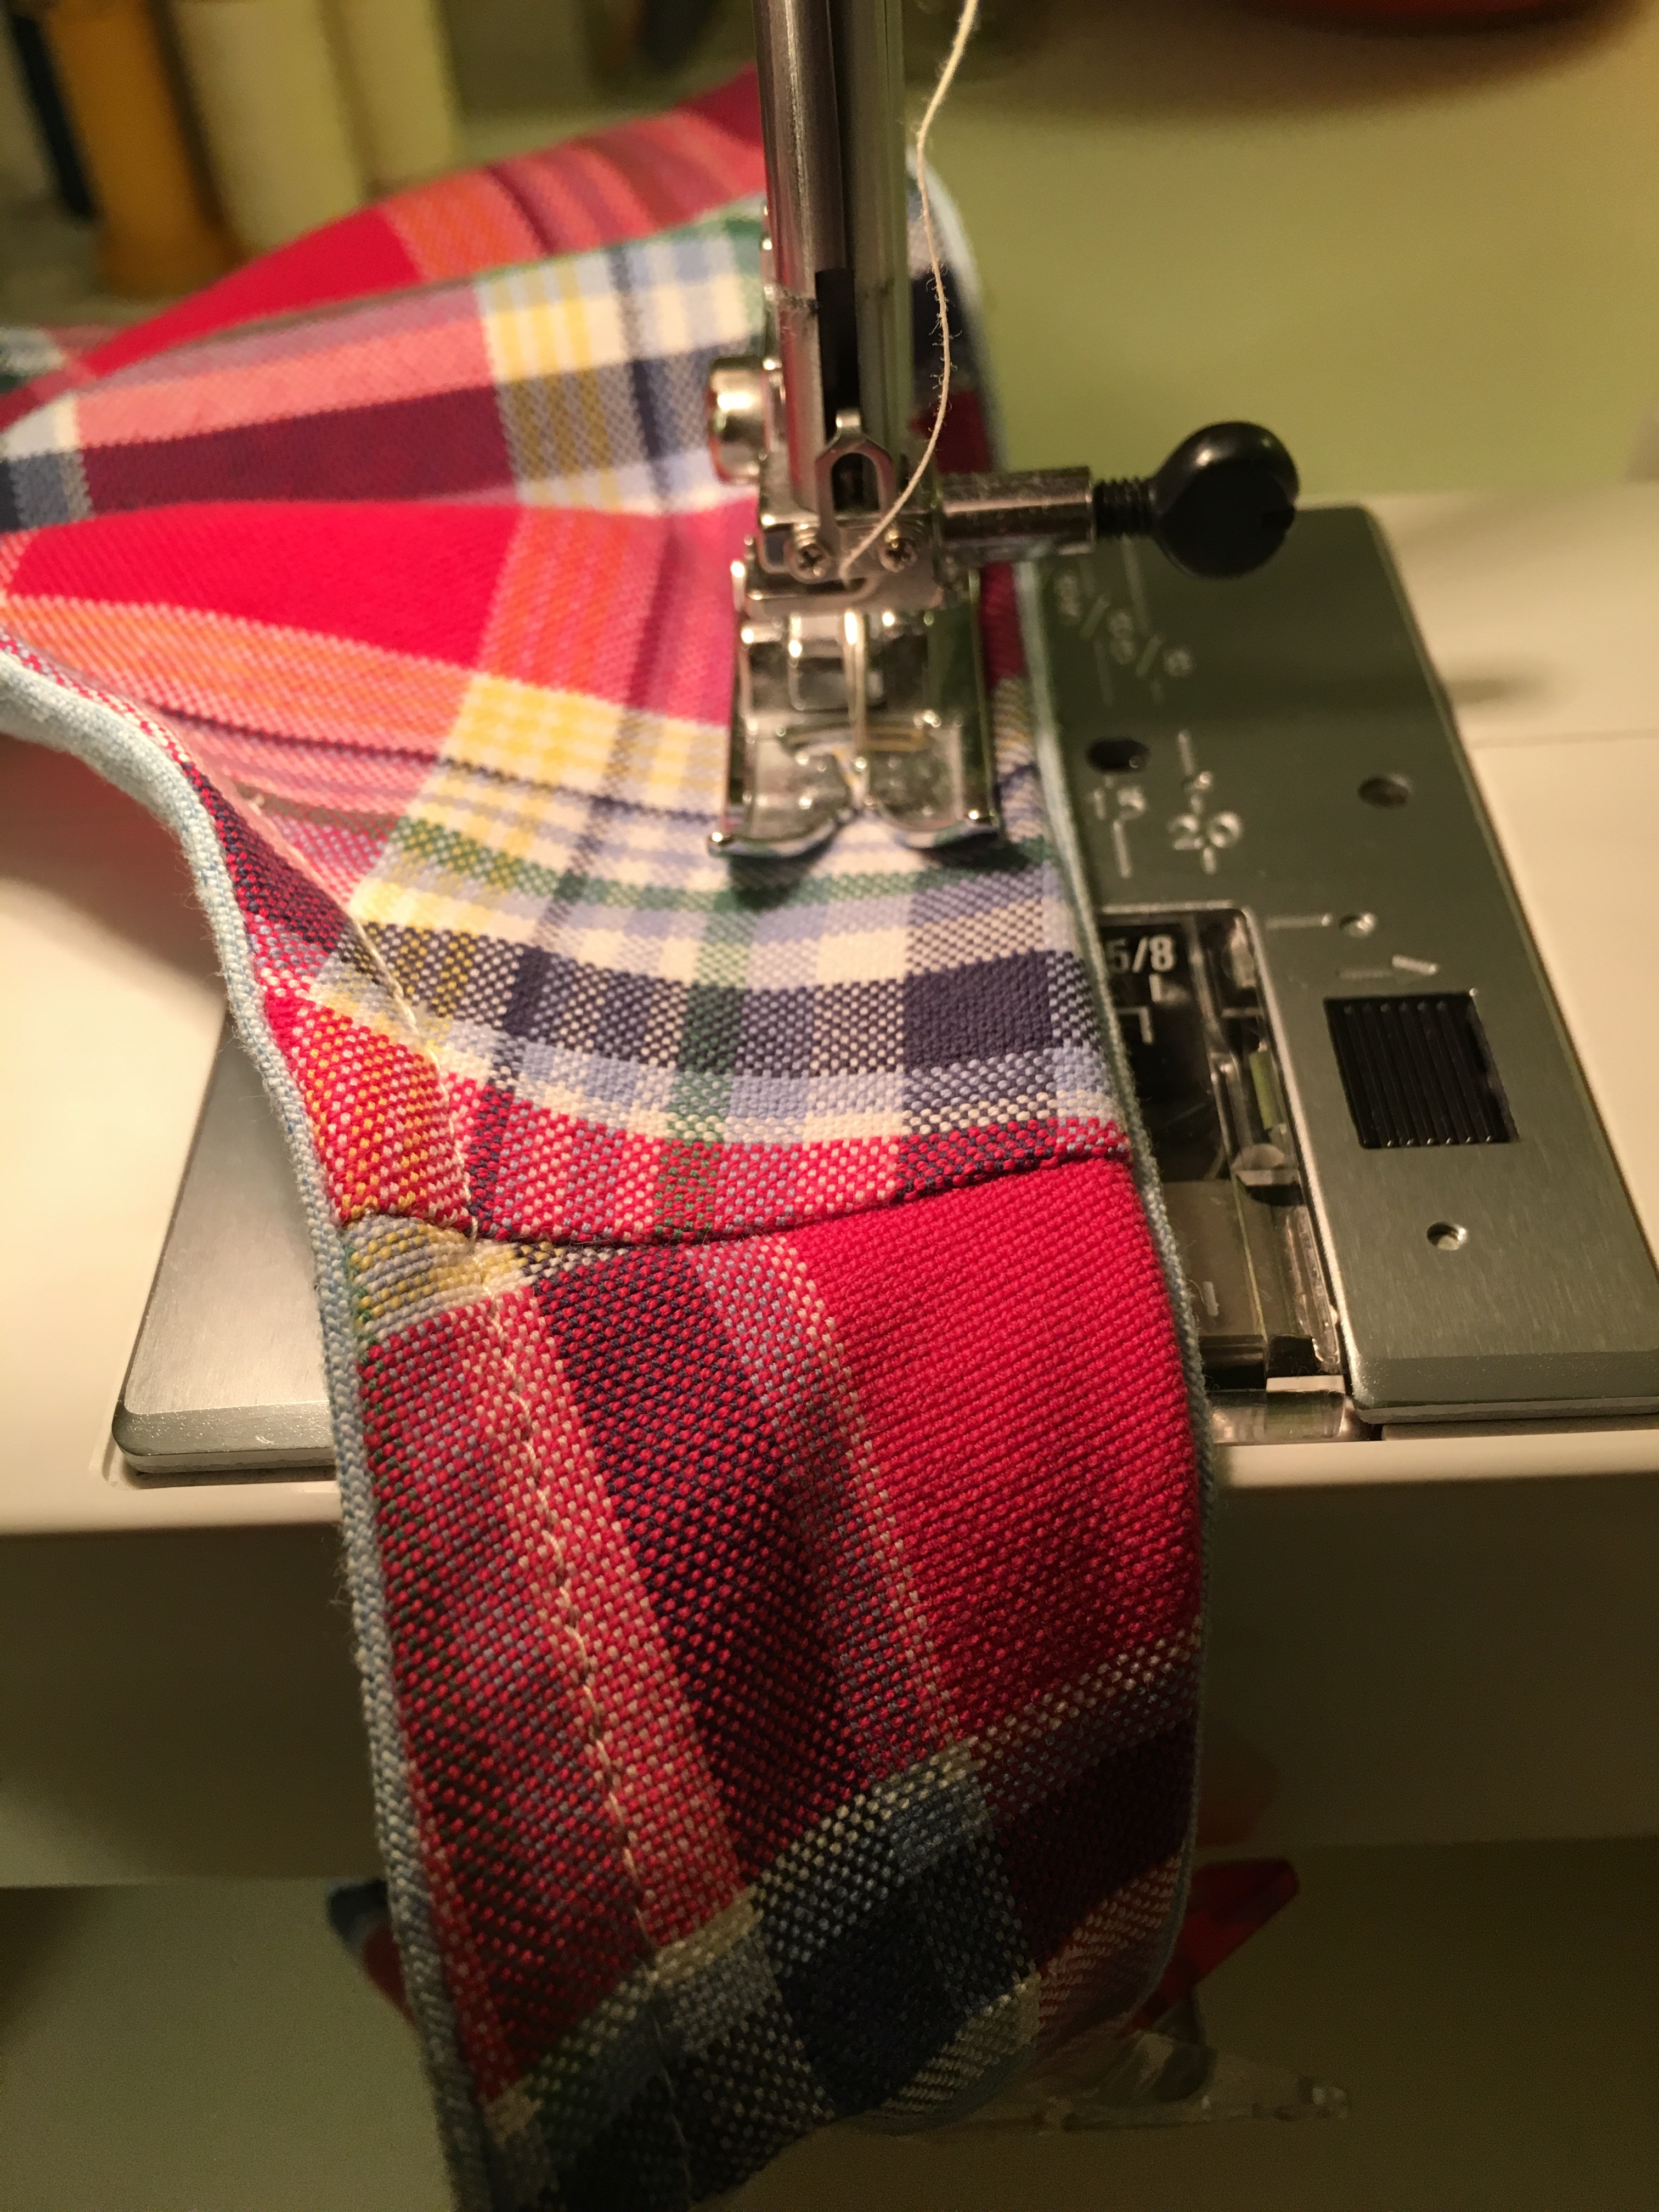
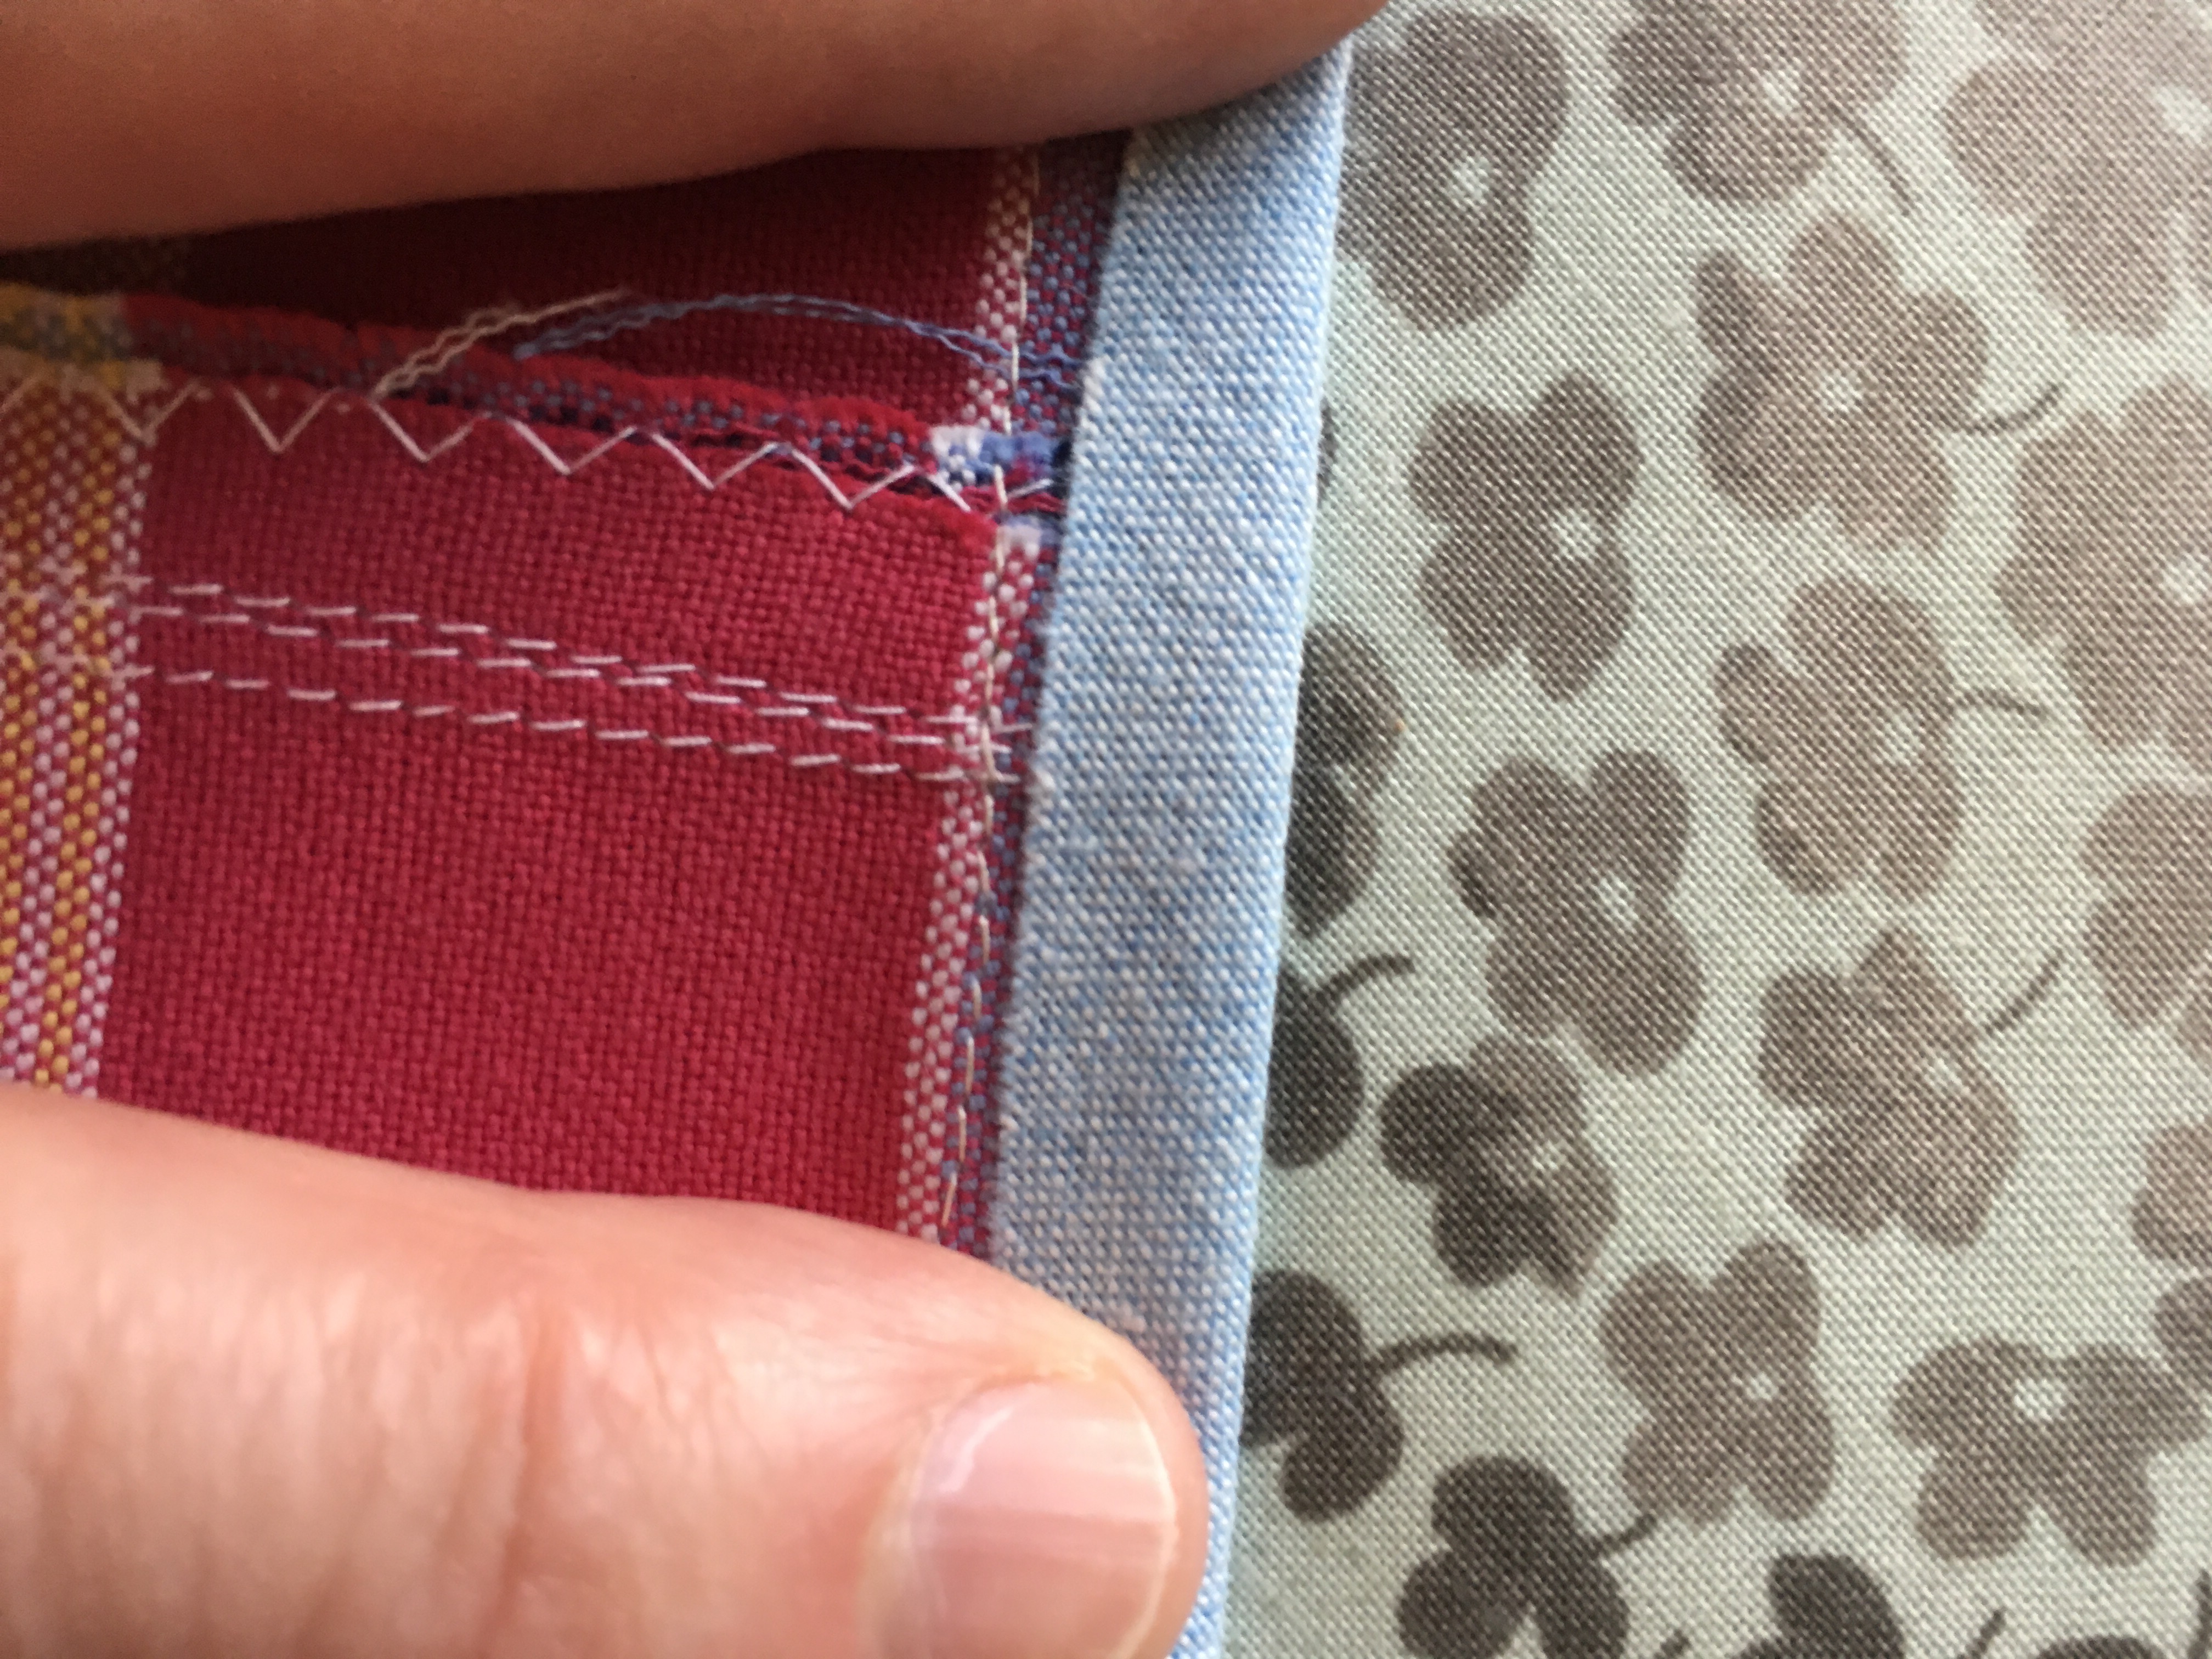
 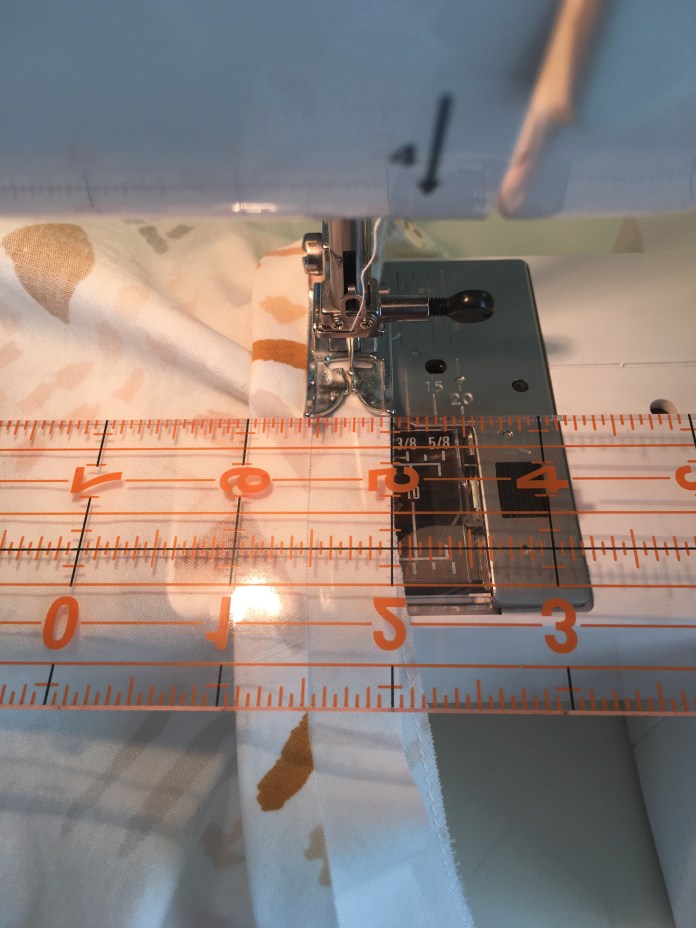 I don’t pin before I sew, I just hold the edges together and it generally works pretty well. Then I iron the stitching line and press the edge to the other side and use wonder clips to hold the bias binding in place before I sew the second seam which, as seen below in the finished version, is just to the inside of the ditch. It actually looks like it was sewn on the inside and flipped to the front using the topstitch method, the way Rae shows you here in
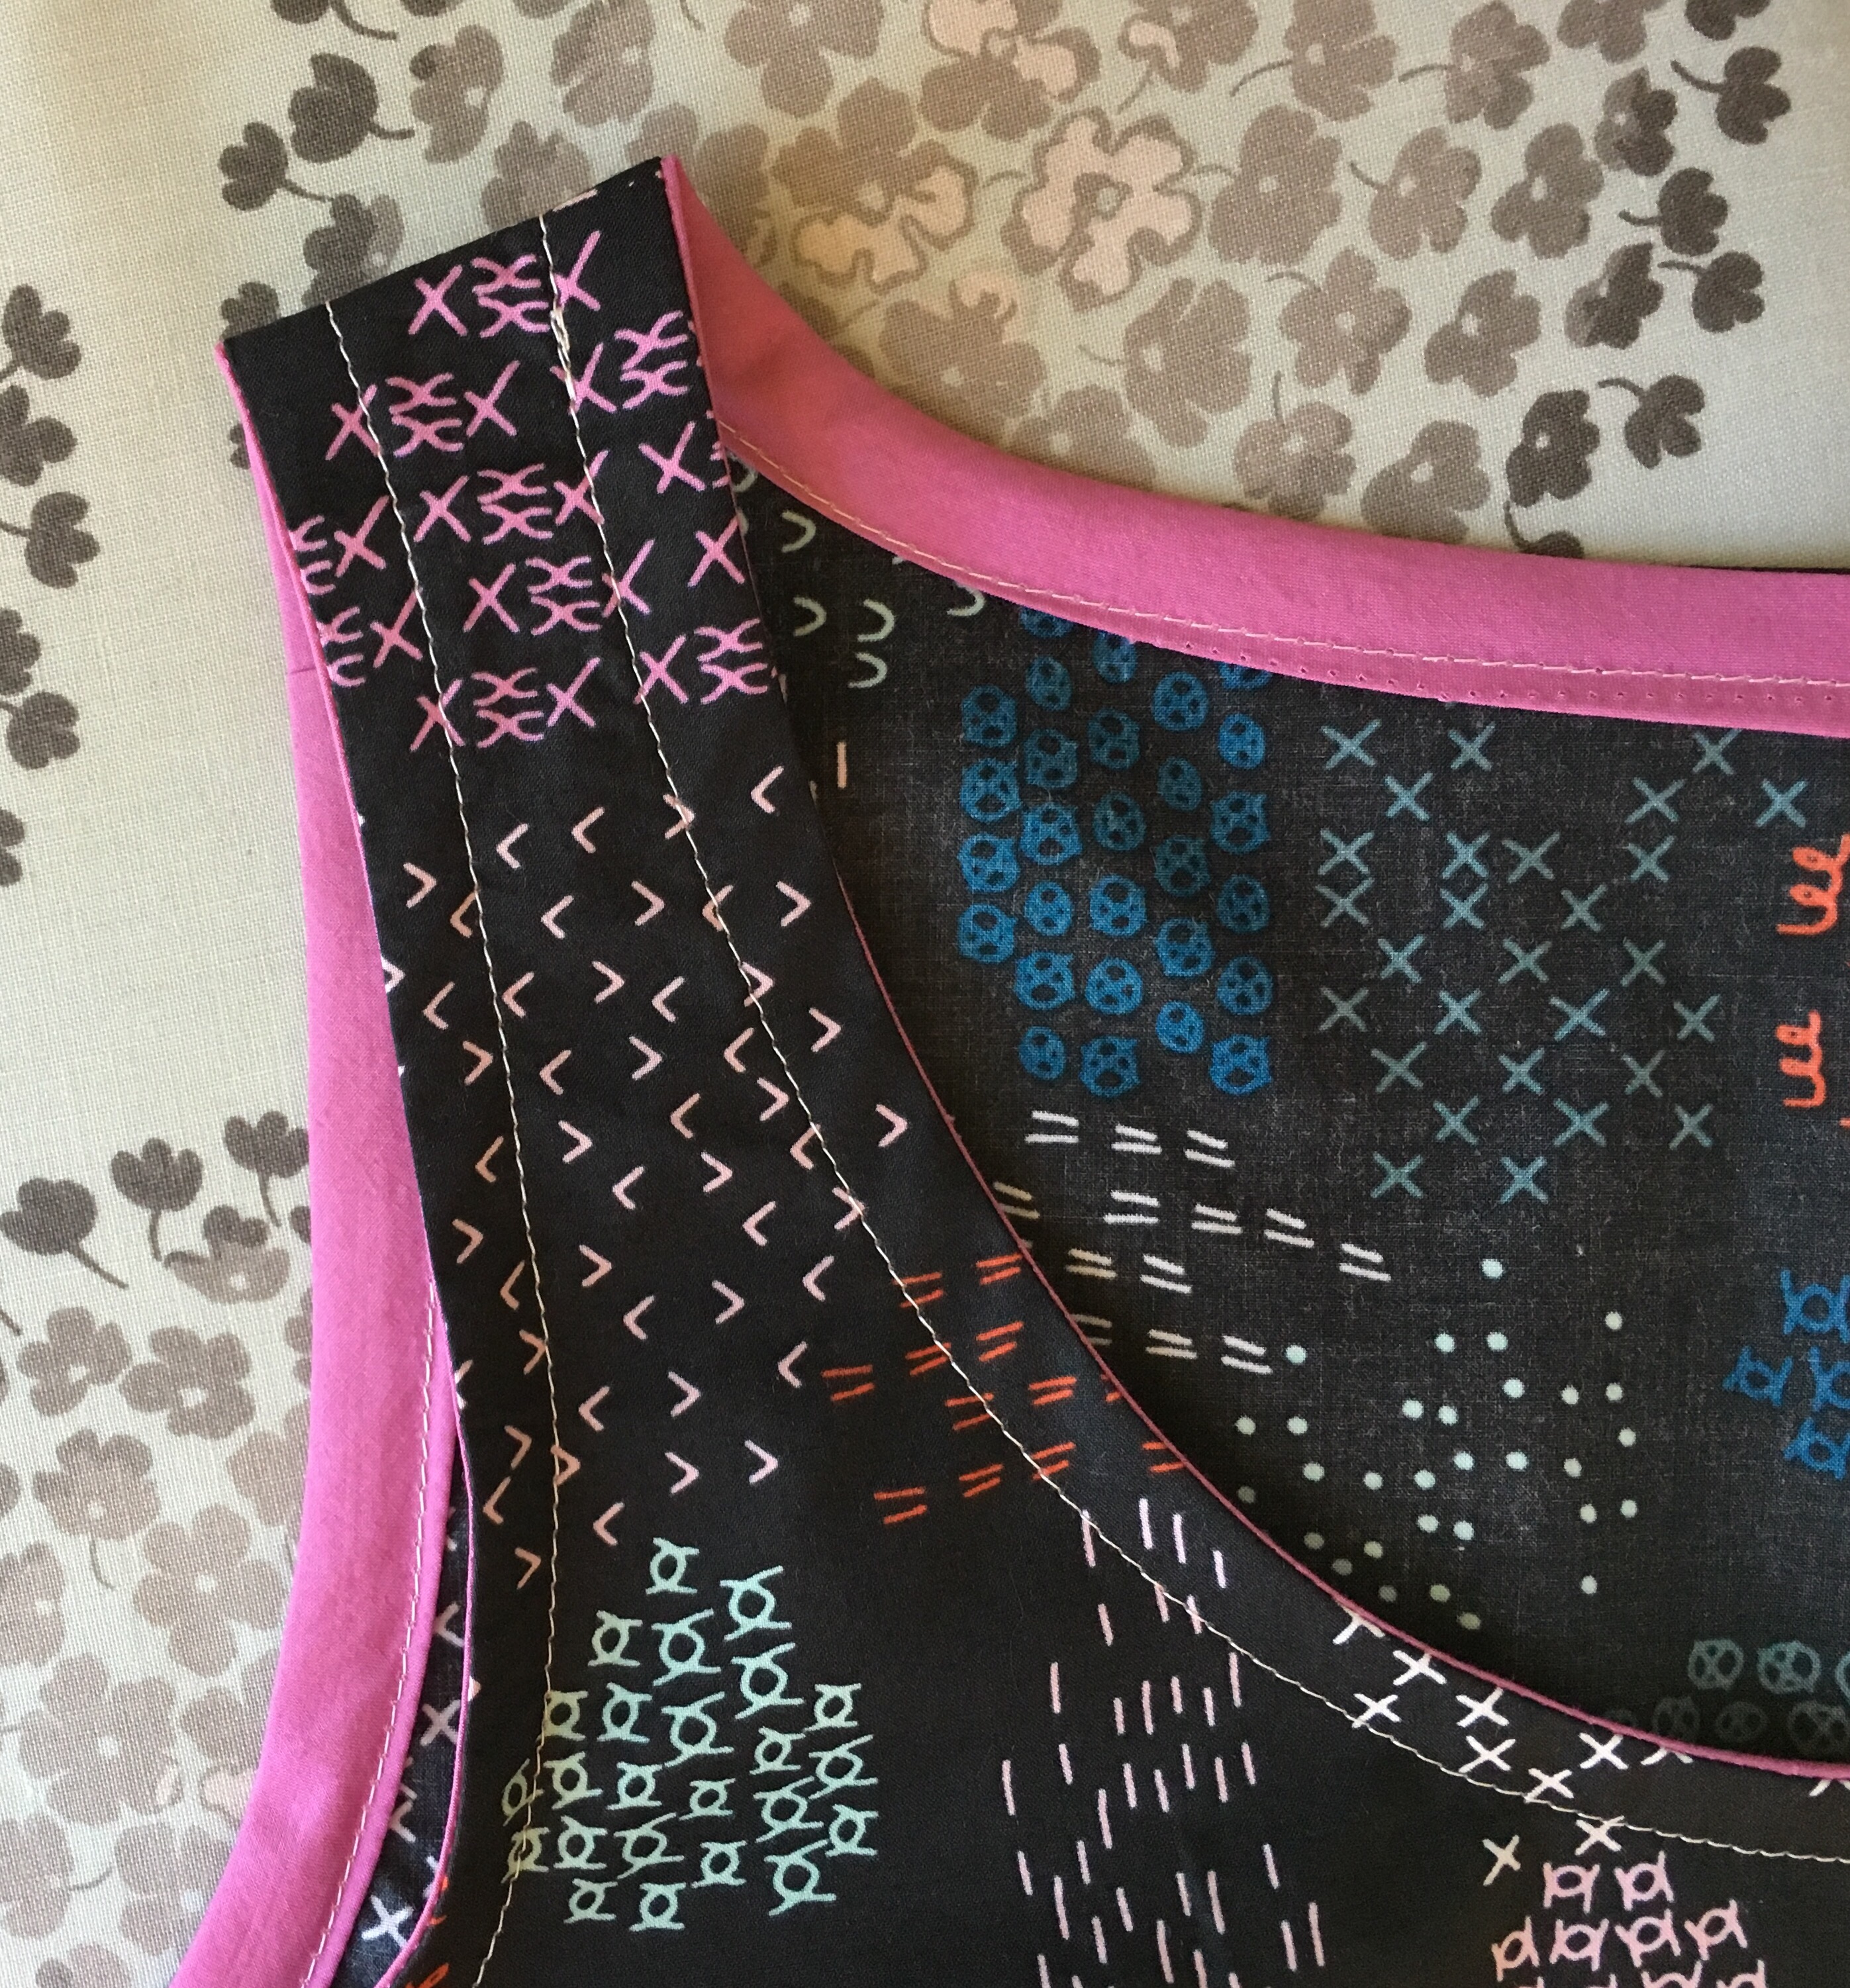
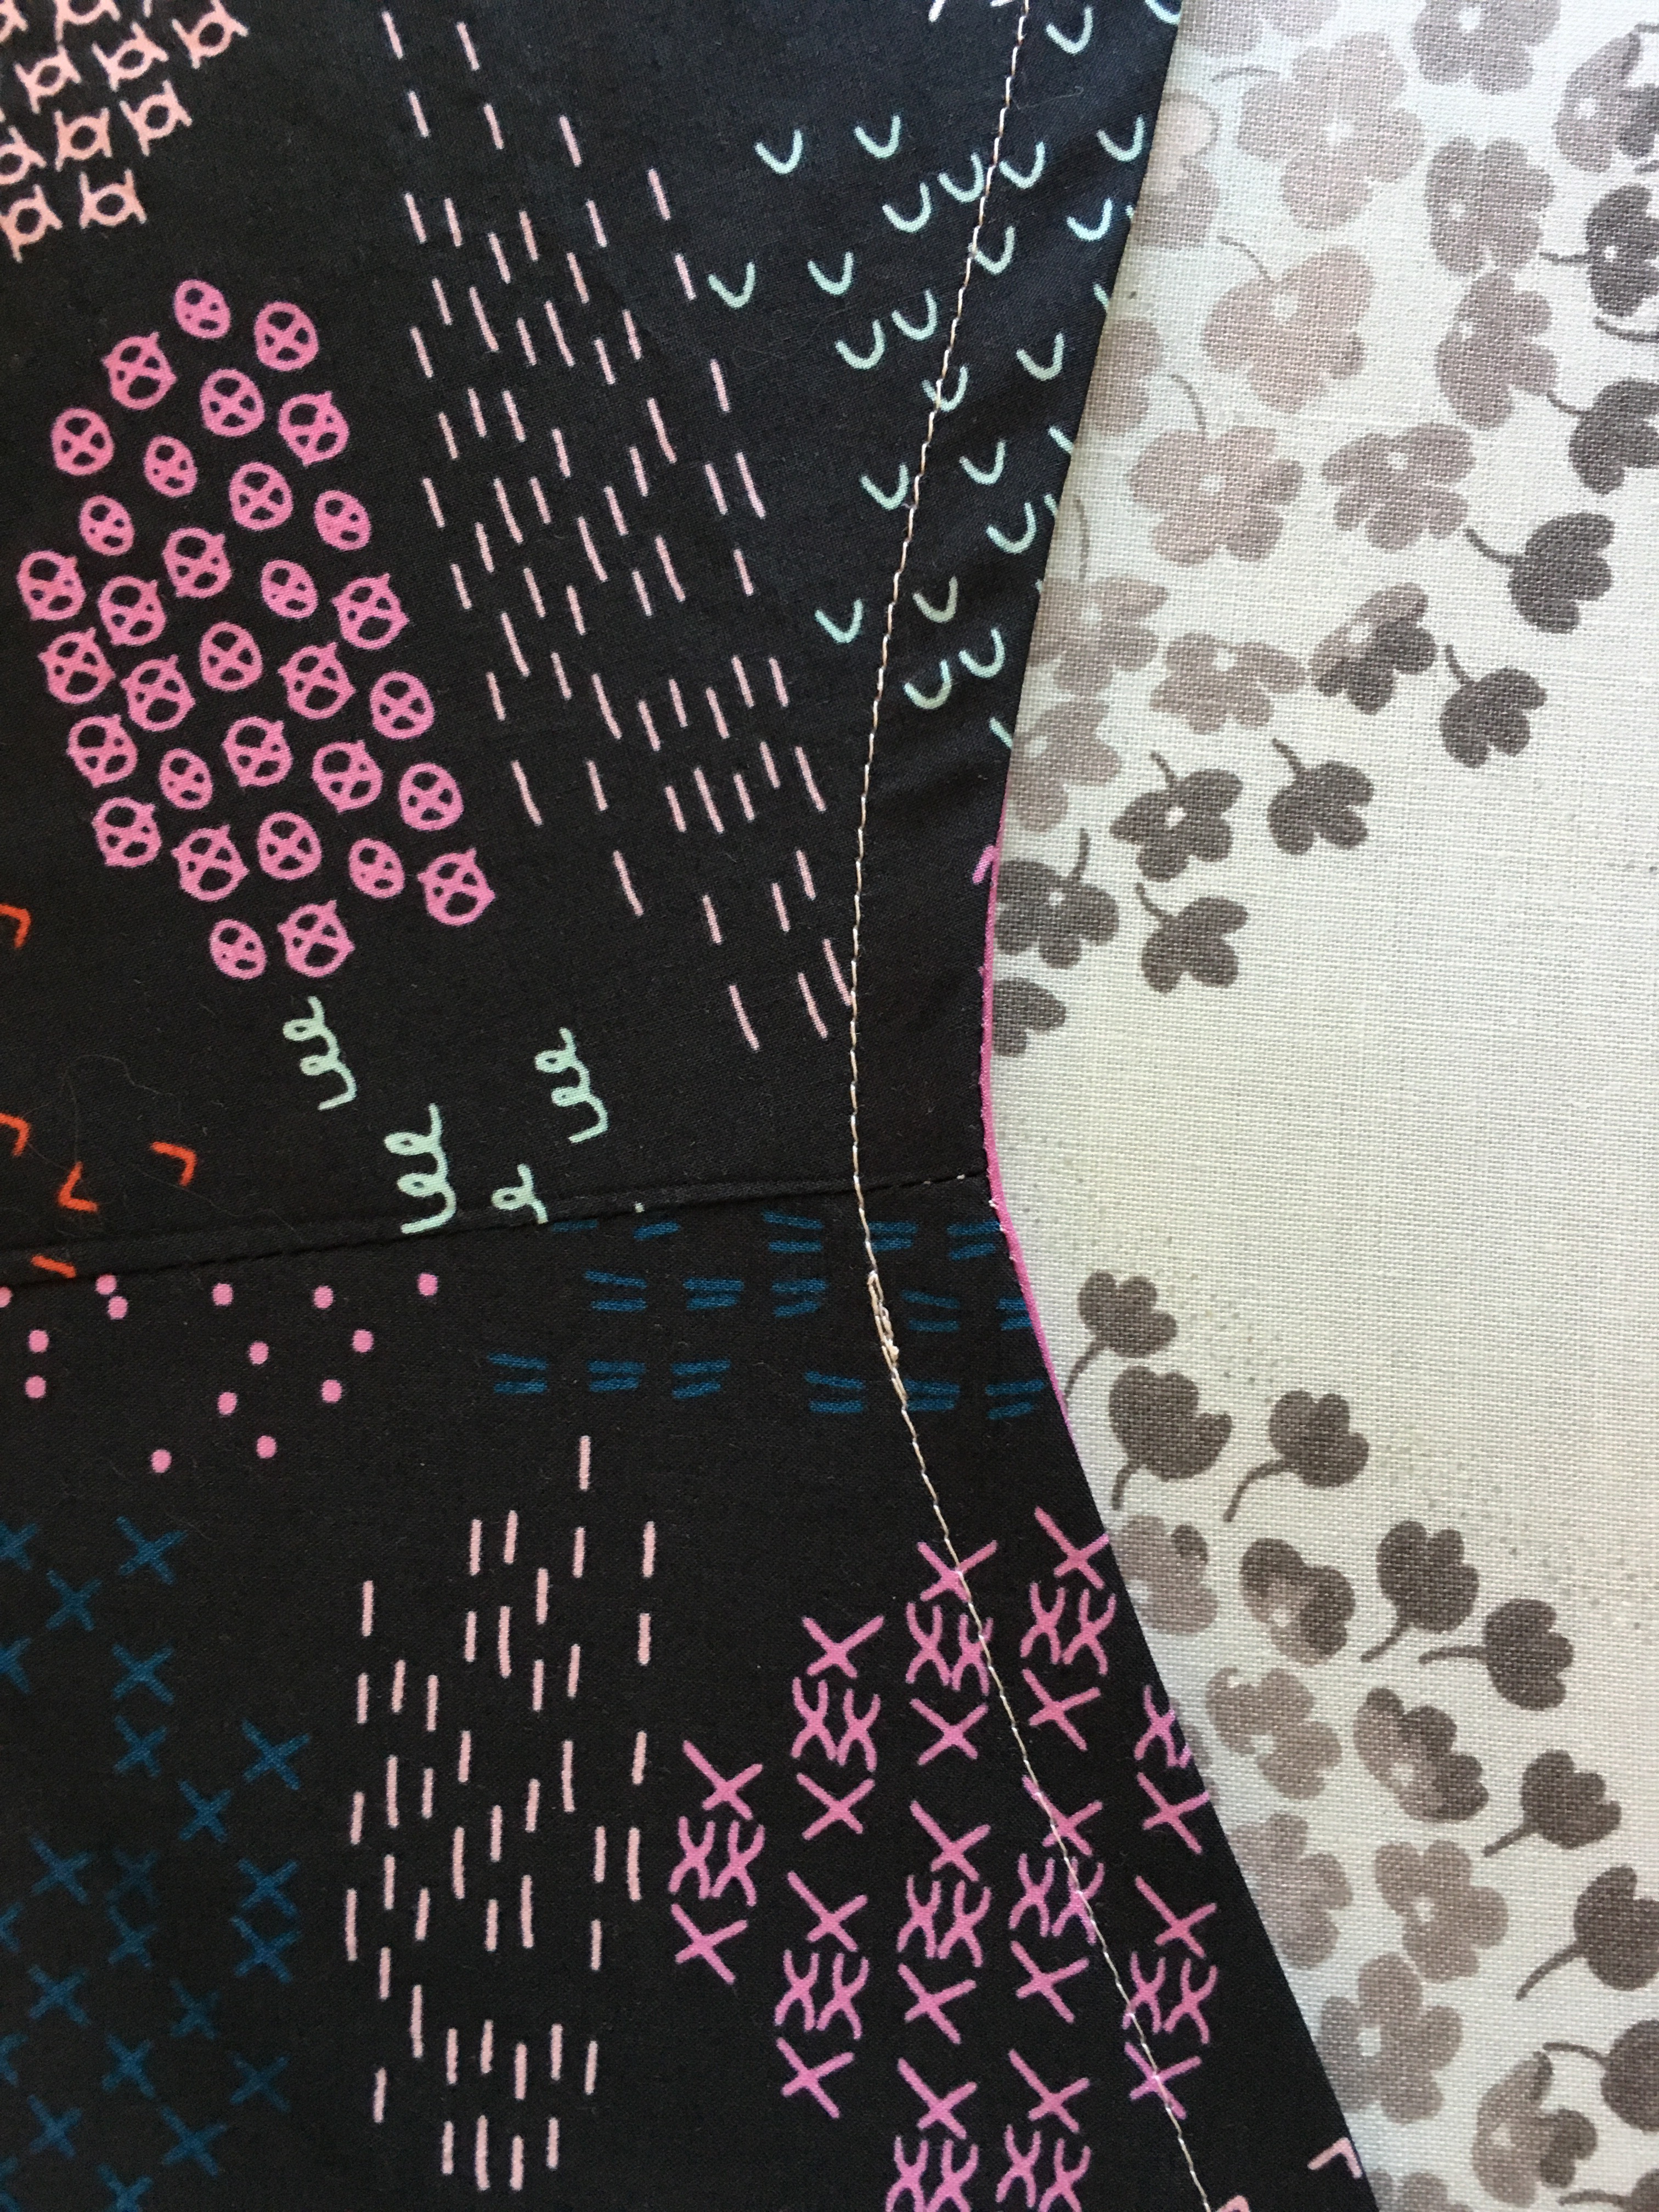
  I like using the wonder clips because I turn the blouse inside out and iron the binding to the wrong side and whereas I used to pin it in place on the wrong side and then flip it and have to move all the pins to the outside before sewing, the side doesn’t matter with the wonder clips and it saves a step. This is what the outside looks like before sewing the second seam.
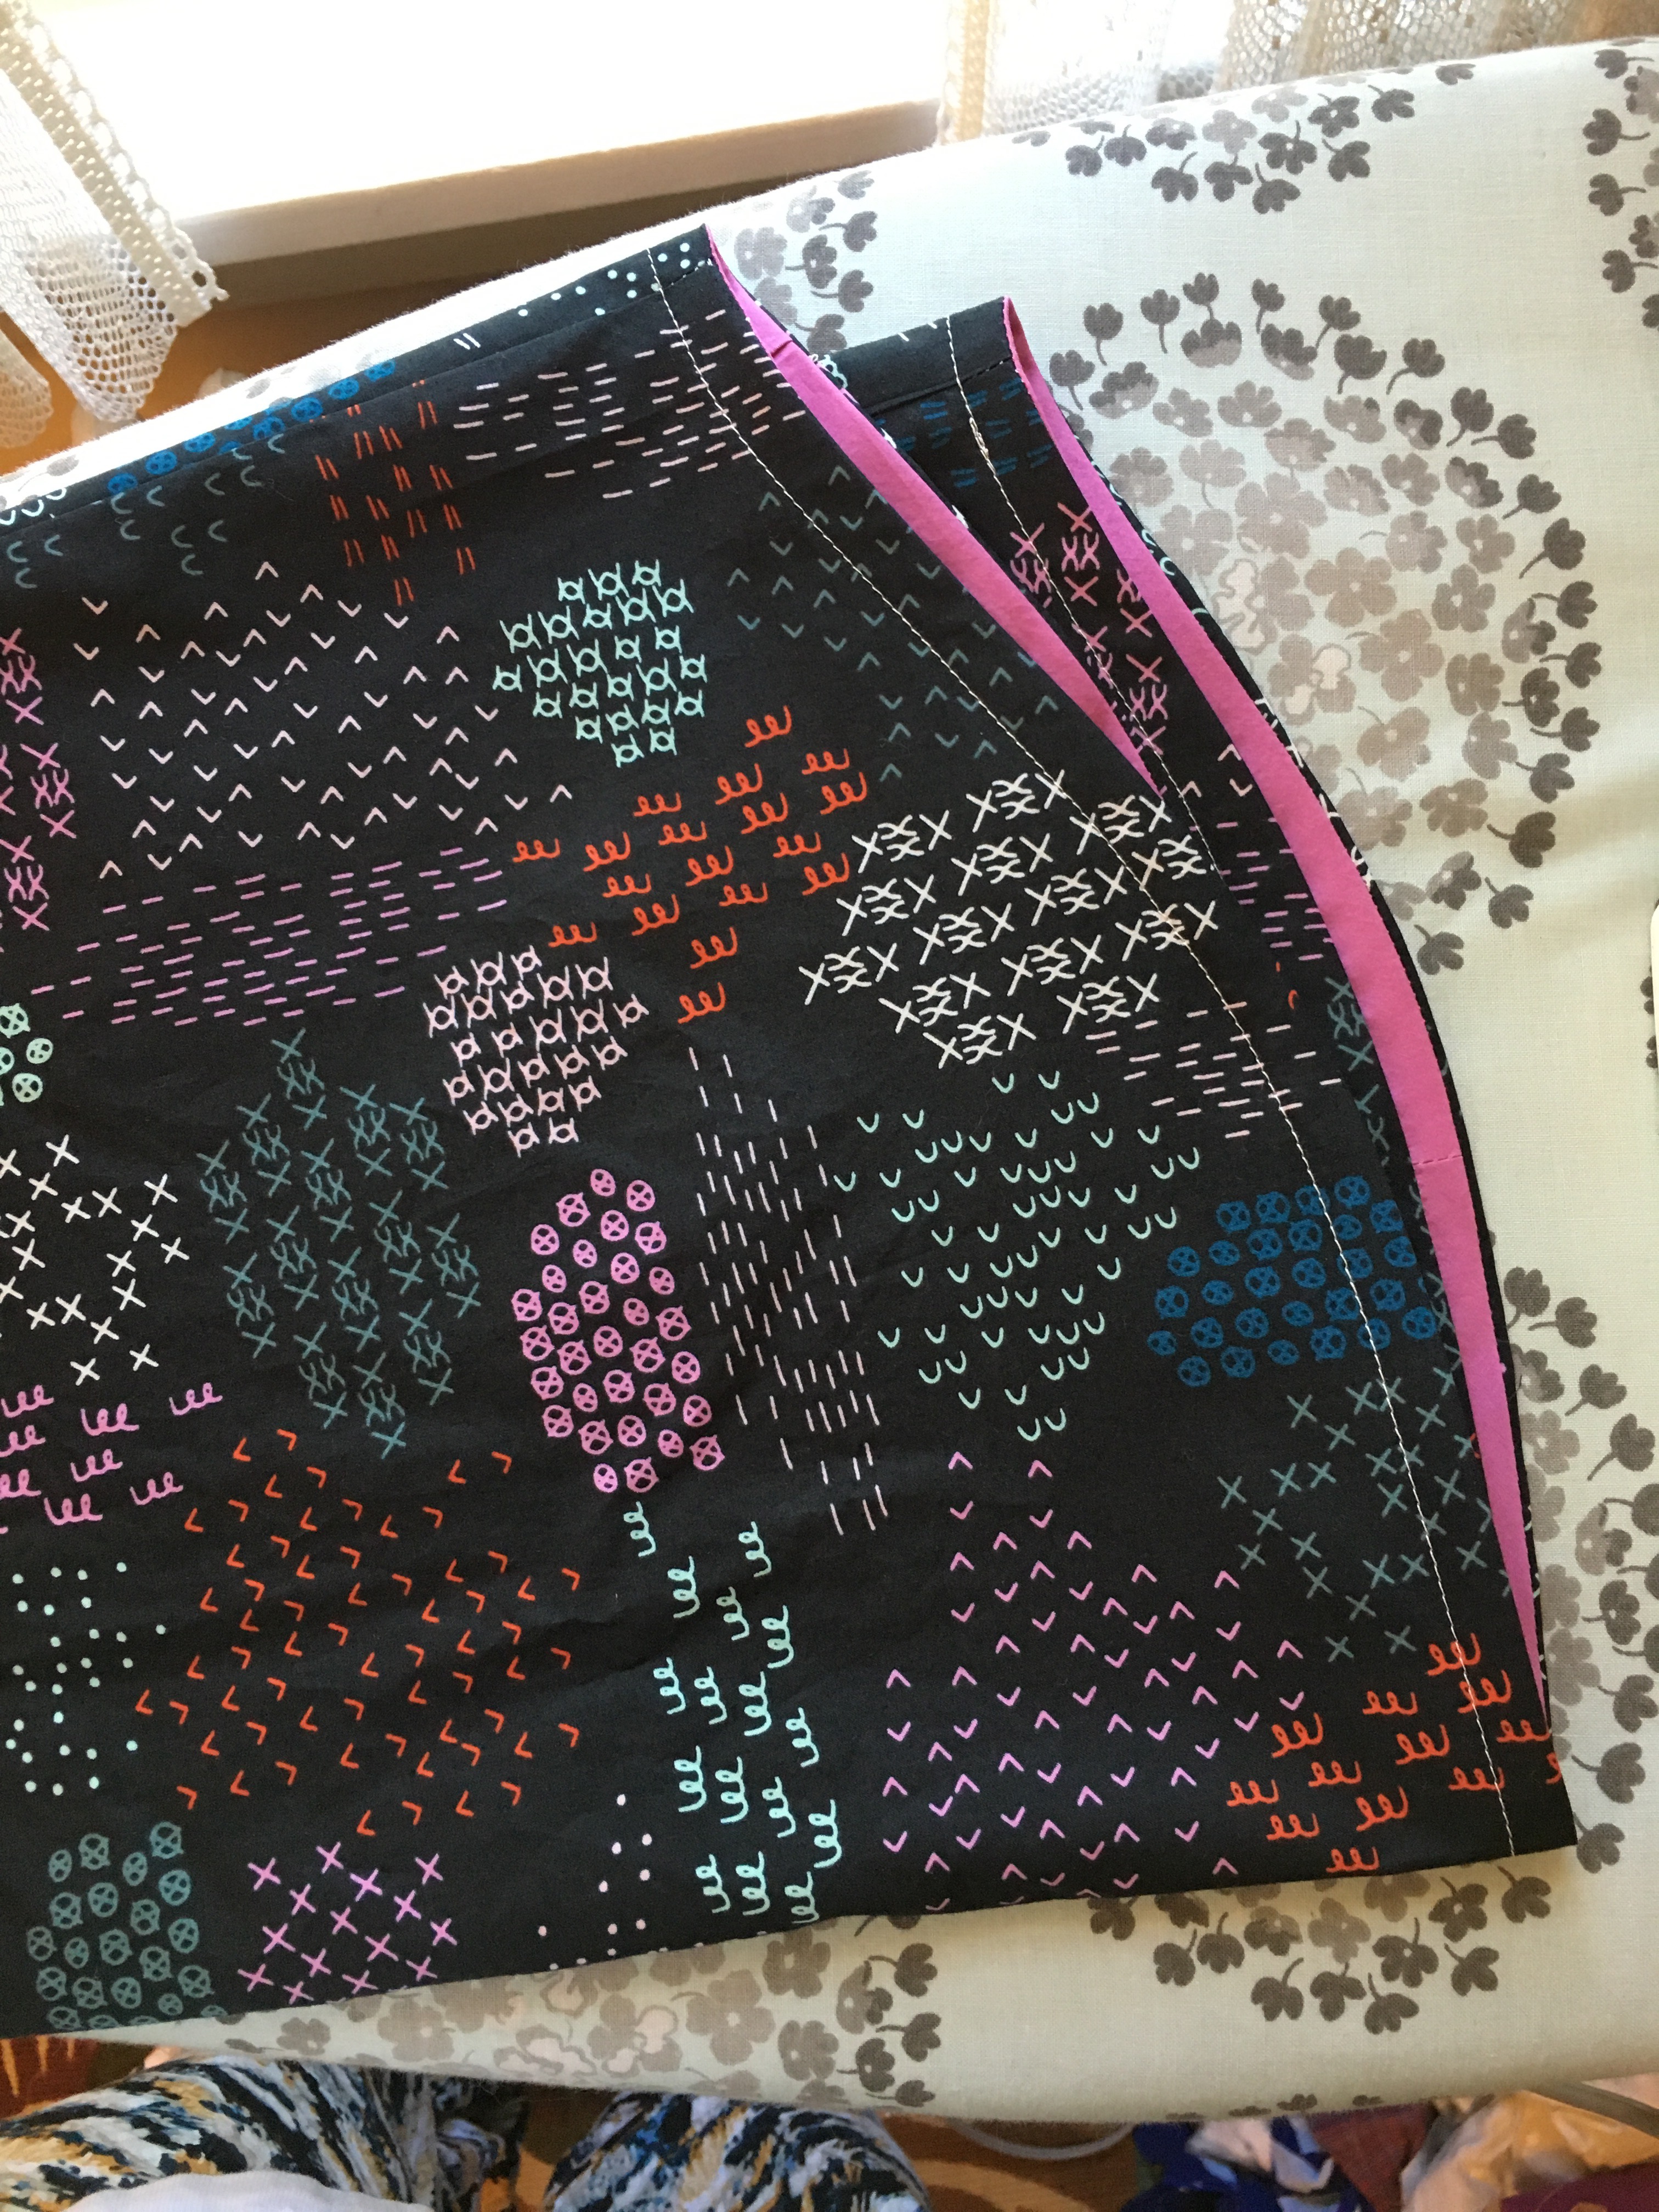
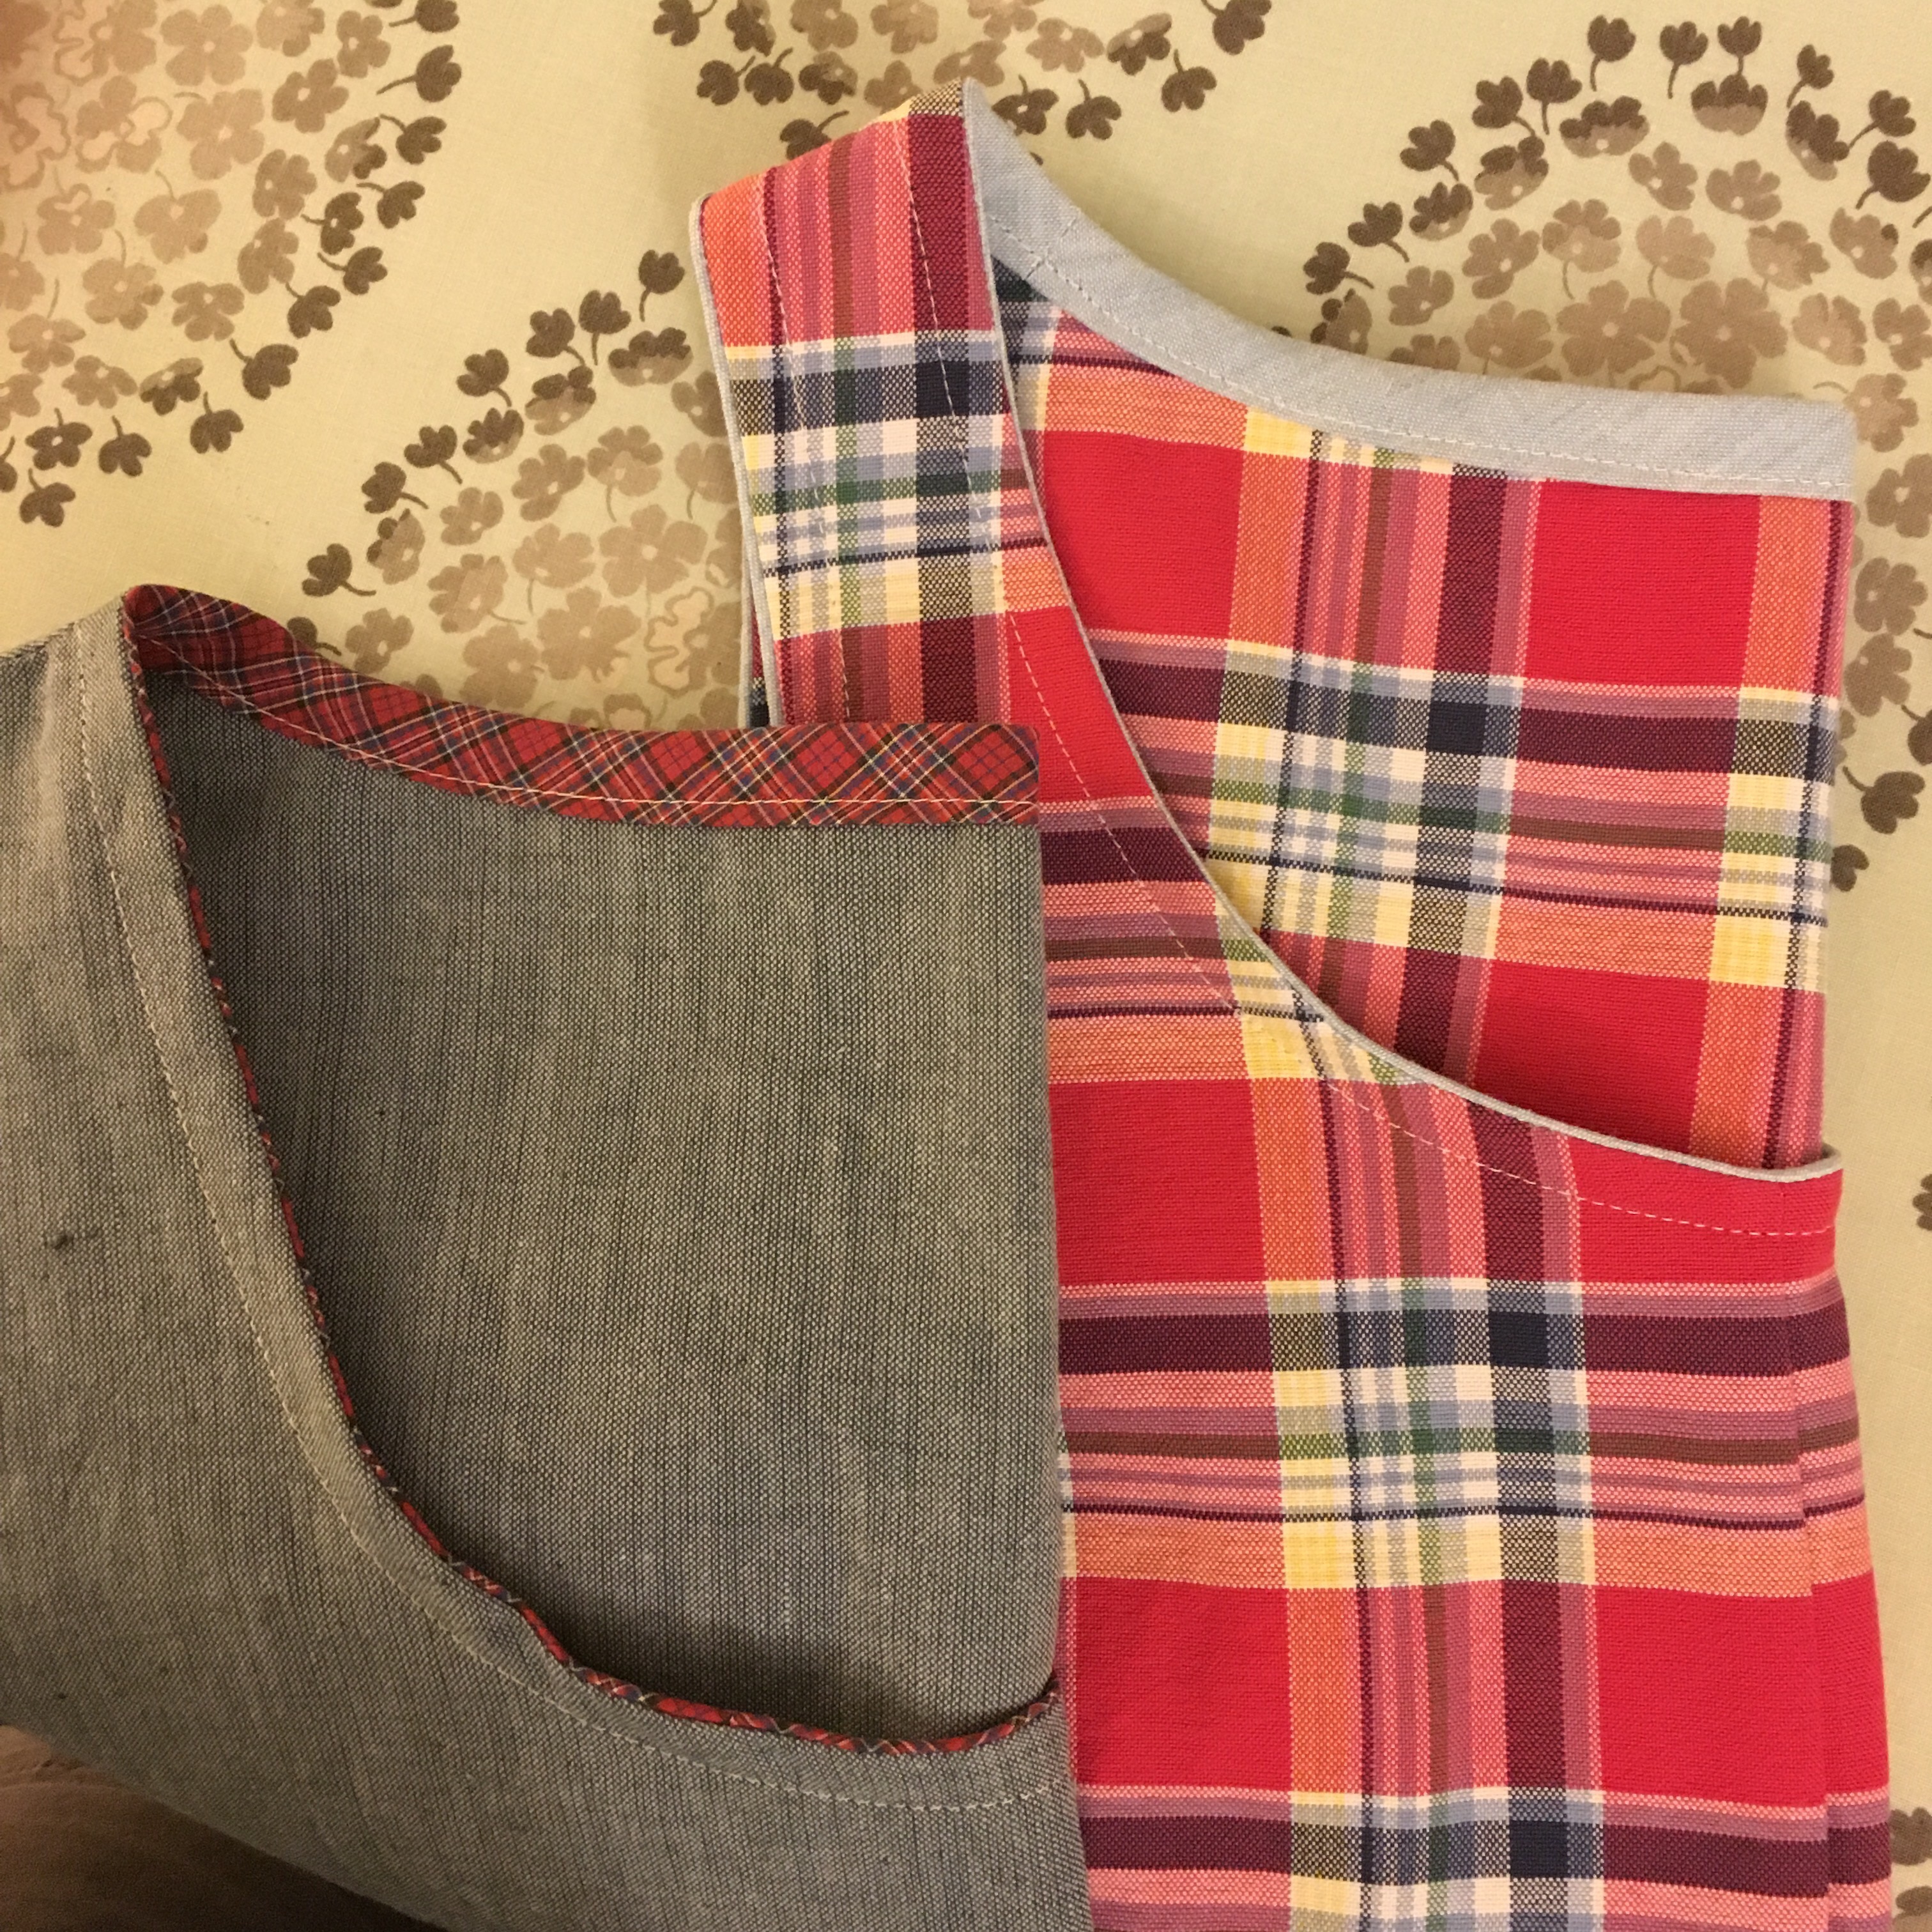
 I also sewed a facing onto the hem of this Gemma using more of the binding tape. For some reason, I get a much neater hem doing this than just turning up the fabric. Although it might seem like more work, the seam line gives a visual place to turn up the edge, I iron like crazy and everything just turns out neater. I also like a slightly wider hem than the pattern calls for because I find it lies flatter and doesn’t curl up.
 I do a lot of ironing when I make the hems this way. I have described this in several previous blogs. I often use contrasting fabric for fun. You can see other examples
 As those of you who follow me on
 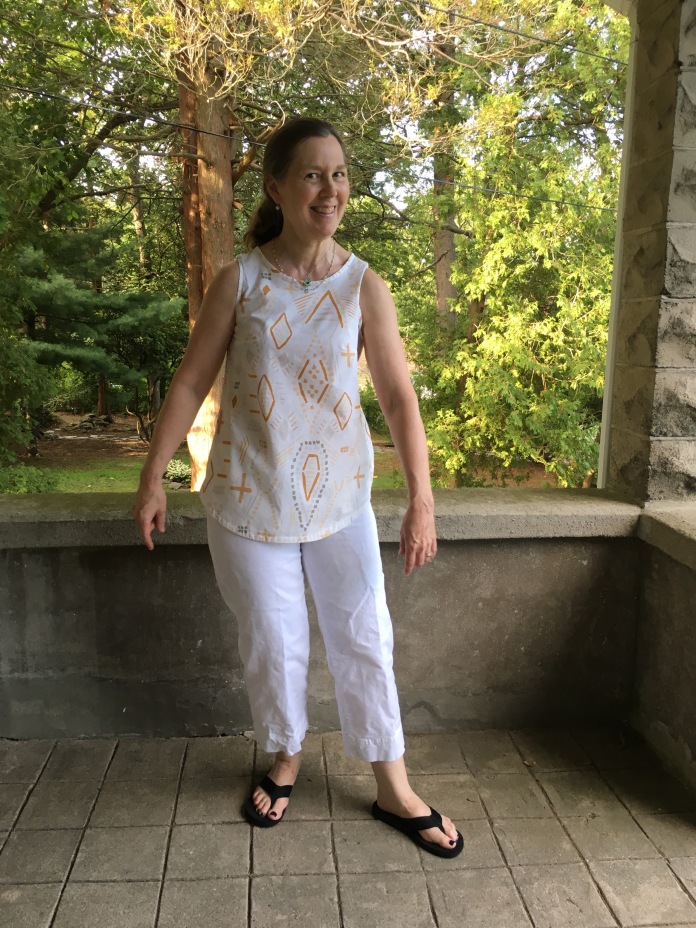 Back view:
 Version number 2: Size medium. Same adjustments as version #1 but decided after cutting out the pattern to use contrasting fabric left over from my
  Back view:
 Side view:
 Version number 3. I made a muslin in size Small for my stepdaughters to try since they have a birthday coming up and there is some
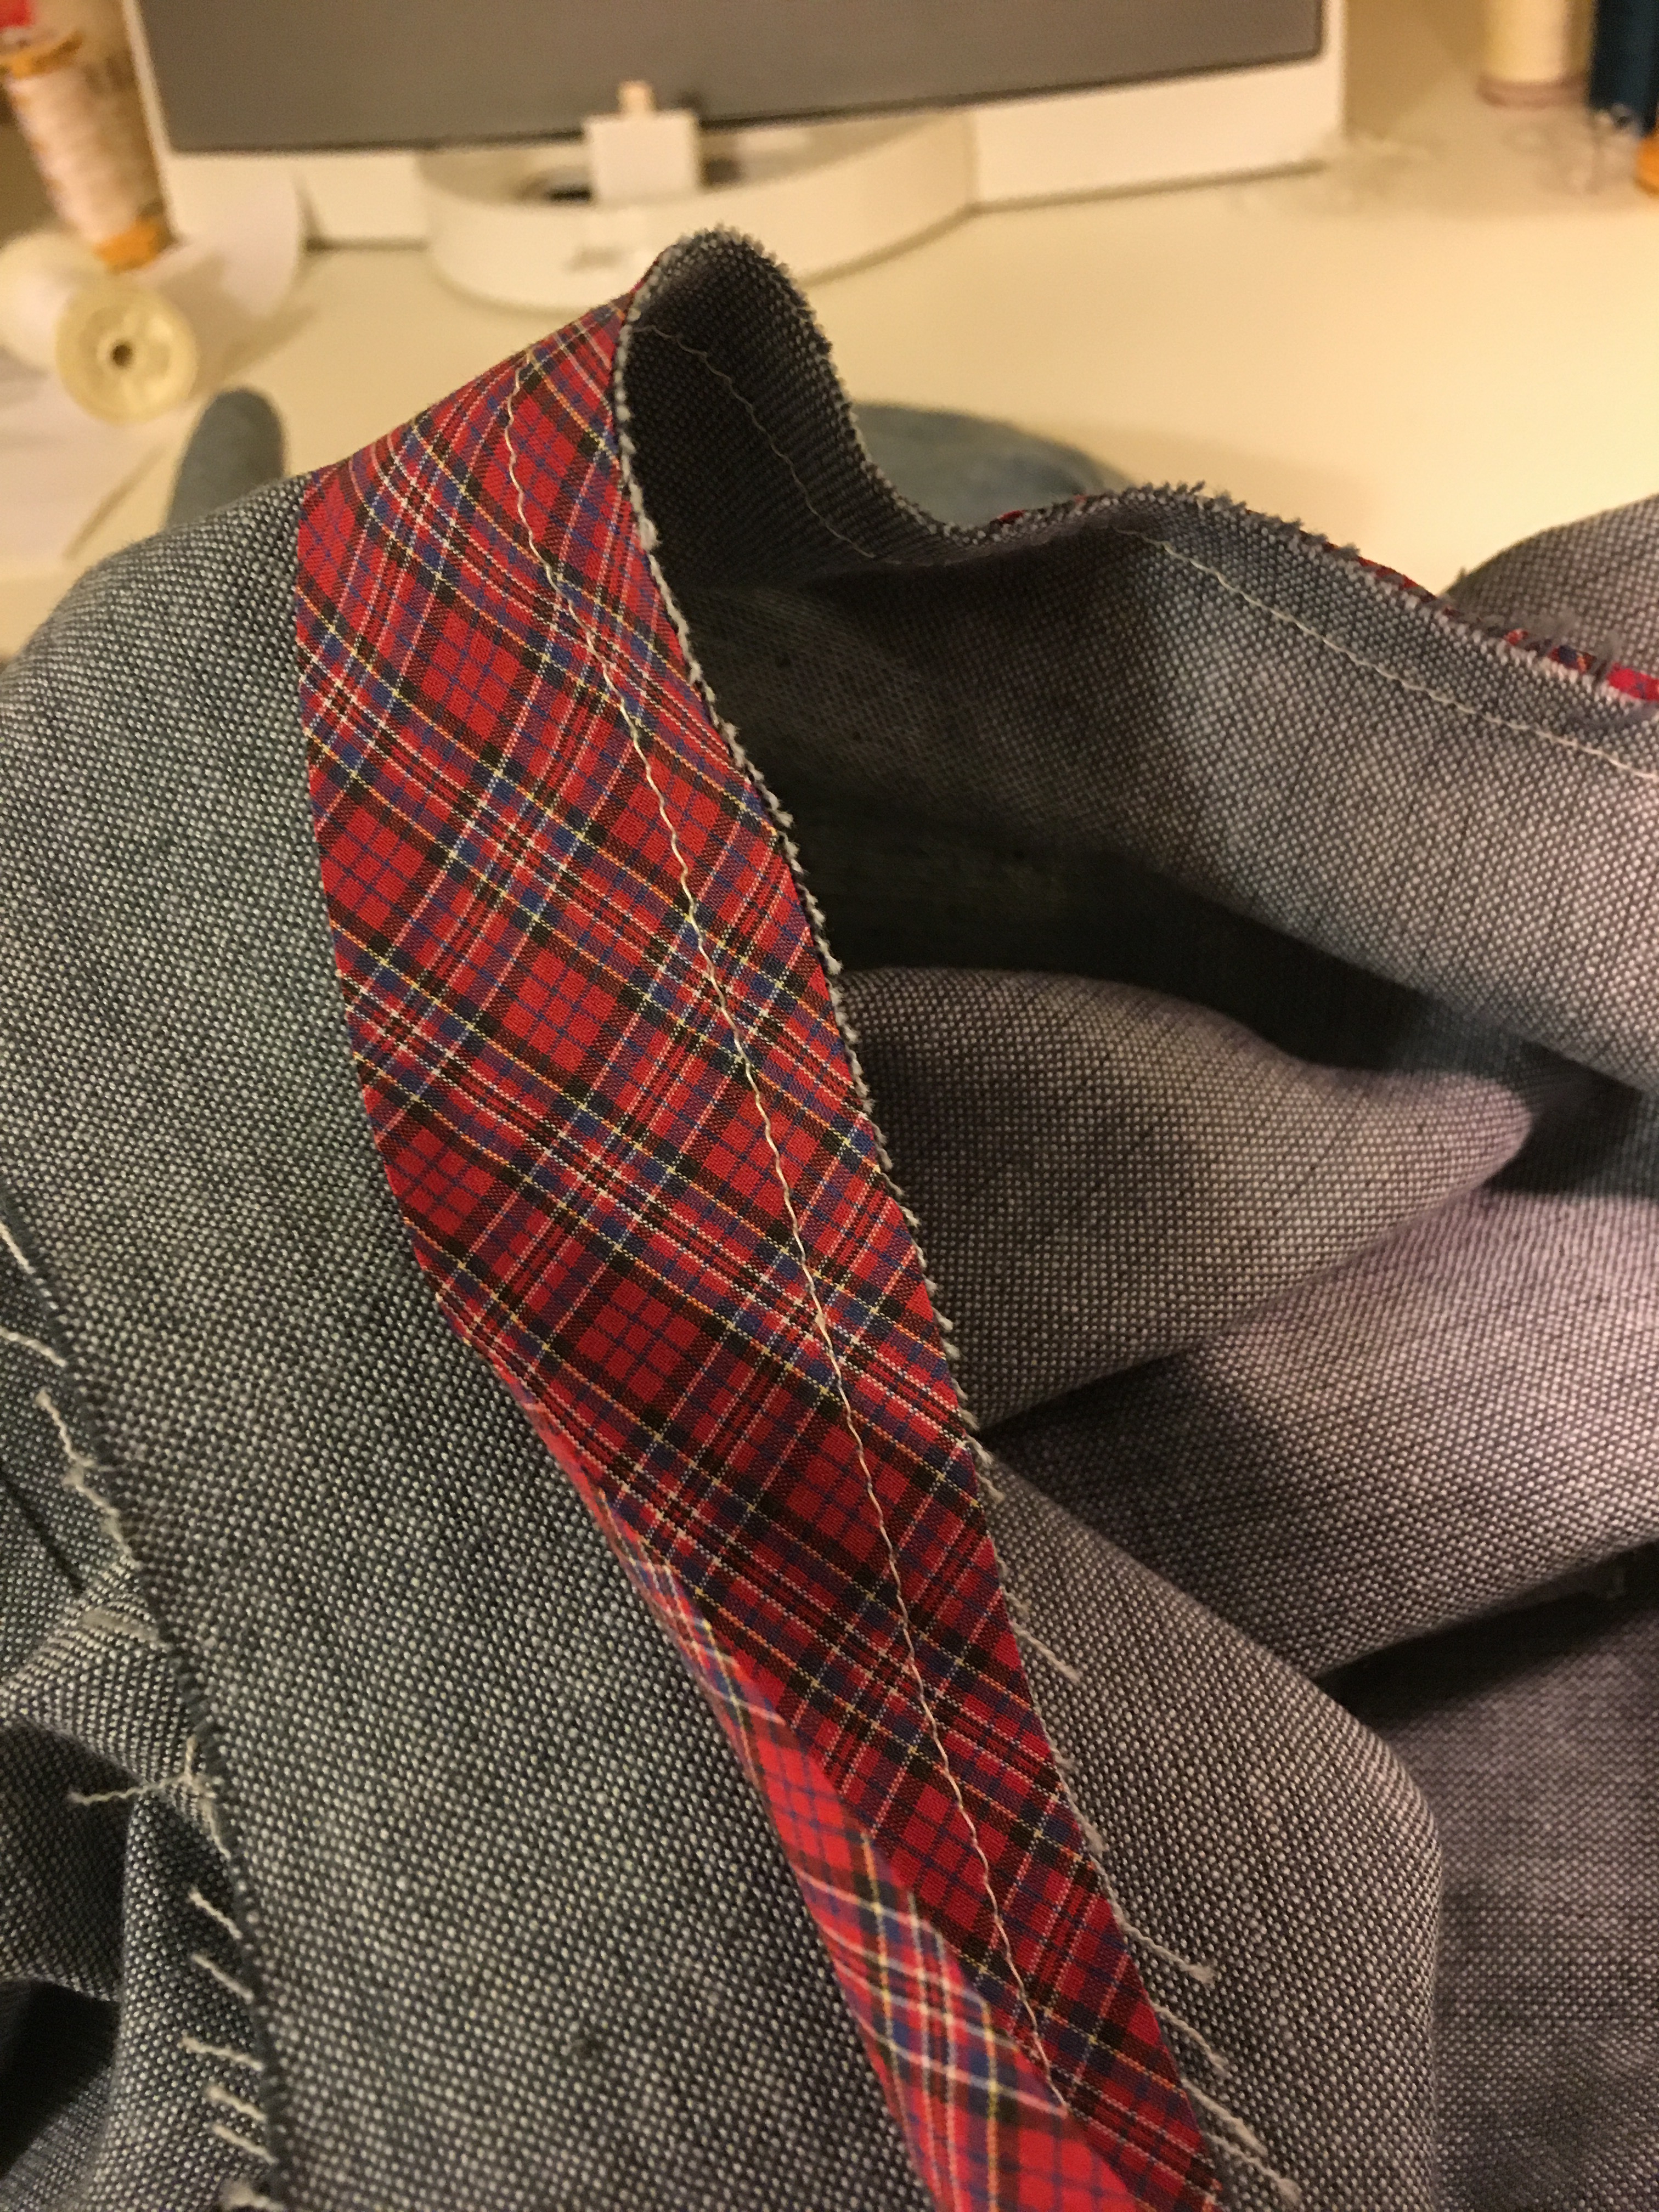
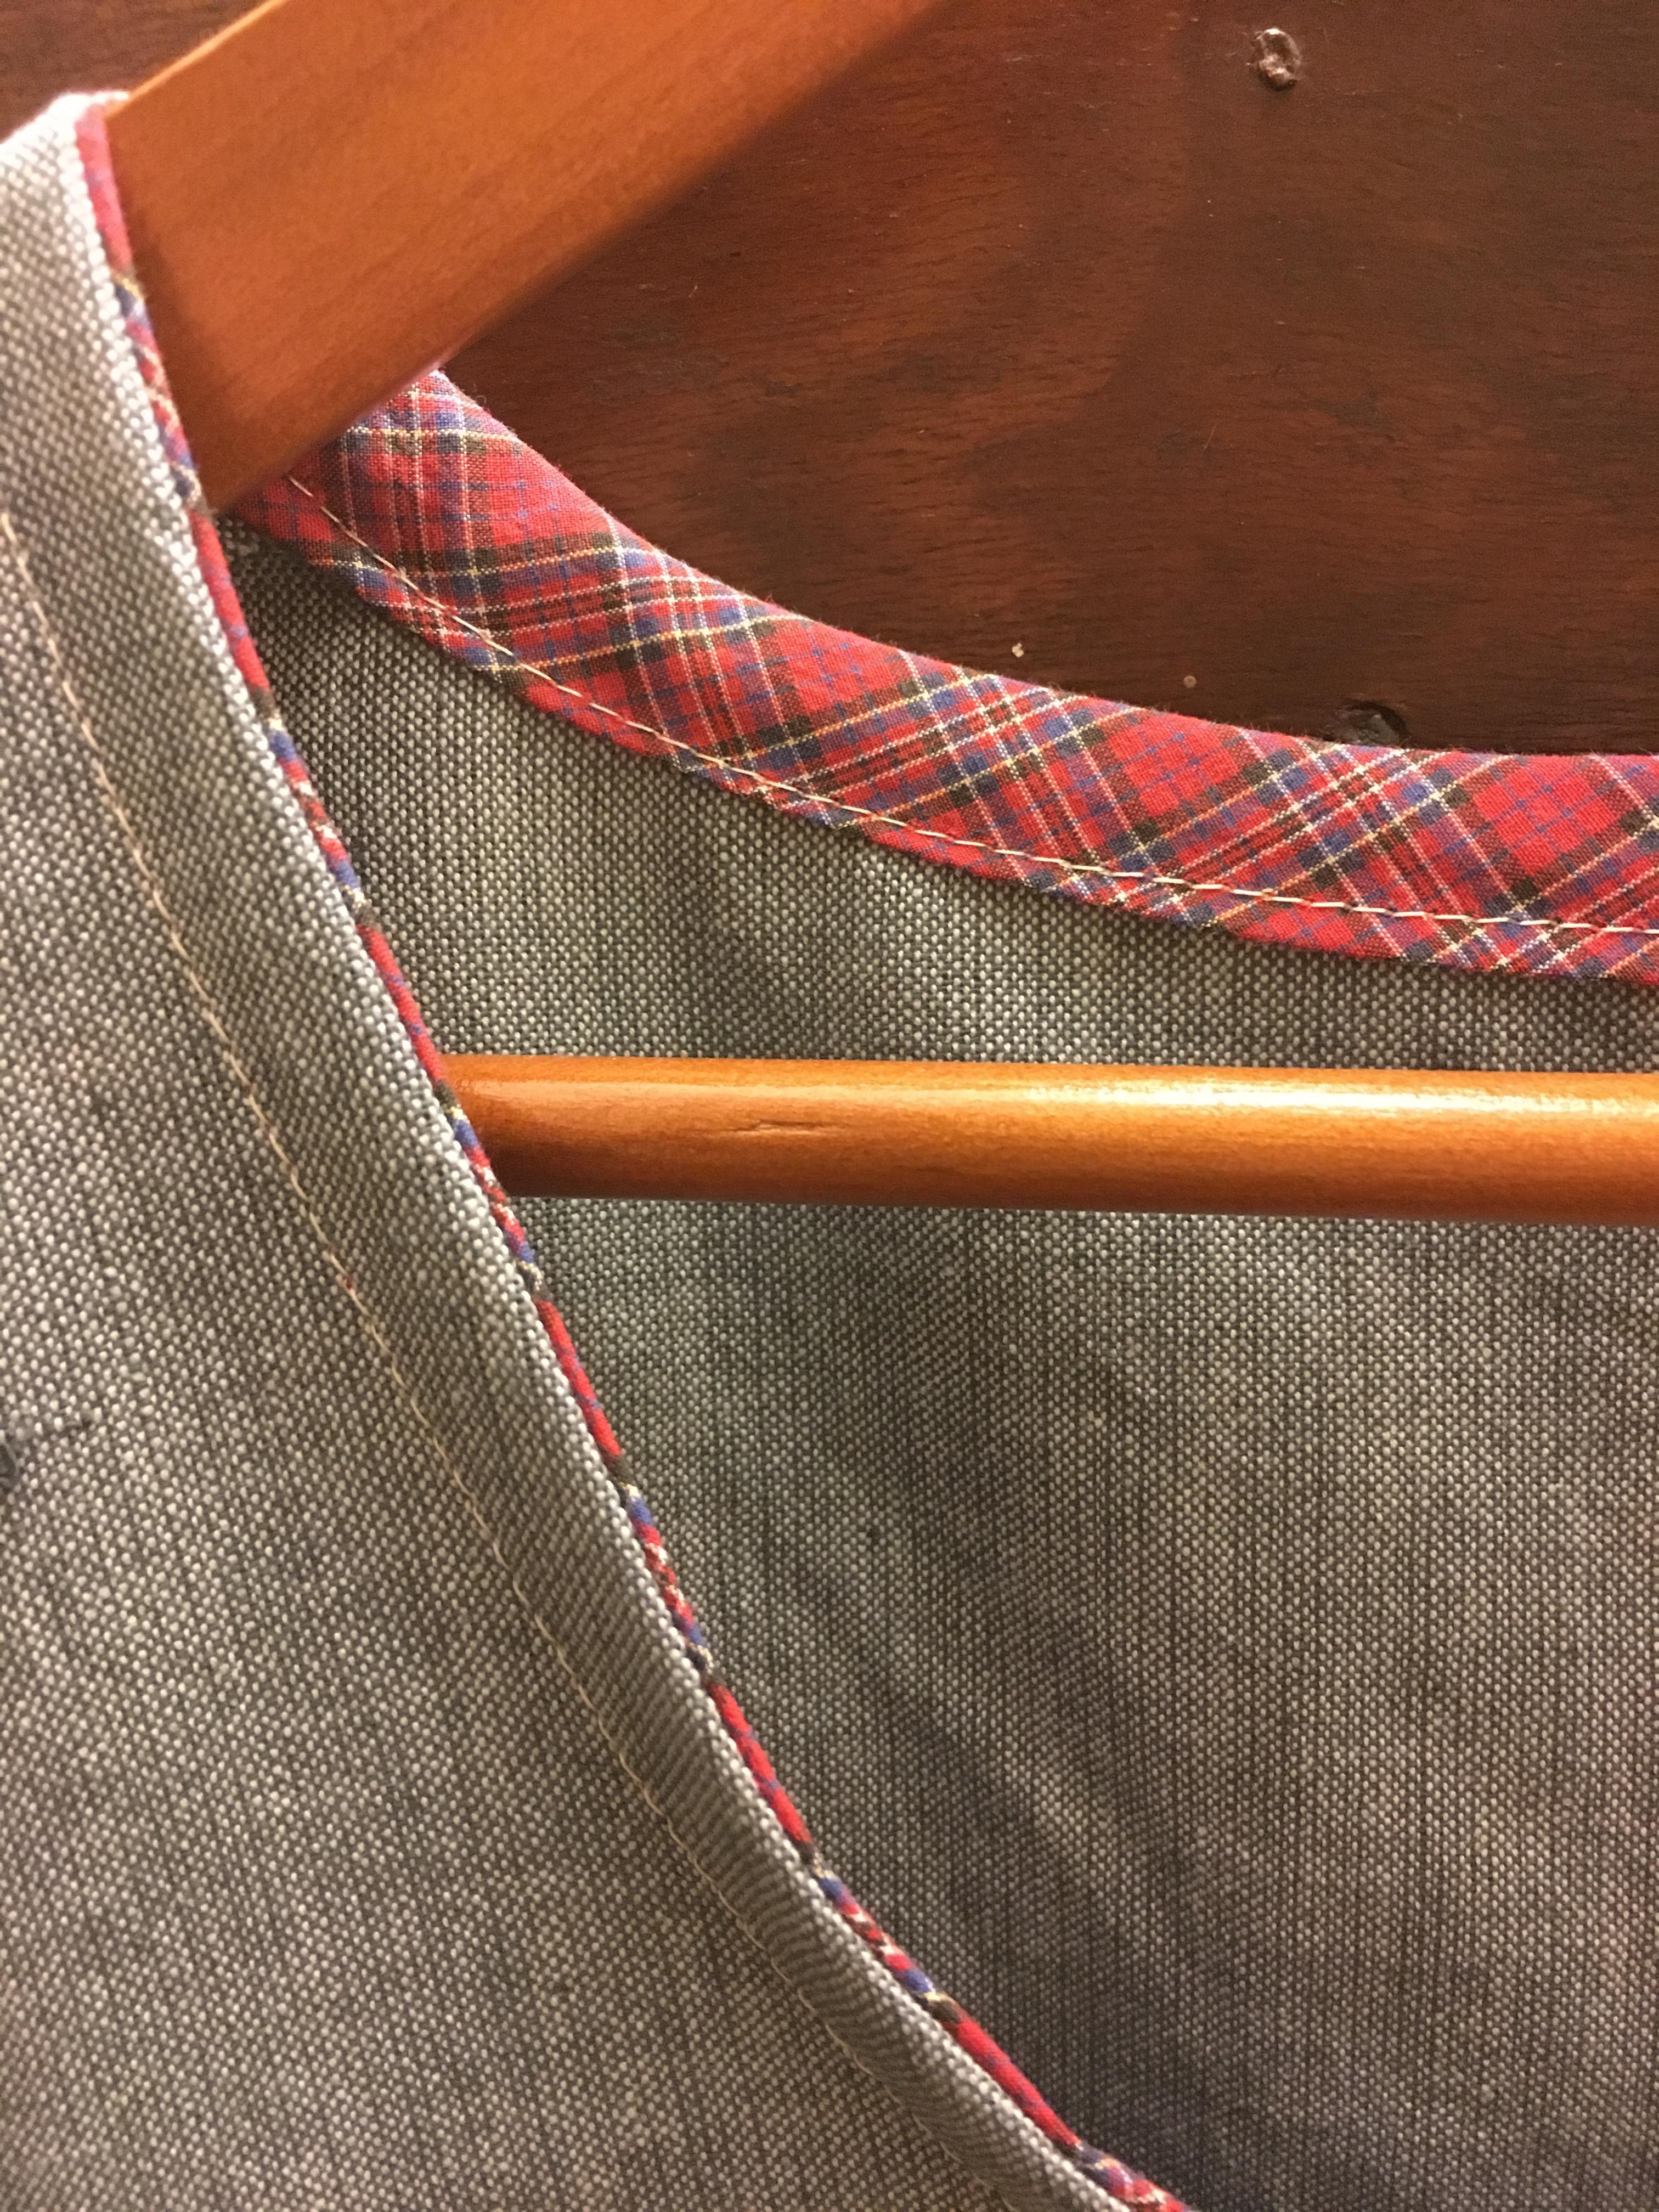
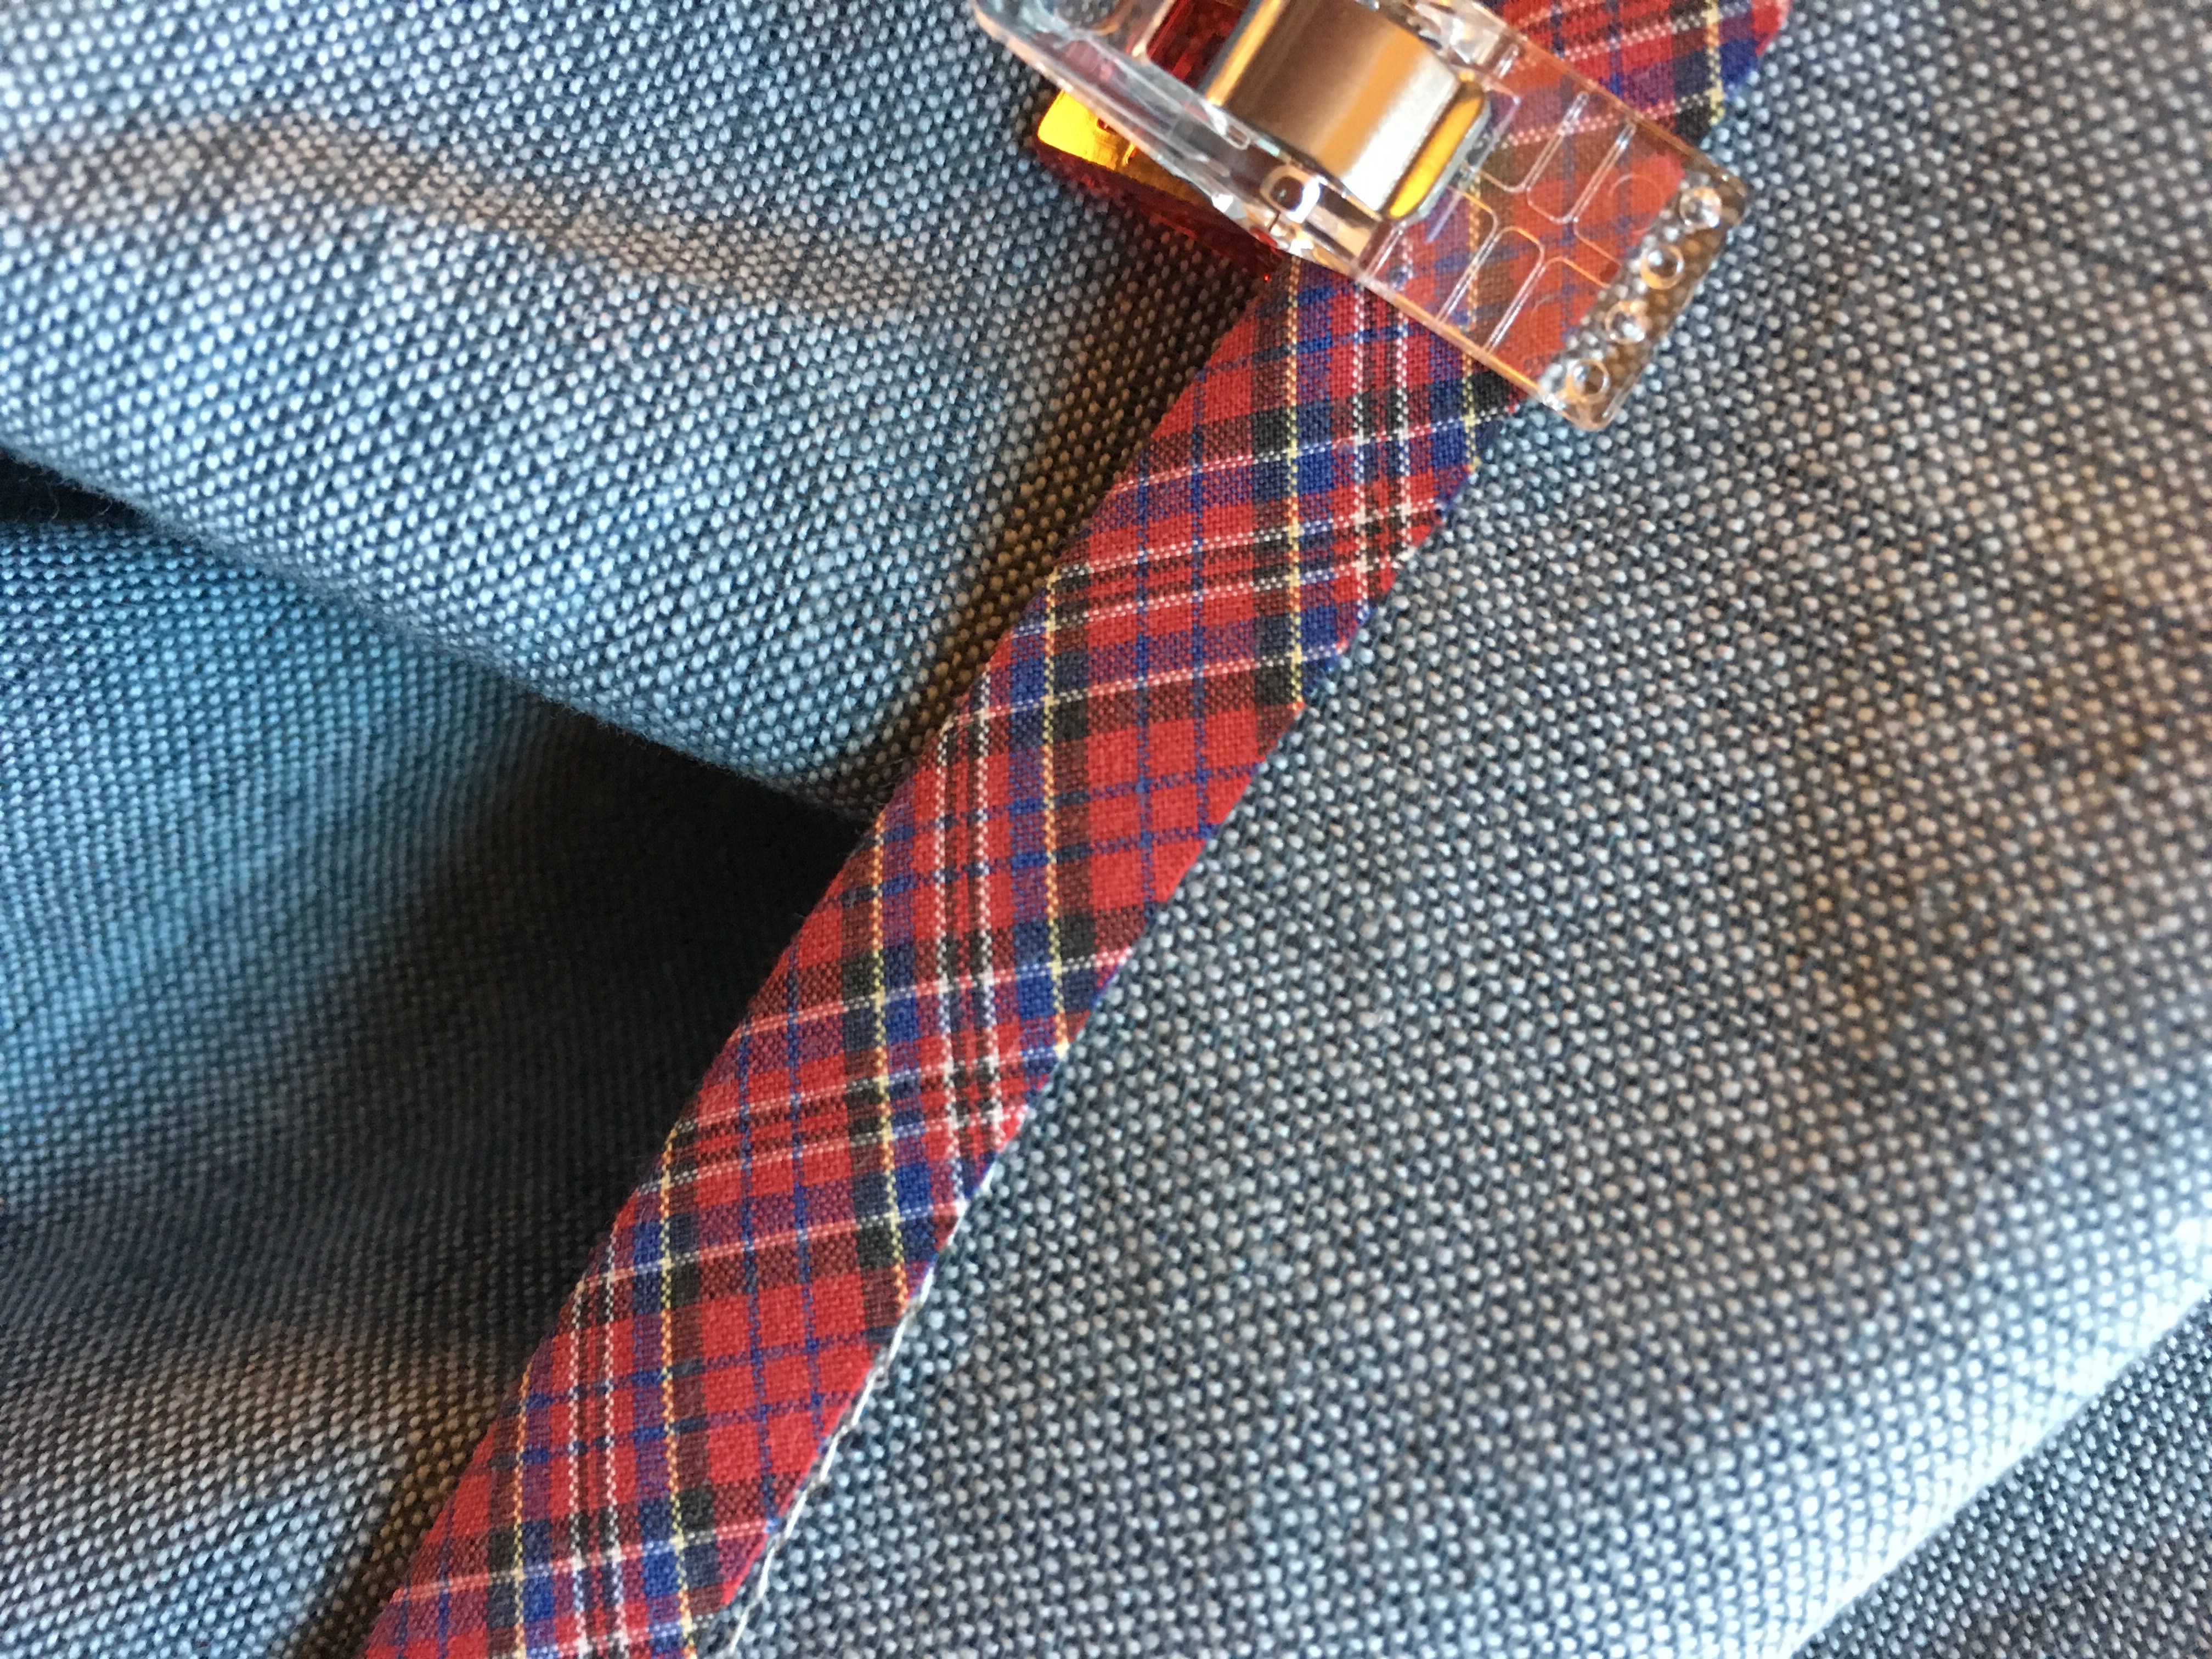
  I used chambray left over from several previous projects that I purchased over 20 years ago in Brooklyn for the bias binding which I used on the neck, armholes and as a facing for the hem.
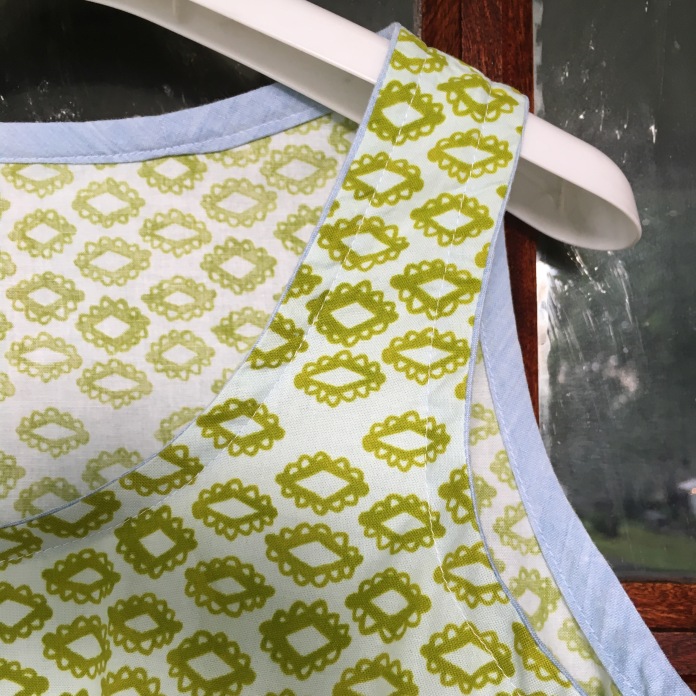 I swear that this fabric regenerates itself while I sleep. There is always a bit more for one more project. One of my children’s favorite childhood books was
  Gemma hanging on front door. #goodlight
 Gemma hanging in a window.
 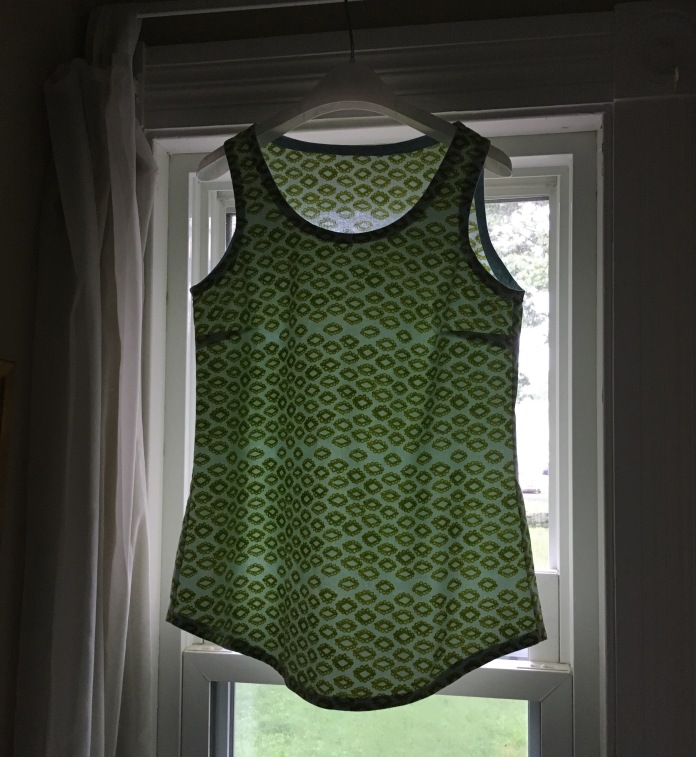 More pictures of my woodblock Gemma below. It might be my favorite. It is hard to choose.
  The Gemma tank is perfect with a cardigan:
 Side view:
 with Sadie the wonder dog who is not enjoying the Dog Days of Summer
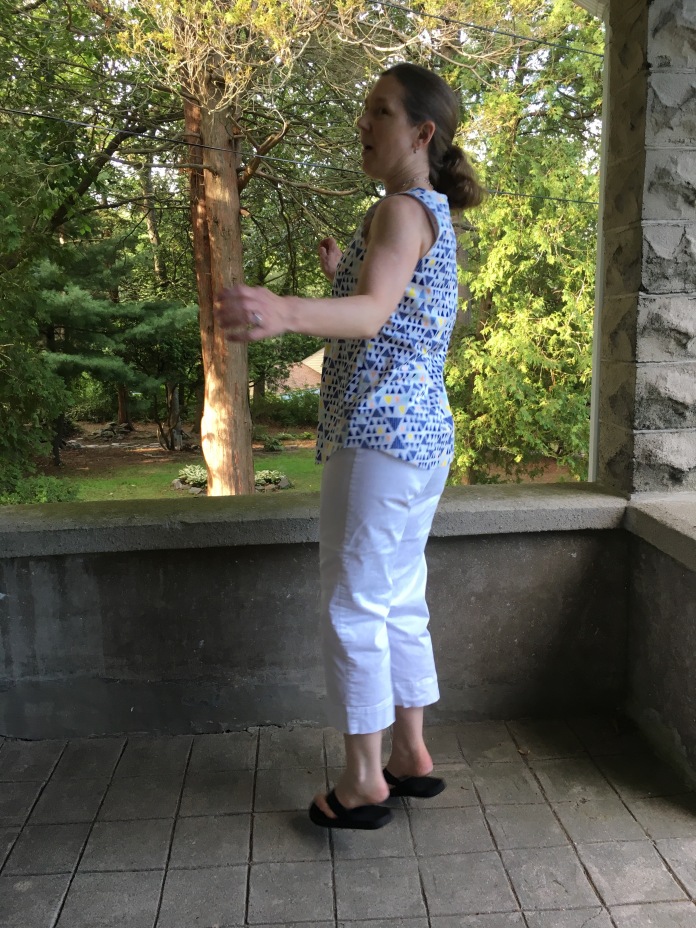
  action shot with dog below, (note to self: add bra-strap holders) but the fit is really good as you can see.
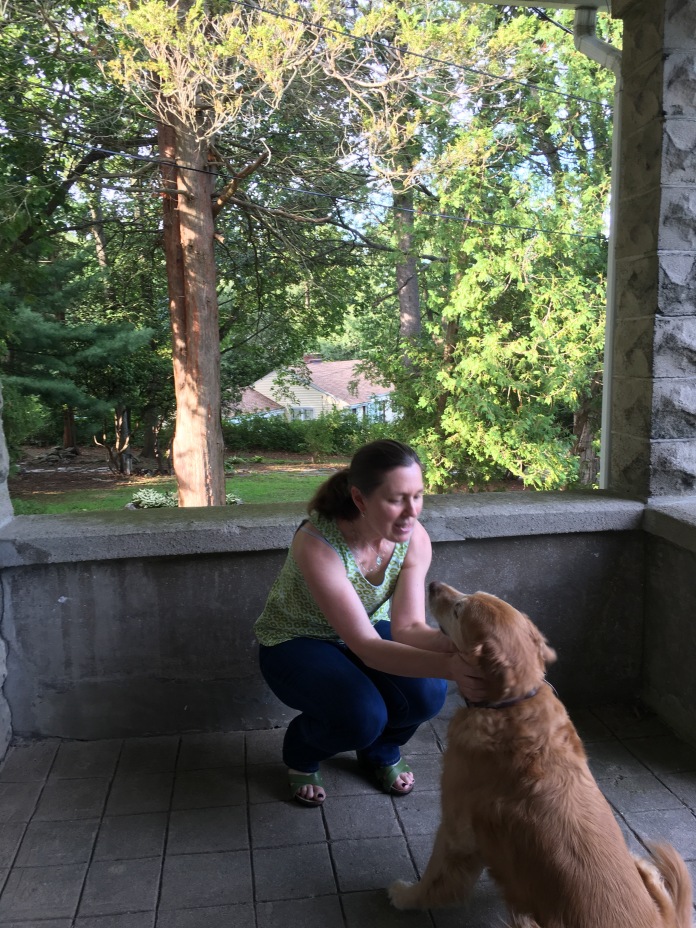 All of these tops have already been washed and worn. Even though the Dog Days of Summer are supposed to have been over August 11th-at least according to the internet- they are in full force in Connecticut. It has been unbearable. These tanks are perfect for these hot days. Sadie the wonder dog is not feeling so wonderful d/t the heat. #summerinconnecticut


 Back:
Back: So clearly I am enjoying this pattern. It is quick and easy sew and it allows you to get a little crazy with fabric because while you might not make a whole dress of a funky fabric, a tank top is a small enough commitment (and everything goes with jeans) so I am now looking at my stash in a new way and seeing so many possibilities. I will post again later this week with details and how-too info. Next up will be to try a Small-Medium version to see if that is the perfect Goldilocks fit solution and to get going on many tanks in size Small for the birthday girls. Action shot below. #jumpingforjoy because the heat is lifting:)