I wrote earlier this year here and here about how in 2016, I have been reading quite a bit more than is usual for me and earlier this week, 286 days into the year to be exact, I read my 100th book of the year. Thank you Goodreads for keeping track!
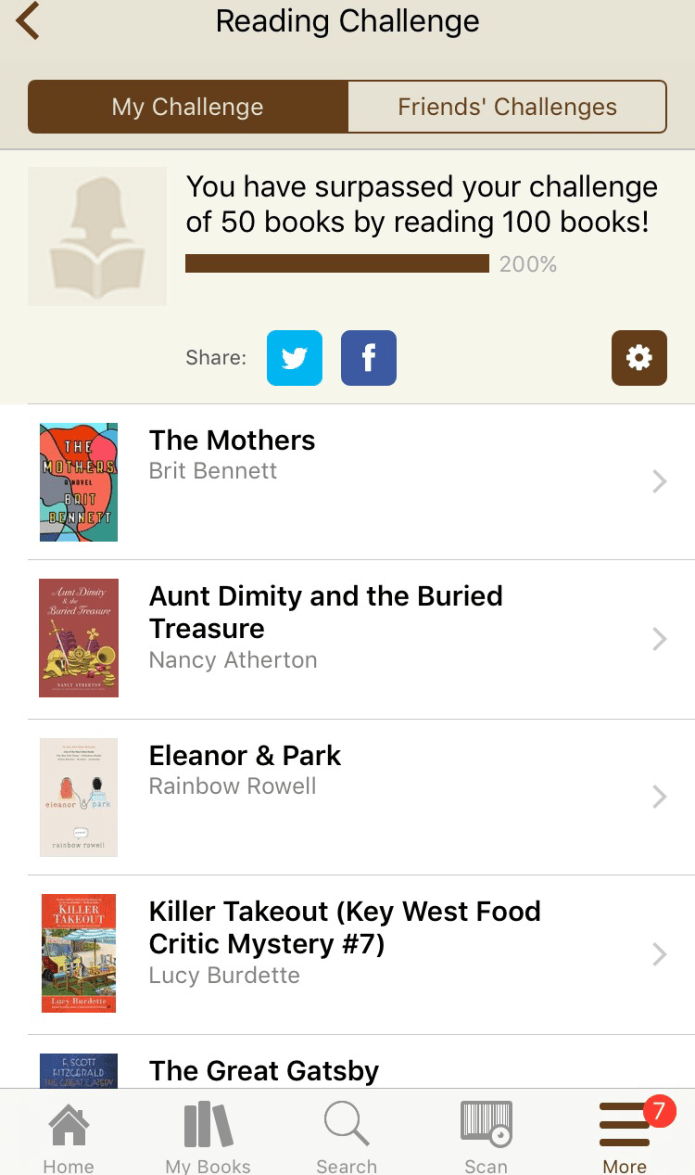
My 100th book, The Mothers, was the wonderful debut novel written by an incredibly talented 26 year old. The novel started out as her senior thesis. I loved it and read it in two evenings. Interestingly, leading up to #100 are several lighter reads. Sometimes, particularly when I am tired, I can’t focus well enough to tackle a weightier book and will read lighter things-cozy mysteries, YA, chicklit-until I get my focus back. I also read less when I sew more; and I did a lot of sewing this year. I have learned to take it in stride.
The day after I reached #100 was almost more momentous because 2+ months after I started listening to it, I finished all 35 hours and 40 minutes of this audio book read by Maggie Gyllenhaal which I purchased from audible on sale for just a few dollars. Totally worth it. Sadly no longer on sale. I started it back in August when I had the idea of Power Reading the Classics. I listened to it to and from work and occasionally while cooking, sewing or going for walks. My Classics challenge didn’t work out as I planned but I am trying to incorporate more classics interspersed with my other reads.
Reading this many books is kind of a big deal for me because my normal number of books read has averaged about 30 for the last several years.

While it is still quite a lot, more than 2 per month, my former speed was not a pace which made me feel as though I would ever make a dent in the long list of books I wished I had read. And now, even though the list is growing at a much faster pace than it ever did thanks to my book whisperers: Catherine, Lindsey and Anne, I am confident that I will find the time to read many, though certainly not all, of the books I want to read.
Most of the books I read this year I have loved or liked a lot. I only have a few in the 2 or 3 star category (I haven’t really read something I couldn’t like at least a little bit). You can see a few of them below. The less than loved books are things I picked up on impulse from the library or on sale on kindle. I don’t regret reading them but I am trying to be more intentional about my book choices since there are so many wonderful books I know I want to read-many of them recommendations from the WSIRN podcast-can’t recommend it more highly.
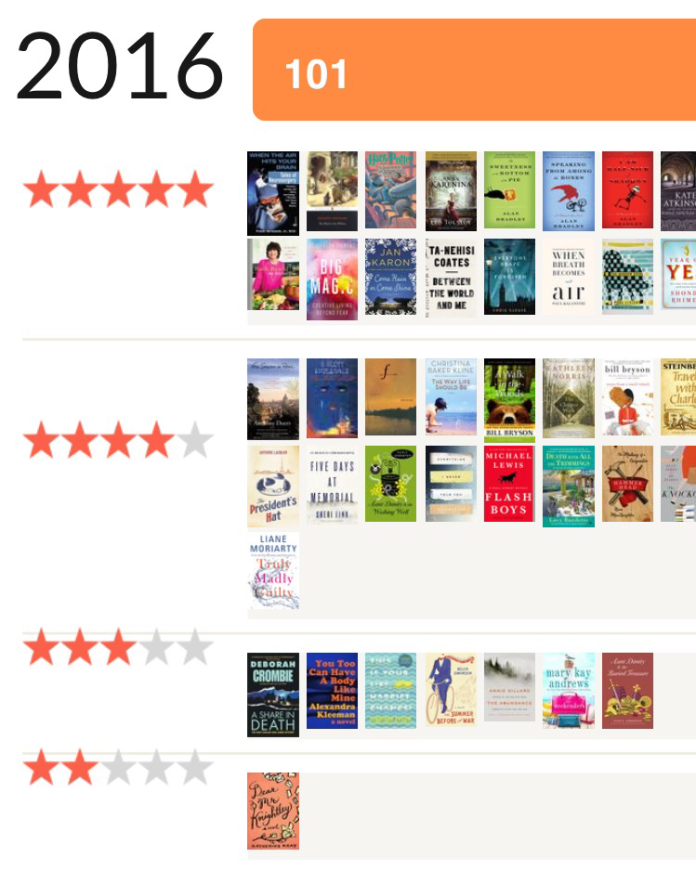
The podcast, which I listen to religiously every Tuesday morning, asks guests to name a book they hate. I can’t say that I hated anything I read, but I didn’t love one title, which you can see hanging out all alone in the two star line on my Goodreads YTD summary. Part of the summary is above and part is below since there were too many books to screenshot and capture them all. The ones below are all 4’s and 5’s and were all great reads.
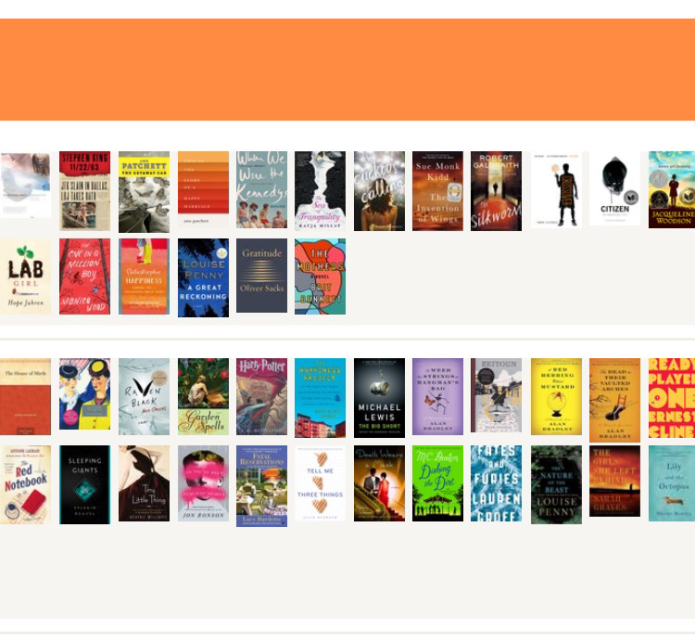
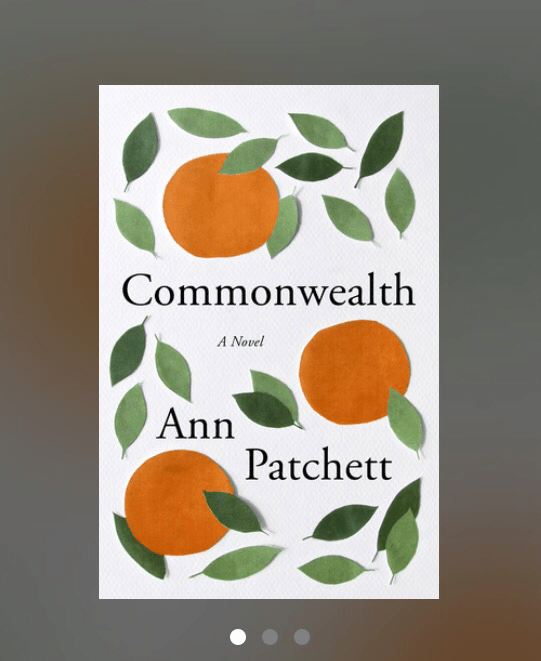
I tend to alternate more literary reads with murder mysteries and the occasional chick-lit and this year I read some great YA books that I found via Modern Mrs. Darcy. Memoir is my favorite genre and I have read almost 20 memoirs and more than 25 non-fluffy novels so far this year, all of which have been terrific. I read 3 classics (although AK should count for at least 2 all by itself) and want to read more. I have listened to 23 audio books out of a total of 102 books read this year, most of which really enhanced the experience of the book because of the wonderful narration. The main thing that has helped me read more has been devoting a couple of hours in the early morning each week to read. I have missed one or two Sundays due to work but that unplugged time is what gets me on track, helps me finish something I have started or get a good start on a new book. I find that once I am into the story, I want to keep going and having that time really makes the difference. Right after finishing the Mothers, I started Commonwealth, the new book by Ann Patchett. I read it in a night. So so good.
My current reading list features two great new novels, a lengthy but so interesting non-fiction book about genetics by one of my favorite authors and Jane Austen. On audio, I am listening to the new Flavia DeLuce mystery. What could be better?
You can link to my other posts on books and reading here, here and here.

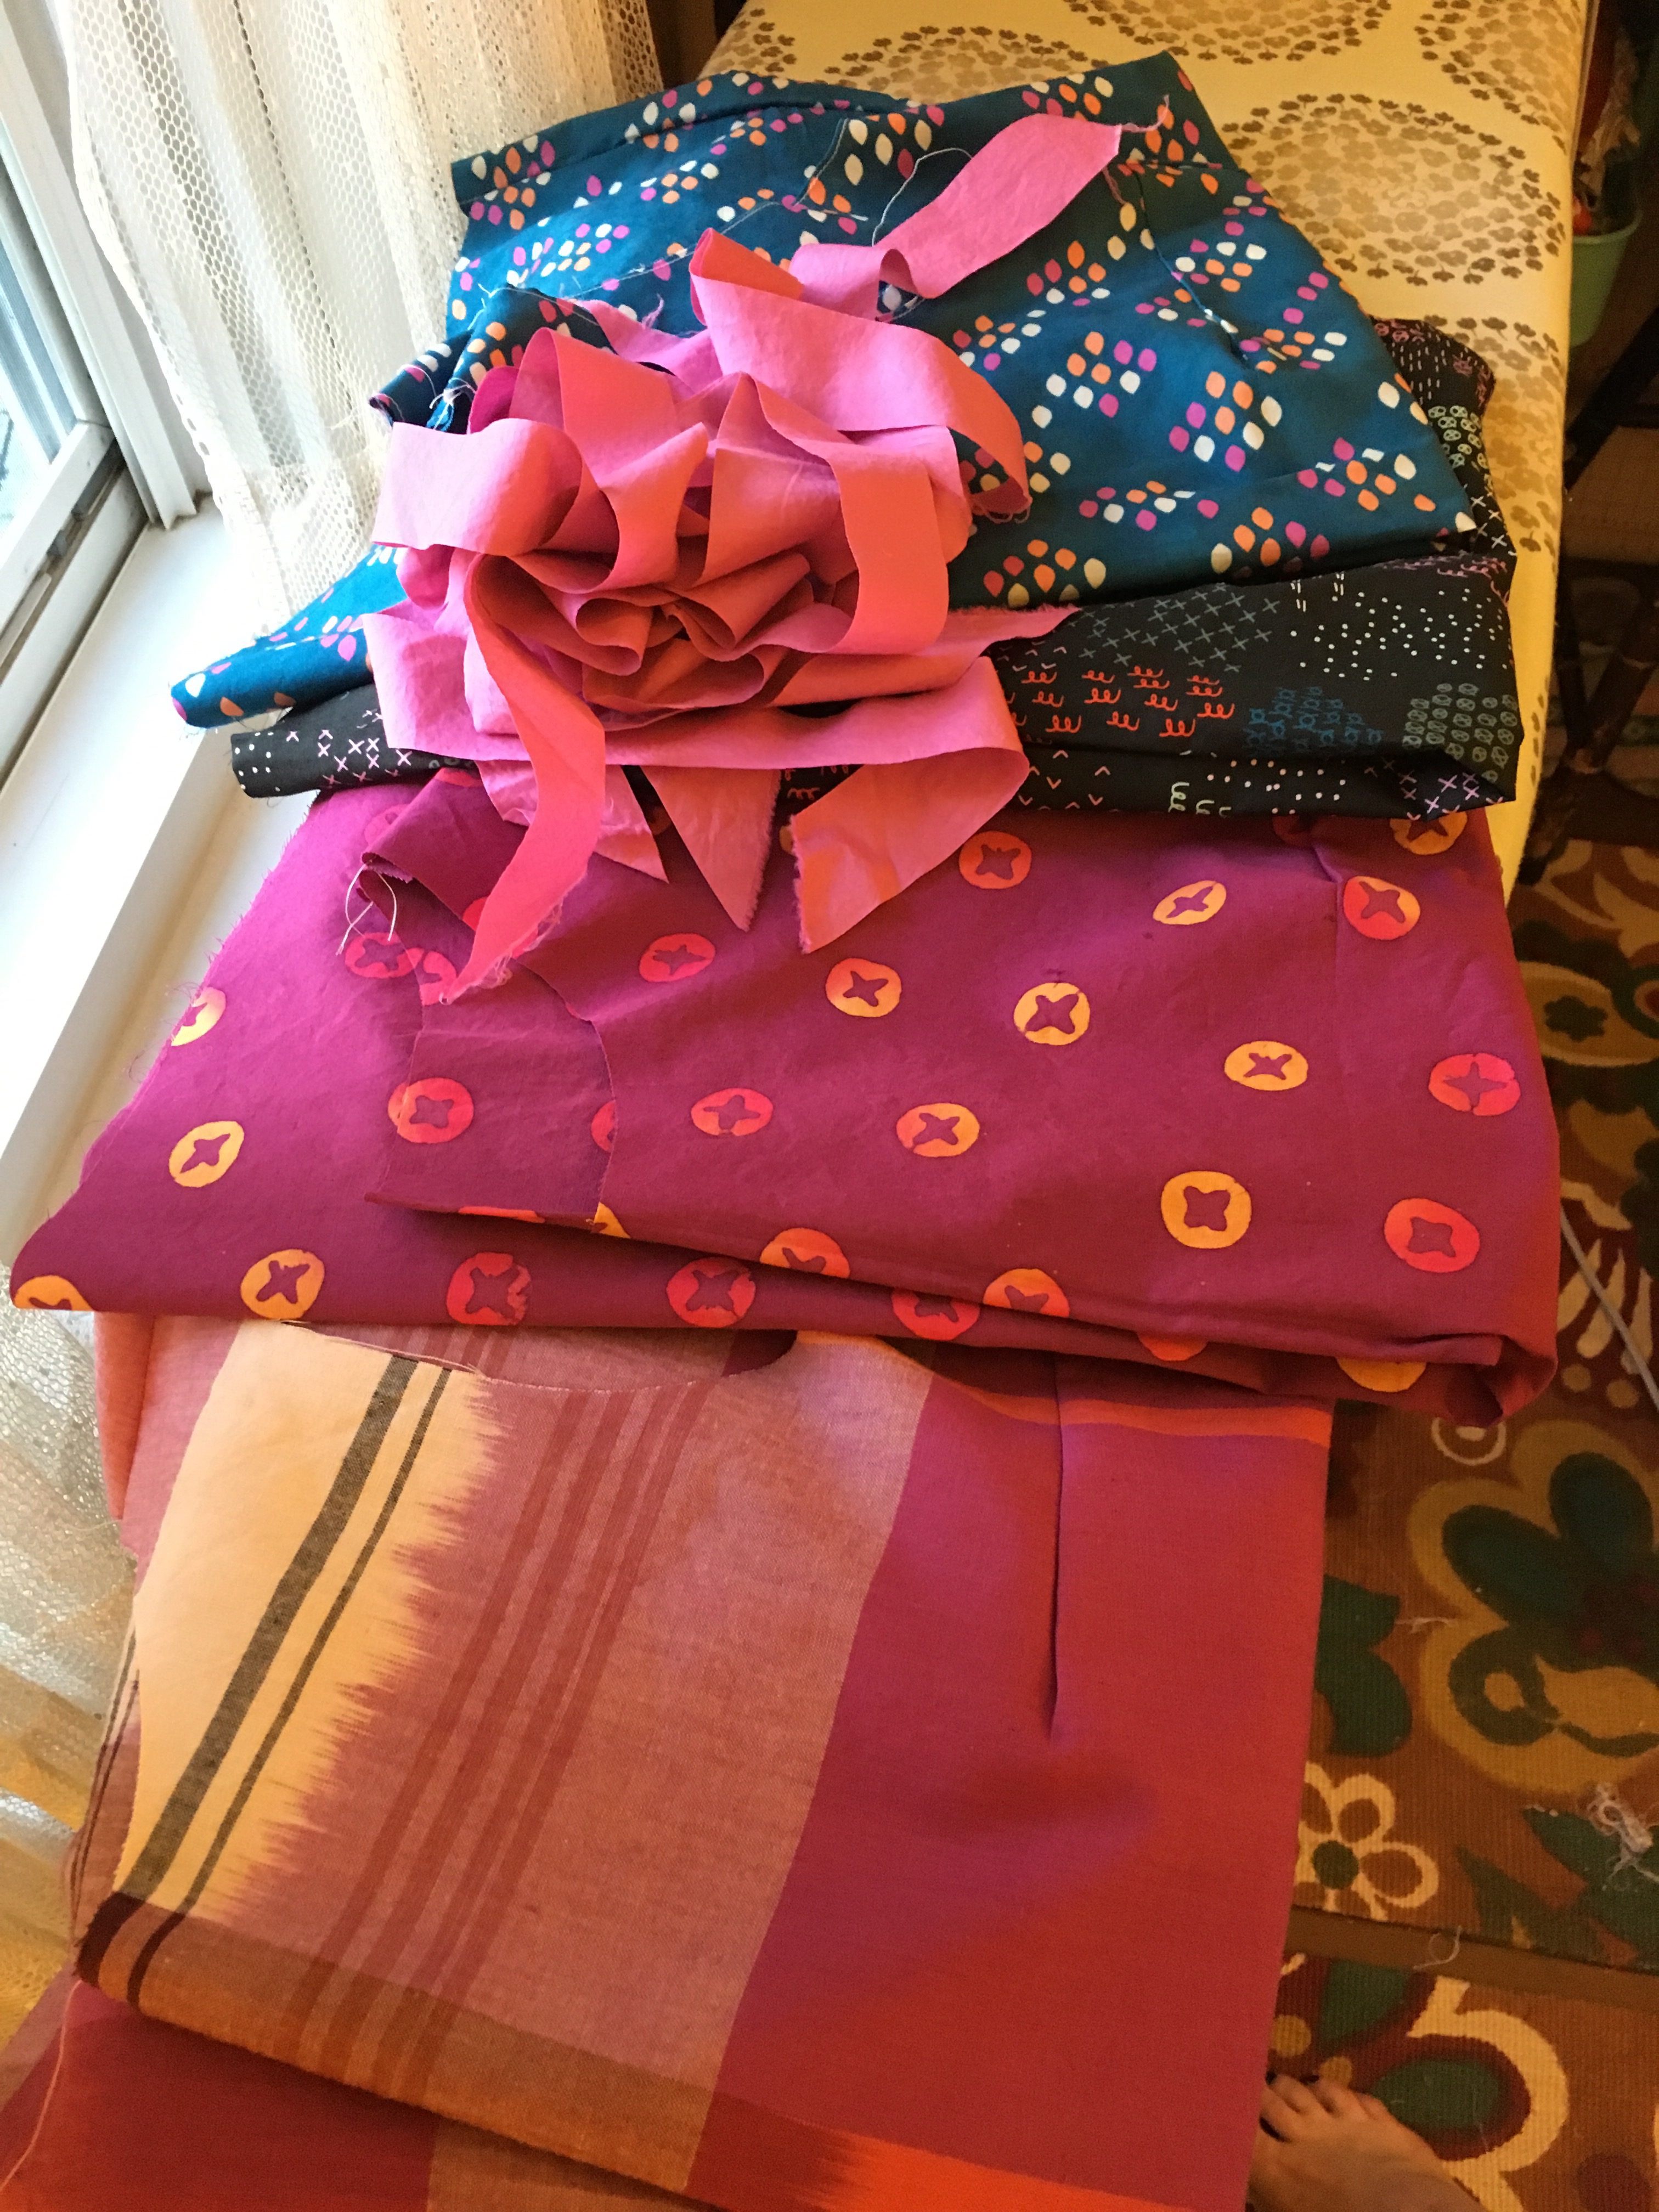
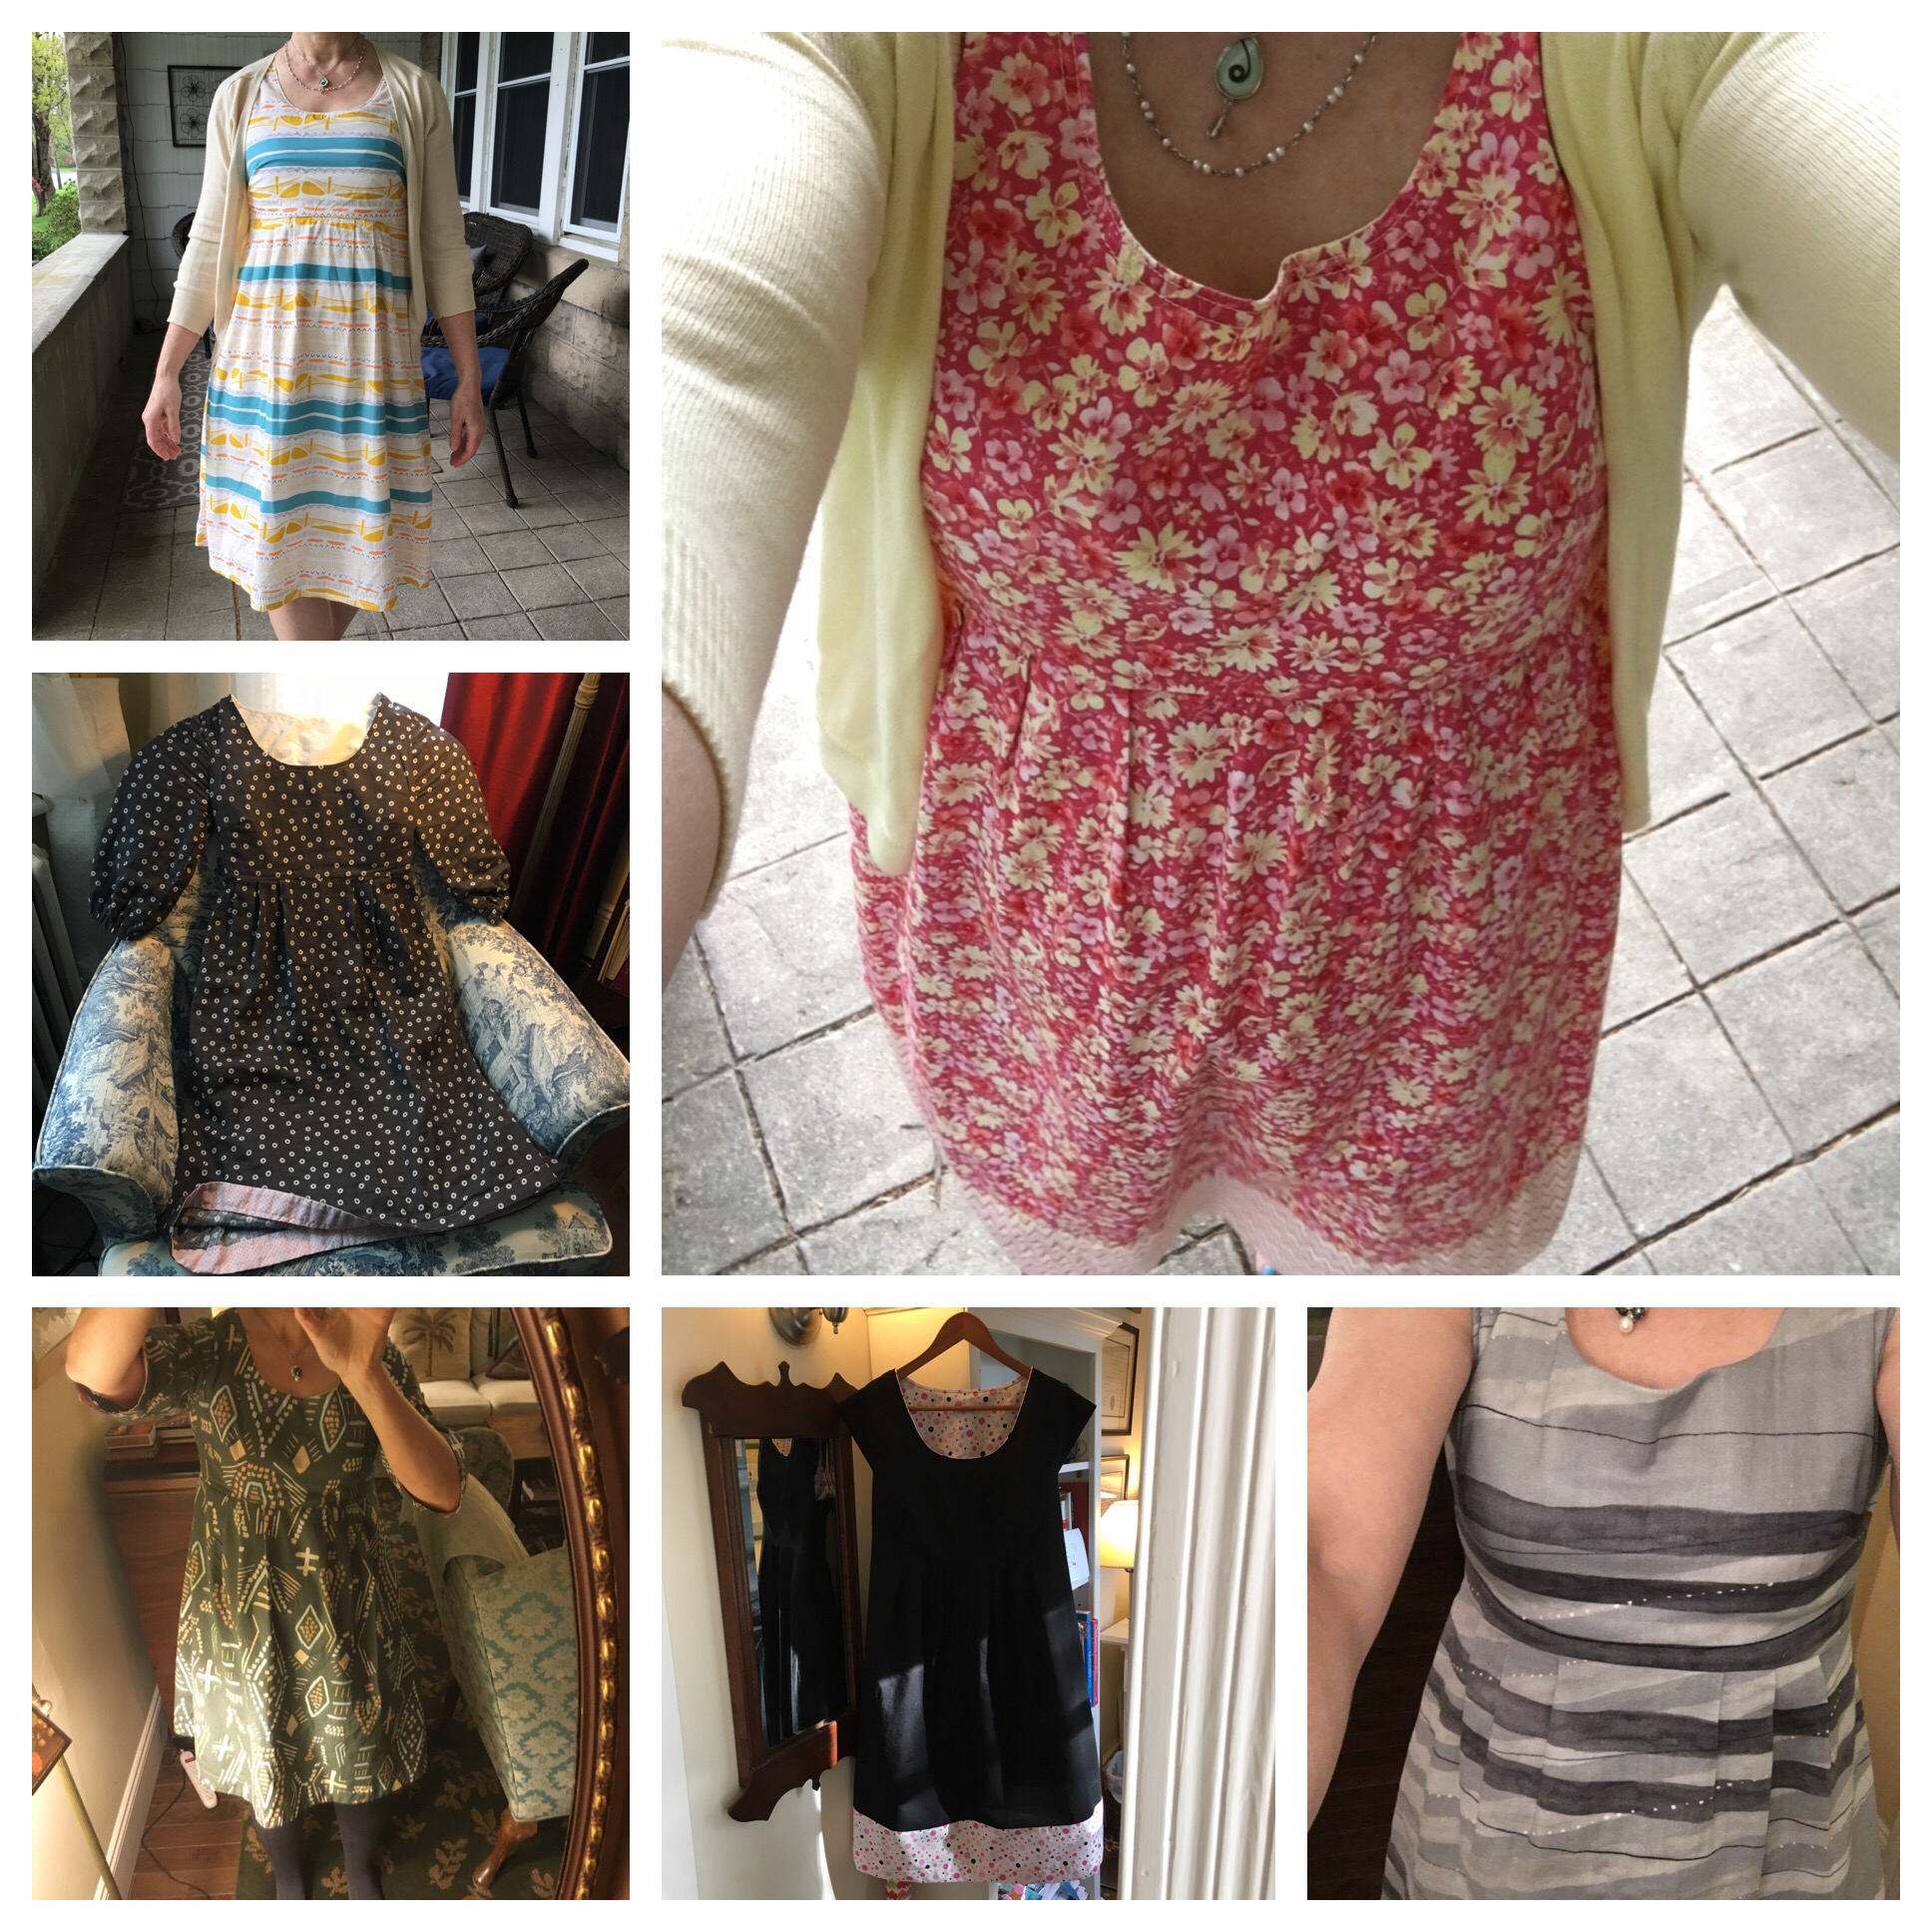 For me a handmade wardrobe starts with a great pattern such as the Washi, the Bianca, the Beatrix, the Gemma or the Pearl. I love choosing fabrics to suit the patterns and have had great luck with Cotton and Steel and Art Gallery cottons. Then I add a bit of fun: a contrasting facing, a cute label, a fun print. Some examples below: top row are all Gemma Tanks, fabrics by Cotton and Steel and Art Gallery. Second row: Gemma tank refashioned from a thrift store oxford shirt, Luna Pants in fabric from Art Gallery by April Rhodes, the Pearl Shift by Green Bee Patterns in a cotton-linen blend from Robert Kaufman fabrics and a Gemma blouse in Woodcut from the Mesa line from Cotton and Steel.
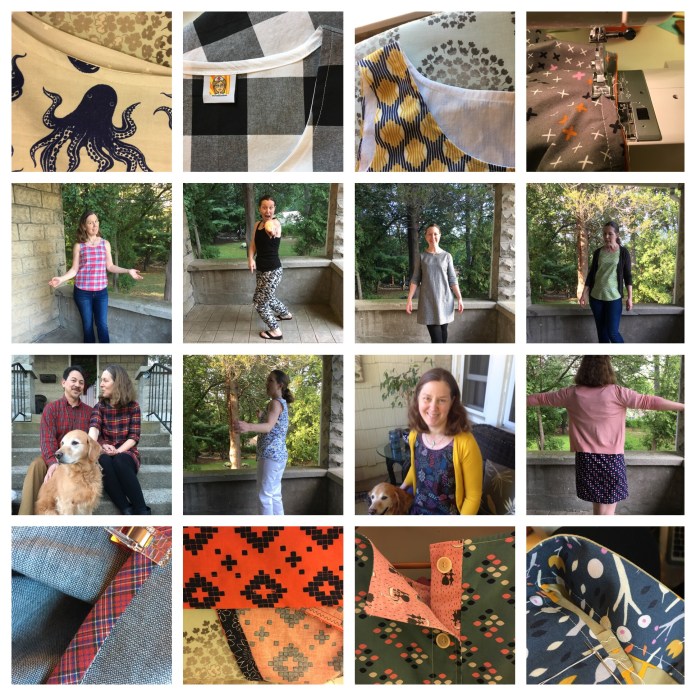 Third row down from the left, wearing a Plaid Flannel Pearl Shift with my two sweeties, jumping for joy in a lined Gemma Tank, another Gemma Tank in Macrame Fabric from Cotton and Steel and a self-drafted Shift Dress based on a New Look pattern with Beatrix sleeves in fabric by Cotton and Steel.
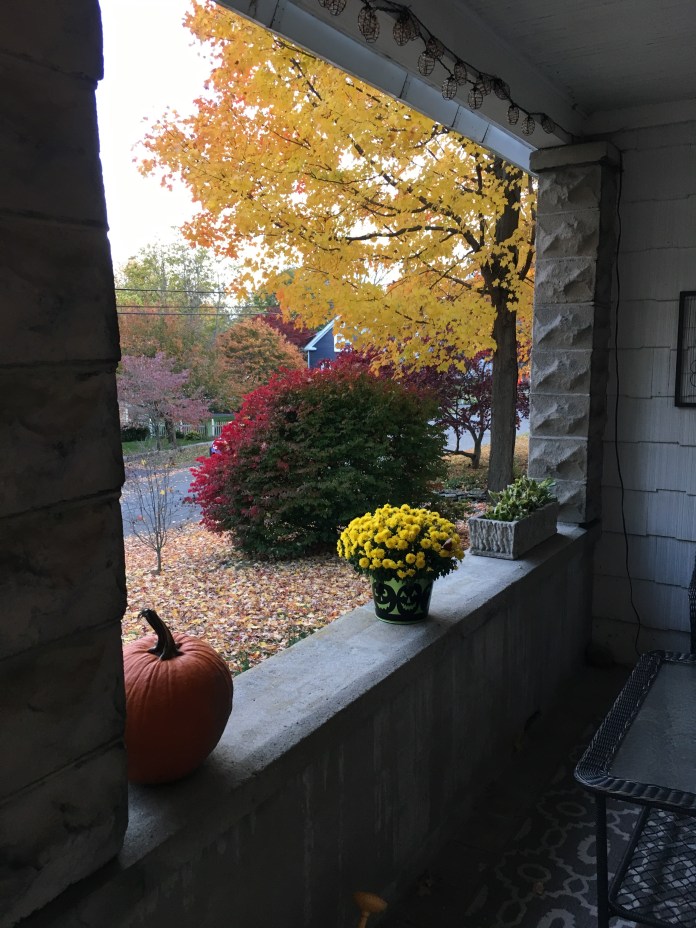 With the cooler weather, I am turning to the
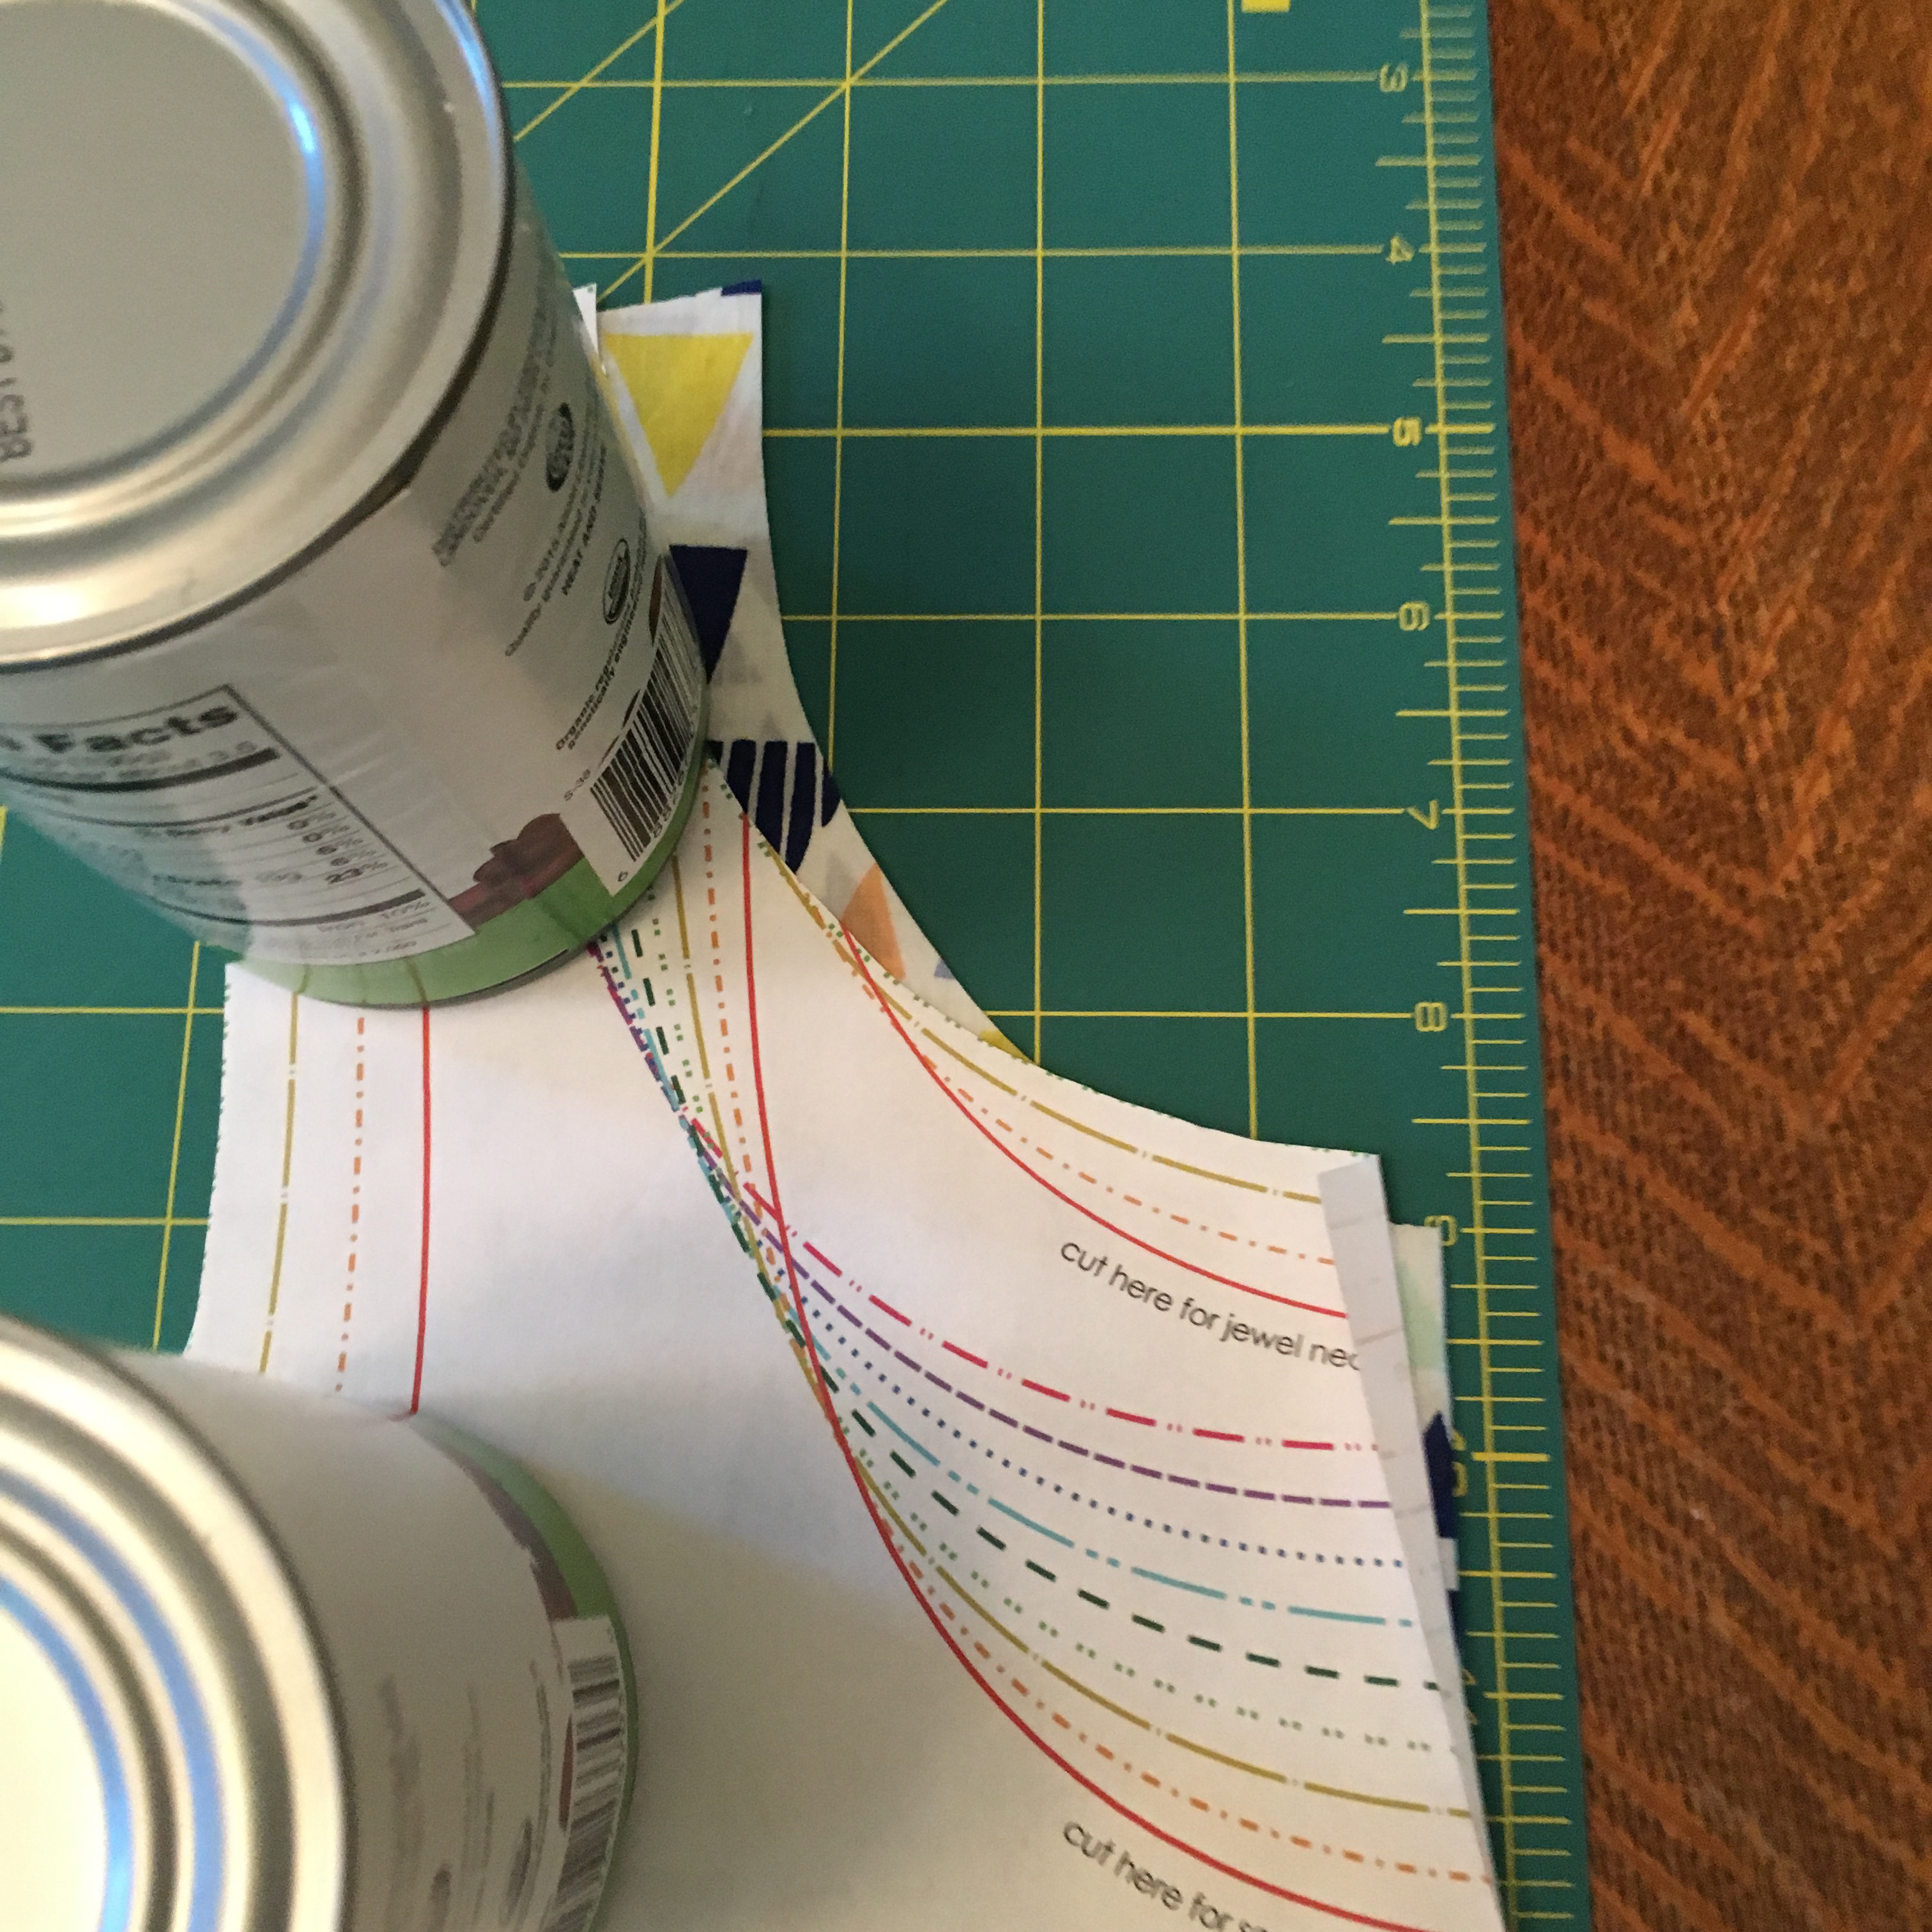
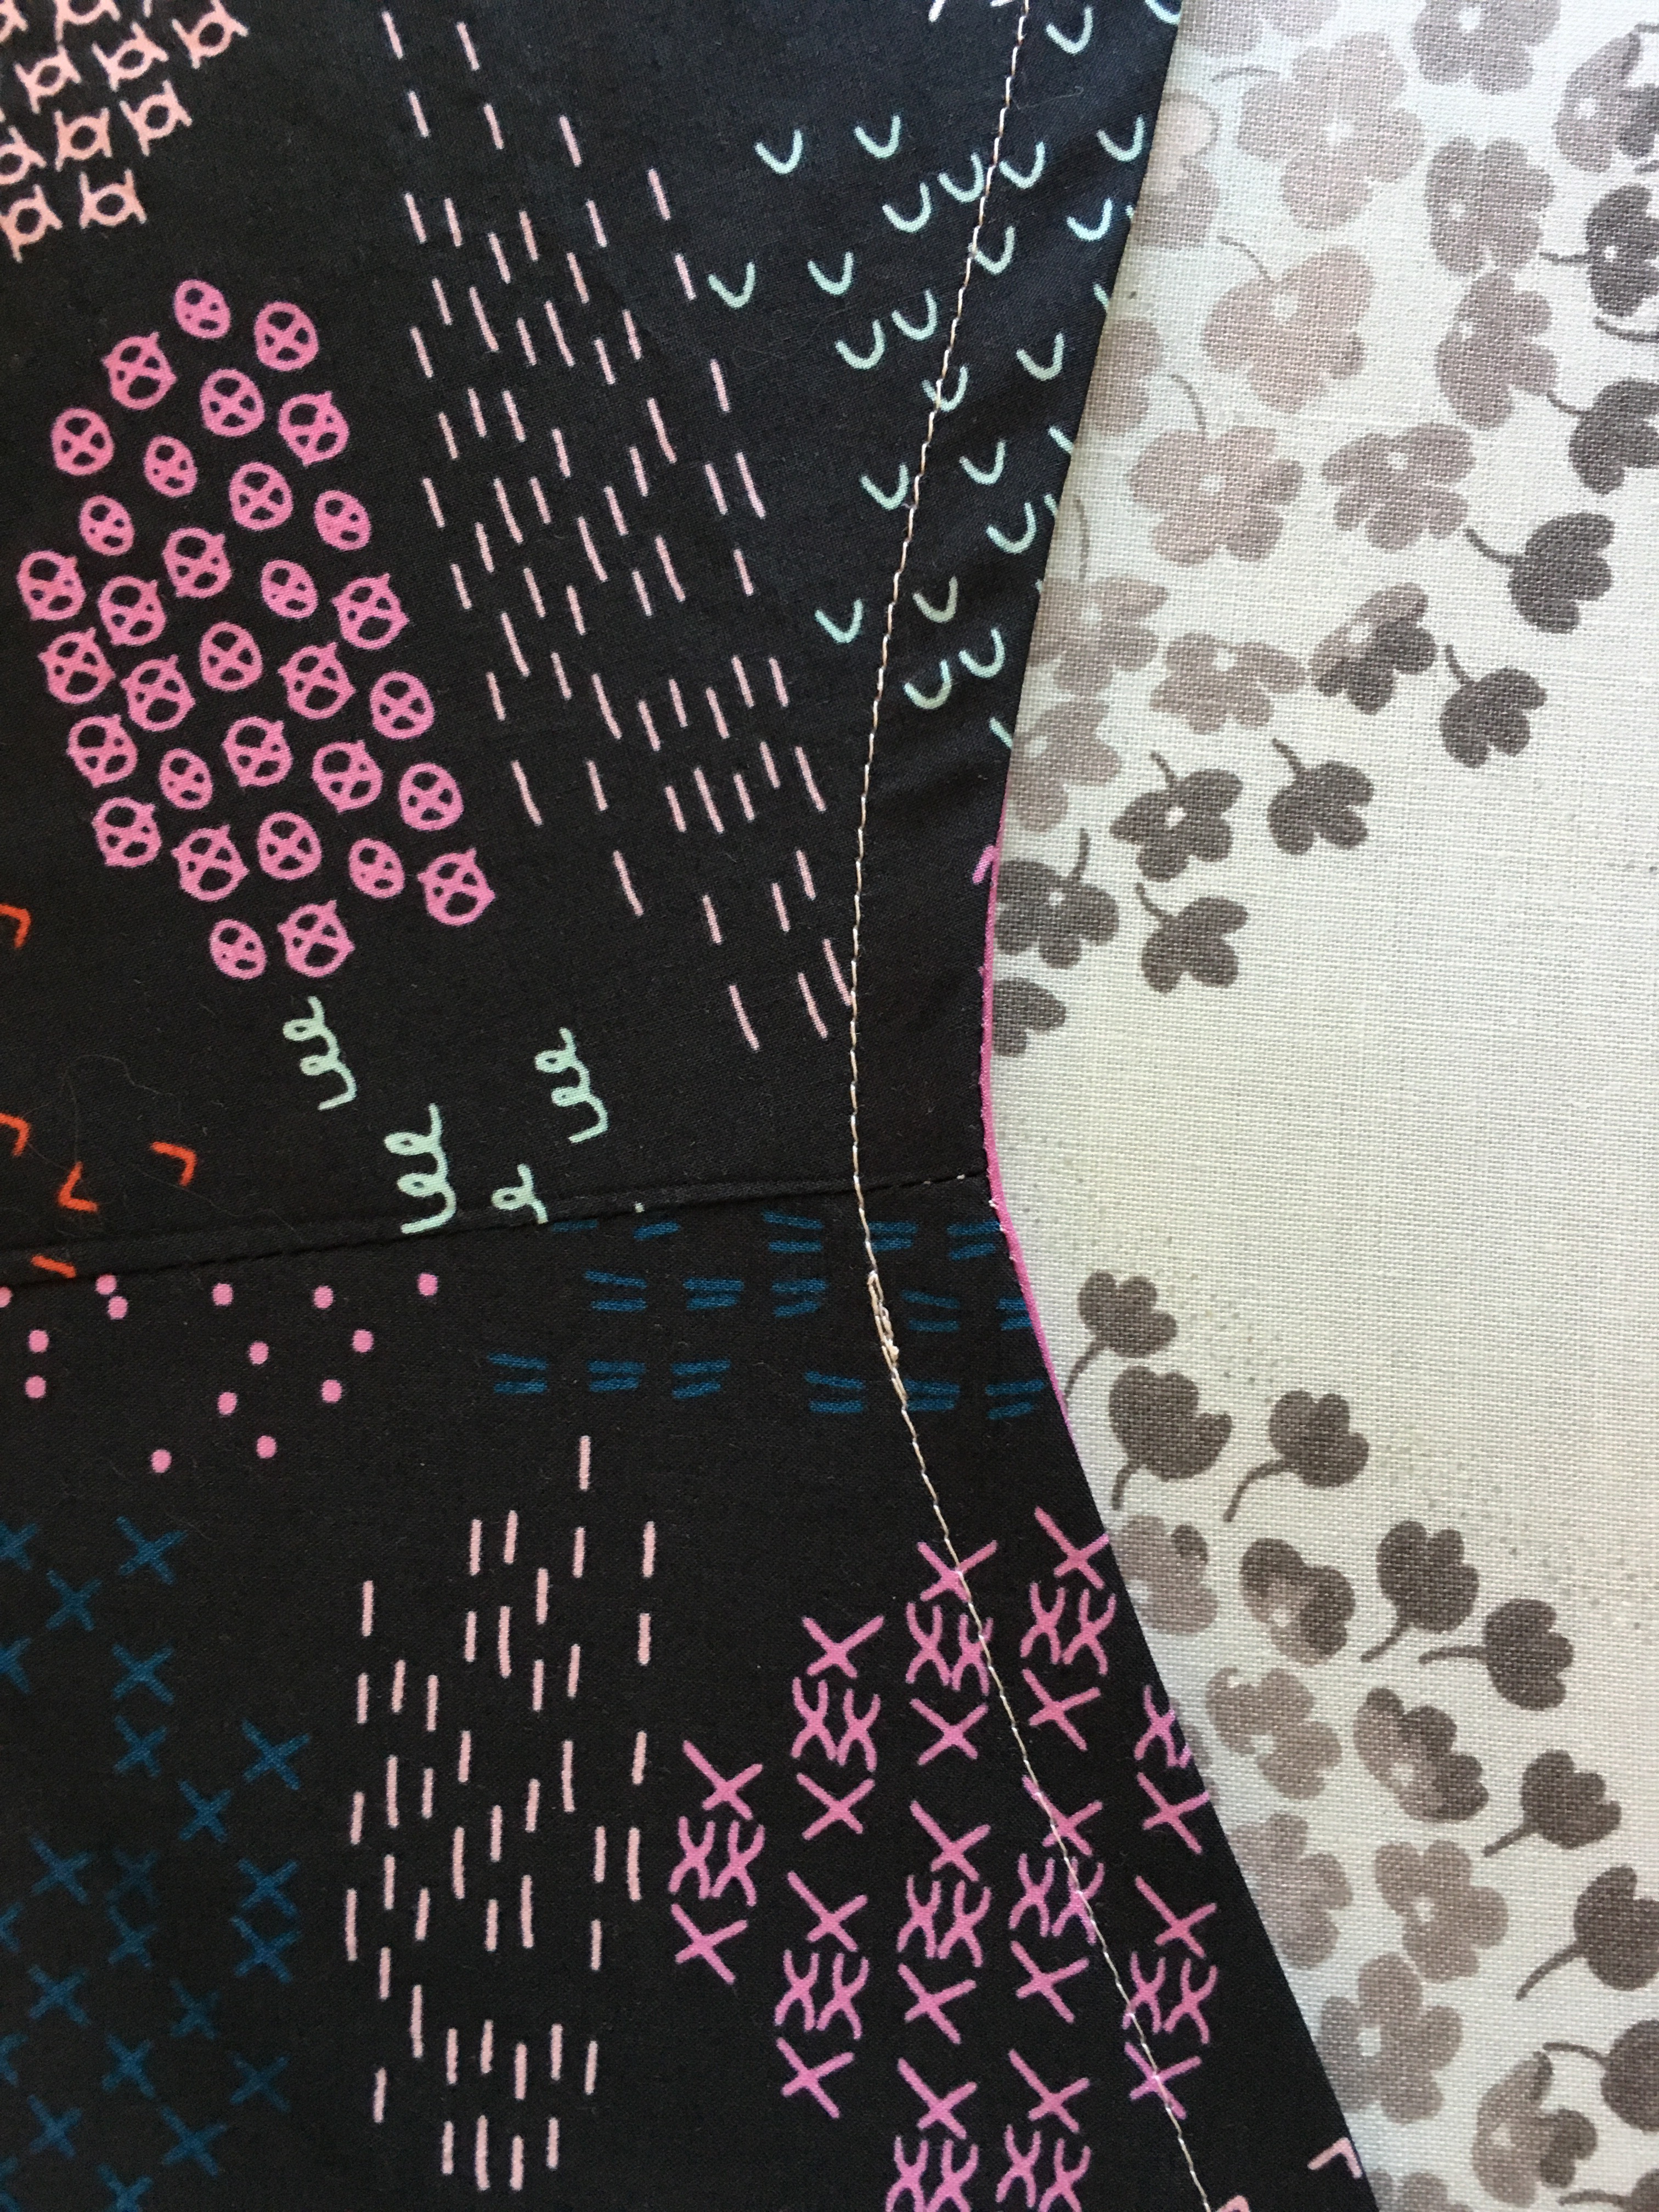
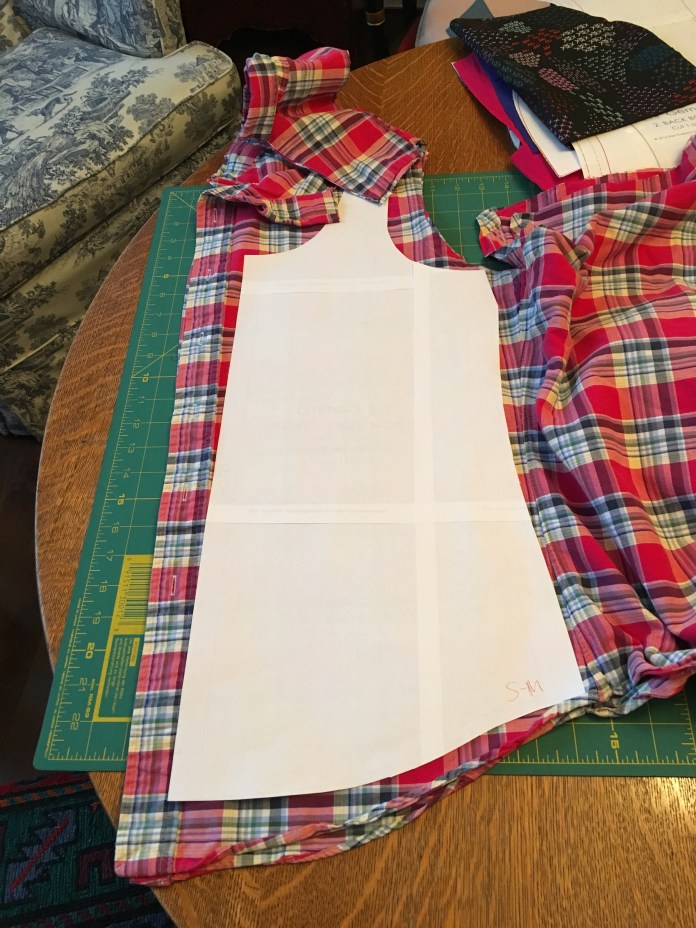
  When I make changes to patterns, I write notes to myself on the pattern pieces. Ironically, sometimes I forget to read the notes until after cutting out the pattern as I did here. I did not actually add enough to the seam allowance to allow for french seams. Note to self: read notes to self.
  This is a very straight-forward pattern and if I didn’t insist on adding a zipper, it would be even quicker but I think the zipper adds a lot so I used one here. I sewed it using a techinique I modified from
  Sewing the first side:
 After sewing one side, I do the reverse and then top-stitch. I find it works best to sew the zipper initially going from top to bottom but I have better success with the top-stitching when I start at the bottom of the zipper and sew to the top maintaining some tension on the fabric to prevent puckers.
 Lining up the second side.
 Ready for top-stitching.
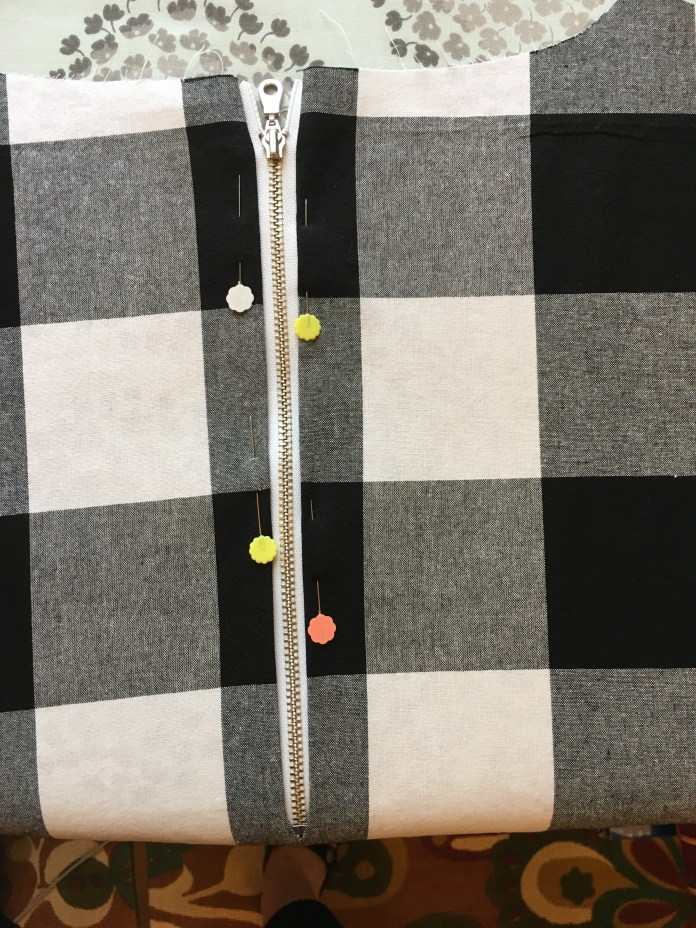 After top-stitching. It took three tries to get this. Sewing from the bottom of the zipper to the top was the key in the end.
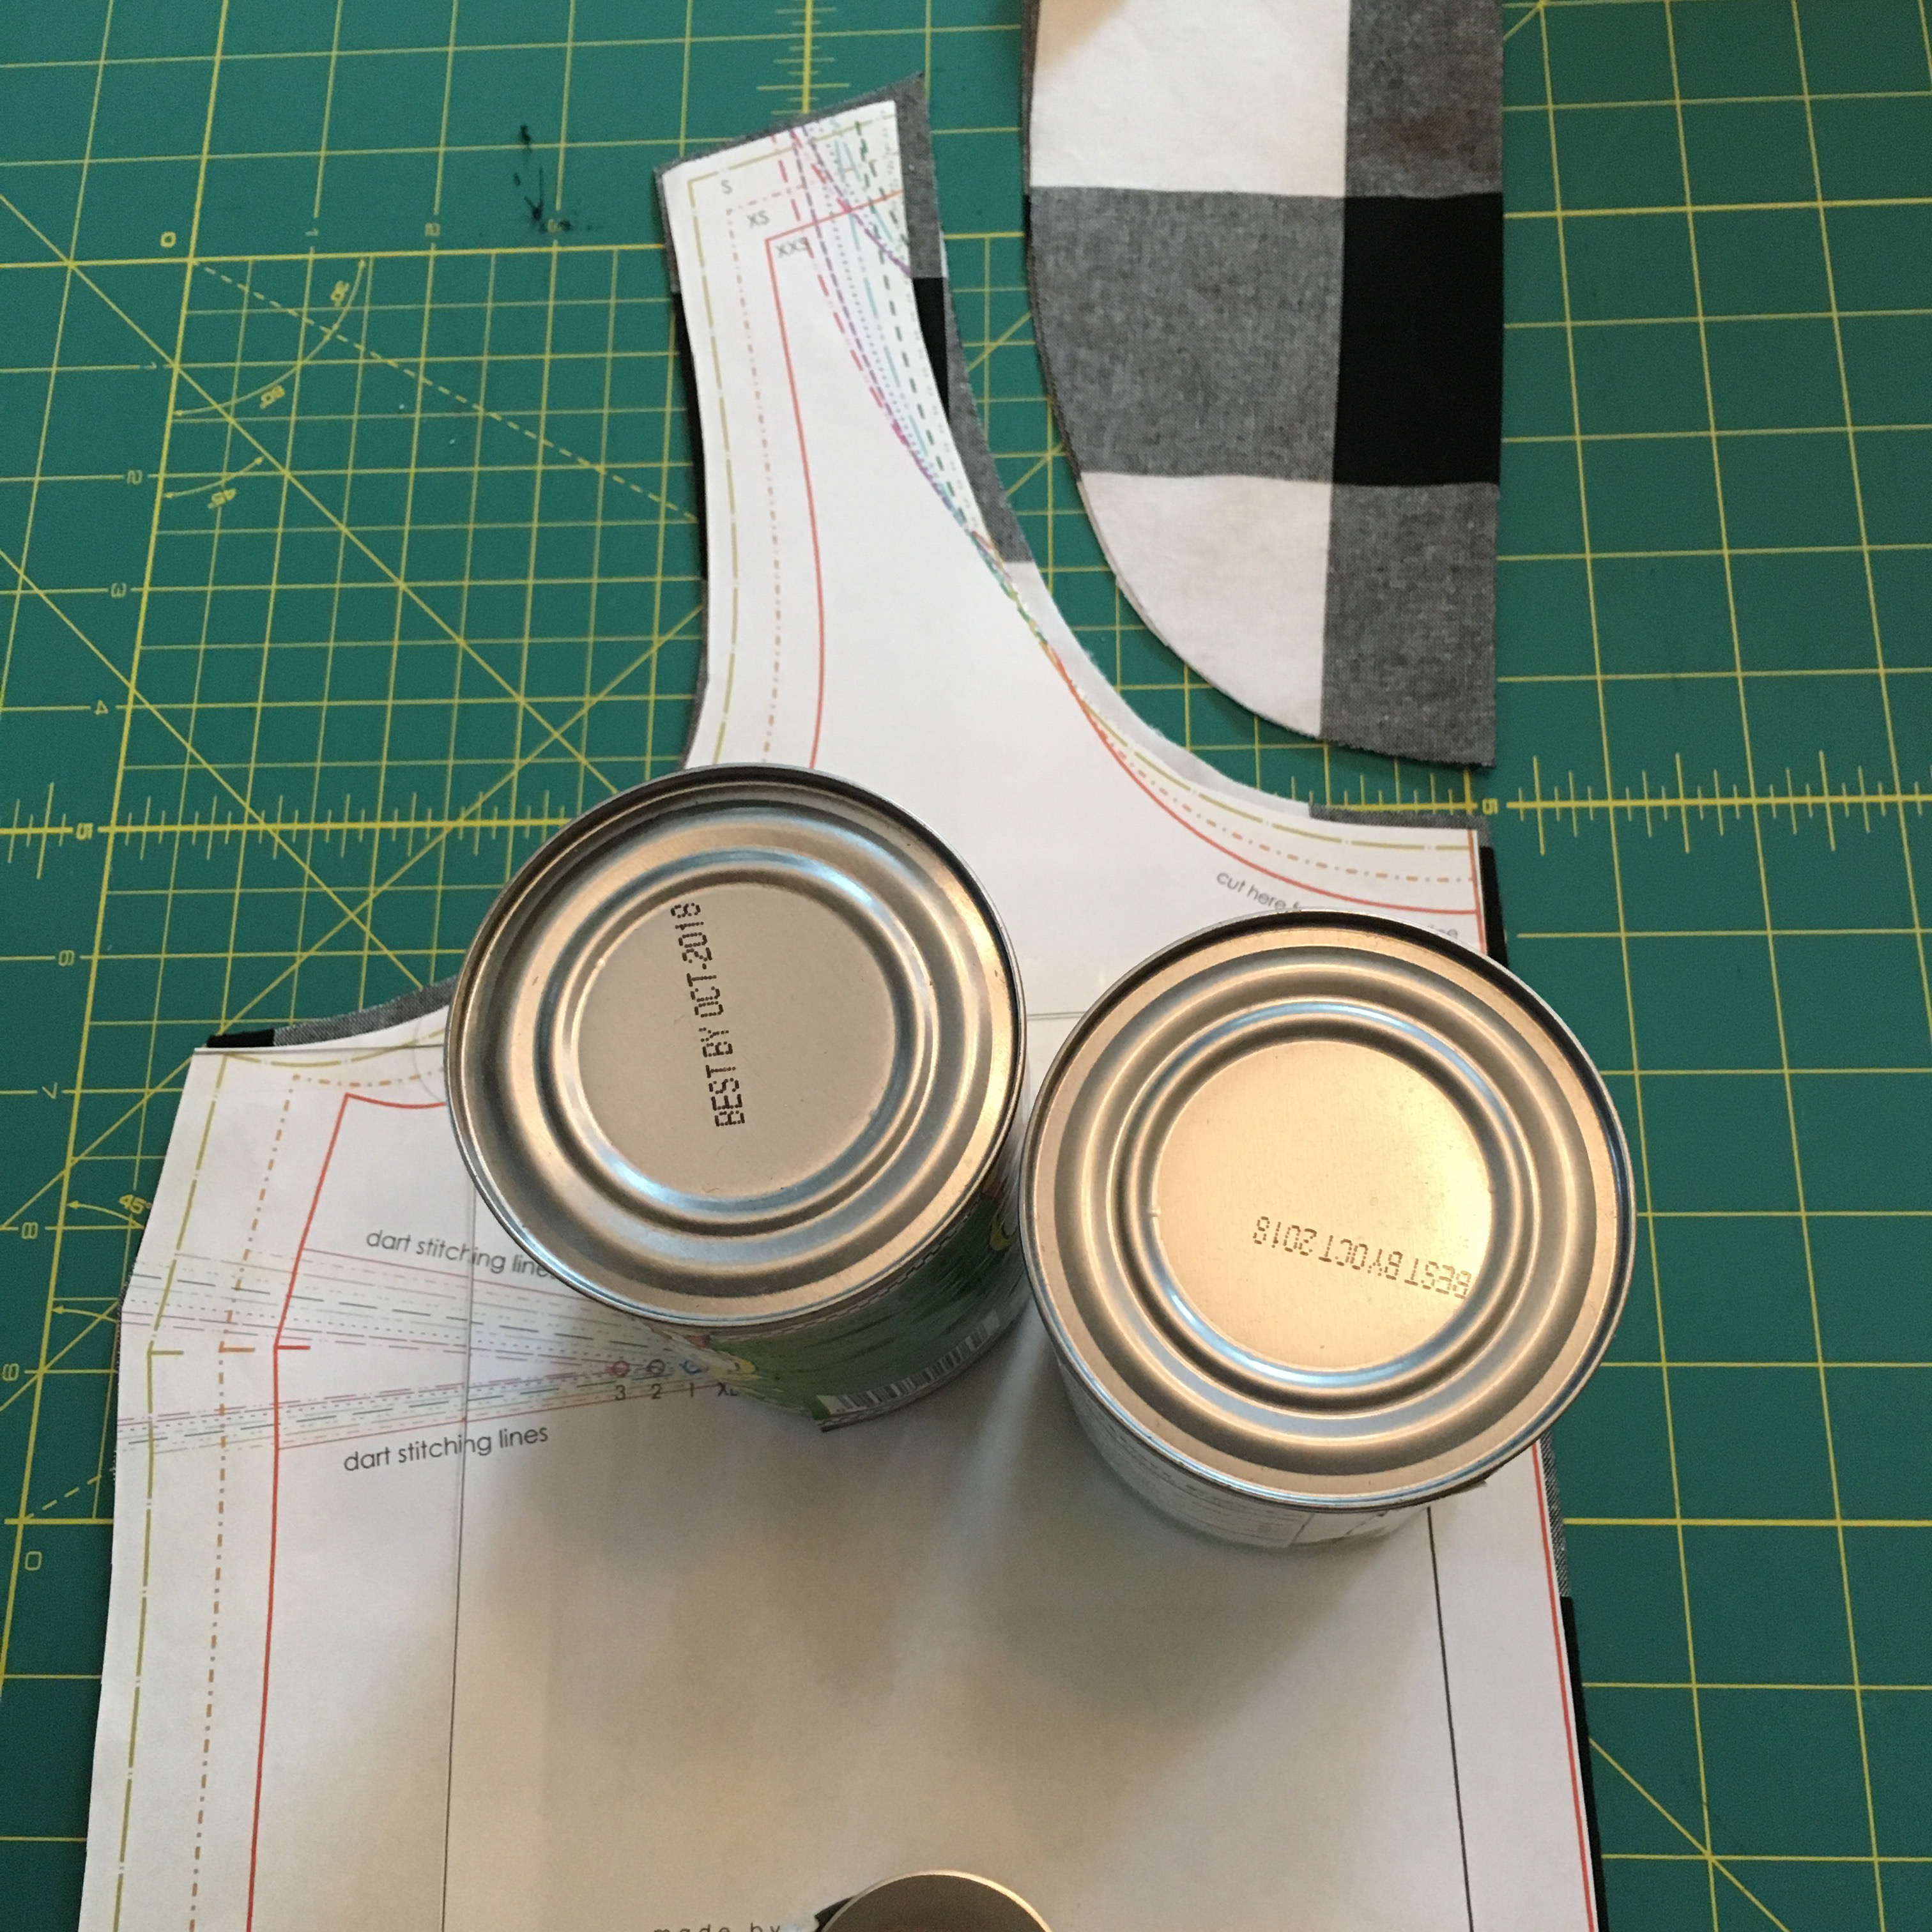
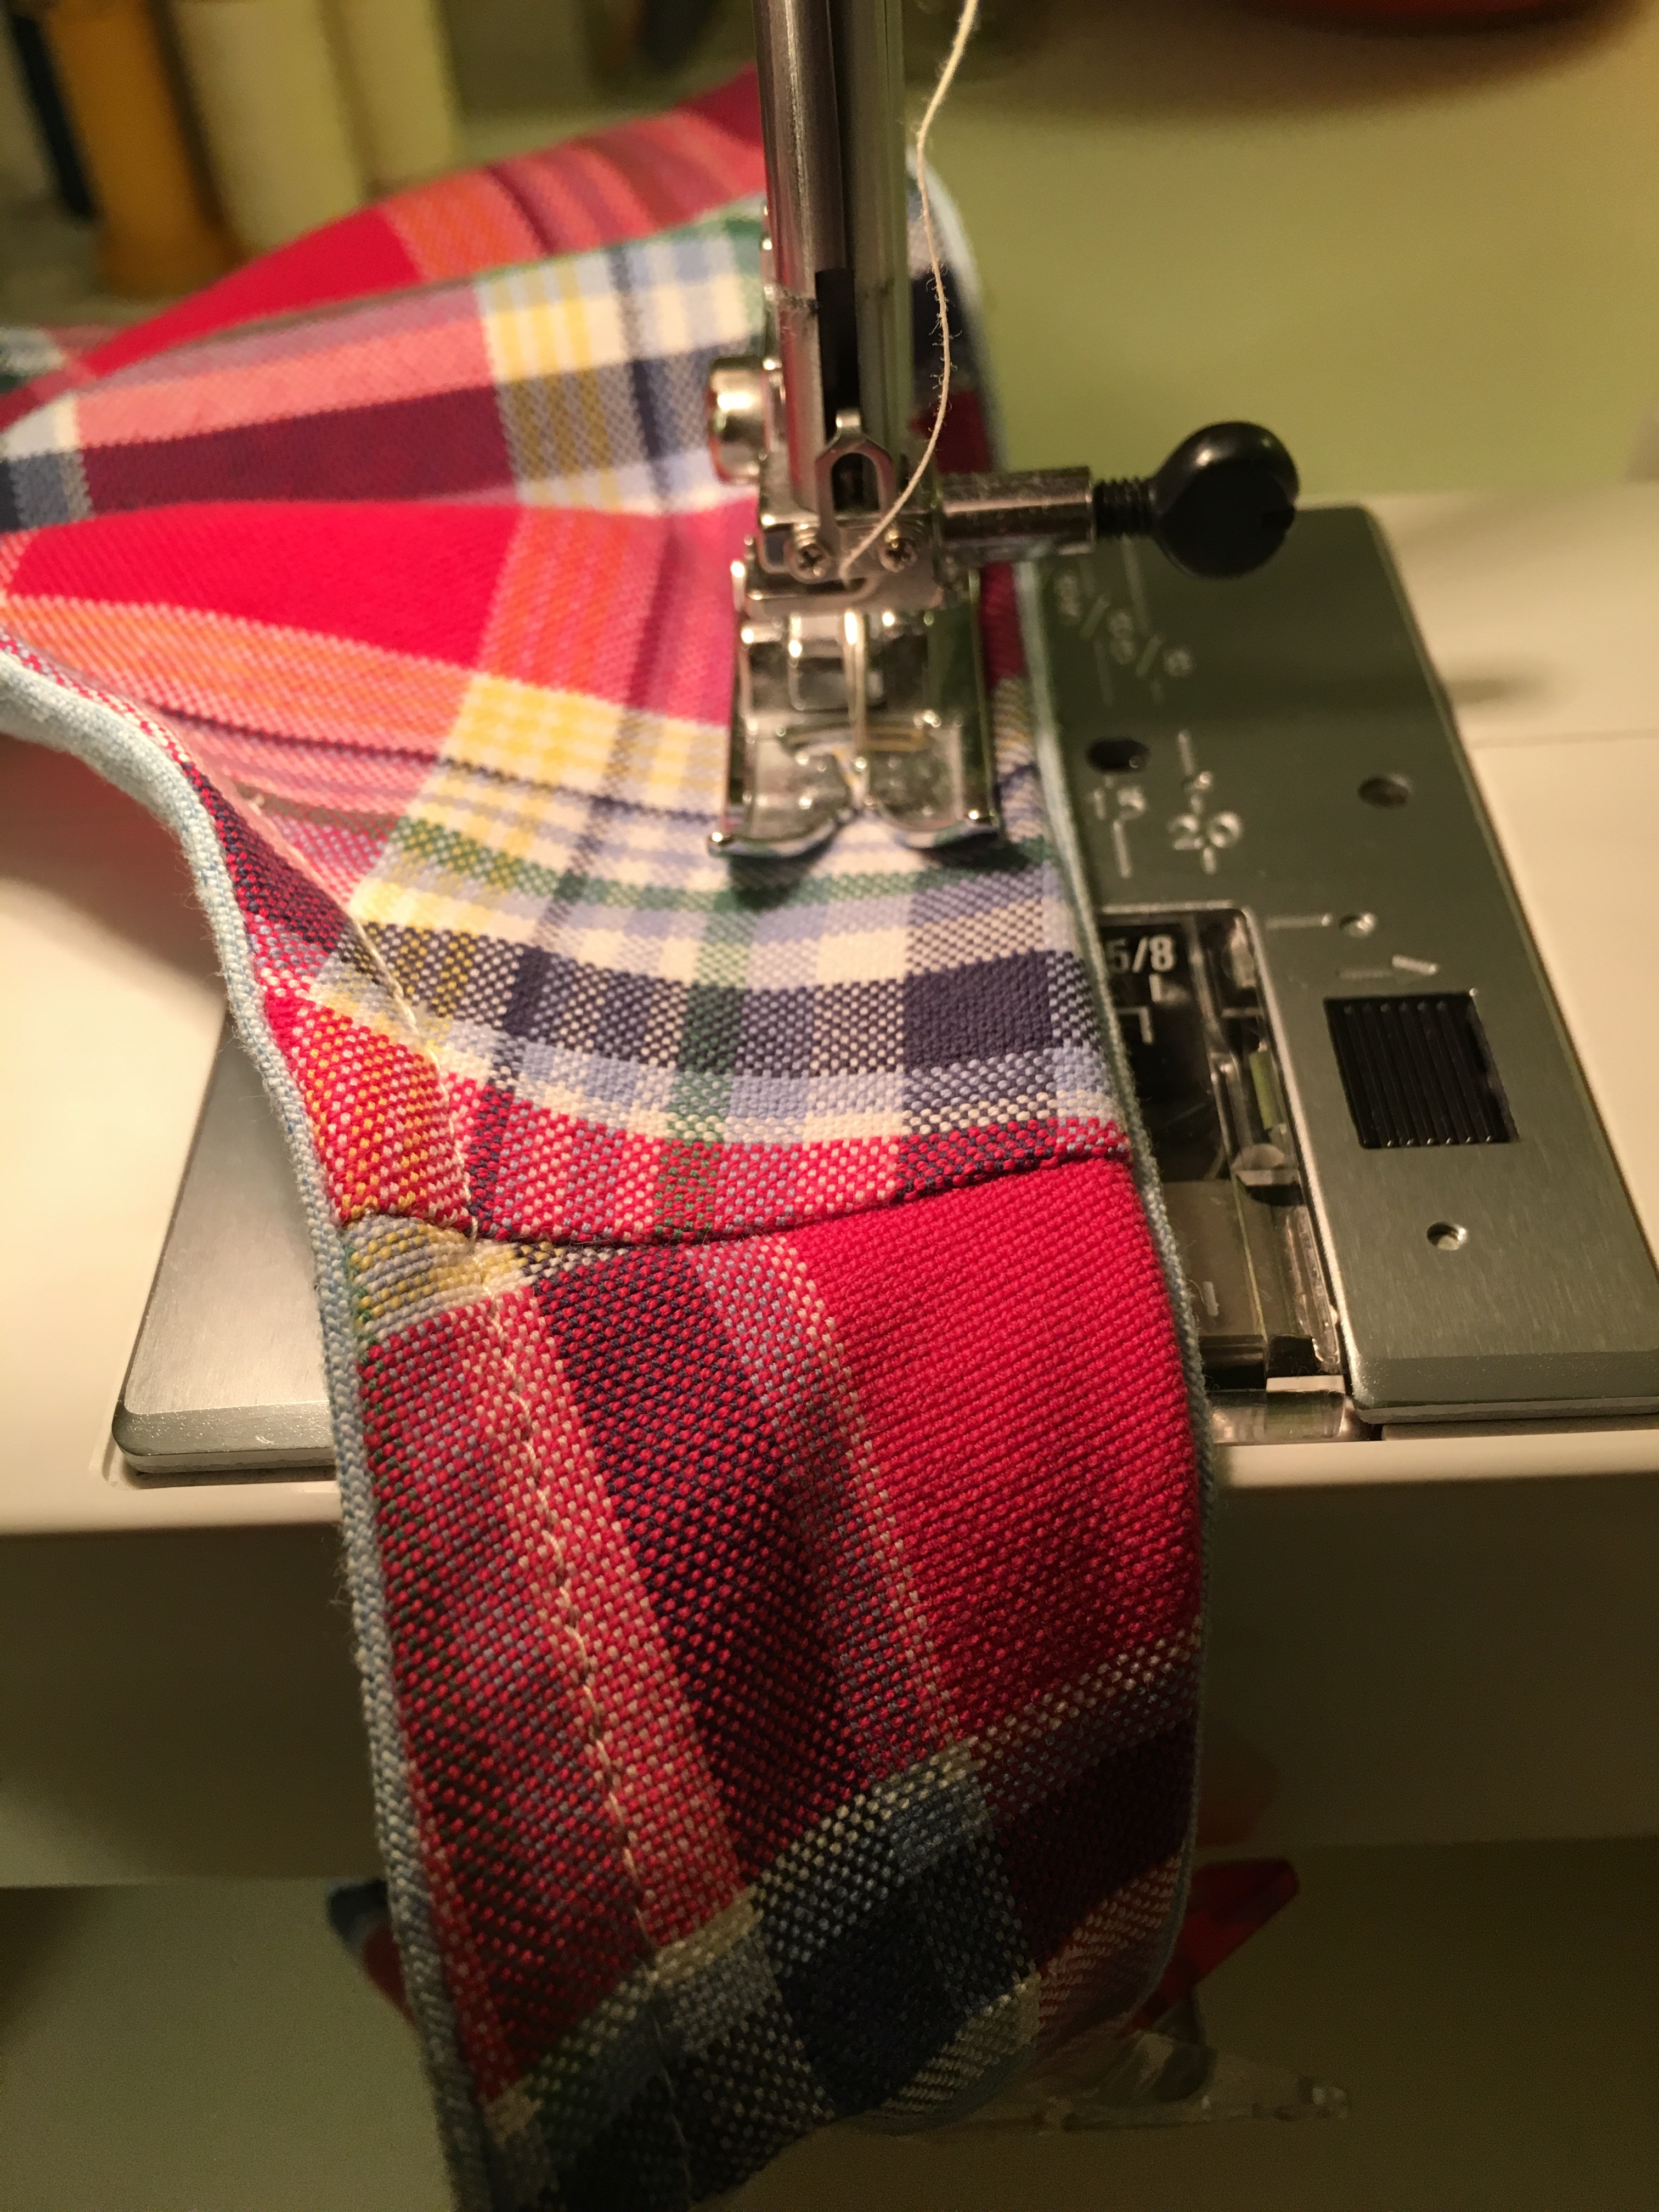
 I used my usual hem facing technique. I cut up an old muslin into 3 inch strips. I have described this technique in my prior Pearl posts
  I am able to use the metal plate edge as the perfect guide to sew the hem when I use the 3 inch strips.
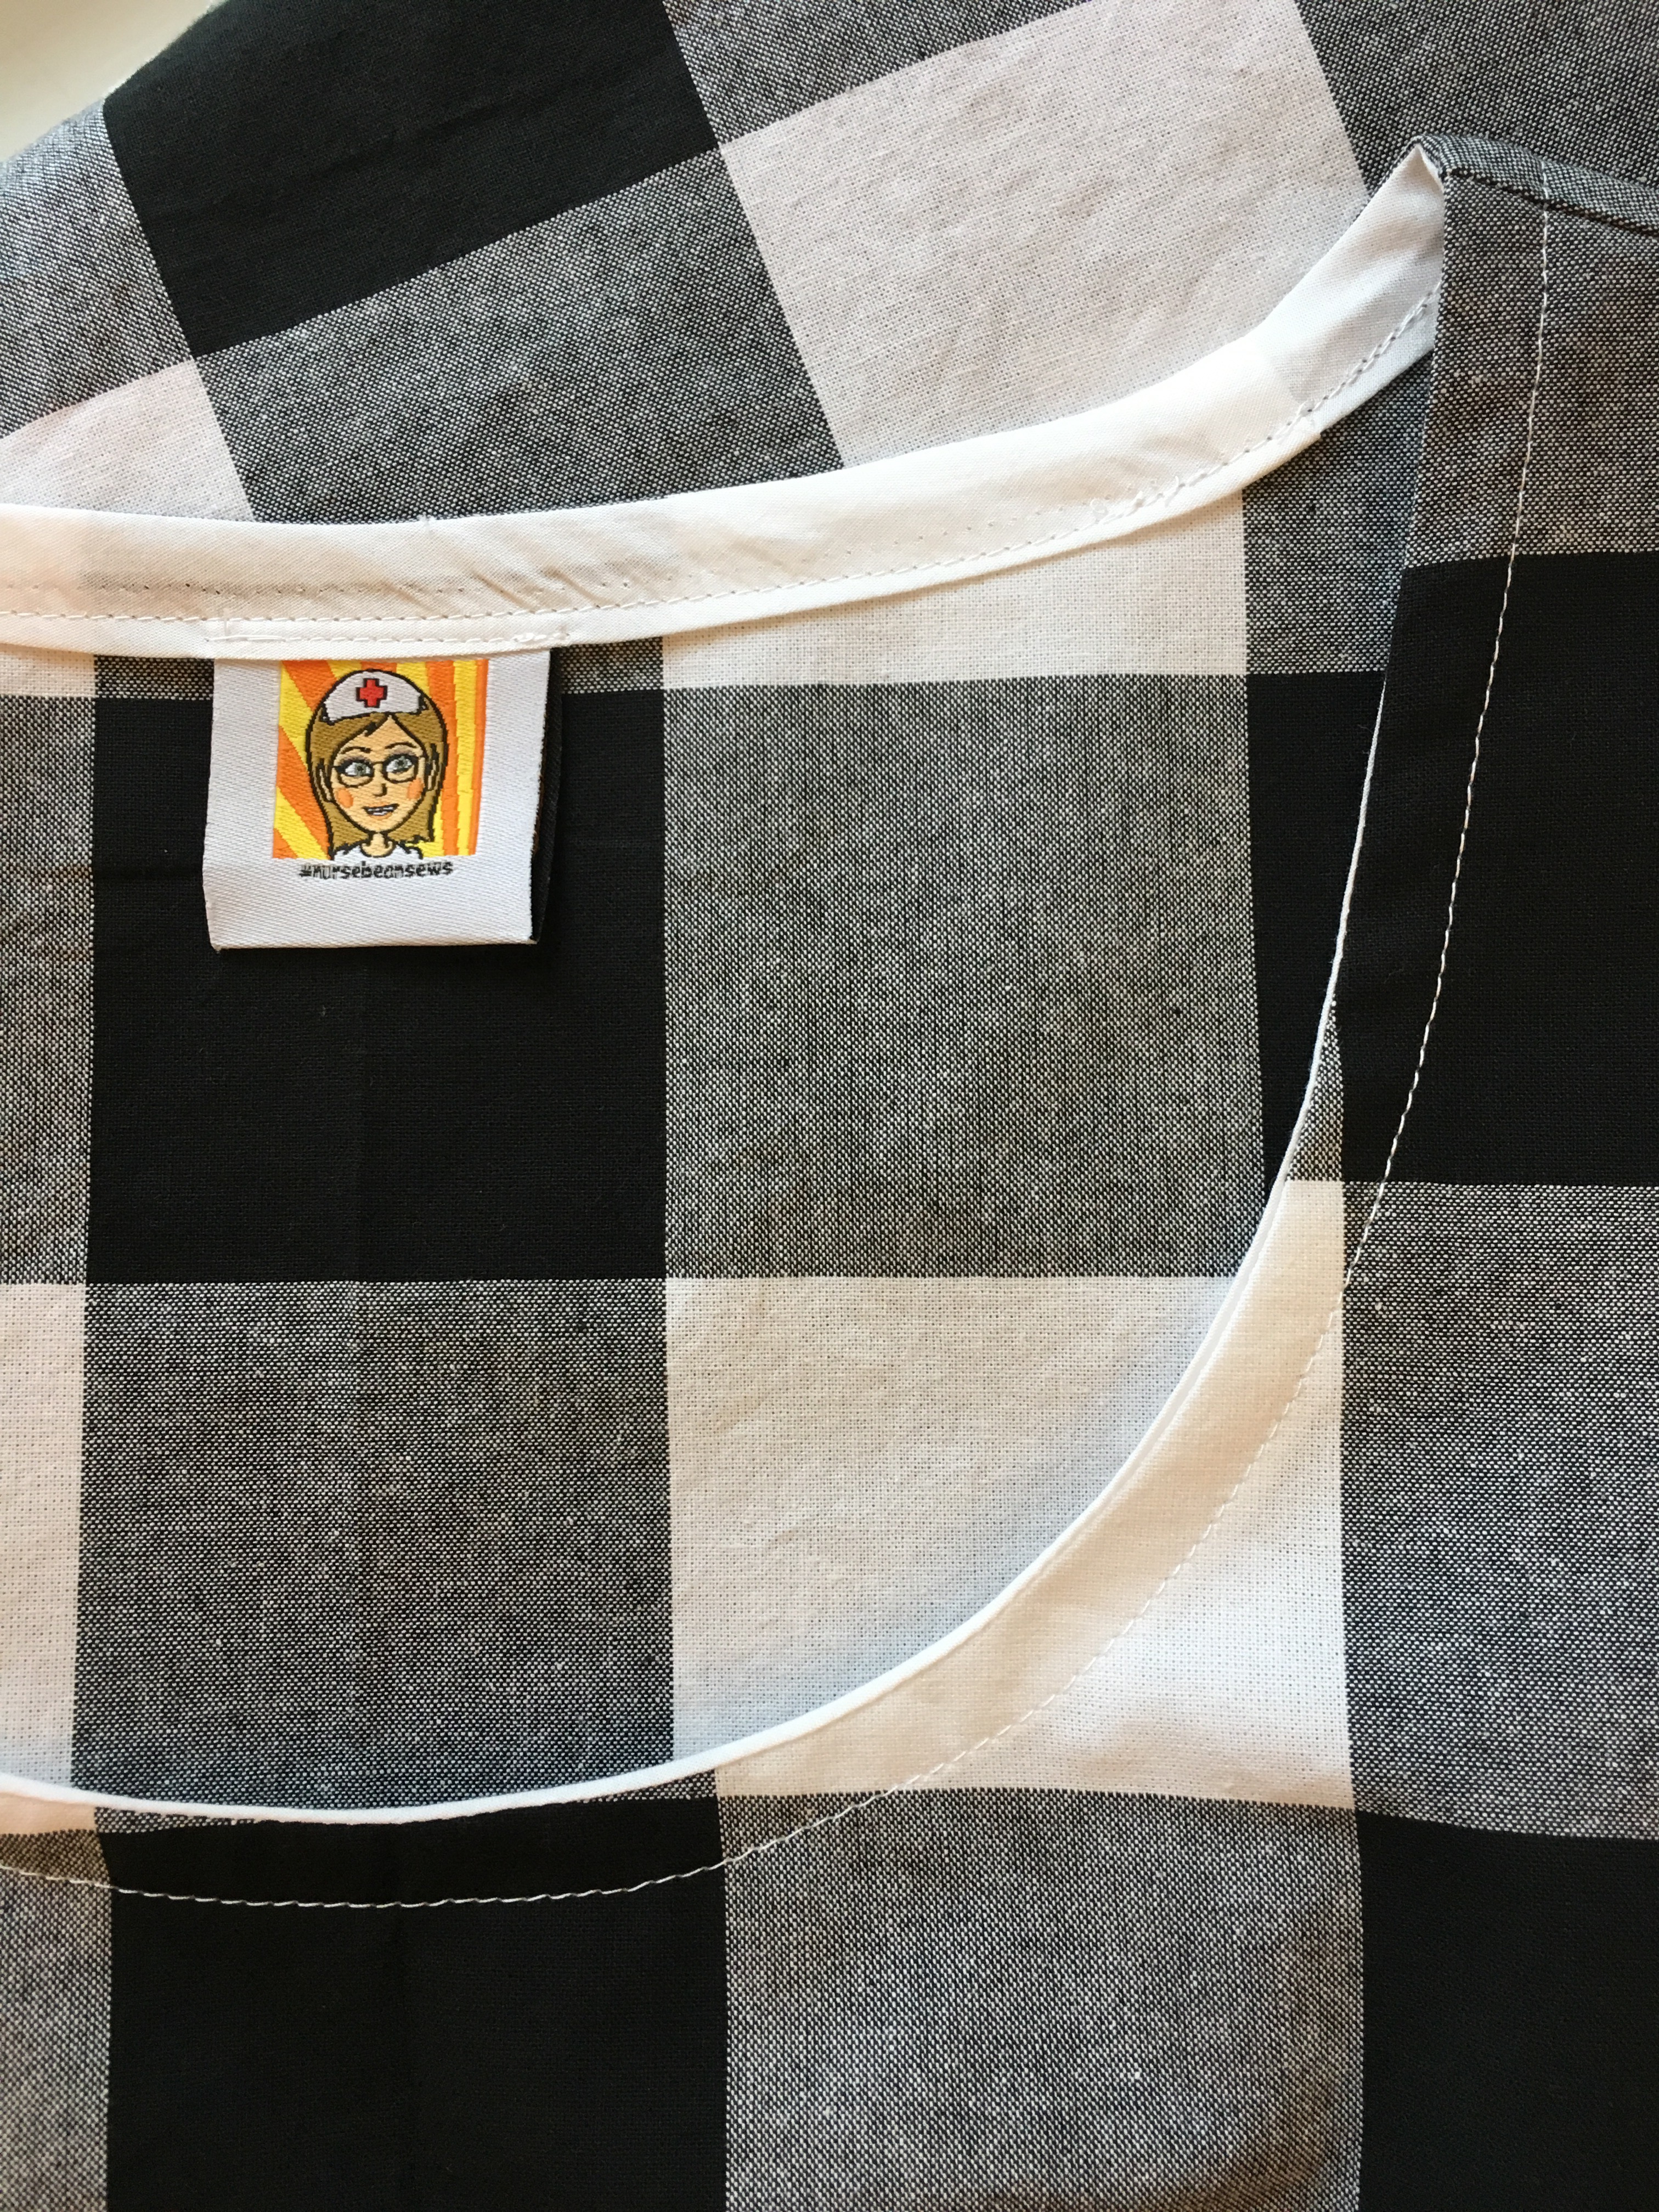
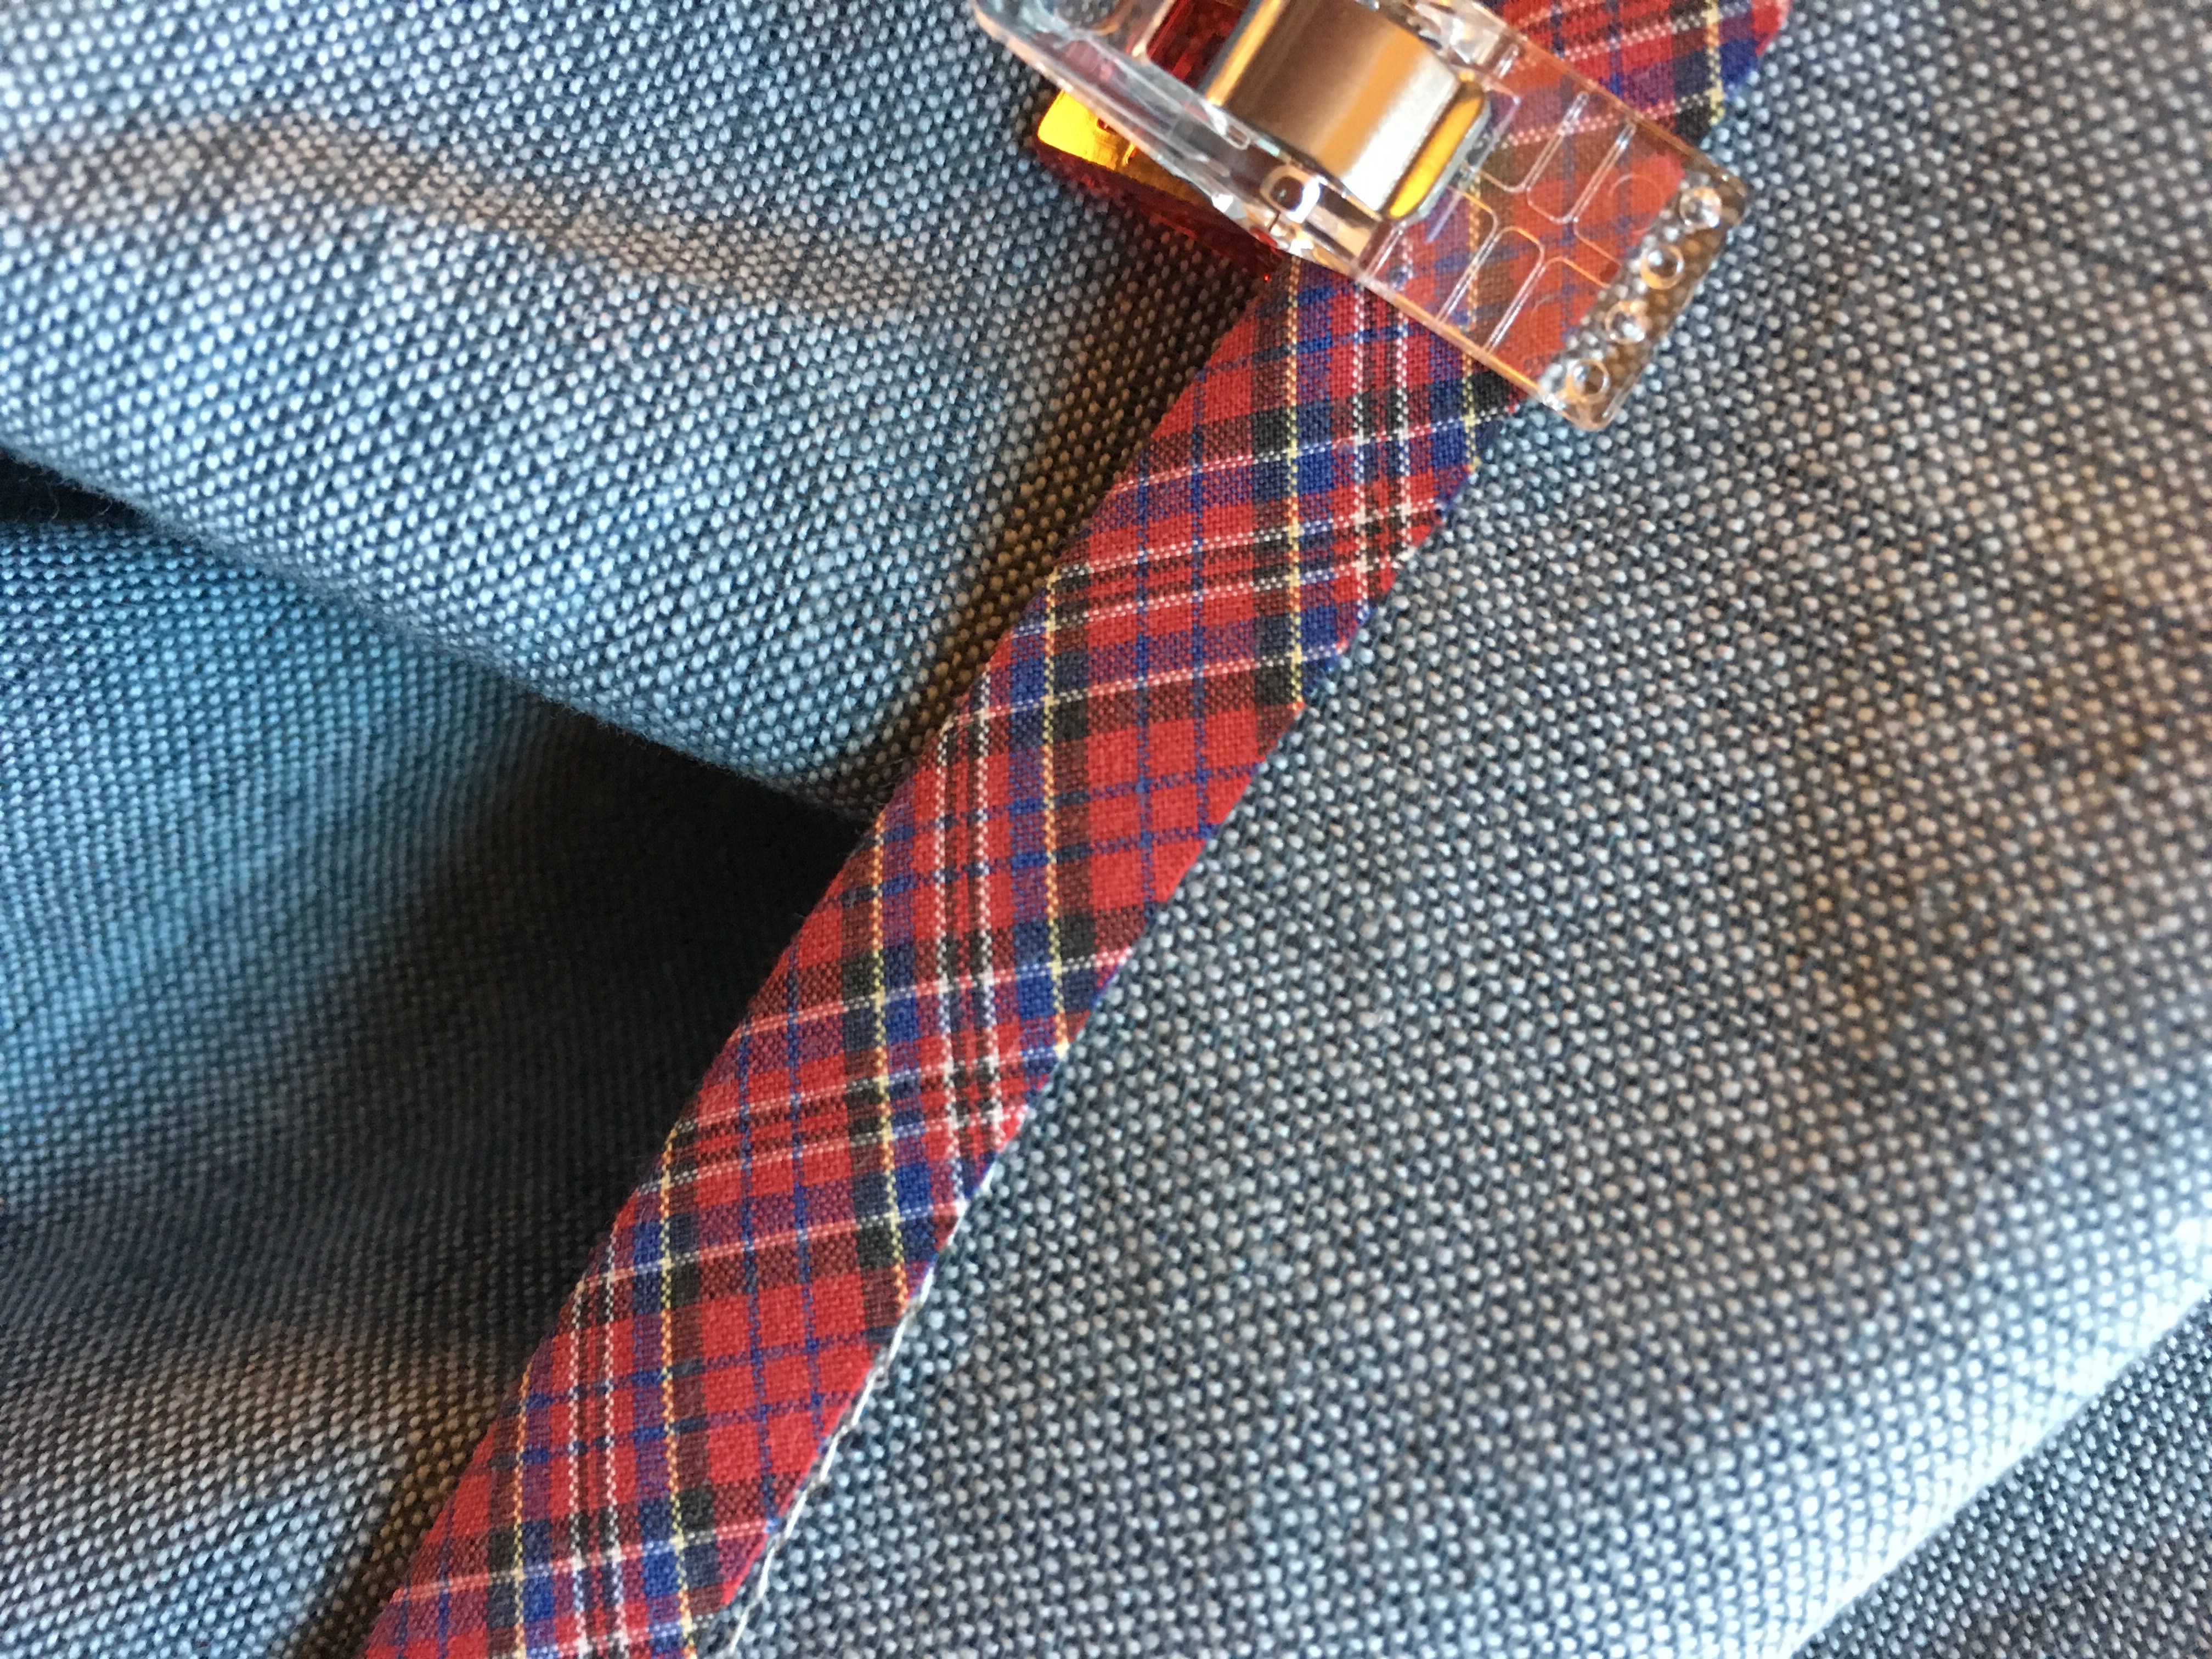
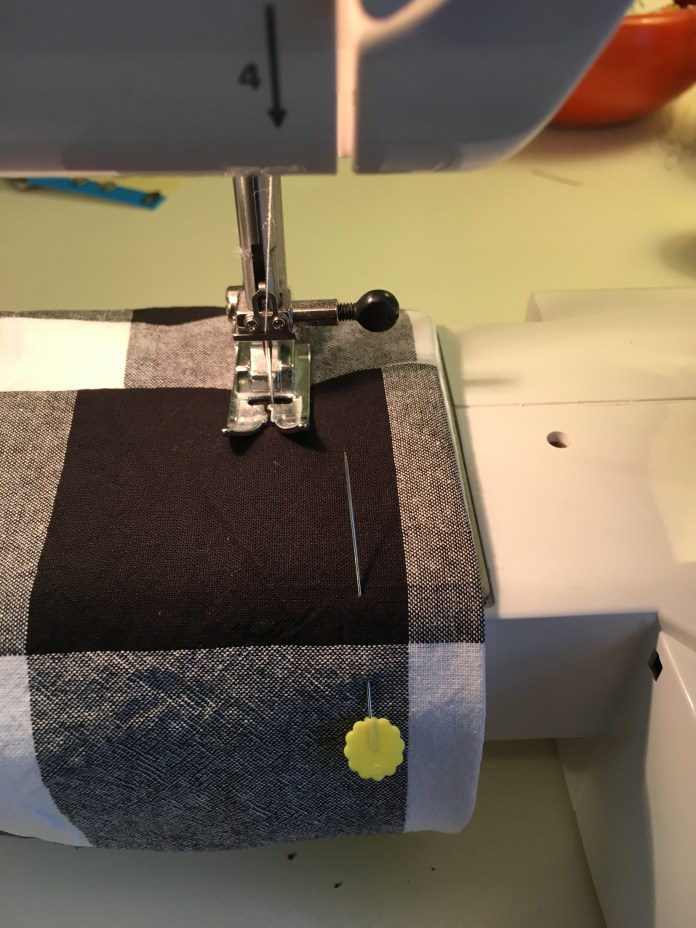 Since I had extra of the 3 inch strips, I finished the sleeves the same way. I bound the neck using 1.5 inch bias binding leftover from my
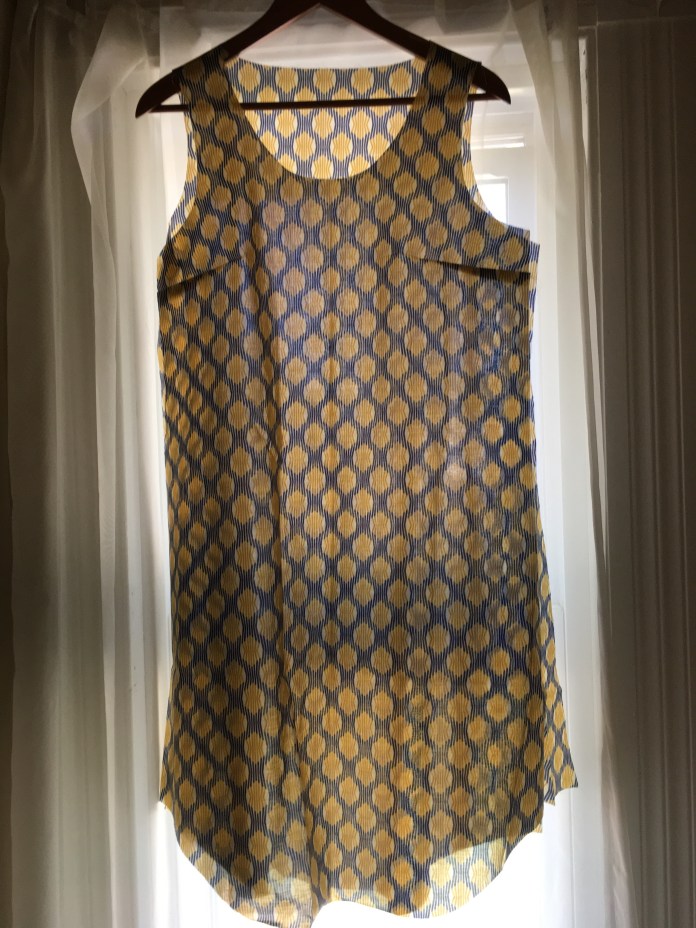
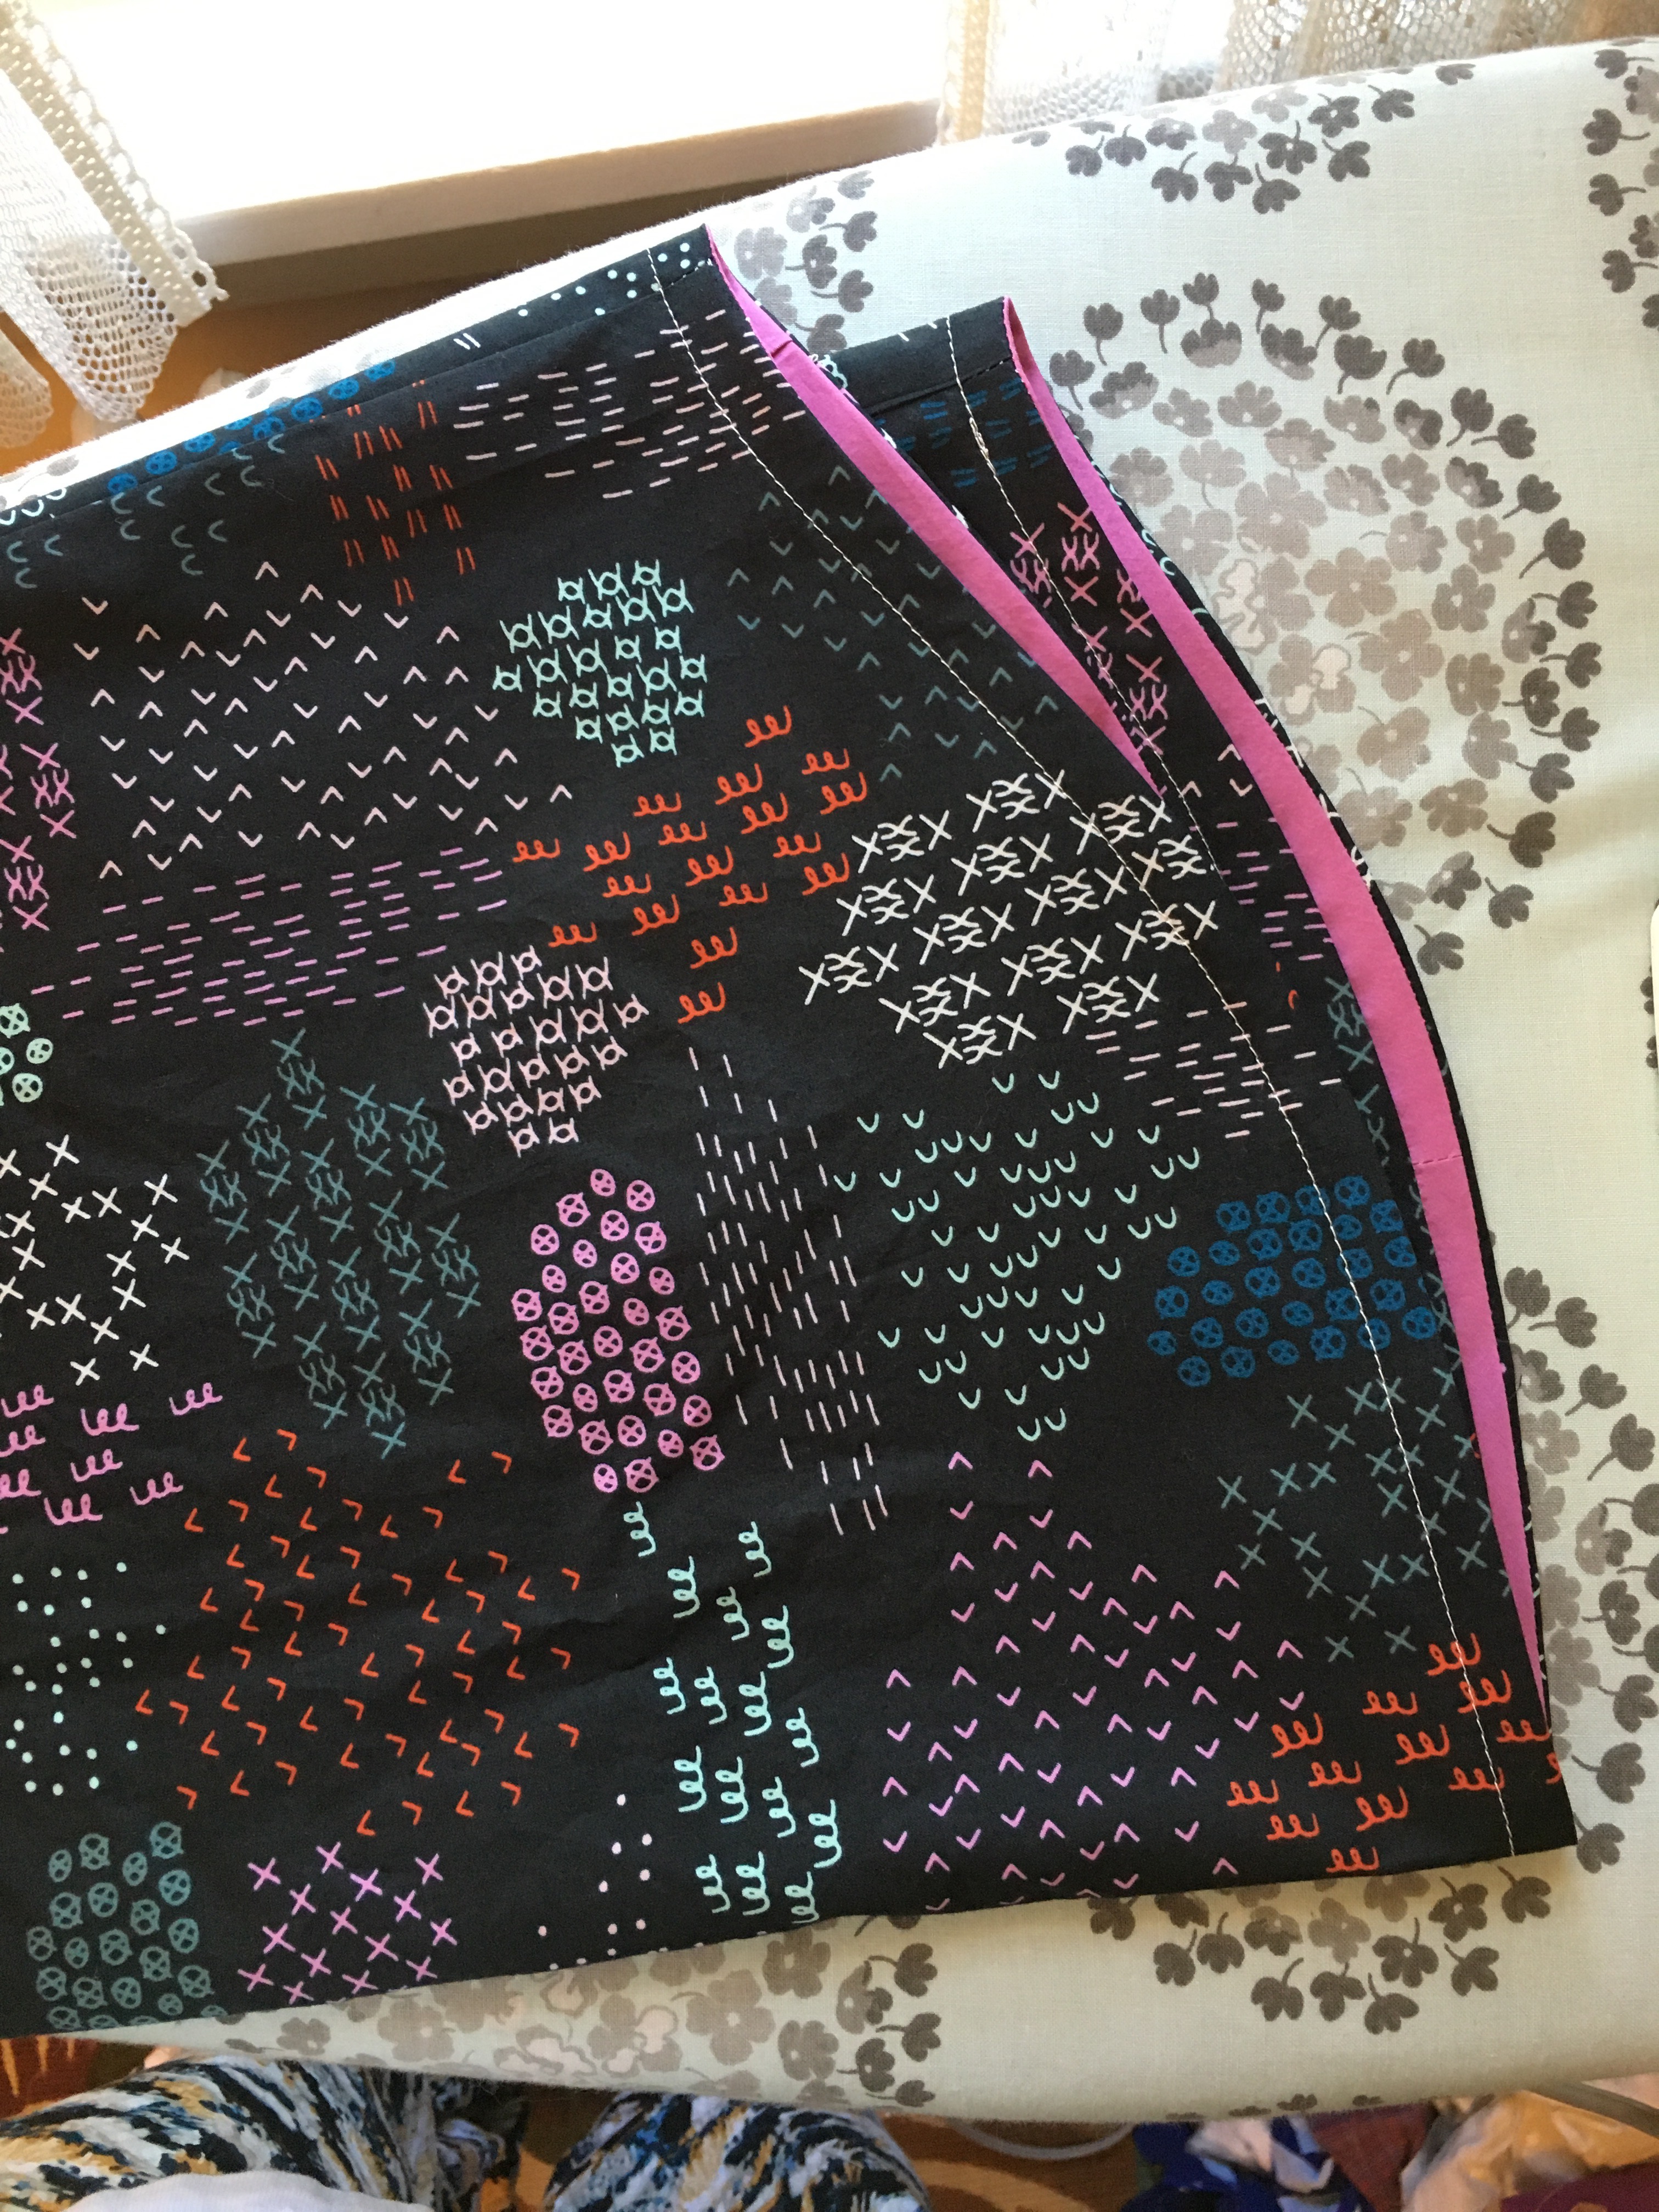
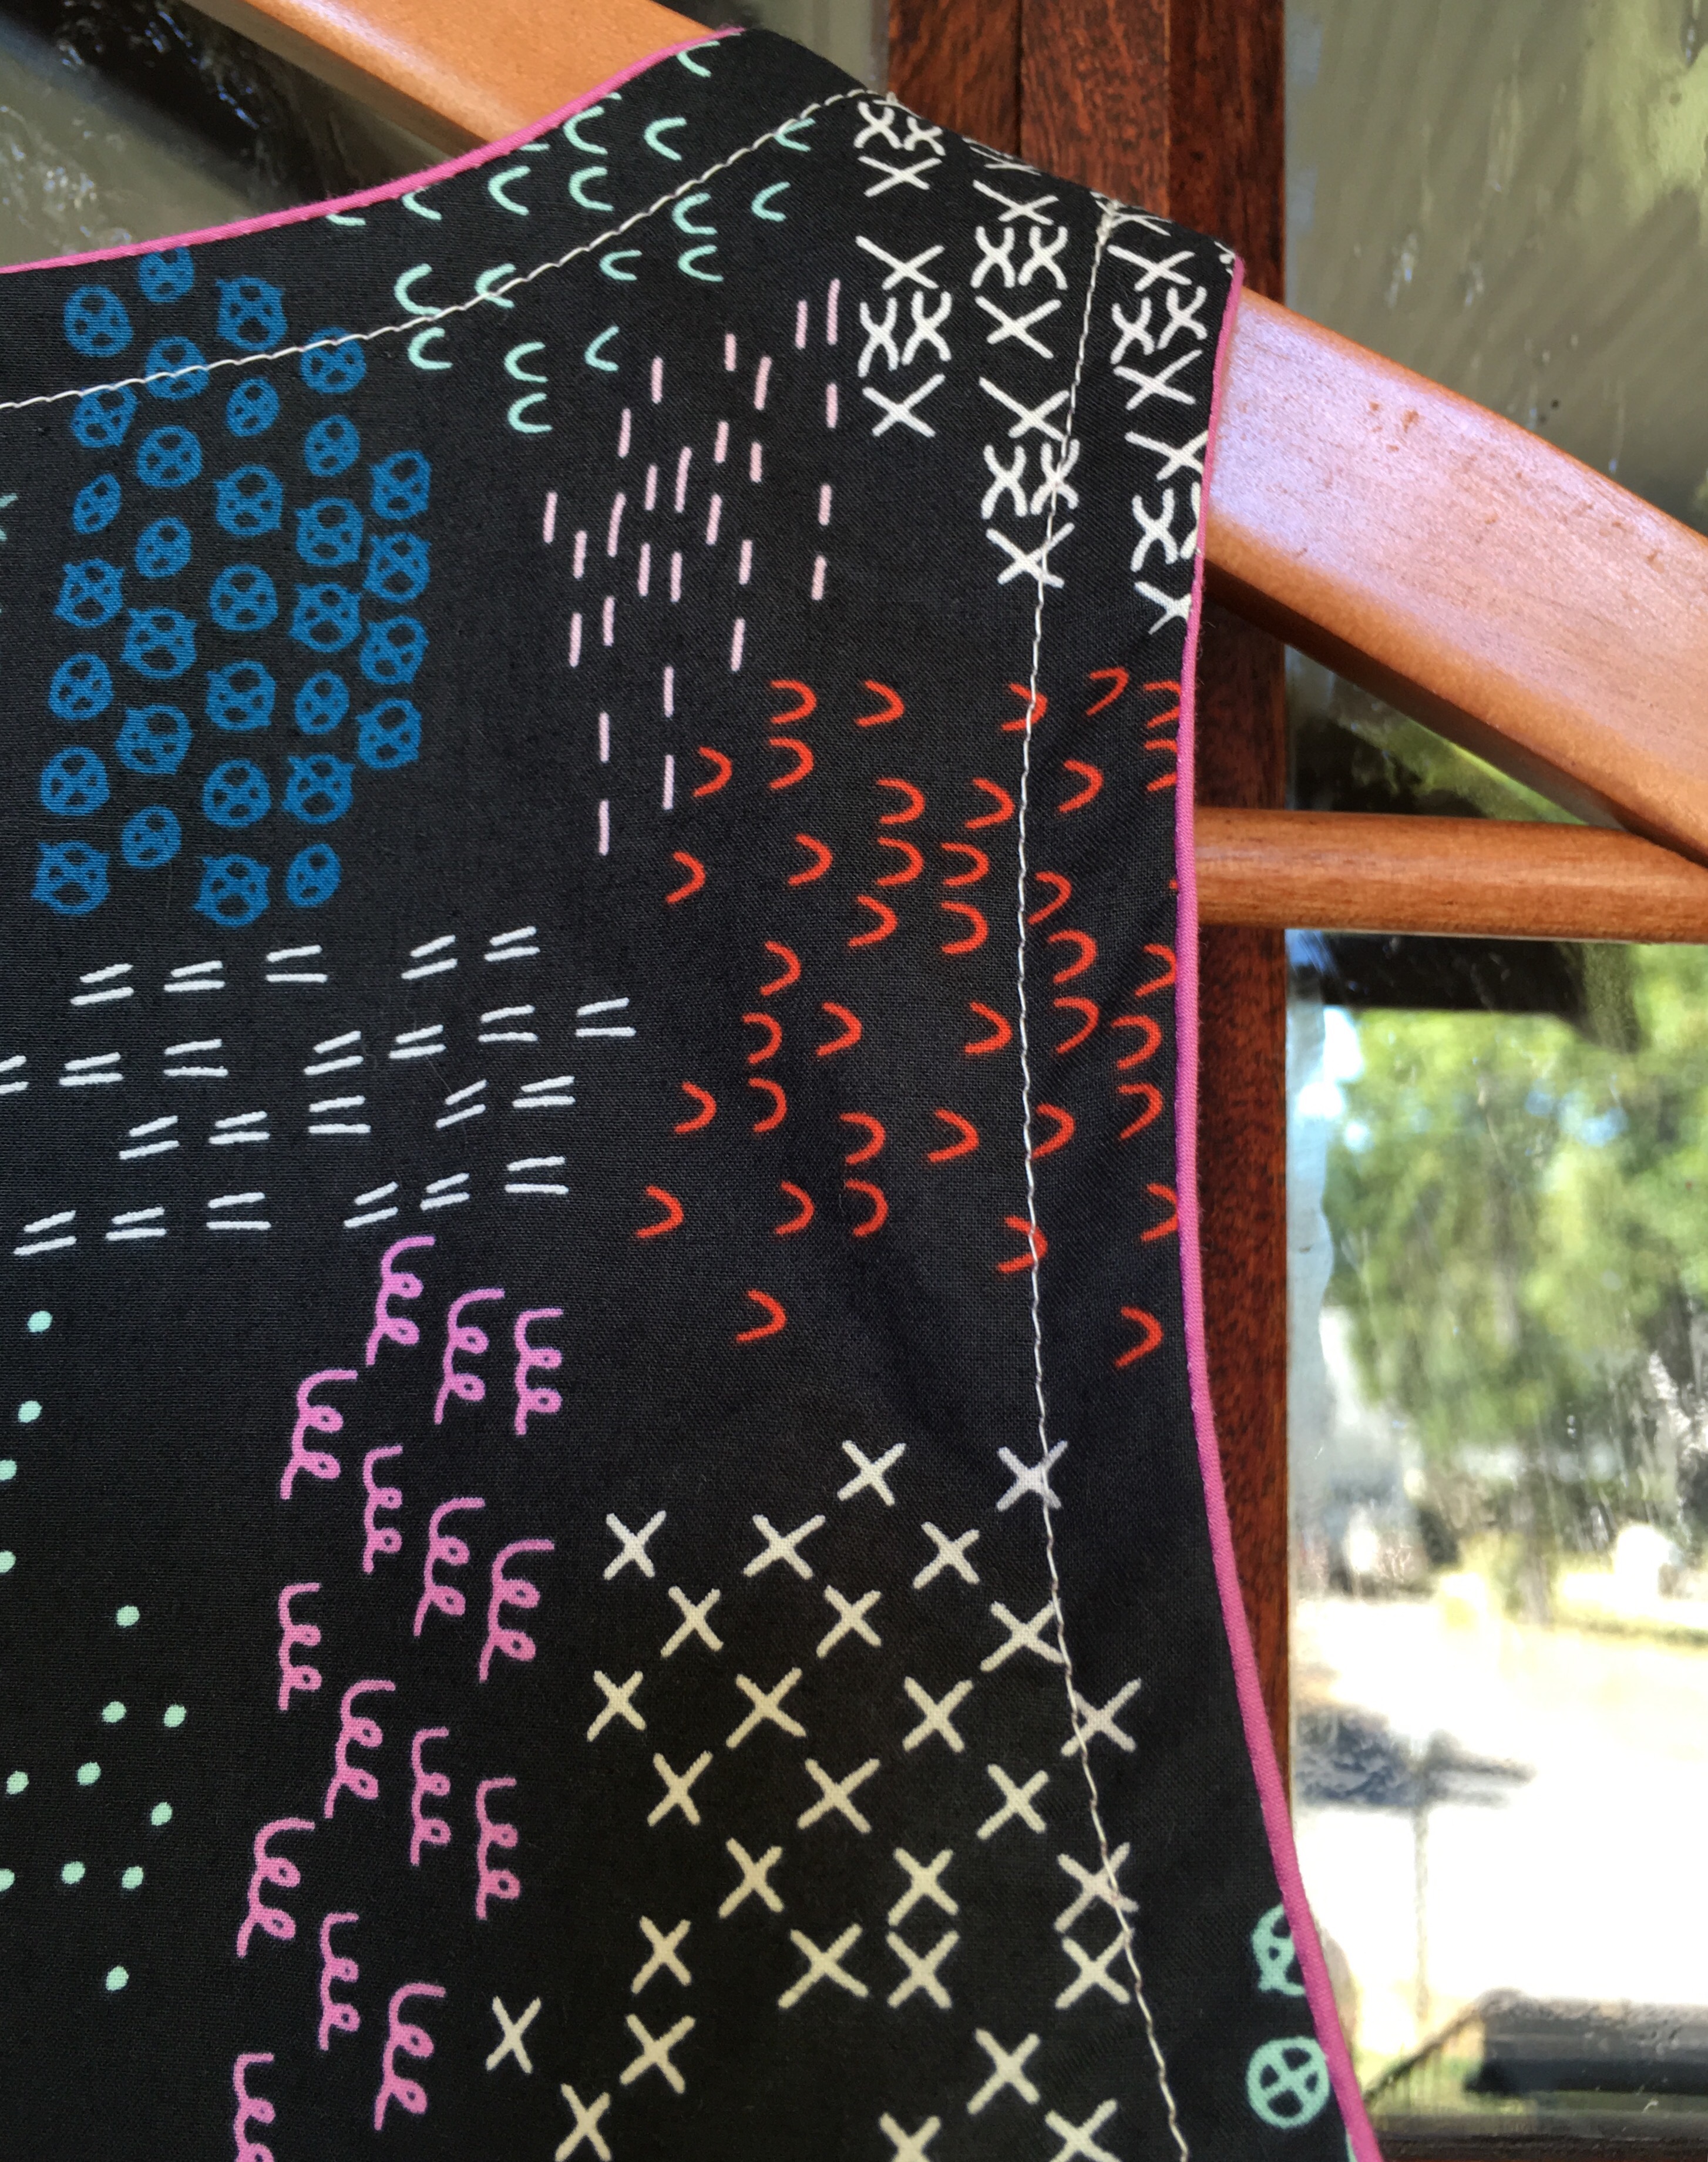
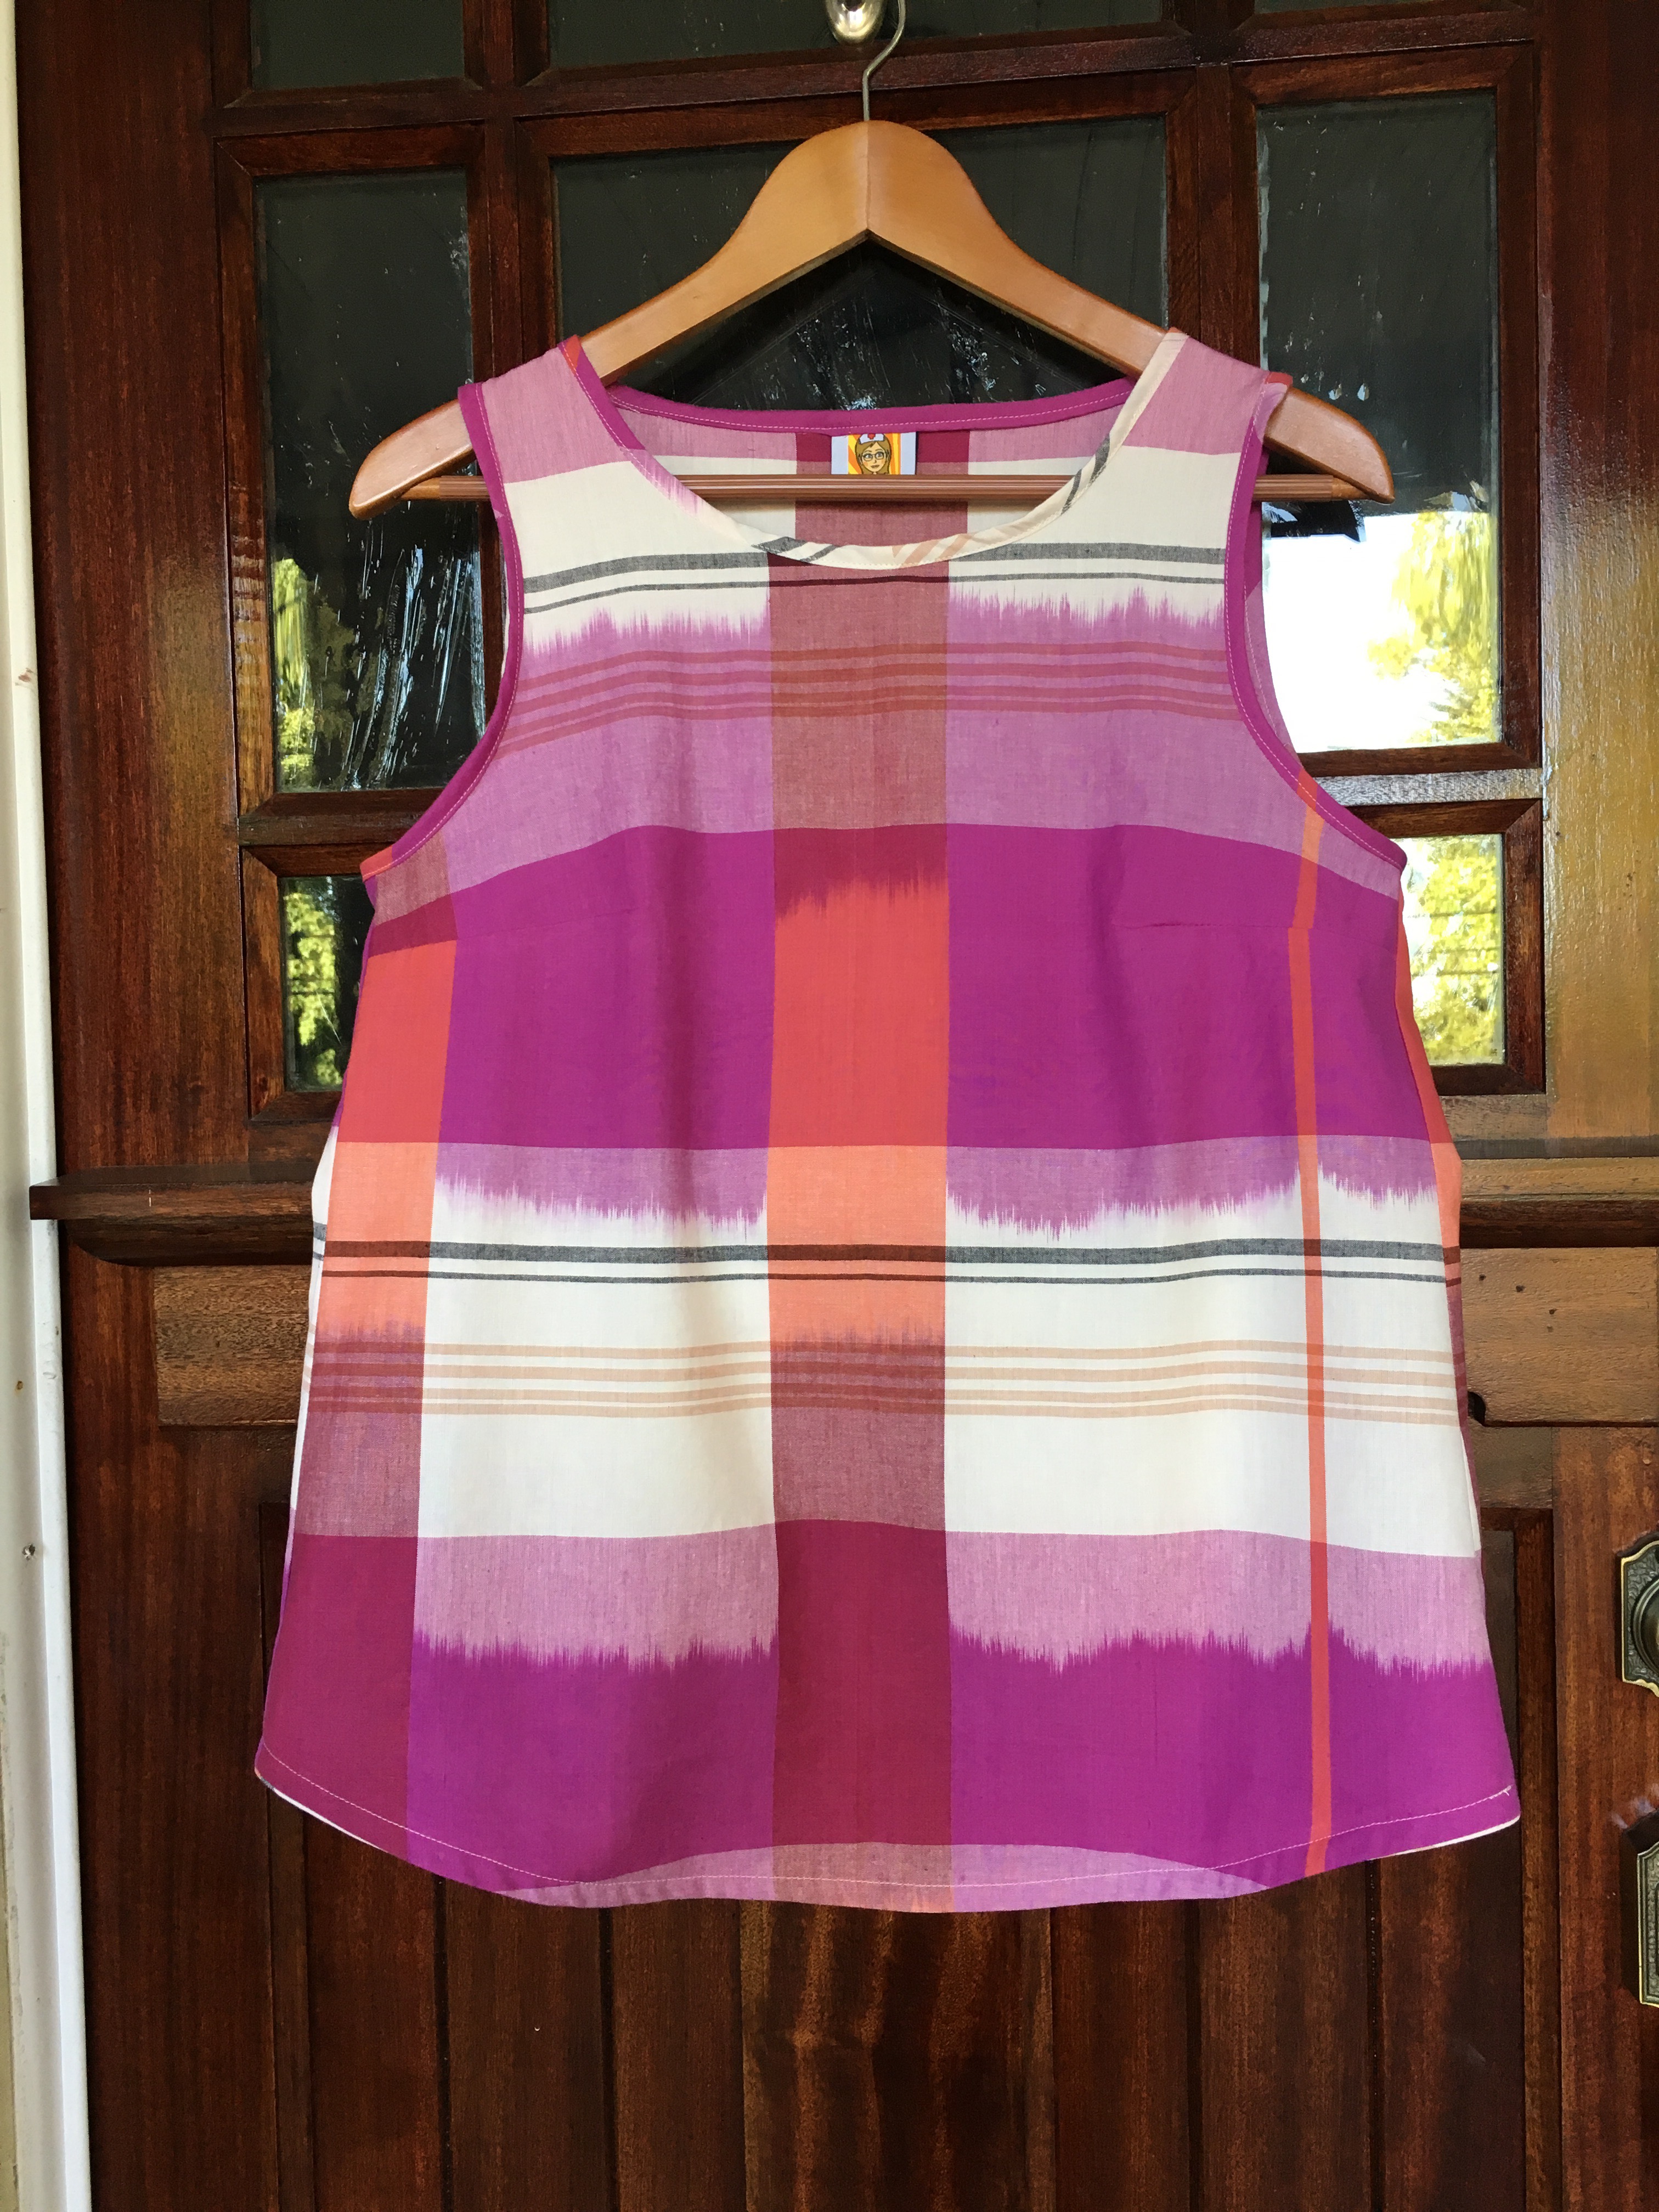
 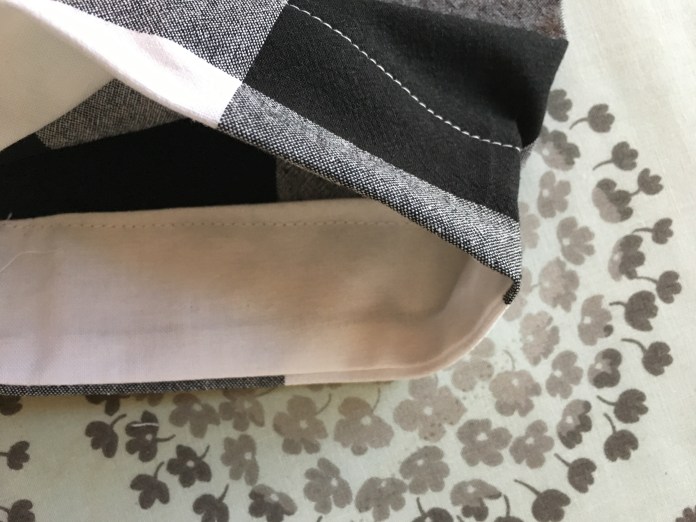 Finished dress on the front door.
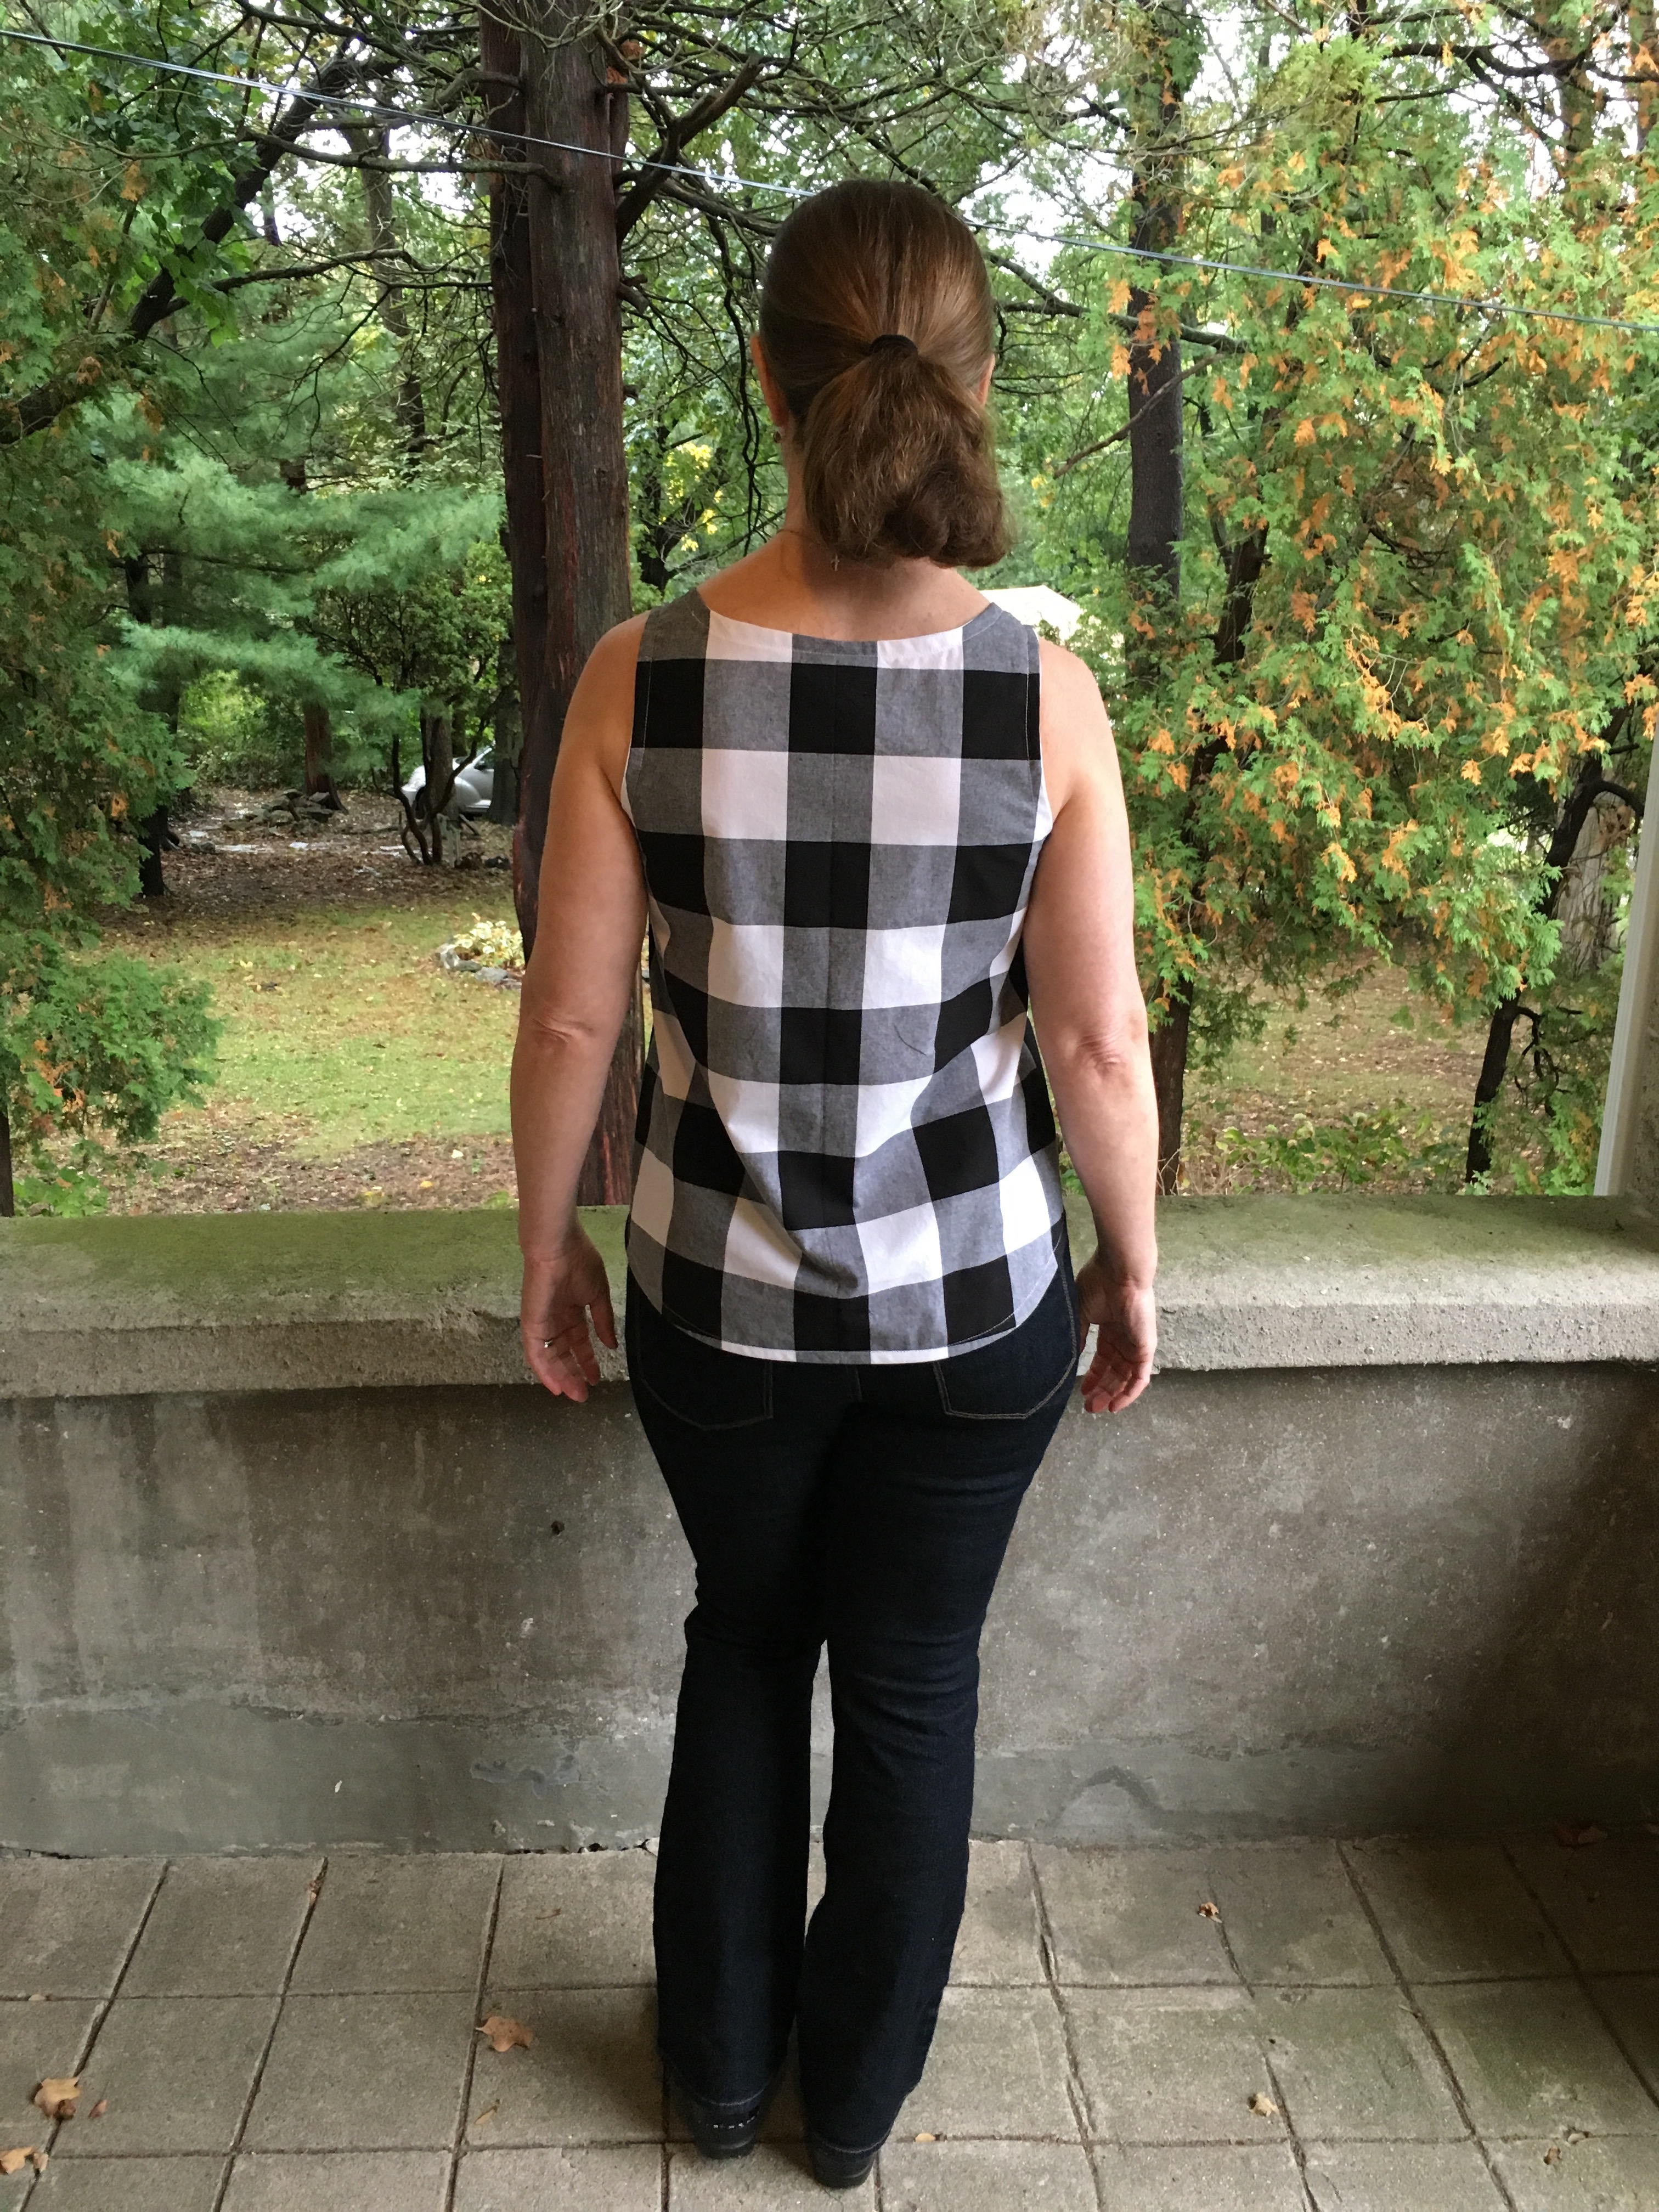
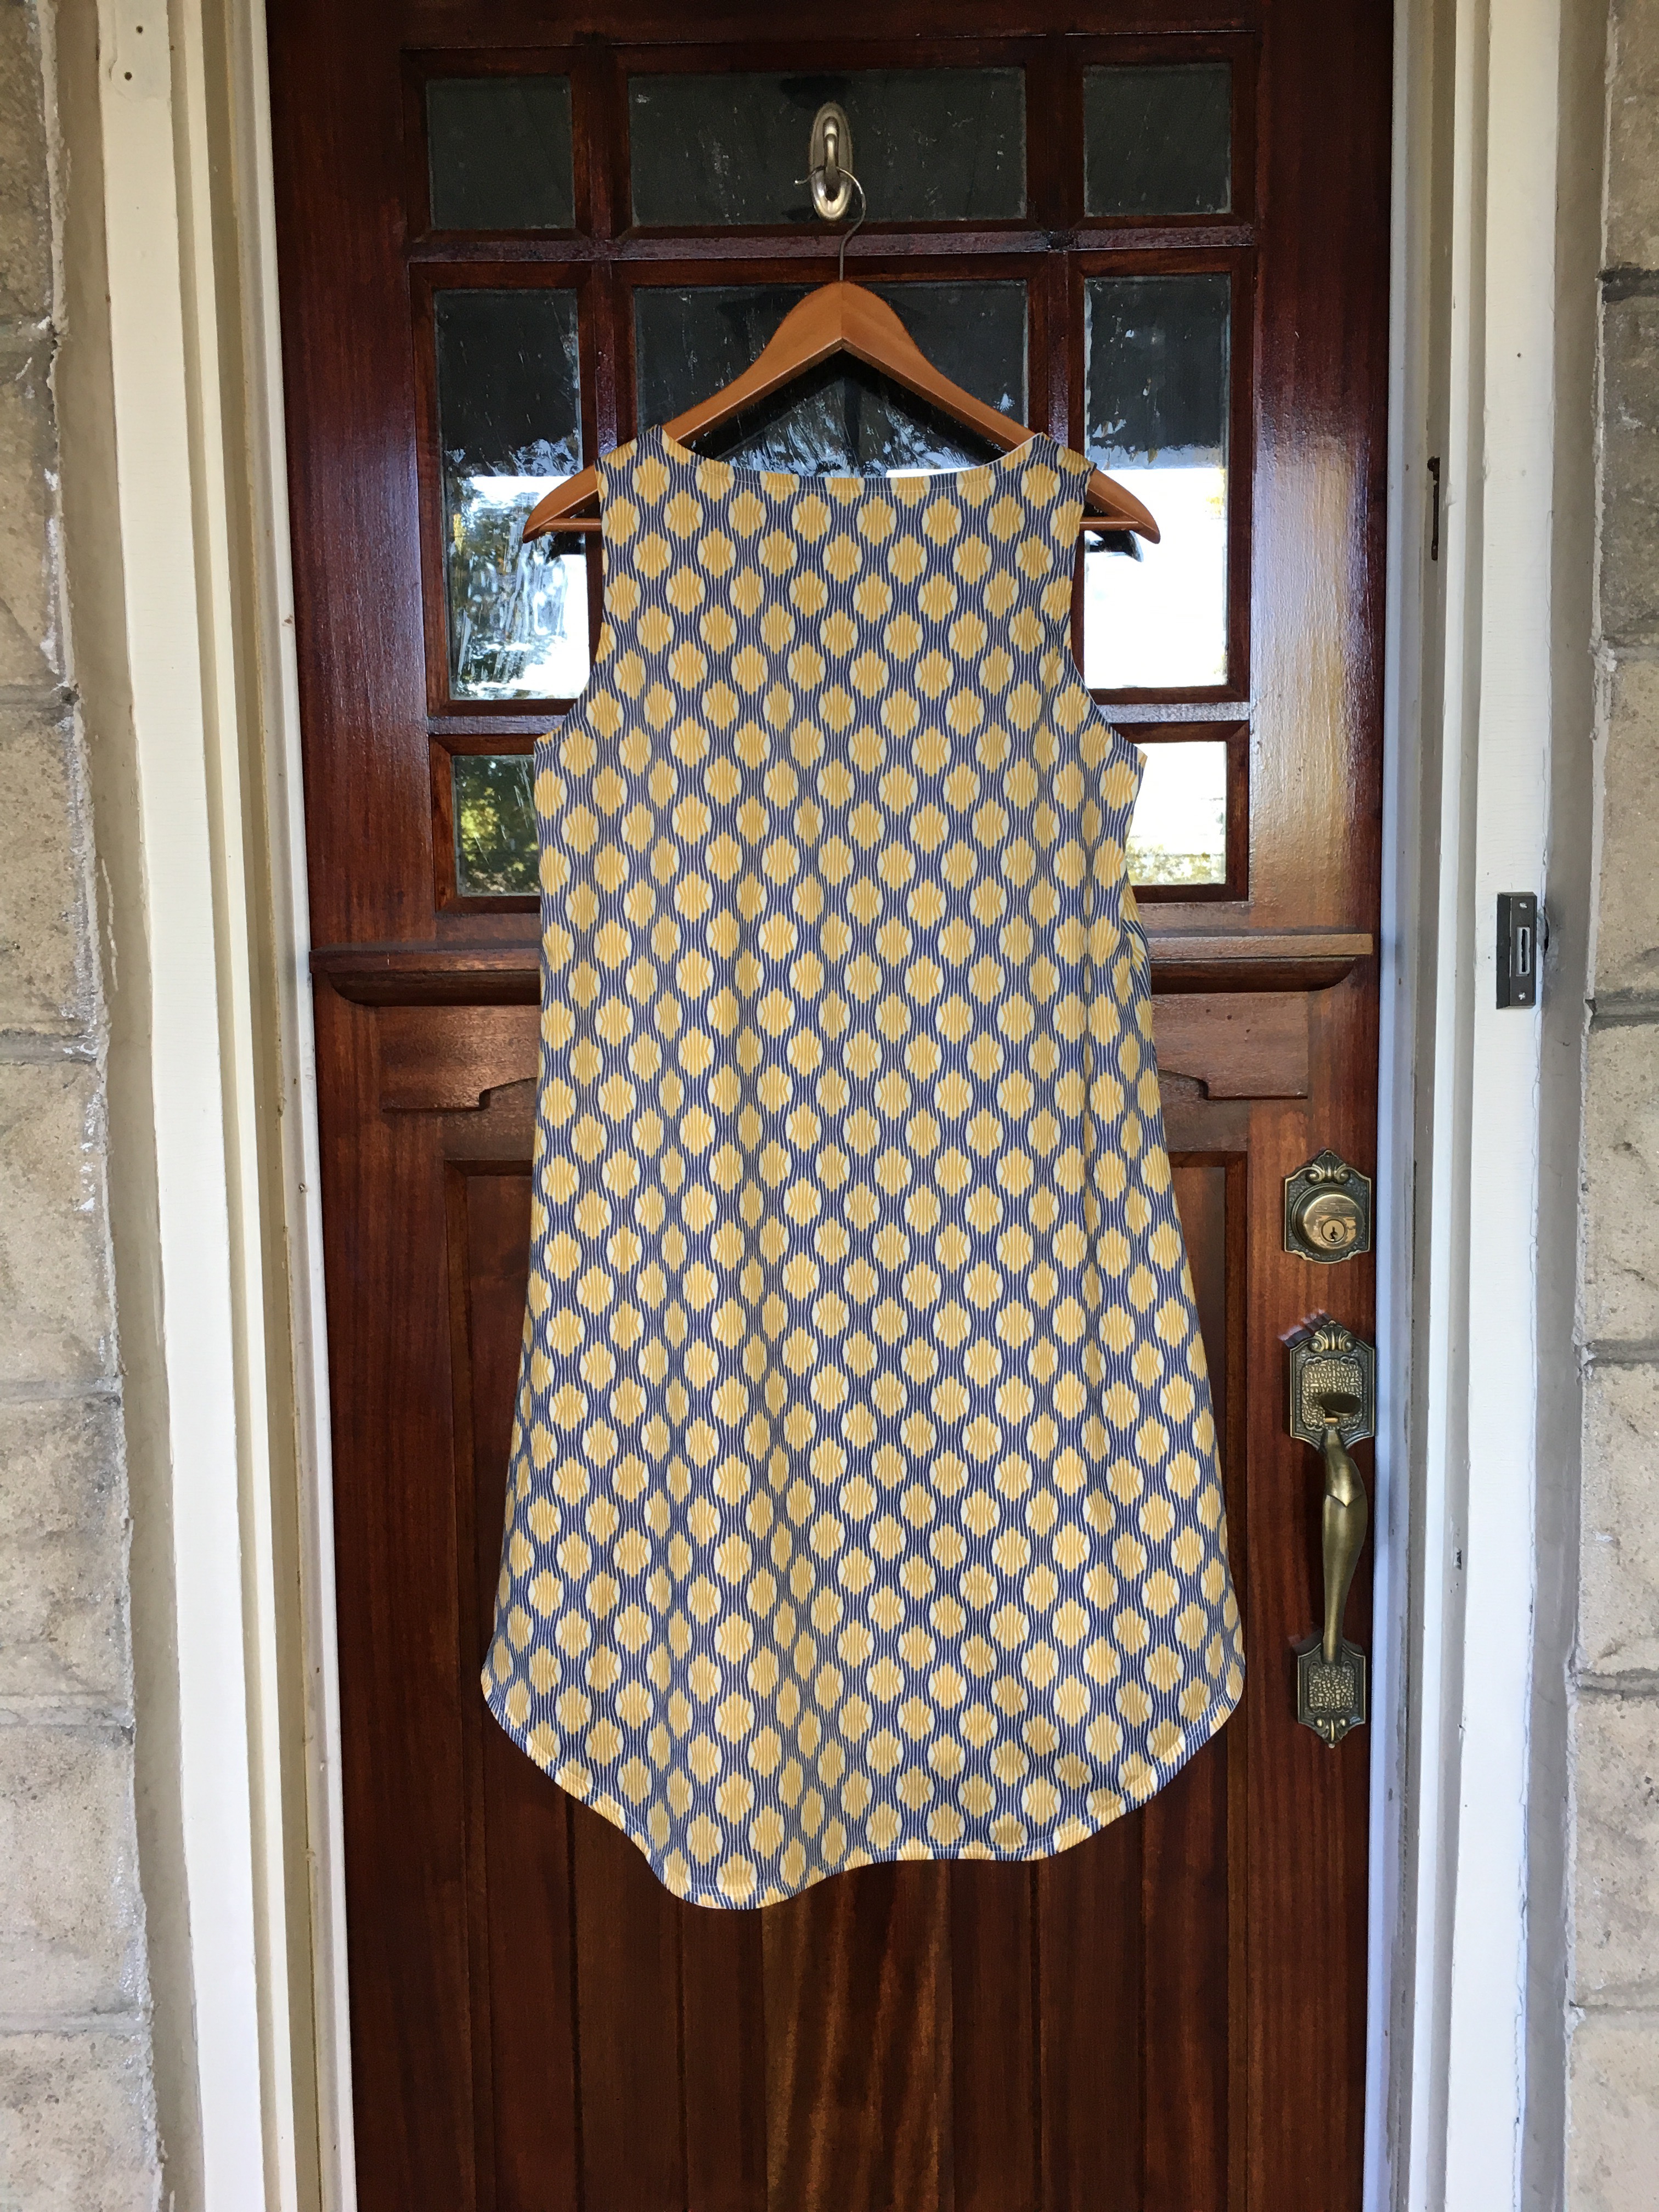
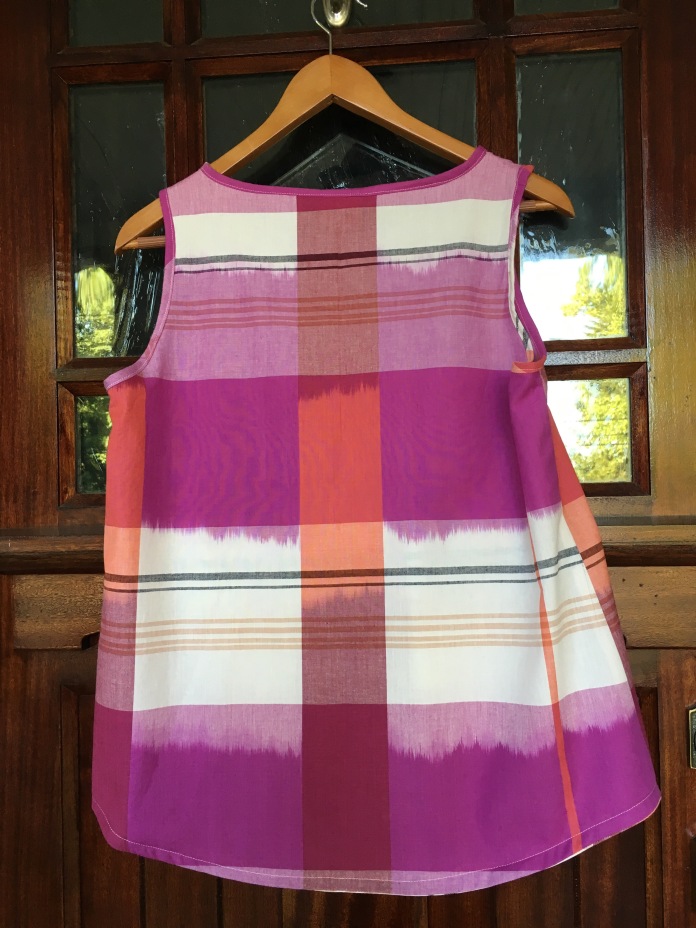
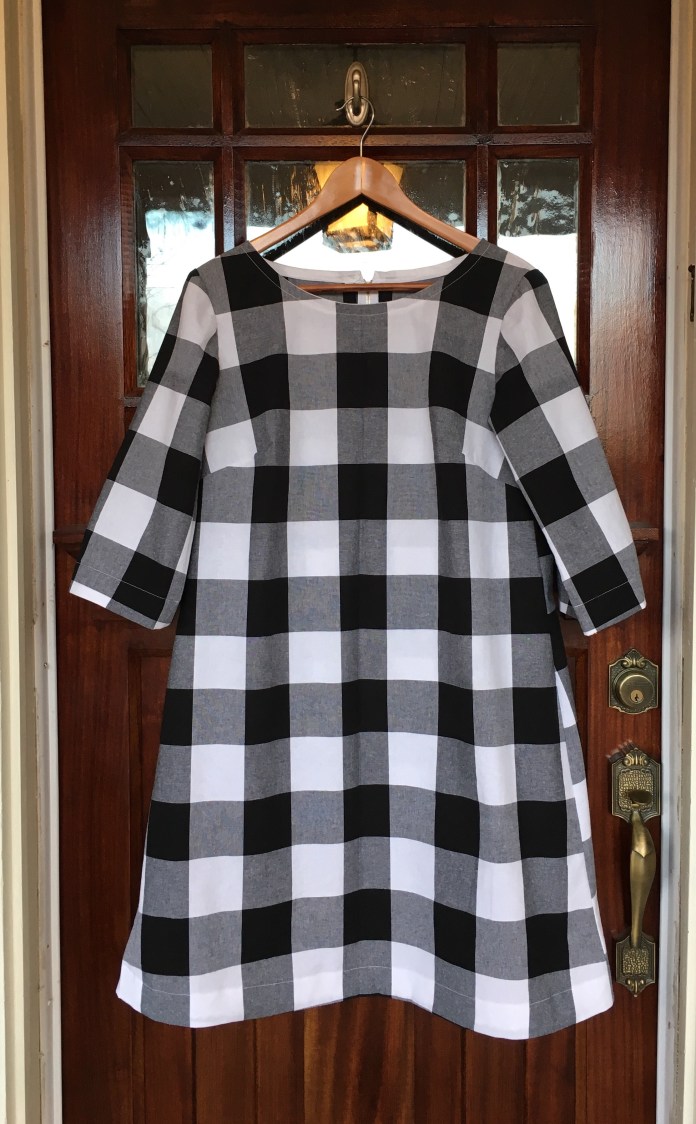 Back of dress.
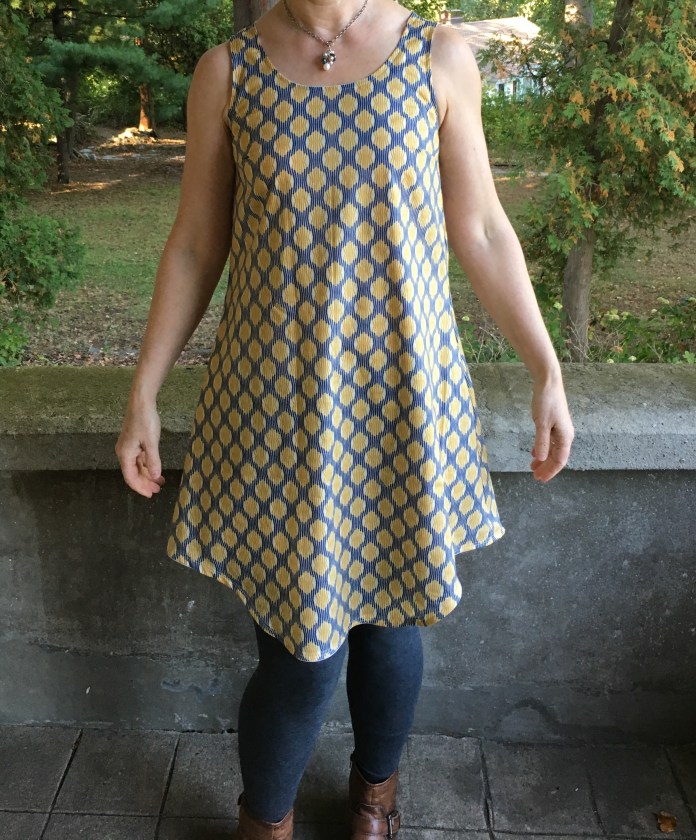
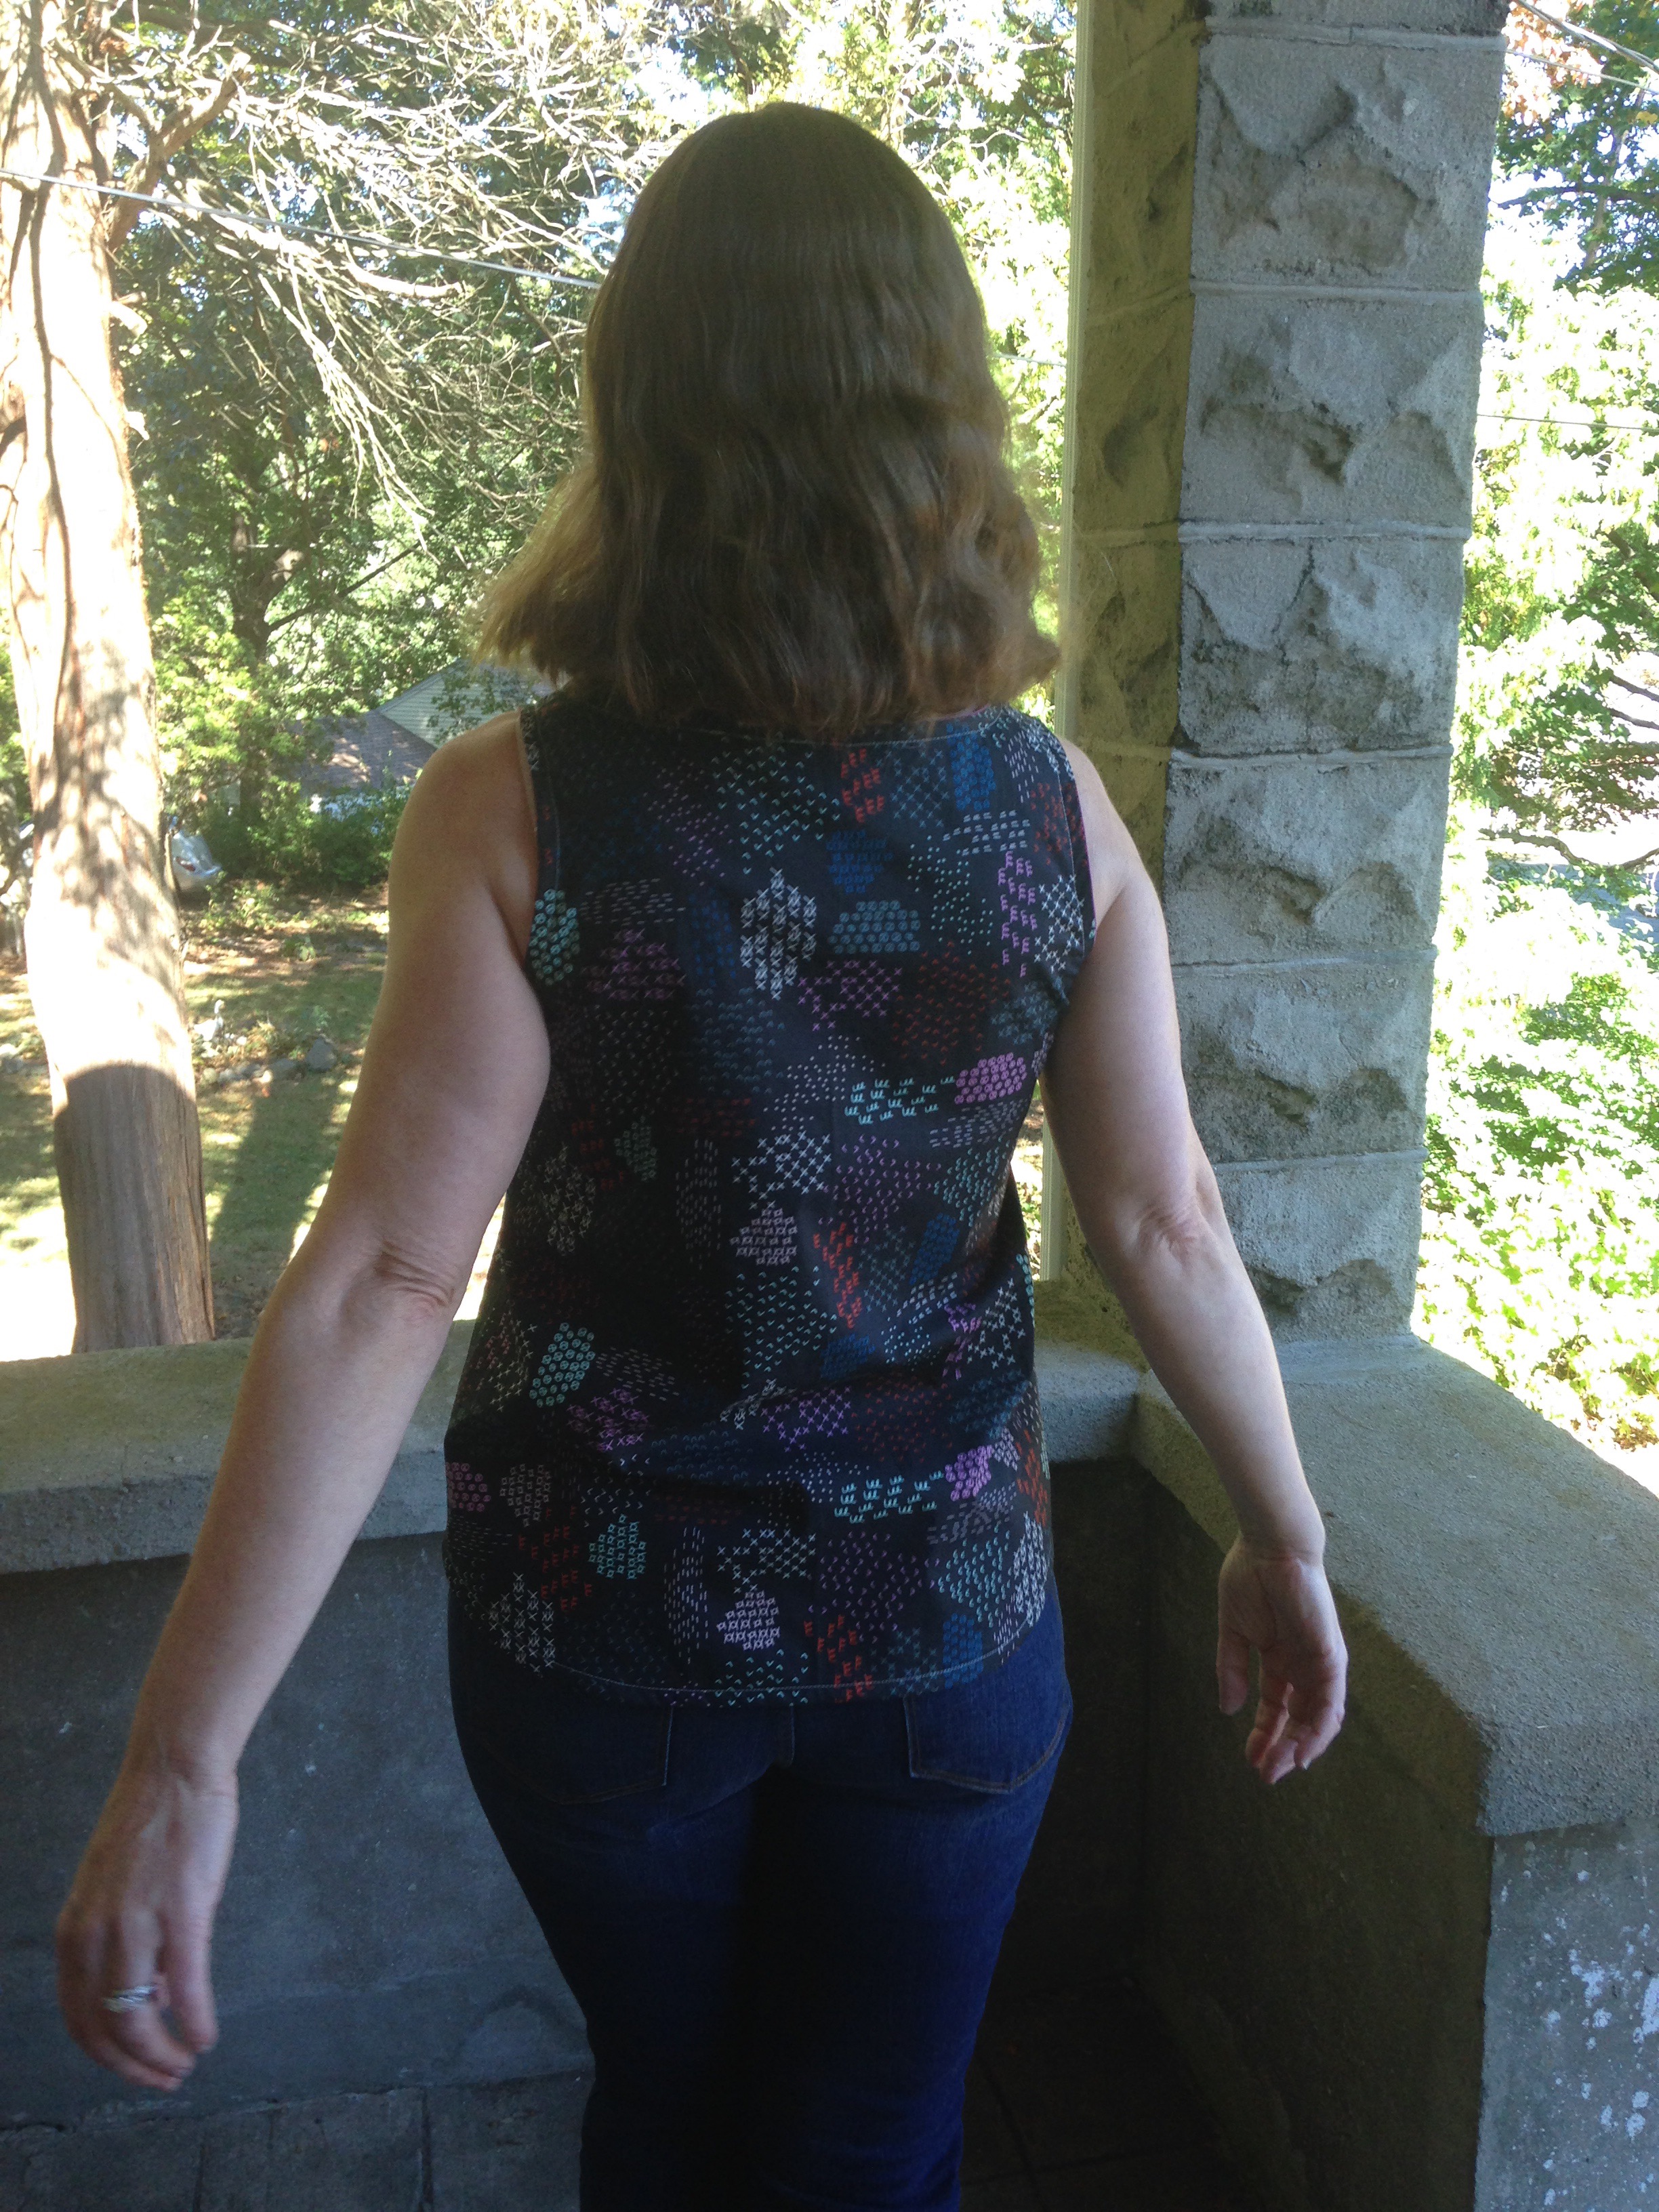
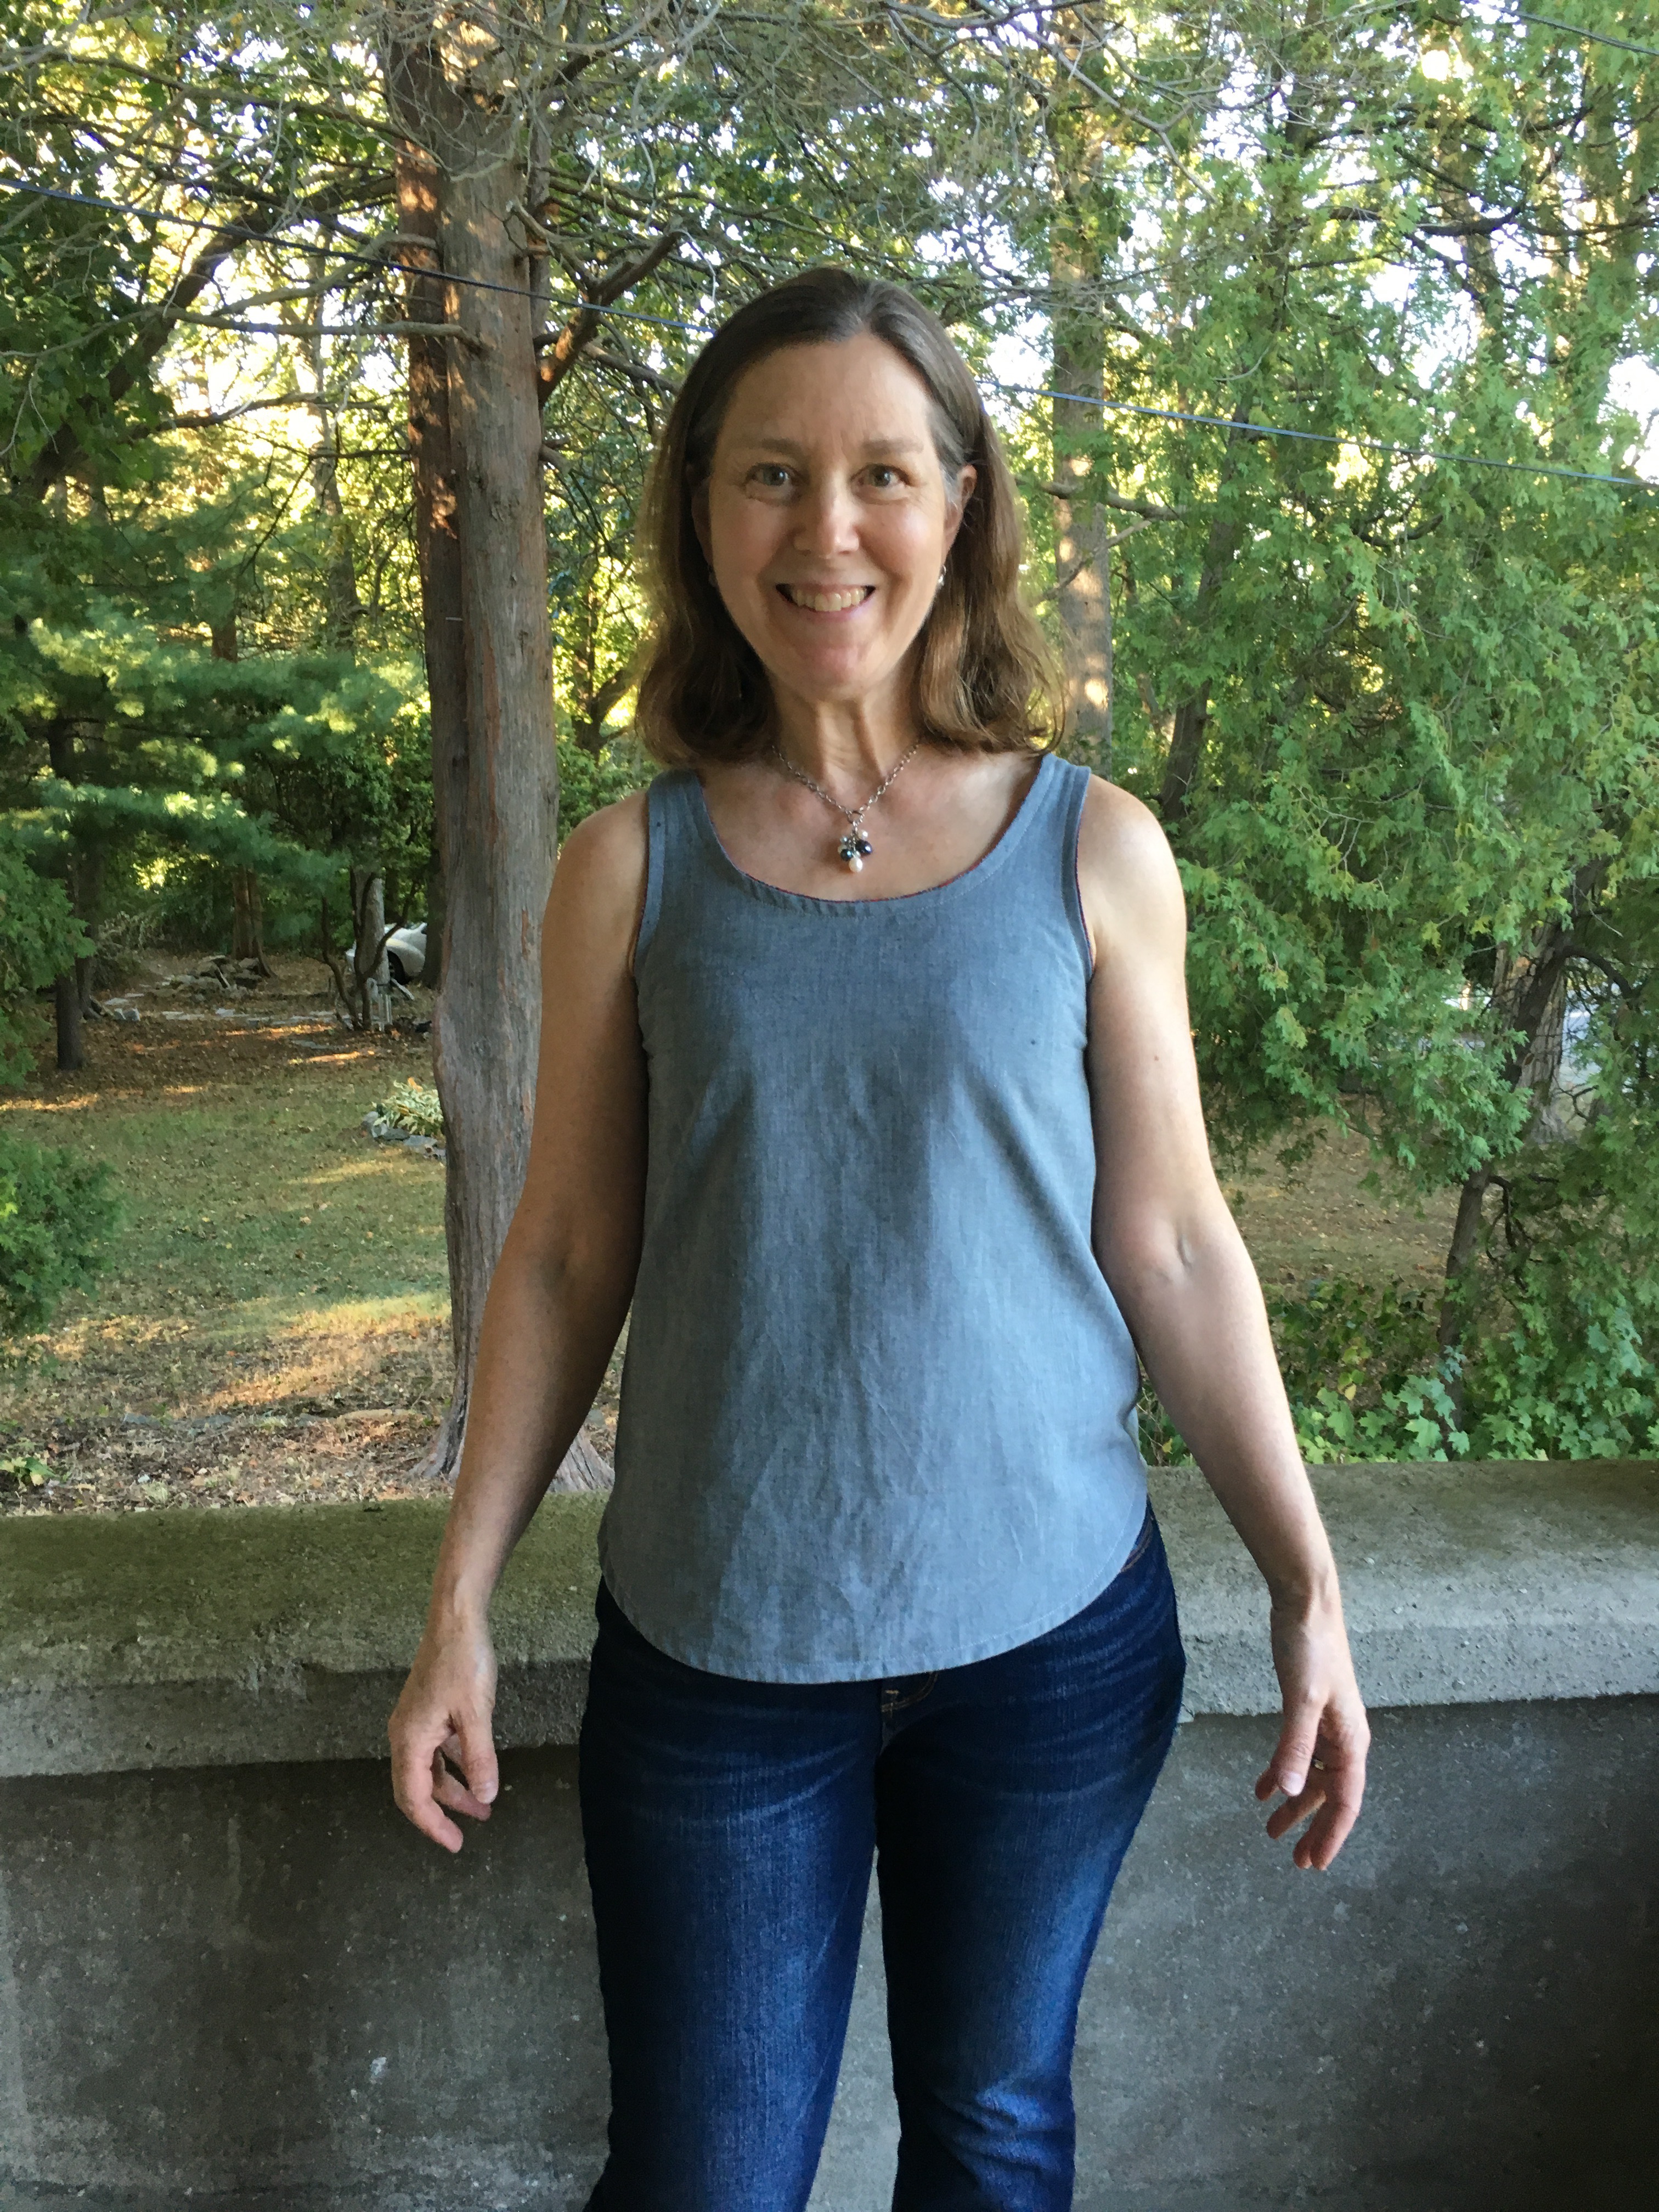
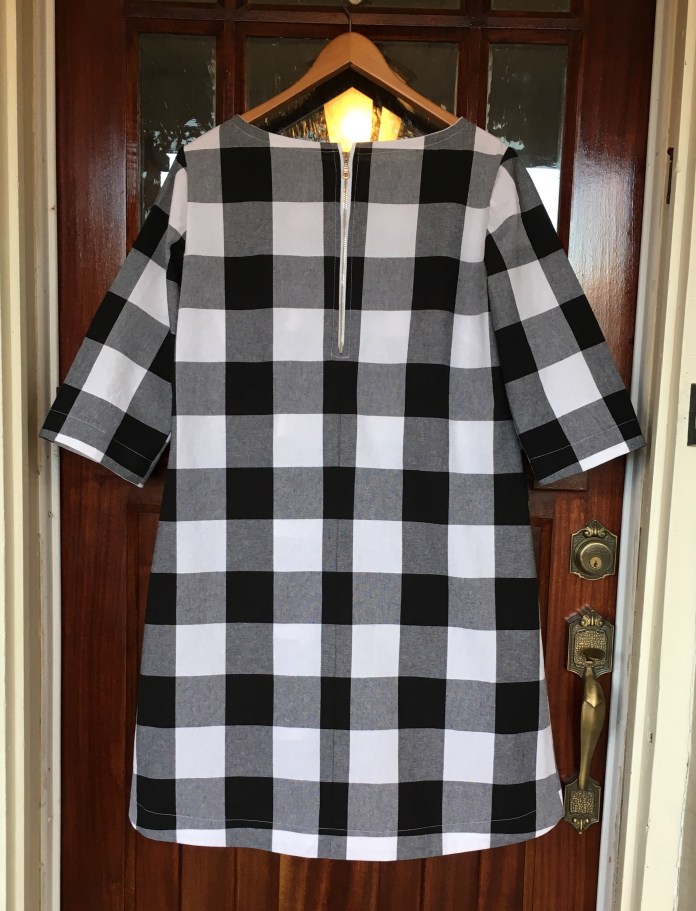 And as worn. Although I thought I cut it the same length as my previous versions, this one is a little longer. I am not sure how I feel about it. I really like the way the linen one fits but I also find that when there is less heft to the fabric as in my Alison Glass version, the tunic rides up. I will have to wear this for a while and see what I think about the length. I think on me, the shorter version is a little more flattering but time will tell.
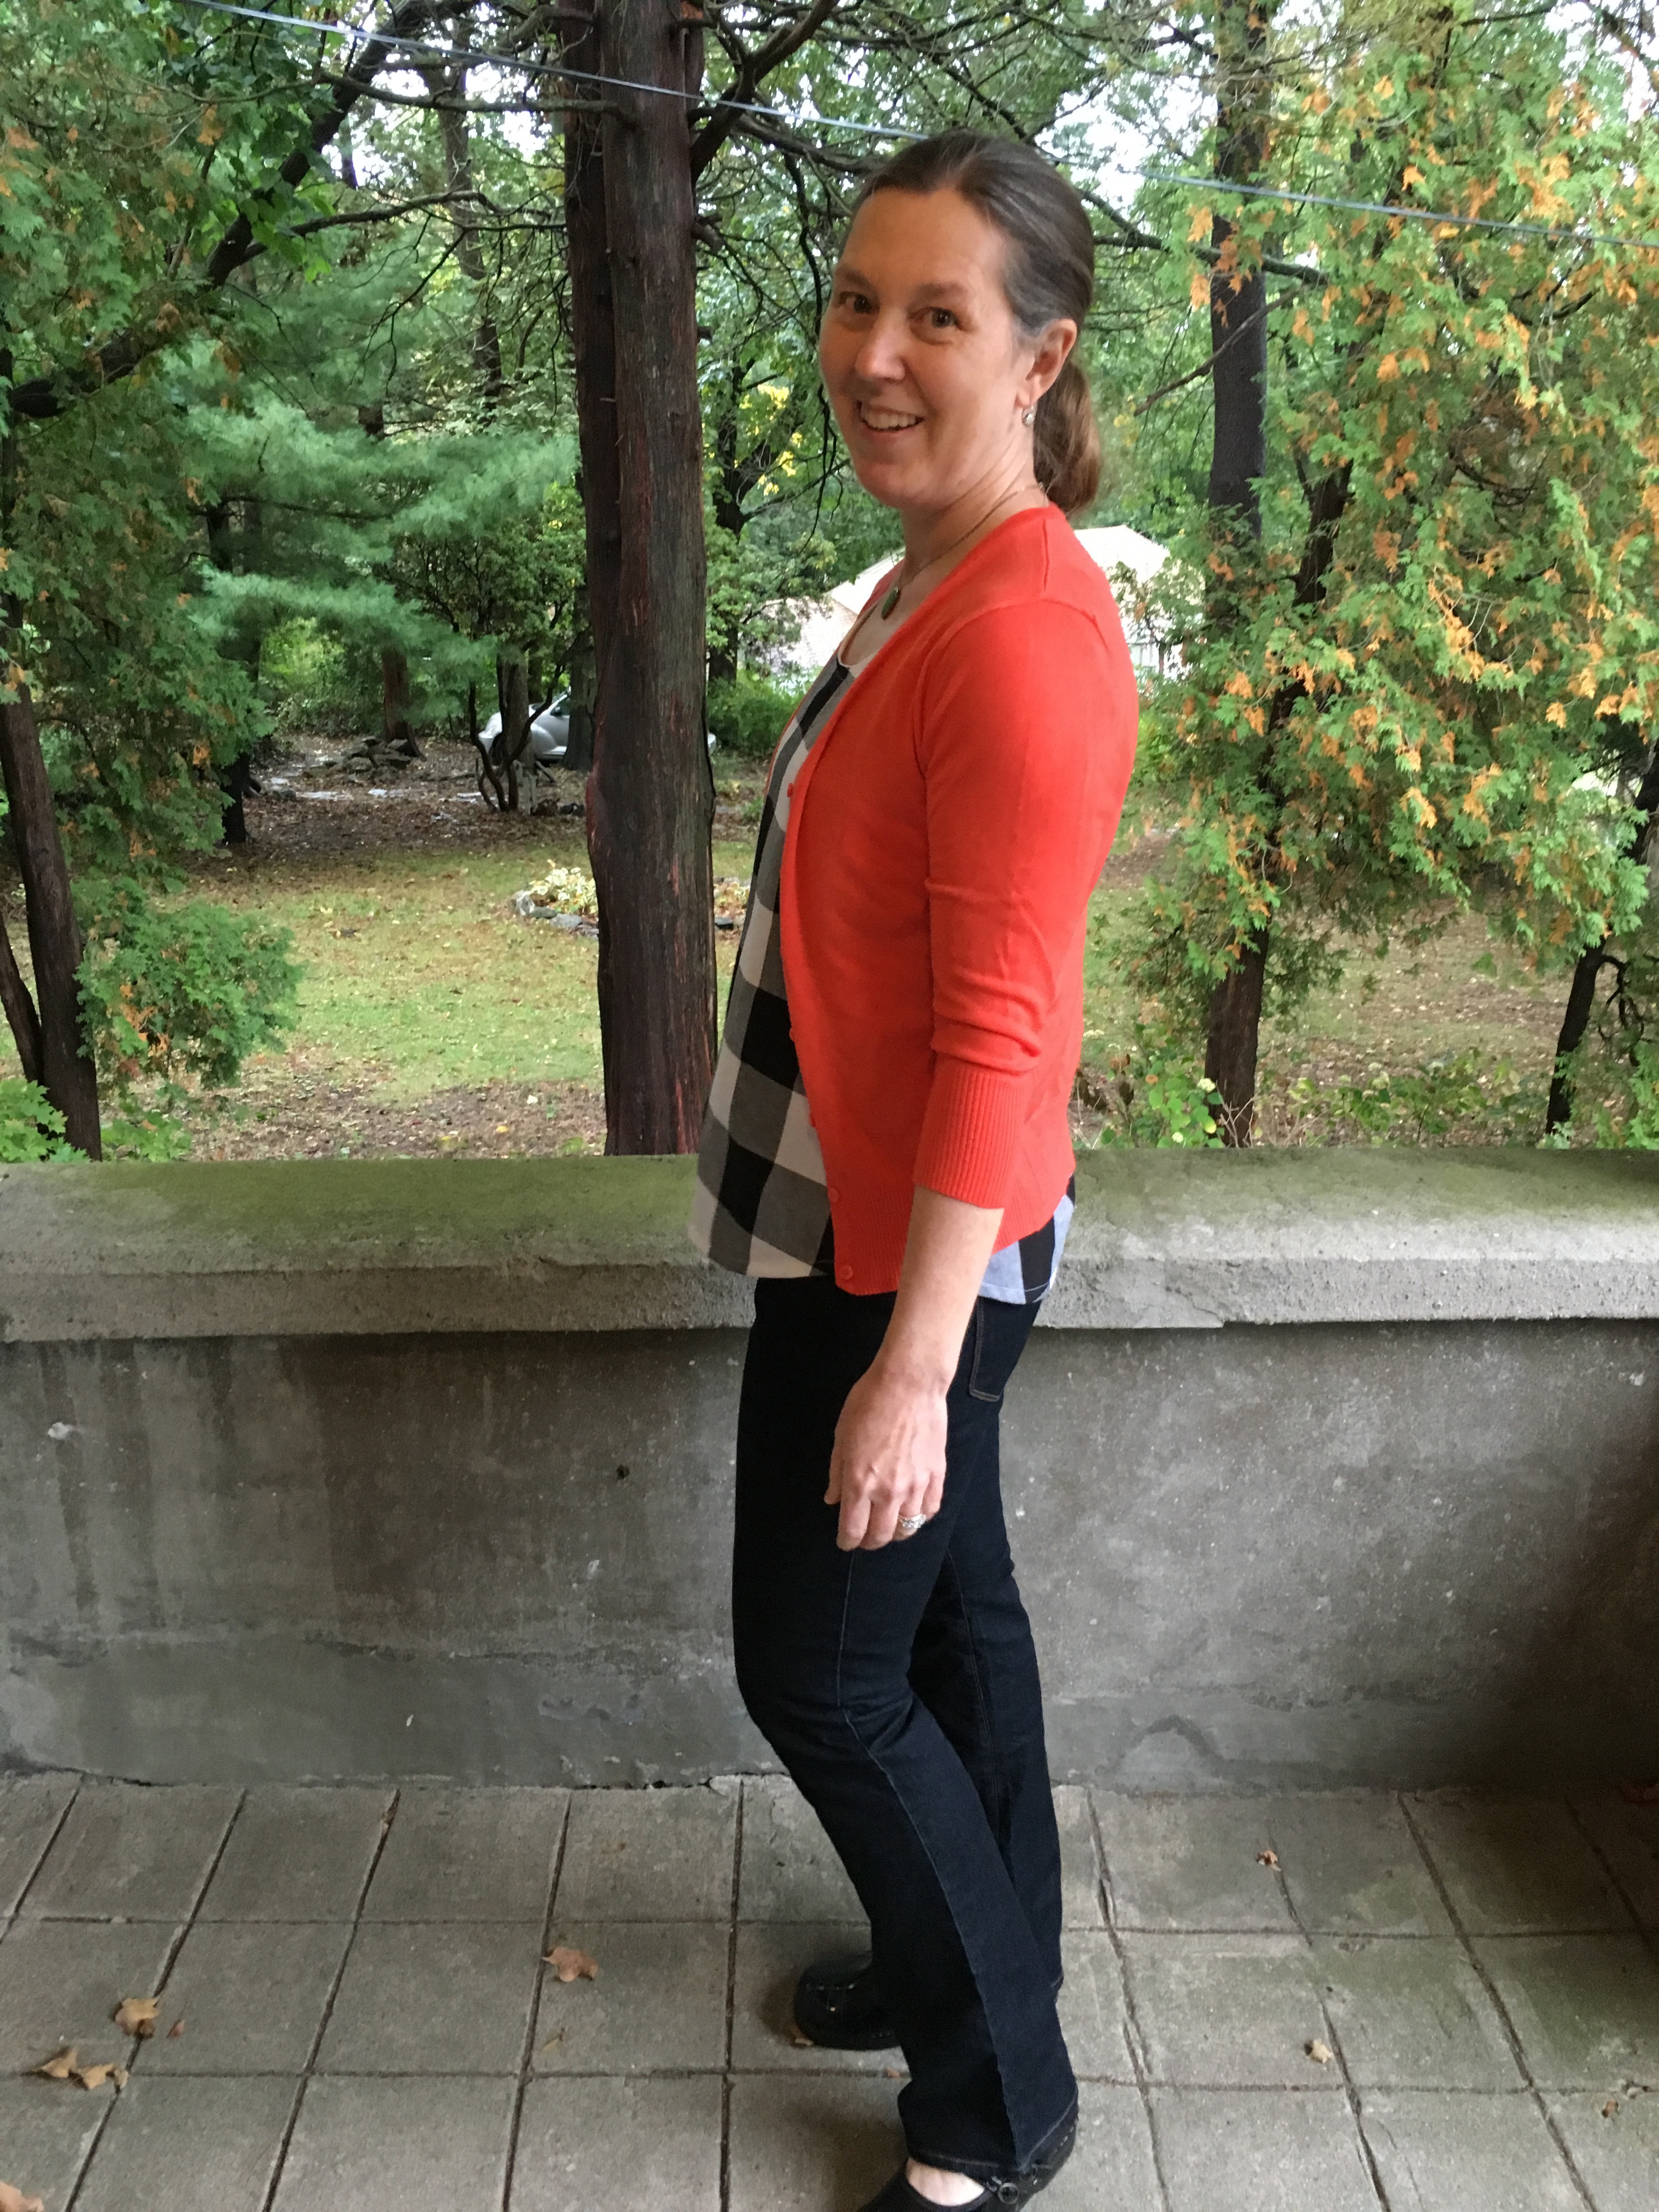
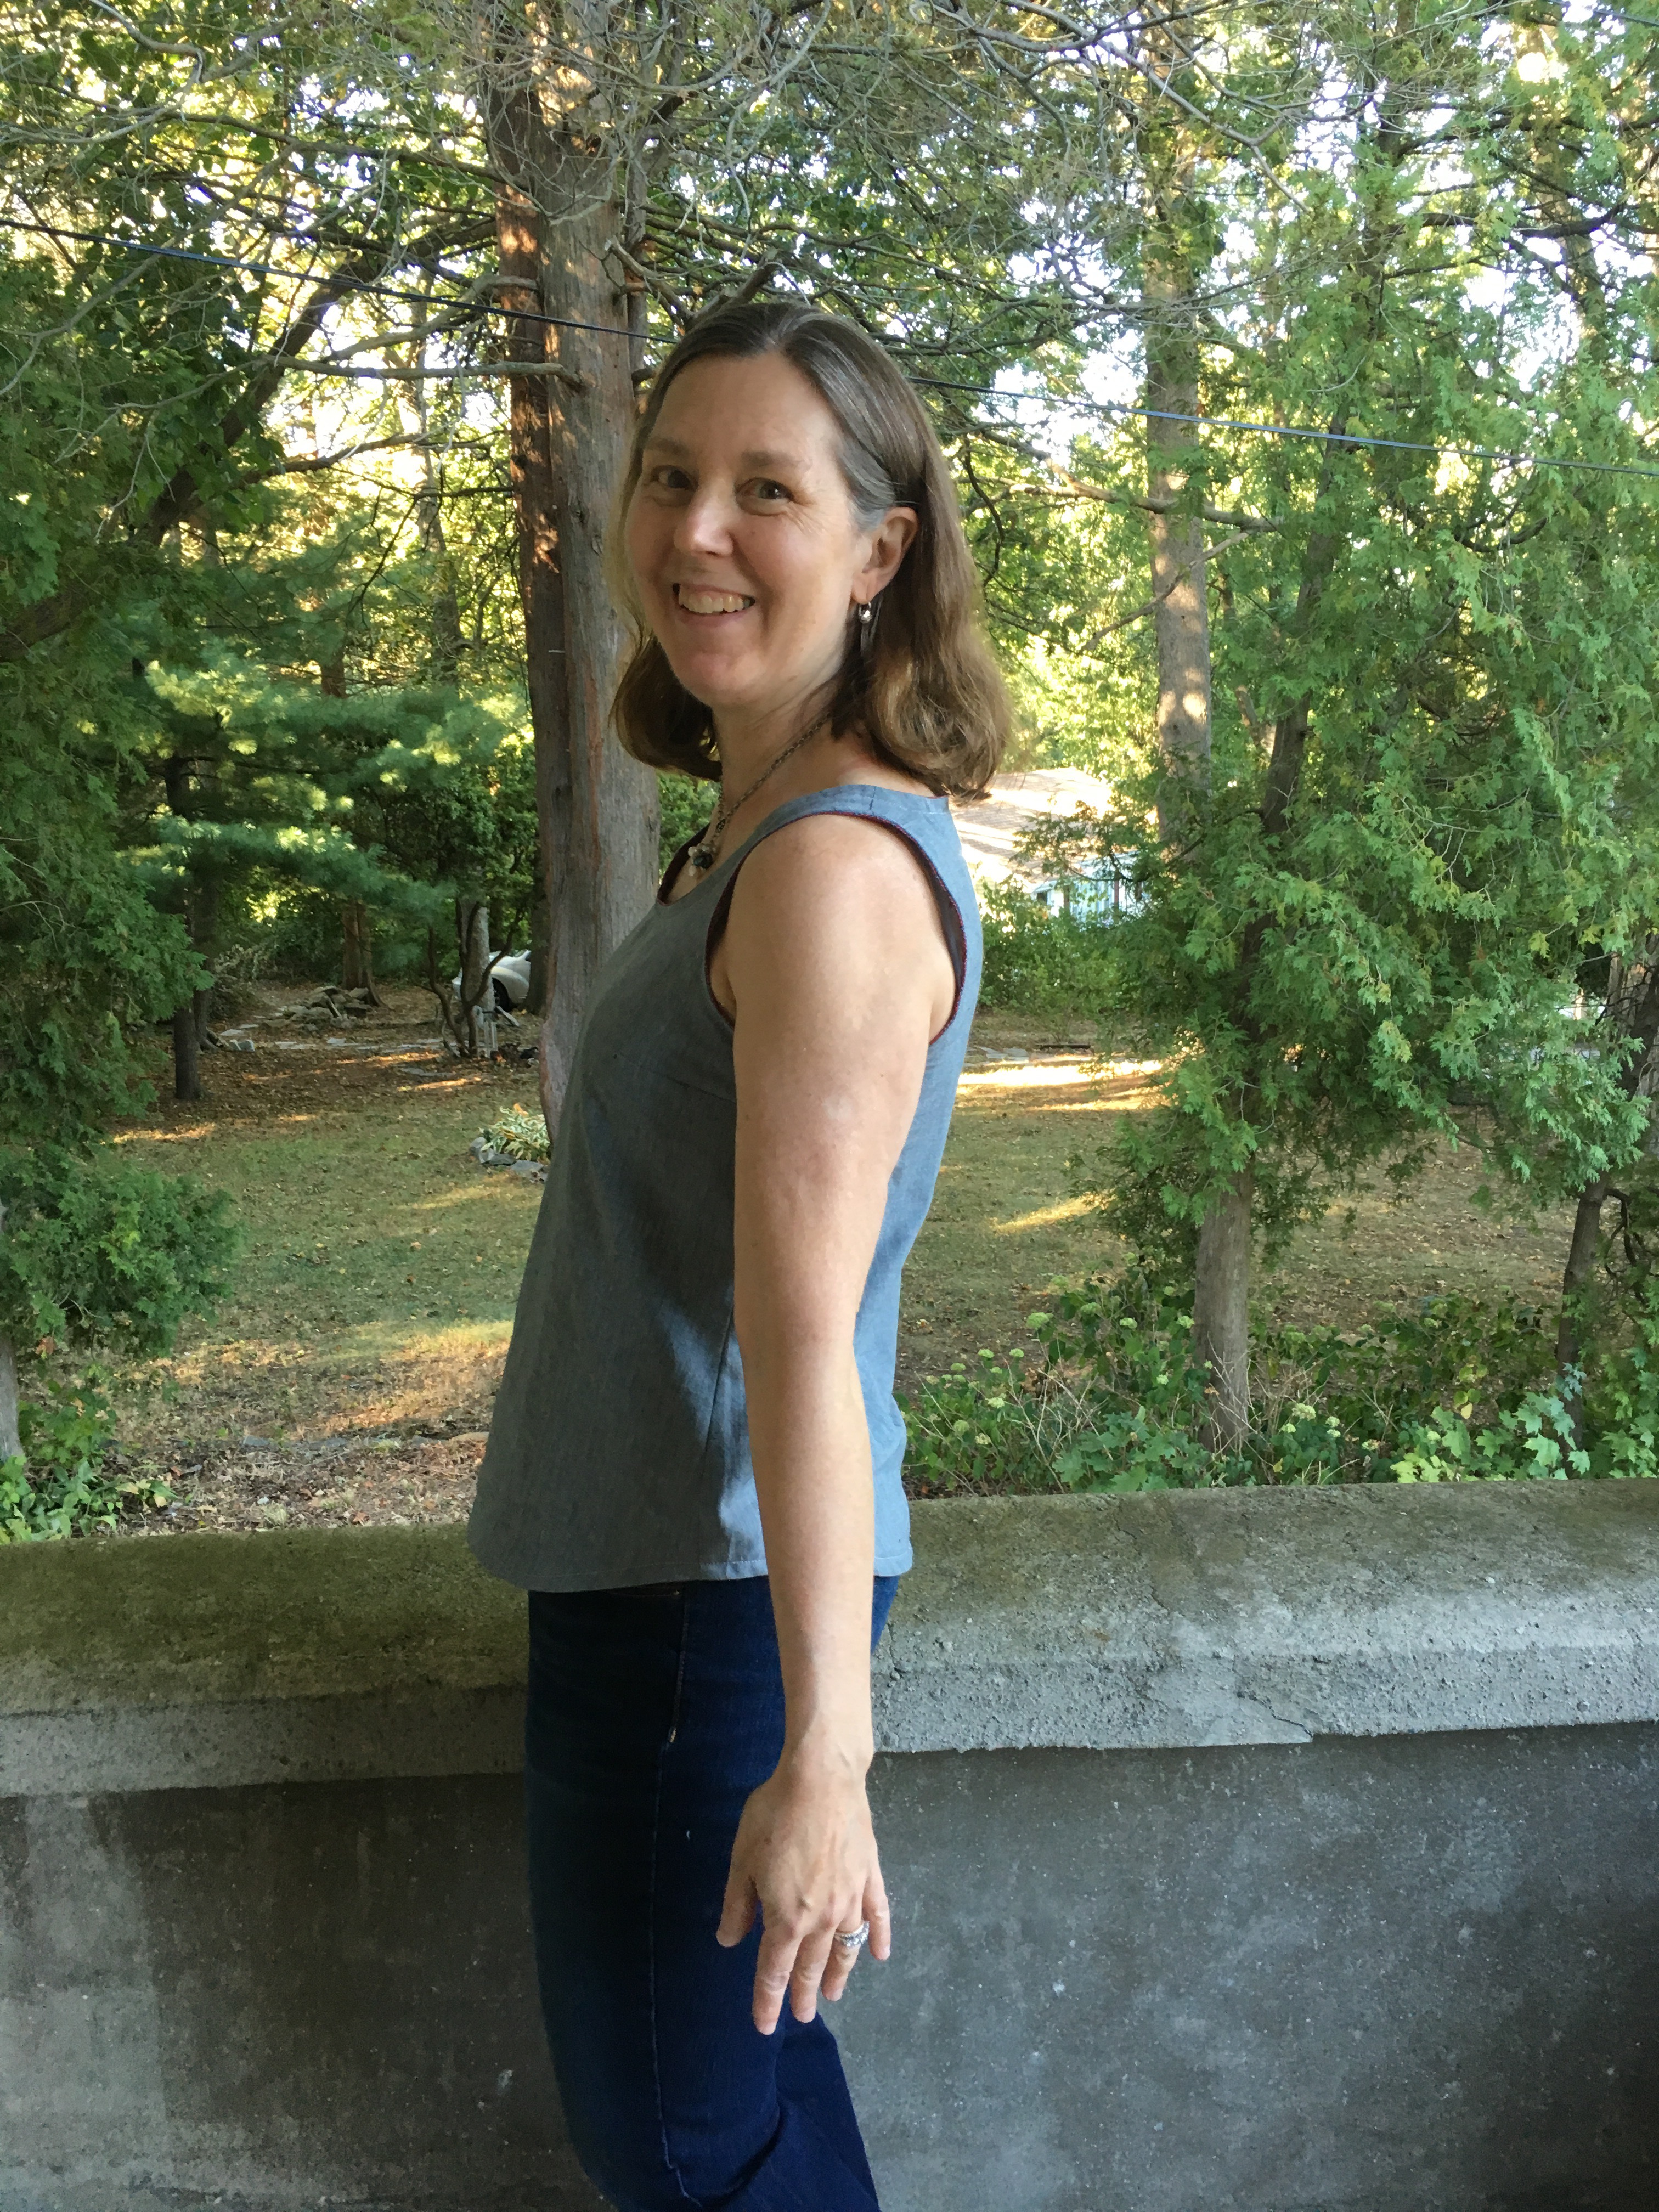
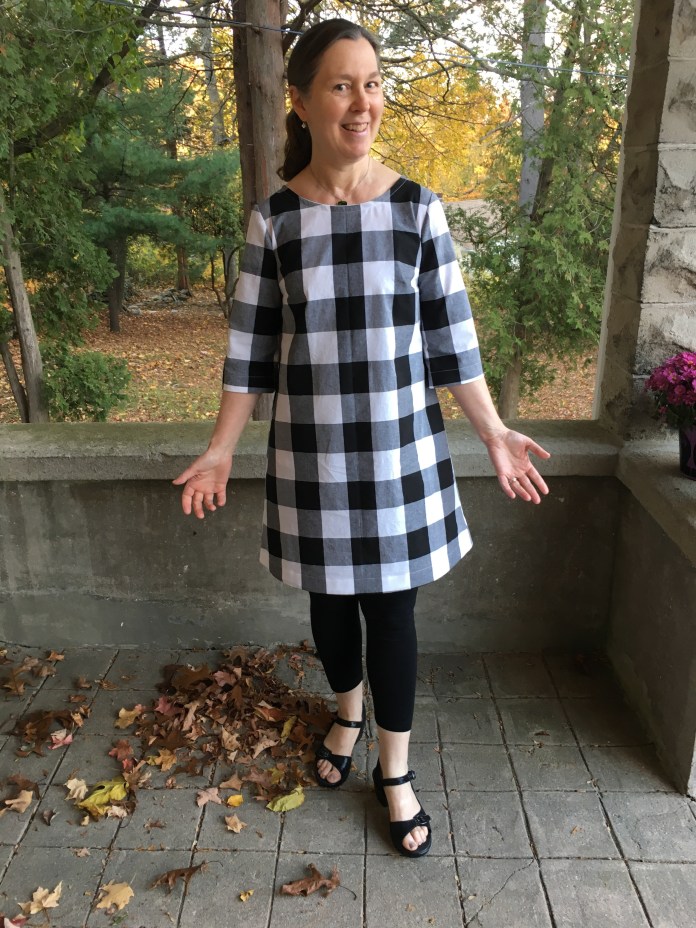 Side view.
 Back view.
 One more picture with fall foliage.
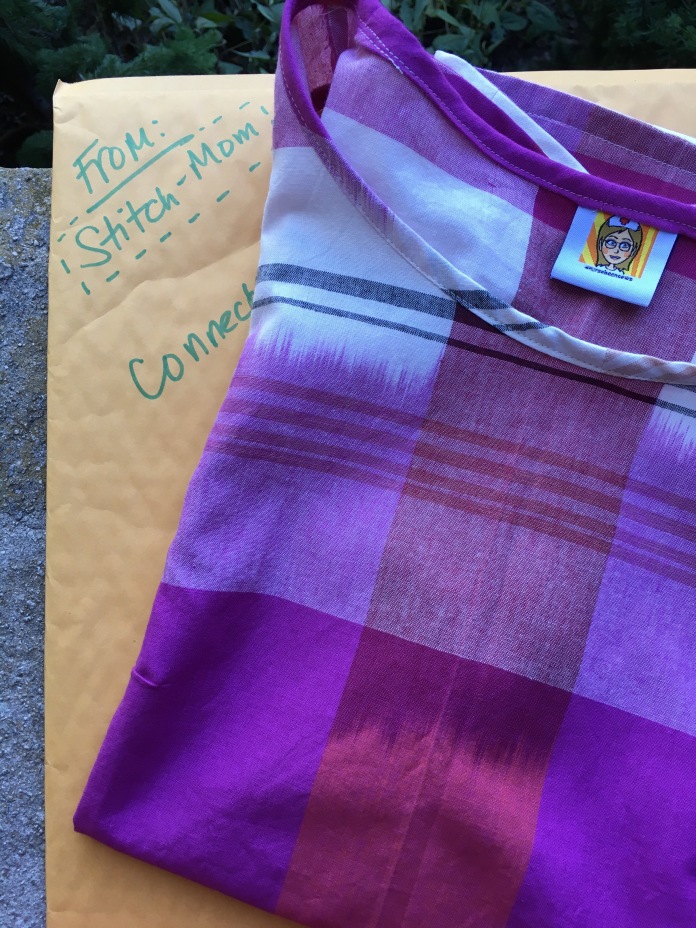
 Other things we have been enjoying here in Connecticut: a tour of a
 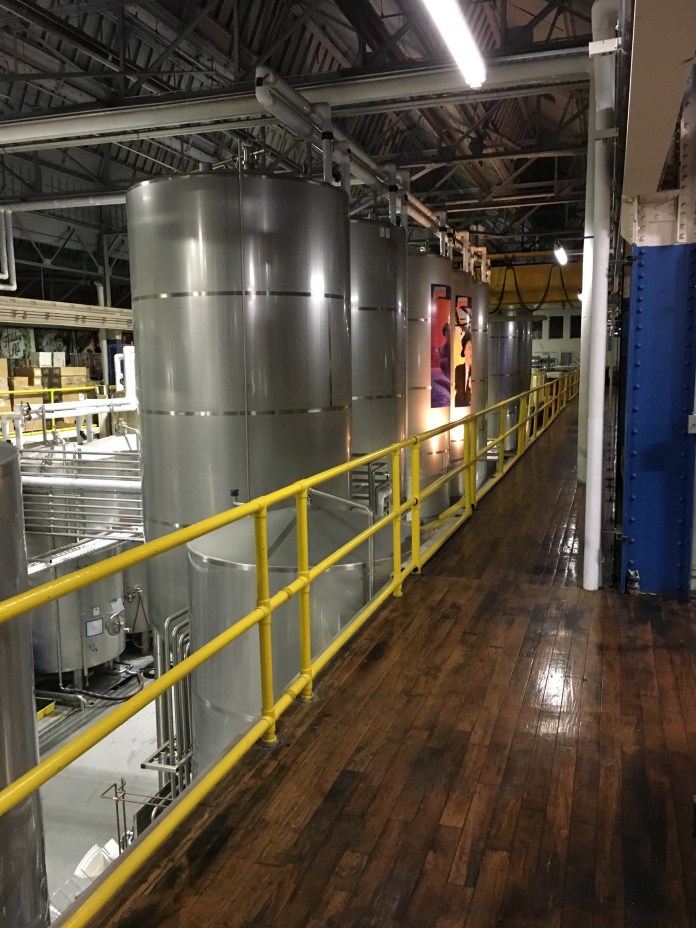 A beautiful sunrise. I love watching the sun come up and I miss the sunrises when I have to leave for work in the dark. (I am not a fan of shorter winter days.)
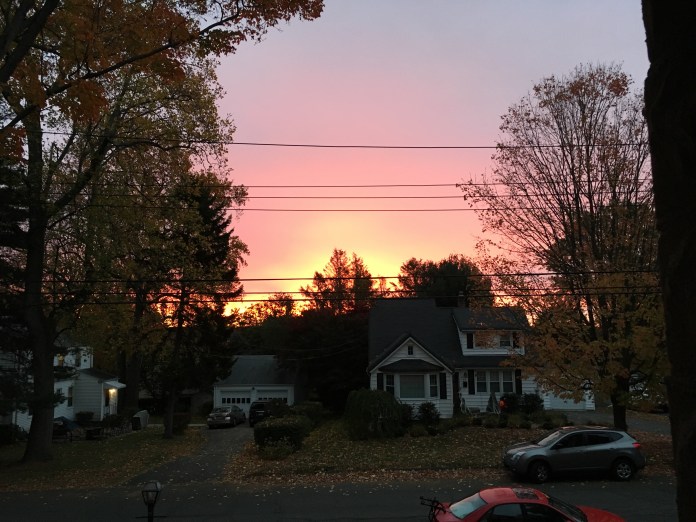 My nasturtiums finally bloomed (in October). Note to self: plant earlier next year. They were cheap and maintenance free and pretty.
 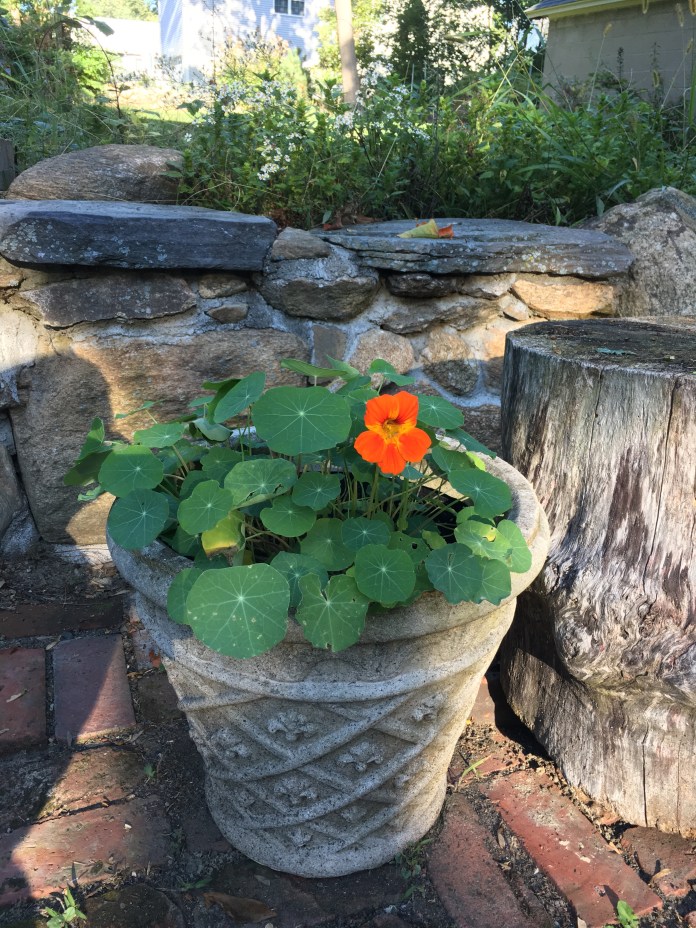 Fall is soup and muffin weather chez Nursebean. My usual modus operandi is to make what I call refrigerator soup. It is when you open the refrigerator and see what you have and make soup. It is a great way to take those leftovers and make a meal.
  I have had this pot and this bowl for over 25 years.
 I get nostalgic cooking on Sunday afternoons thinking about how many pots of chili, soup and even lasagnas have been made in this blue Le Creuset pot which was a wedding gift over 30 years ago. I remember buying the bowl as a young broke new mom. It was a big splurge at the time. I don’t think it was actually very expensive but all purchases felt like big purchases at that point in my life (and in many ways still do). I still love it. Many muffins and cookies have started in this bowl. Mr. Nursebean has found that he feels better when he avoids gluten so I made some adjustments to the cornmeal muffin recipe from
 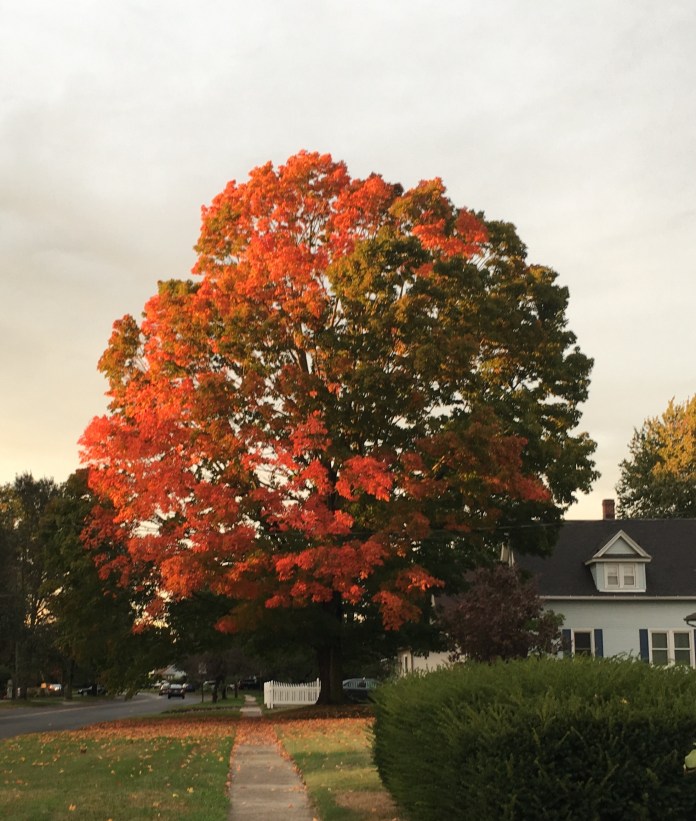 I have been doing a lot of reading. I inhaled
  Next up are two more Pearl shifts in plain flannel purchased last year at Jo-Ann’s.
  This time I remembered to add the extra seam allowance for french seams. This is why I often make more than one of a pattern in a row. It takes a couple times to work out the bugs! One of these will be for me and one for my daughter who I will see (yay!) for Thanksgiving. I have a lot to be thankful for. Wishing everyone a beautiful fall!


 I use my fingers between the layers to help line up the two edges as I press.
 I then top stitch around the neckline.
 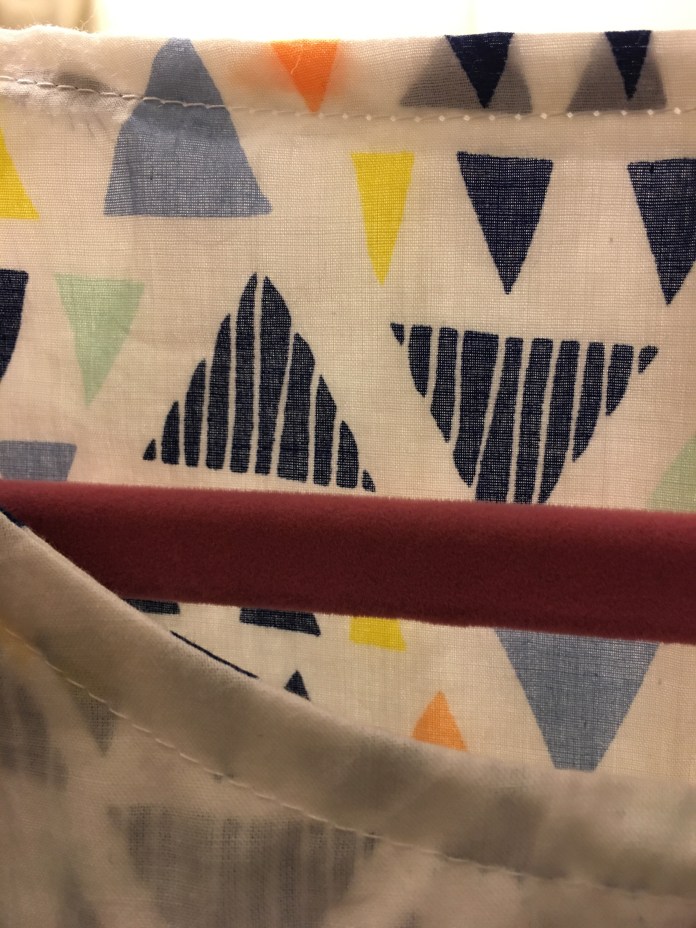 You can see examples of this technique it in my Ruby post
 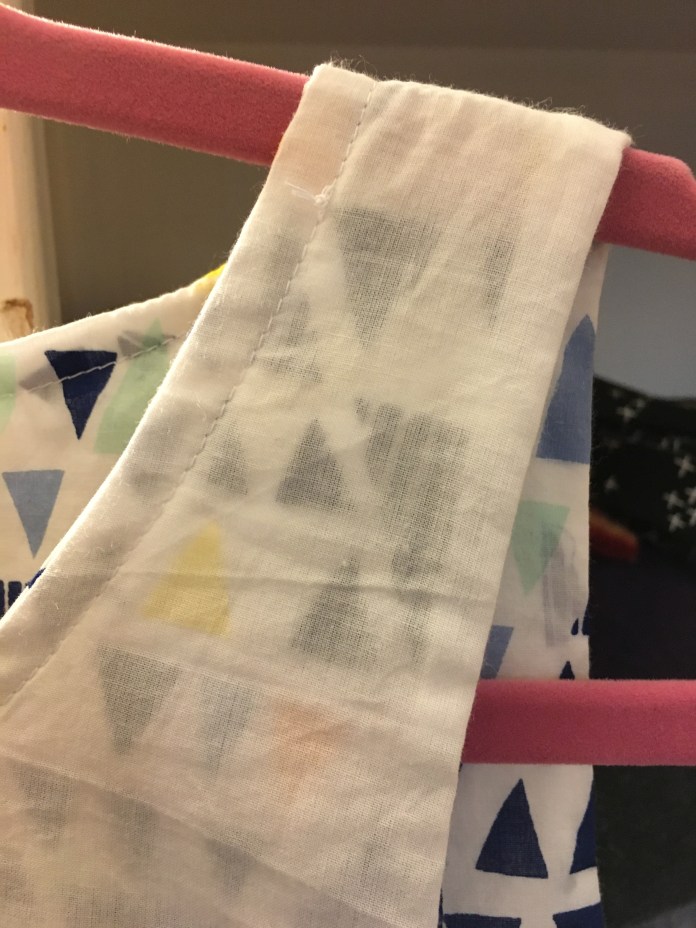 Pictures below are from the dress-length lined Gemma which I worked on this week. This is also
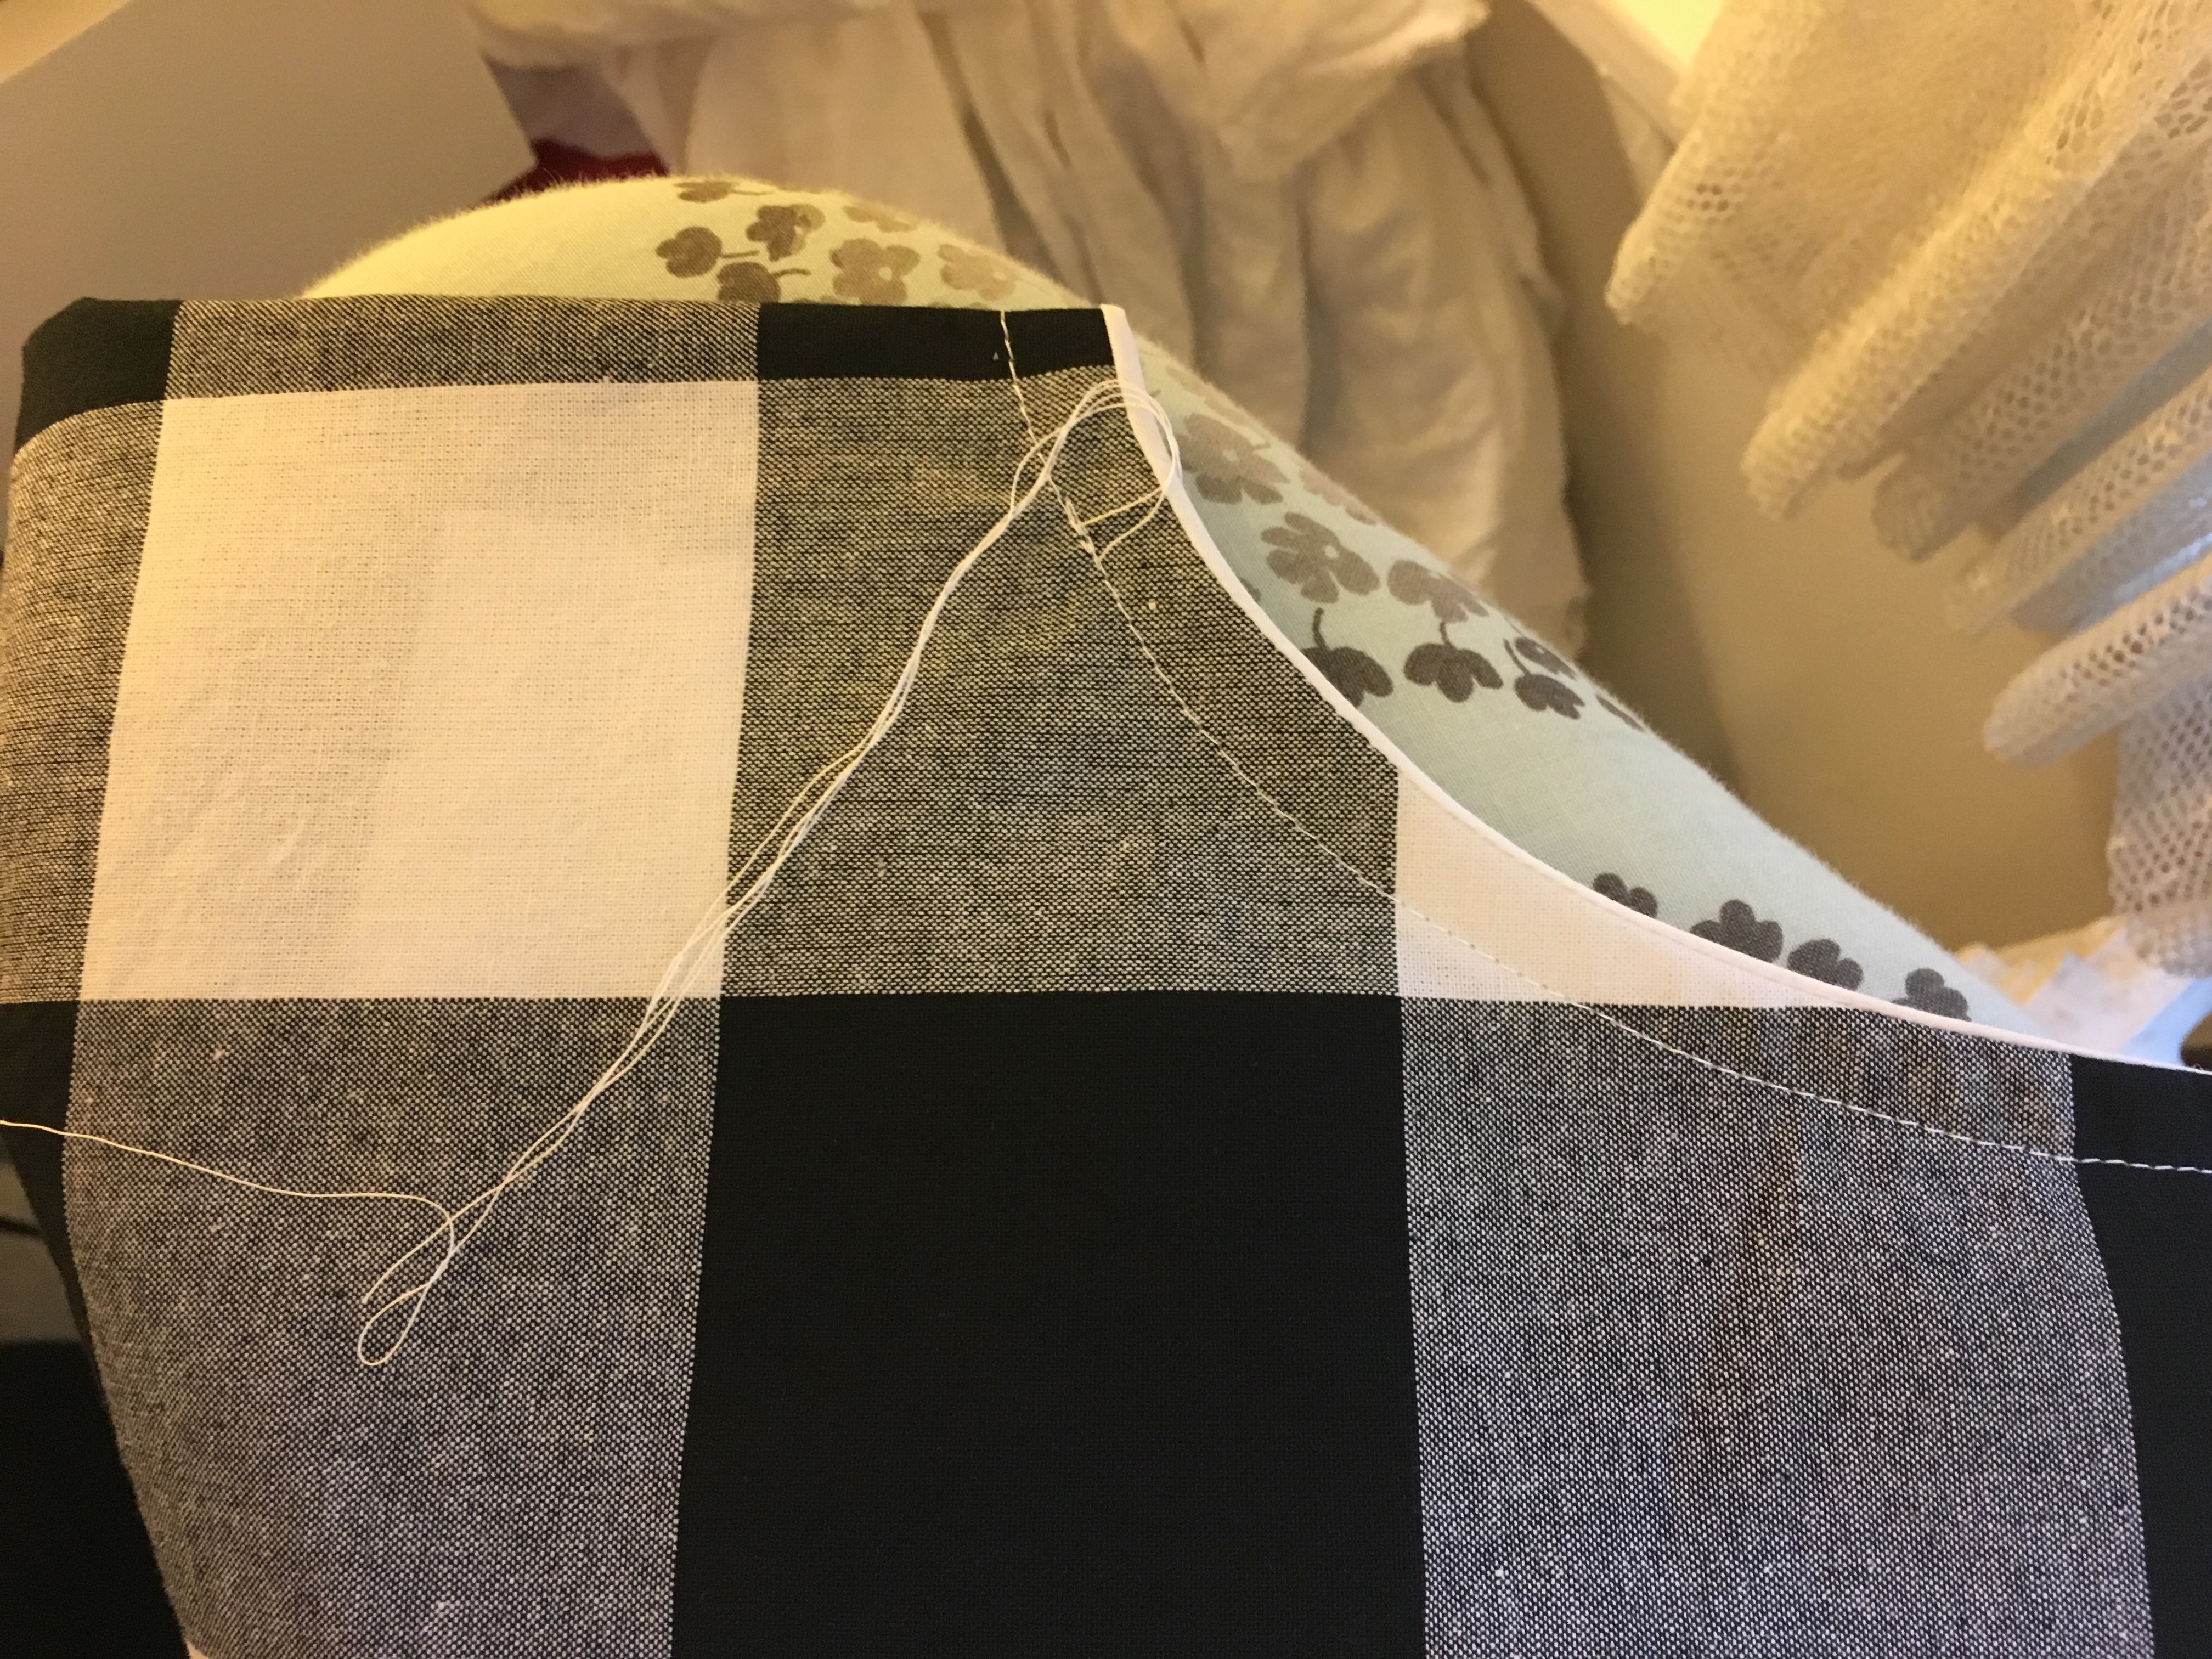
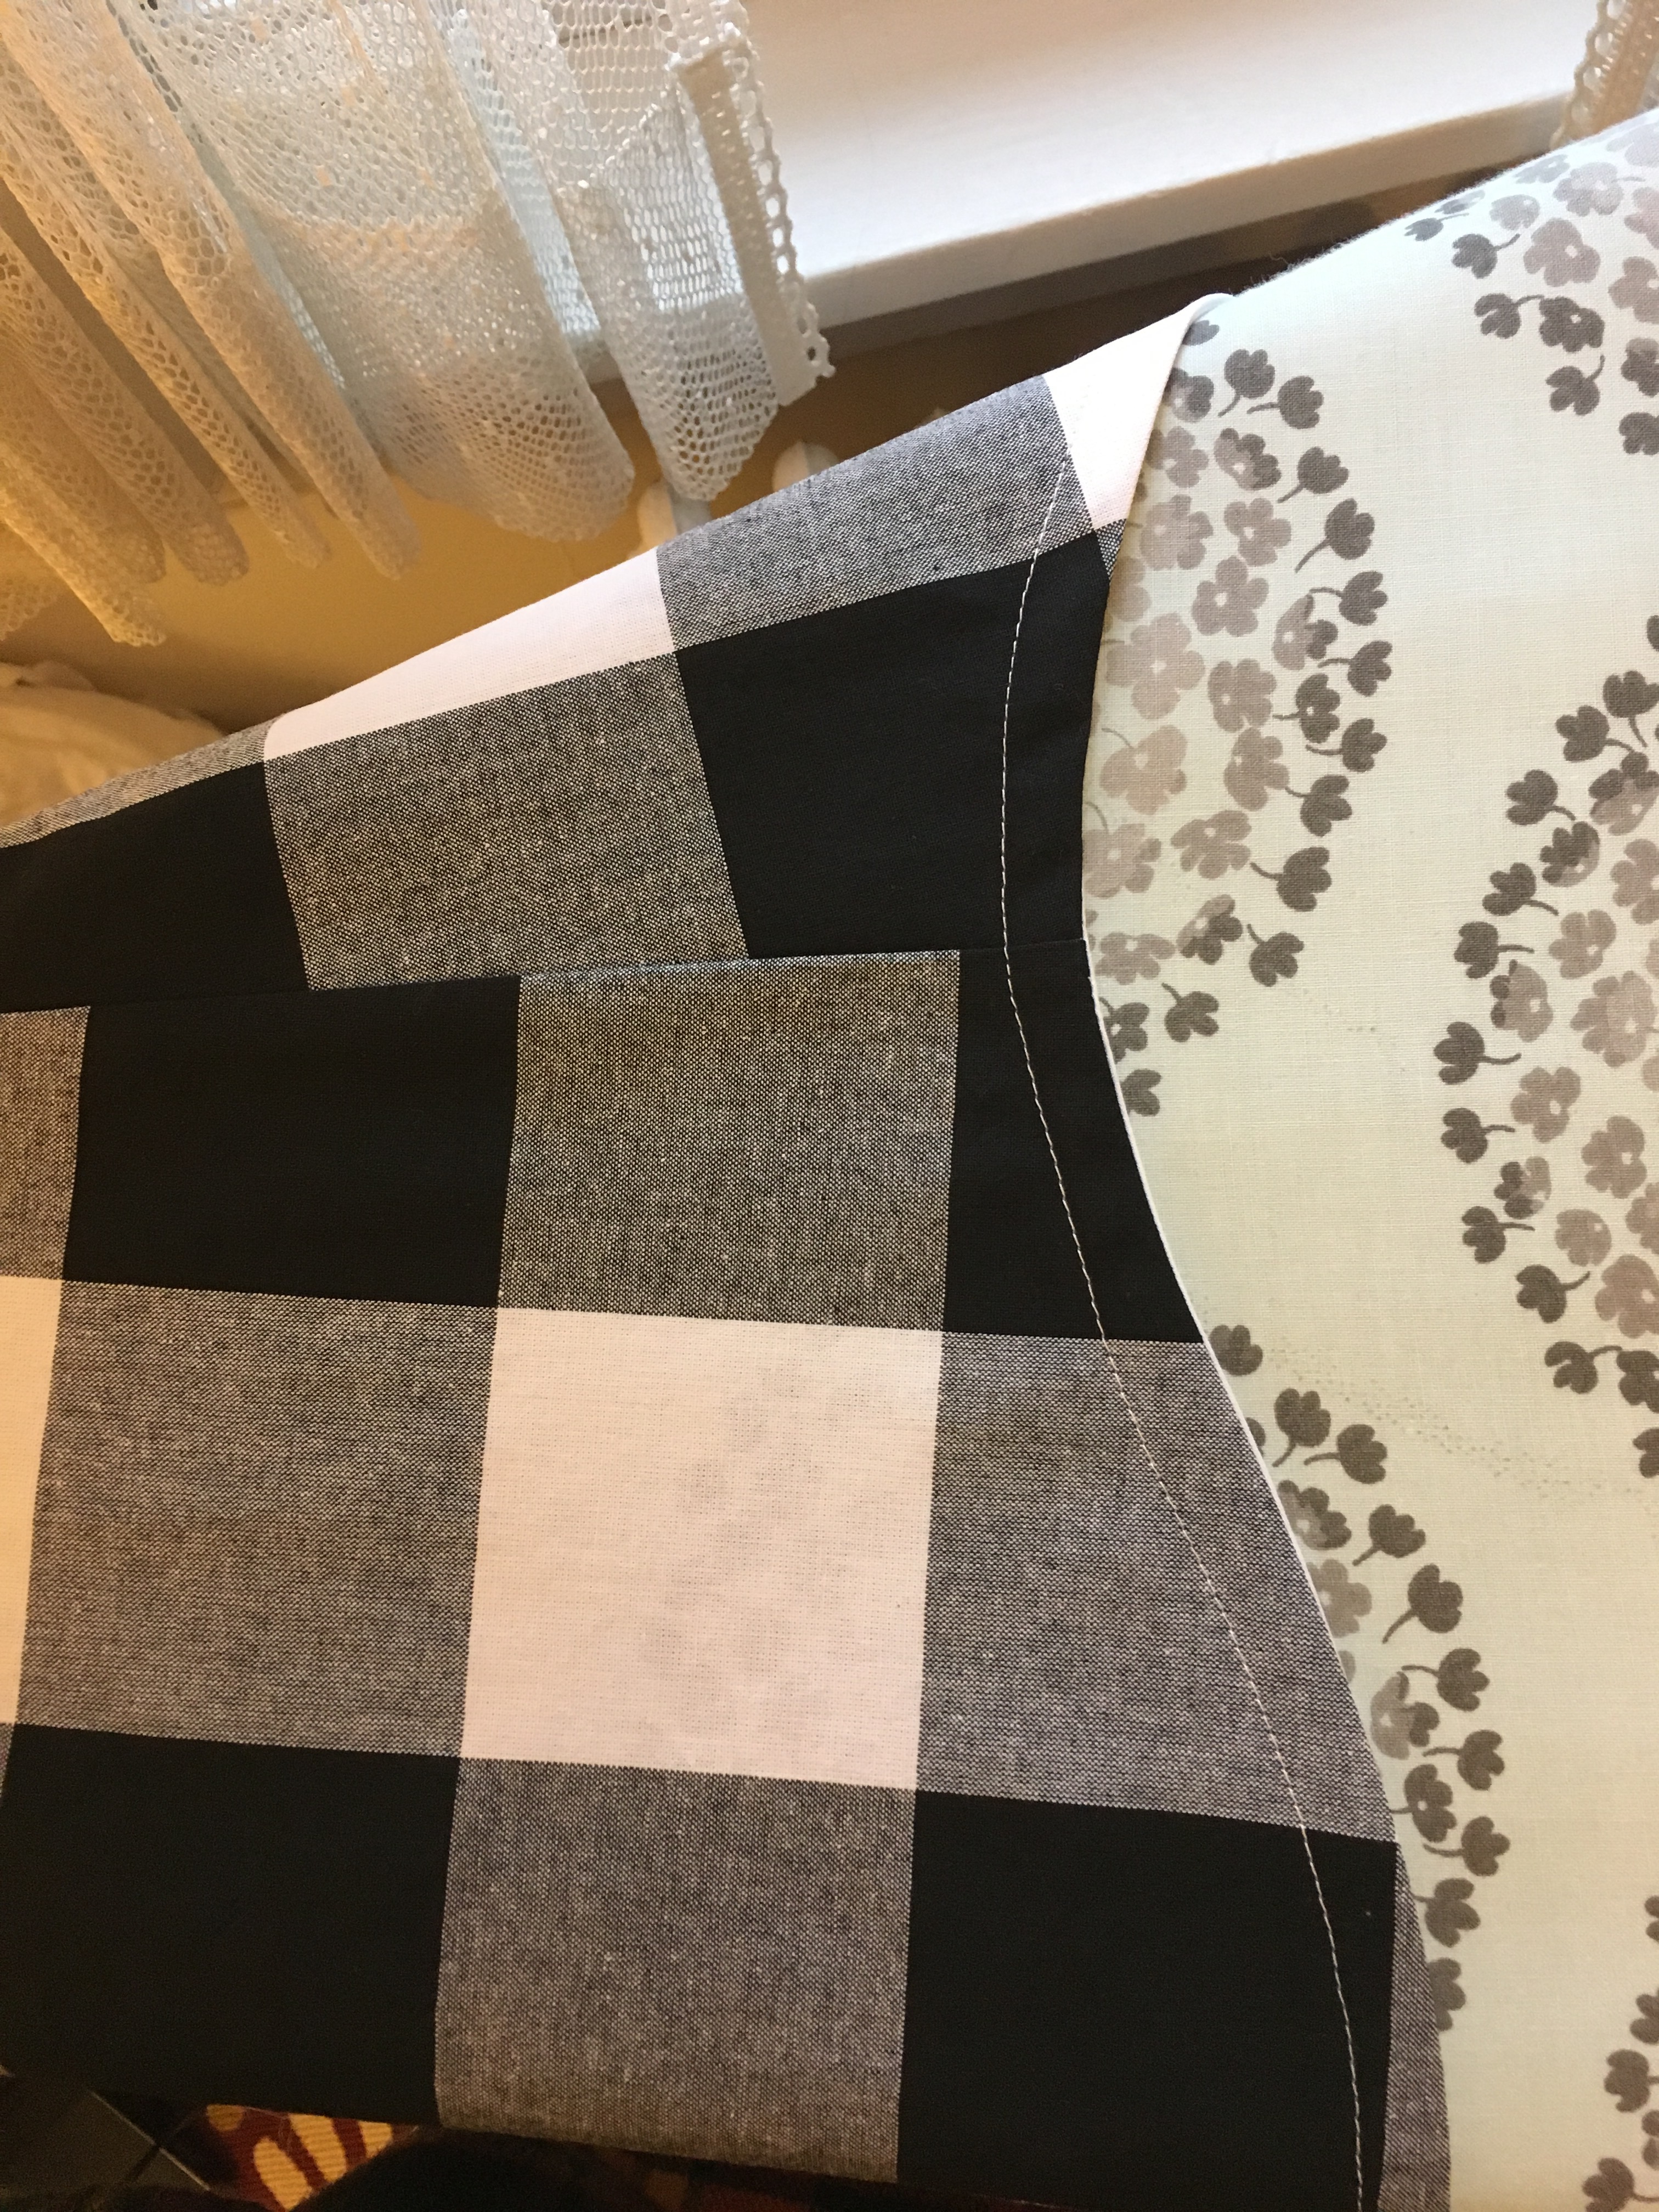
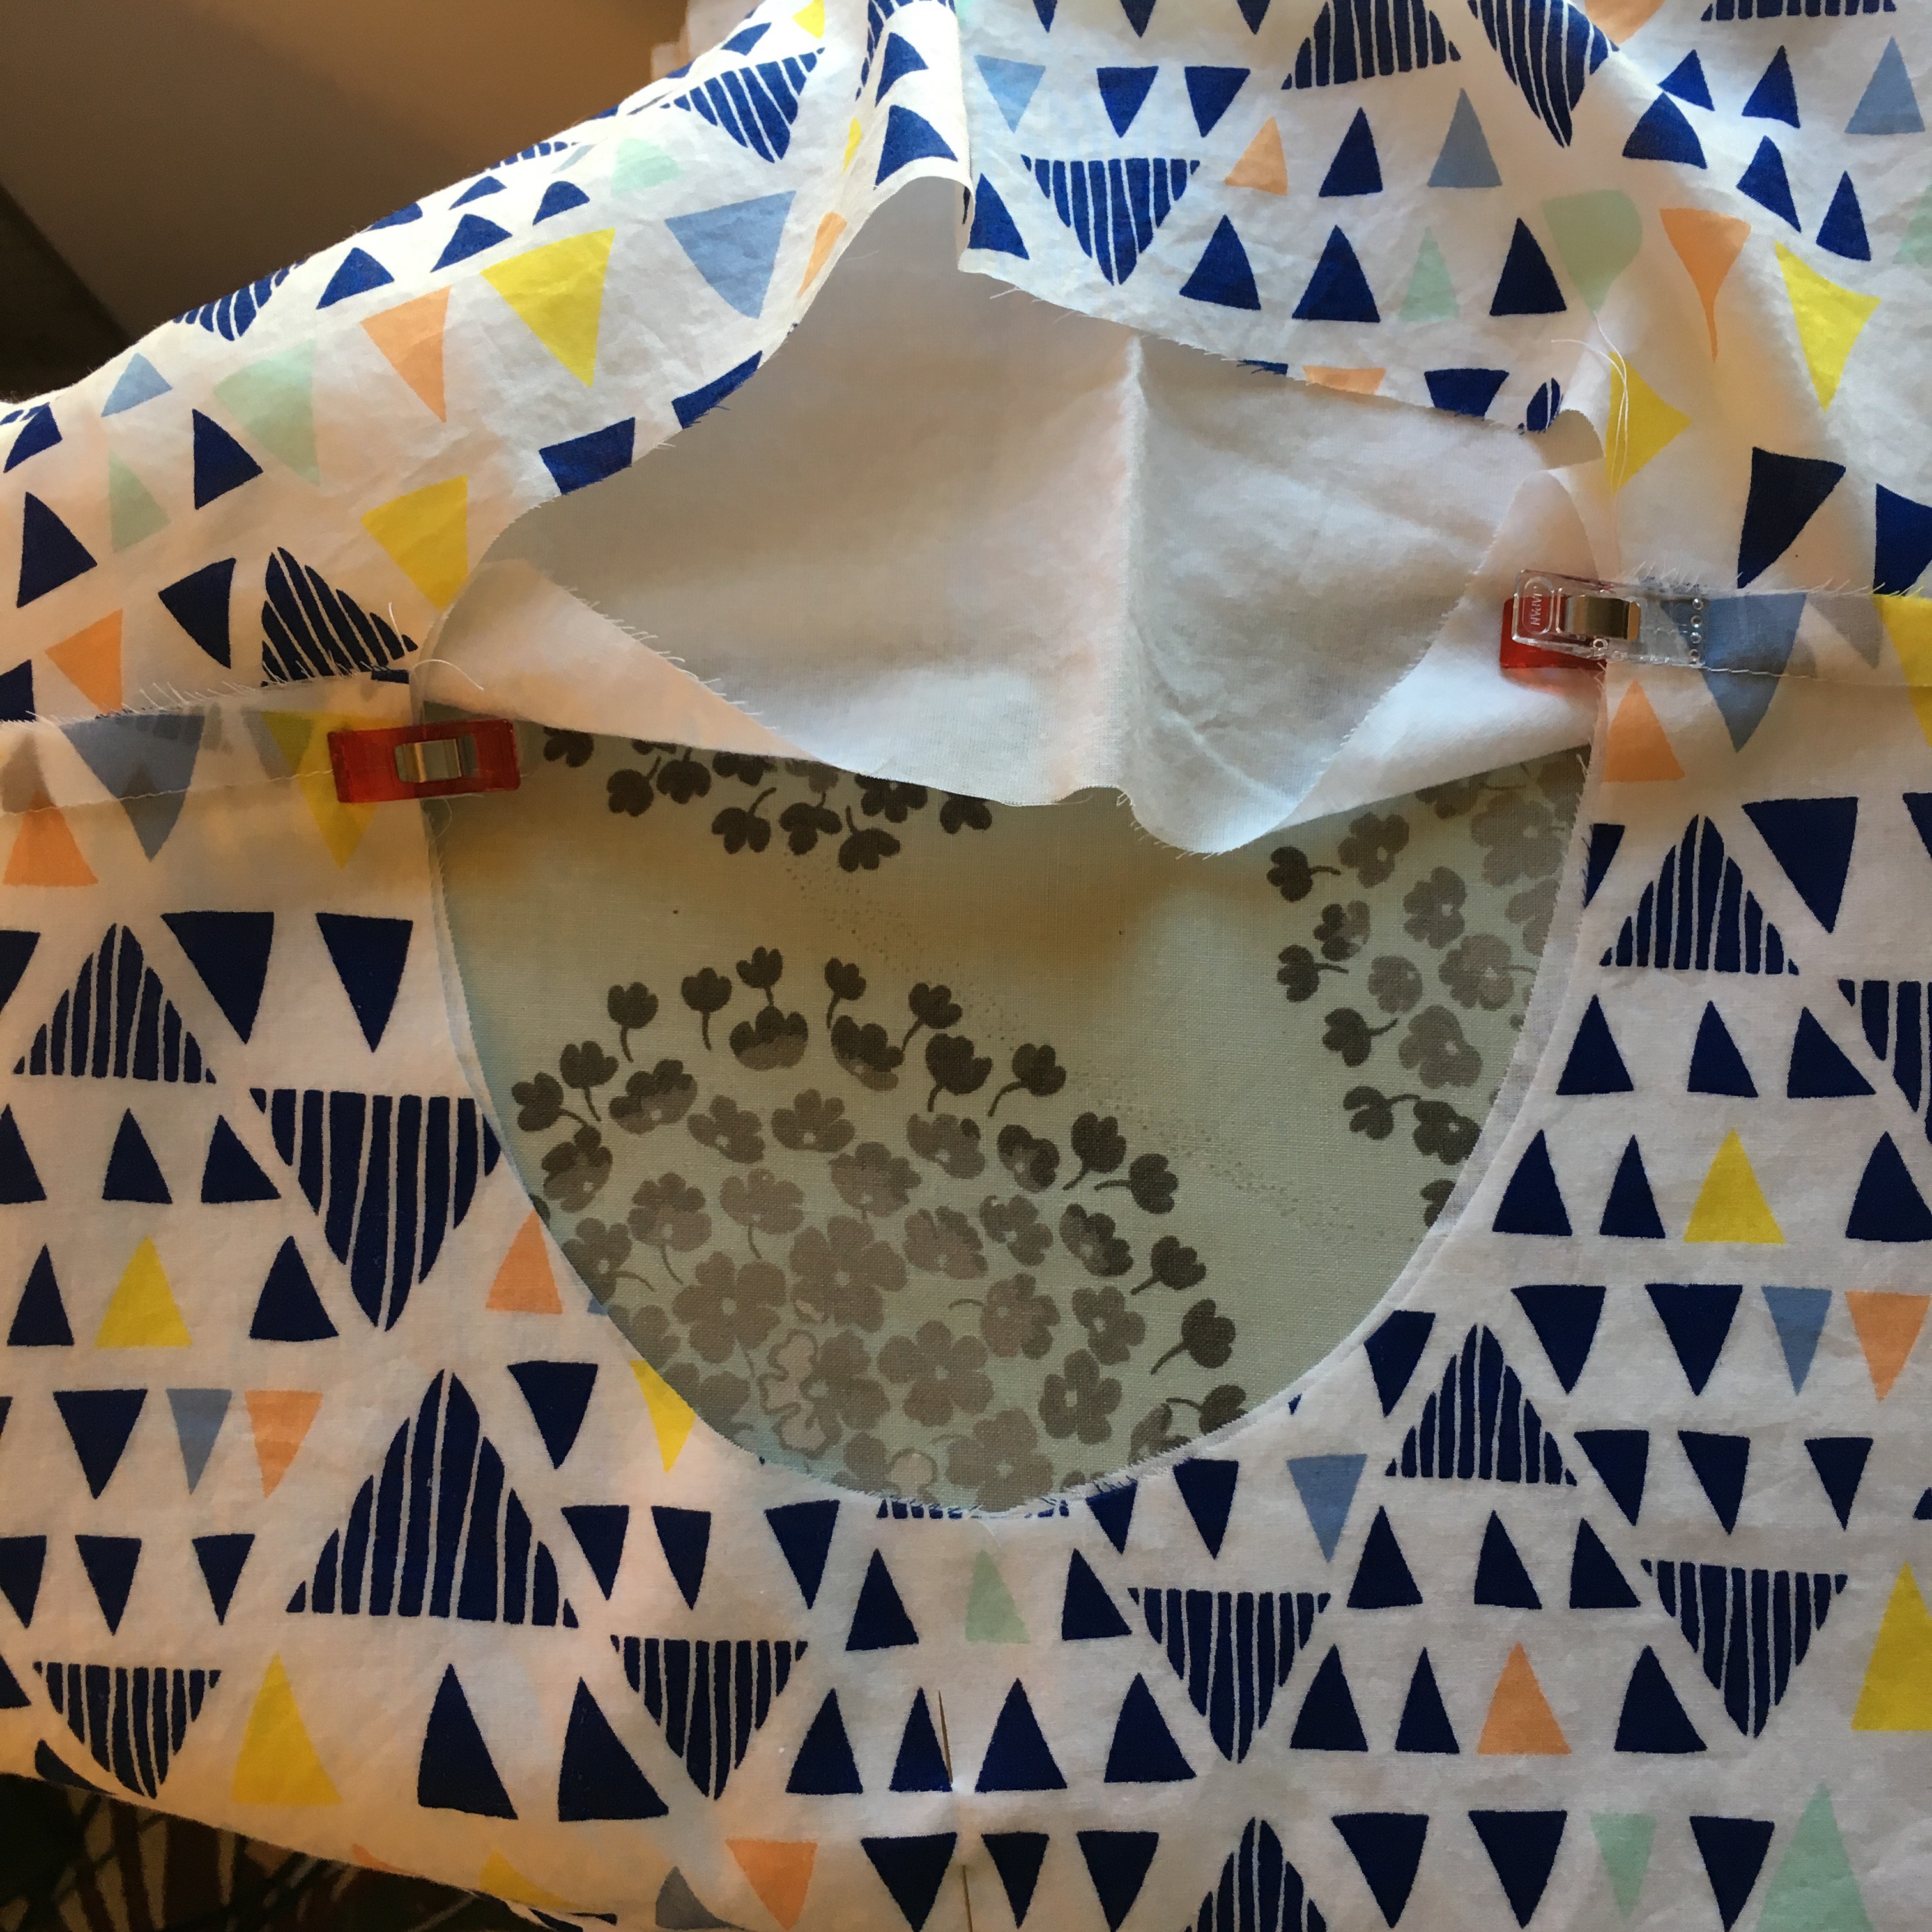
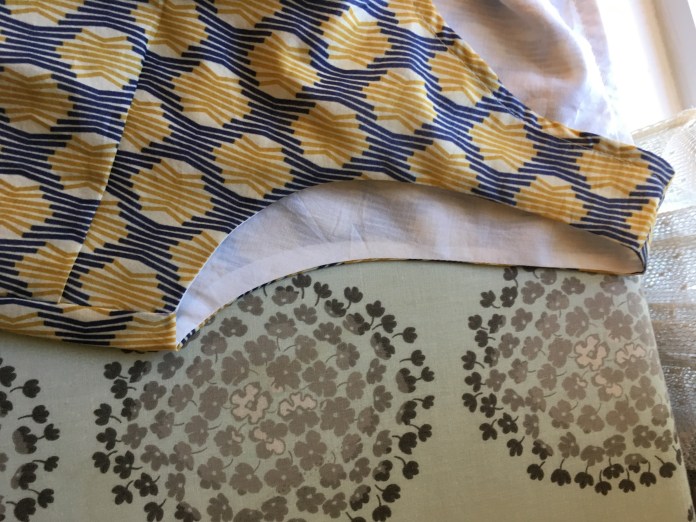
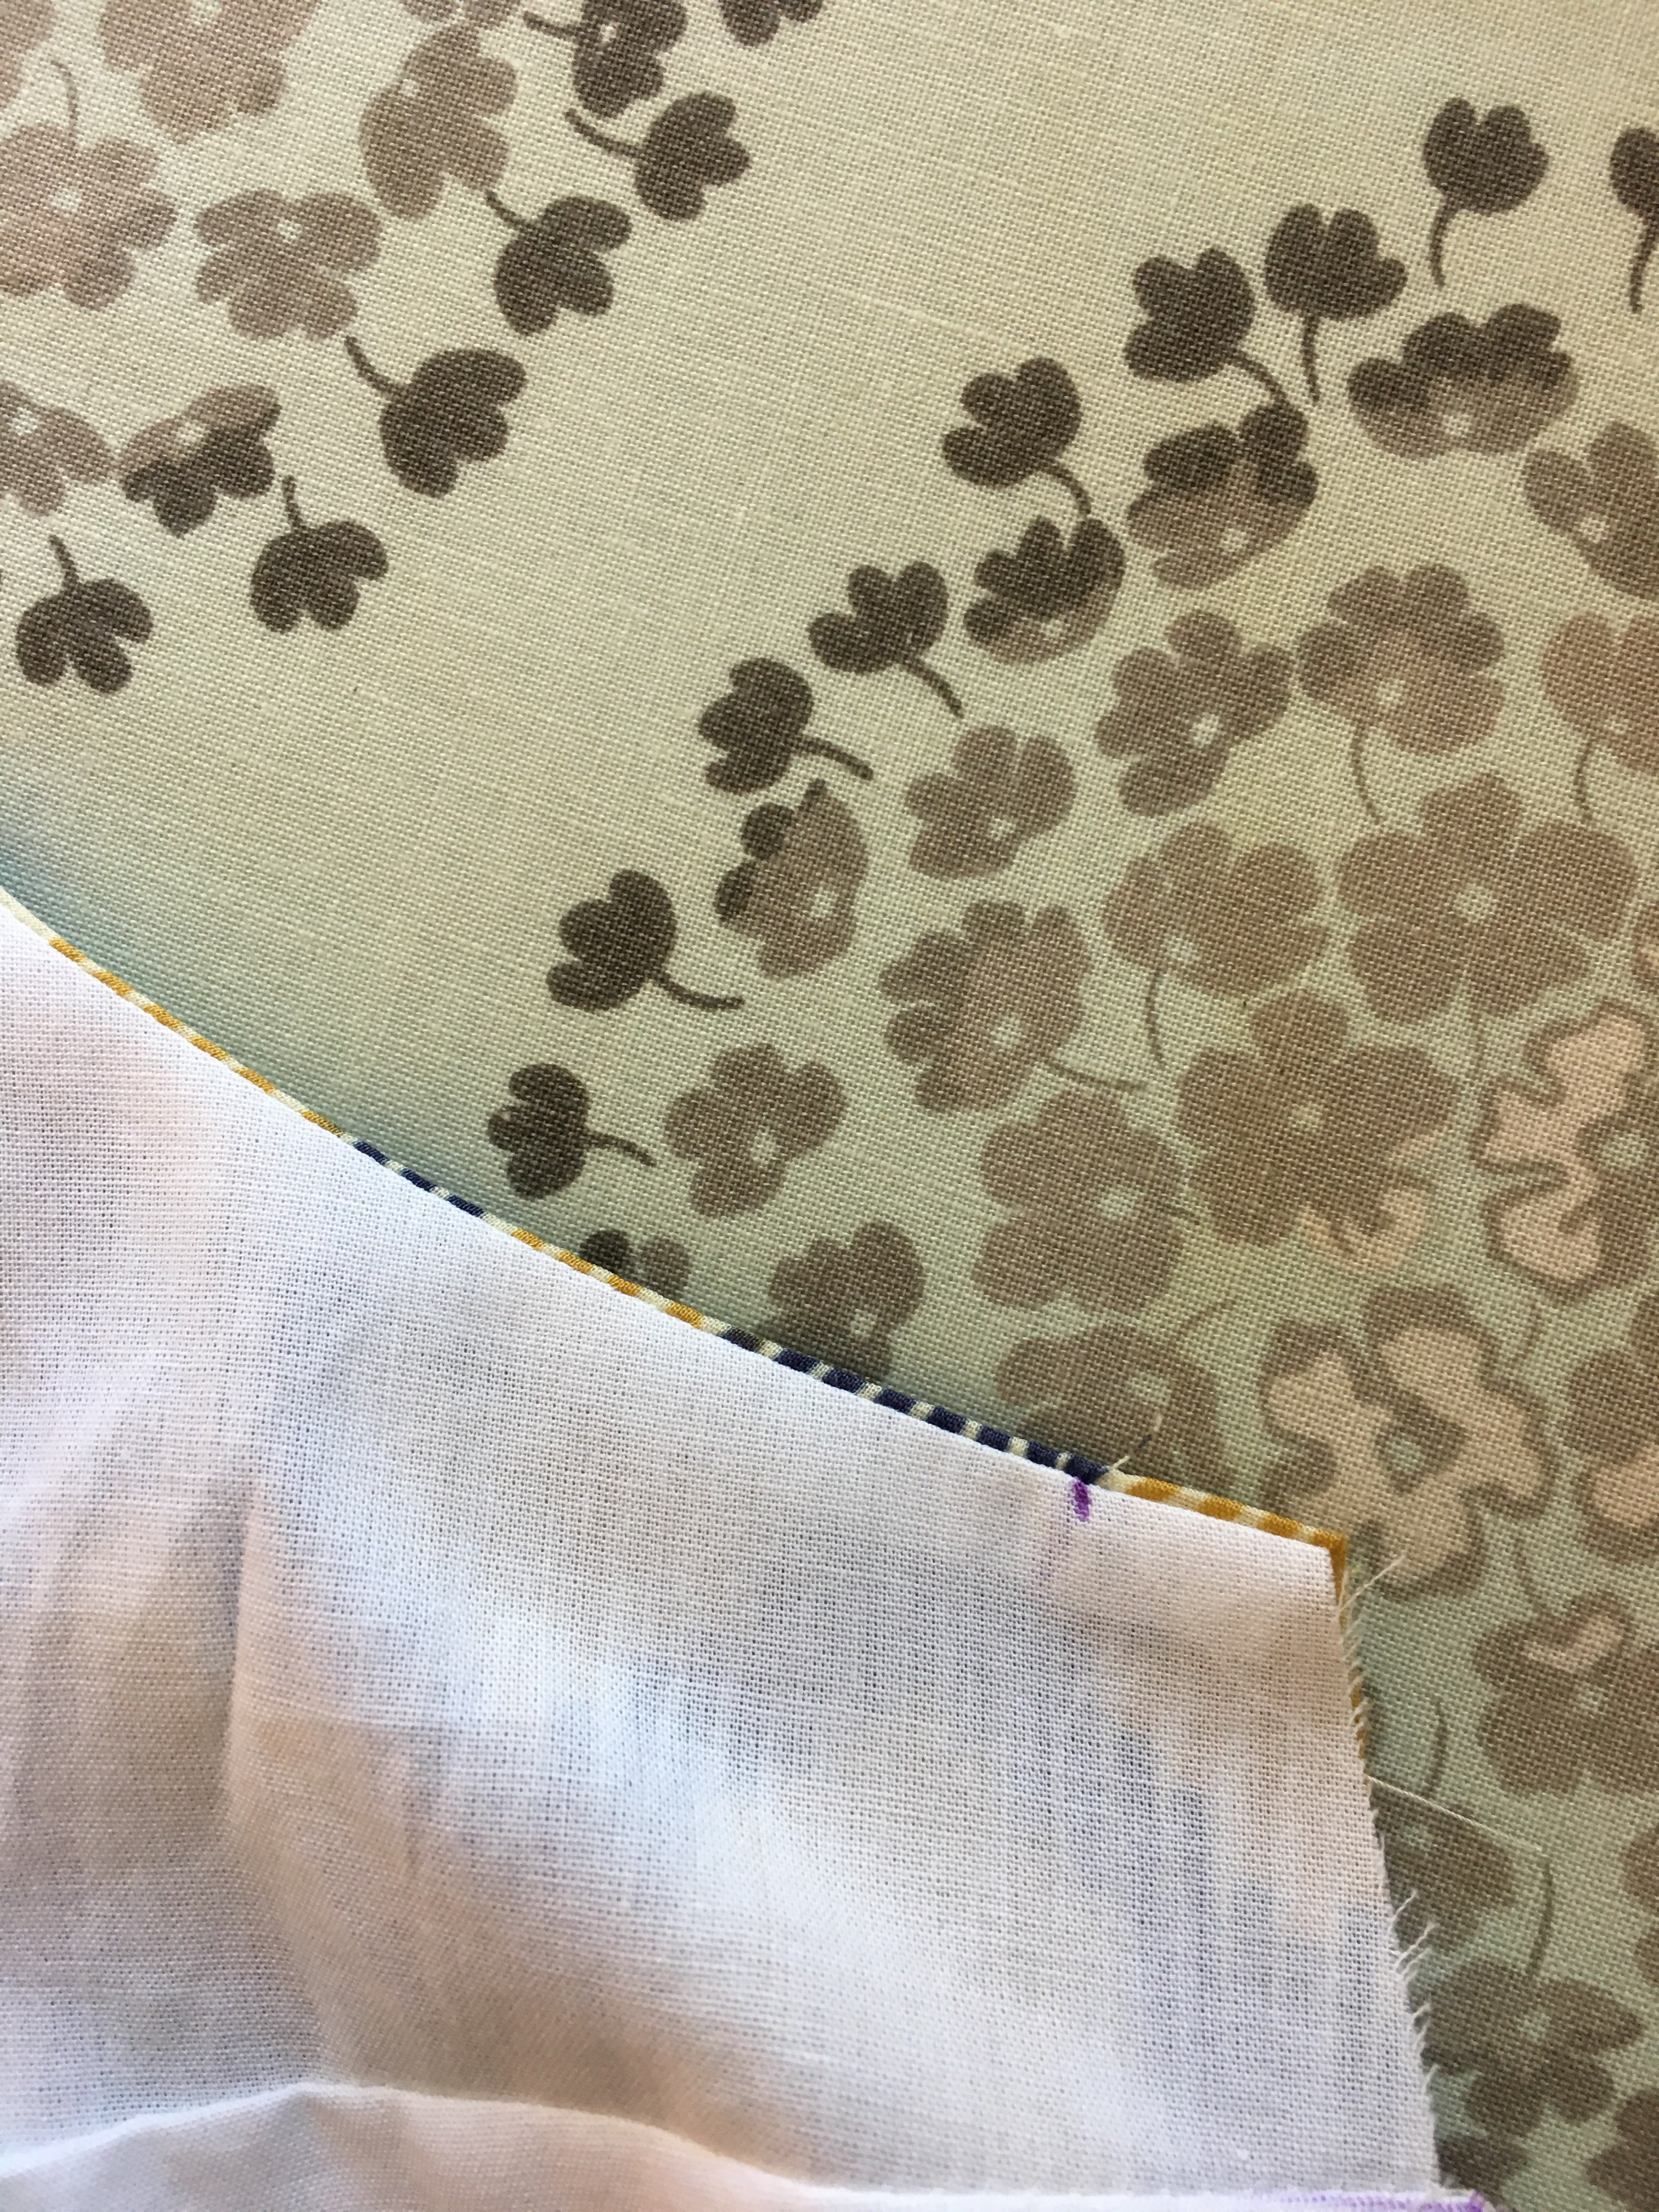
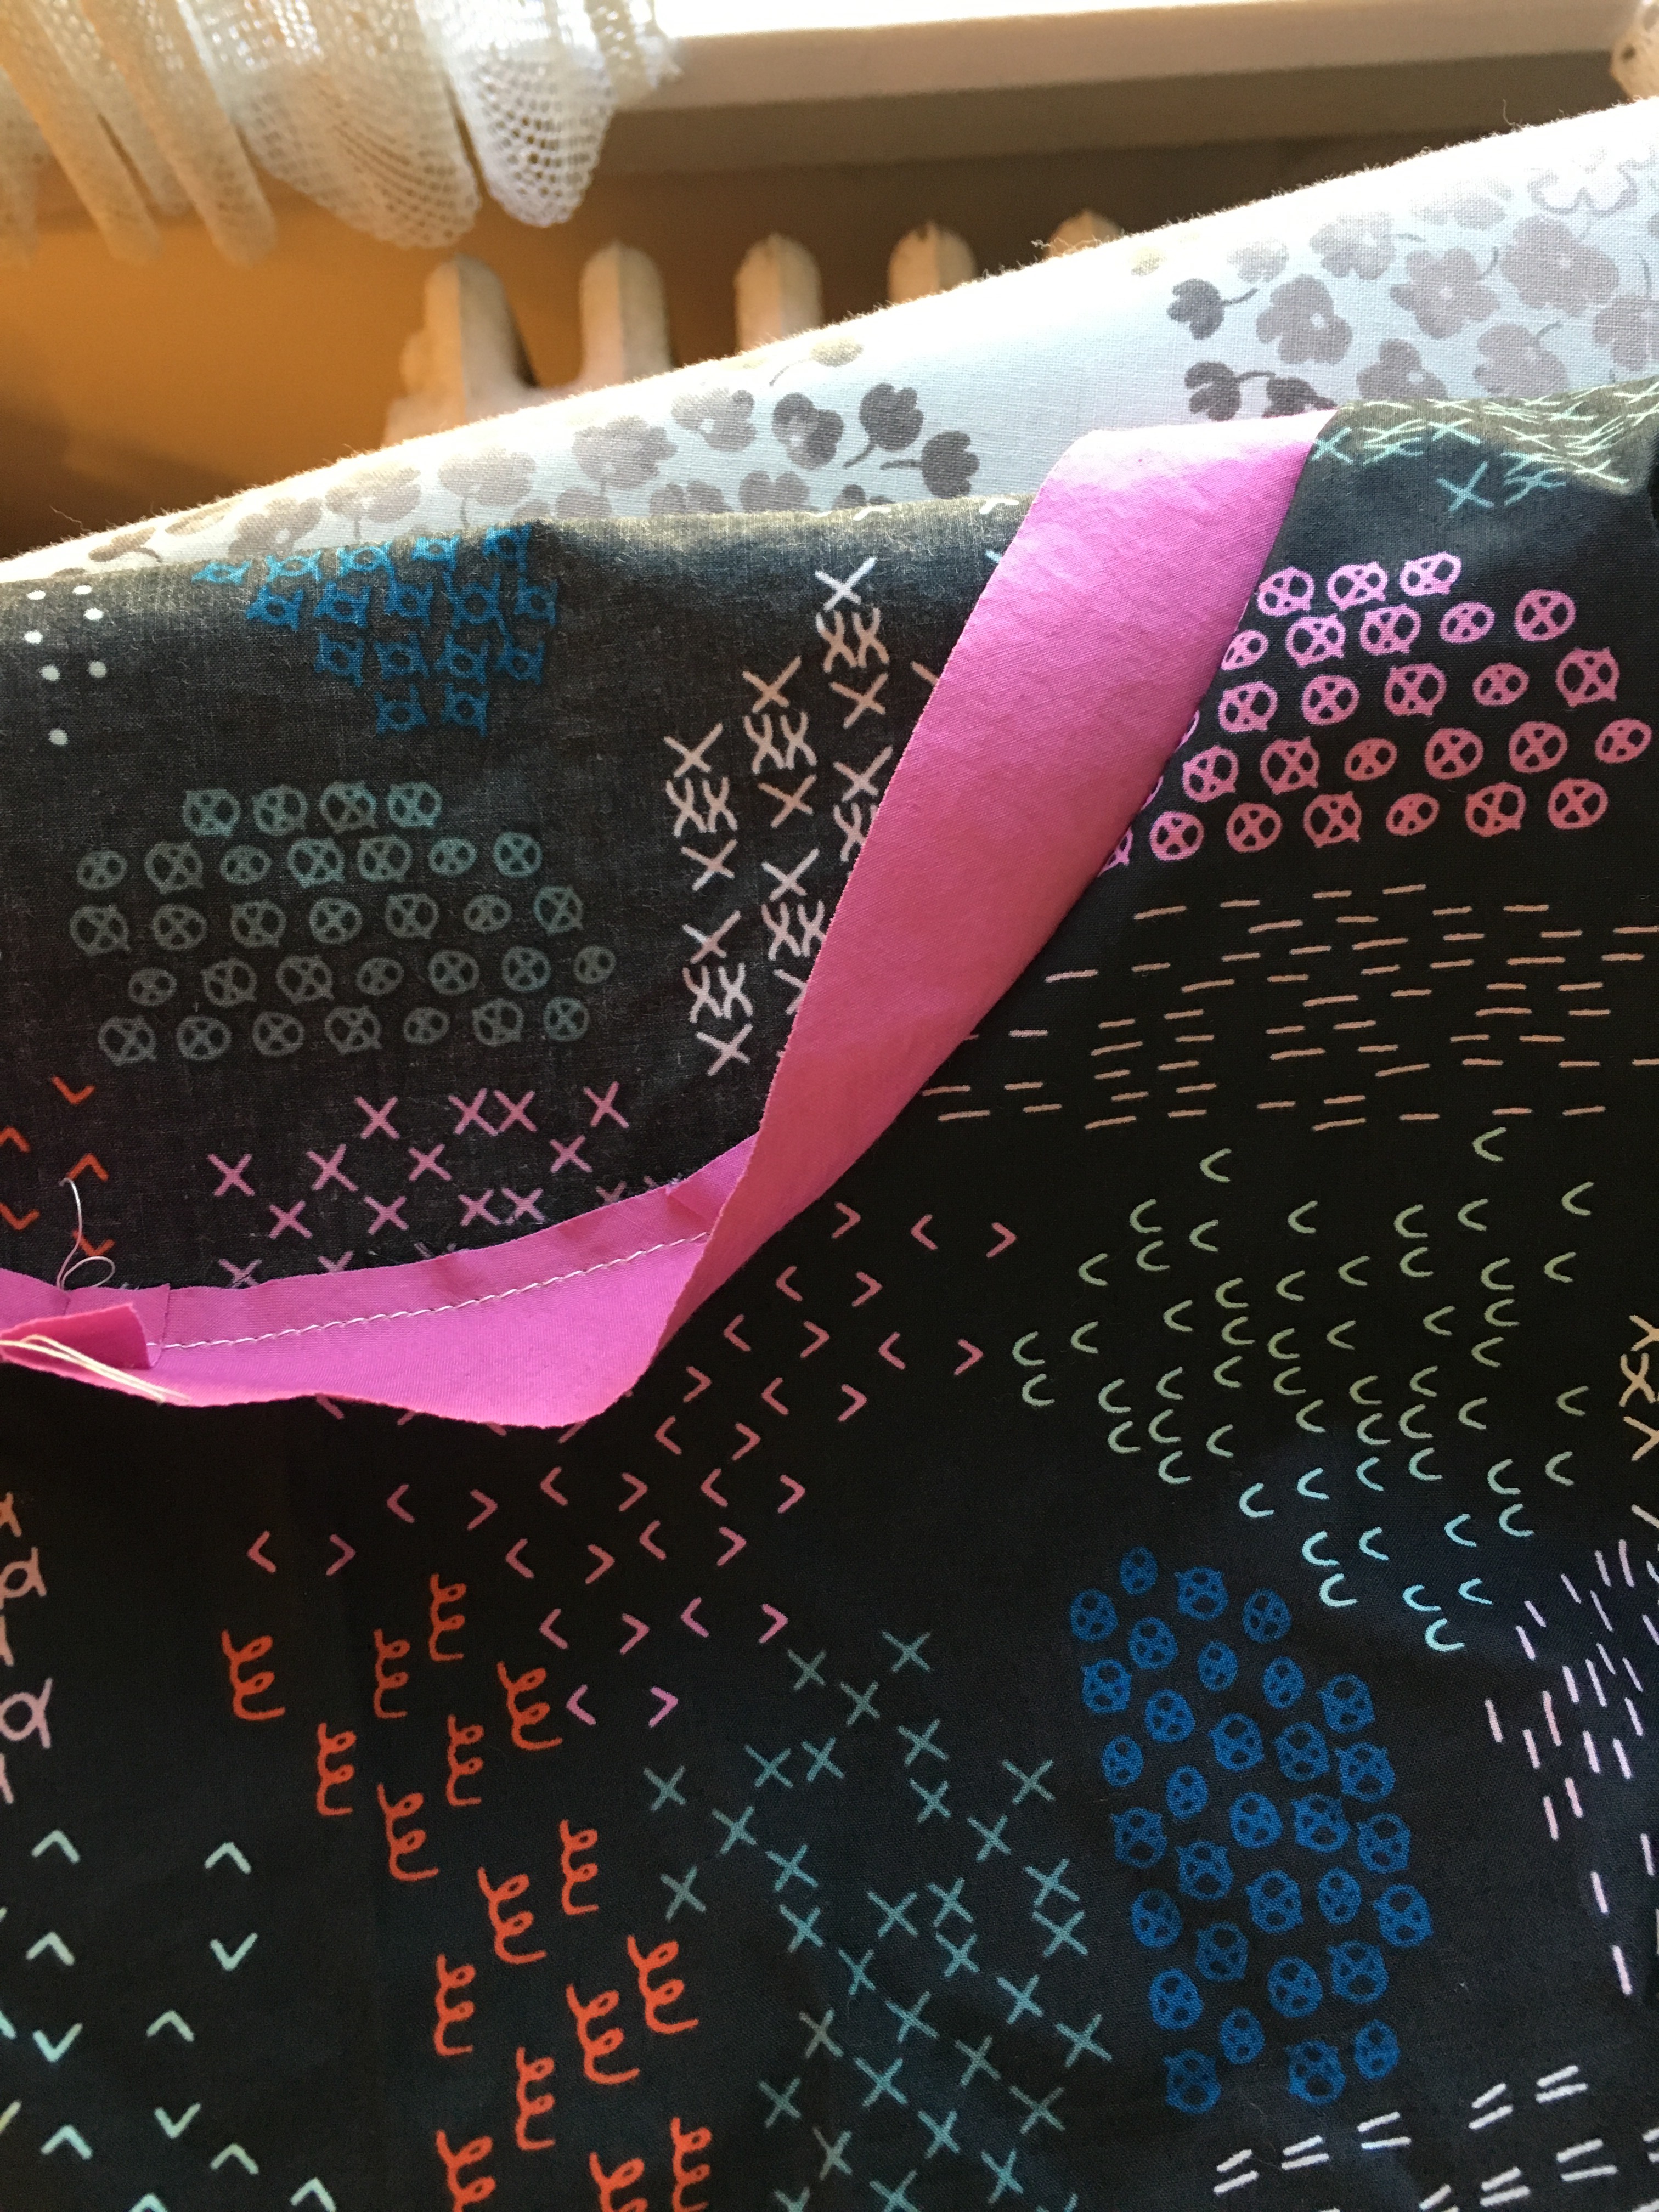
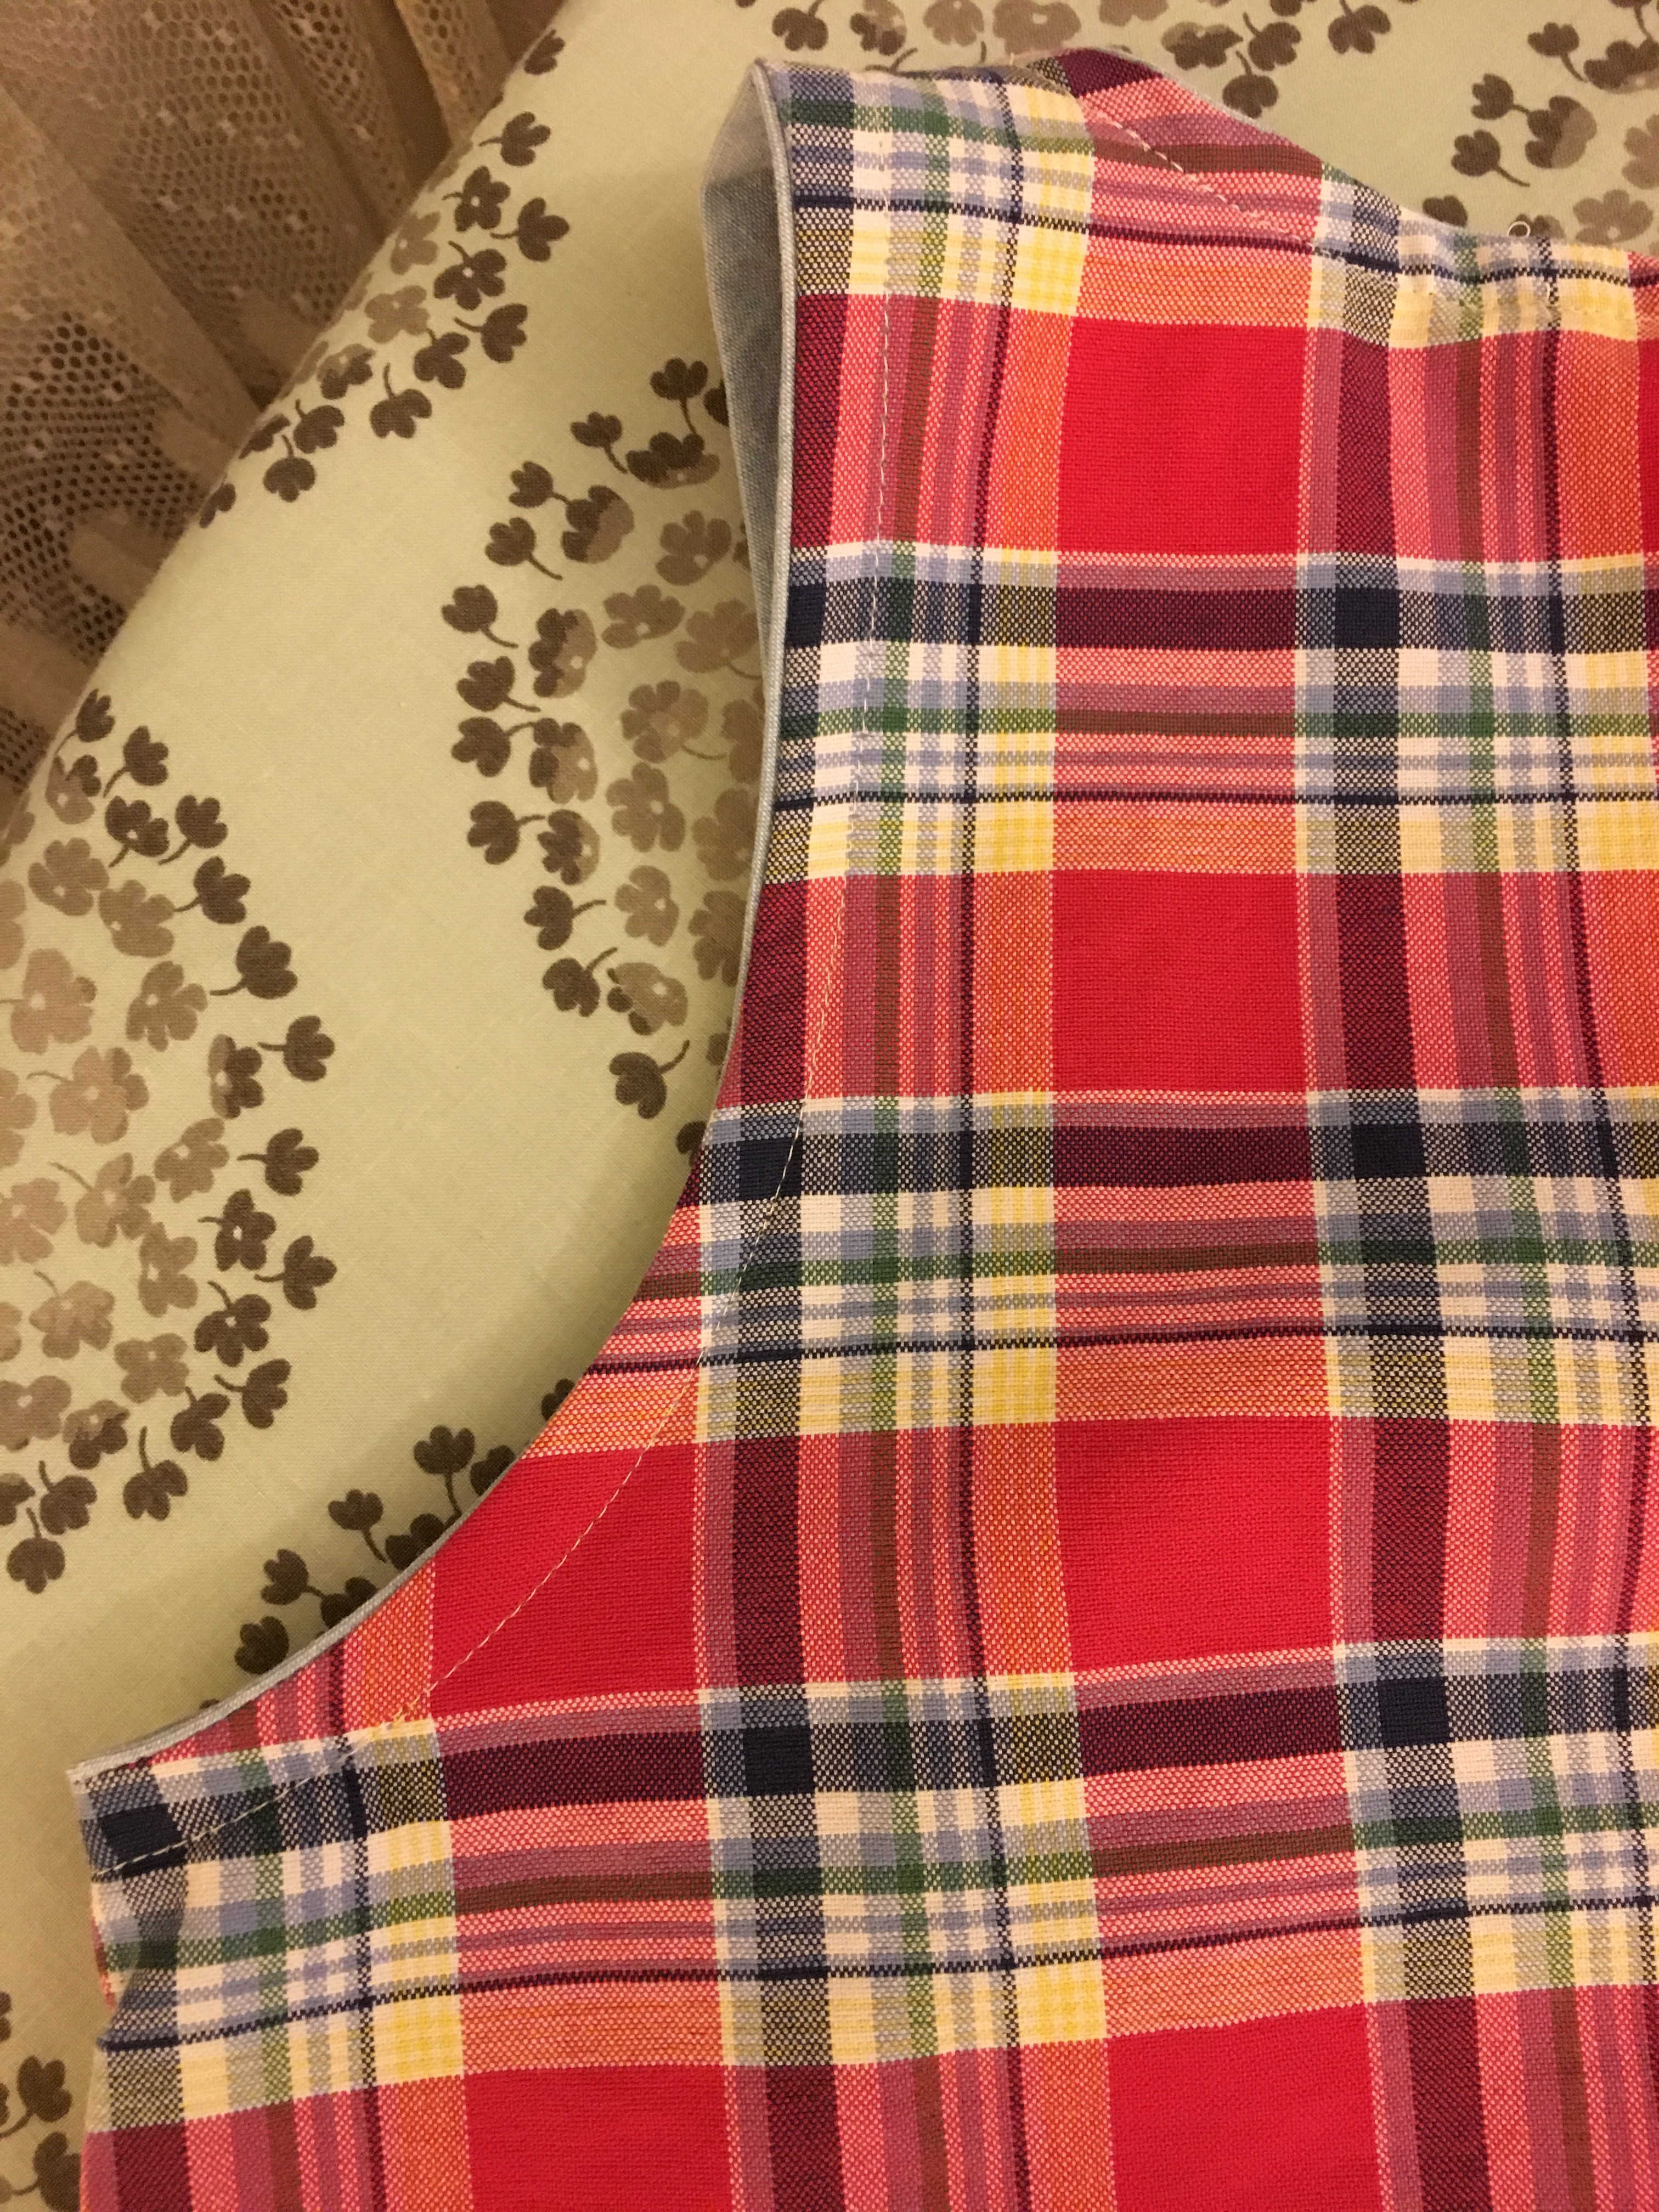
 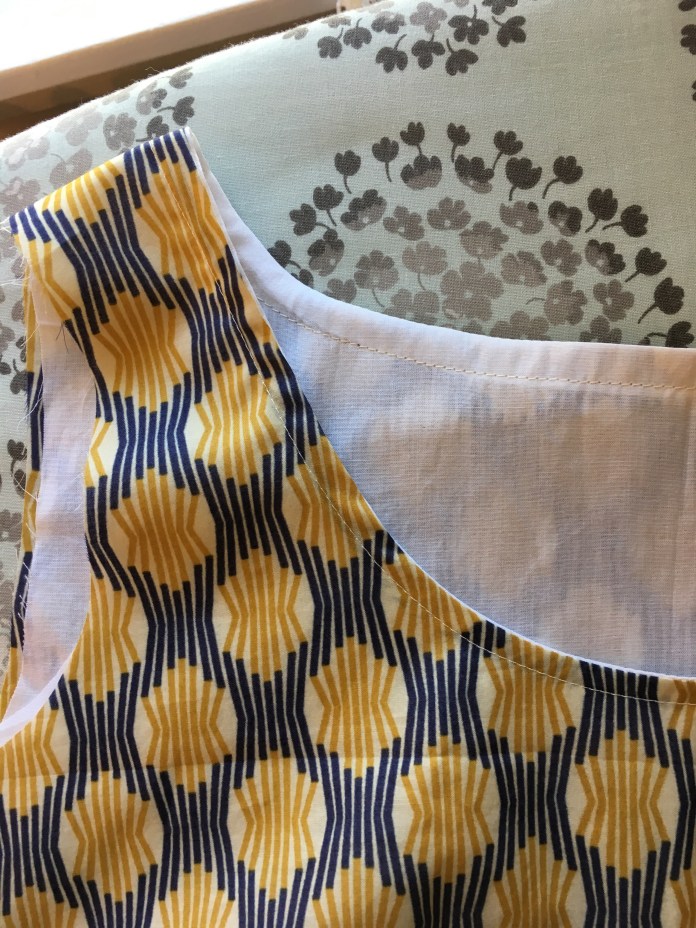 The picture below is the sewn armhole. To orient you, the seam you can see is the bust dart. I didn’t do anything special, just sewed the sausage, turned it out and then sewed each of the four side seams-two for the dress and two for the lining. I have to confess that on version 1, I actually sewed the front piece of the lining to itself, rather than to the back. I was like-this is lining up so perfectly and then oops realized my mistake. It gets confusing when you have the layers of fabric. Just take a minute to orient yourself so that you are sewing the appropriate front to the appropriate back. I was really happy with the results when I did it correctly.
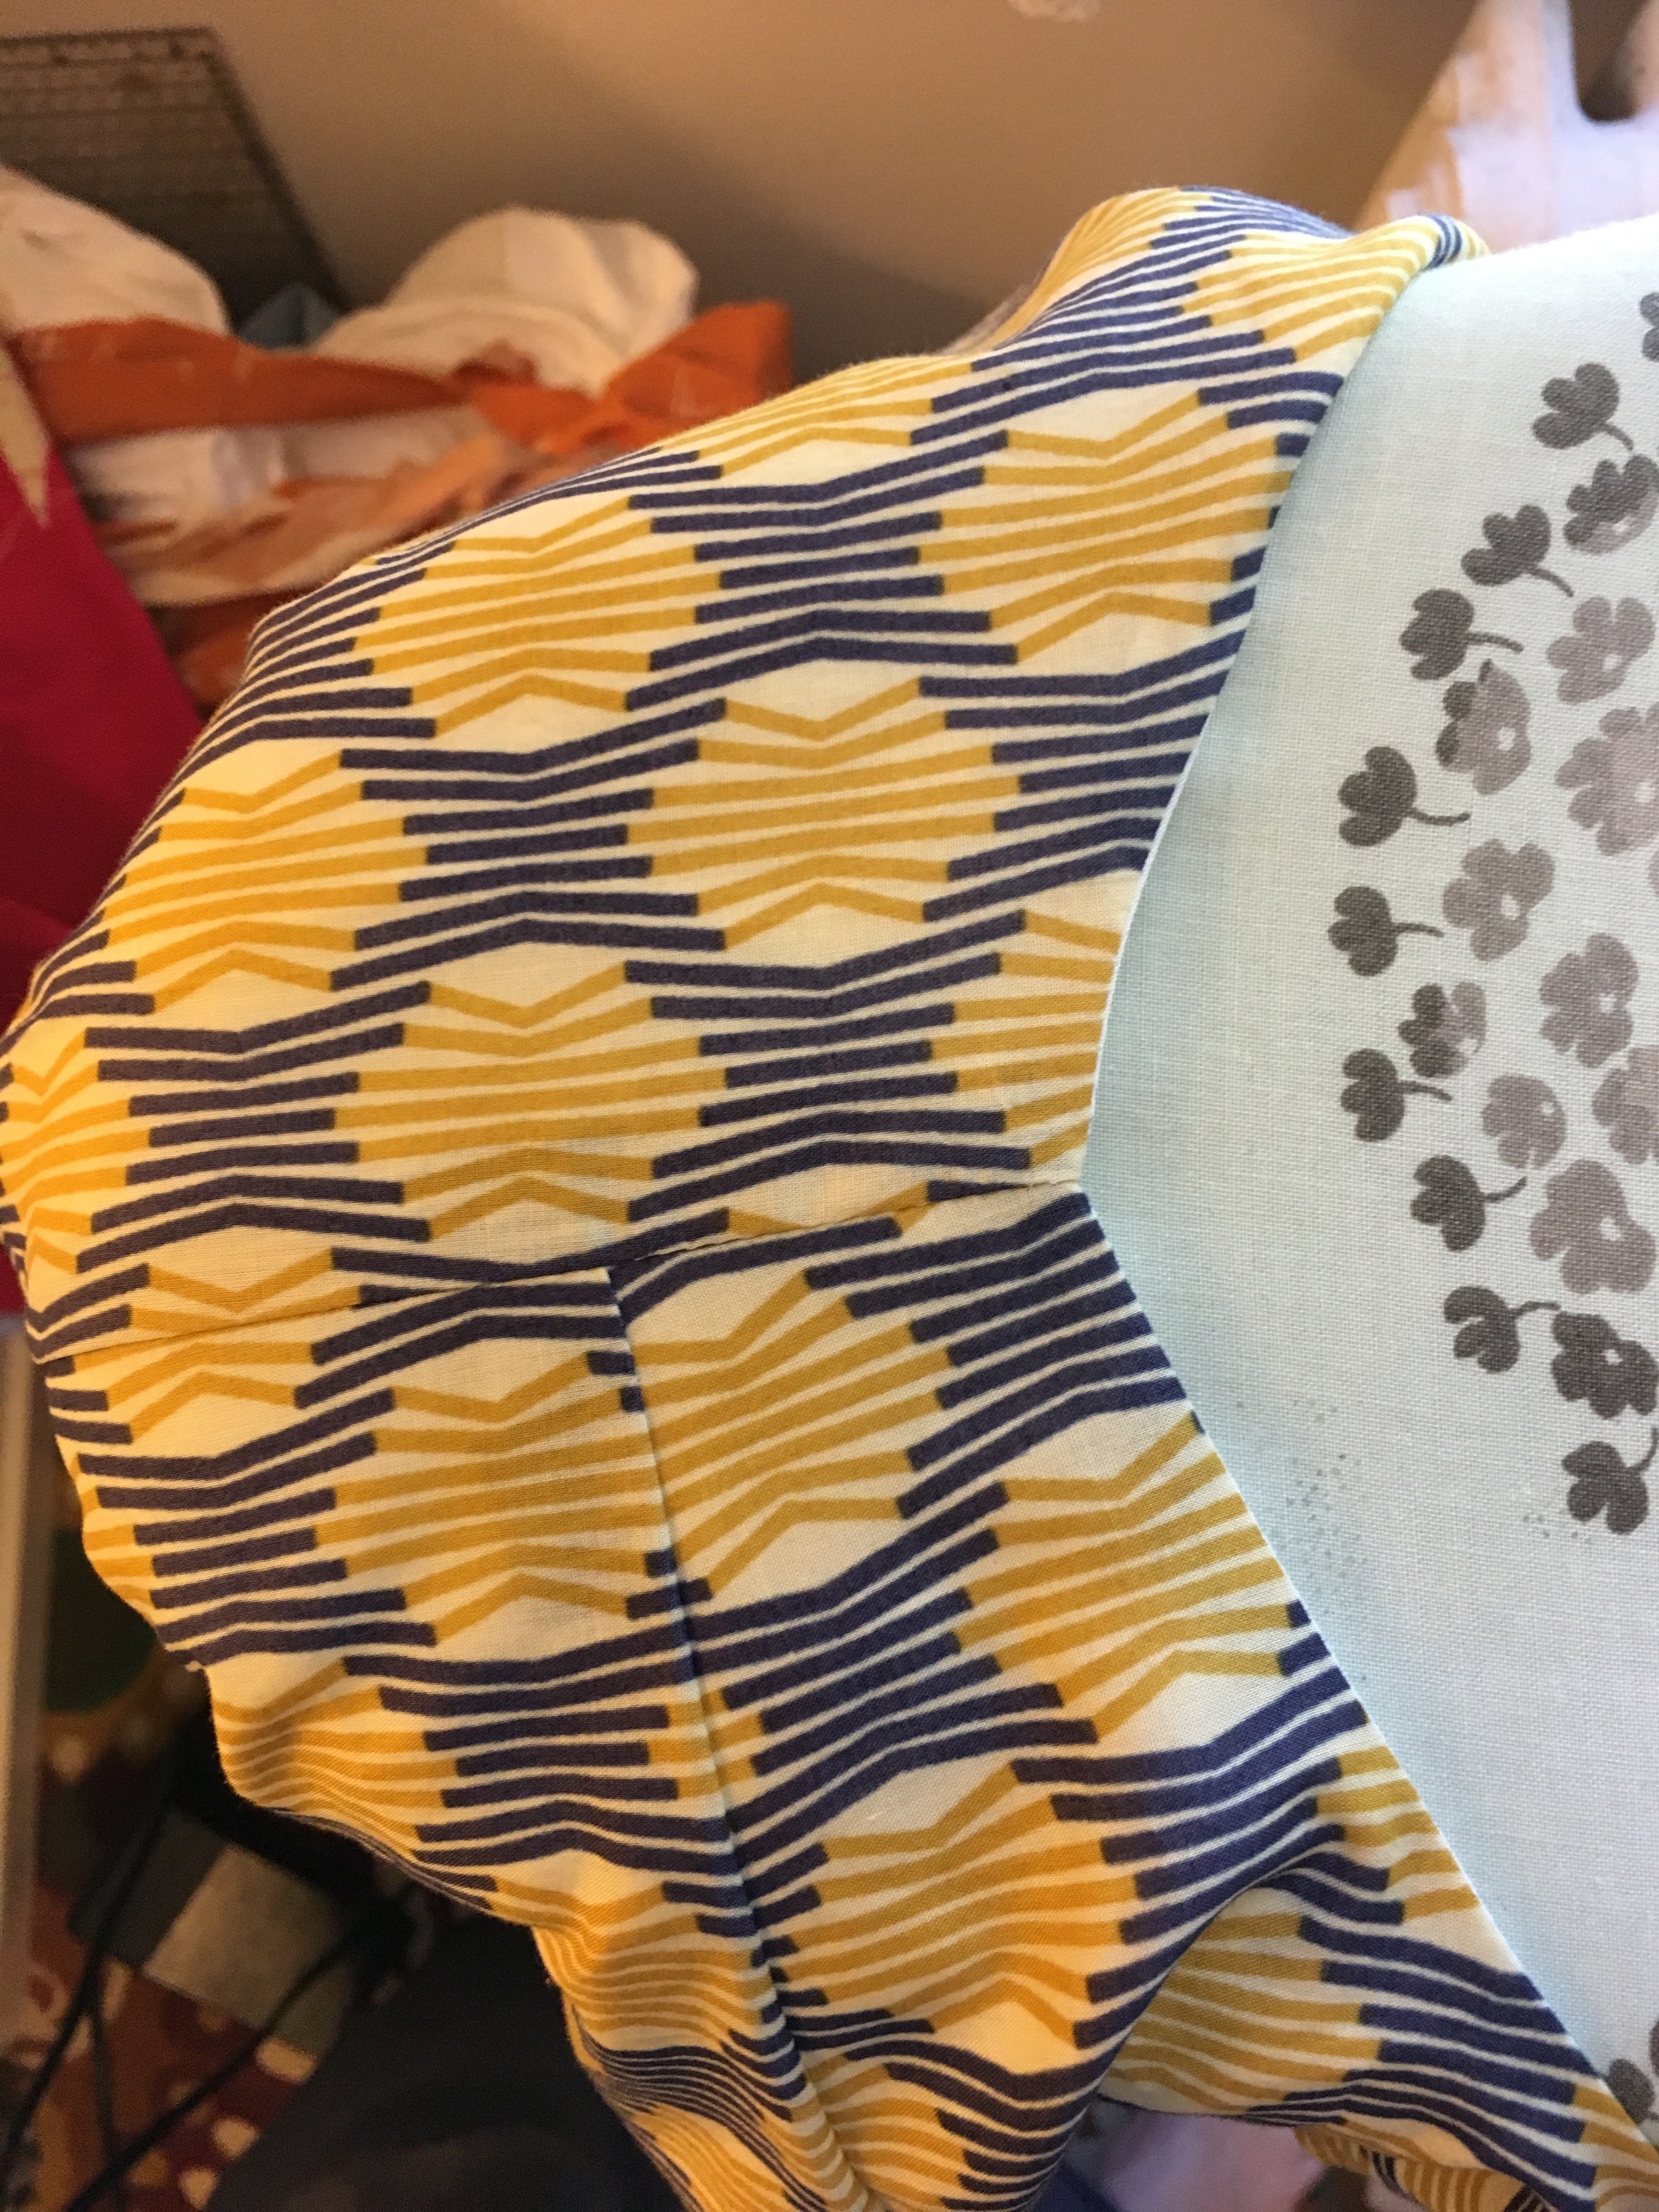
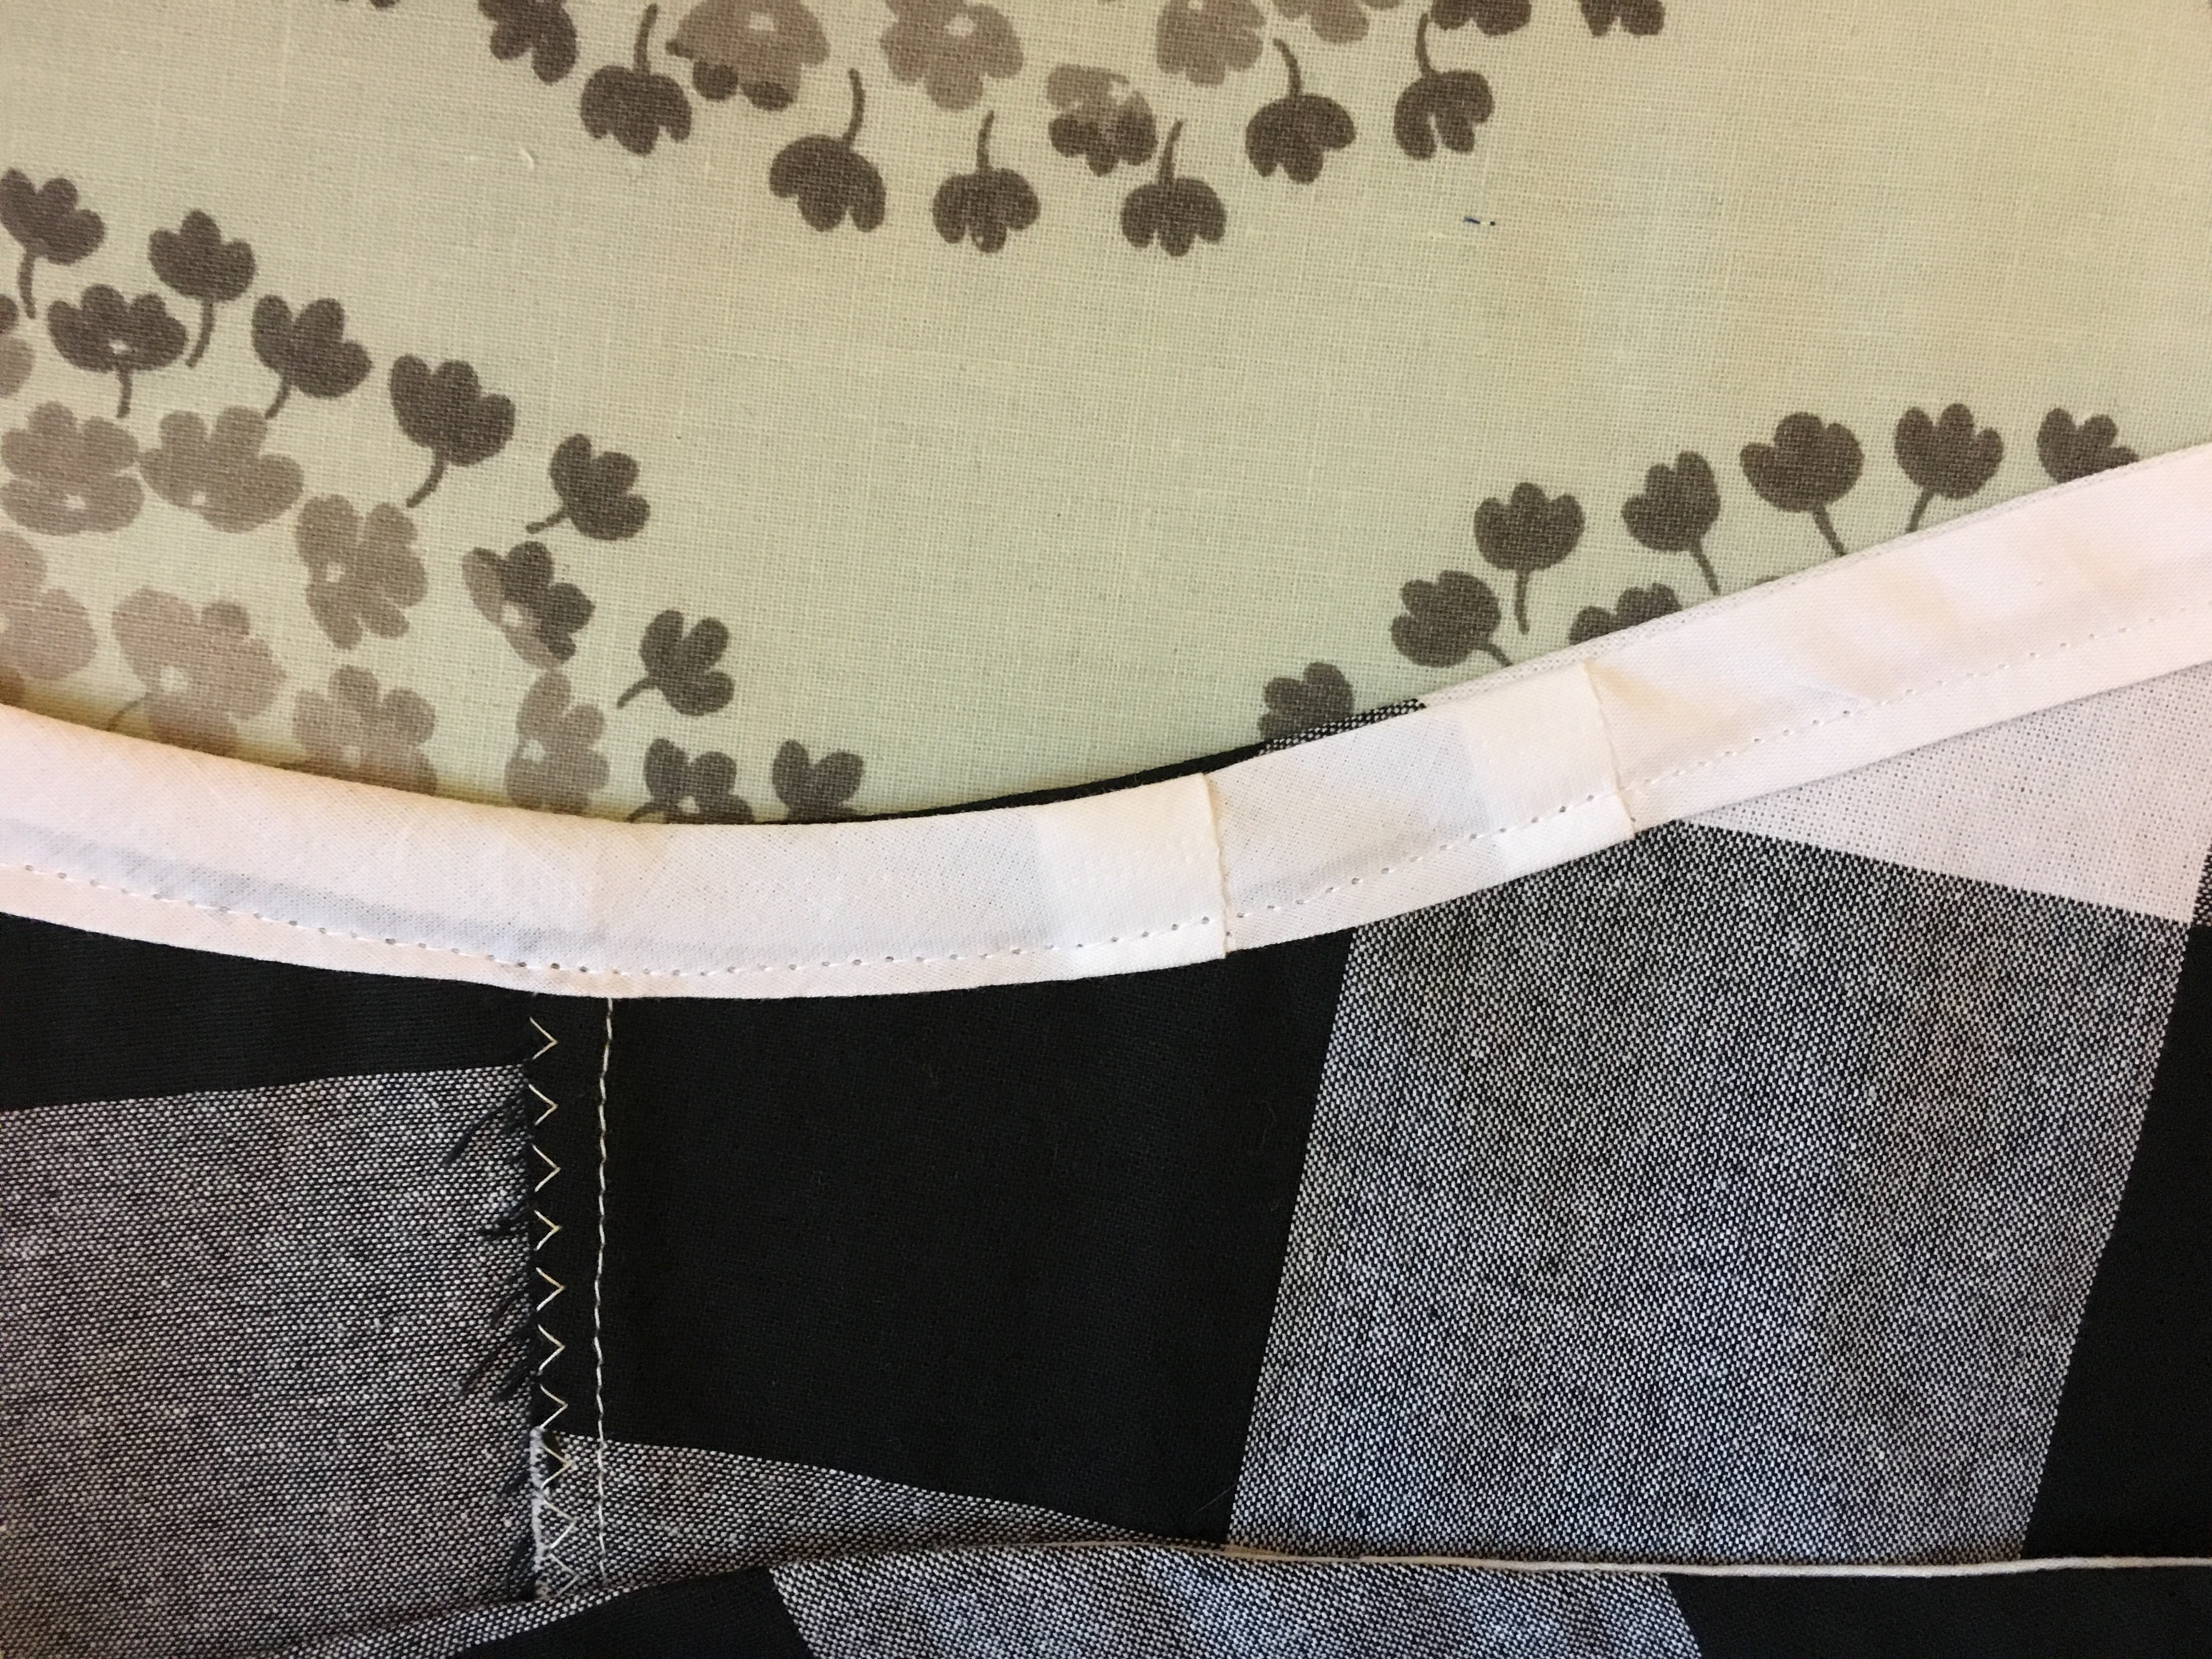
 I topstitched around the neck and armholes for strength, I have had good success doing it this way.
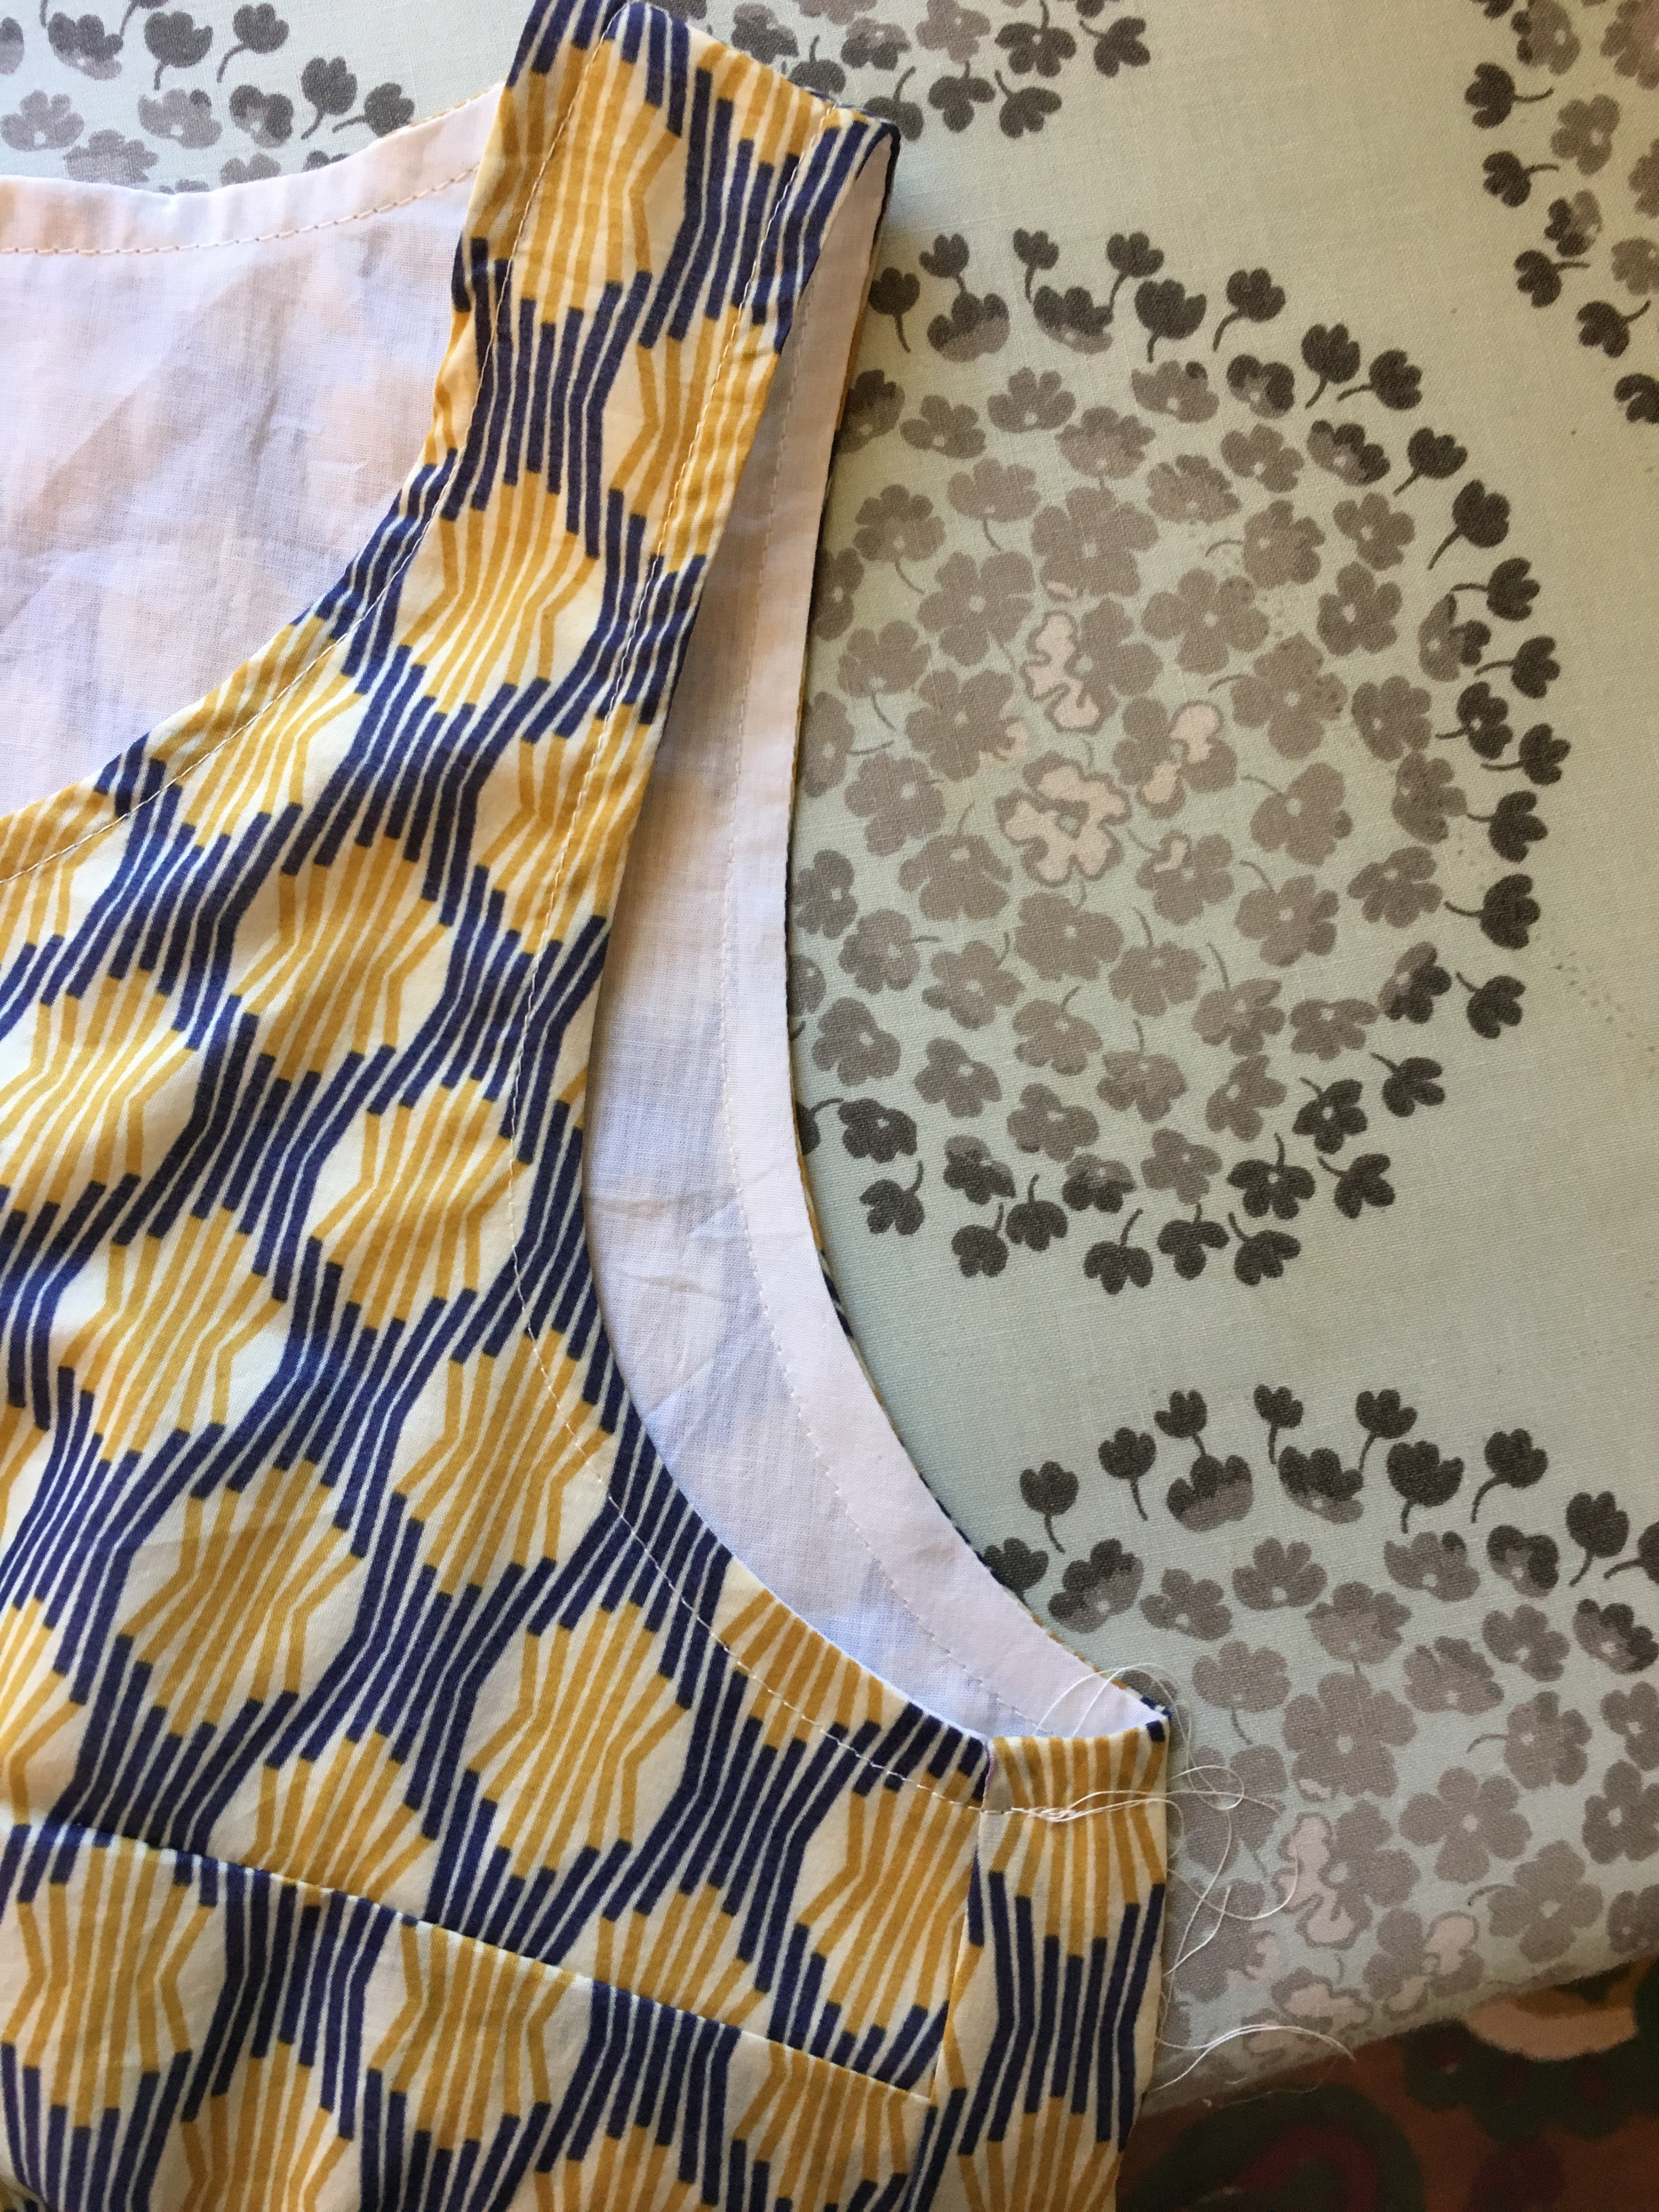


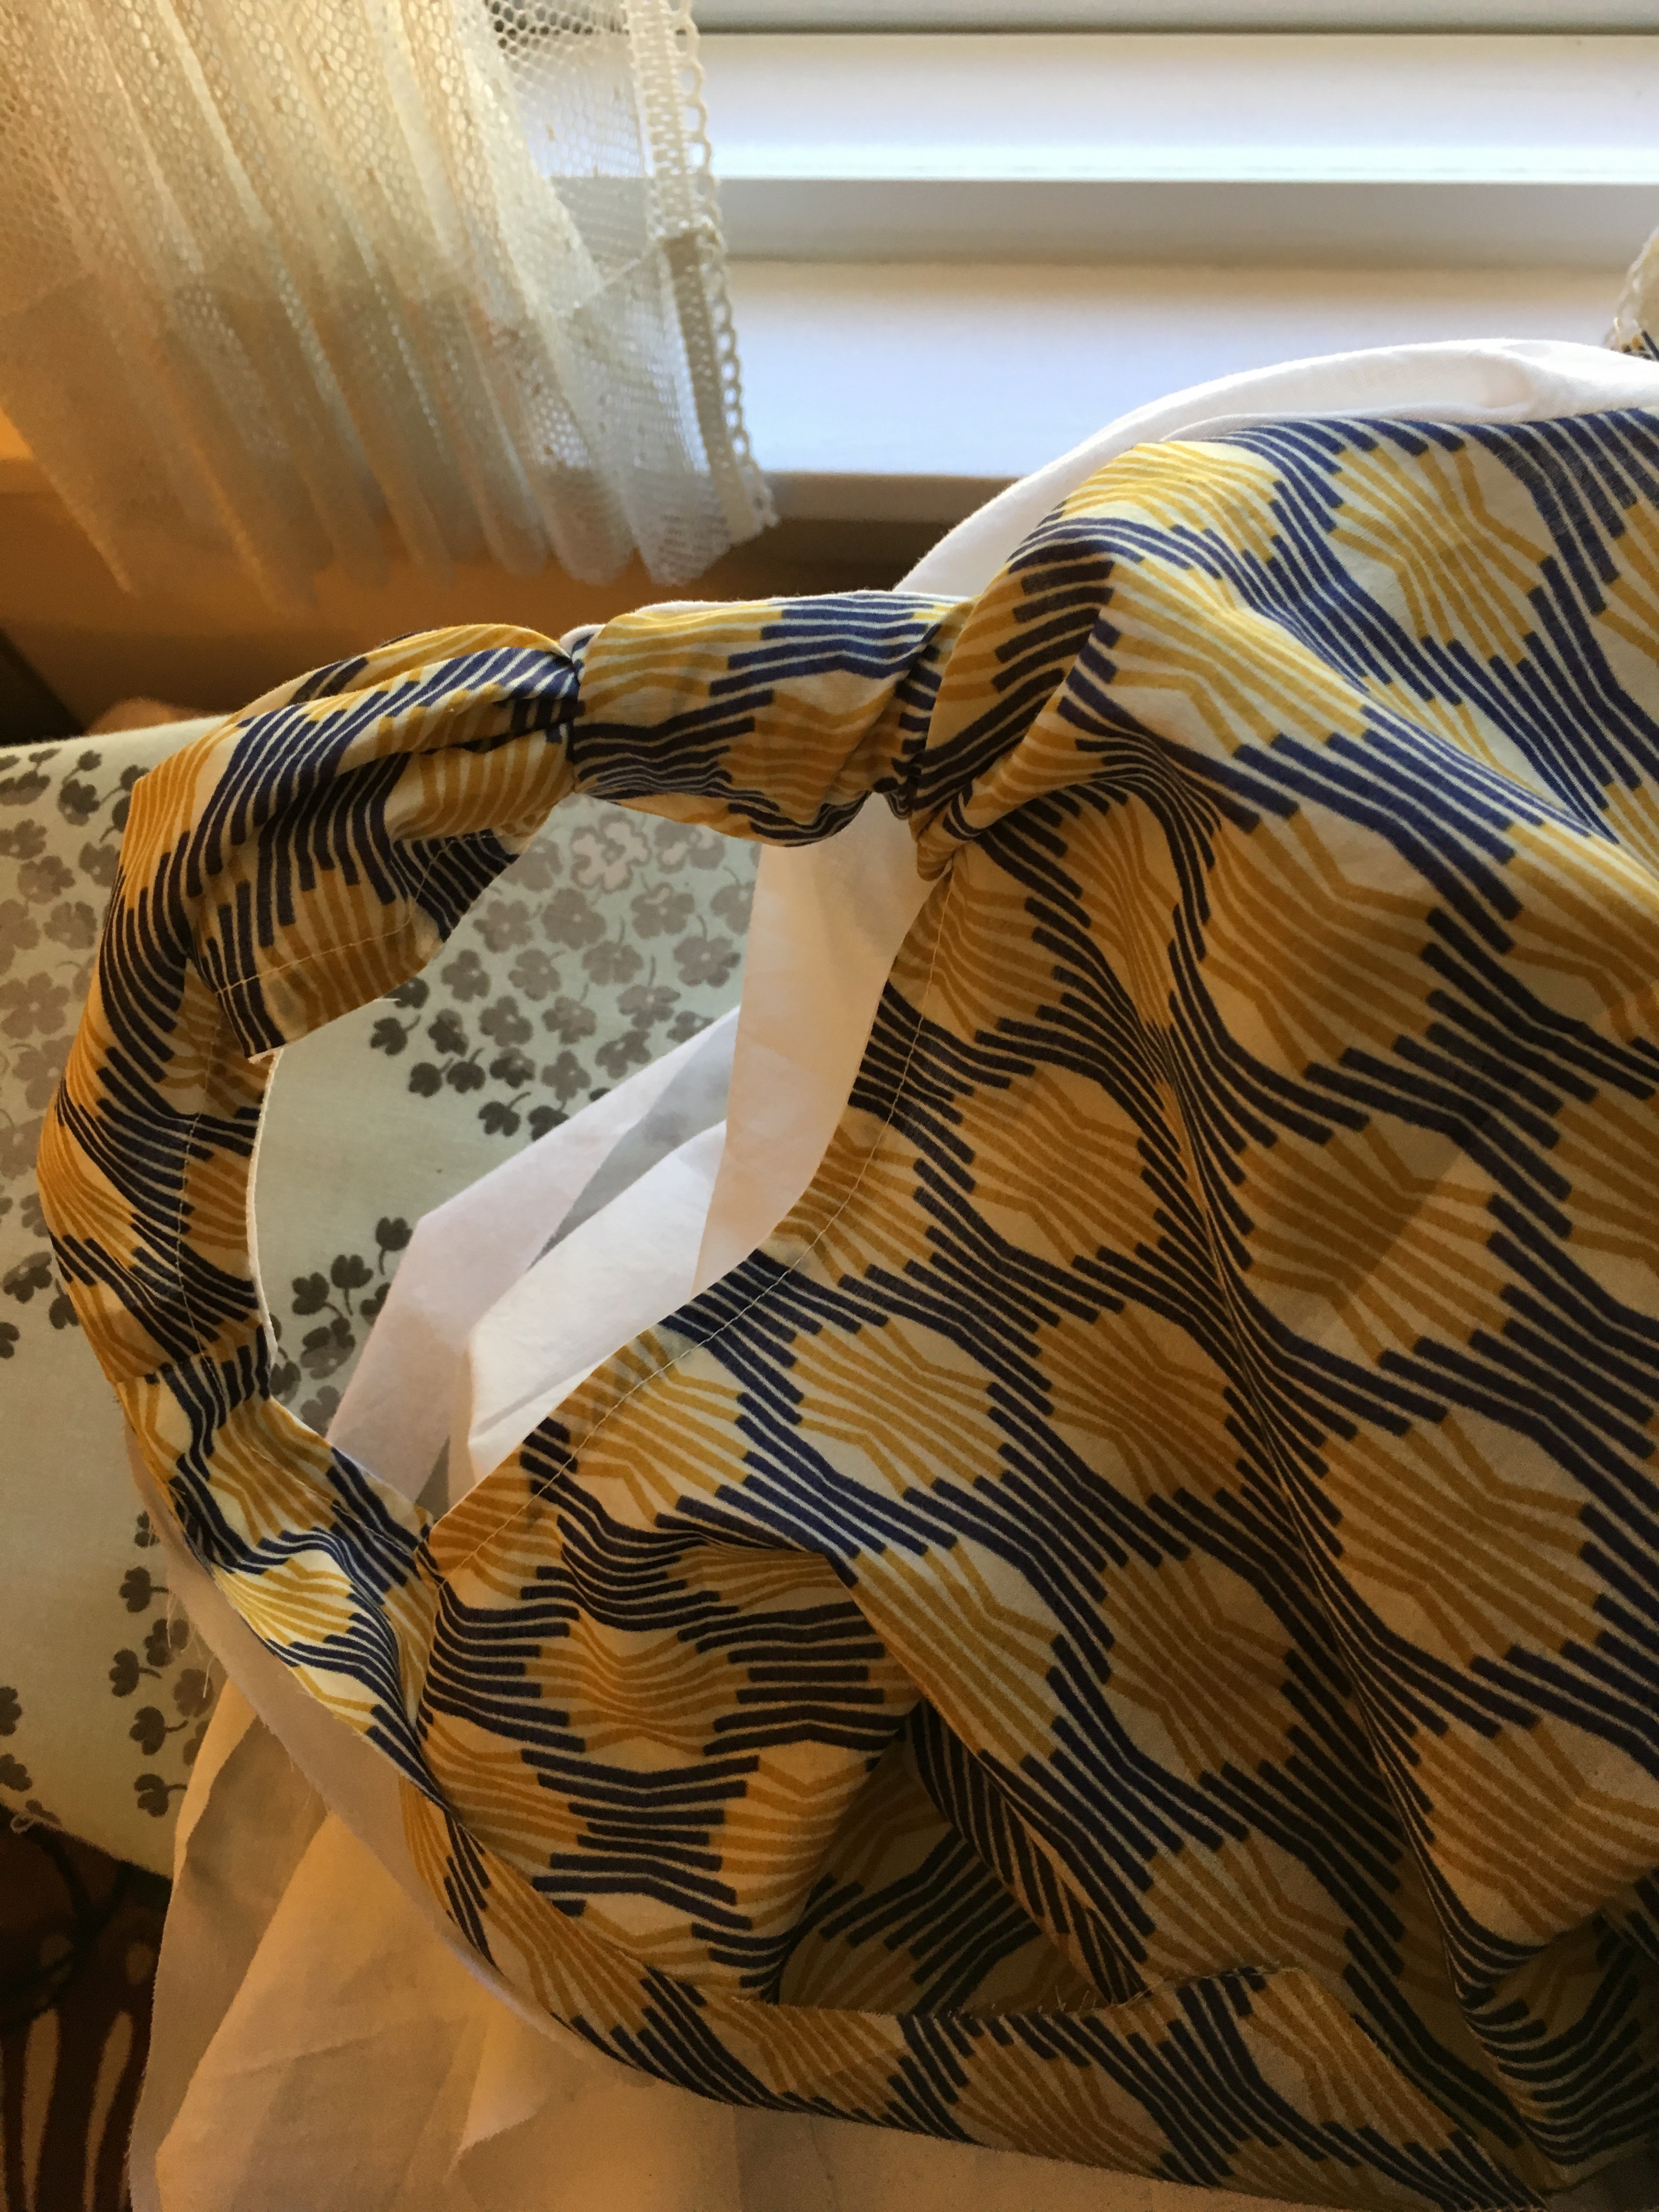
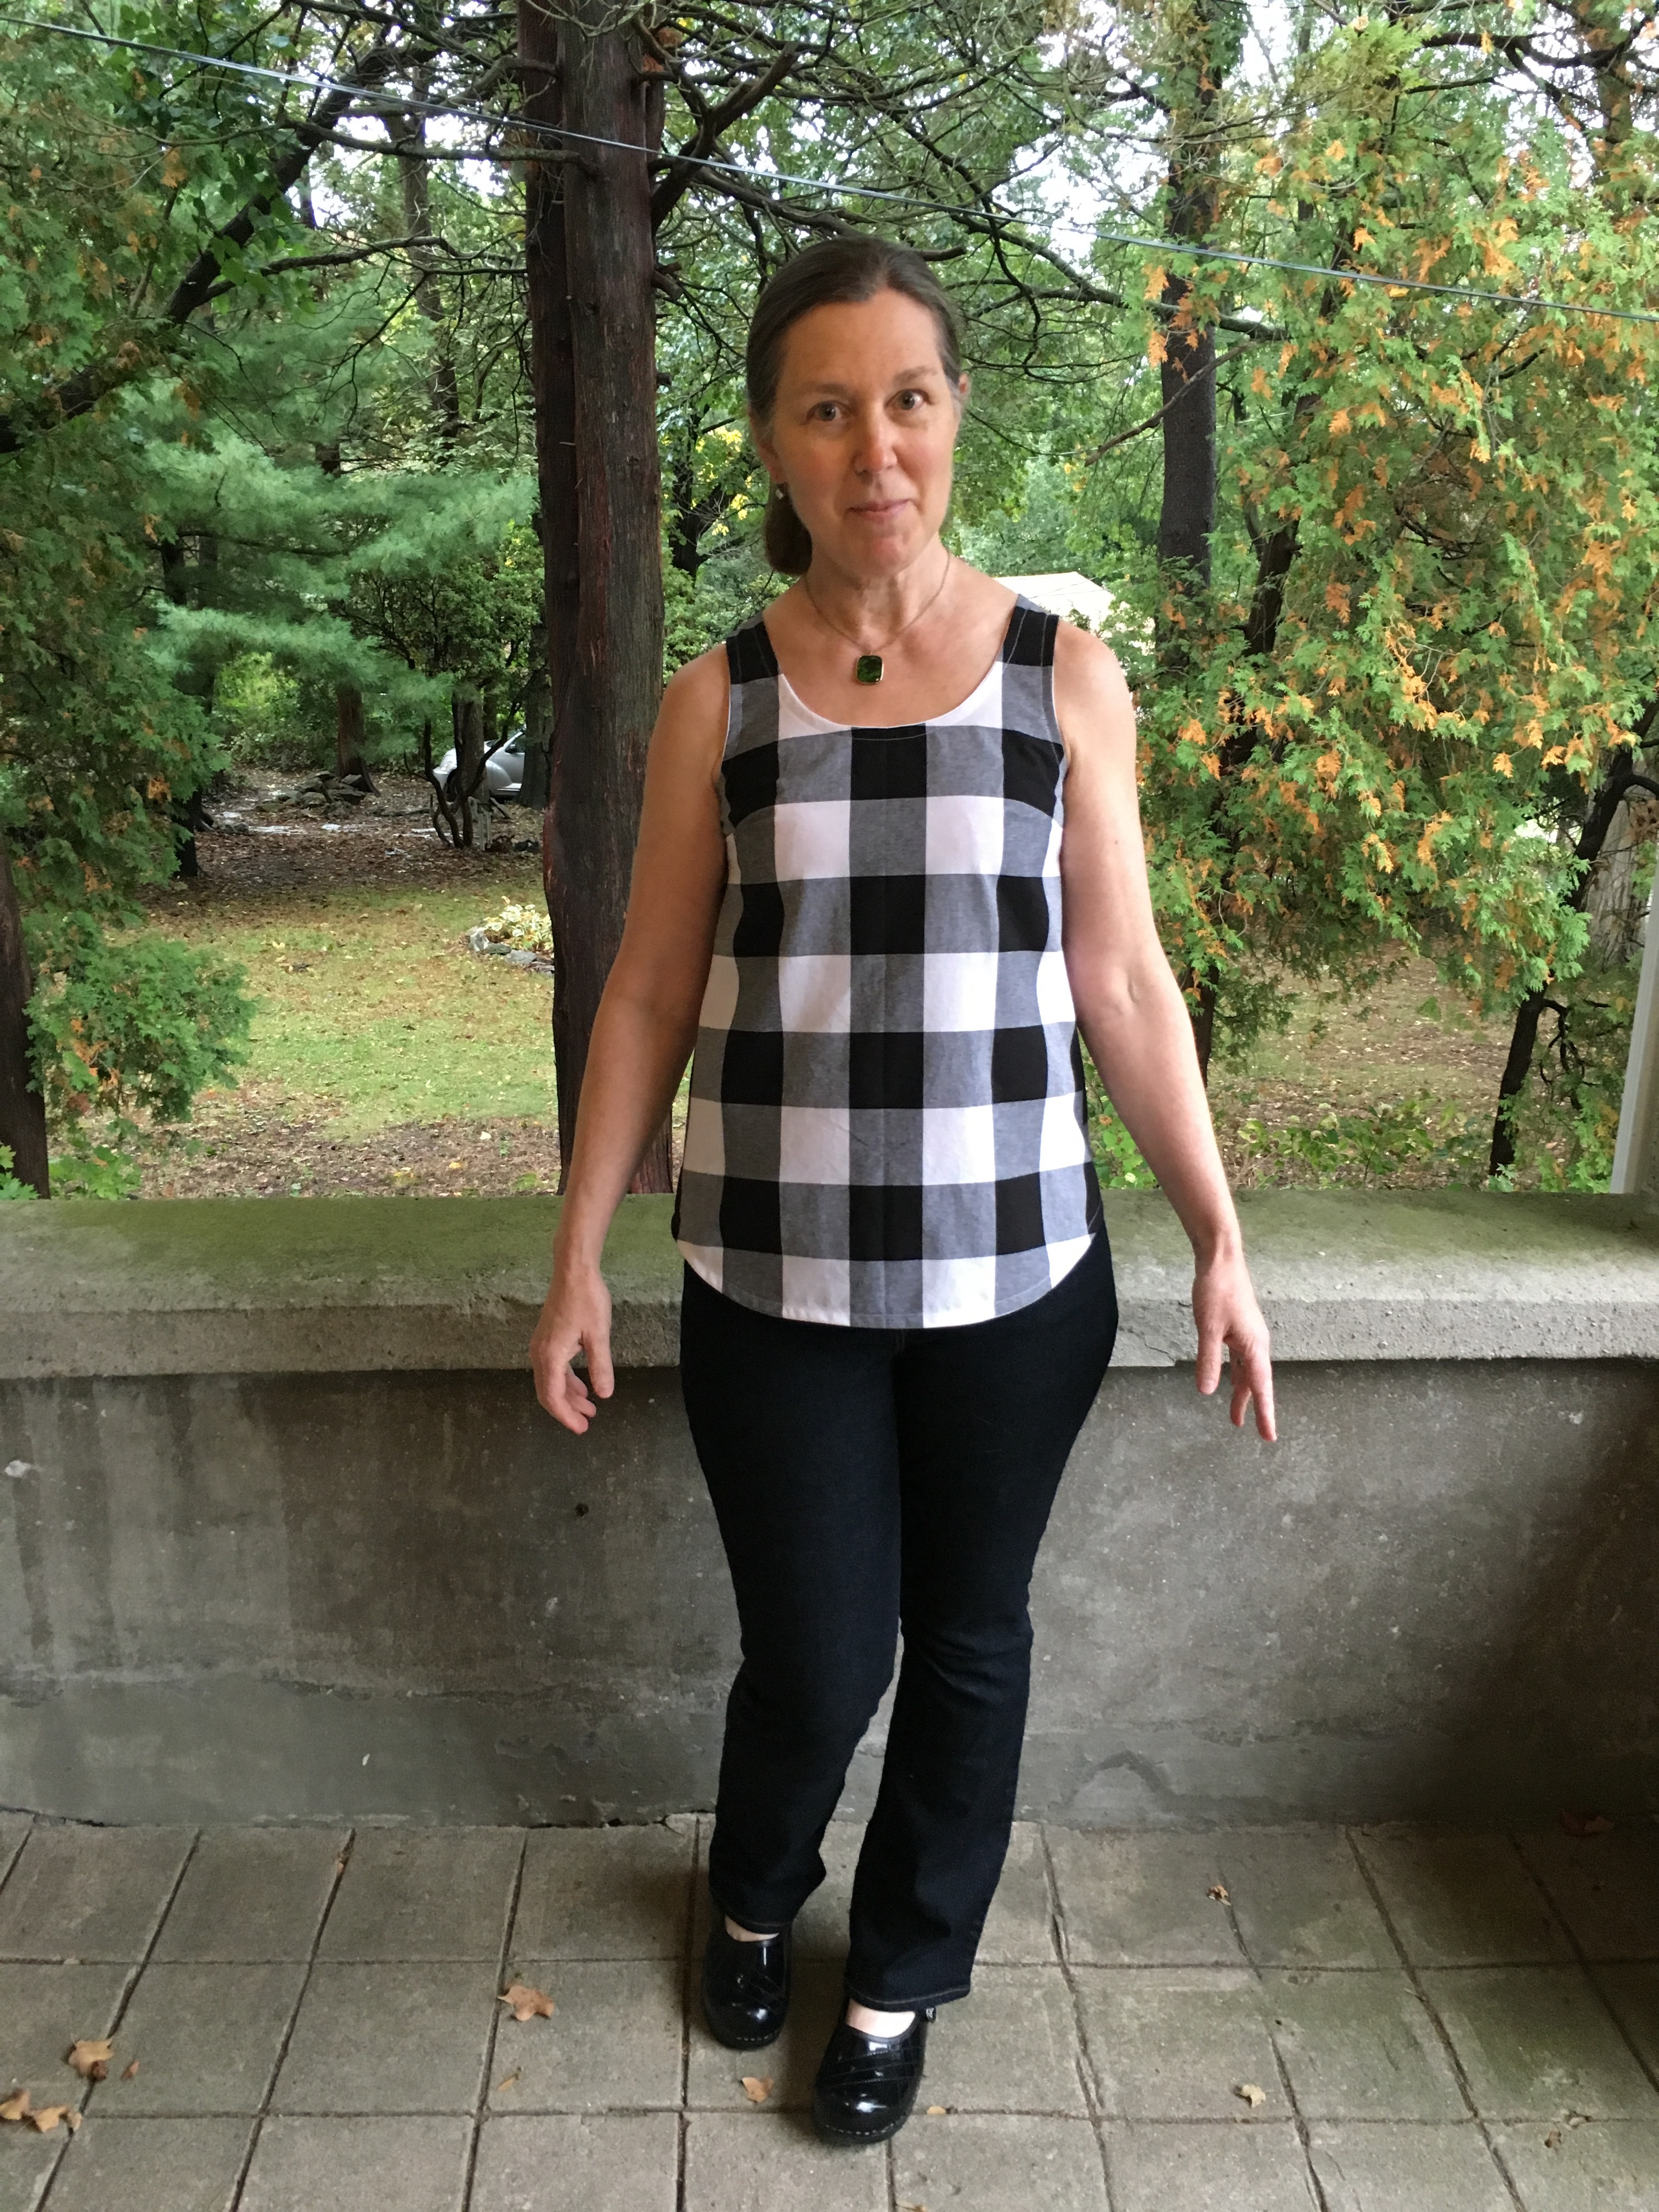
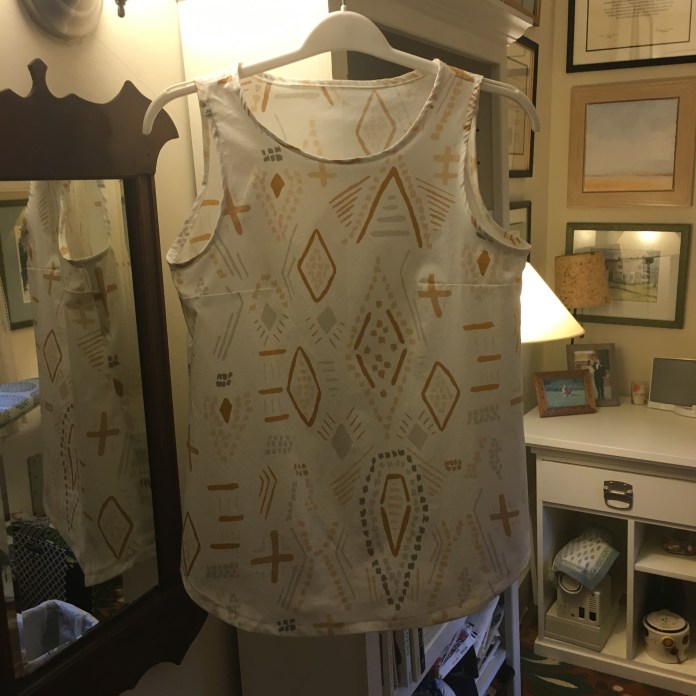
 I did cut a second version in the tank length with the leftover fabric. It would be very elegant over a lacy camisole. Finished dress hanging on the front door. I am going to have to find a new place to take pictures when winter comes to Connecticut.
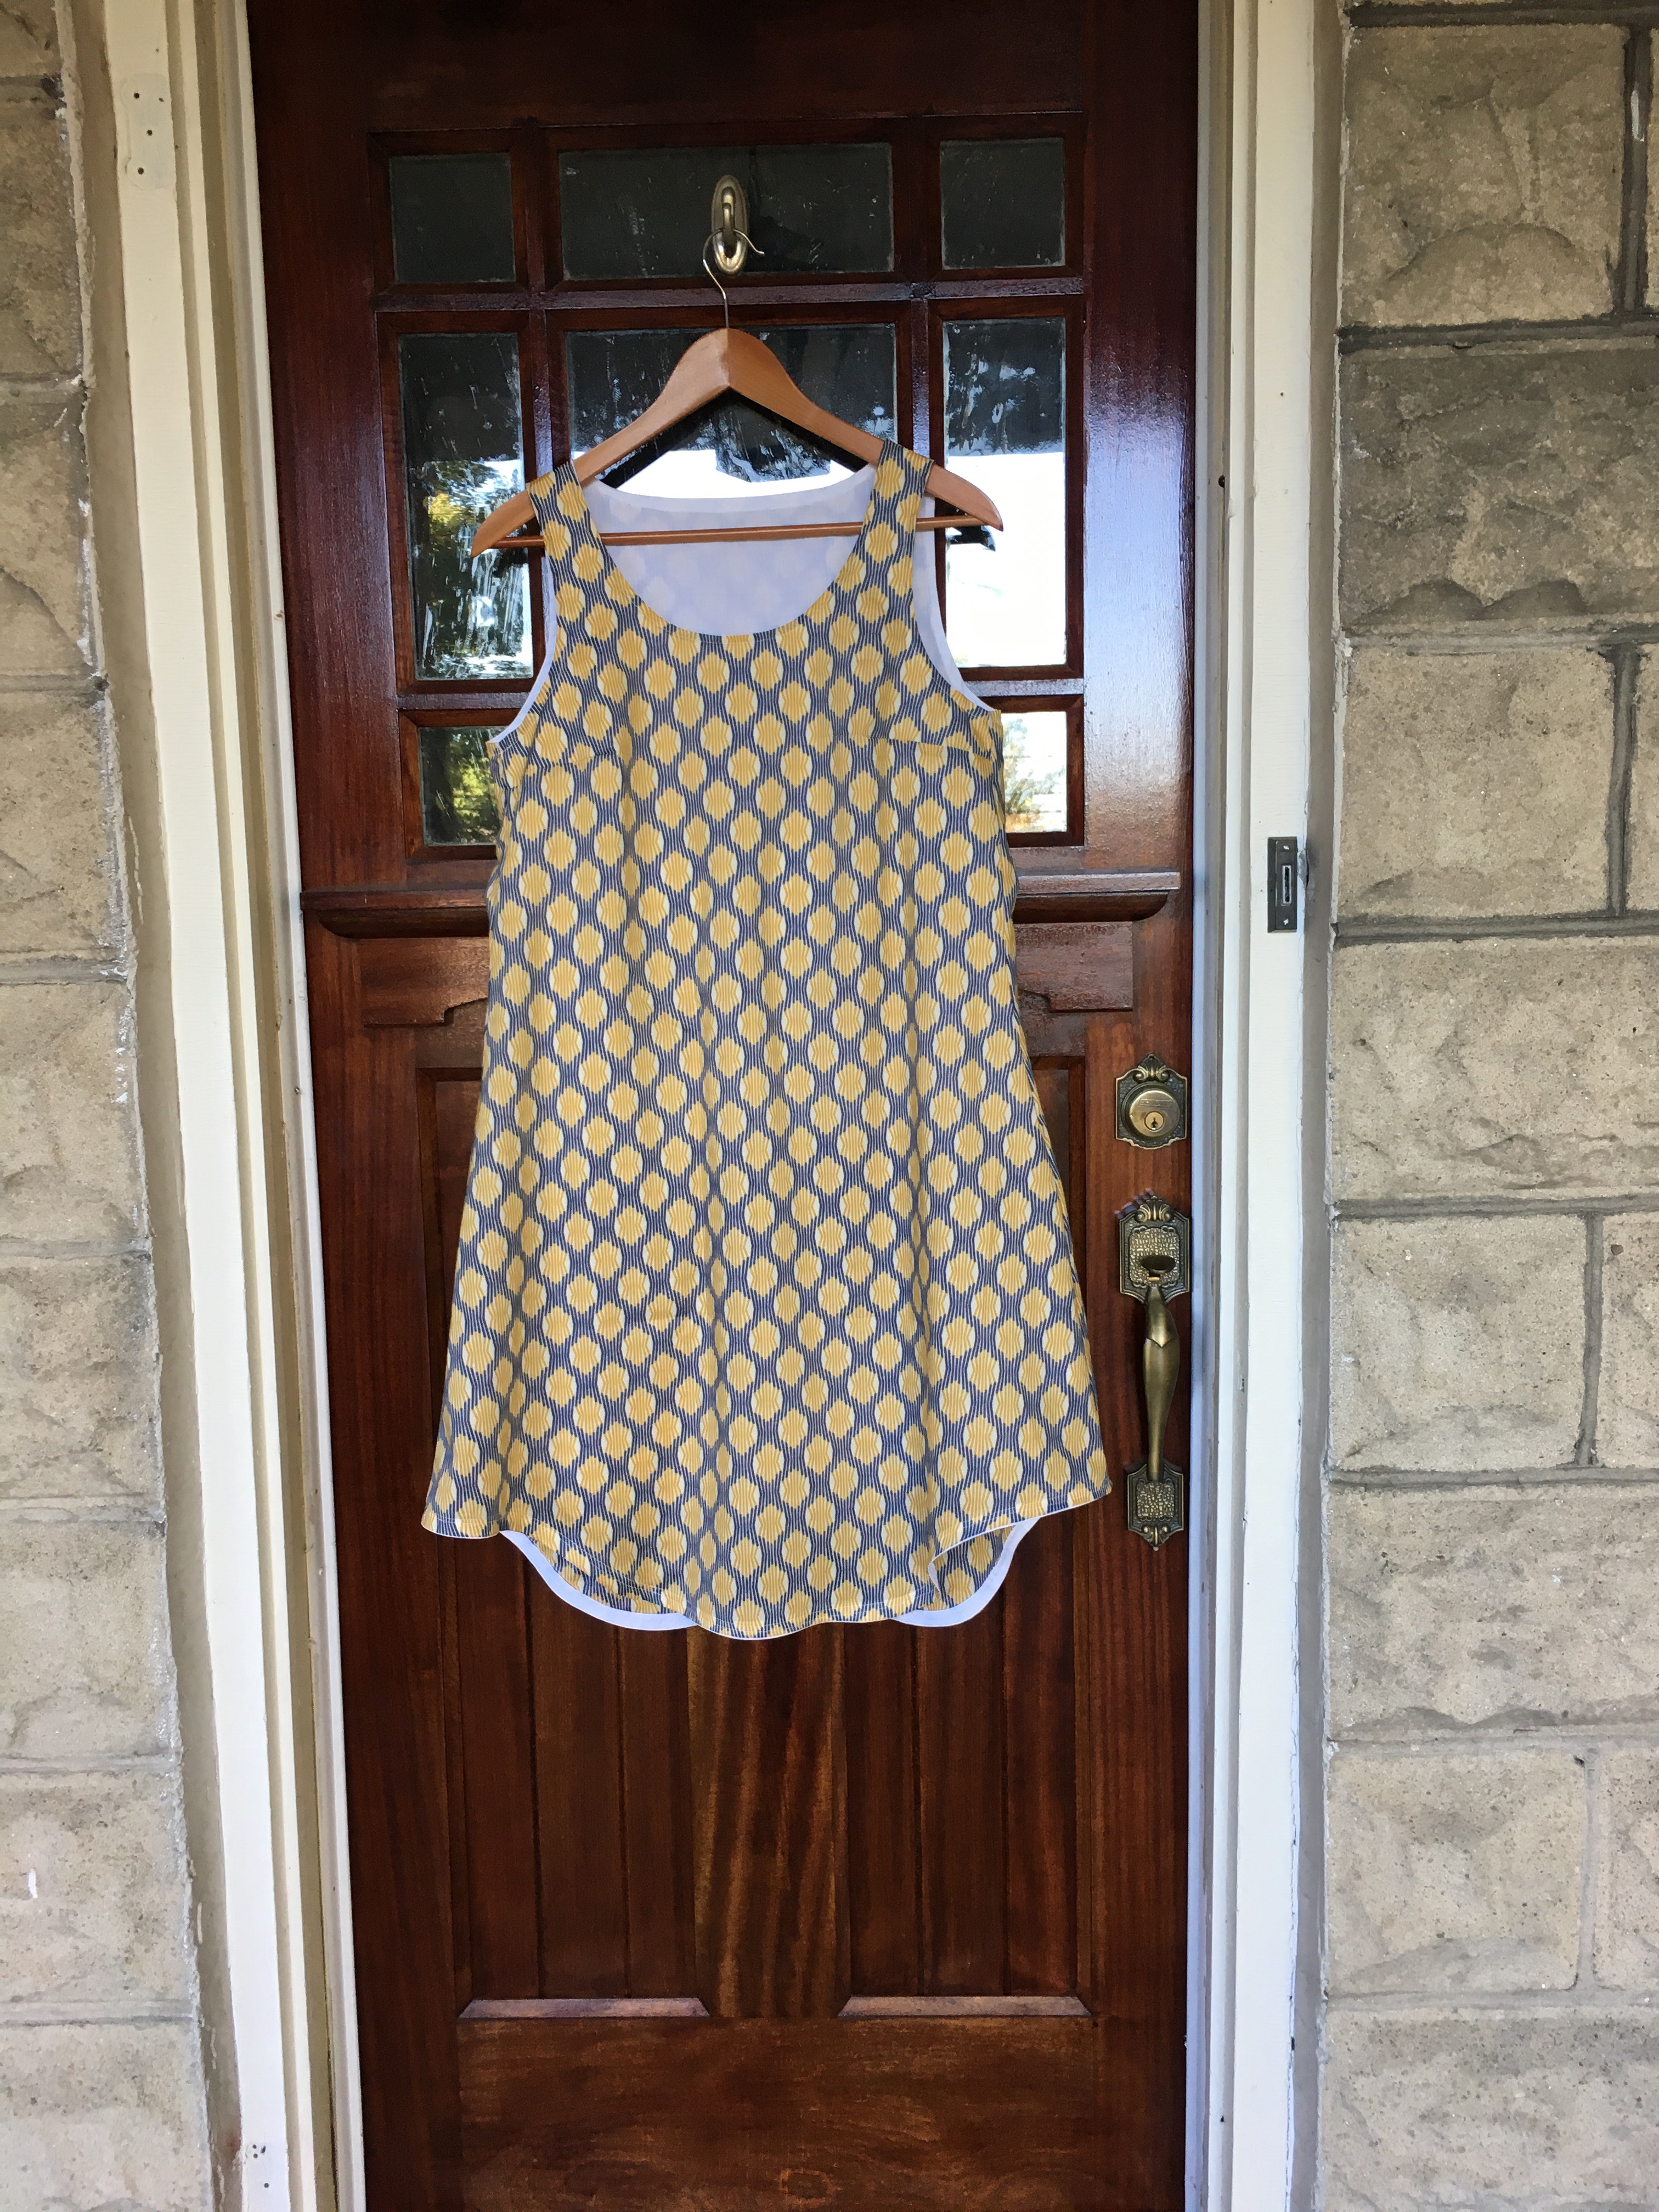
 This was a hasty photo shoot-literally 2 minutes when I was running out to work. The shoulder lies nice and flat, not the way it looks in the photo below.


 The thing about this pattern is that the initial sewing goes very quickly and then there is the bias binding which is not terrible but somewhat of a challenge for me. So now I am finishing these projects one by one and today I had time to finish this.

 In addition to the details of the other binding method that I use explained in
  #beforethebinding picture below.
 You can link to my previous posts about the Gemma Tank
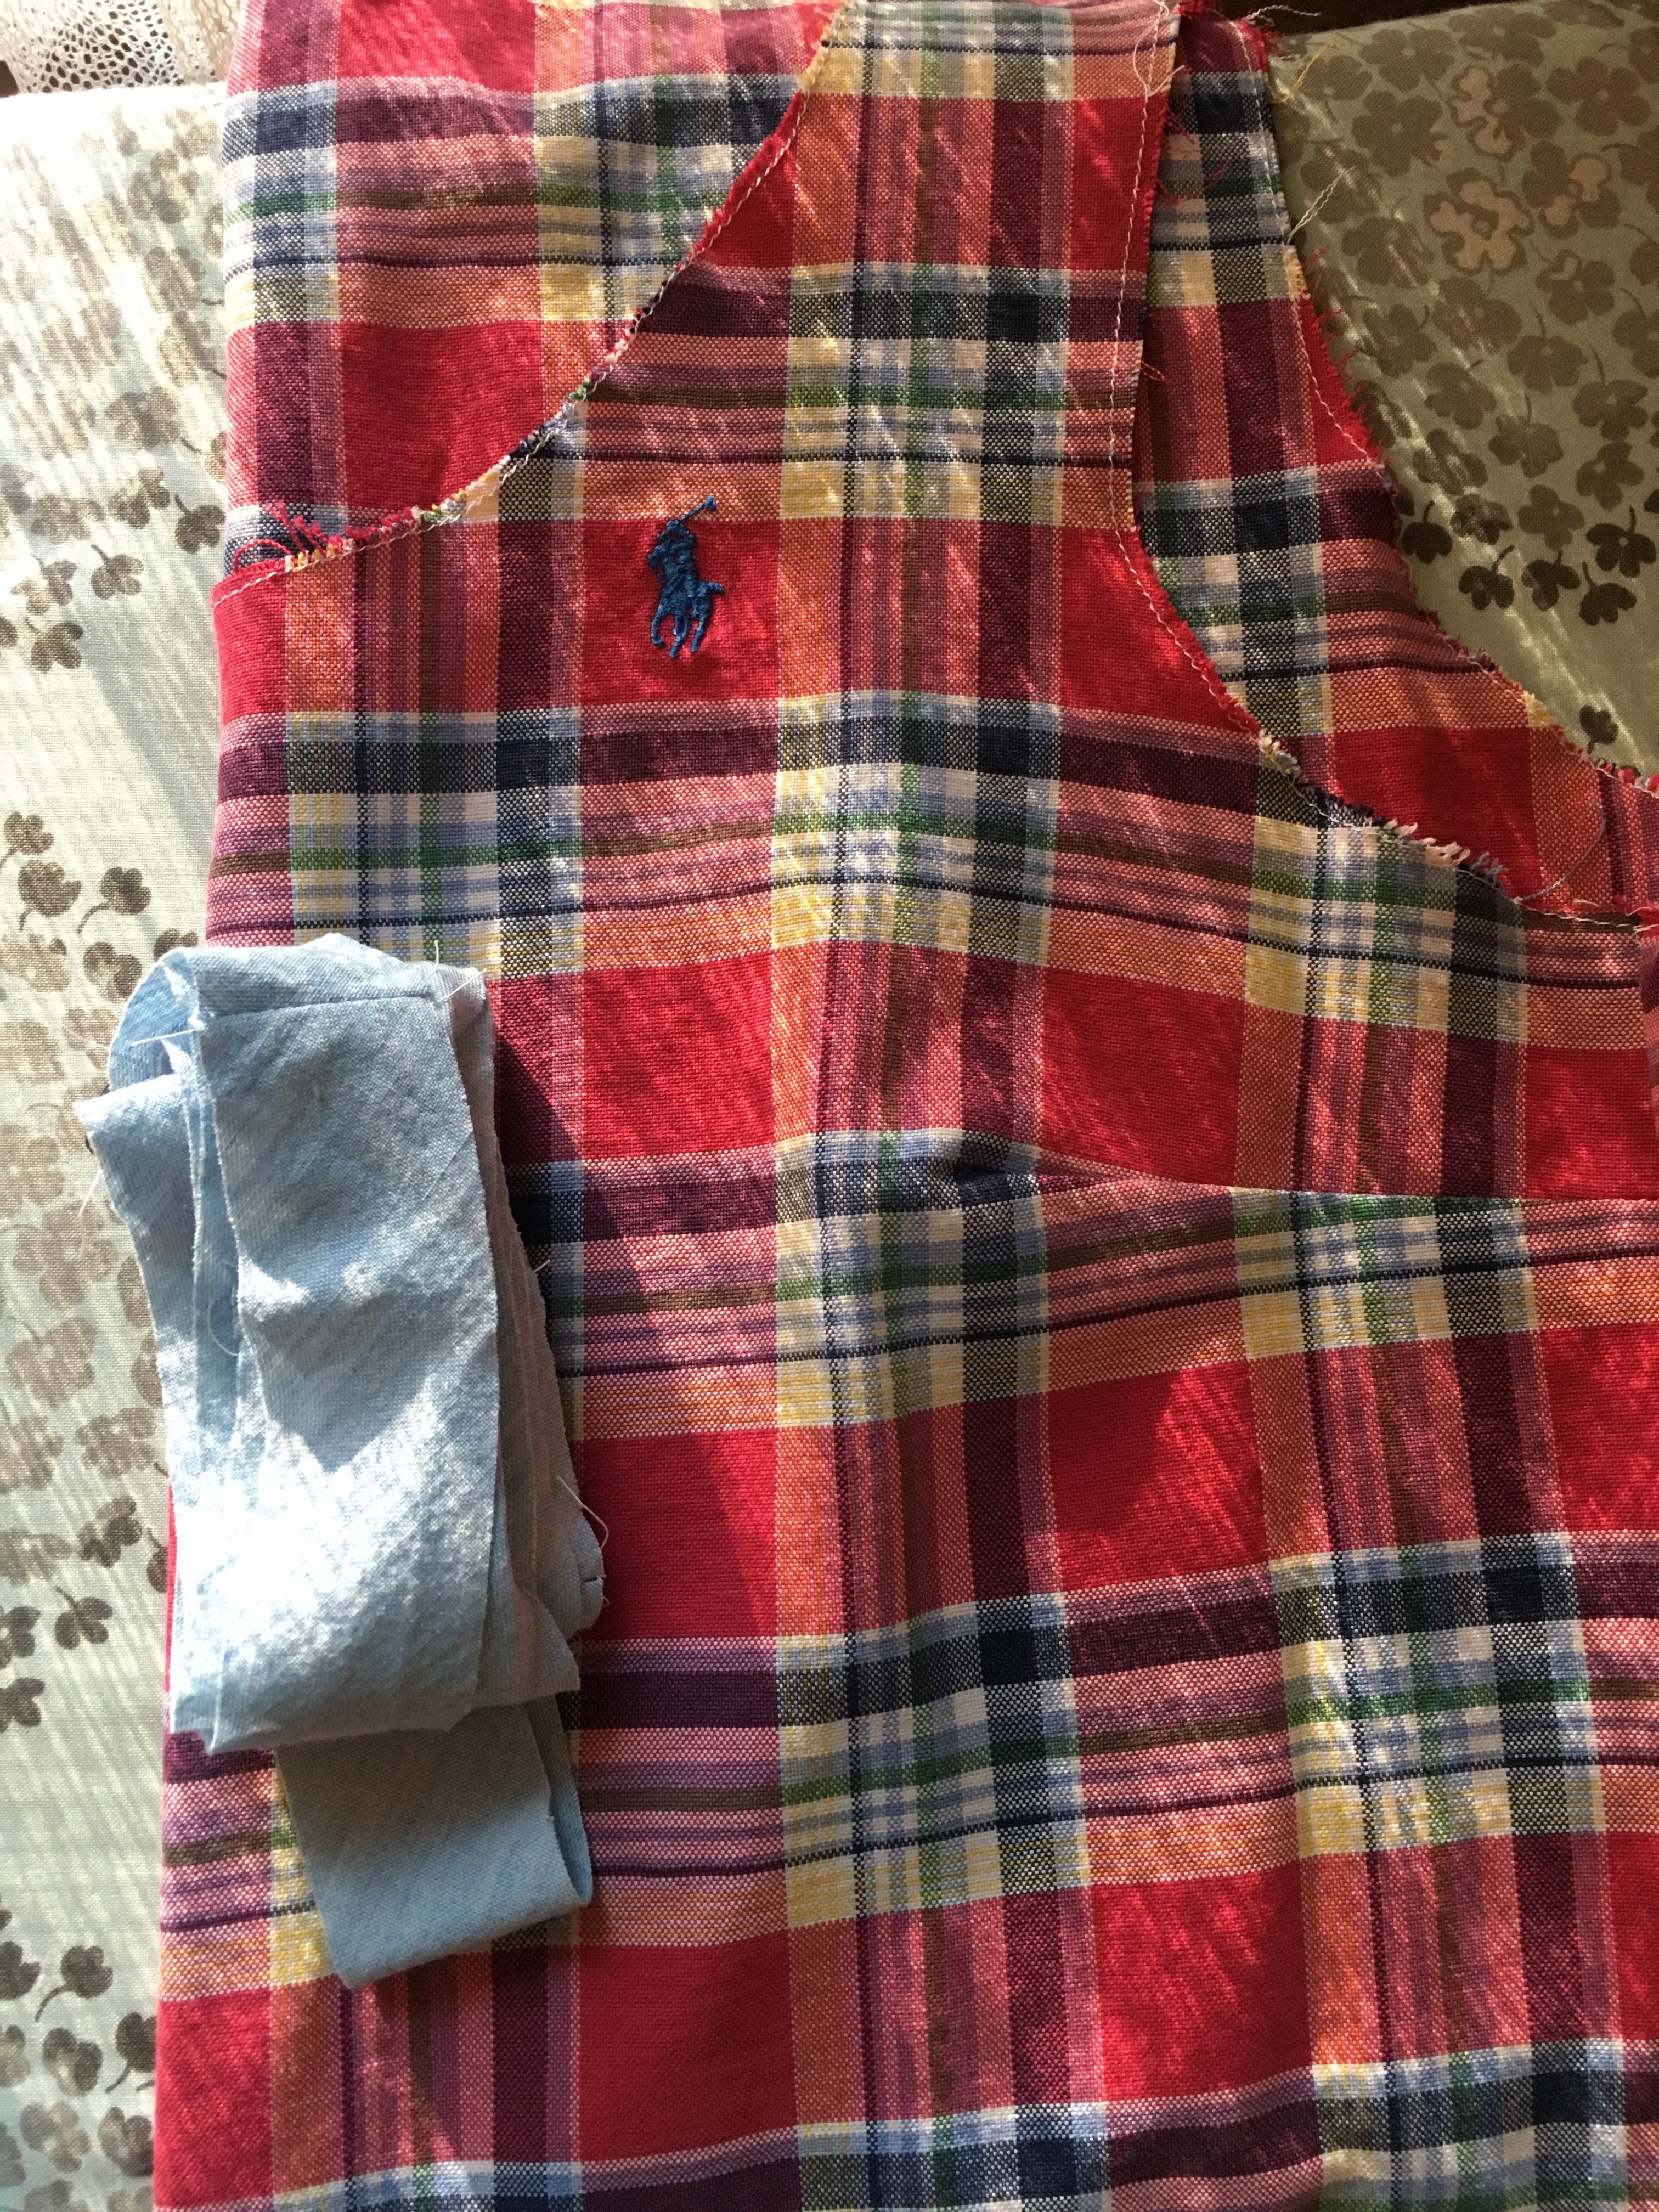


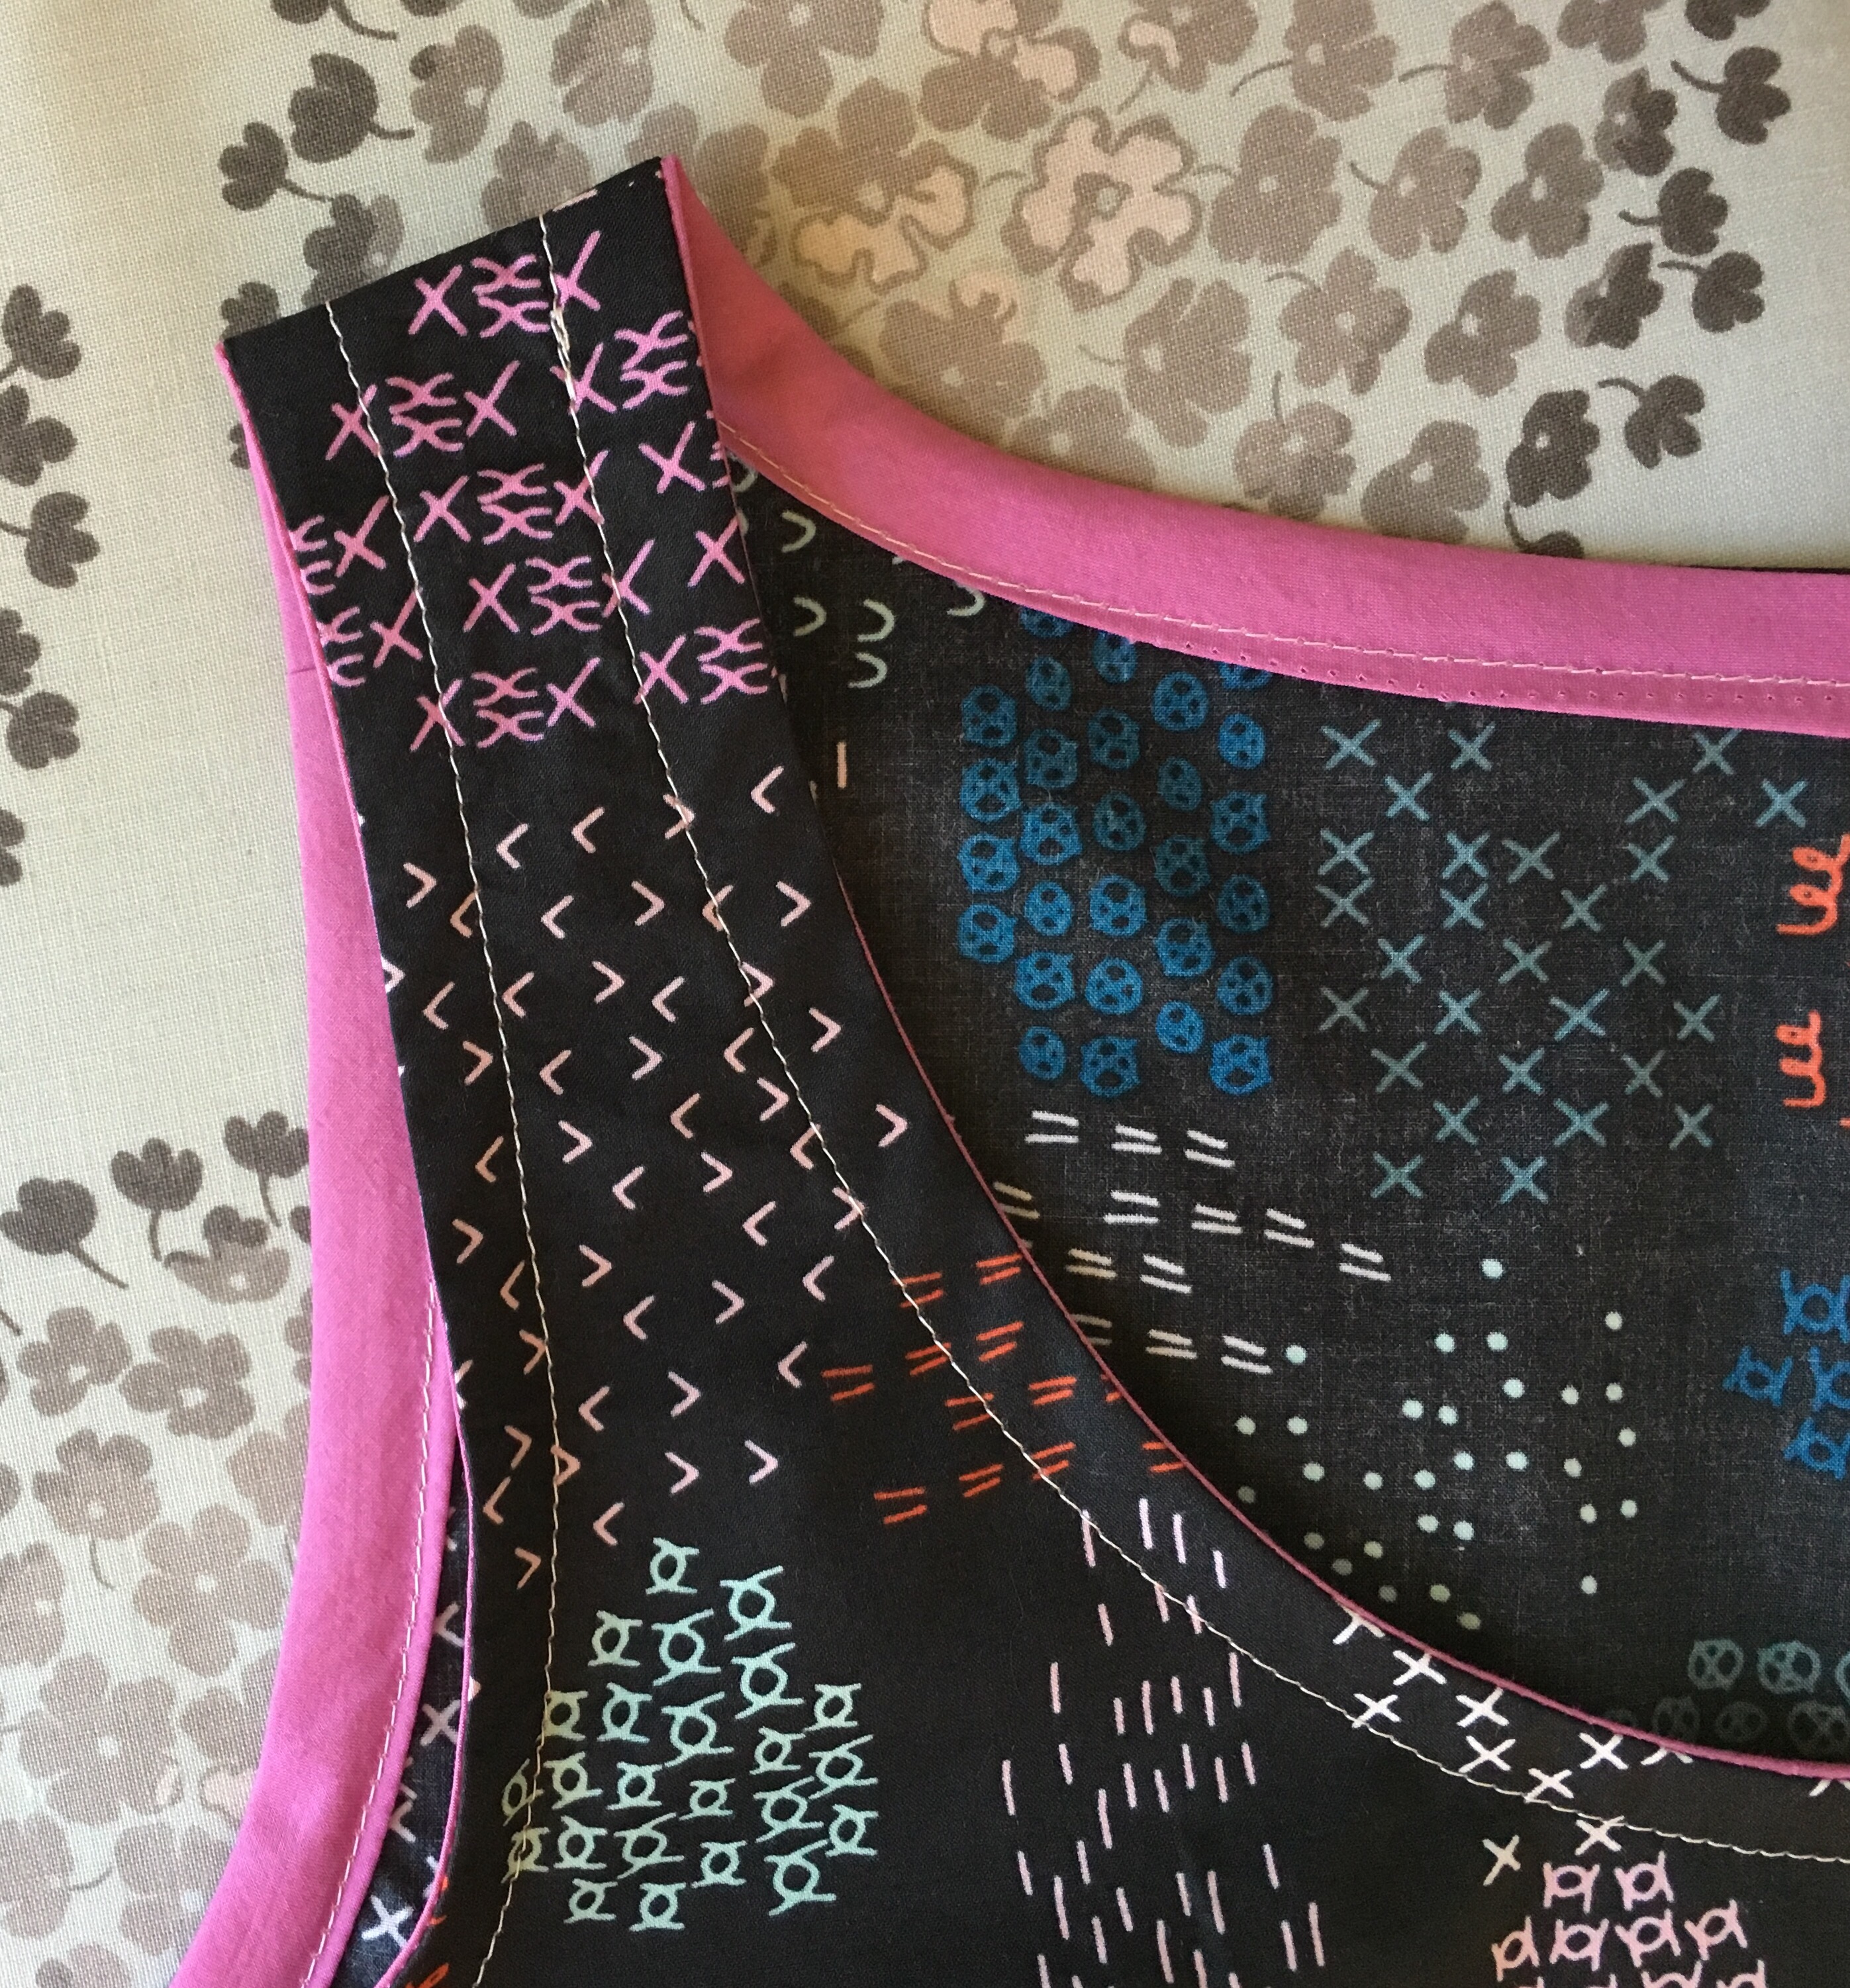
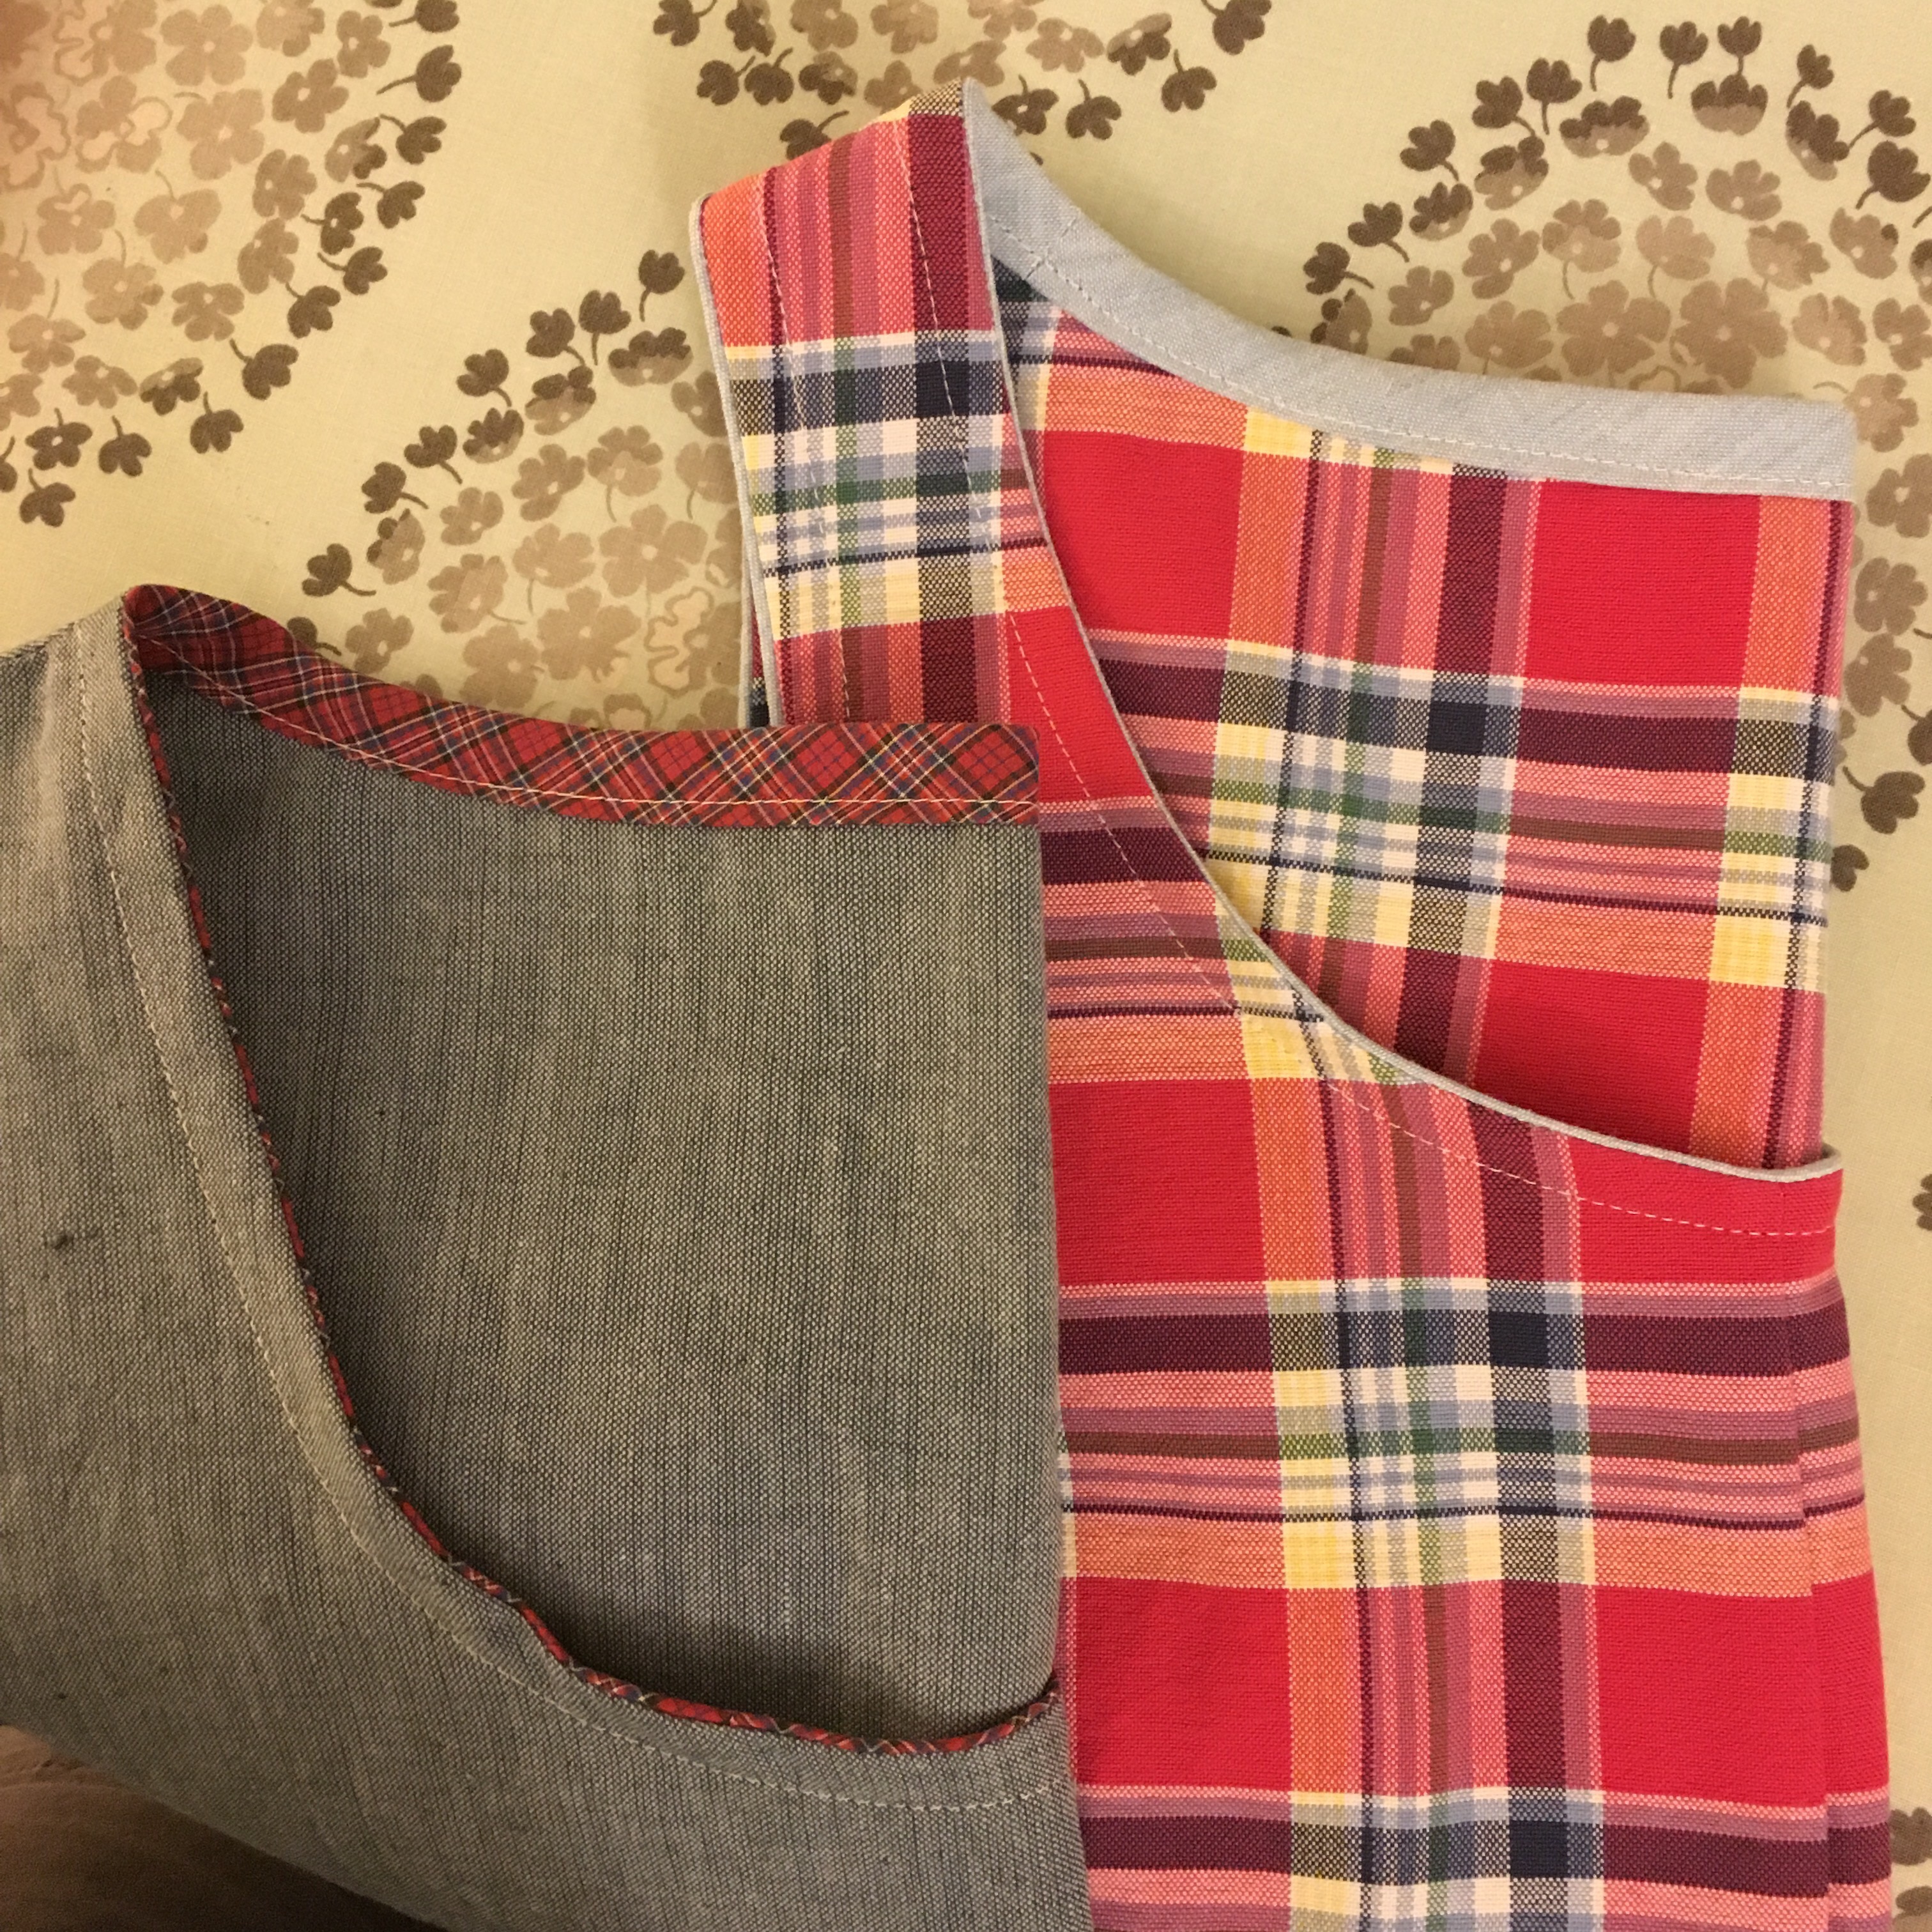
 Luckily there was no pocket to contend with but there was the polo player who ended up in just about the right spot. I really like the contrasting blue edge around the neck and arms.


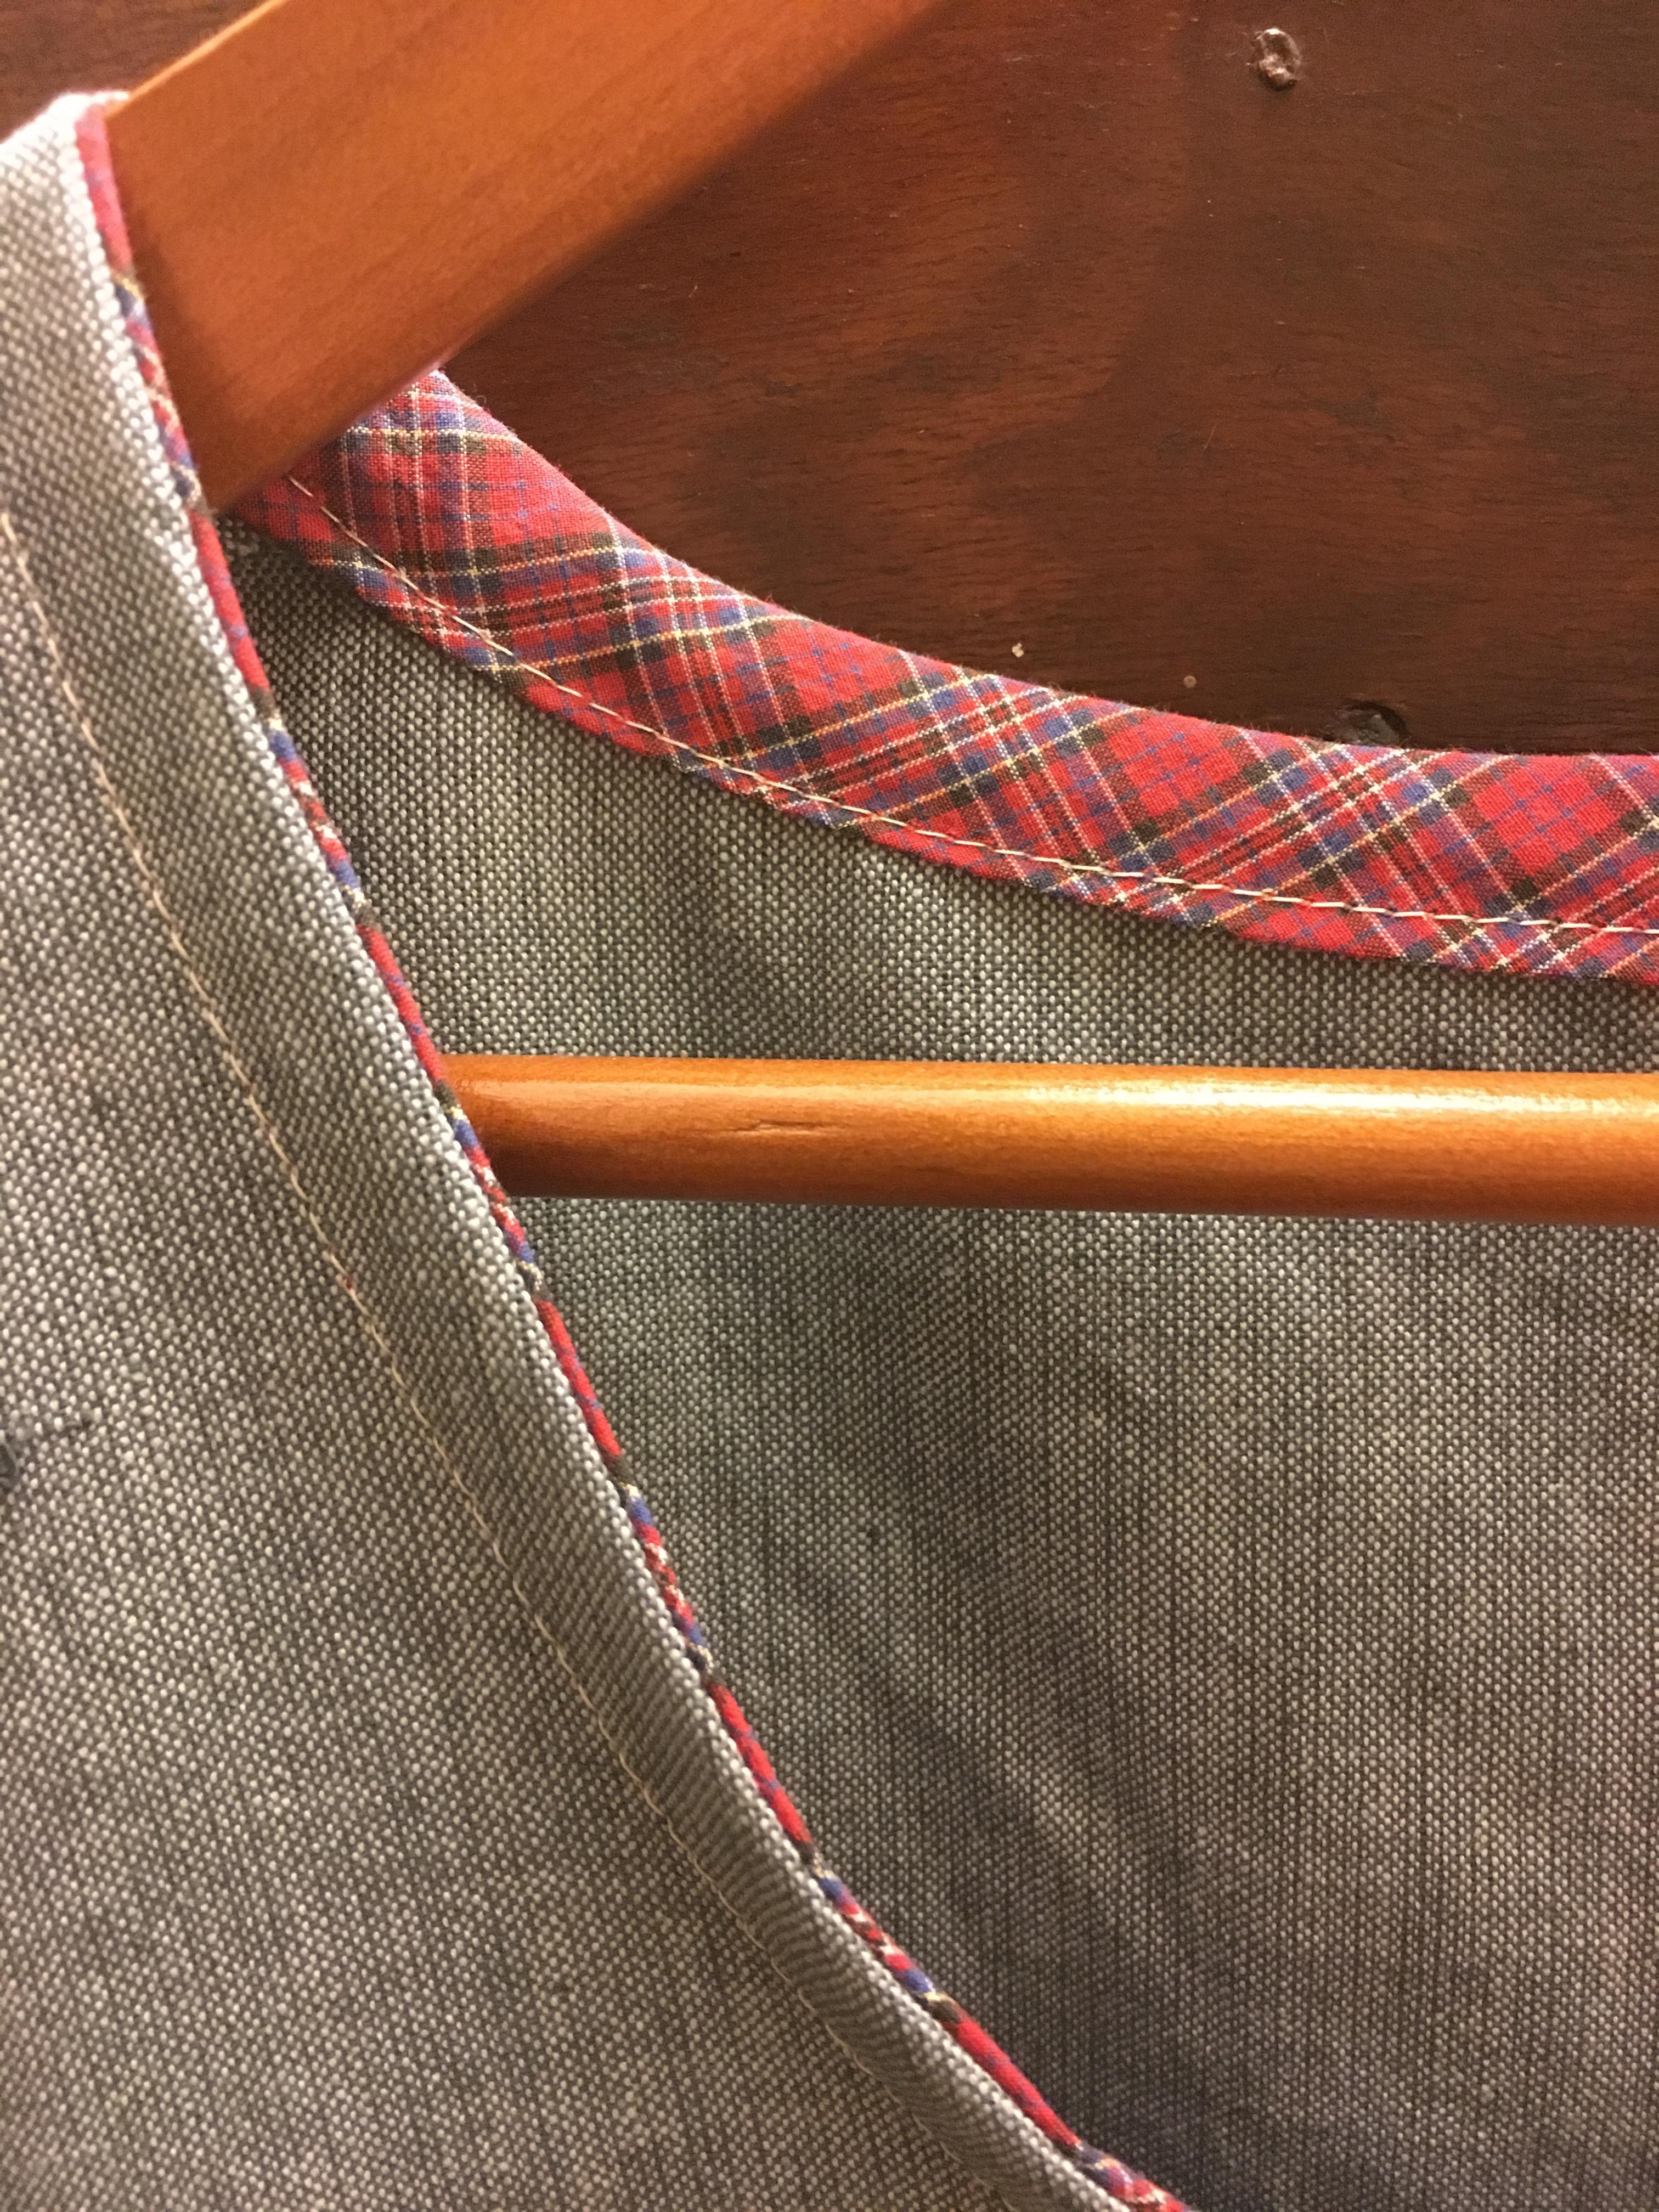


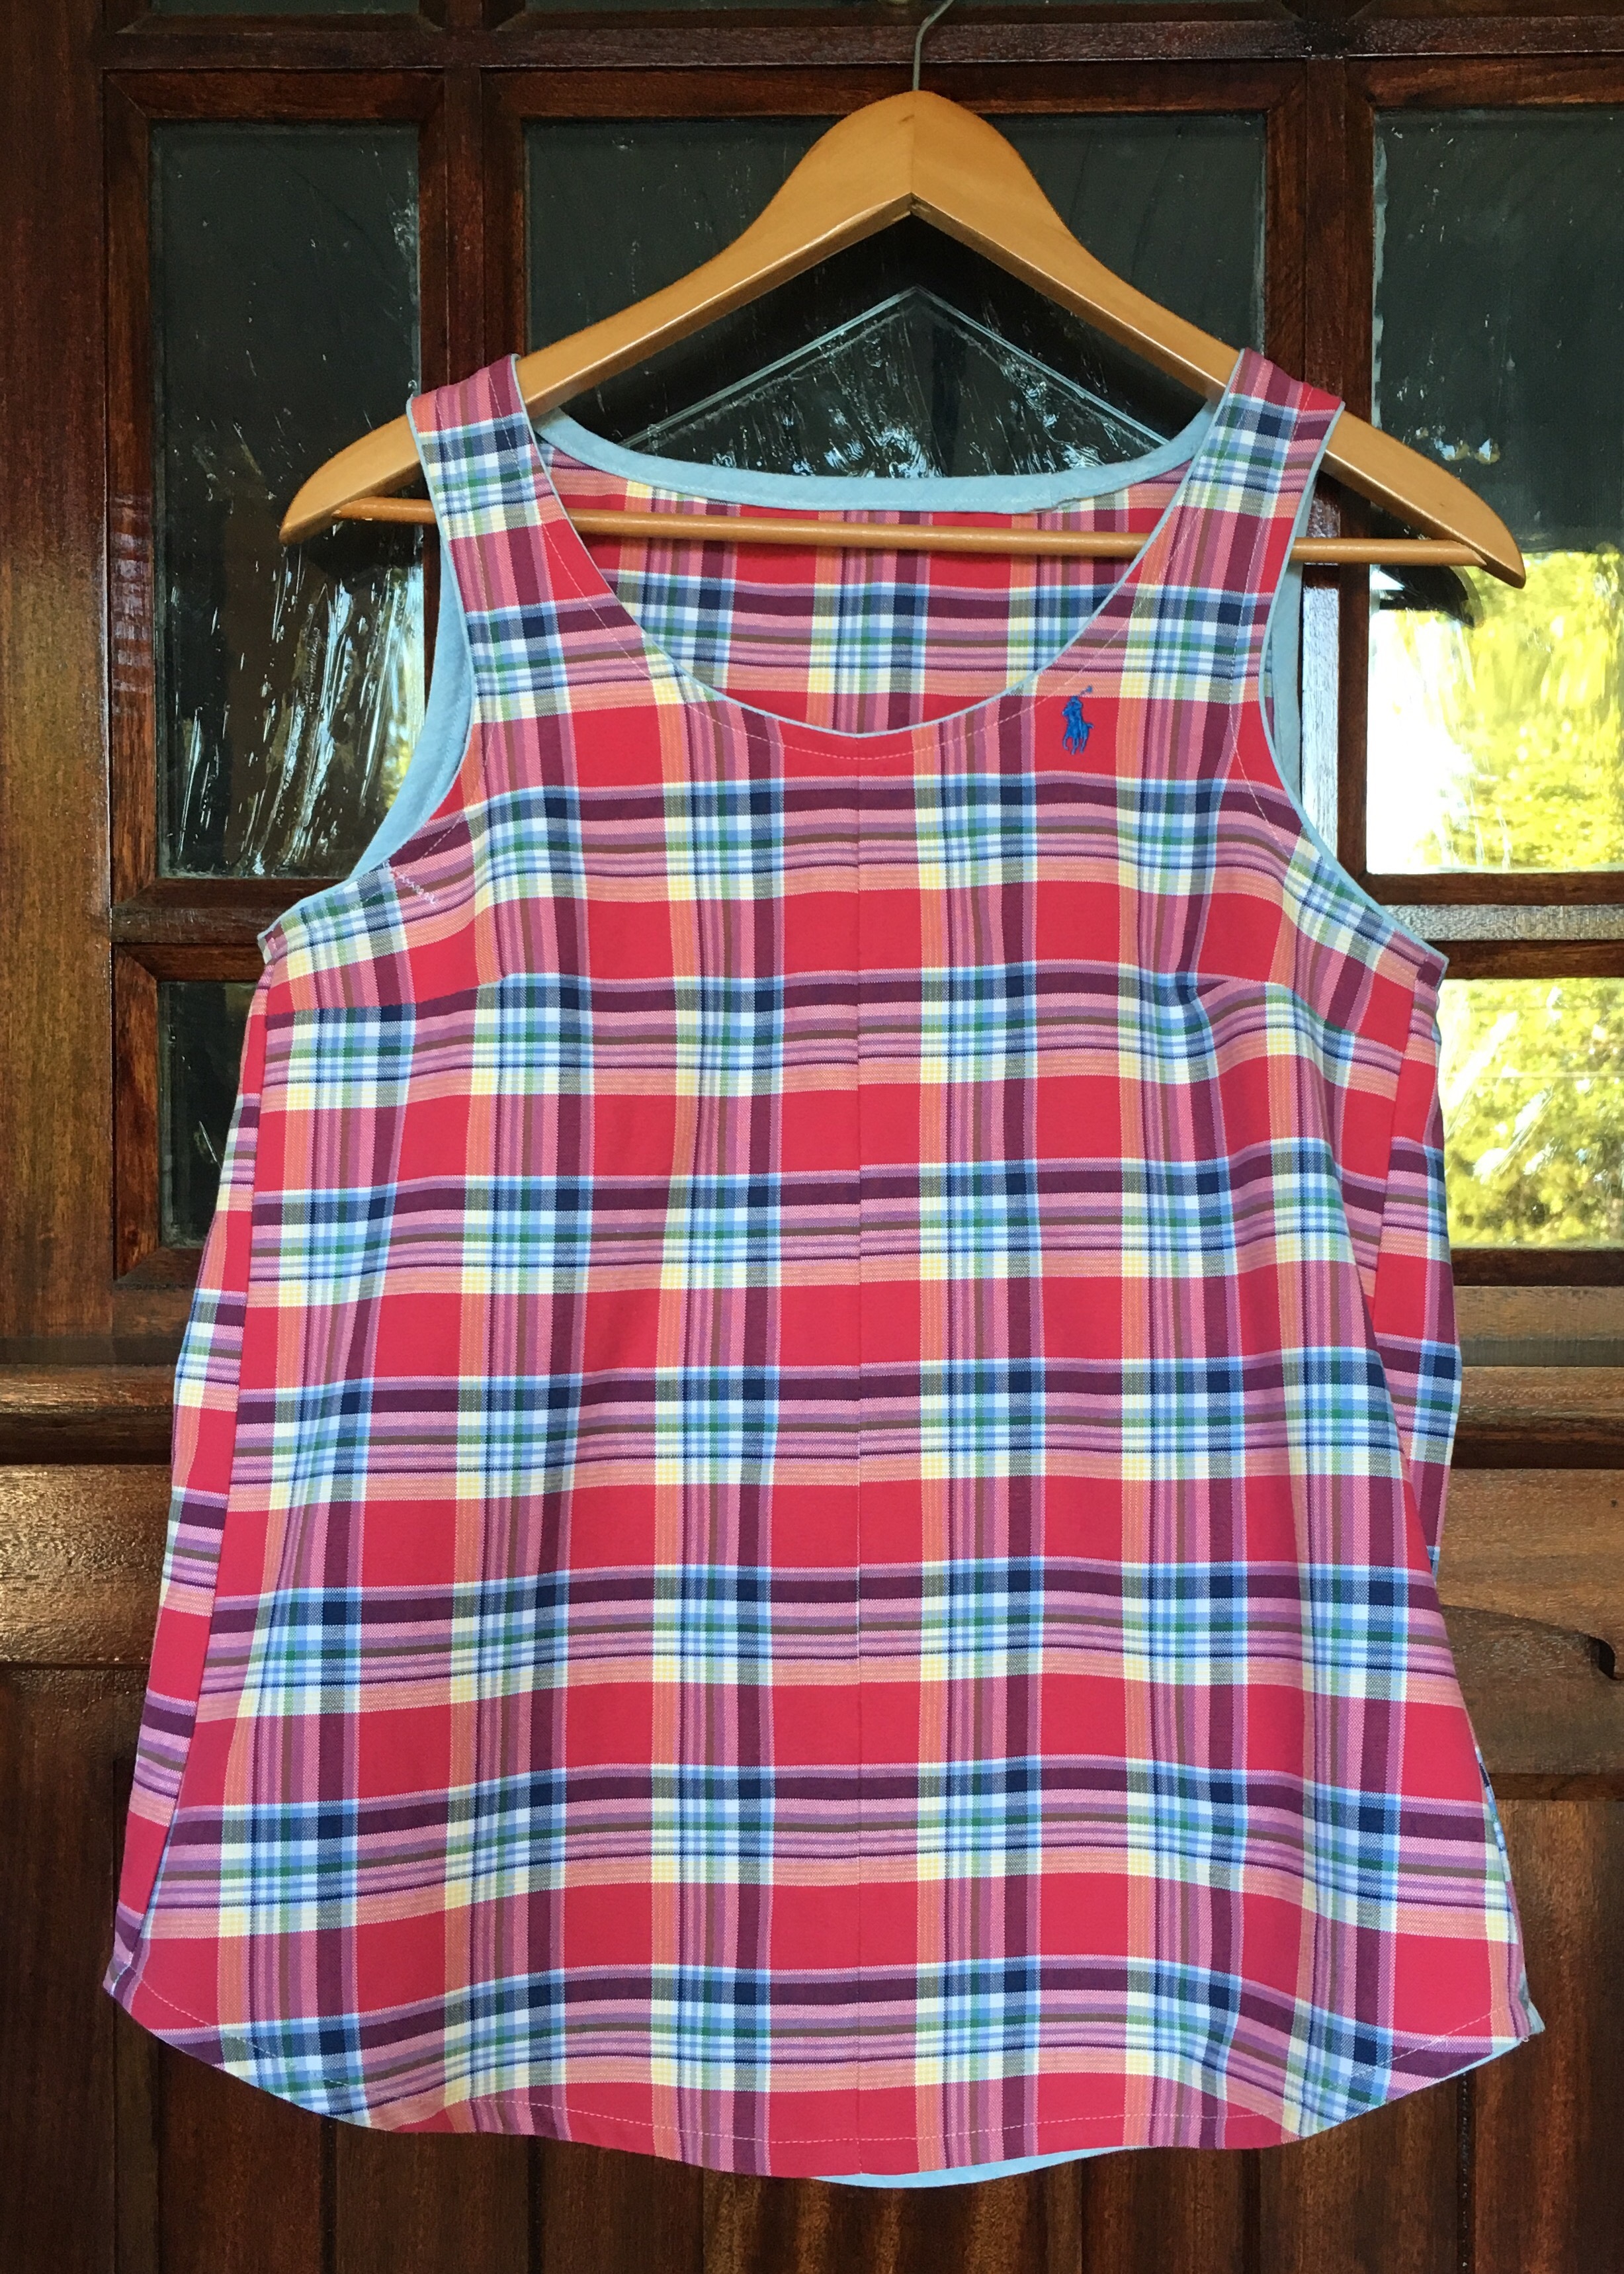

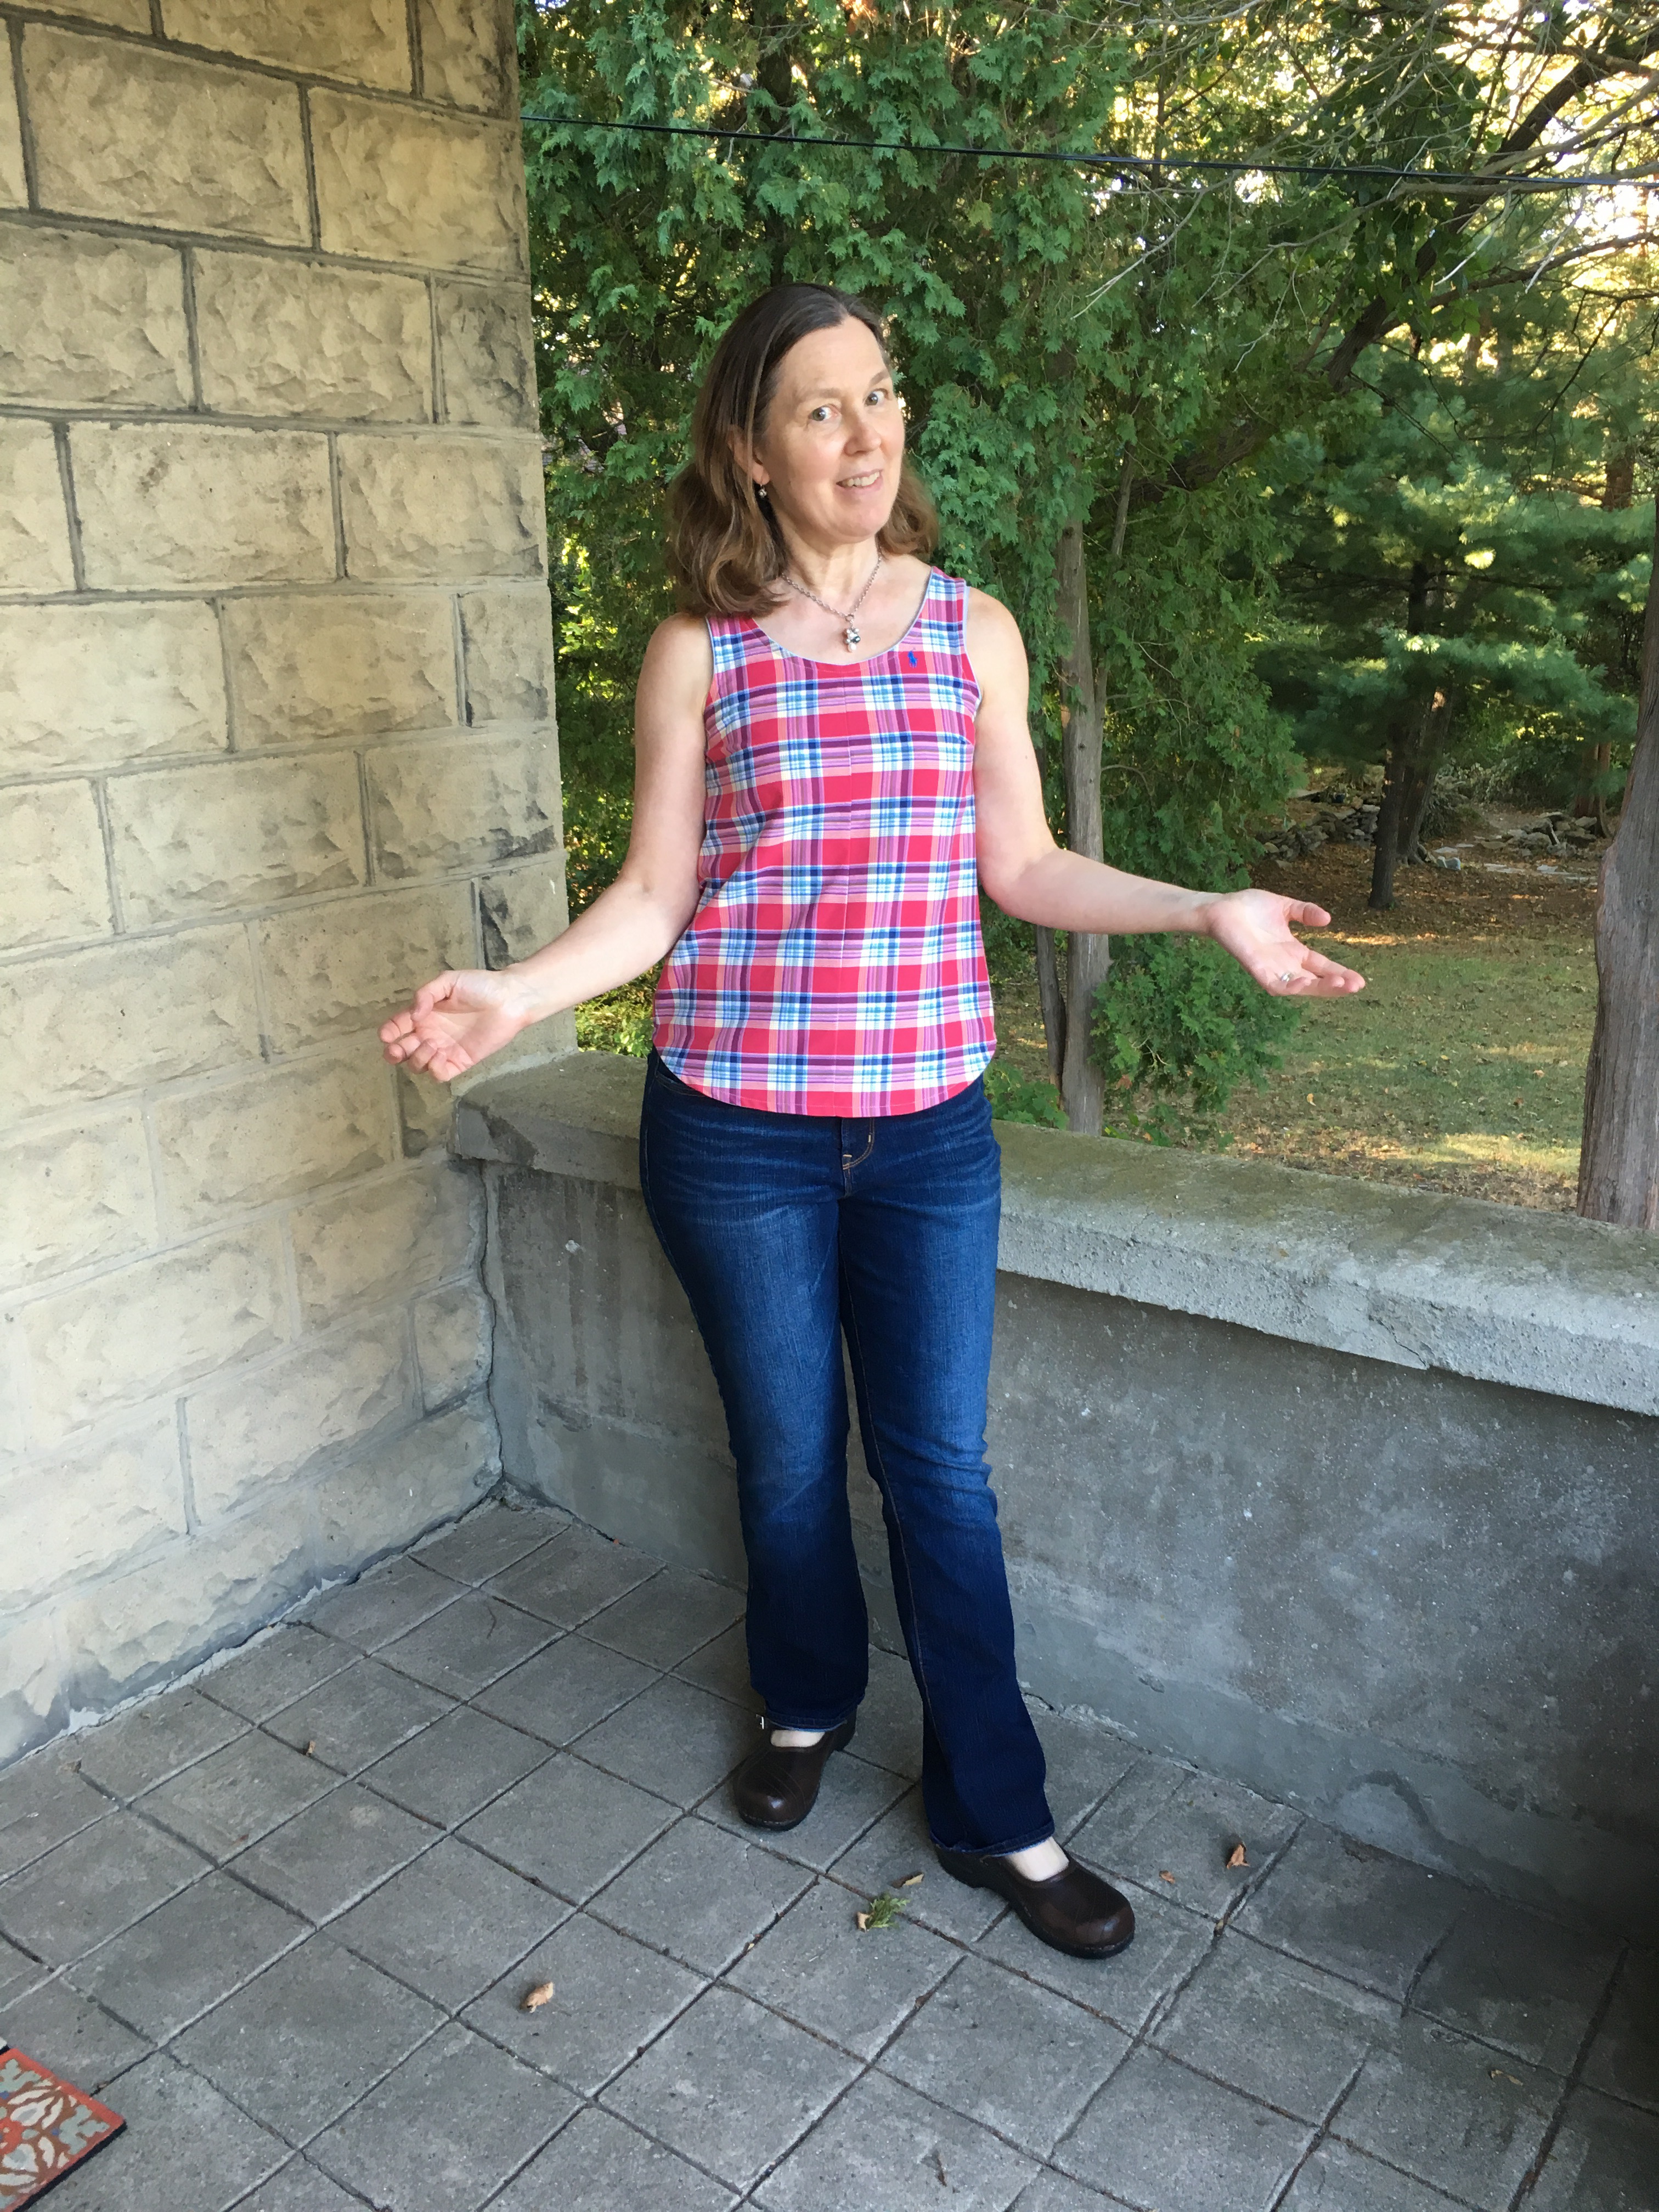


 I cut a Medium with the higher neck option, although I shaved a small bit off the front of the neck. You can see approximately how much I took off below although the picture below is a different Gemma (made the same way). I just slid the pattern down and cut a bit lower using the same curve so that the edge would be below the collarbones.
 I also lengthened it by approximately two inches.
 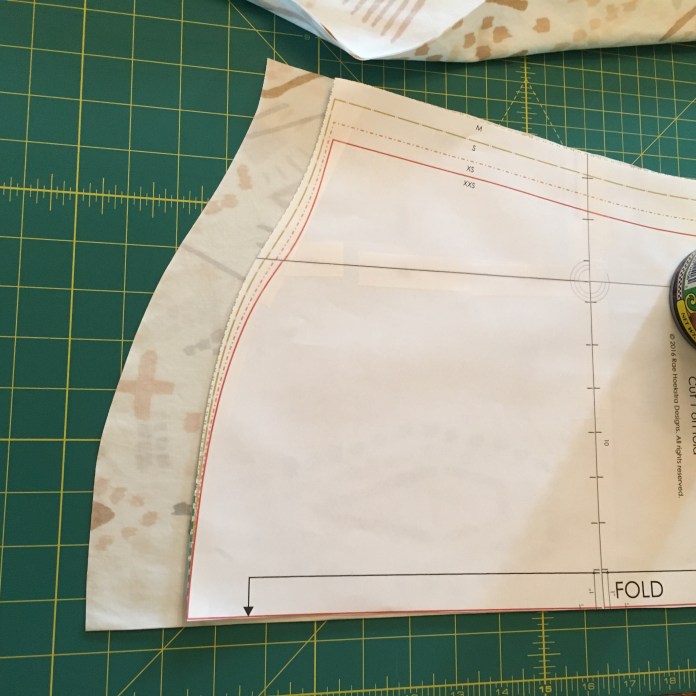 I mostly followed the directions for the bias binding using the
 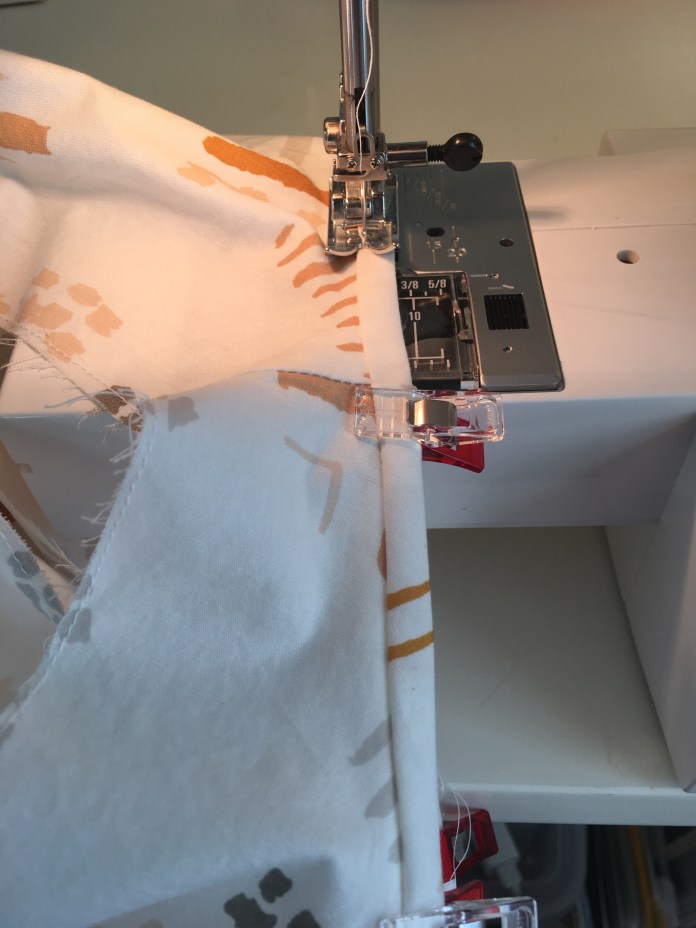 I used this beautiful cream colored Art Gallery quilting cotton by
  I was so happy with the feel of the fabric-it is soft and works beautifully for sewing garments. It is more like a lawn than quilting cotton. In fact, I bought another 3 yards of the green as a back up plan. I have done that only a few times but I was so happy with my
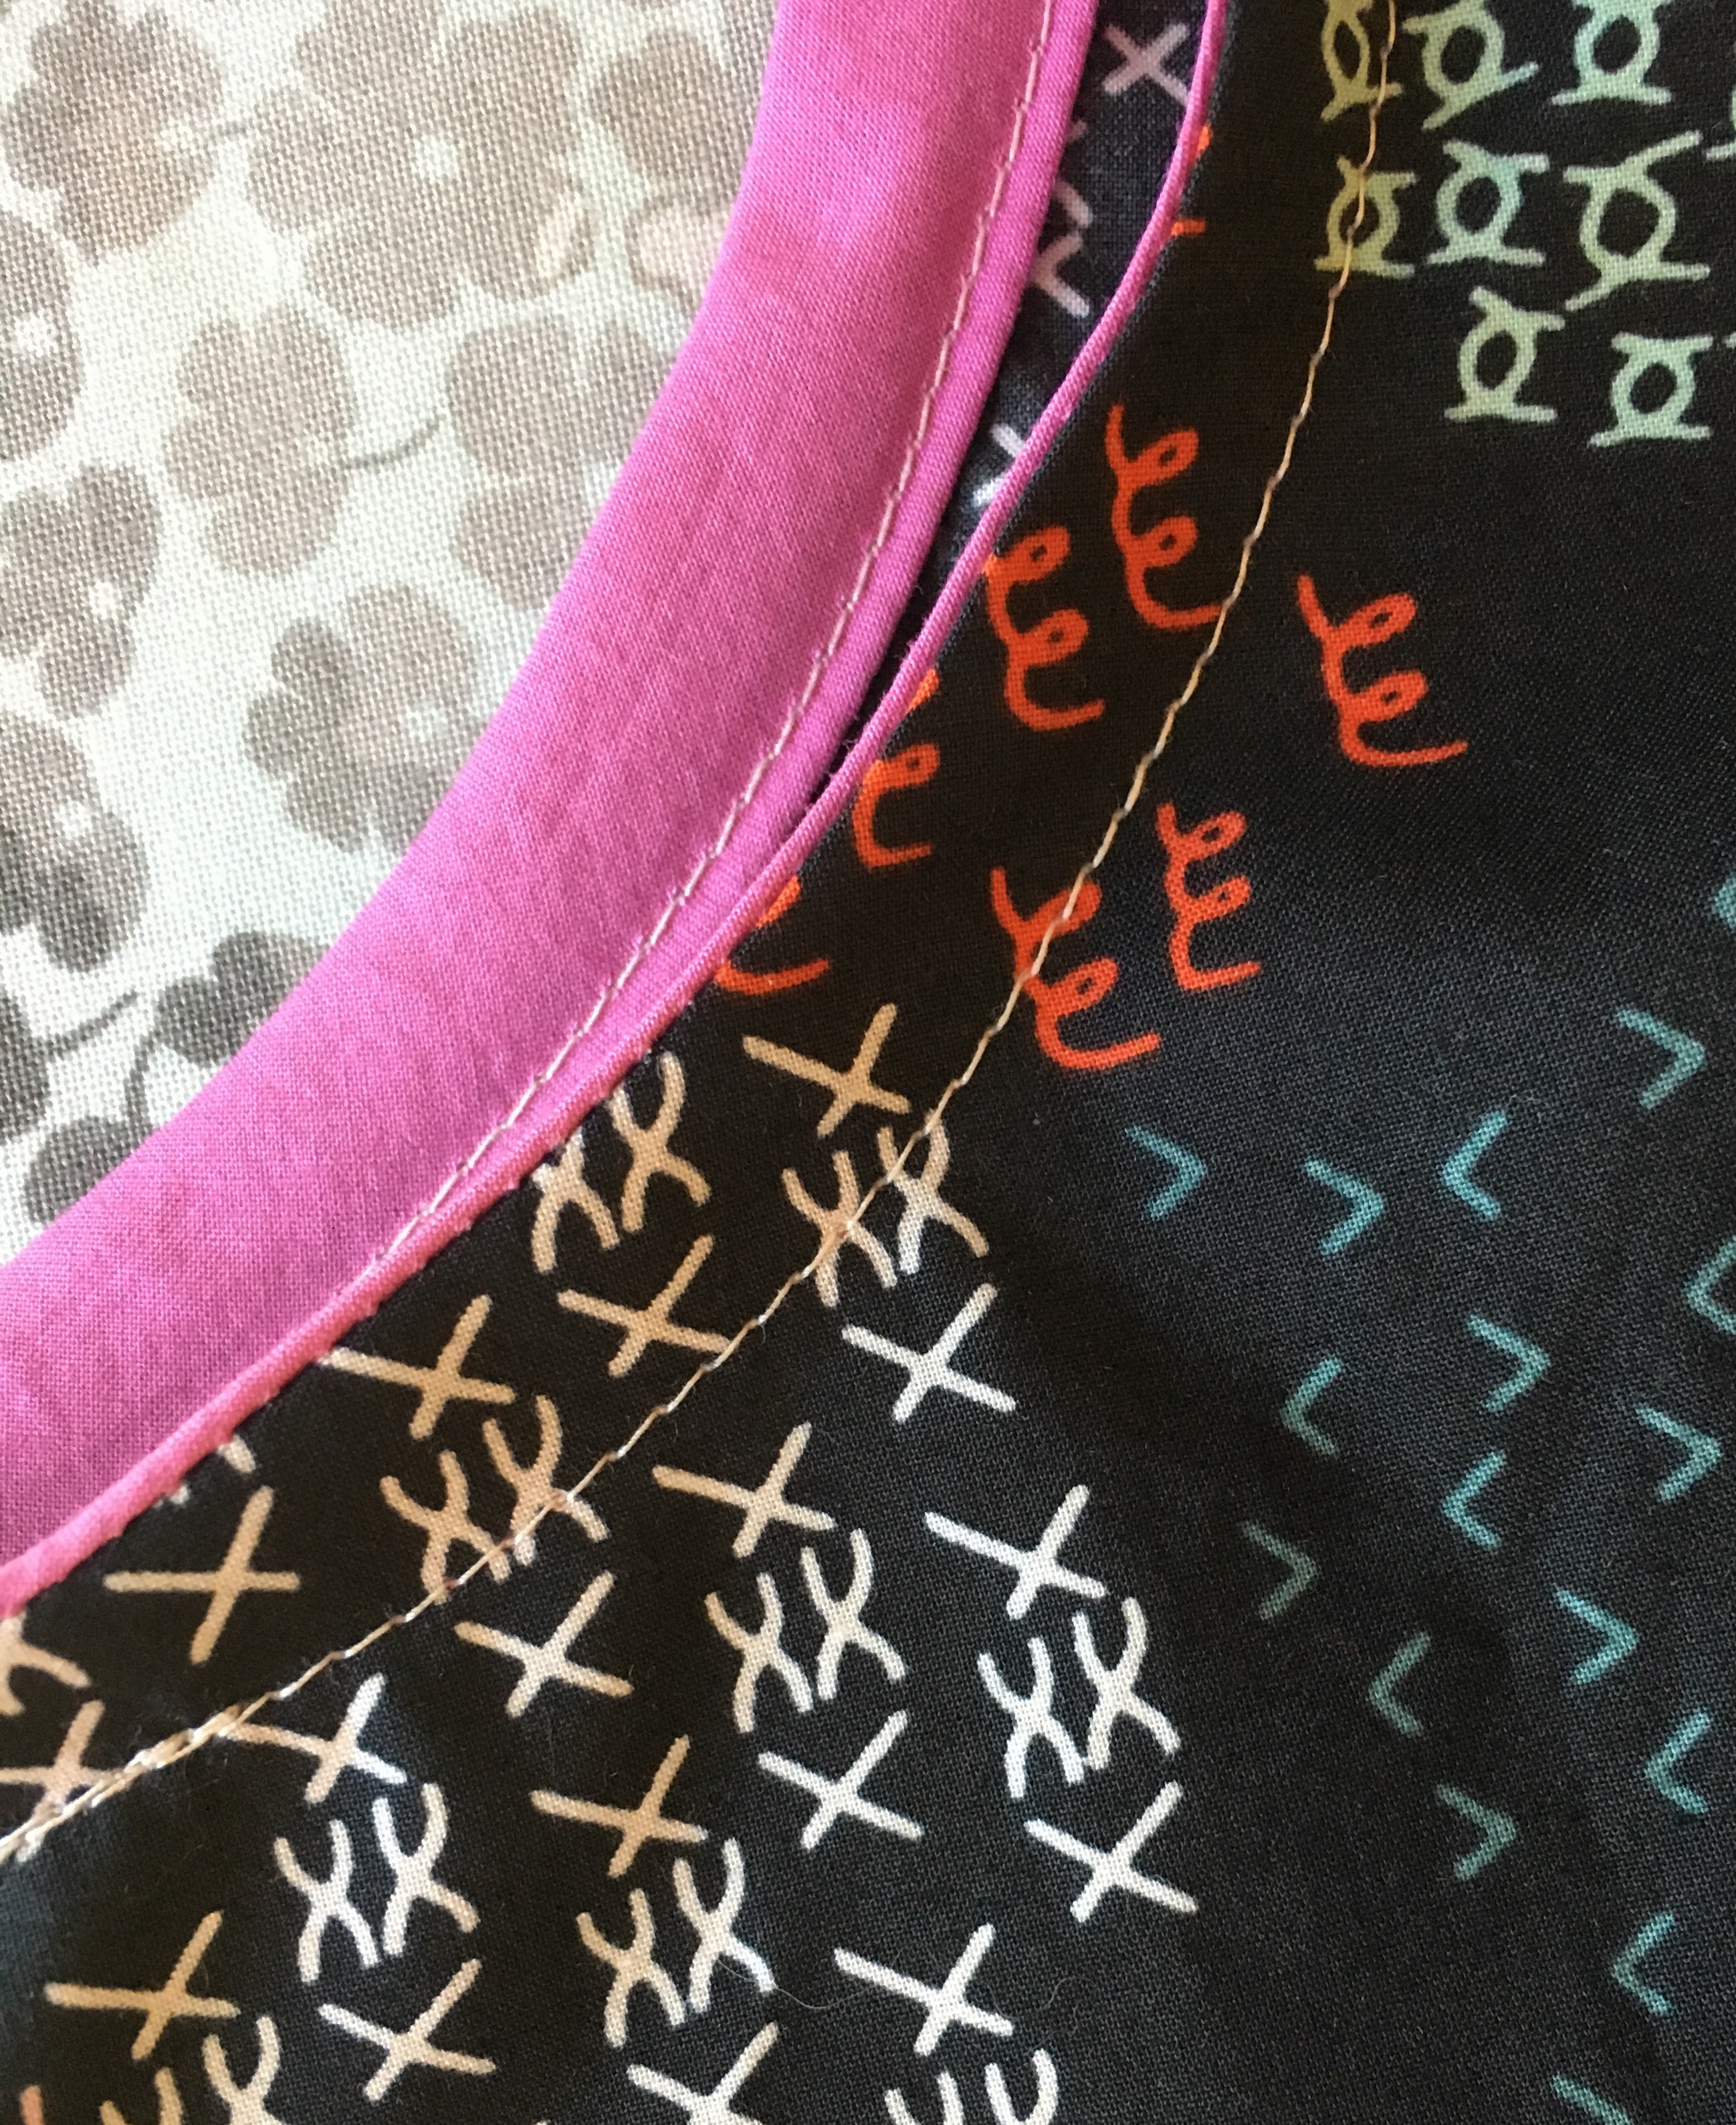
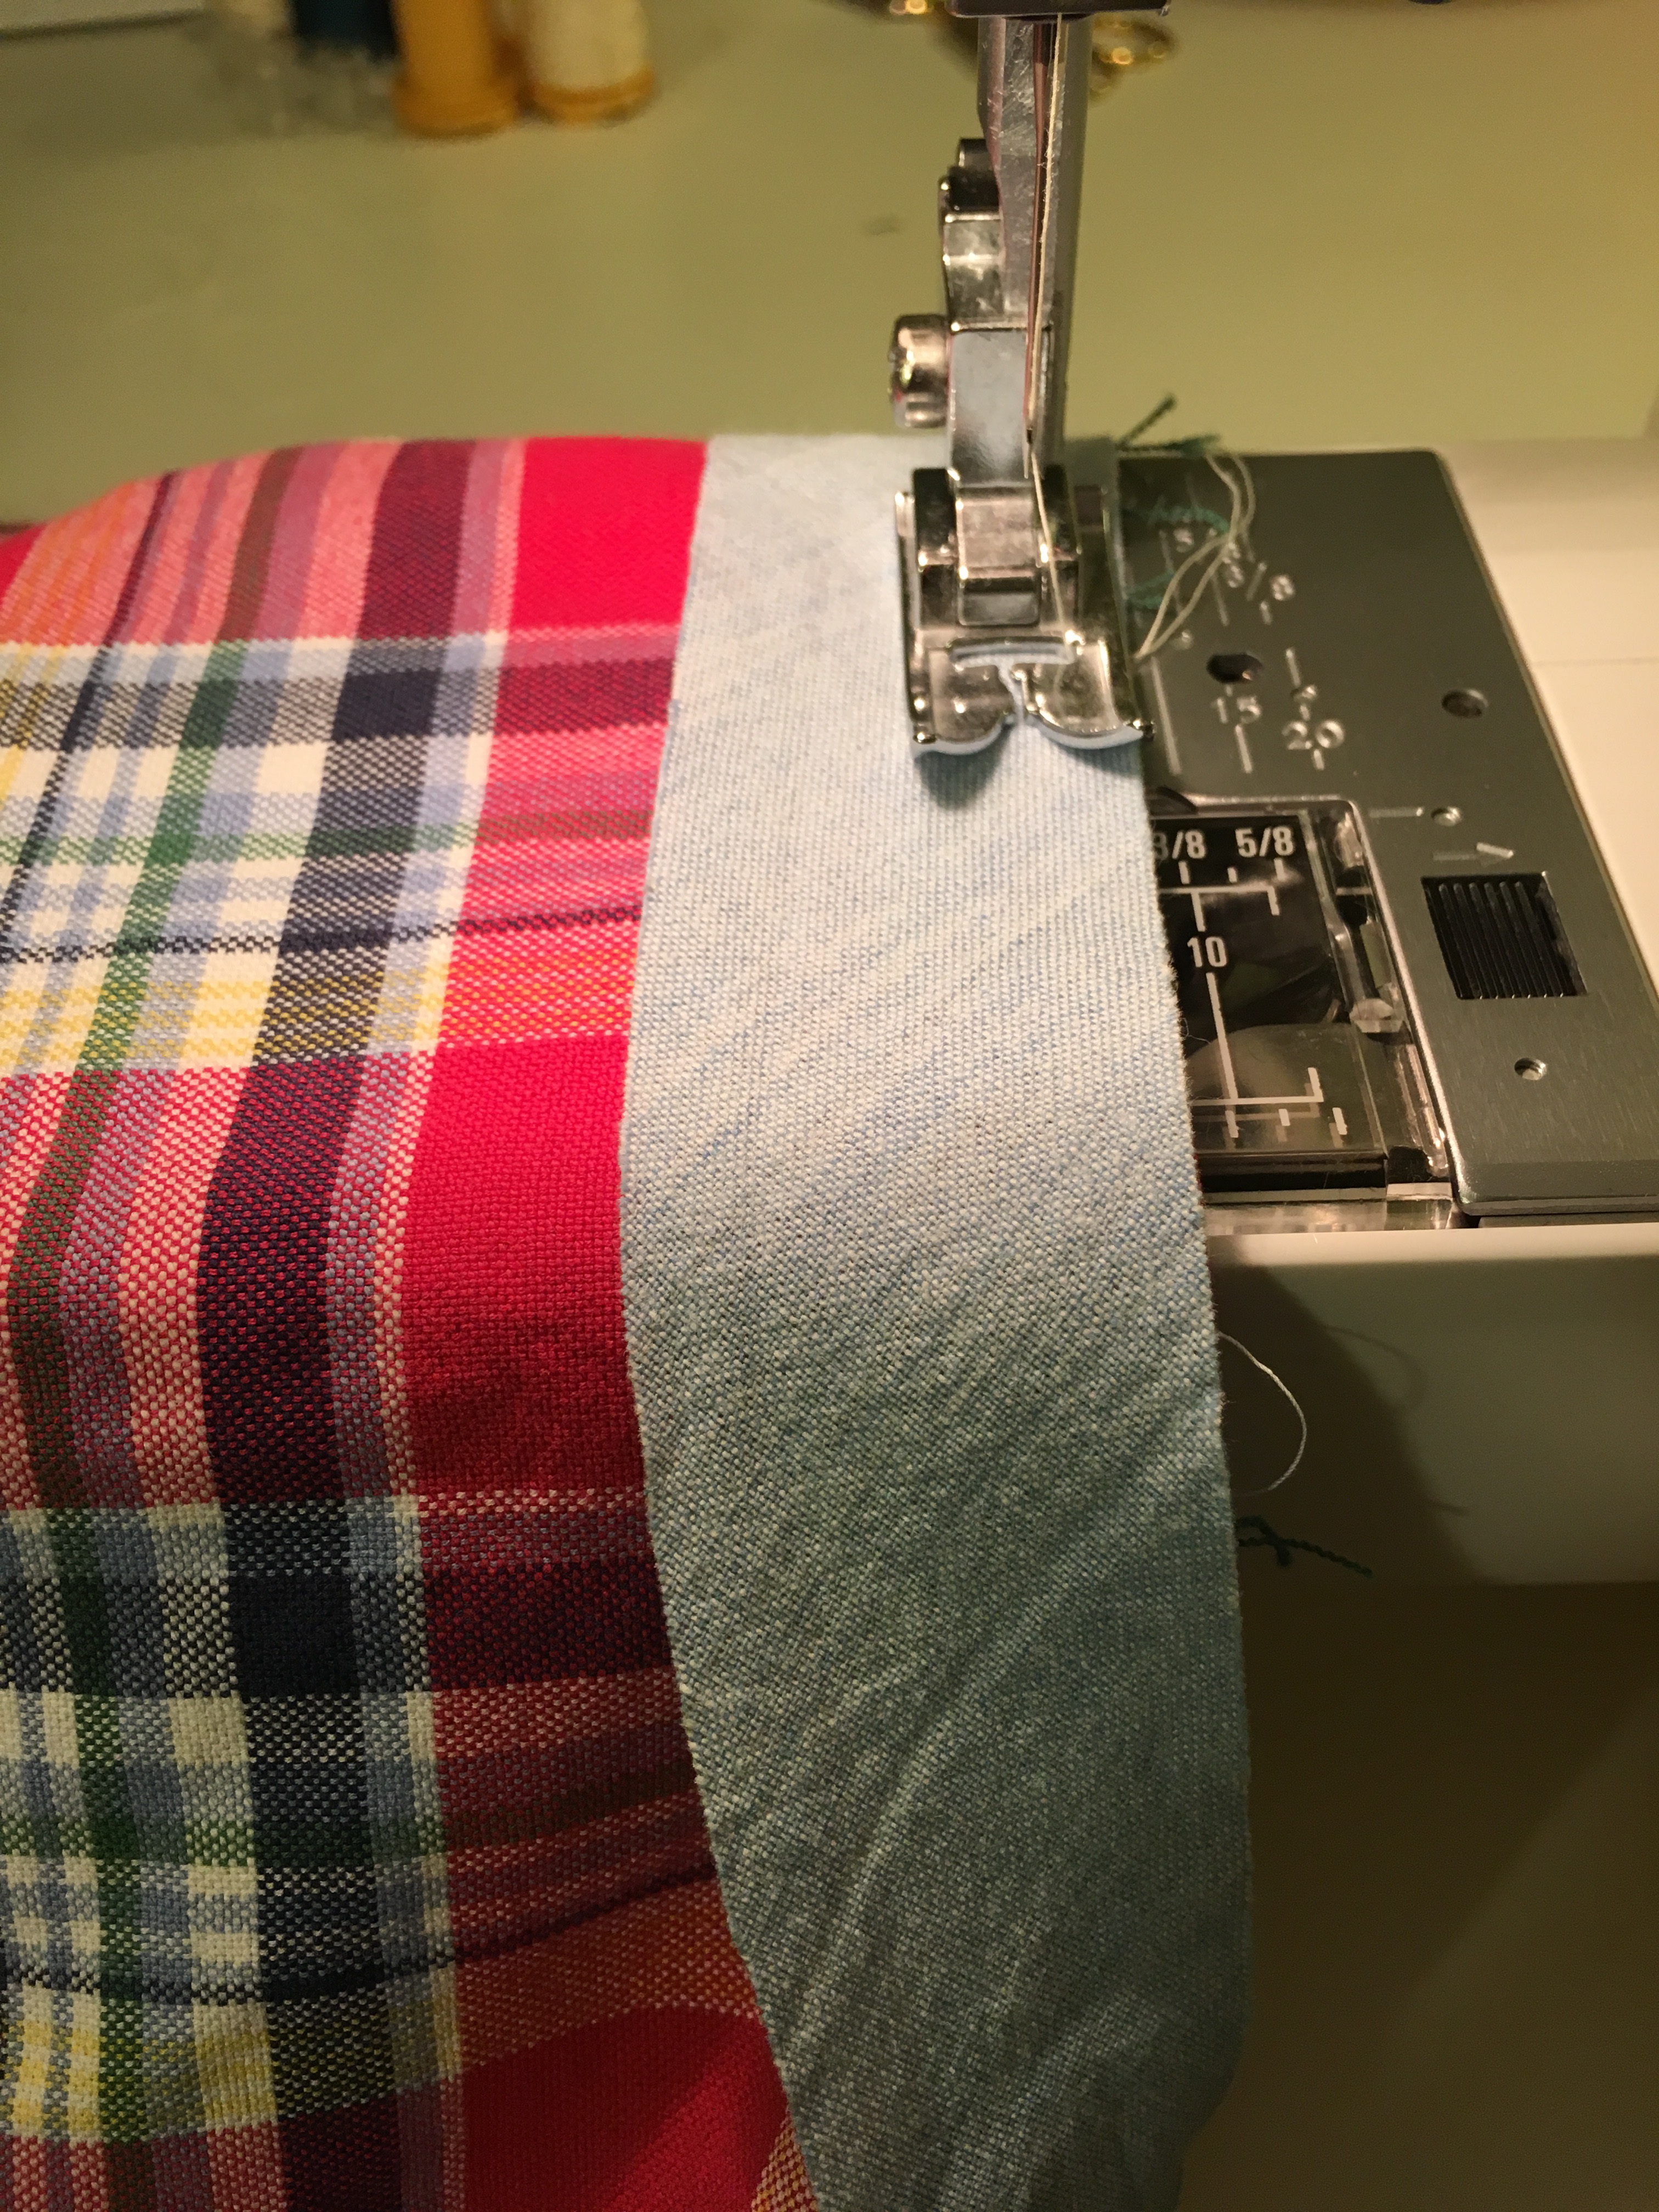
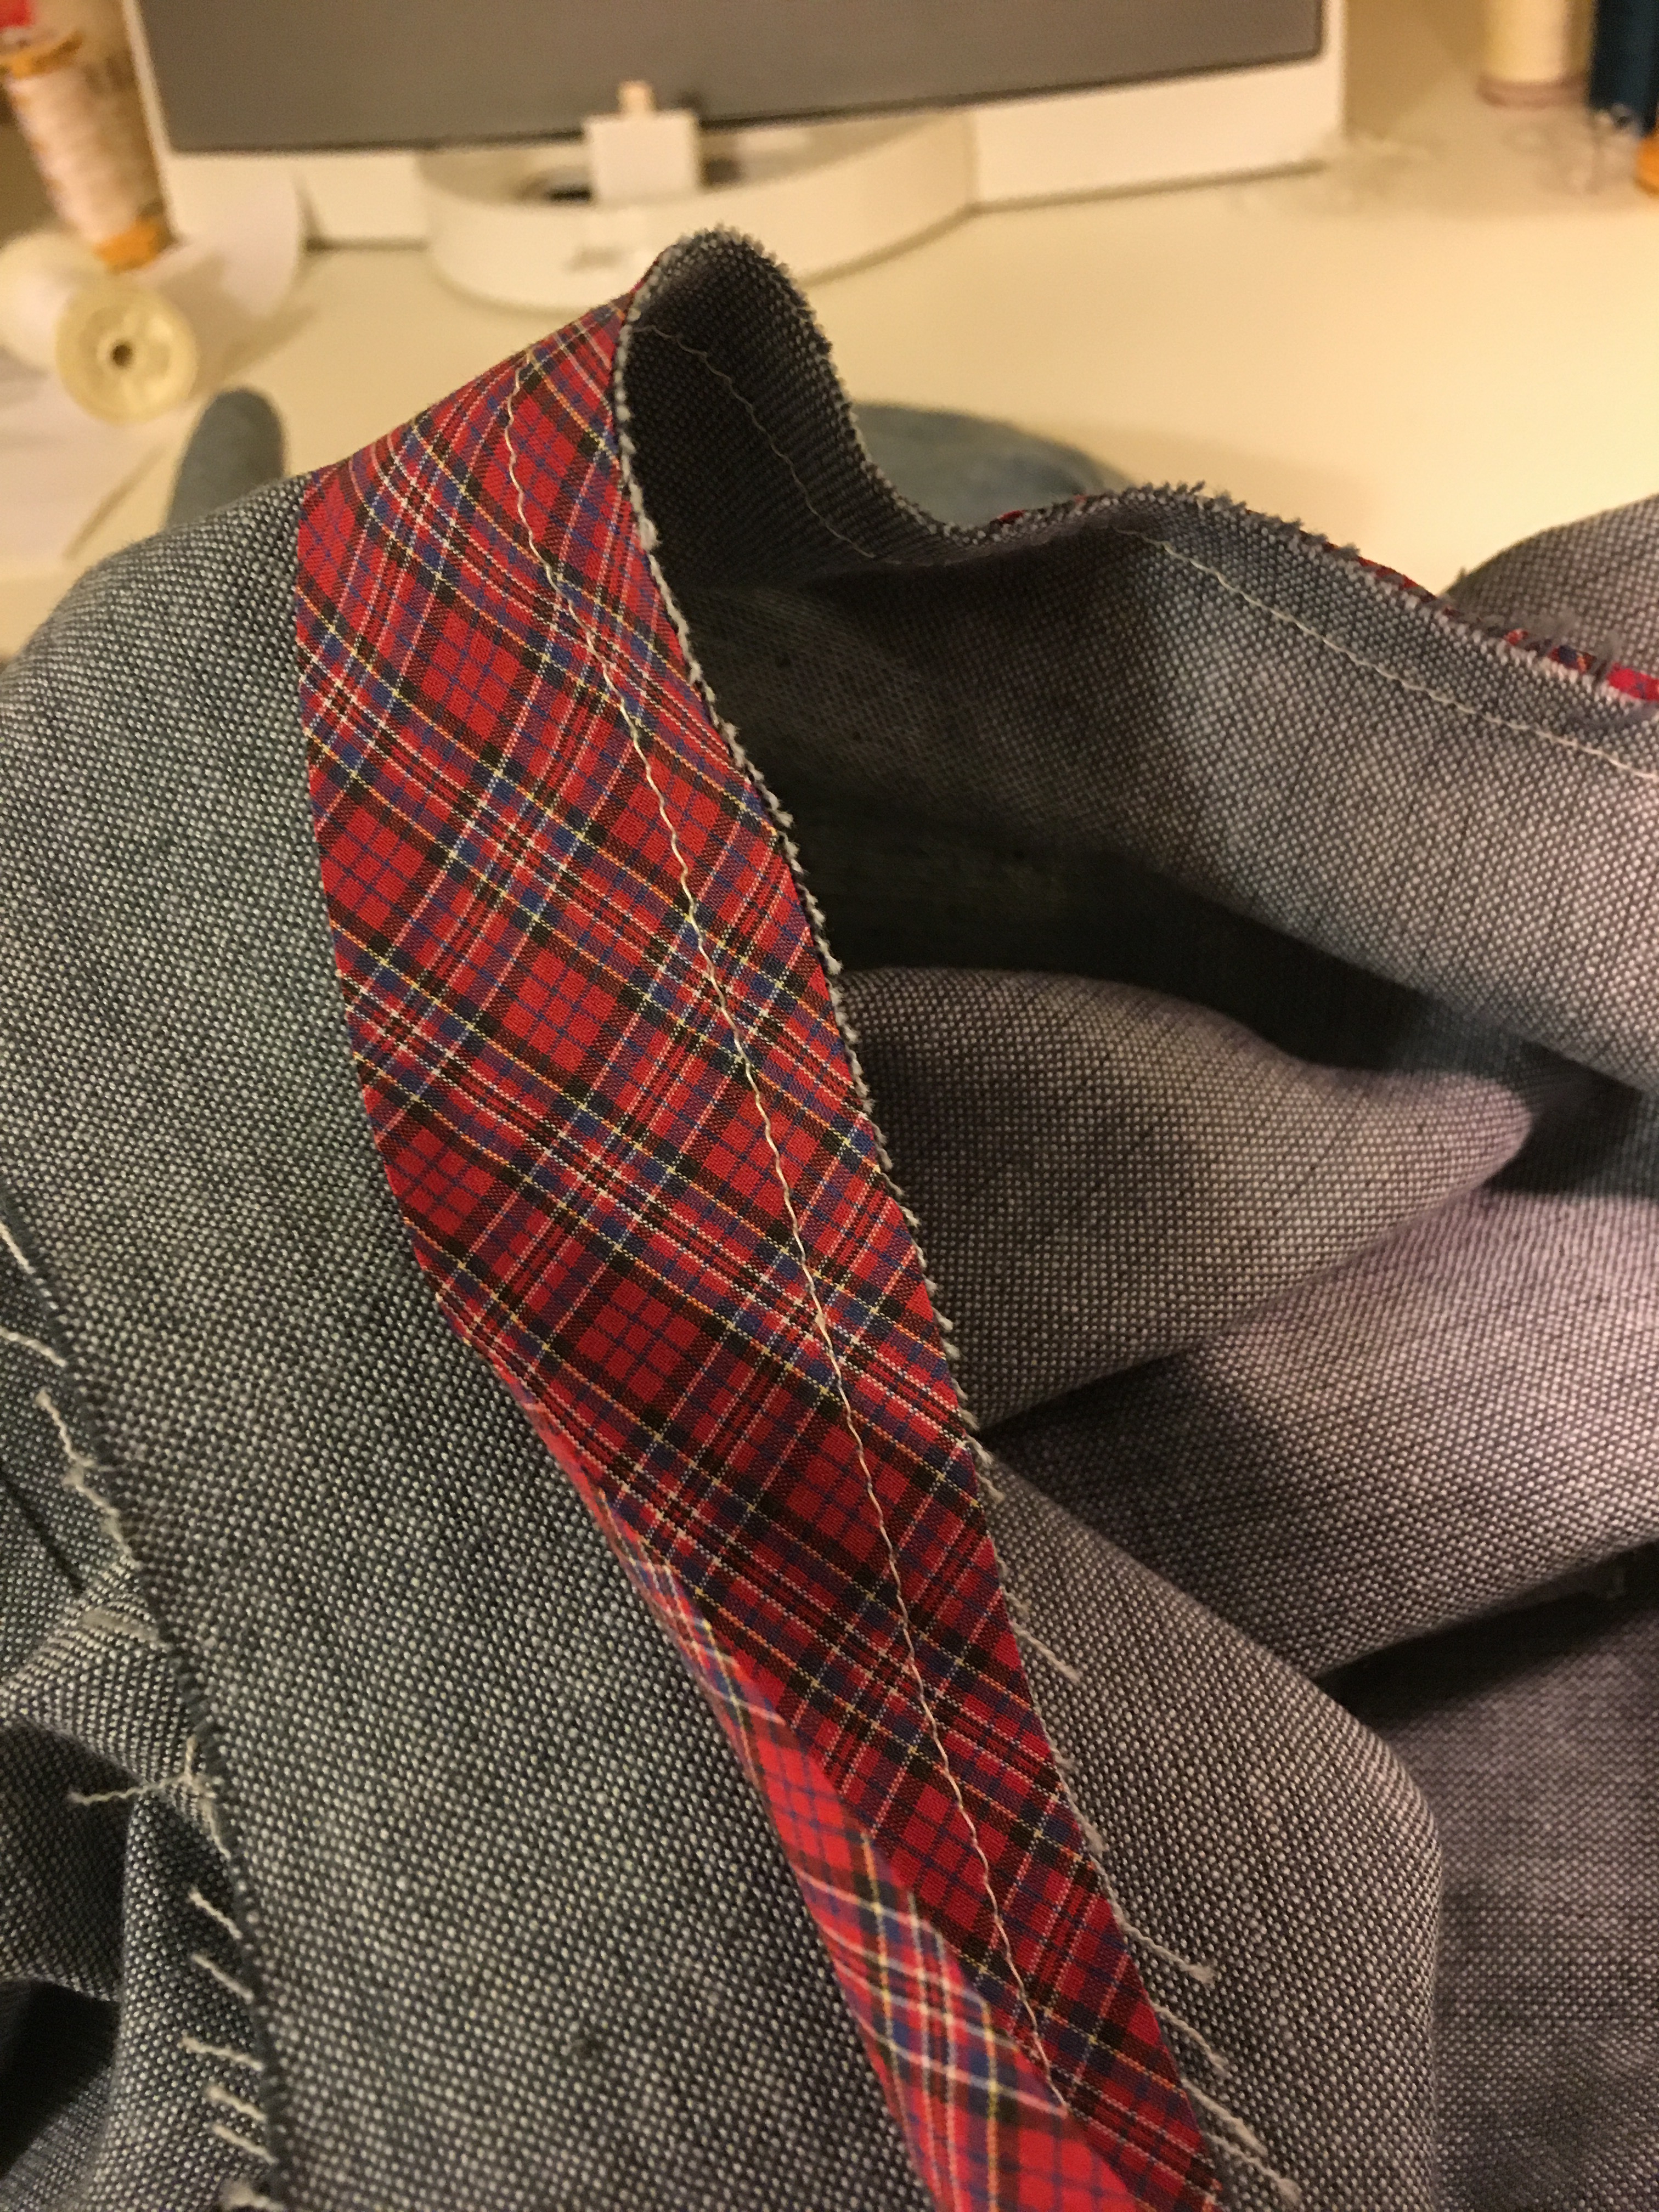
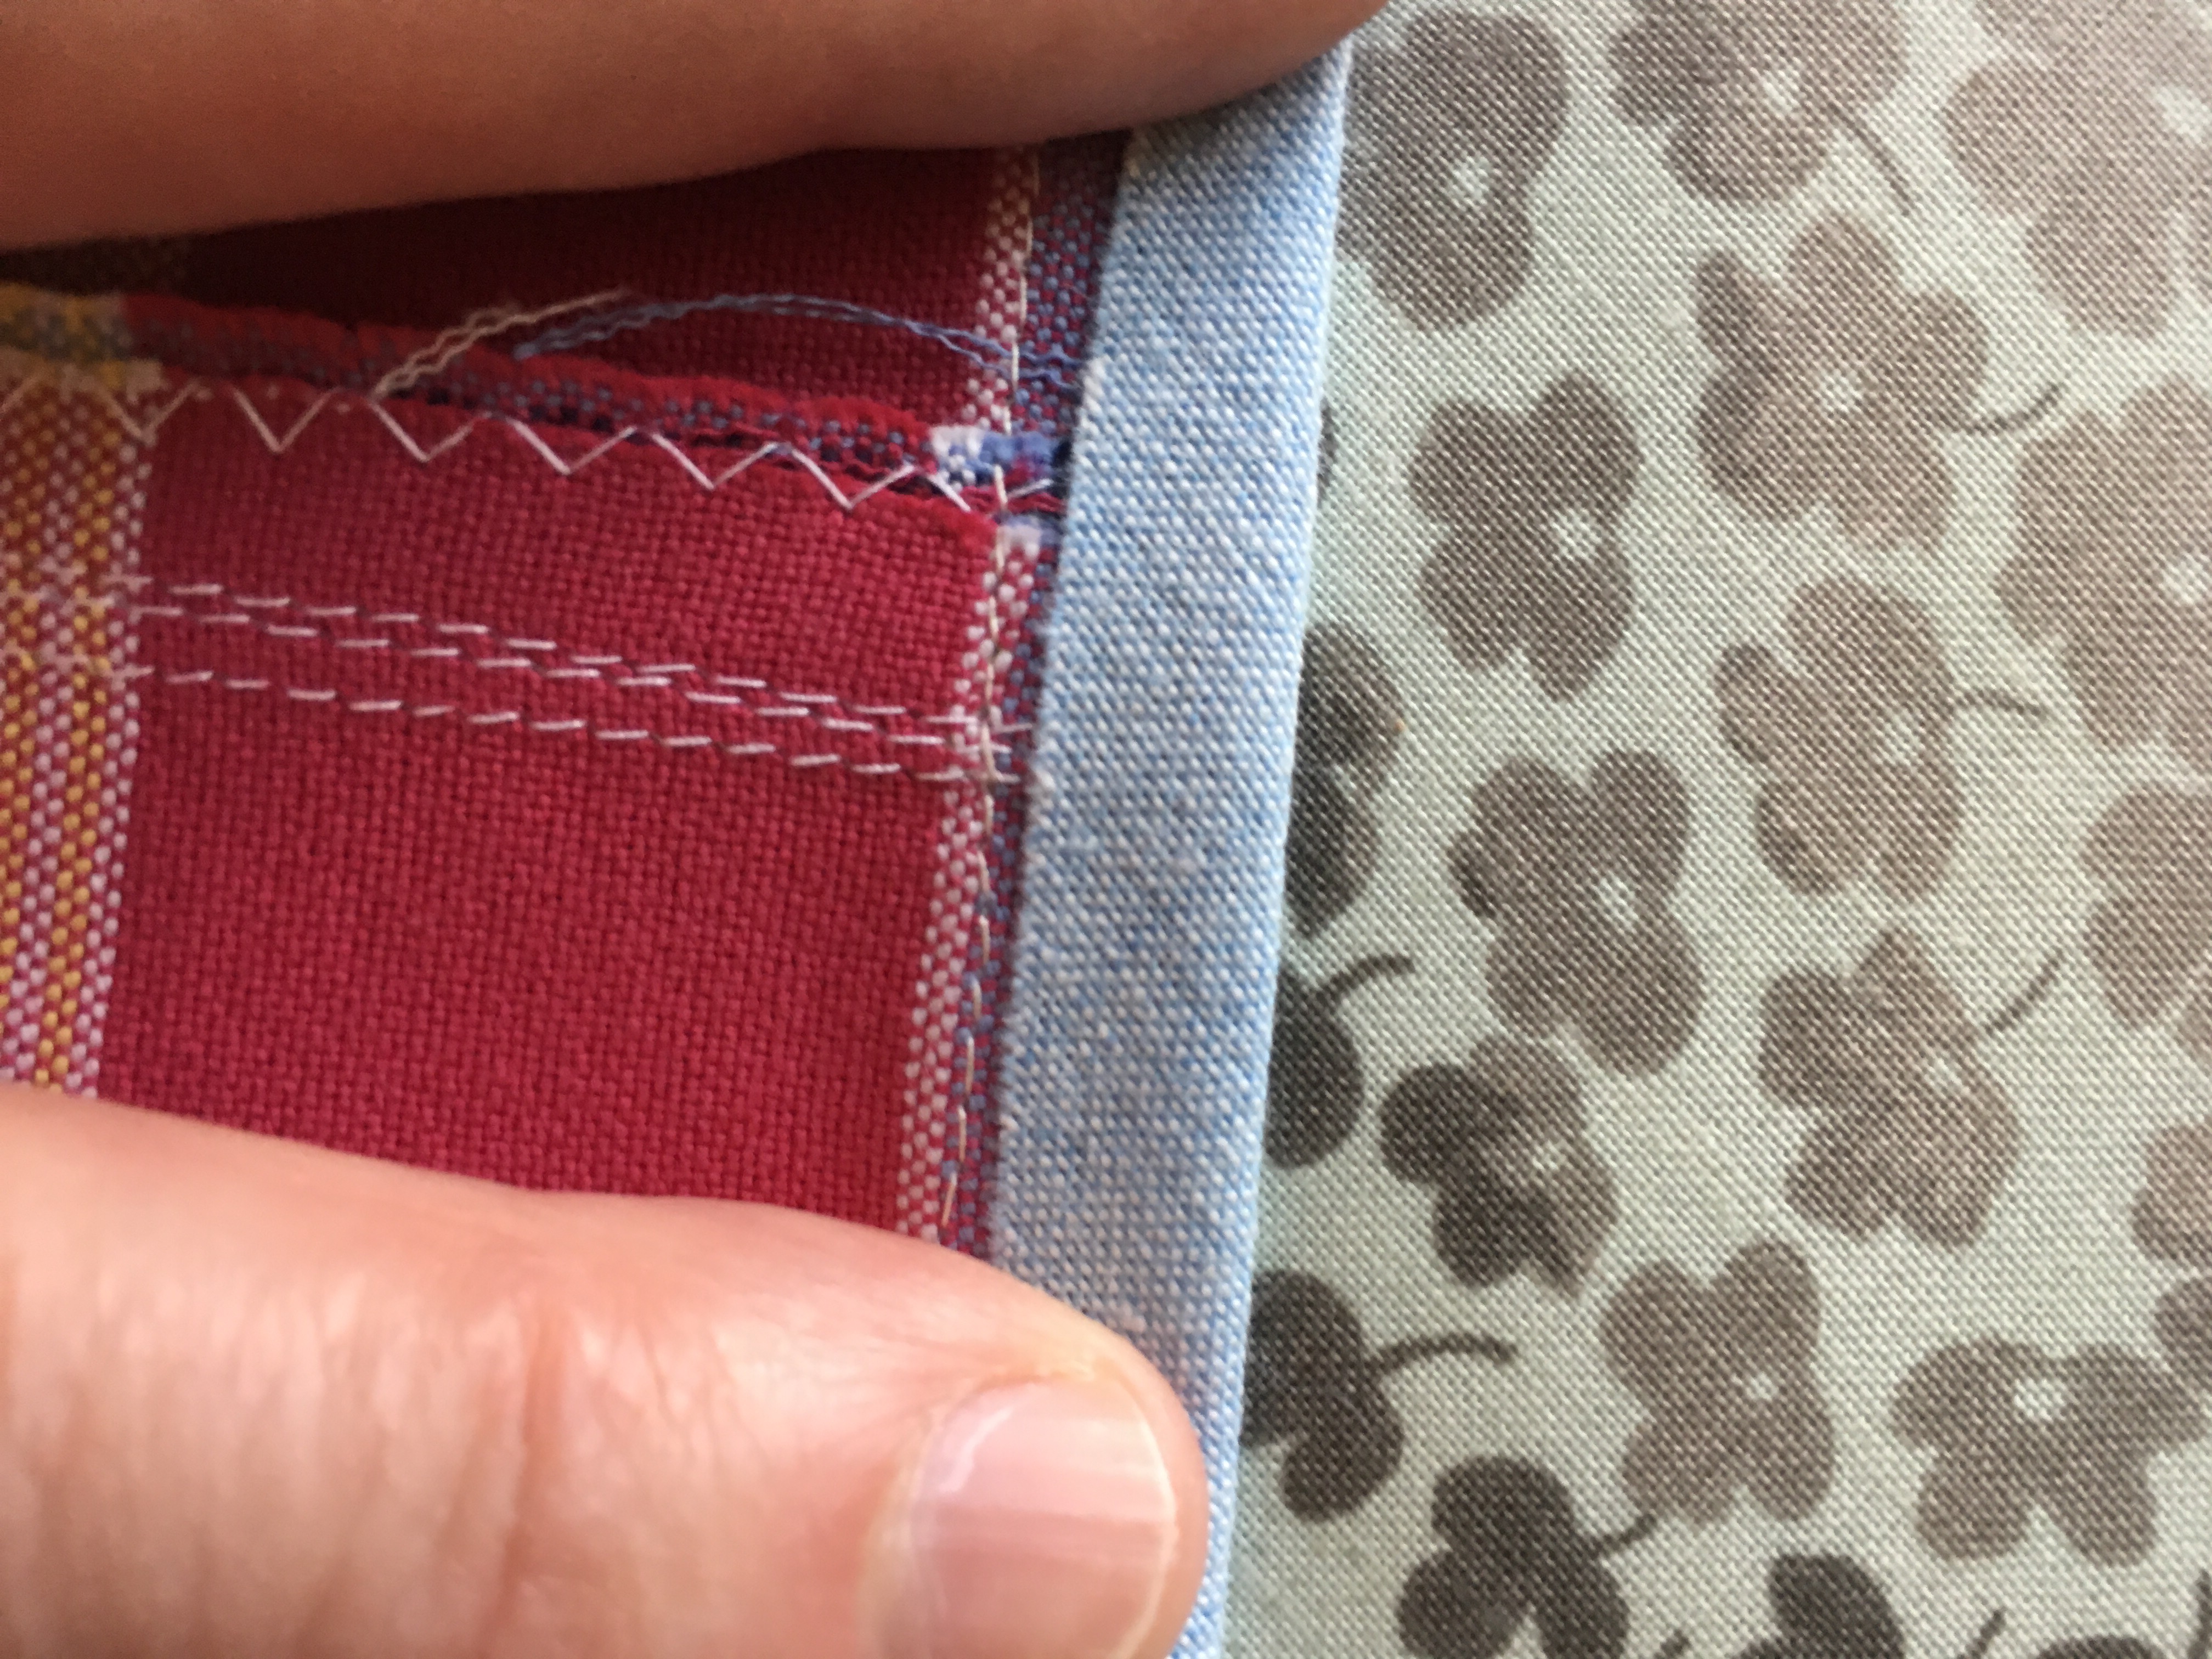
 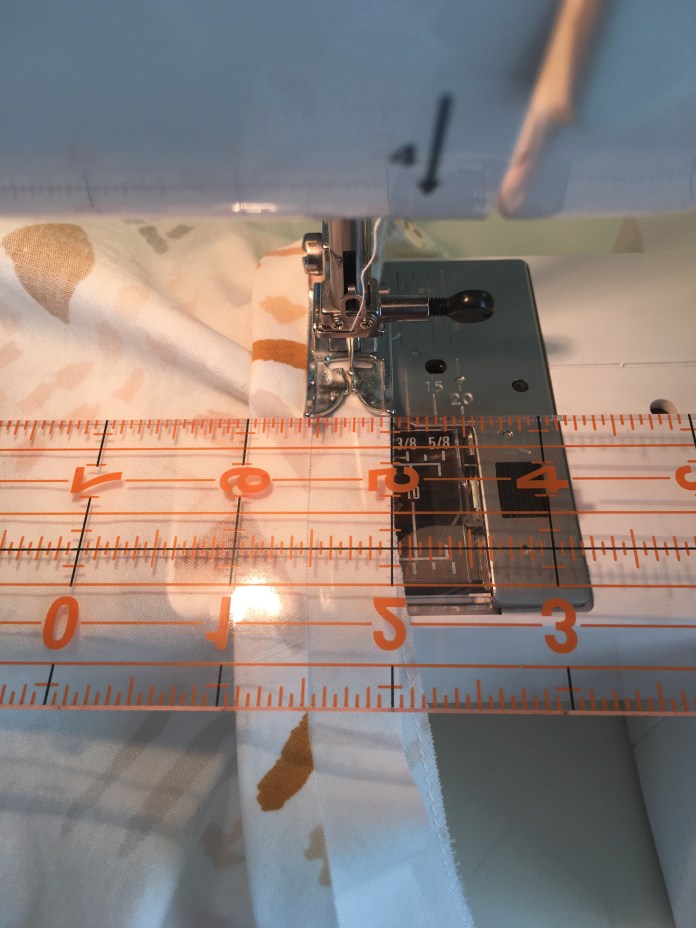 I don’t pin before I sew, I just hold the edges together and it generally works pretty well. Then I iron the stitching line and press the edge to the other side and use wonder clips to hold the bias binding in place before I sew the second seam which, as seen below in the finished version, is just to the inside of the ditch. It actually looks like it was sewn on the inside and flipped to the front using the topstitch method, the way Rae shows you here in
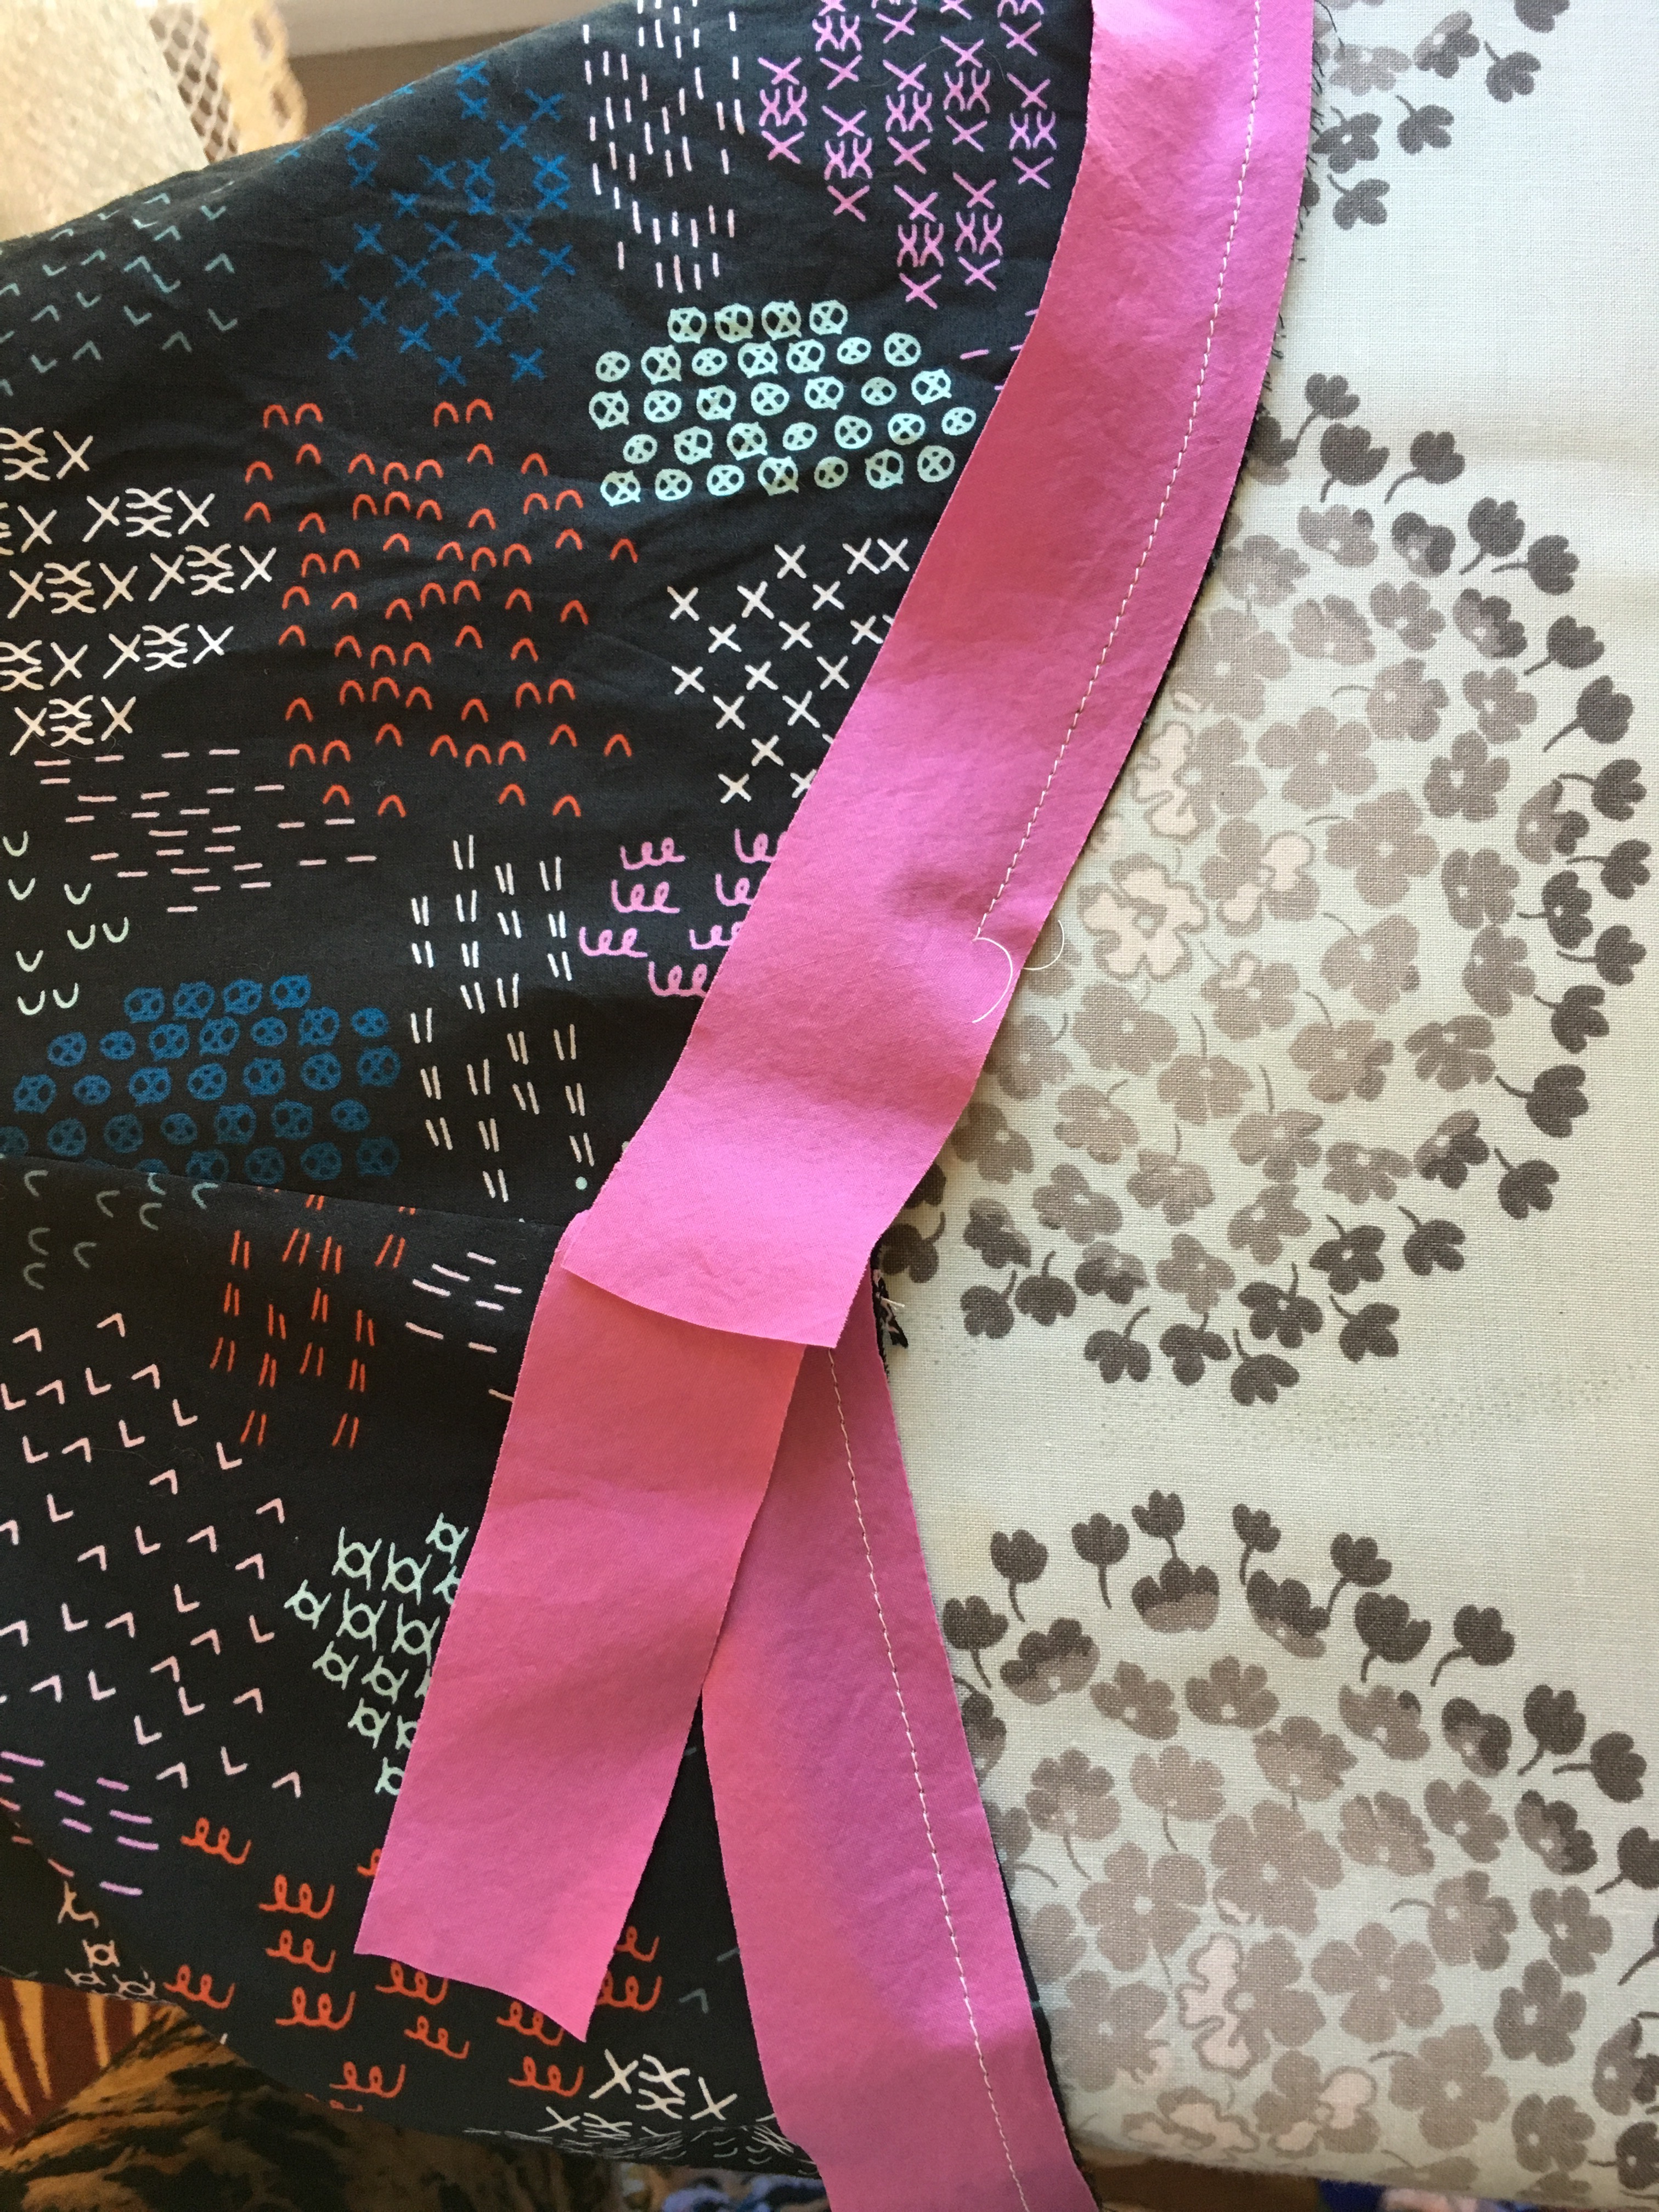
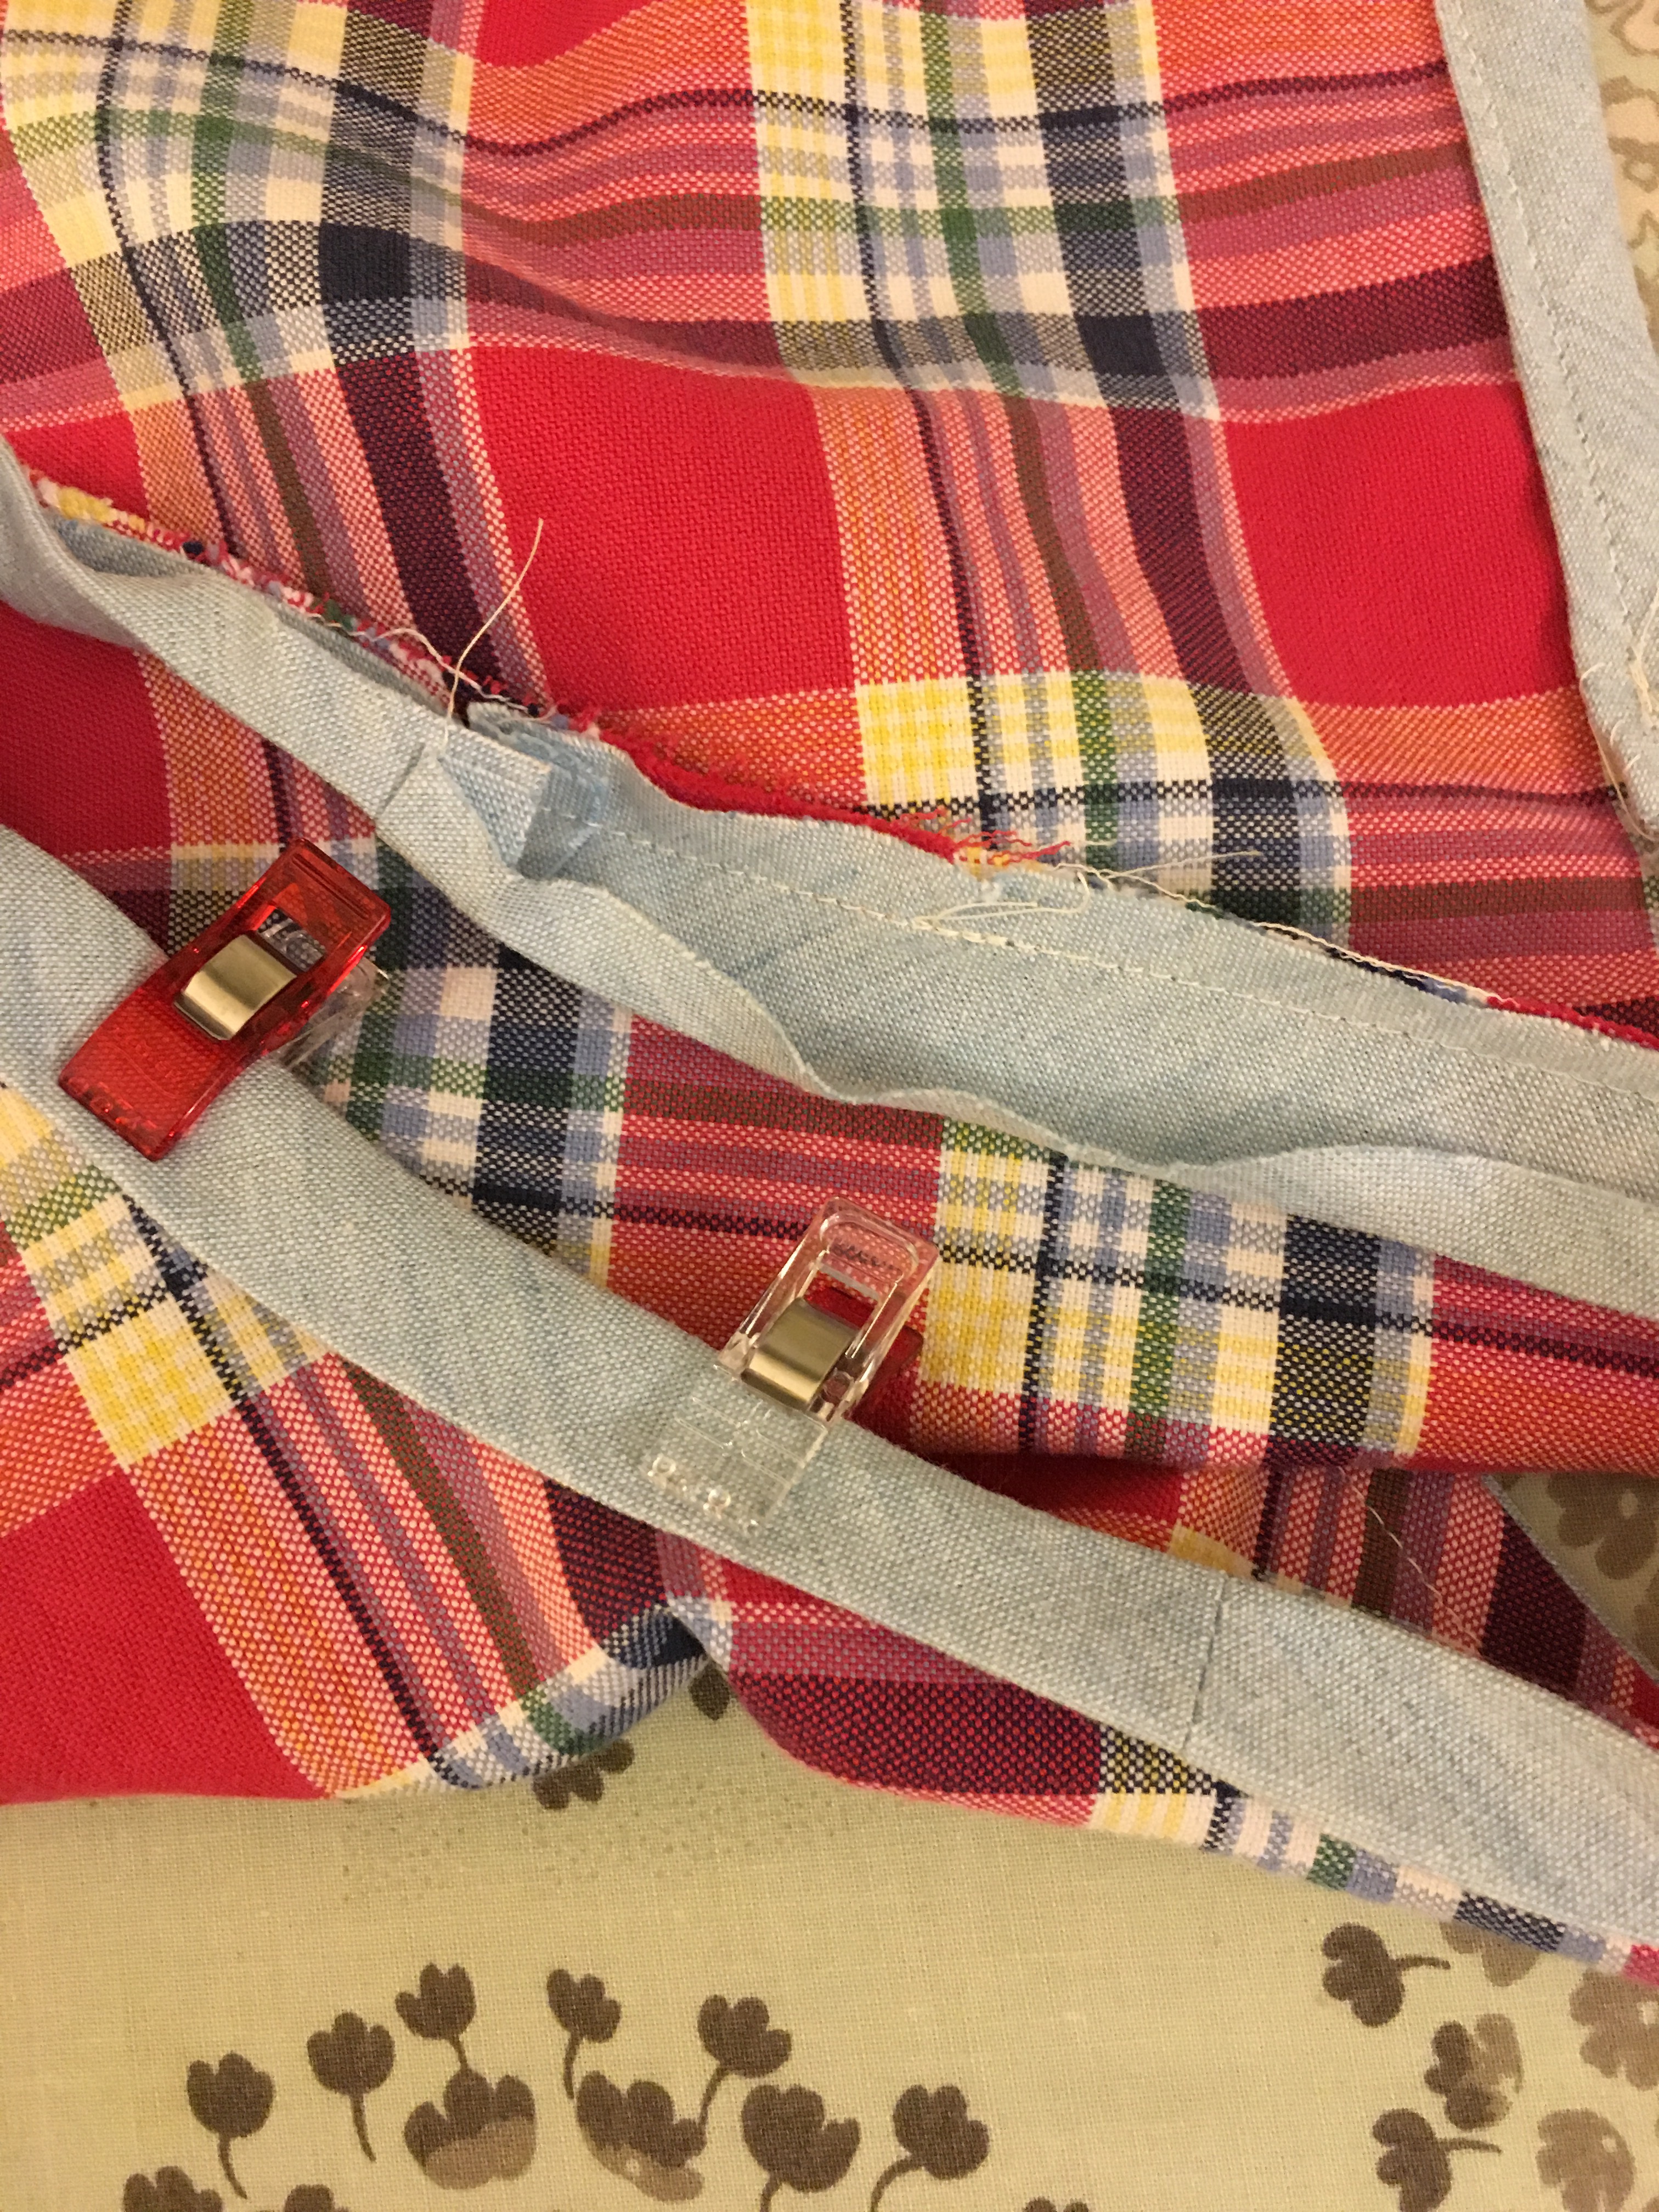
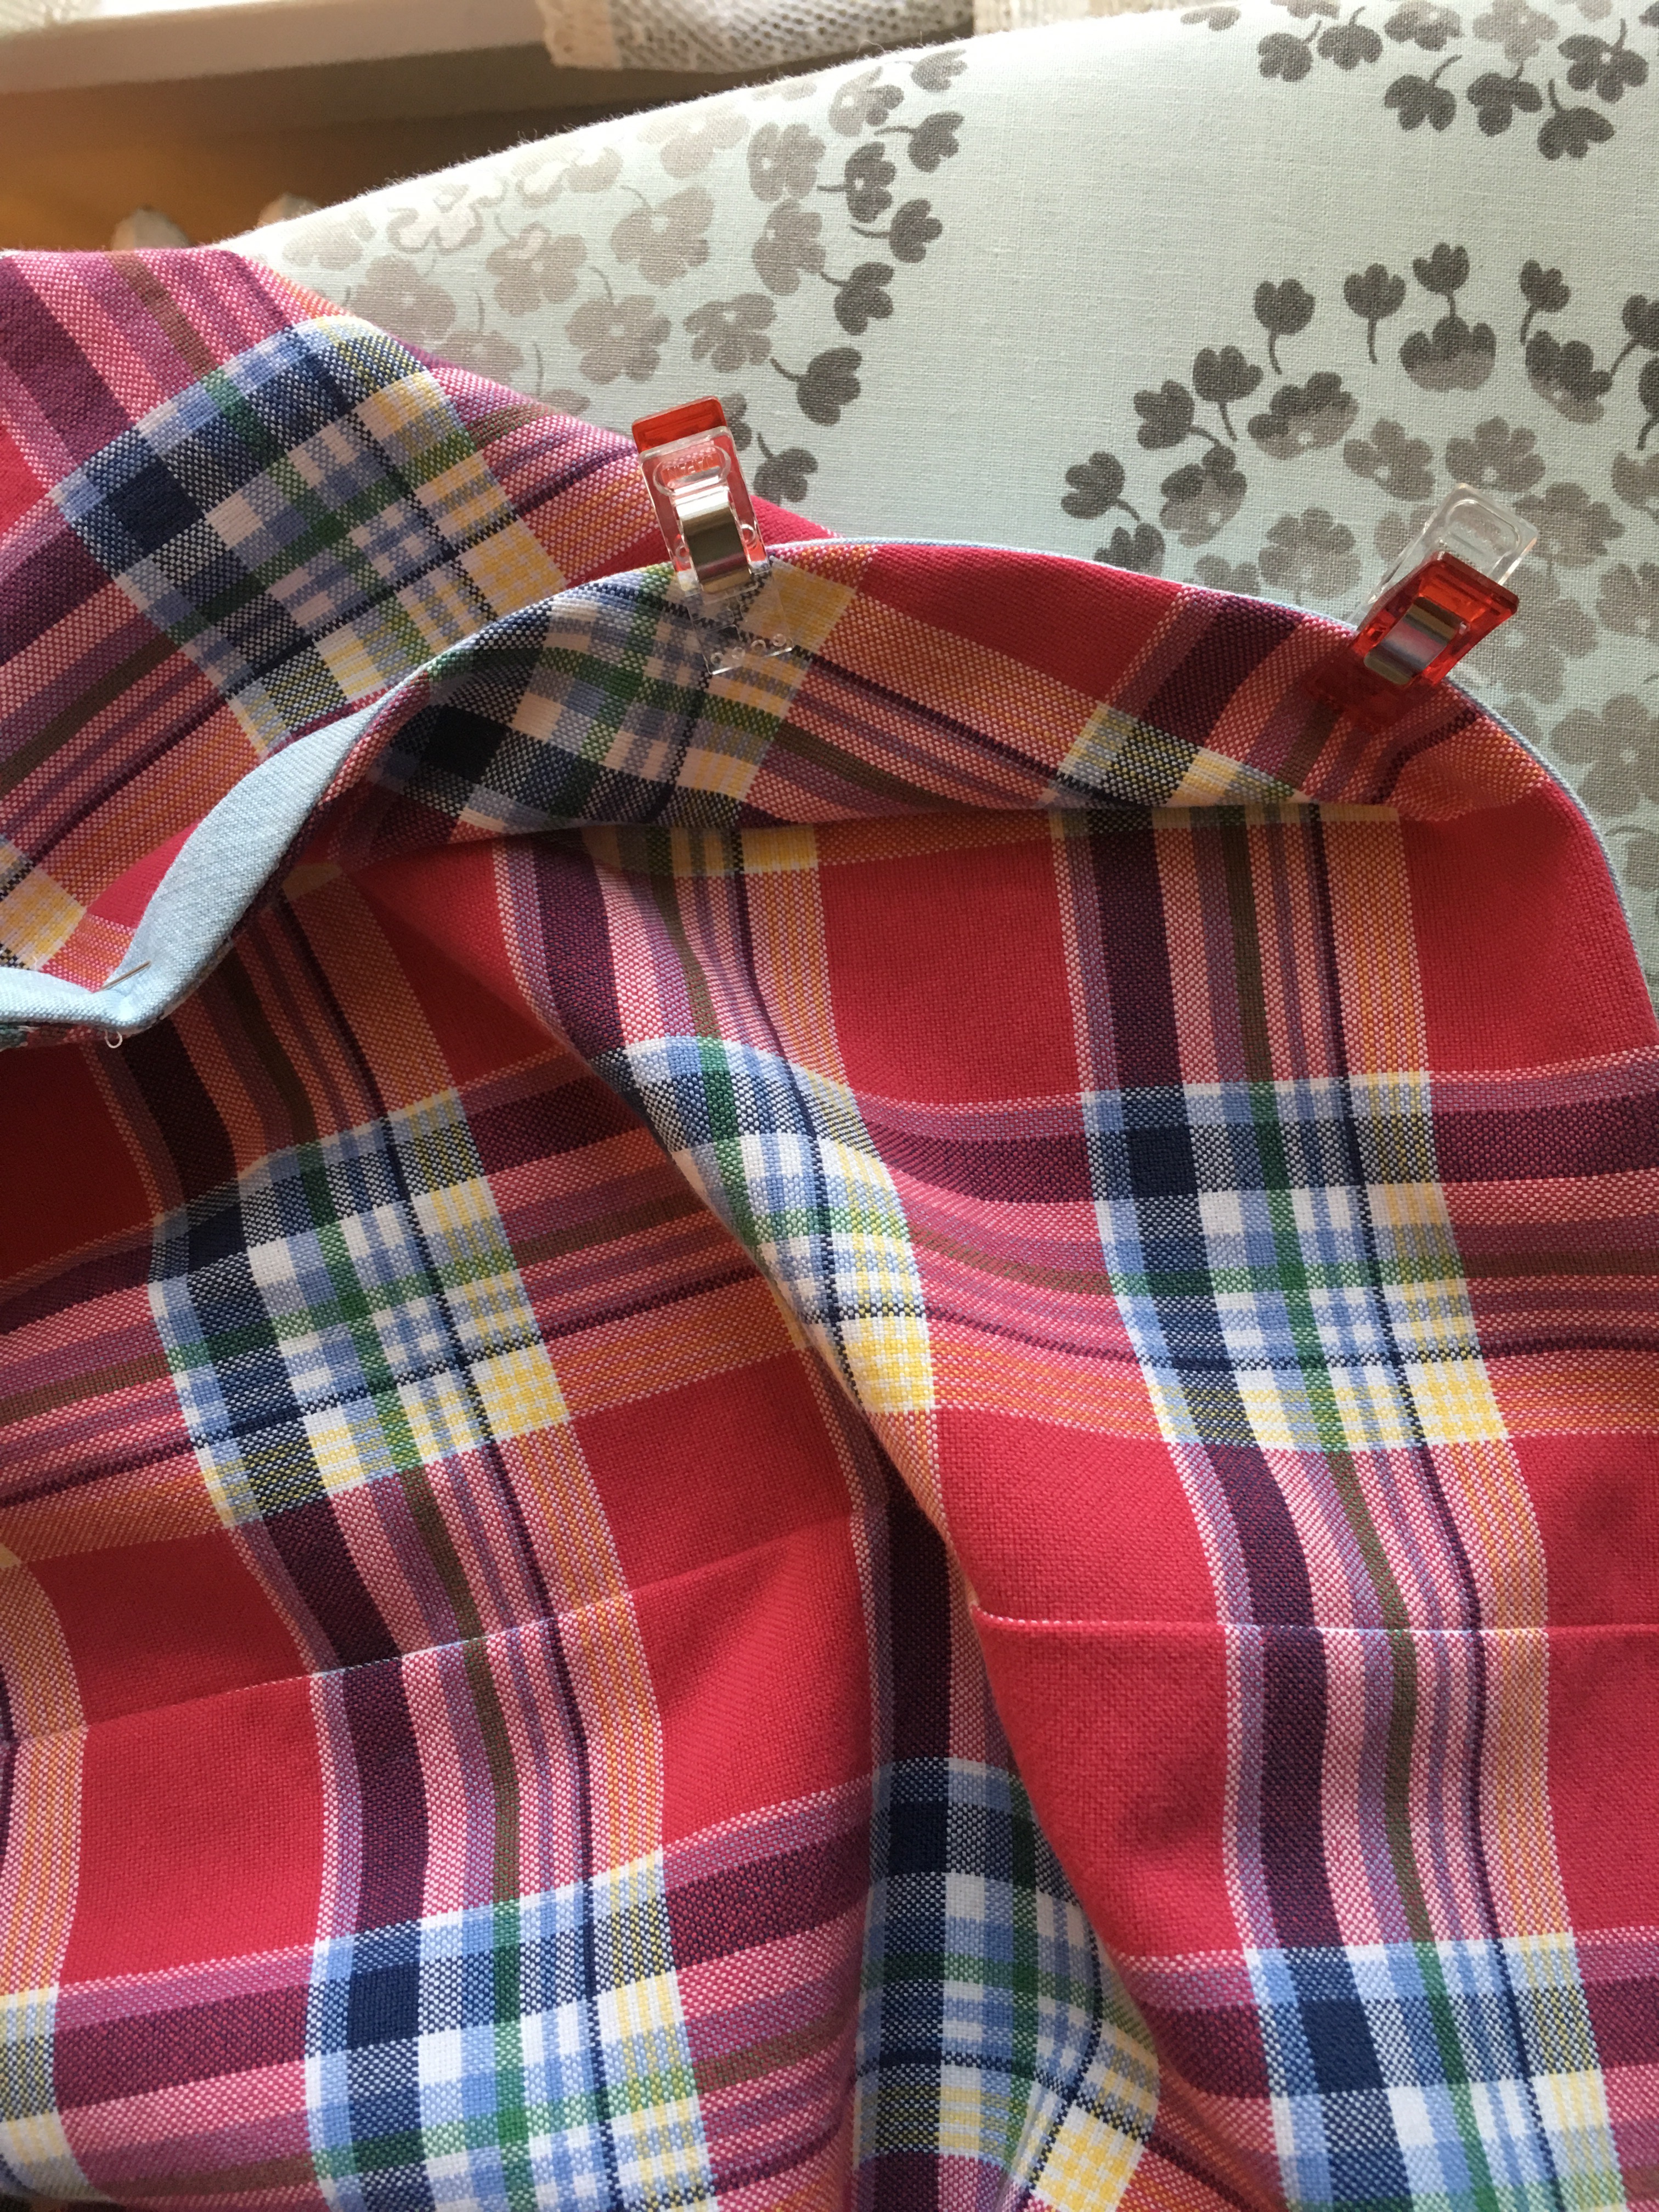
  I like using the wonder clips because I turn the blouse inside out and iron the binding to the wrong side and whereas I used to pin it in place on the wrong side and then flip it and have to move all the pins to the outside before sewing, the side doesn’t matter with the wonder clips and it saves a step. This is what the outside looks like before sewing the second seam.
 I also sewed a facing onto the hem of this Gemma using more of the binding tape. For some reason, I get a much neater hem doing this than just turning up the fabric. Although it might seem like more work, the seam line gives a visual place to turn up the edge, I iron like crazy and everything just turns out neater. I also like a slightly wider hem than the pattern calls for because I find it lies flatter and doesn’t curl up.
 I do a lot of ironing when I make the hems this way. I have described this in several previous blogs. I often use contrasting fabric for fun. You can see other examples
 As those of you who follow me on
  And I am still listening 5 weeks later. I am definitely enjoying it but am still only about 60% of the way through. What I found as I listened was that I needed something other than a classic to read when I wasn’t listening to Anna Karenina. And I also found that I needed something a bit lighter to alternate with Anna Karenina in my listening queue. So much for power reading the classics! I have read more this year than any before (94 books to date) and I think one of the reasons why I have been able to read so much is that I alternate different types of books so I don’t get bored. So while I have been working my way through AK, here are the other books I read in August. These newer books by some favorite authors: