
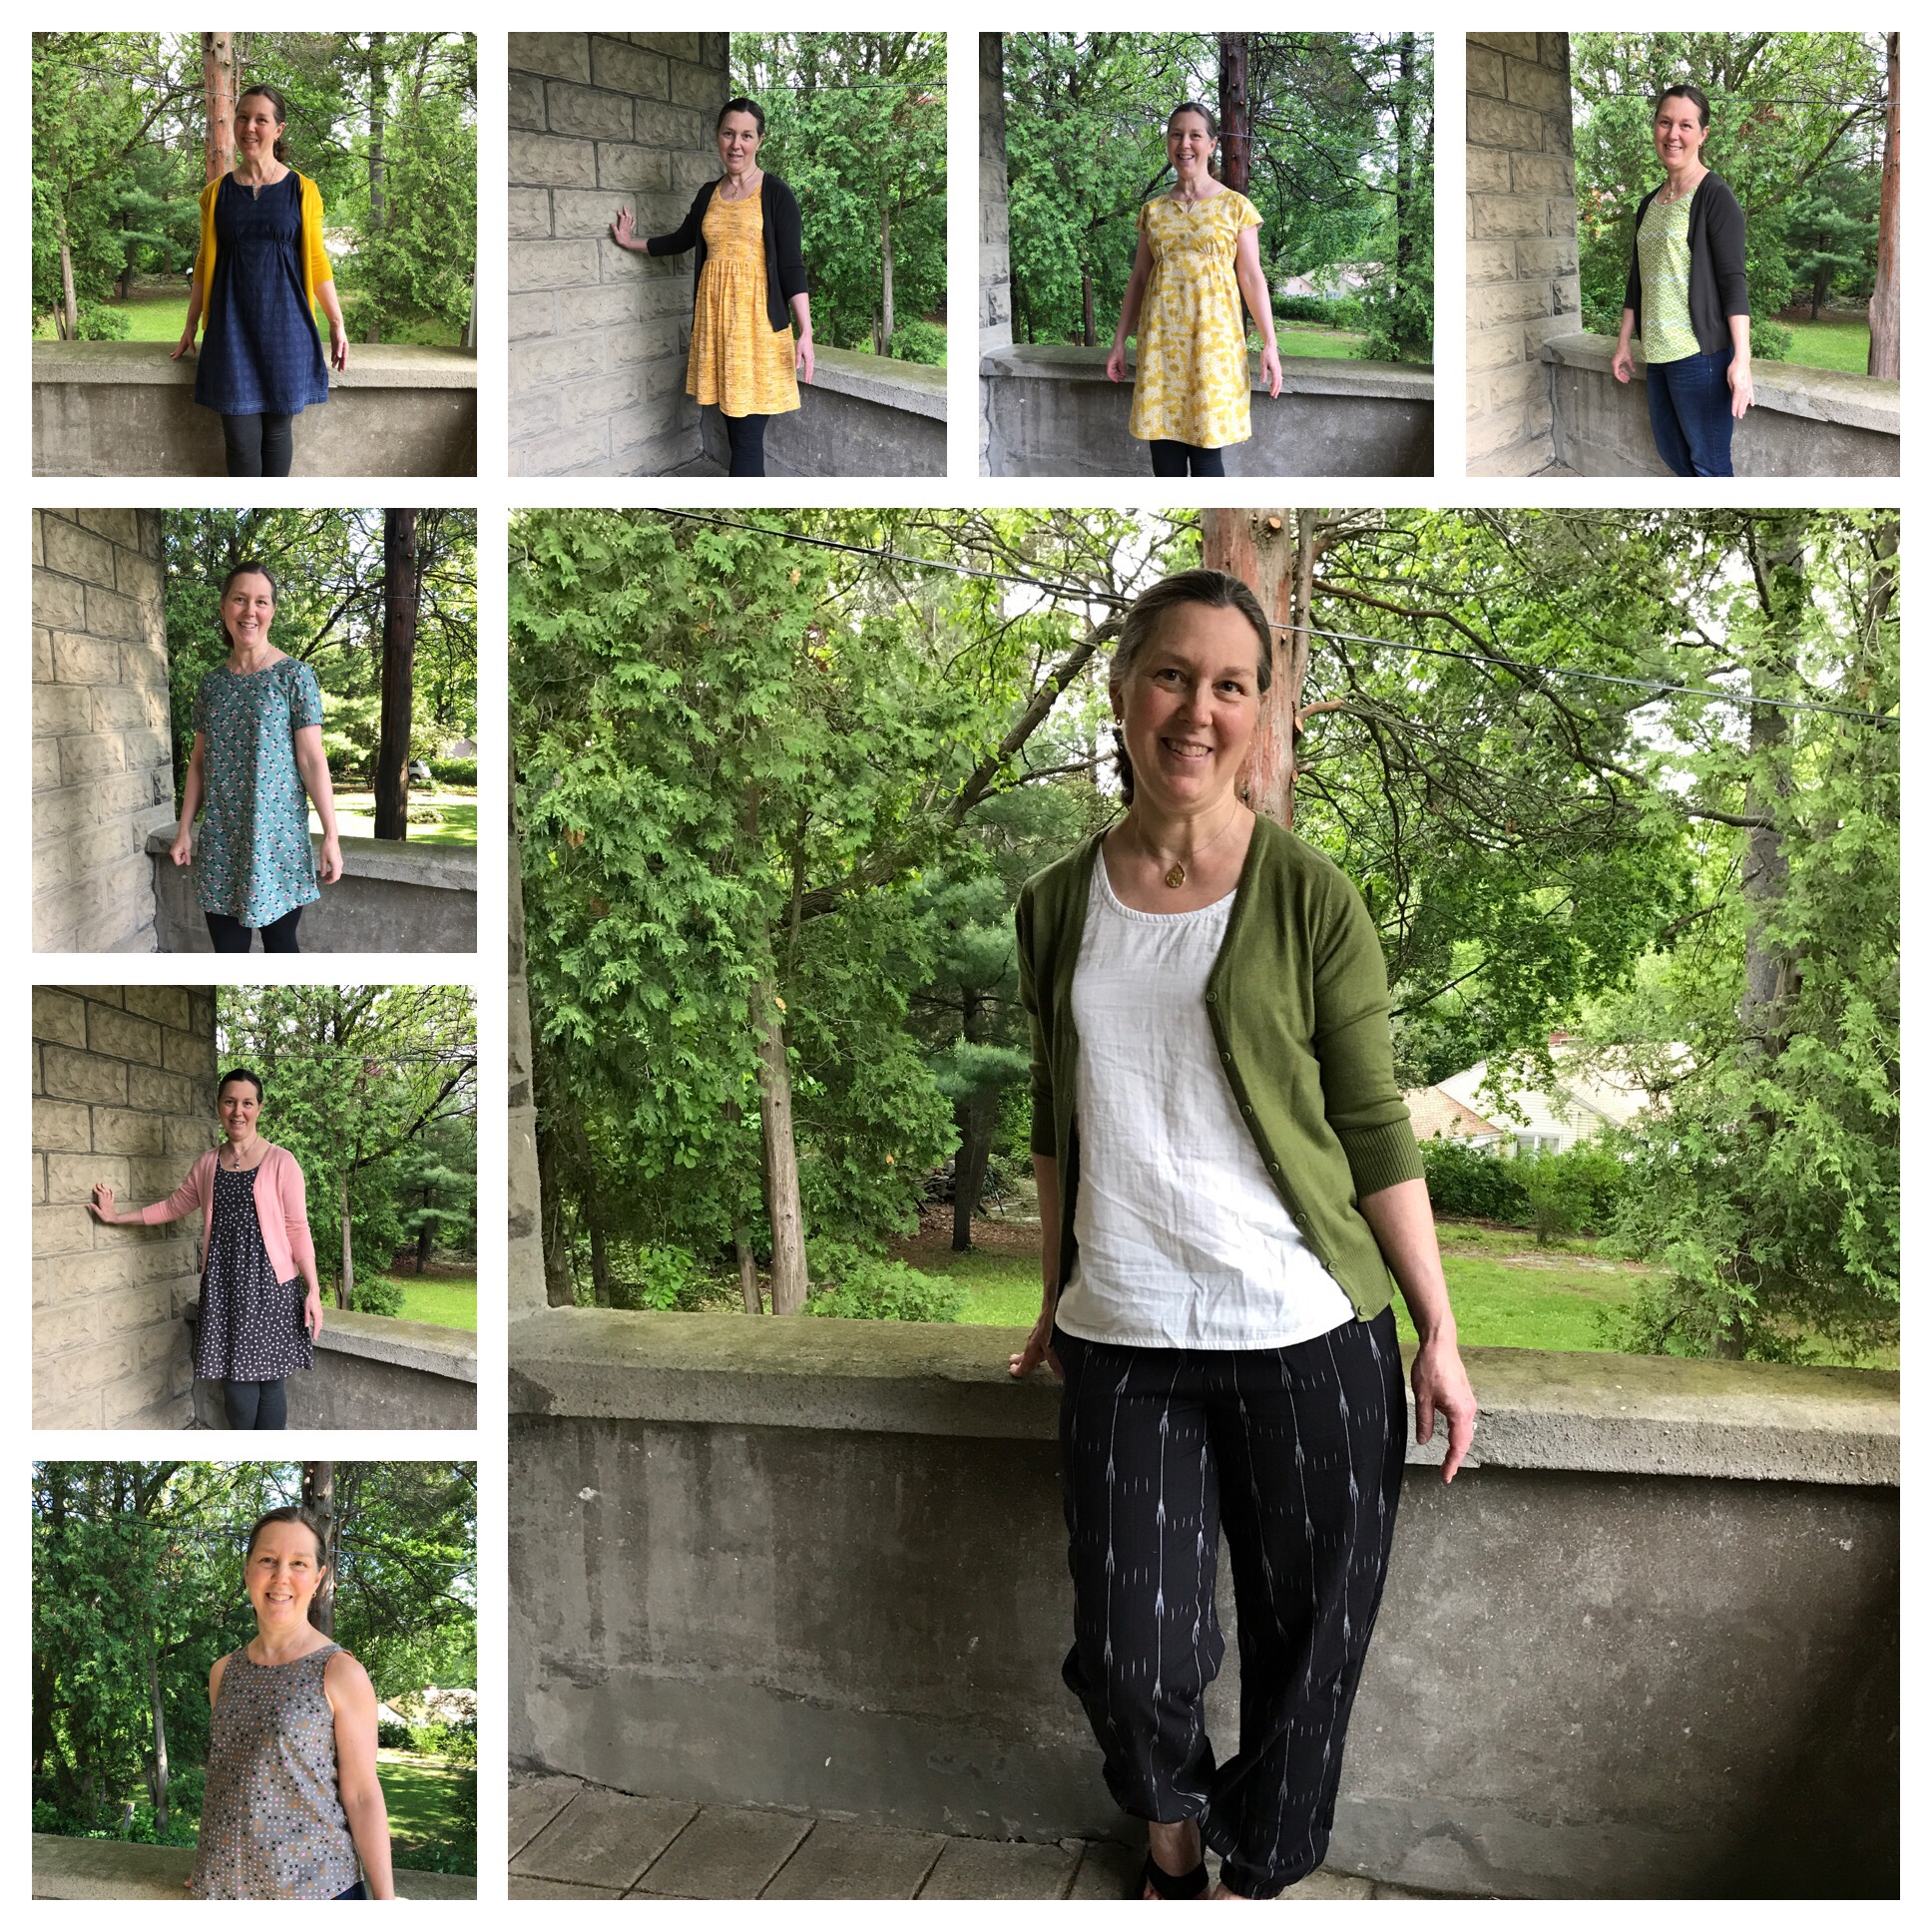
This past May, I set myself a challenge to make several skirts using the Made By Rae Cleo skirt pattern. I had already made three versions so I knew that the fit was perfect and the construction relatively simple and I wanted to experiment with different fabrics. I fell in love with two beautiful cotton lawn fabrics from the Aria collection by Kelly Ventura. This fabric is called Brushed Peony and it is still available. I also decided to make a couple of new Gemma Tanks in solid colors to go with the skirts. I chose a Cambridge yellow lawn to go with these two skirts. I cut Mediums in both the skirt and tank and added a bit to the length for the tank as I am tall. I don’t actually lengthen the pattern, I just eyeball it and add about an inch to an inch and a half. I cut view B of the Cleo shortened to just below the midpoint of the knee which I find is the best length for me.
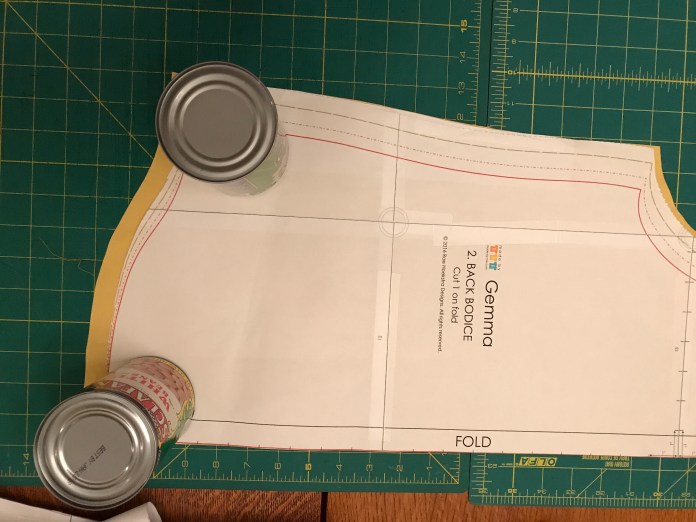 In preparation for the bias binding, I cut bias strips of the leftover lawn and also some wider strips on the grain to use as a hem facing for the two skirts.
 Both fabrics were great to work with. Not too slippery but very light and flowy. To save time since I was planning on making several skirts, I eliminated the pocket. I actually love the pockets on the Cleo skirt but since I almost always wear a lab coat at my job as a nurse practitioner, I never use skirt pockets since I have large built in pockets already. I wouldn’t recommend this for most sewists because the pockets are a great design feature.
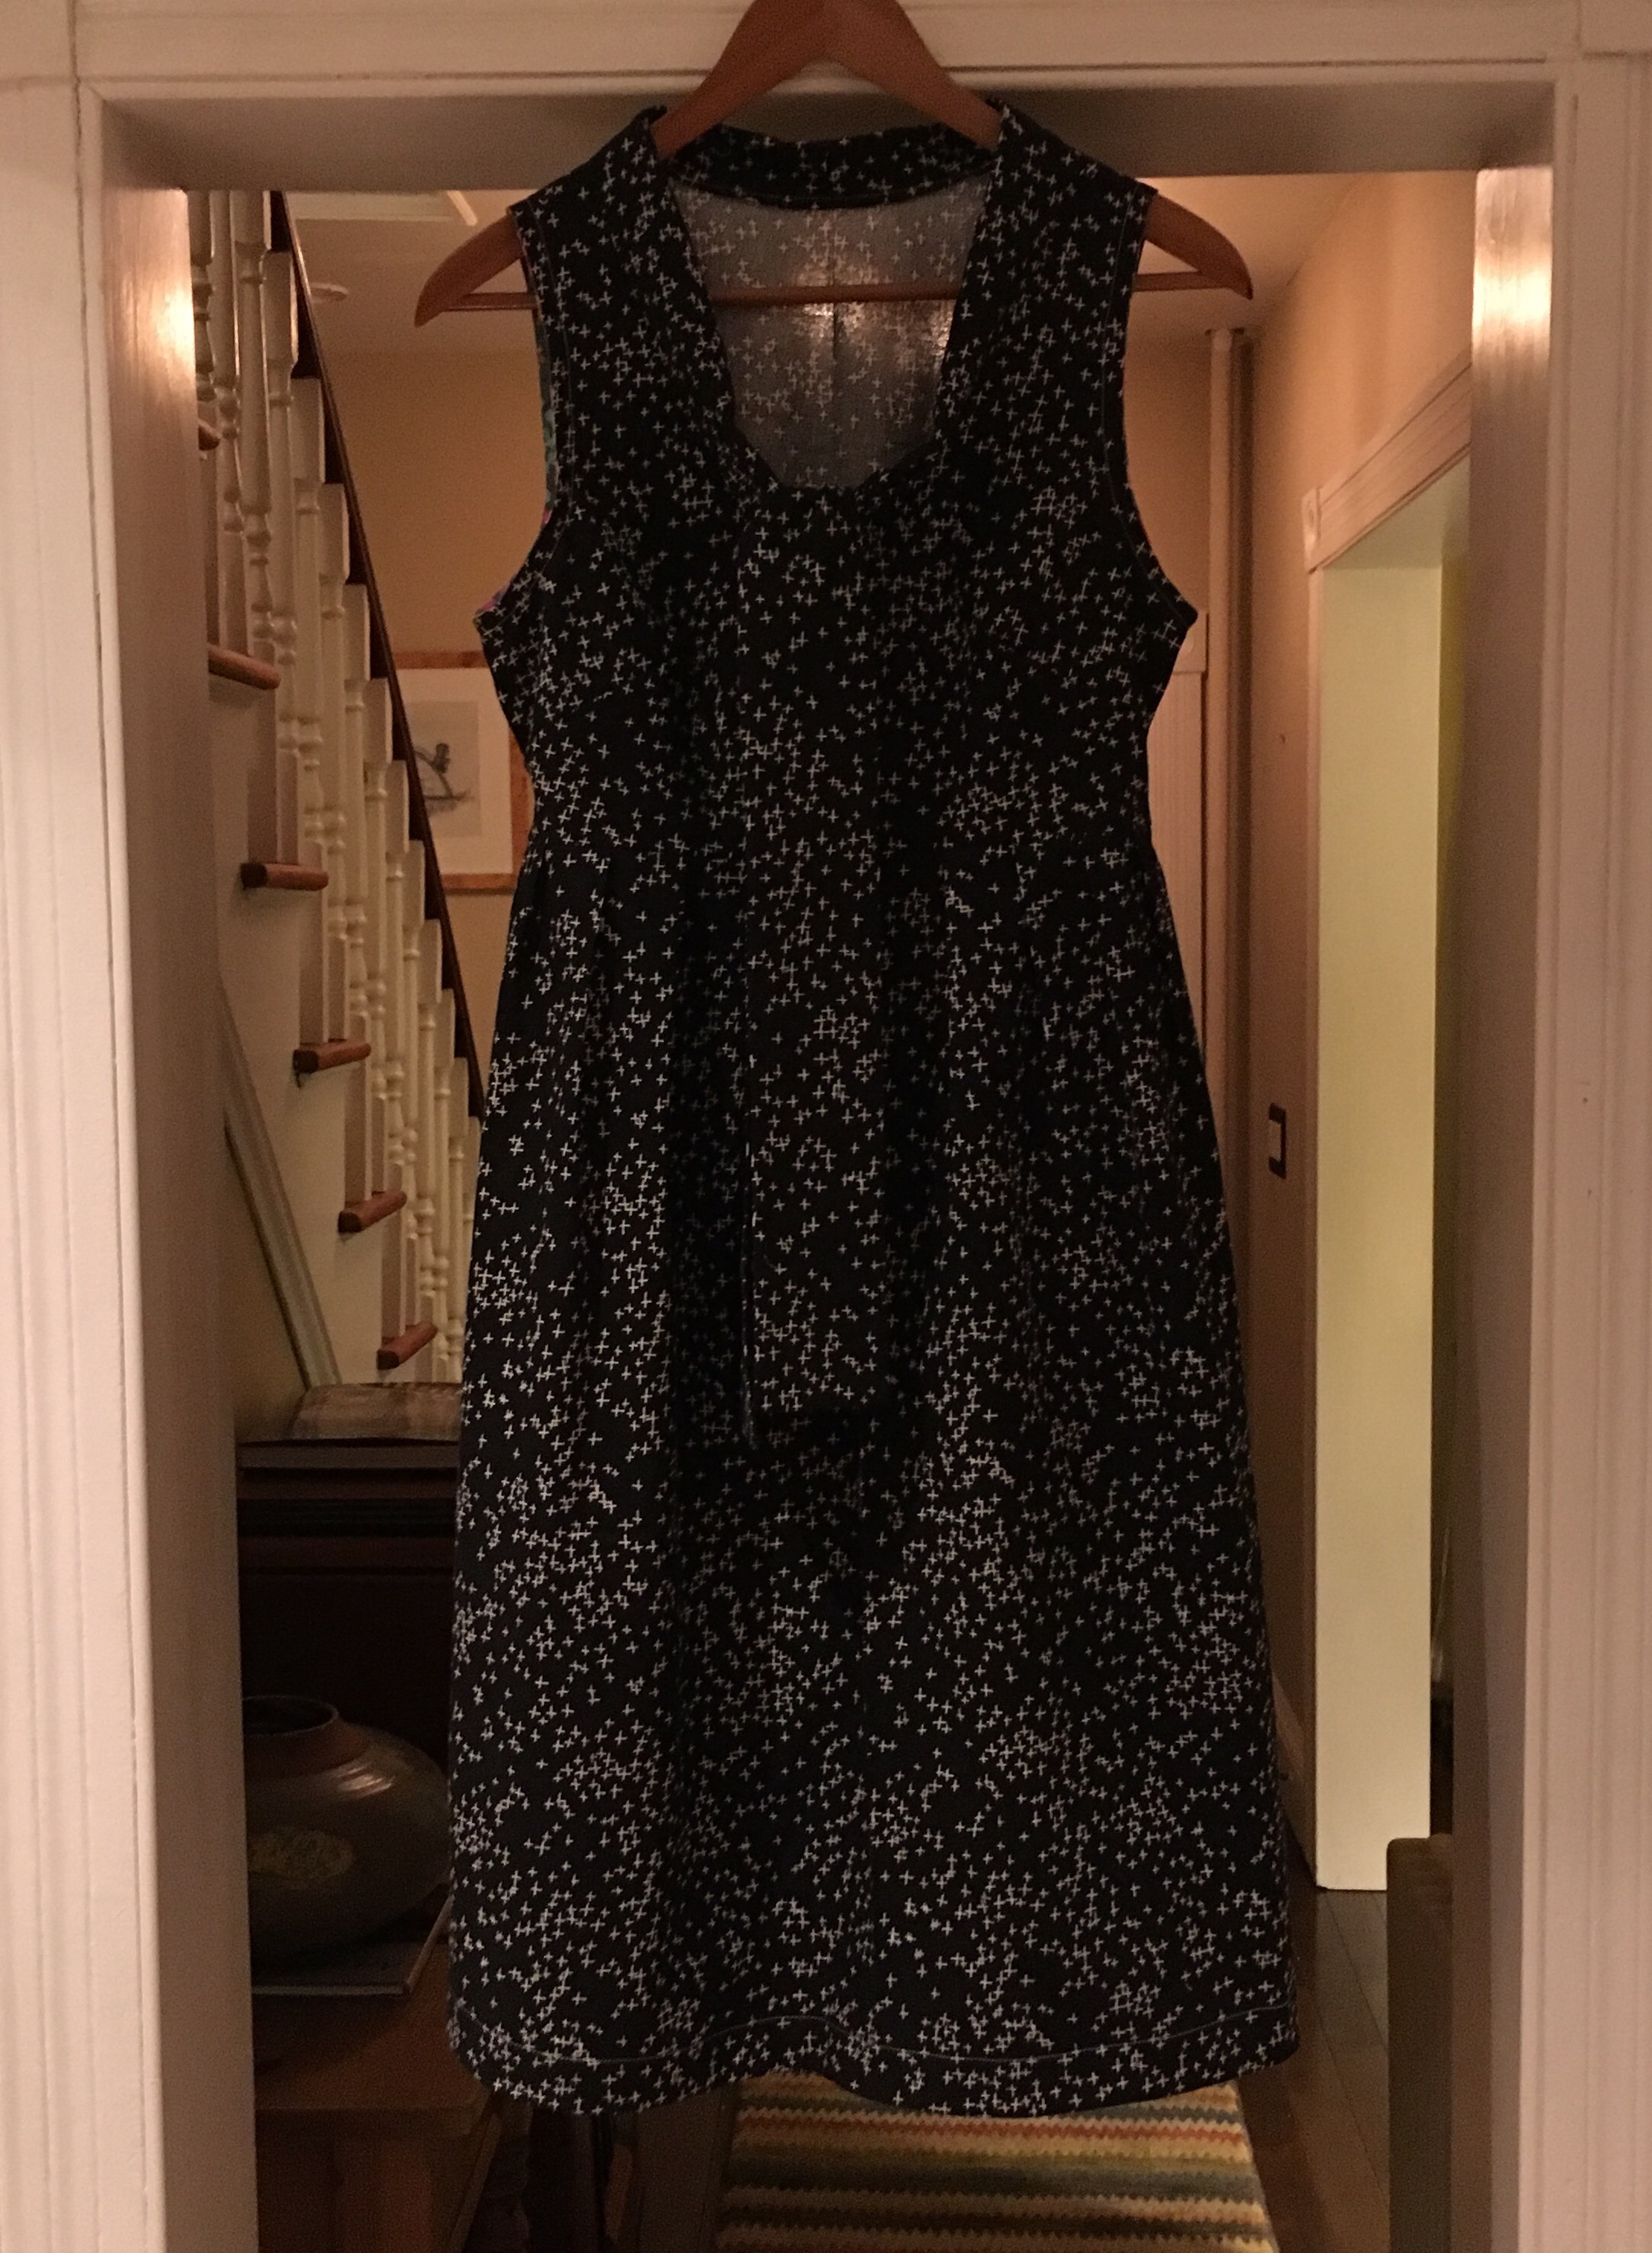
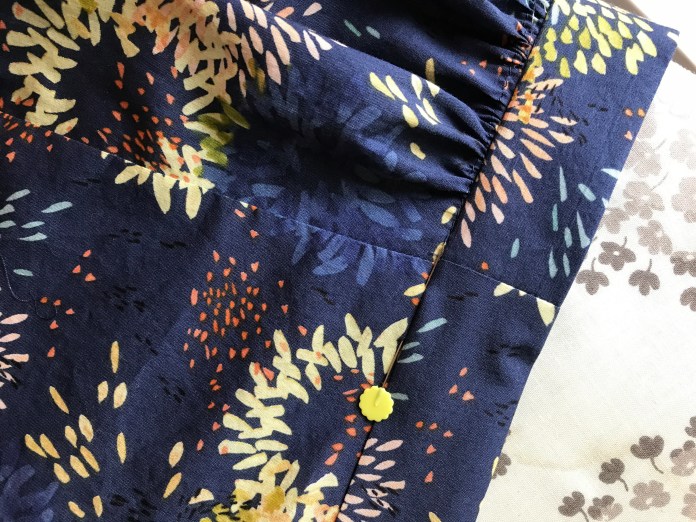 Since I was making more than one, I basically sewed each step and then repeated the step on the next skirt, etc. They came together pretty quickly. Finished skirt #1 below in Brushed Peony.
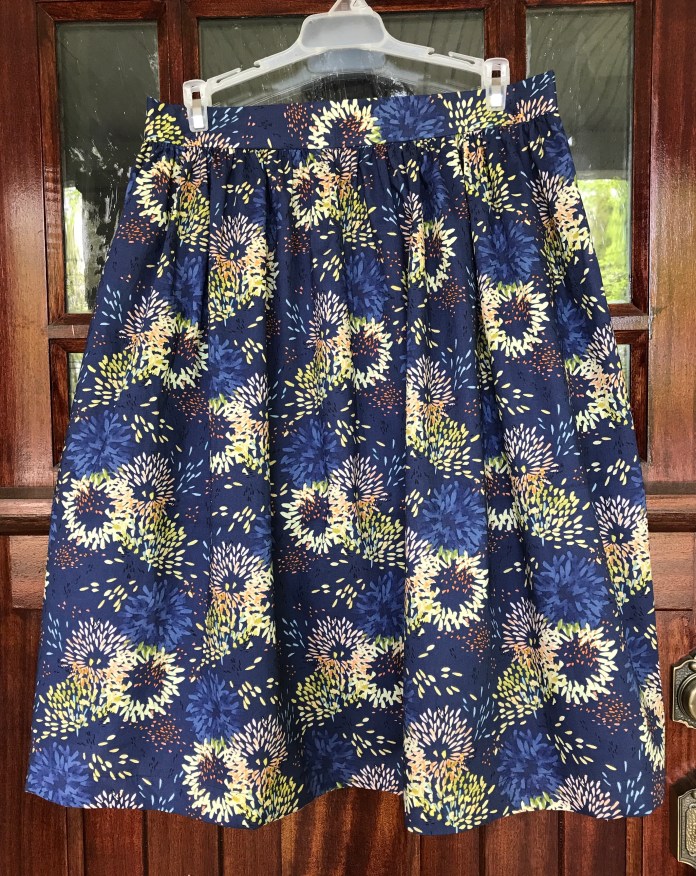 And as worn on the last day of Me Made May. I had been waiting to finish the yellow tank top to wear with it but alas, it is still awaiting the bias binding which is generally the fate of most of the Gemma tanks I have sewn. My sewing room becomes a Gemma Tank way station until I have the time to sew that last step. I had finished my new white double gauze Gemma, however, and it goes with everything, as seen below.
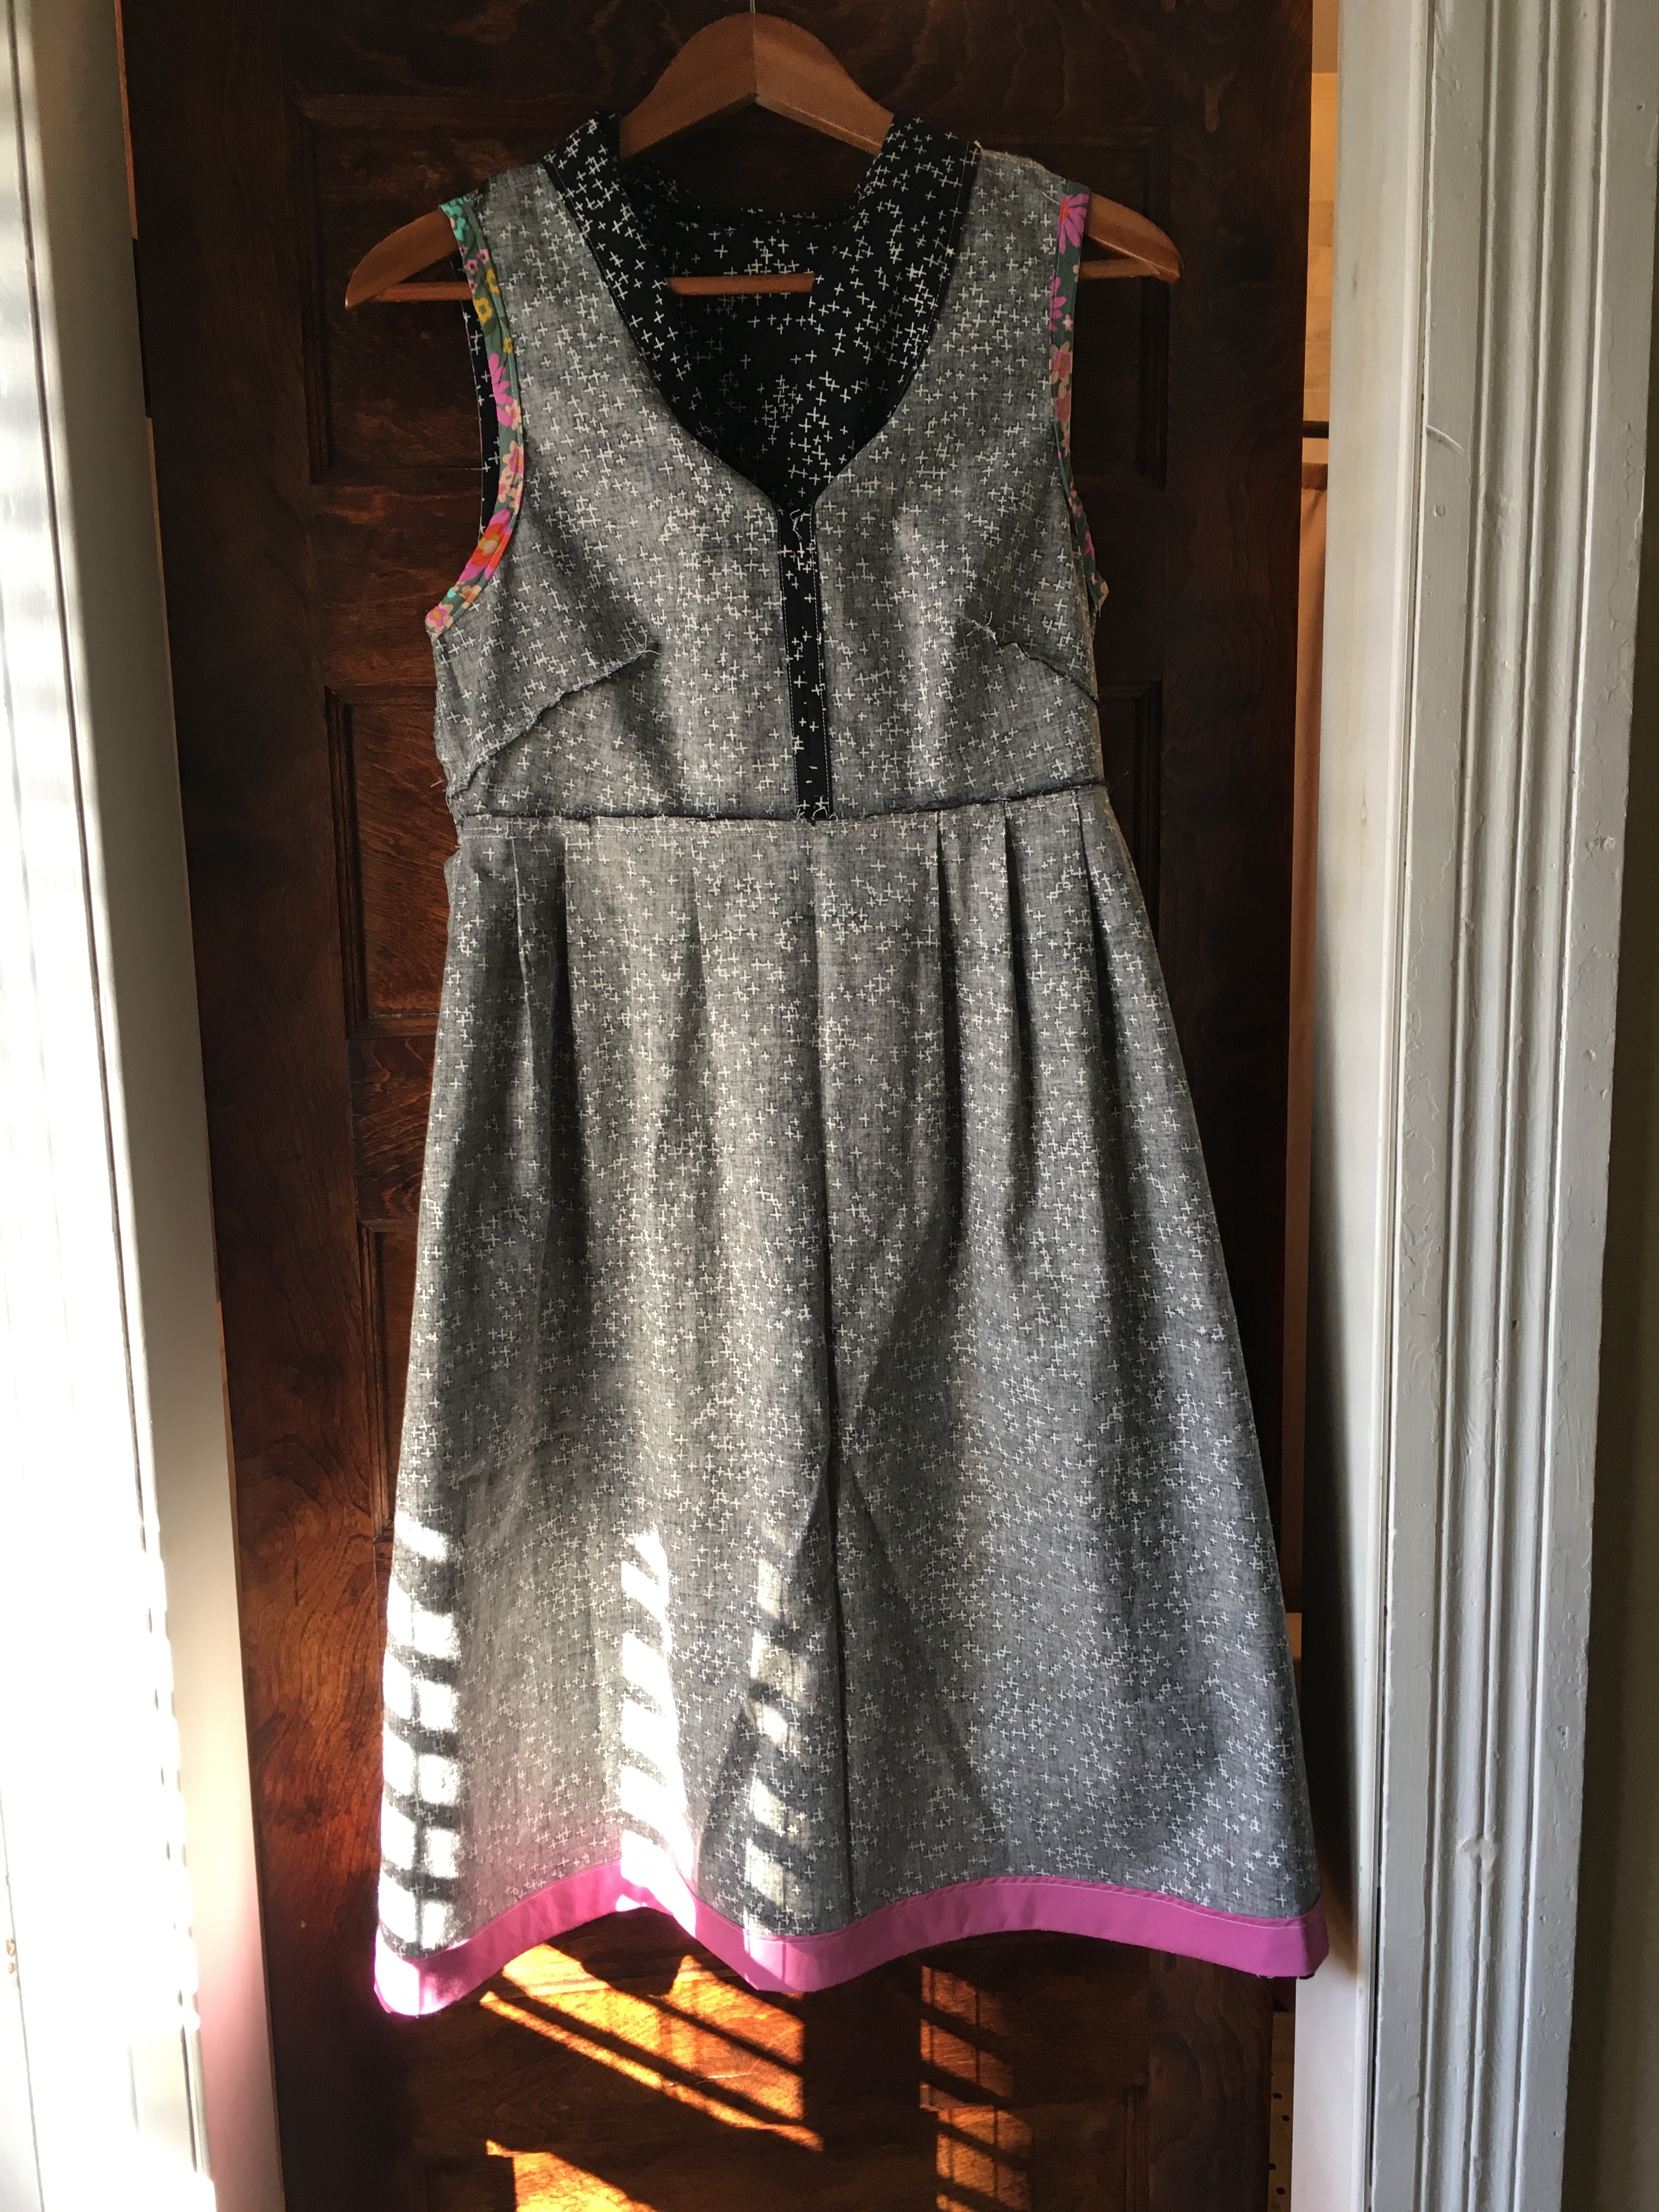
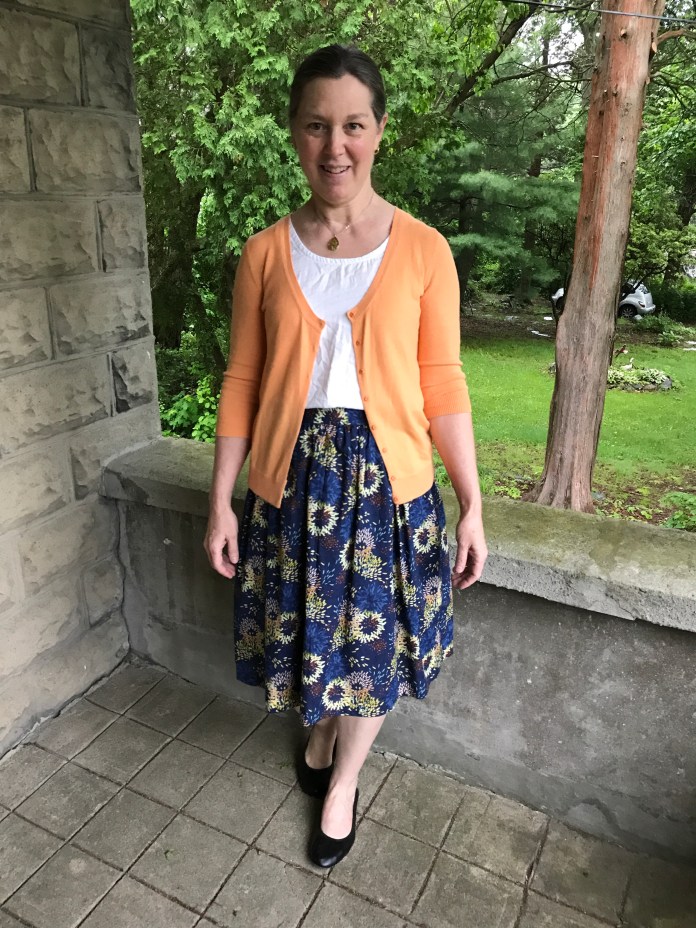 The second skirt is another print from that same line. I might love it even more. I did the same thing, no pockets and yellow hem facing using the same strips.
 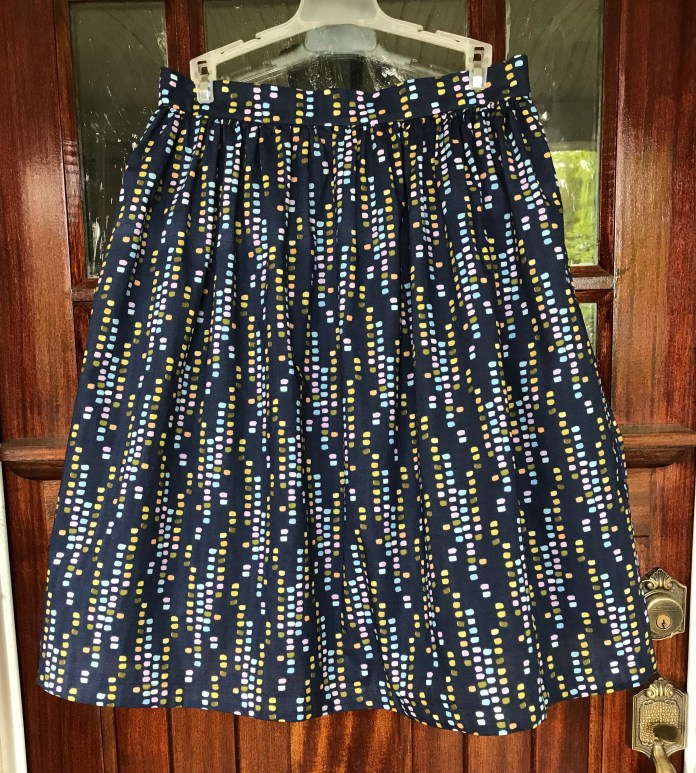 And as worn on day 2 of Me Made May with a cotton-linen blend Gemma Tank that I made last year. It also goes with everything.
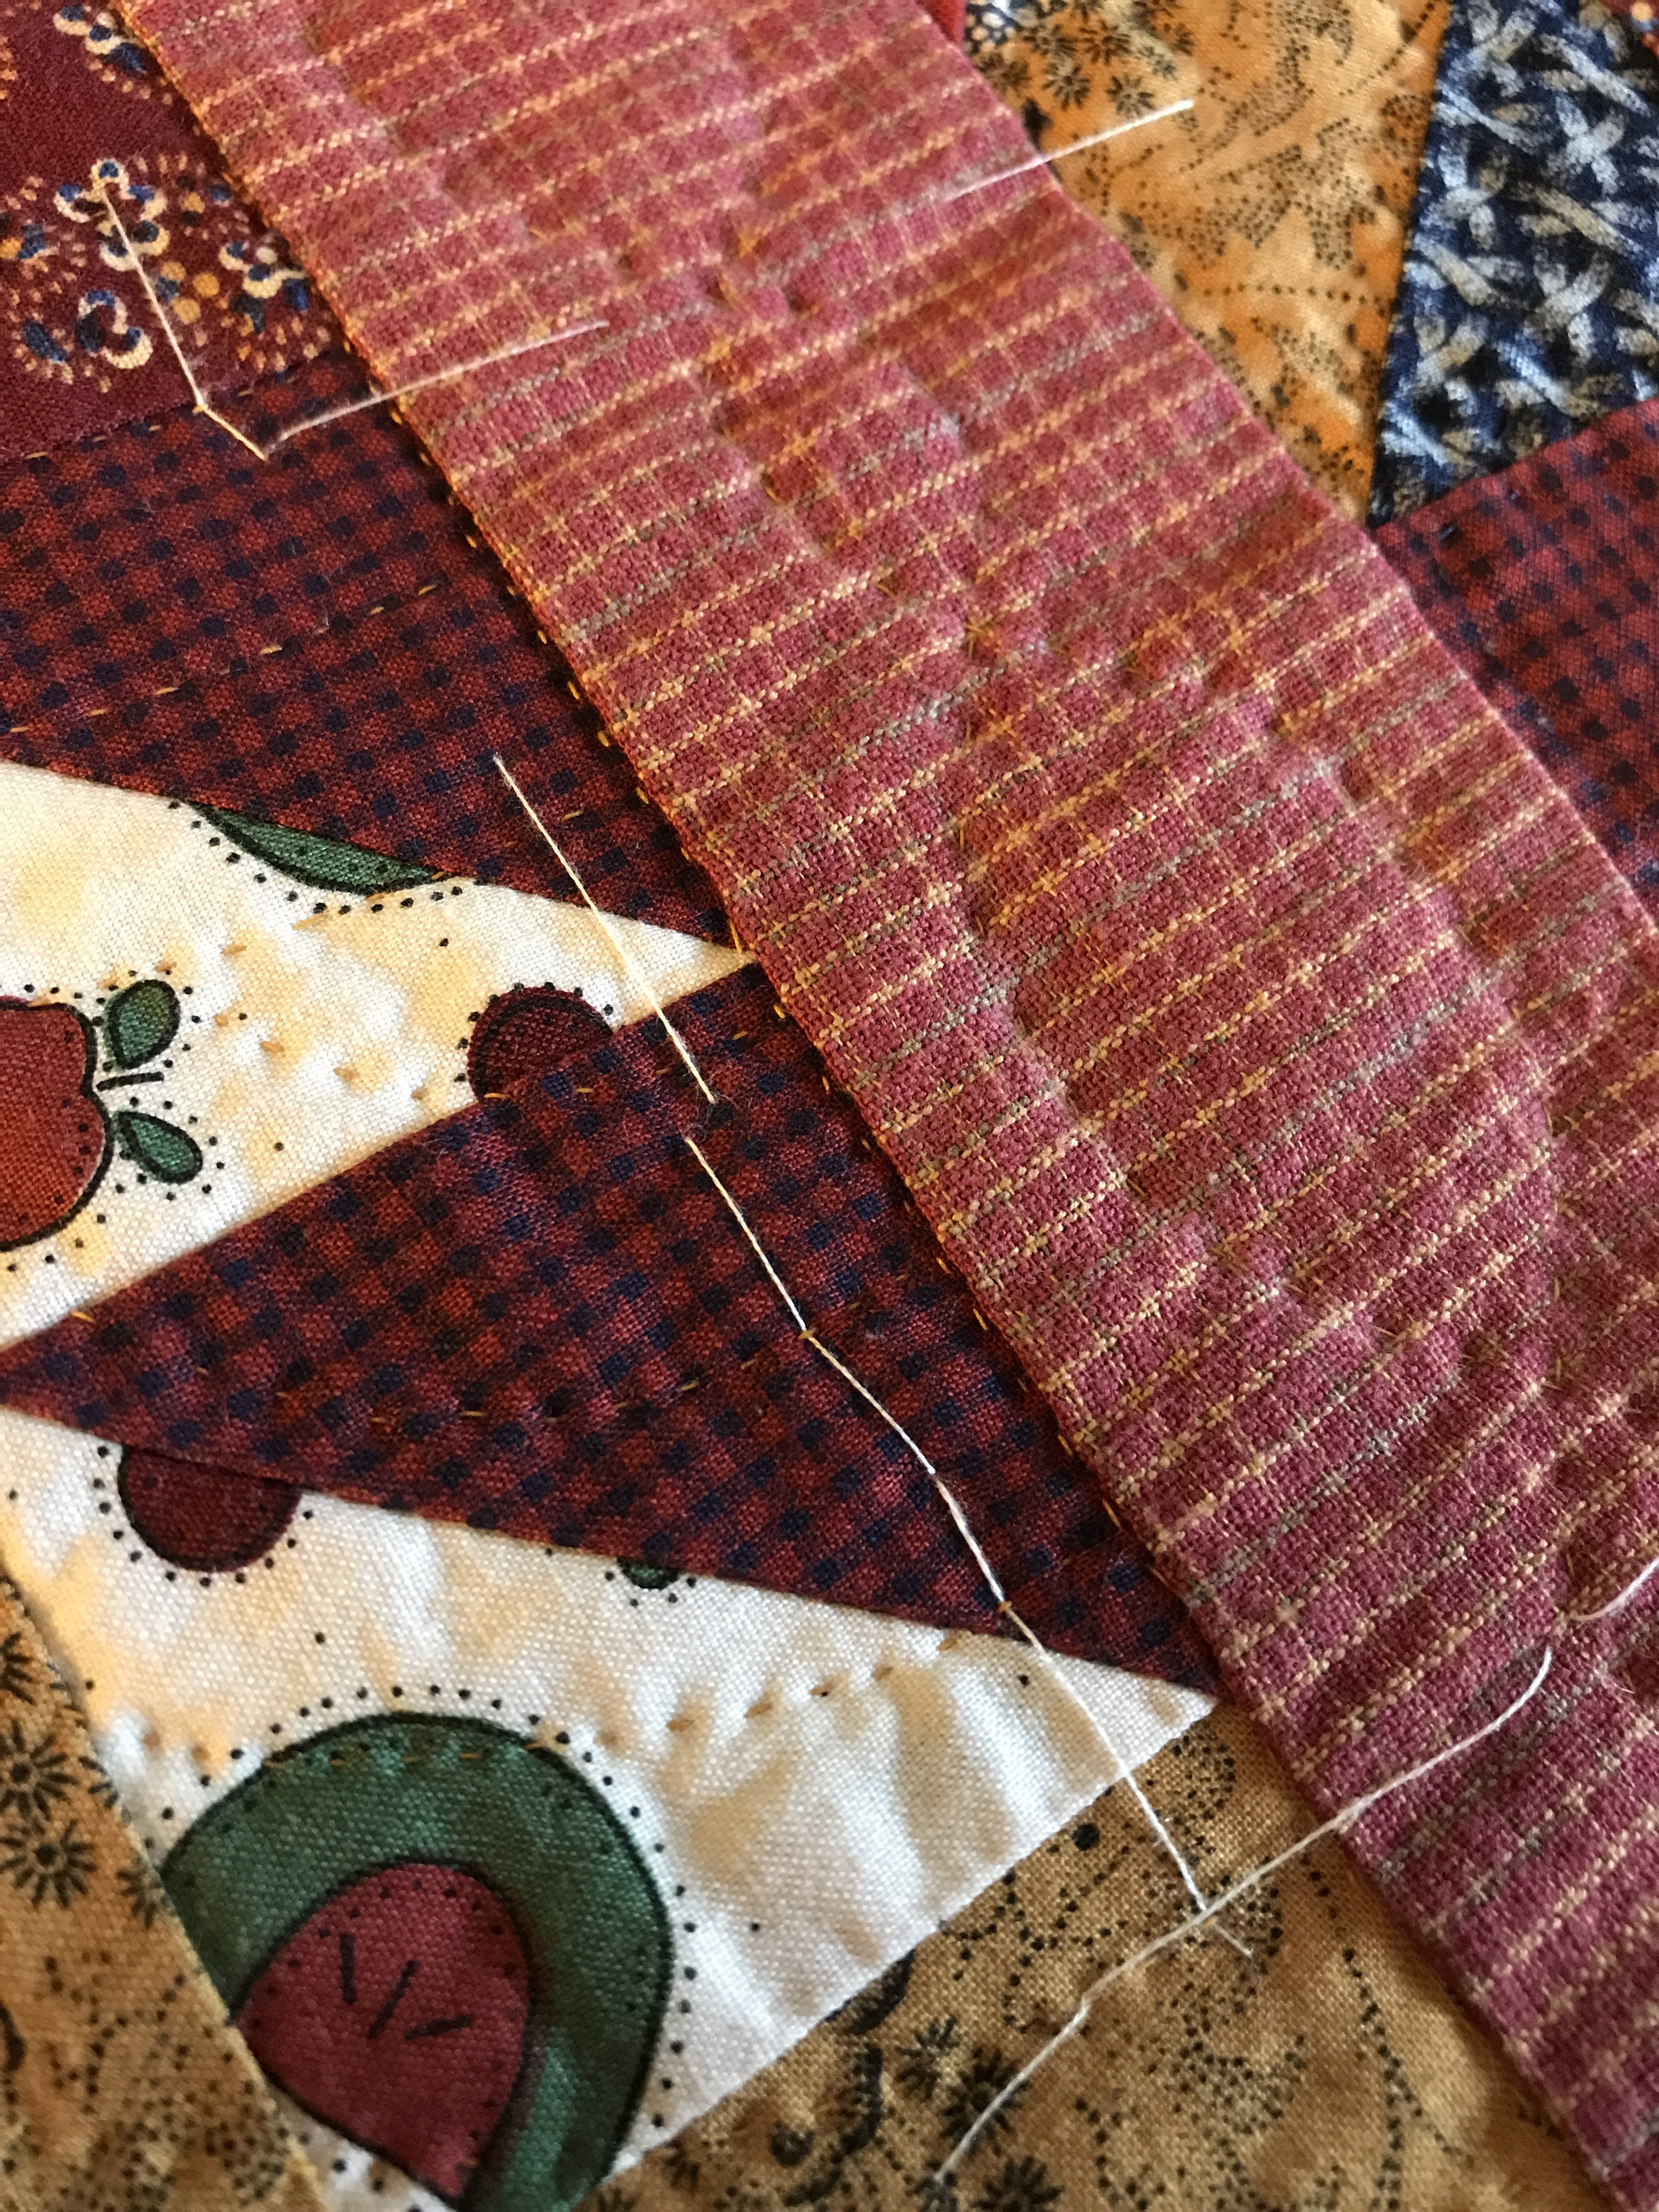
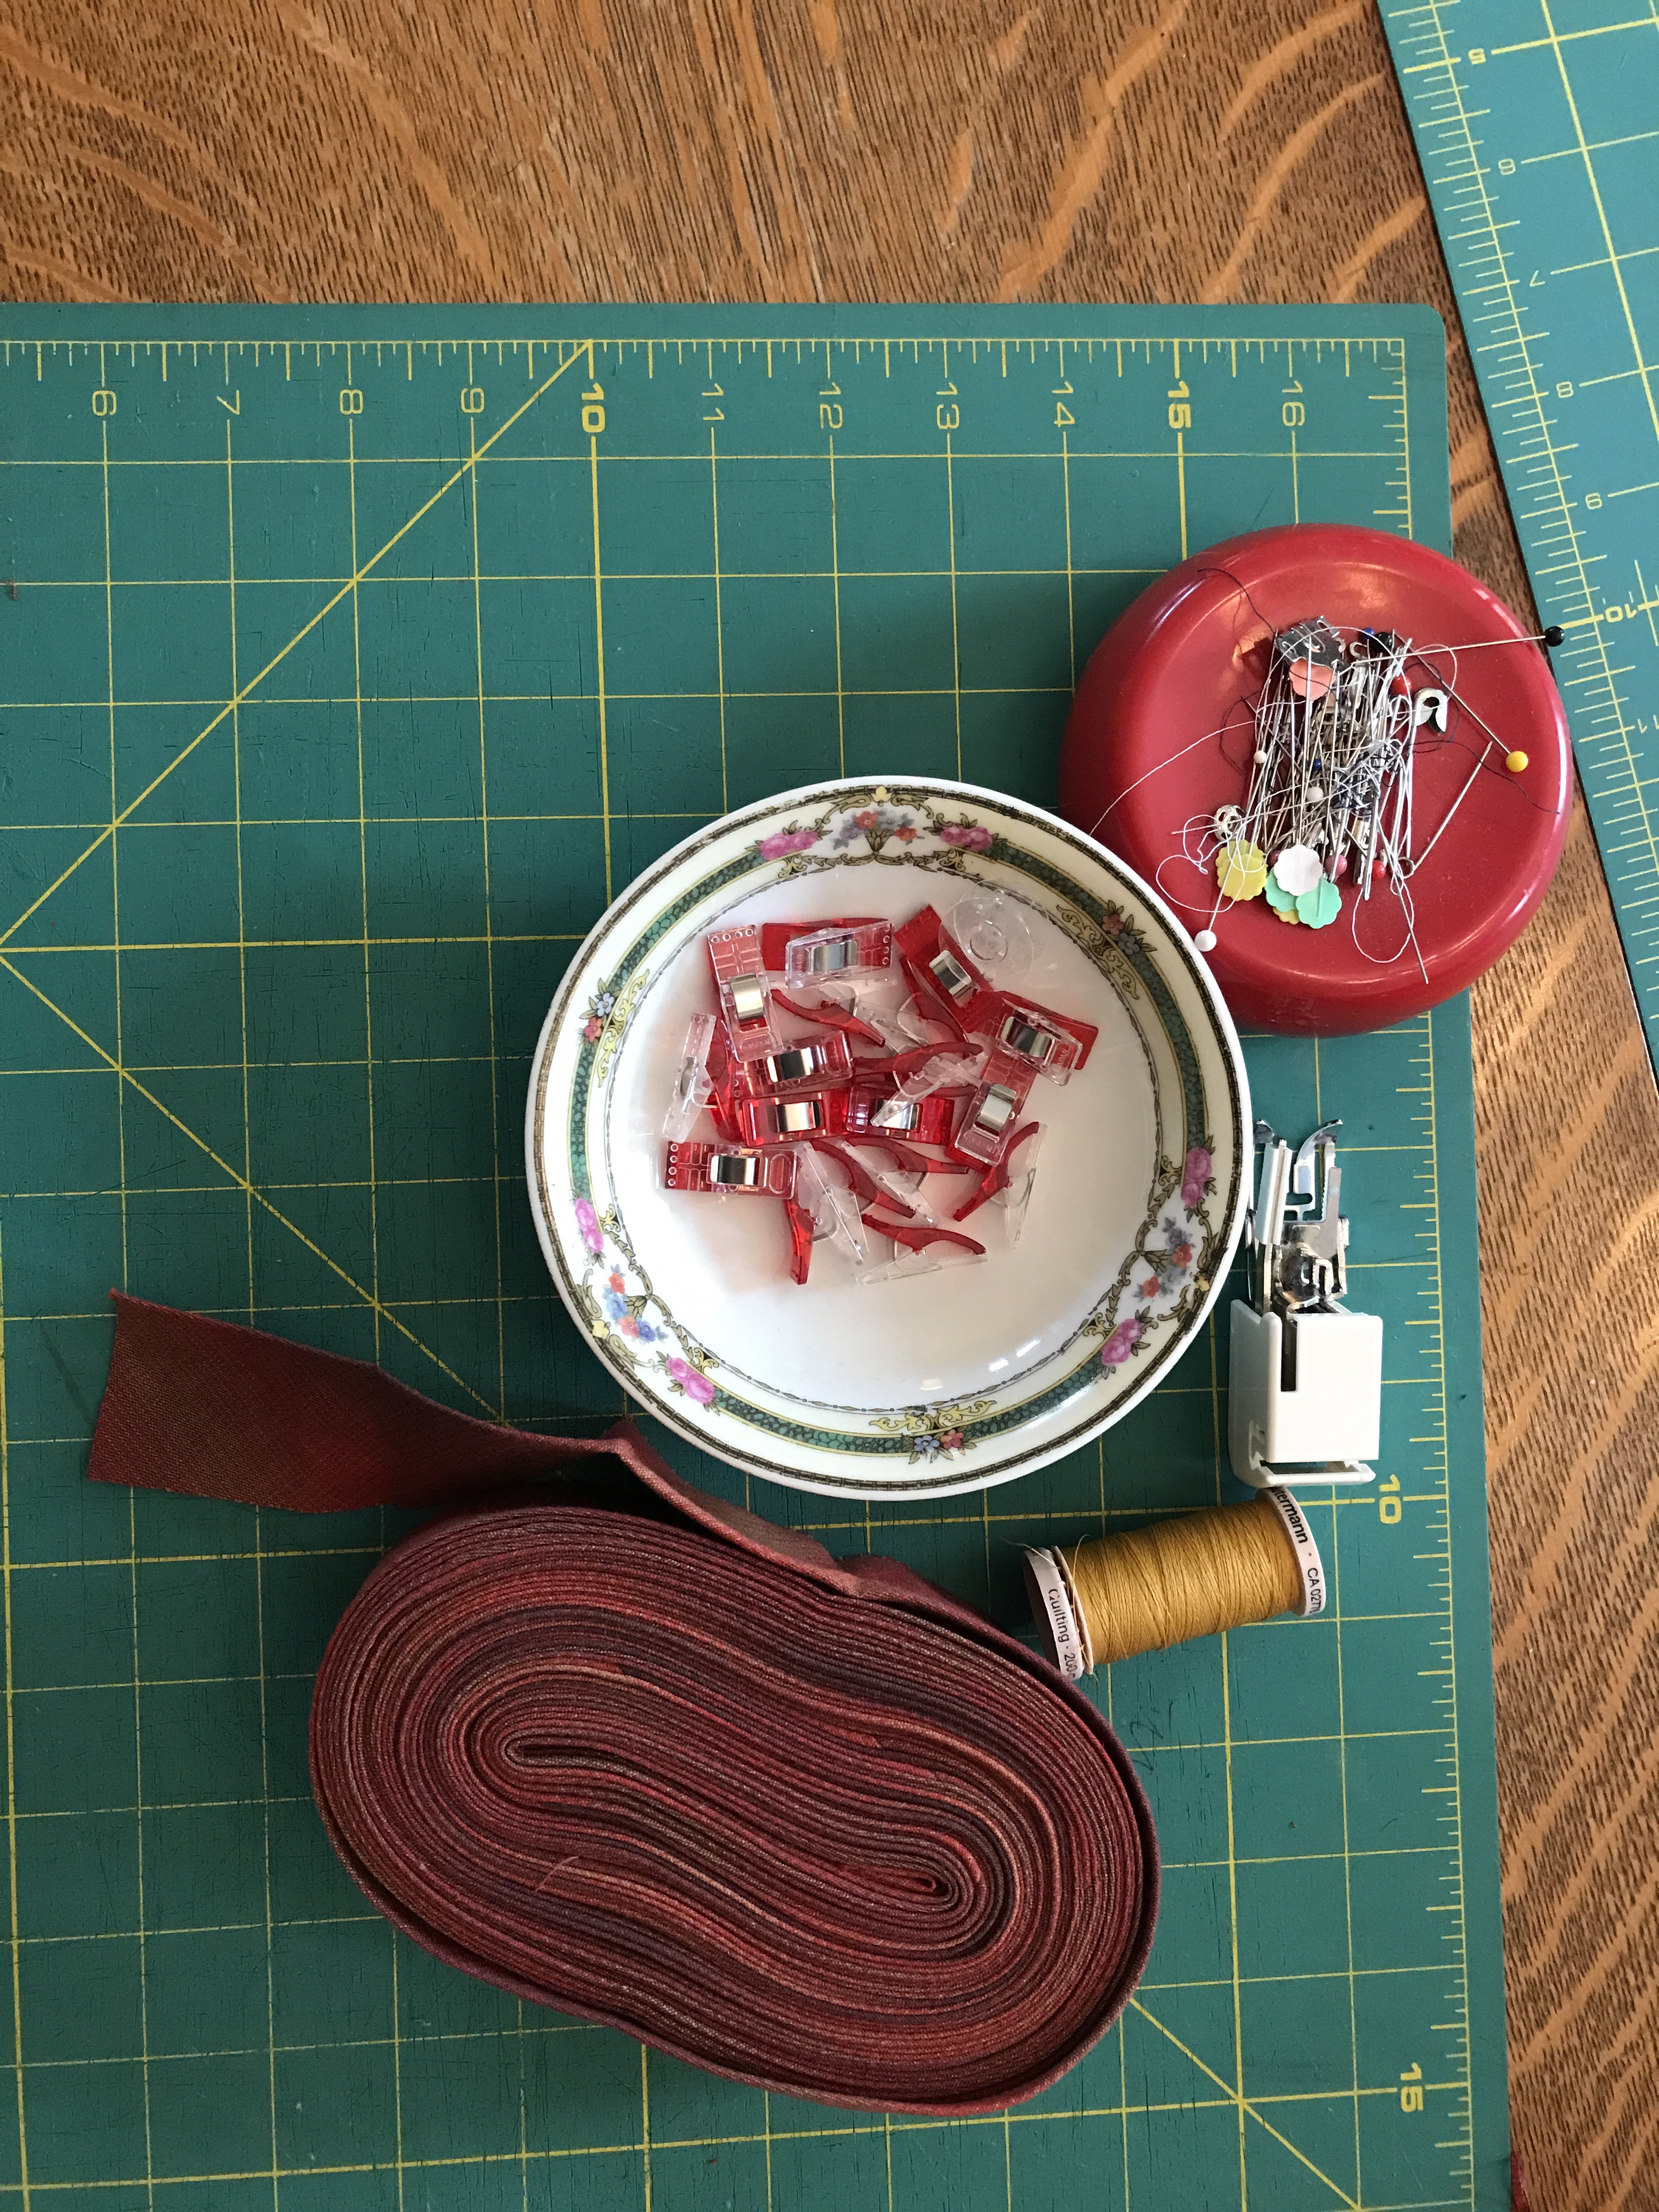
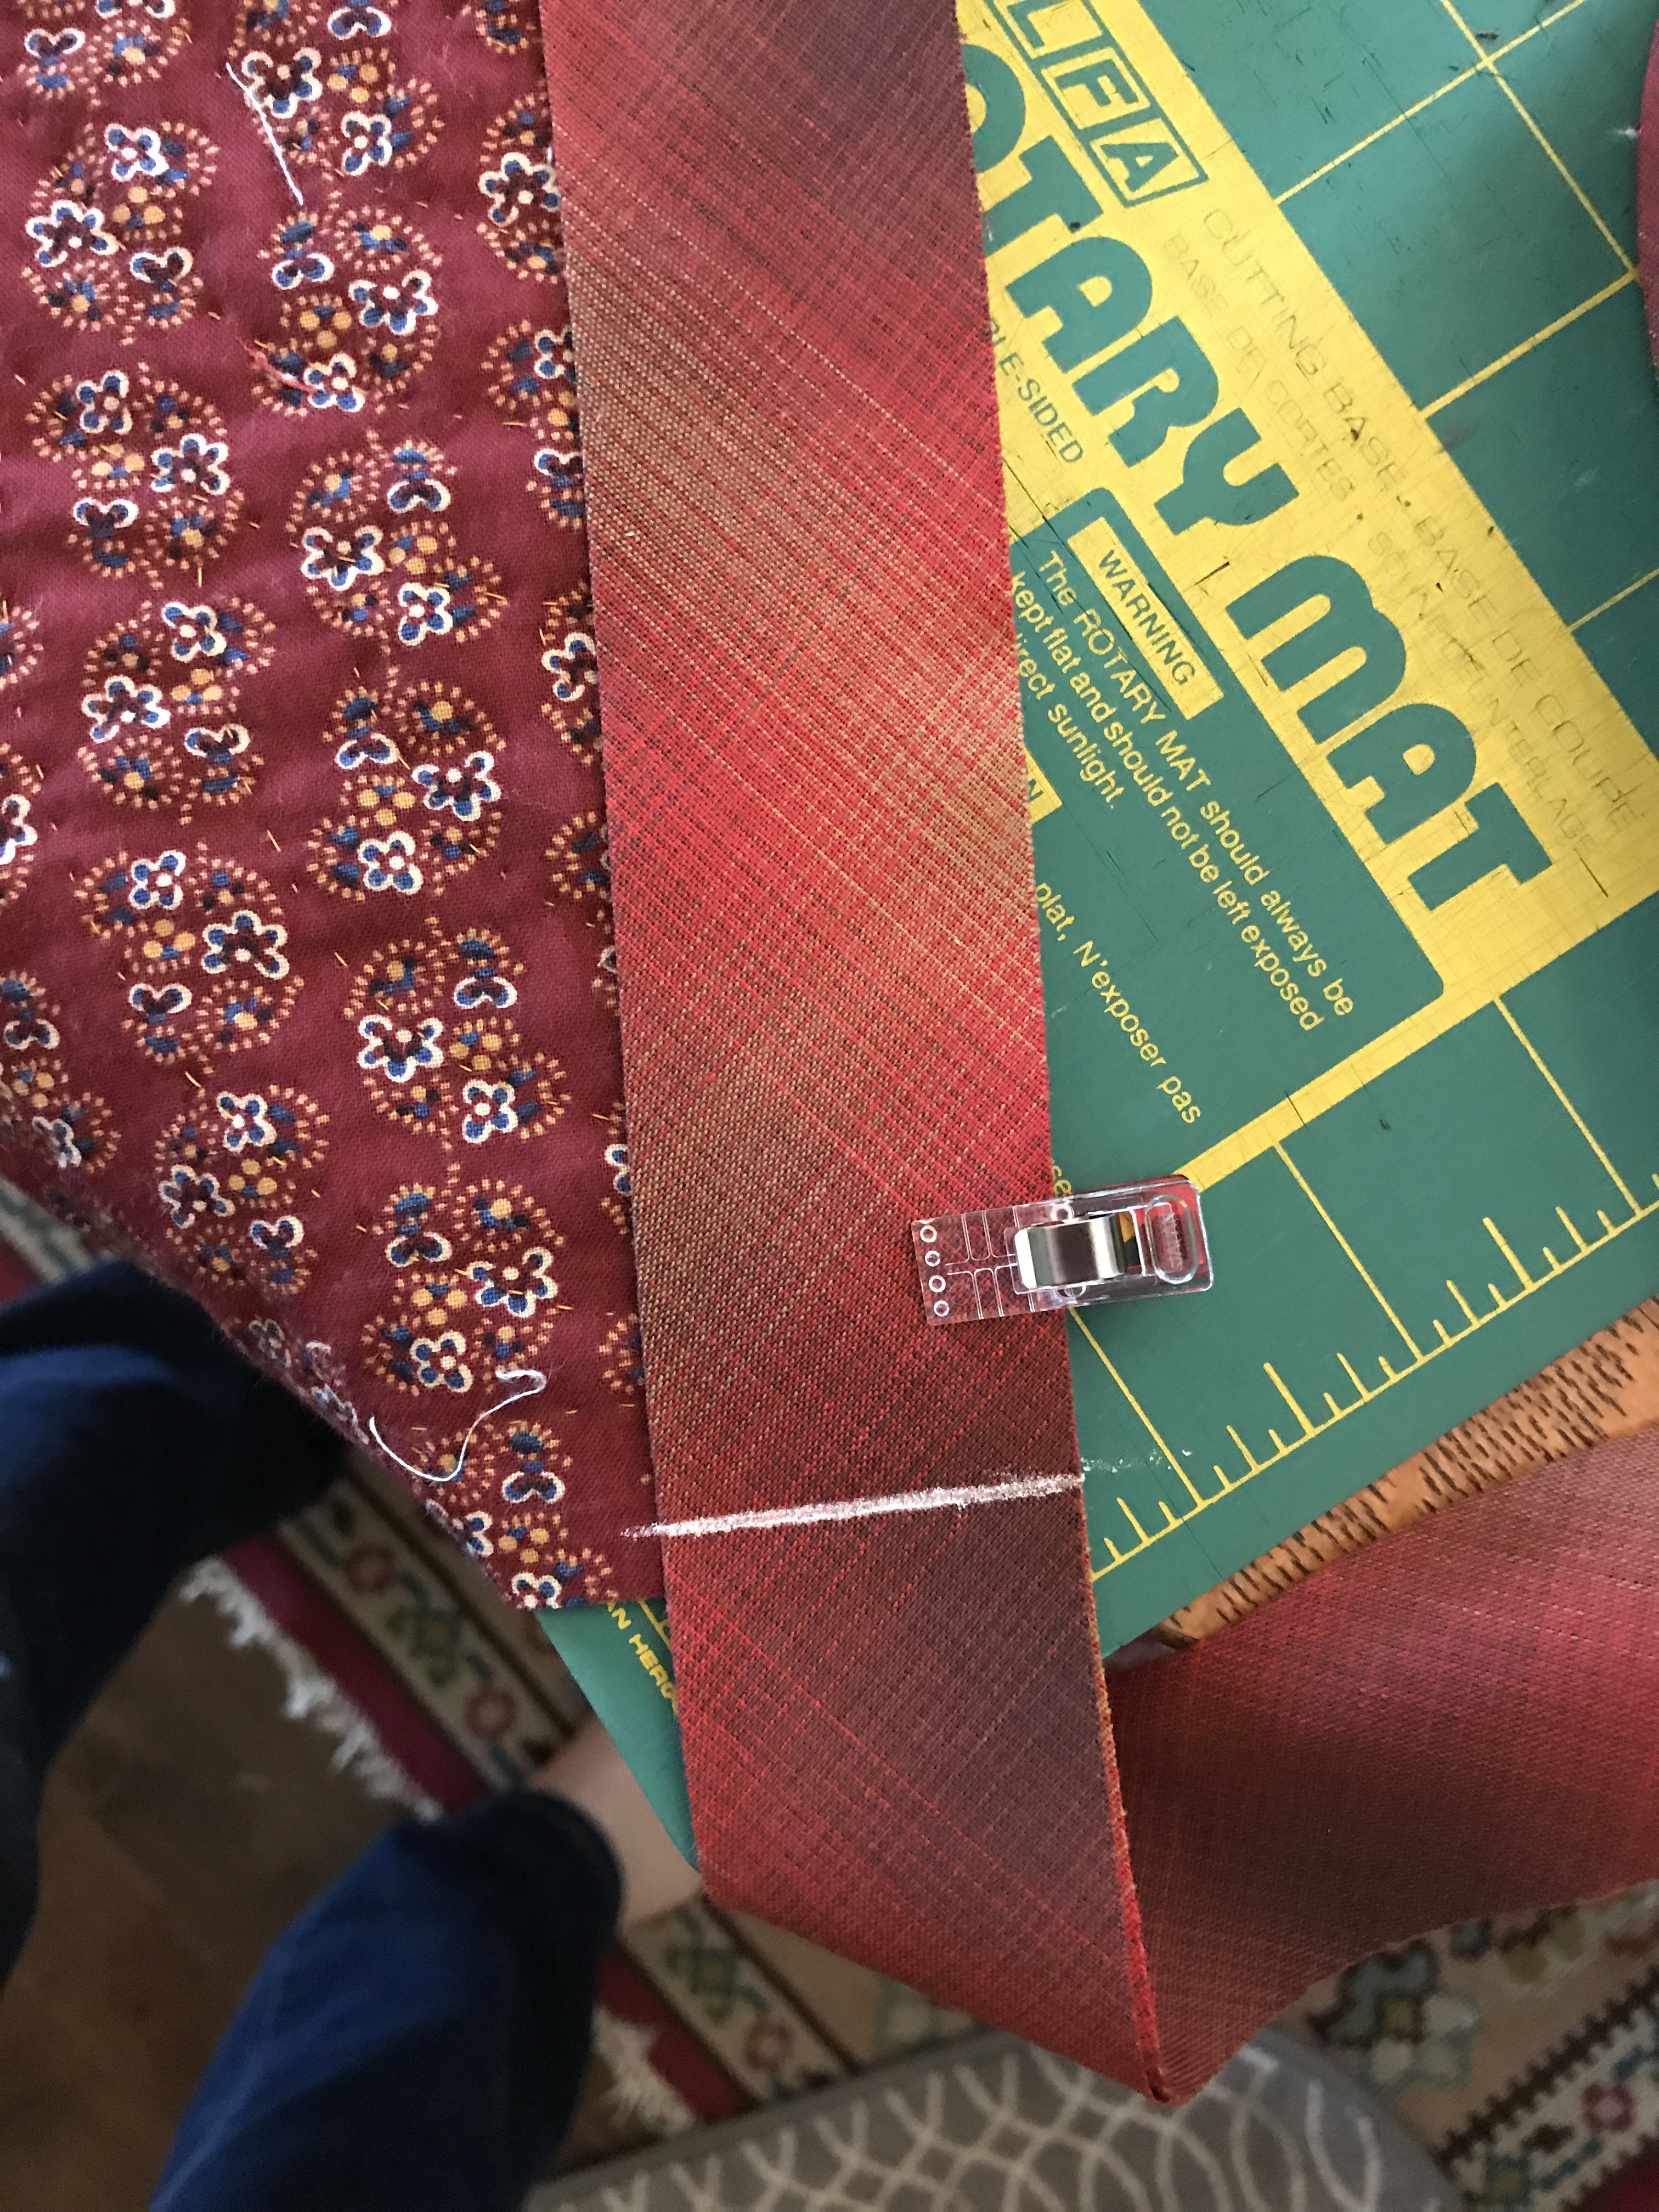
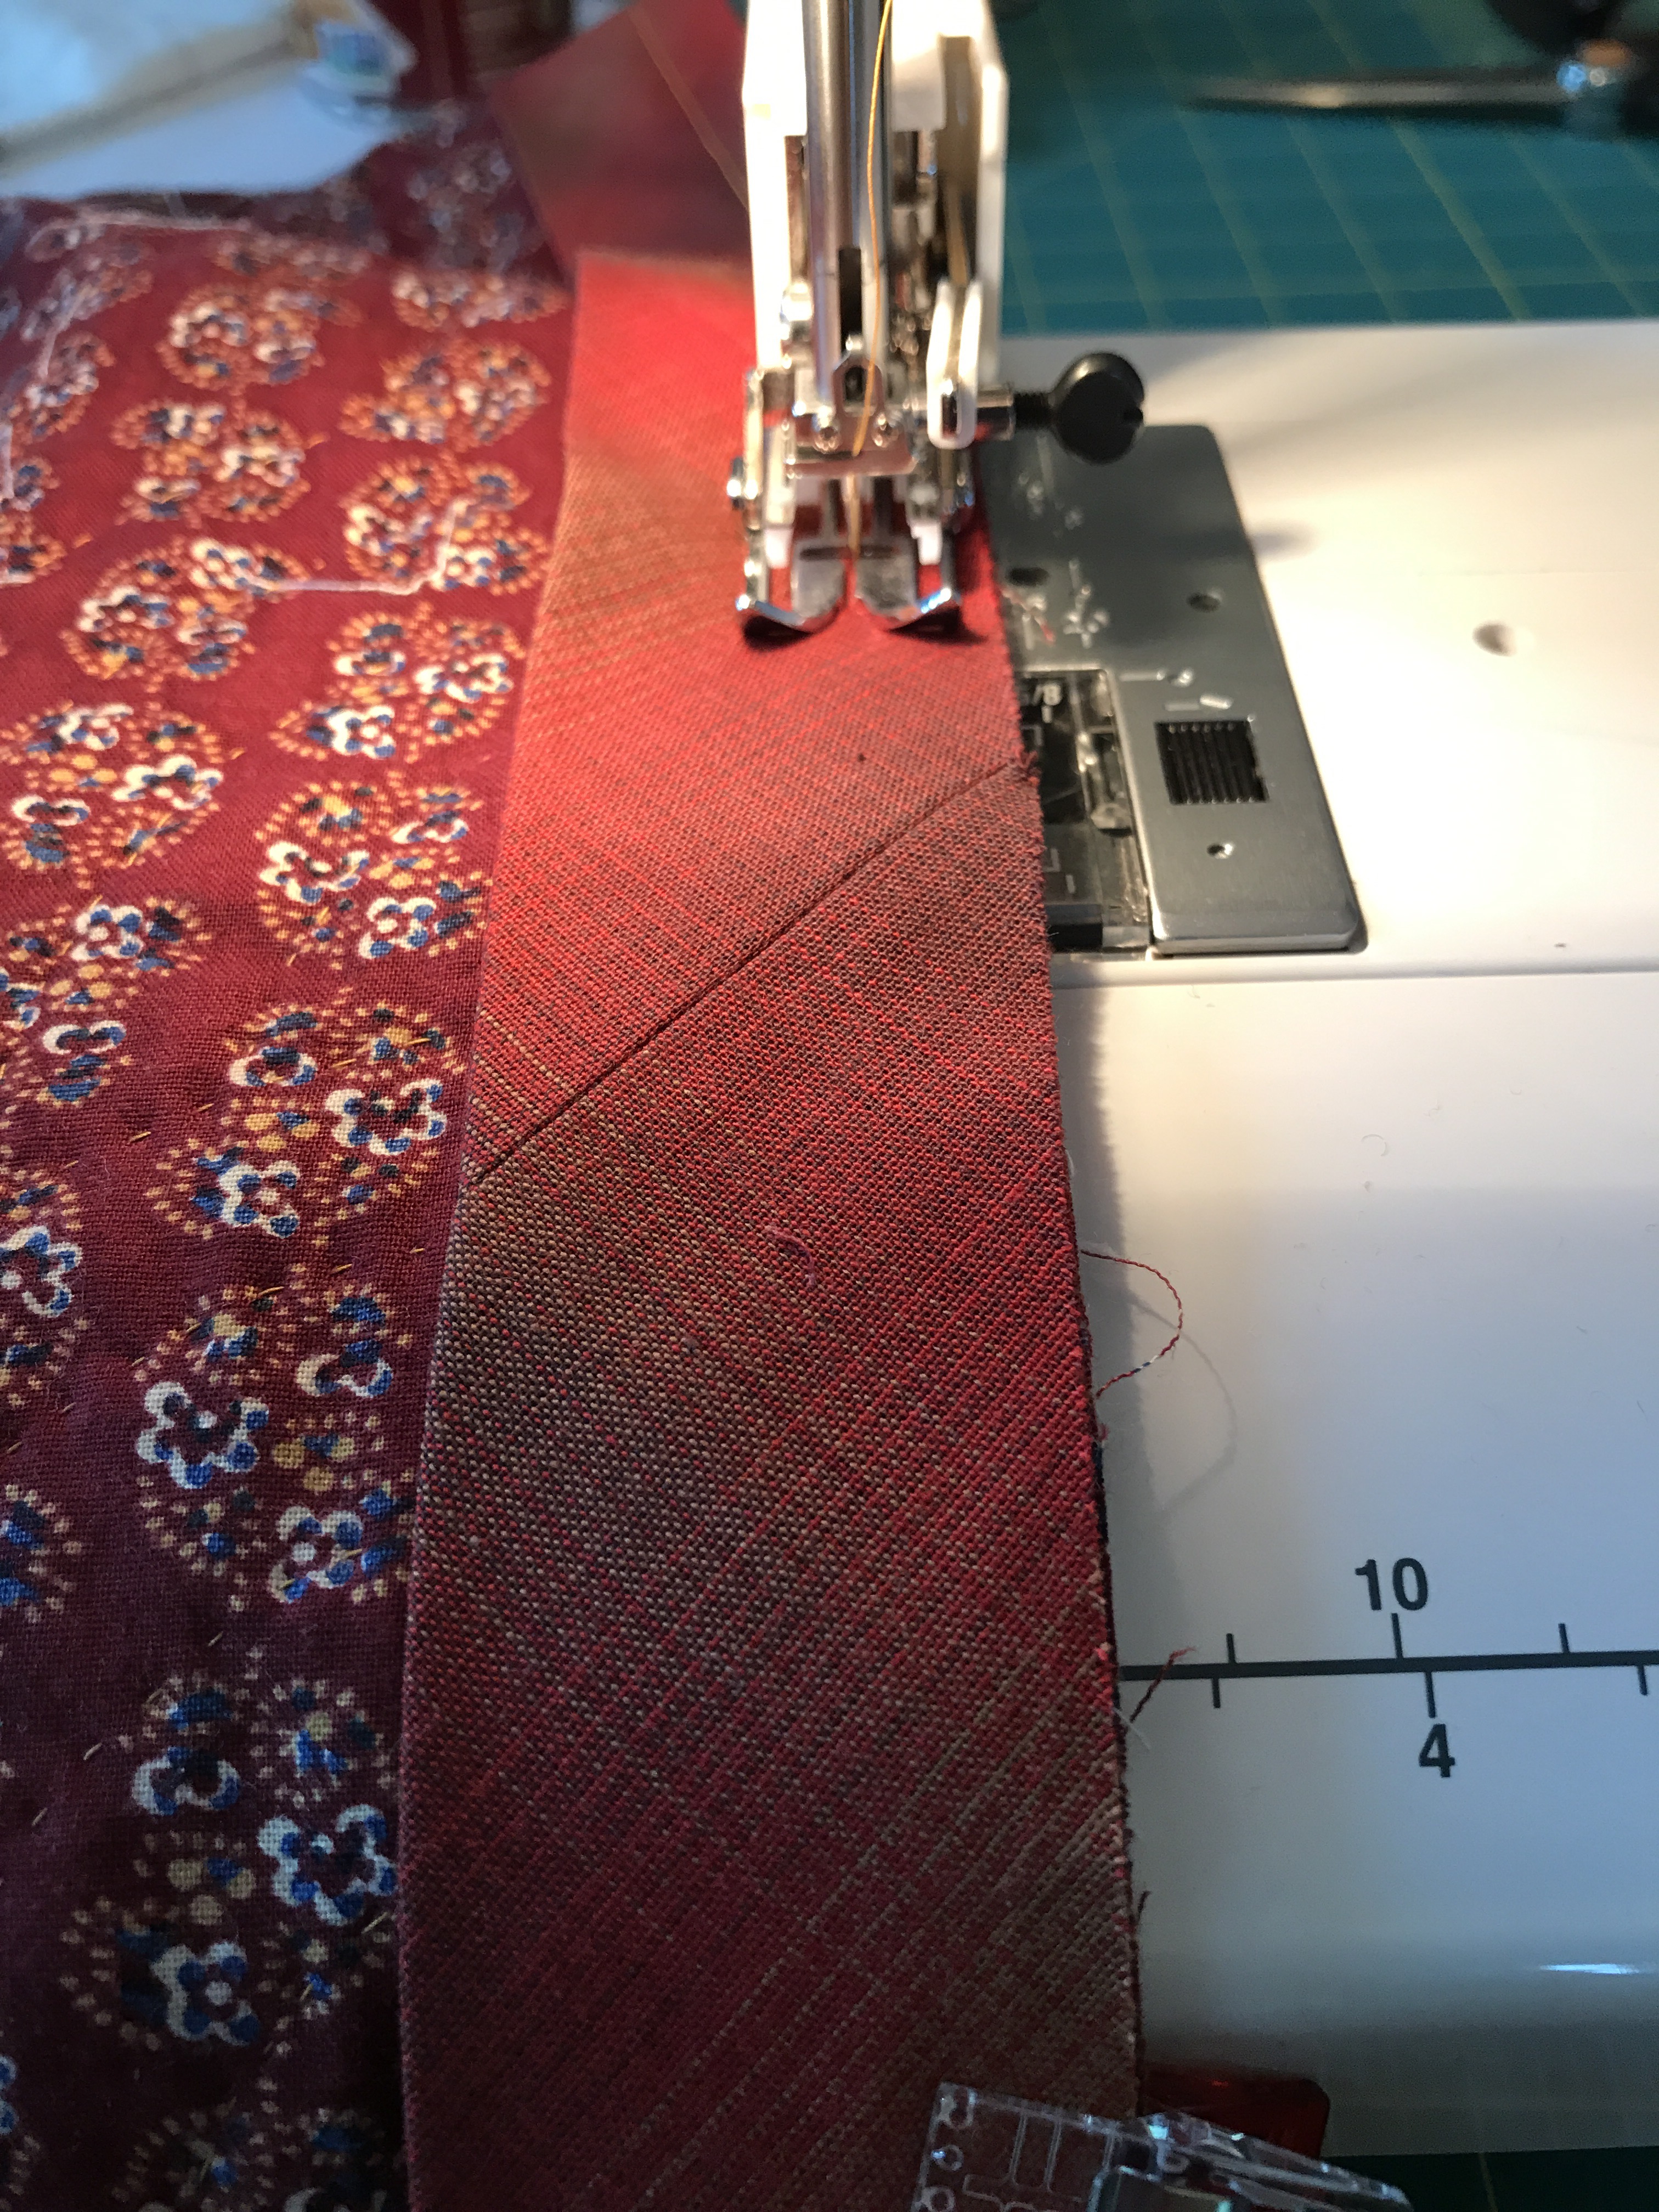
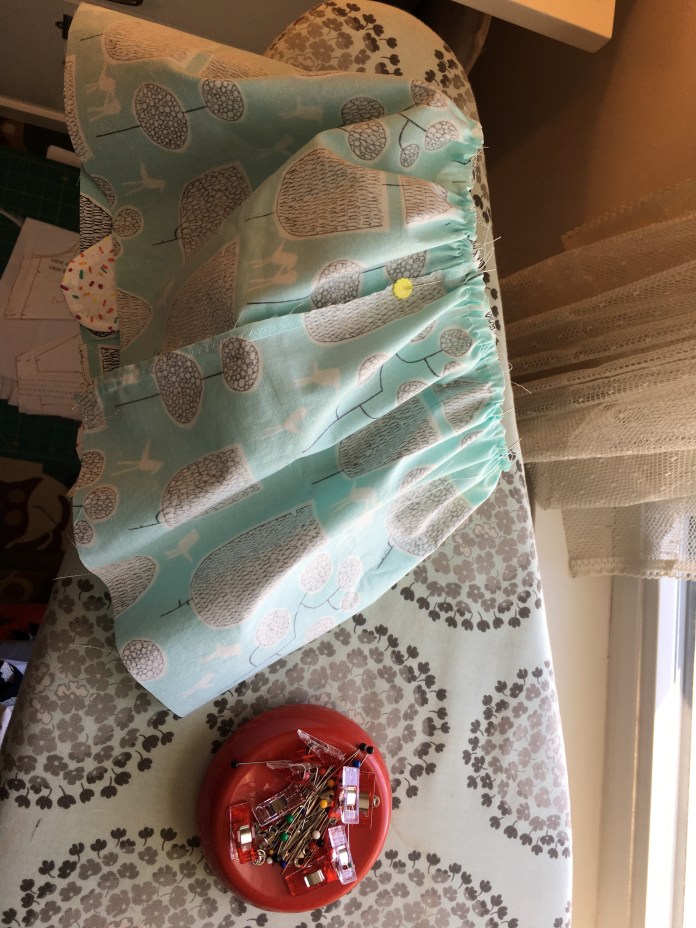
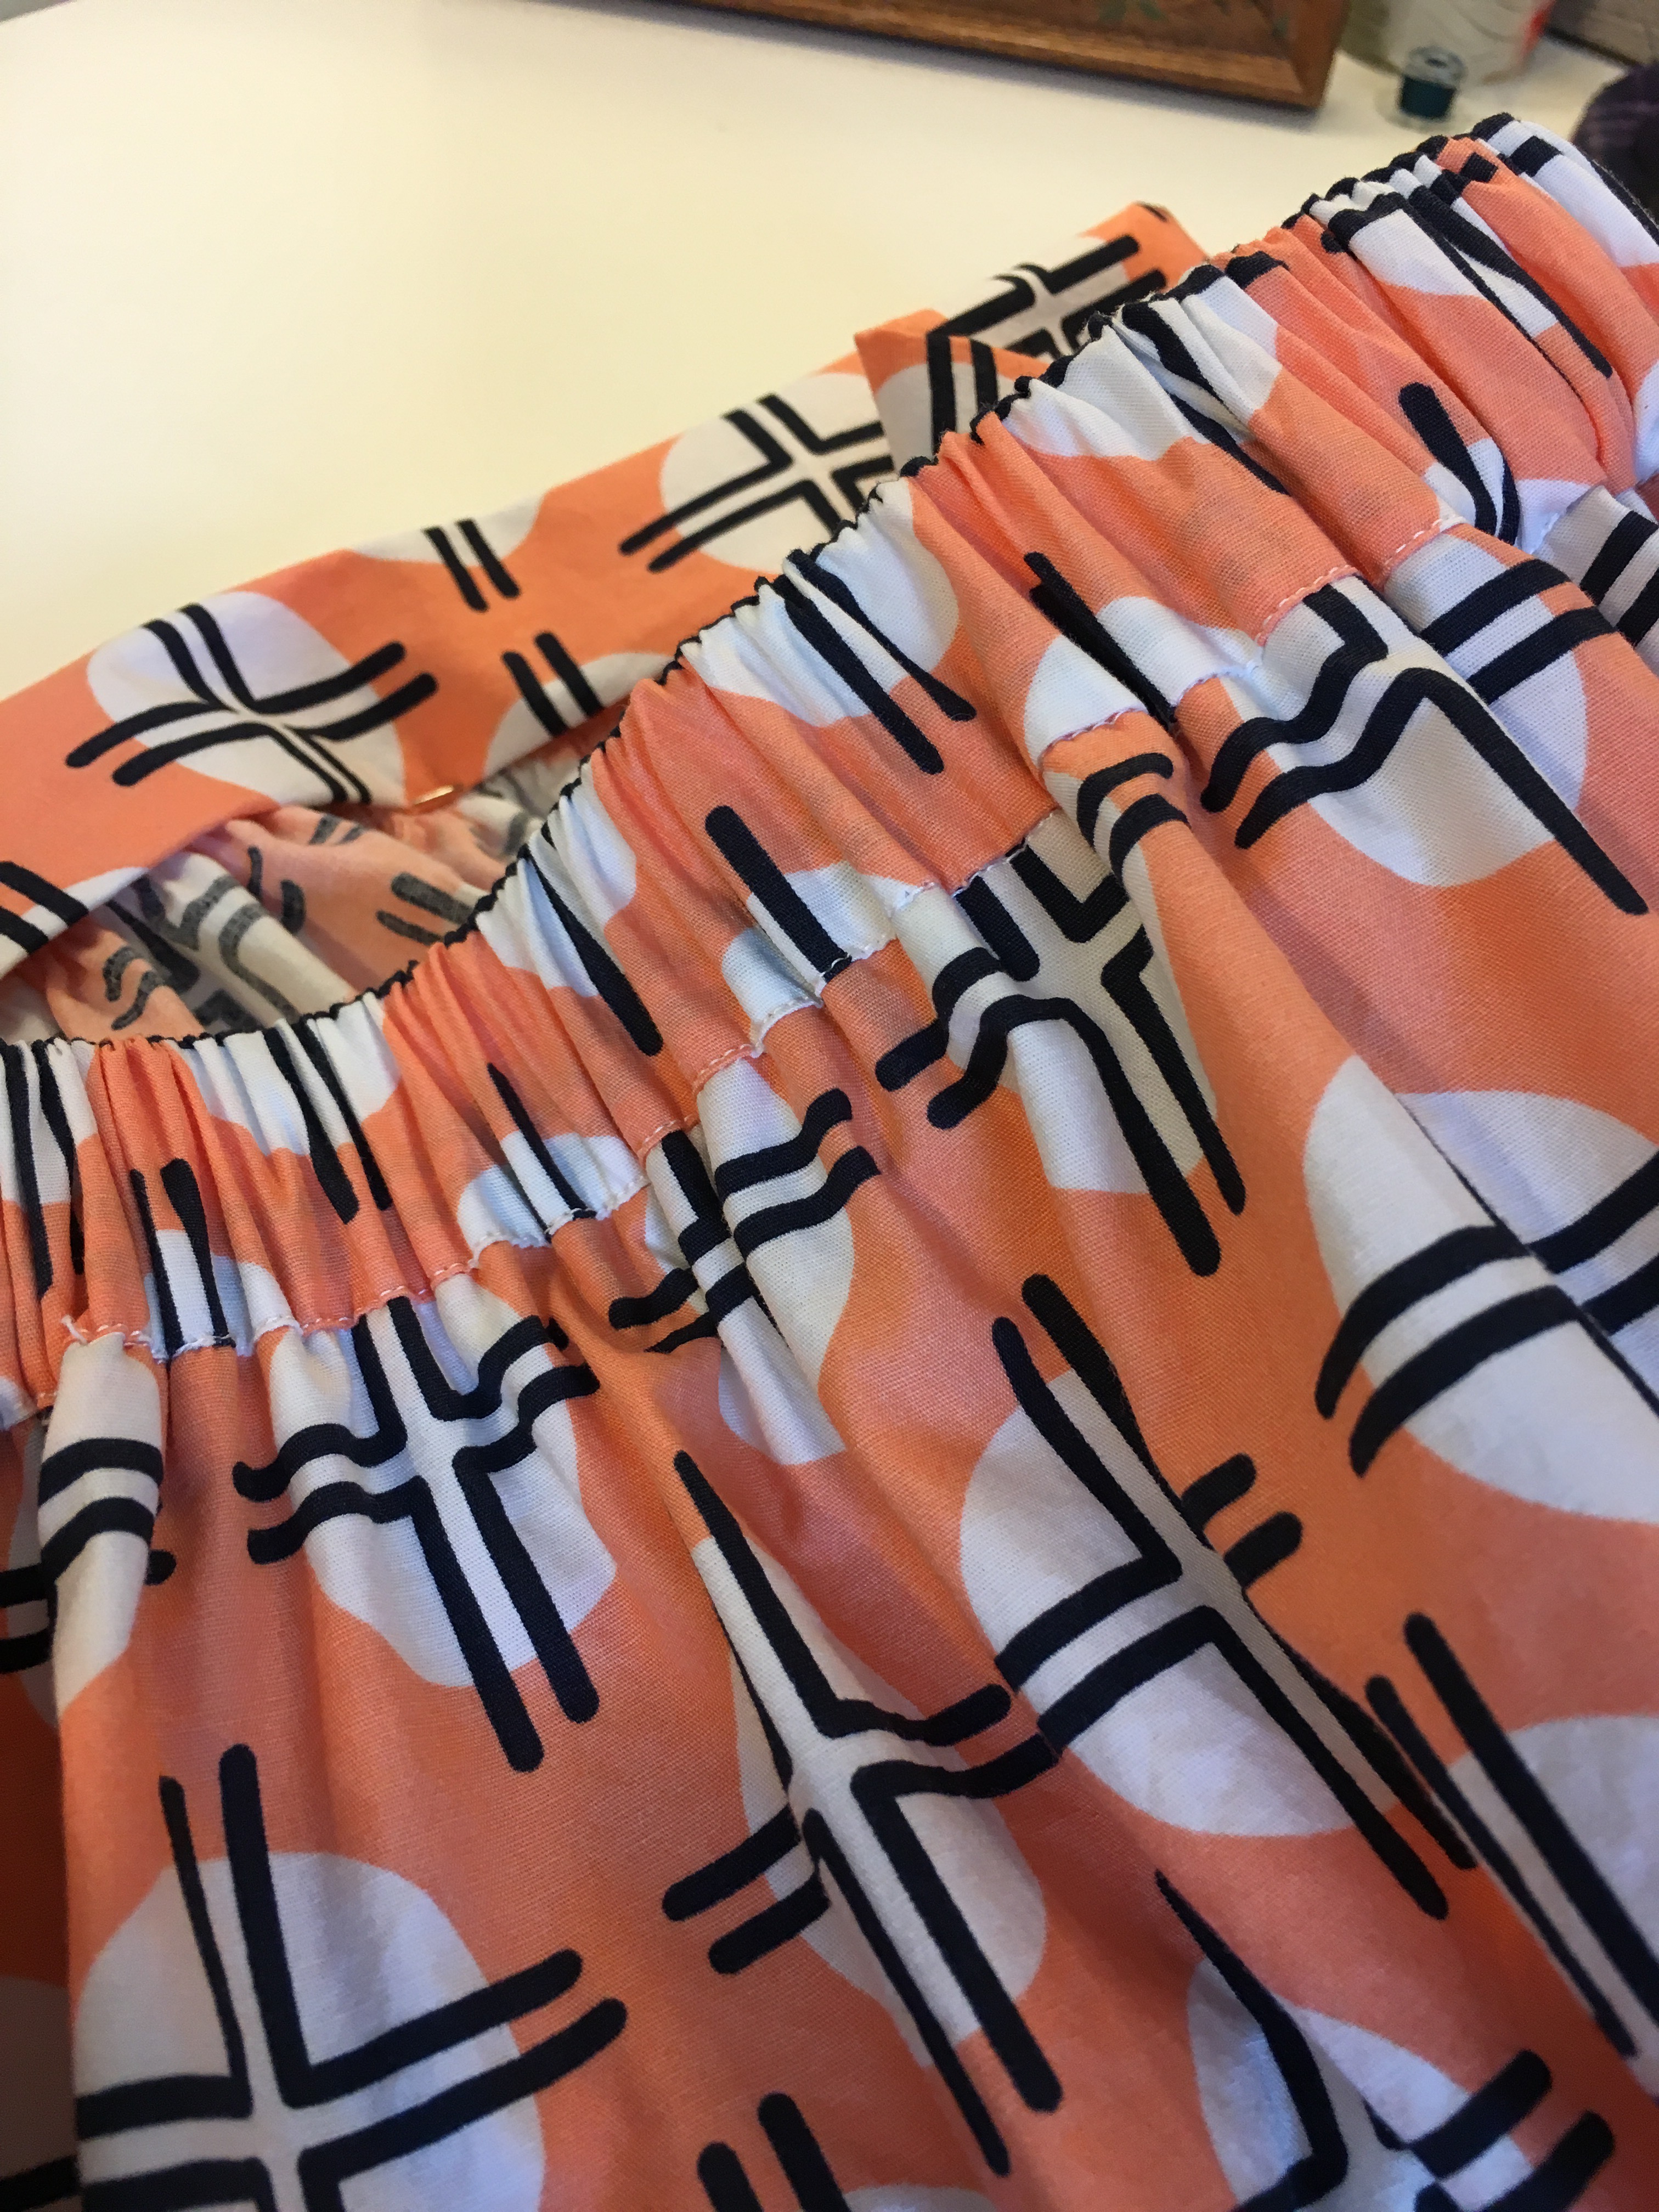
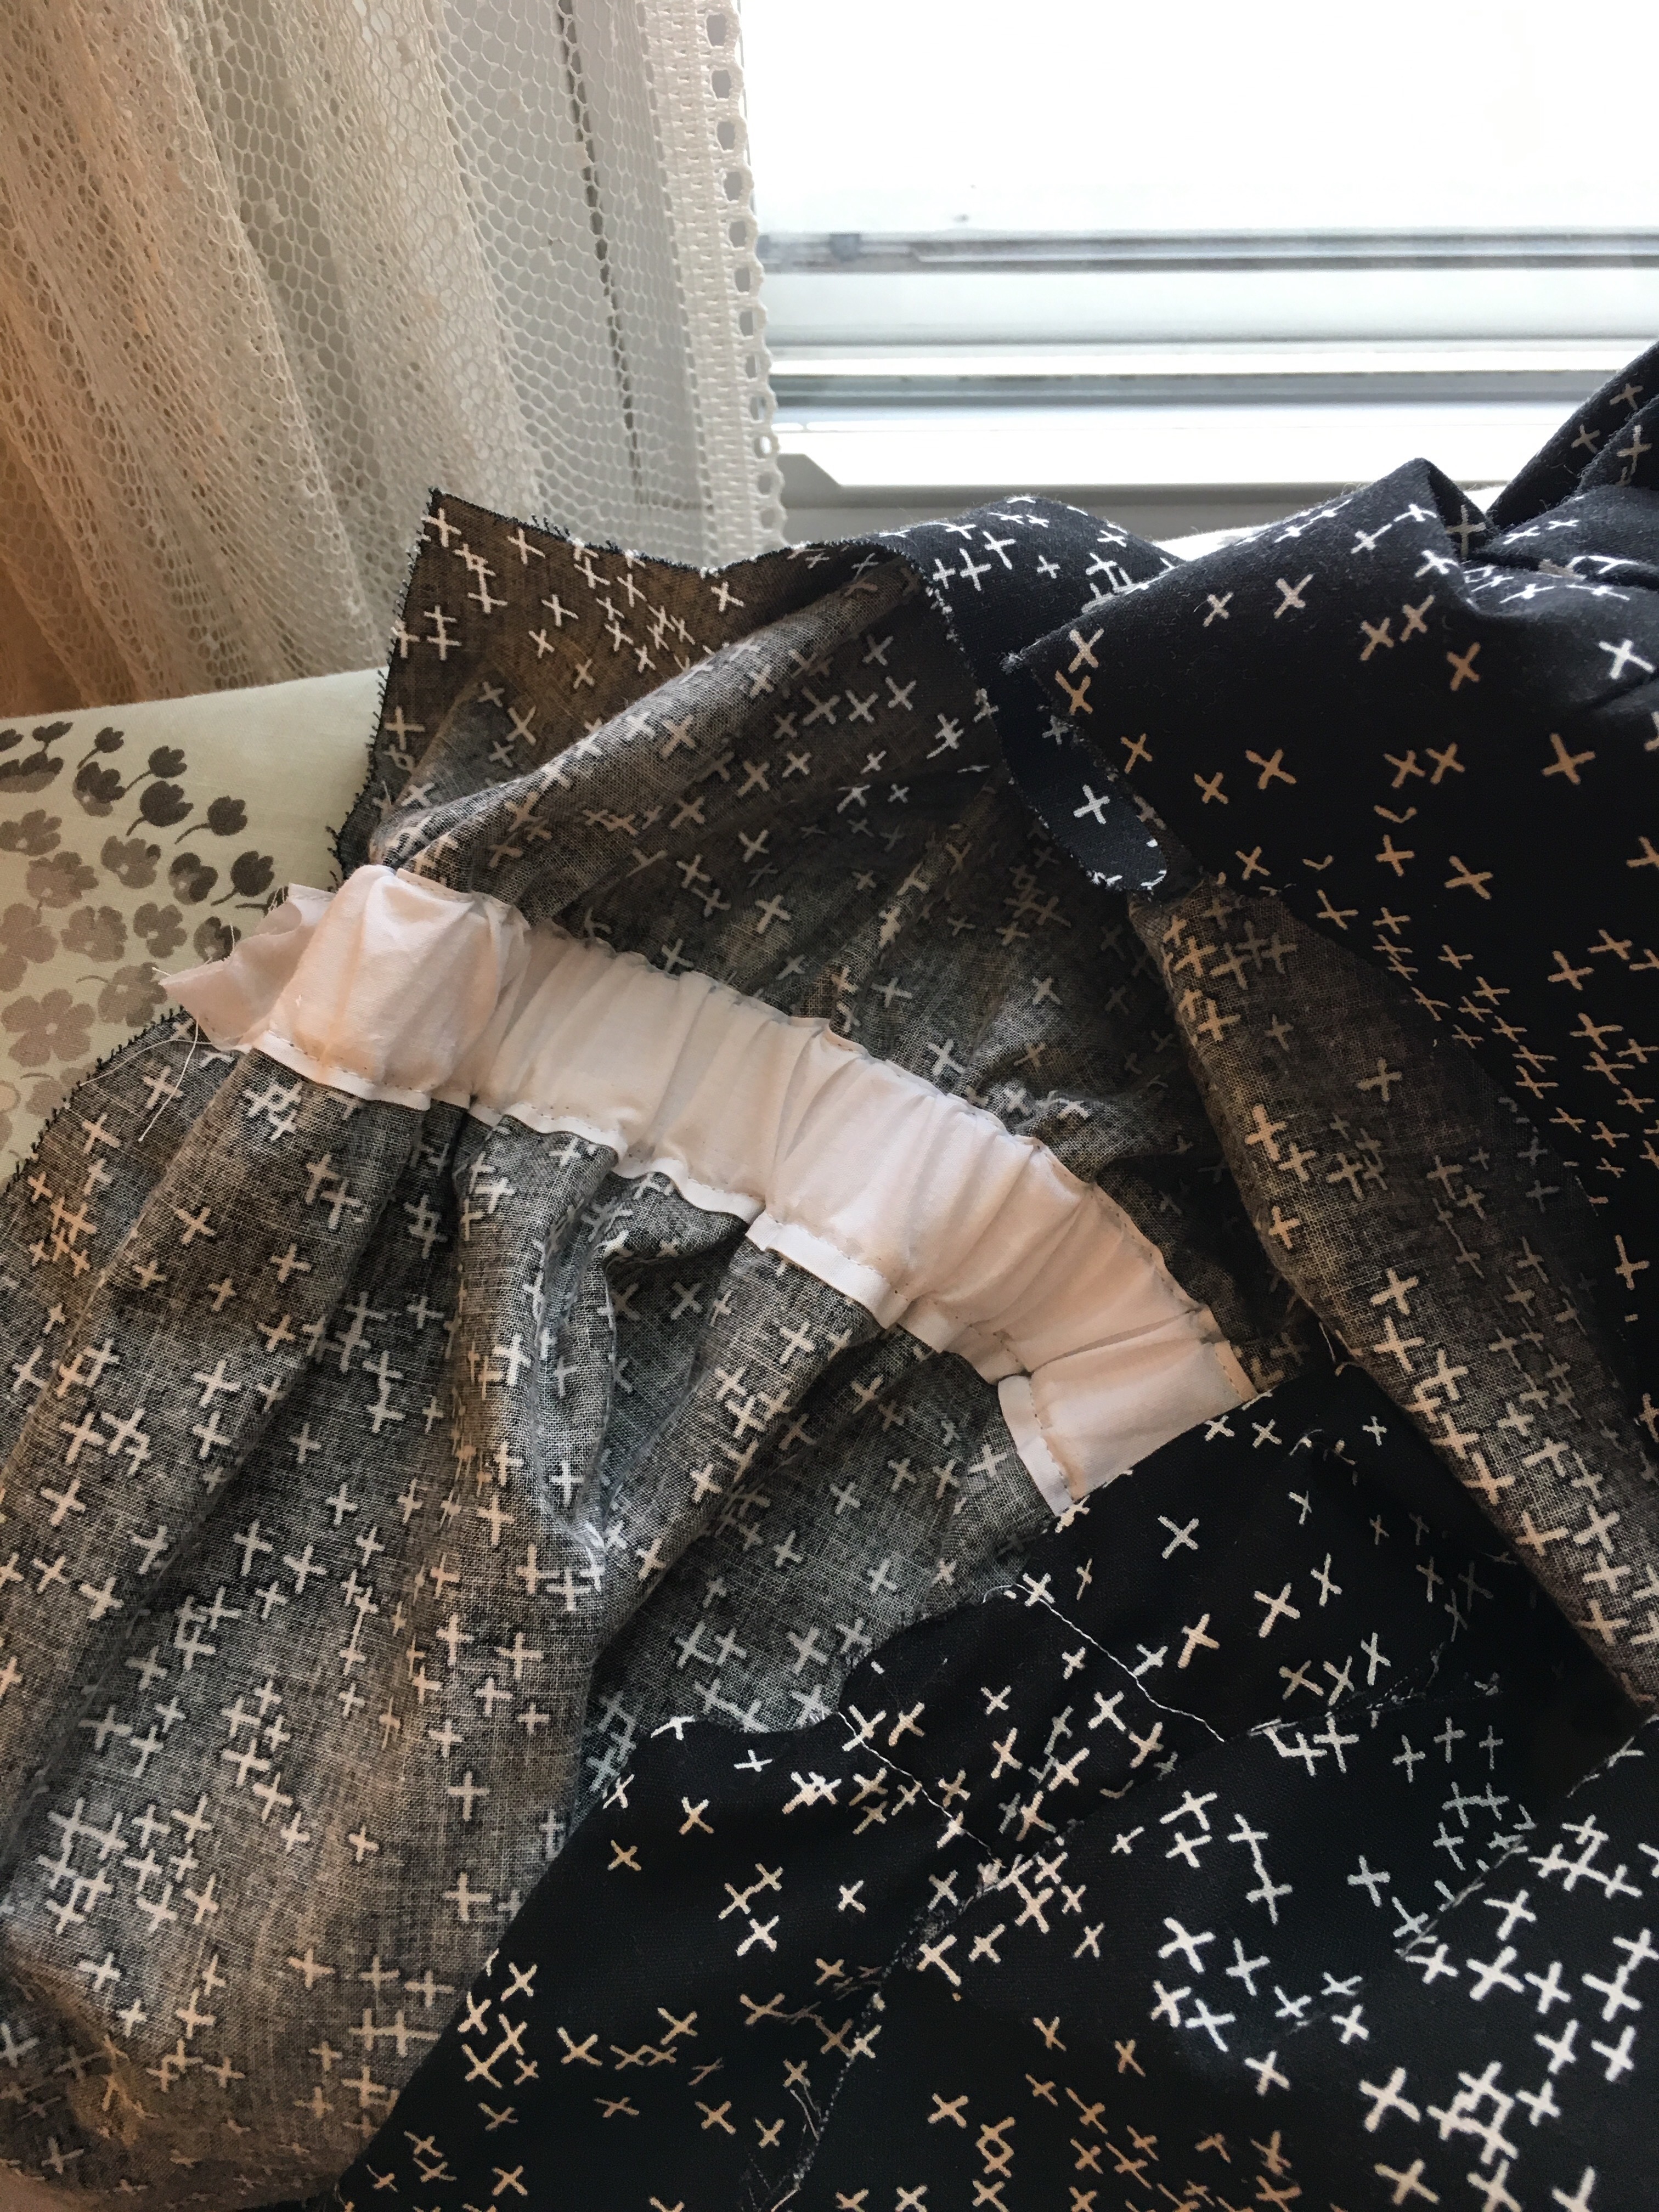
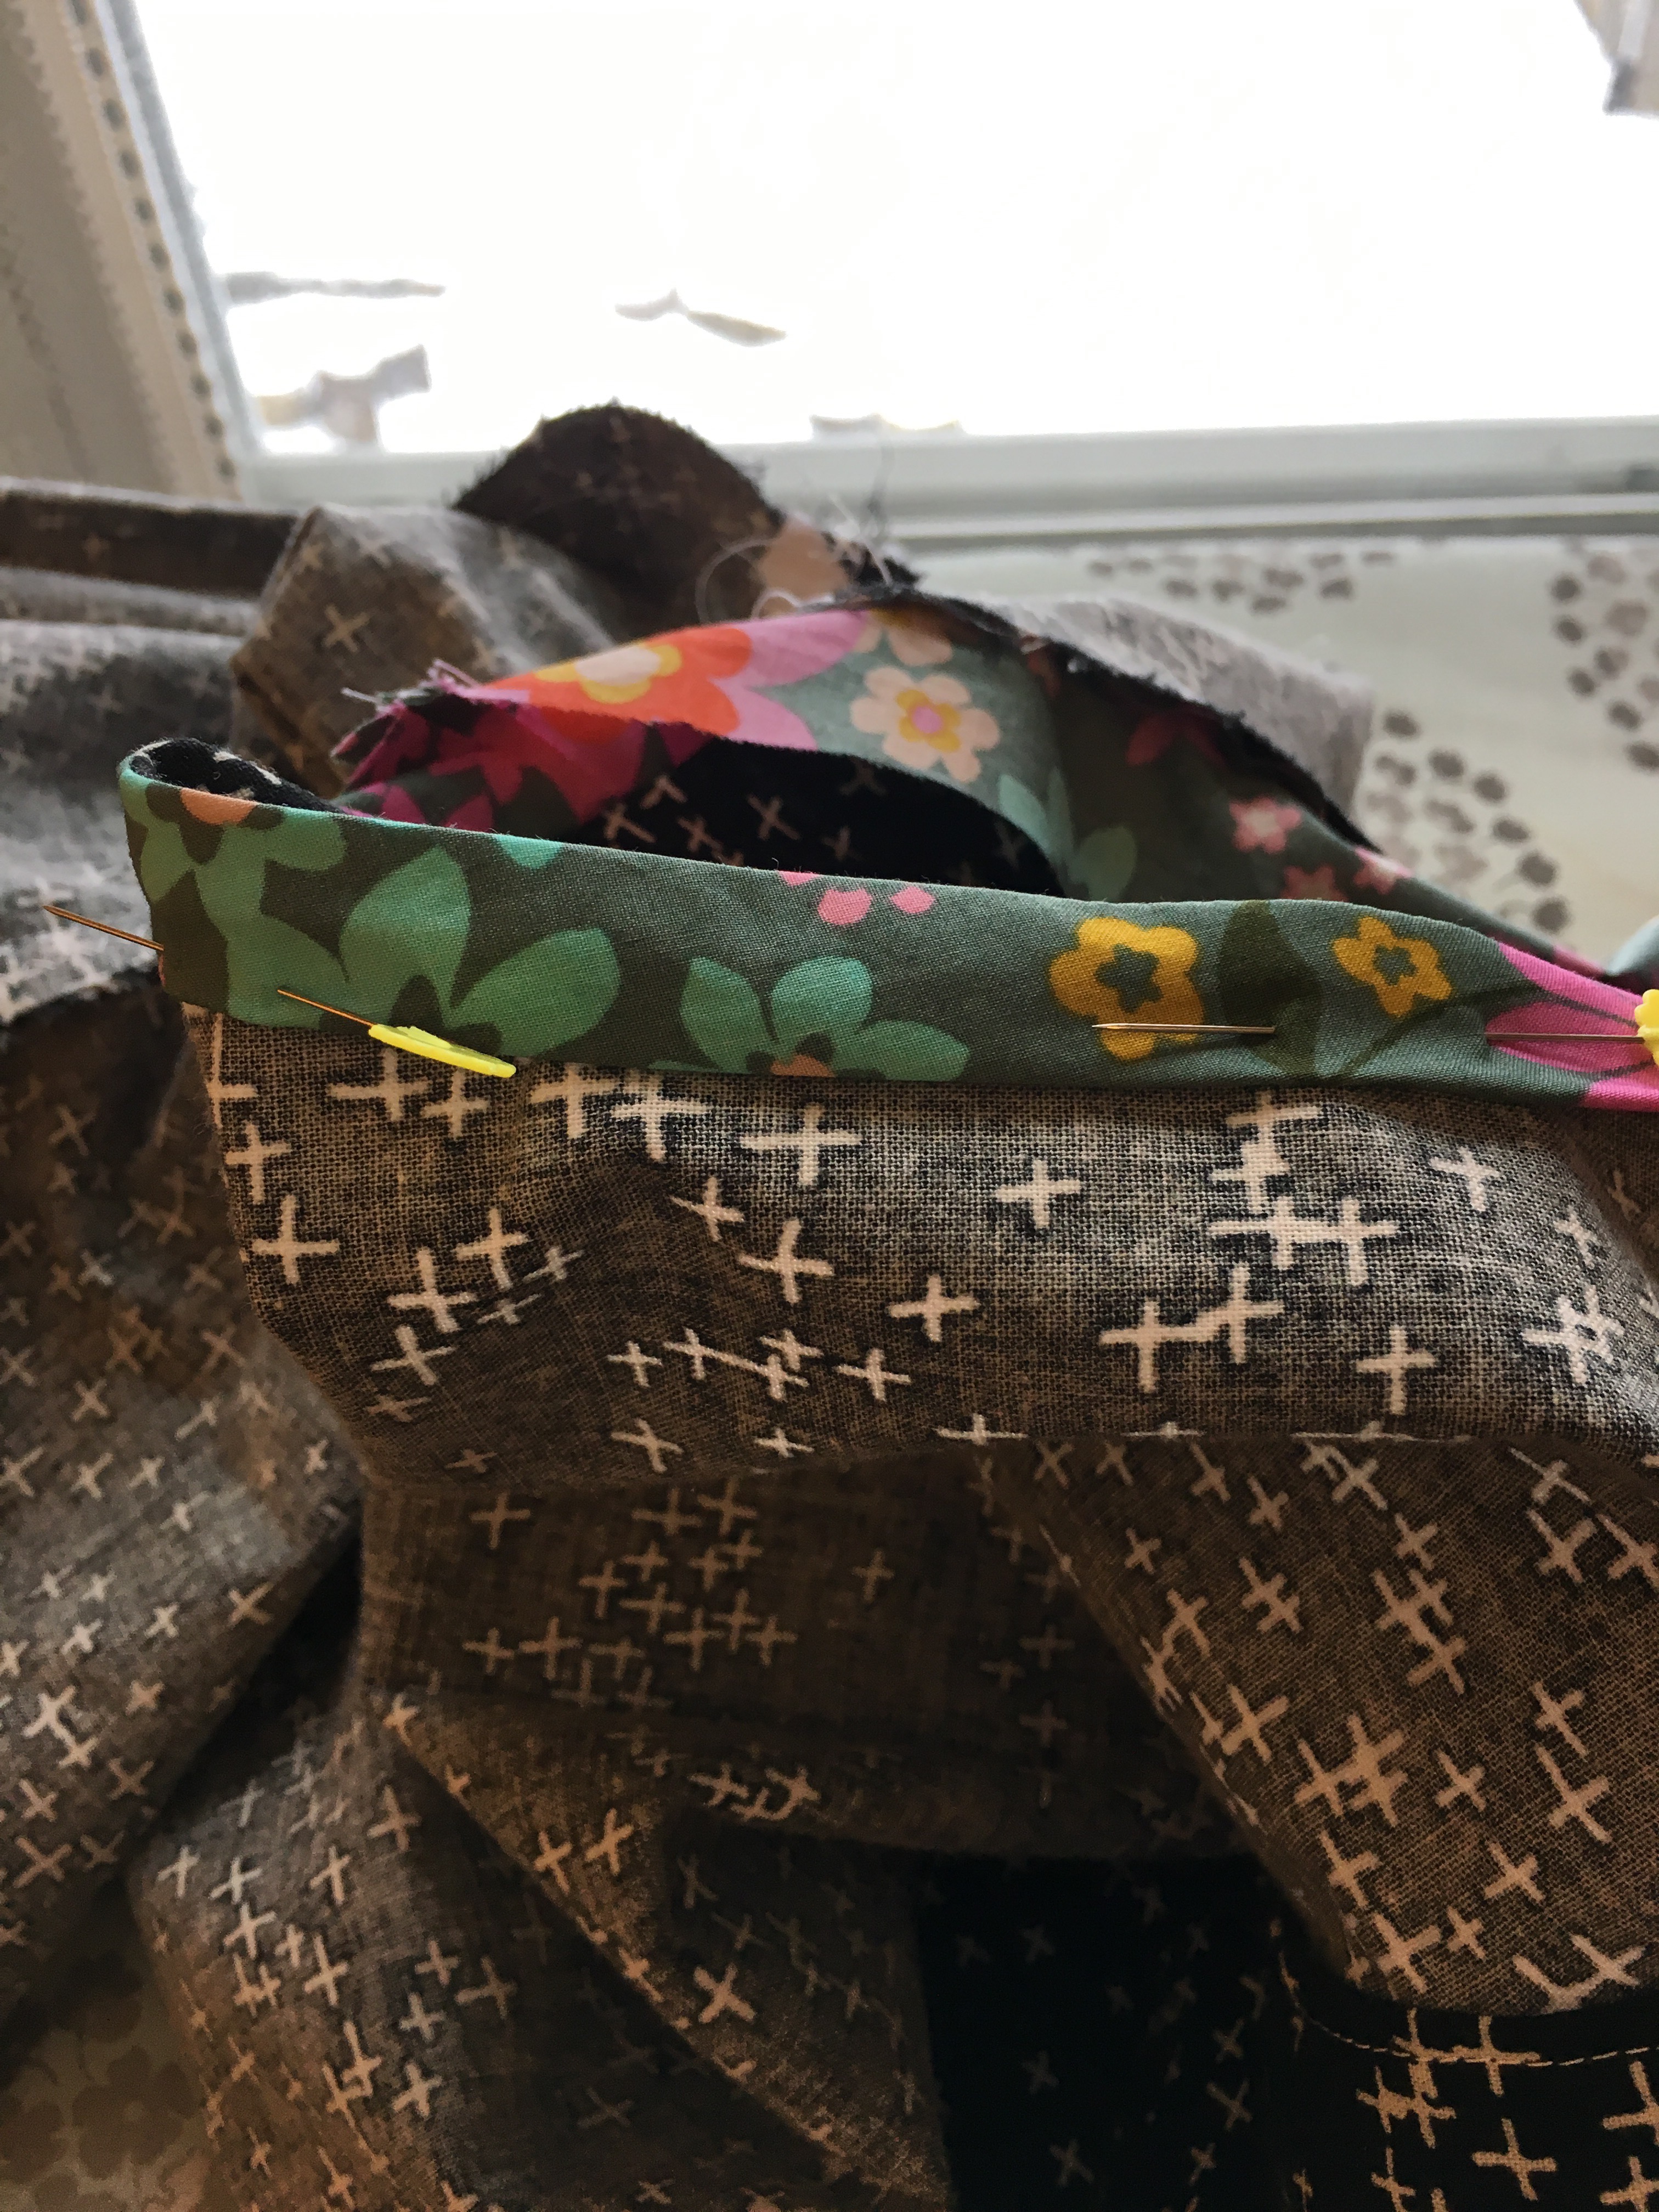
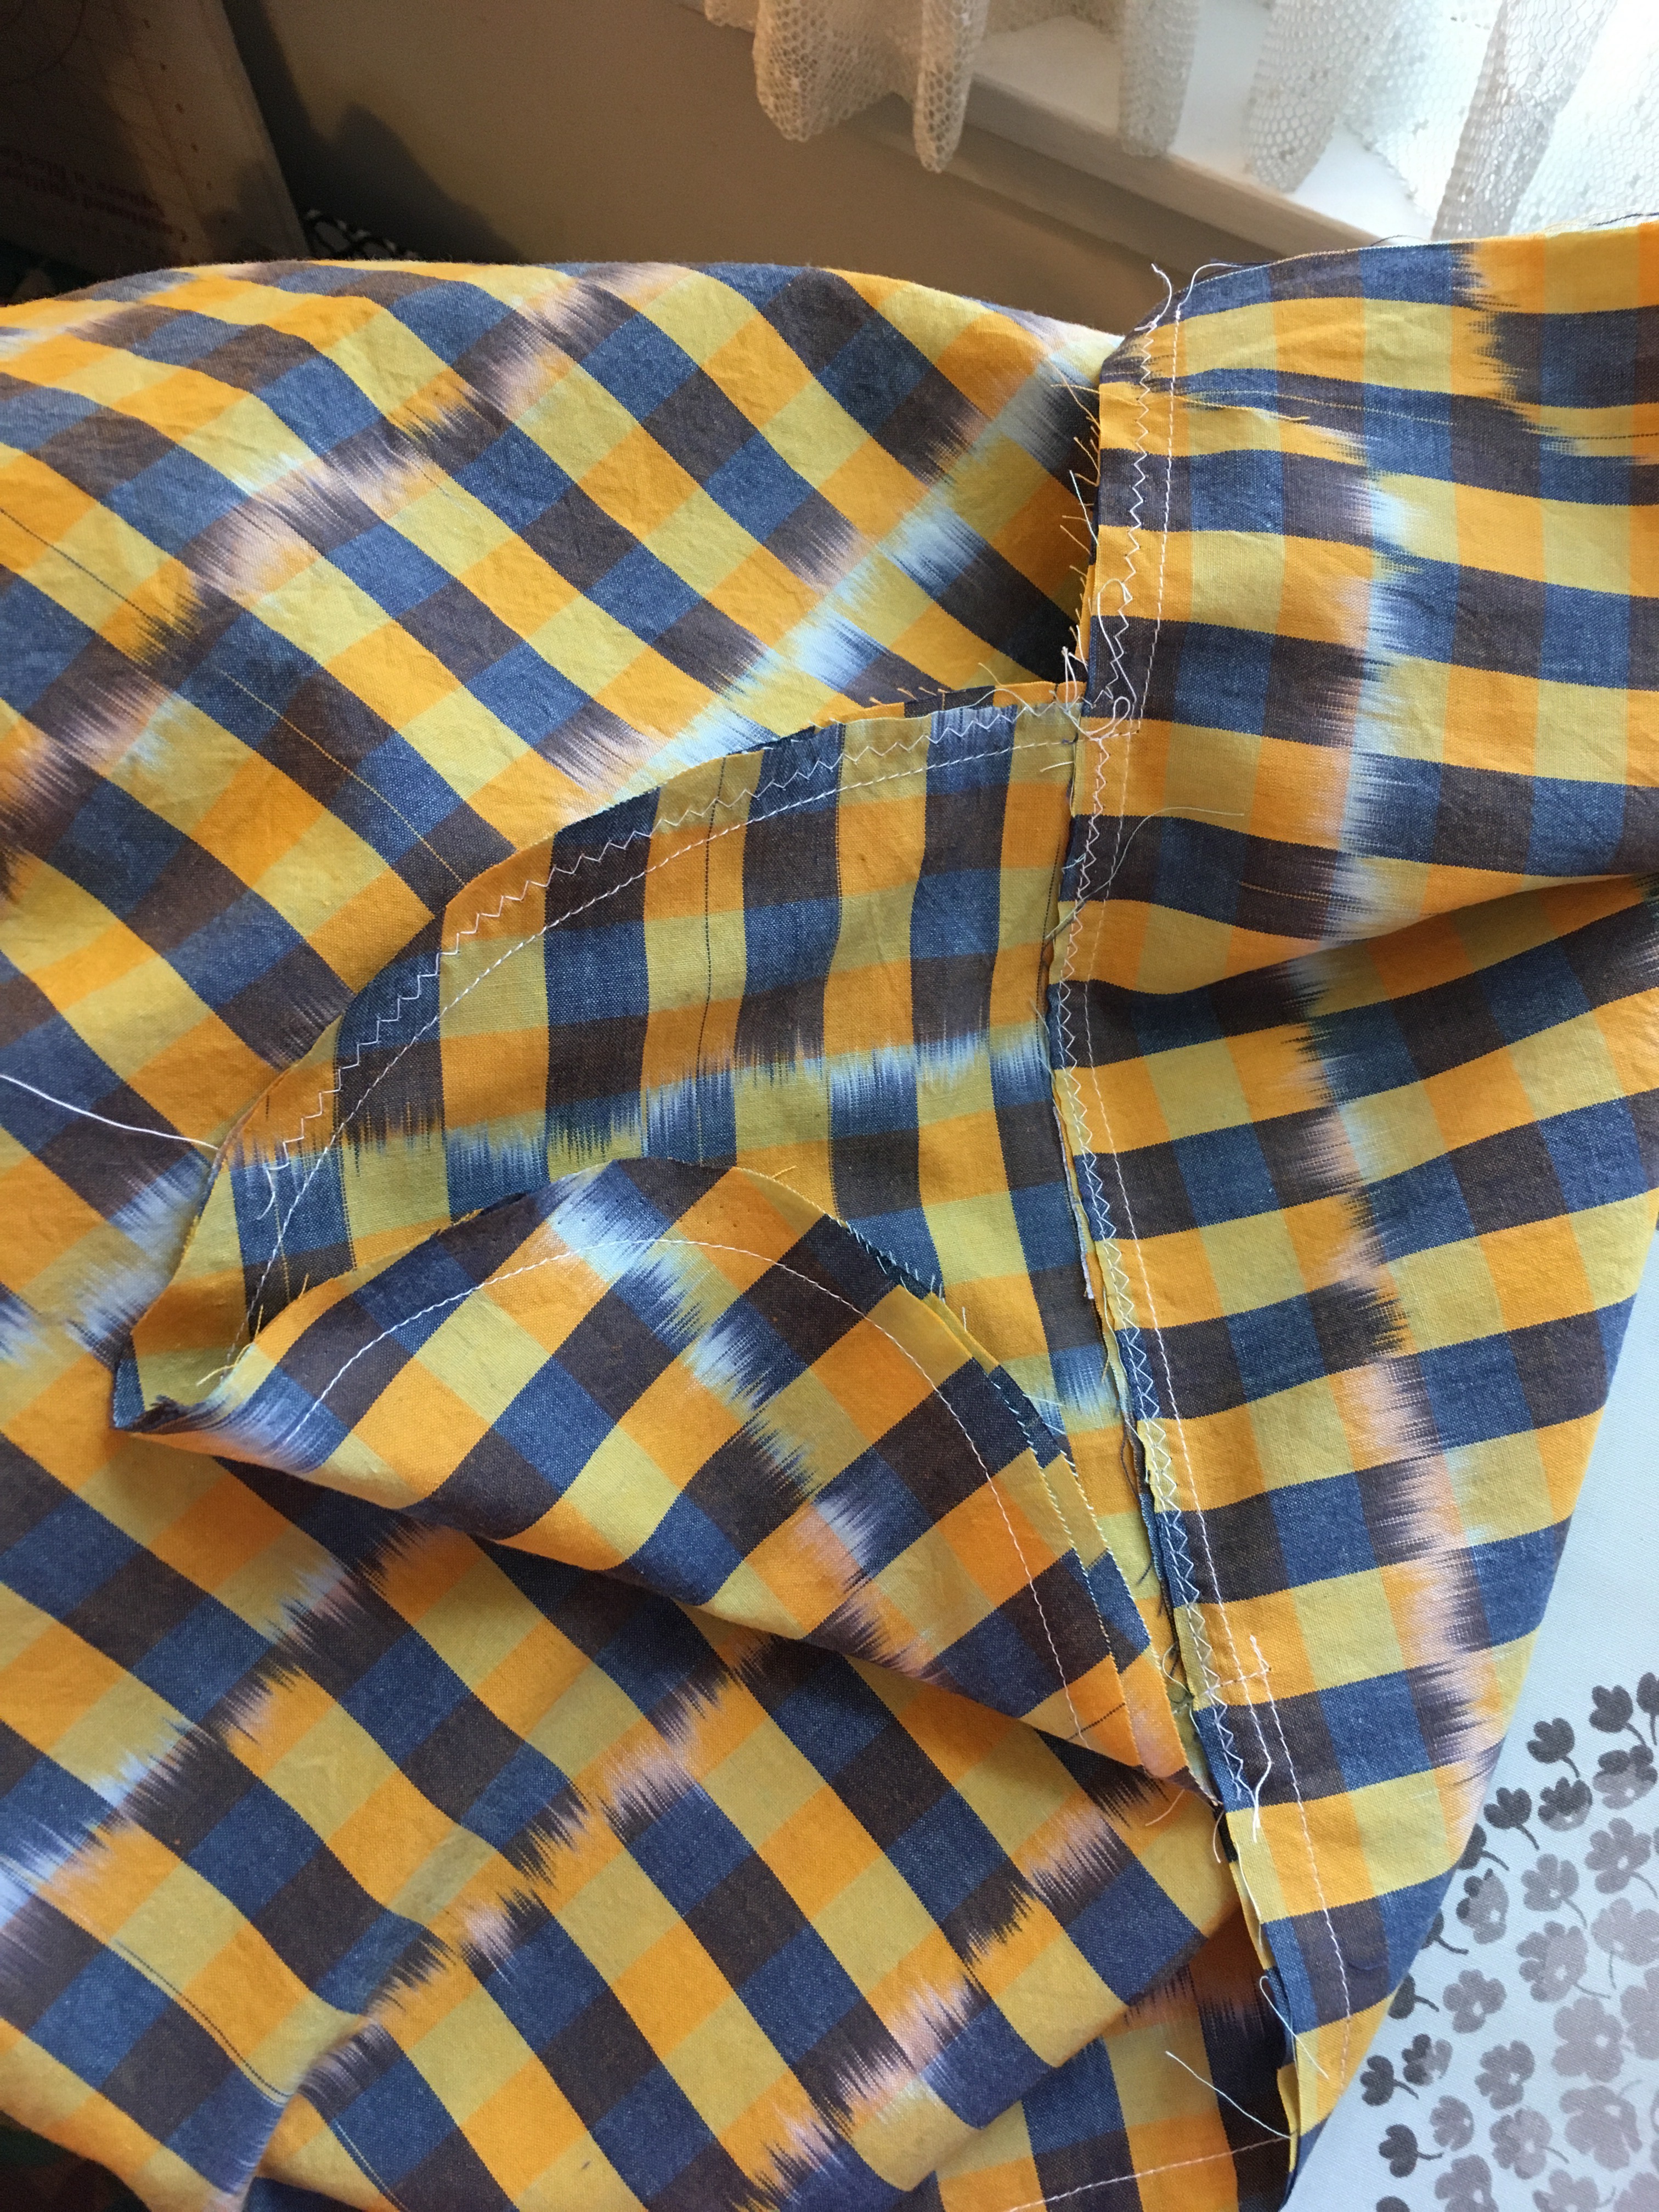
 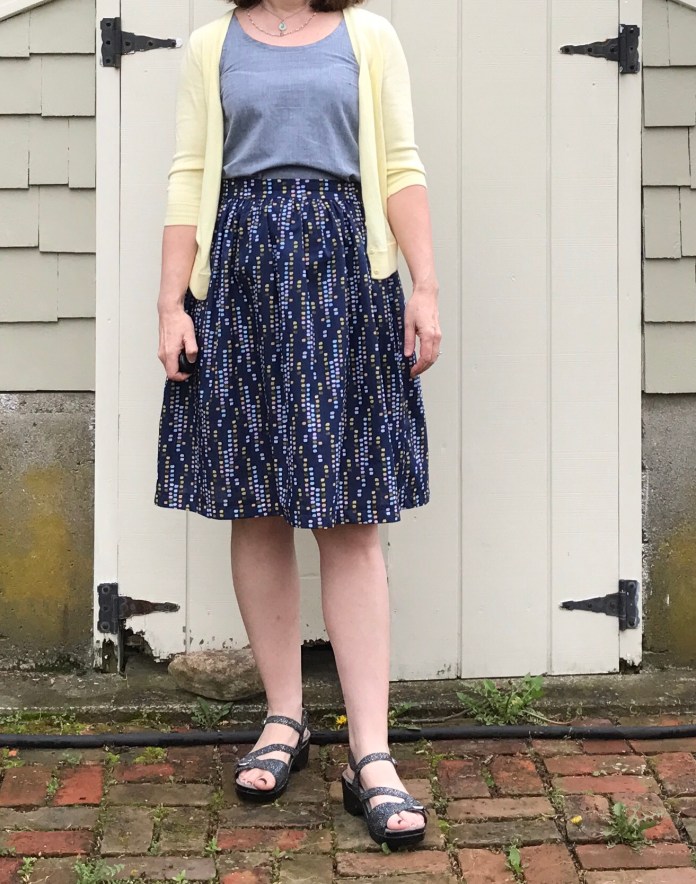 Some pictures of the hem binding process below. This is my go-to approach to binding. It is quick and I love the look of the contrasting hem facing. I also find that having the seam that joins the hem and the hem facing as my guide enables me to have a nice even hem. Every aspect of the hem is machine-sewn so very quick.


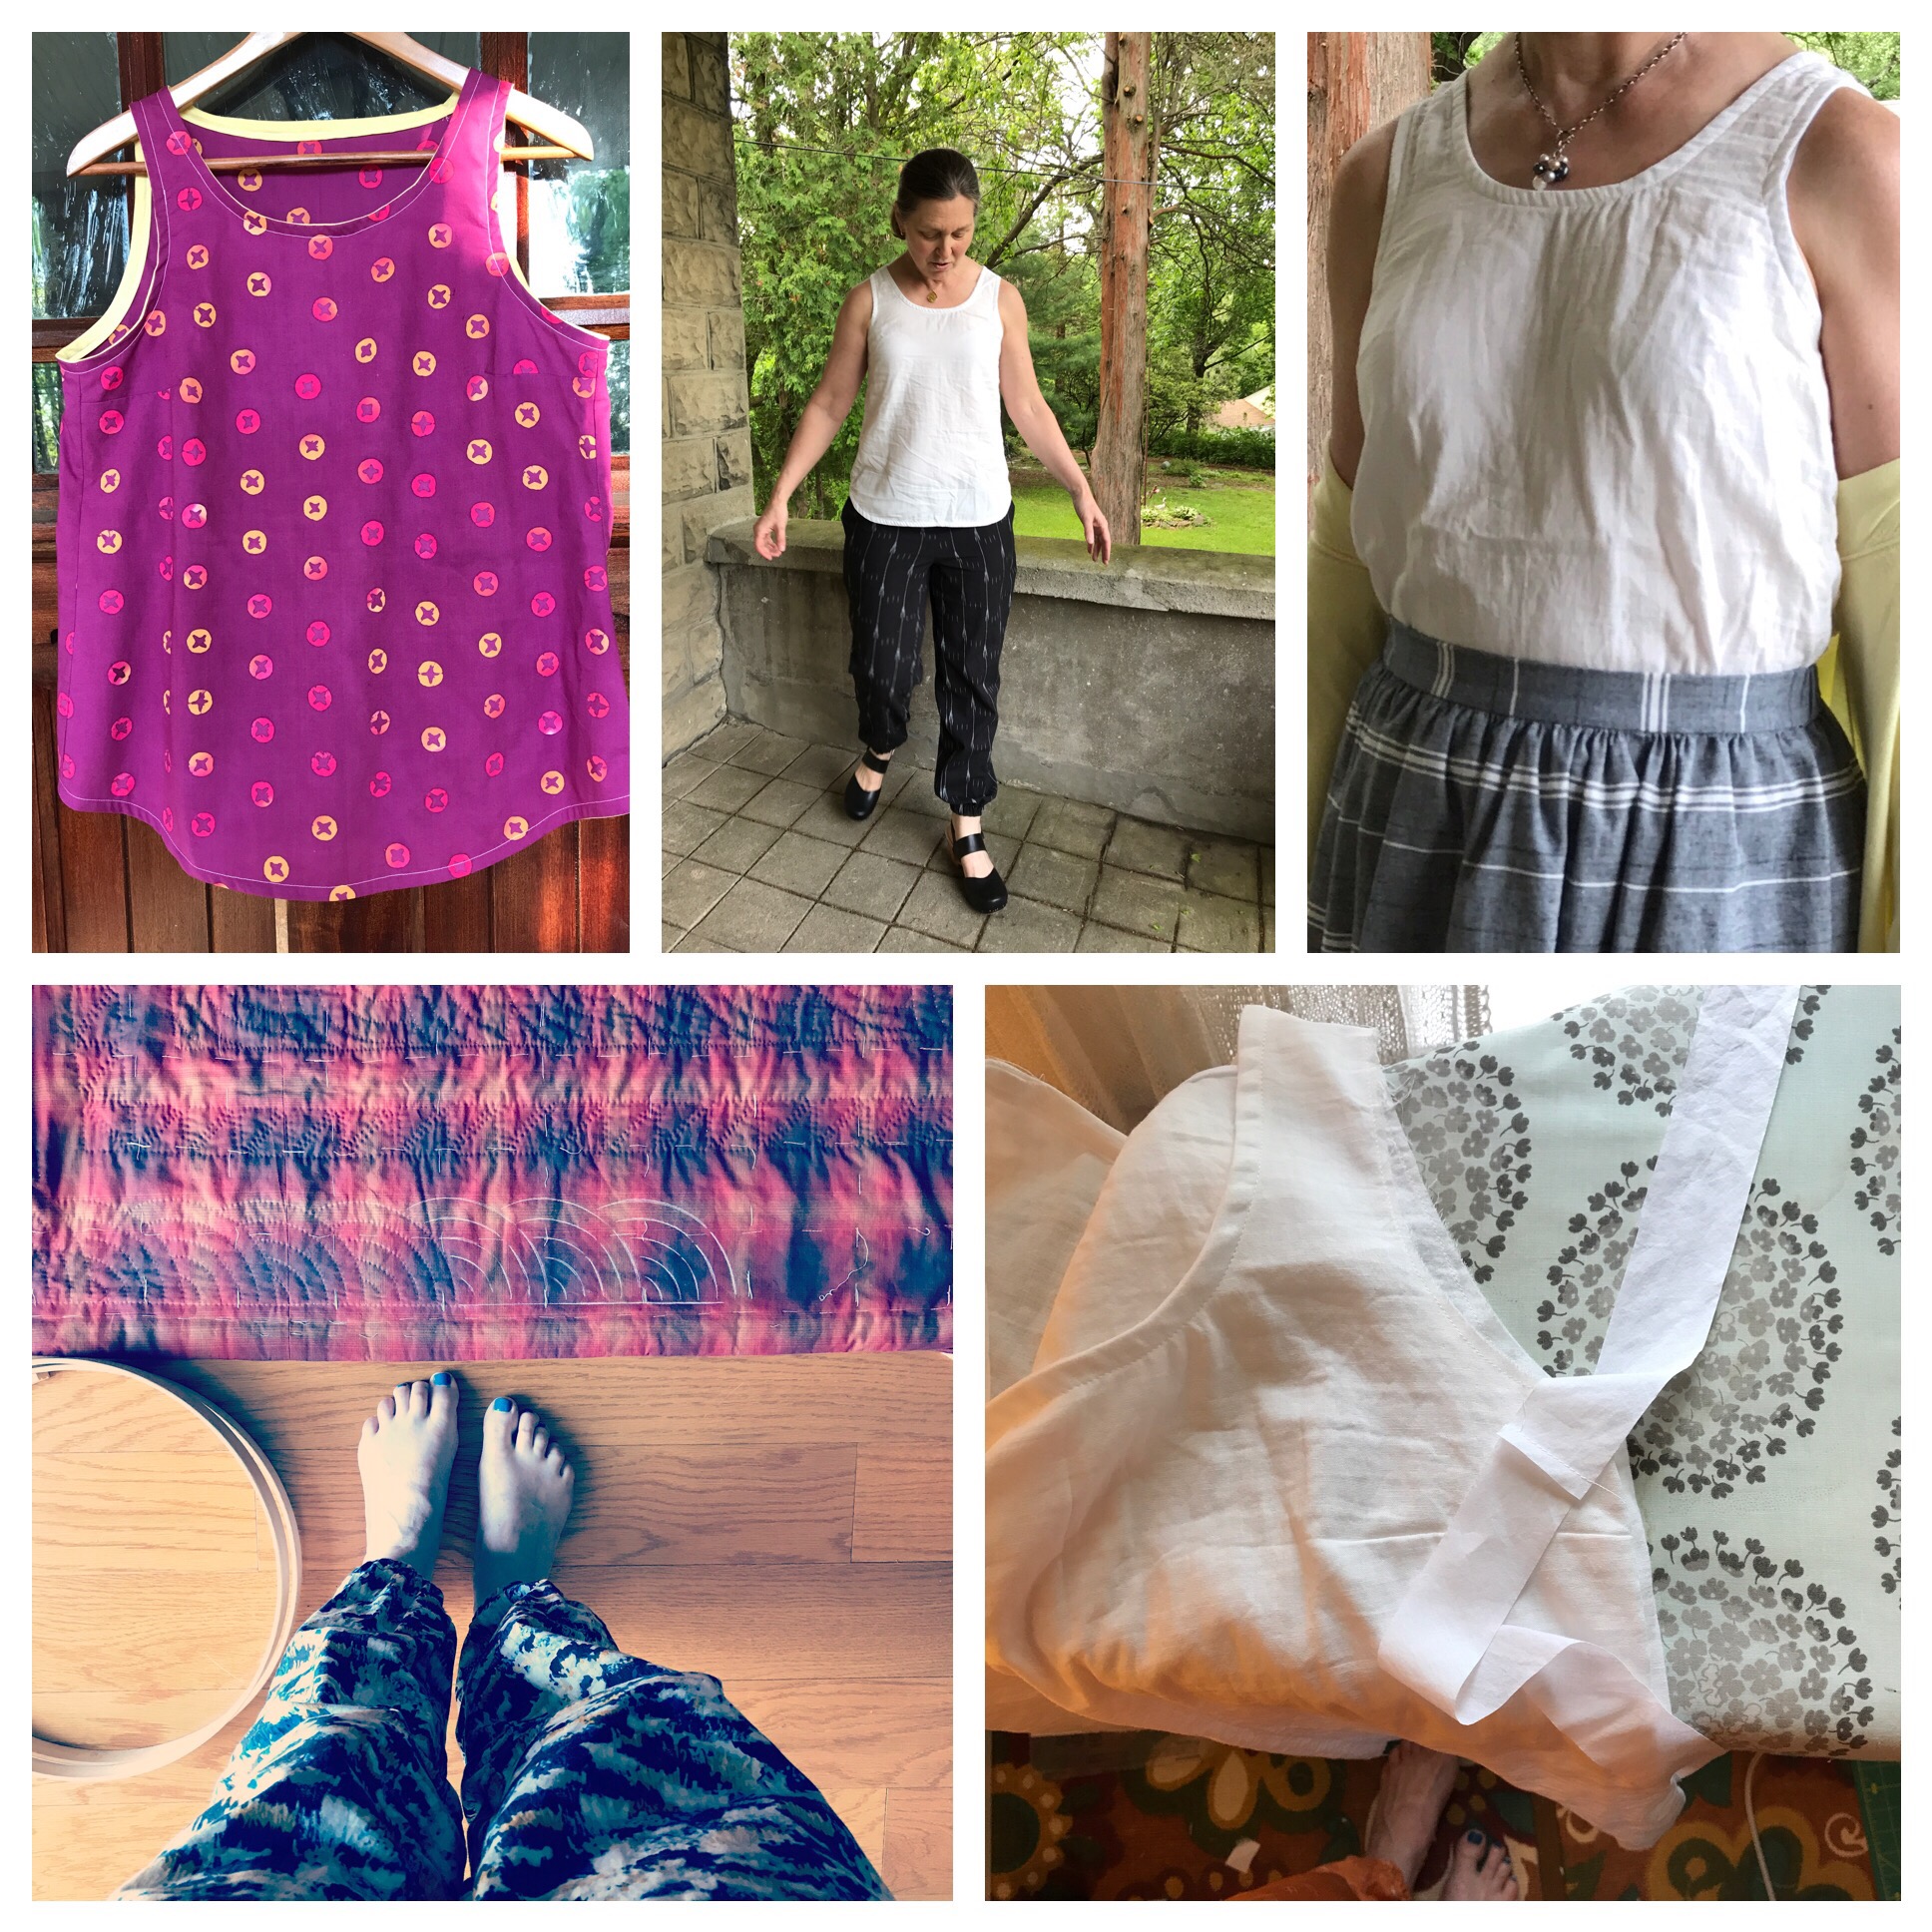
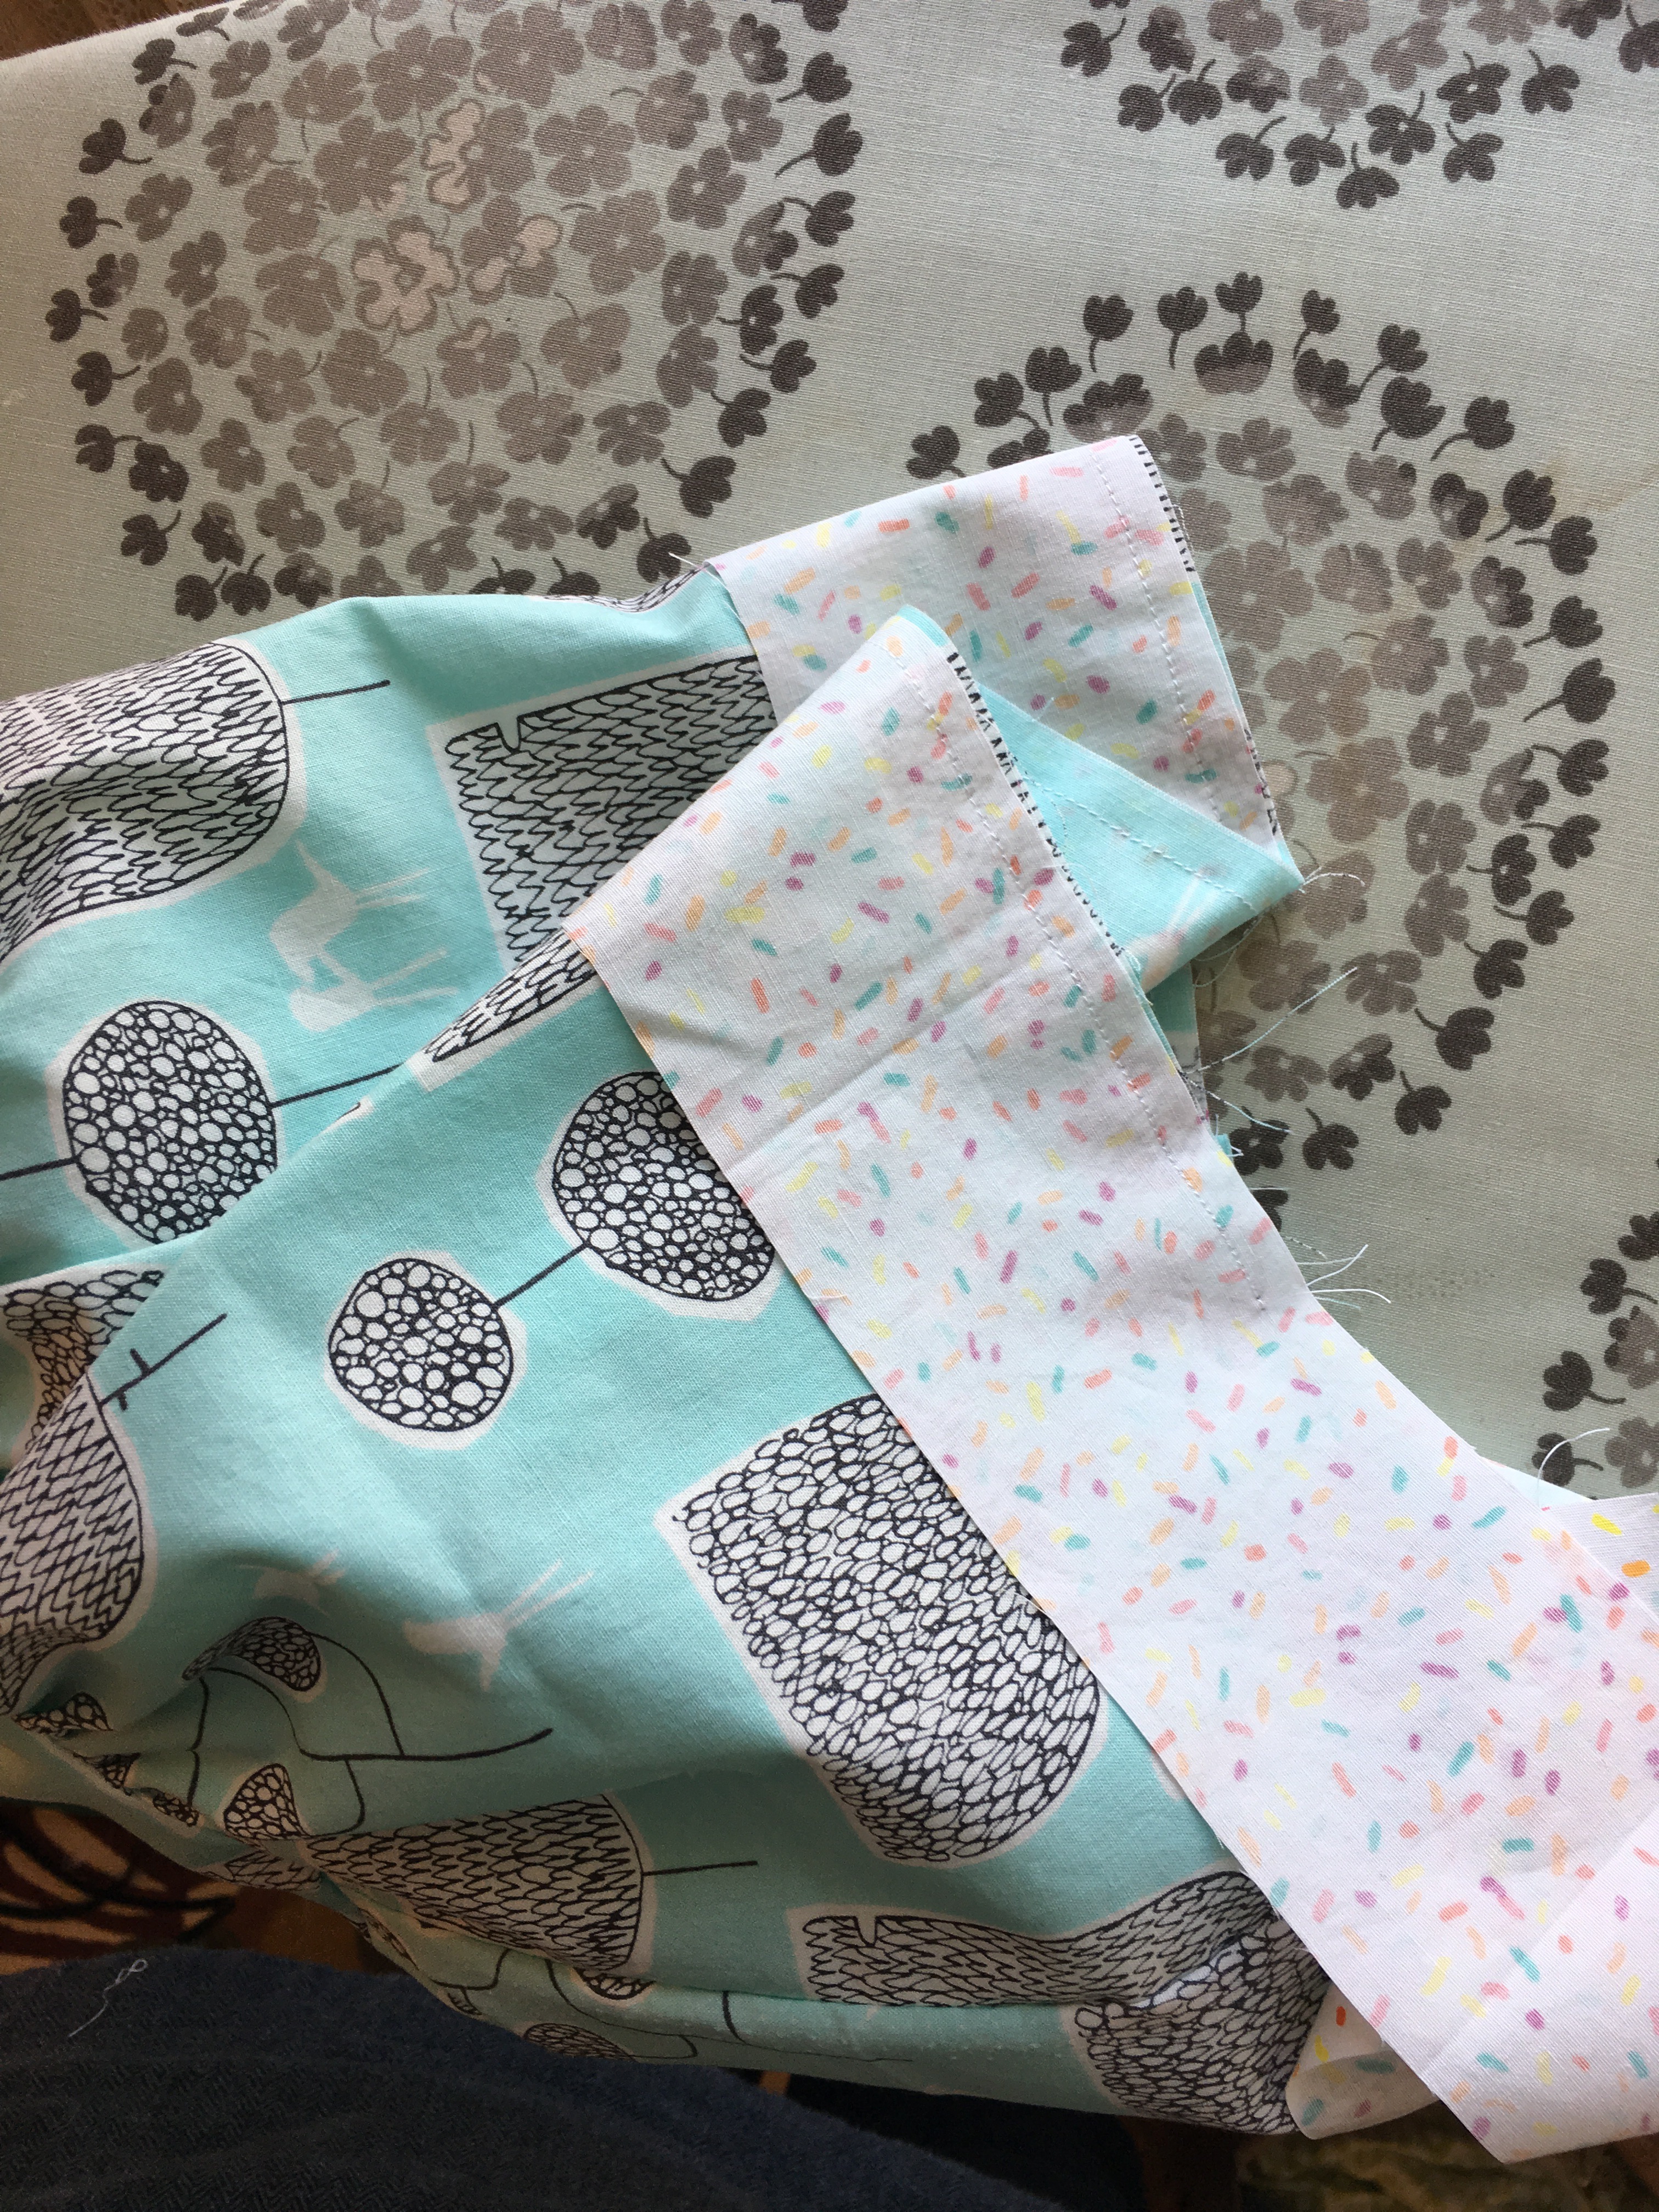
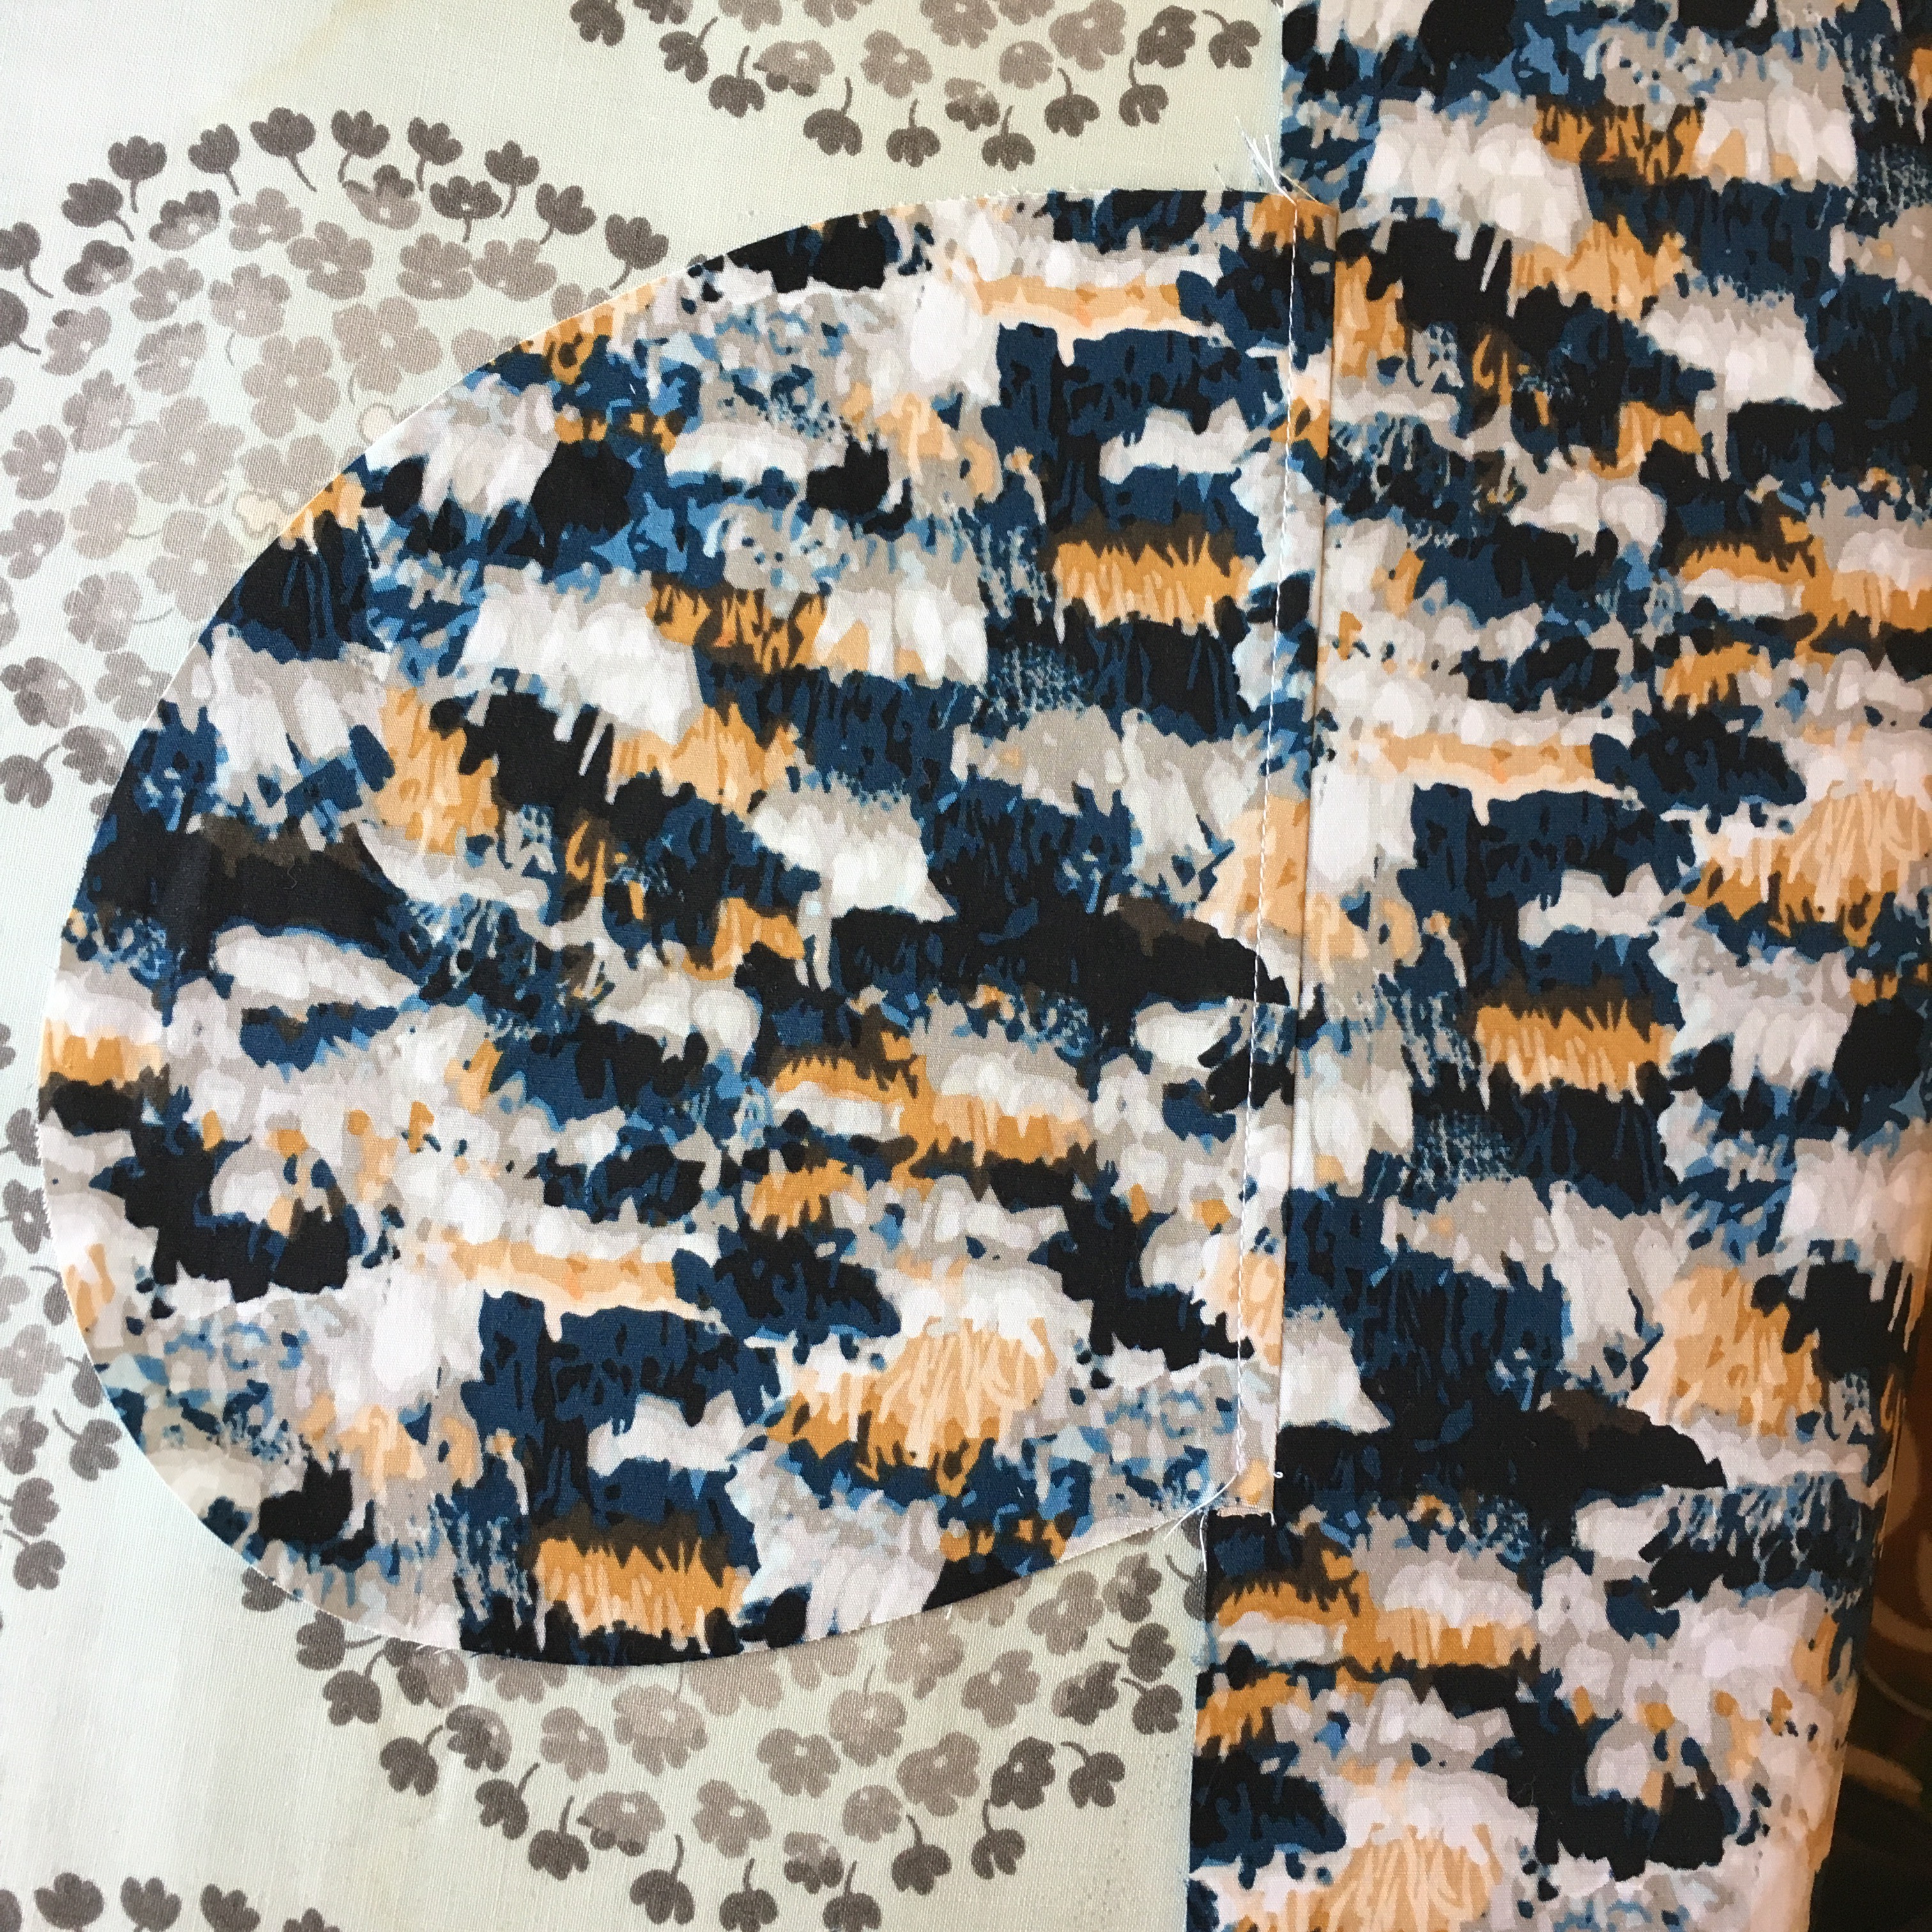
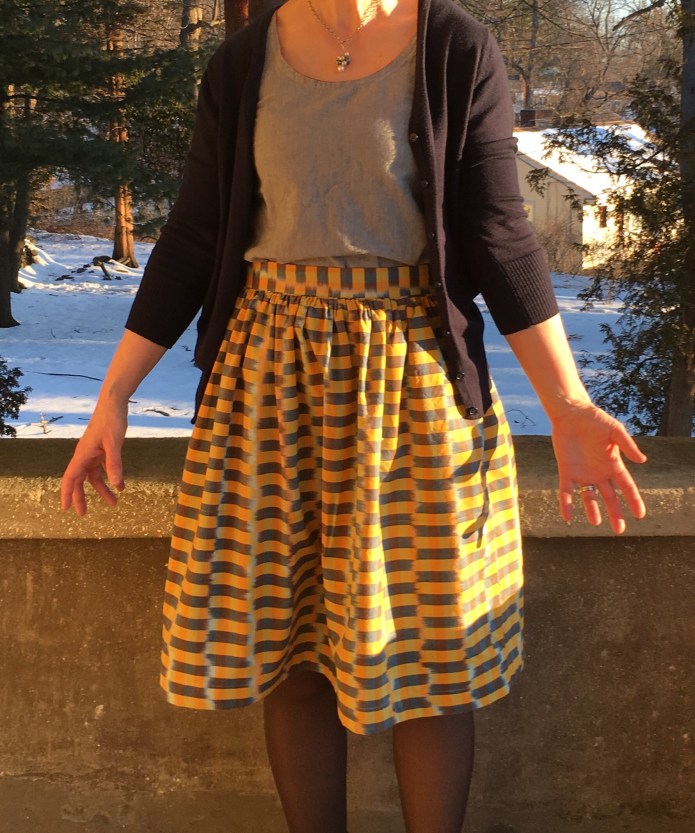
 I hadn’t planned to make the Cleo below but I happened on this fabric at Joanne on sale and really liked it. I wasn’t sure at first what to make with it and considered making a new Bianca Dress but in the end, I decided I loved the striped fabric for a skirt.
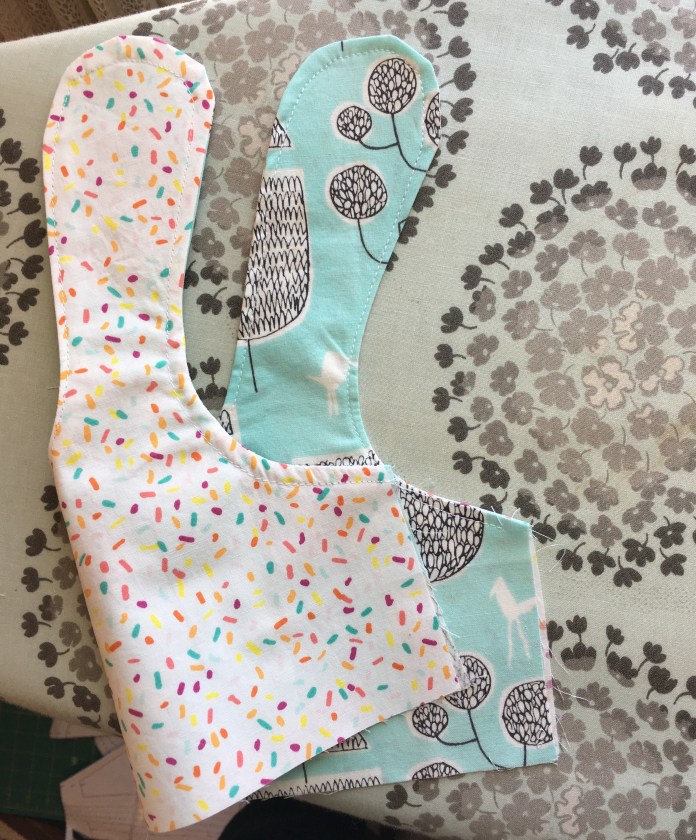
  I used a lightweight white cotton batiste for this hem facing and matched the stripes on the side seams. I cut the waistband across the grain for more visual interest as I did when I made this Loominous Cleo. I ended up with extra fabric since I had bought 4 yards and cut a Gemma Tank as well thinking that it would be great with jeans. It wasn’t until after I was sewing and had both projects laying out on my ironing board that it occurred to me that I could also try wearing them together to create a dress out of separates. I also found that when I had the yellow bias strips next to the skirt that the grey and yellow looked great together. I am dying to see how all of these skirts and tops mix and match. I just need to finish the bias binding on the Gemmas (story of my life!) Some process pictures below. I used french seams for the Tank because I expect this fabric to fray. I plan to use the white batiste for the bias binding as well using this method. While I was making the grey striped Gemma, I also cut out and actually finished a Gemma from white double gauze which I love and have worn several times. I used the batiste for the bias binding and to face the hem. It might be my favorite garment that I made this month. It is certainly the most versatile. You can see the striped skirt and the white double gauze Gemma in action below. They work well together. I like the crinkly look of the double gauze with the linen-y look of the striped fabric.


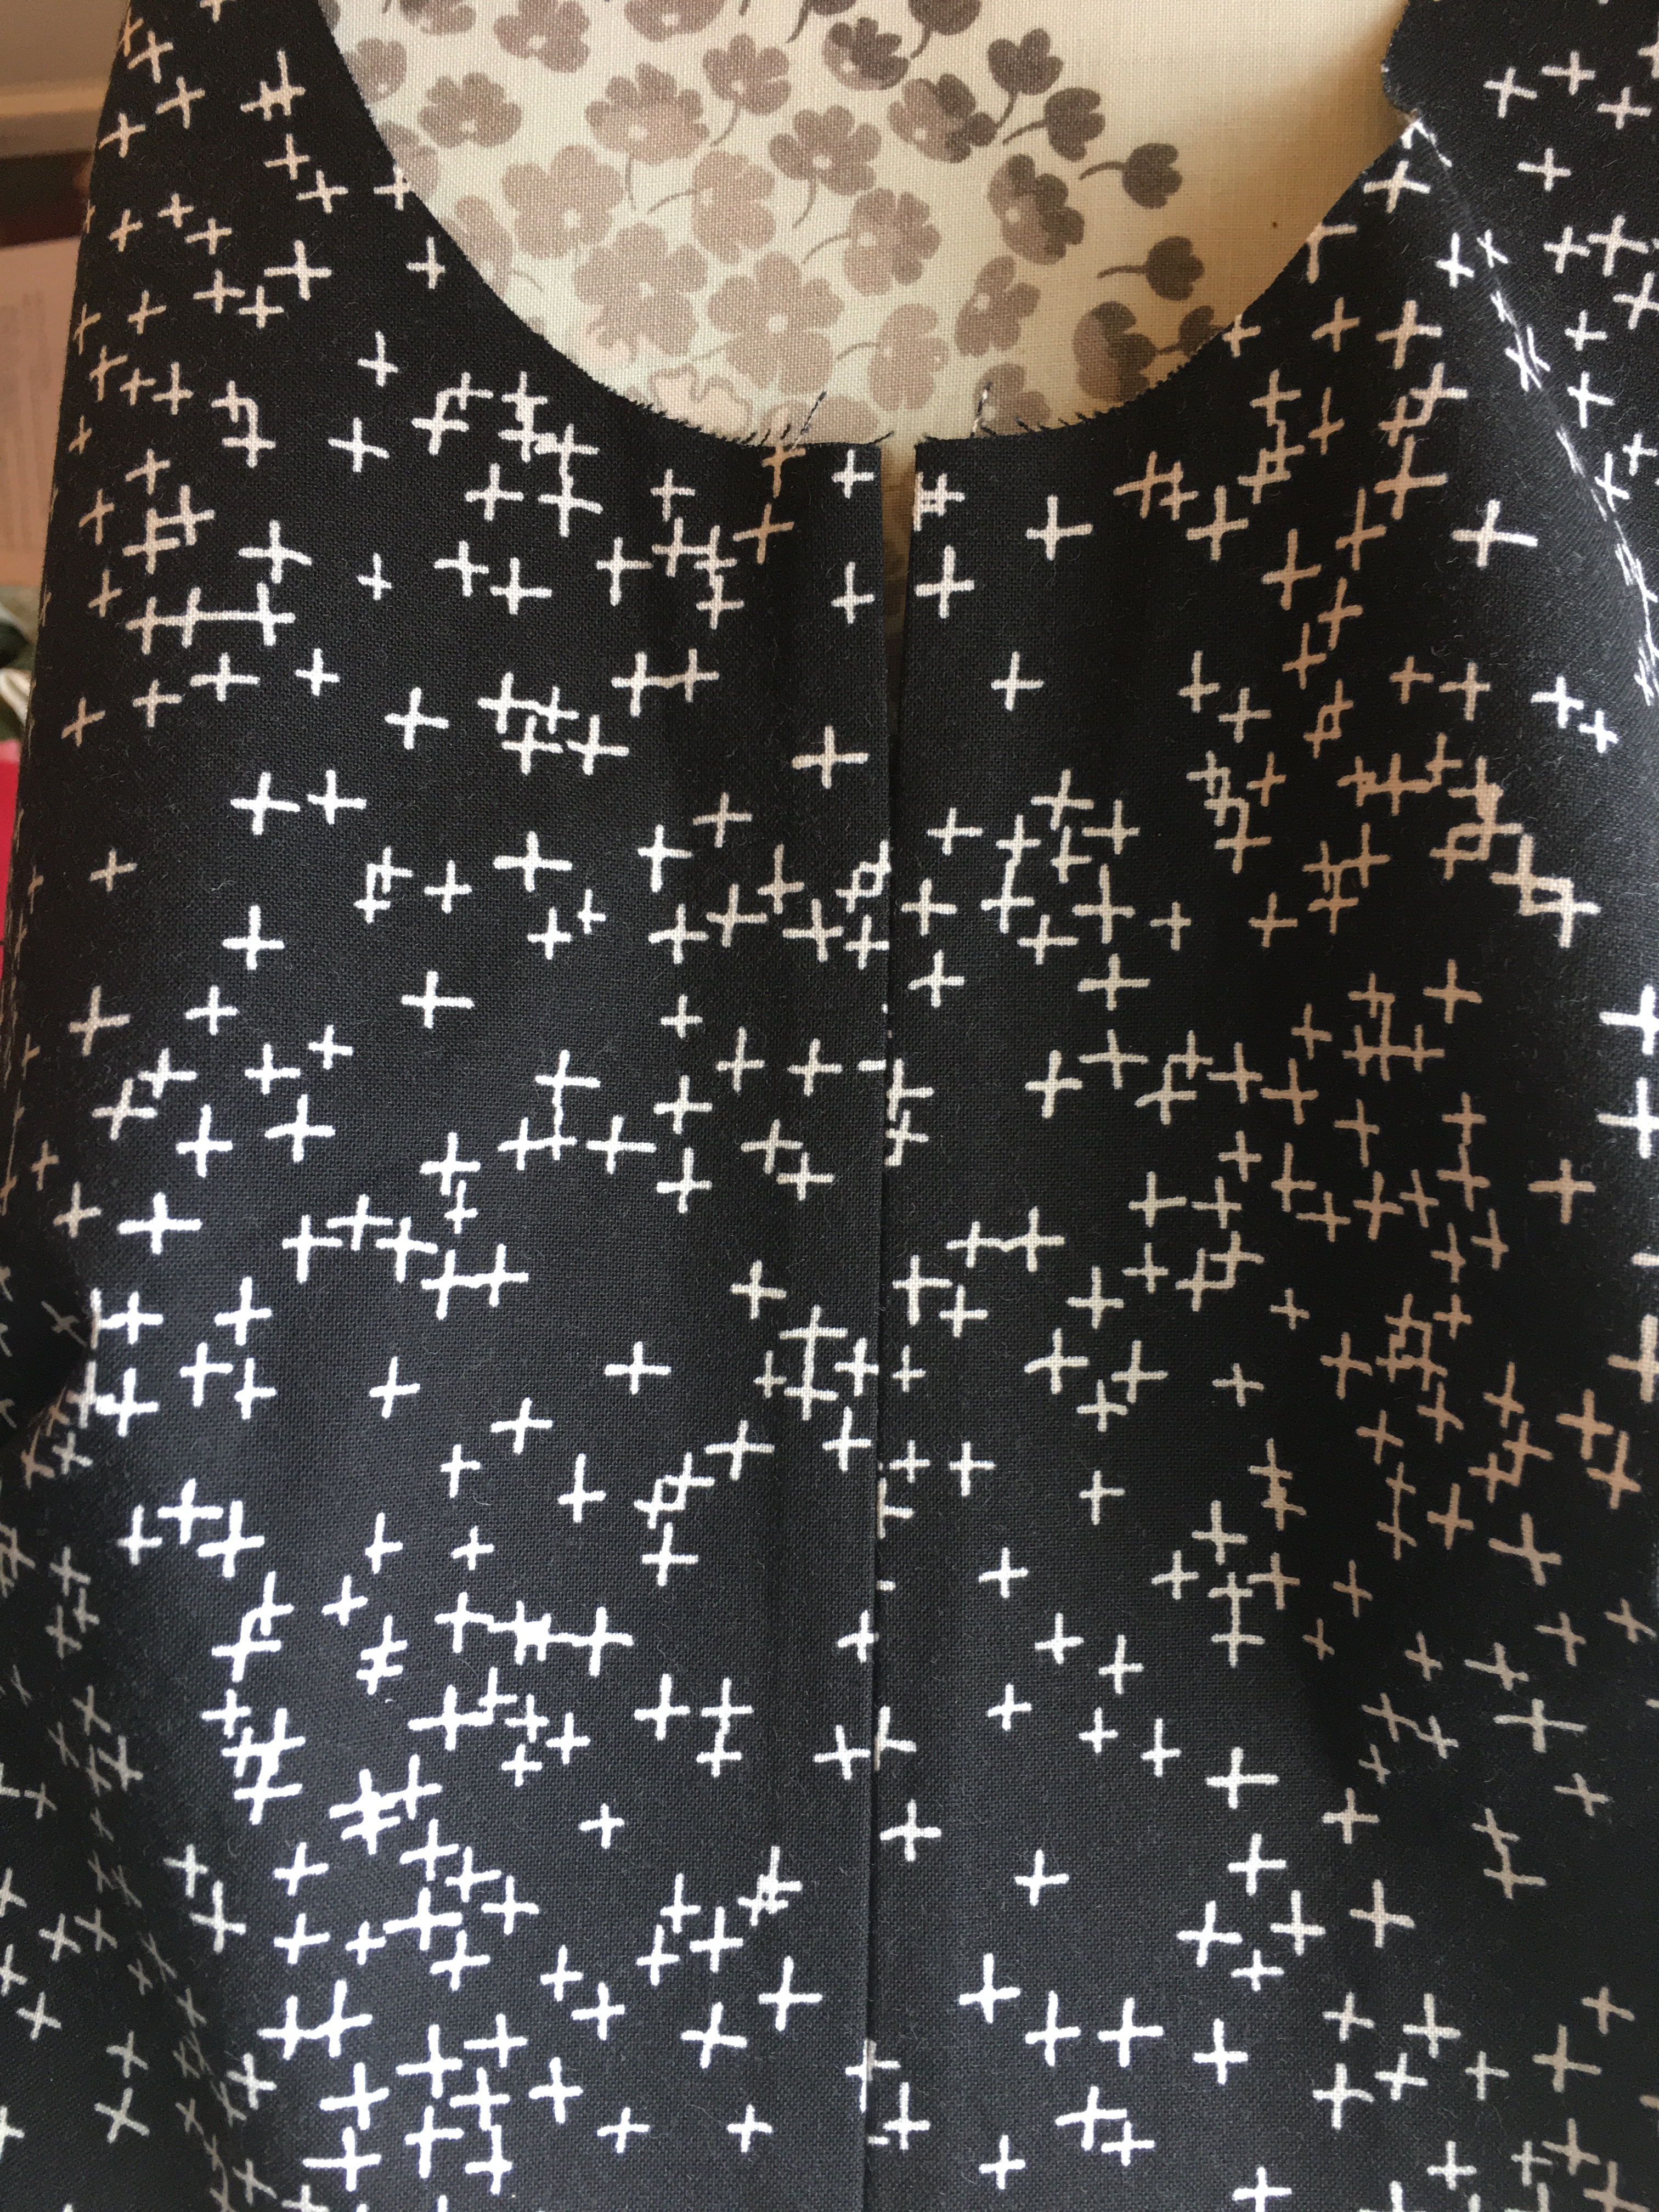
The fourth Cleo skirt that I made this month is this green and cream skirt which was inspired by a Ruby Dress posted on Instagram. I really loved the old fashioned feel of the fabric. I wore it this month with my blue Gemma but I know the white double gauze Gemma will be great with it and I am looking forward to trying other combinations. I have a black lawn Gemma that is all sewn and ready to go and just needs the bias binding. (a theme). So finishing the tanks will be my focus this month. I did actually finish a Gemma Tank that had been mostly finished since last summer (just needed the bias binding). Ironically, when the yellow bias strips were on my ironing board, they were also right next to this Allison Glass Gemma
 and I realized that the yellow would make a great contrasting binding for this tank so I finished it
  and wore it on a quick visit to New London with my husband.


I am actually glad I didn’t finish it last summer because I might not have thought to use the yellow and I am really happy with it!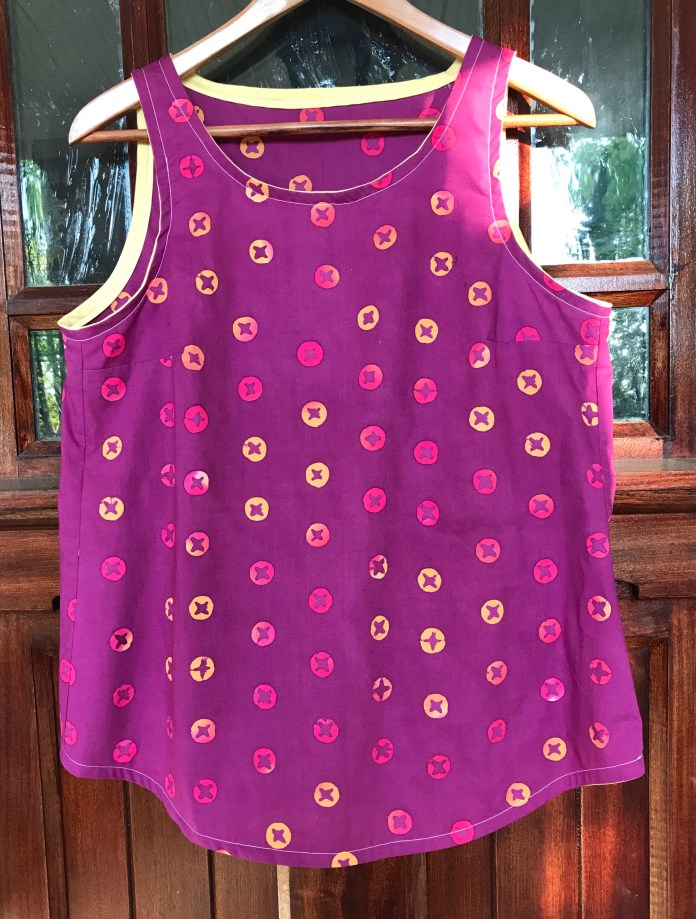 I love this tank with my khaki Pocket Skirt and with denim and white jeans. I know it will get a lot of wear. I made several other garments in May and will be posting details over the next several weeks. And now I have so many new ideas after seeing the beautiful hand sewn garments that were posted by fellow sewists all last month. So much fun. Thanks for reading!


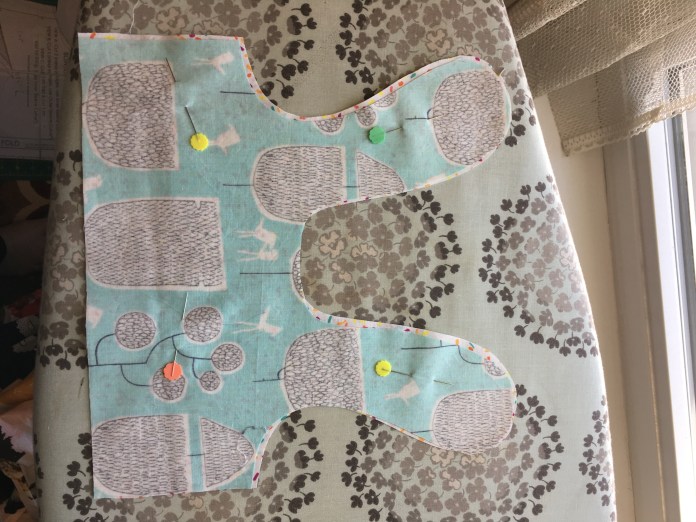 I made a teeny tiny dress.
 A friend at work had a baby last week, a little girl. This gave me a great excuse to sew something tiny and cute. The pattern is a free pattern literally called the Itty Bitty Baby Dress from
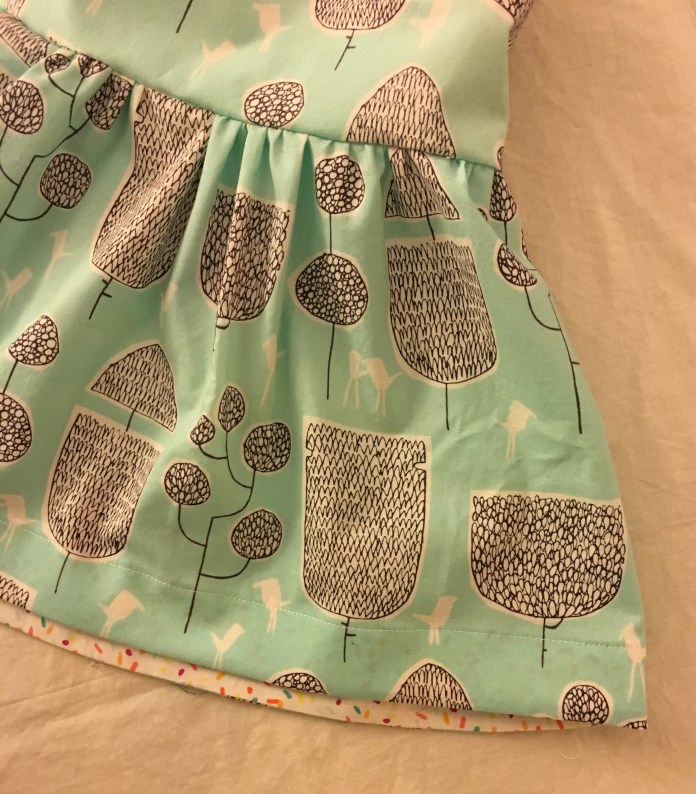
 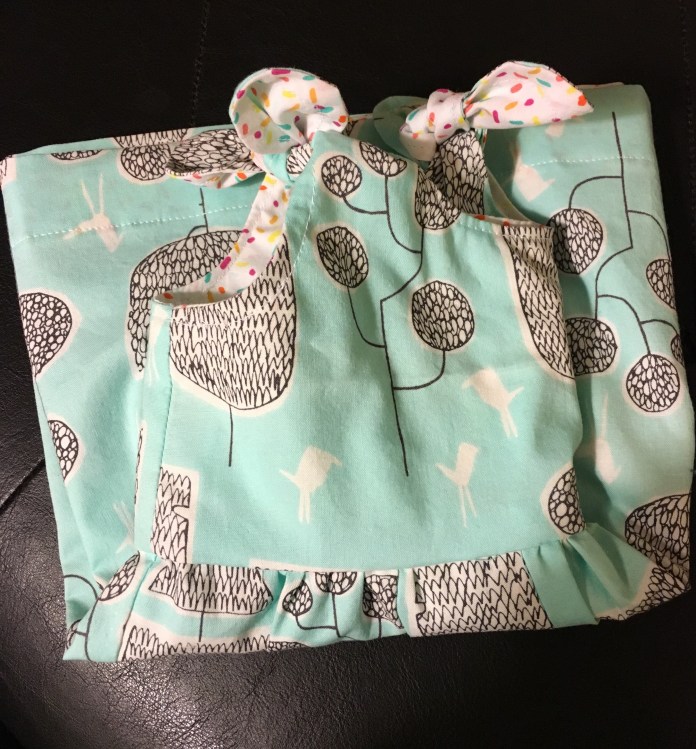 I love the little birds. This fabric is cute but not cutesy which I love. My sewing wasn’t perfect but it really didn’t matter in the end.
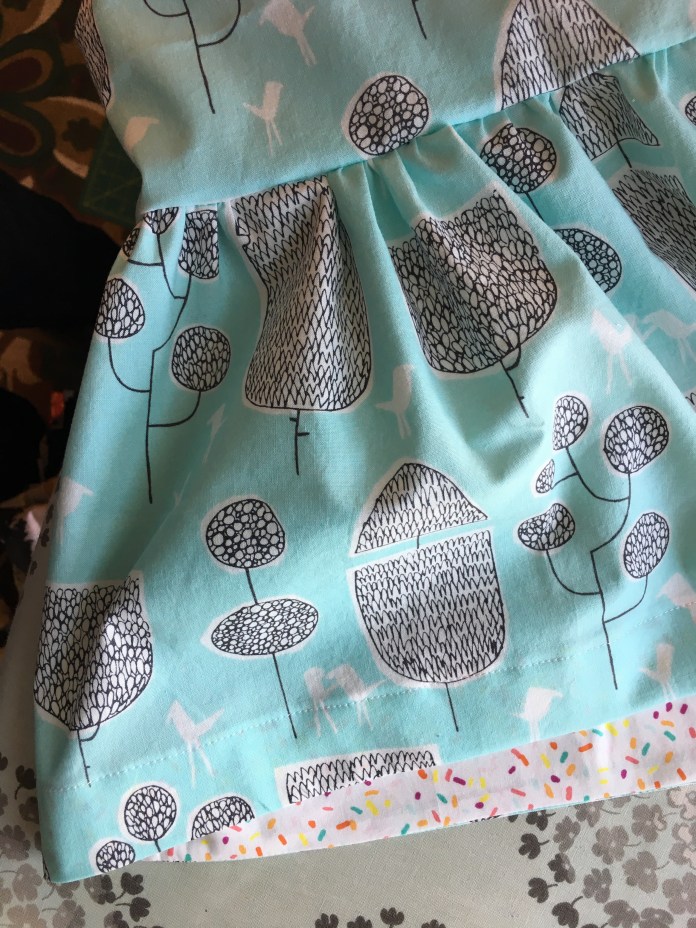 I made this little dress from fabric left over from a
  The lining fabric was a fat quarter I had purchased from
 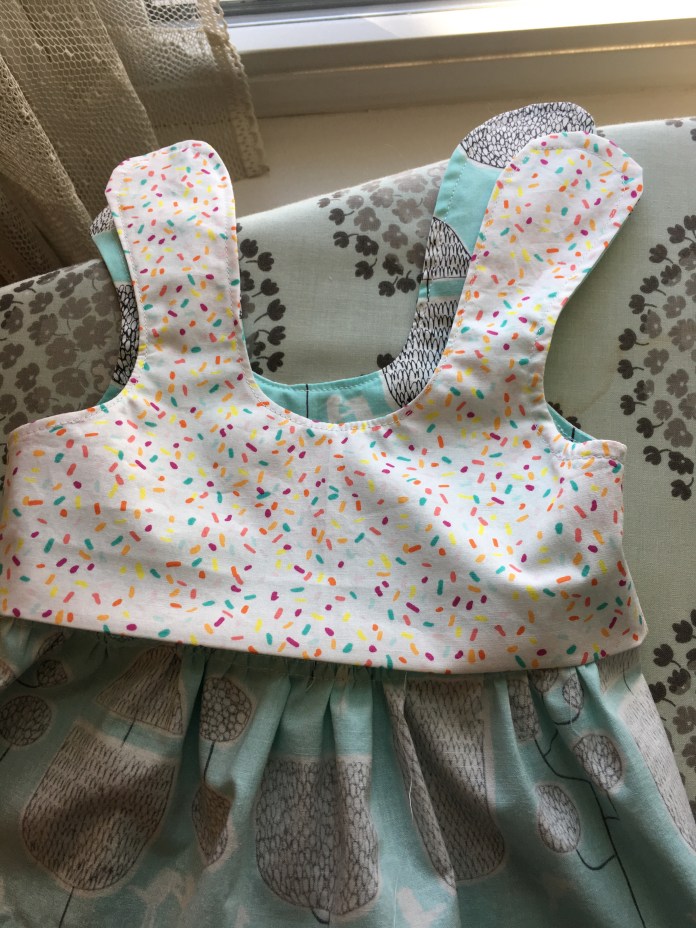 In preparation for grandparenting which I hope to not be too far off-maybe 2 or 3 years?- I had already purchased the
 One challenge was not having a small enough hanger to properly show off the finished product. I tried to improvise. I am not sure I am doing it justice in this photo.
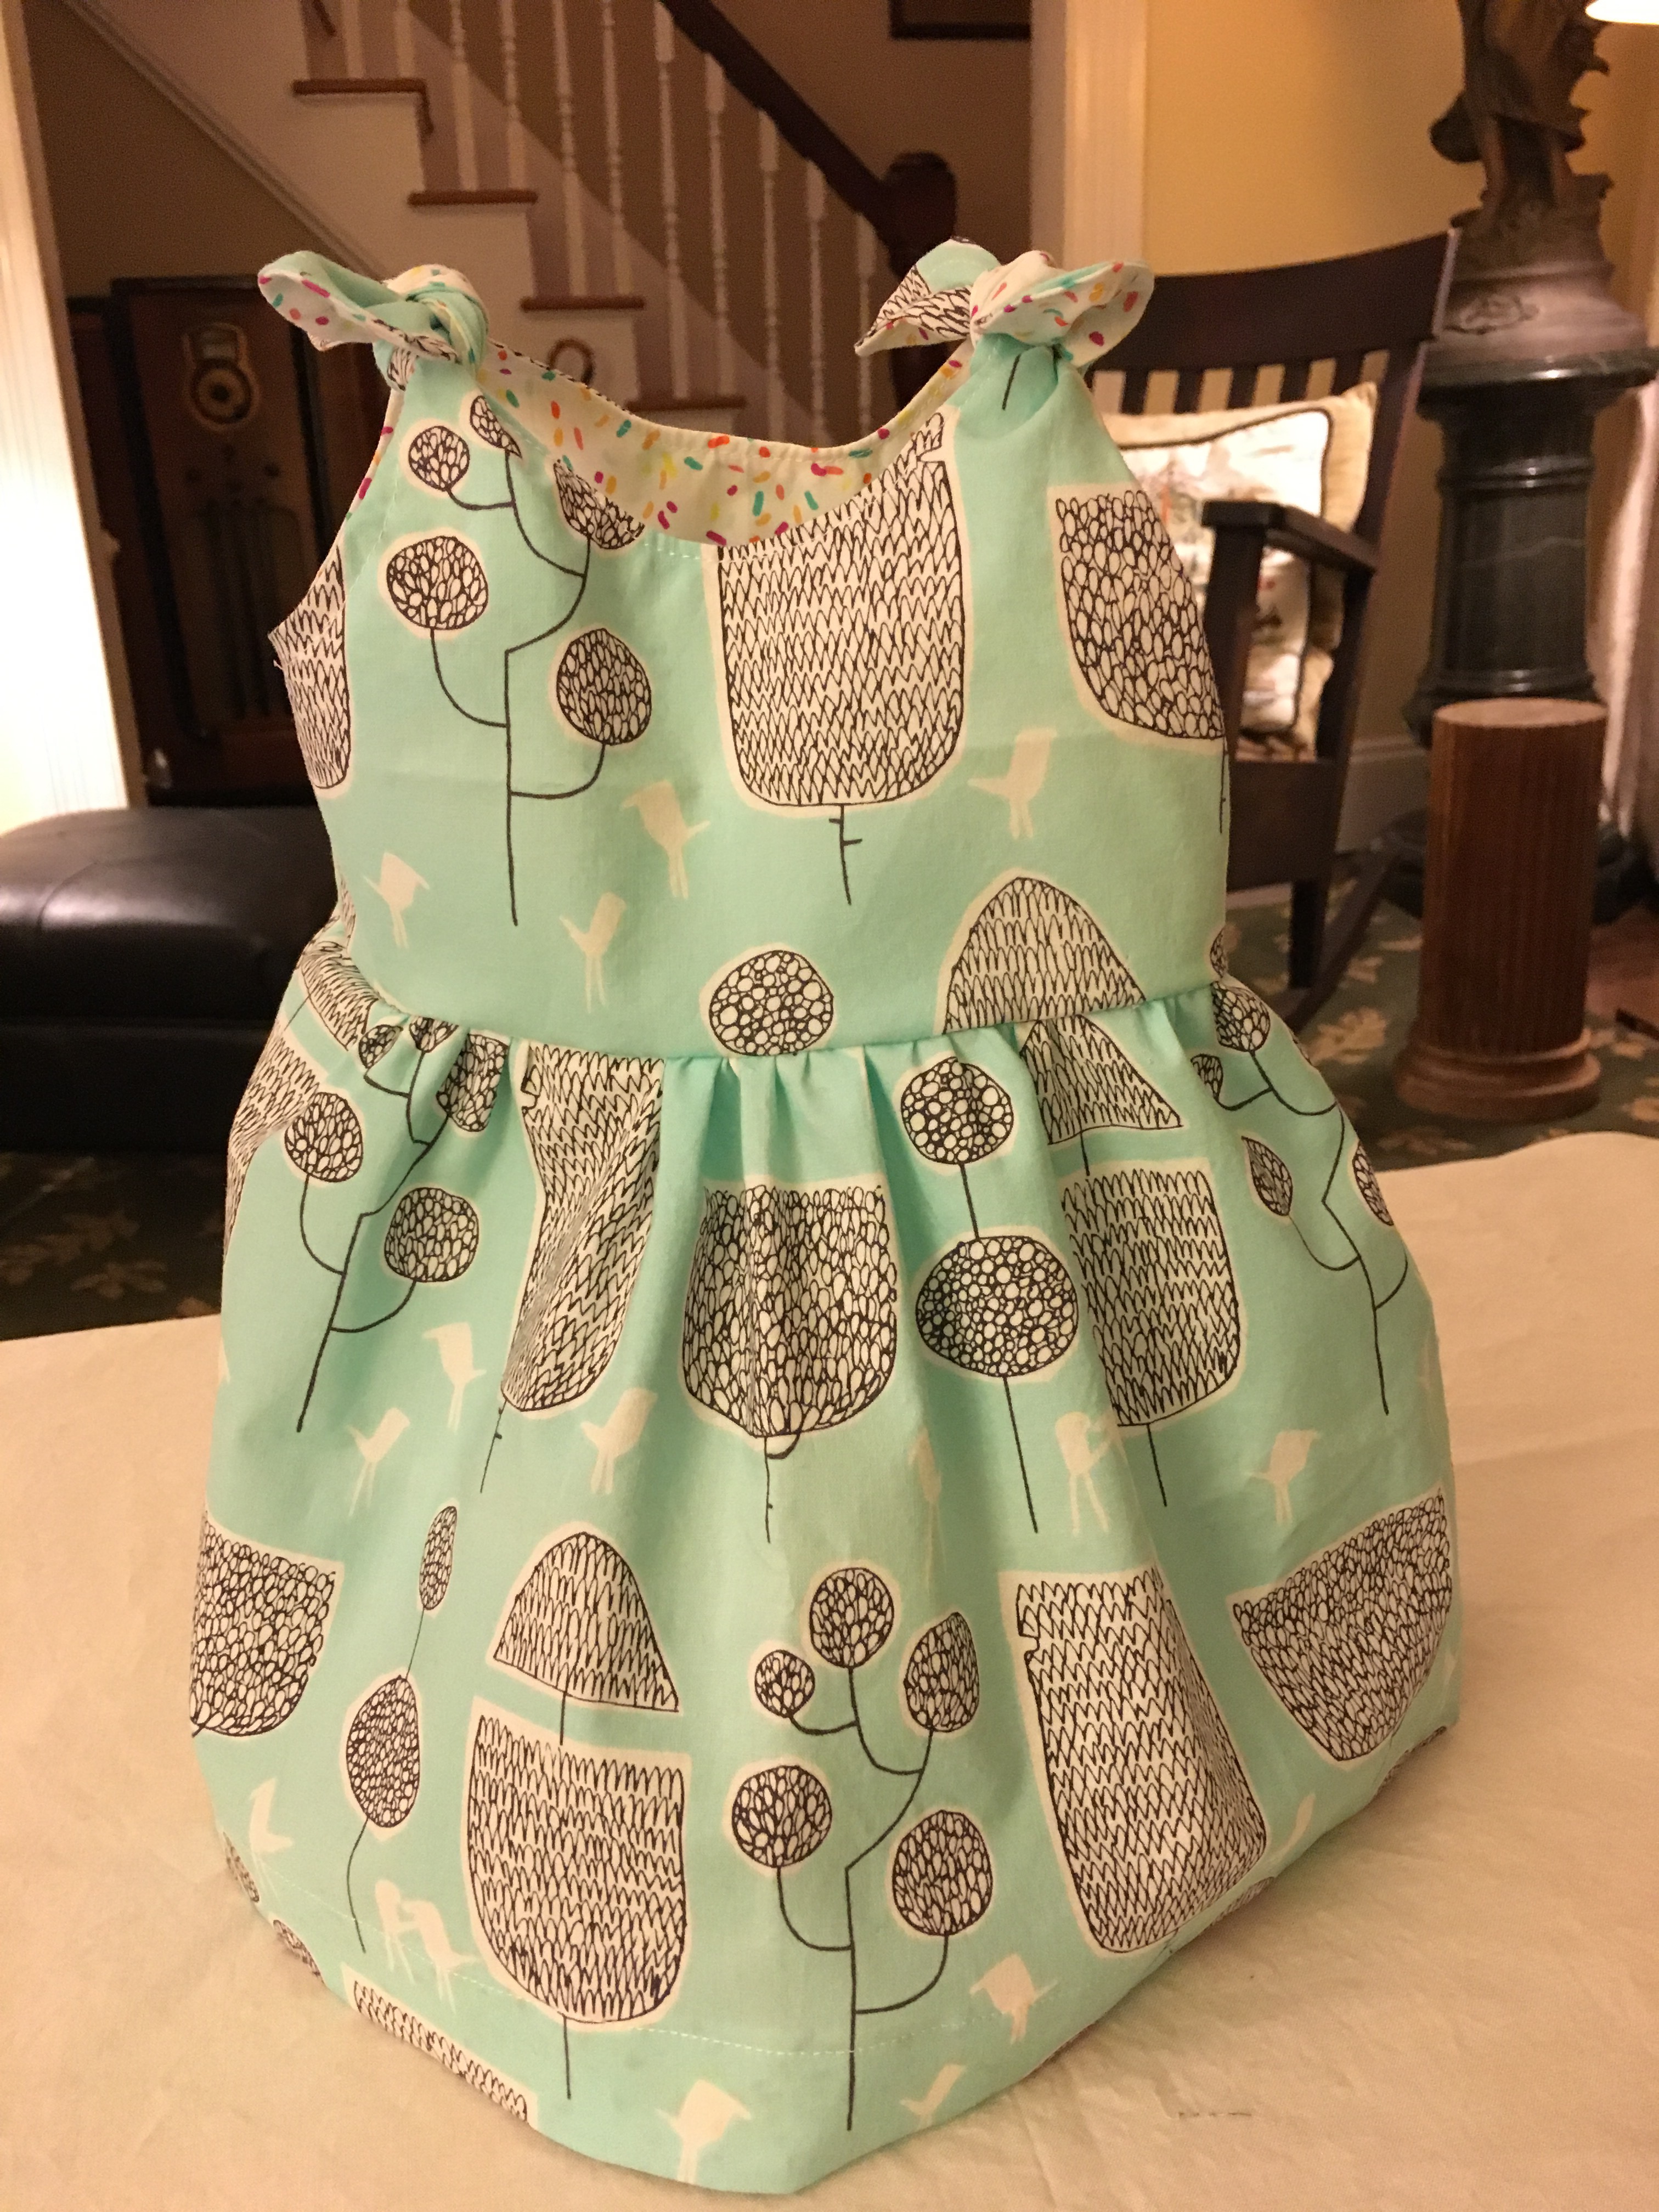

 Such quick little seams to sew.
 I got a little ahead of myself. But it all worked out in the end.
 and this navy Ruby dress and Gemma tank made in the other colorway of the green fabric, both of which I made and wore last summer.


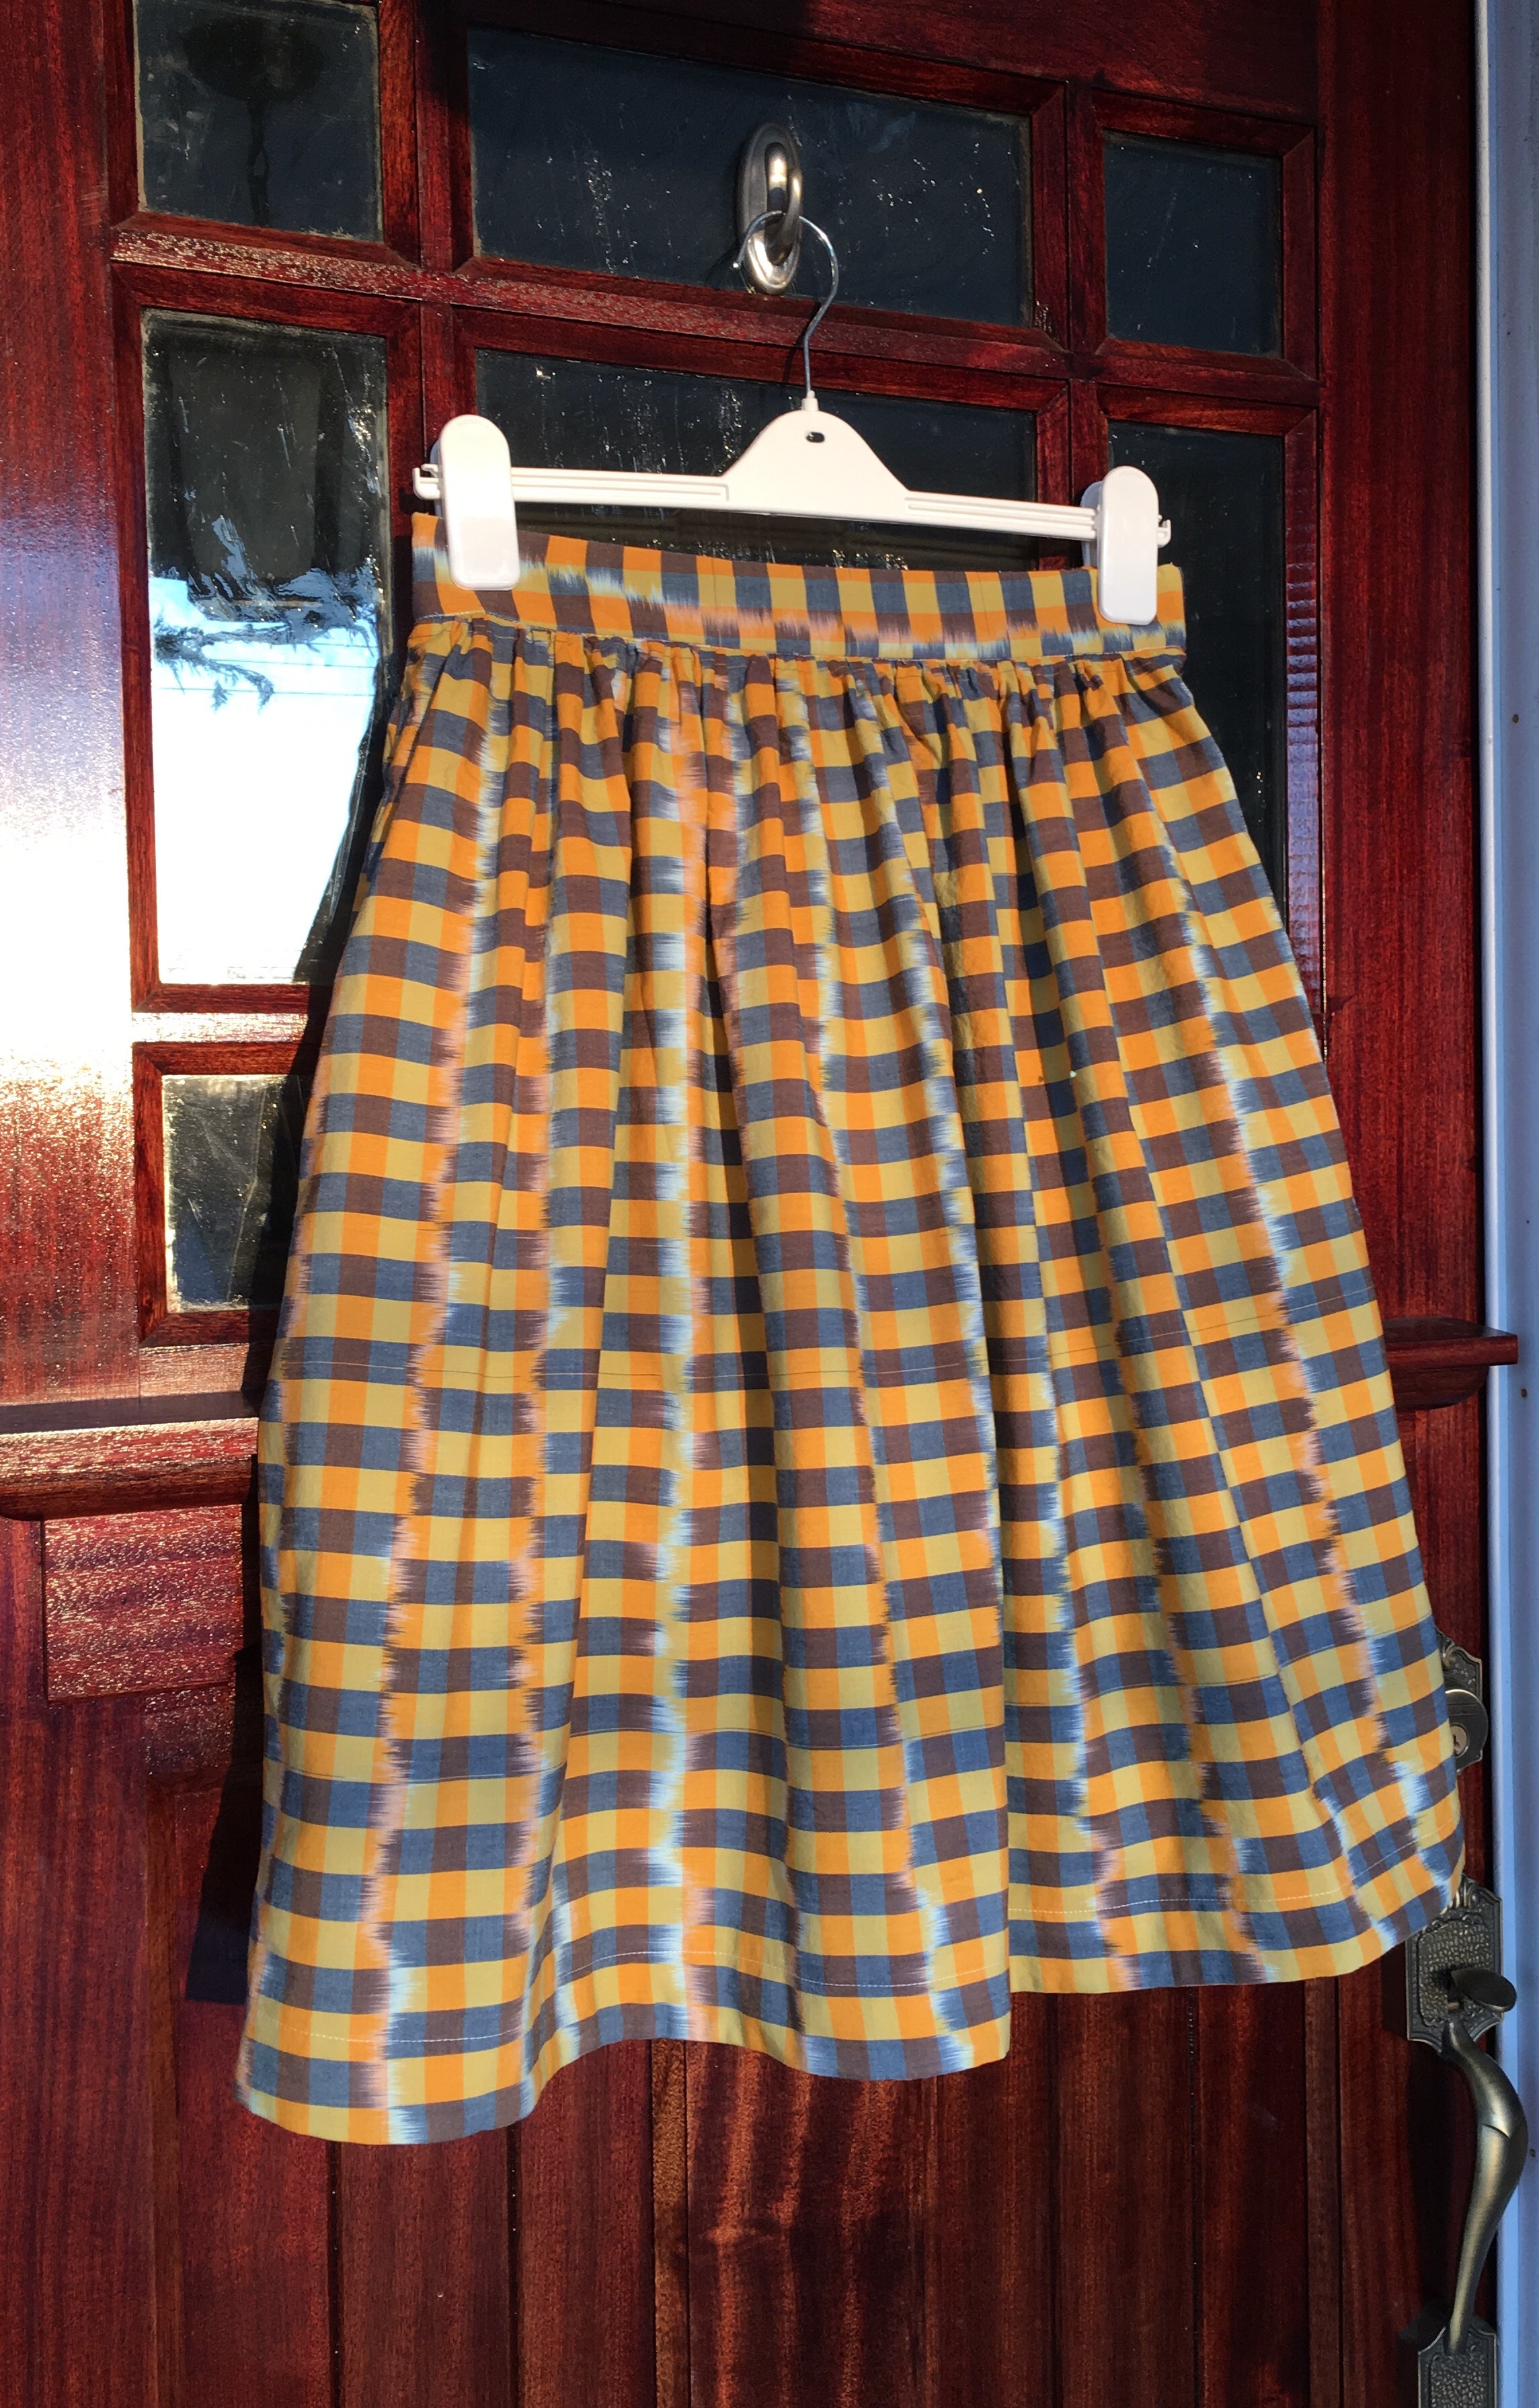


 I love the juxtaposition of the shapes and stripes.

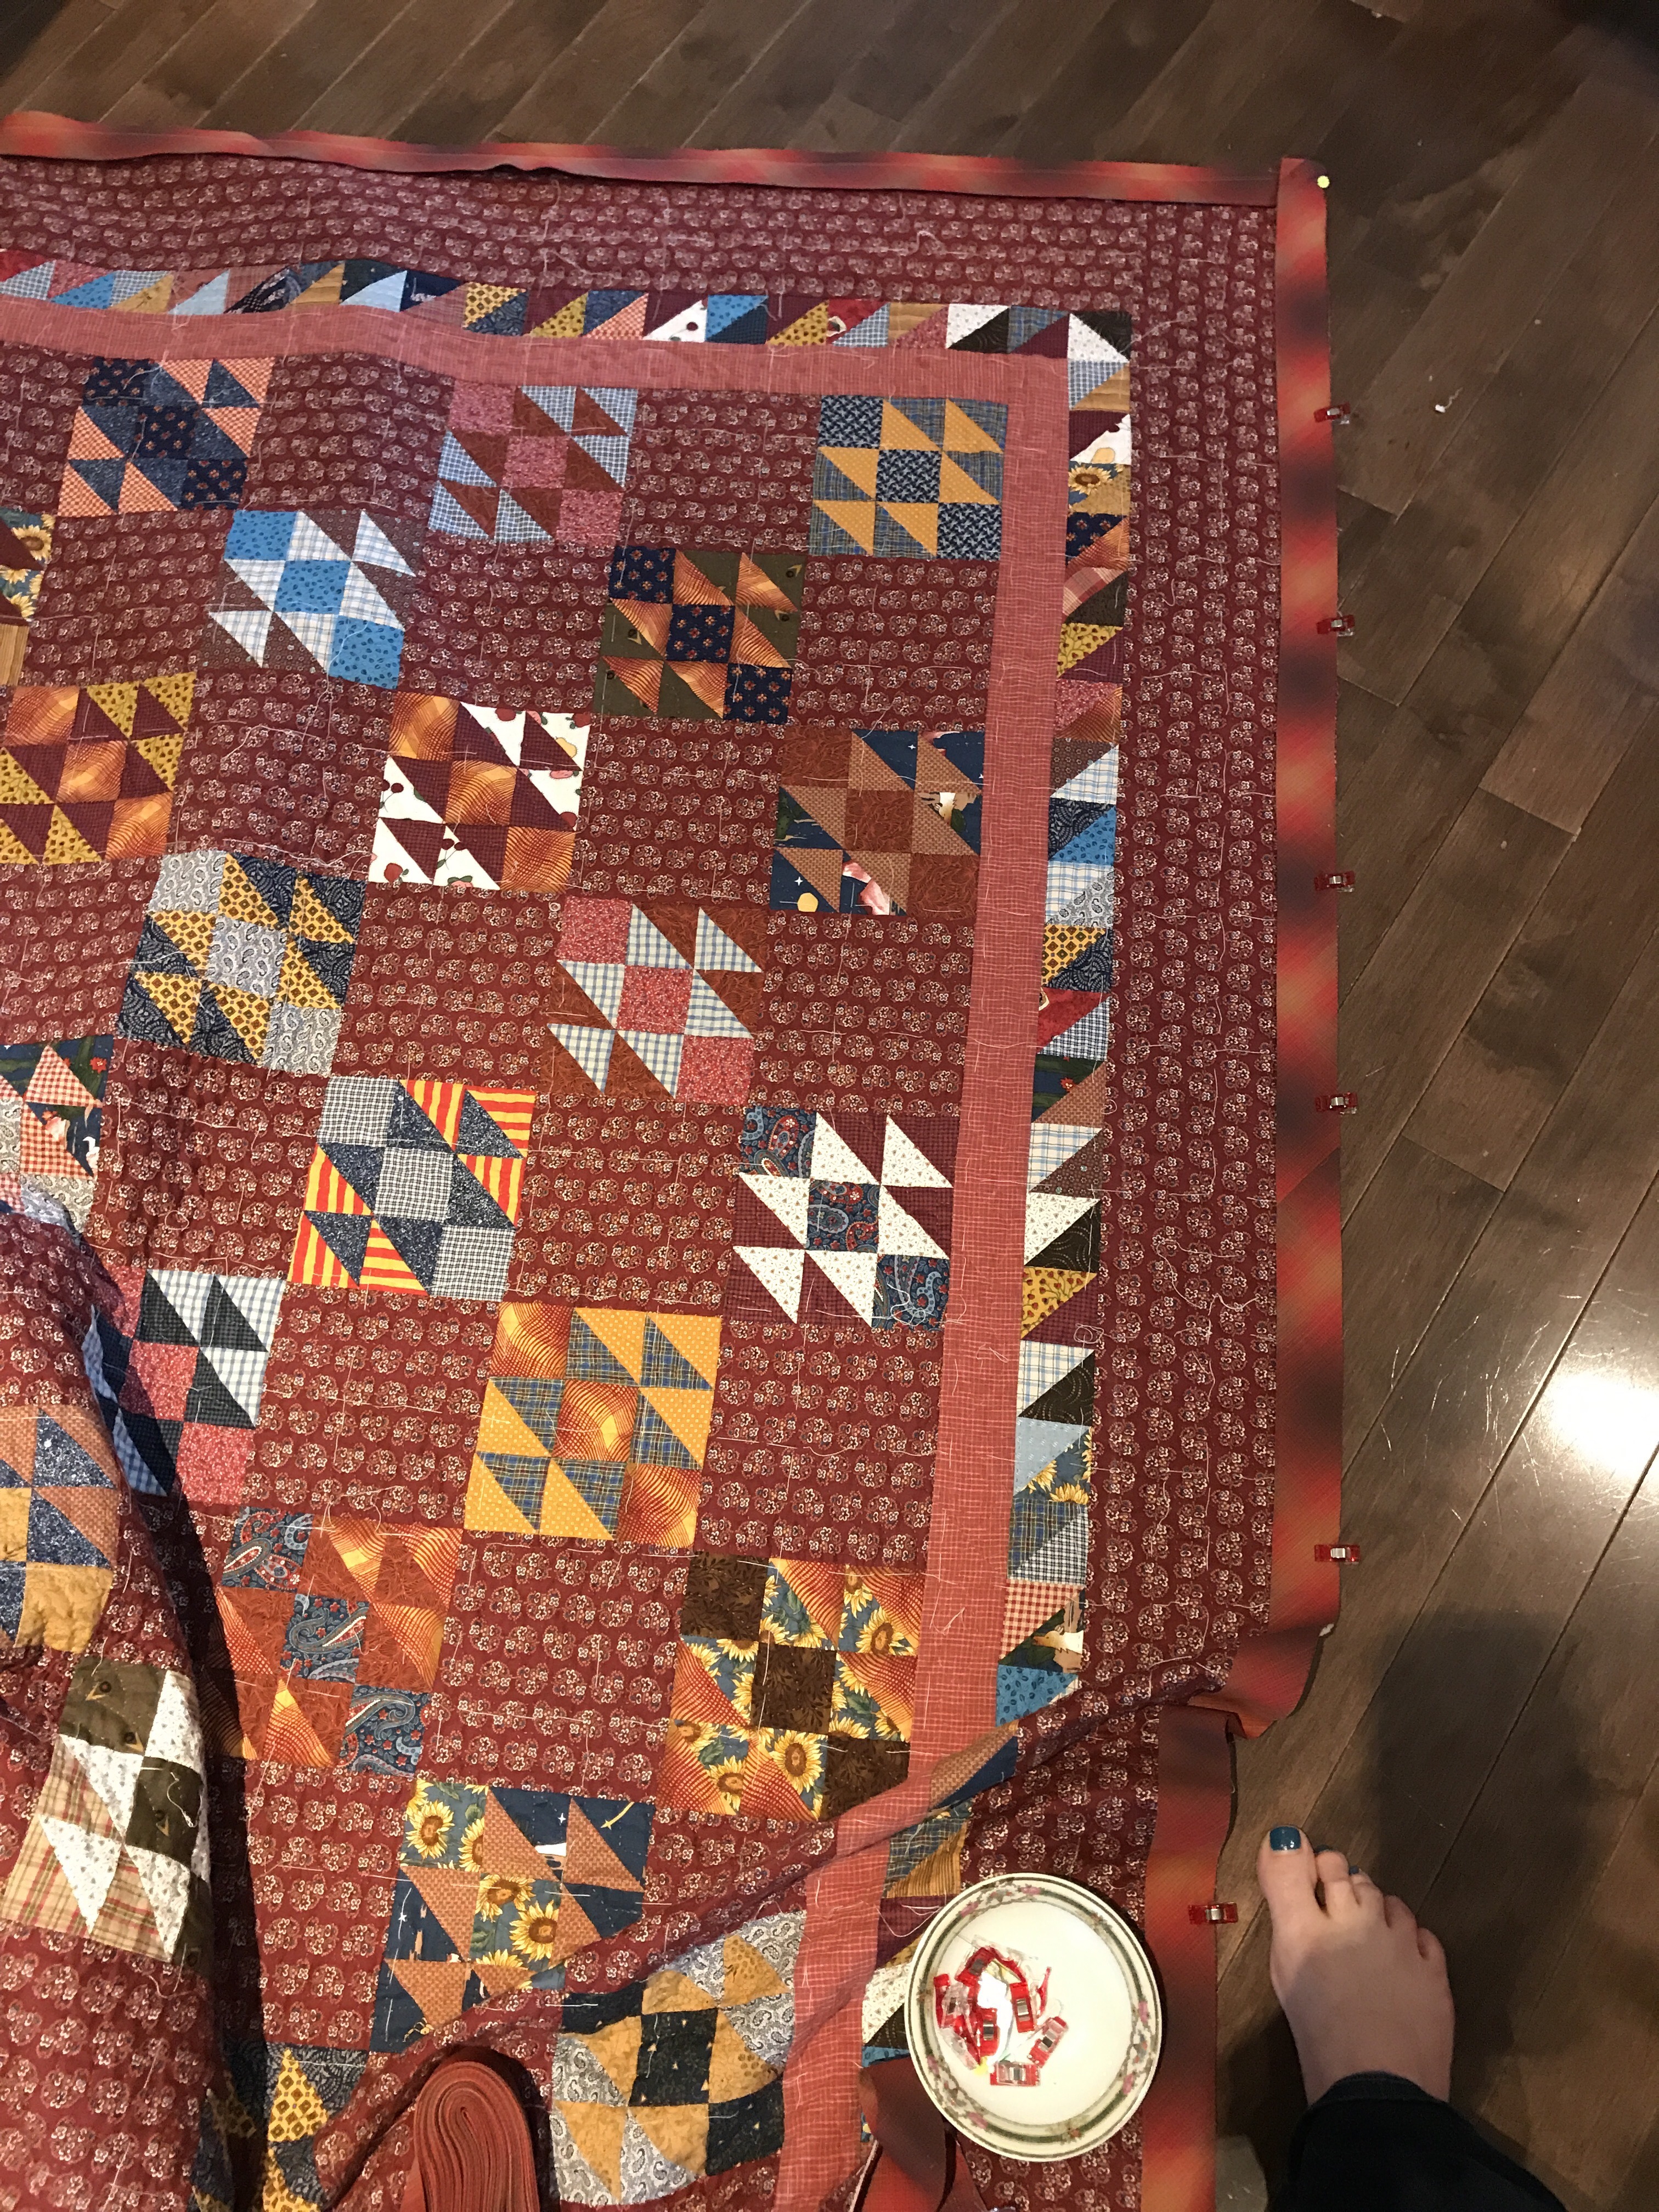
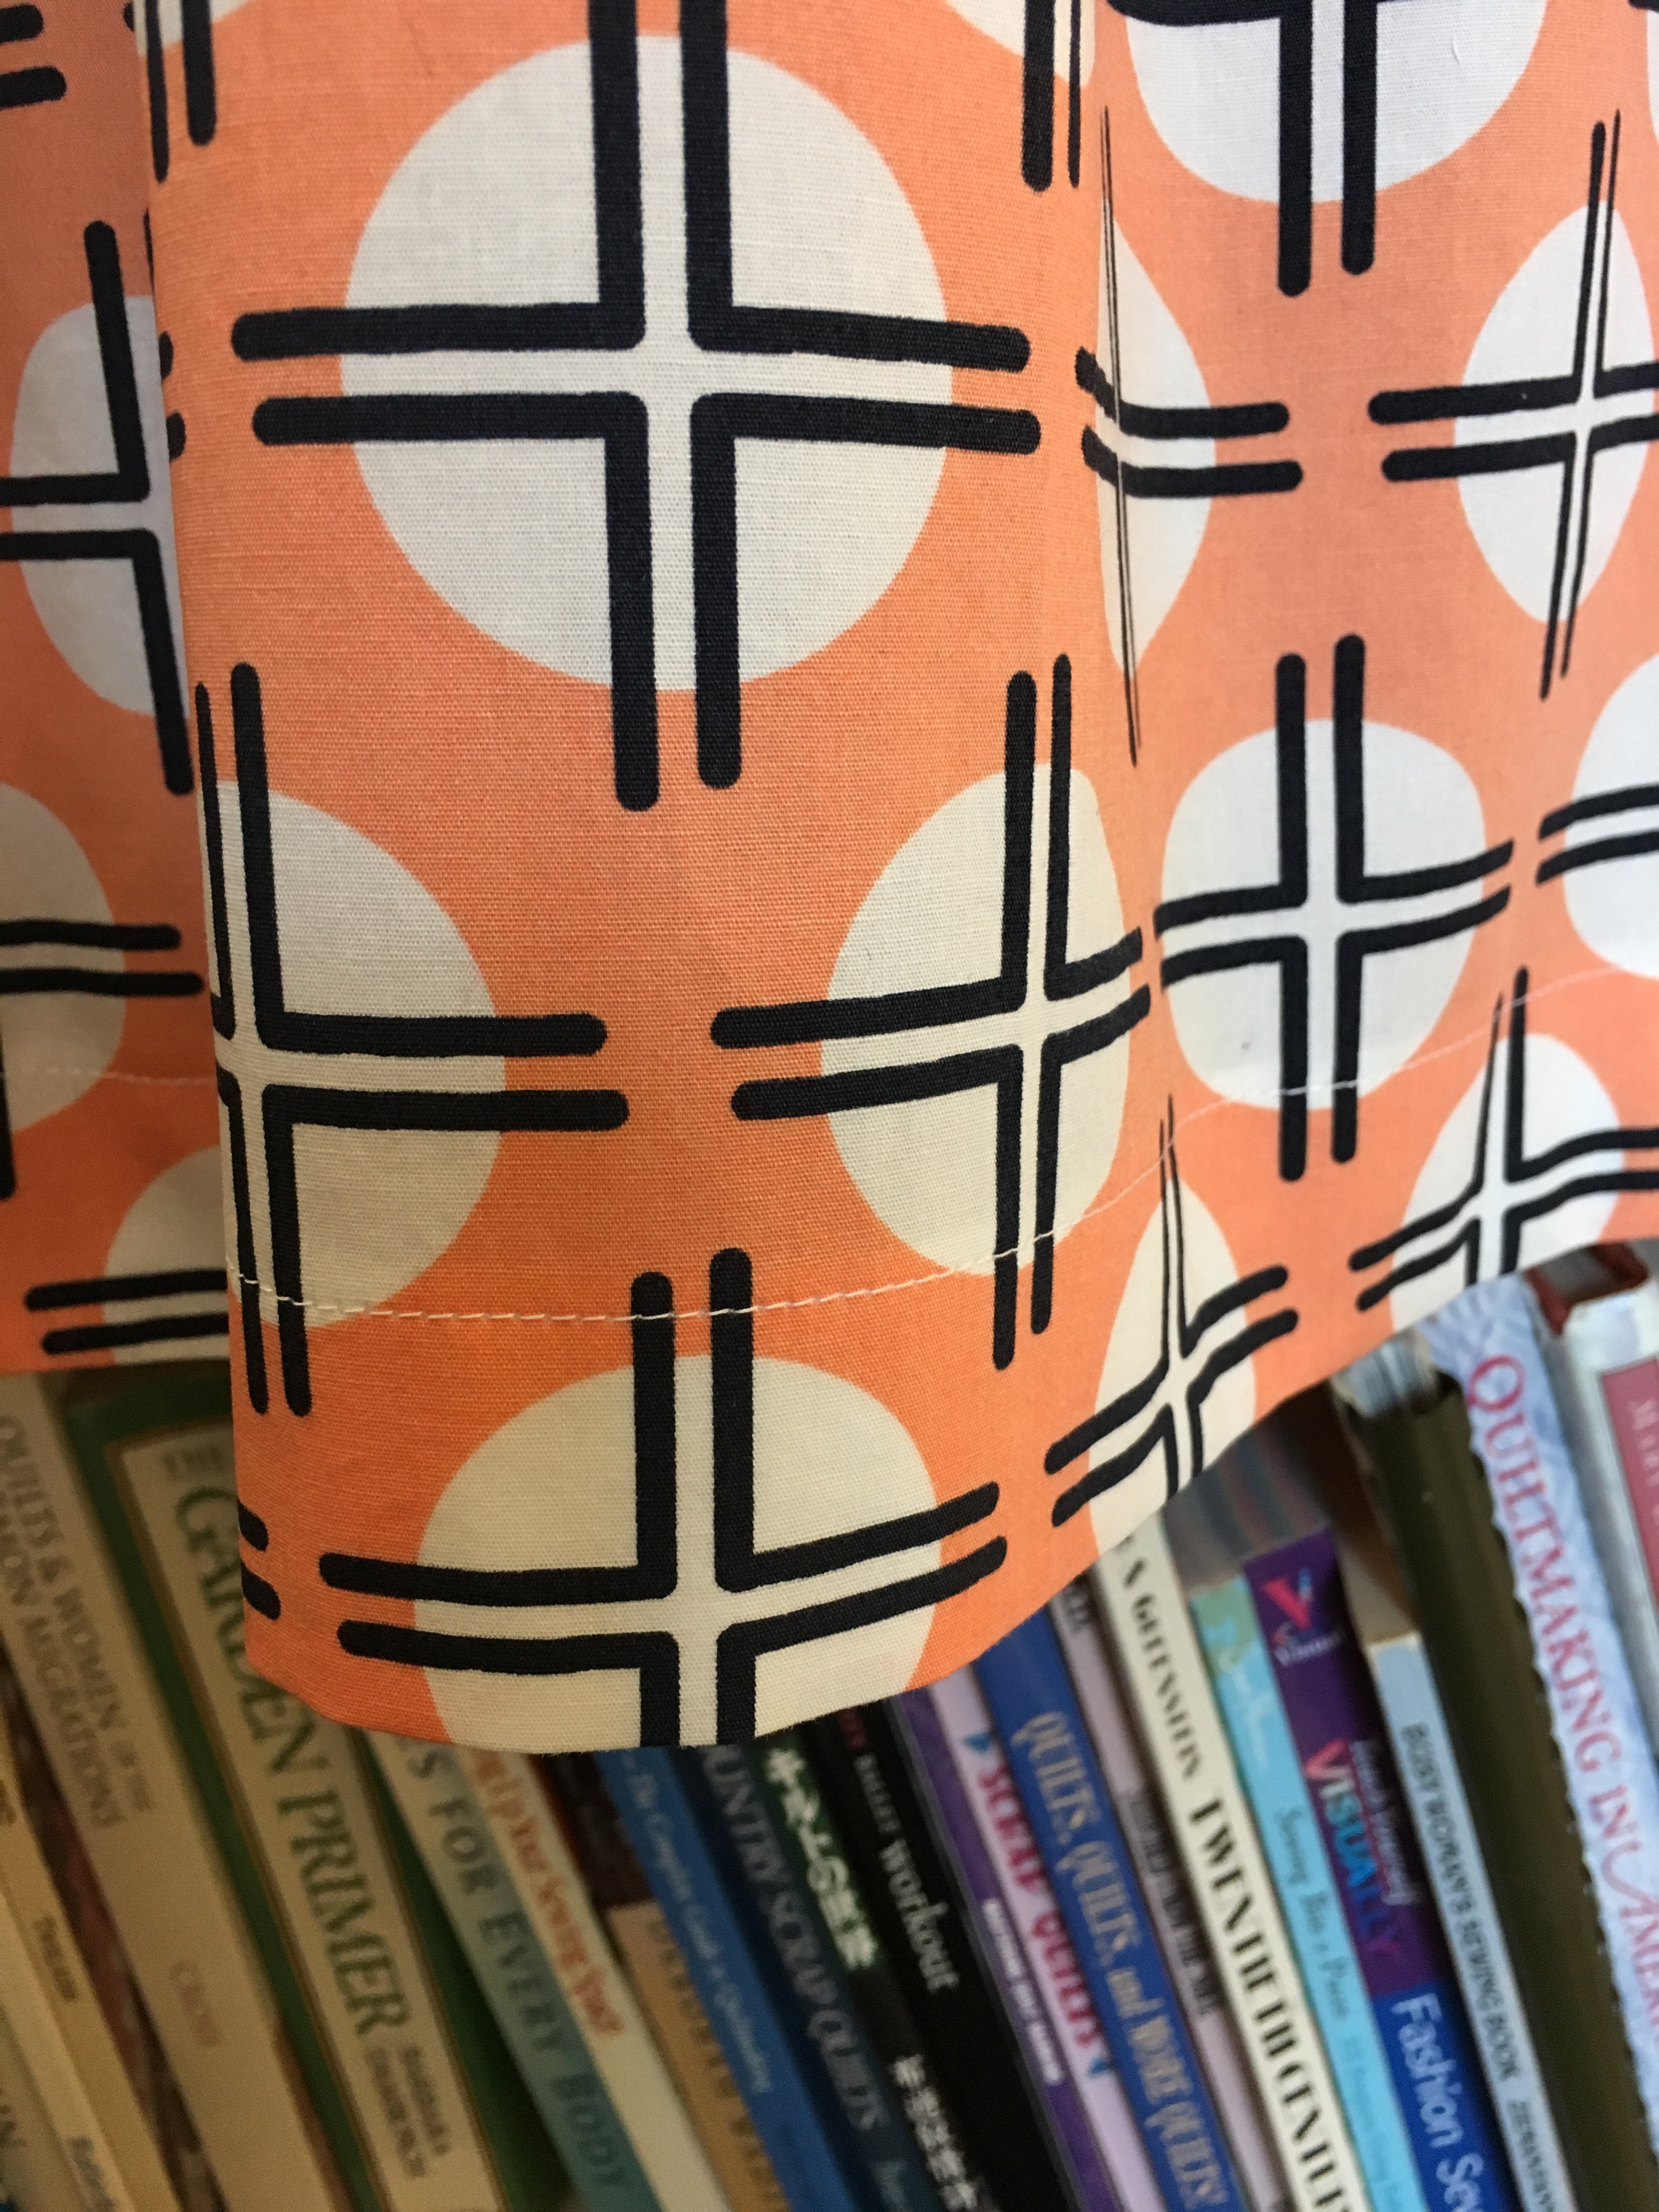
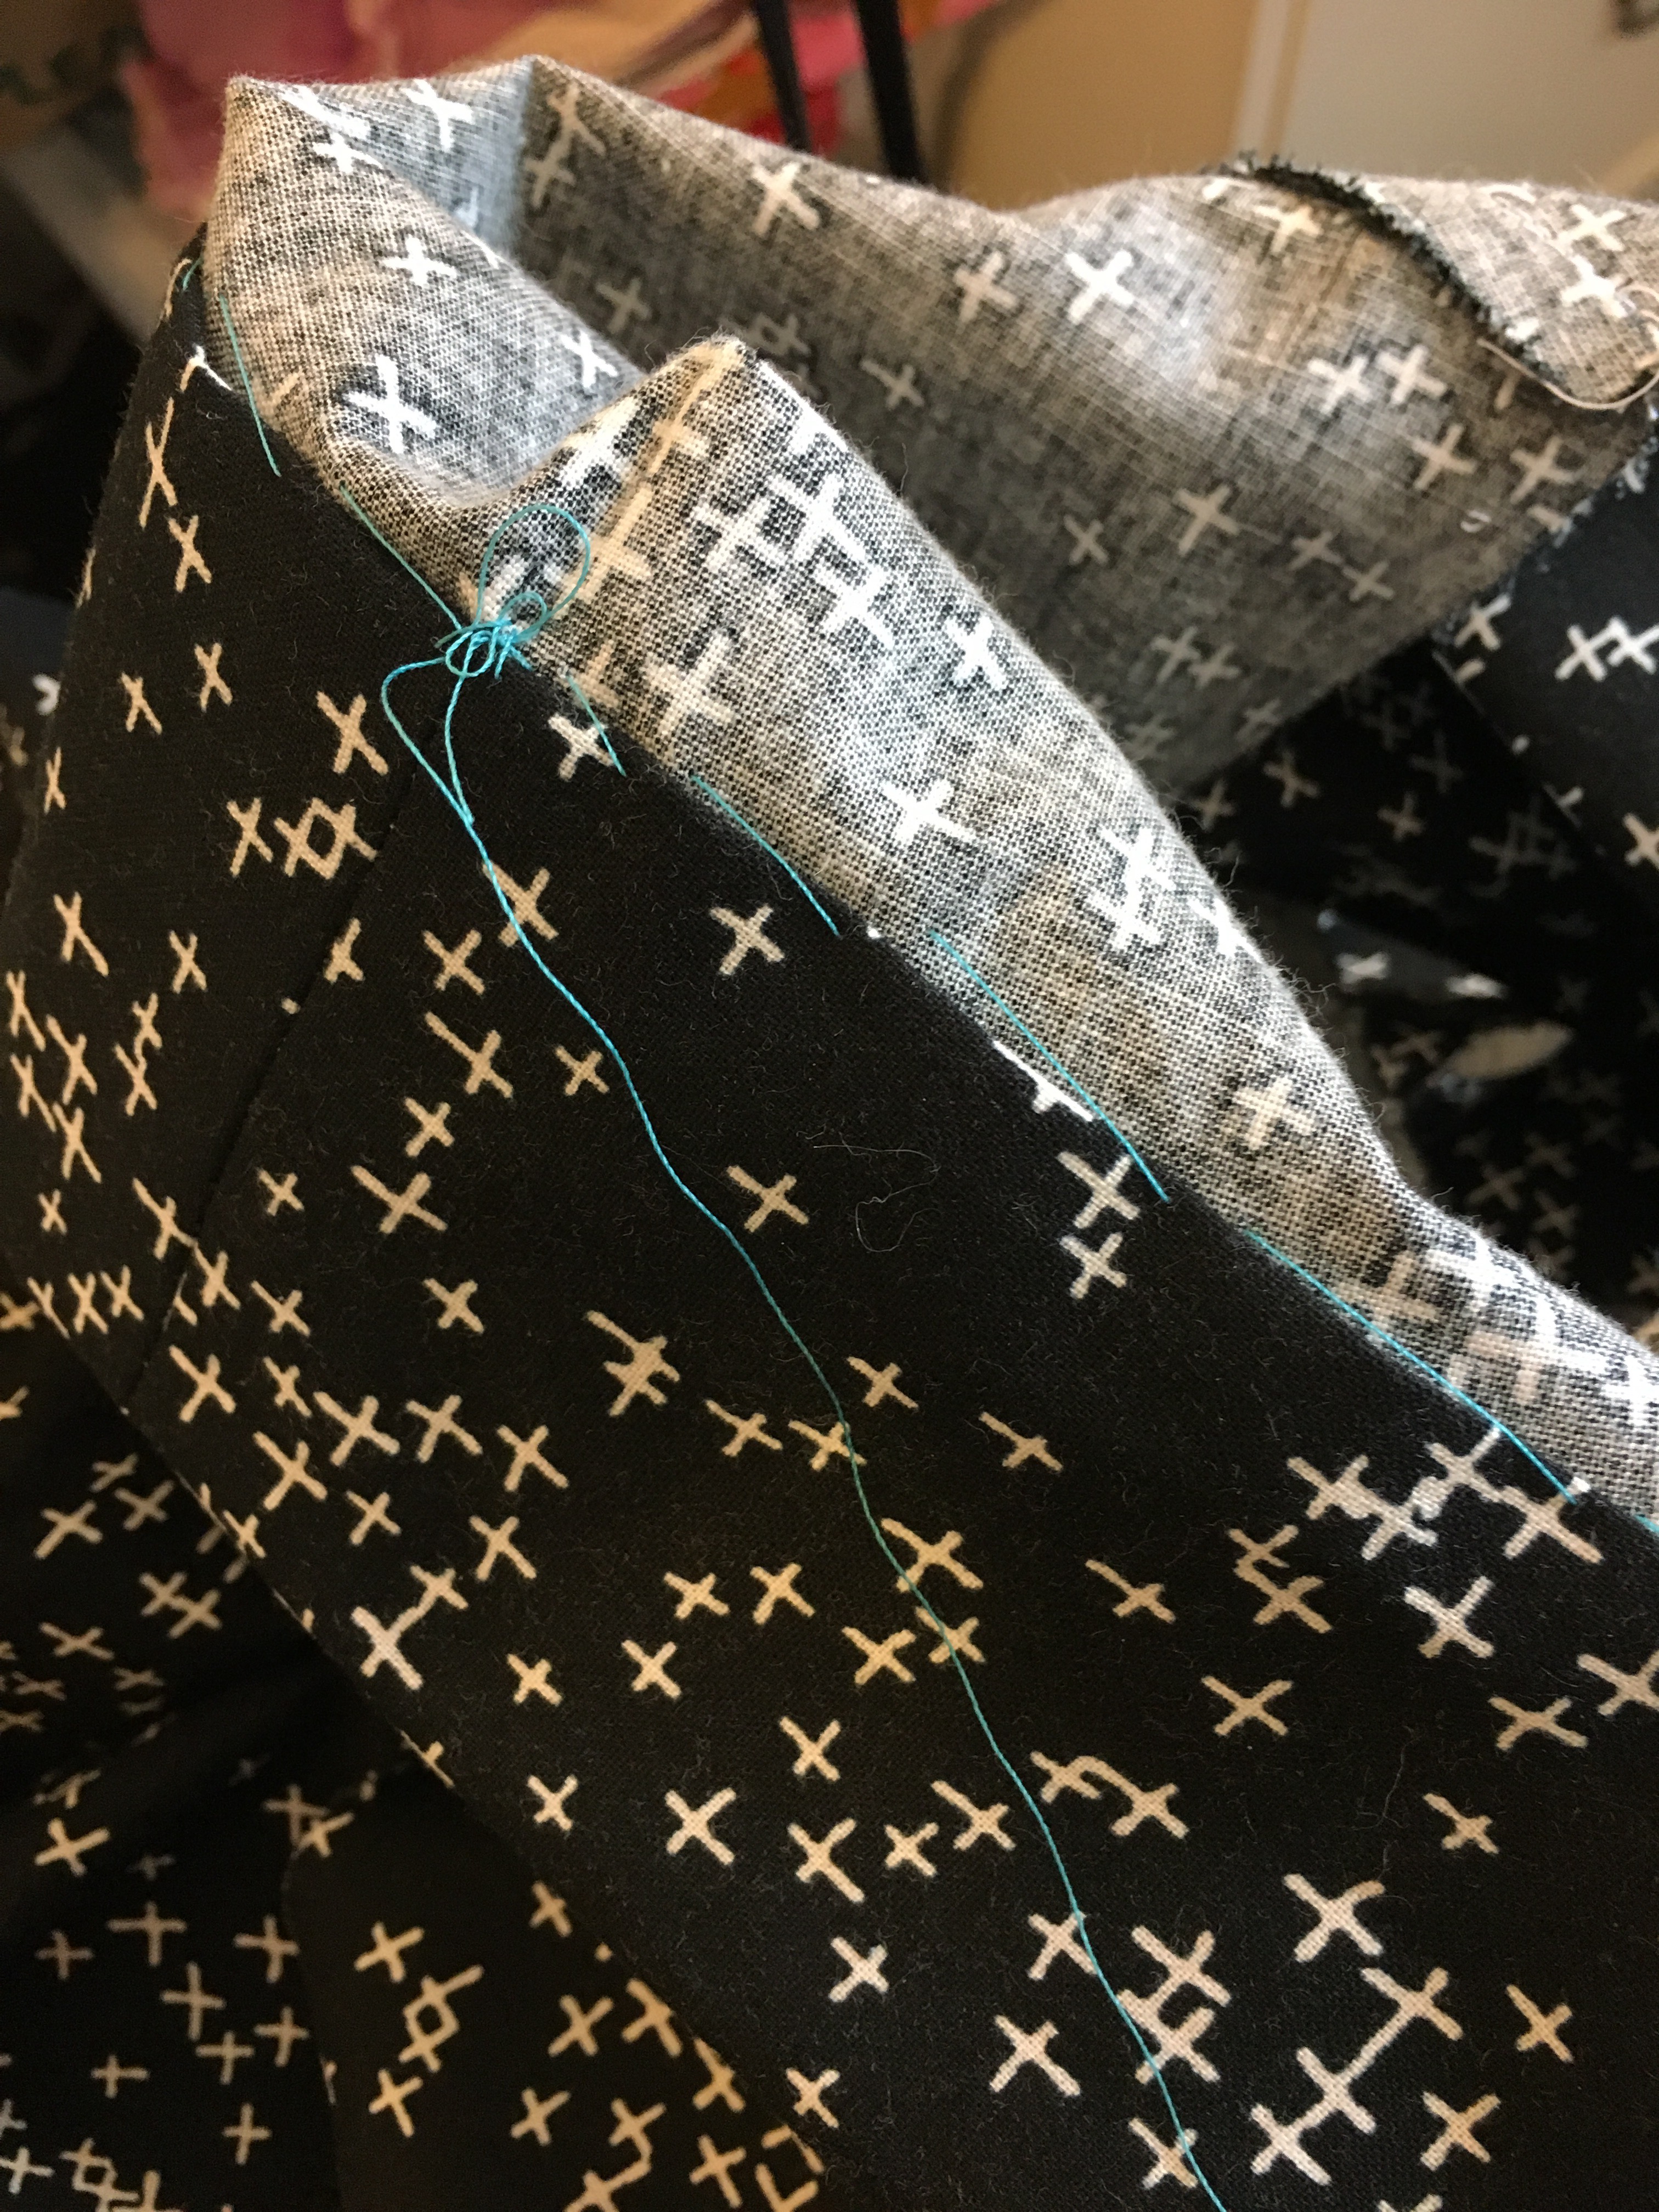
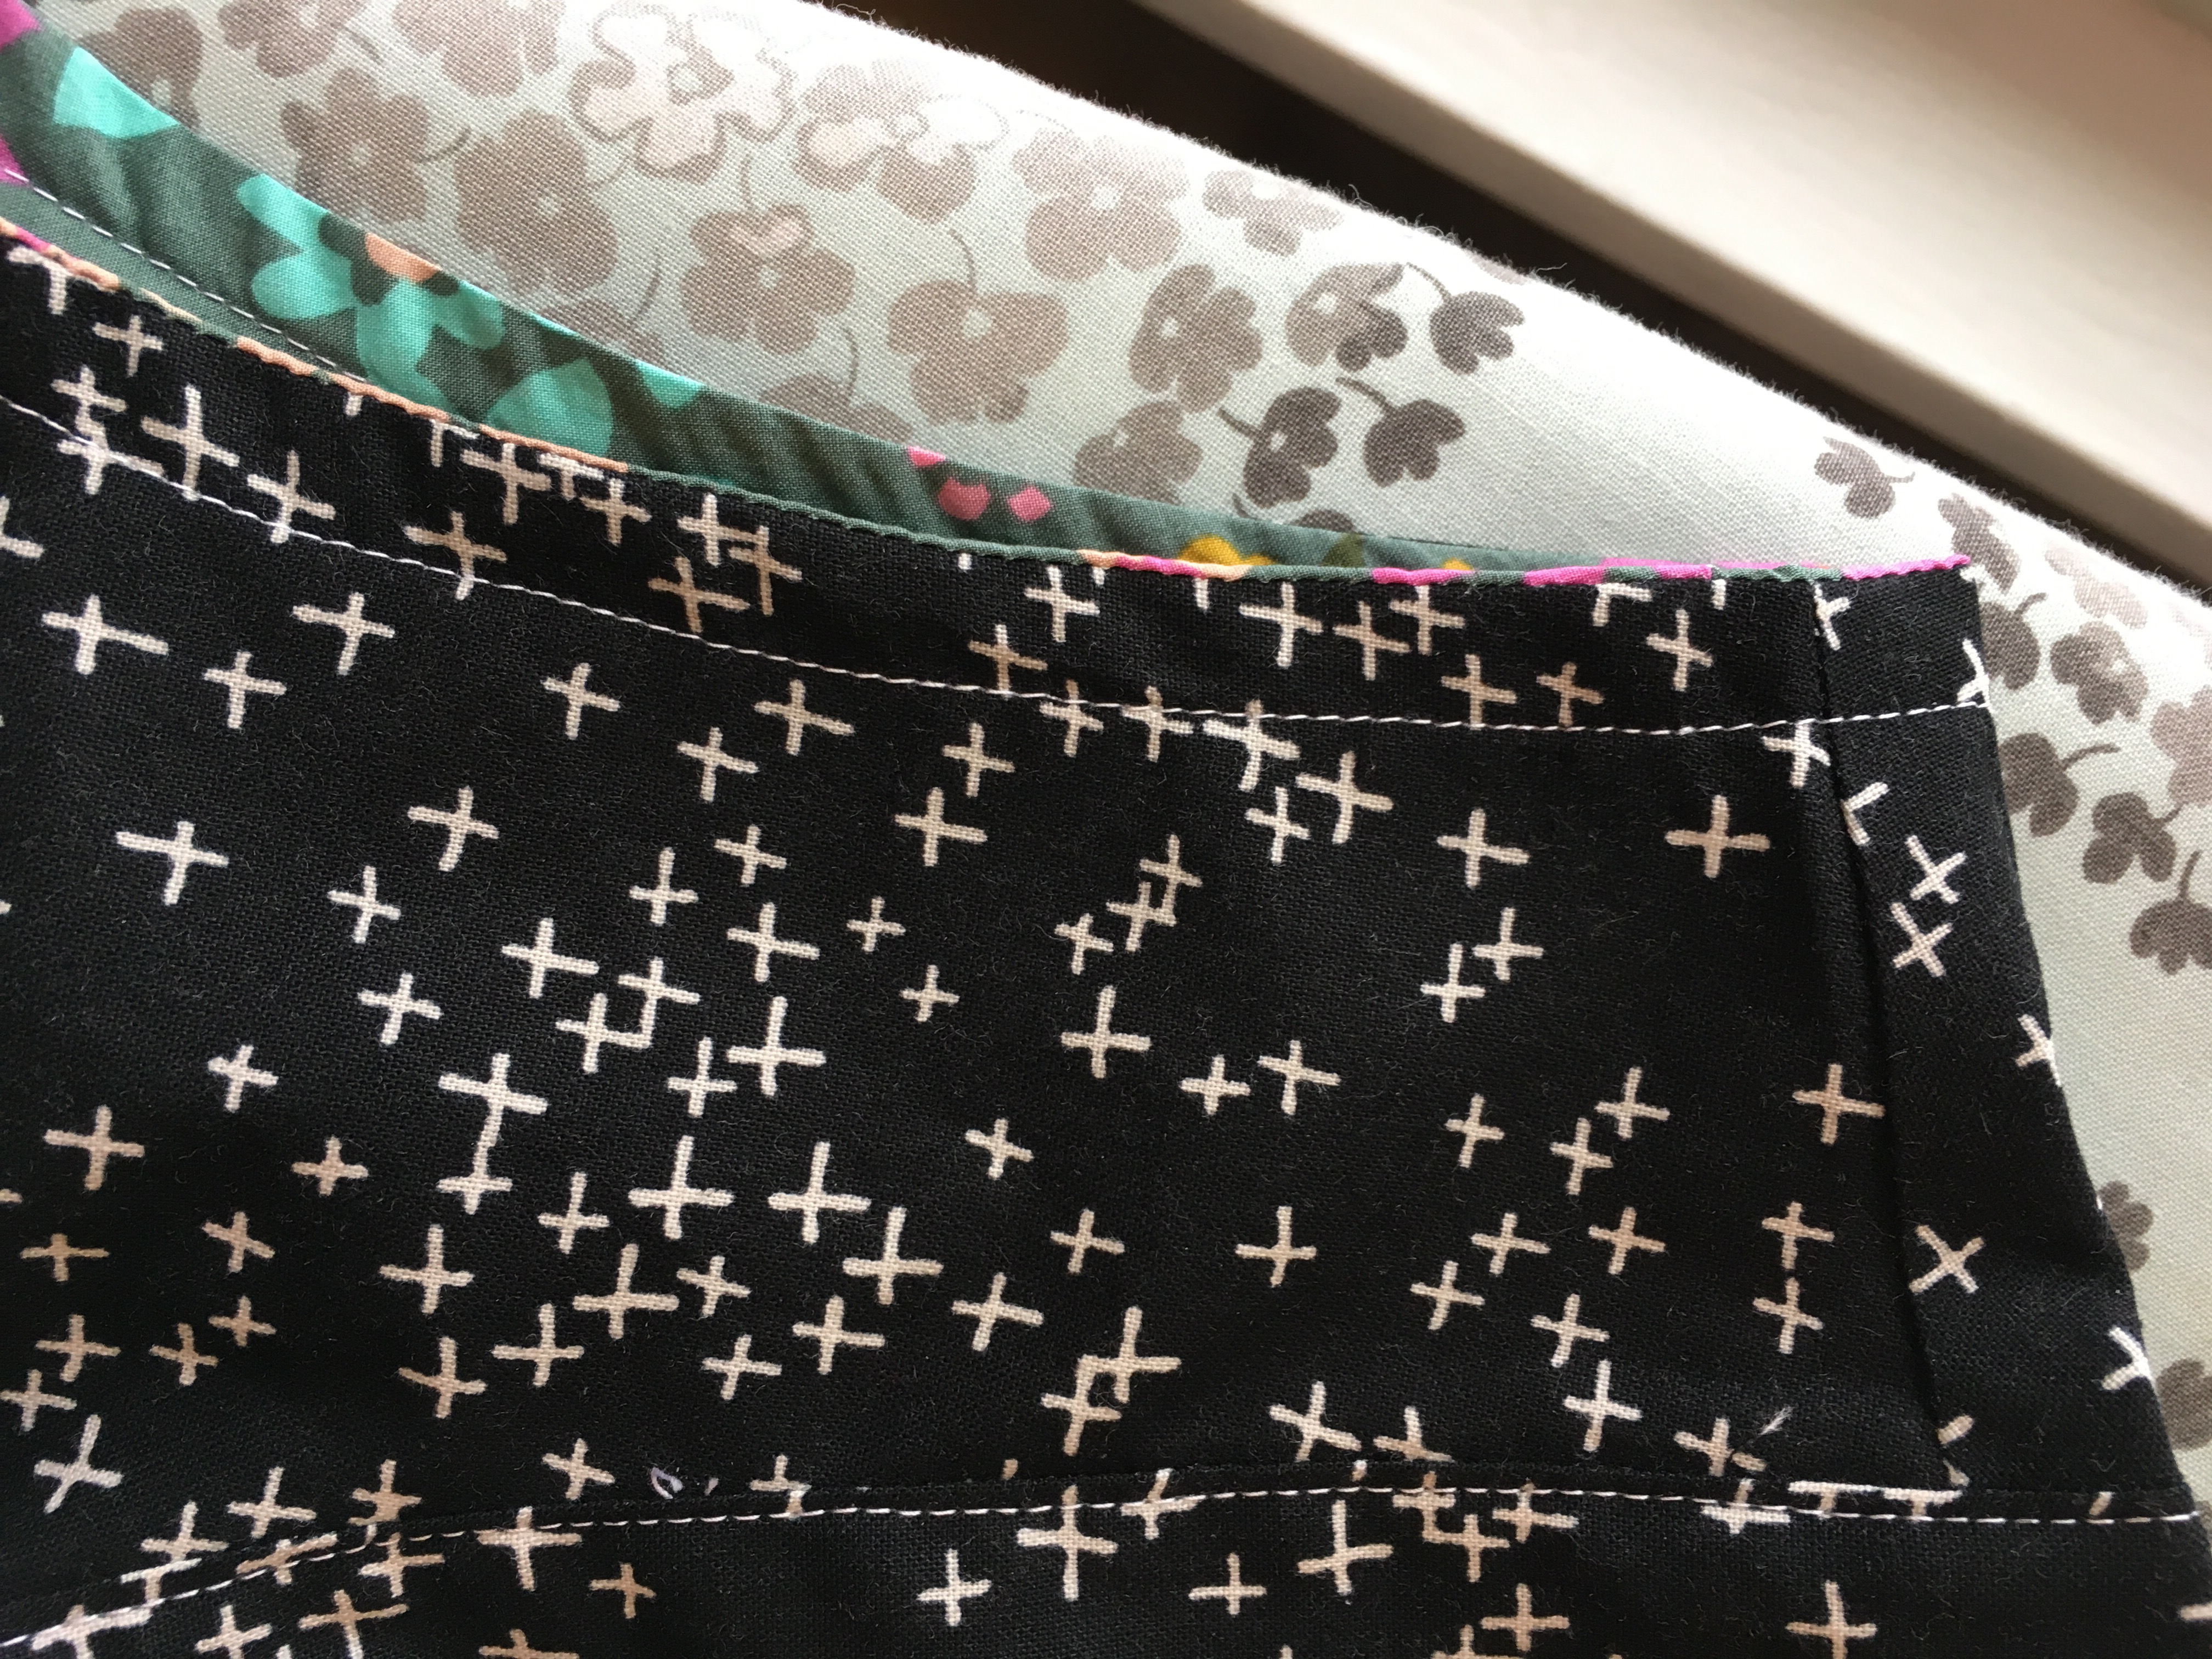
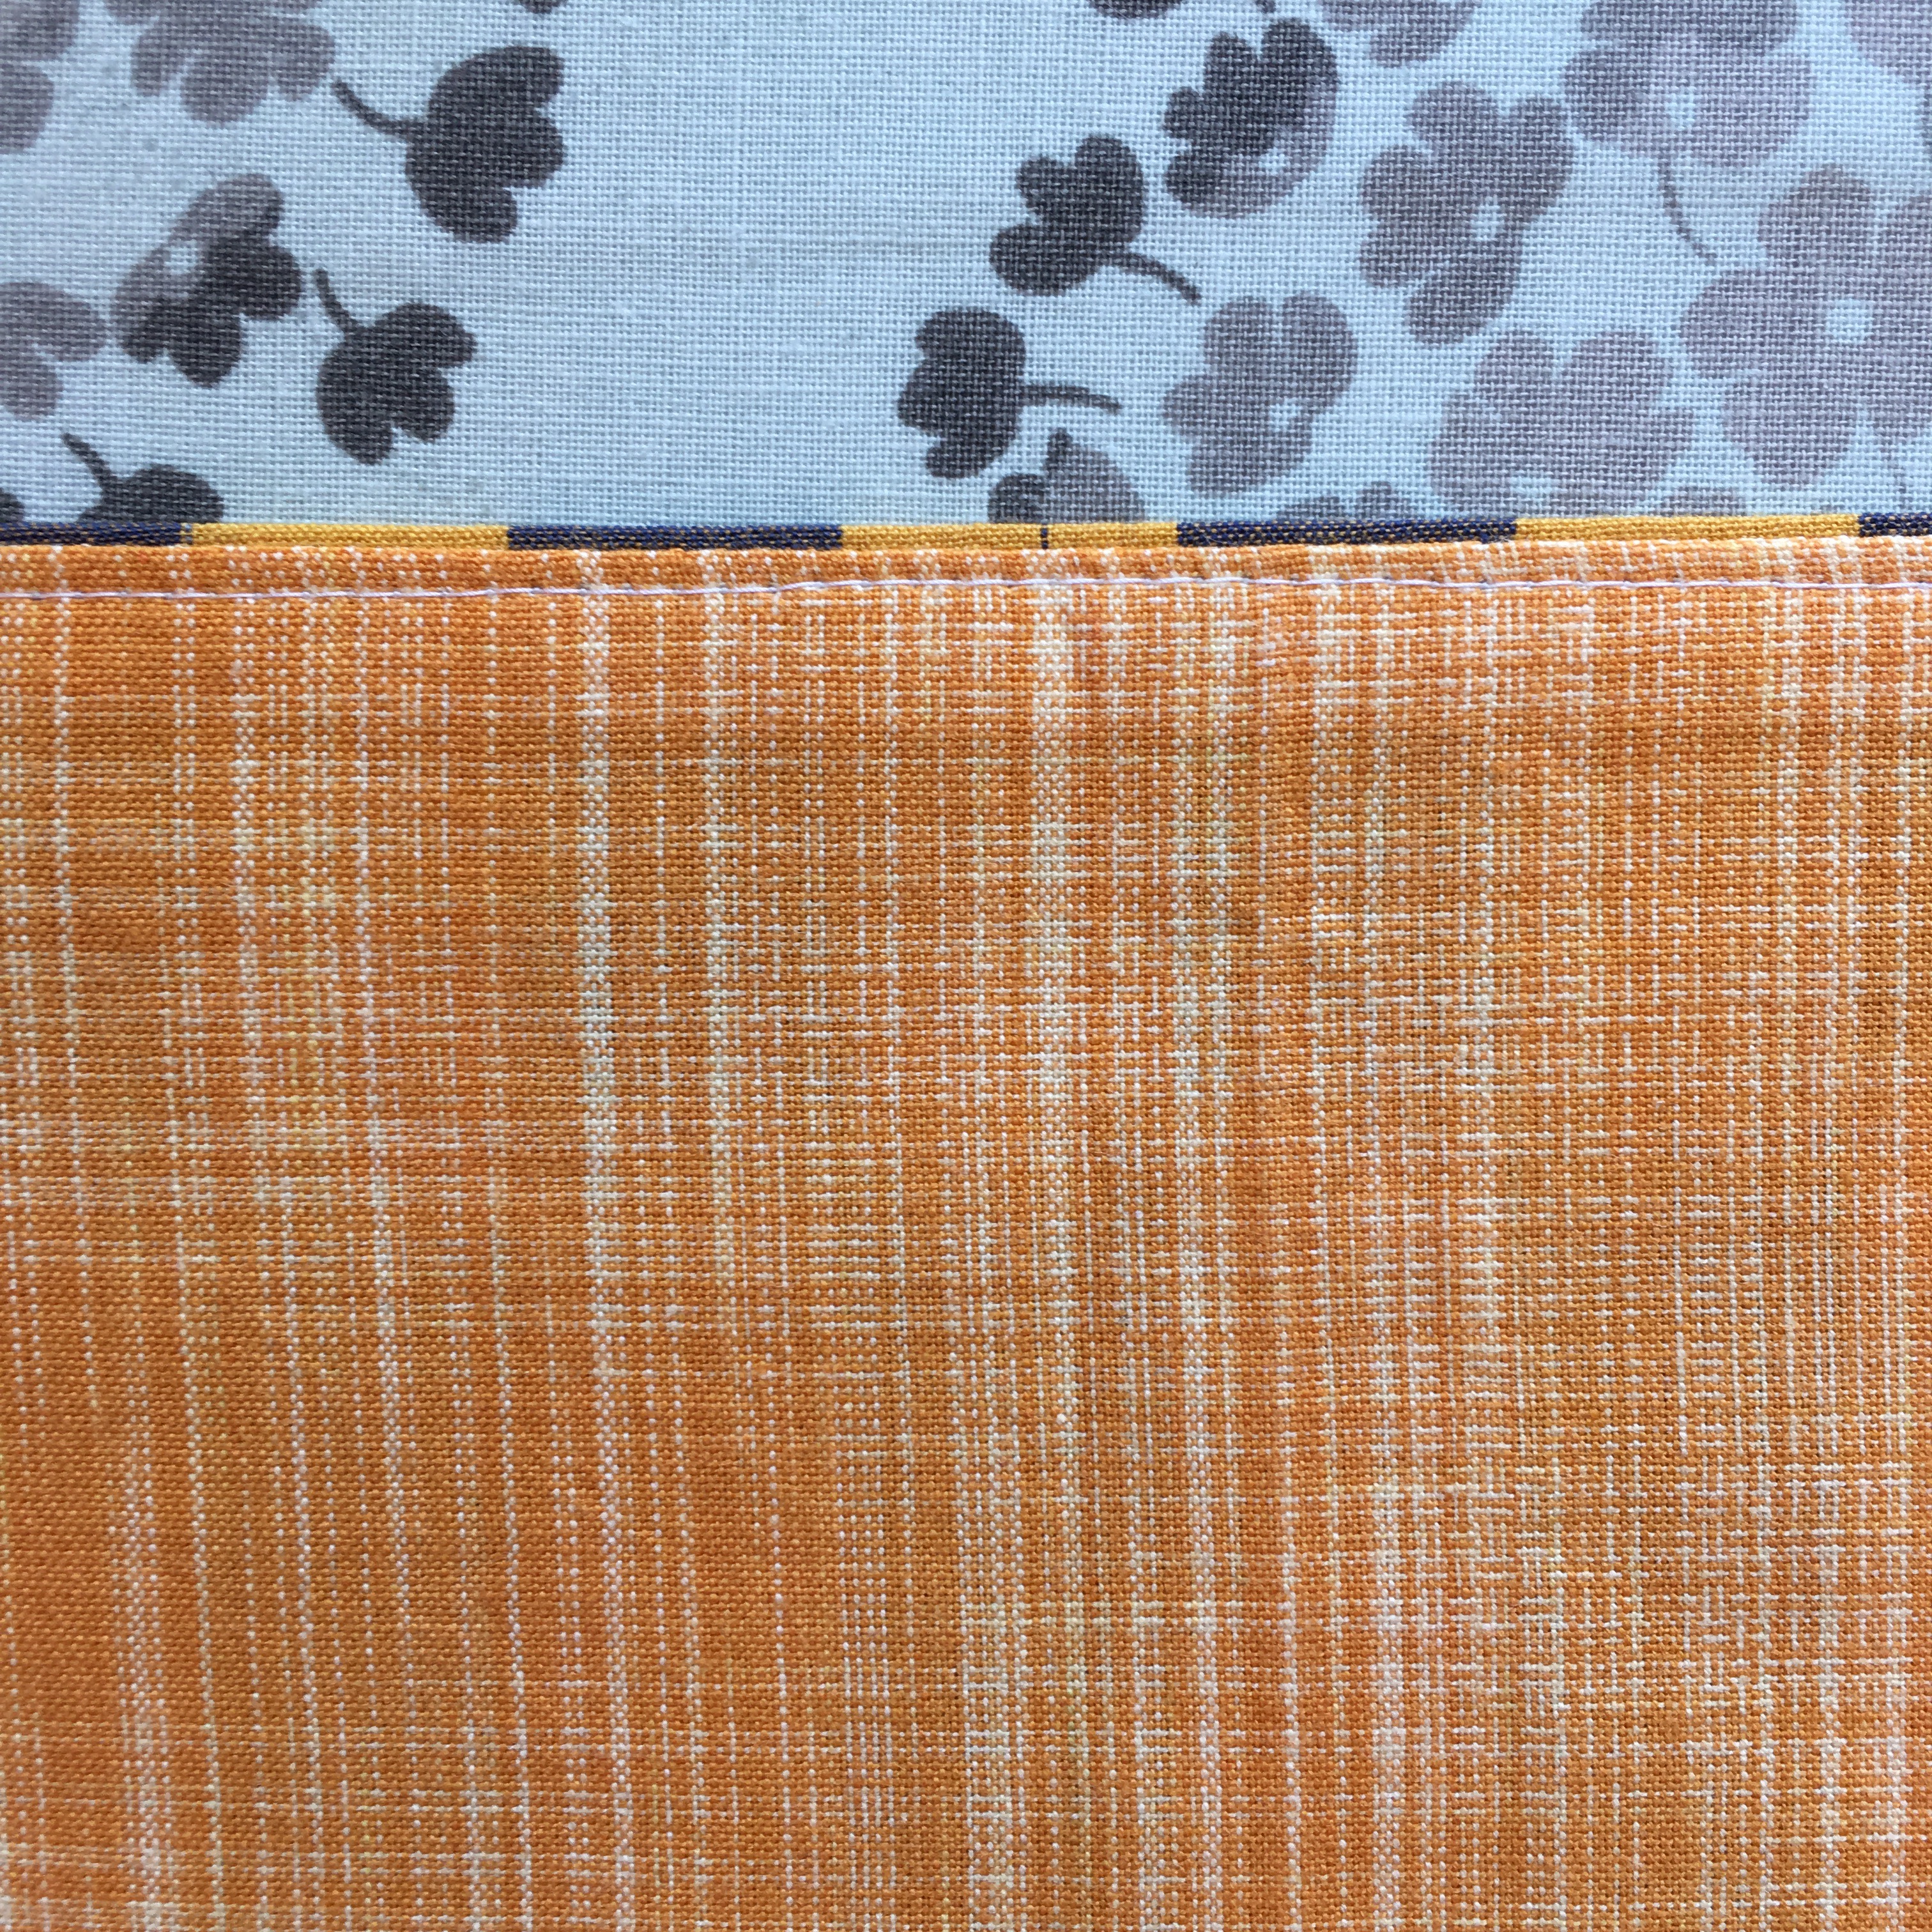
 Hem facing below.
 I added a label as an afterthought right next to the side seam-I had already sewn the rest of the waistband when I thought to do it- because the colors match pretty well. This is the inside of the skirt after being washed and not ironed so a bit wrinkled.
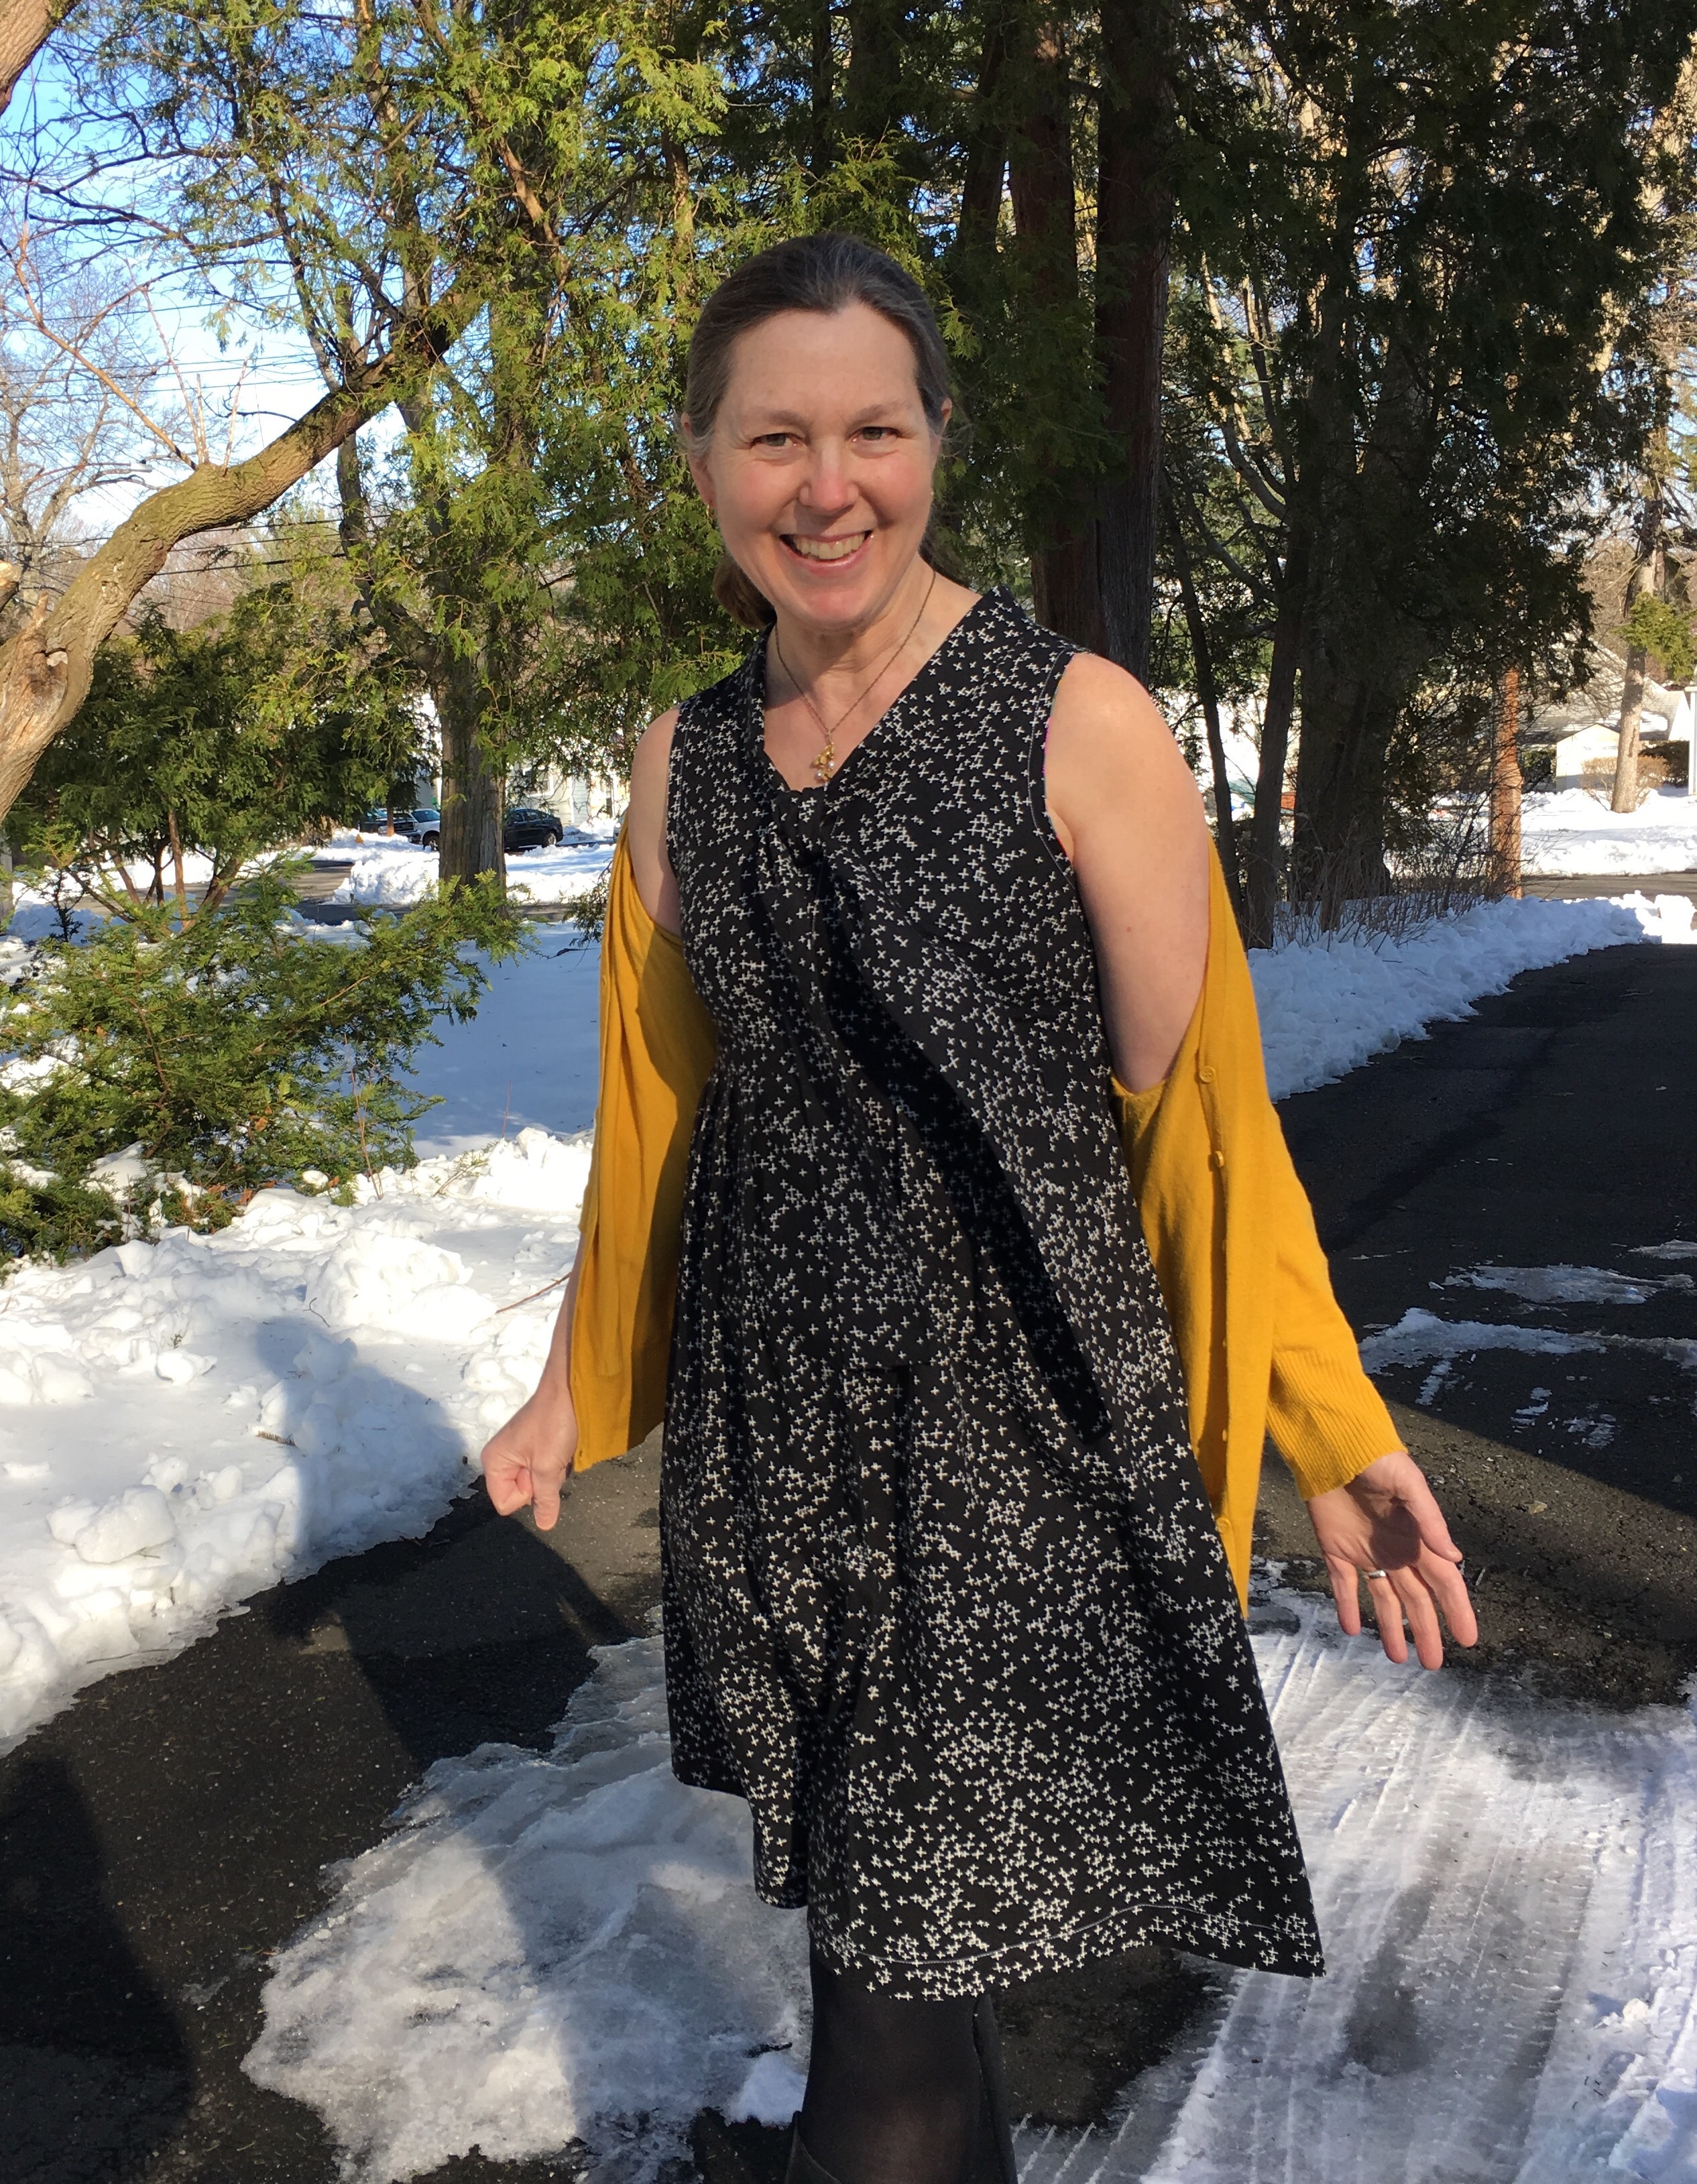
 I took the pictures with ankle high boots but switched boots after I saw the pictures. I decided that I like the skirt with taller boots or sandals given the length of the skirt.
  I probably will make the skirt an inch shorter next time but I am overall very happy with it. It will be perfect for spring and summer months. I have plans for several more Cleo’s in
  It is hard to believe that it was
  and then, since I had already loaded the machine with a deep teal thread, I decided to sew a up the teal double gauze Ruby blouse that I cut out last July (!)
 I tend to cut projects out way before I actually sew them, often because I want to use the fabric for more than one project. It works best for me if I lay out the pattern pieces for both projects at the same time so I can be sure to cut the pattern pieces in such a way as to have enough for both projects. In this case, I had used the teal for the pockets and waist facing for my
 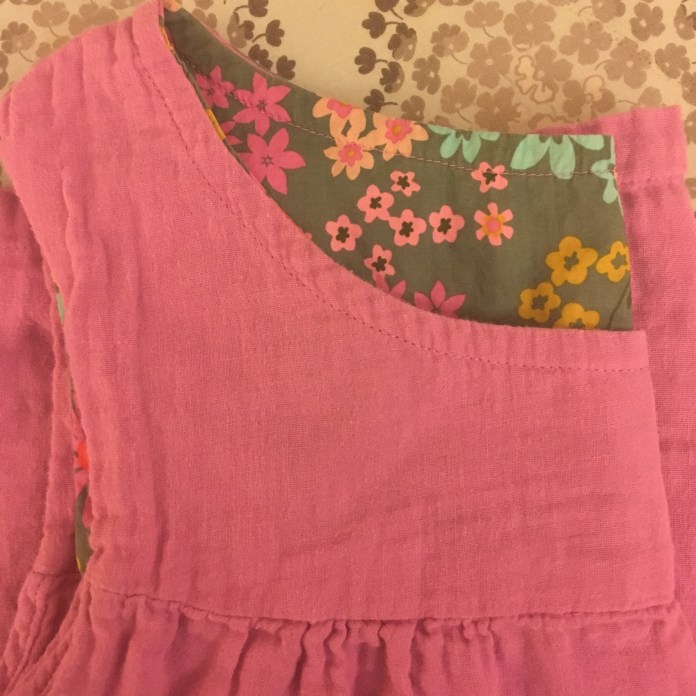 I made it using Rae’s sausage technique for lining the bodice. See this post about a favorite
 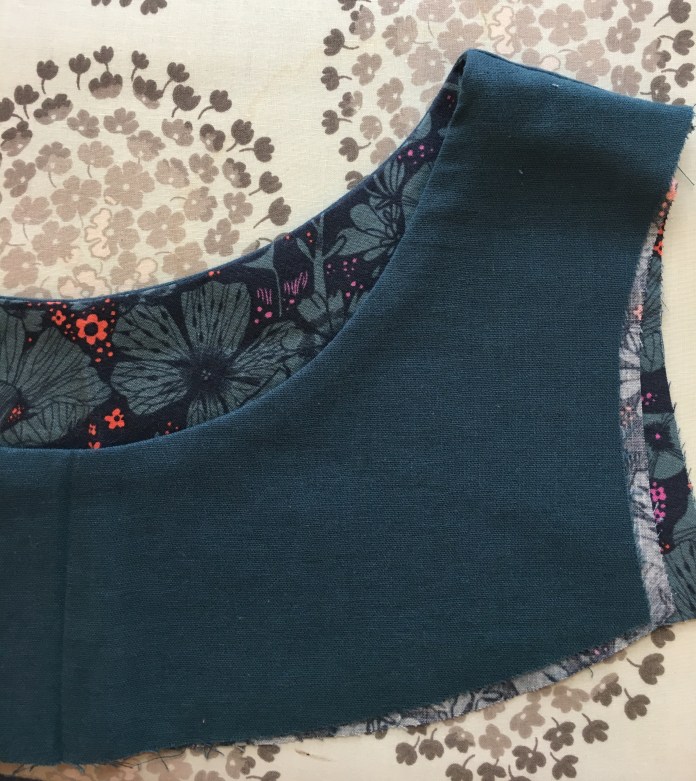 I have used the sausage technique so many times on my many Washi dresses and Ruby dresses and blouses that I didn’t need to refer to the videos but they are awesome.
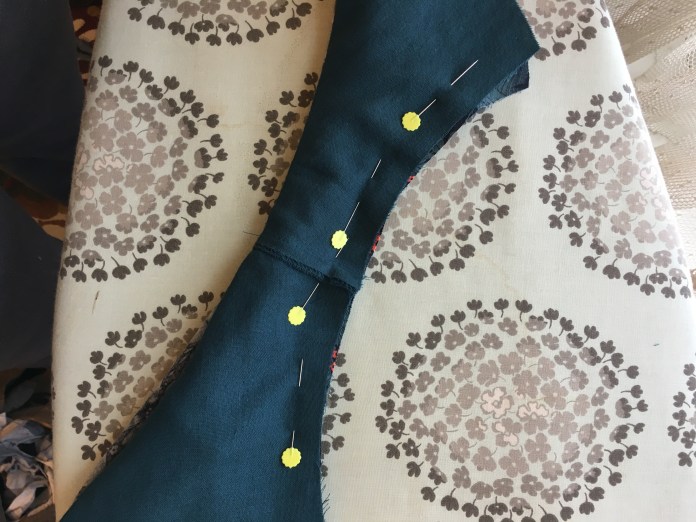 I did look back at the
 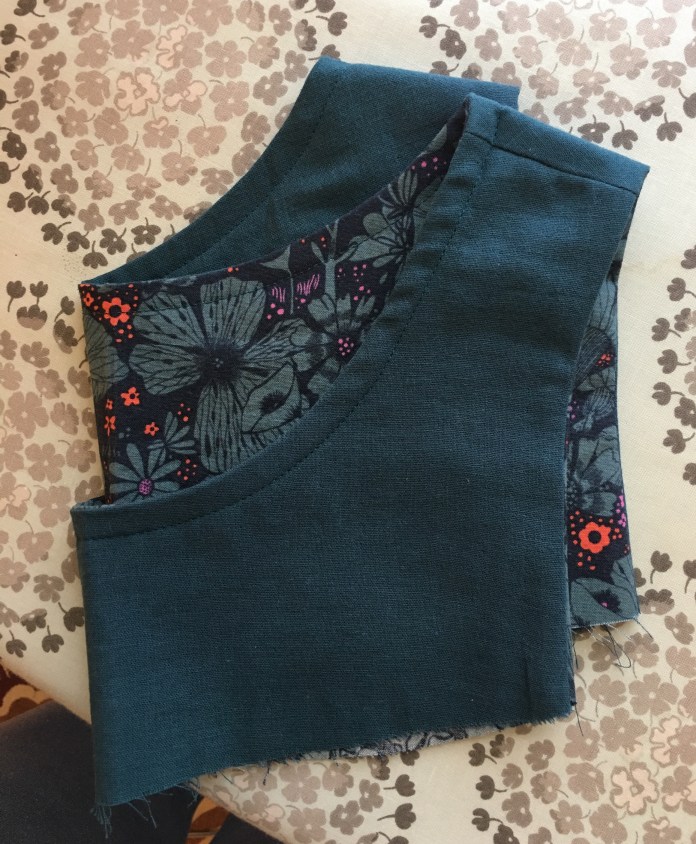 I machine wash my garments and it seems as though that extra stitching gives the neckline a bit more stability and strength.
 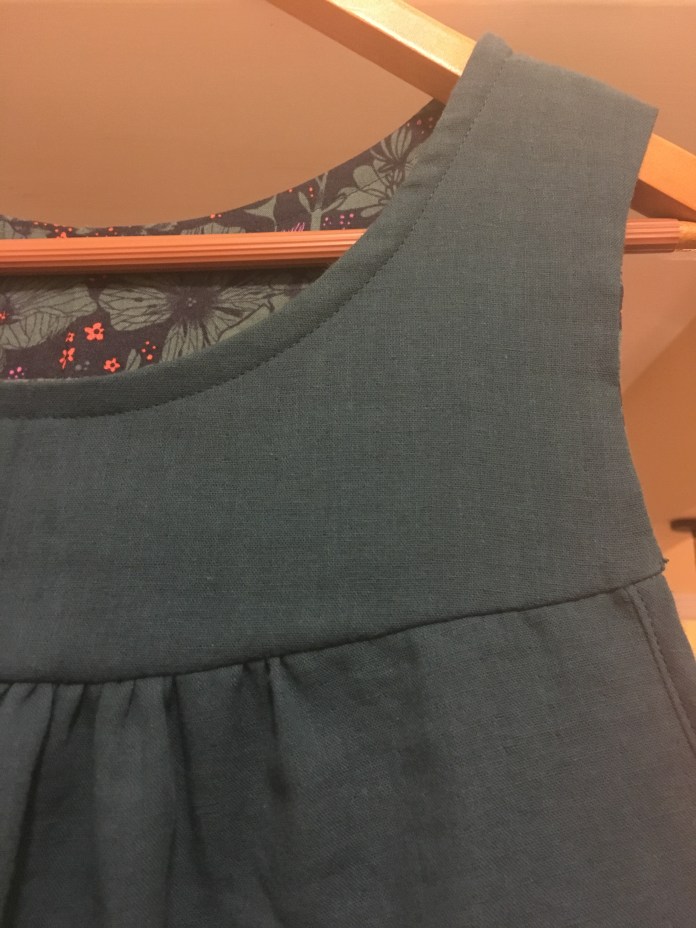 The sausage technique leaves two seams on the inside of the blouse that require hand stitching. I actually enjoy hand stitching so I enjoyed this part of the project. I was able to sew the entire blouse in an afternoon and wear it to work the next day without rushing or cutting corners. It is sometimes very relaxing to just enjoy the process and make something beautiful without worrying about how long it takes.
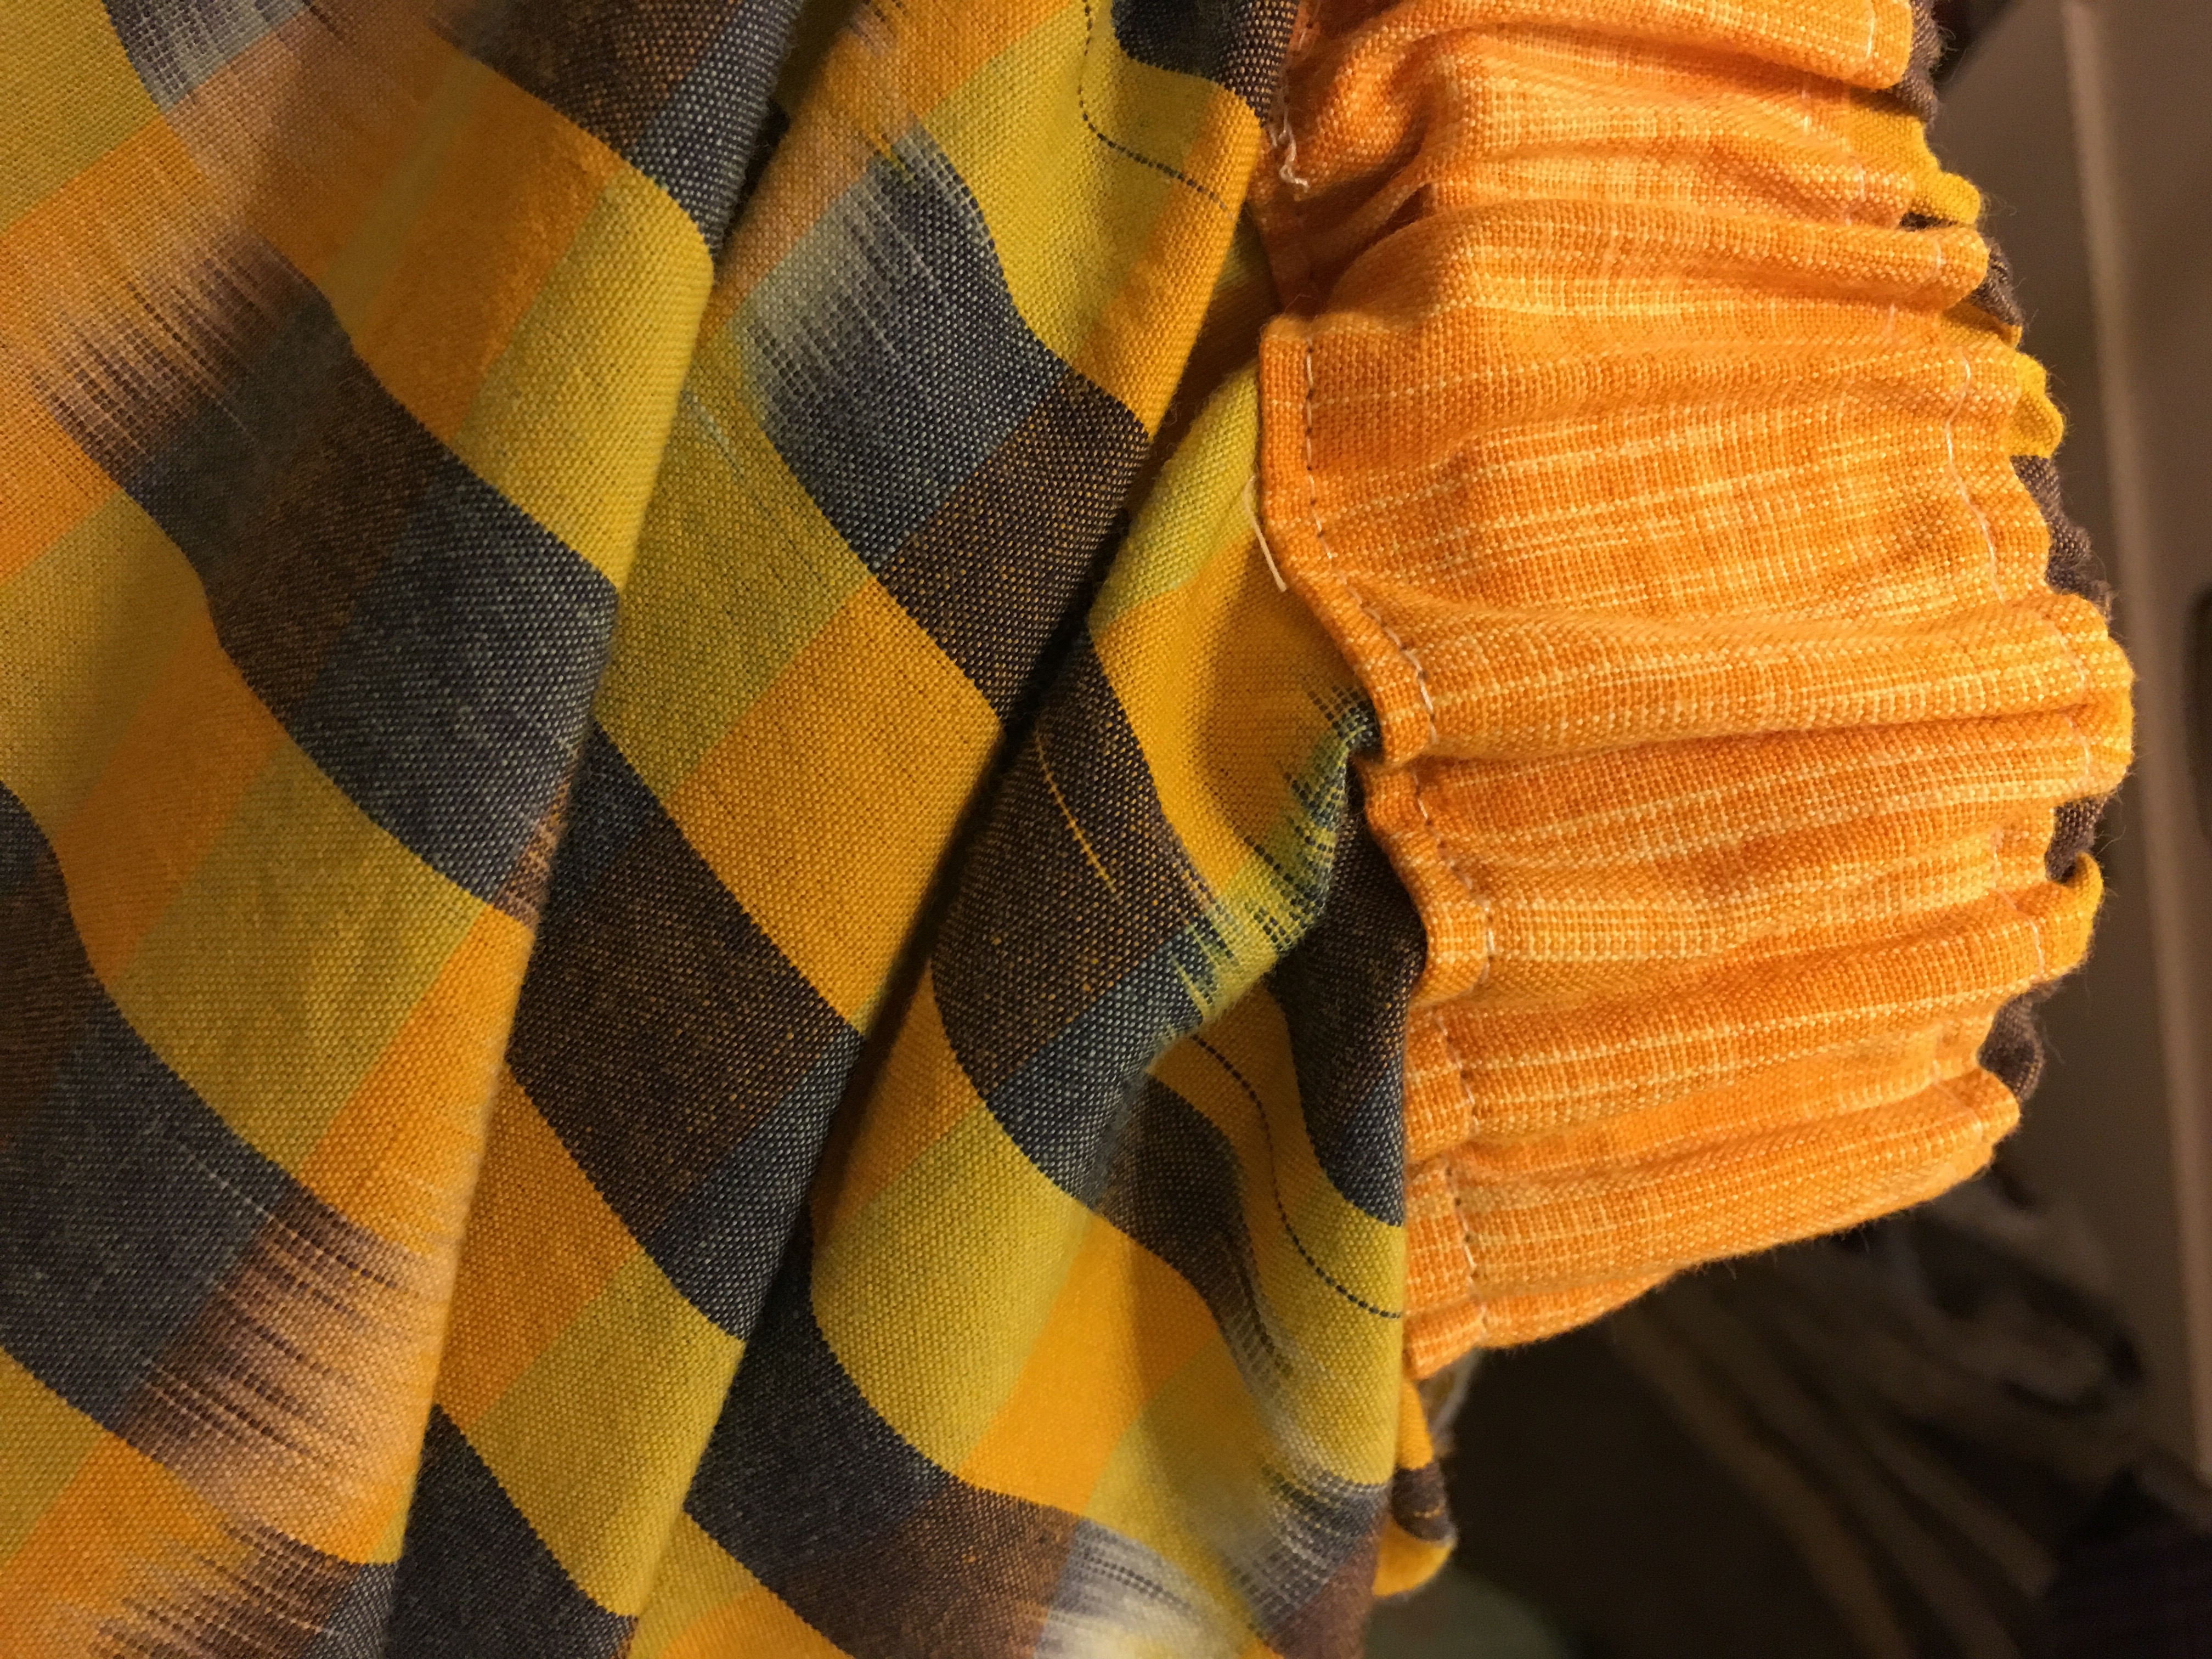
 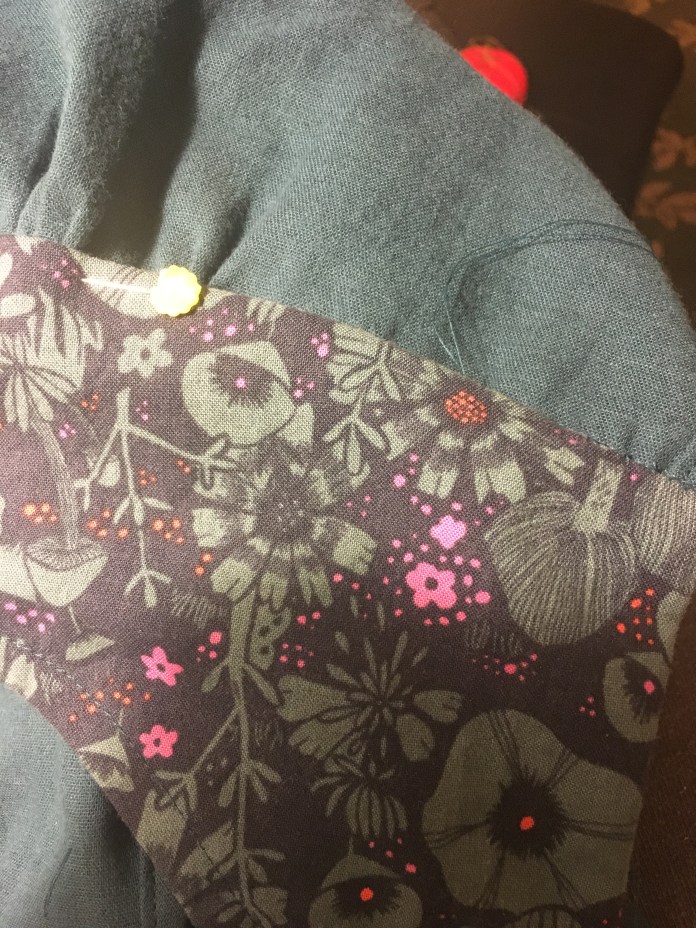 I even had time to make home-made soup for dinner after I finished sewing. I often make what I call “refrigerator soup” where I look in the refrigerator and see what I have and make it into soup. A couple of weeks ago, I had half a butternut squash, a sweet potato and some carrots and I ended up making soup with some sautéed onions, chicken broth, fresh ginger and a little curry for seasoning. It was fantastic so today I made it on purpose. “Vitamin A Soup” below. I think the bright orange and yellow color speaks to me in the dark days of winter.
 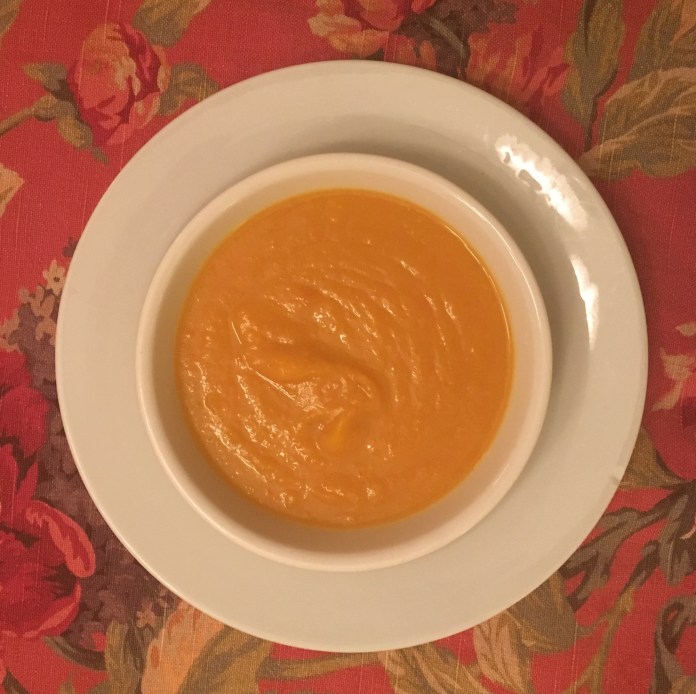 I have been drawn to oranges and yellows all winter. I have made several
  I am also loving


 I ordered the fabric and efficiently I thought, cut out the pattern pieces in an evening.
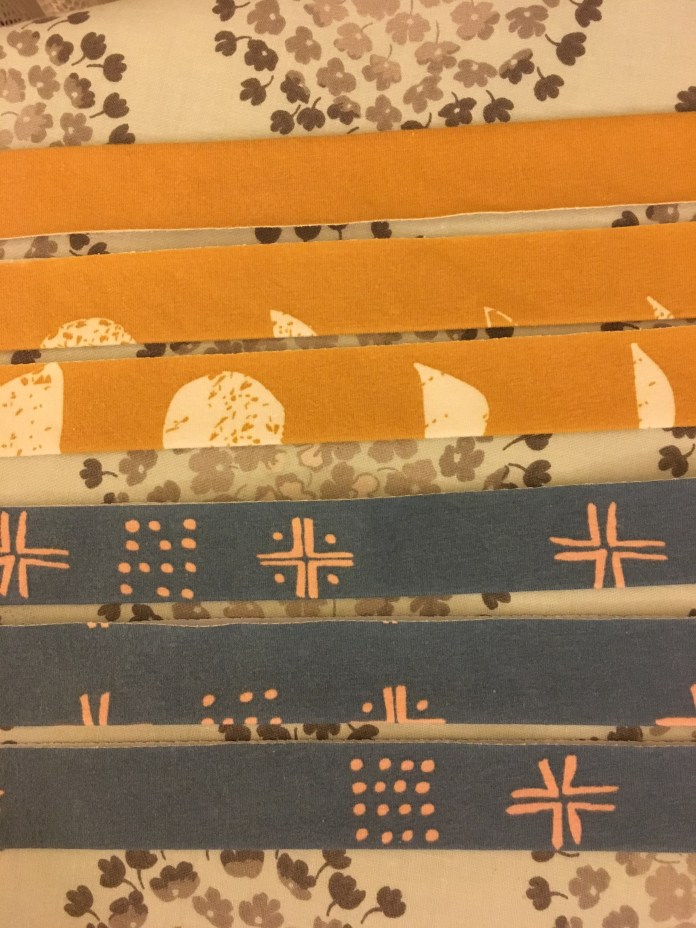 I used the adjustments that I made to my first version which added an inch to the bodice length.
  I chose 2 yellow/mustard fabrics, one for a top and one for a dress and a second two blue fabrics with the same plan.
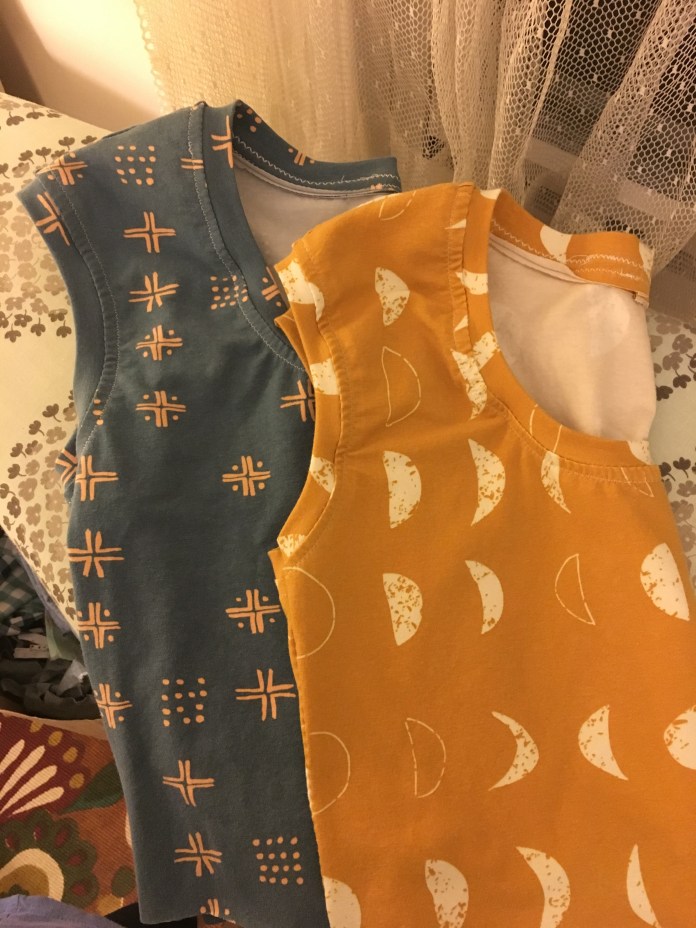 I also wanted a neutral top so I decided to sew one in a cream color. I like patterns that evoke stripes without being completely traditional and I loved this fabric from Art Gallery Knits which I thought would be perfect, so I sewed it first.
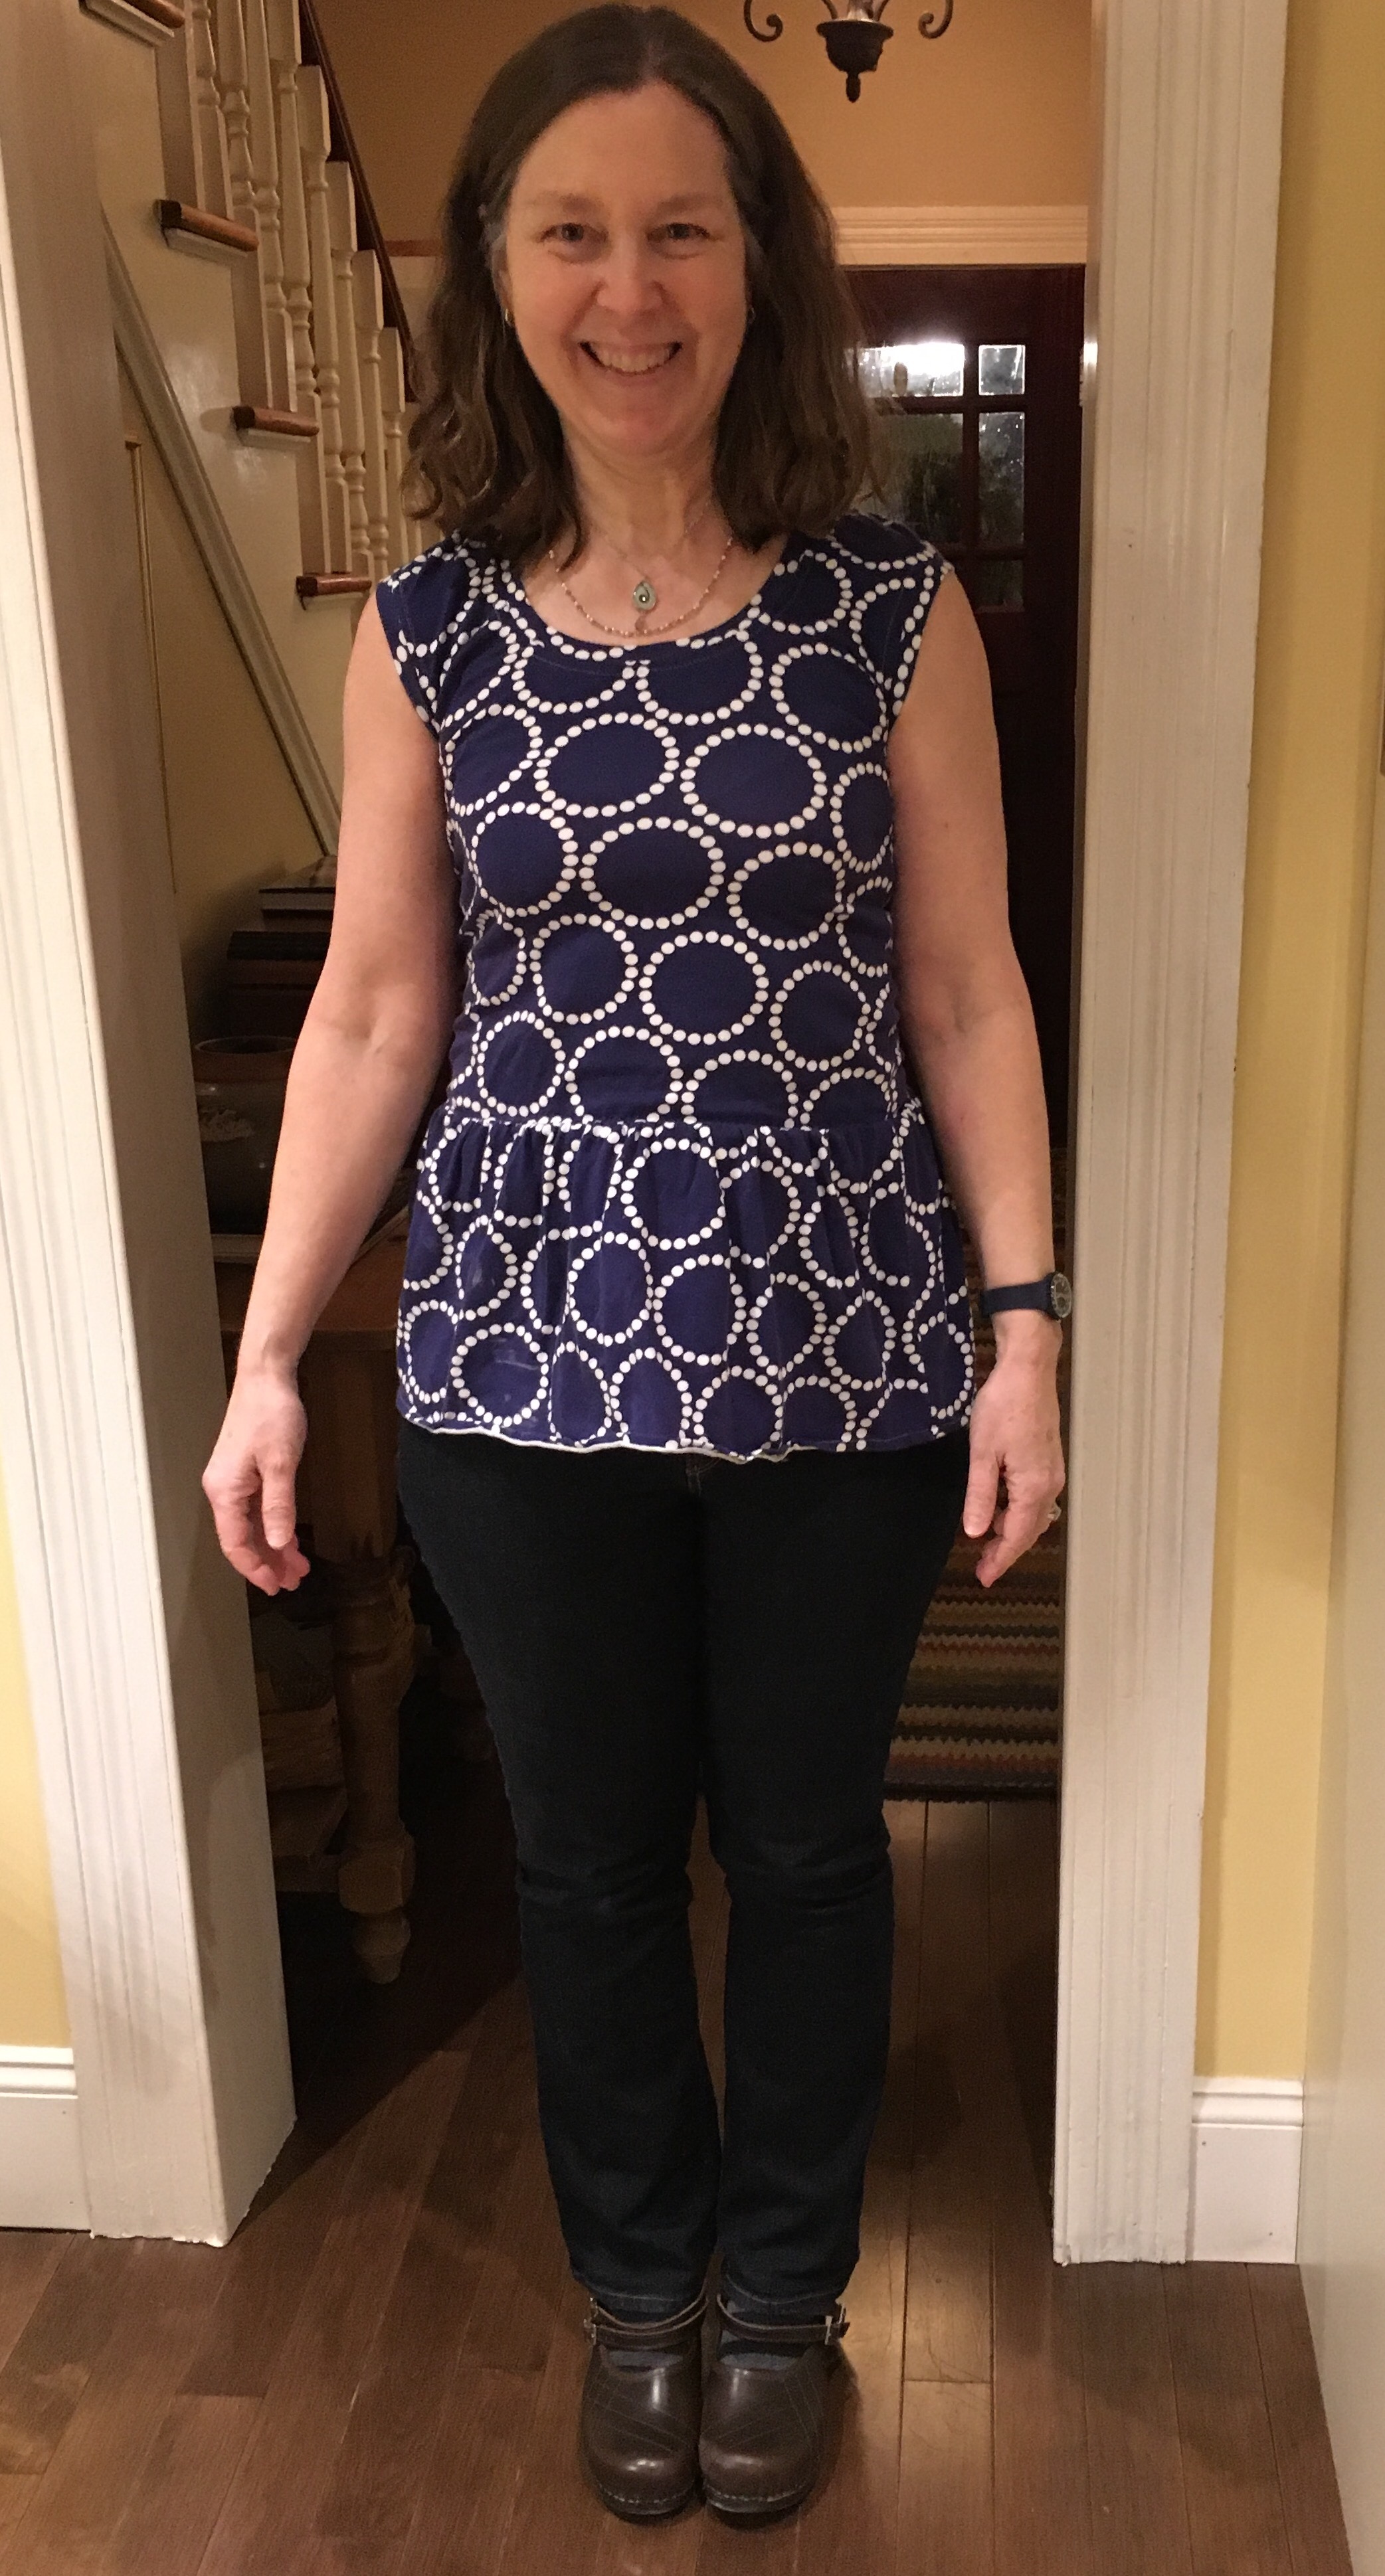
  It is a really soft nice feeling knit and it sewed up beautifully. I added an inch to the length of the ruffle as well. Here is the finished top. Cute, right? I was happy with how nicely the stripes worked with the neck and arm bands.
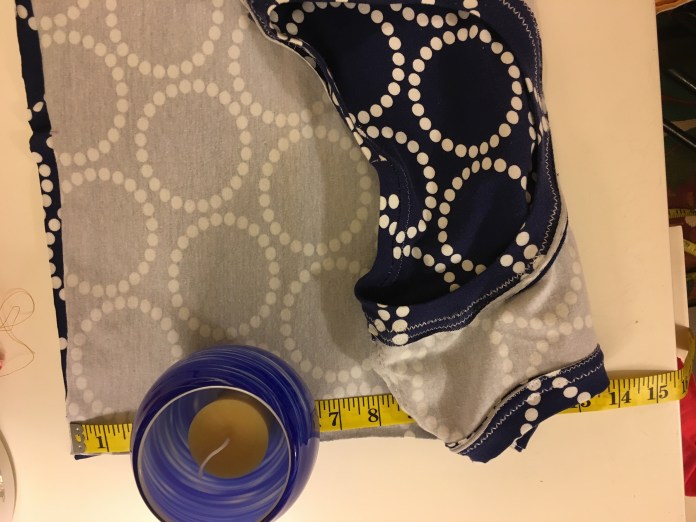
 Then I tried it on and I was not thrilled. I have a very long torso and so even after adding the extra inch, this hit me way above my natural waist. It didn’t bother me with the dress because it draped nicely but the top didn’t work as well for my shape. Here are some pictures. It’s not terrible but not great and when I wear it, it feels as though it keeps riding up which doesn’t happen with my dress versions. I just didn’t think about the fact that the torso adjustment might be different for the top vs the dress. So for those of you with long torsos, take heed!
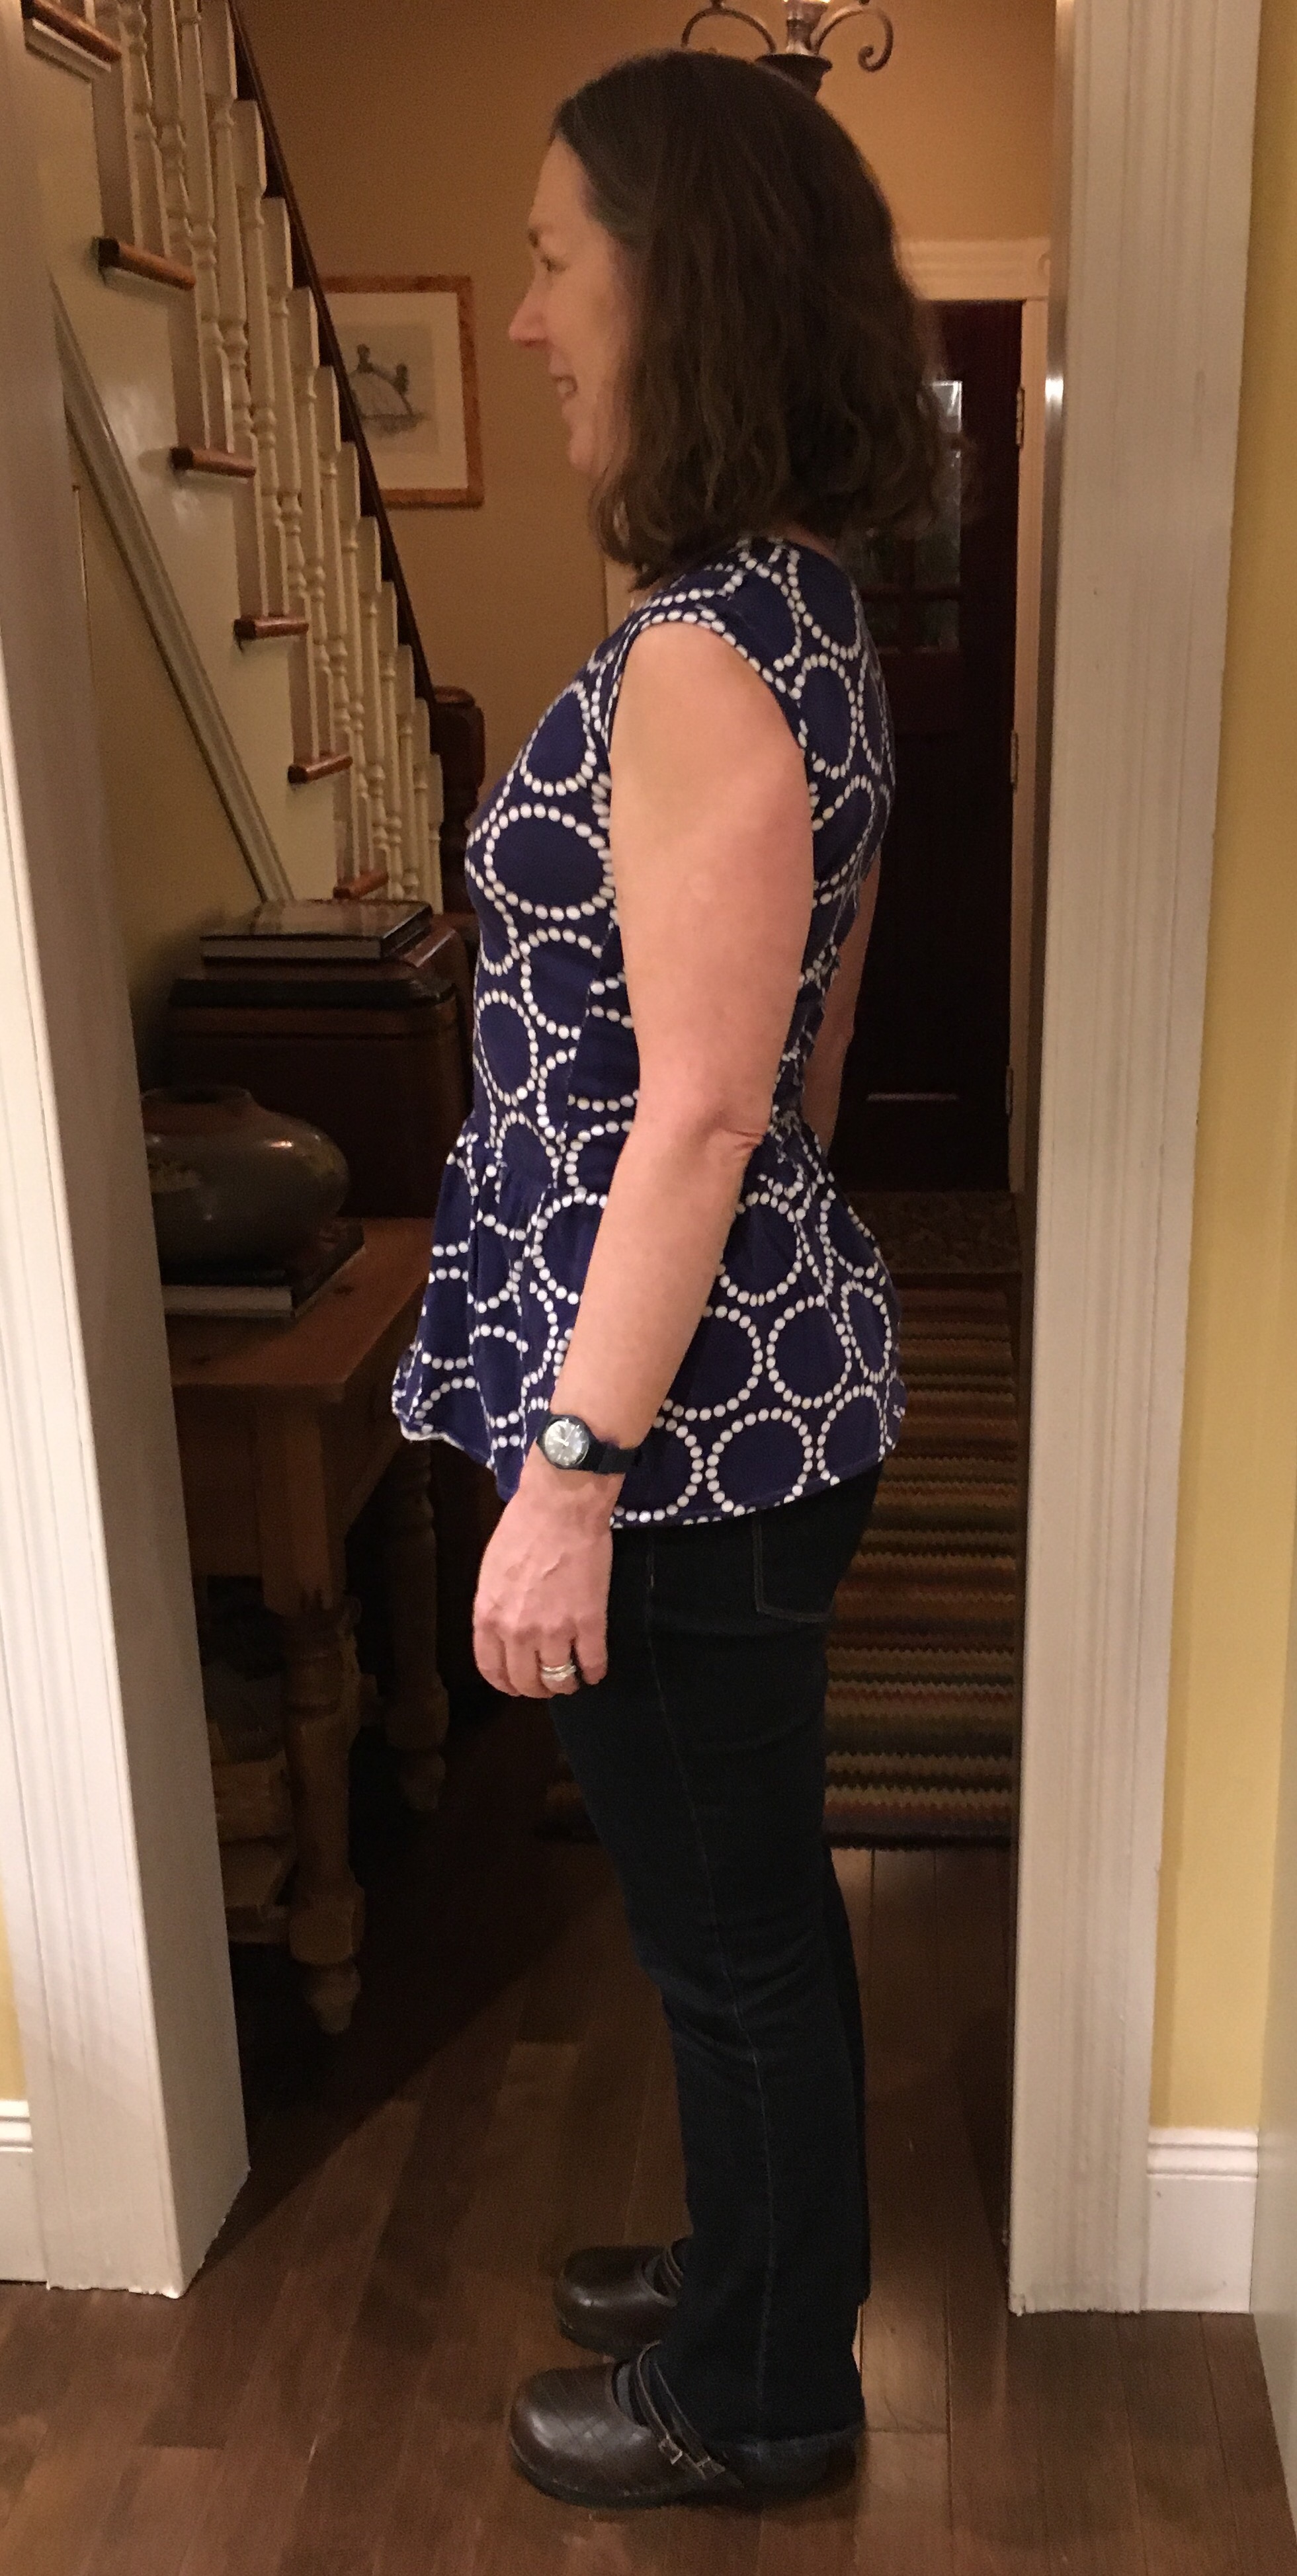
 The side view shows that I probably could have used another 2 or 3 inches.
  Back
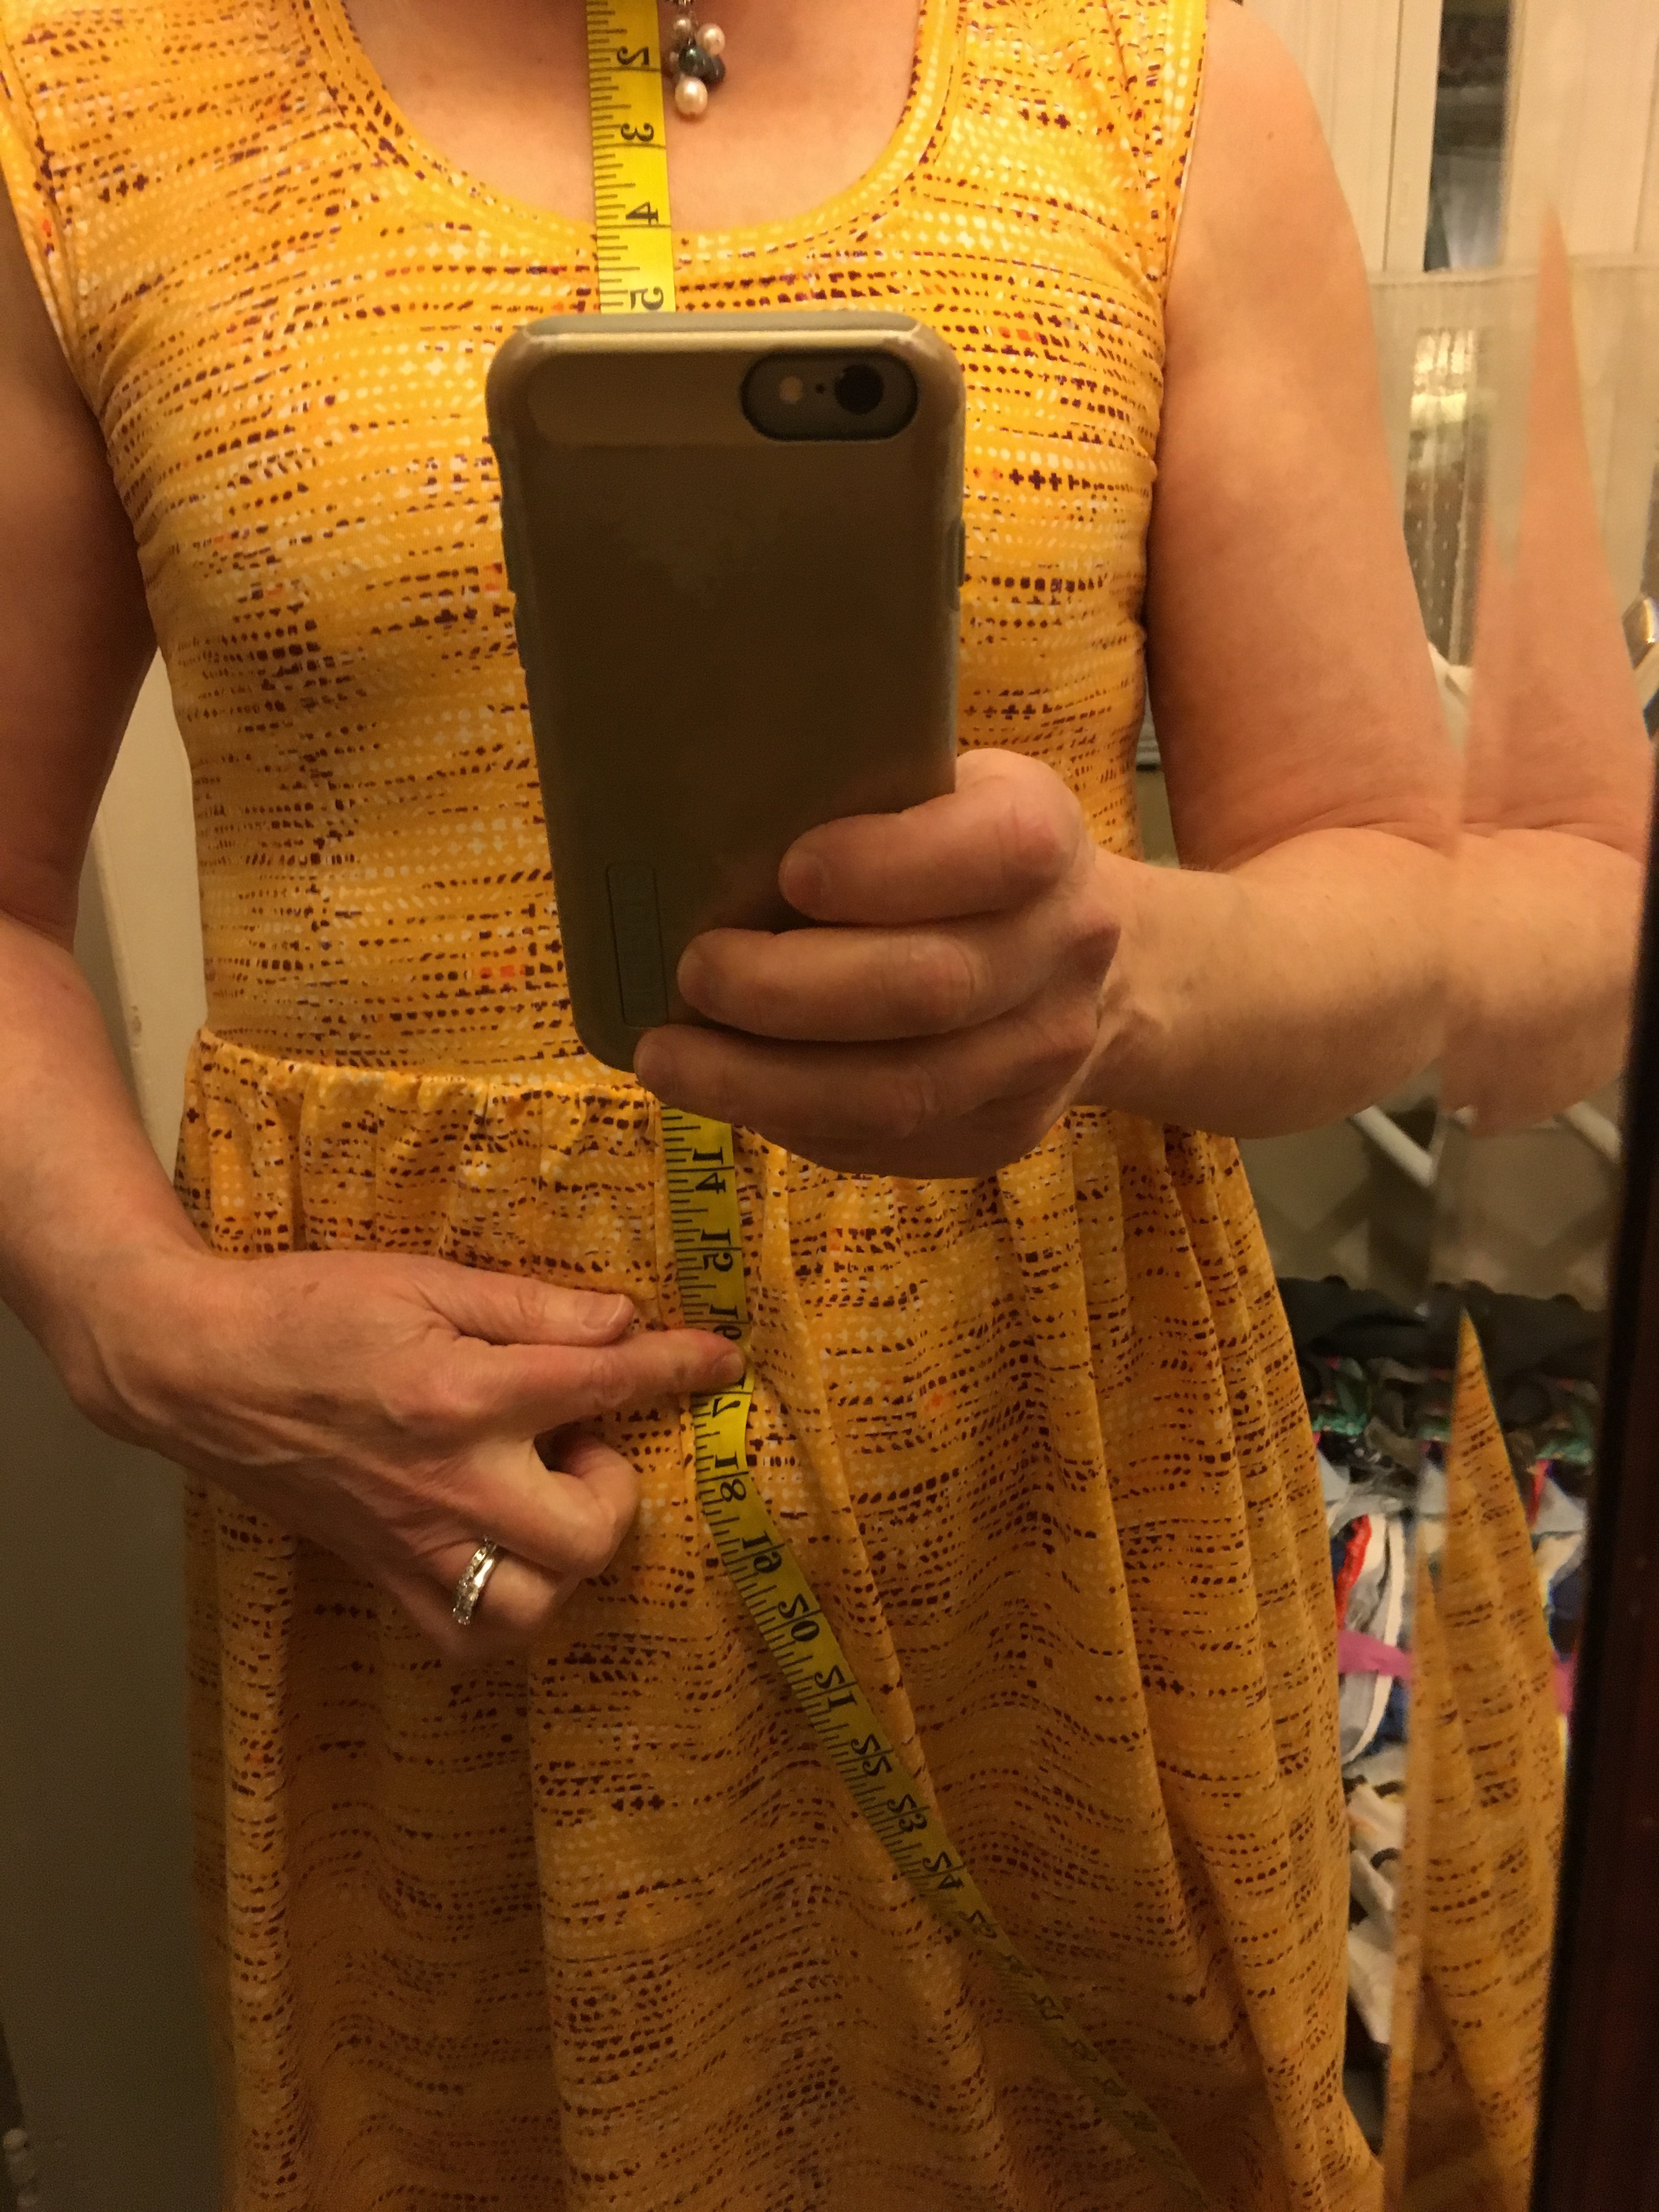
Back Sometimes being too efficient ends up being a problem because I now had already cut out all my pattern pieces and I knew that those that had been destined for tops would not end up being garments I loved. So I ended up buying another yard each of the two fabrics I had intended for tops. I used the bodice pieces I had already cut and cut the dress length skirt pieces out of the extra yard and have saved the top length skirt pieces for another project. So now I have 2 blue dresses and 2 mustard dresses. With leggings, boots and a cardigan, I am all set for the week. Just to show you how long my waist is, I had my daughter take pictures of my first Isla, which has one inch added to the bodice length and one of the second batch of Islas that has 2 inches added to the bodice length with me putting my hands at my natural waist.
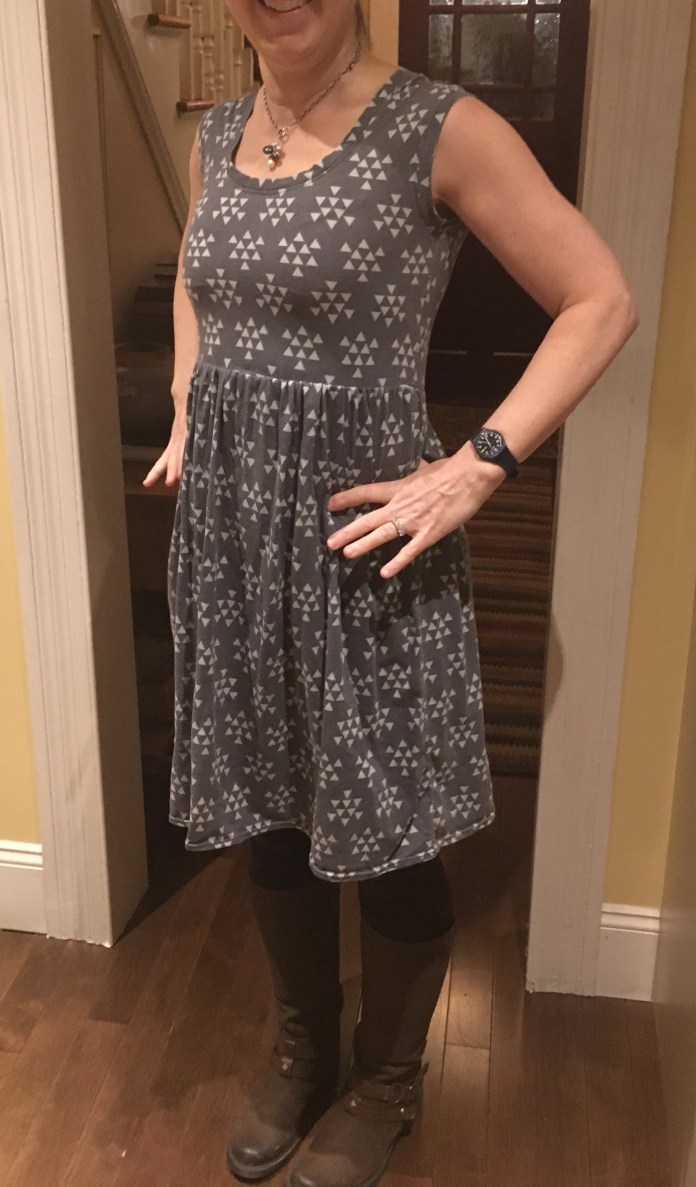 Yes that is really where my waist is. Here is version two with 2 inches added to the bodice.
 I can’t actually say I like one better than the other. I think that they are both fine. Word to the wise, make sure whatever you add to the bodice, you subtract from the skirt so you end up with the right length. I think the Isla is most flattering above the knee. I actually am not sure that adding the extra length to the bodice really makes a difference for the dress. I know that some people don’t like the high waist style but I find it skims right over my midsection which I like. I think if I try the top again, I will add enough to the bodice to actually have it hit my waist. That would be a lot of inches.
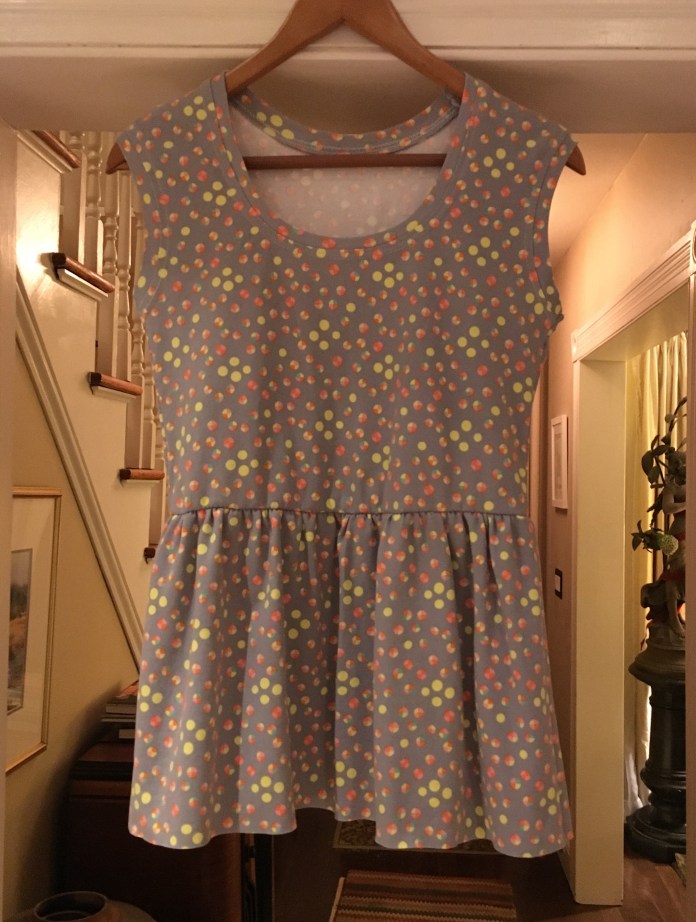 I haven’t hemmed it and I am not sure if I will because I need the length. Here it is on. I love the fun print. I think the top would be fine a bit longer.
 Sewing this many versions gave me the chance to figure out which techniques I prefer for the arm and neck bands. I ended up following Rae’s directions for the arm bands but stretched a bit more as I sewed. I don’t pin.
 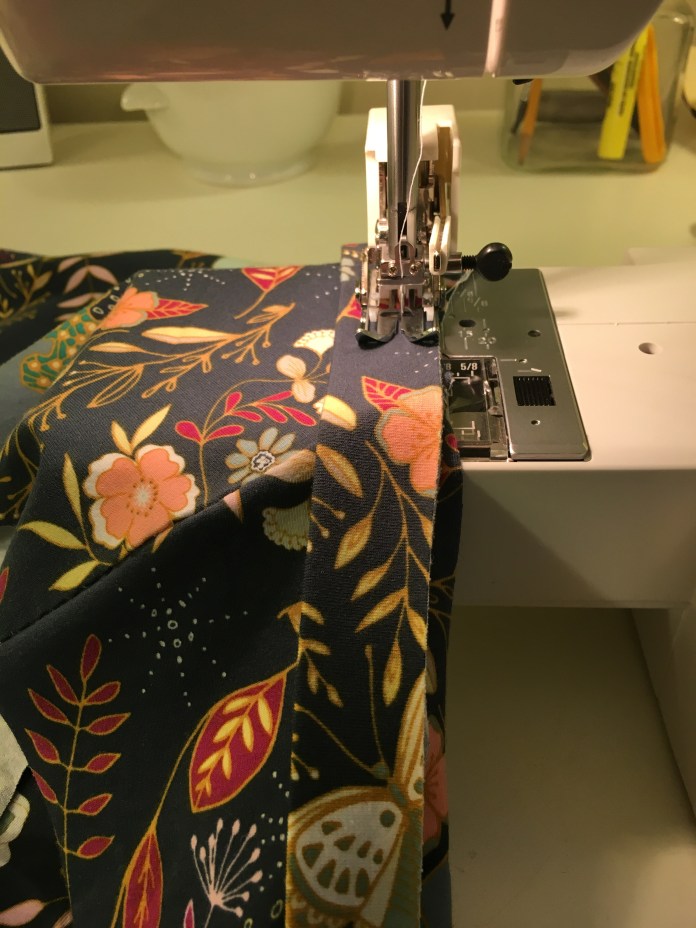 I ended up using about 1 inch less than the band as cut. This gave me a nice fit. I sewed a narrow zig zag along the seam.
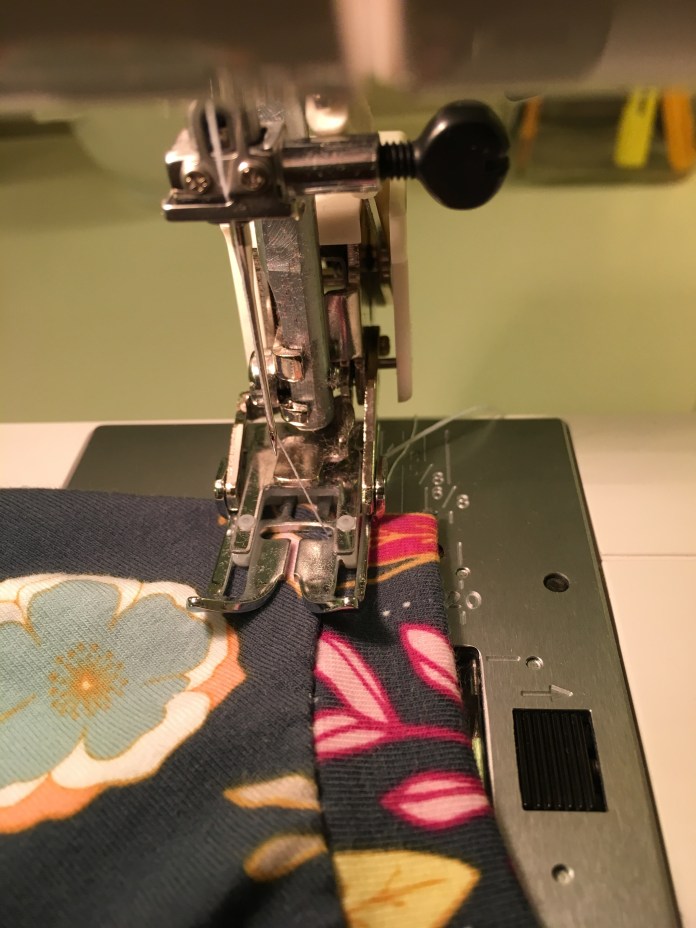 This gives it a nice finish. I used a double needle for one of my tops and I don’t think I love it that much more than the zig zag, which is so much quicker.
 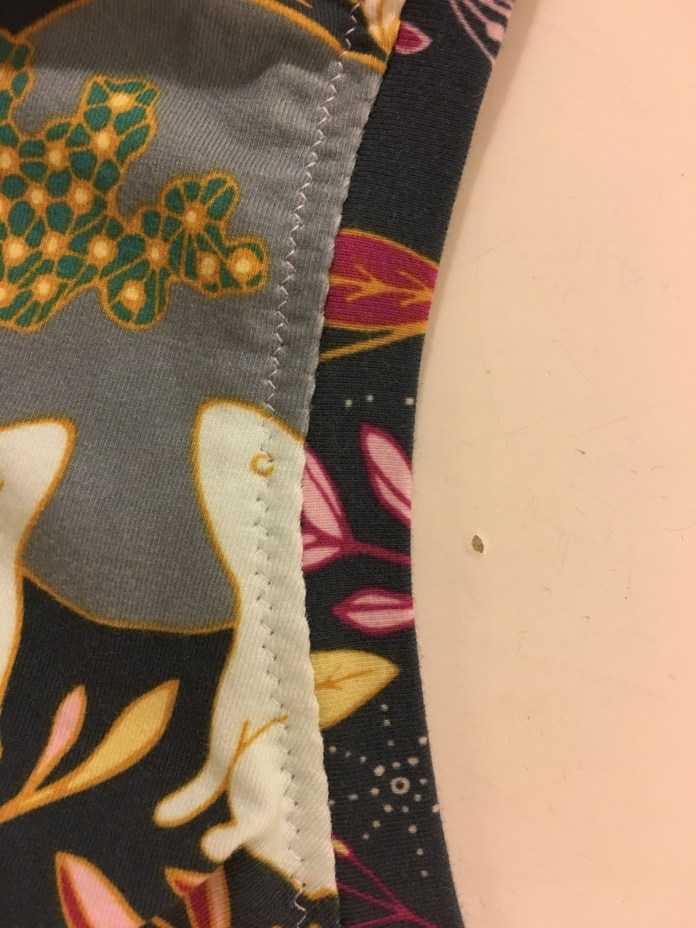 For the neckband, I tried the technique in the pattern which has you sew just one shoulder and then add the neck band and then join the second shoulder and neck band as a unit. I found for me that I ended up with a bit of bulk so I used
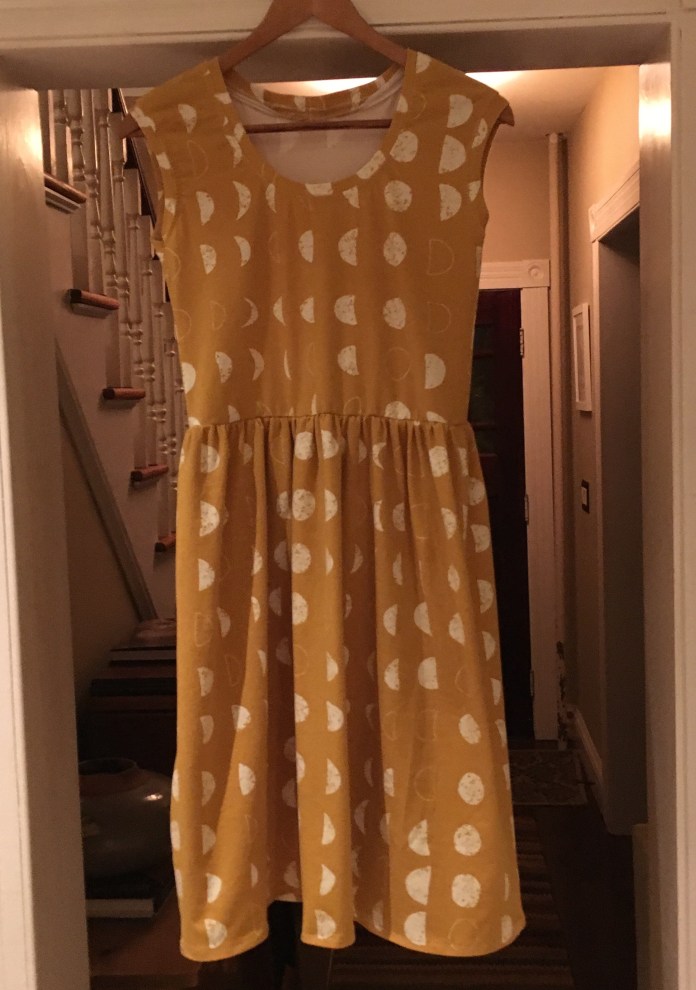


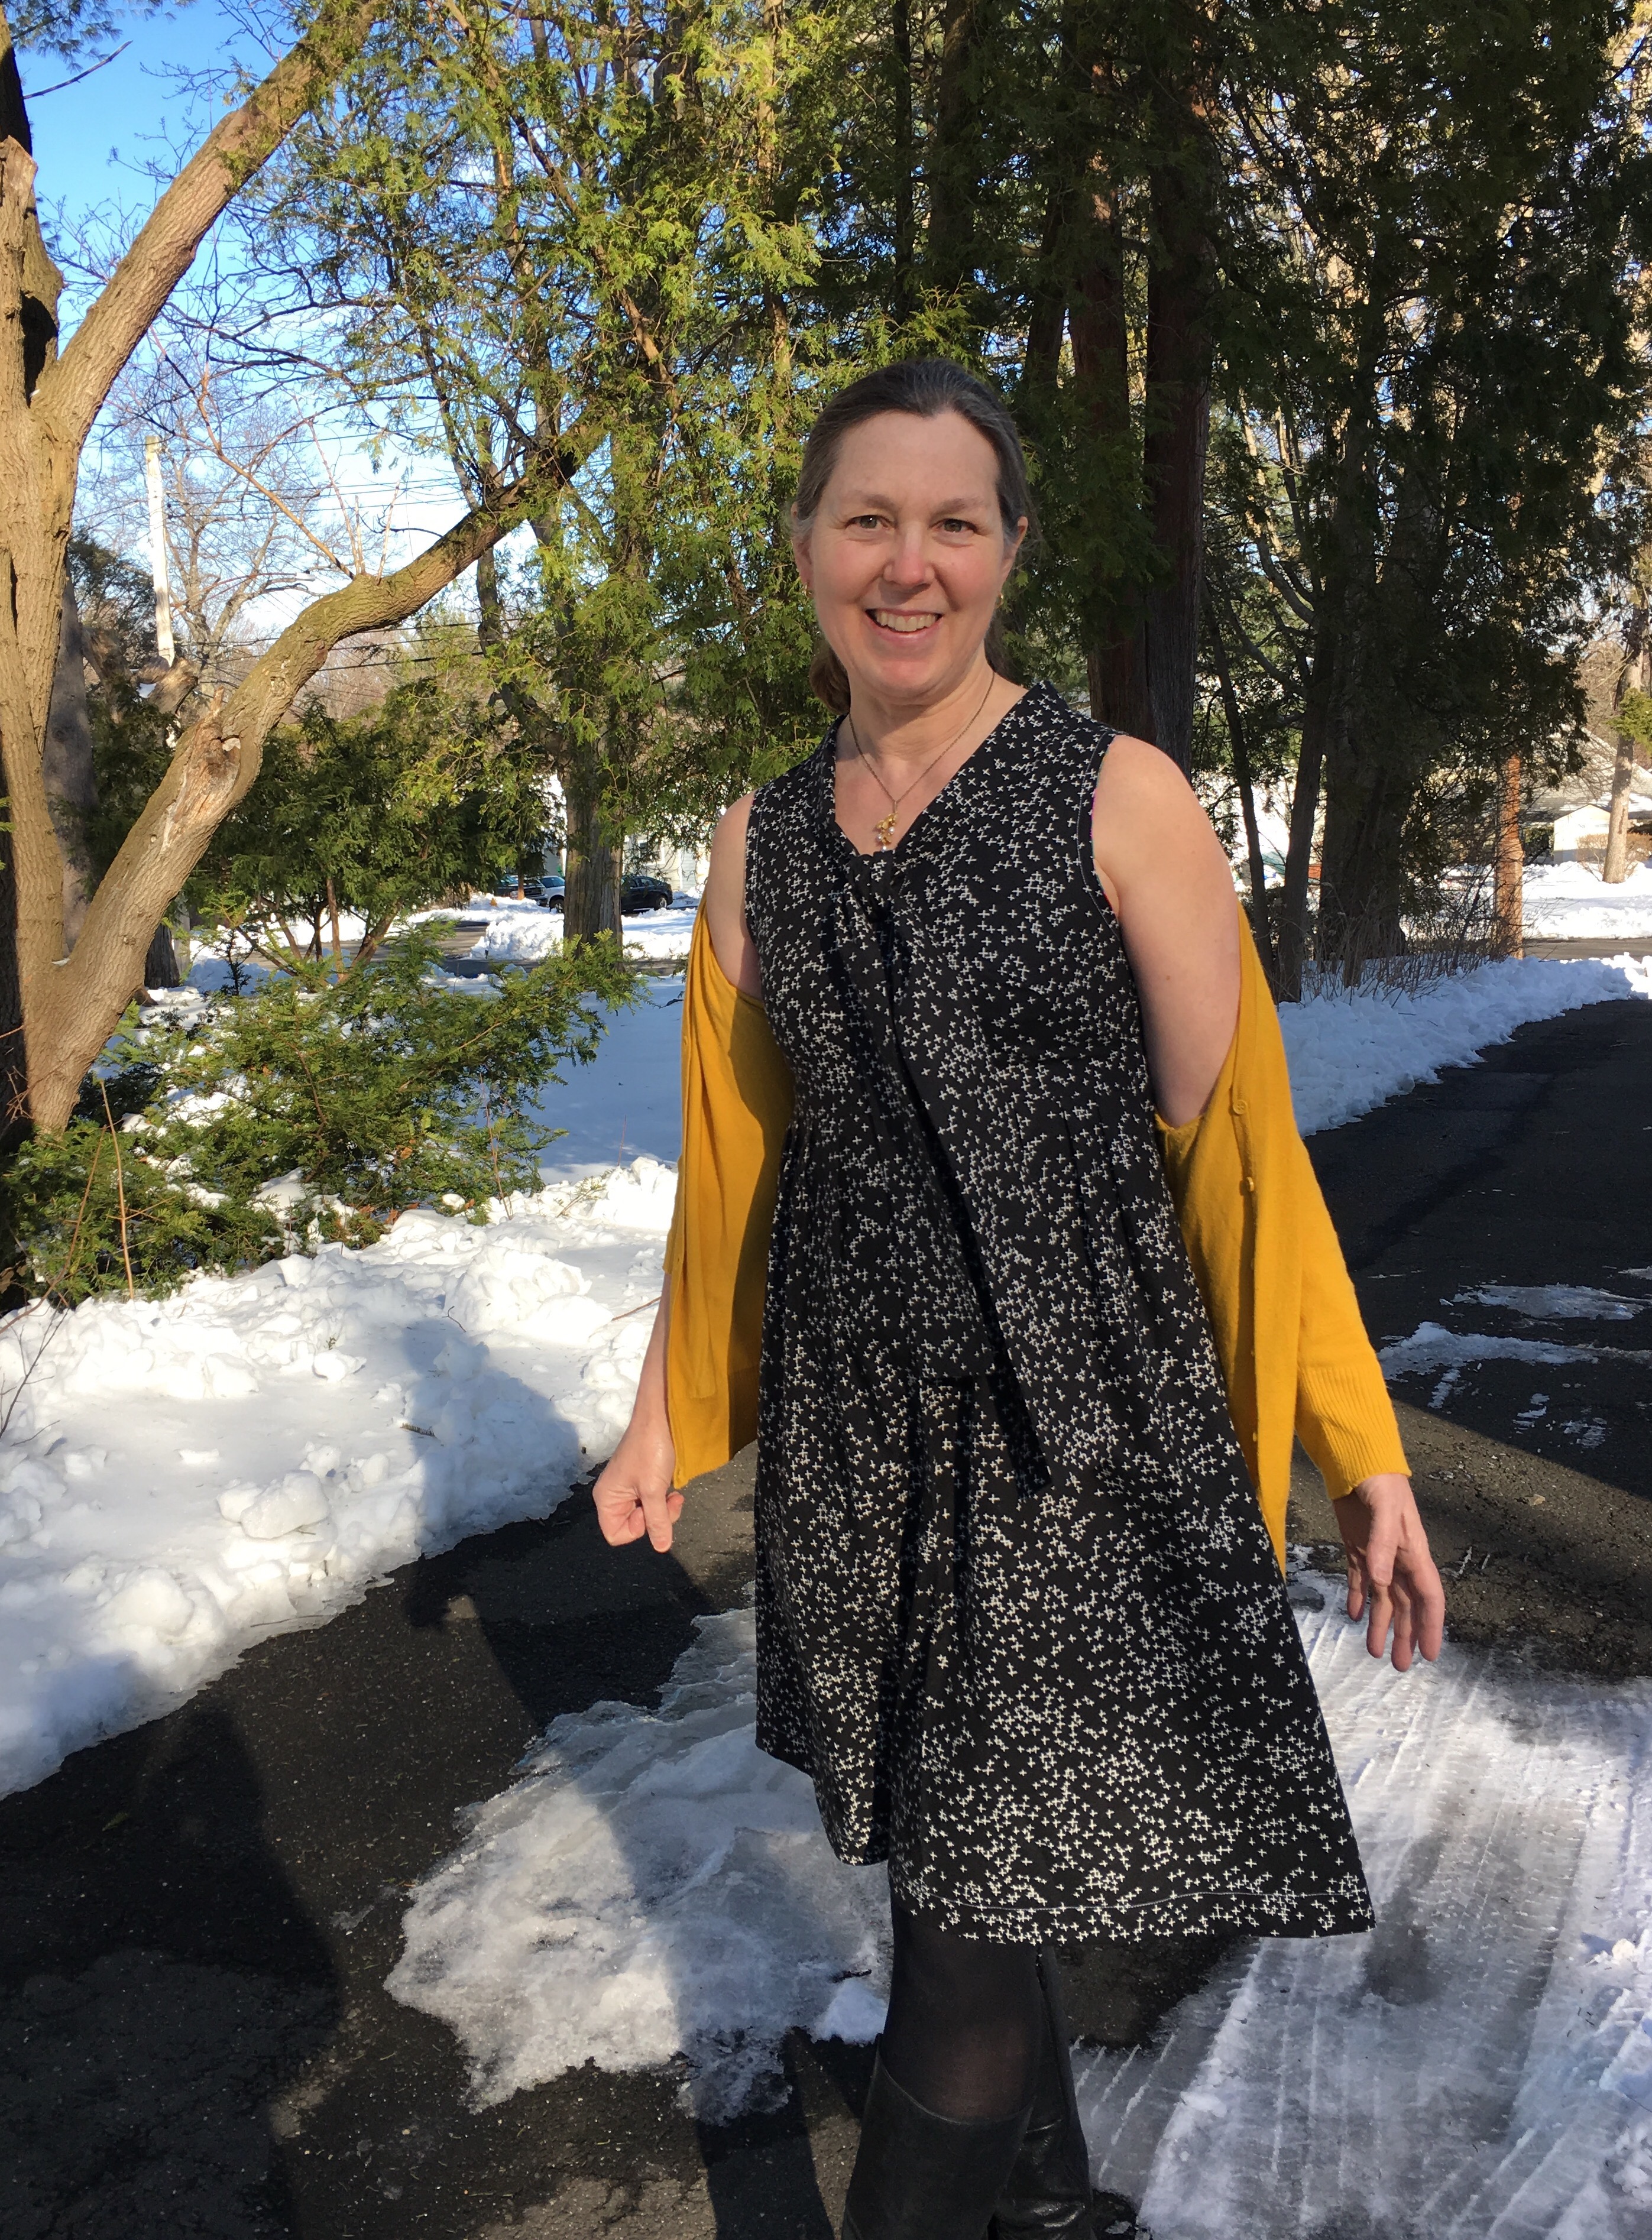
 And as worn and in action (whirlwind photo sessions with my husband was more like dress as modern art.)
 The wrinkles in the shoulders above are due to my poor posture, not the pattern. Growing up my dad used to tell me to put my shoulders back and now my daughter does.
 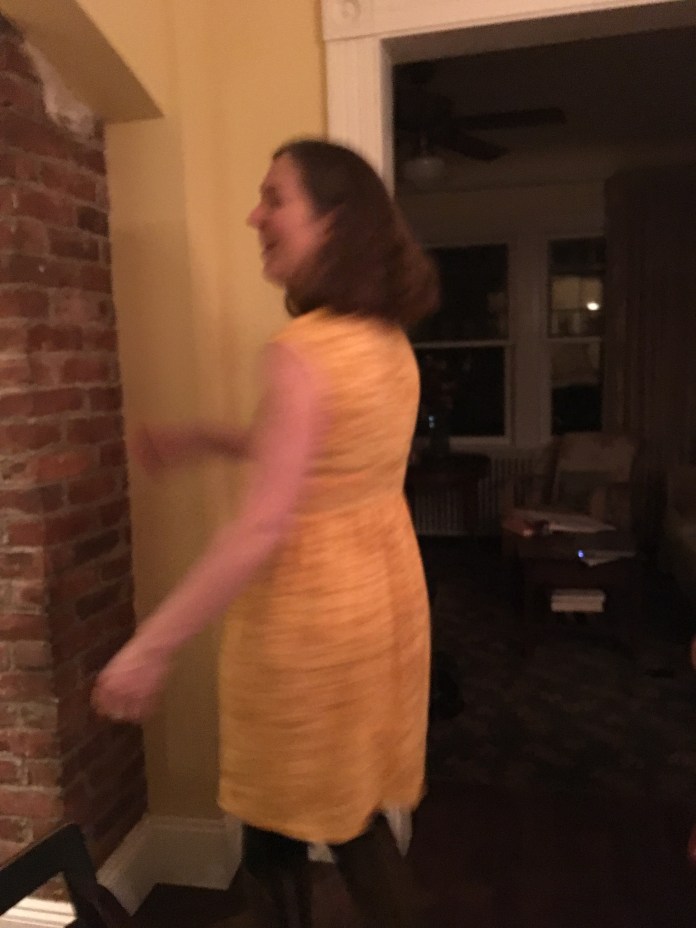 This one might be my favorite. It was supposed to be a top with jeans because I thought the bunnies might be too childlike but it makes a great dress.
 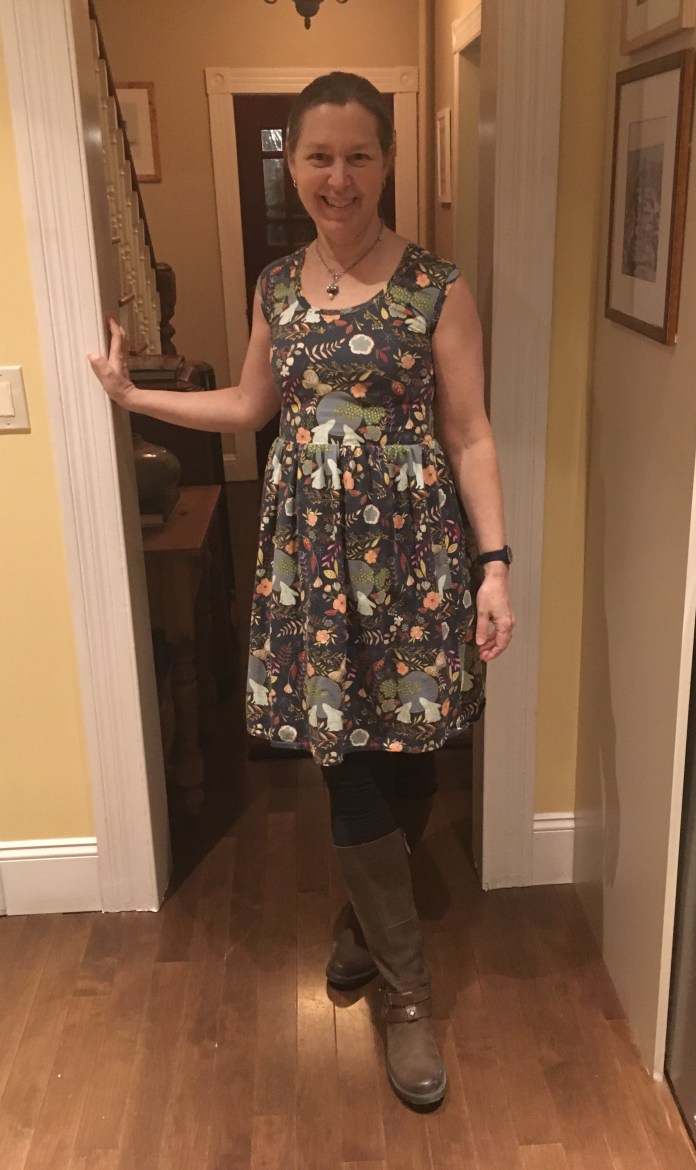 Just be careful when you cut out the neck band to not cut the bunnies in half as I did at first. I cut a new neckband when I noticed my mistake.
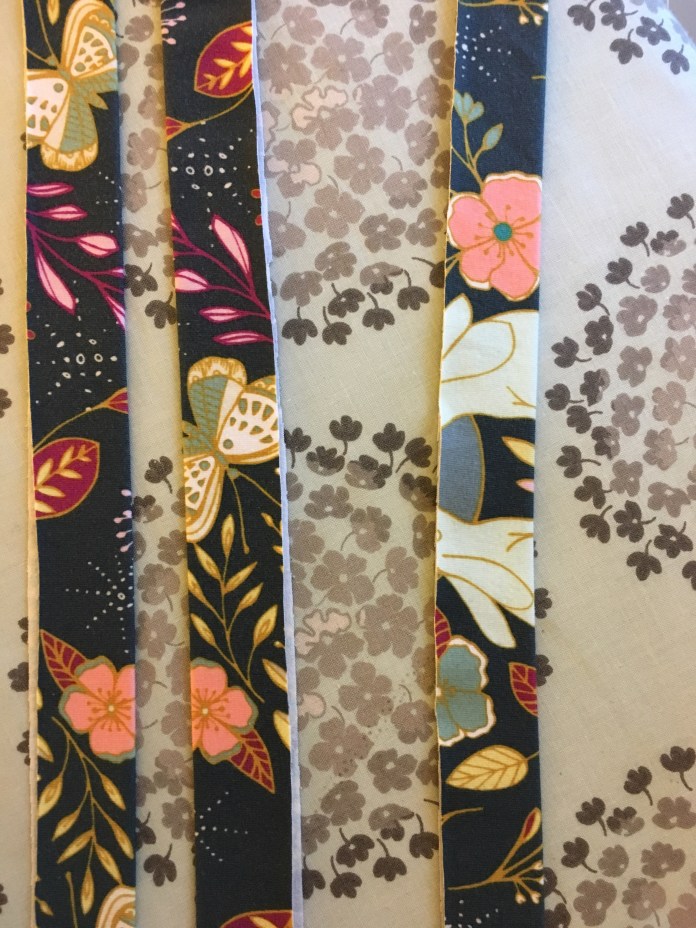 This pattern is a quick sew that makes a flattering, comfortable, cute dress that doesn’t need ironing and looks great under a labcoat. What could be better?
 I think I have now gotten sewing with knits out of my system for a while and am ready to take the walking foot off the machine, switch the needles and get ready to sew with wovens again. There is a great new
  I have some beautiful fabrics lined up to sew a couple of versions, just in time for spring. But in the meantime, my Isla capsule wardrobe will be just the thing to get me through the winter.