Getting ready to sew on day 1 of my mini-break. Summer can sometimes be a challenging time for me. Social media is flooded with vacation photos of beaches and mountains and faraway places (the pictures of Norway and Sweden are amazing) but probably the hardest pictures to see are pictures of cabins in the woods on beautiful clean lakes. It makes me want to just jump into the picture. This one is from a real estate listing is exactly the kind that gives me pangs.
 But it turns out that being at home can also be wonderful. I used to spend summers in Maine. I was incredibly lucky and I will always treasure those summers. But that is just not my life right now. I work two jobs and I don’t have the money or time off to travel. But one benefit to not having a lot of time off is that when you finally do take a break, you appreciate it so much. I recently had 5 days off in a row. I didn’t go anywhere and I didn’t really do anything fancy or extravagant but I had a great time. Here is what I did.
I read several books-all of which were engaging summer reads that did not require much from me. The stories drew me in and carried me along. I got most of the book suggestions from Anne Bogel. The graphic novel was a book club read. Sort of Roz Chast on steroids. Weird but funny. I particularly enjoyed reading in early morning. Here’s what I read:


I spent a lot of time on my front porch-reading and eating simple meals both alone and with some of my kids who were home for part of the weekend. Lunch on the porch below: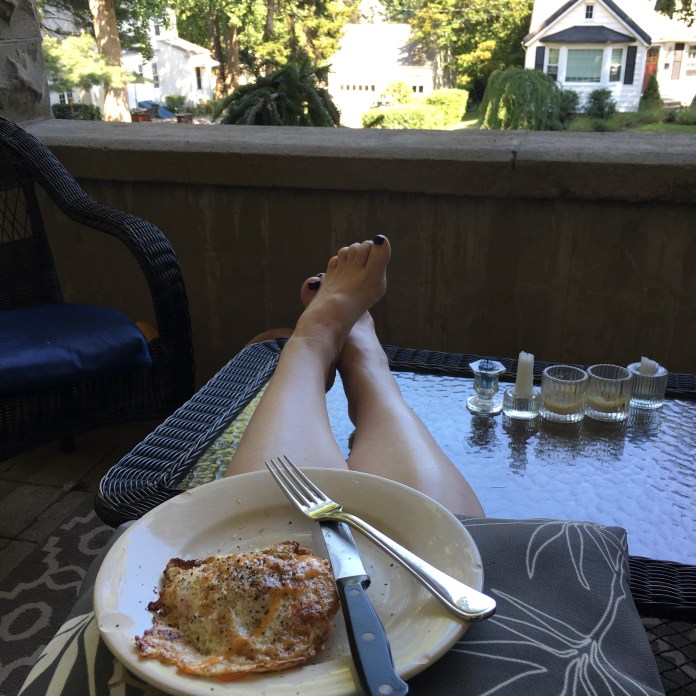 I made a nice breakfast with home made berry muffins for my family, most of whom were with us. It was great to have a big group around the table. I used the pretty china and picked wild flowers from the garden. I love big family gatherings centered around a nice meal and my kids live far away so this was a treat for me. We also had a taco night with part of the group the night before and a dinner out at a favorite restaurant with my two daughters and son in law. It is a place we had gone to many times when they were younger so that was a special evening.
Staying on the topic of food, I ate a lot of tomato and fried egg sandwiches-both separately and together. If I had to pick one favorite food it would probably be fresh summer tomatoes. I remember reading this book as a child and not really getting why the main character ate tomato sandwiches every day for lunch but I get it now. I could be perfectly happy doing that. Or alternating with a fried egg sandwich with avocado on good bread. These are my new favorite meals. Quick, inexpensive, delicious. My husband bought this mayonnaise by mistake one day and it turns out to be the secret ingredient.
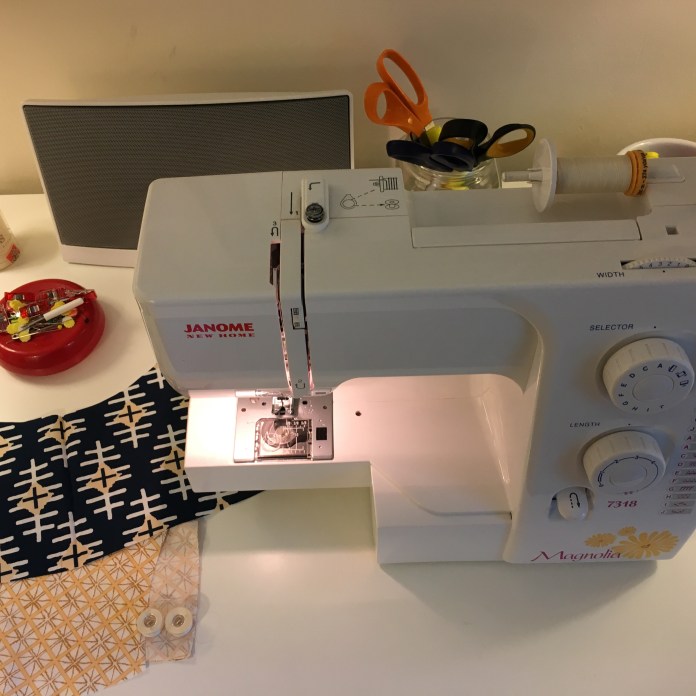 I sewed, sewed, sewed. But I didn’t treat the sewing as a chore. I did a couple of hours of sewing every day. I listened to music while I sewed. When it started to feel like a chore, I switched gears and read or did yoga. I completed three garments: a Ruby Dress for myself and a Ruby Blouse for a friend:


and a new pair of Luna pants for me in a fun print. and I started work on a baby quilt for a friend.
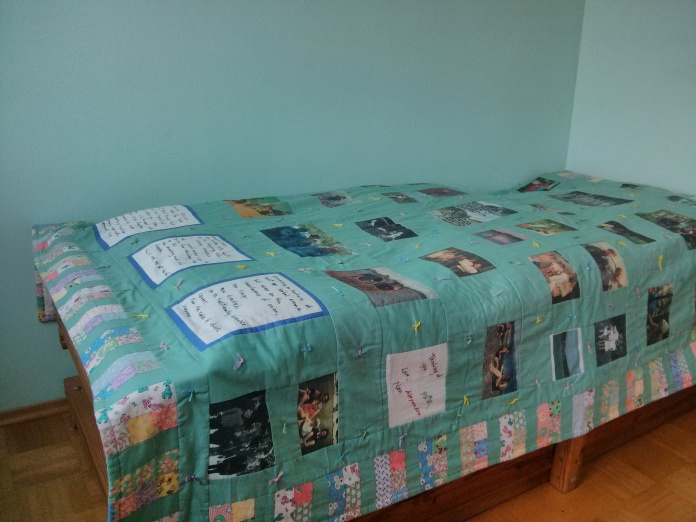
  I decided to make a whole cloth quilt and hand quilt it. It was fun to make and not having to piece the top ended up making it less stressful. It also made the hand quilting much easier since there were no seam allowances. While I quilted, I listened to this audio book which is really terrific. Each of the sewing projects were things I had made before and which weren’t super complicated. This meant that I was able to complete a new garment in a day which was really fun. While I love trying new patterns, there is nothing like the tried and true pattern that you know by heart and which fits you well. Cut, sew, wear, repeat. Boom!
I went to a great yoga class with my daughter and I did yoga on the porch the rest of the days. I am loving 30 days of yoga with Adrienne. 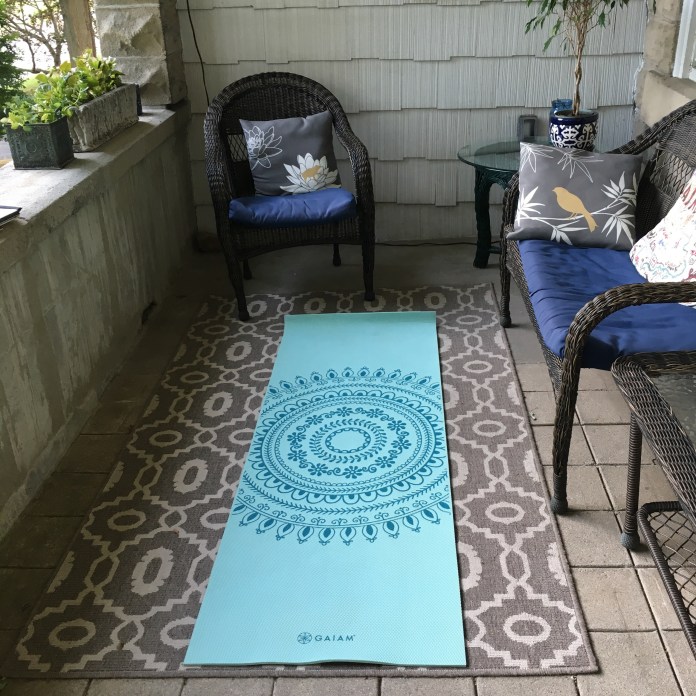 I had a diner breakfast with my daughter and son in law and then my daughter and I got our toenails painted in summer colors before they flew back home to the mid-west. I miss her already. New Luna pants in the wild below. And then it was back to reality.
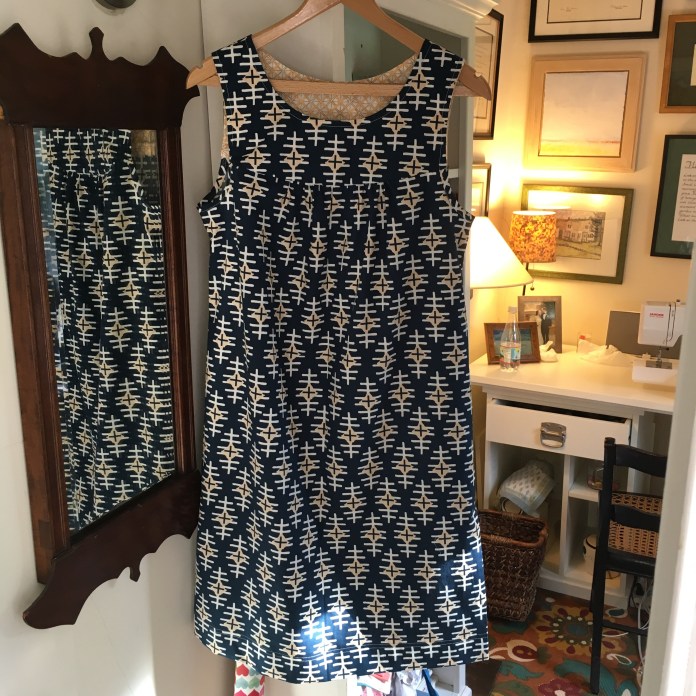
 At least I had a new dress to wear my first day back.
 The fabric was
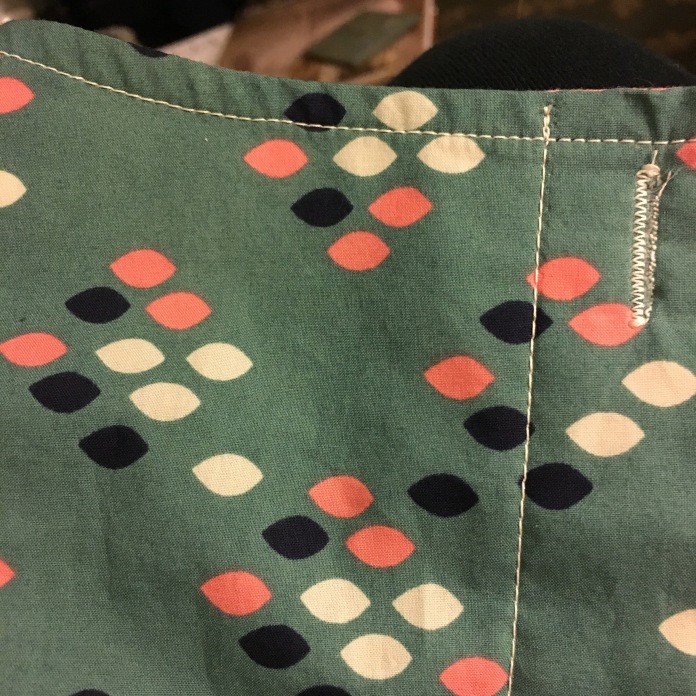
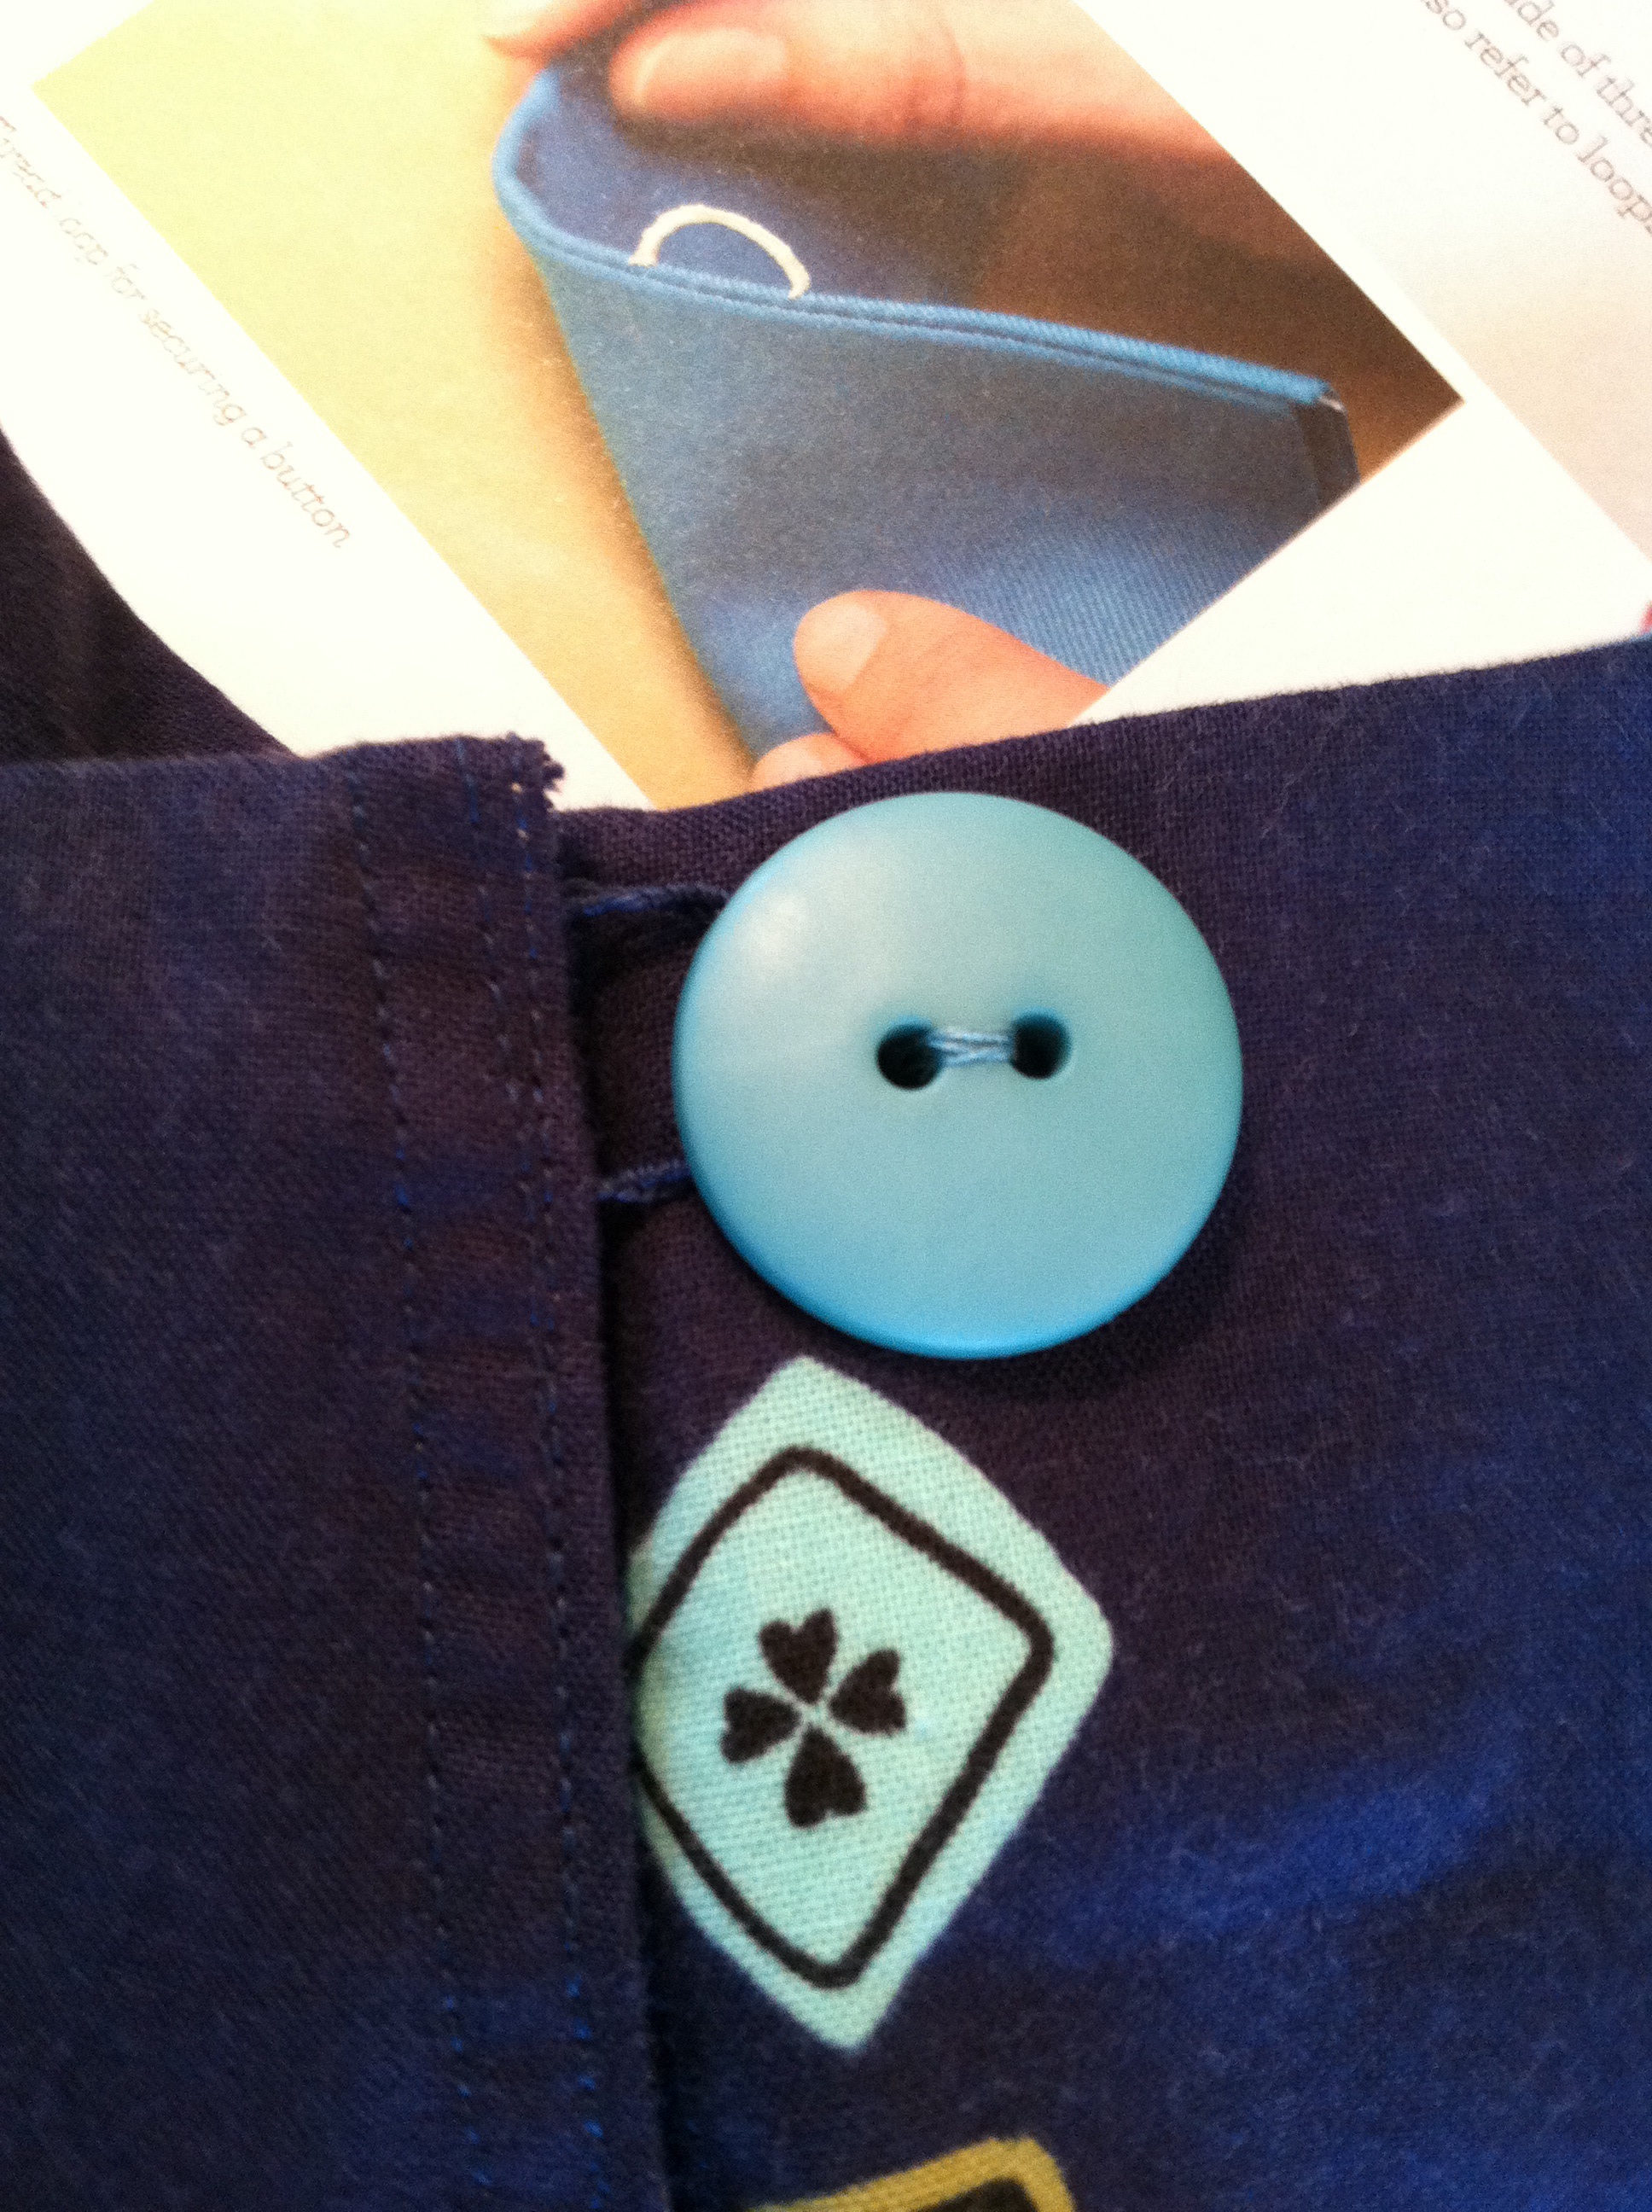
  I think I will ultimately be glad I did this for the comfort factor but it was a pain and I am not showing the inside of my back waist because it is a hot mess. Here is the pocket in process so you can see the color. It is more teal than navy but I like the contrast.
 The rest of the double gauze is going to be a
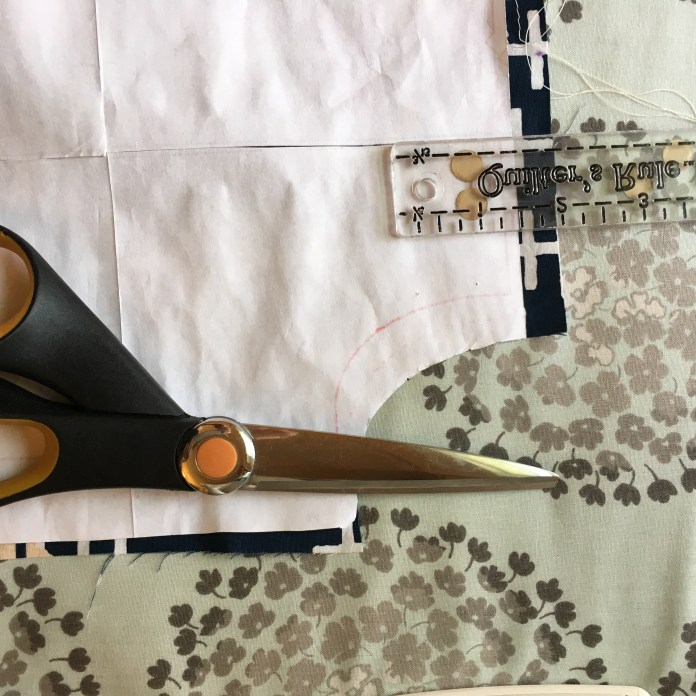
  I cut out the Ruby pieces and the Luna pieces at the same time to make sure I had enough fabric.
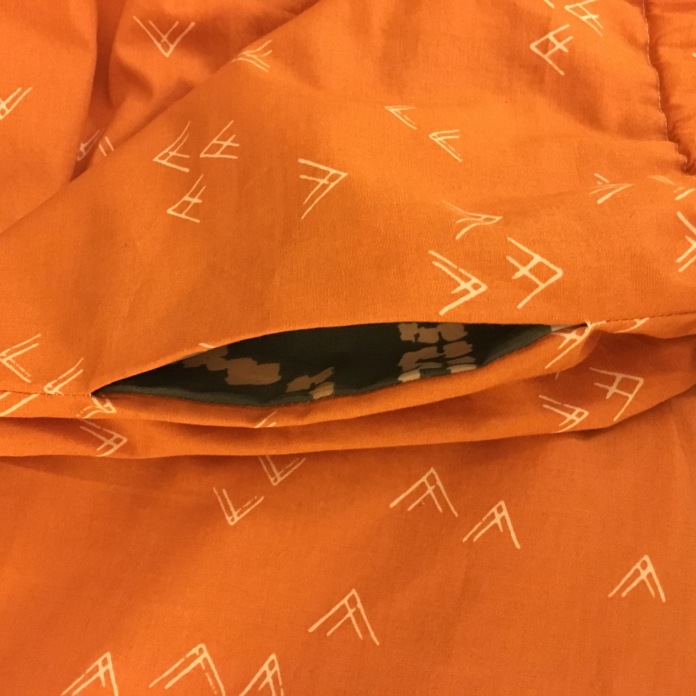
 In anticipation of all the fraying, I sewed the pockets with multiple seams.
 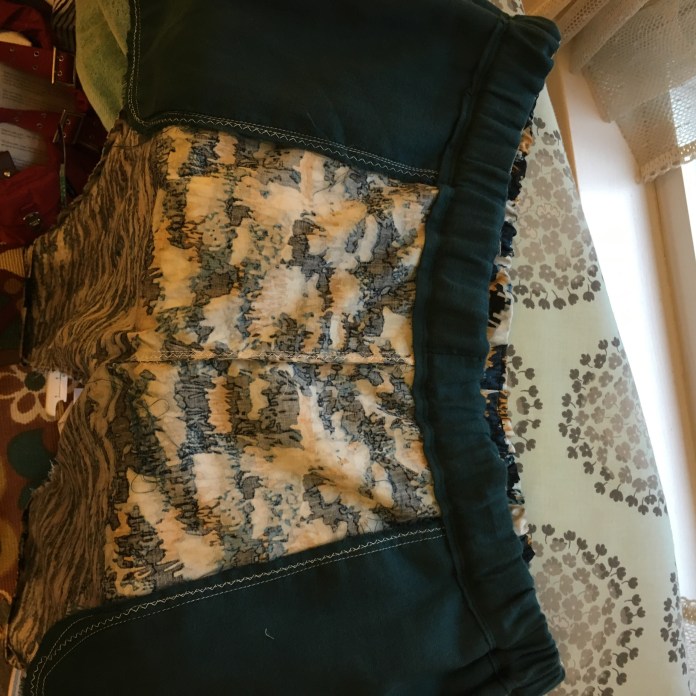 I do like the way the finished pocket peeks out.
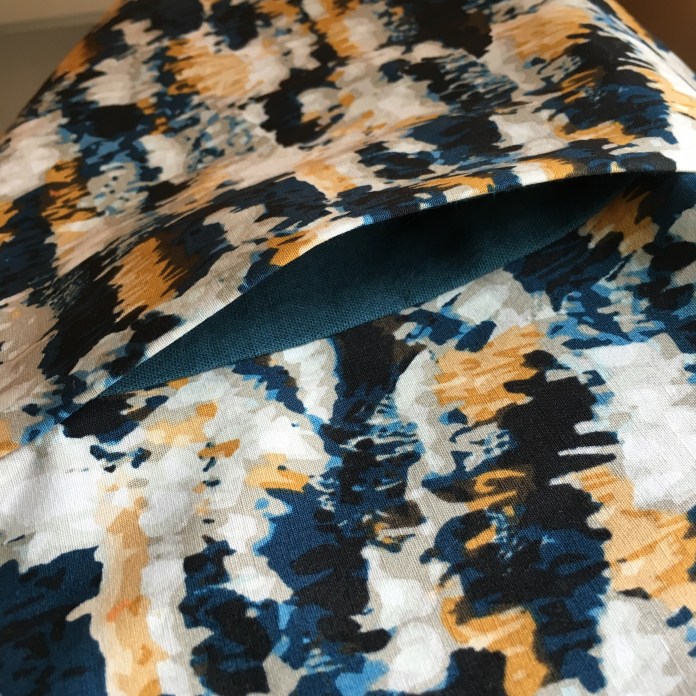 I have to say that once I put these on, they put me in a goofy mood. My daughter captured some of this as you can see below.
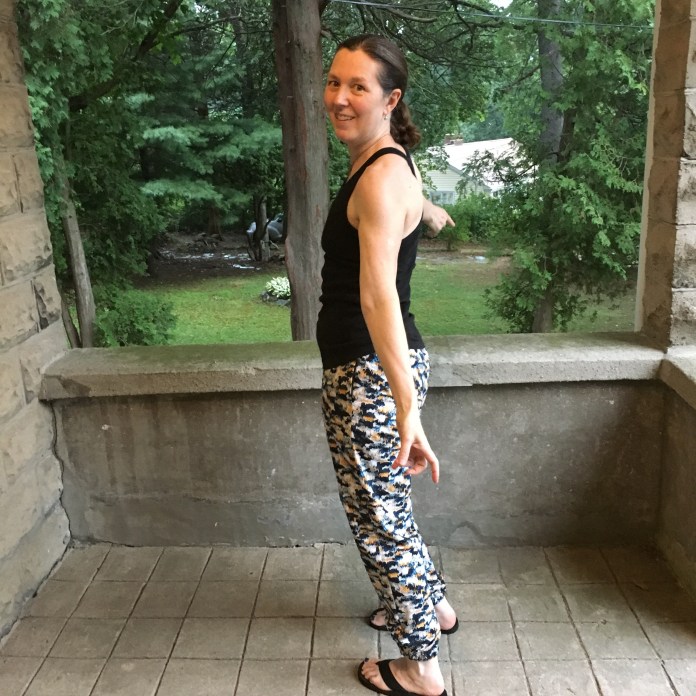 They just make you want to dance.
 Which is not a bad thing!
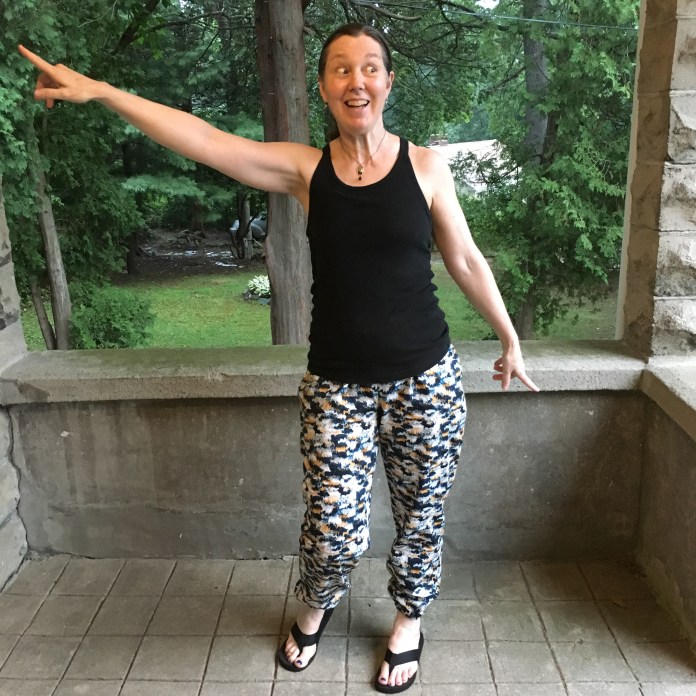 Action shot:
 Mid dance pose:
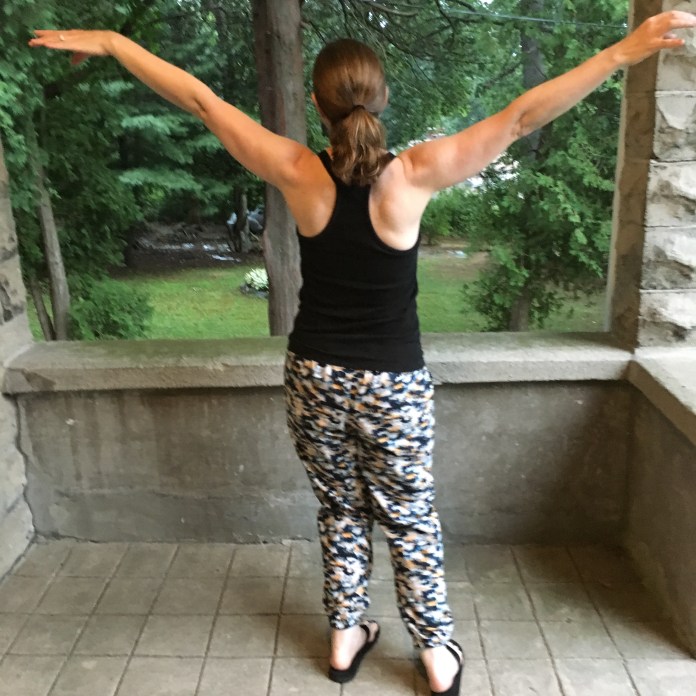 YOU need to make some Luna Pants!
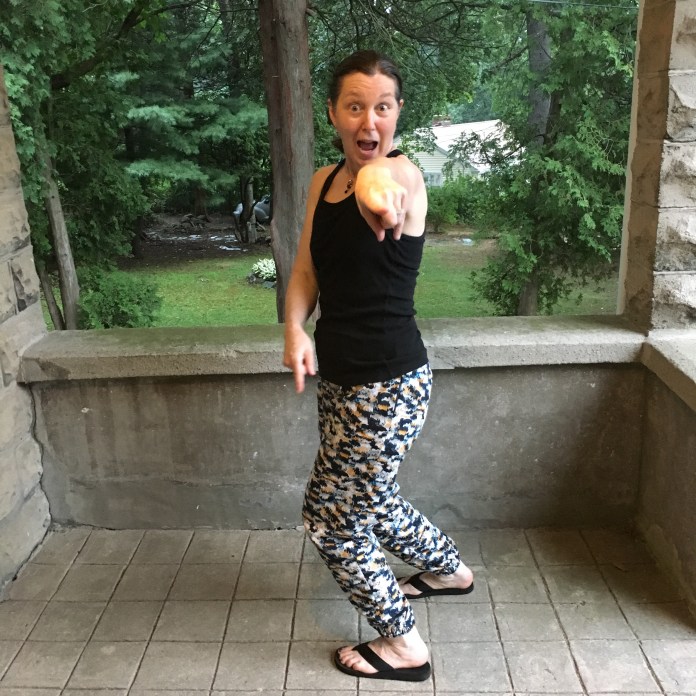 So much fun. Thanks Rae!
 Days off are a rare thing in my life and I am so thrilled to have five days off in a row when I don’t have to go to work. My daughter is visiting so there will be some family meals so that’s a bonus. Otherwise, I have no plans. Bliss!

 Here are more work-in-process pictures. I top stitched around the neck and also the upper part of the armhole. I use my presser foot to determine the size of my seam allowance so that everything lines up. I also cut my bias binding strips for the bottom part of the armhole 1.5 inches instead of 1.25 as suggested by Rae. I find I need a bit more to totally catch the binding on the other side. I don’t sew in the ditch. I have more luck sewing just next to it. Yoke lining in process:
 Sewing the bias binding to the bottom half of the armhole:


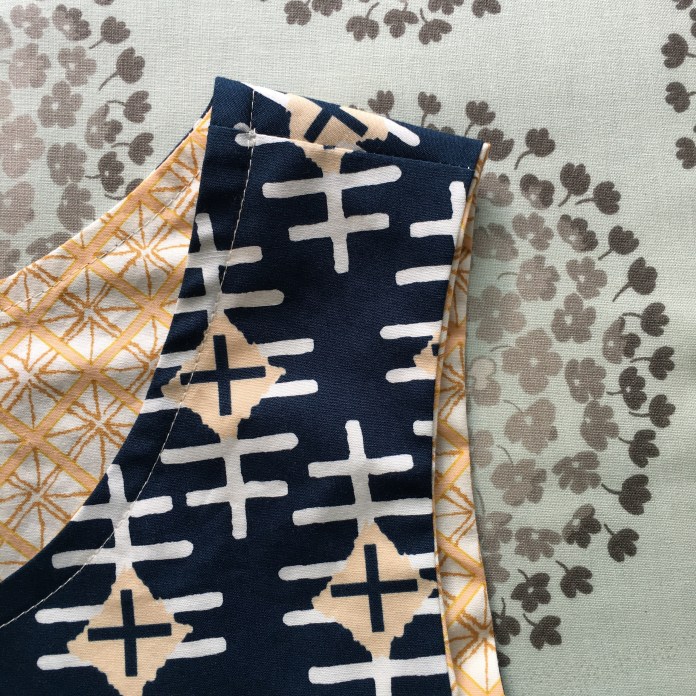 After sewing the yoke to the dress front and back and hand-sewing the lining as Rae instructs in her videos, I top stitched the top of the armhole. Since I had used my presser foot as my seam allowance guide when I sewed the bias binding, I used the same approach to top stitch the top of the armhole. I ends up looking as though you sewed all the way around.
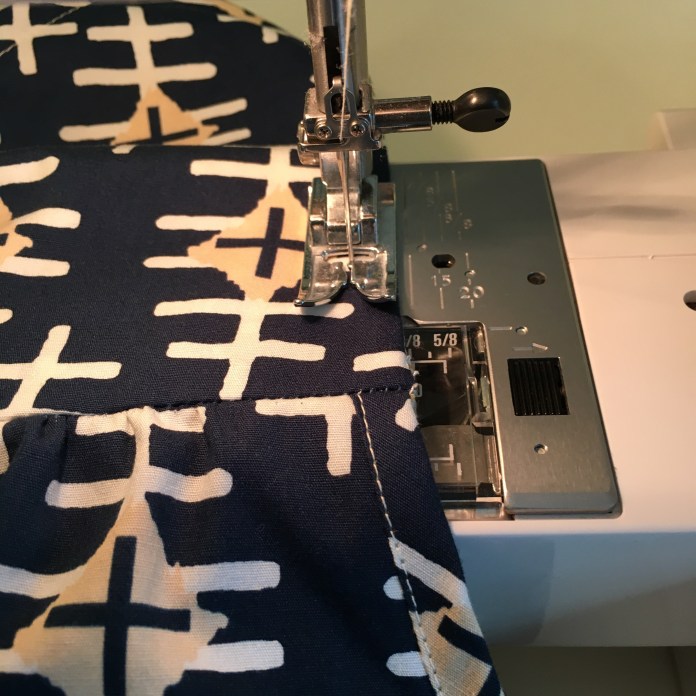 I leave the threads long and then use a needle to bring them to the inside of the dress and then knot them off.
  You end up with a really nice clean finish that is durable.
  I had some questions on instagram about the top stitching. I don’t always do it and I think it actually looks cleaner without it but I feel as though my dresses are very durable and I love that I can machine wash everything and not spend money on dry cleaning. The Ruby dresses below have been worn and washed more than ten times and they have held up great. You can see these Rubies in more detail


 The
The 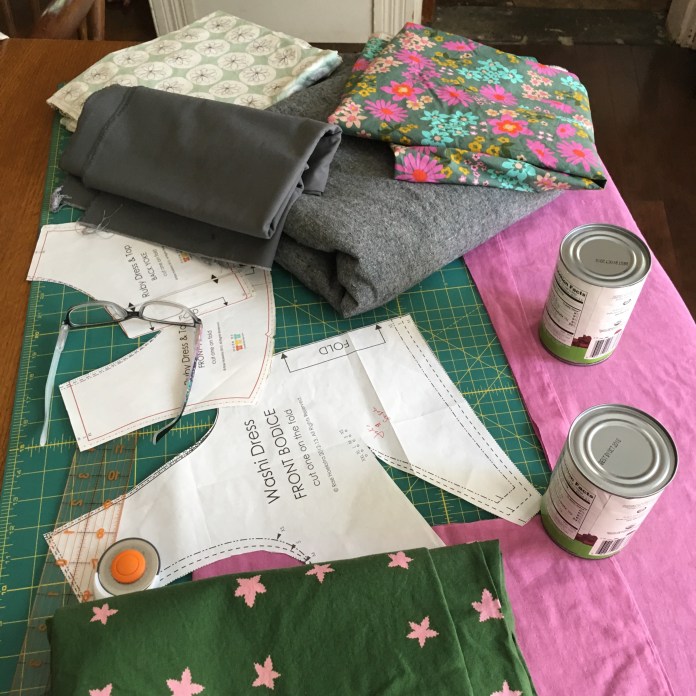 When I saw the floral lawn fabric next to the plum double gauze, I realized that it would be just the thing to line the bodice. I also noticed that the plum would be a perfect lining for a planned Washi in green with pink stars. These garments are hopefully going to be a mini Summer capsule wardrobe one day. I have a sleeveless
 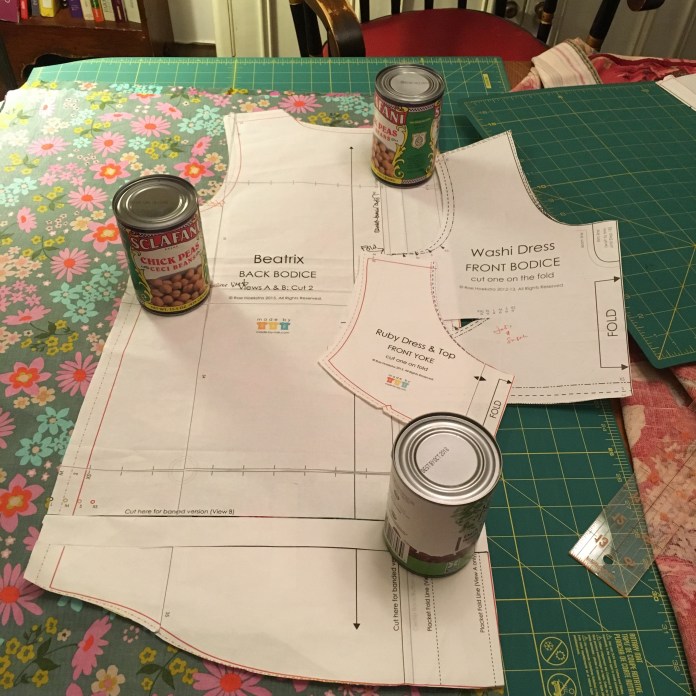 The lawn is such nice lightweight fabric, it is the perfect weight to go with the double gauze and I have loved this fabric from afar for quite a while. I am happy that it will find its way into at least three garments (I have enough left over to face the waistband of at least one of the skirts.) Rae has great
 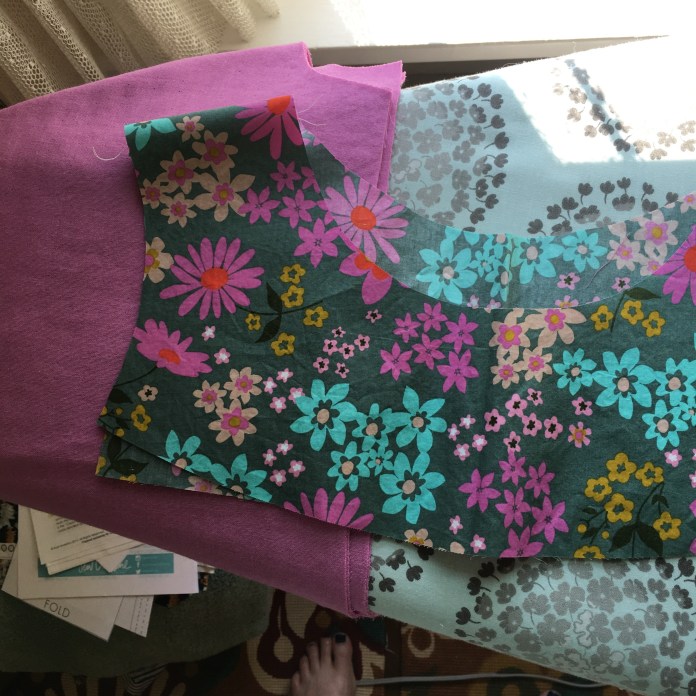 It involves something she calls the sausage technique. I have used it for most of my Ruby and Washi garments. It works like a charm. Some steps pictured below.


 Side view below shows that the armhole is comfortable but not overly revealing.
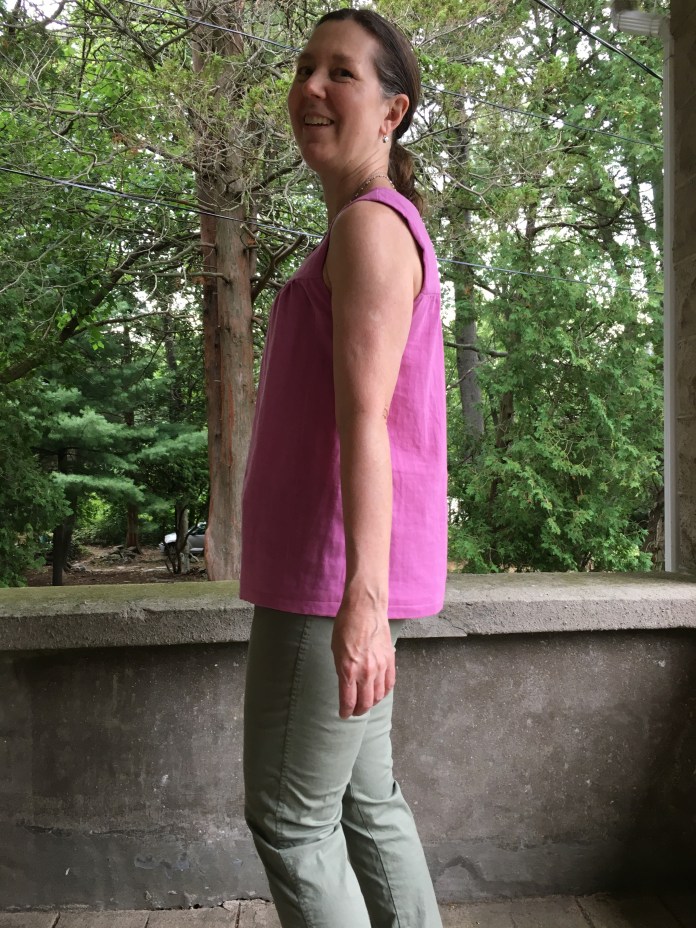 Up next, I have my floral lawn Beatrix blouse planned and a navy Ruby dress cut out and ready to go in
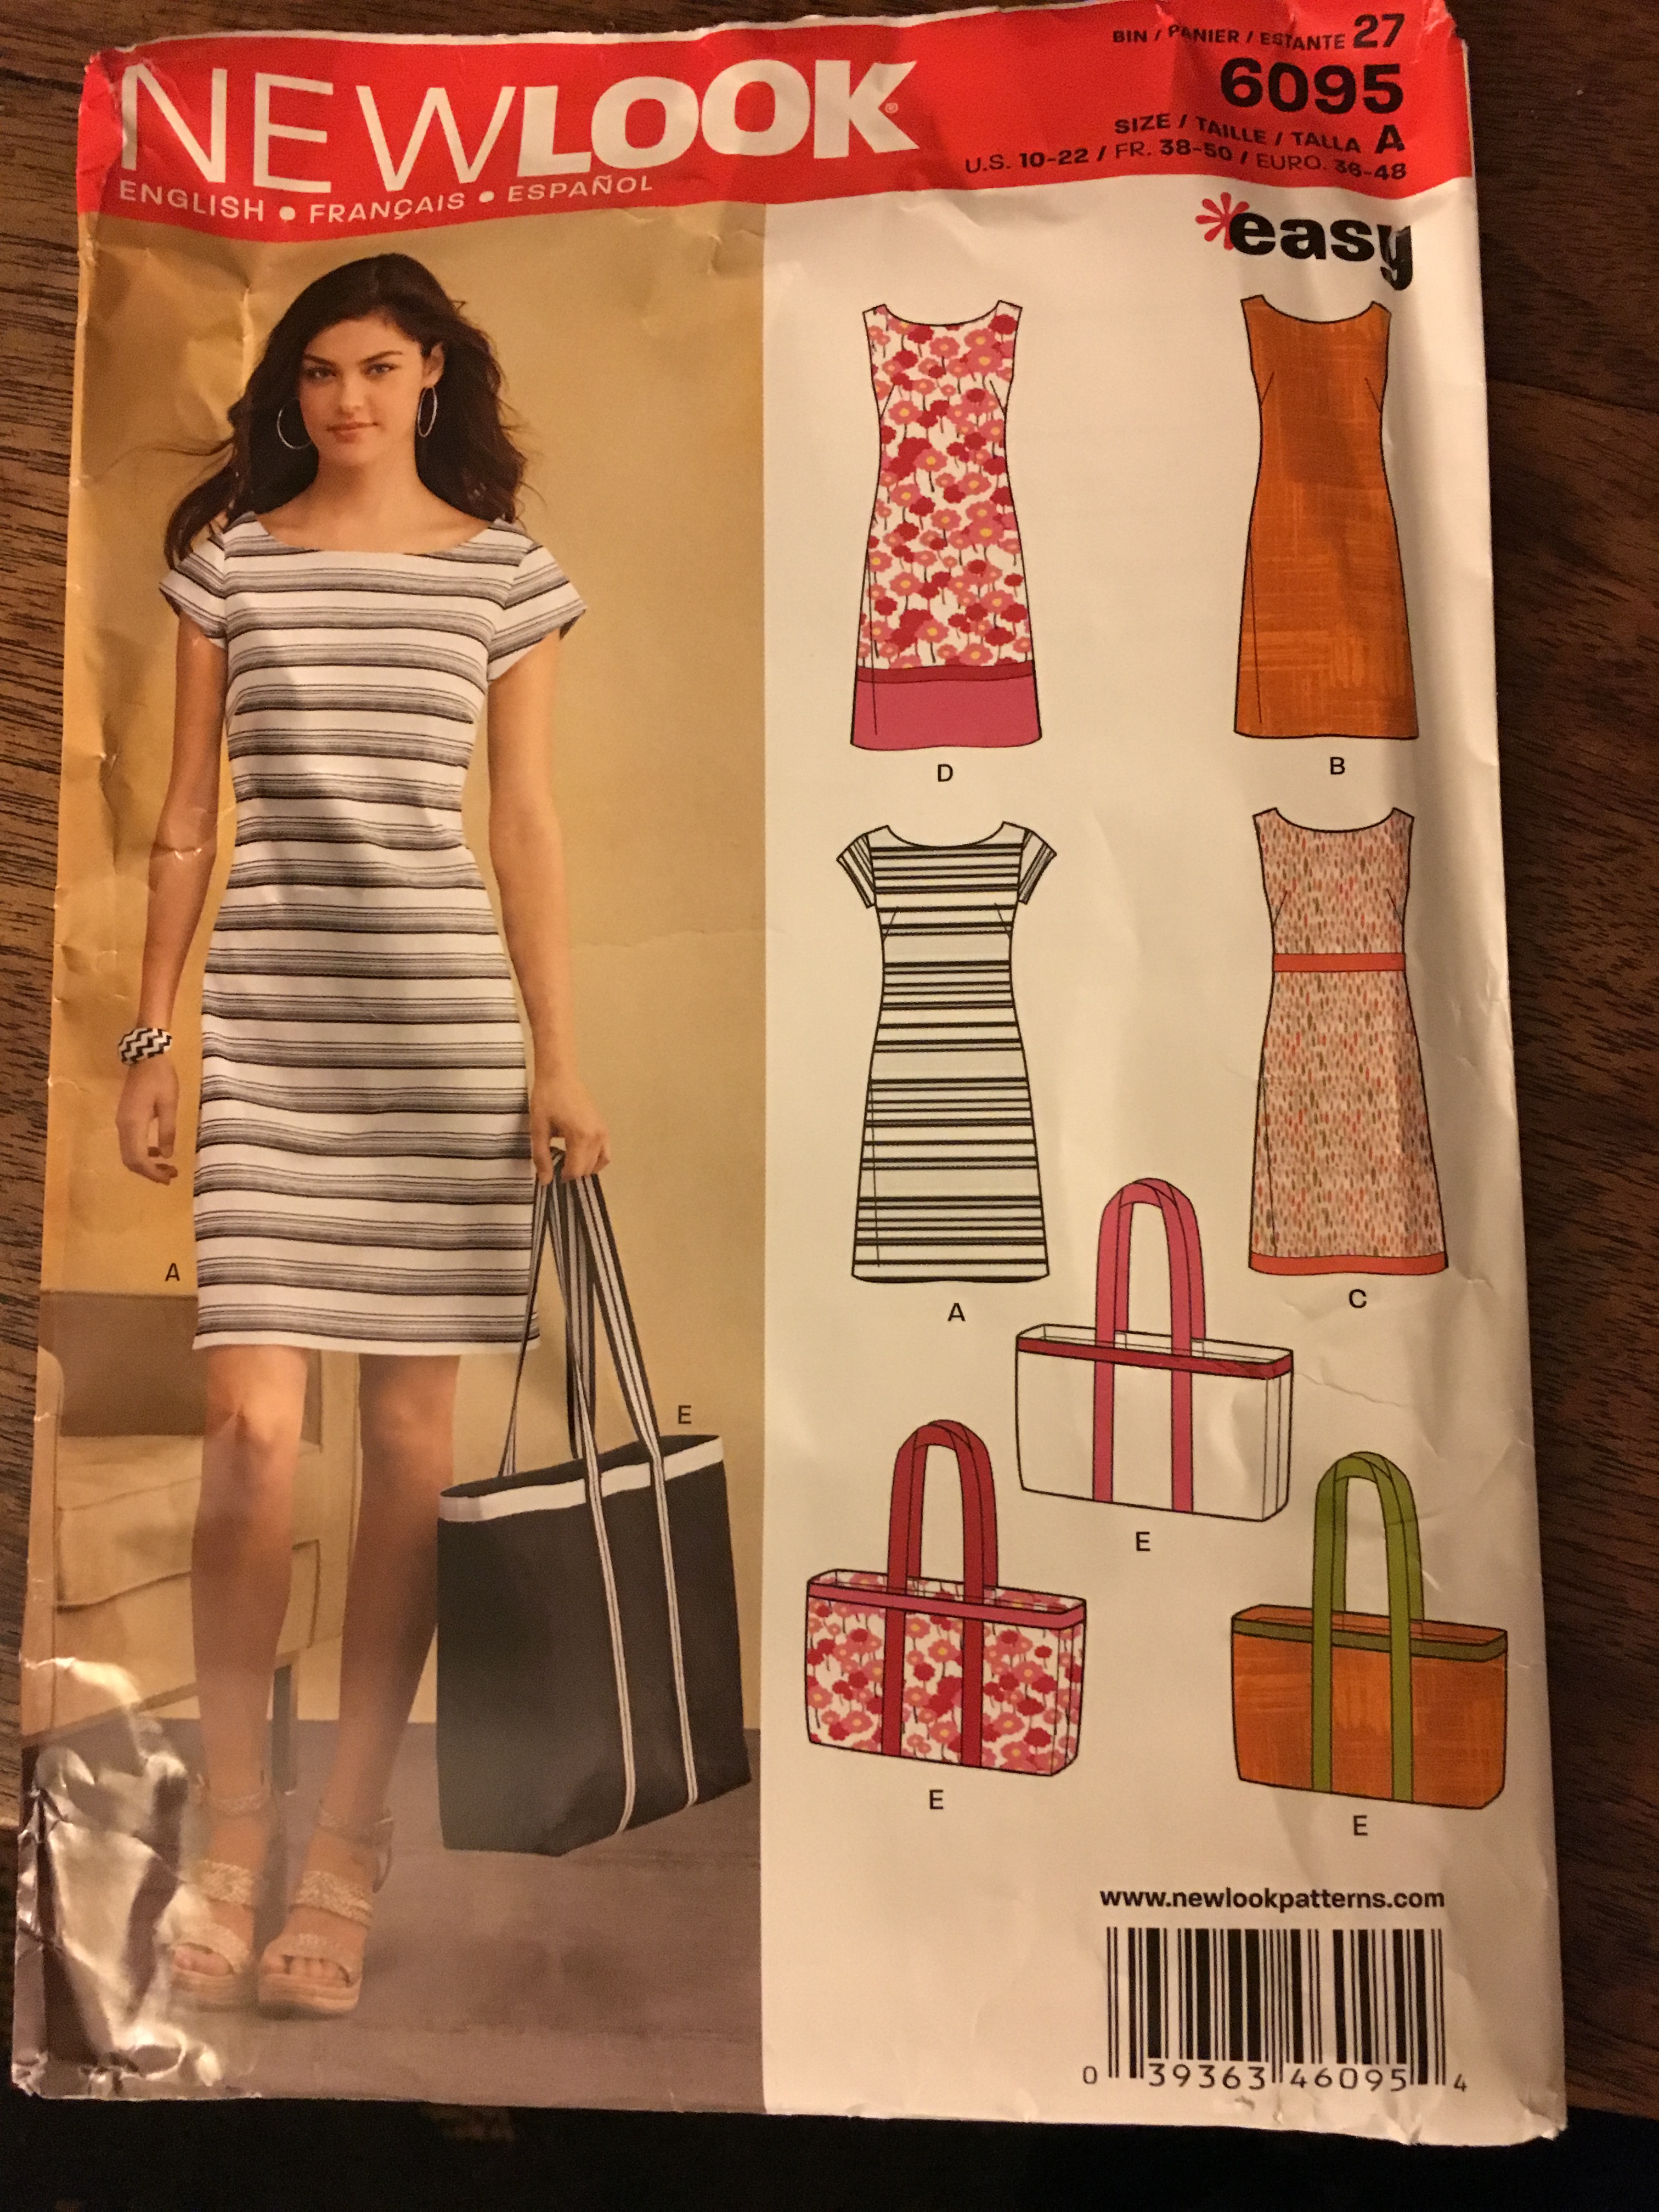
 It took me a long time to get on the
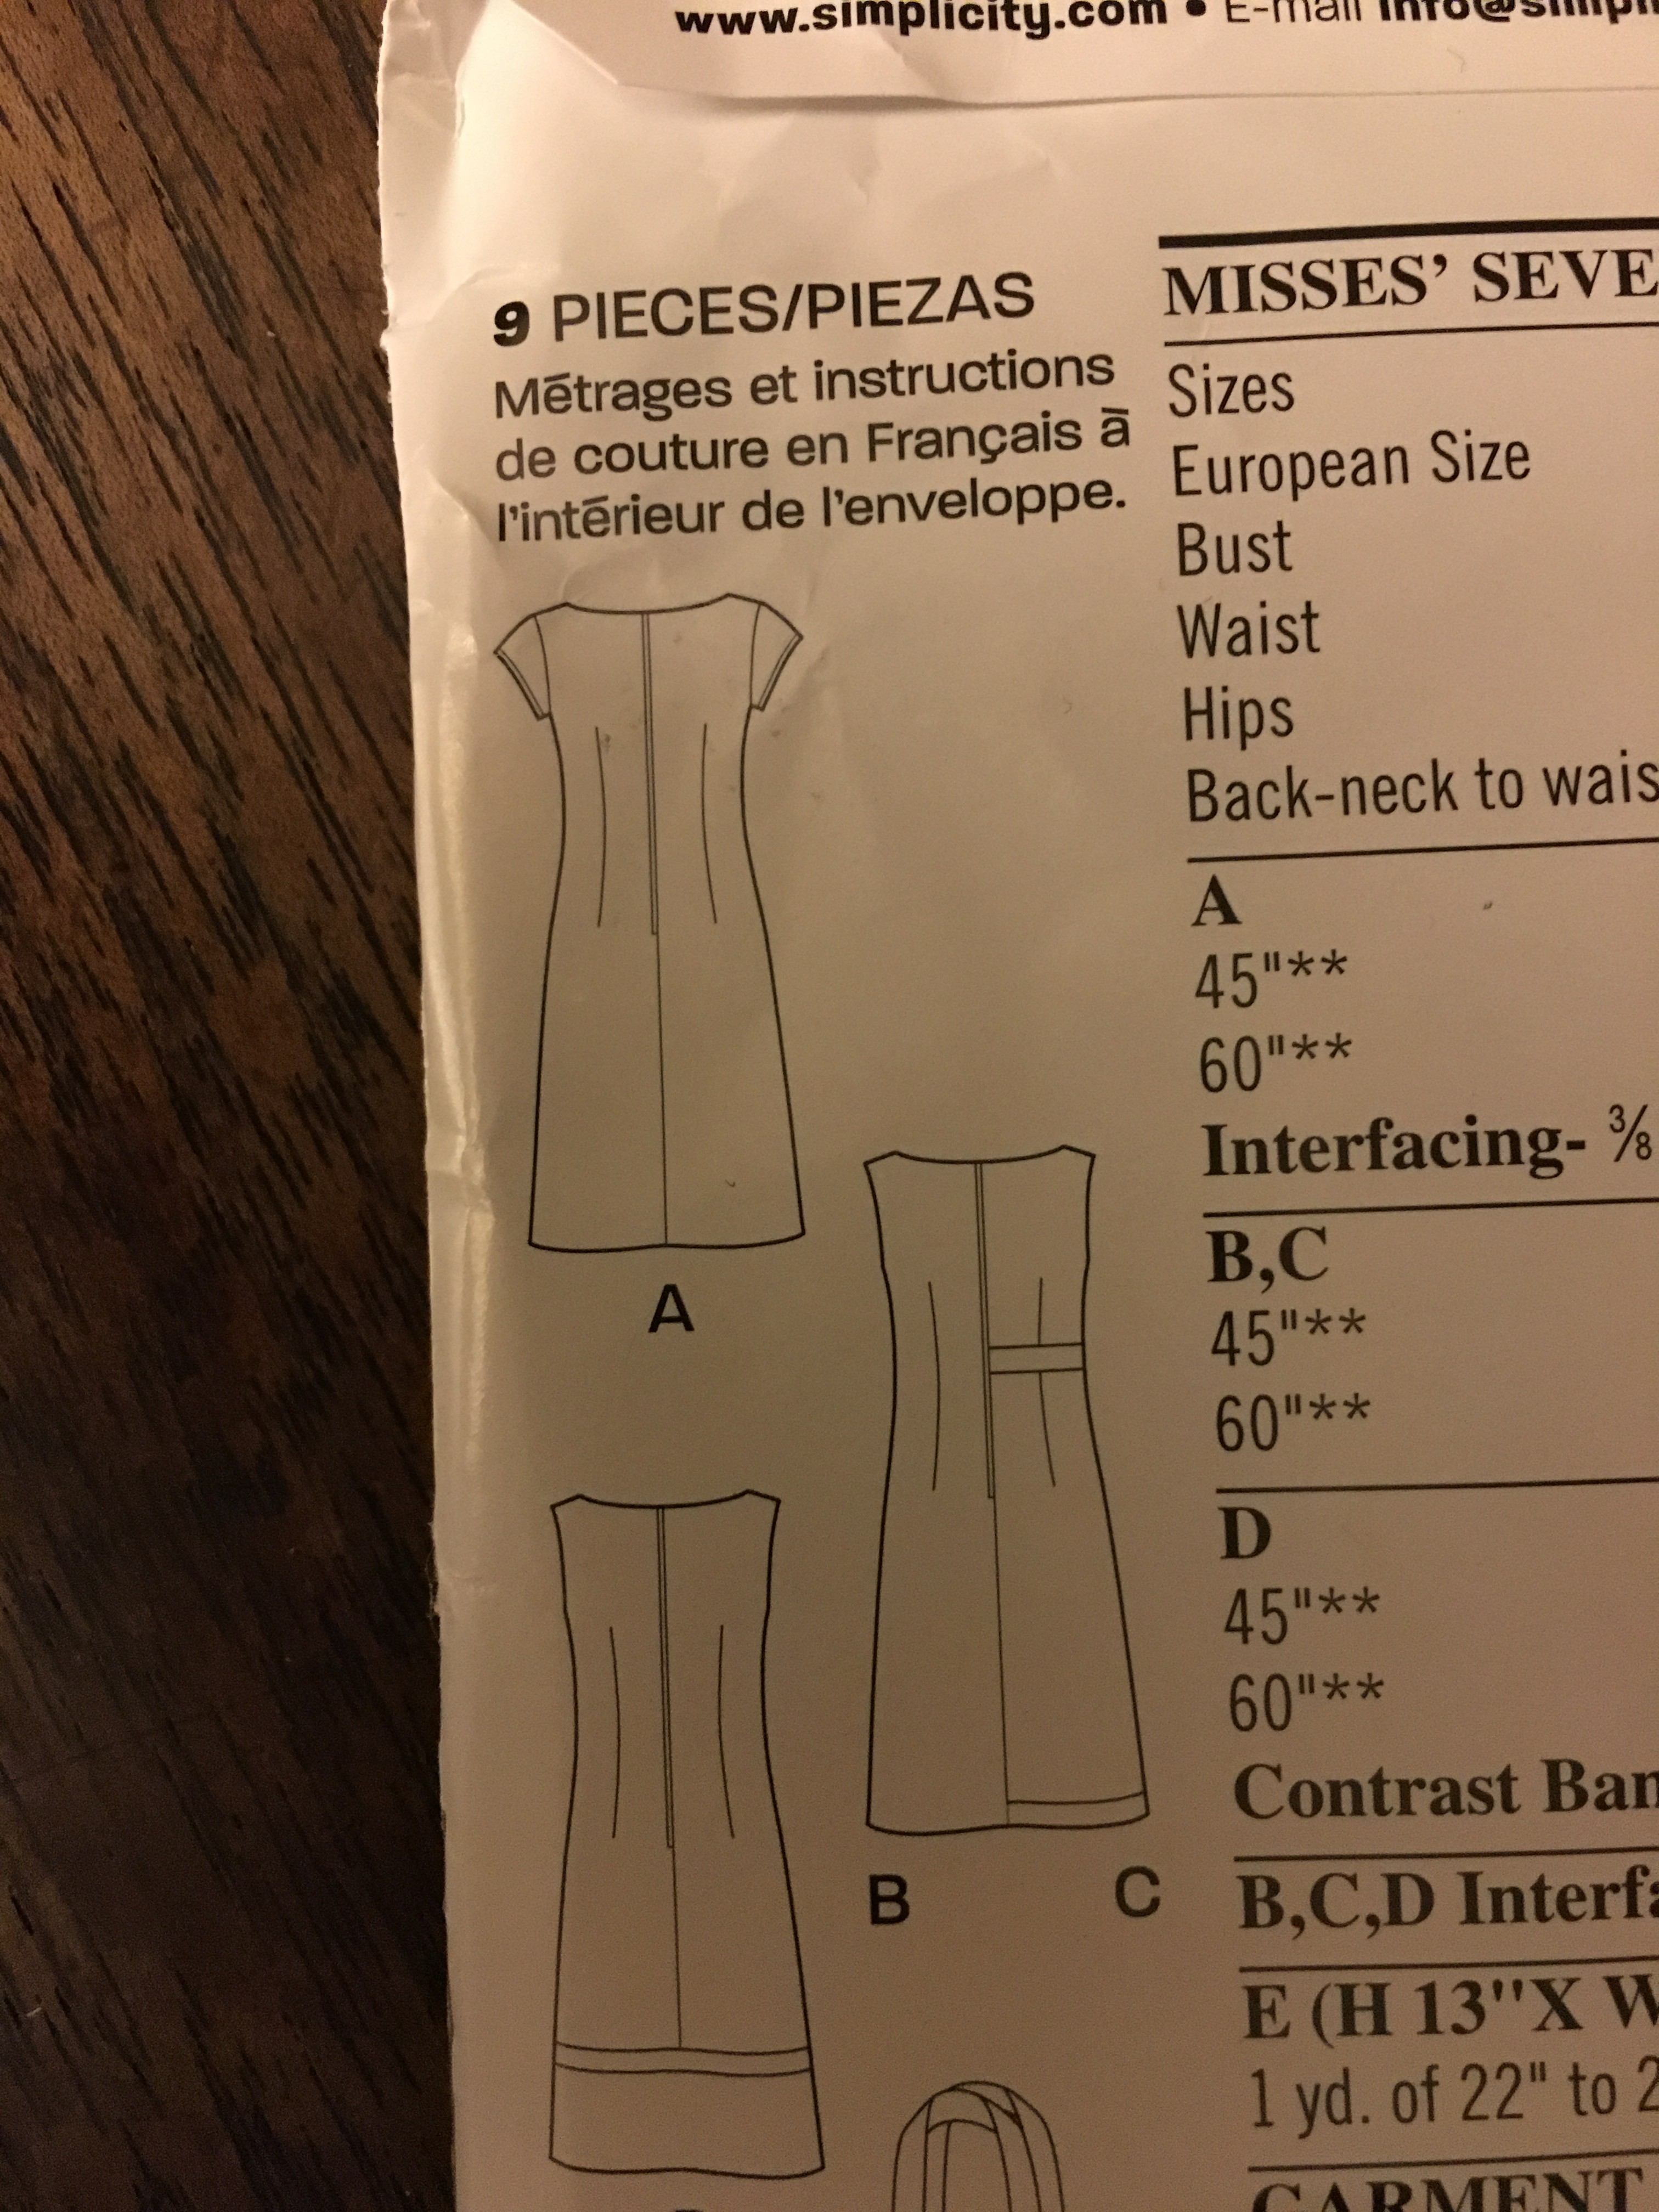
 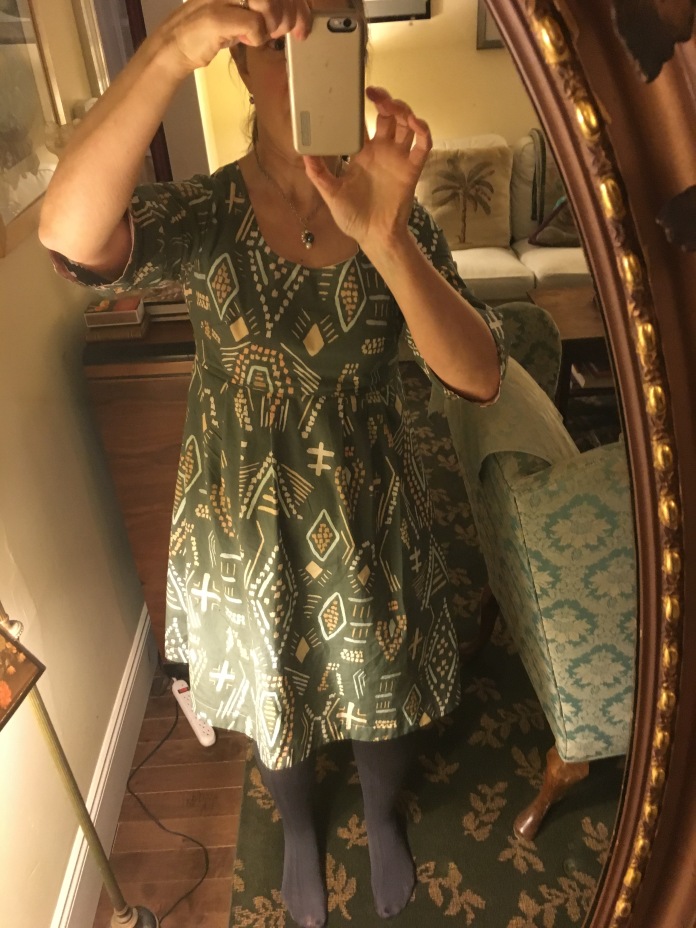 The dress is really comfortable to wear and I knew this fabric would be great for this pattern. It is not this orange in real life btw.
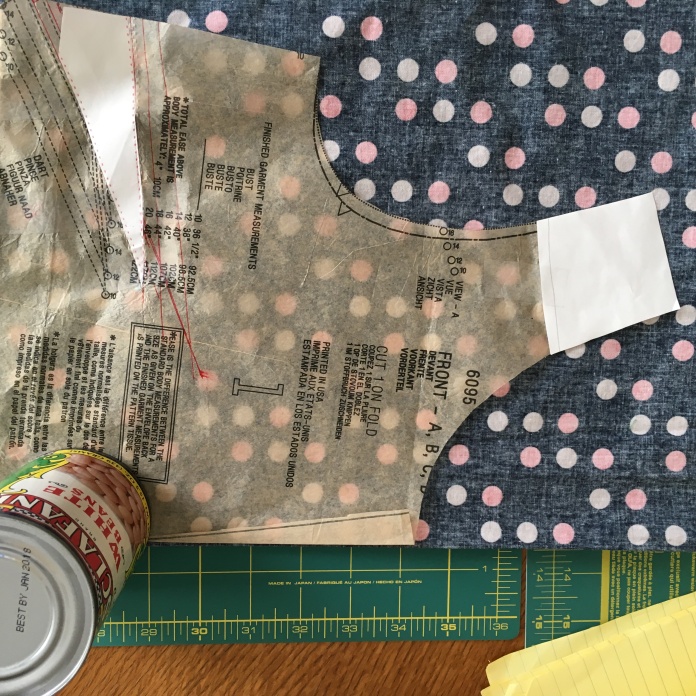
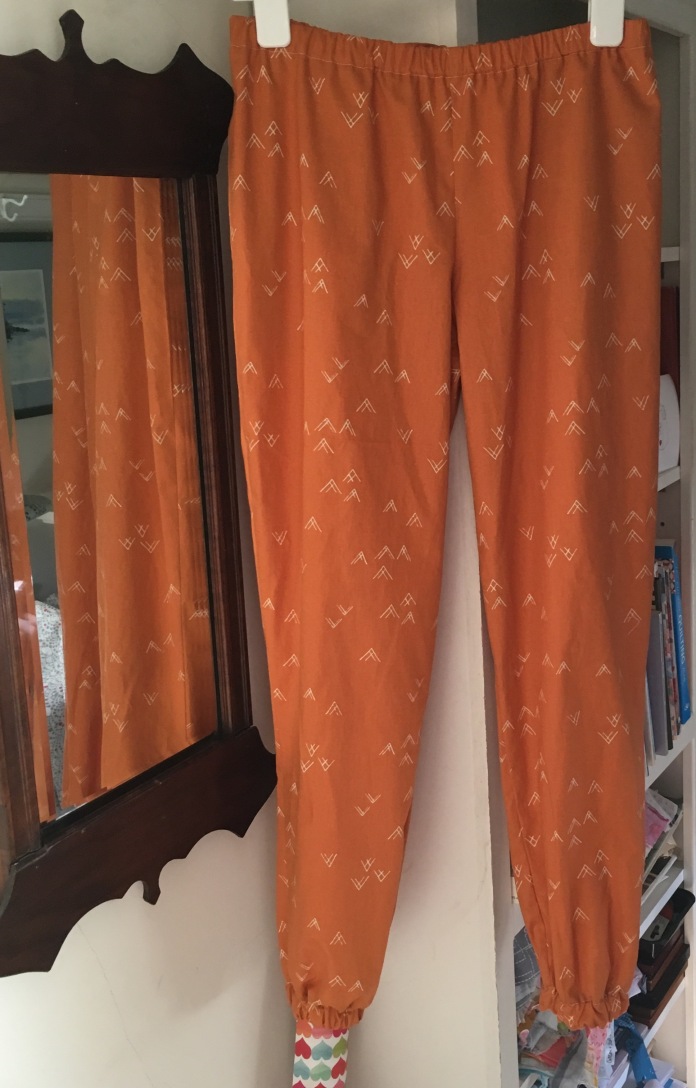 I cut between the medium and large lines (closer to the large around the hips) based on my hip size which is 41 inches. I lengthened the pattern by an inch. I used the leftover scraps from my Bound fabric Washi dress for the pockets.
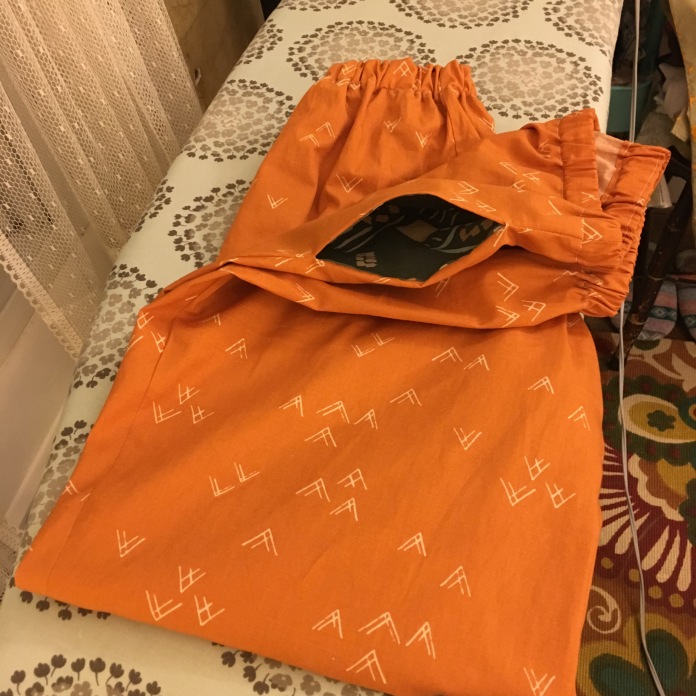 I love the way the tops of the pockets are stitched flat in the waistband seam. Now that I know how to do this, I am tempted to make a skirt just to add pockets exactly like this.
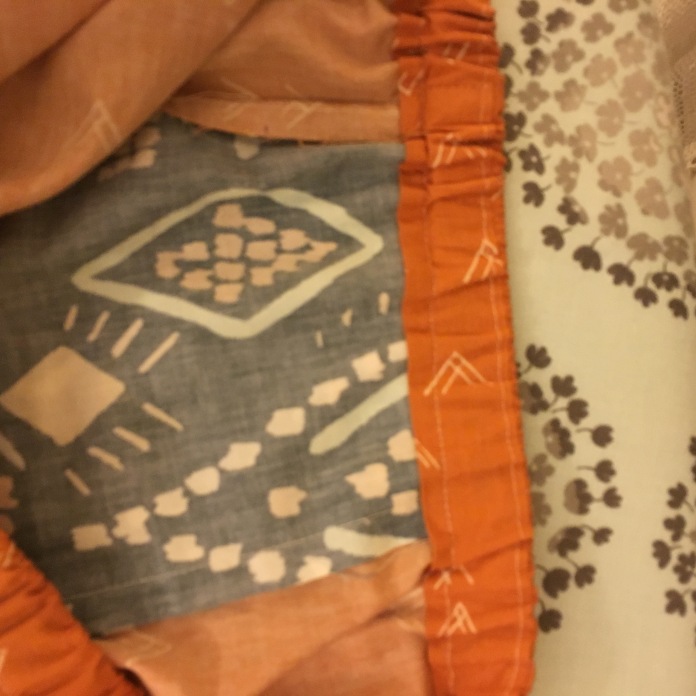 The sewing is straightforward and the directions are easy to follow. Rae also has a series of blog posts that walk you through the construction. Link to Luna Pants
 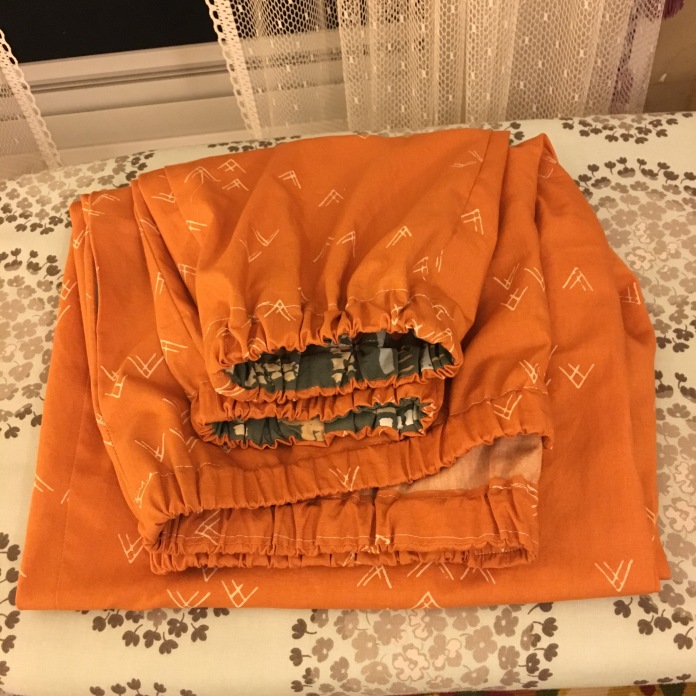 The facing makes them cuter too and it really doesn’t take a lot of time. Another picture of the inside of the pant leg with hem facing:
 If you had told me a couple of years ago that a) I would make pants and b) I would wear them in pictures online, I would have said you were crazy but I really like these. They are fun and comfortable and a quick sew. I have plans to make them again soon. I have some April Rhodes Fringe fabric that I know will be perfect. Here are more pictures of the pants as worn tonight to book club. We read
 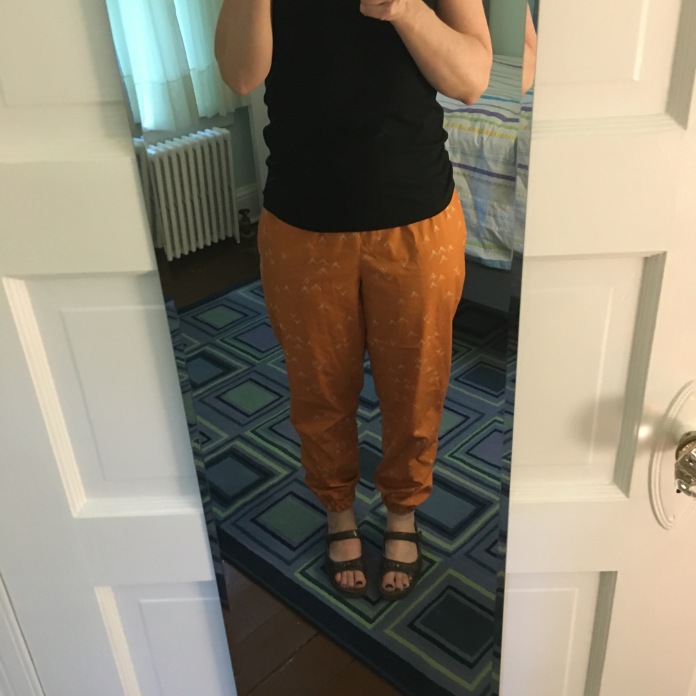 side view
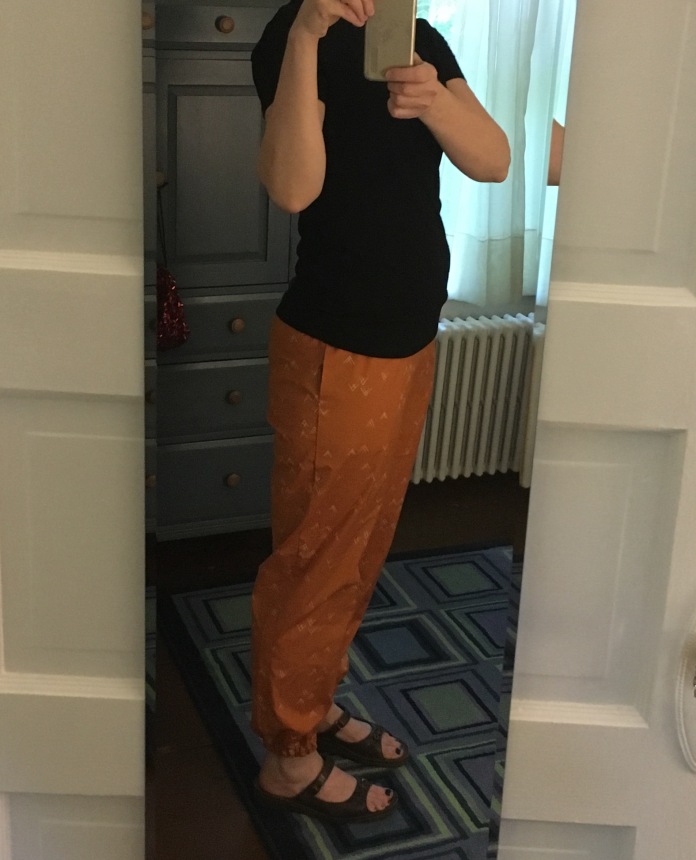 back view
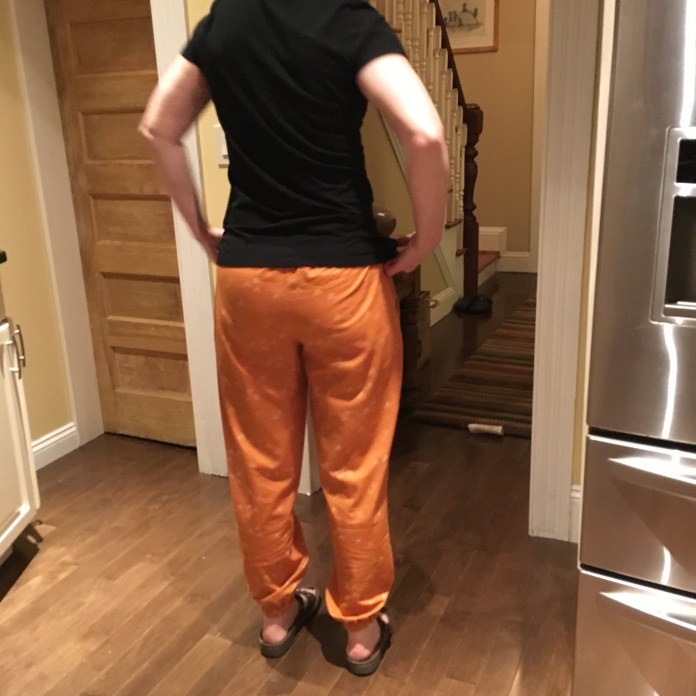 pants in motion (a bit rumpled after book group.)
  Have fun! Make pants! to be continued 🙂
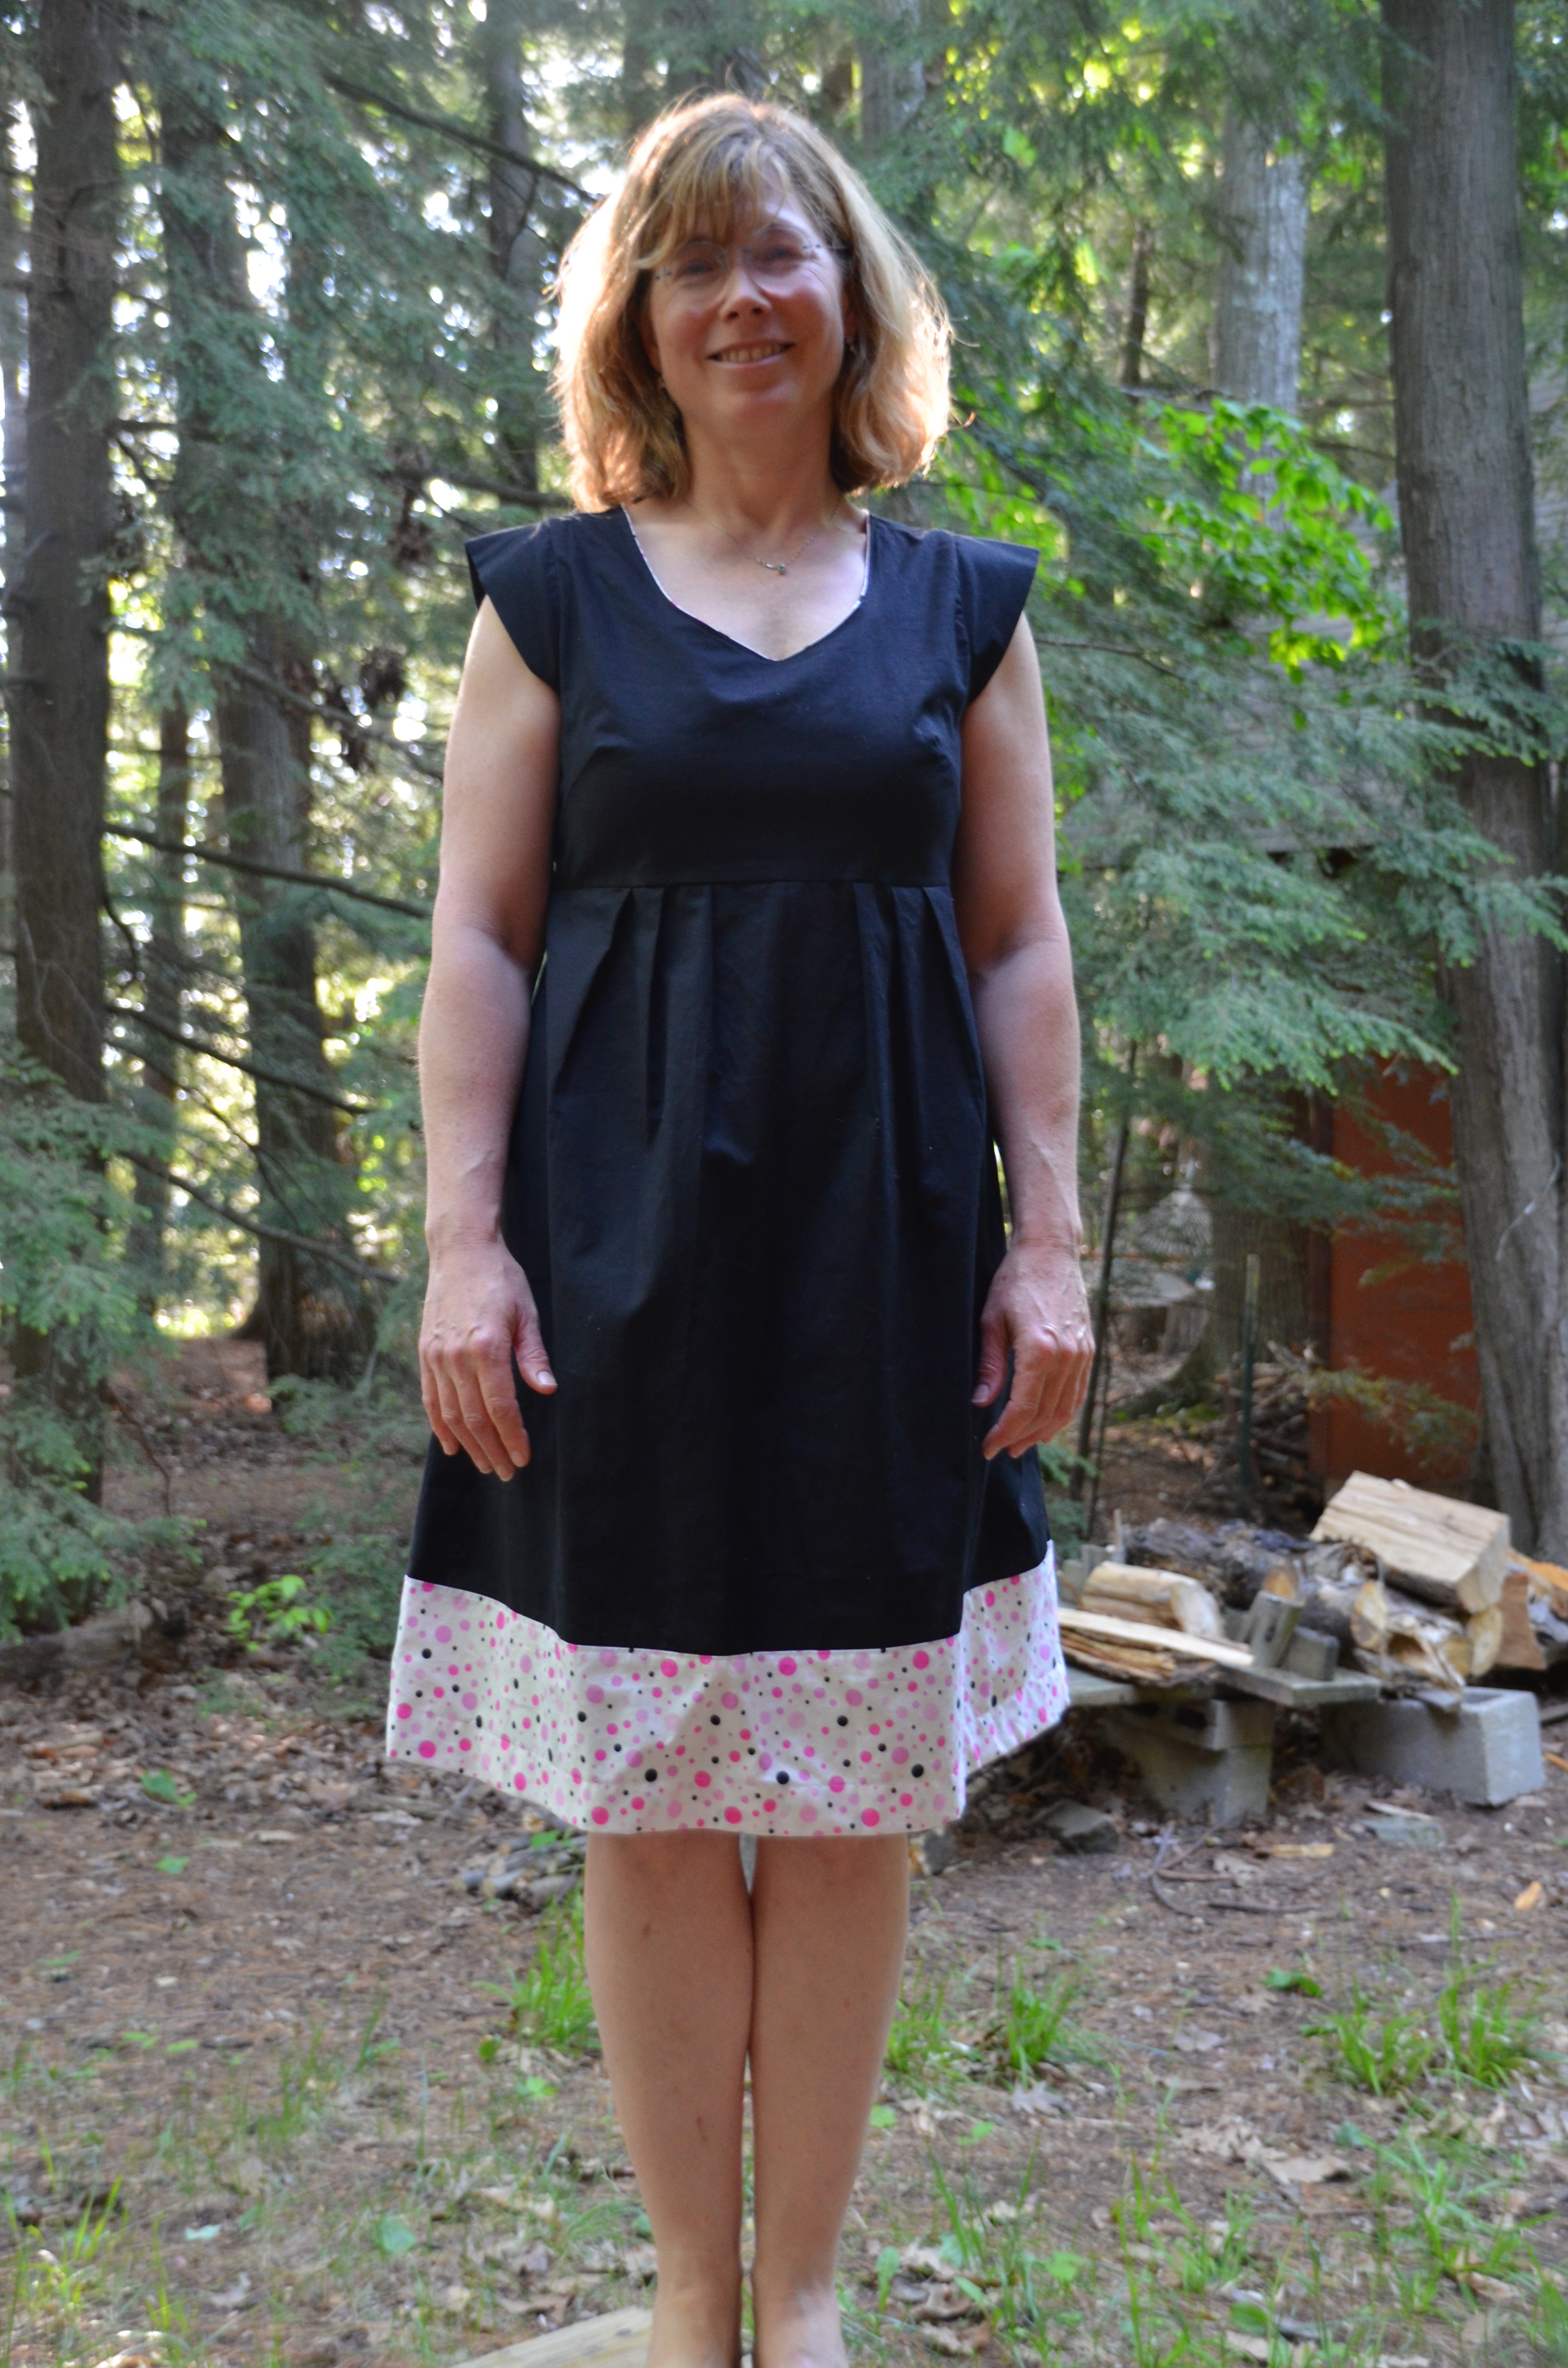
 When I made my first
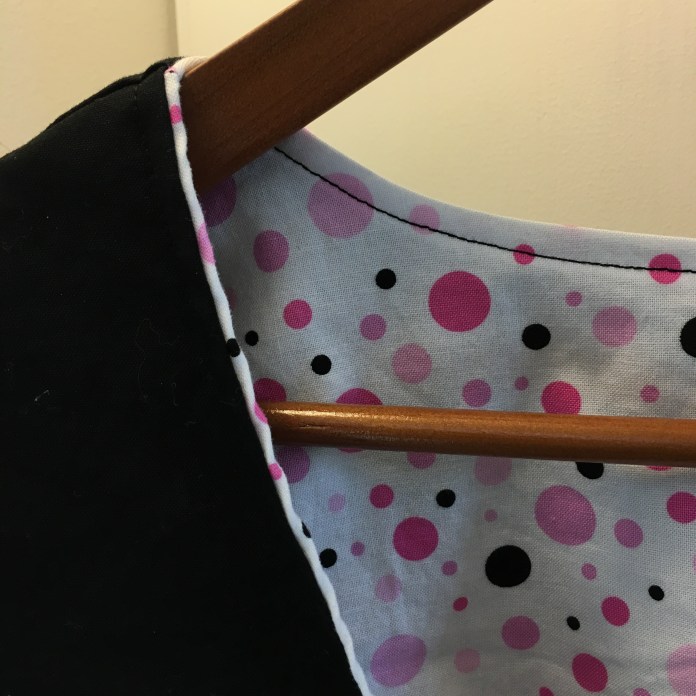 When I made my own black washi with the puppy fabric lining, I must have cut the lining a bit bigger than the bodice pieces for the dress dress and when I went to topstitch the neckline, it shifted a bit.
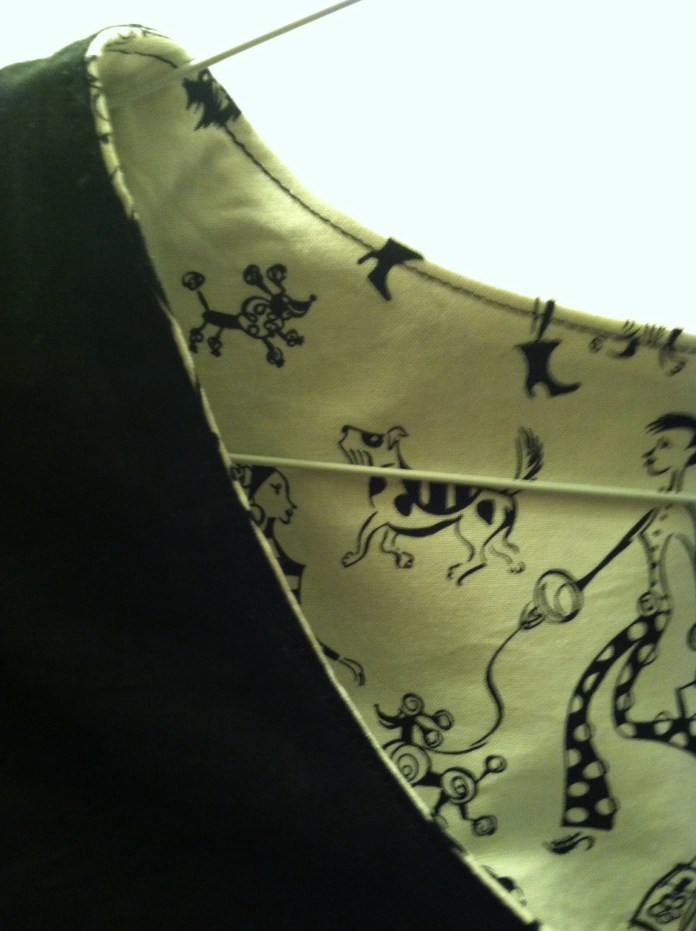 I ended up doing it on purpose to create the effect of piping without actually having to make piping. I did that for Madeleine’s dress as well. It is such an easy thing to do and I love the effect.
 Once again, I used the wonderfully clear Made By Rae
  I used the cutting lines for the Washi tunic and added several inches to create my seam line for the main part of the dress. I sewed all the side seams and added the contrasting border at the end lining up the seam in the border with the side seams of the dress.
 After sewing on the border, I ironed the seam and then topstitched for a more finished look and for durability, something that is important to me as I machine wash everything. Dry cleaning costs are just not in my budget.
 I am really happy with the way it turned out. The polka dots add just enough cute to be fun.
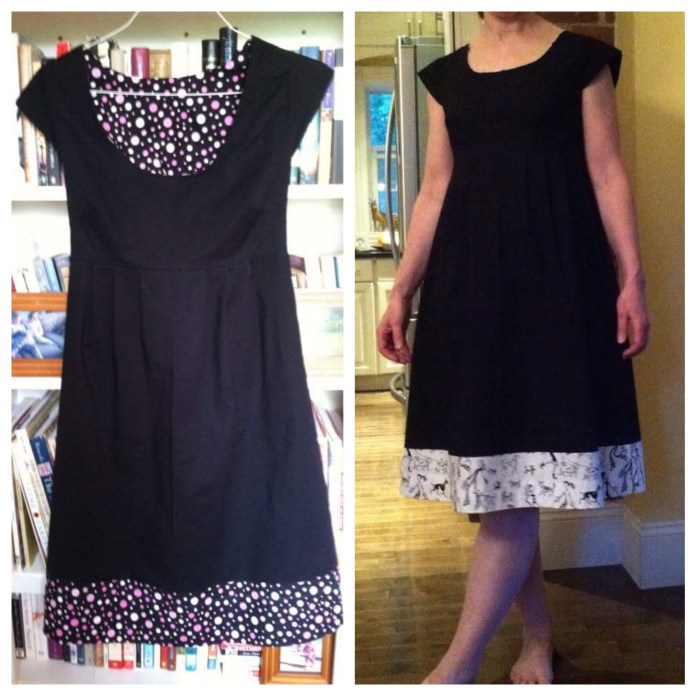
 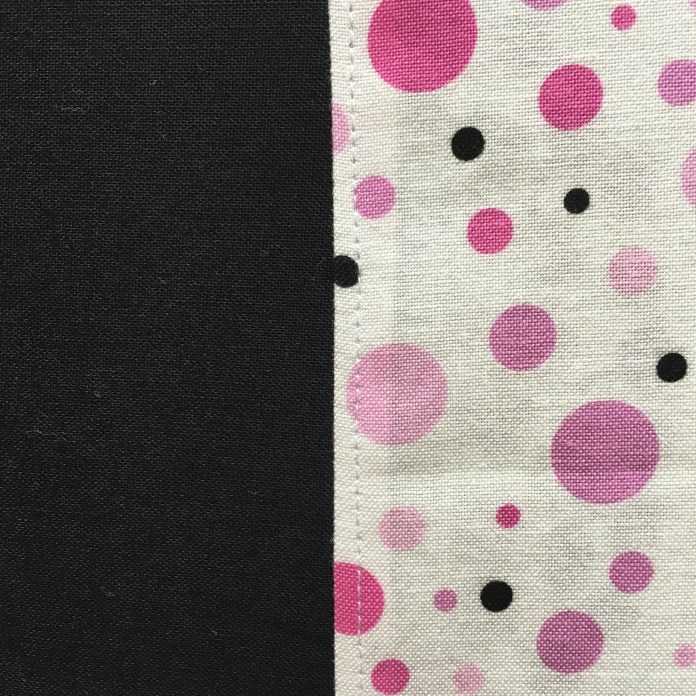 And here is the finished dress which was mailed out to Michigan for the birthday girl.
 The puppy version (slightly rumped) below. I wear it often.
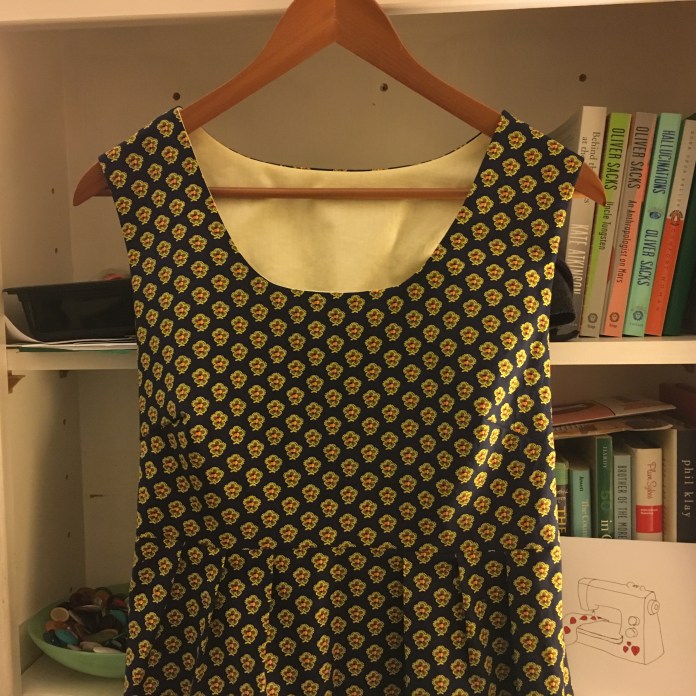 I decided to make a dress for my mother for Mother’s Day with one of my favorite patterns, the
 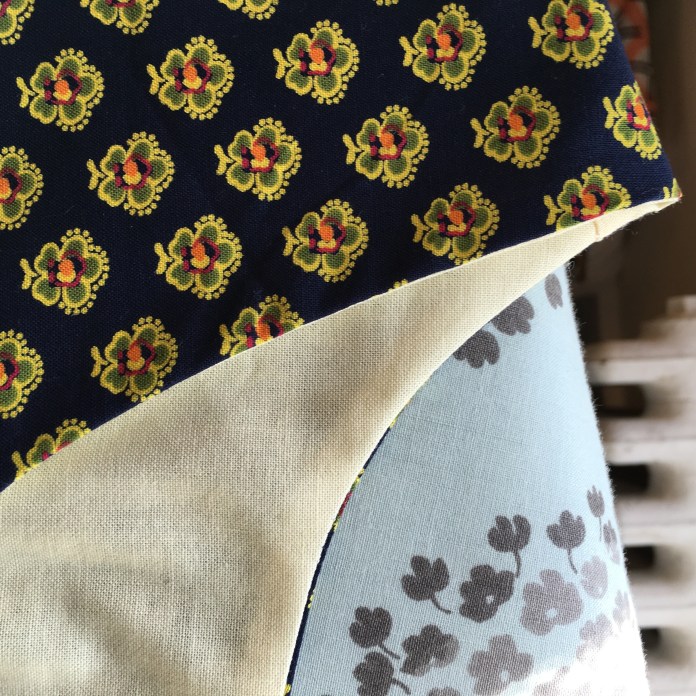 This felt like the perfect fabric for my mother because she is a Professor of French Literature and has studied and lived in France. I made a medium and lengthened it by 2 inches because we are pretty much the same size. The fabric was a dream to work with.
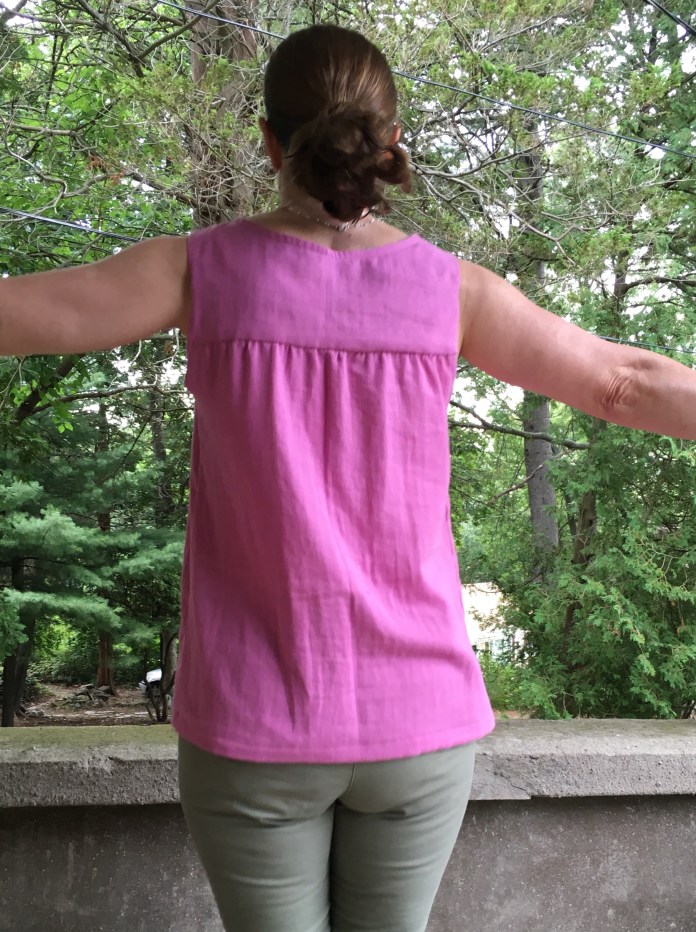
 I shirred the back. Rae has a great shirring tutorial
  It is
It is 
 The contrast is so pretty.
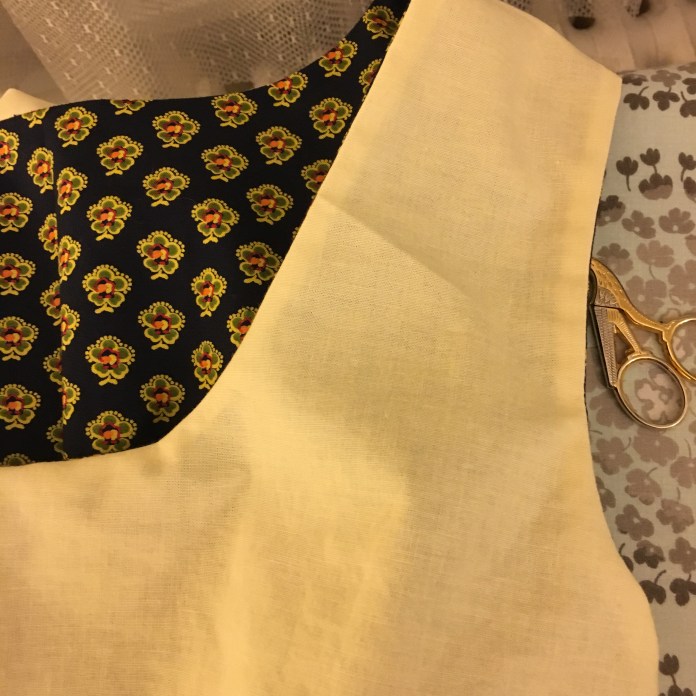
 I added loops of ribbon for bra straps, a little touch that makes a huge difference for those of us with sloped shoulders. (inside back view below)
 I used the navy fabric and made a hem facing. I generally use hem facings to get a cleaner finish as I wrote about
  I am really happy with the final product and hope that she will enjoy wearing it all summer. She actually has already worn it to the theater in New York. Check it out! Beautiful, am I right?
 I may have to make one just like it for myself! I will have to check and see how much of this fabric I have left. 🙂
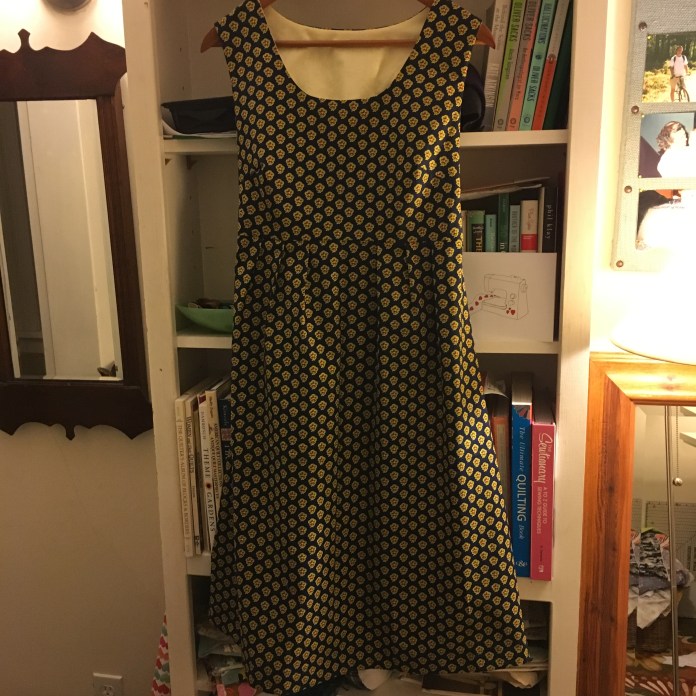 The Washi-such an awesome pattern! Next up, a polka dot Washi for my sister. 😉
 I used chalk to mark the shirring lines but I usually end up just using one chalked line and then using the first sewing line to guide the rest of my seams. Shirring using elastic thread is actually amazingly easy. Rae’s tutorial
 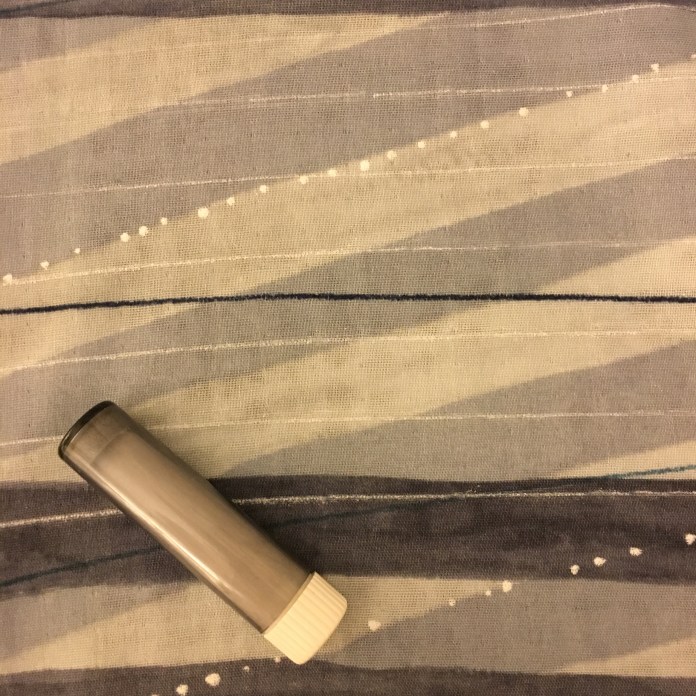 I used organic natural colored cotton batiste to line the bodice using
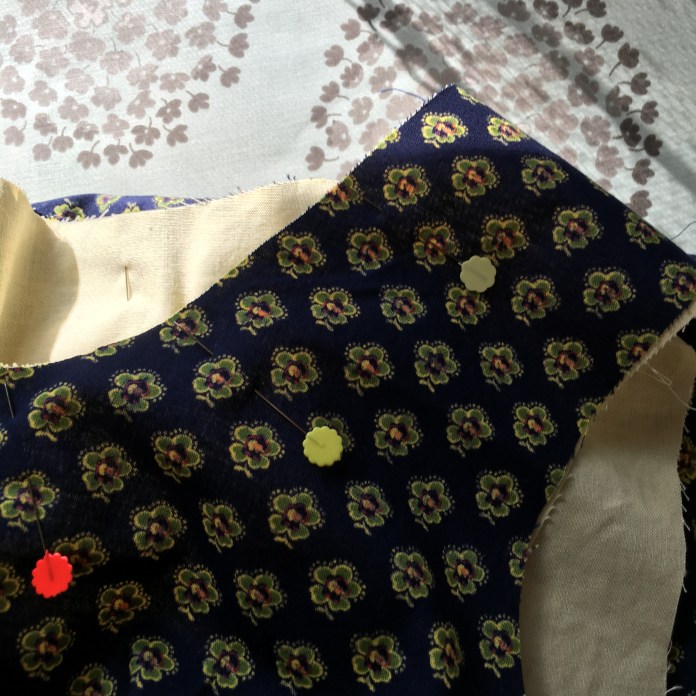
 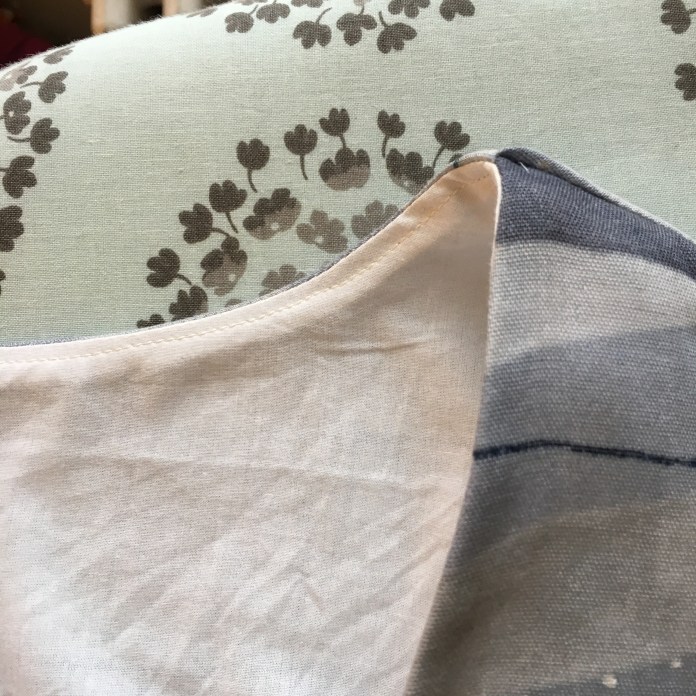 I added a ribbon with snaps for bra strap holders as I sewed the fabric sausage.
 A fabric sausage pinned and ready to be sewn.
 Finished shirring visible as I sew the bodice lining.
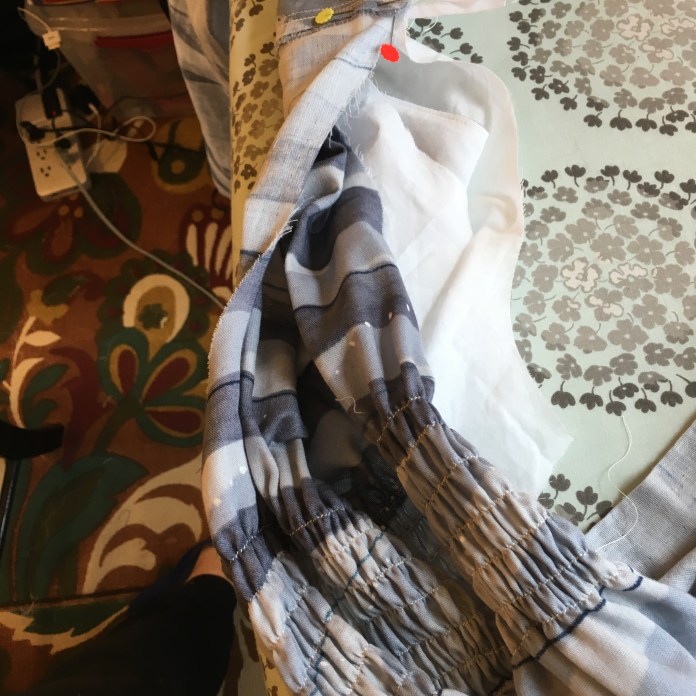 Once again I used a lightweight quilting cotton in a neutral light pink for hem facing. I have used it for several garments. I have almost run out!
 Hem pinned and ready to be sewn.
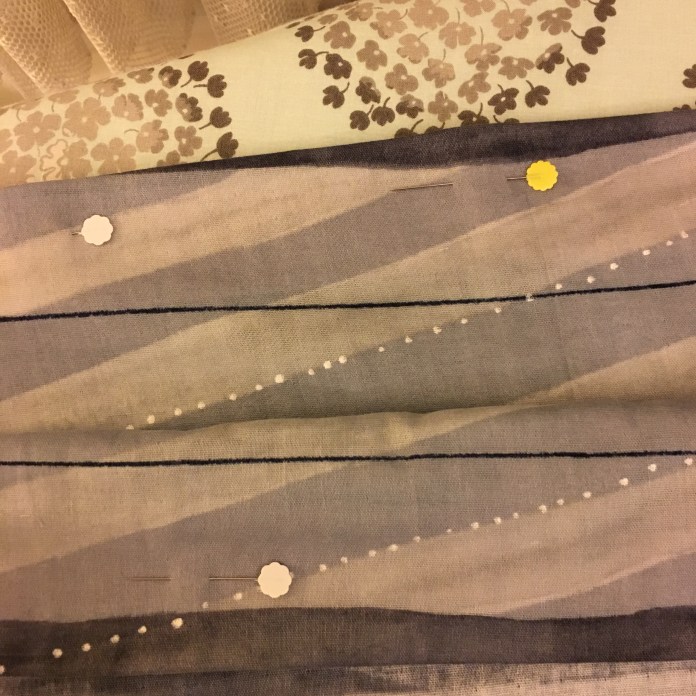 Hem.
Hem. Finished dress back view. The stripes don’t line up on the side but I am happy with the way the back stripes ended up. The photo bomber is my sweet dog Sadie.
 Close up of the beautiful nani iro fabric.
 Shades of grey can be beautiful!
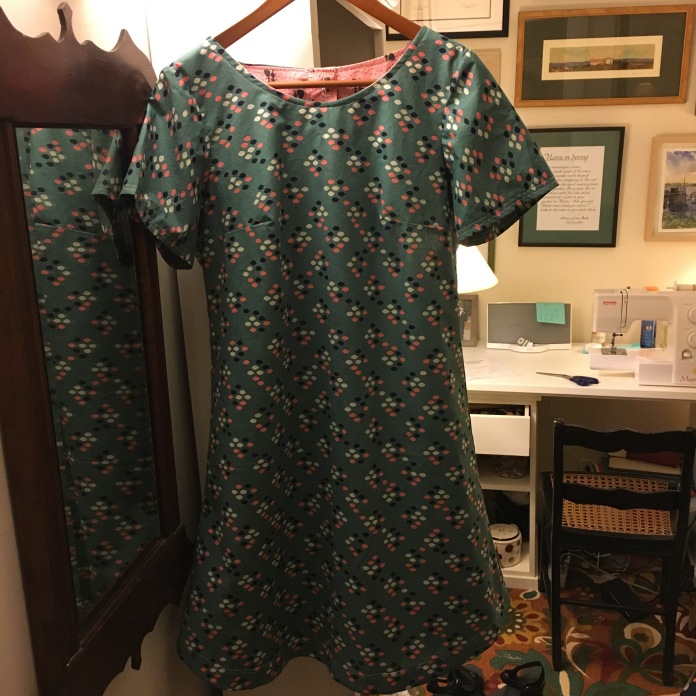 I have had this Cookie Drop Beatrix Tunic in my head since I made my
 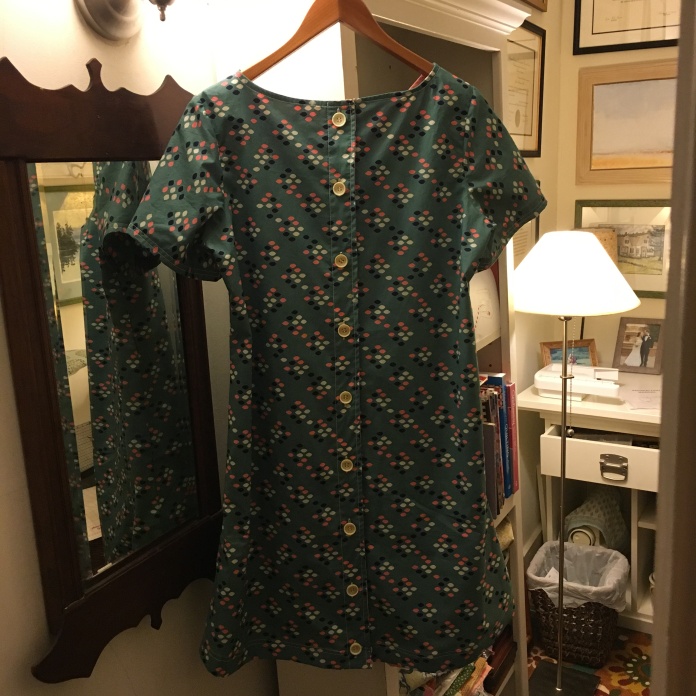 I have always loved this green color. It reminds me of the greens used in so many of the depression era quilts and of my grandparents’ house in Louisville, Kentucky. The mirror below hung in their front hall for over 60 years.
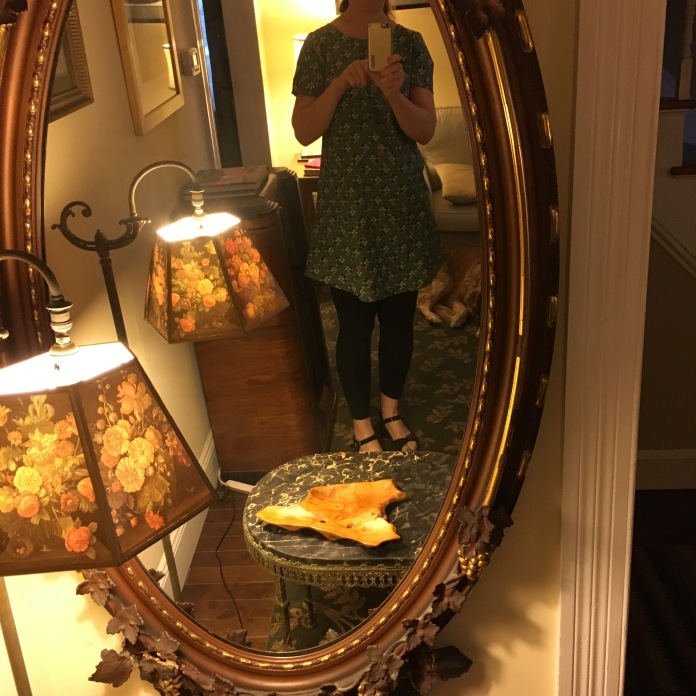 My grandmother loved soft blue greens and those colors predominated in their home. I had the idea for the pop of pink and used this fun fabric for contrasting facings.
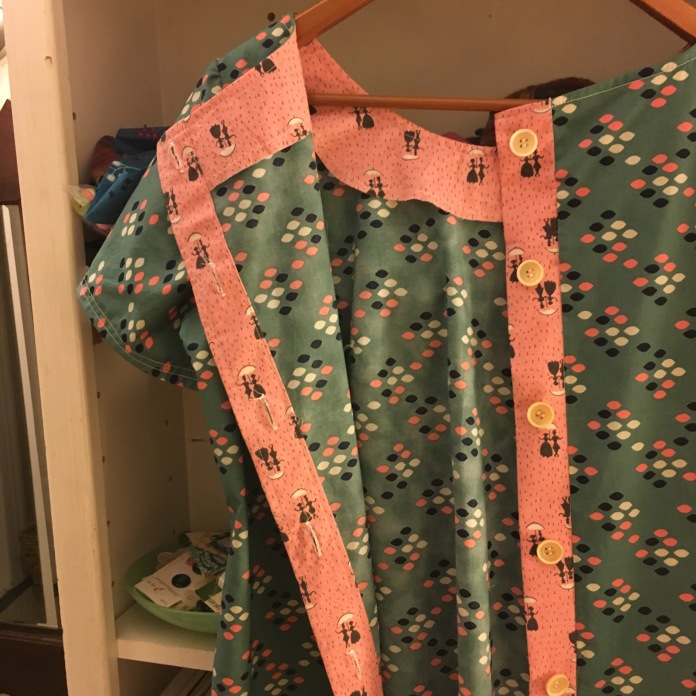 I don’t remember where I got this pink fabric but a friend recognized it. I think she may have given it to me years ago when I had an idea for a quilt with lots of pinks because it was my daughter’s favorite color. That quilt never got made because life got in the way. It may end up being a future project. I still have quilt sized scraps left over.
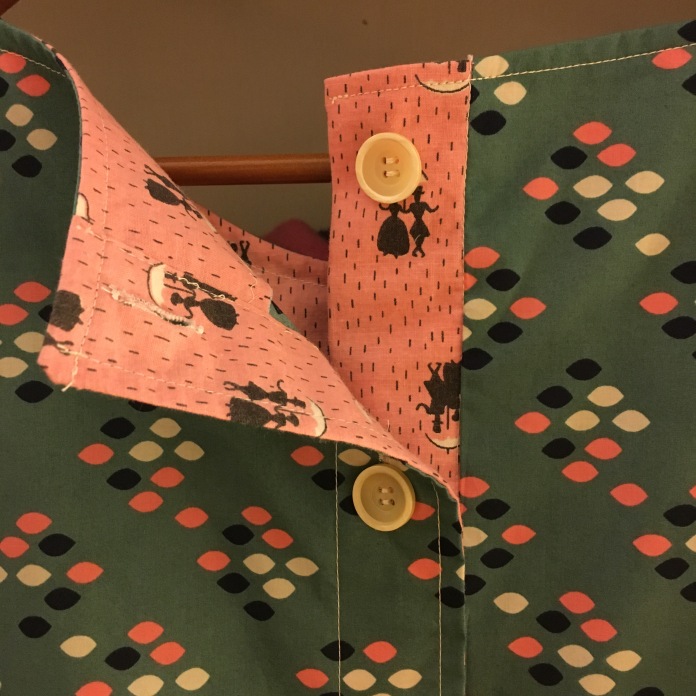 An online friend on instagram commented that the pink fabric reminded her of Mary Poppins. I hadn’t thought of that before but once she said it, I could totally see it. I love Mary Poppins. Who doesn’t? I read all the original books as a child and with my children.
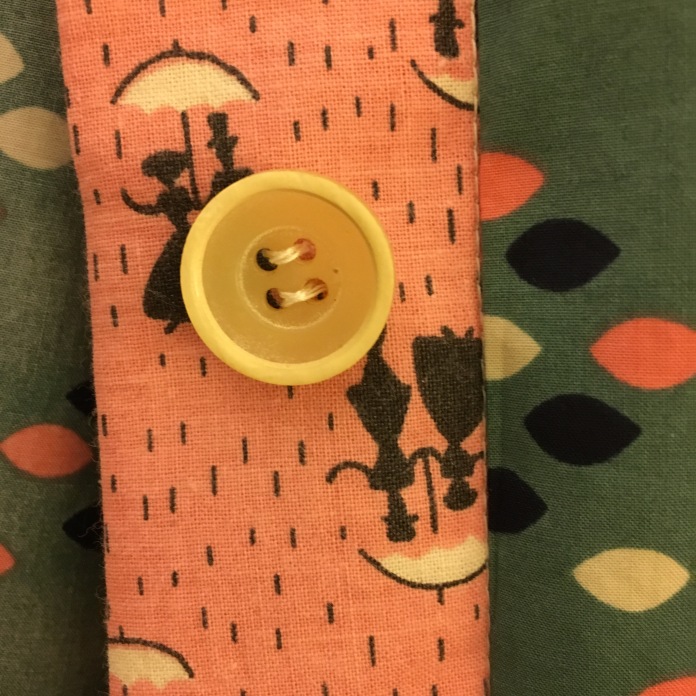 I love the versatility of the
 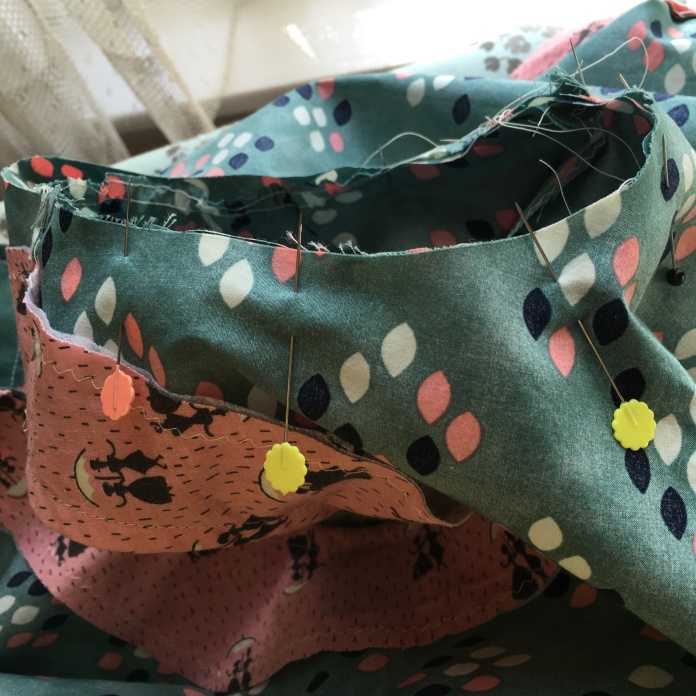 This time, I modified the pattern to use the contrasting fabric just on the inside of the garment. I used Rae’s instructions as if I was going to do a contrasting button placket using the standard measurements on the side with the buttons and then on the side with the button holes, I made the green portion wider and the pink portion narrower adding a seam allowance to each, folding the fabric at the seam where the two fabrics are sewn together, a technique I use for most of my hems. I am really happy with how it turned out. I think the pink on the outside was a little bolder than I wanted to go but I love the way it peeks out. In order to make Mary Poppins and Bert upright, I had to piece the placket facing but I think it came out fine. Waste not want not! The people are sideways on the hem facing which was necessary given the long strip that I needed for the hem facing.
  This fabric is a cotton lawn so it drapes well but was really easy to work with. Although I originally planned to use these green buttons:
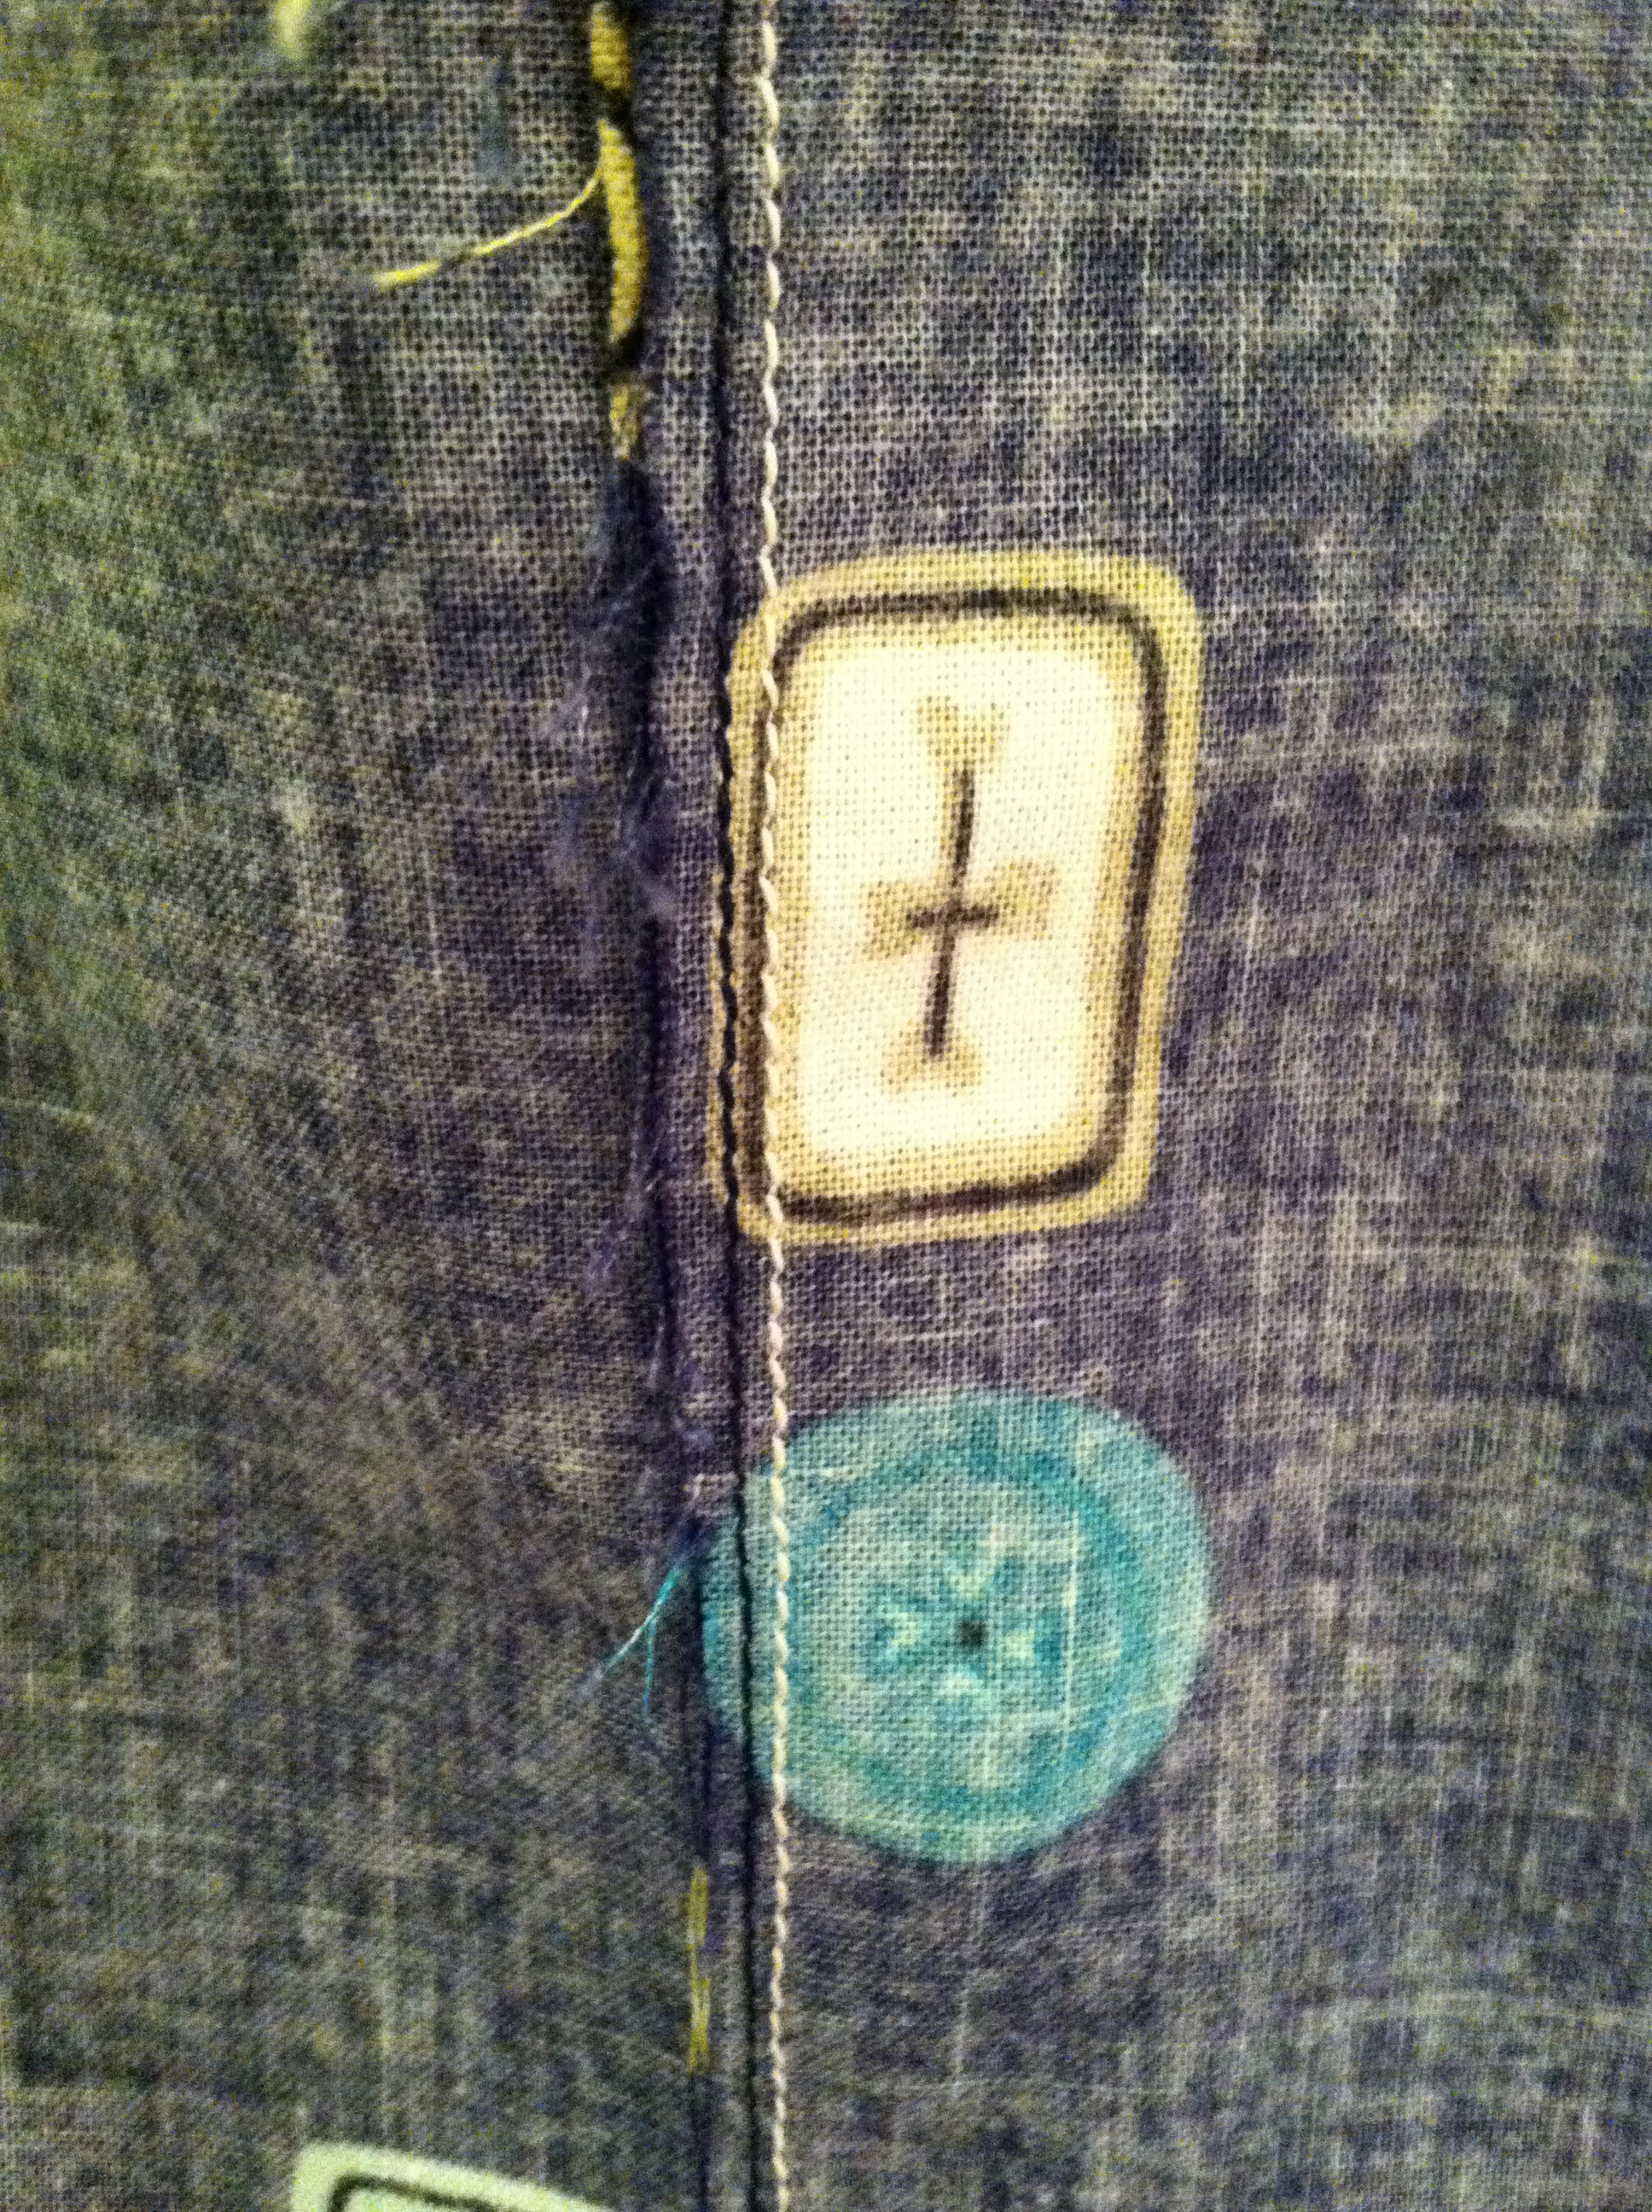
 I decided instead to use these slightly worn, older, cream colored buttons that I rescued from a button jar that I picked up at a tag sale when I first moved to Connecticut in 1995 (buttons seen below with all of my long threads after sewing button holes. I left the threads long deliberately in order to pull them through to the underside and knot them. It didn’t take that long and it looks so much neater.) I like the fact that the buttons have variations in their colors and aren’t exactly matching. I used a cream colored thread which is much softer looking than bright white. I like to sew the two rows of stitches on my button plackets because they help me line up my button holes and I like the look of the stitching.
 I used more of the pink fabric for the facing and hemmed the tunic using the facing technique that I explained

 Drops and dots. What could be better? The cotton and steel cotton lawn fabrics that I used for my Beatrix tunics are still available at fabric.com as of this writing. Happy spring!