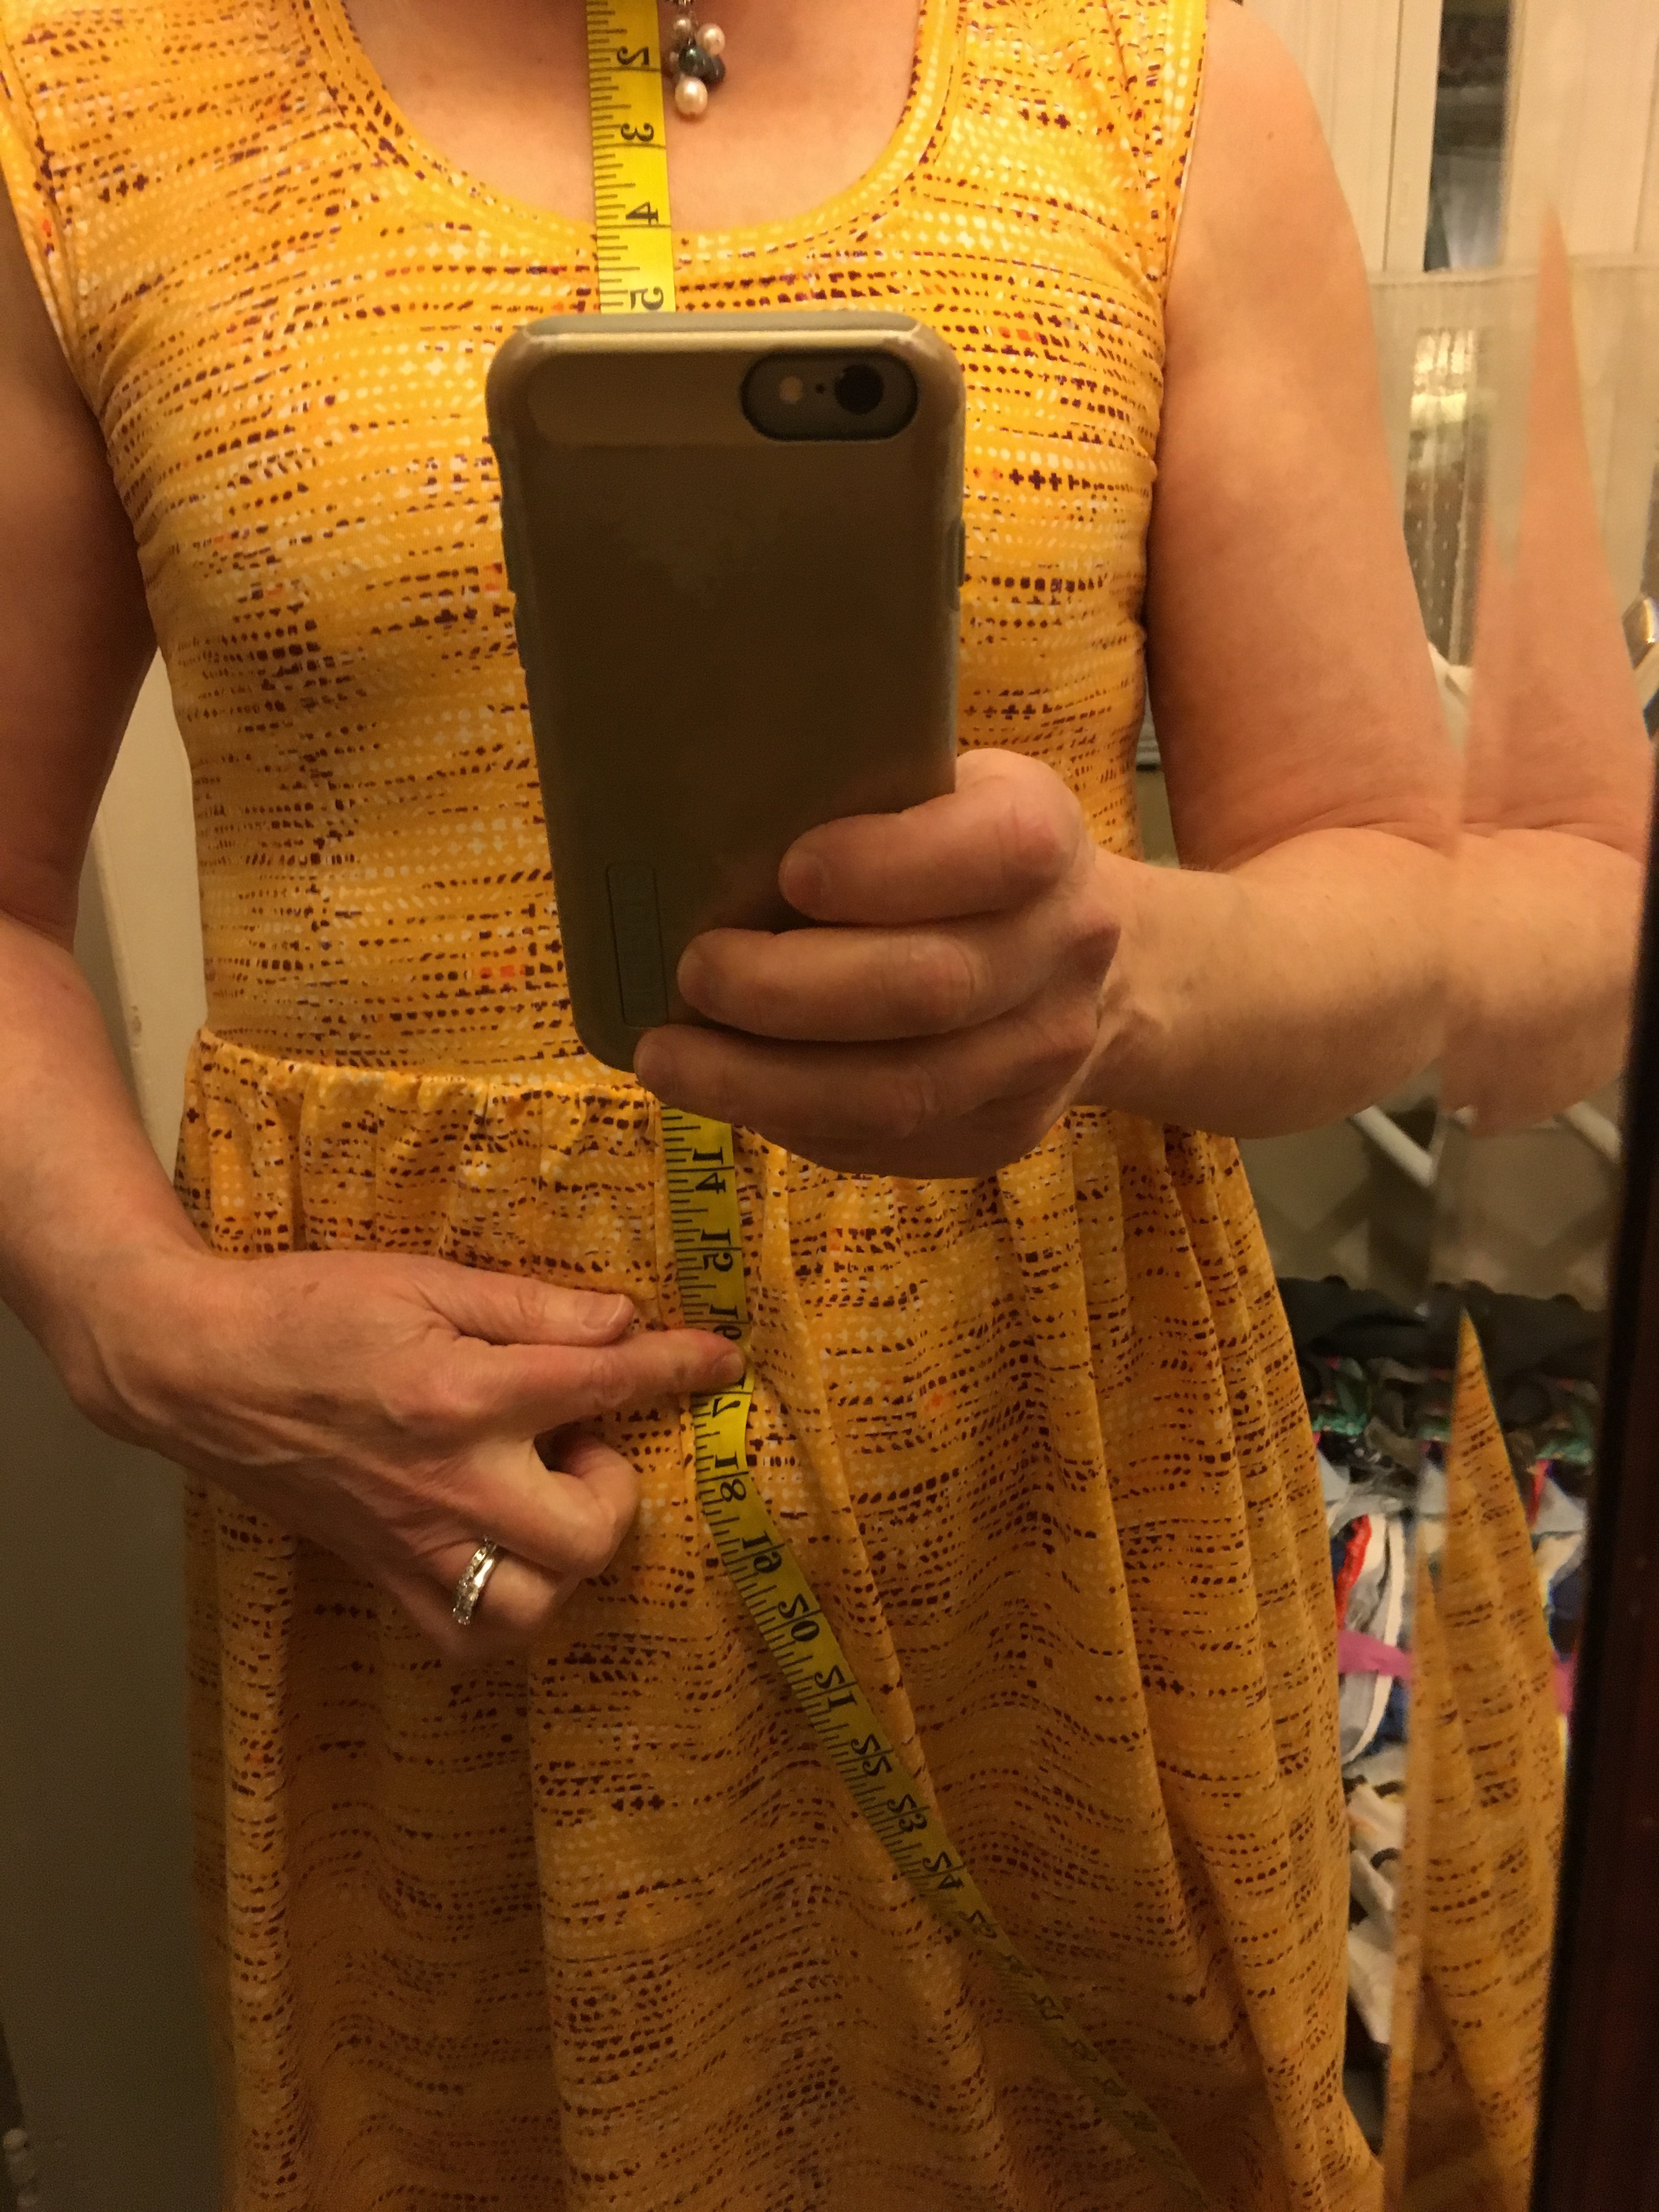
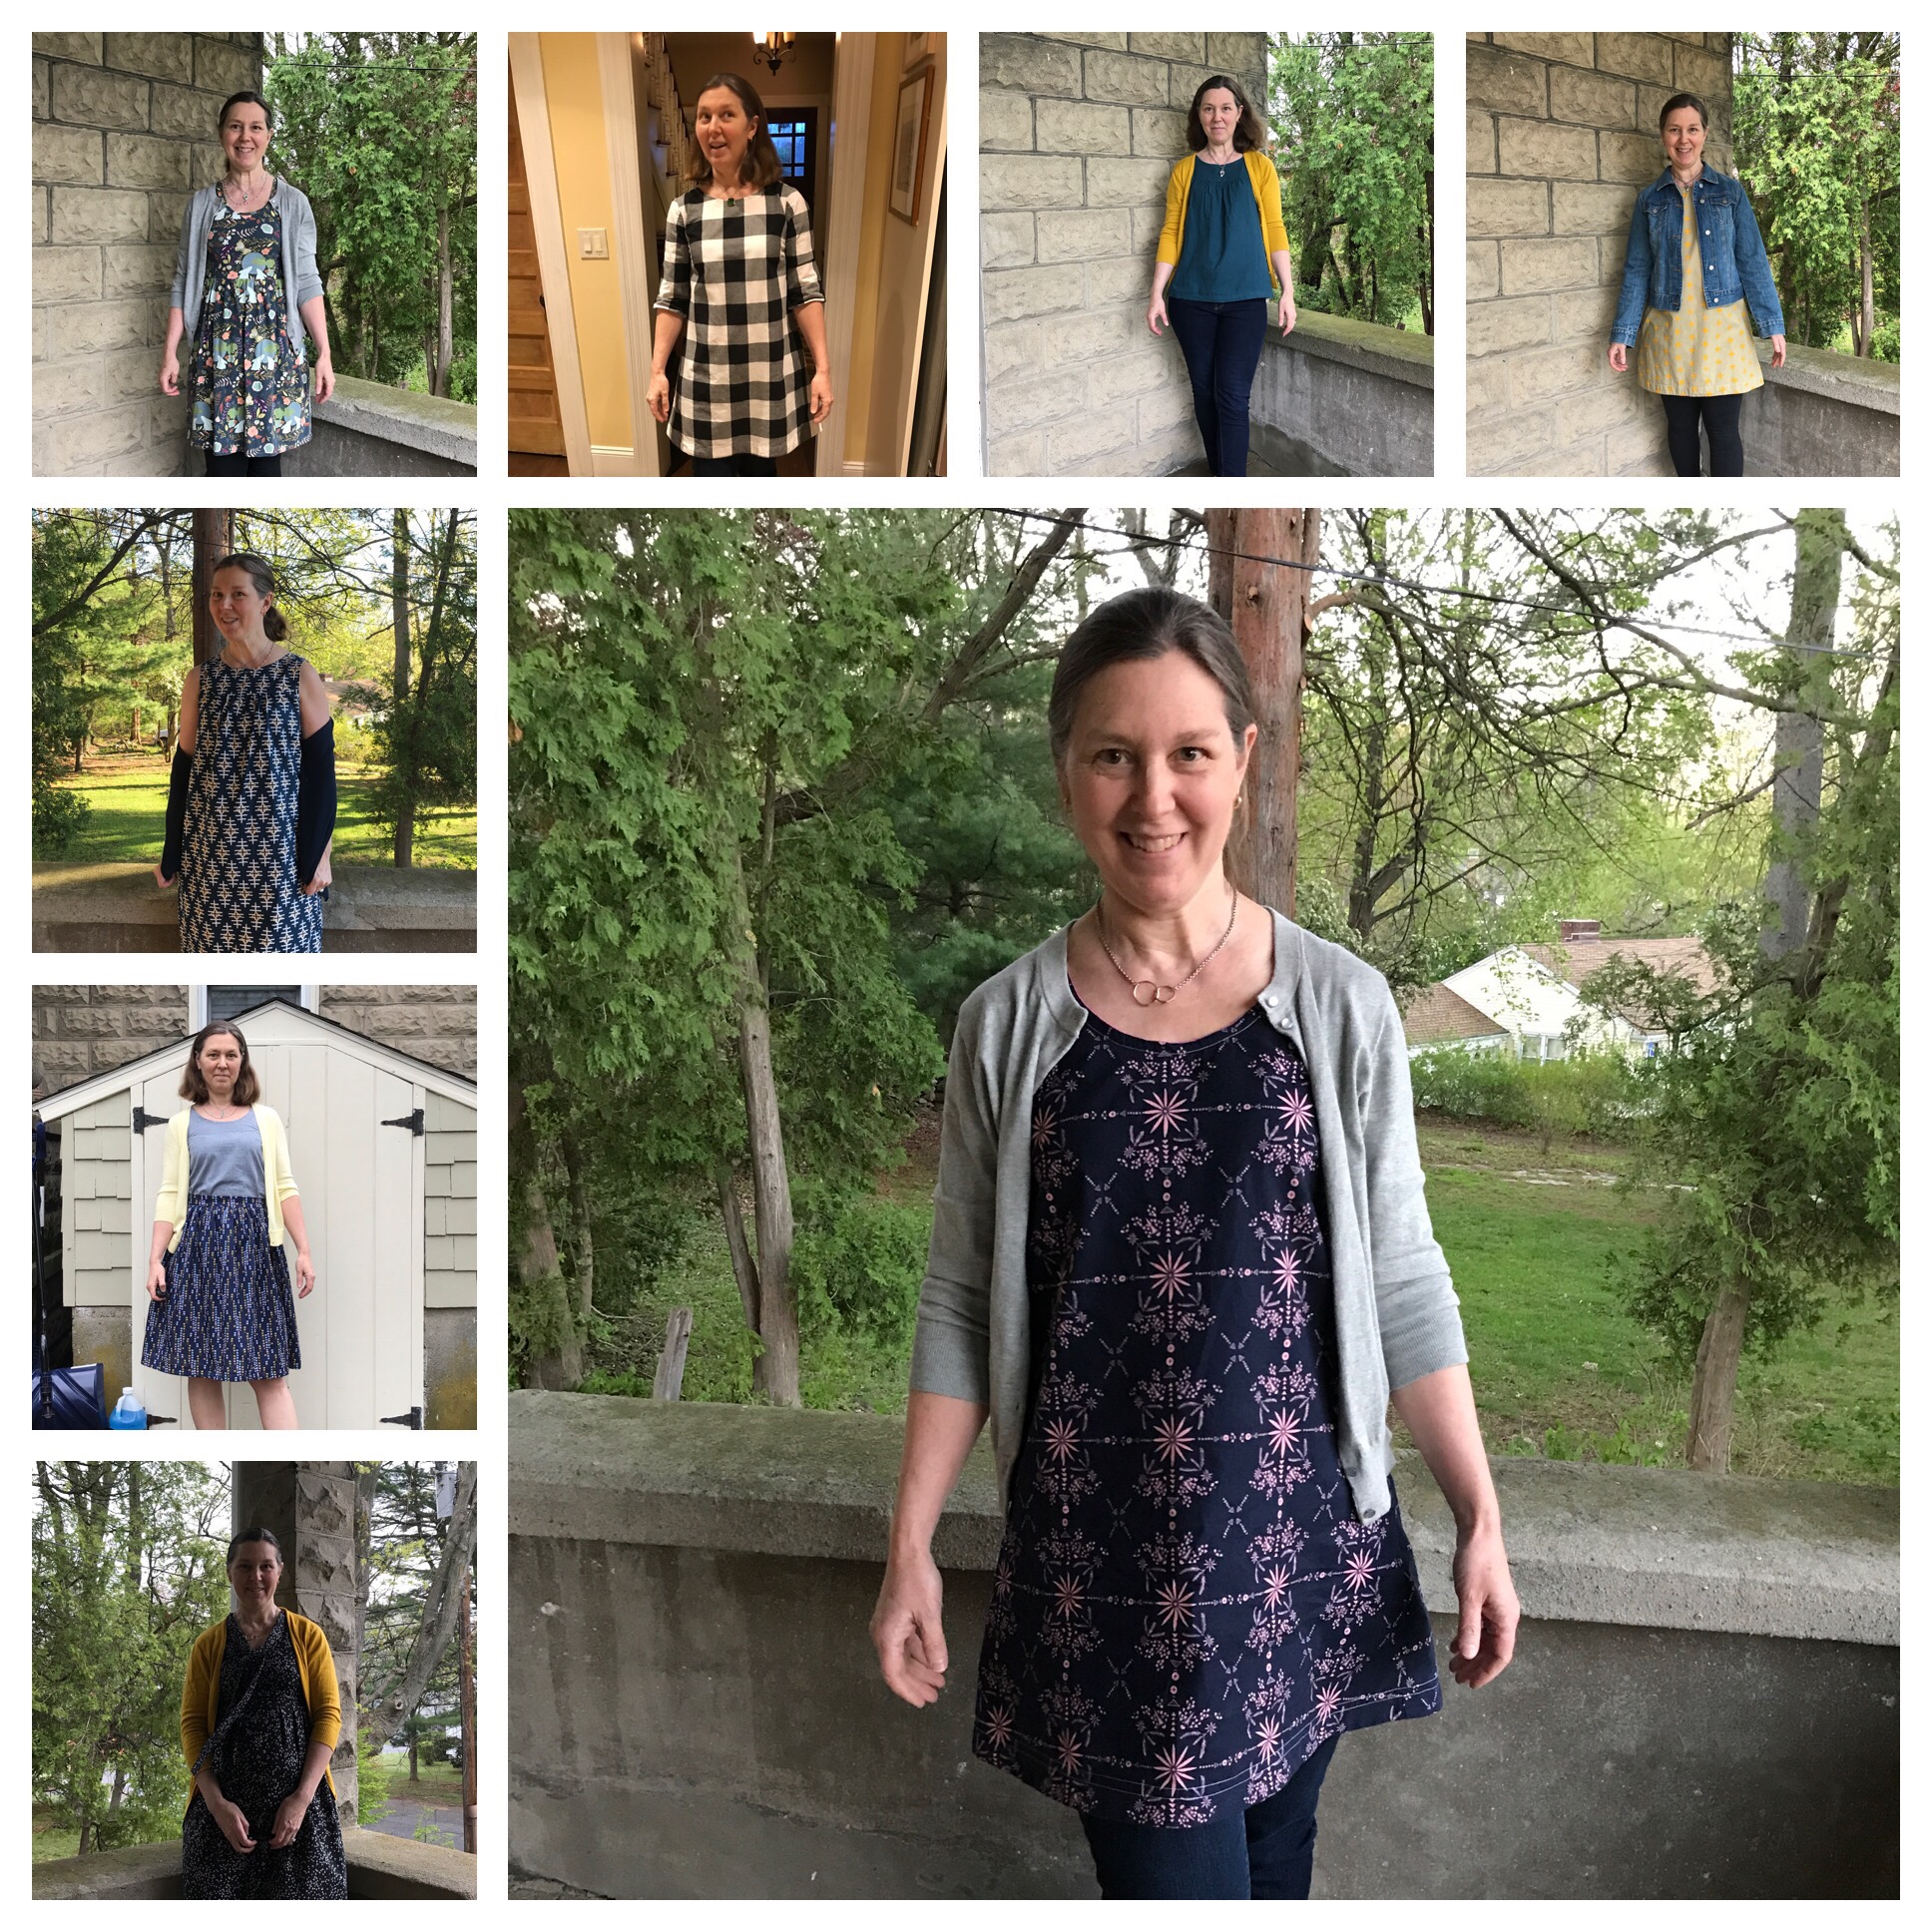
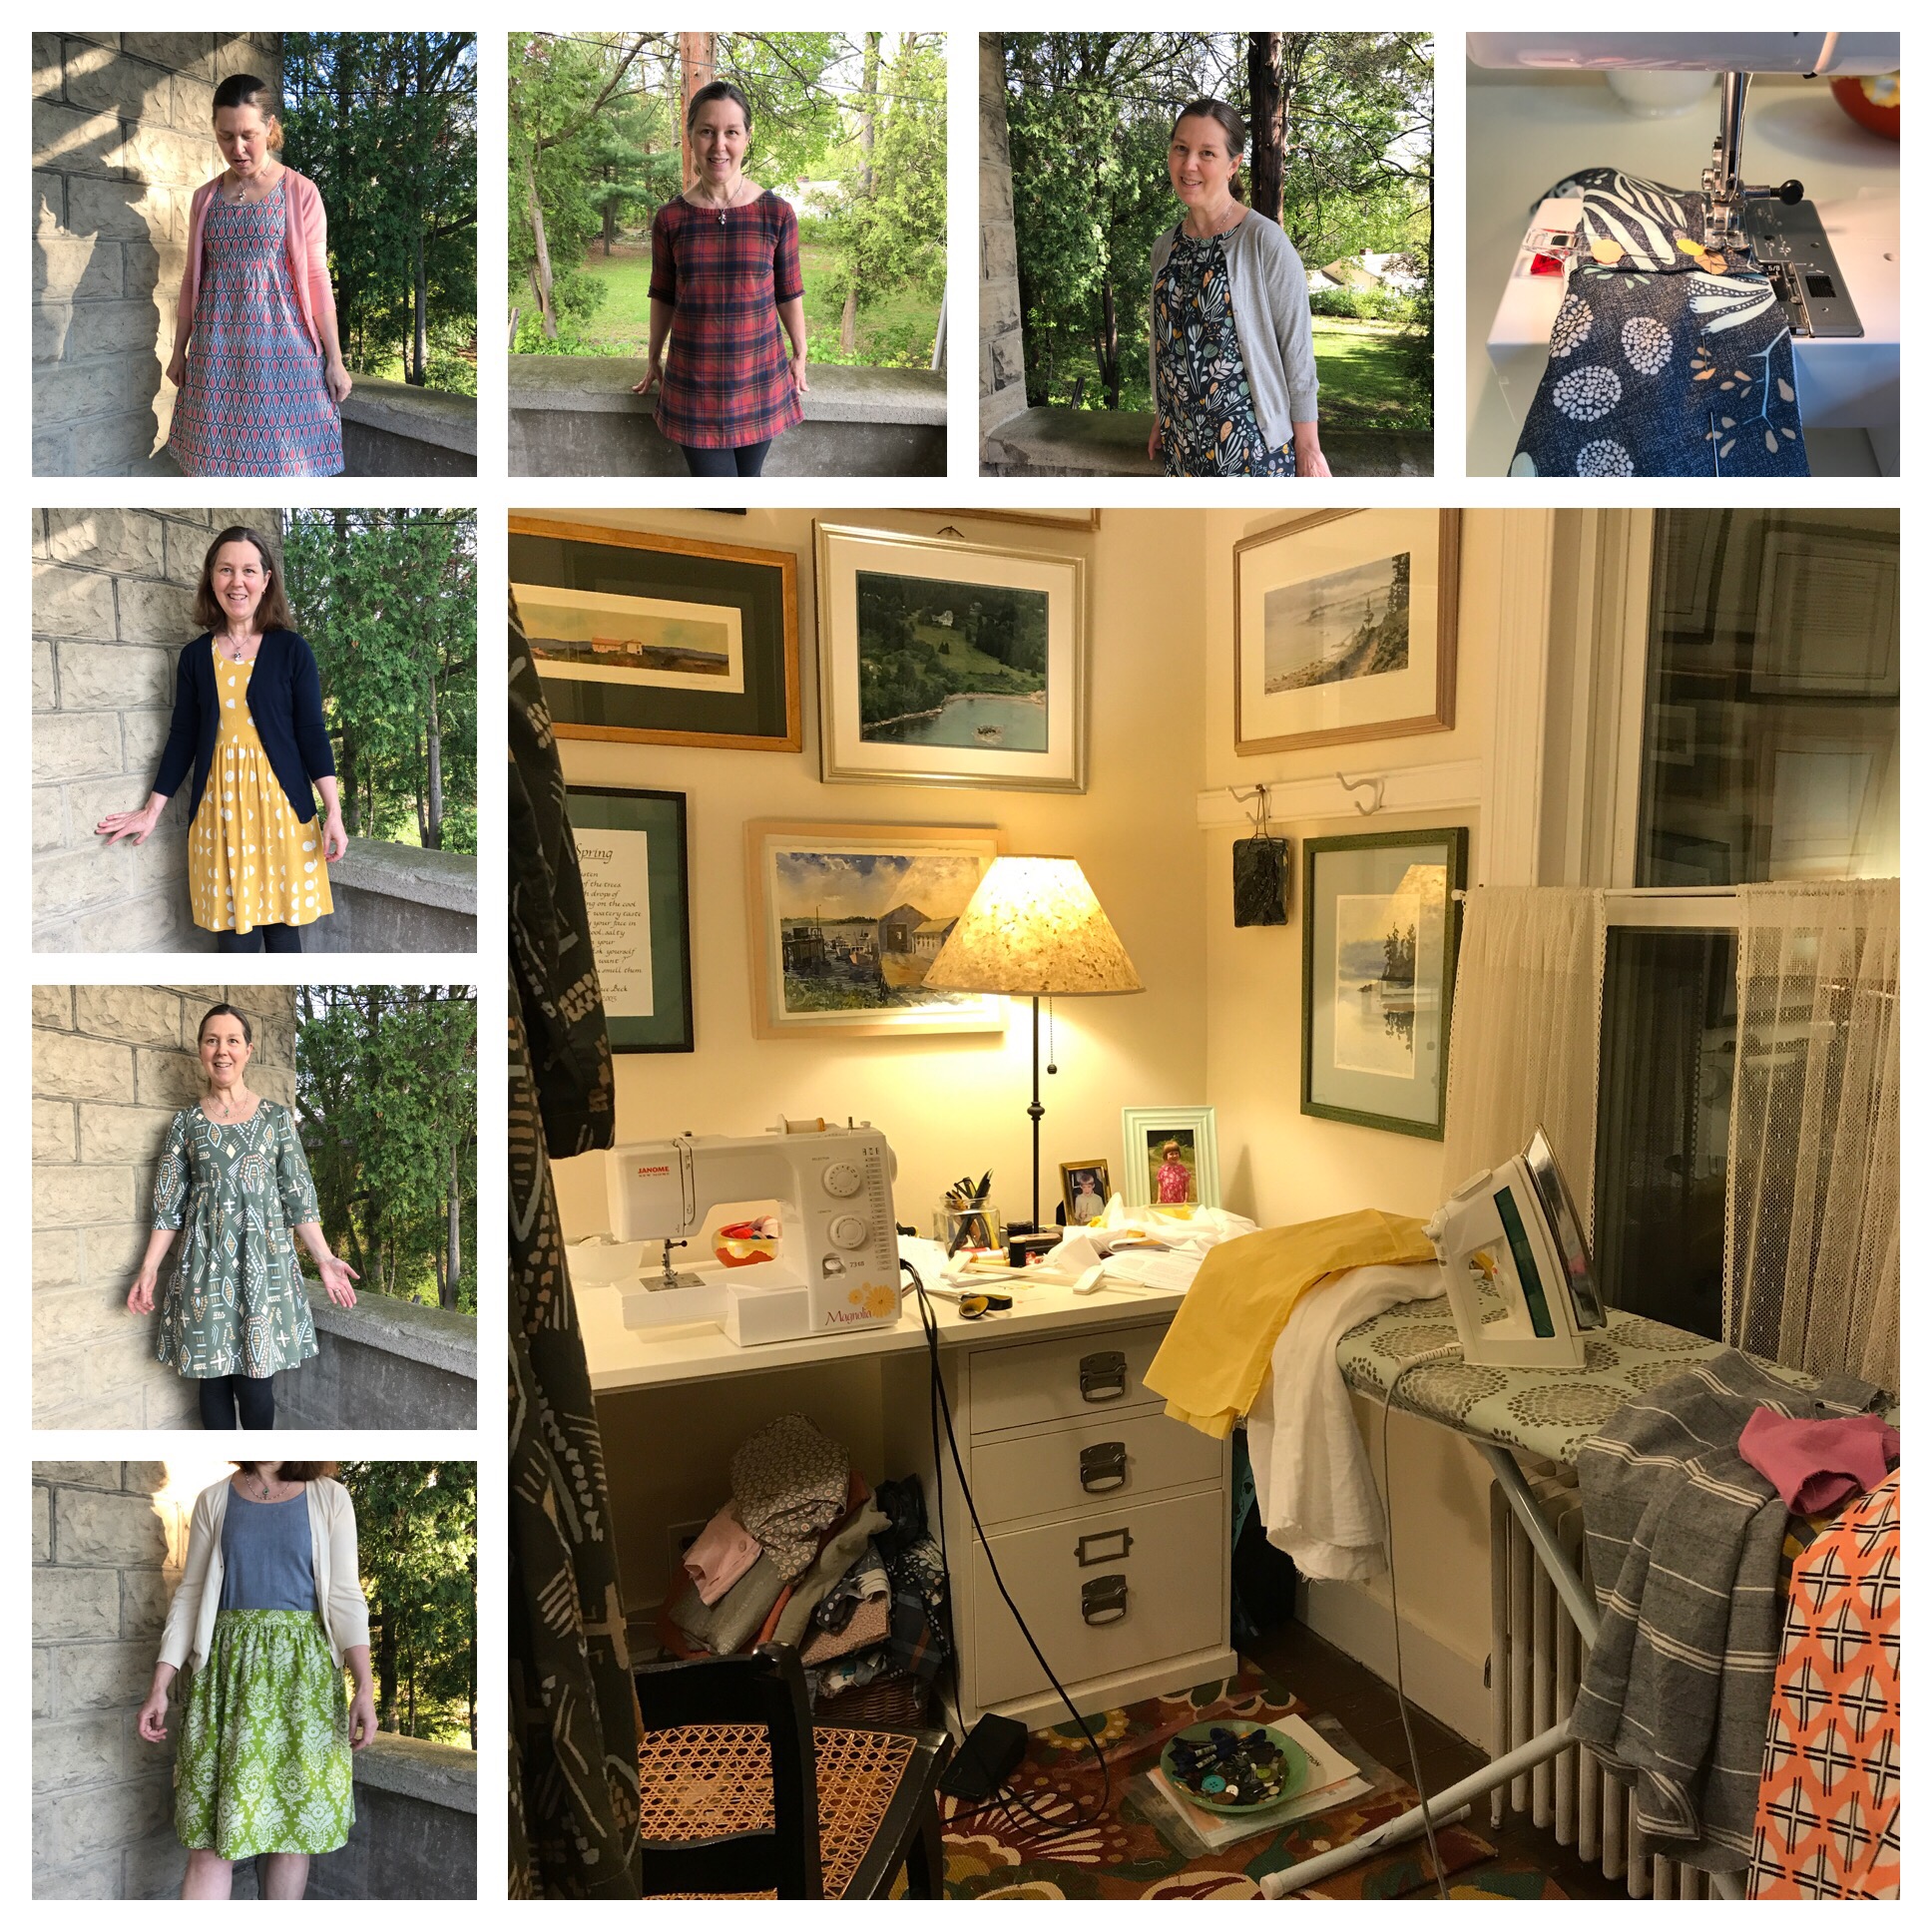
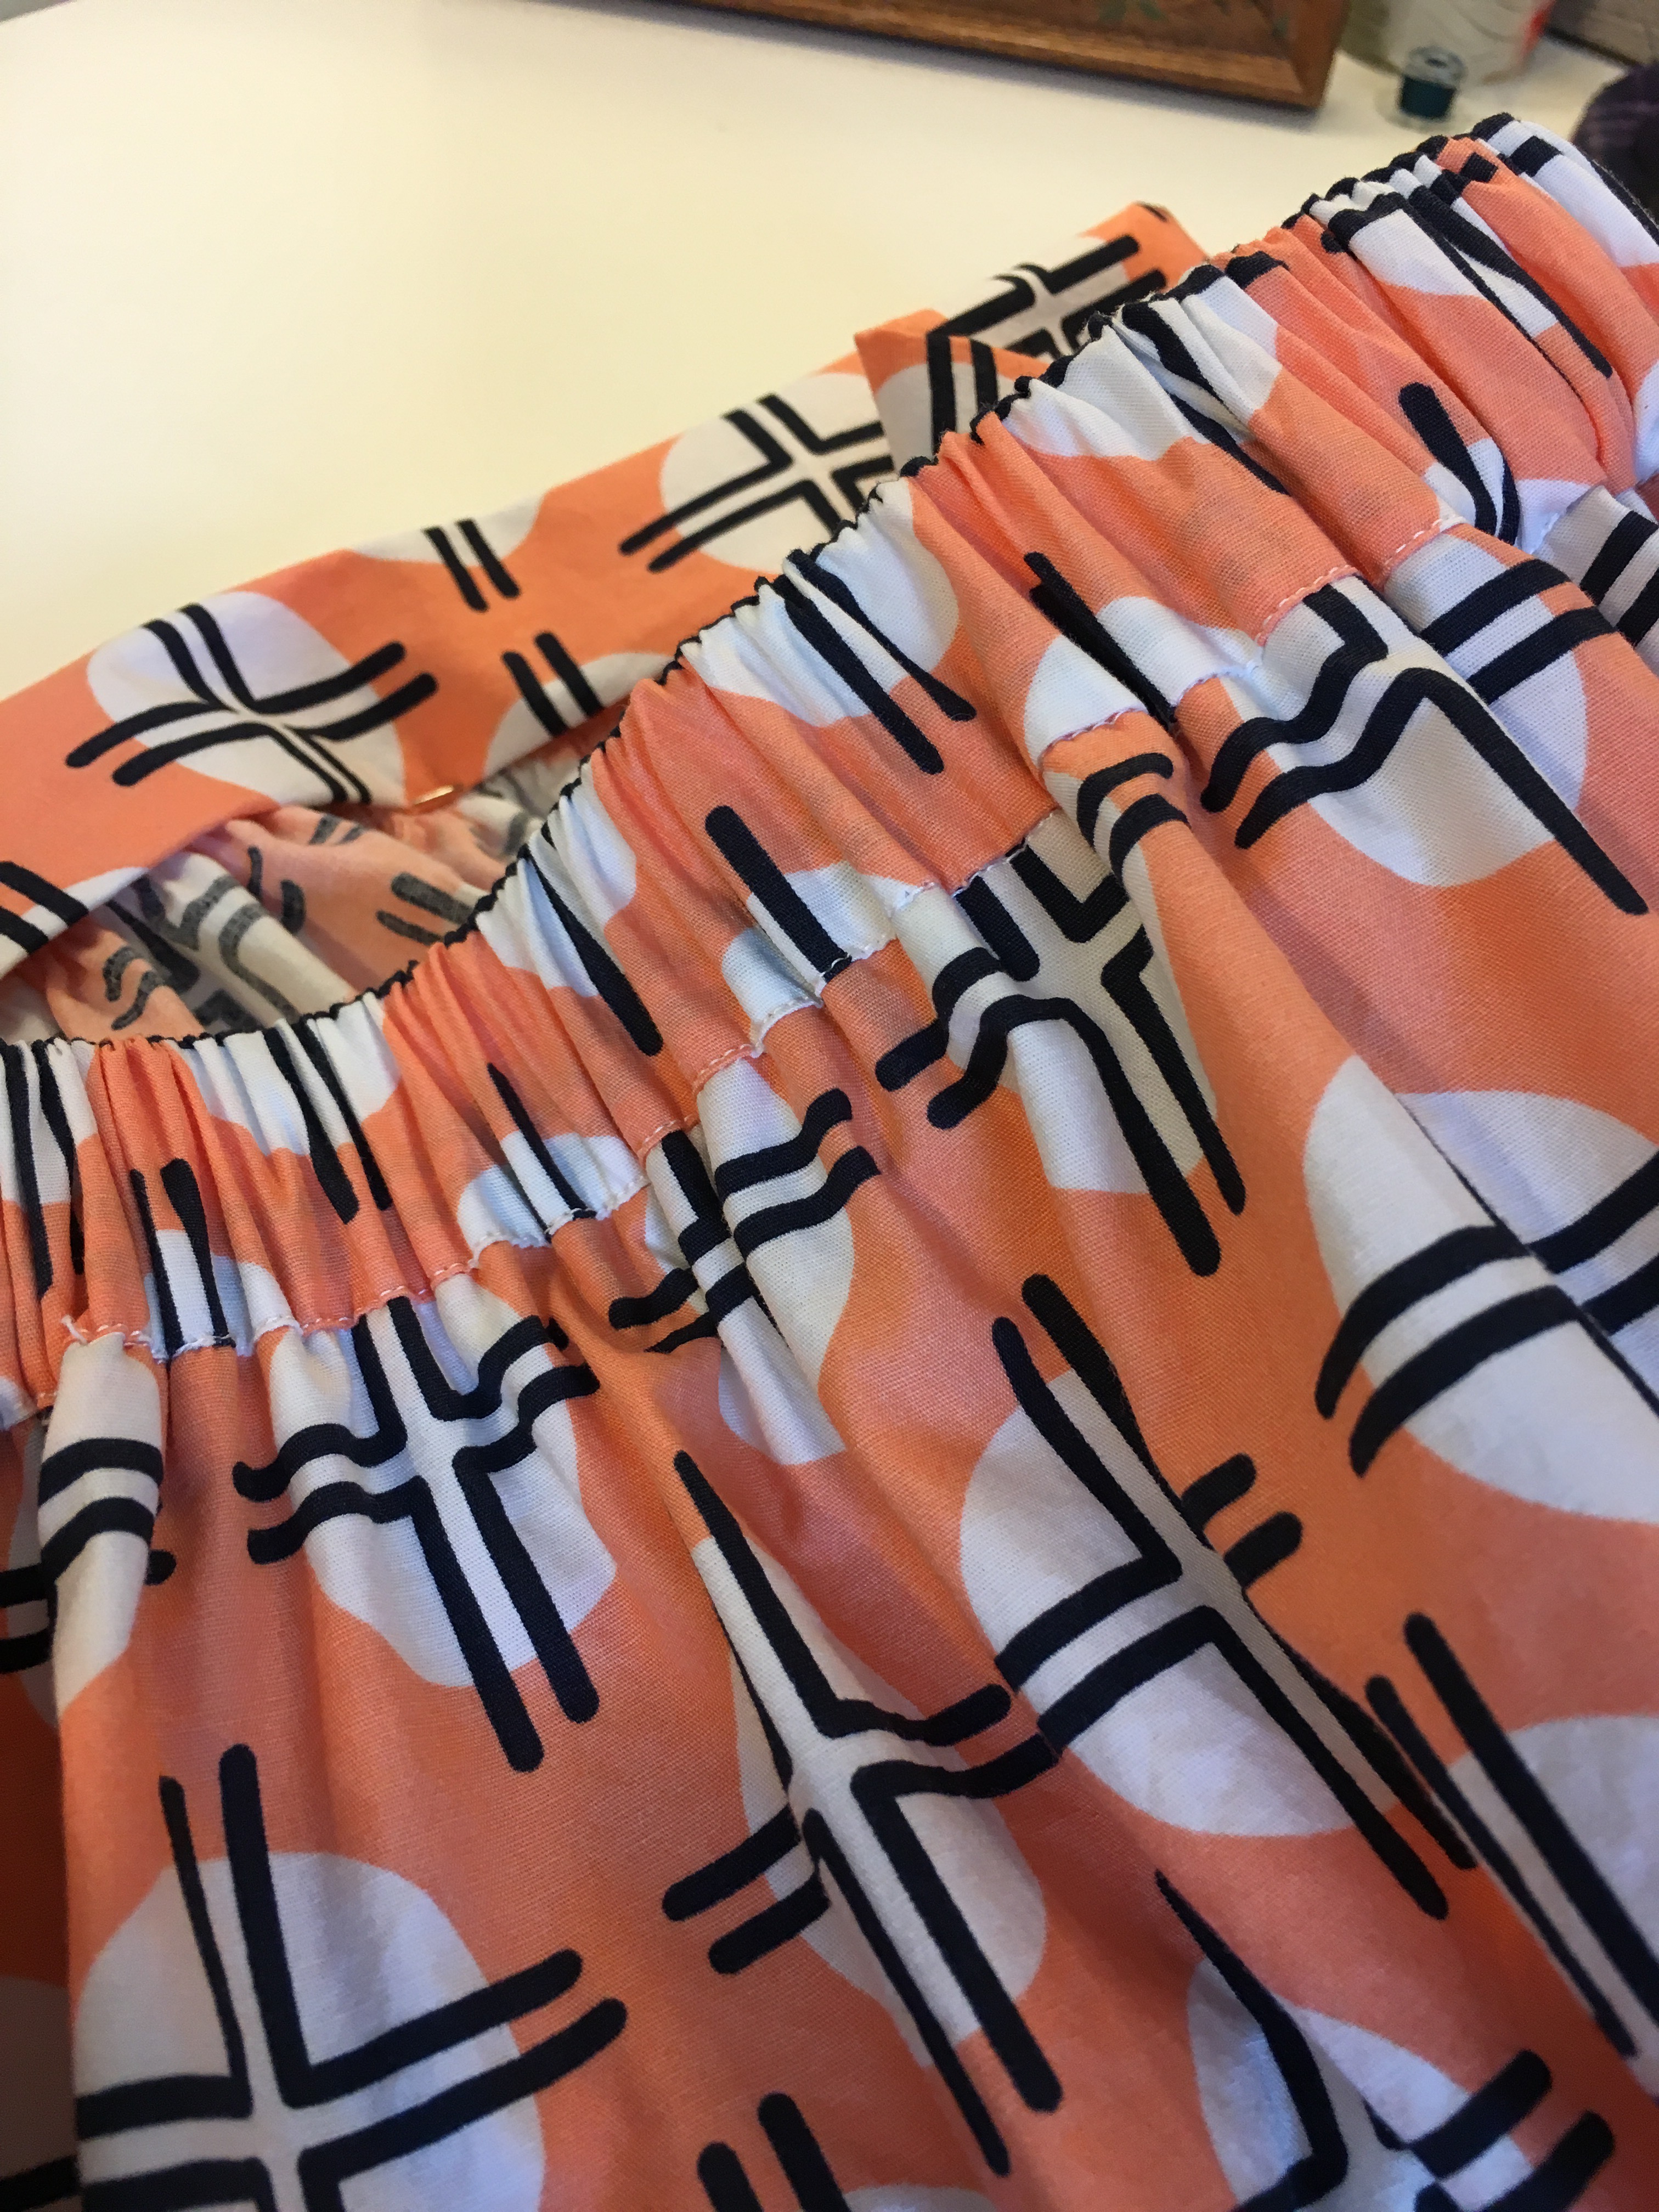
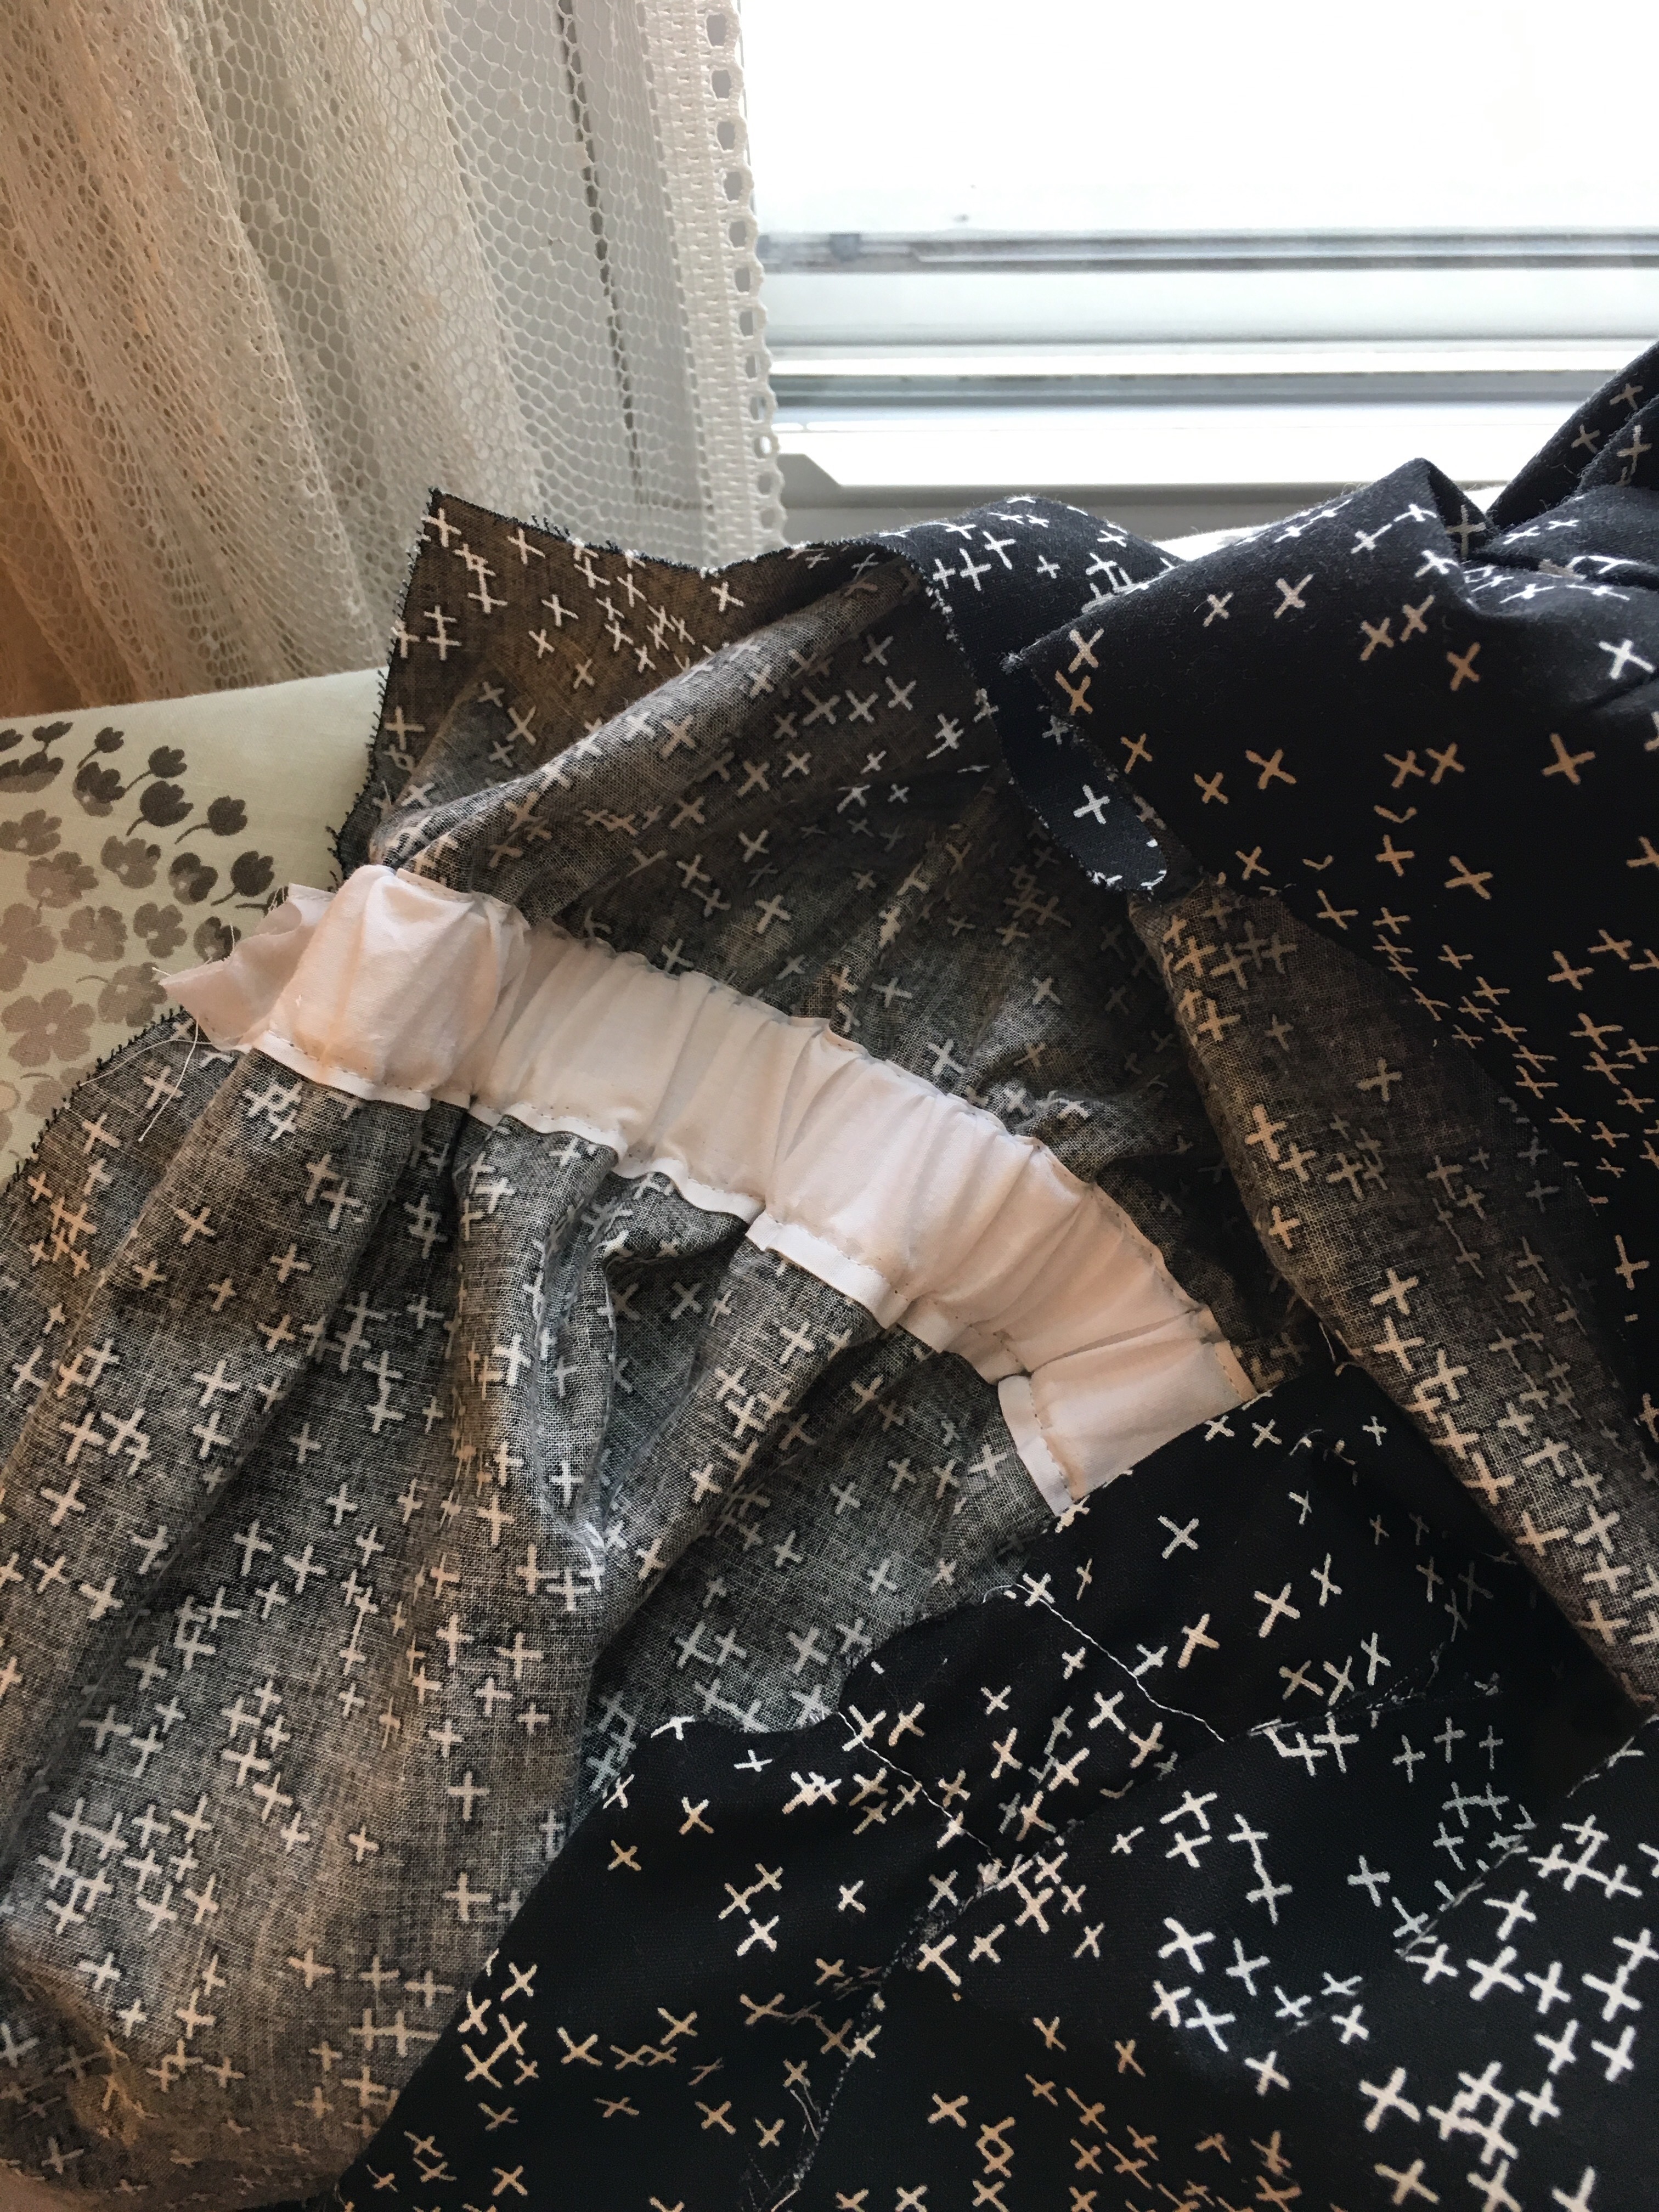
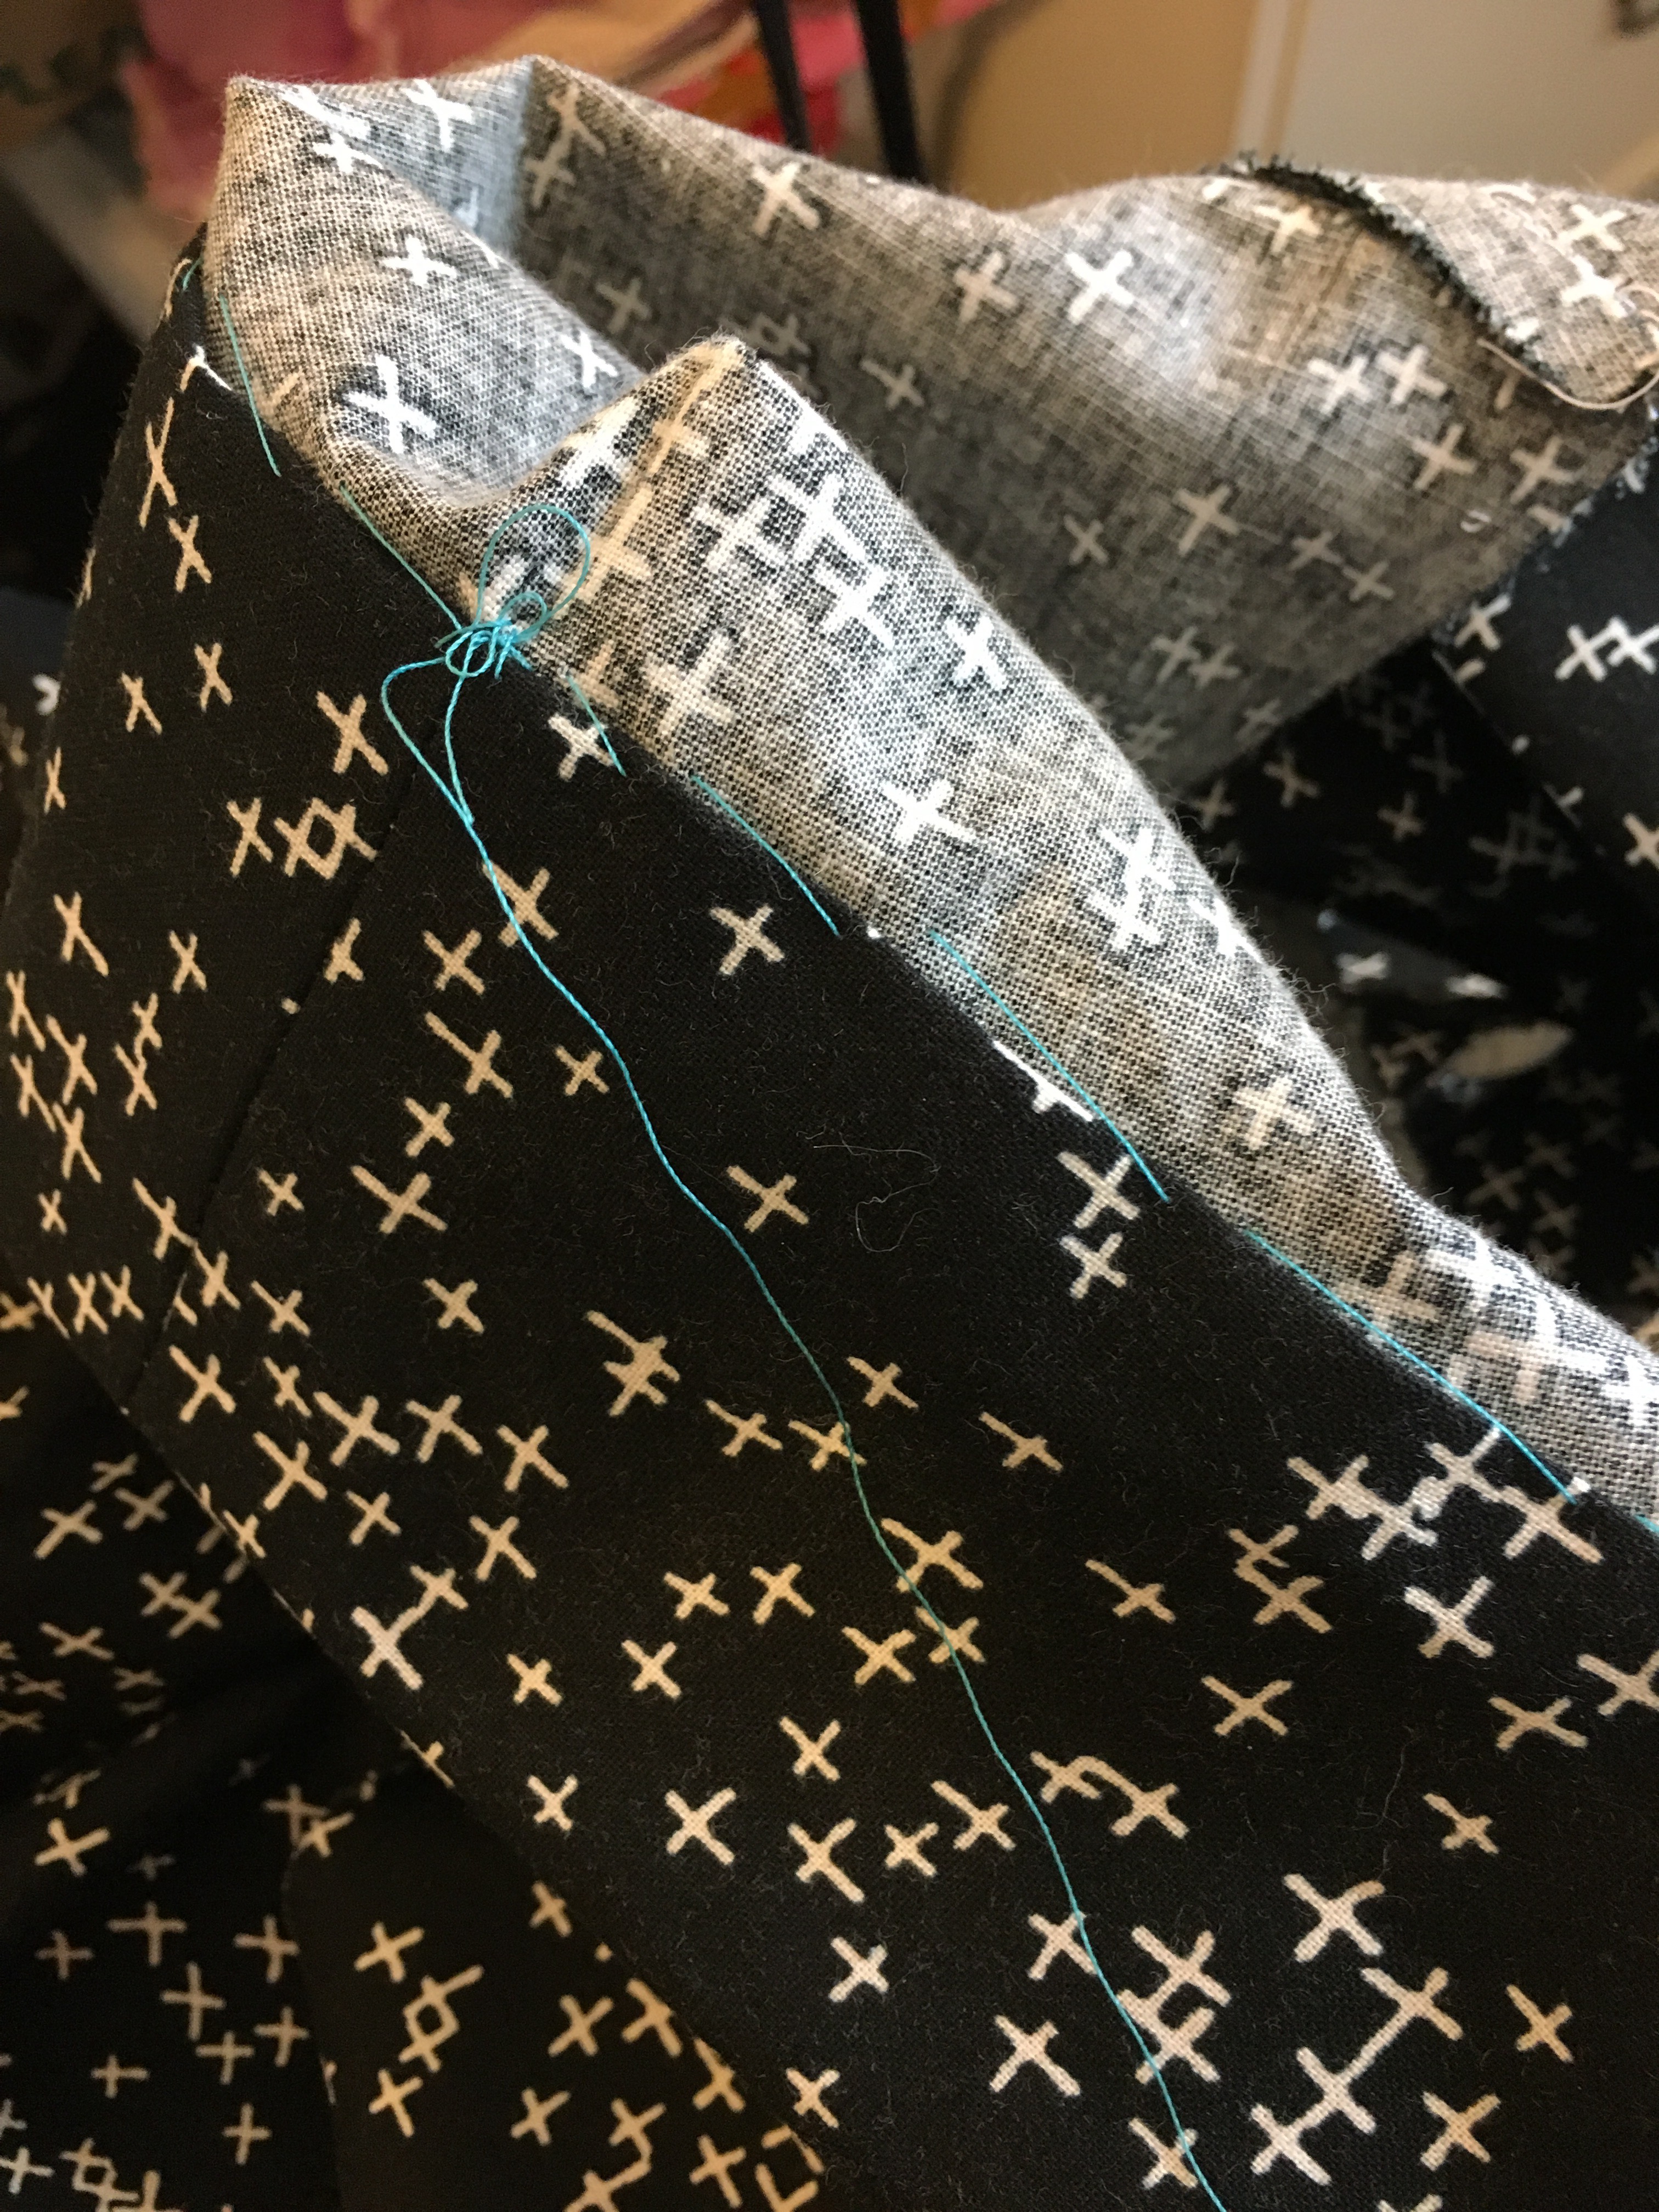
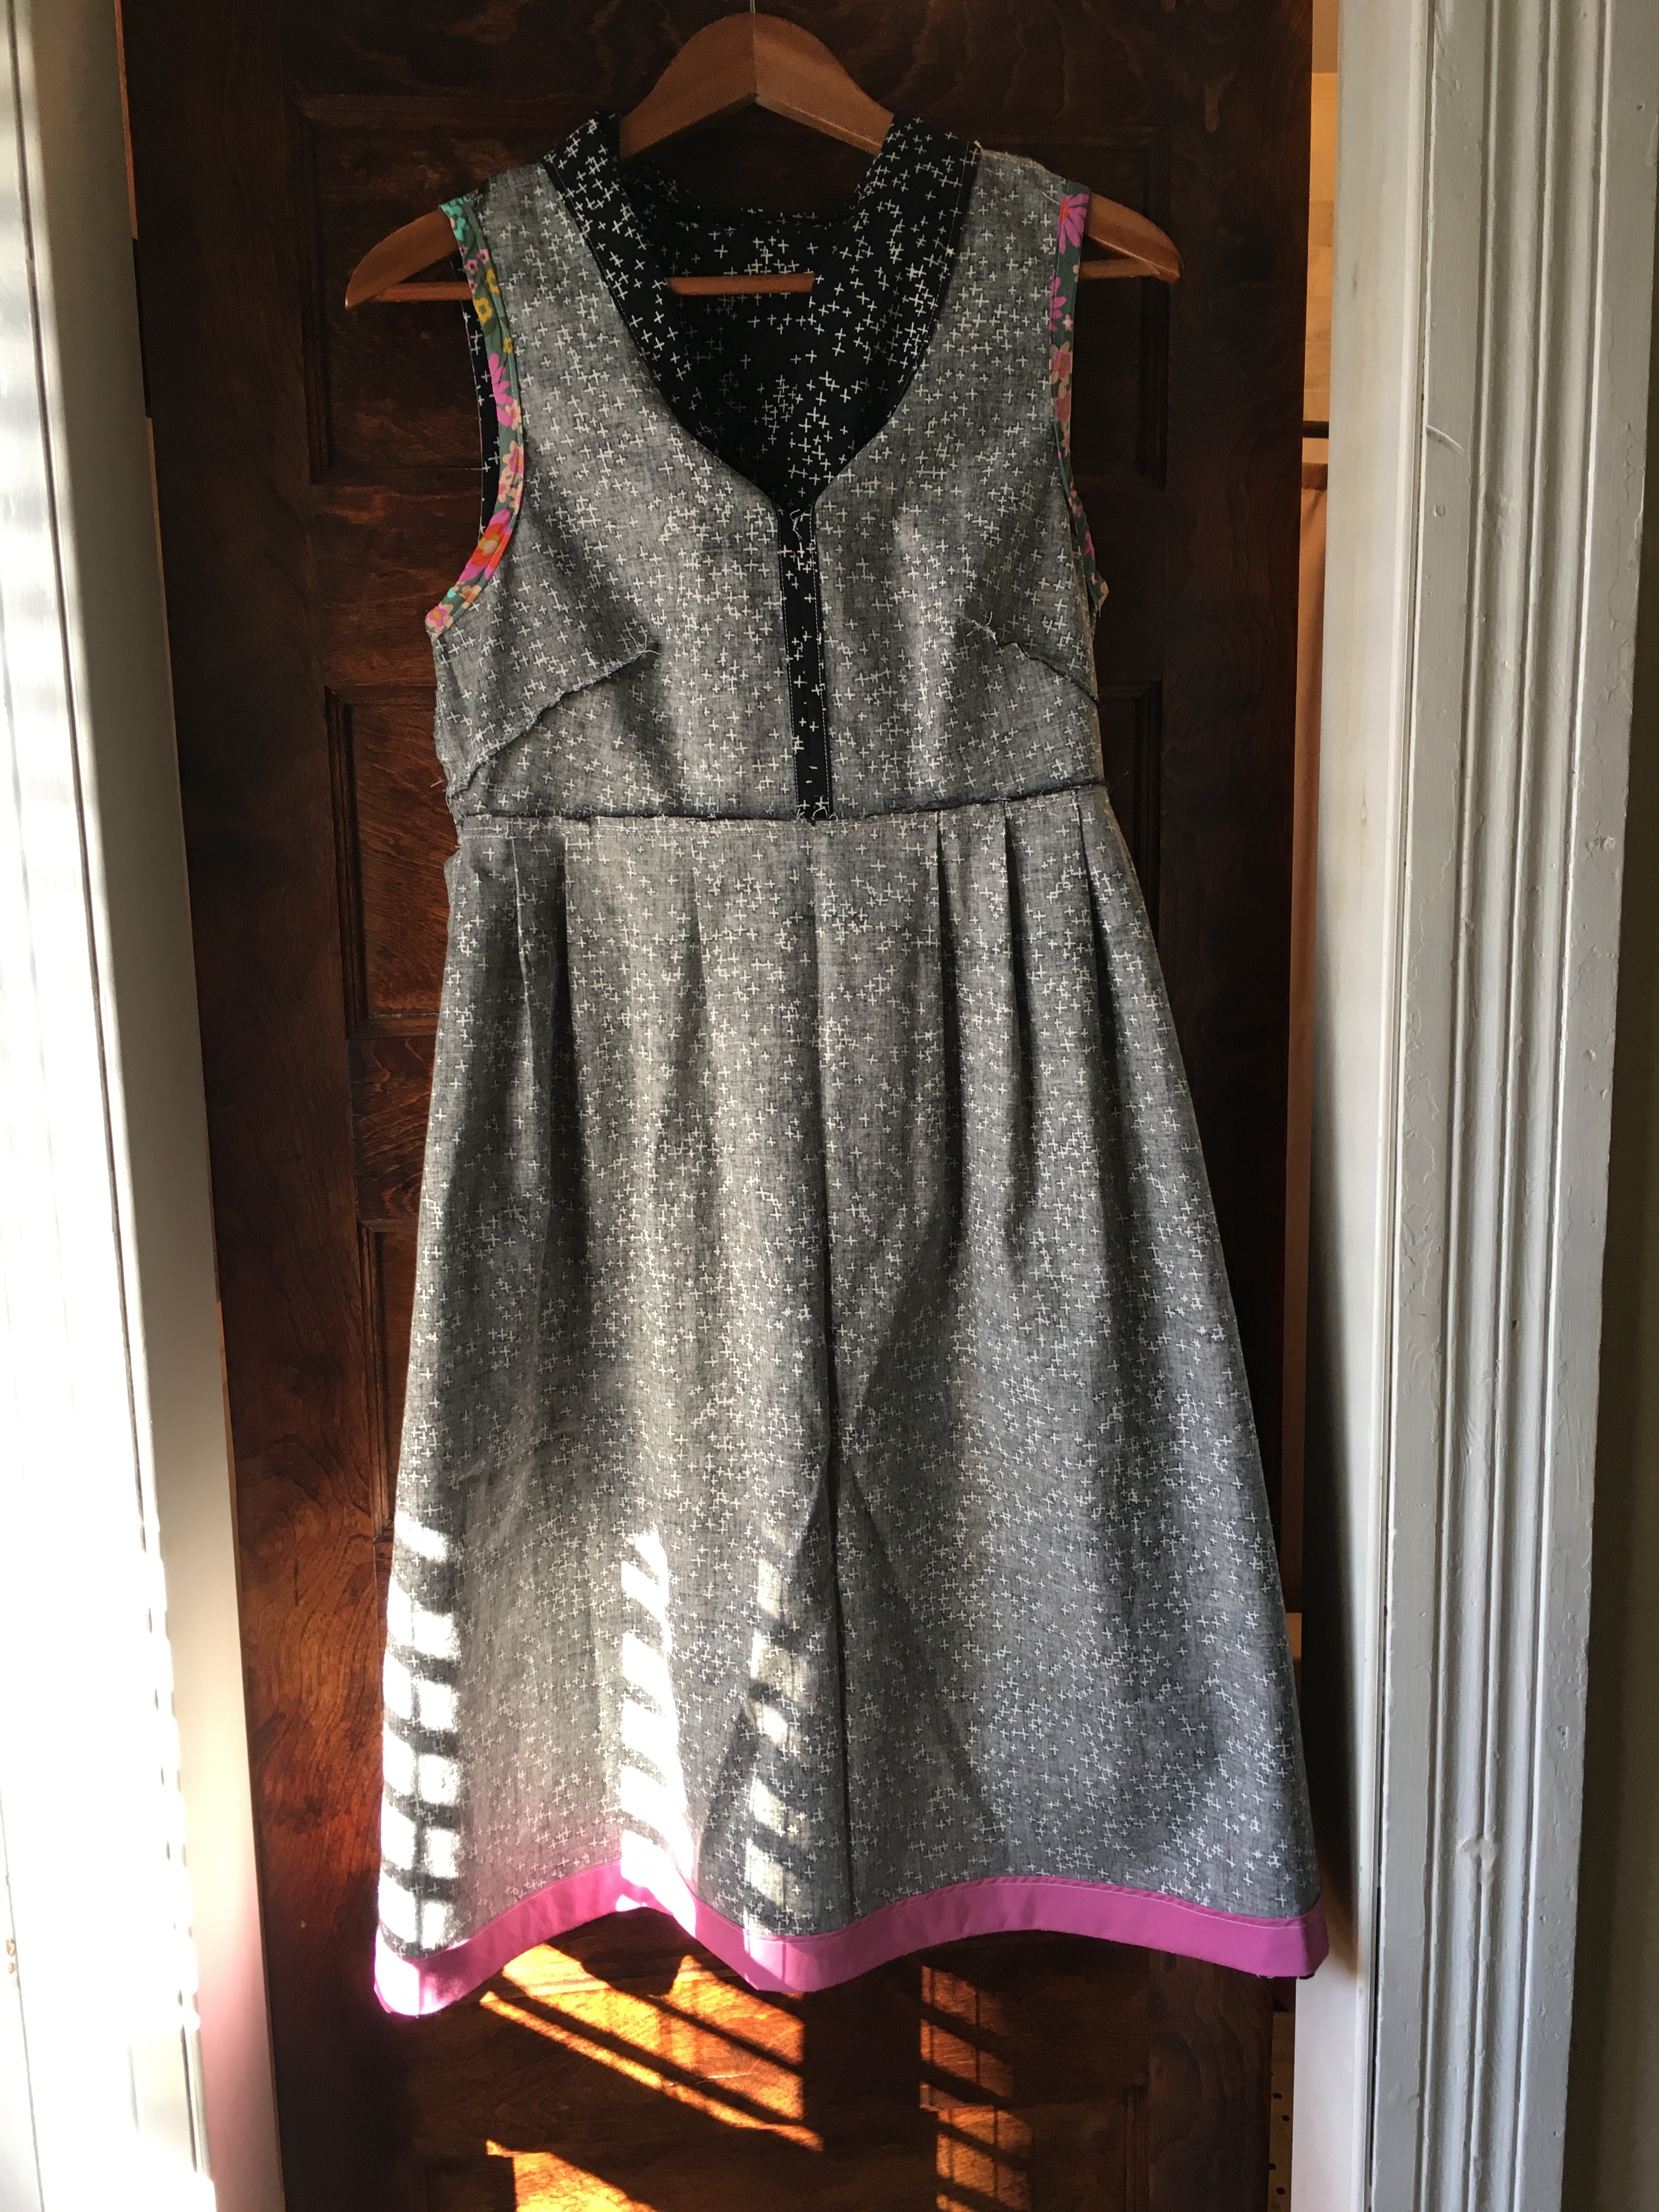
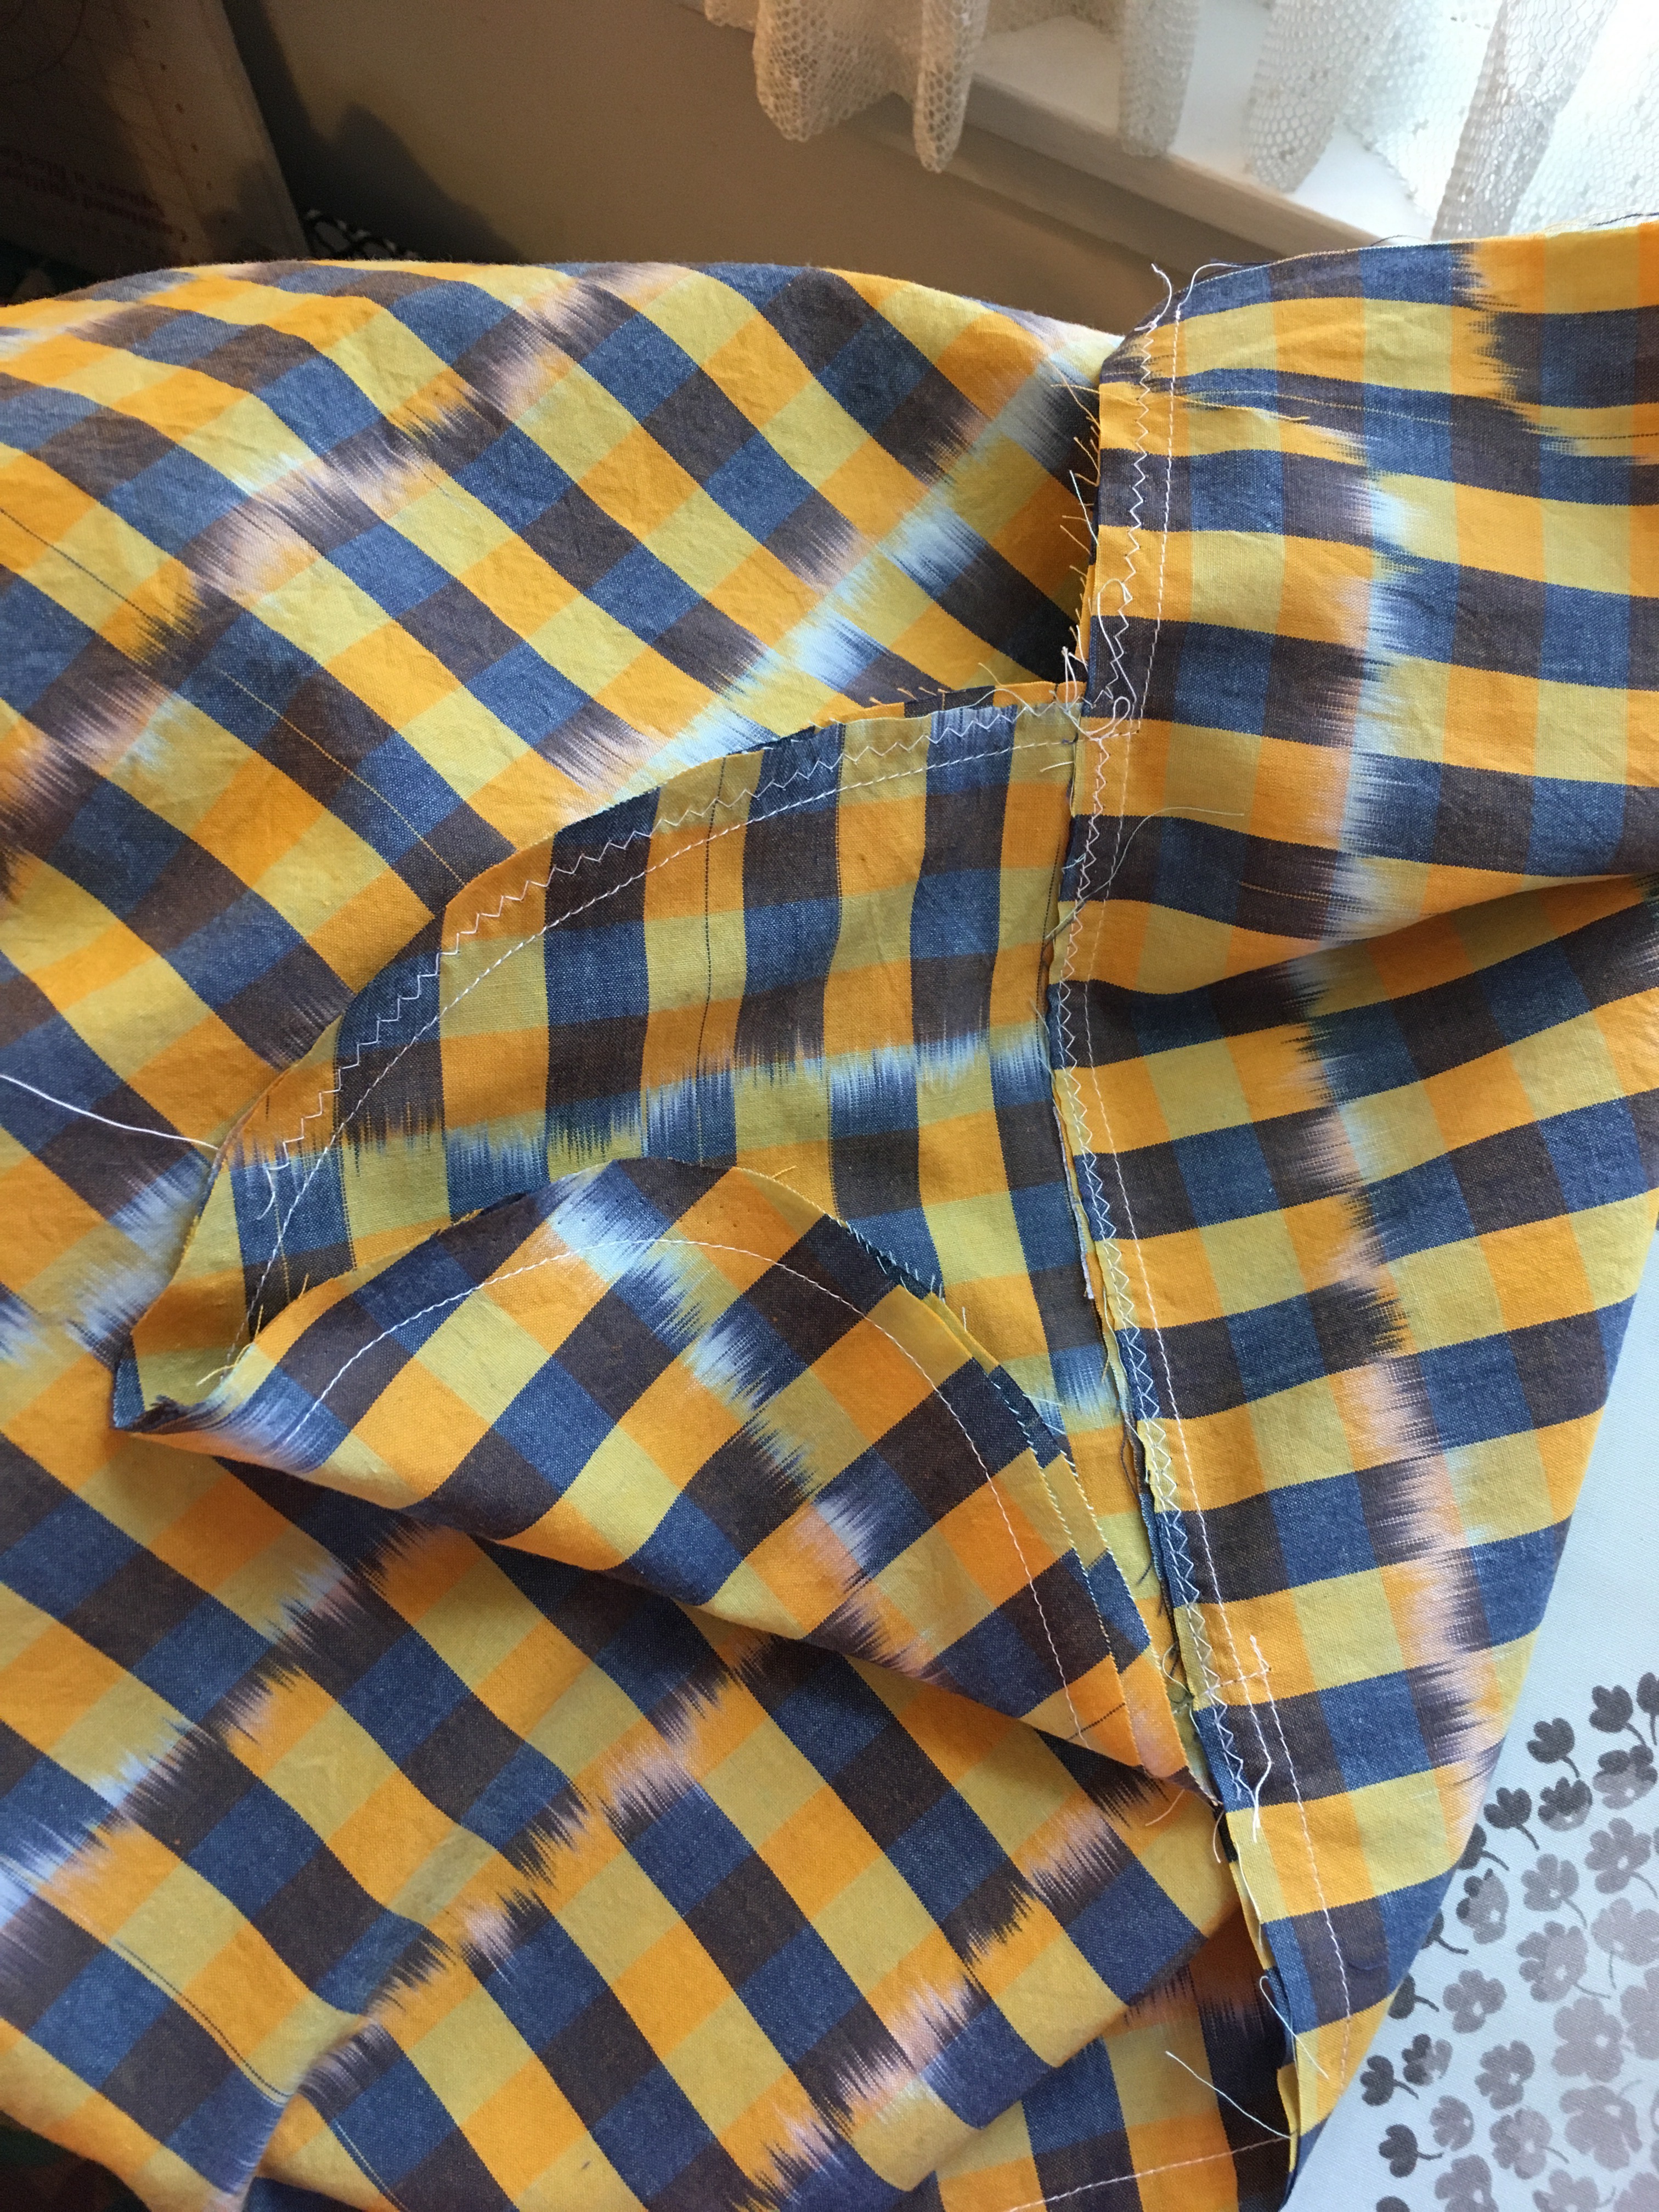
The Bianca Pattern is one my favorite patterns. I have made many versions which you can see here. Anna Maria Horner’s Loominous fabrics are some of my favorite fabrics. I have made a Loominous Gemma and a Loominous Cleo. This Me Made May, I made a Loominous Bianca and it might be my favorite Bianca yet. 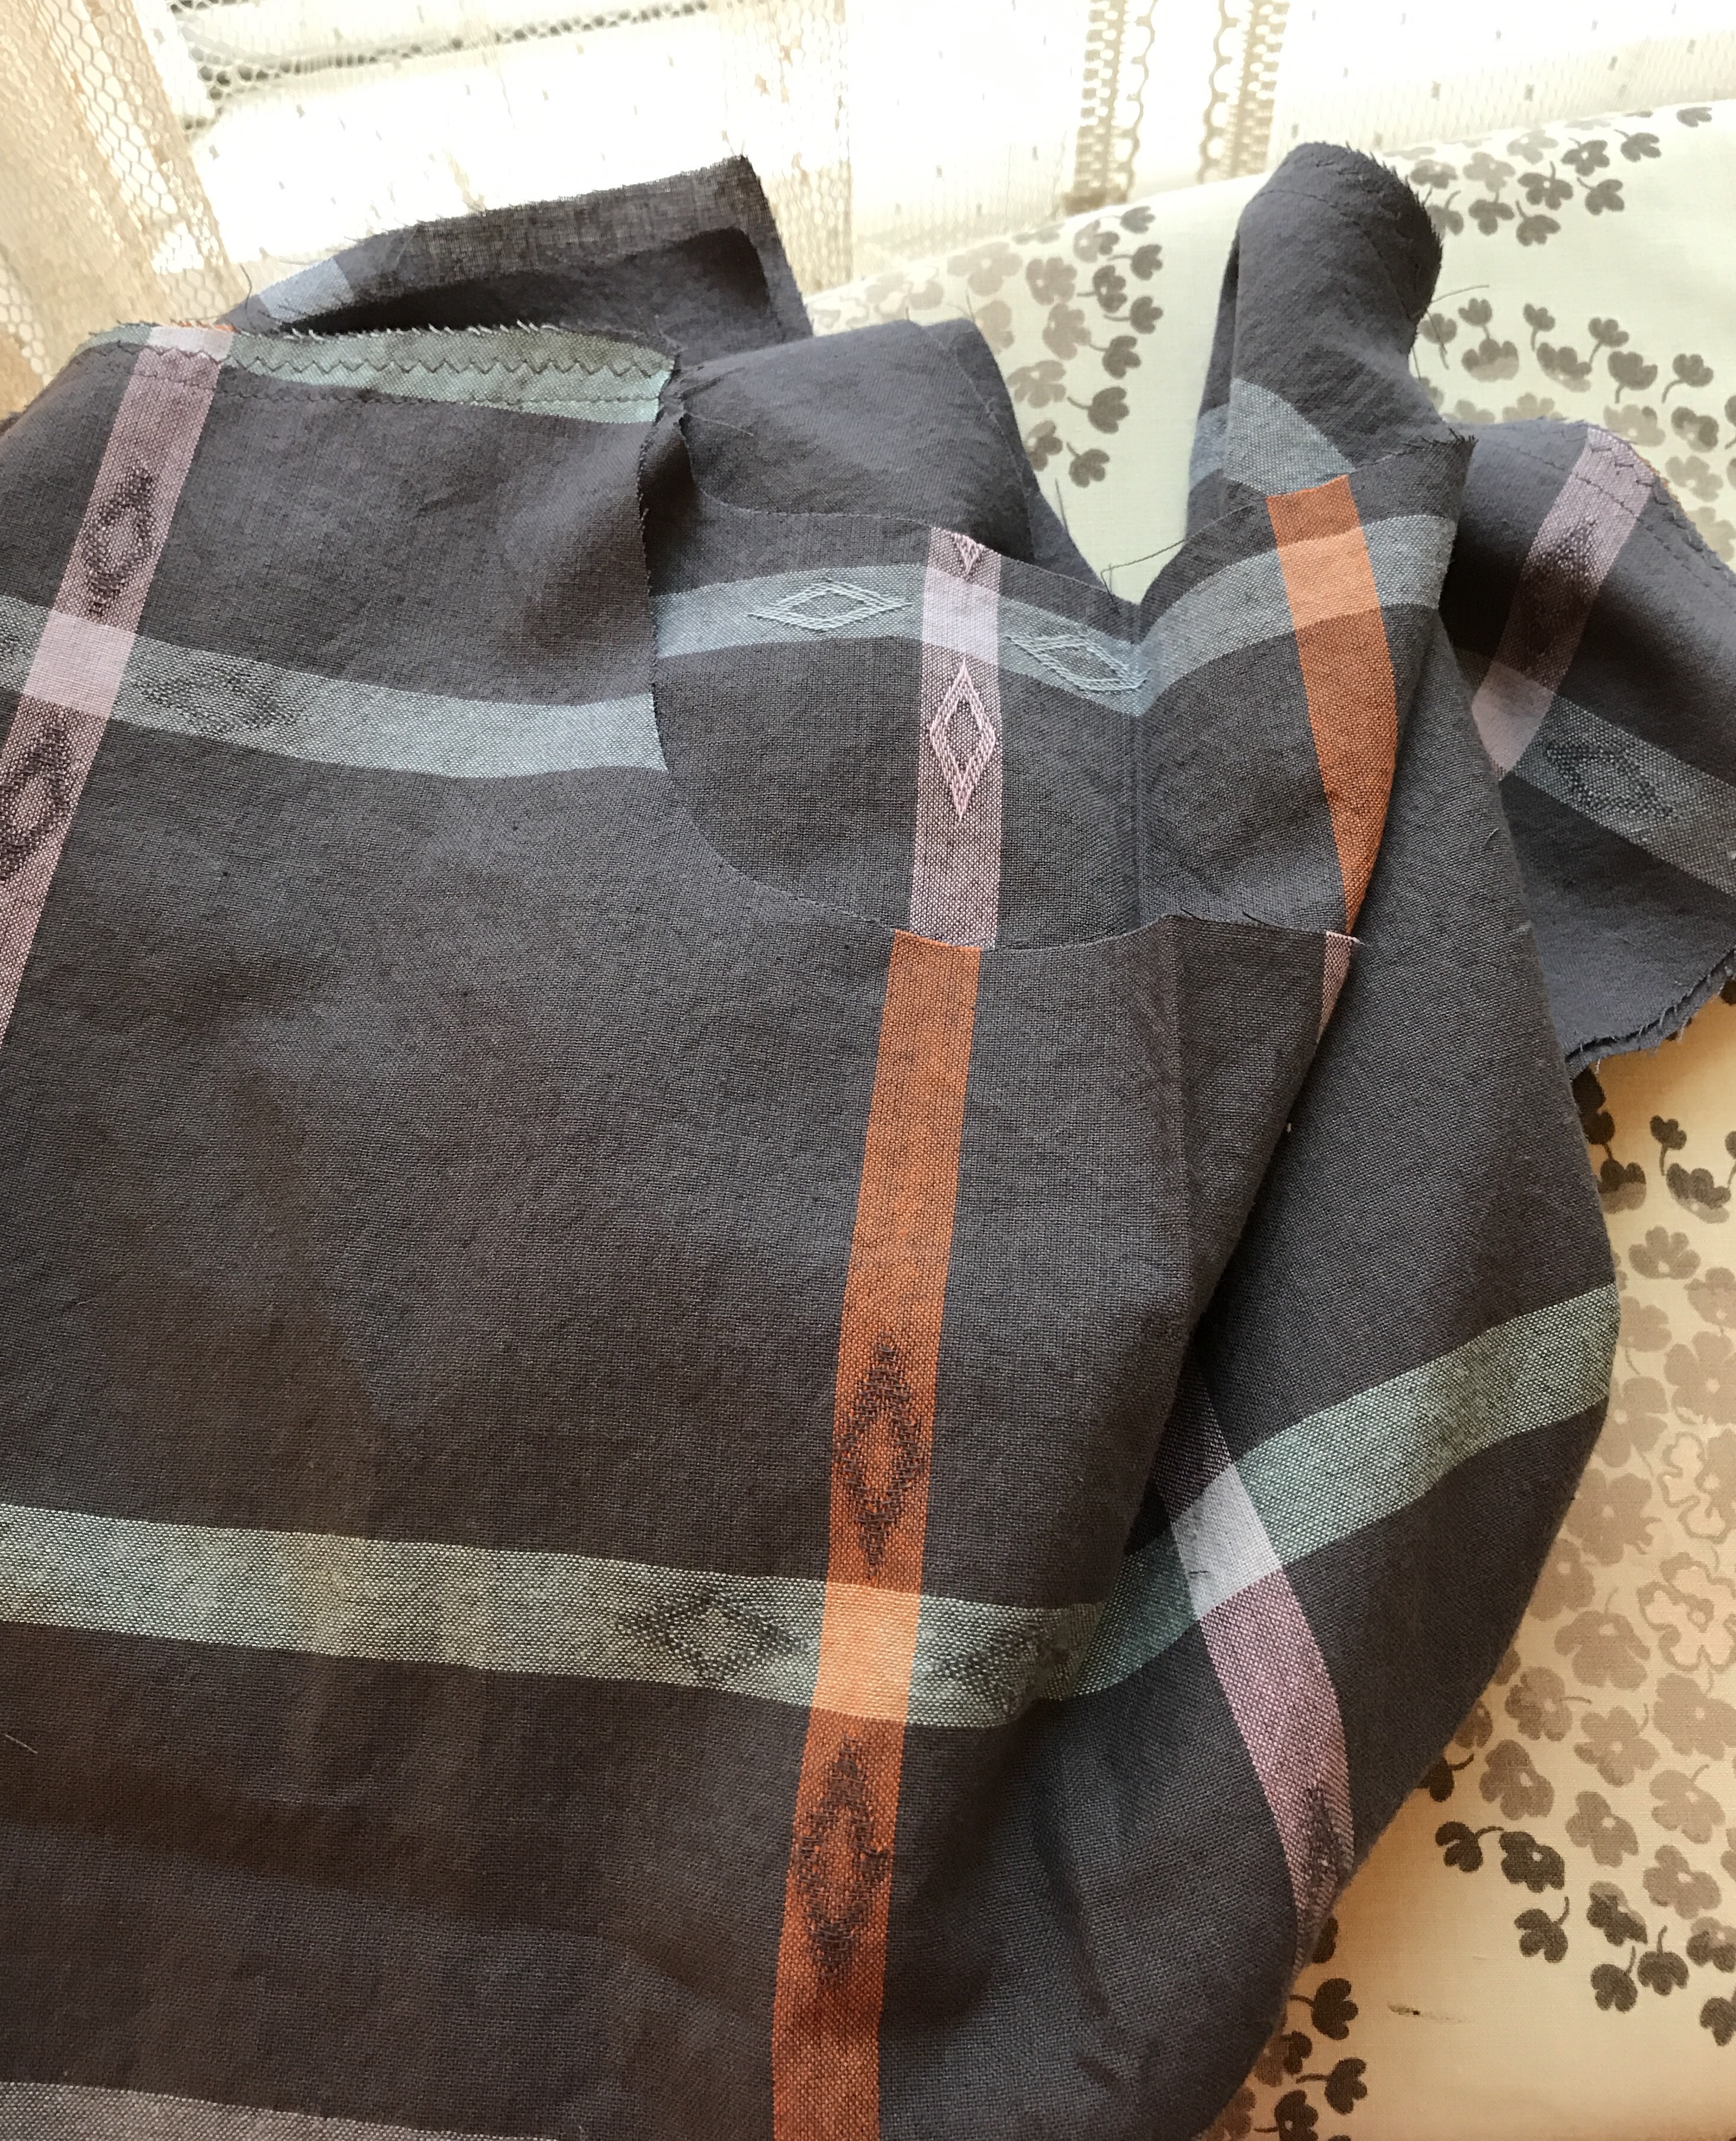 This fabric was originally purchased because I thought it would be great as short sleeved shirt for my husband and I still think it would be but it didn’t speak to him. Lucky for me because it makes an awesome Bianca. I bought it from The Cloth Pocket which is one of my favorite fabric stores. I follow them on Instagram-their feed is outrageously funny- and shop from them online and last March, I actually took a class there in person when I visited my son who lives in Austin. So fun. They have amazing class space and instructors. I think I will now plan all my trips to visit Steve to coincide with classes I want to take. Seriously. Anyhow, as I started to think about this version of the Bianca, I decided to try sewing it with the facing, per the pattern. I have made all of my others with a lined bodice, something I improvised based on the lined Washi dresses I have made. I usually use a contrasting lining so that a bit of it shows. I think it adds a cute detail. But I didn’t have anything that would work in this case that was the same weight and I wanted to really enjoy the lightweight fabric and a lining would have added bulk so I decided to use the Loominous for the facing as well. And then I had the idea to try sewing the facing on the outside which is explained as an option in the pattern directions, and then I had the idea to turn the facing on the bias as a design feature. I am not going to lie, it was a bit tricky, but I am thrilled with the results. This is before the elastic is added which gives the Bianca its shape.
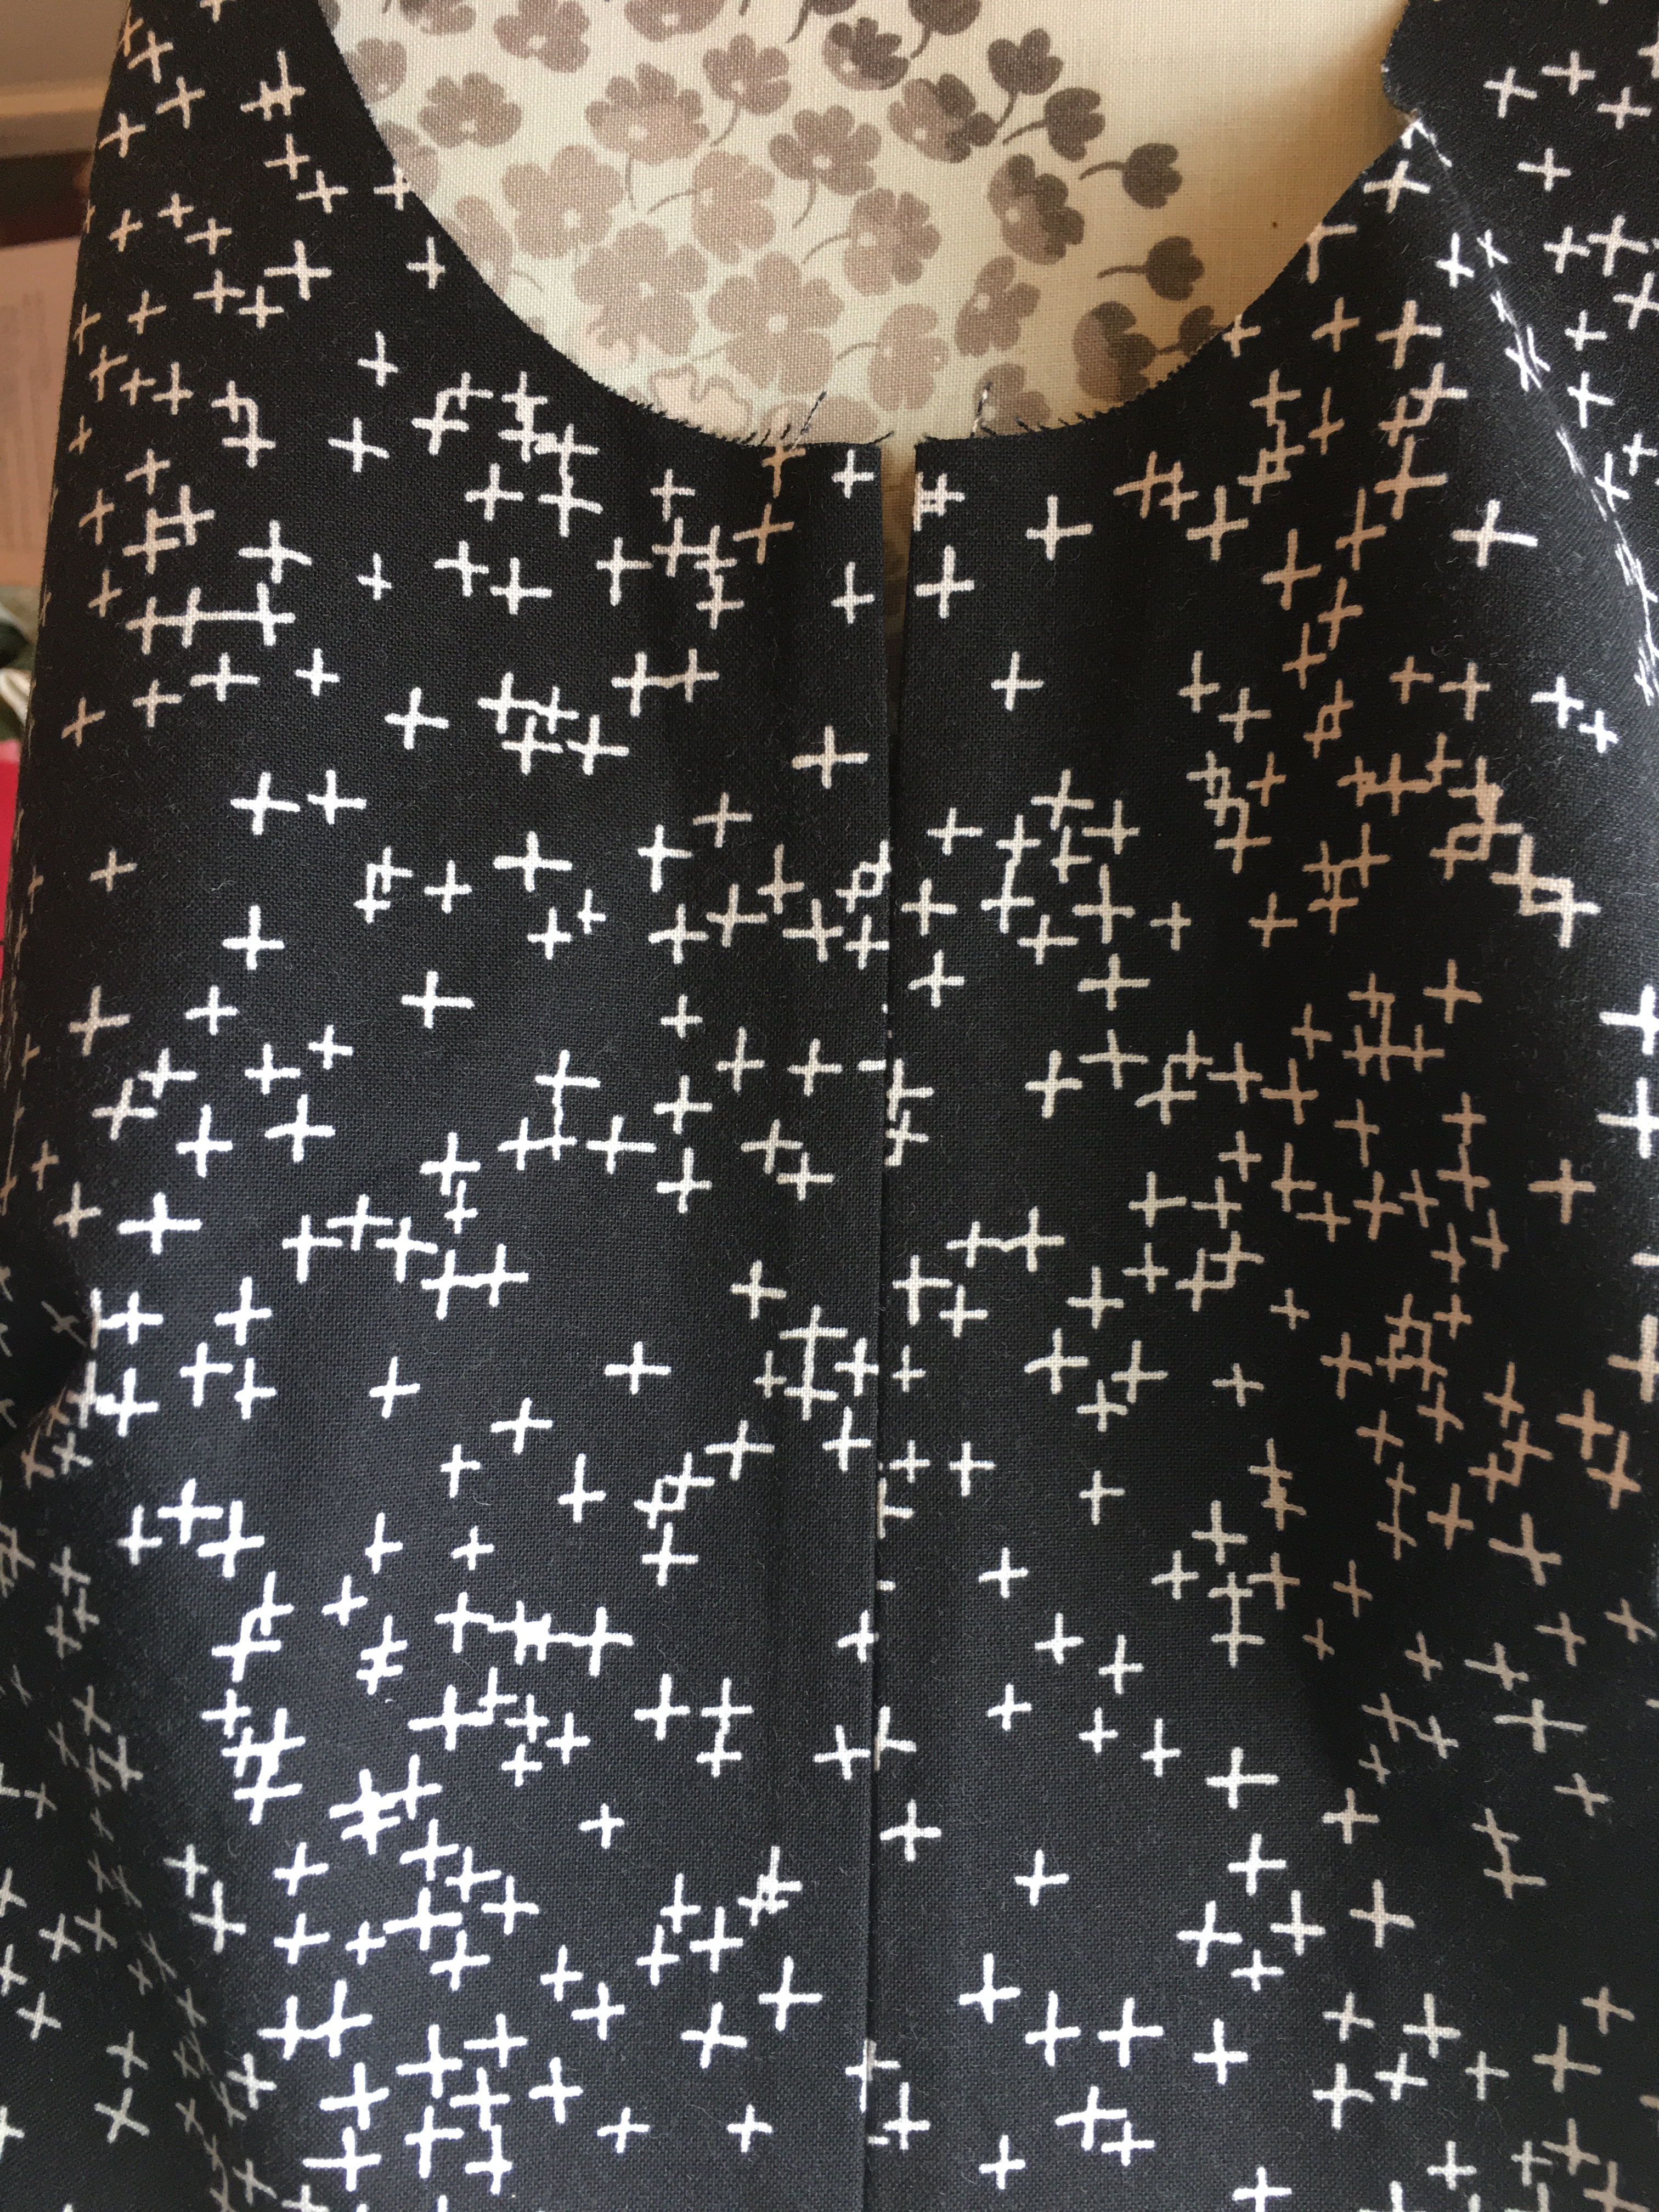
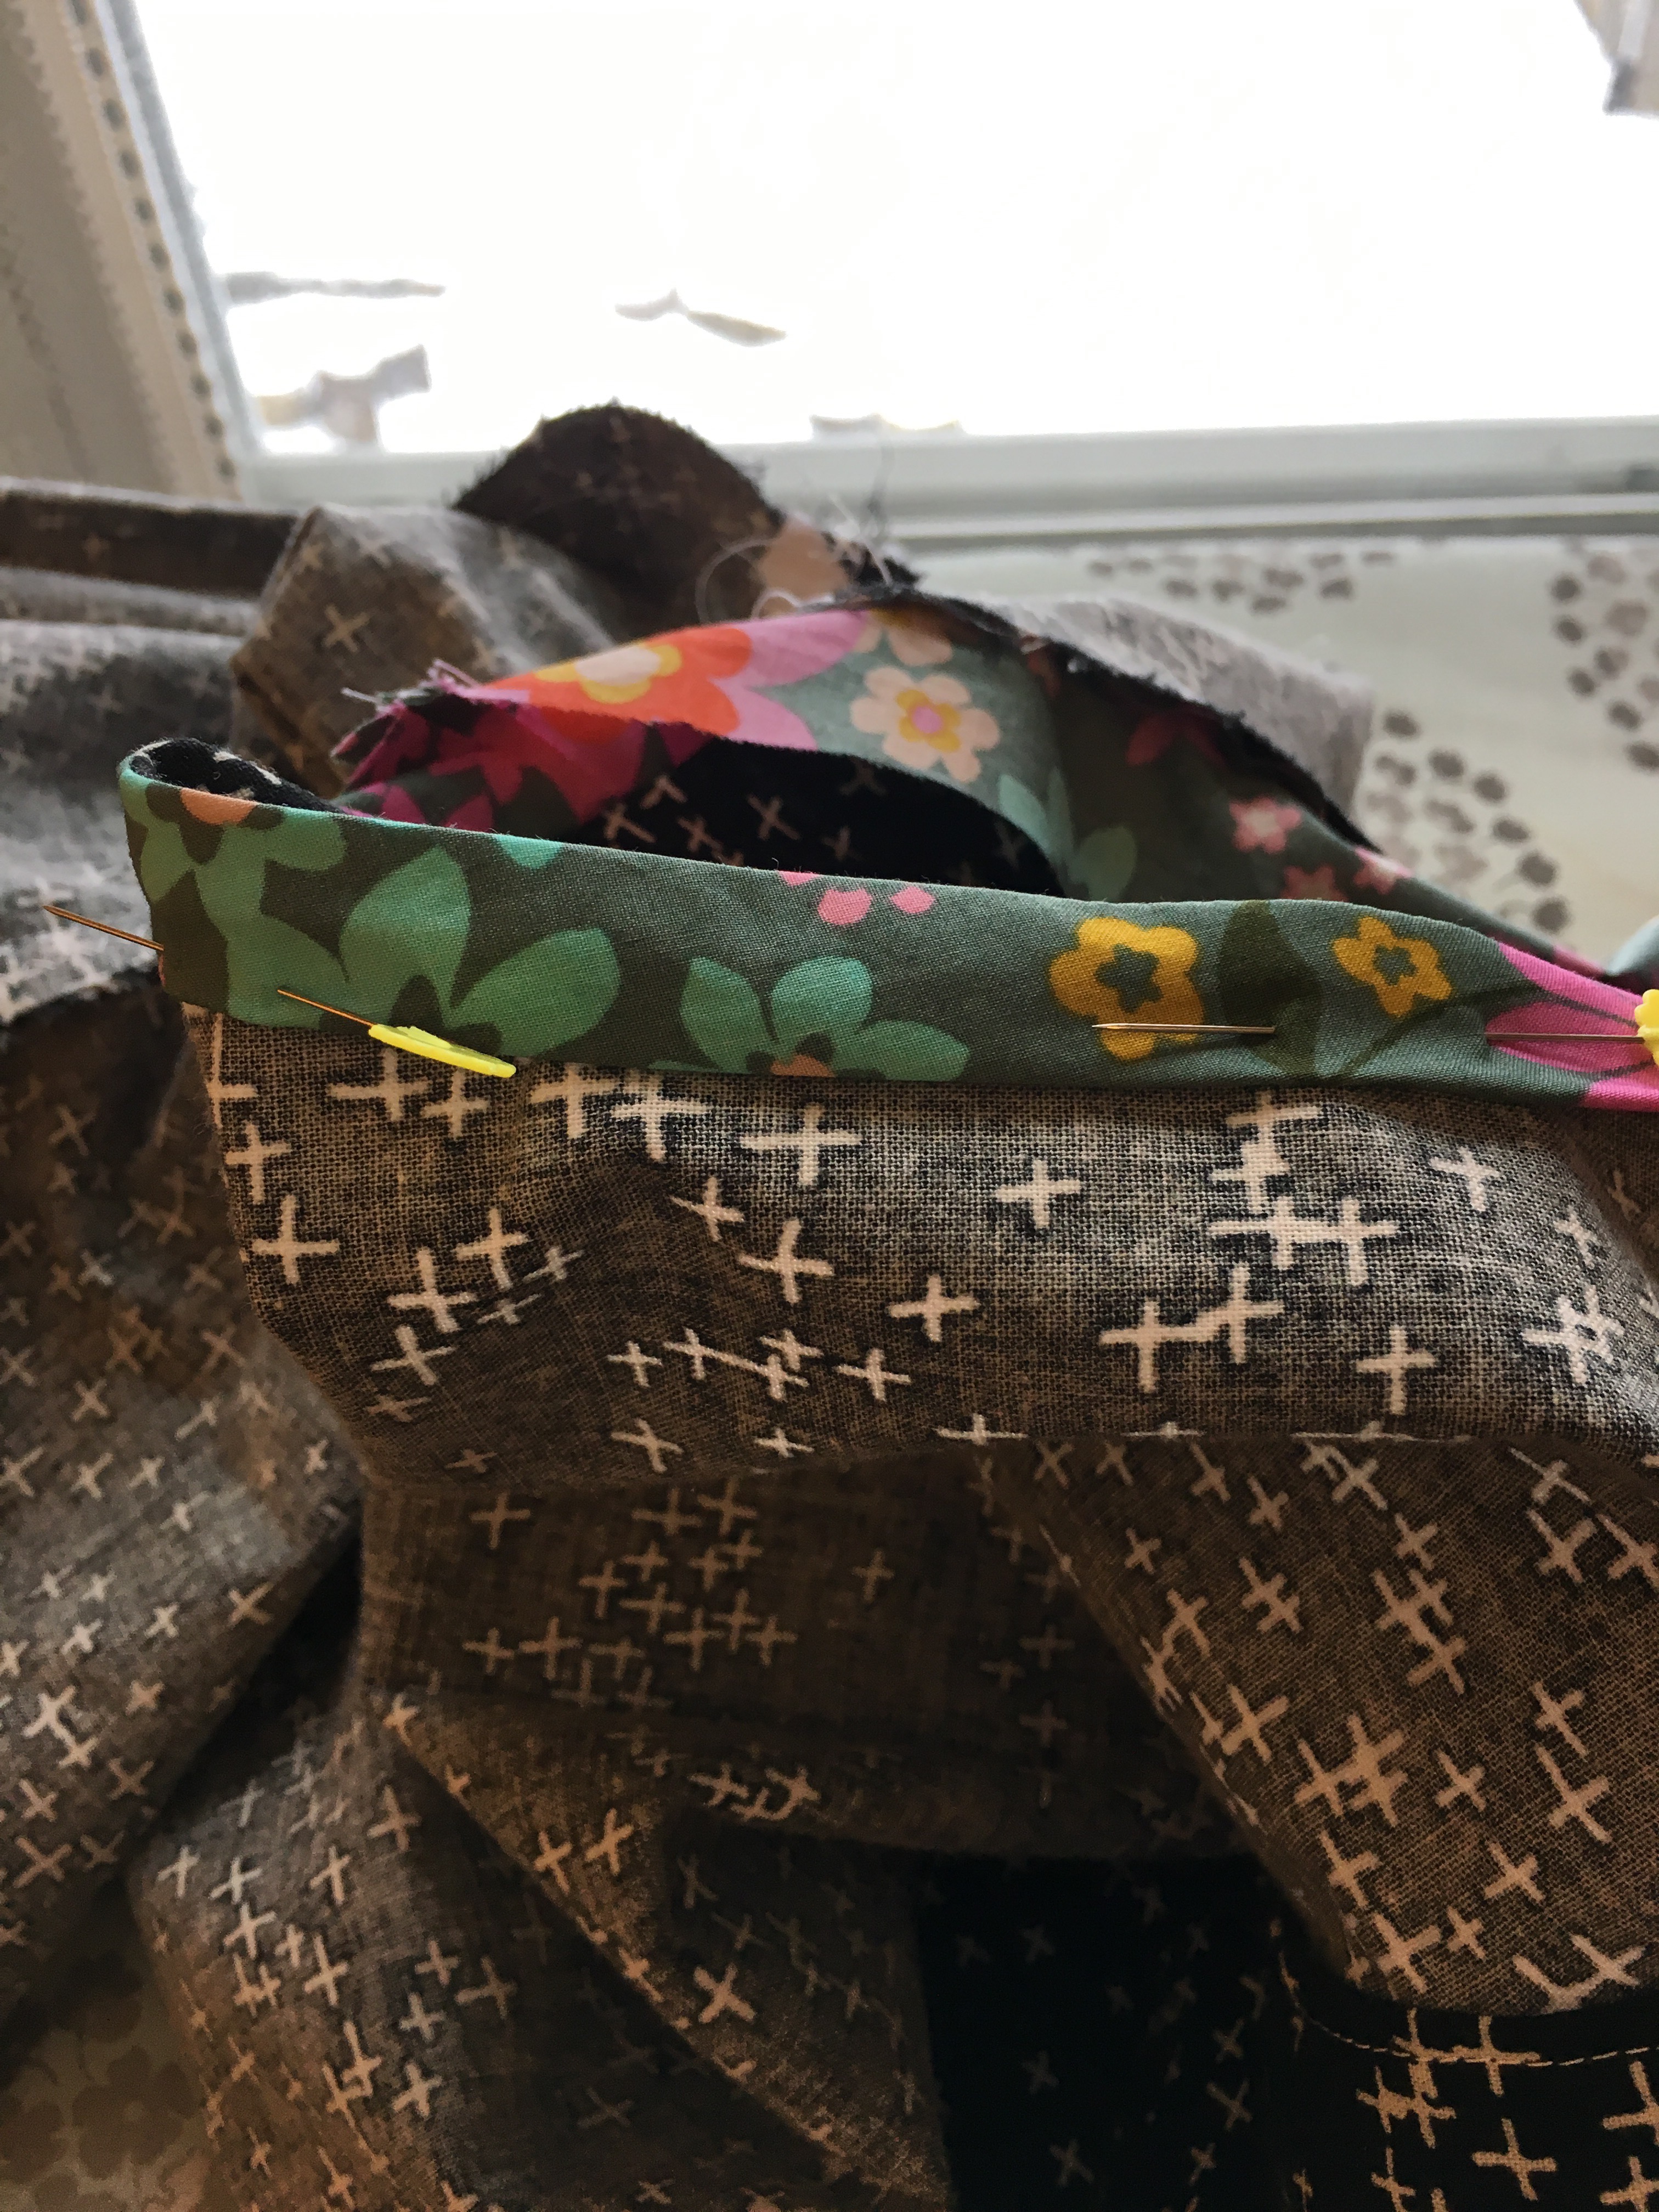
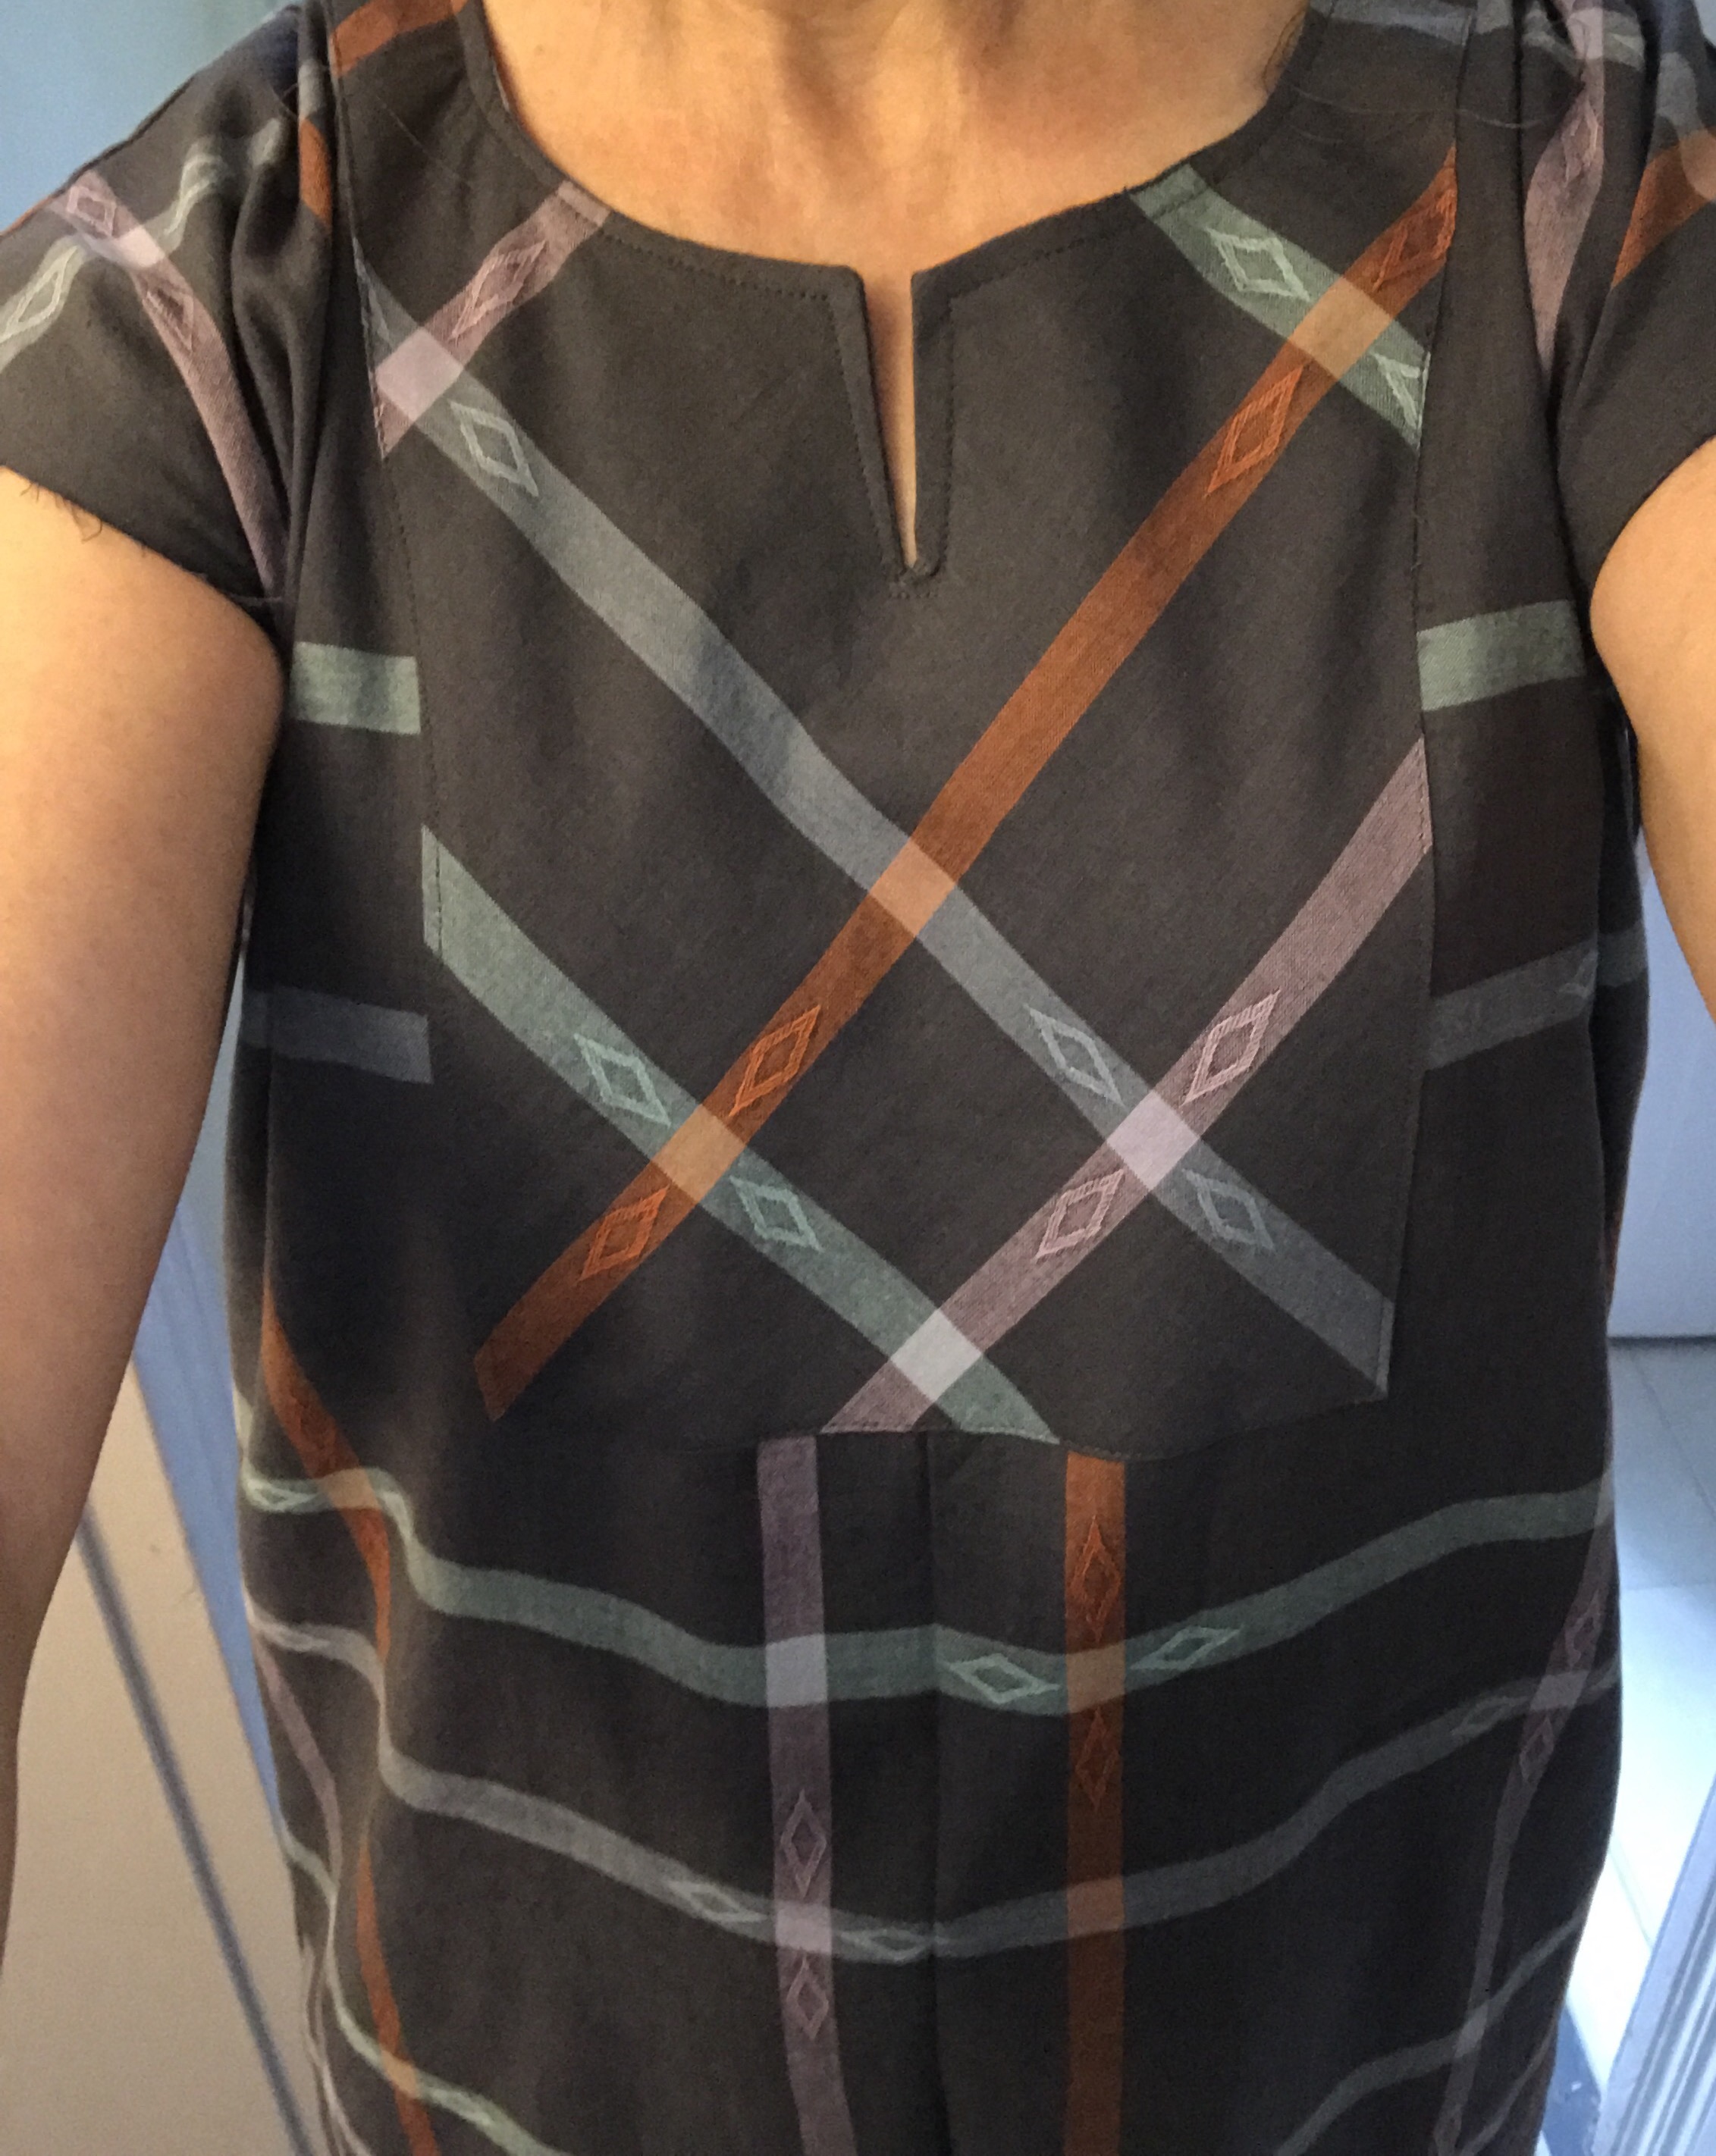 The trickiest part for me actually wasn’t the front bias facing, it was the back neck facing. I am not sure how I did this but it ended up being shorter than the neck on the dress and they didn’t line up. When I realized this was happening, I just folded the excess in the center of the back as I was sewing as if it was meant to be. It actually didn’t turn out badly, thankfully.
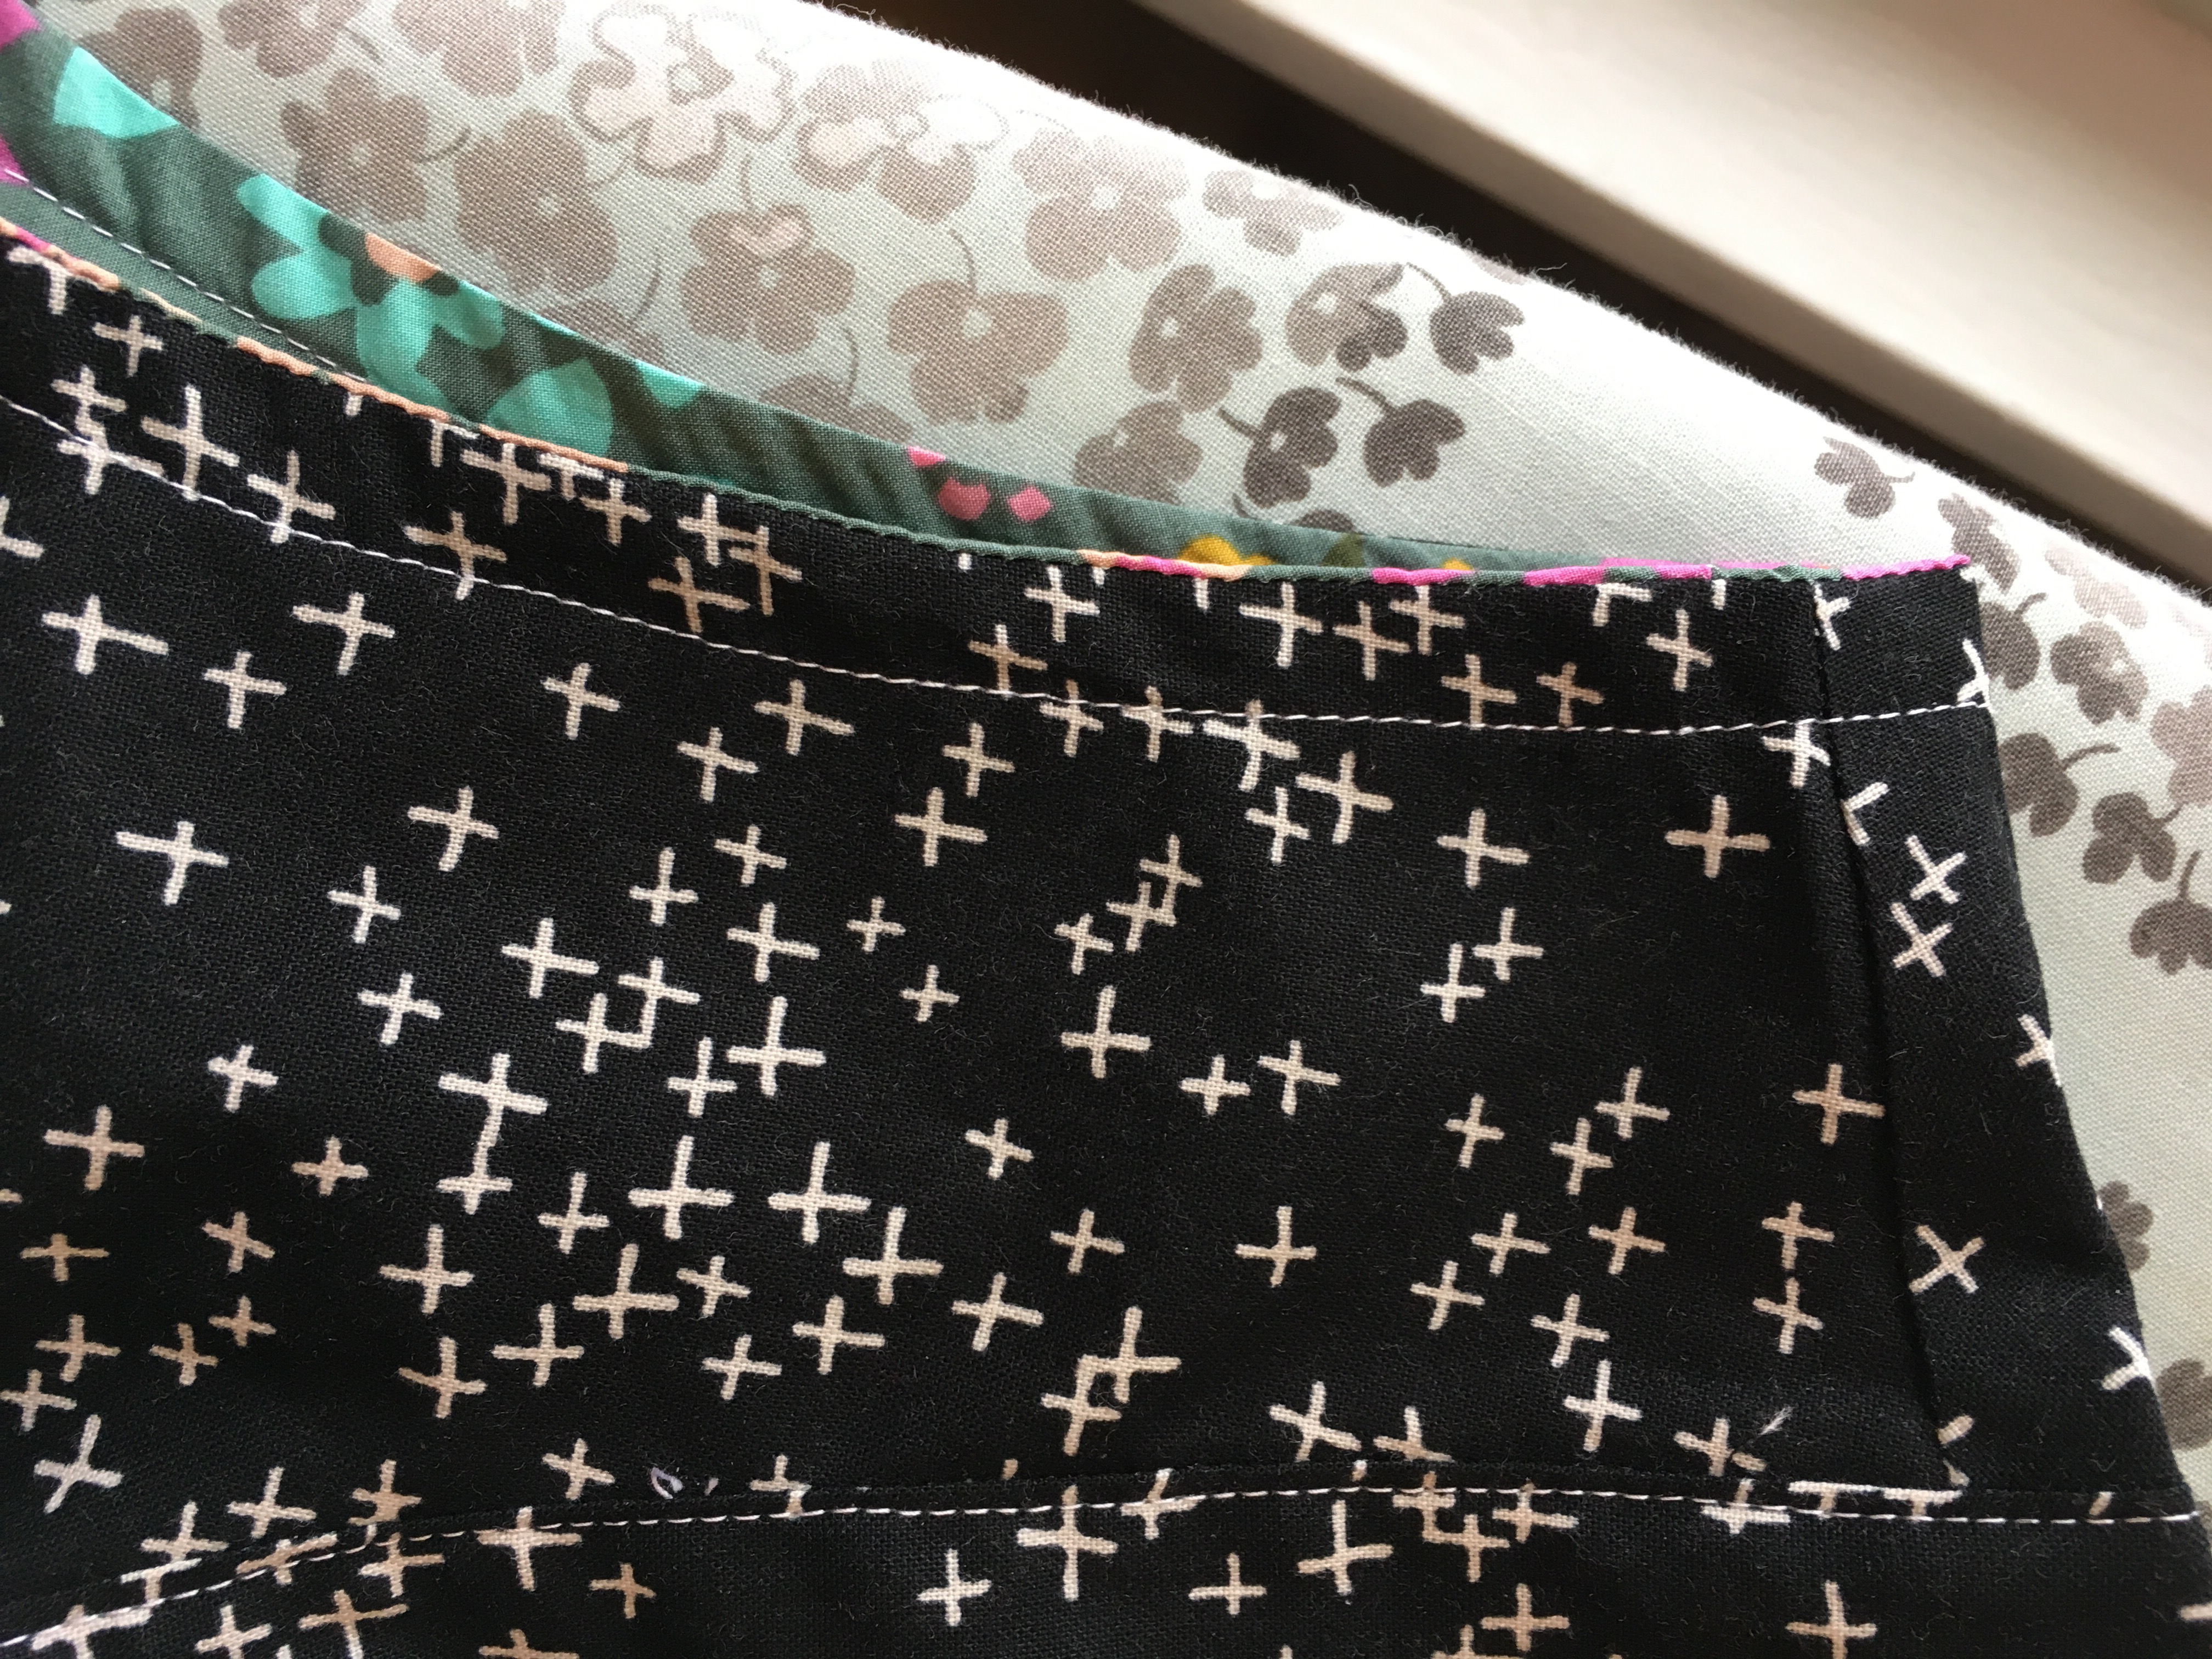
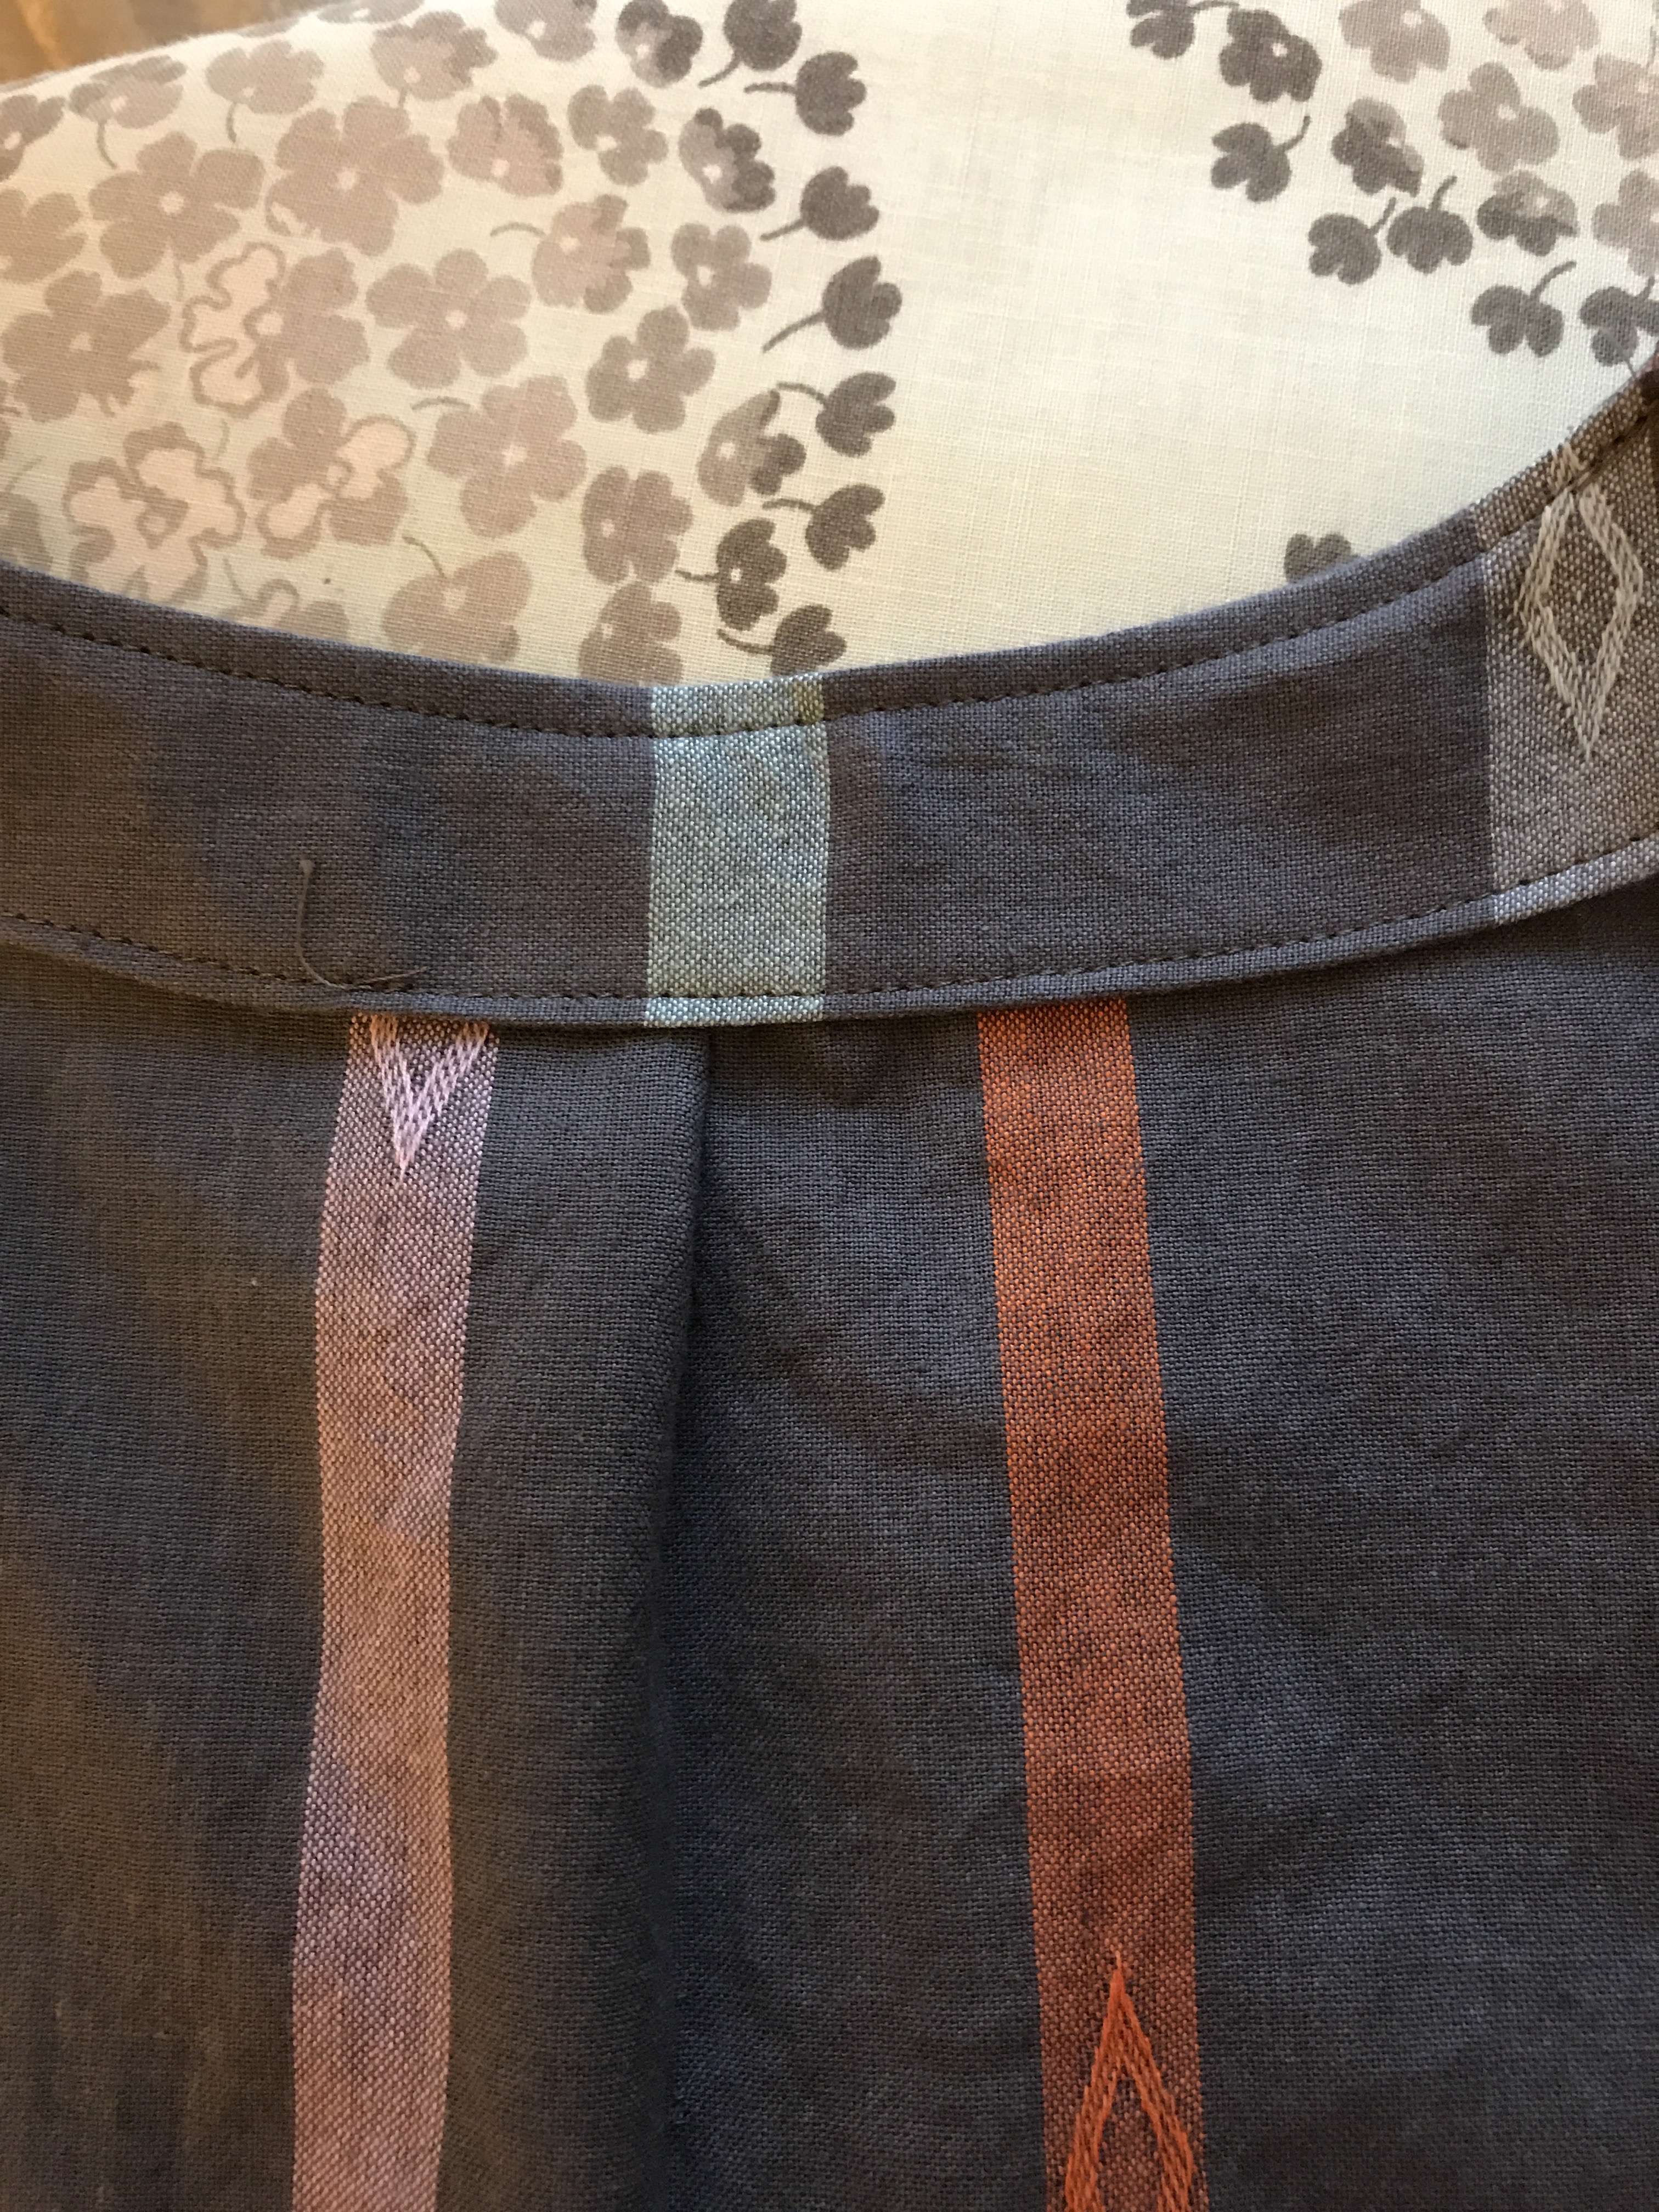
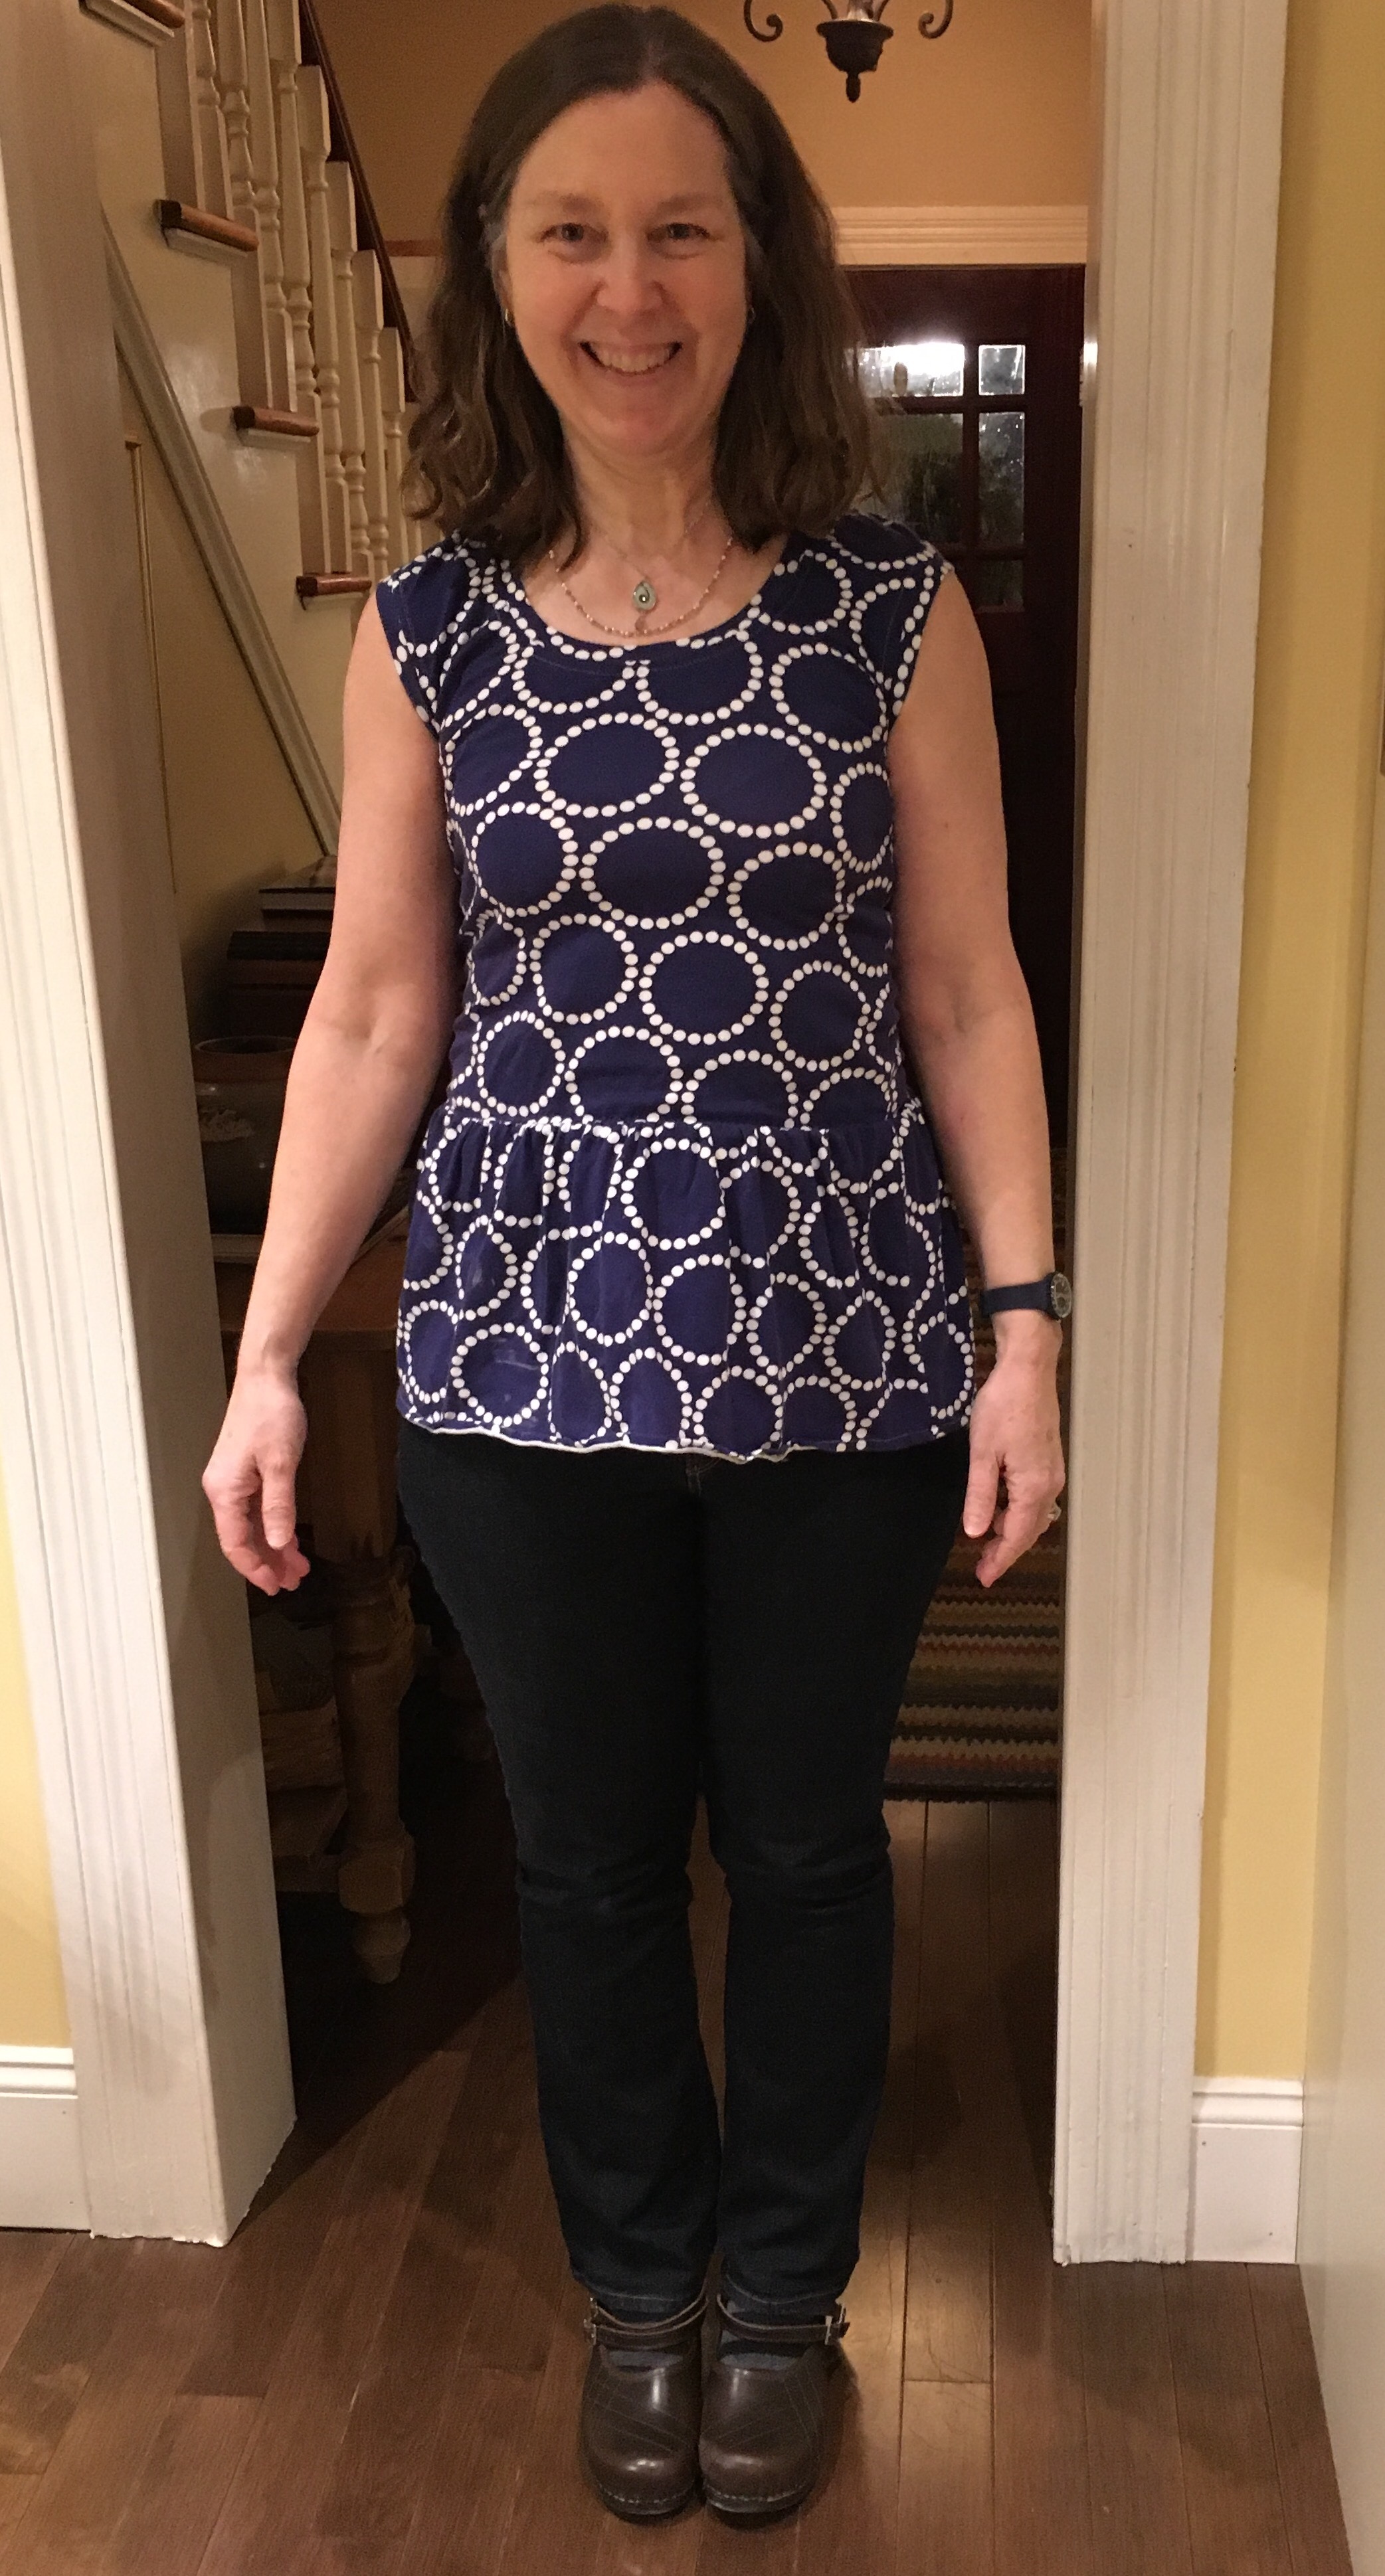
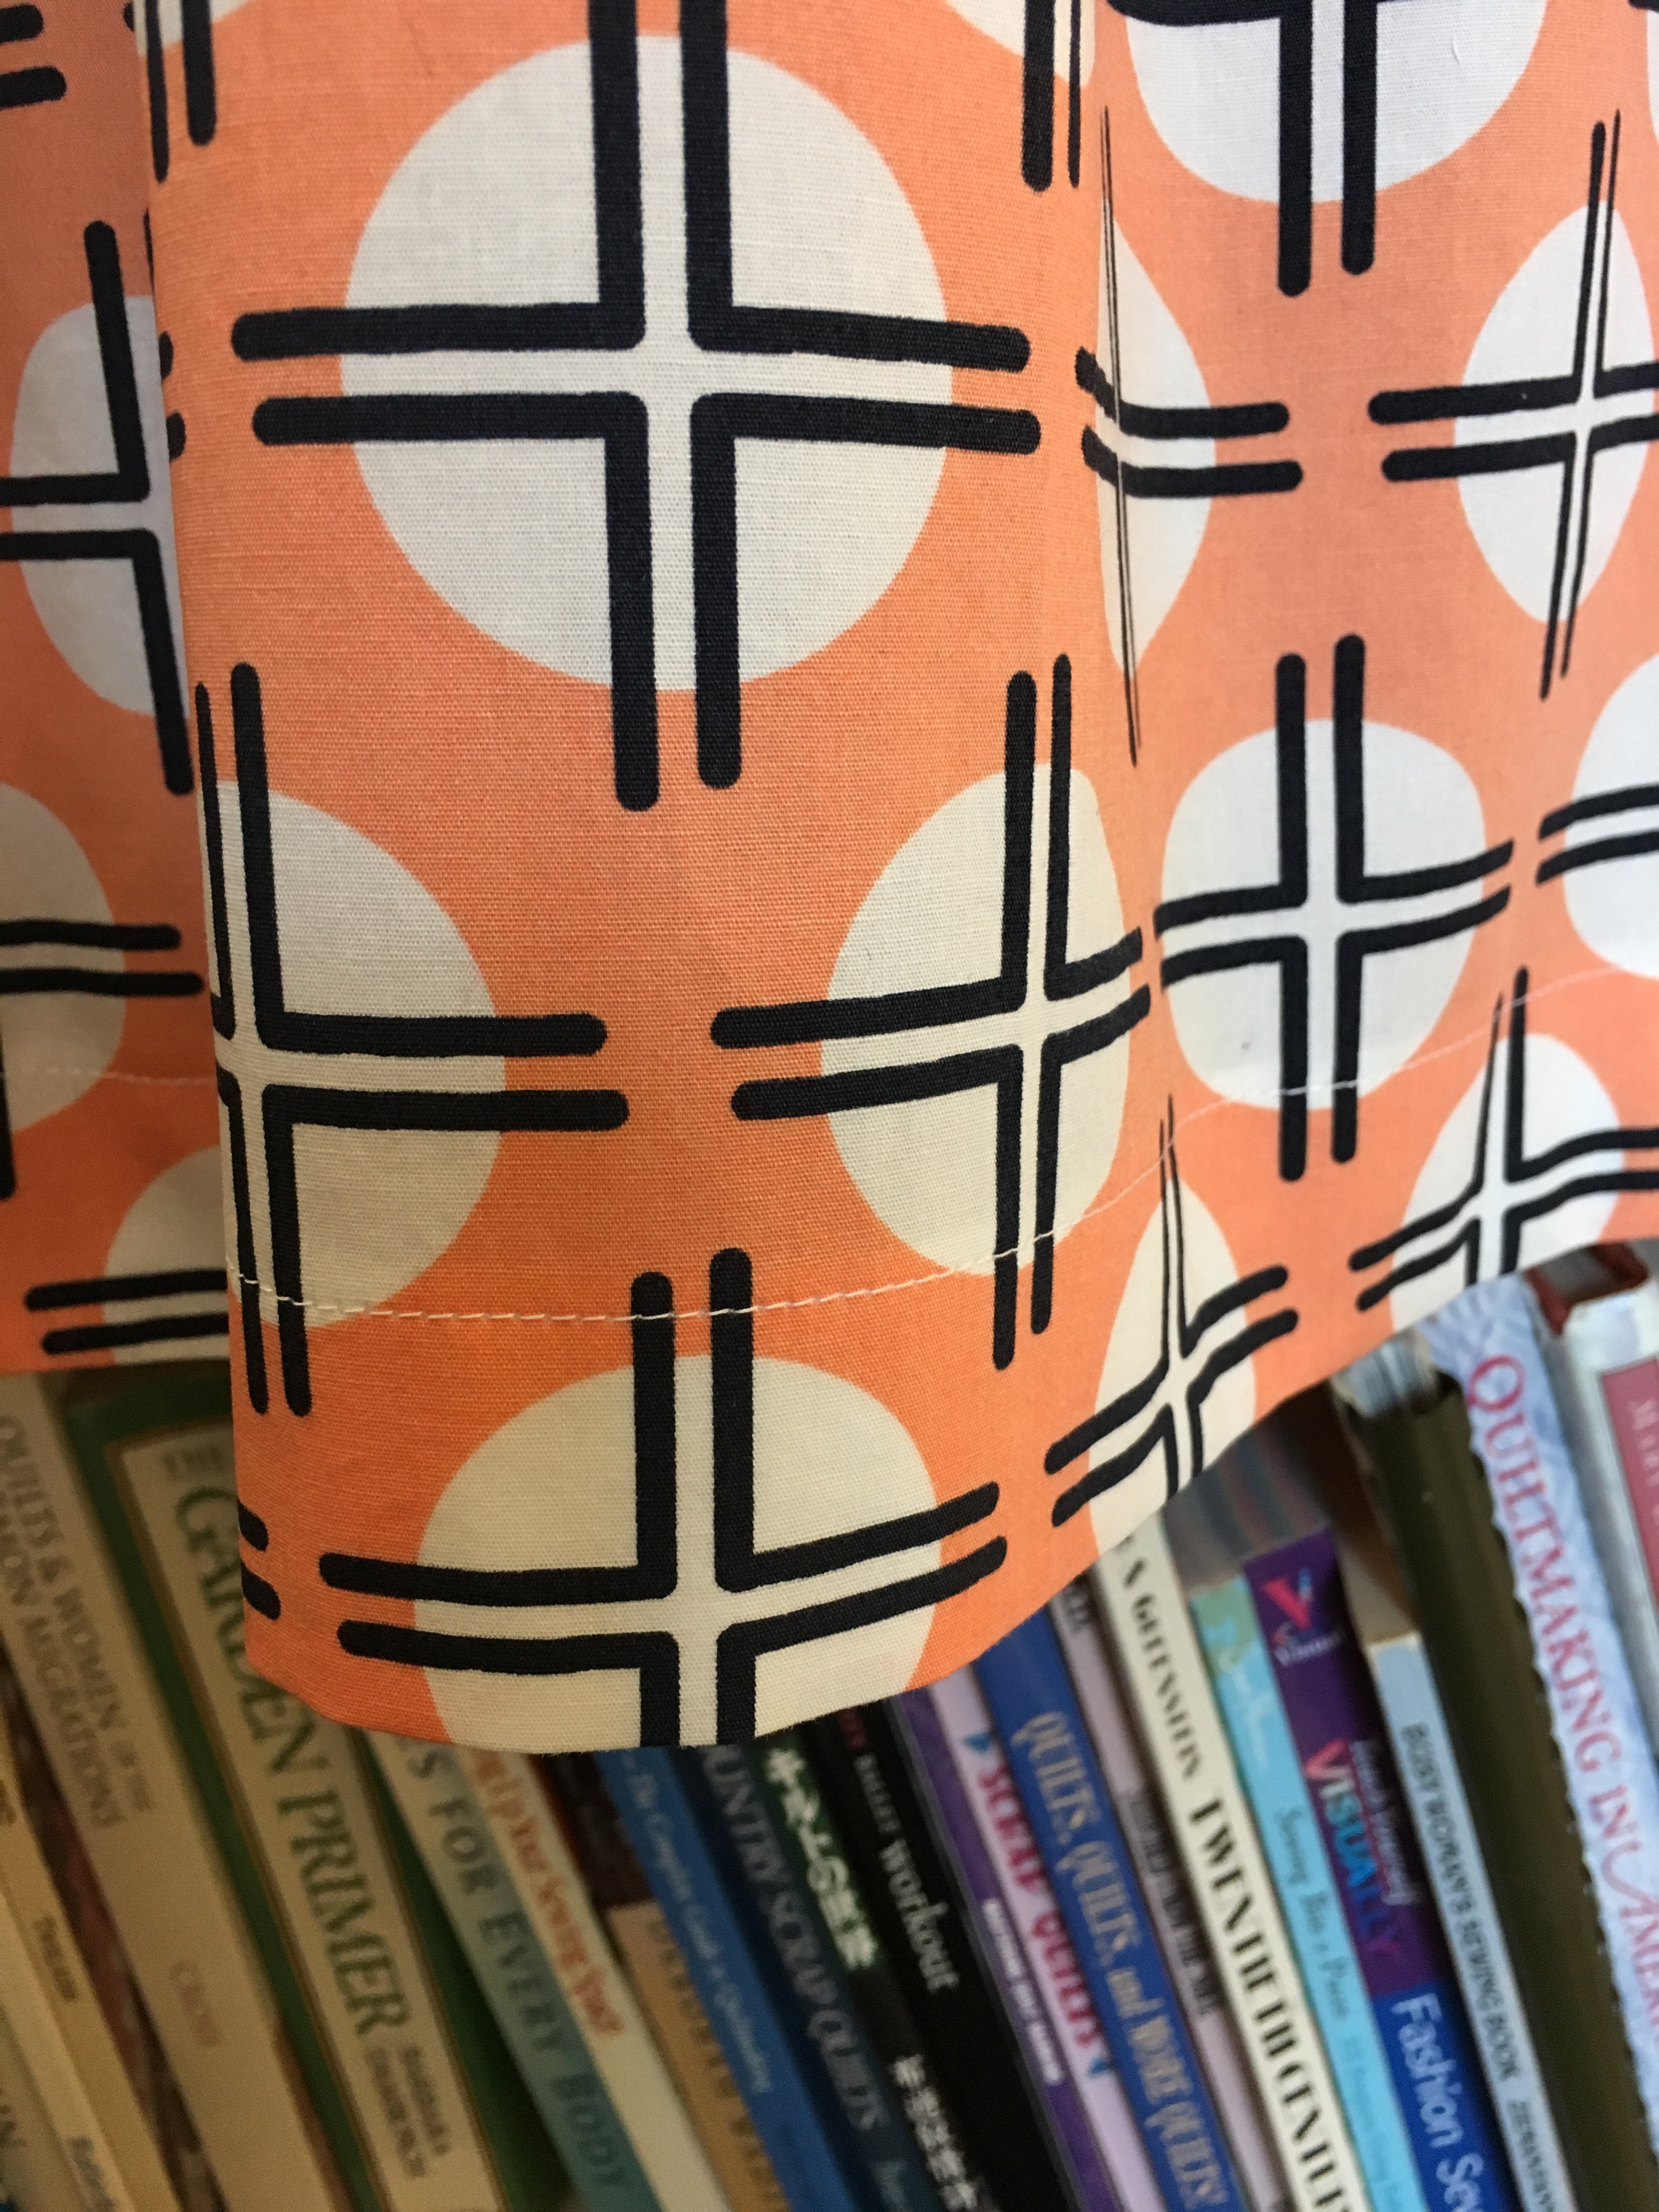
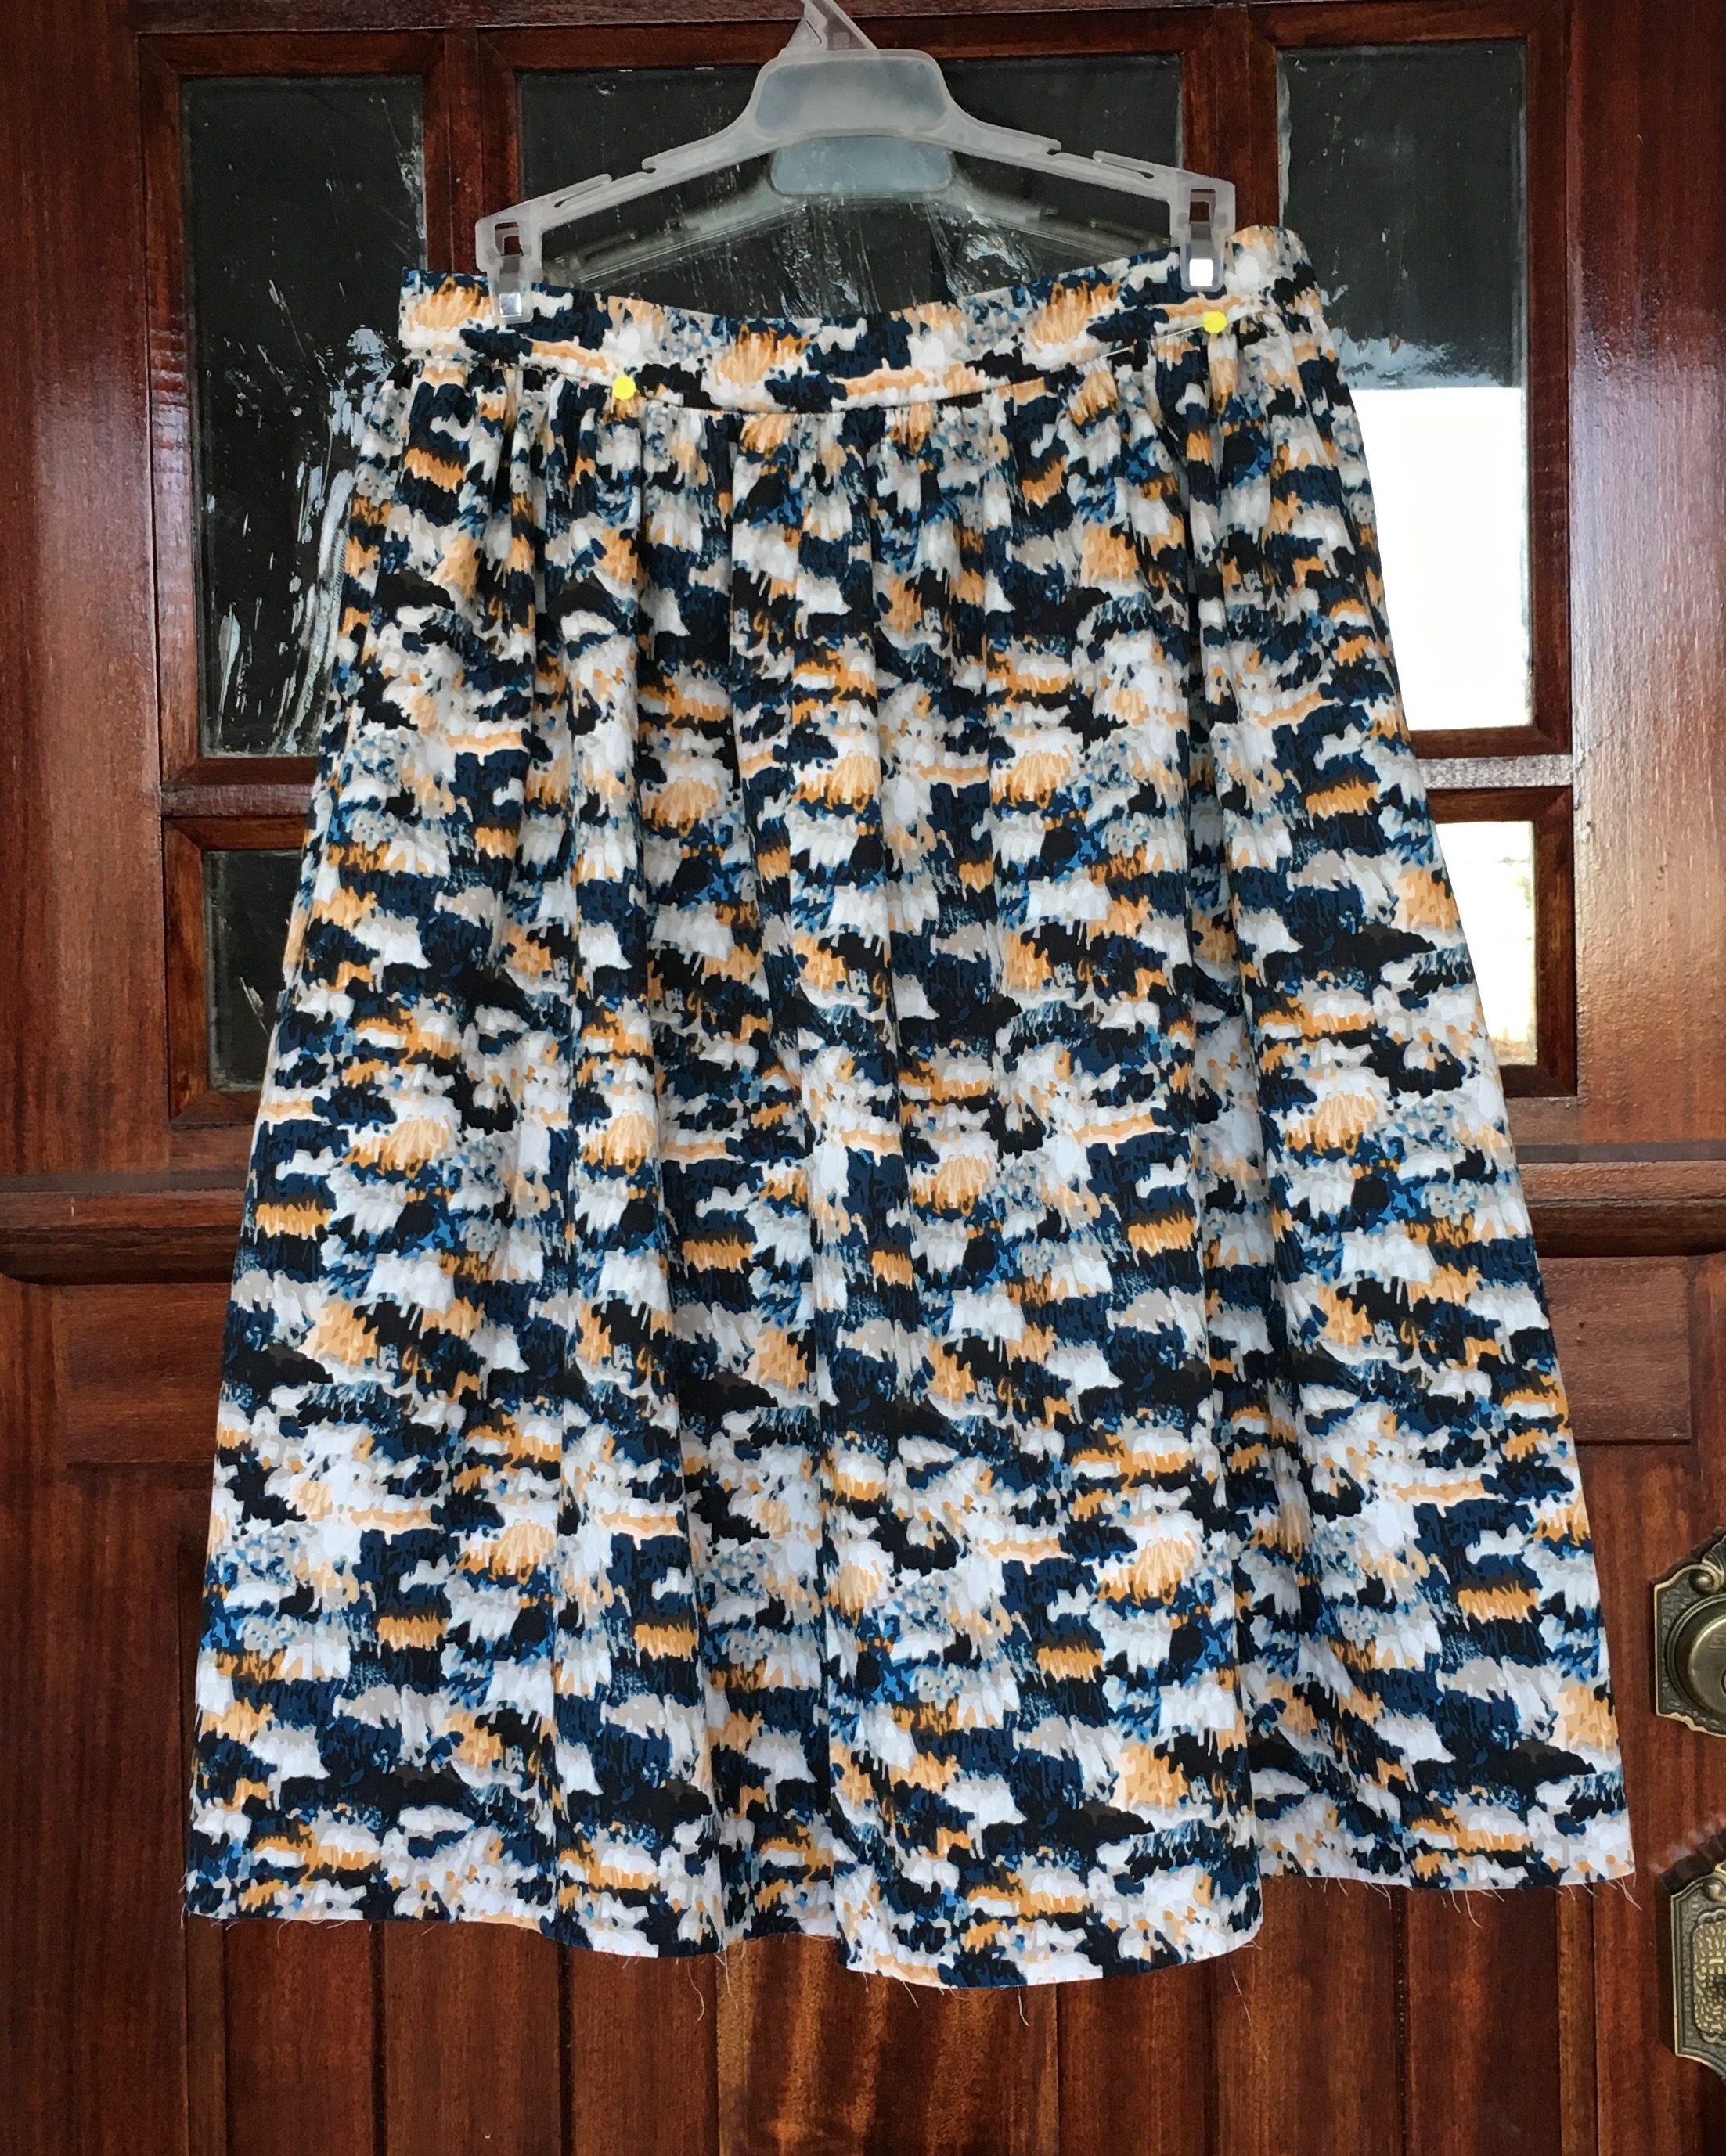
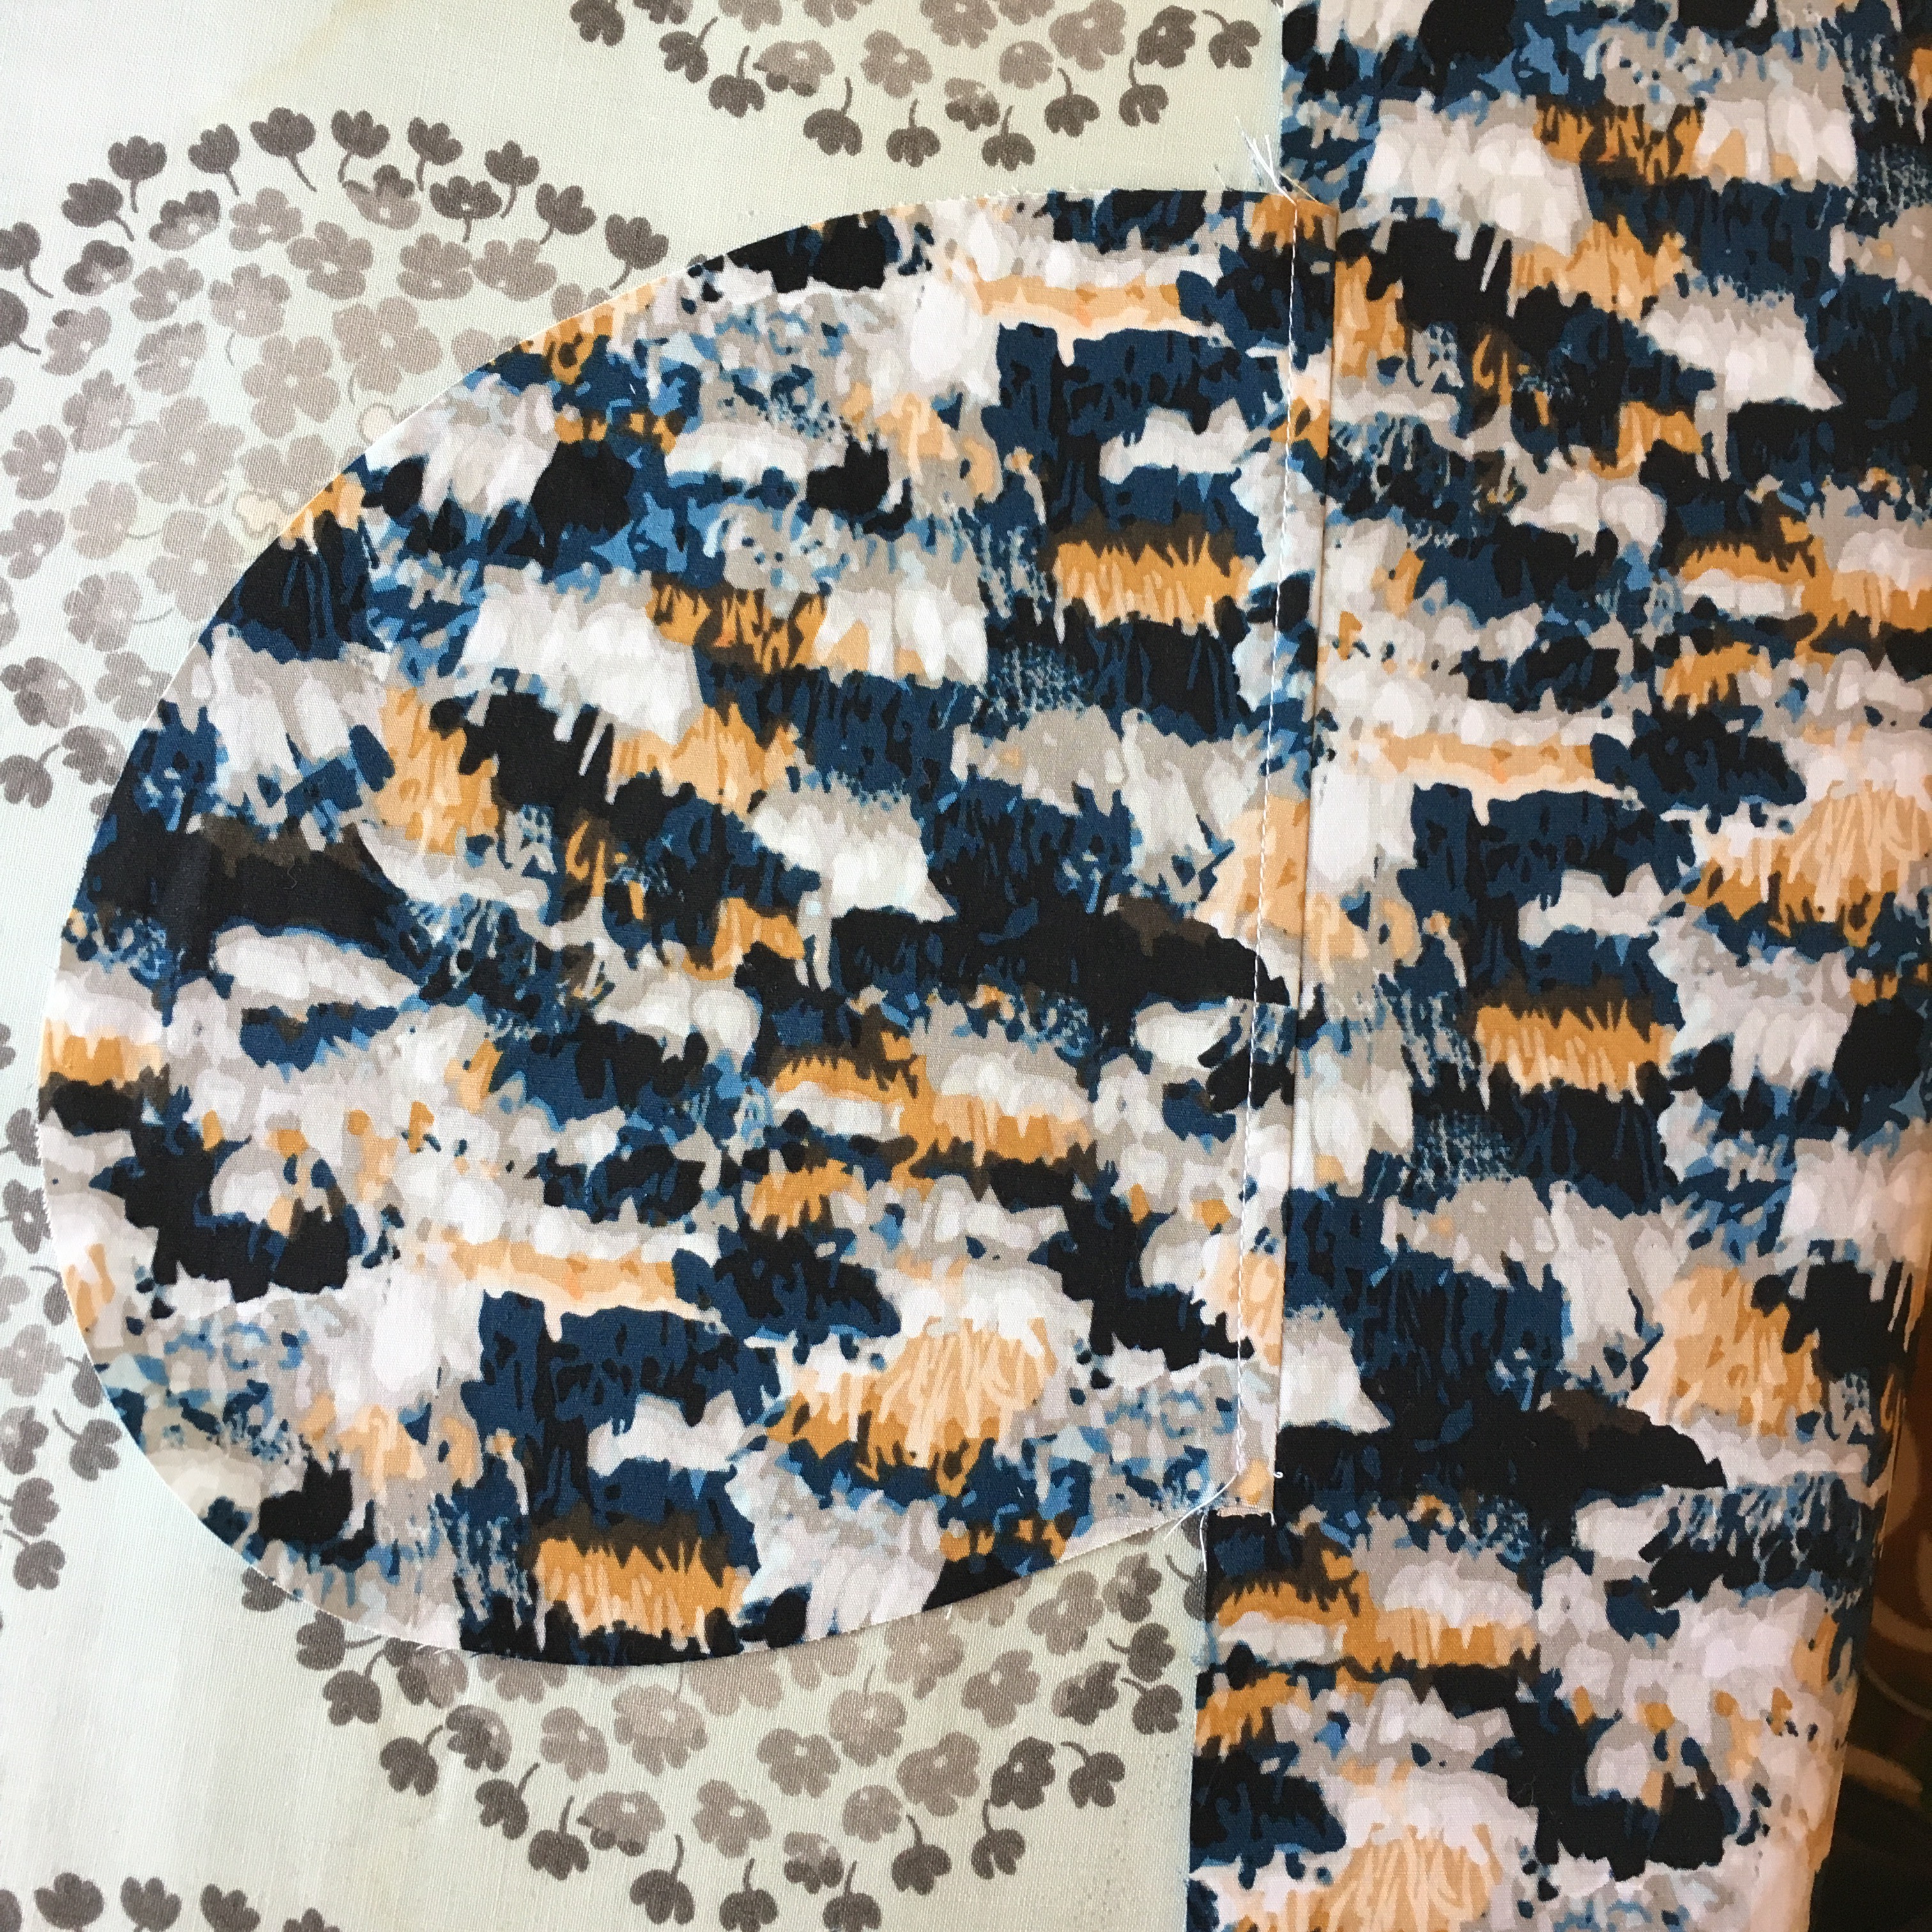
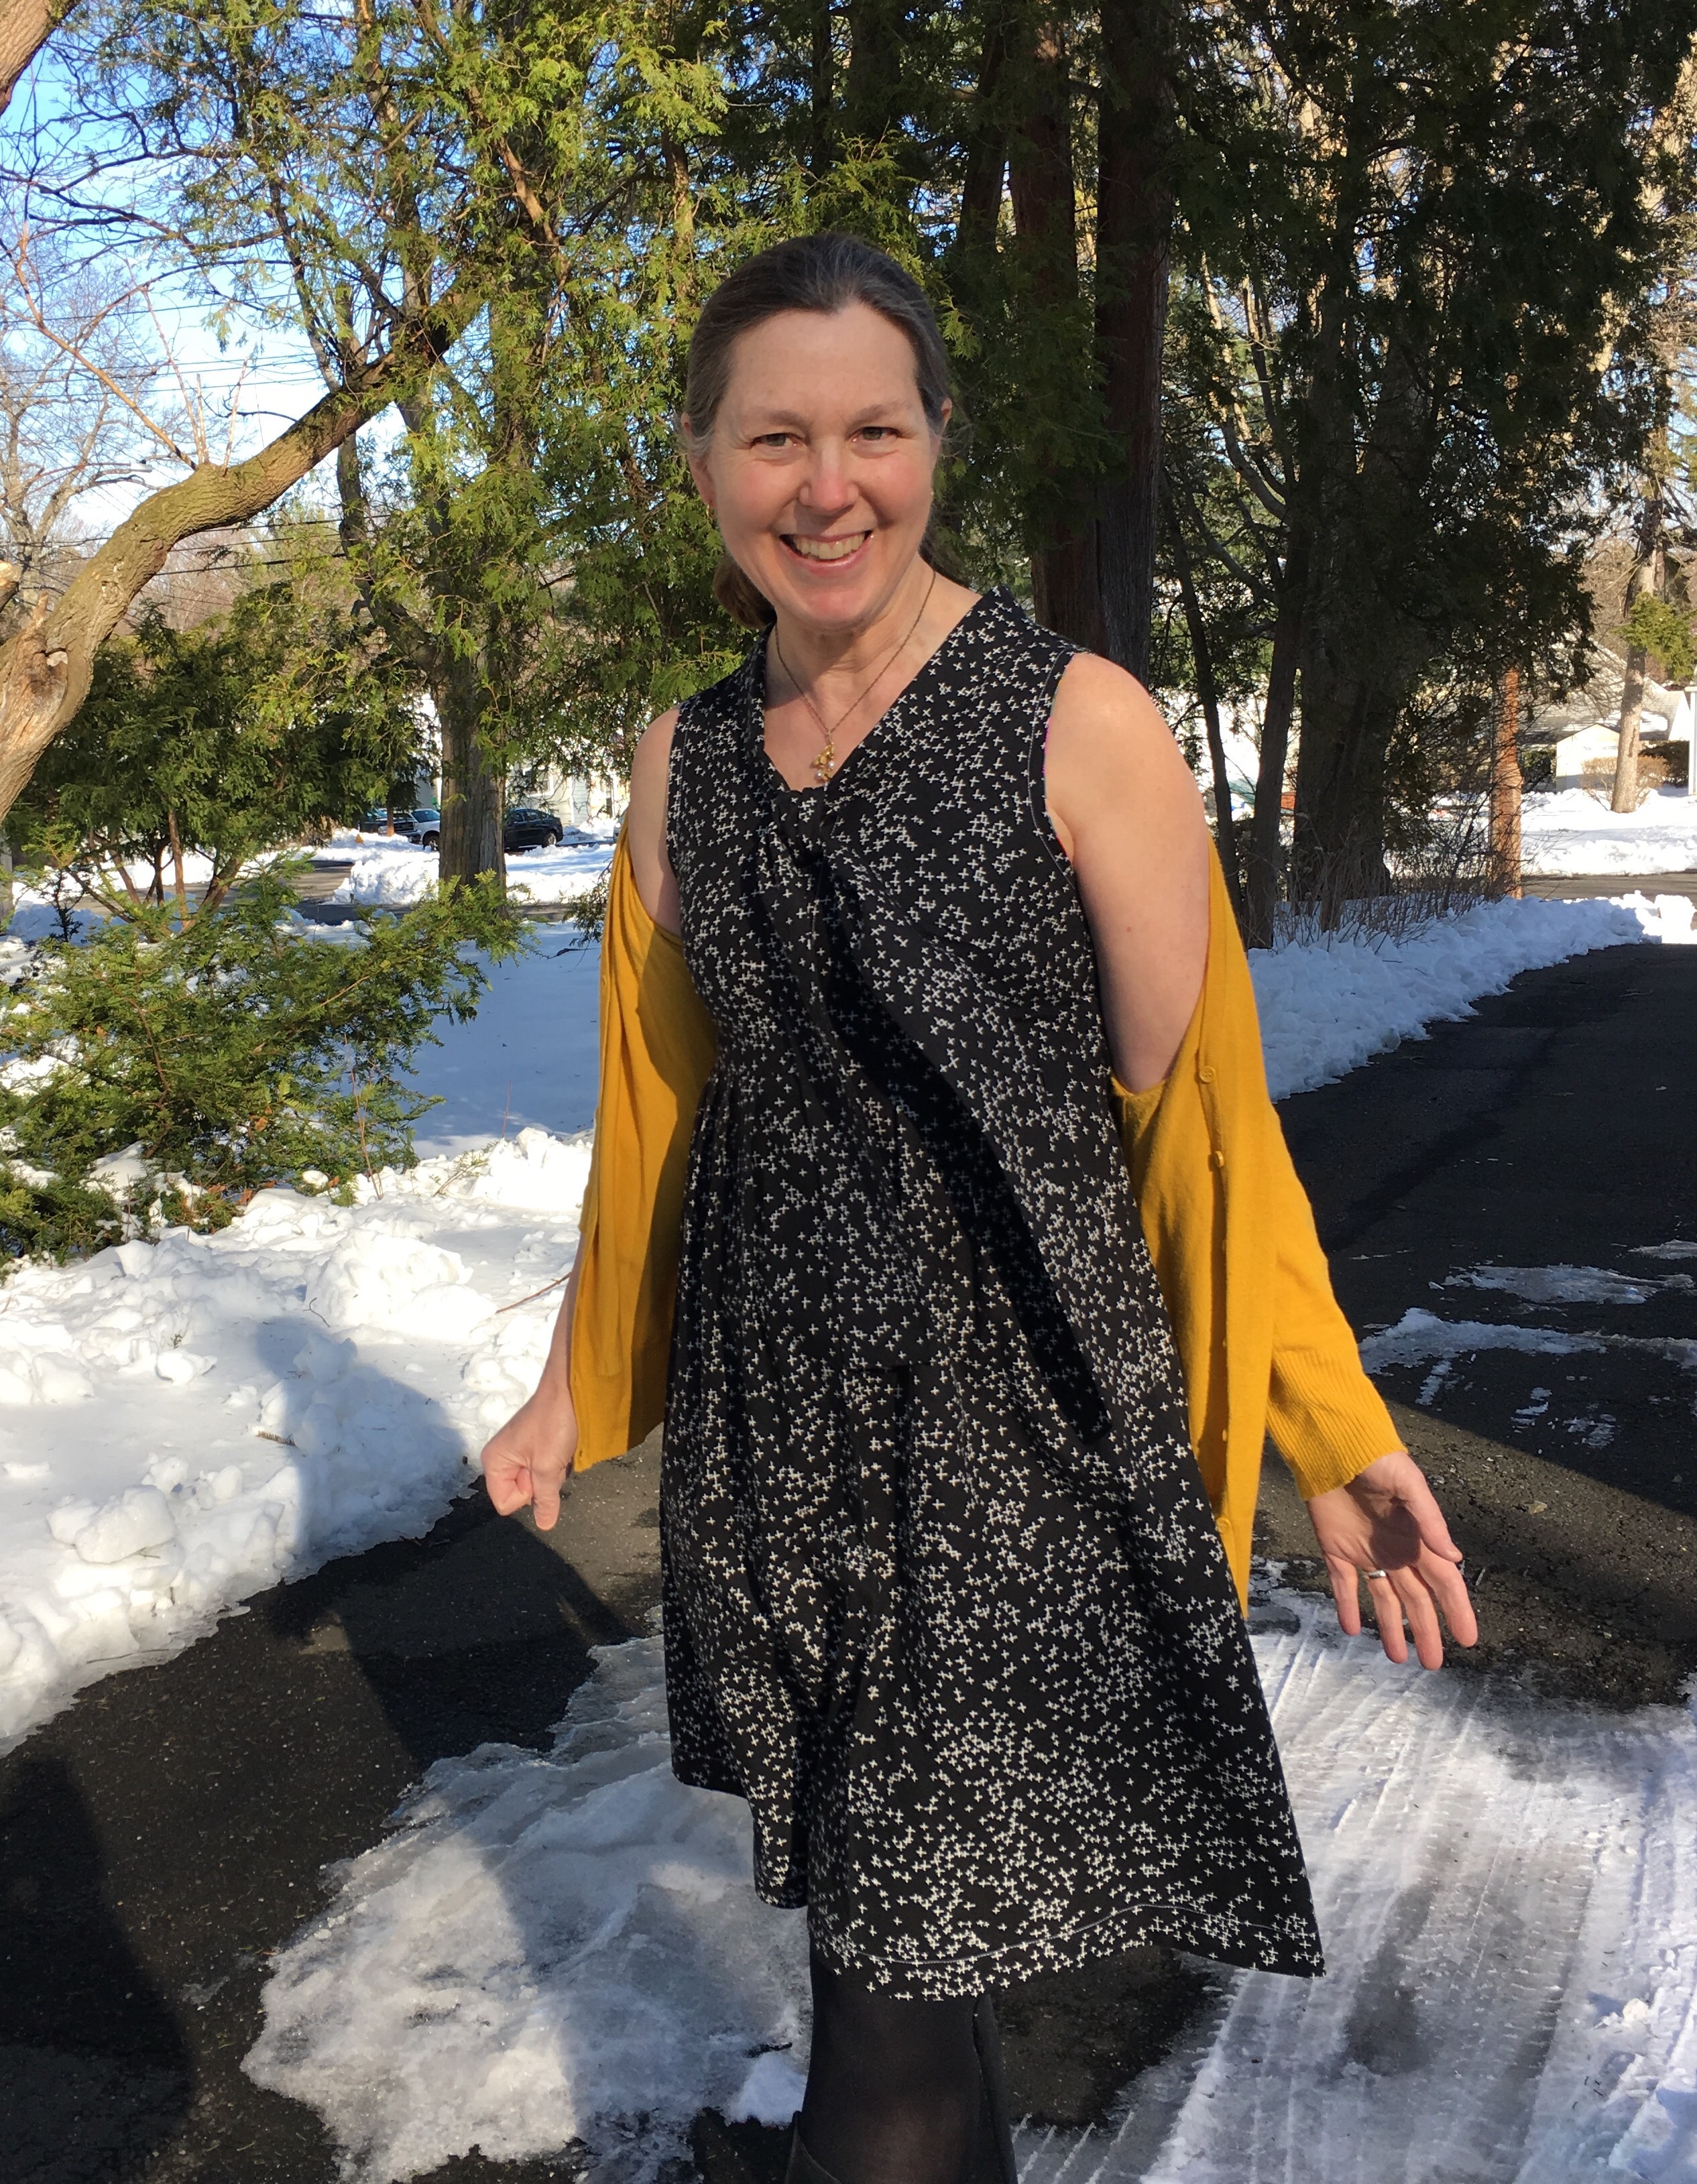
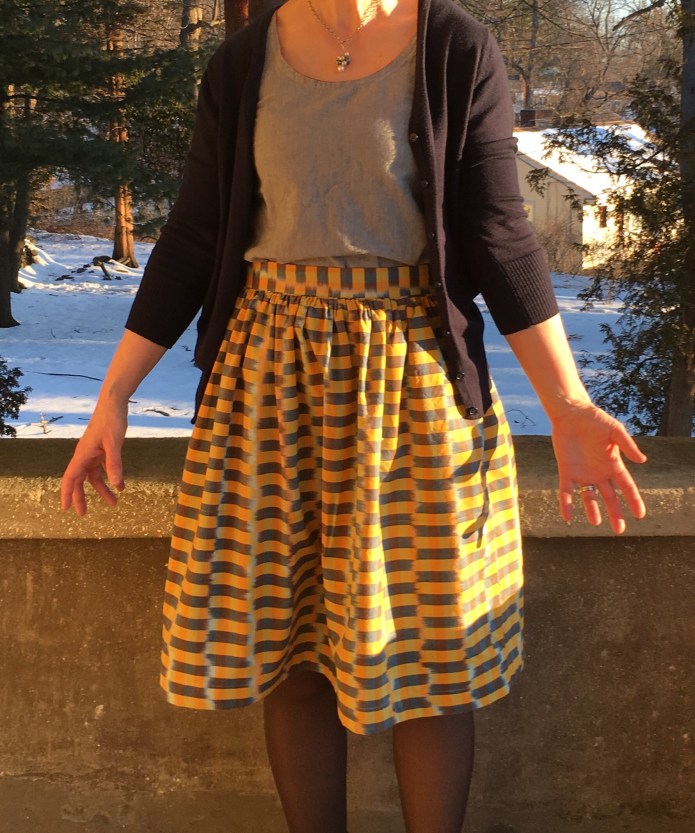
 One thing I wish I had done is to cut the pattern pieces out a bit more thoughtfully because I could have totally matched the stripes on the side. They are just a little off. I just didn’t think ahead when I cut out the pattern pieces. But I will definitely do it next time and there will definitely be a next time because I bought this fabric again in this grey and in the cream colorway. You can see in the picture below that I am just a little off matching the blue stripes at the bottom of the skirt. So close!
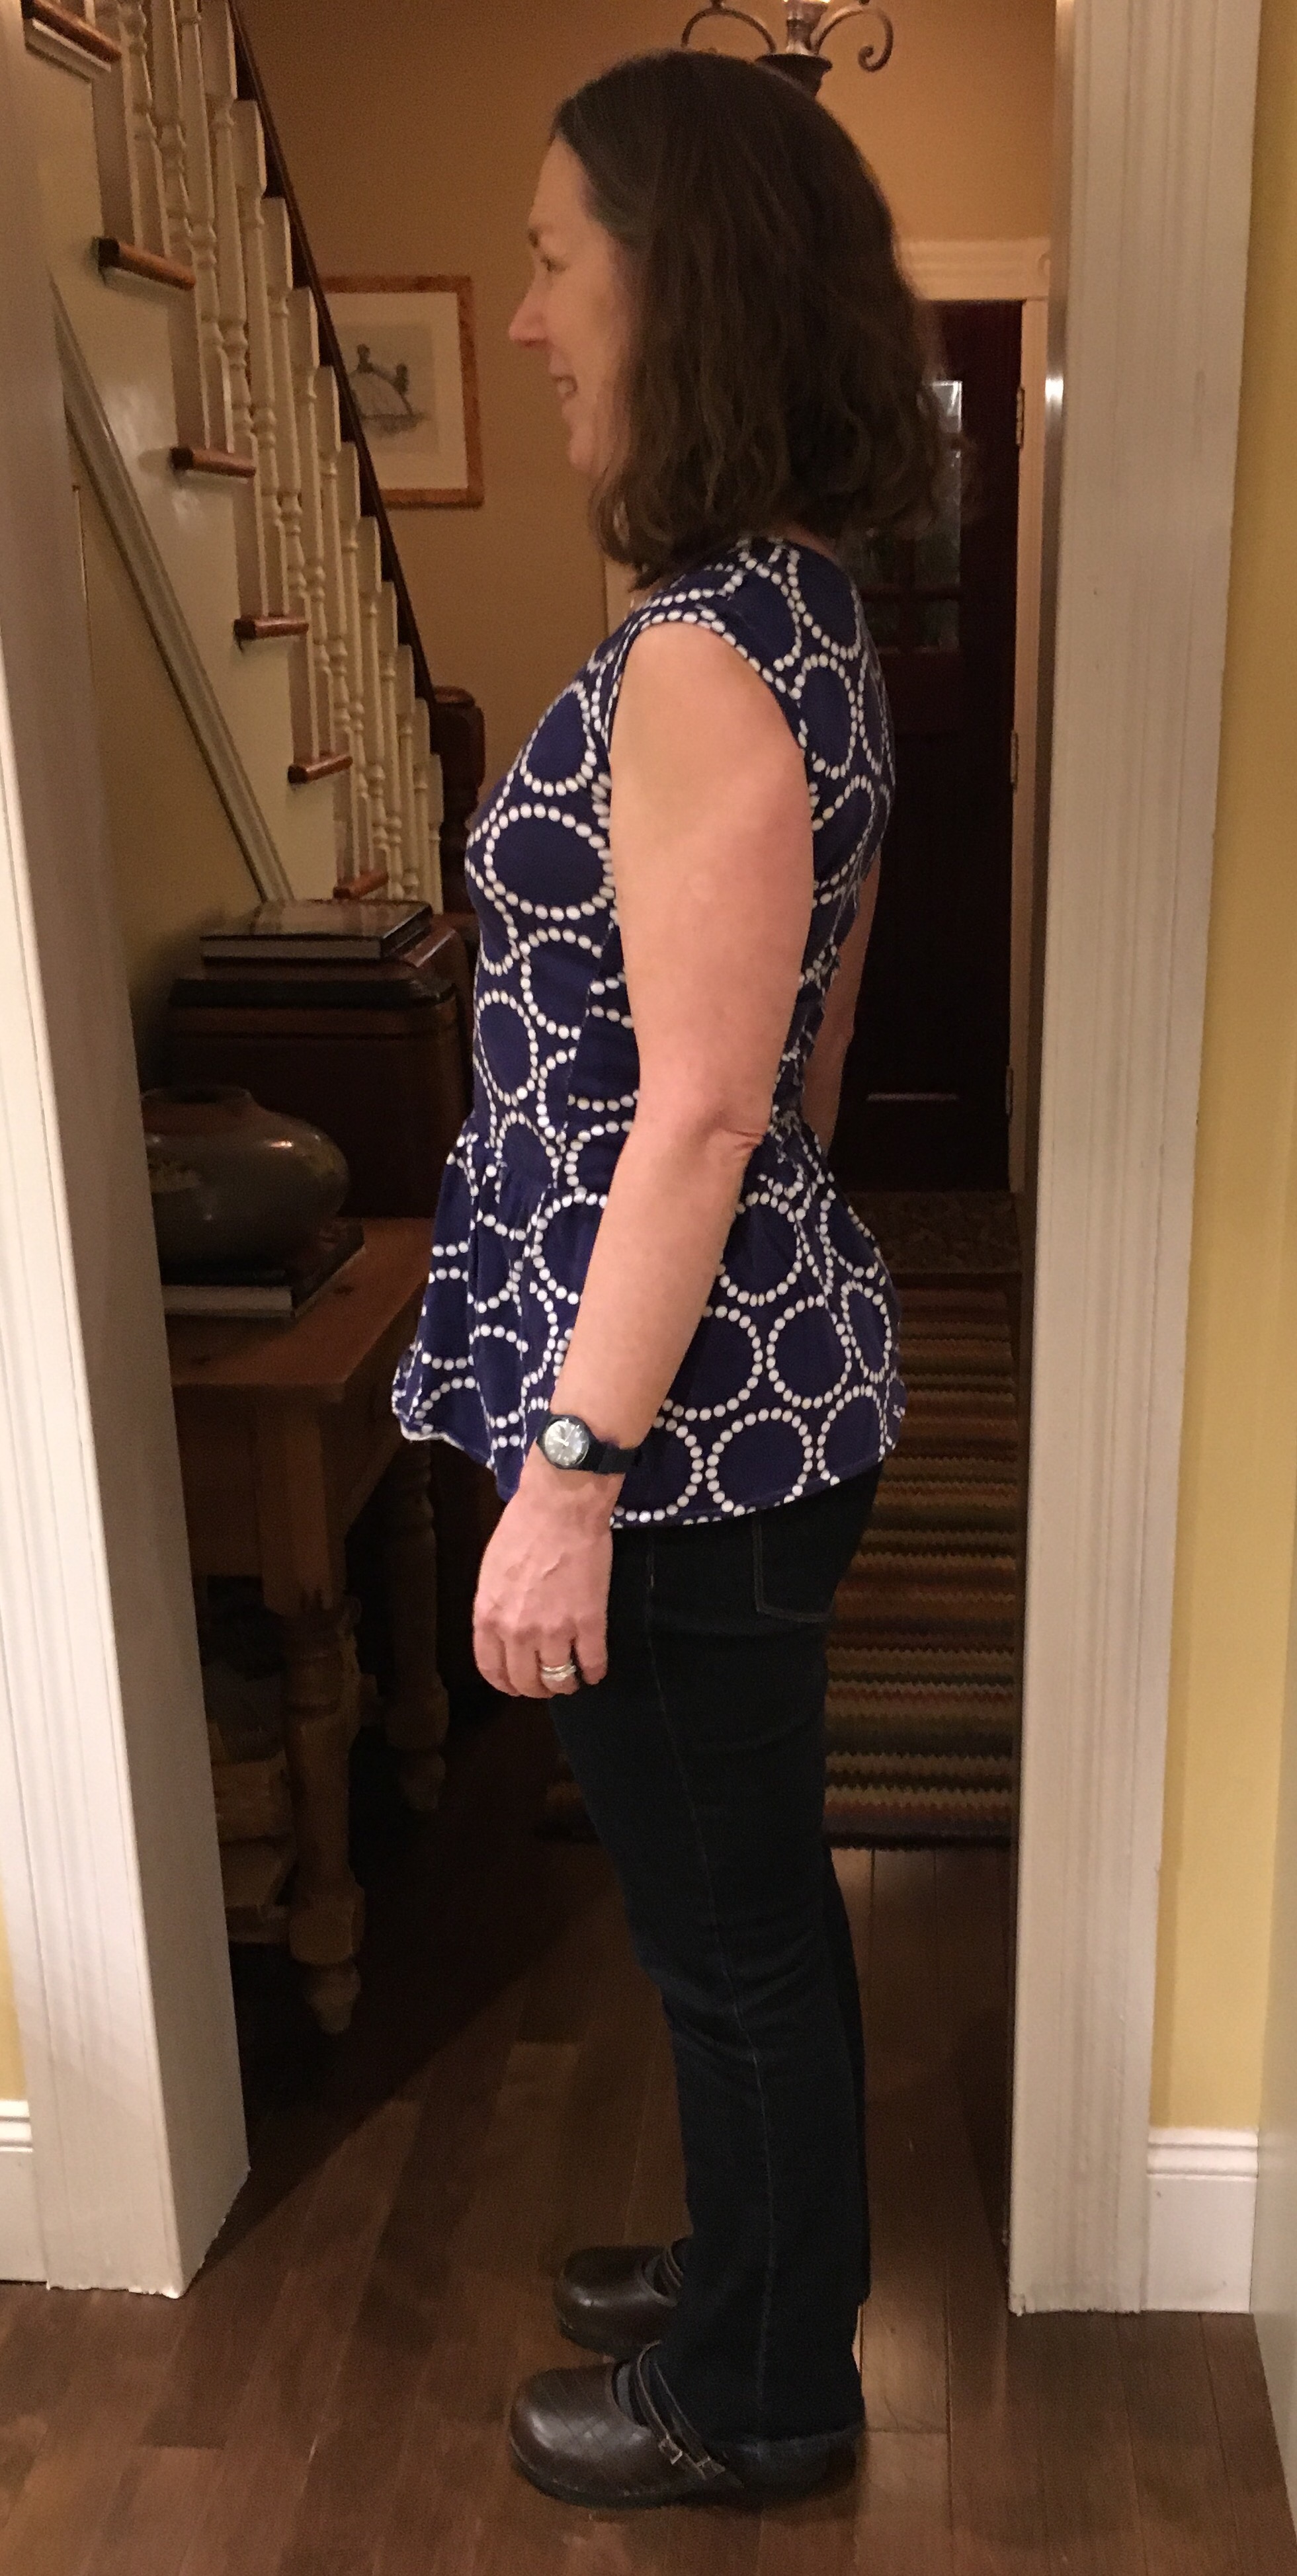
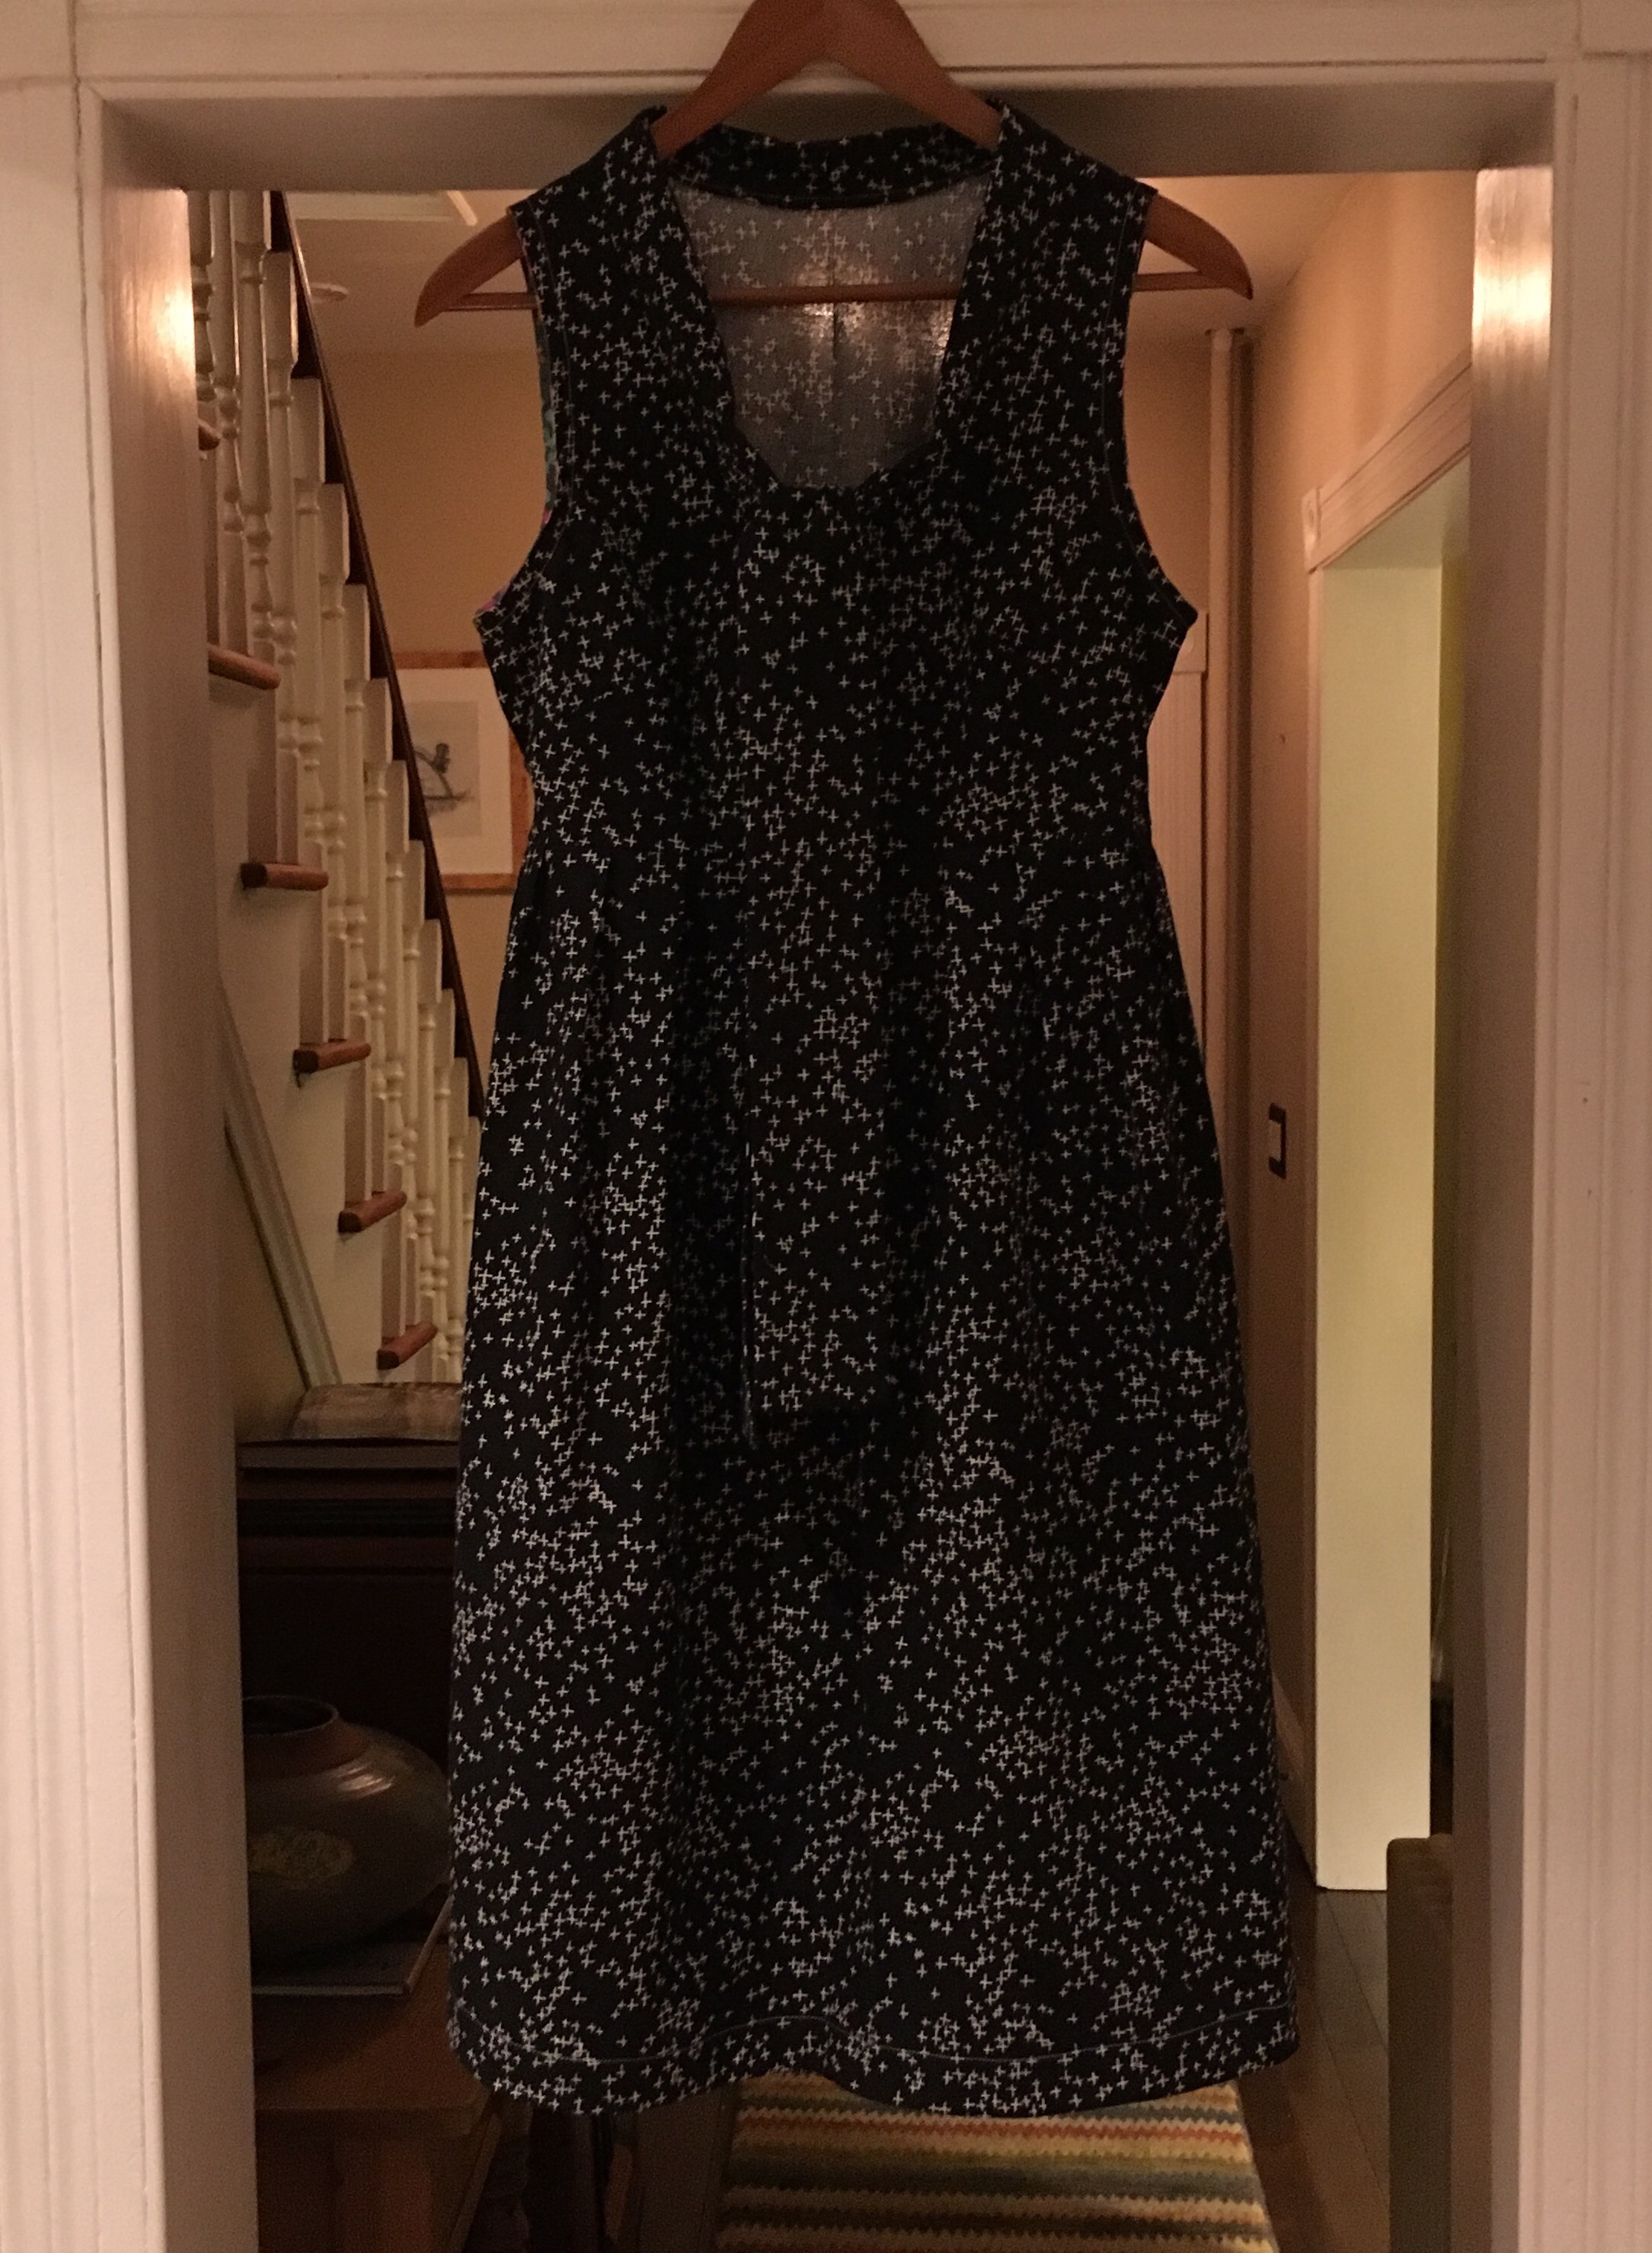
  This dress is a bit shorter than the other Bianca’s I have made- about an inch. I didn’t sew a hem facing as I normally do. I was in a hurry to finish it and be able to wear it so I just turned the hem up. I like the shorter length because my plan is to wear it with leggings and jeans but if I make it a second time, I will make it with a hem facing. I like the little bit of extra structure of the hem facing and I feel as though my dresses hang more nicely with that little bit of extra weight. But I am very happy with how this turned out. This was another dress sewn in a day. I sewed it pretty quickly although it did take a bit of time to sew the facing, especially since I was being careful not to stretch the fabric out of shape. Knowing now that I can manage the facing on the outside (and knowing that I have to check my measurements to figure out what I did wrong when I sewed the facing to have the size difference-probably a seam allowance situation) I will definitely be making this version again. I love that this little shift of putting the facing on the outside gives you so many design possibilities.
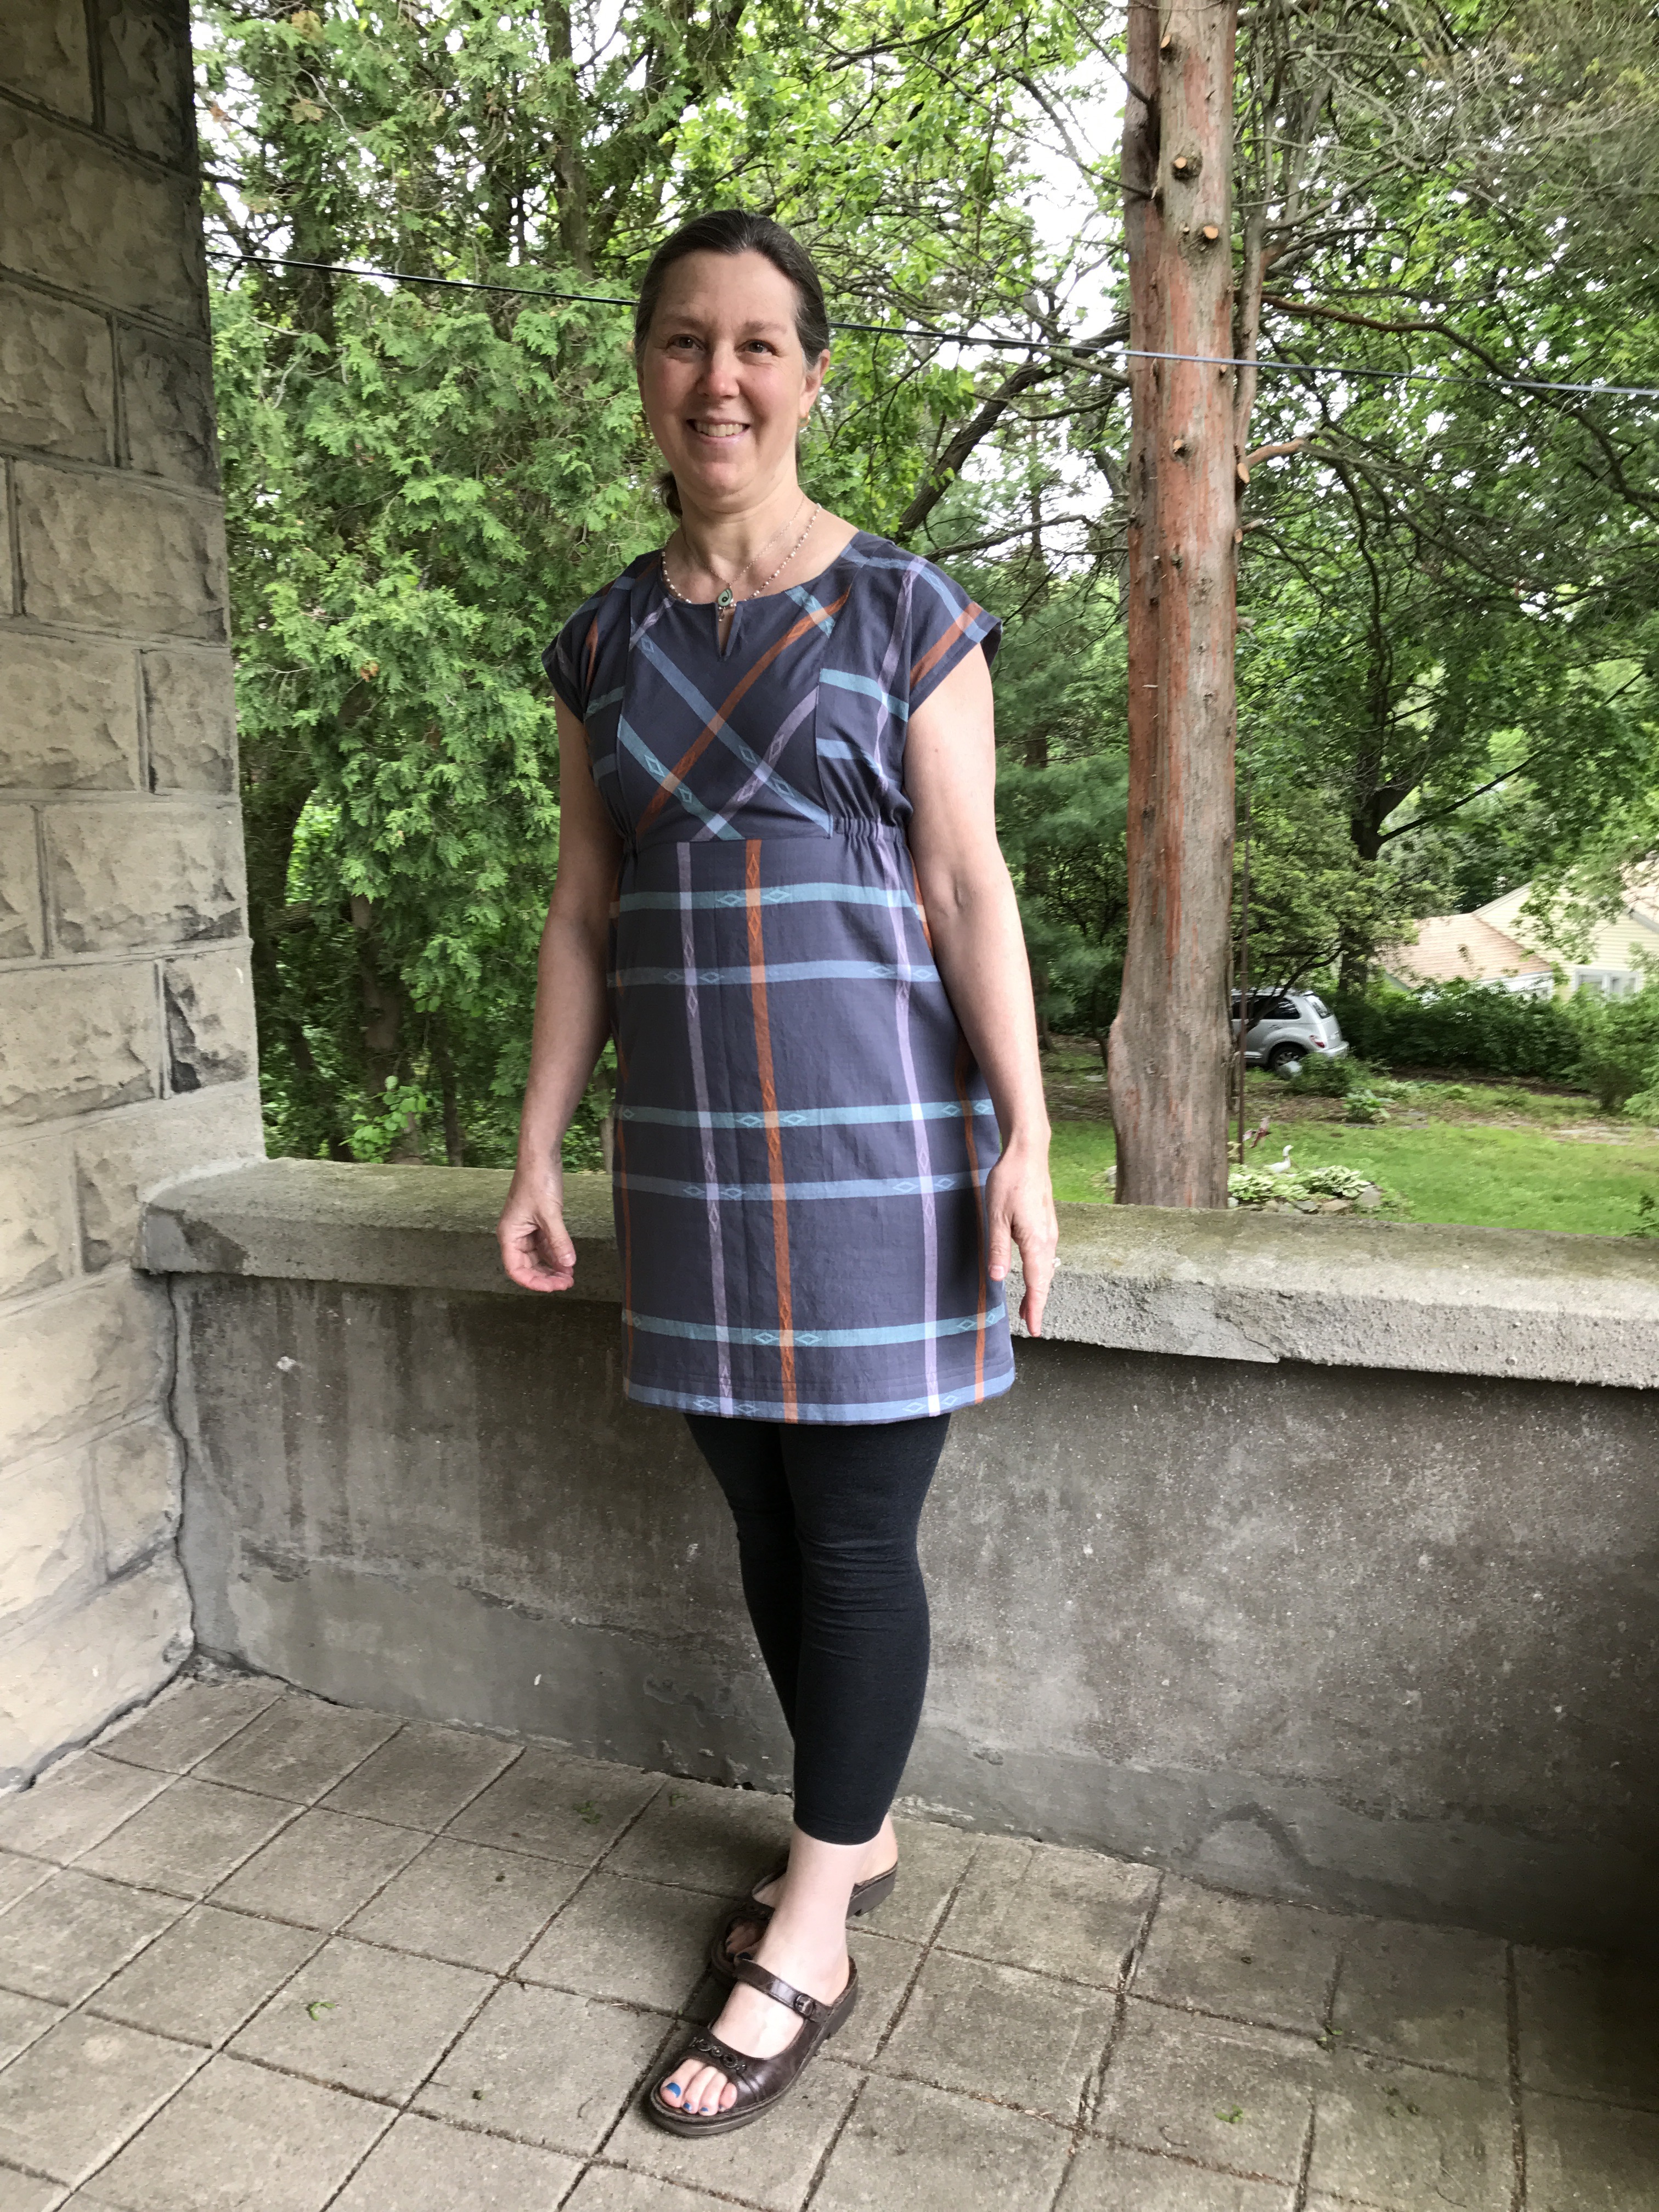 I highly recommend the pattern and the fabric-a winning combination!
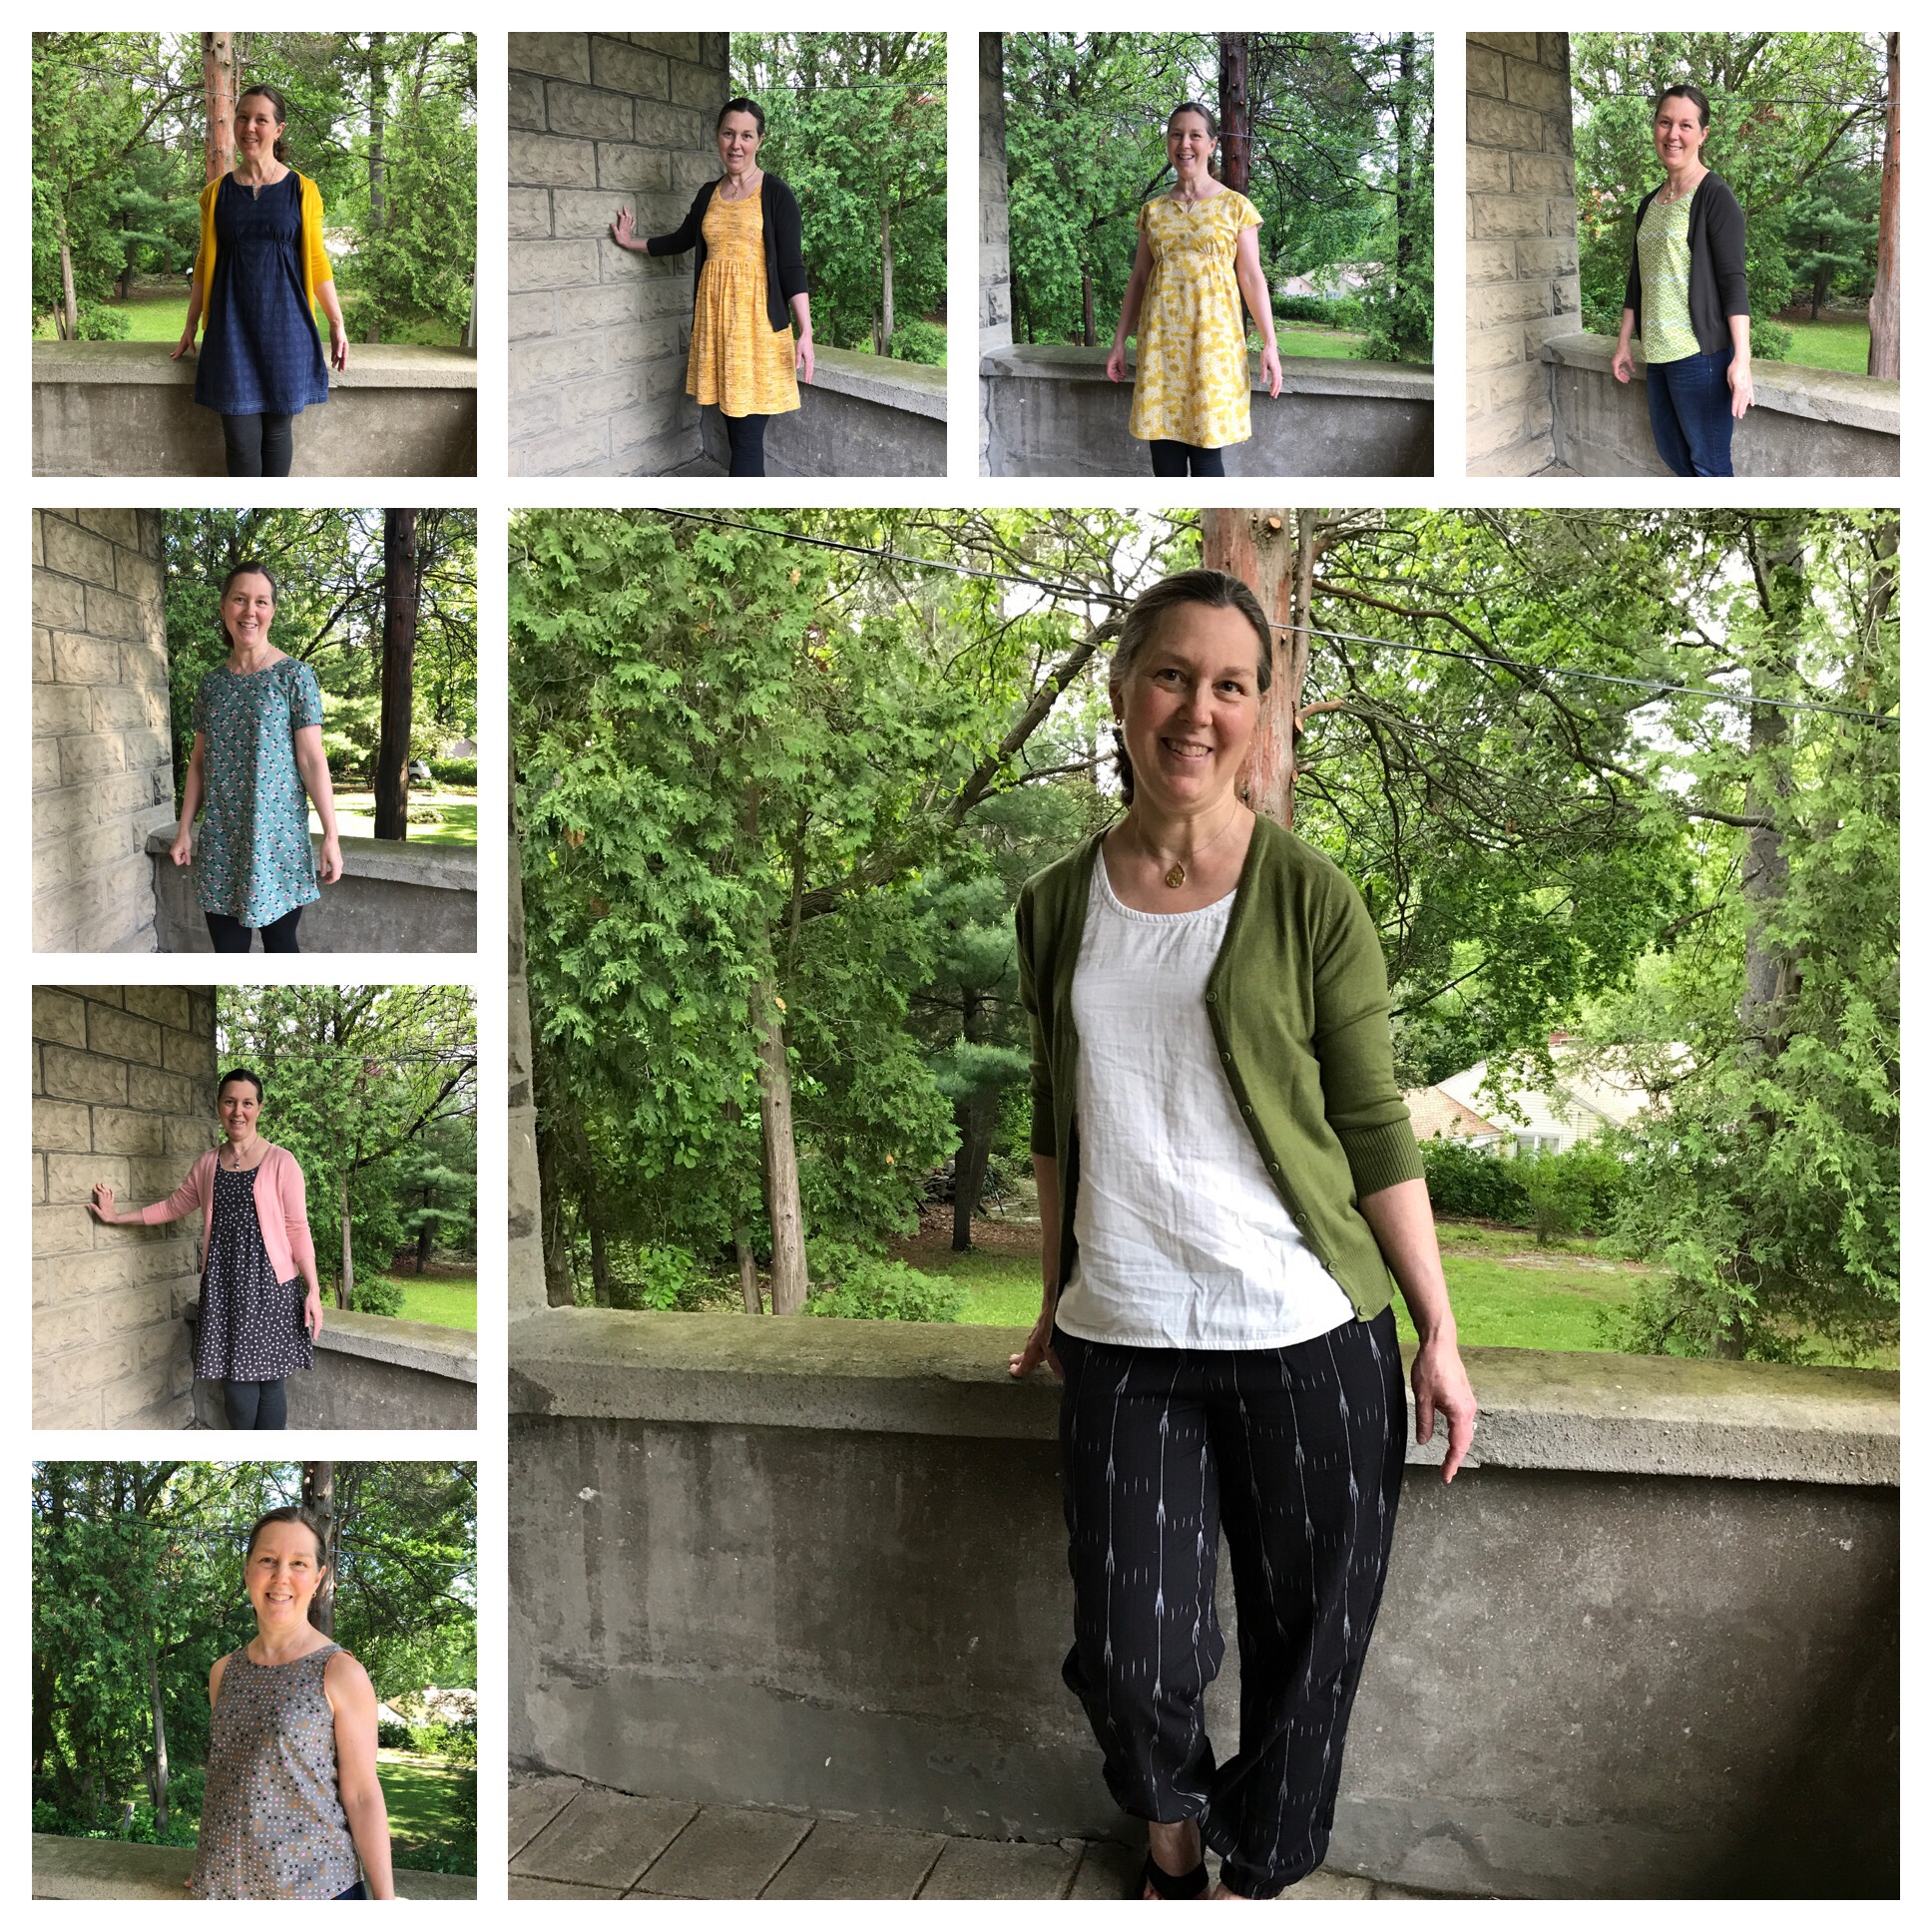
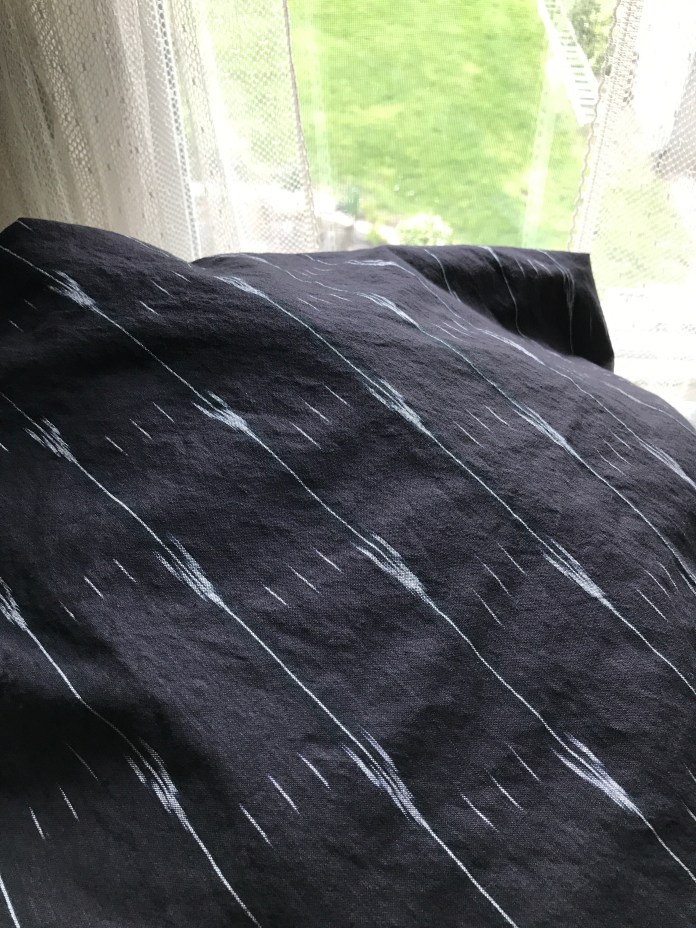 I wasn’t sure which direction the design was supposed to go but my husband felt that the design looked like arrows and should point up so that is what I did. I have to be careful with this type of pattern because it is so subtle that it is easy for me to forget and cut one of the pieces the wrong direction. I made a size that is halfway between a Medium and a Large based on my measurements around the hips and then graded back down to a medium at the ankle. I made them quick quick quick. I did not sew french seams although I probably should have but I decided to just sew my seams as I usually do and finish them with a zig zag stitch which is my fast and easy technique. If I ever make these in double gauze it will be french seams all the way. I did make the pockets which are really well drafted the way that they are sewn into the waistband. Love them!
 I cut this out and sewed it in an afternoon and I don’t really have pictures of the process but my other
 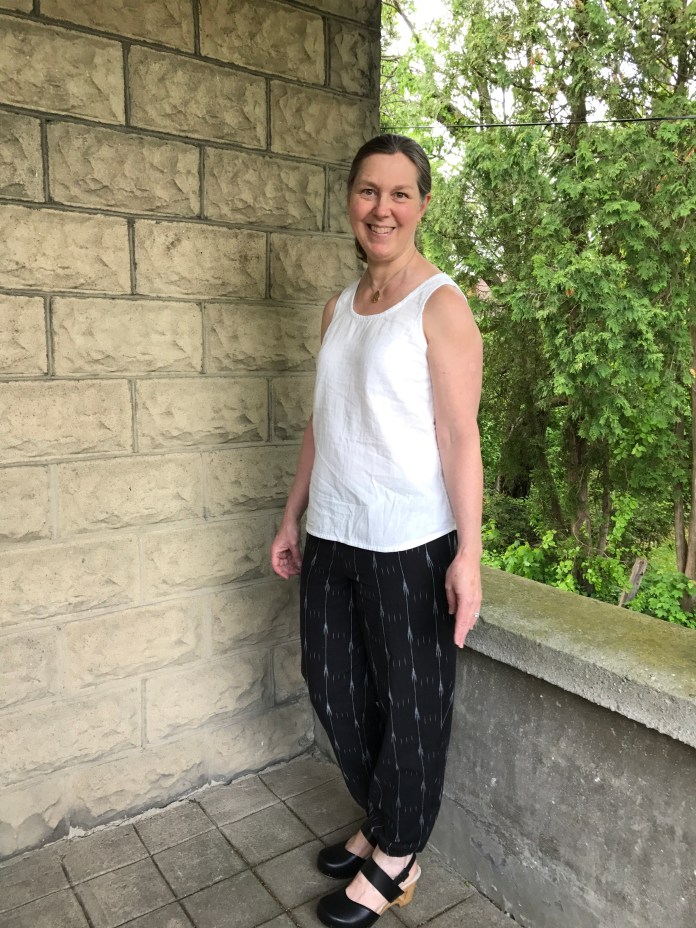 I tried them with a slightly higher heeled clog for a more dressy look.
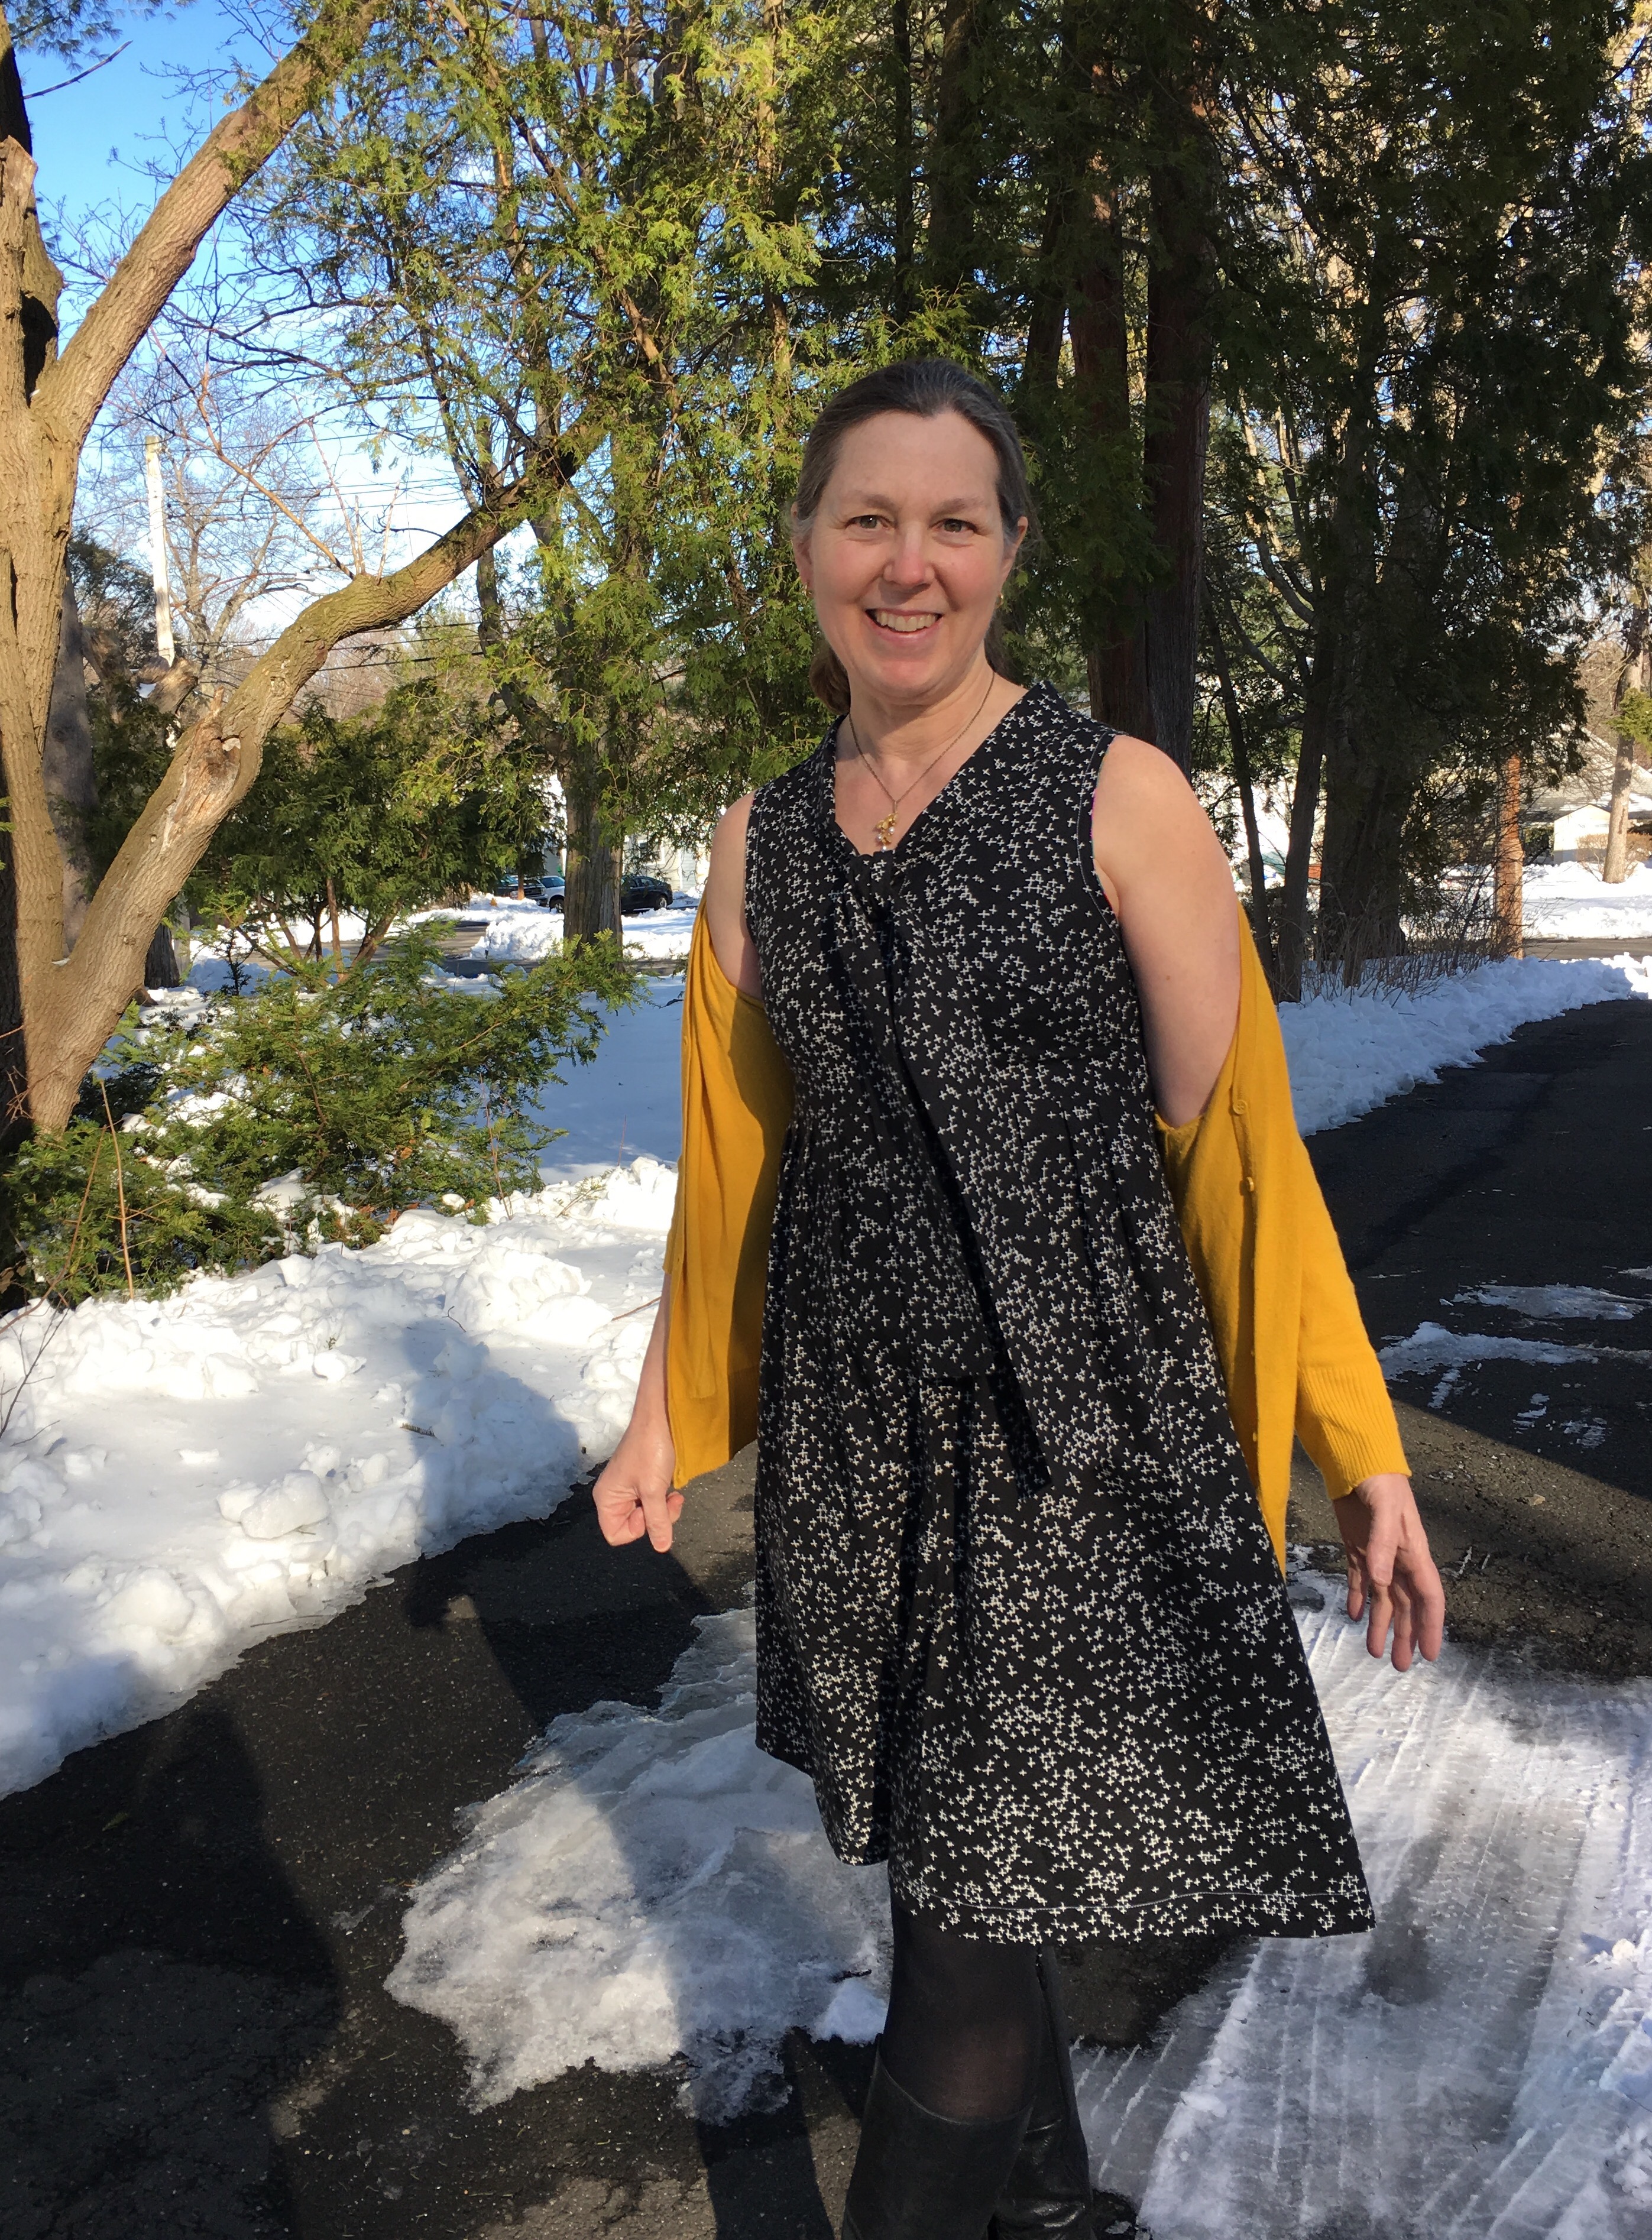
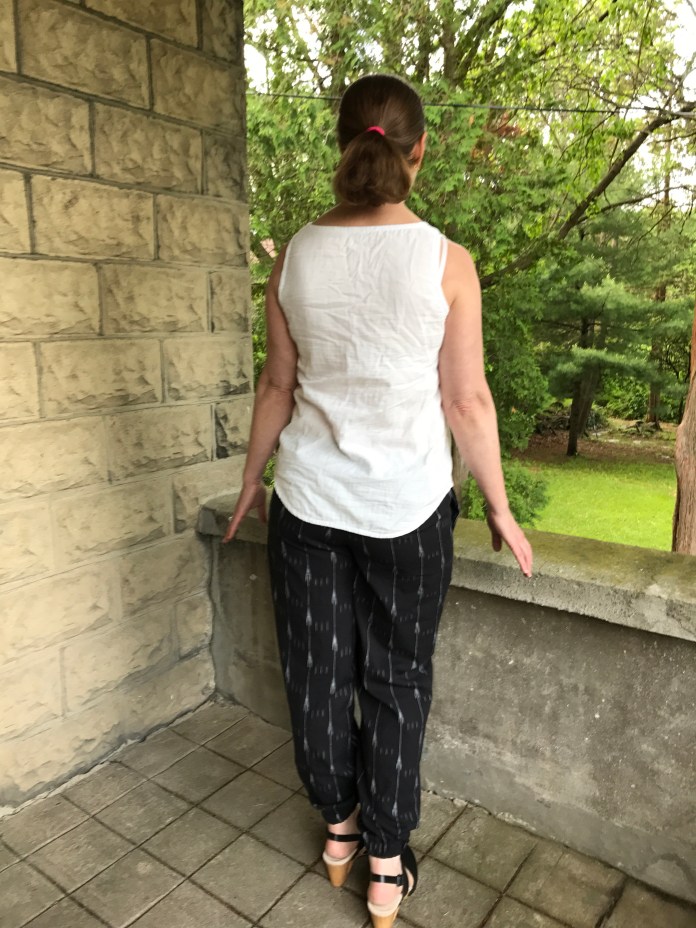 My husband got much better at taking pictures as the days of Me Made May went by.
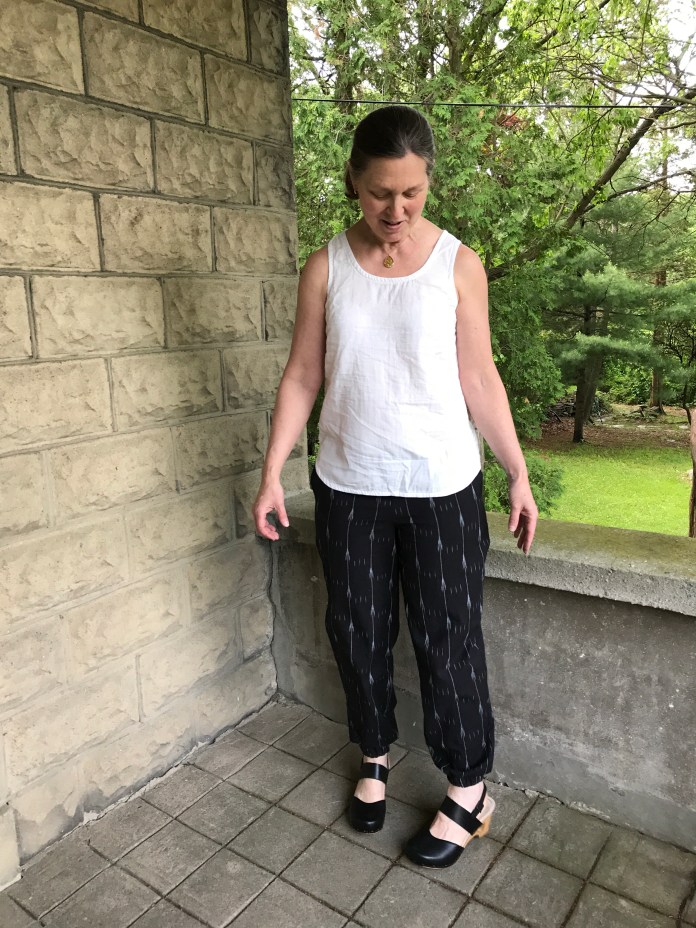 They are great with my trusty 20 year old jeans jacket.
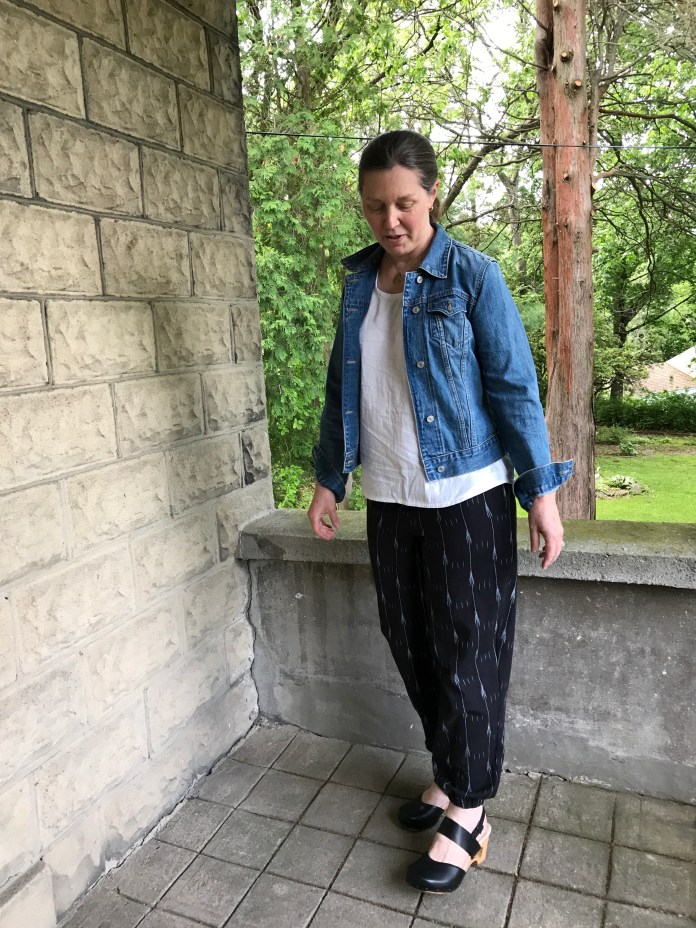 And as I will usually wear them with flip flops and a cardigan.
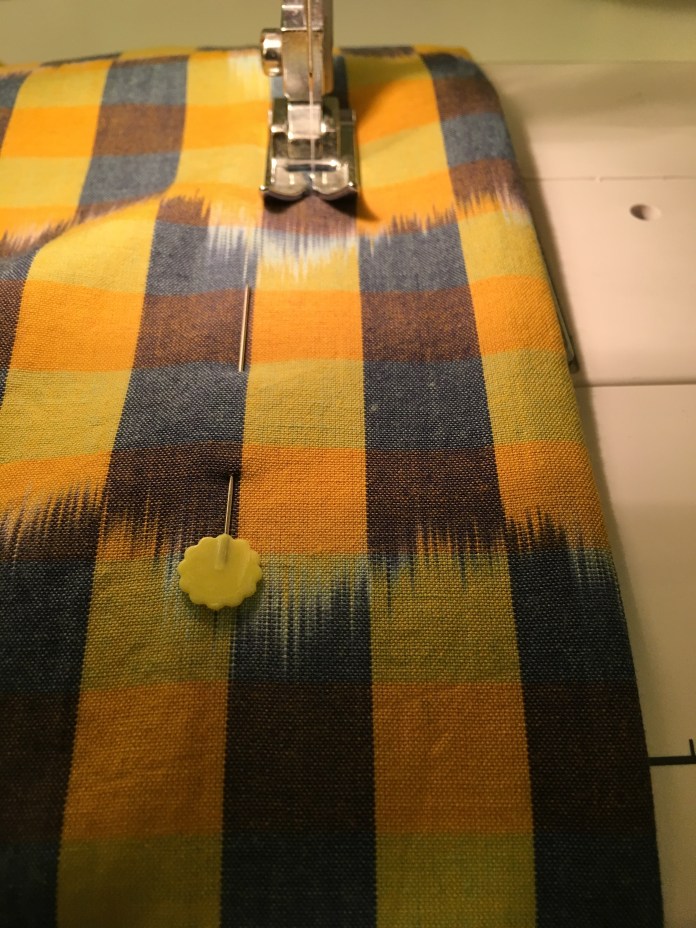
 One funny thing happened as a sewed. I didn’t realize that I left a pin in where I couldn’t see it and I sewed it right into the seam. I ended up having to cut the thread to free the pin and resew that section of the seam.
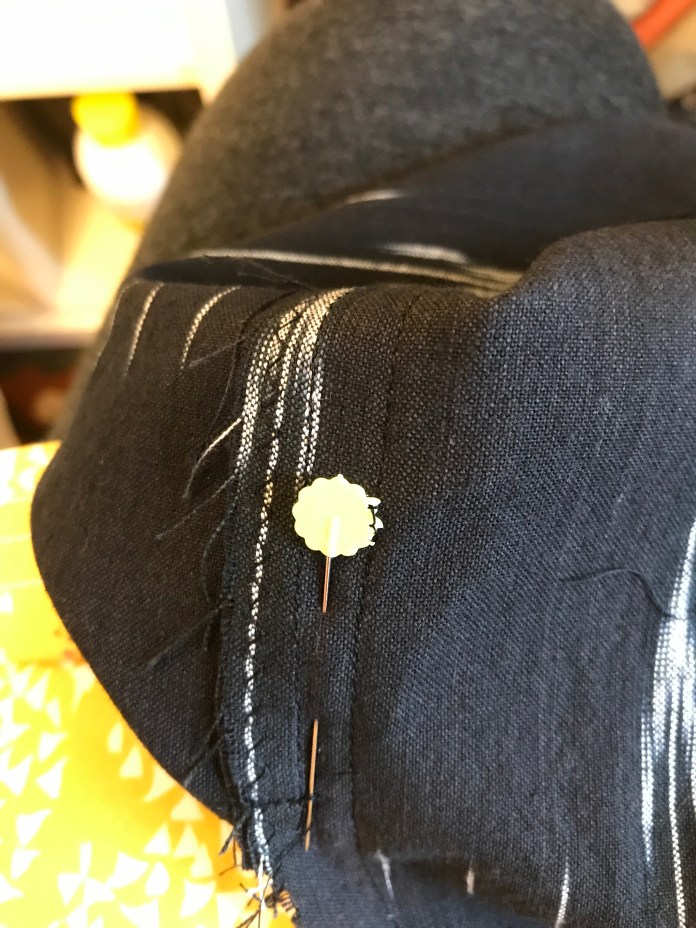 I realized that I was using the previously sewn pin later that month when I pinned another project.
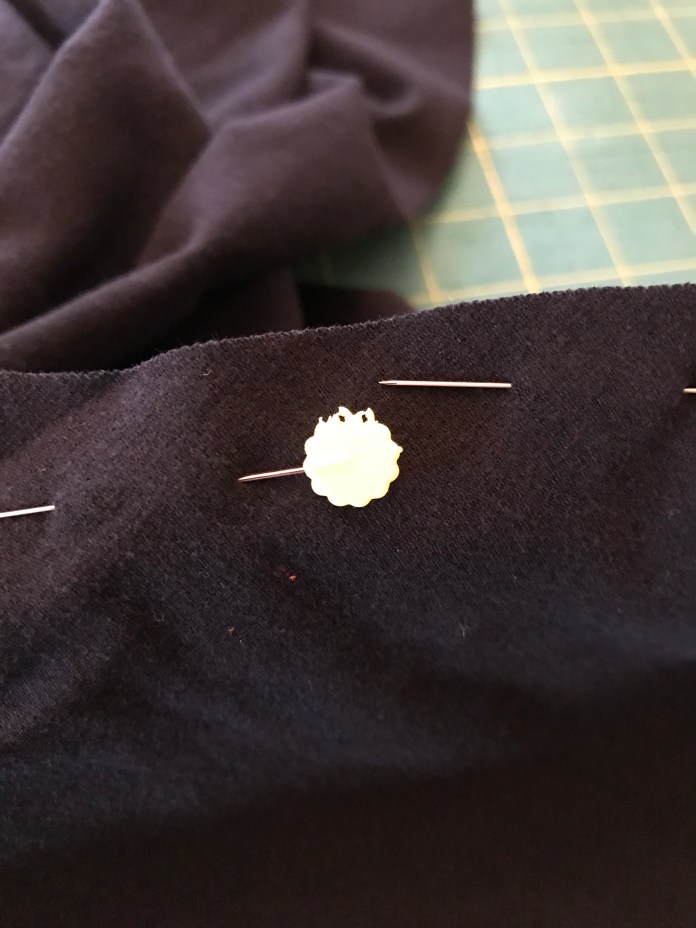 I highly recommend this pattern. It is even more wonderful in this softer loose weave fabric. I will be wearing them all summer.
 Also highly recommended is Rae’s Luna Pants
  I cut Mediums in both the skirt and tank and added a bit to the length for the tank as I am tall. I don’t actually lengthen the pattern, I just eyeball it and add about an inch to an inch and a half. I cut view B of the Cleo shortened to just below the midpoint of the knee which I find is the best length for me.
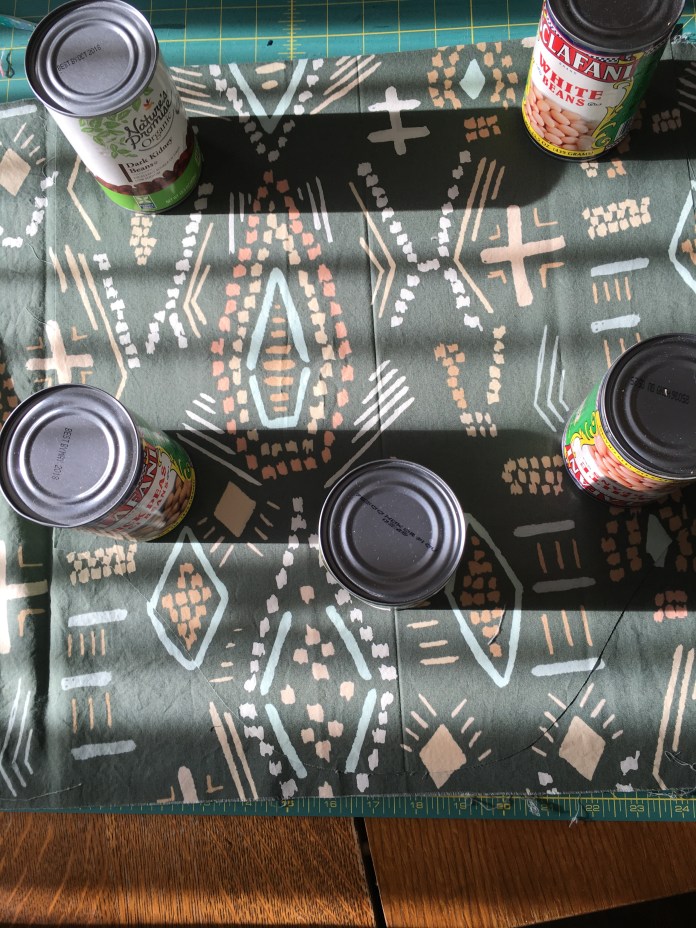
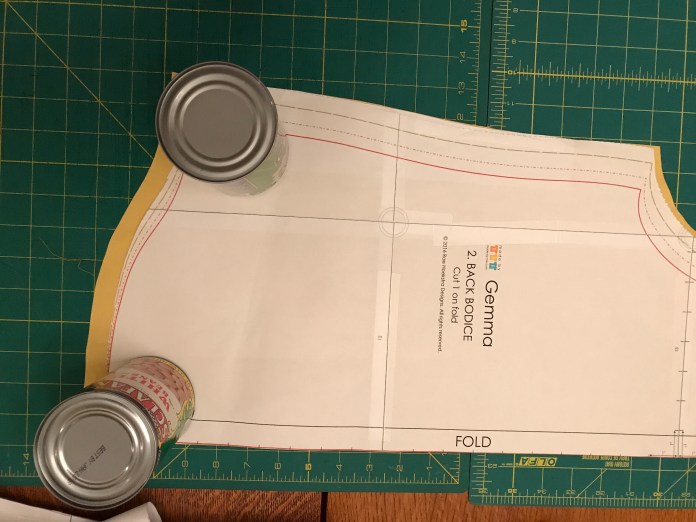 In preparation for the bias binding, I cut bias strips of the leftover lawn and also some wider strips on the grain to use as a hem facing for the two skirts.
 Both fabrics were great to work with. Not too slippery but very light and flowy. To save time since I was planning on making several skirts, I eliminated the pocket. I actually love the pockets on the Cleo skirt but since I almost always wear a lab coat at my job as a nurse practitioner, I never use skirt pockets since I have large built in pockets already. I wouldn’t recommend this for most sewists because the pockets are a great design feature.
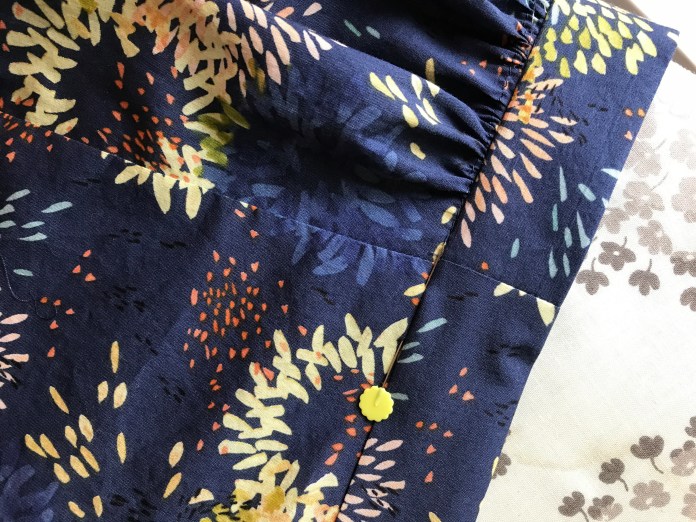 Since I was making more than one, I basically sewed each step and then repeated the step on the next skirt, etc. They came together pretty quickly. Finished skirt #1 below in Brushed Peony.
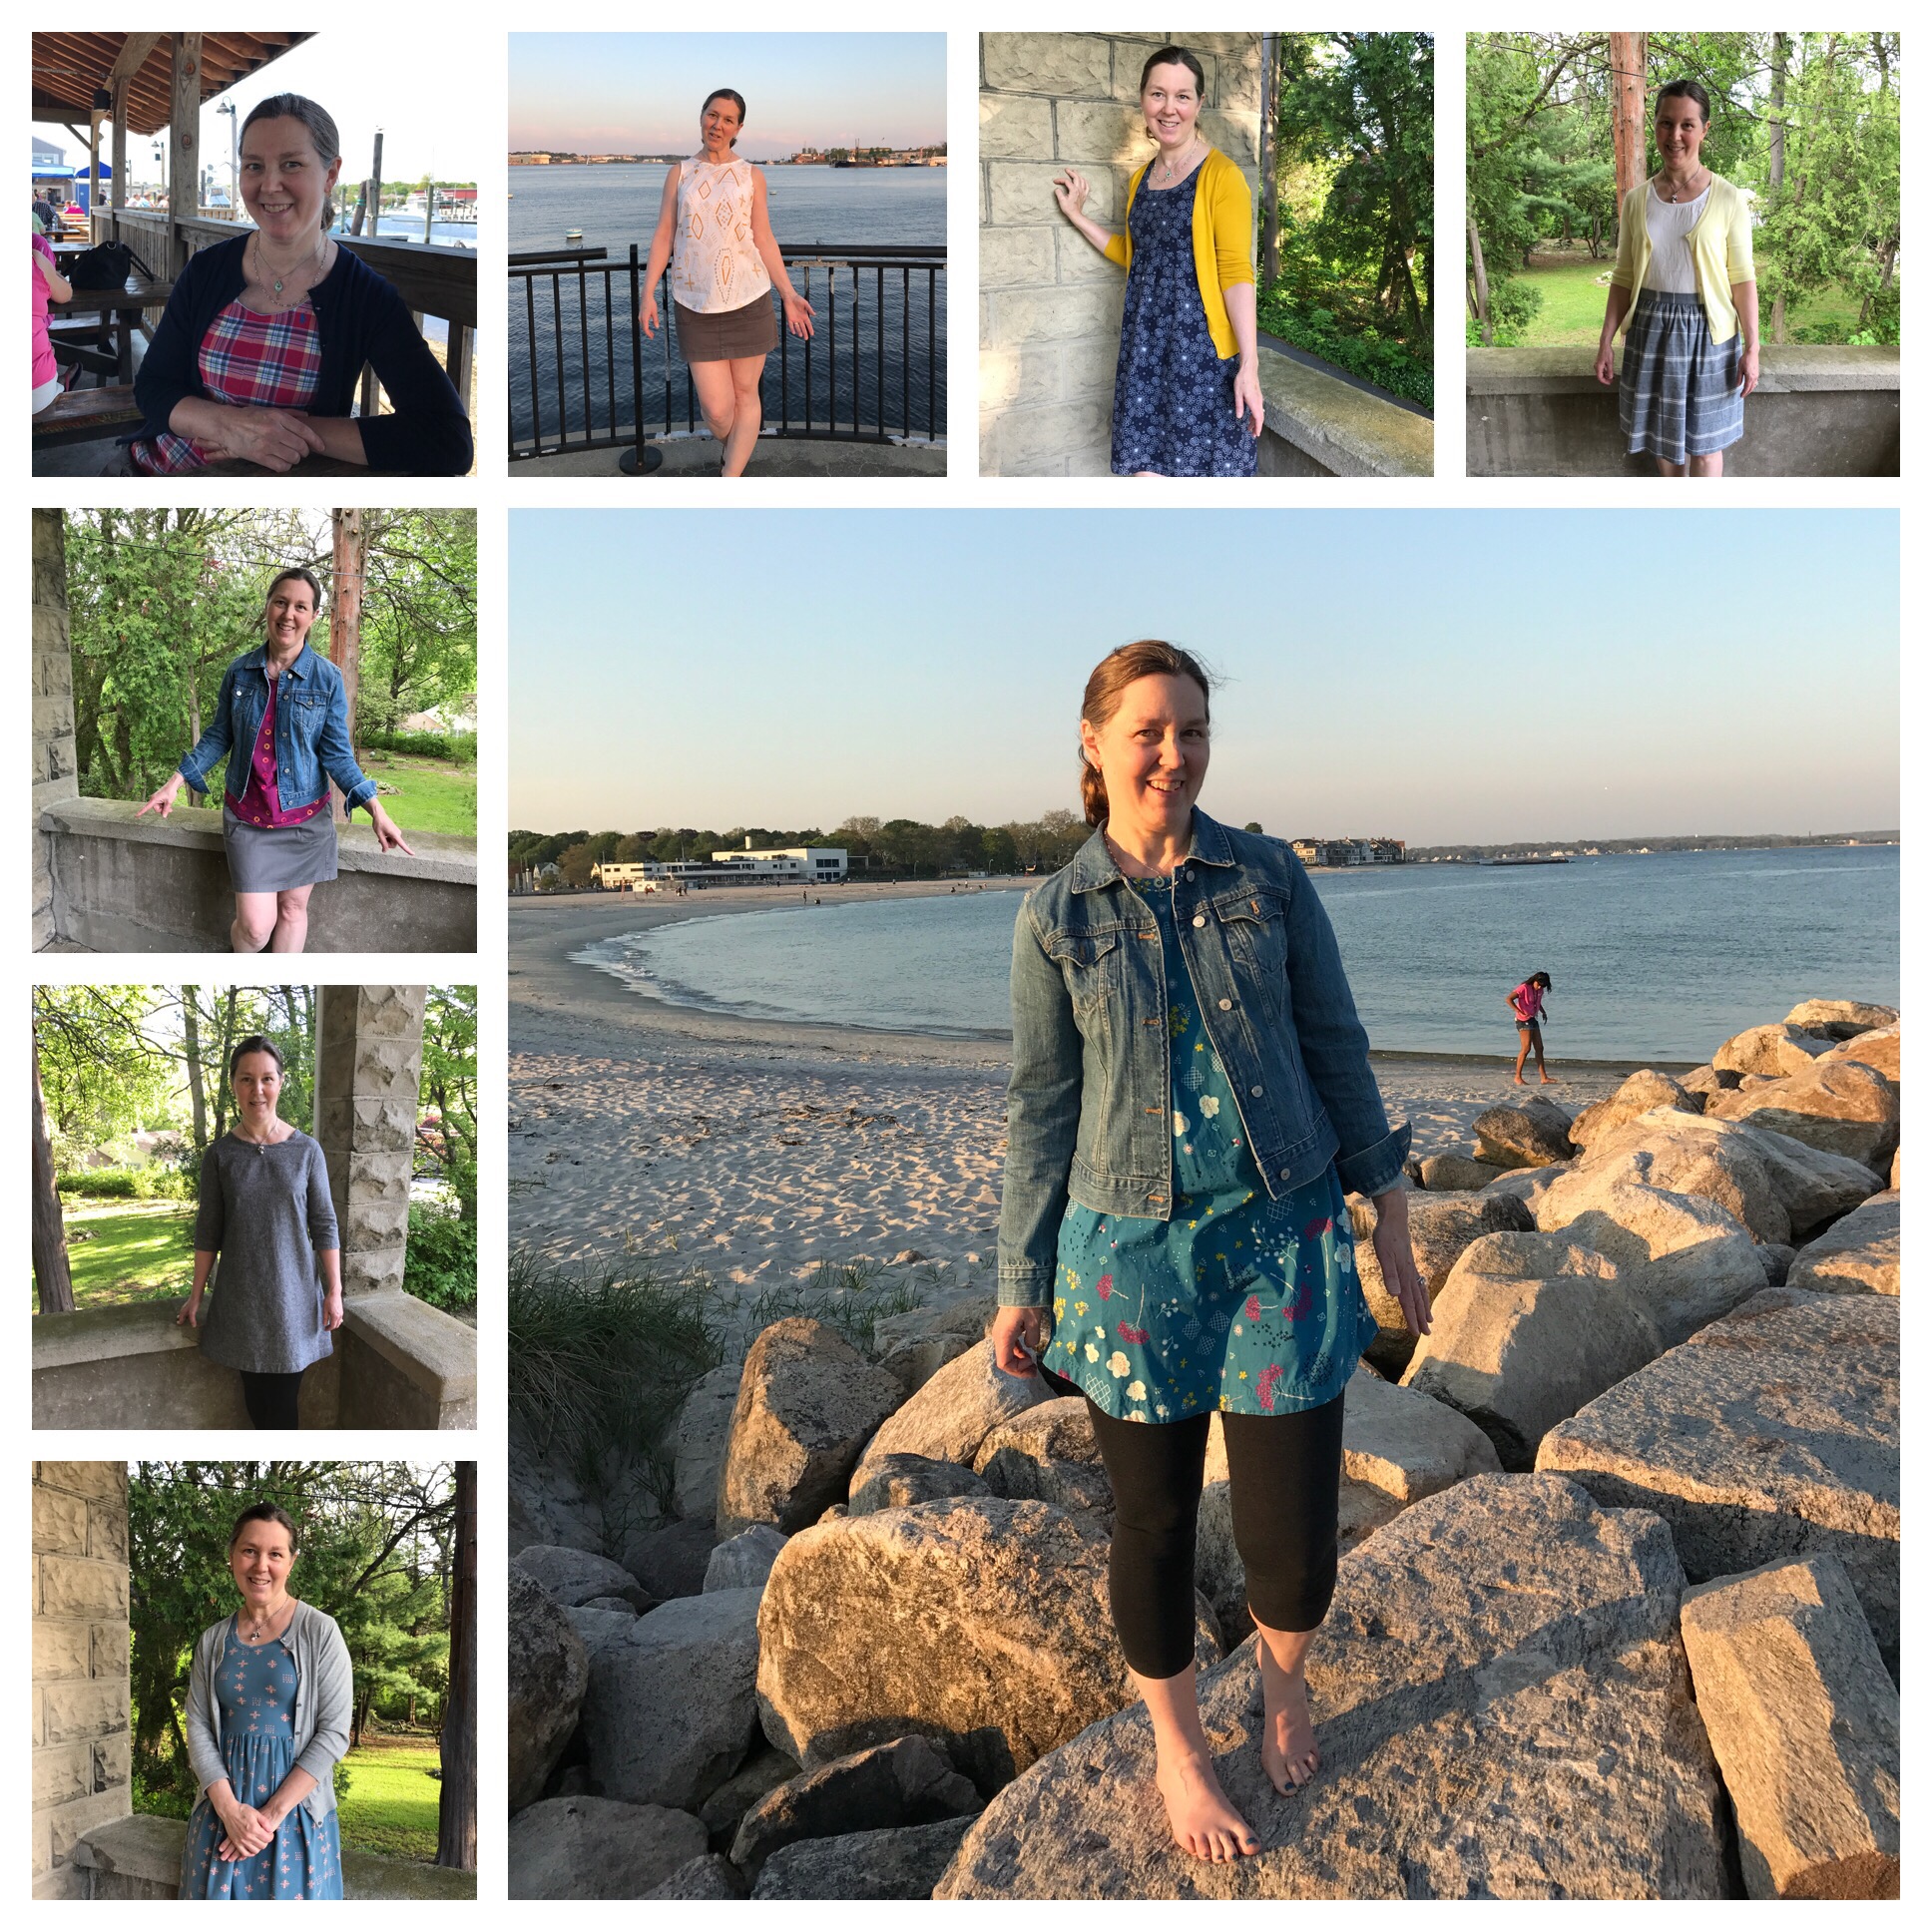
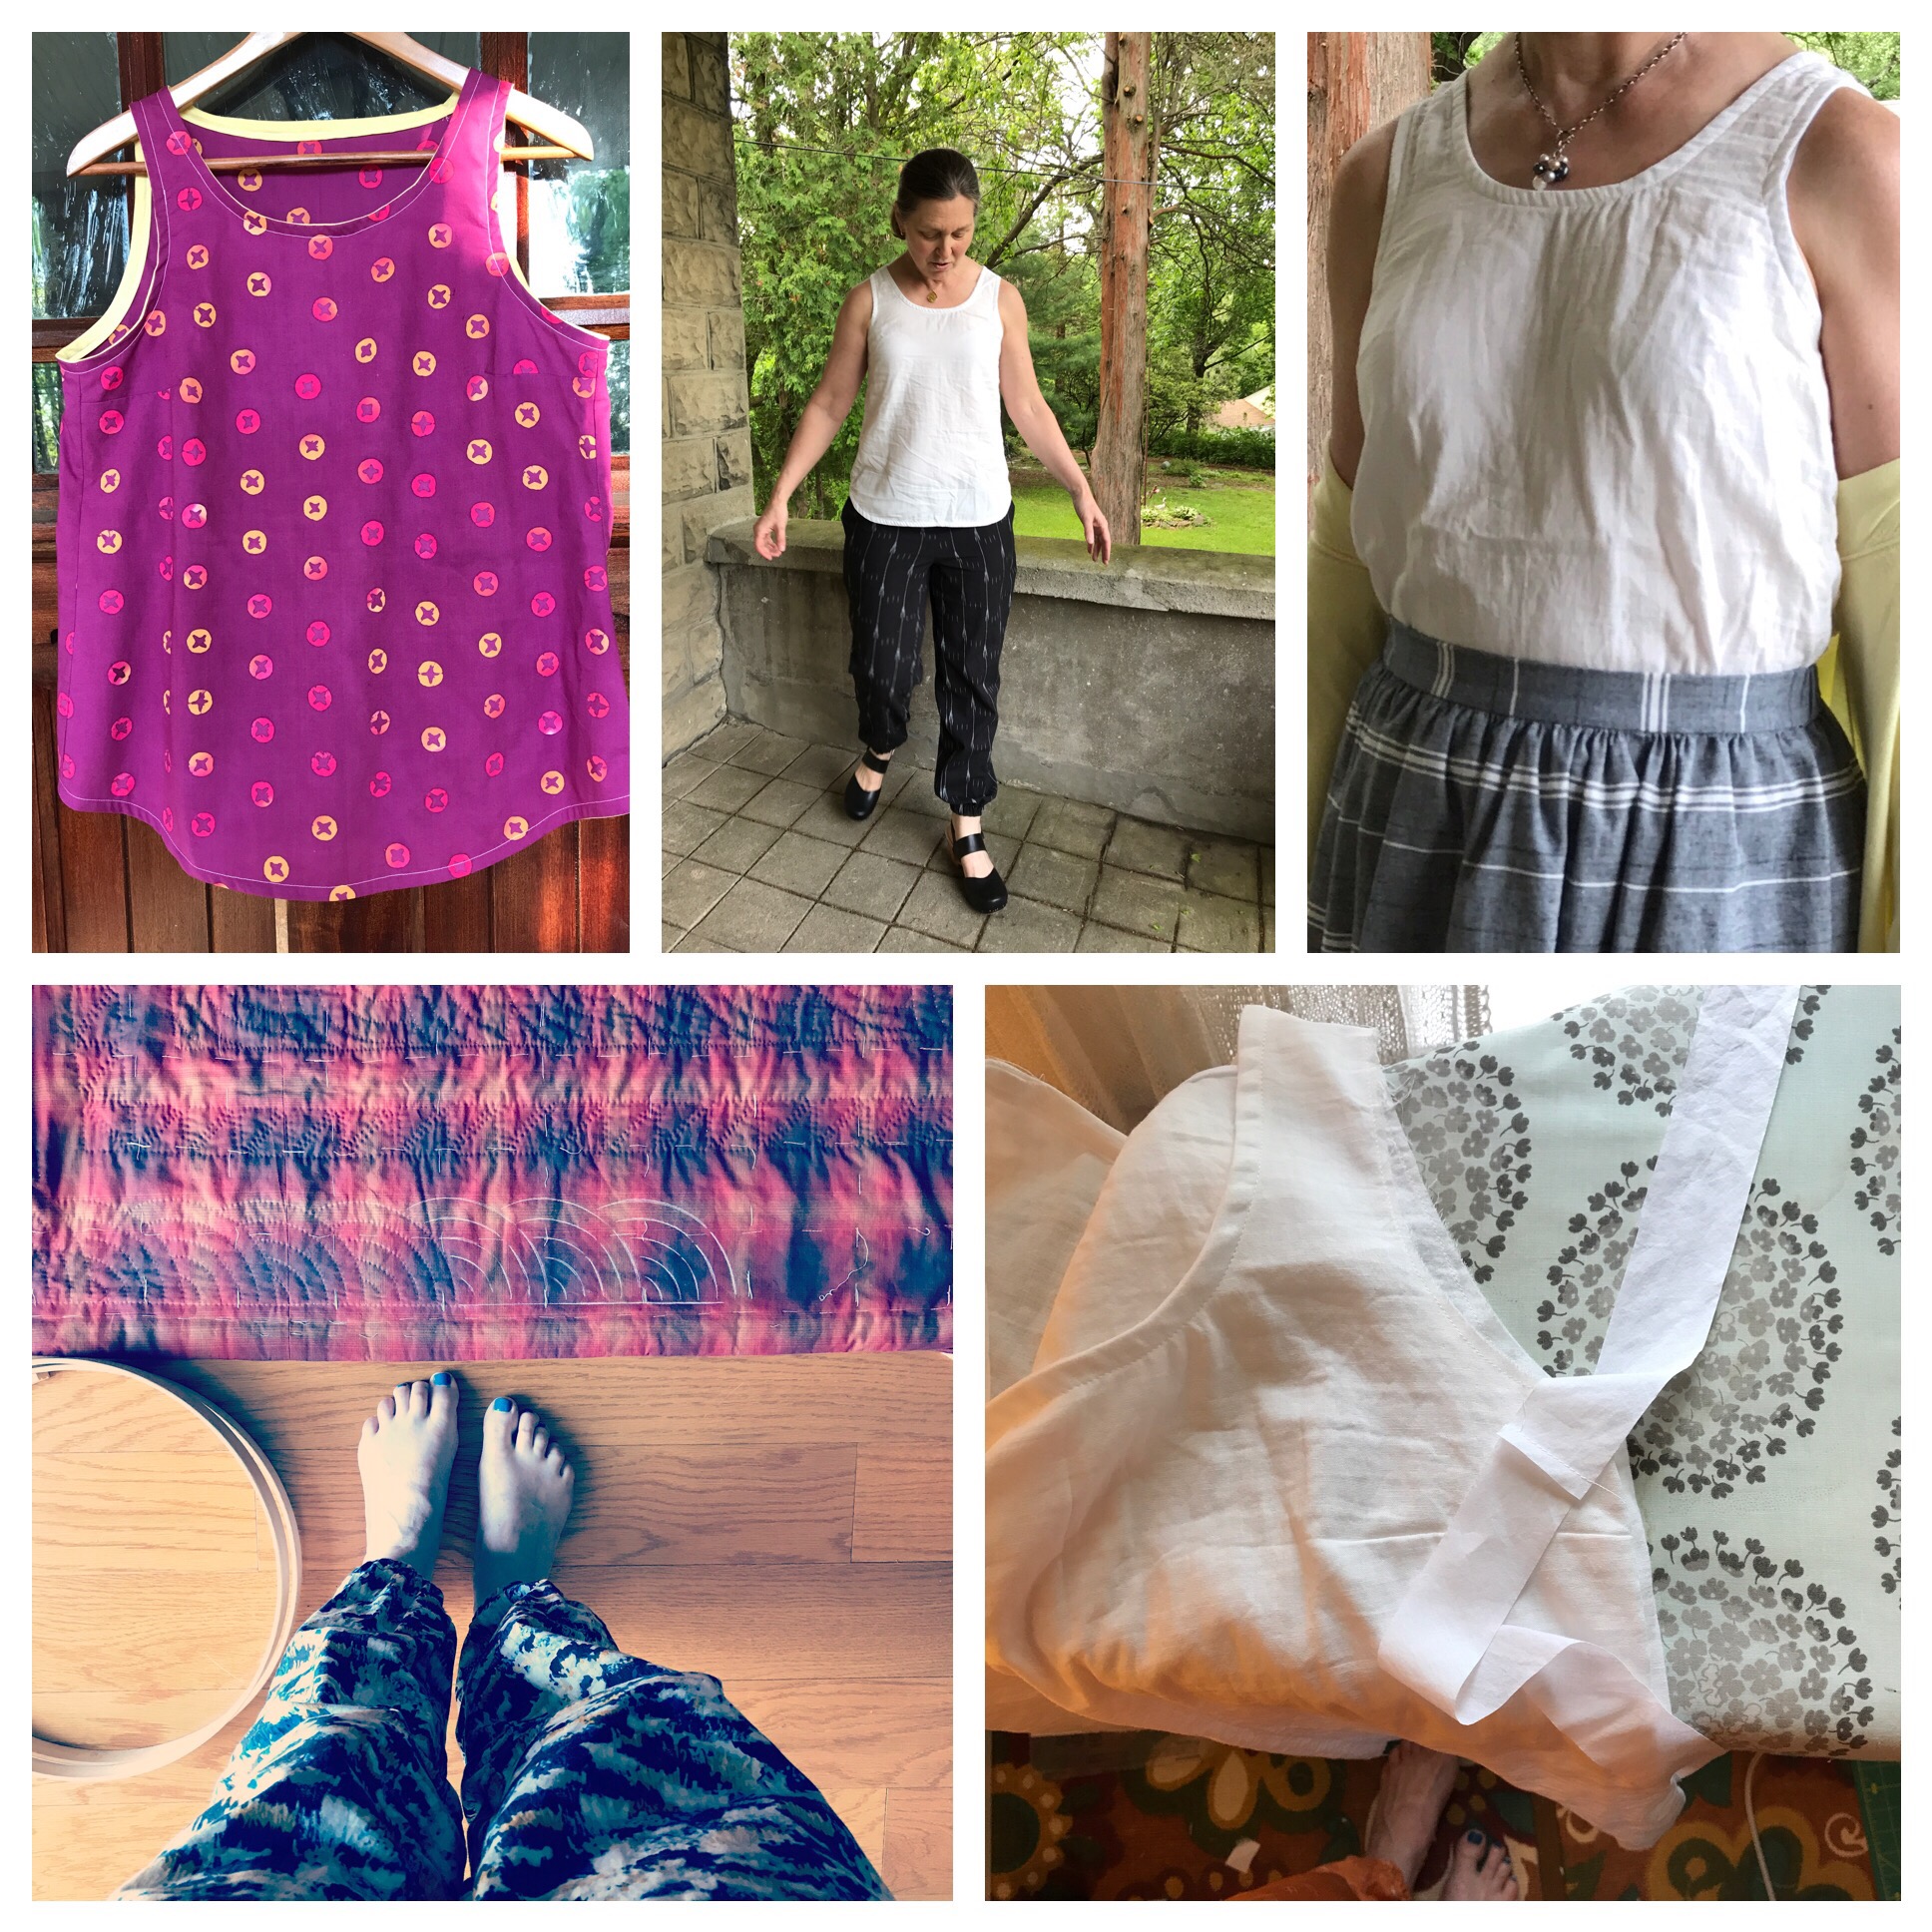
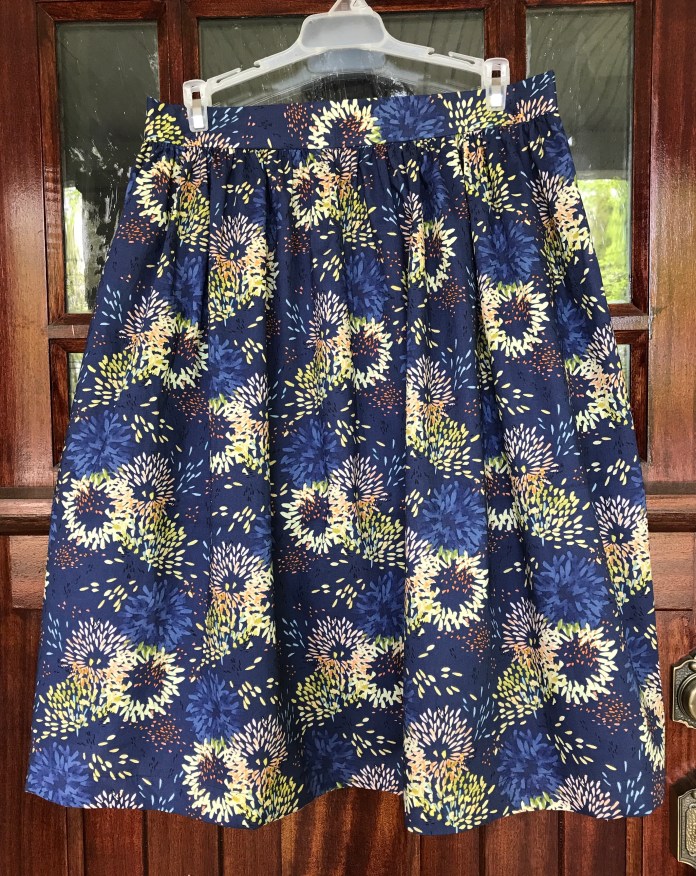 And as worn on the last day of Me Made May. I had been waiting to finish the yellow tank top to wear with it but alas, it is still awaiting the bias binding which is generally the fate of most of the Gemma tanks I have sewn. My sewing room becomes a Gemma Tank way station until I have the time to sew that last step. I had finished my new white double gauze Gemma, however, and it goes with everything, as seen below.
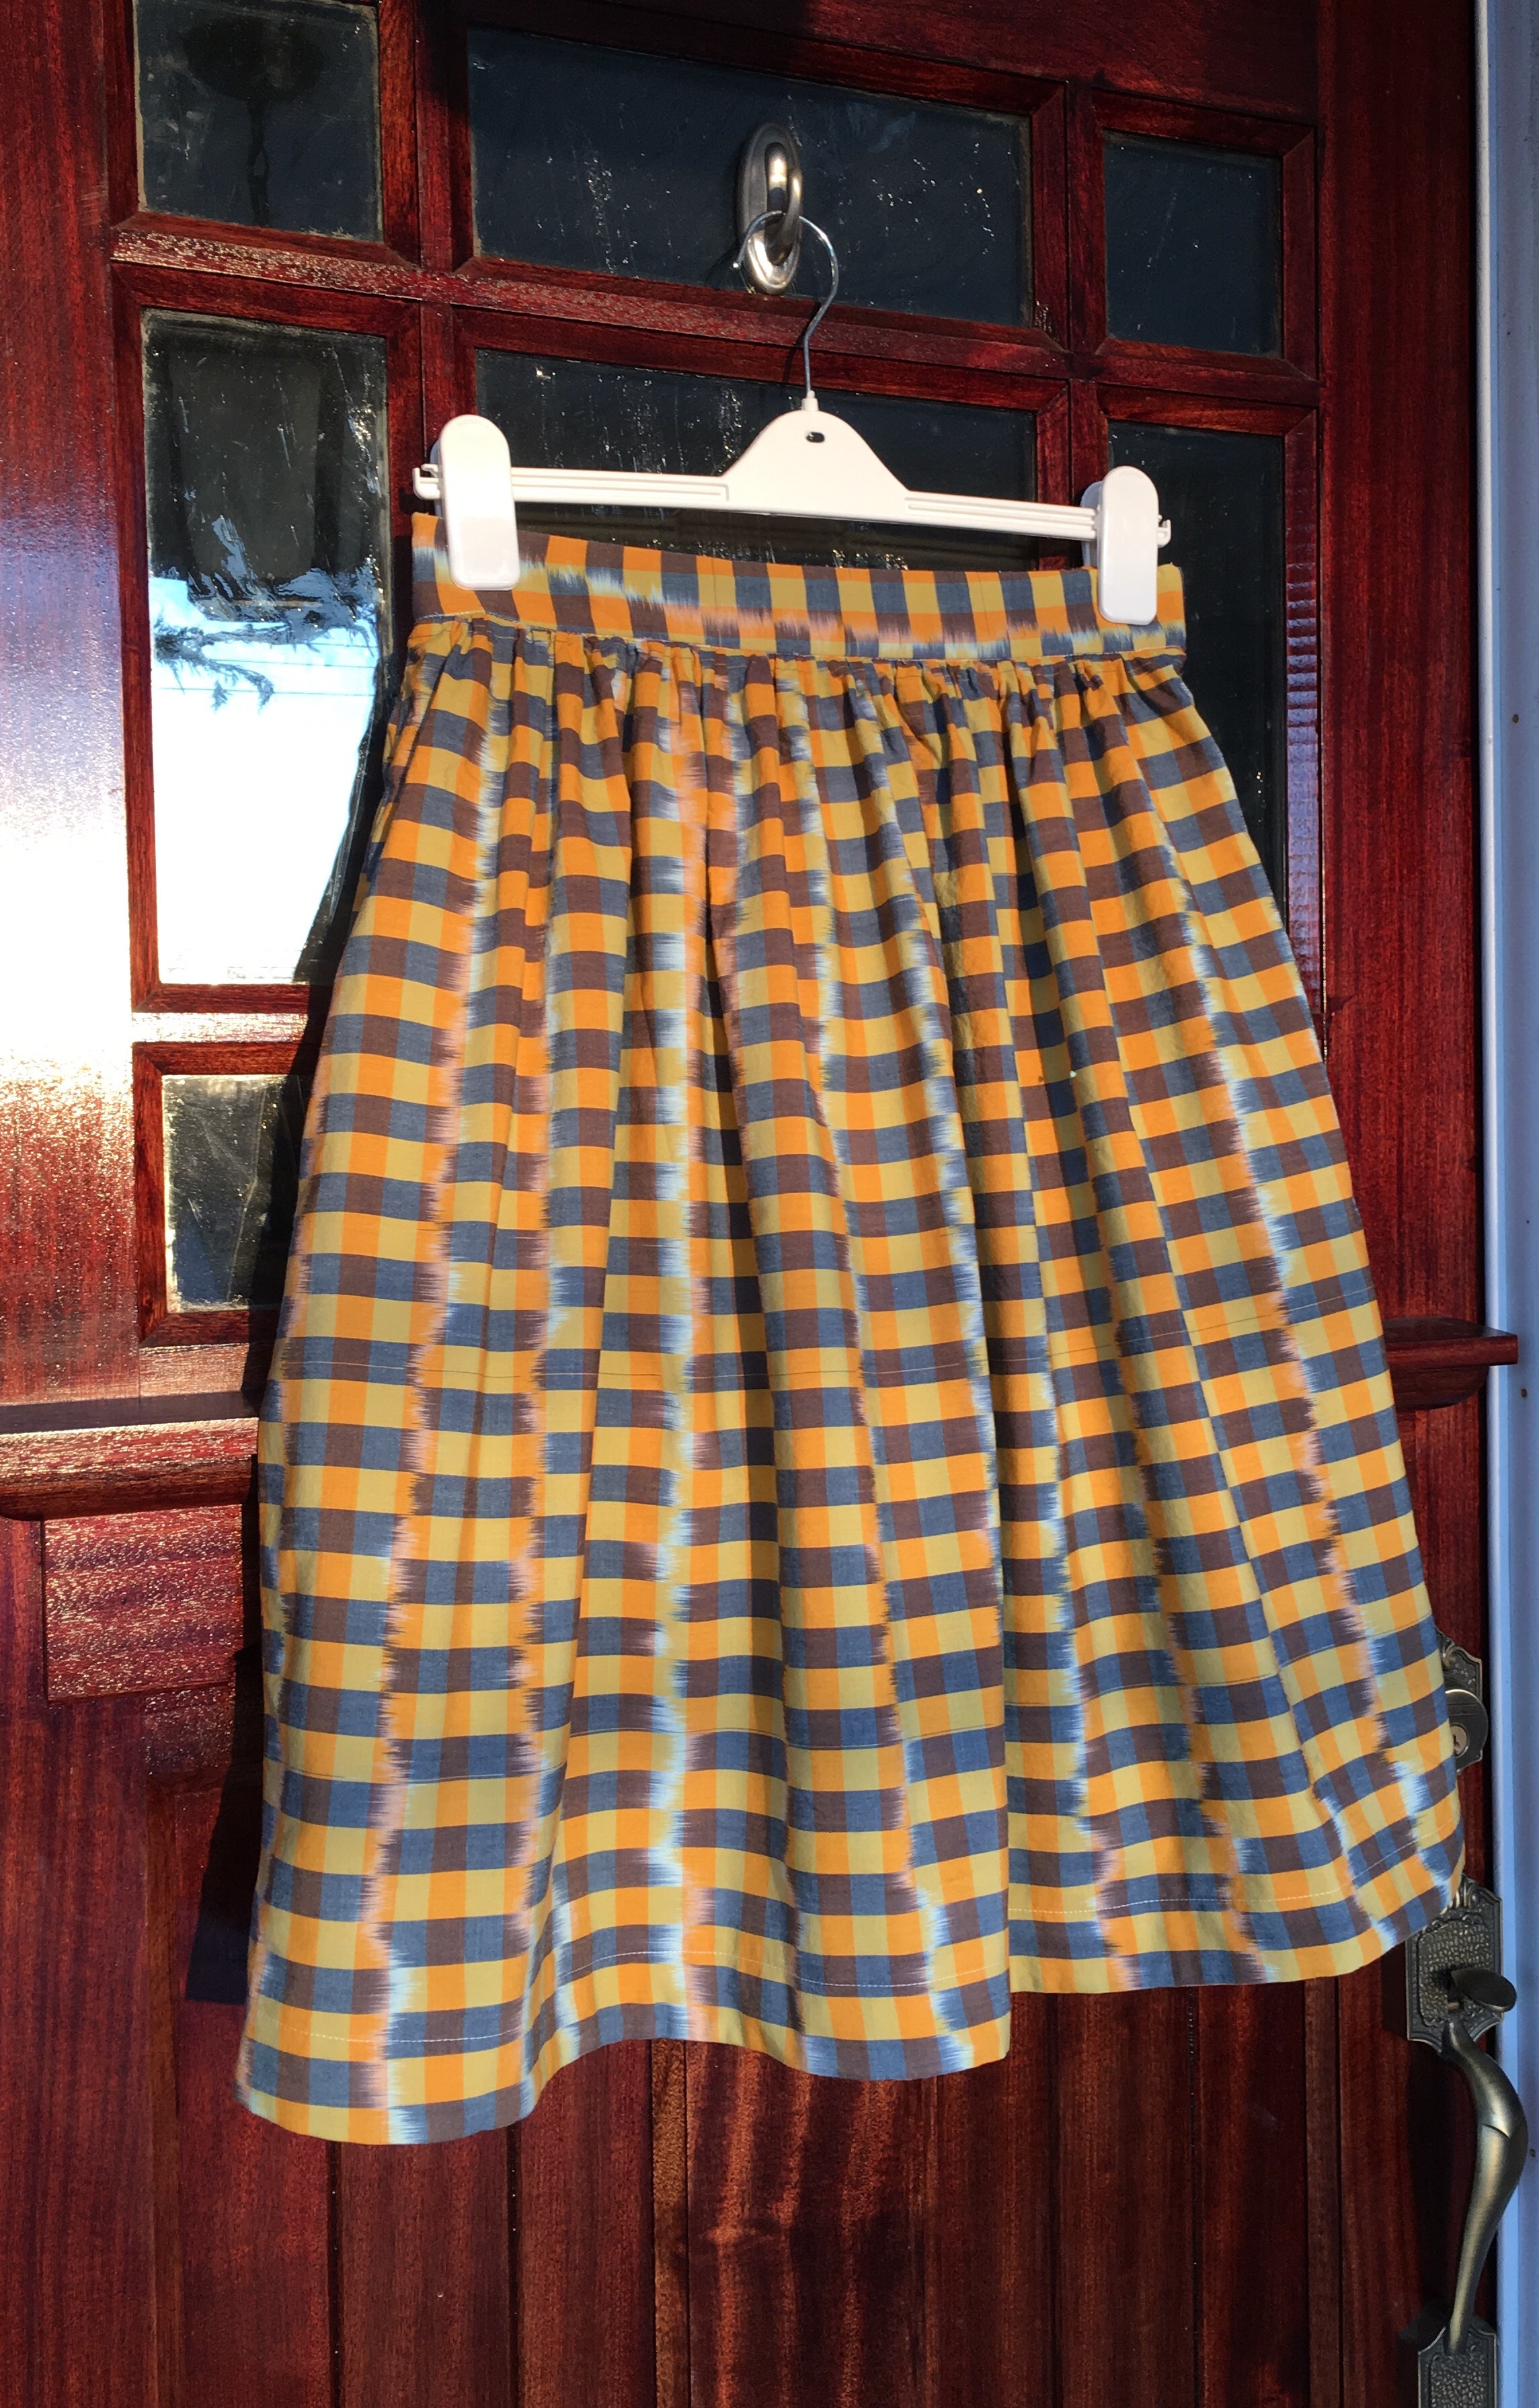
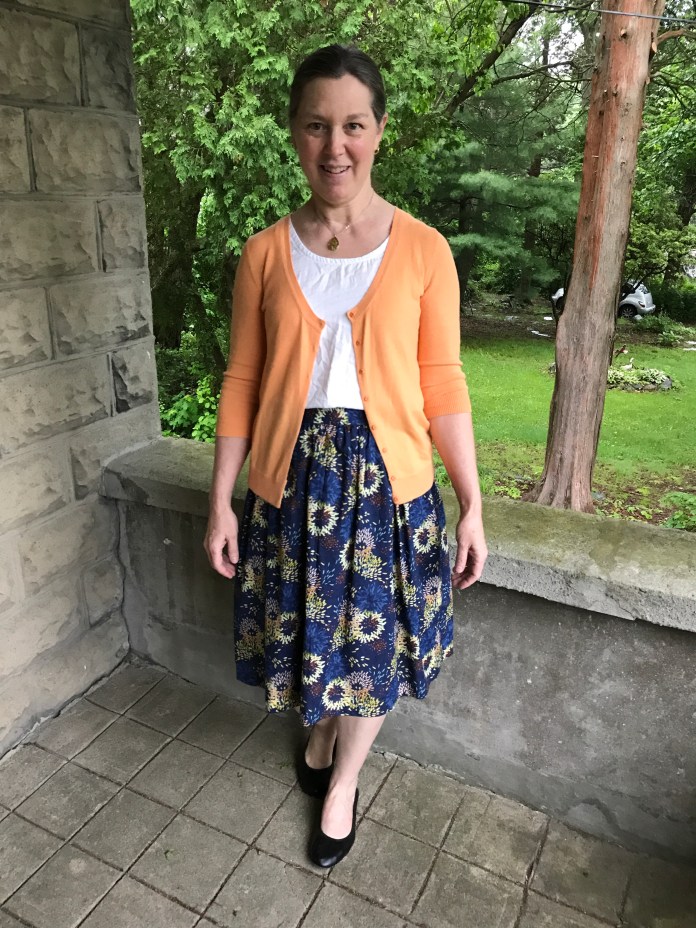 The second skirt is another print from that same line. I might love it even more. I did the same thing, no pockets and yellow hem facing using the same strips.
 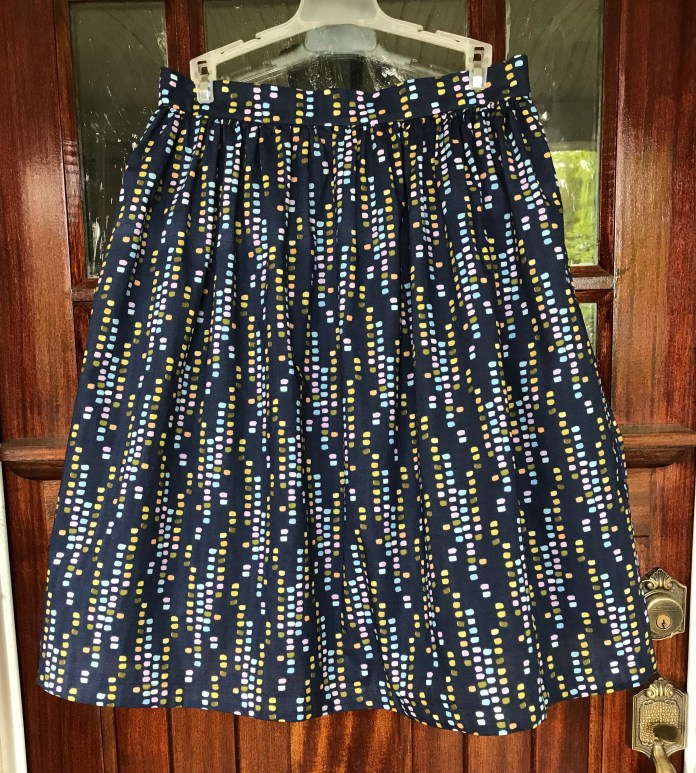 And as worn on day 2 of Me Made May with a cotton-linen blend
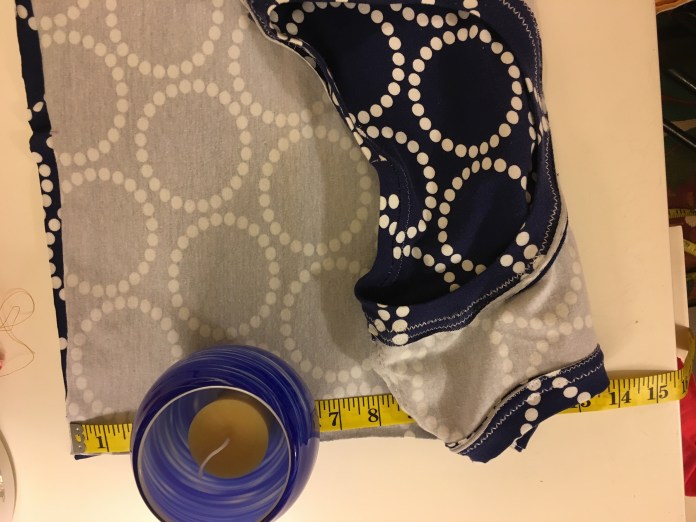
 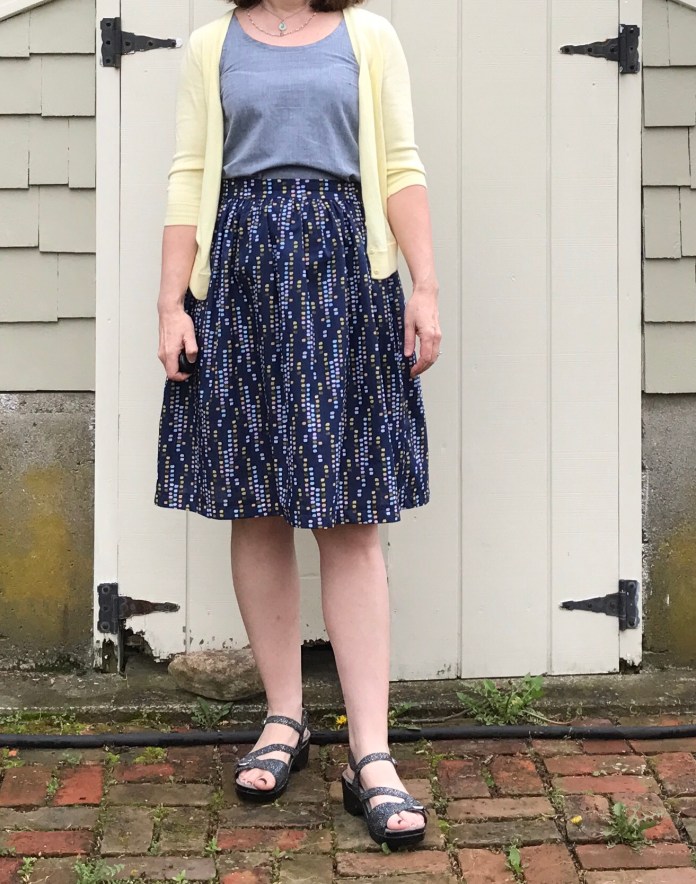 Some pictures of the hem binding process below. This is my go-to approach to binding. It is quick and I love the look of the contrasting hem facing. I also find that having the seam that joins the hem and the hem facing as my guide enables me to have a nice even hem. Every aspect of the hem is machine-sewn so very quick.


 I hadn’t planned to make the Cleo below but I happened on this fabric at Joanne on sale and really liked it. I wasn’t sure at first what to make with it and considered making a new
  I used a lightweight white cotton batiste for this hem facing and matched the stripes on the side seams. I cut the waistband across the grain for more visual interest as I did when I made this


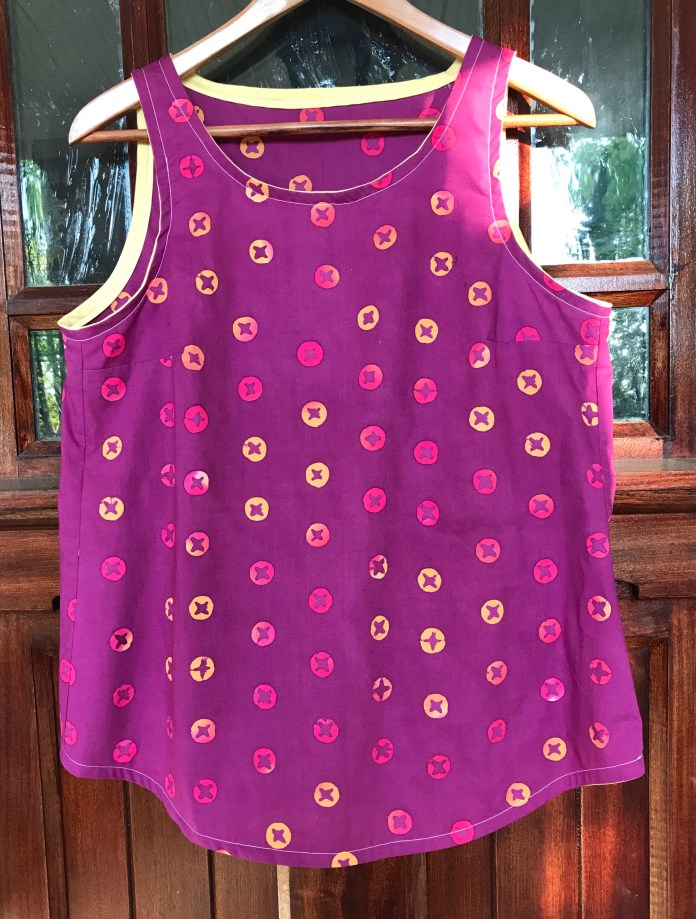
 I did actually finish a Gemma Tank that had been mostly finished since last summer (just needed the bias binding). Ironically, when the yellow bias strips were on my ironing board, they were also right next to this Allison Glass Gemma
 and I realized that the yellow would make a great contrasting binding for this tank so I finished it
  and wore it on a quick visit to New London with my husband.

 I love this tank with my khaki

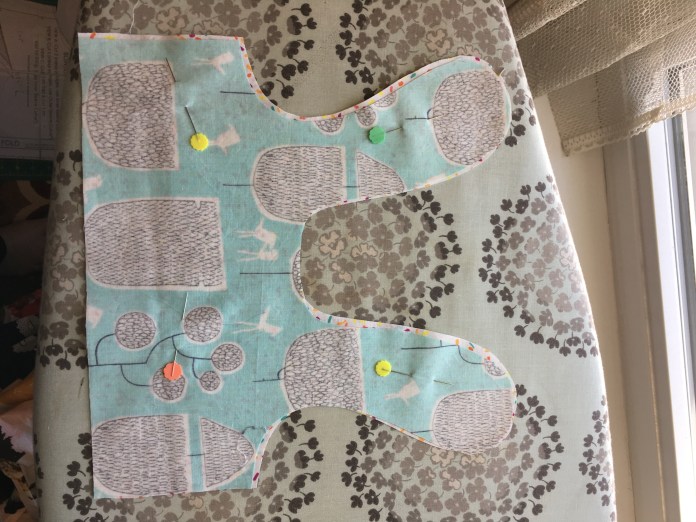 I made a teeny tiny dress.
 A friend at work had a baby last week, a little girl. This gave me a great excuse to sew something tiny and cute. The pattern is a free pattern literally called the Itty Bitty Baby Dress from
 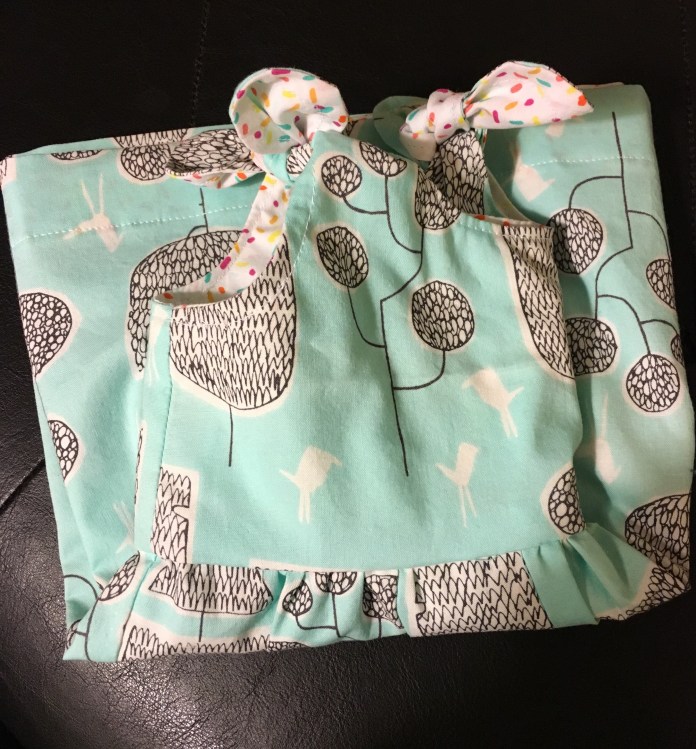 I love the little birds. This fabric is cute but not cutesy which I love. My sewing wasn’t perfect but it really didn’t matter in the end.
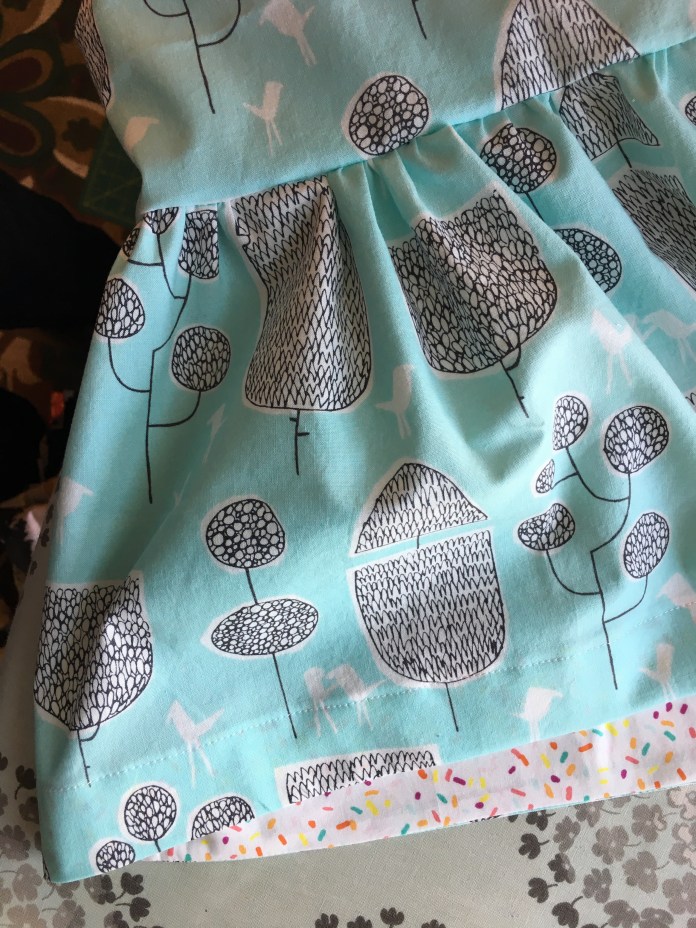 I made this little dress from fabric left over from a
  The lining fabric was a fat quarter I had purchased from
 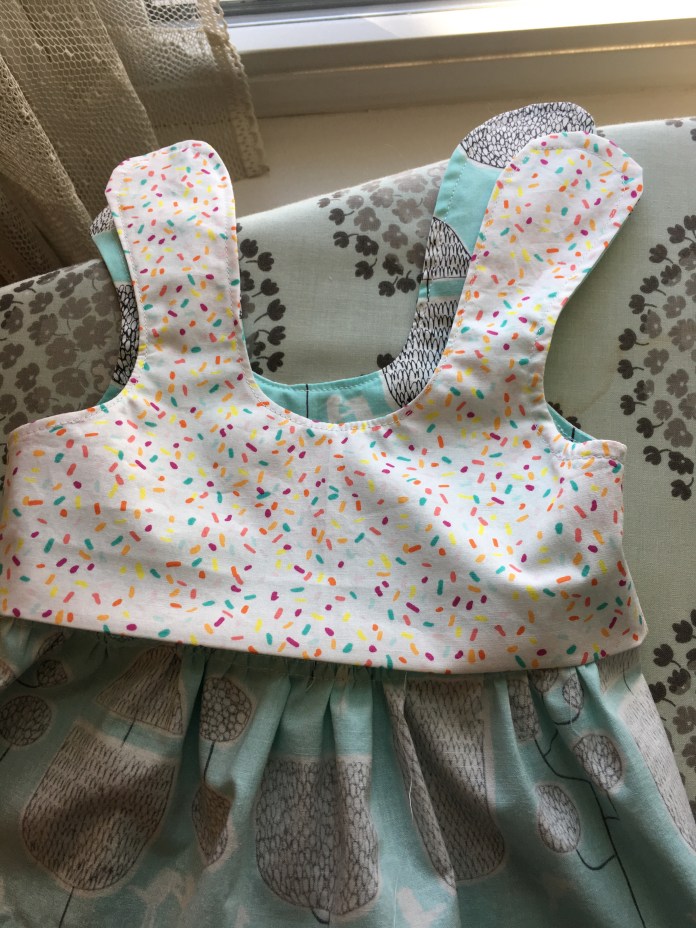 In preparation for grandparenting which I hope to not be too far off-maybe 2 or 3 years?- I had already purchased the
 One challenge was not having a small enough hanger to properly show off the finished product. I tried to improvise. I am not sure I am doing it justice in this photo.
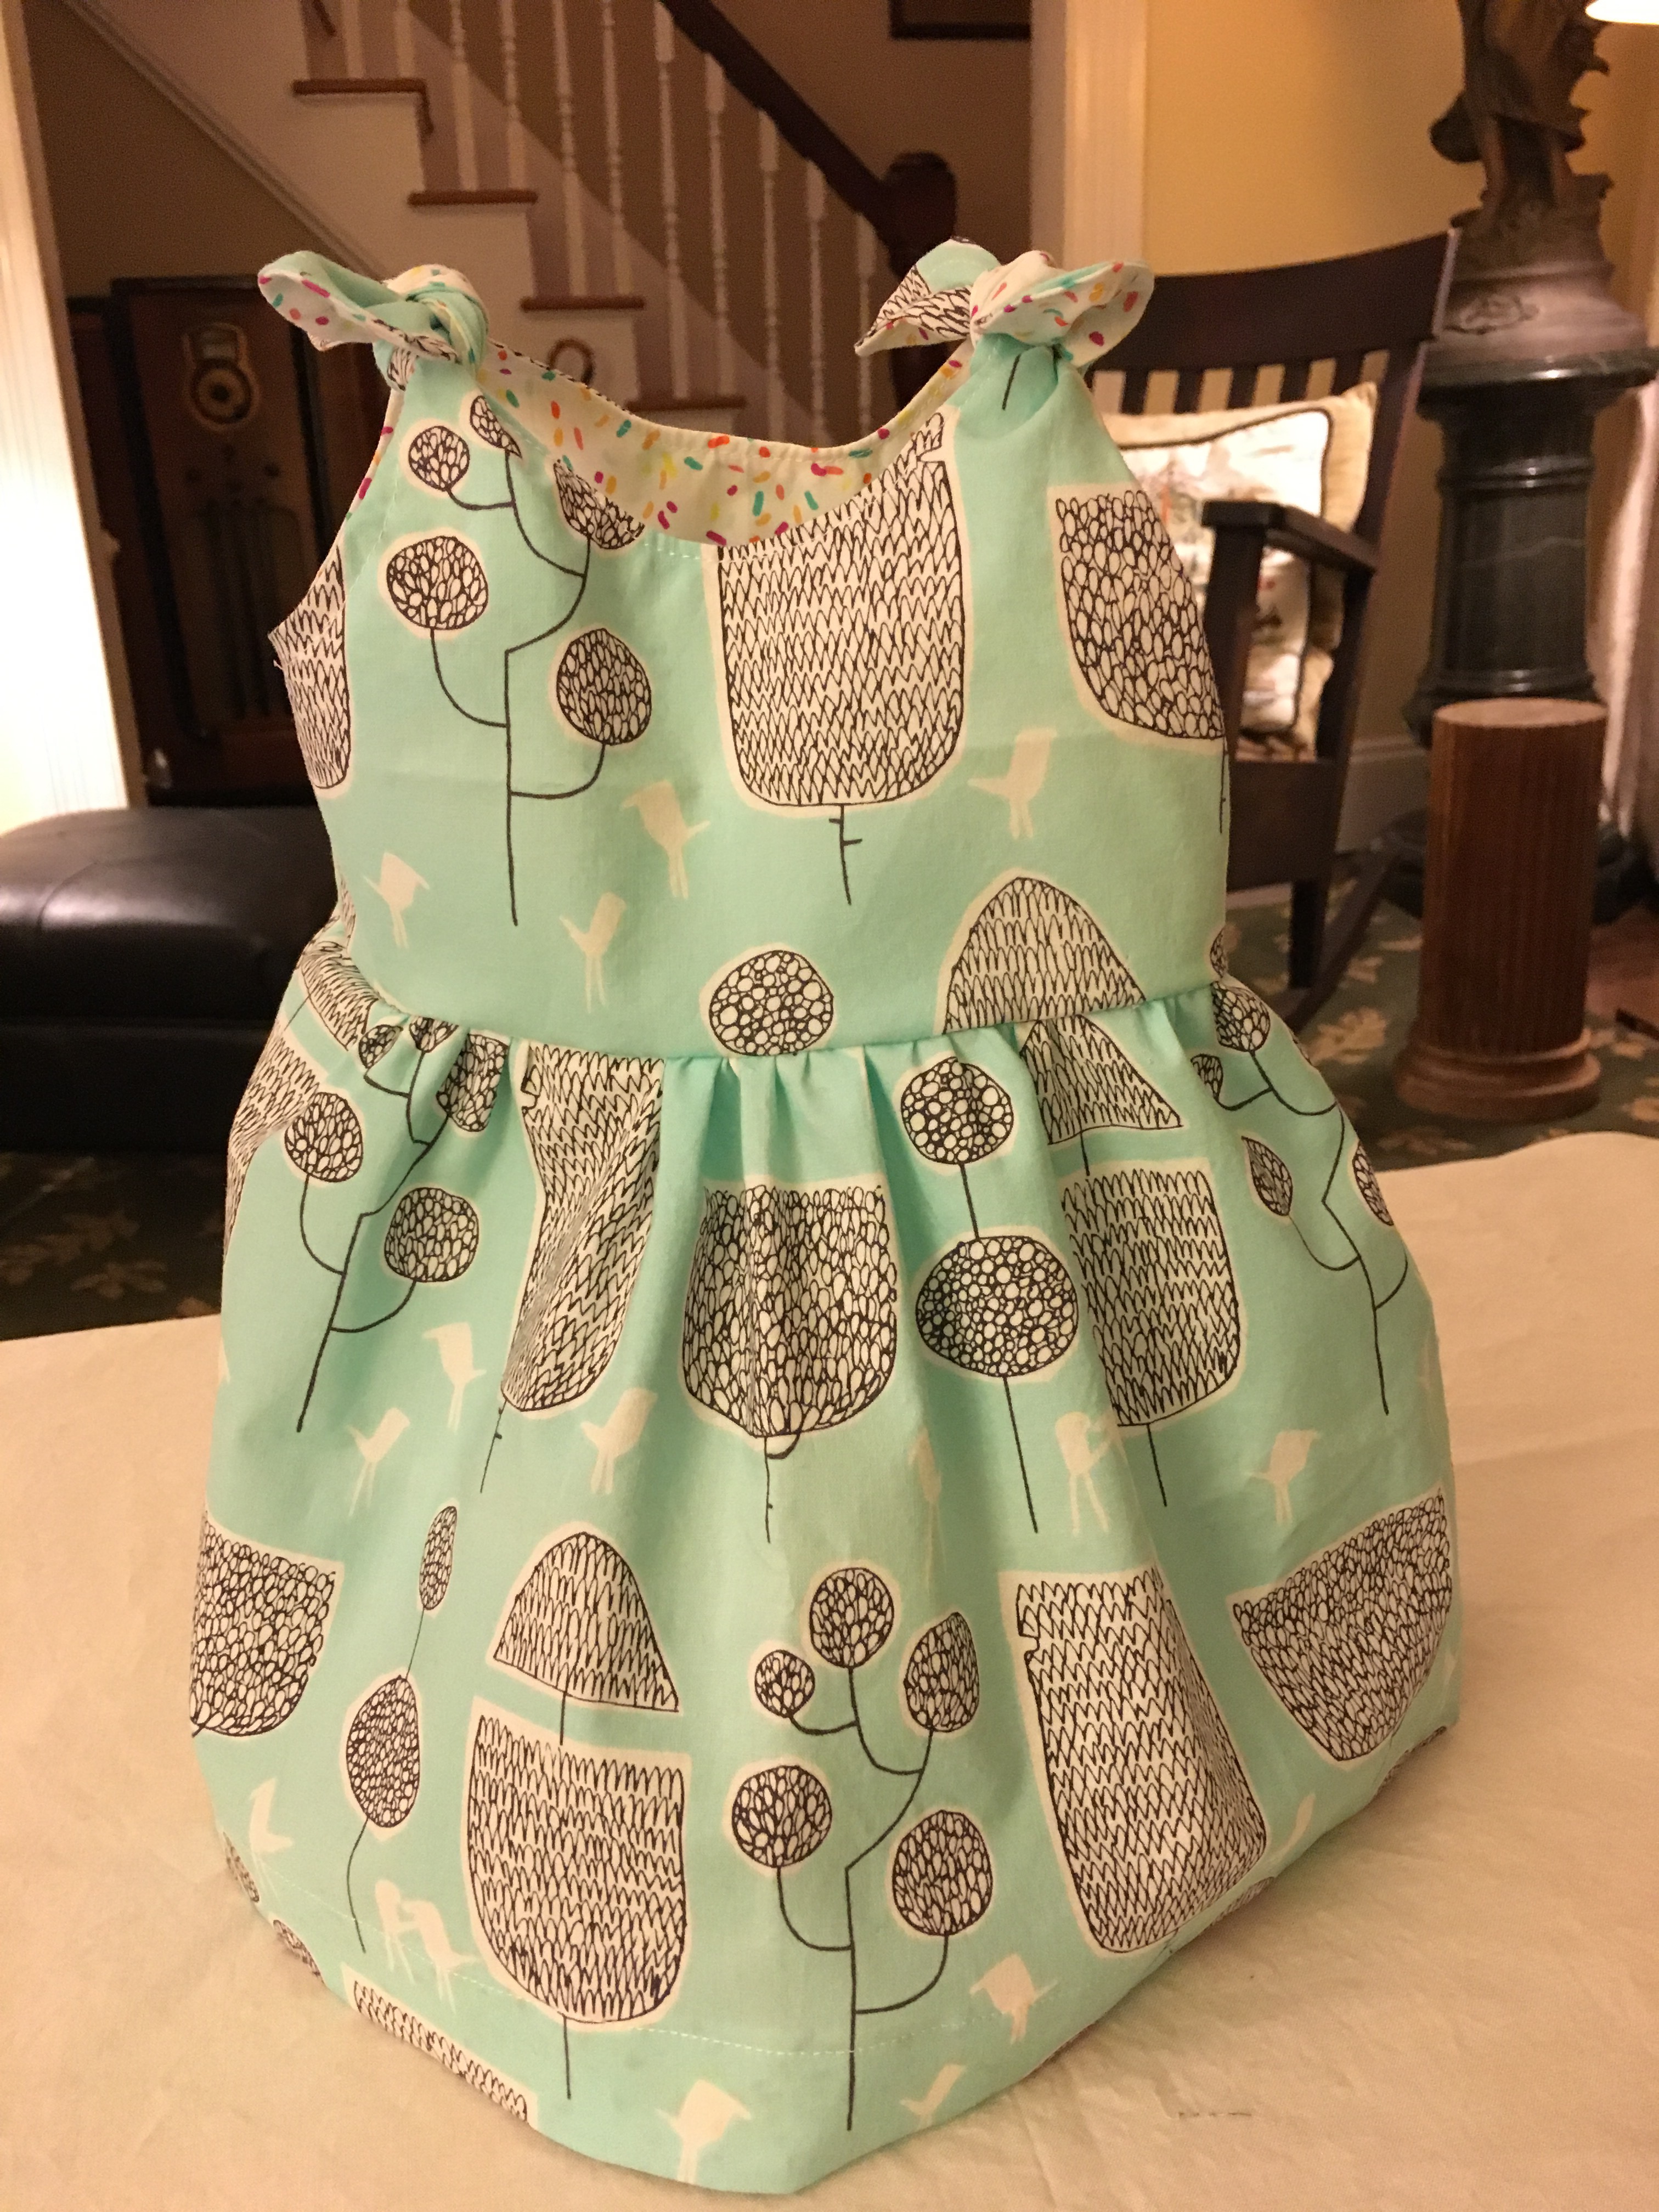

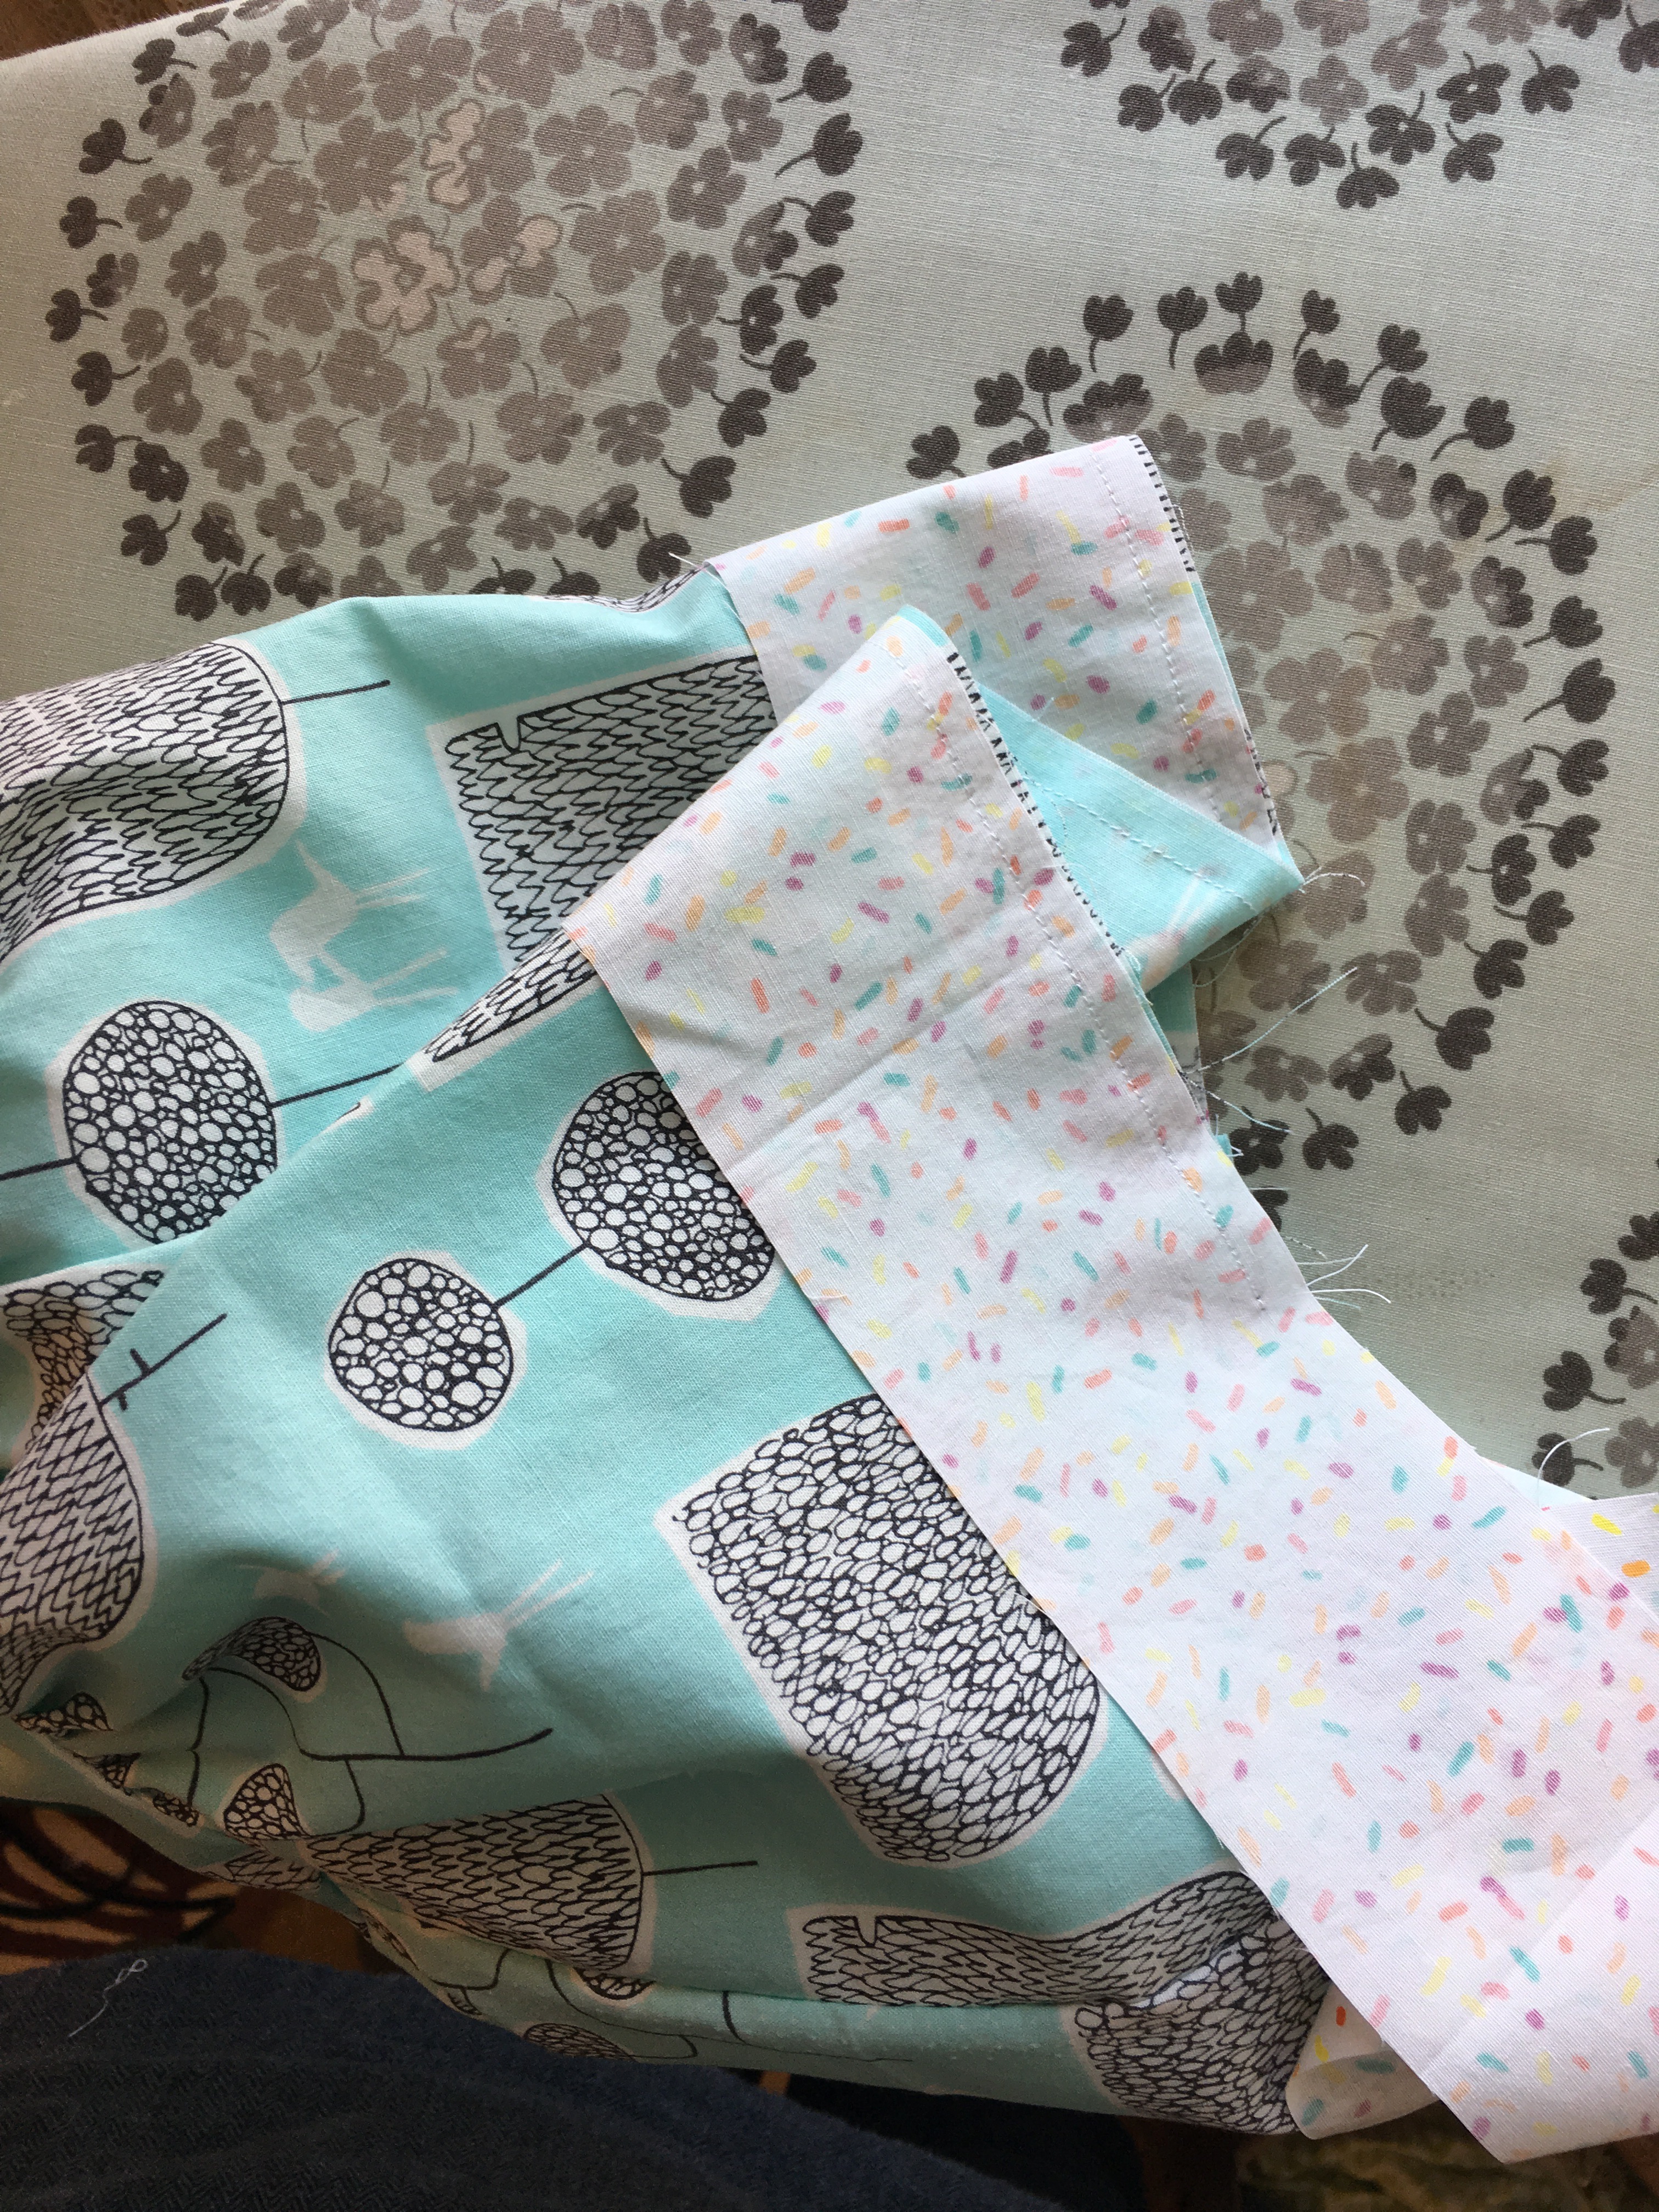
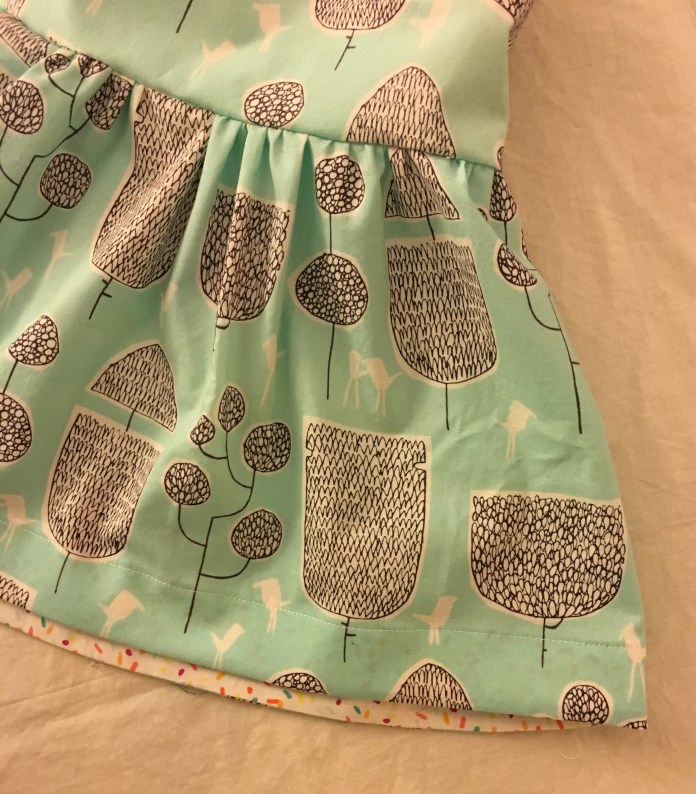
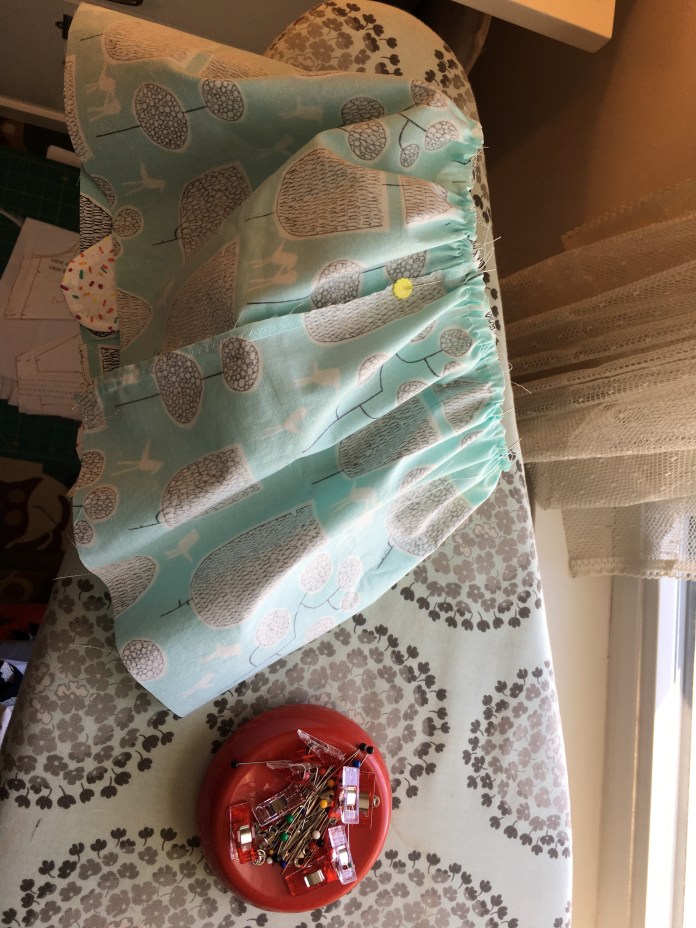 Such quick little seams to sew.
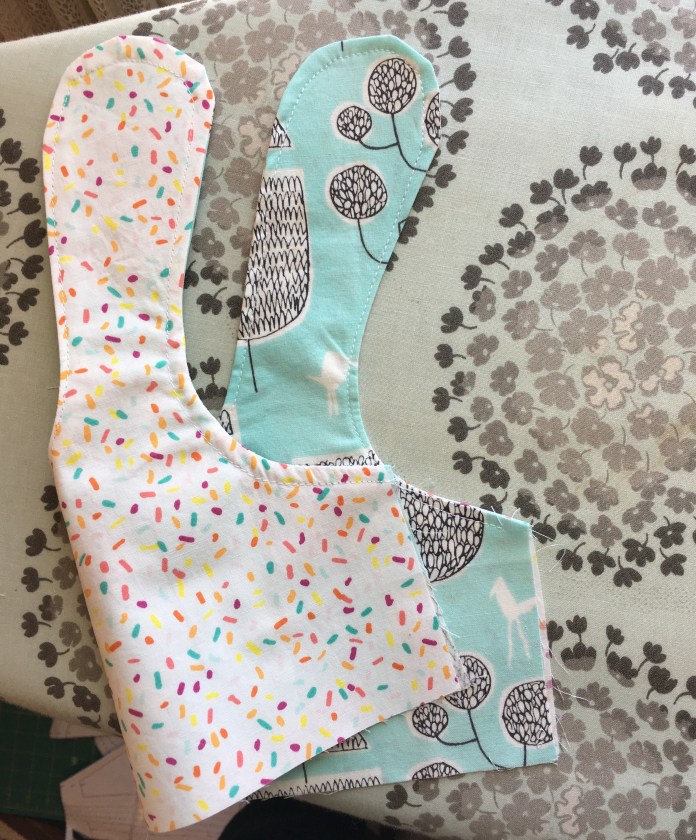 I got a little ahead of myself. But it all worked out in the end.
 and this navy Ruby dress and Gemma tank made in the other colorway of the green fabric, both of which I made and wore last summer.


 I love the juxtaposition of the shapes and stripes.

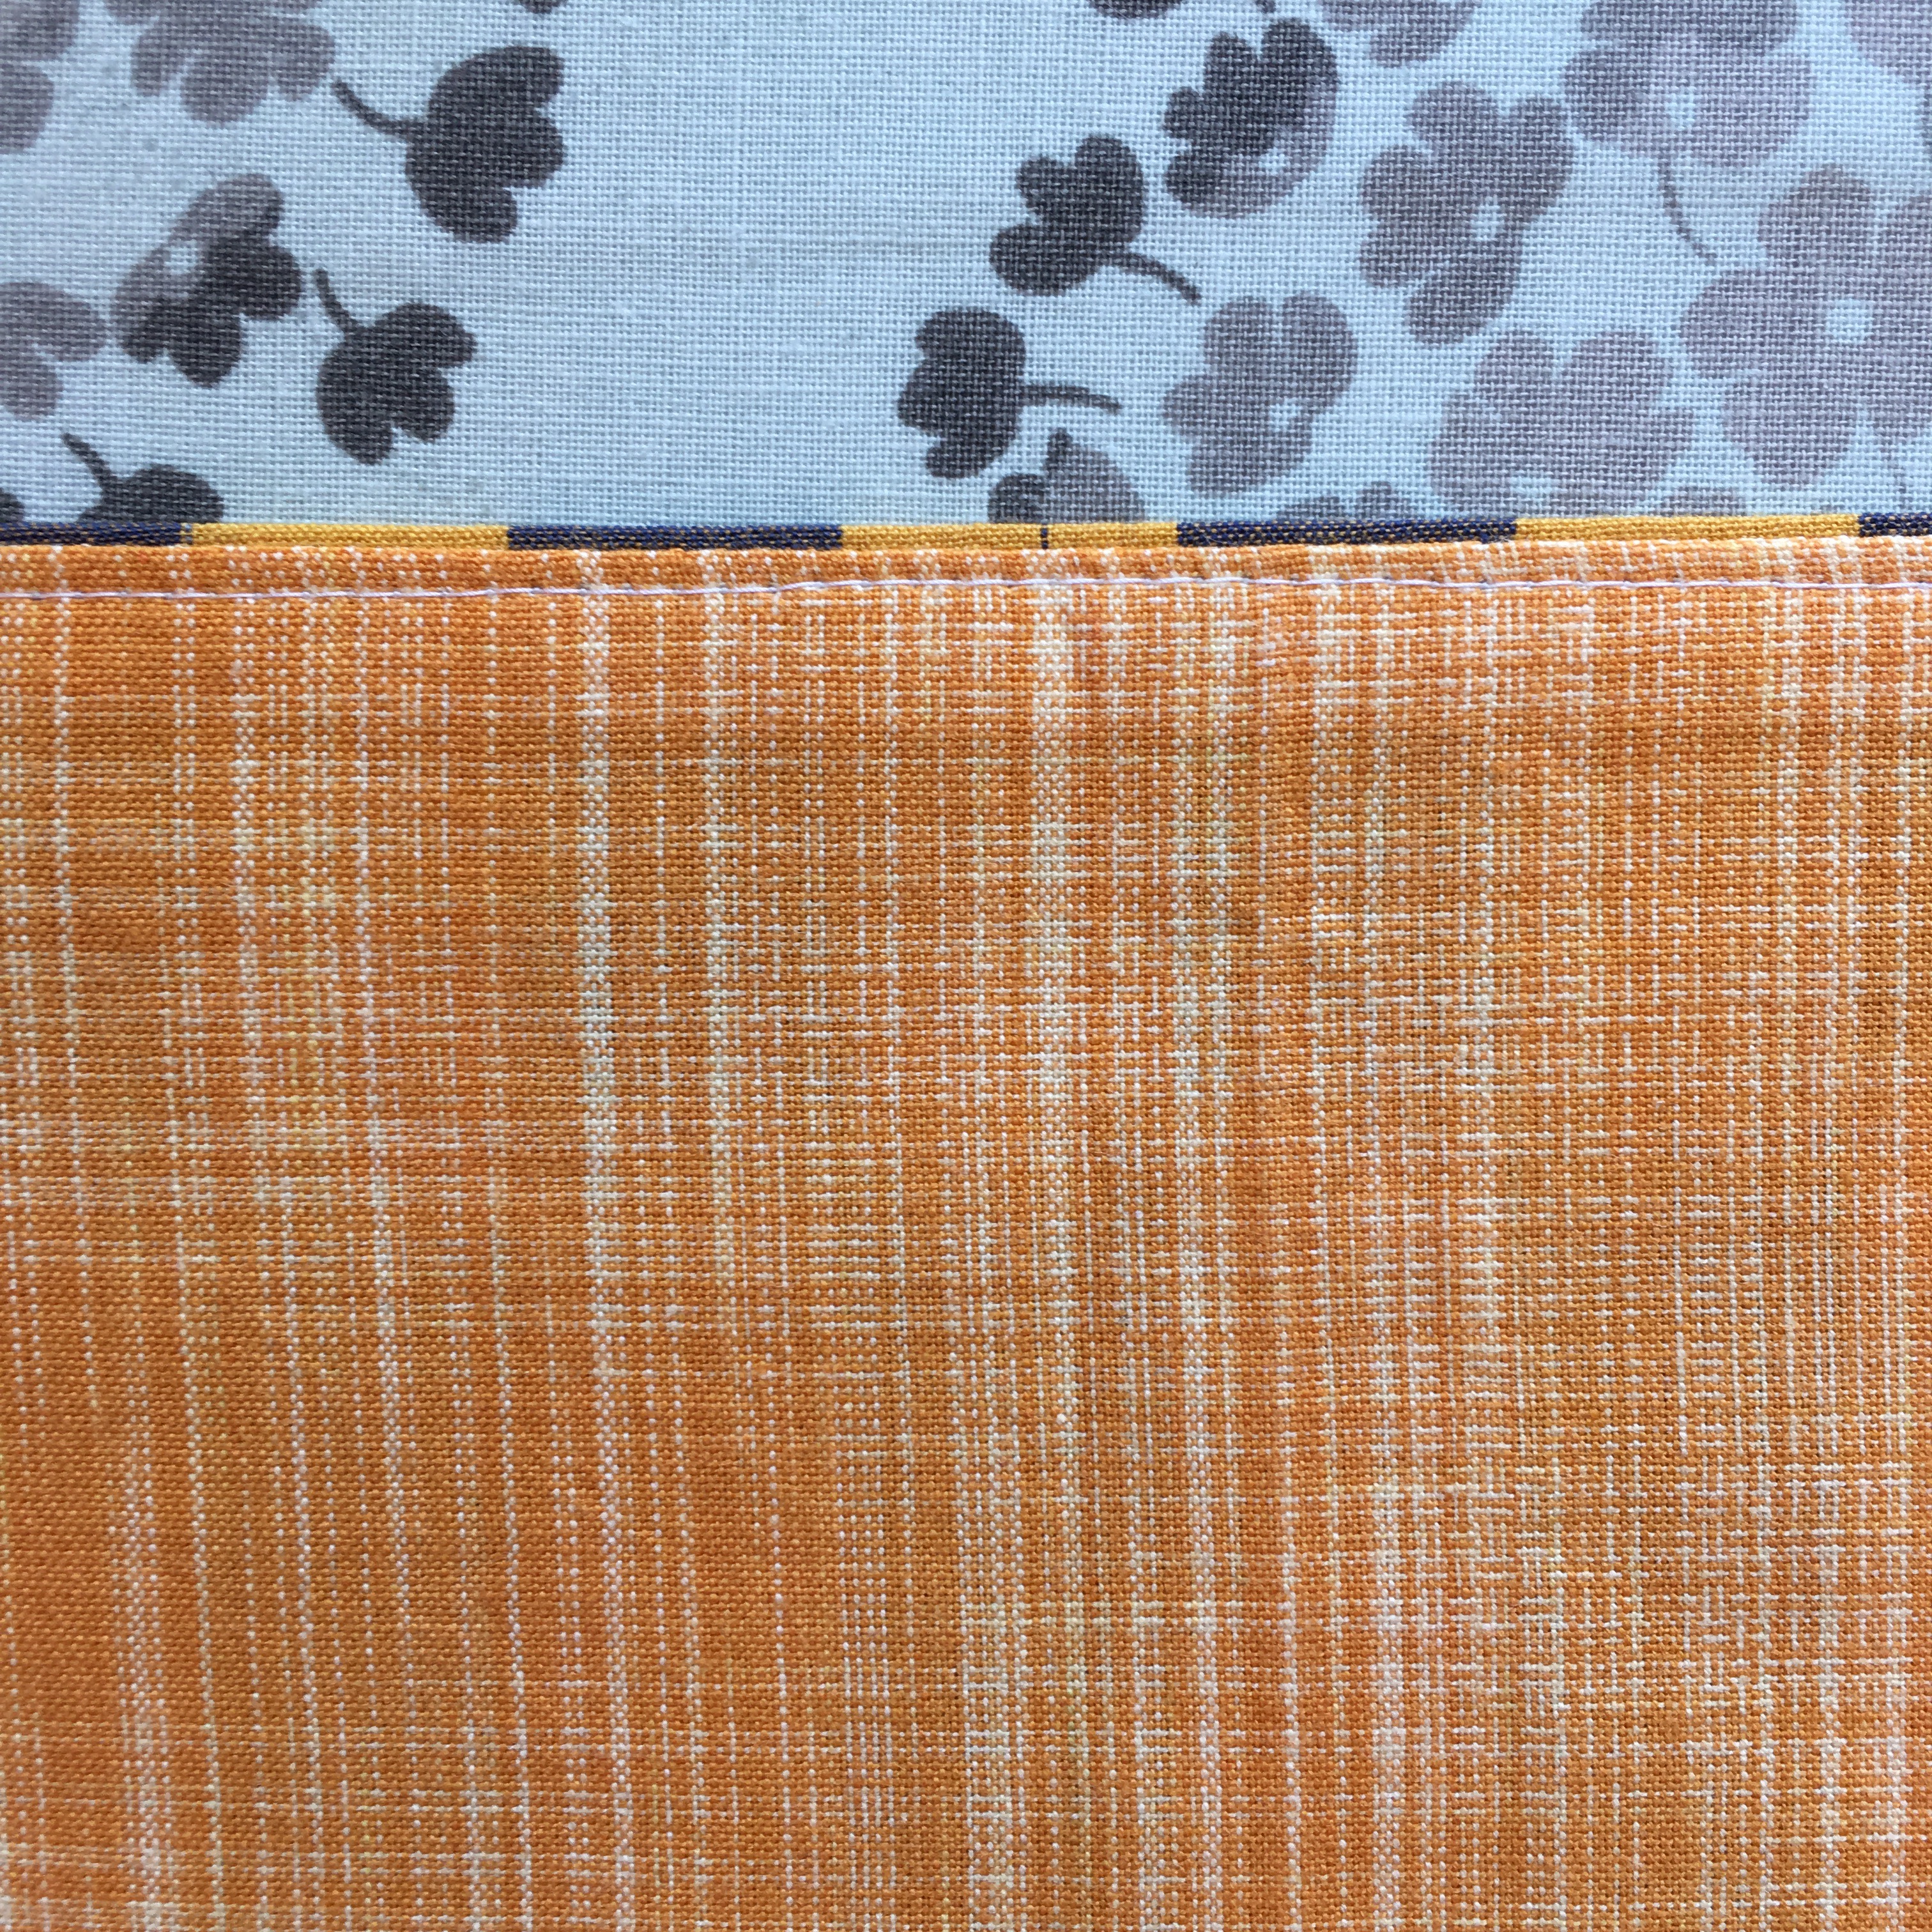
 Hem facing below.
 I added a label as an afterthought right next to the side seam-I had already sewn the rest of the waistband when I thought to do it- because the colors match pretty well. This is the inside of the skirt after being washed and not ironed so a bit wrinkled.
 I took the pictures with ankle high boots but switched boots after I saw the pictures. I decided that I like the skirt with taller boots or sandals given the length of the skirt.
  I probably will make the skirt an inch shorter next time but I am overall very happy with it. It will be perfect for spring and summer months. I have plans for several more Cleo’s in
  It is hard to believe that it was
 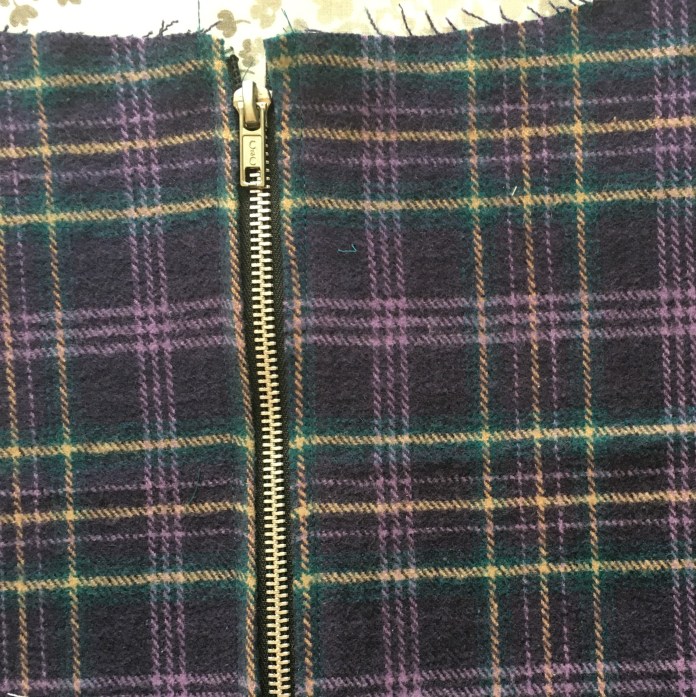 and then, since I had already loaded the machine with a deep teal thread, I decided to sew a up the teal double gauze Ruby blouse that I cut out last July (!)
 I tend to cut projects out way before I actually sew them, often because I want to use the fabric for more than one project. It works best for me if I lay out the pattern pieces for both projects at the same time so I can be sure to cut the pattern pieces in such a way as to have enough for both projects. In this case, I had used the teal for the pockets and waist facing for my
 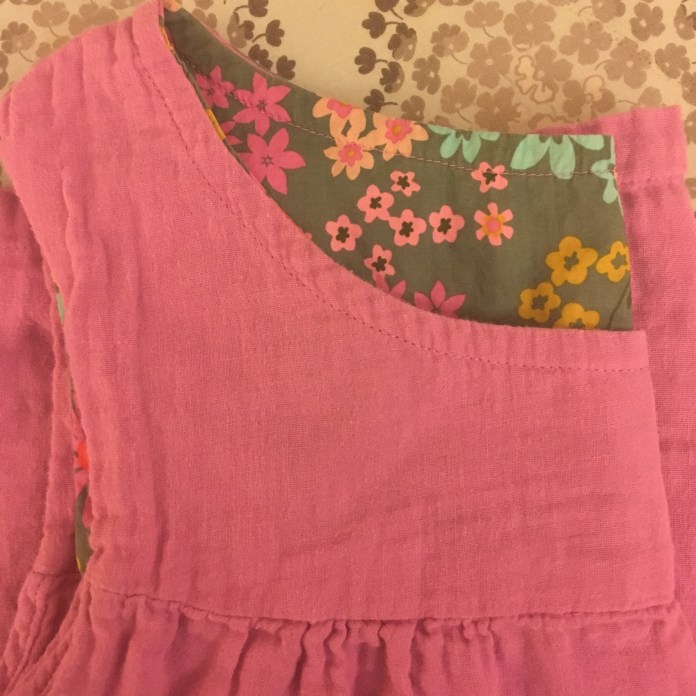 I made it using Rae’s sausage technique for lining the bodice. See this post about a favorite
 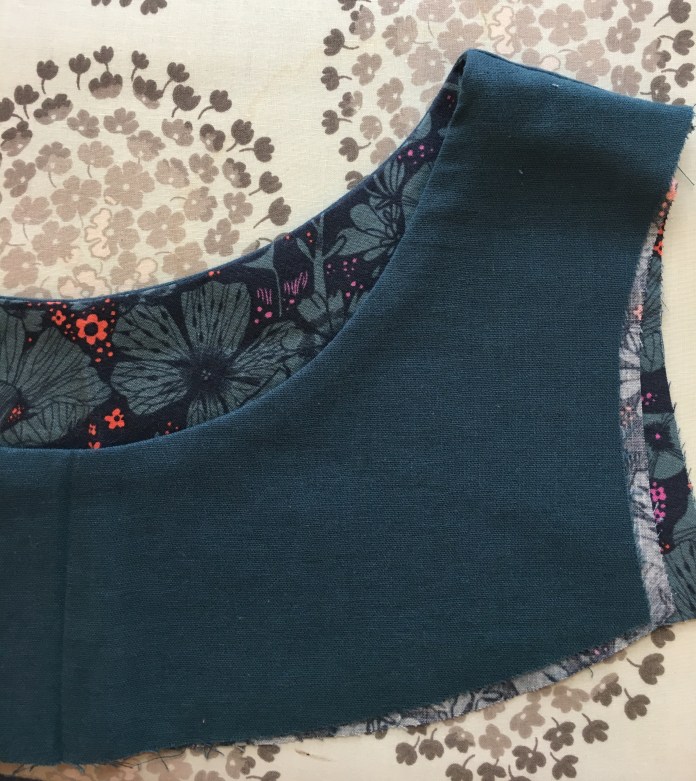 I have used the sausage technique so many times on my many Washi dresses and Ruby dresses and blouses that I didn’t need to refer to the videos but they are awesome.
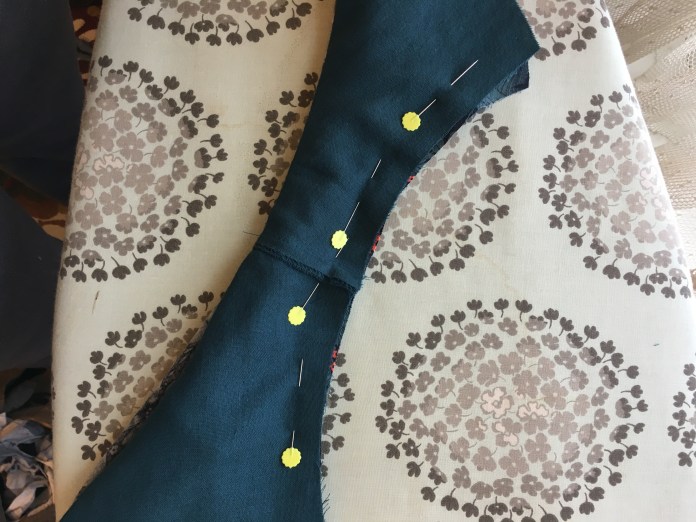 I did look back at the
 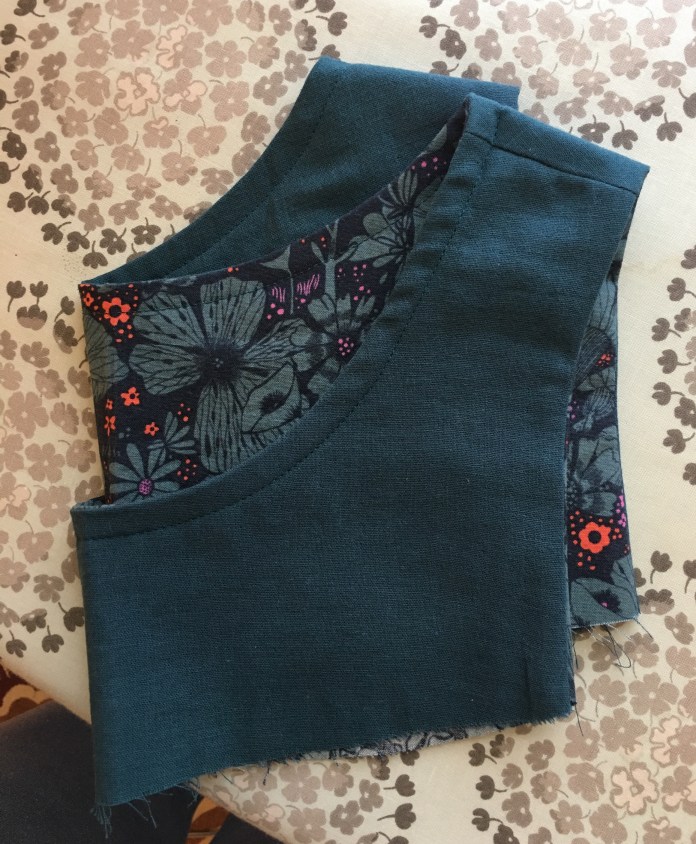 I machine wash my garments and it seems as though that extra stitching gives the neckline a bit more stability and strength.
 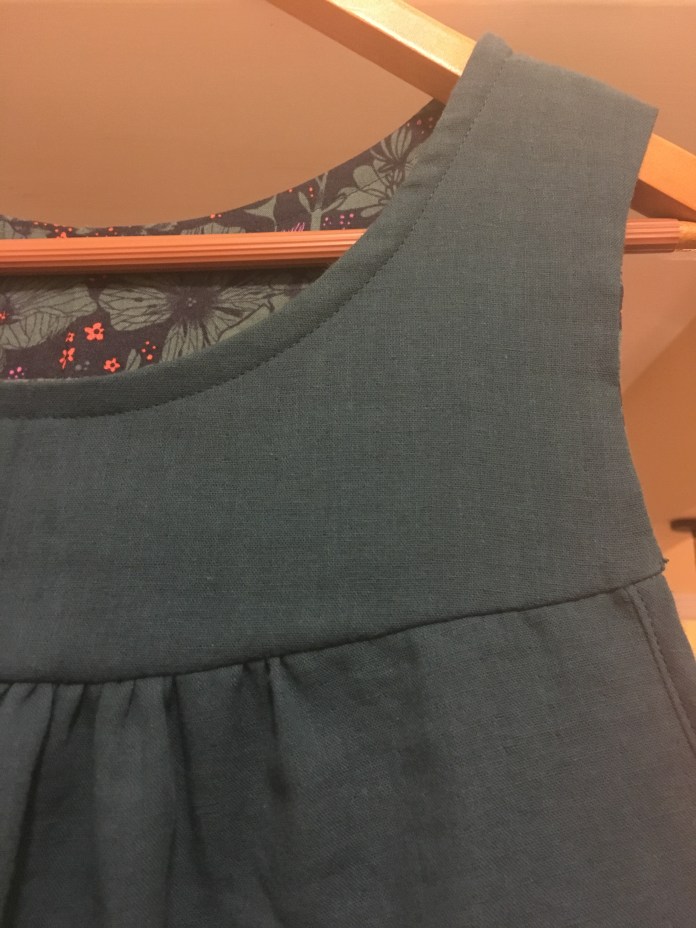 The sausage technique leaves two seams on the inside of the blouse that require hand stitching. I actually enjoy hand stitching so I enjoyed this part of the project. I was able to sew the entire blouse in an afternoon and wear it to work the next day without rushing or cutting corners. It is sometimes very relaxing to just enjoy the process and make something beautiful without worrying about how long it takes.
  I even had time to make home-made soup for dinner after I finished sewing. I often make what I call “refrigerator soup” where I look in the refrigerator and see what I have and make it into soup. A couple of weeks ago, I had half a butternut squash, a sweet potato and some carrots and I ended up making soup with some sautéed onions, chicken broth, fresh ginger and a little curry for seasoning. It was fantastic so today I made it on purpose. “Vitamin A Soup” below. I think the bright orange and yellow color speaks to me in the dark days of winter.
 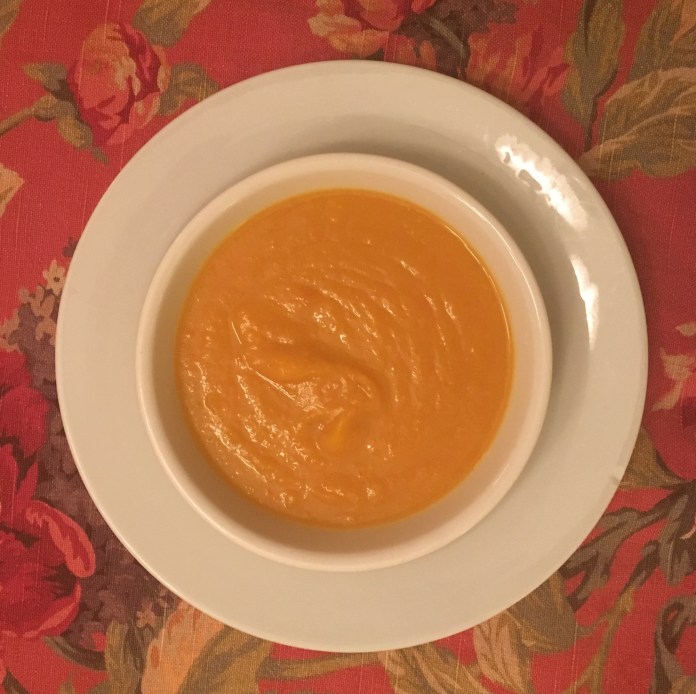 I have been drawn to oranges and yellows all winter. I have made several
  I am also loving