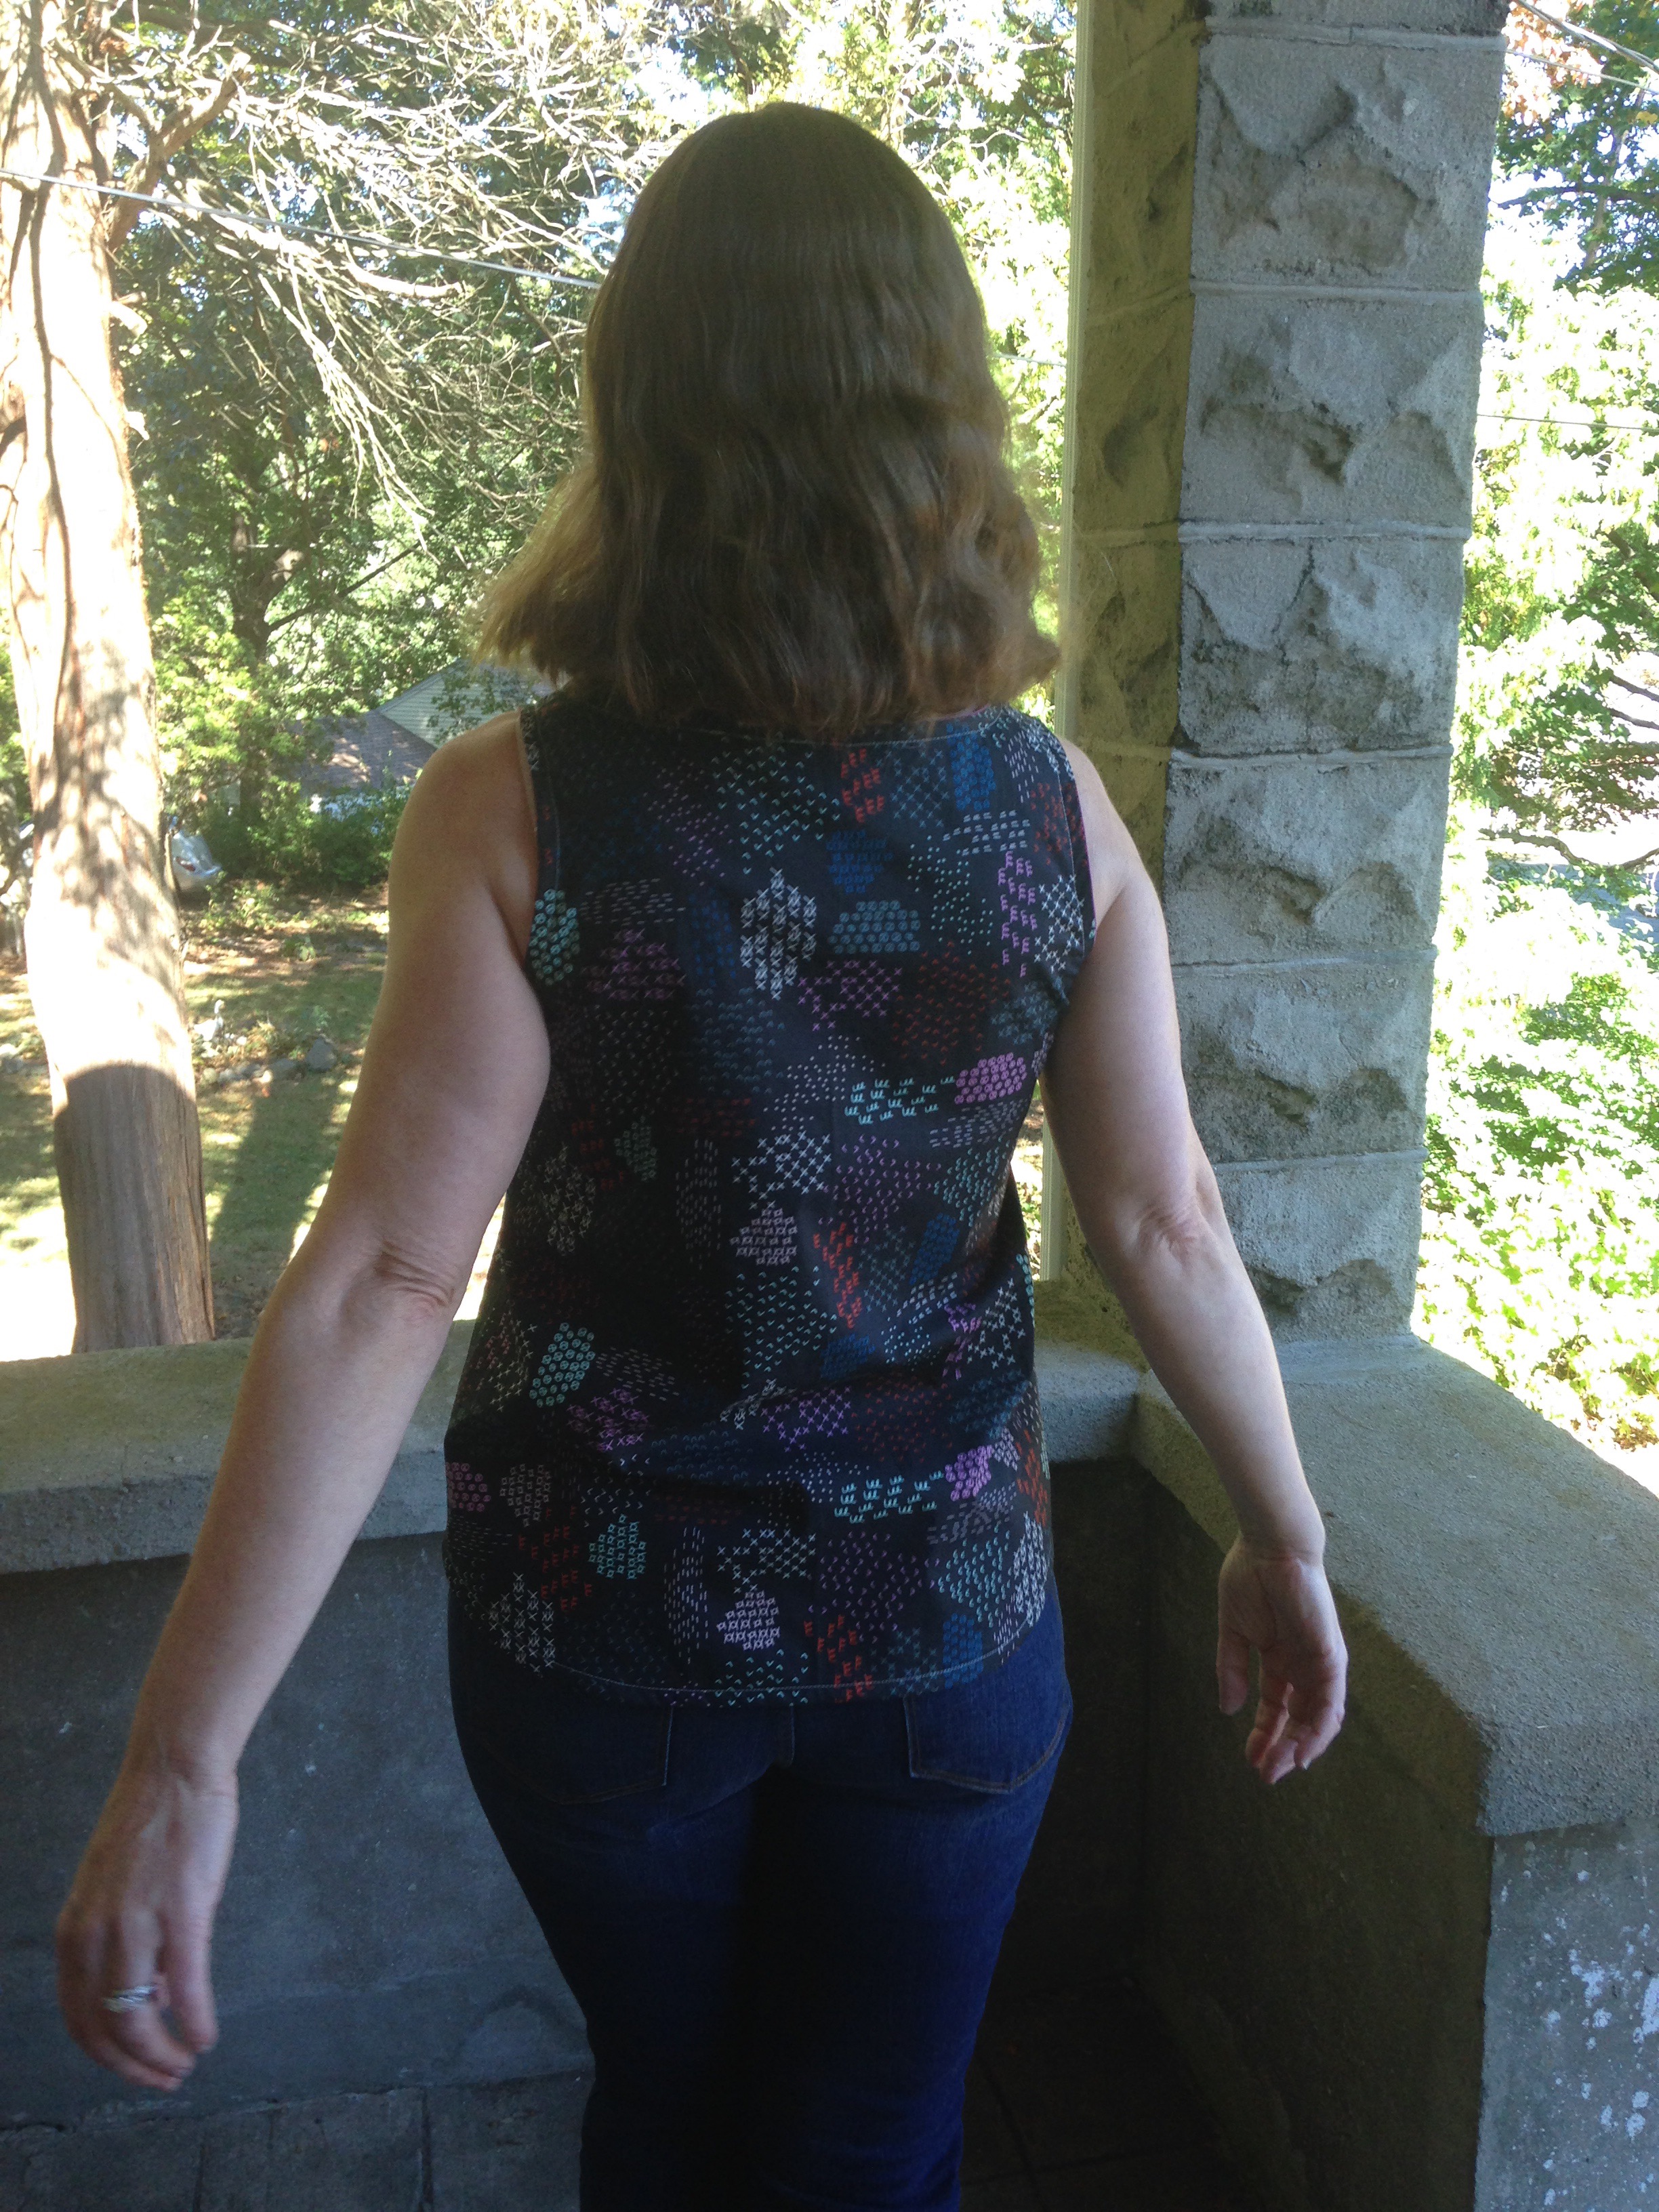
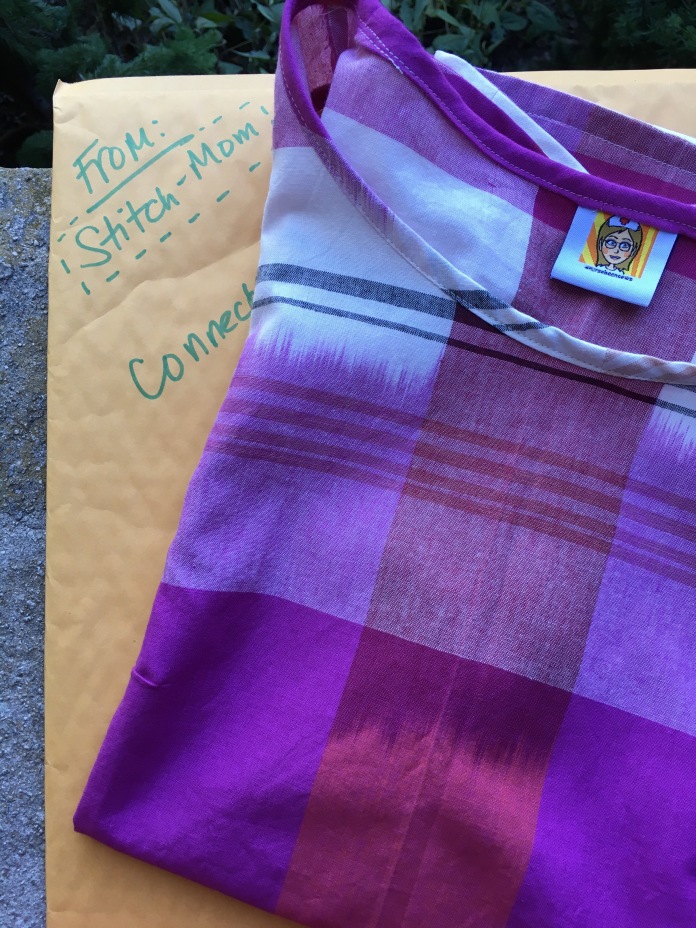
 The Ruby Blouse by Made By Rae is a pattern I have made before. It is a loose fitting sleeveless top that provides good coverage and is a great basic for layering. When I saw this double gauze version by Rae, it planted the seed for trying this pattern in double gauze for summer. When I spied this plum colored Bespoke Double Gauze by Cotton and Steel on sale at Alewives Fabric, I decided to give it a try. I have sewn two Washi dresses in double gauze and I love the softness of the fabric but it is a bit tricky to work with and it is generally more expensive than the cottons I usually use so I save it for special projects.
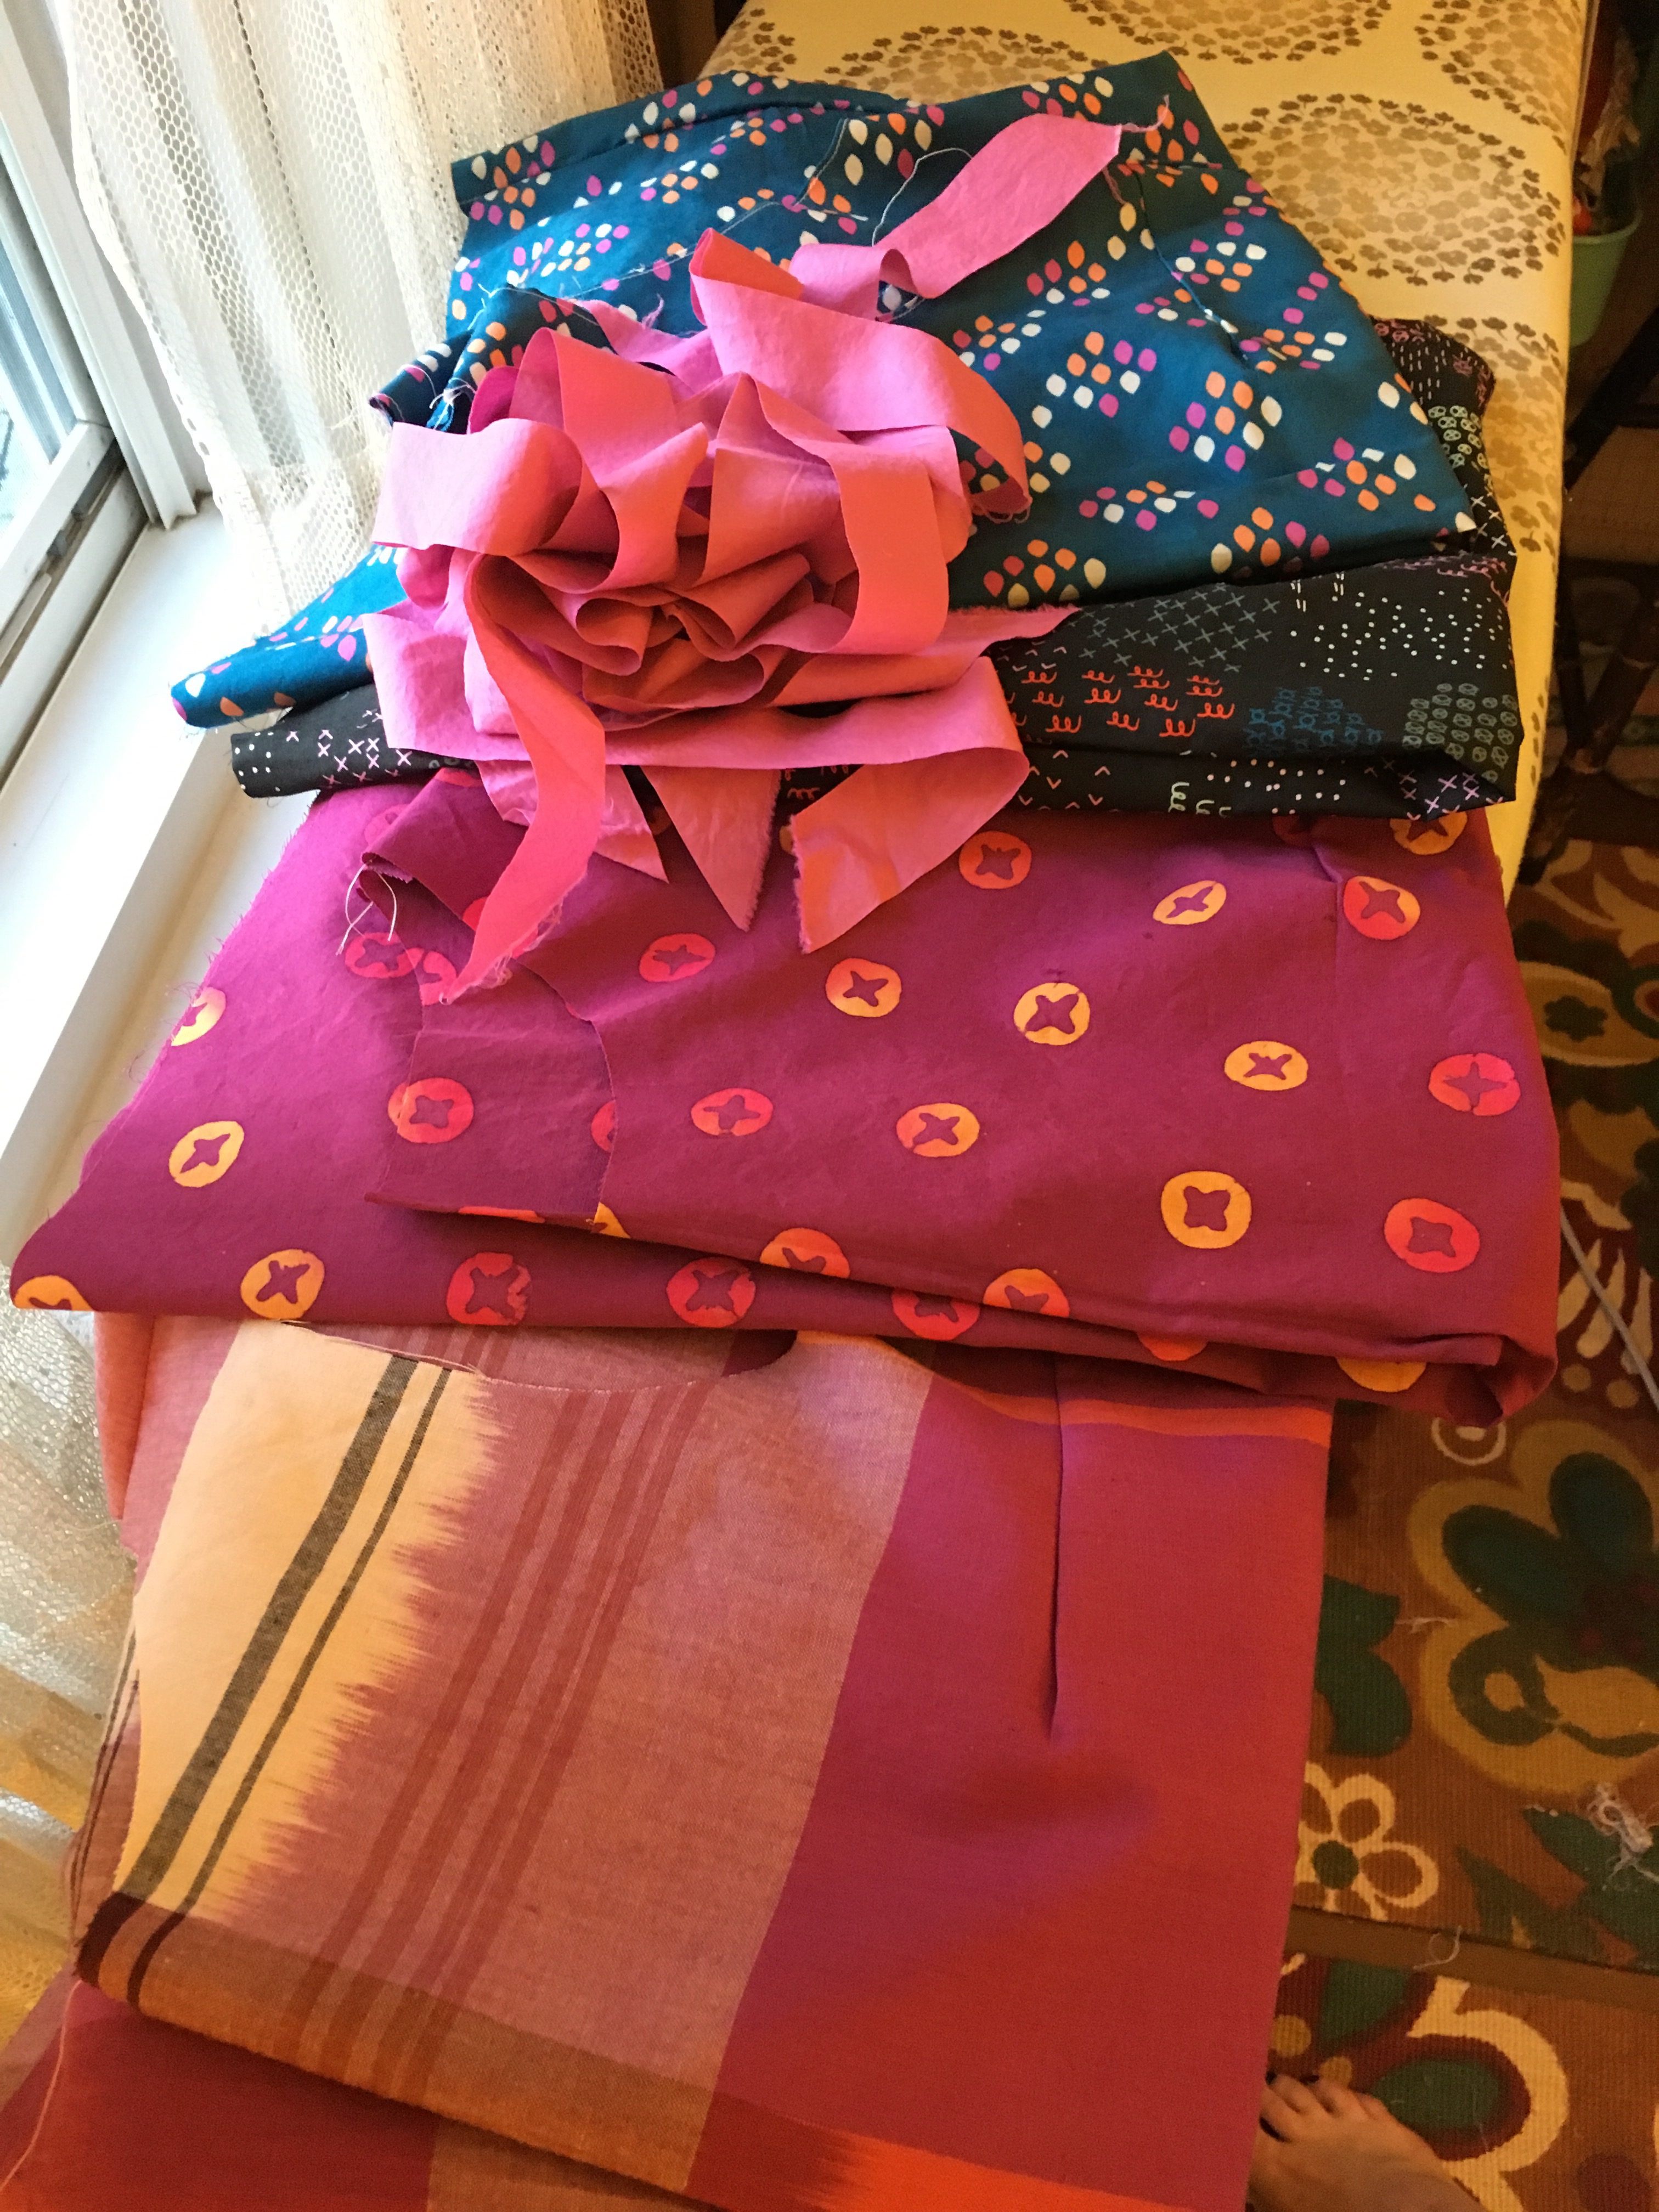
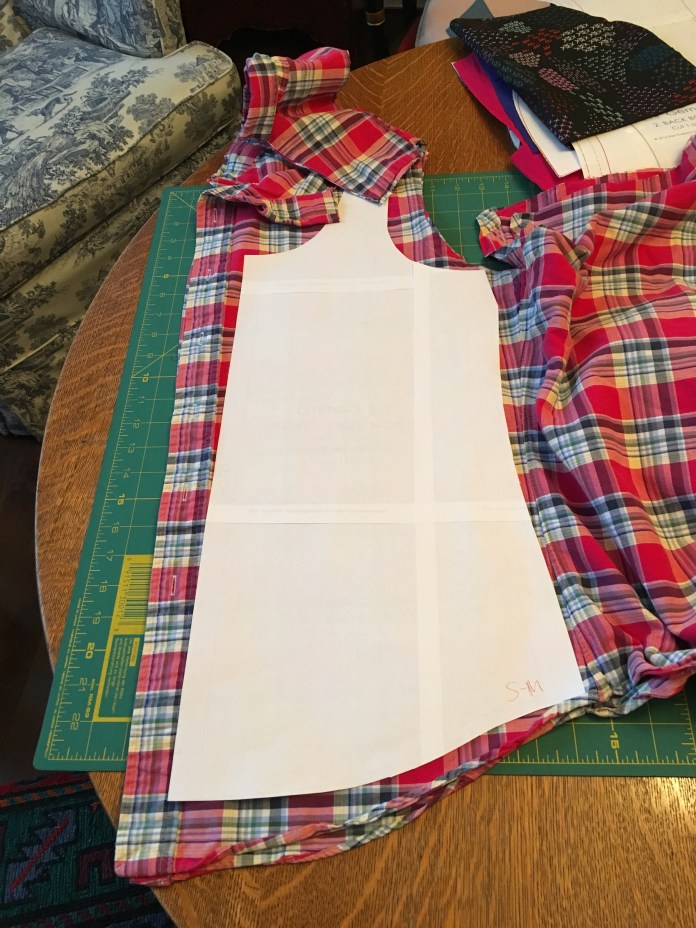
I sewed quite a bit during Me Made May but have been very busy with work since then. A couple of weeks ago, I decided to plan some projects that would work together and I gathered some neutral grey and sage fabrics for skirts and some greens and this plum for tops. 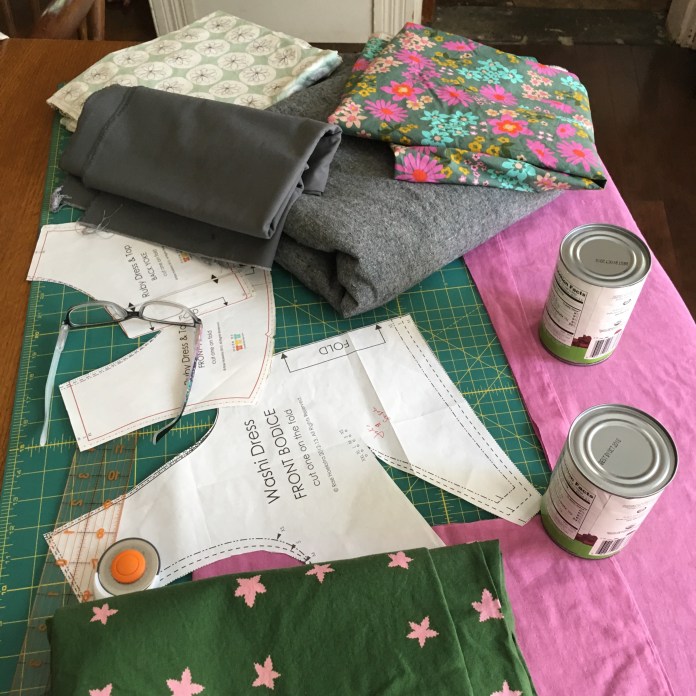 When I saw the floral lawn fabric next to the plum double gauze, I realized that it would be just the thing to line the bodice. I also noticed that the plum would be a perfect lining for a planned Washi in green with pink stars. These garments are hopefully going to be a mini Summer capsule wardrobe one day. I have a sleeveless Beatrix top planned for the floral so I cut those pattern pieces out first to make sure that there would be enough to line the Ruby.
 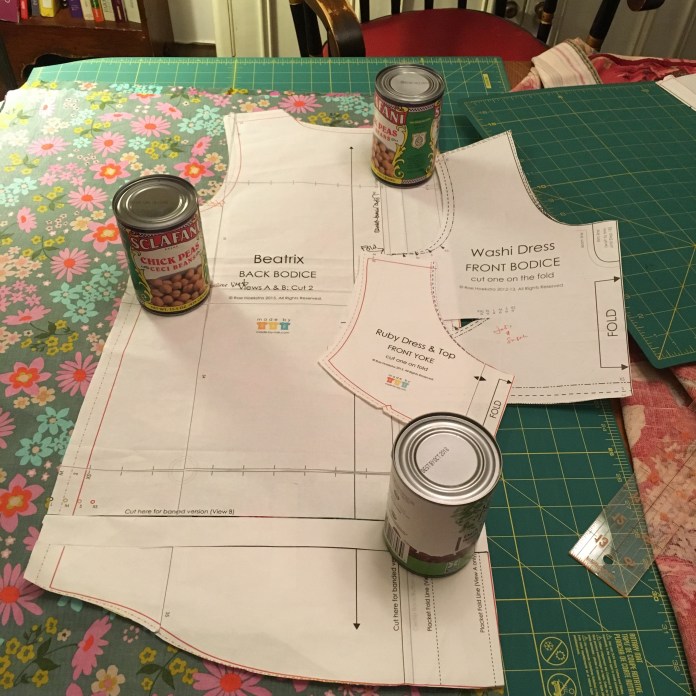 The lawn is such nice lightweight fabric, it is the perfect weight to go with the double gauze and I have loved this fabric from afar for quite a while. I am happy that it will find its way into at least three garments (I have enough left over to face the waistband of at least one of the skirts.) Rae has great video tutorials for lining the Ruby bodice.
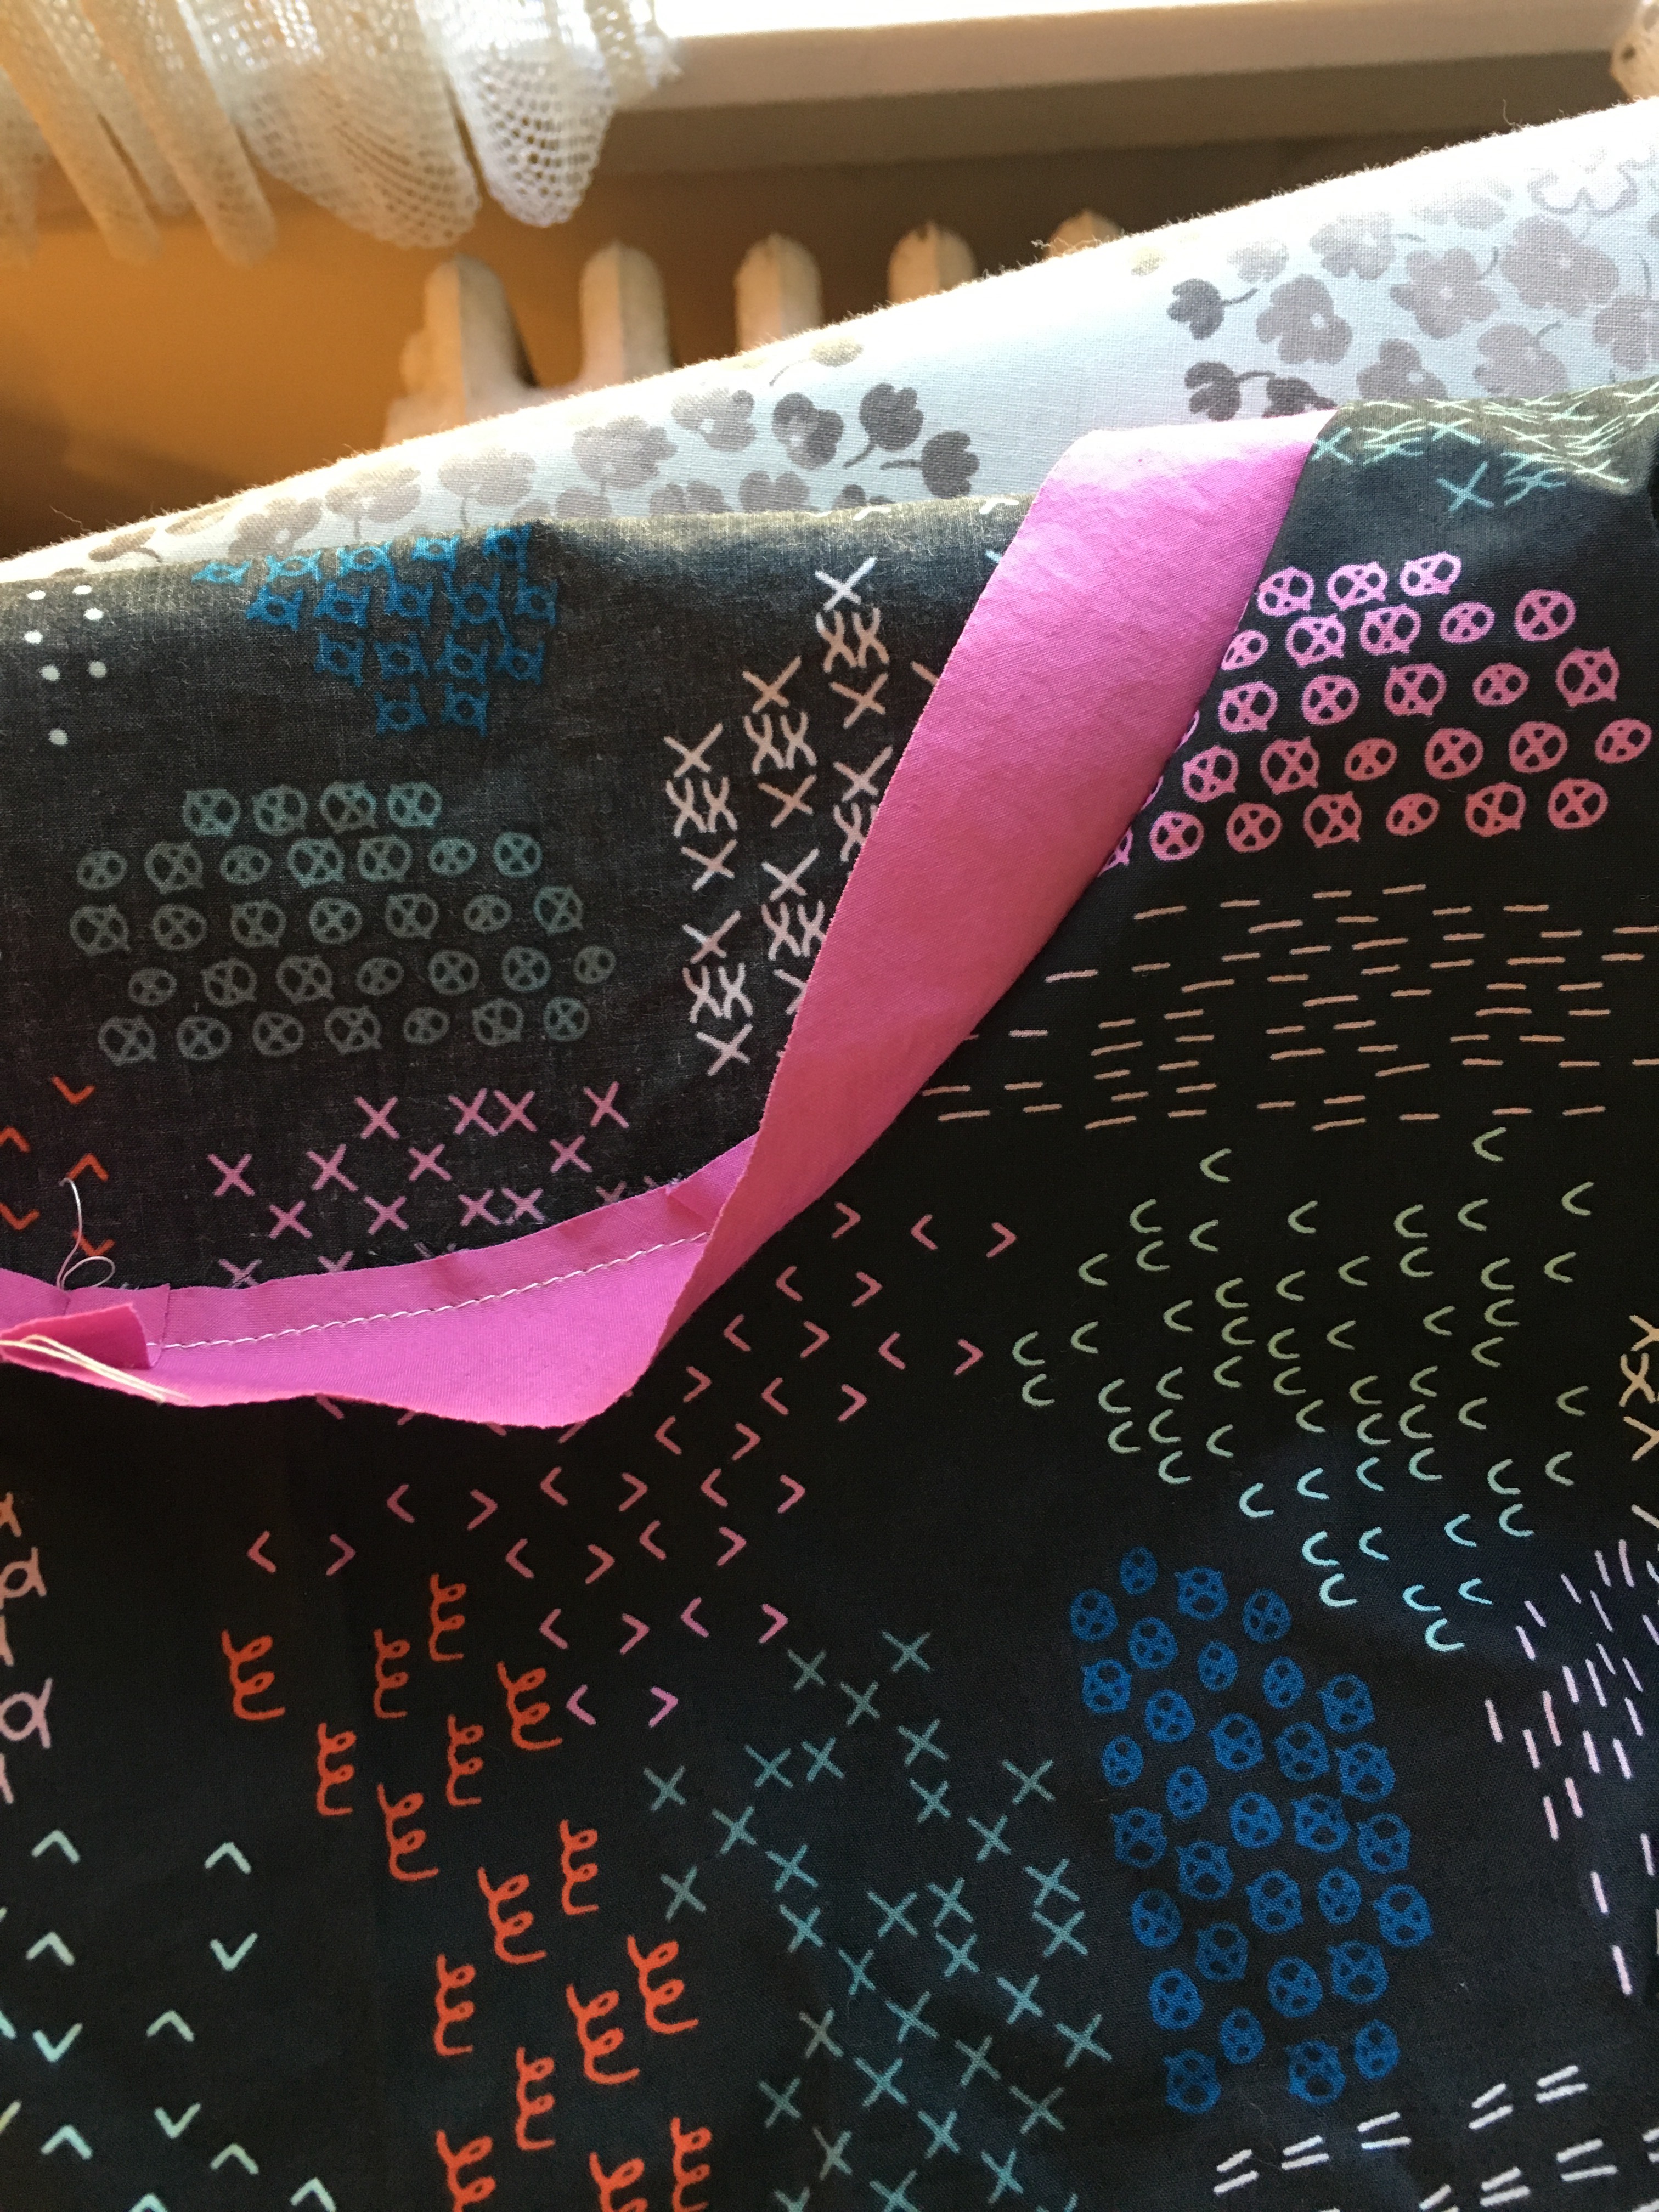
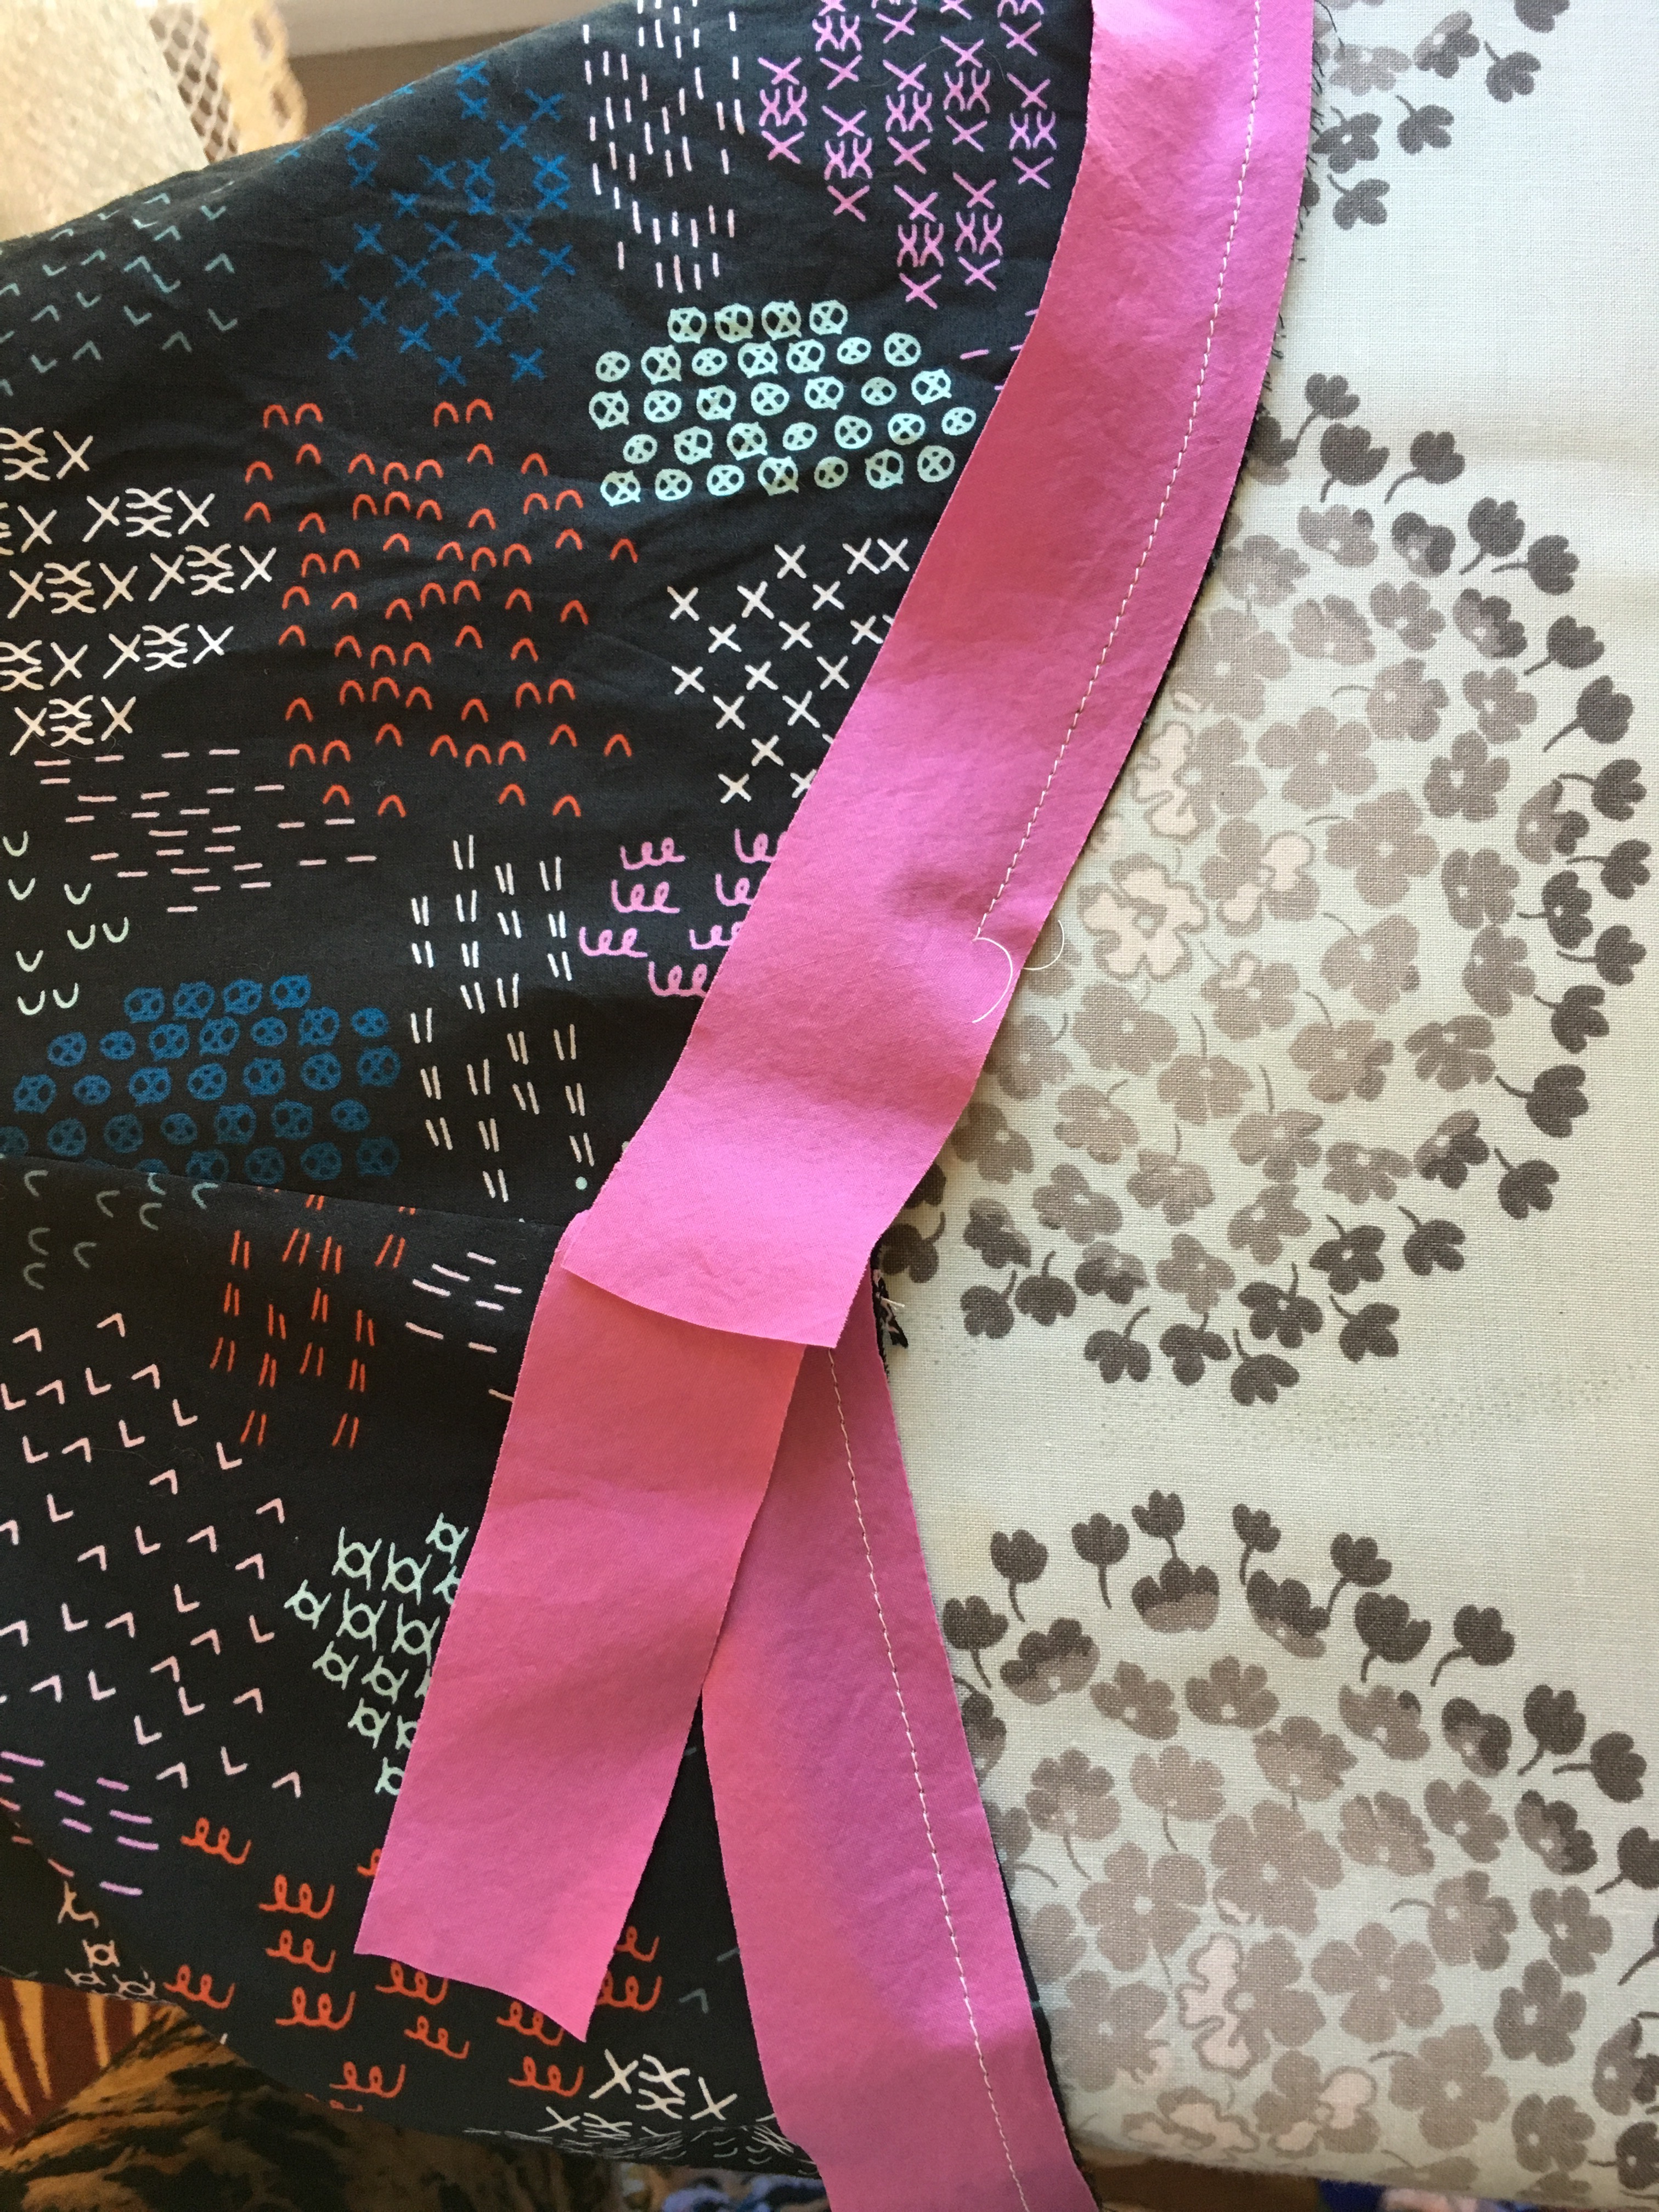
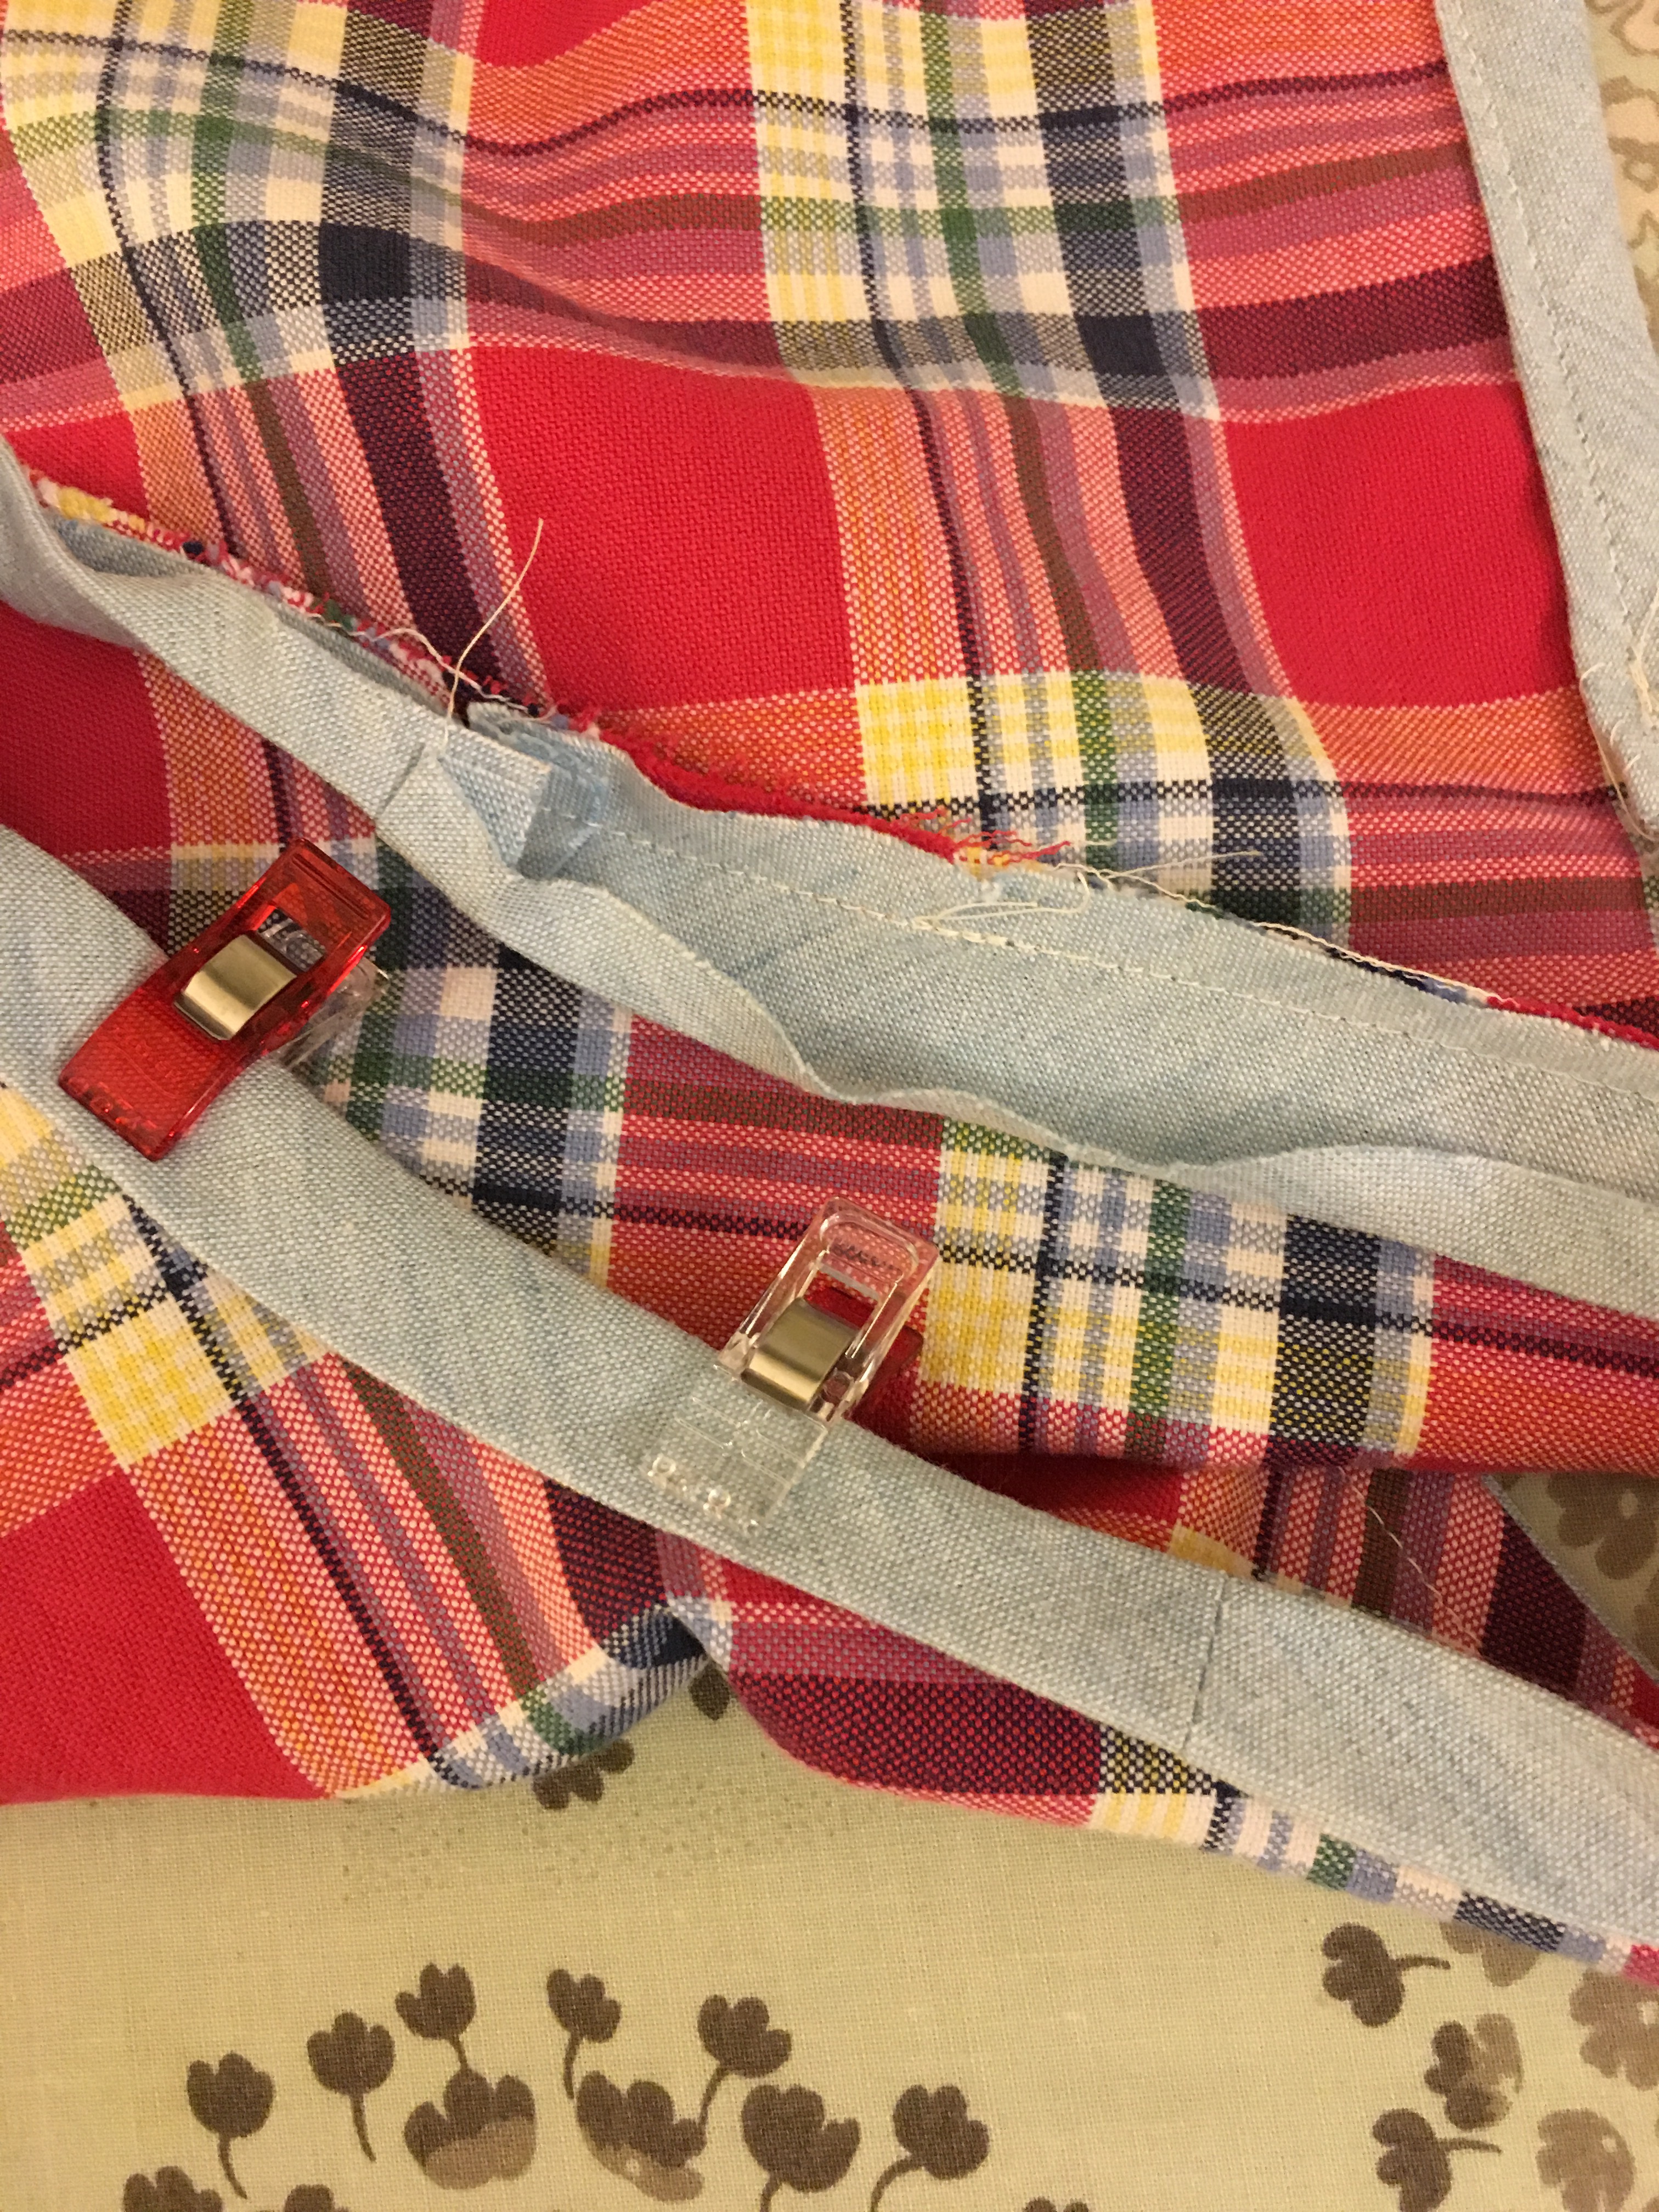
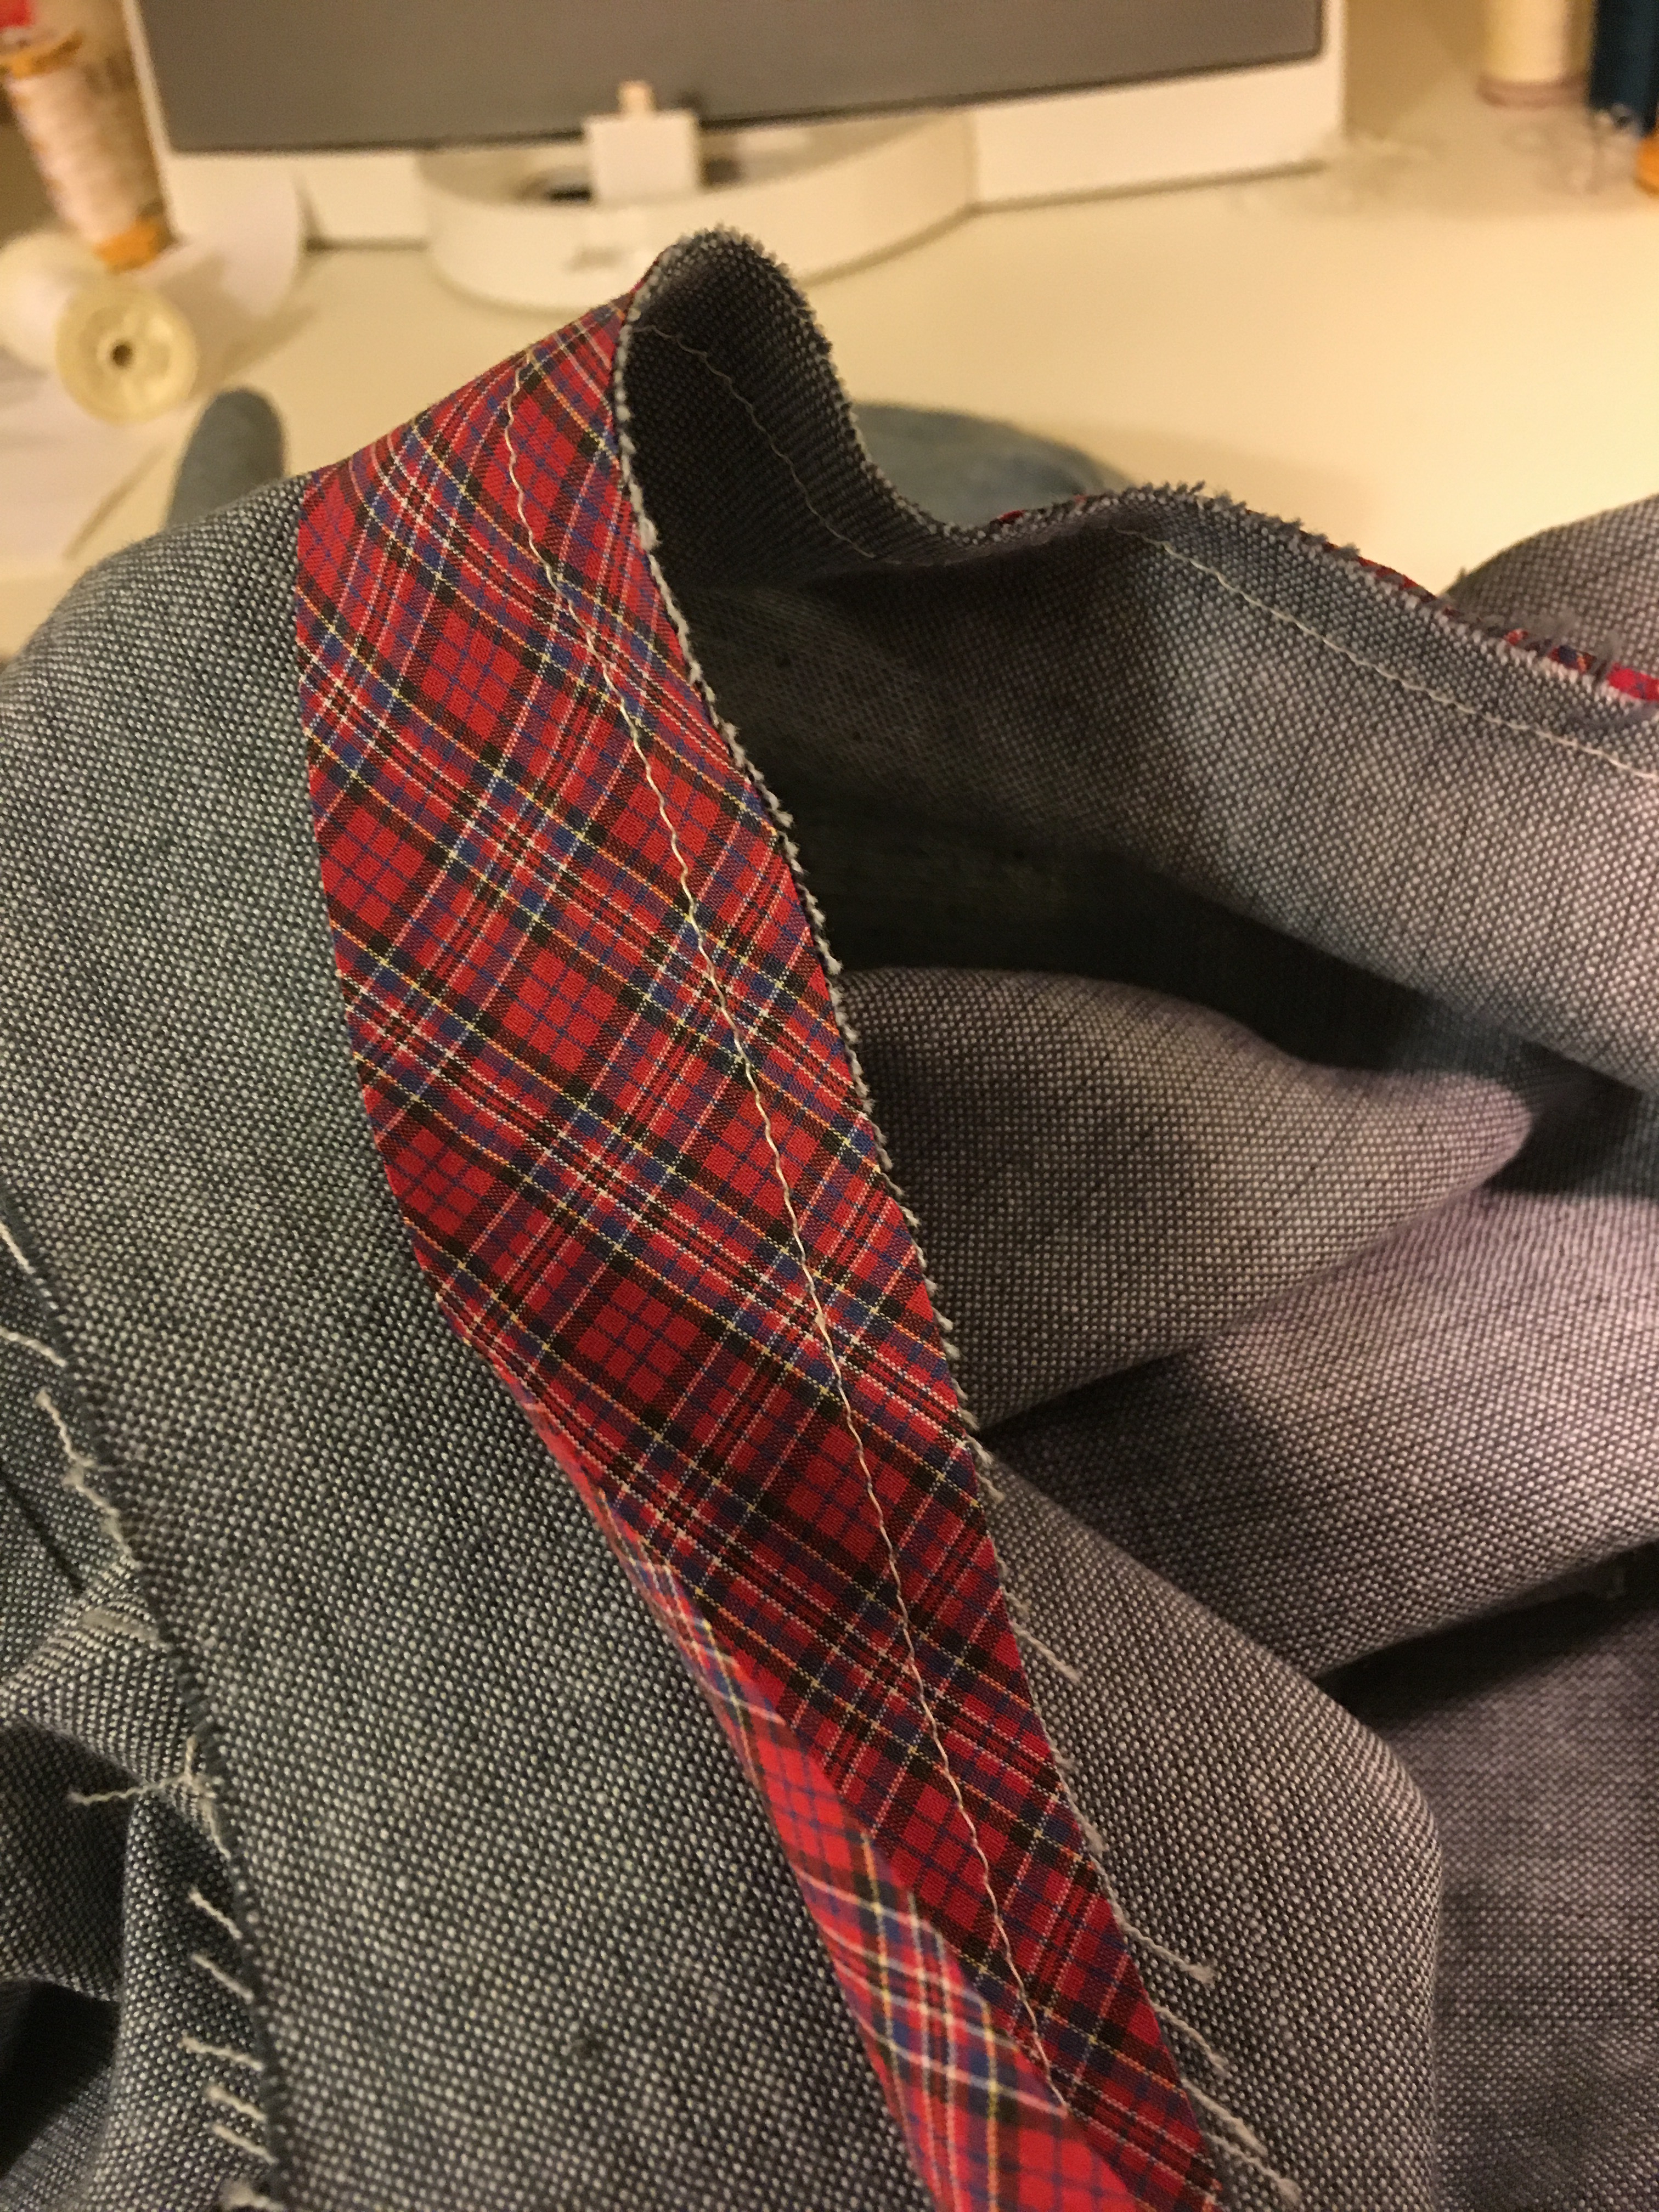
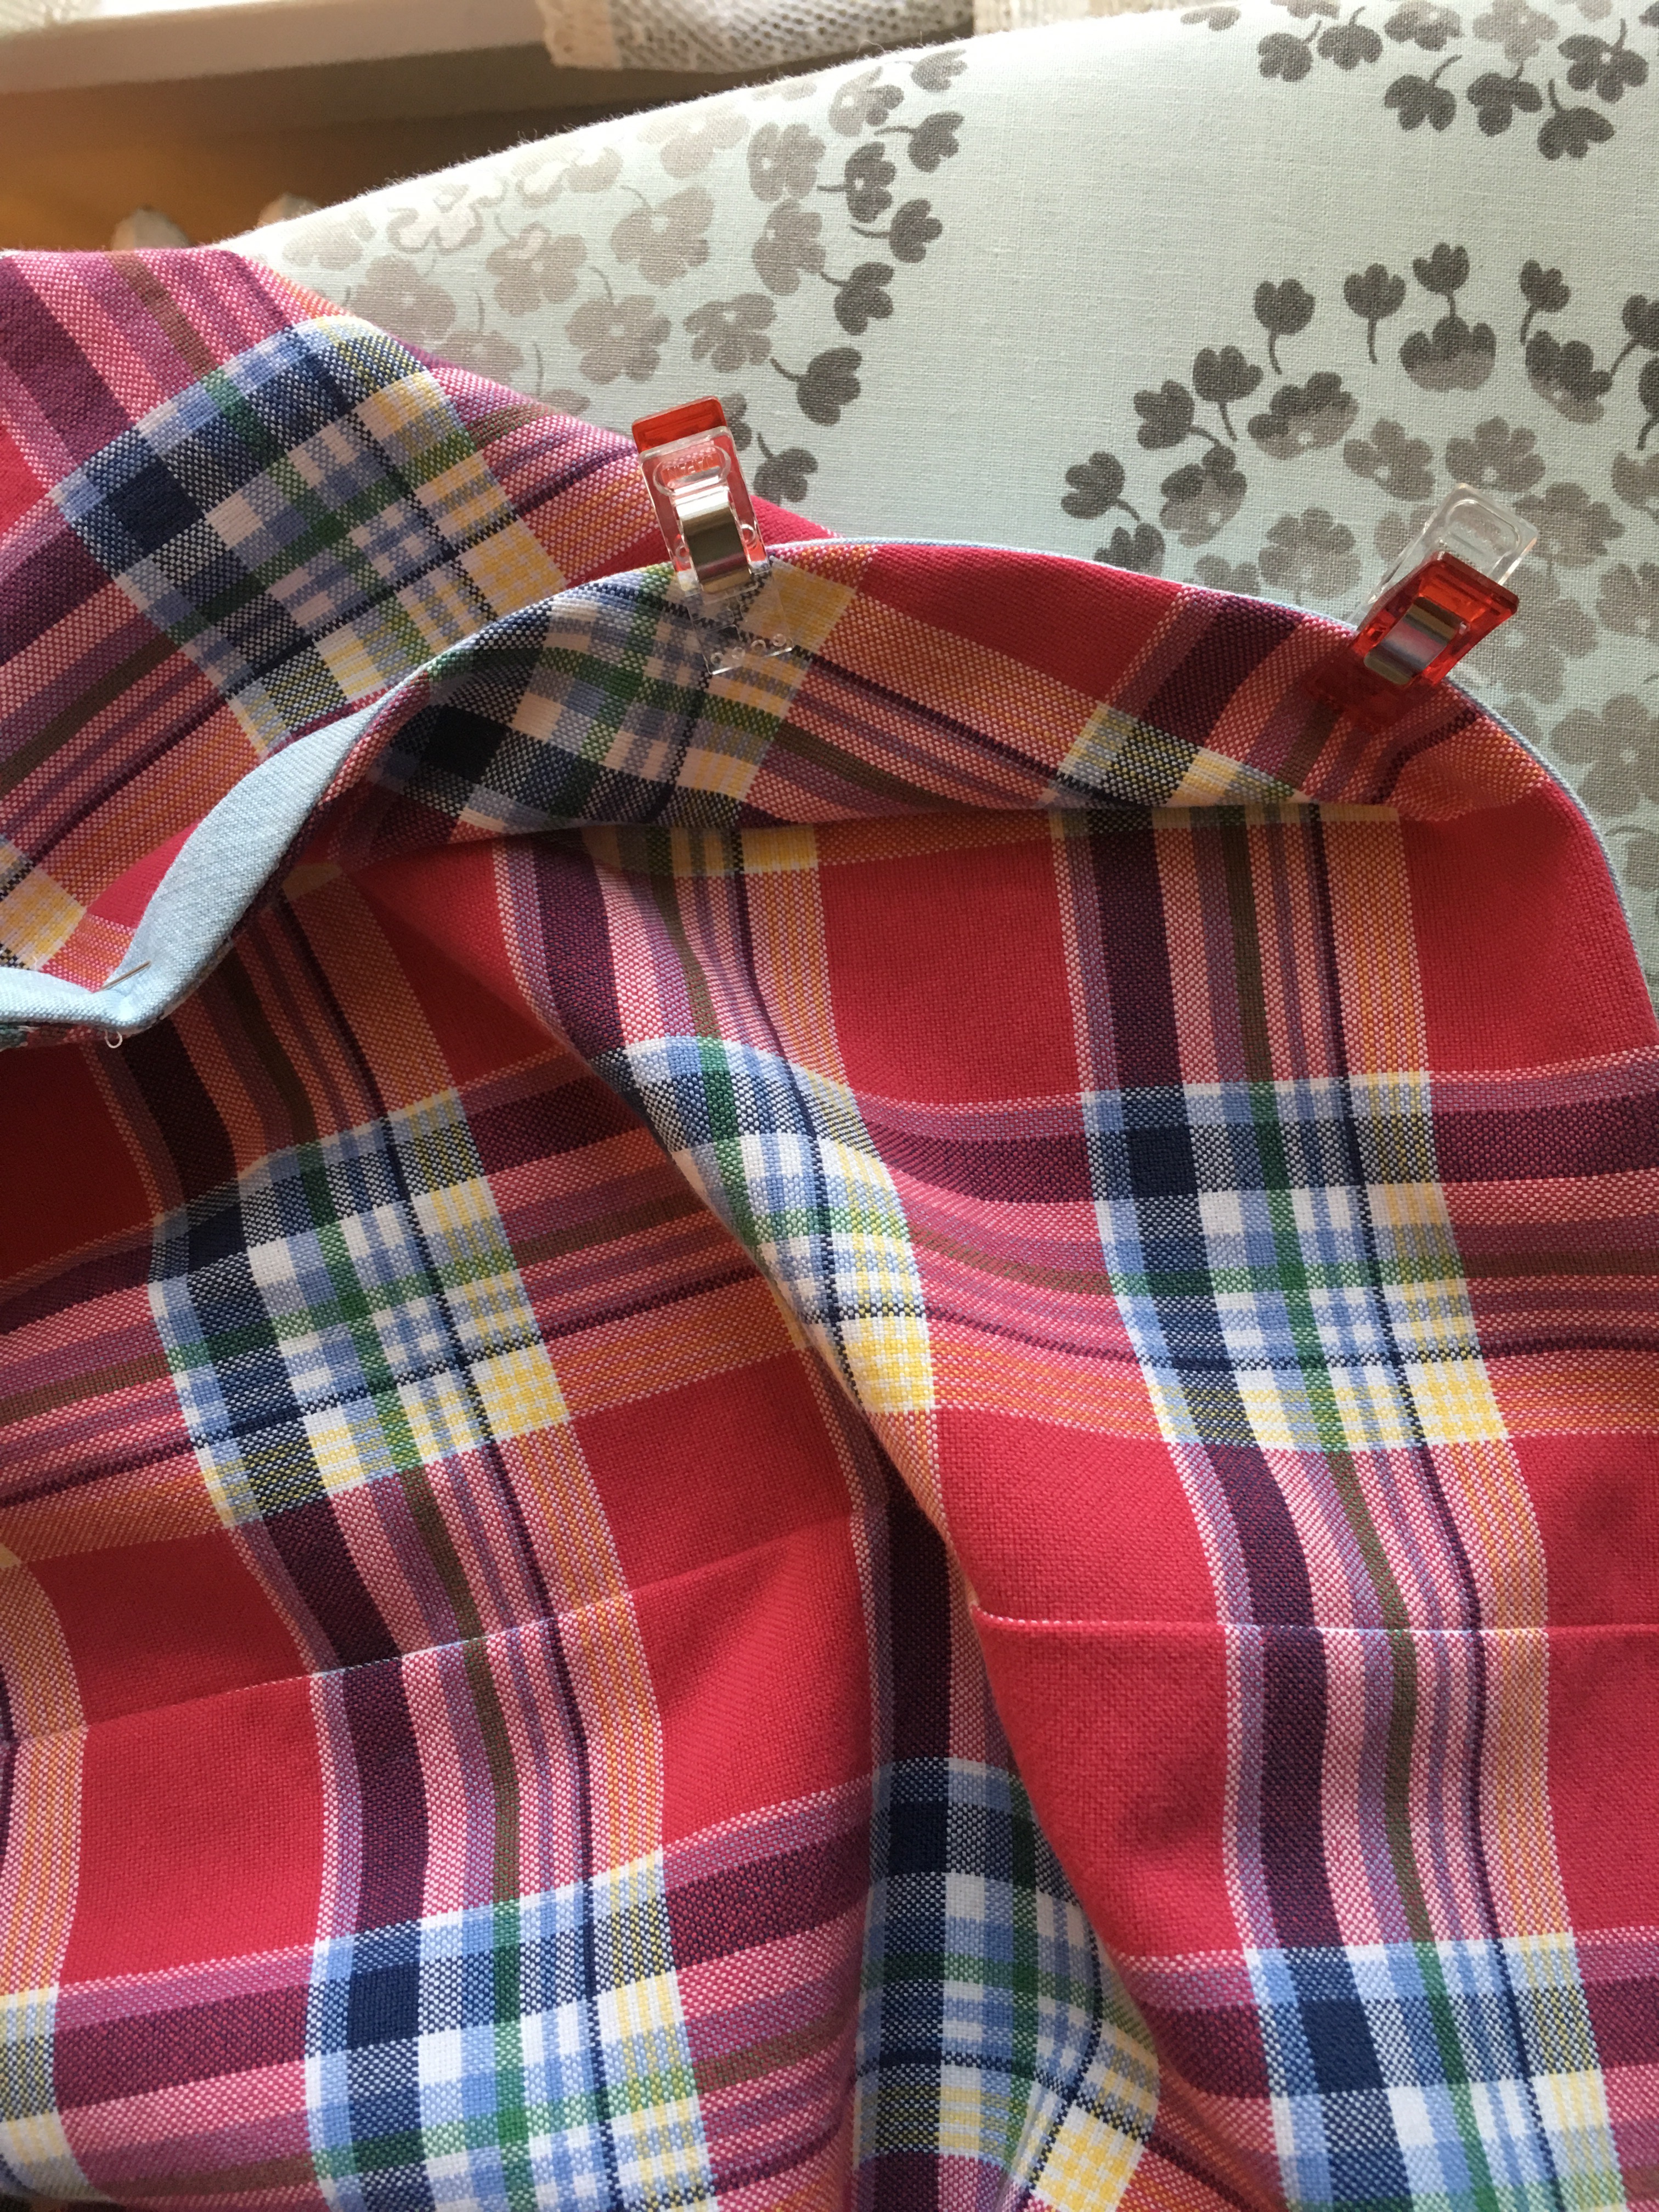
 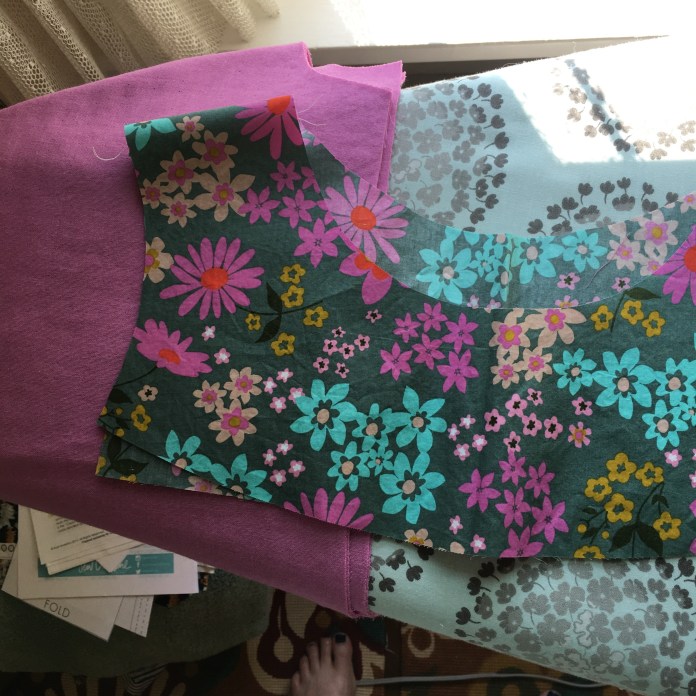 It involves something she calls the sausage technique. I have used it for most of my Ruby and Washi garments. It works like a charm. Some steps pictured below.
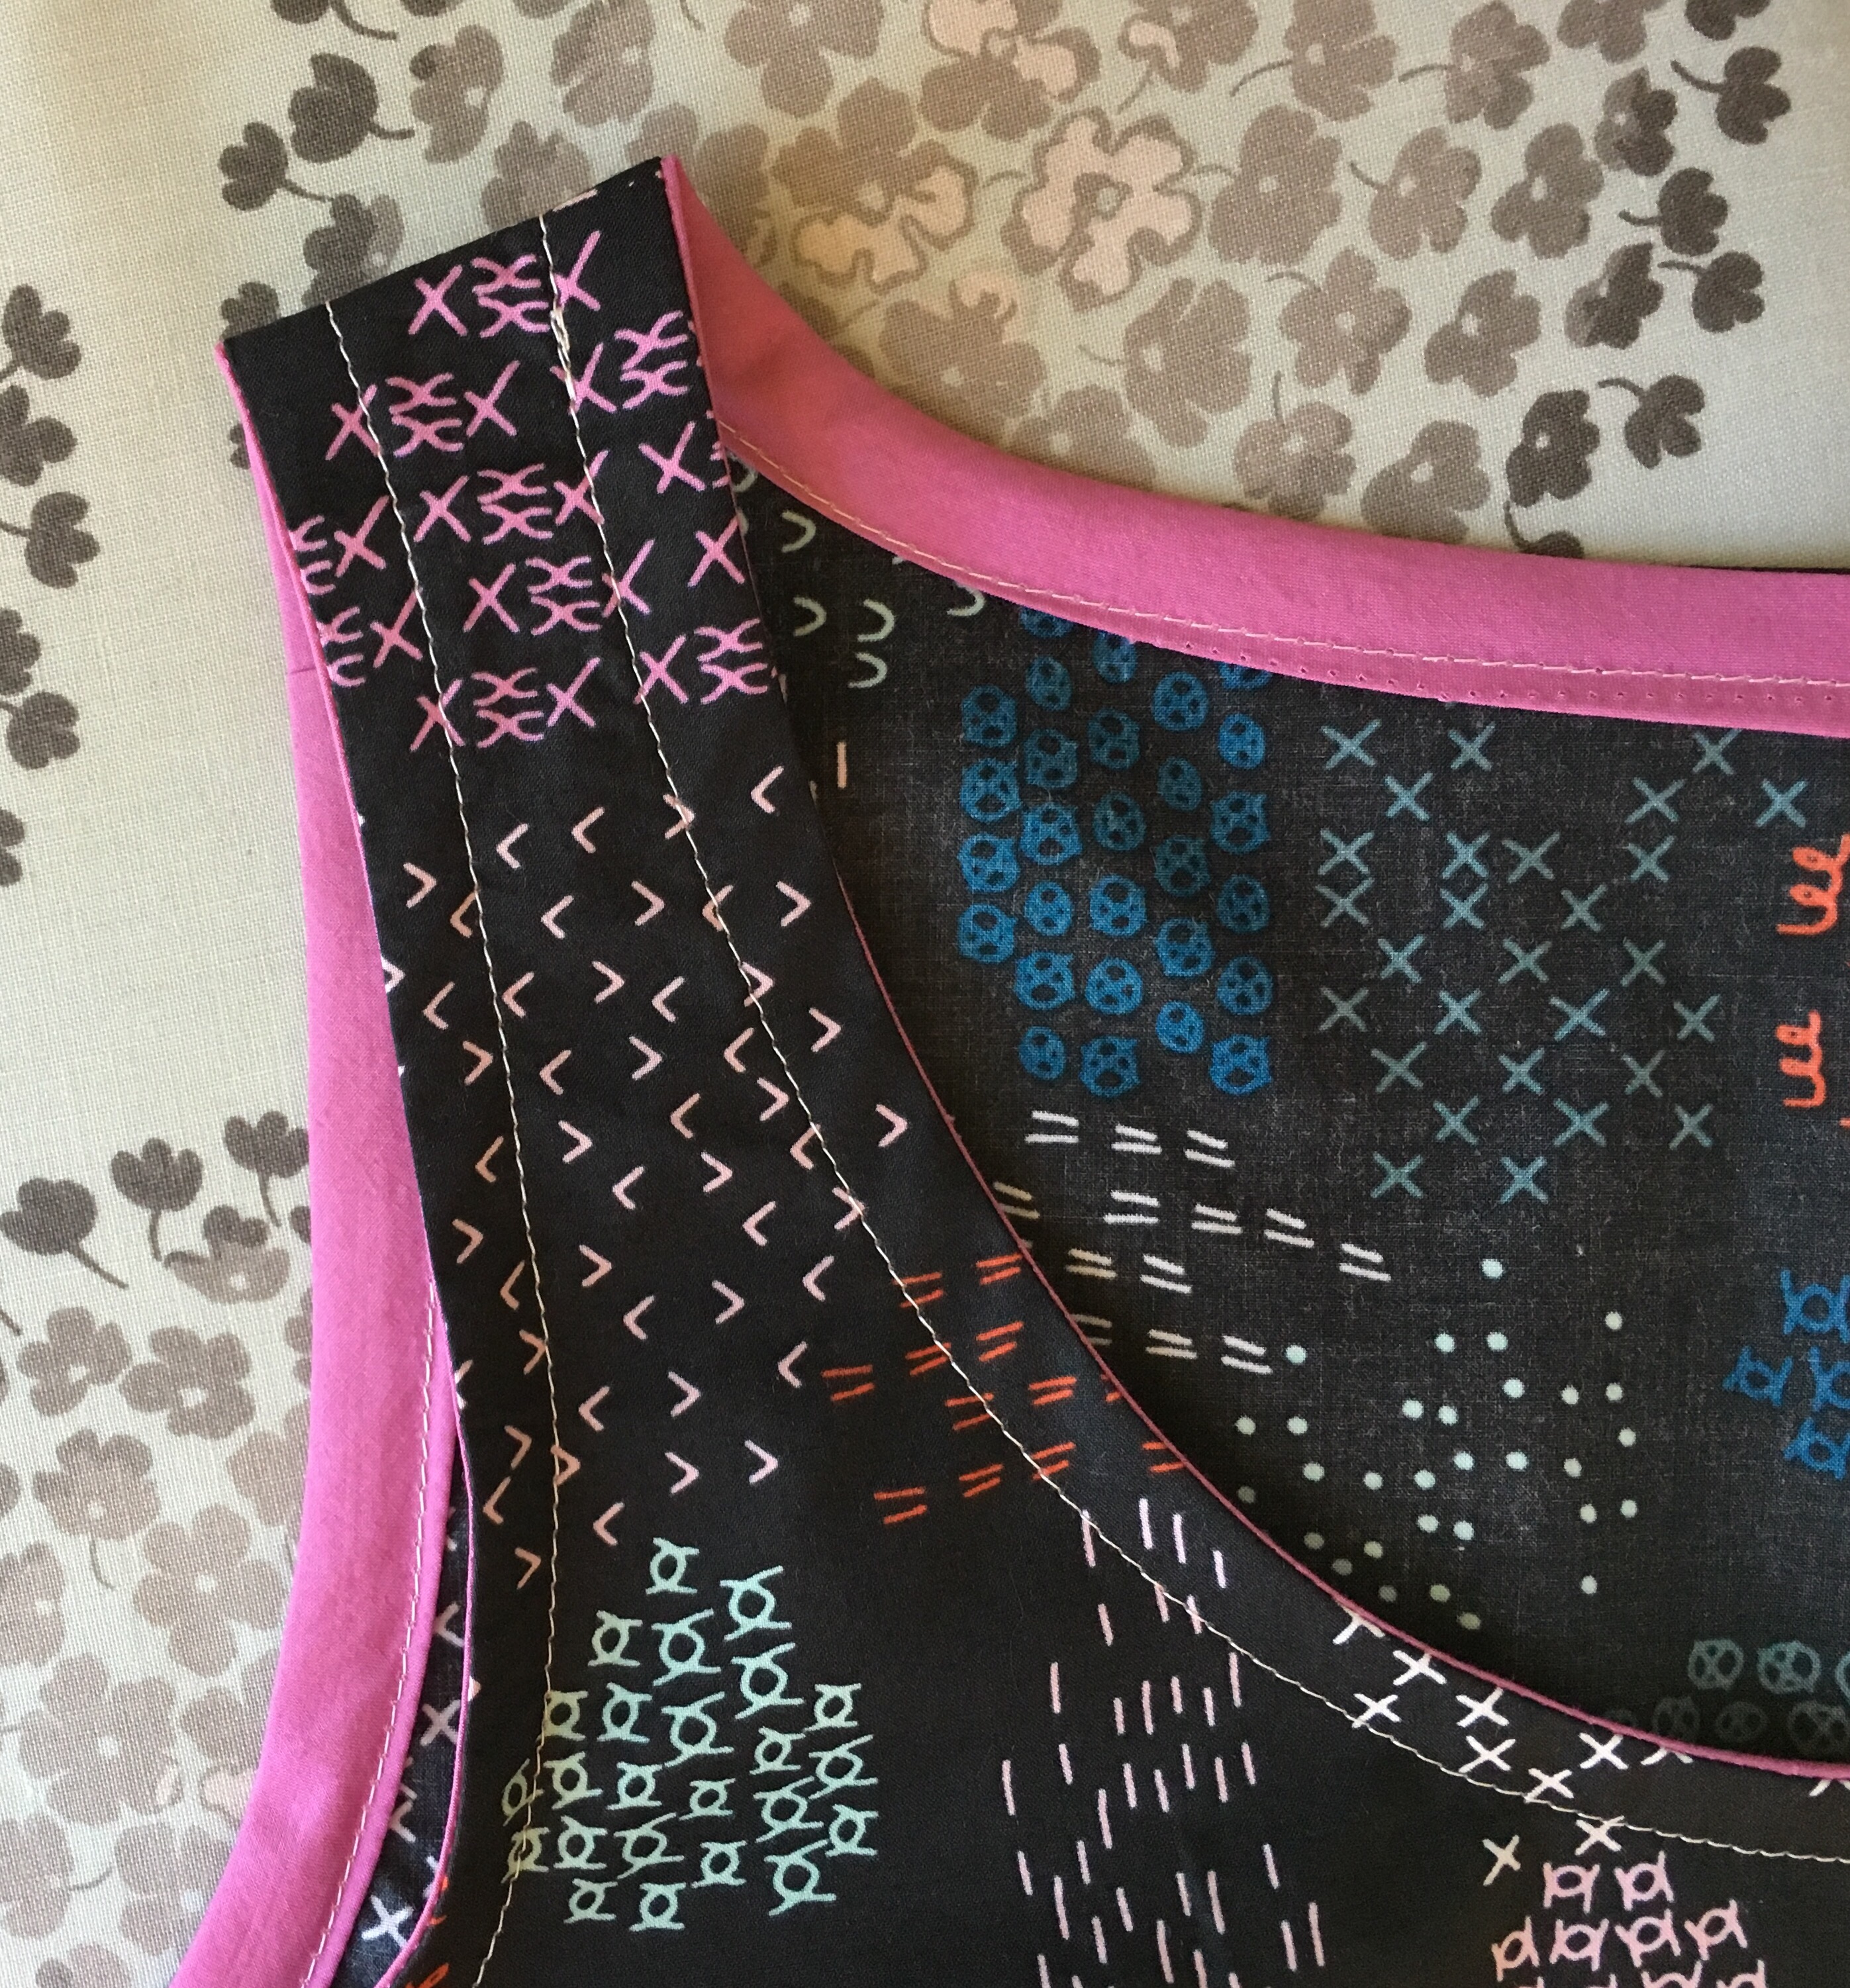
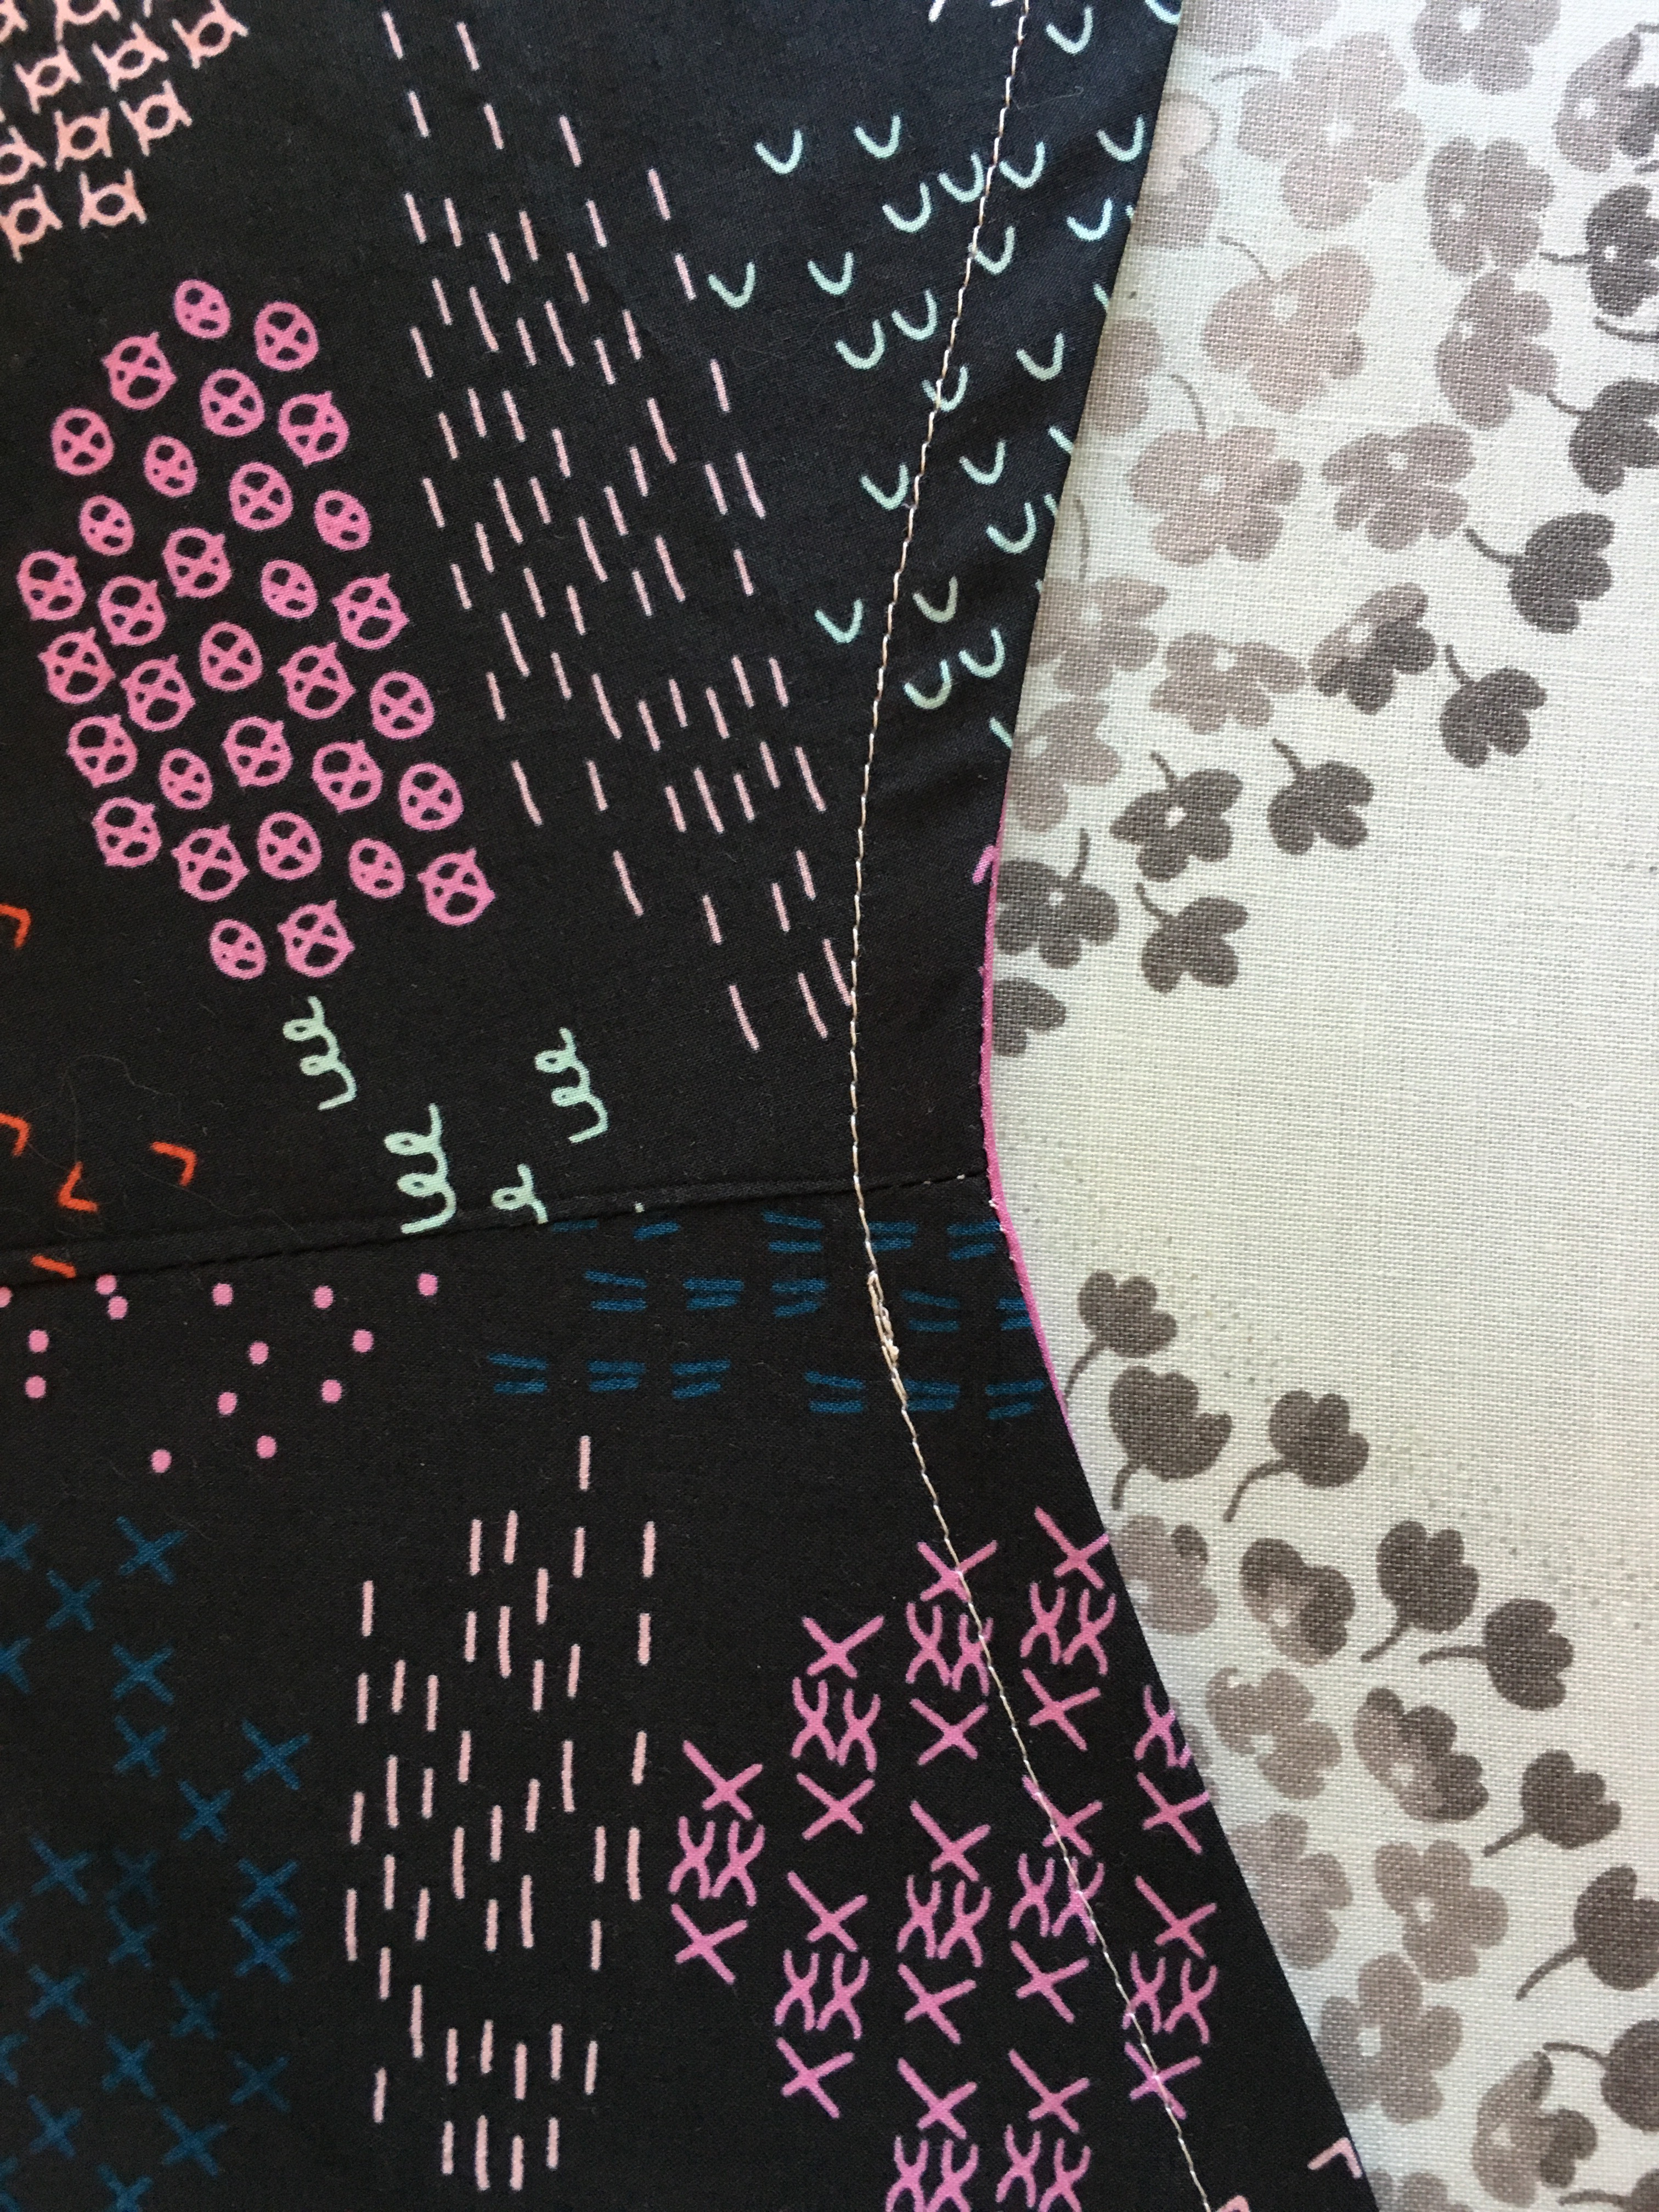
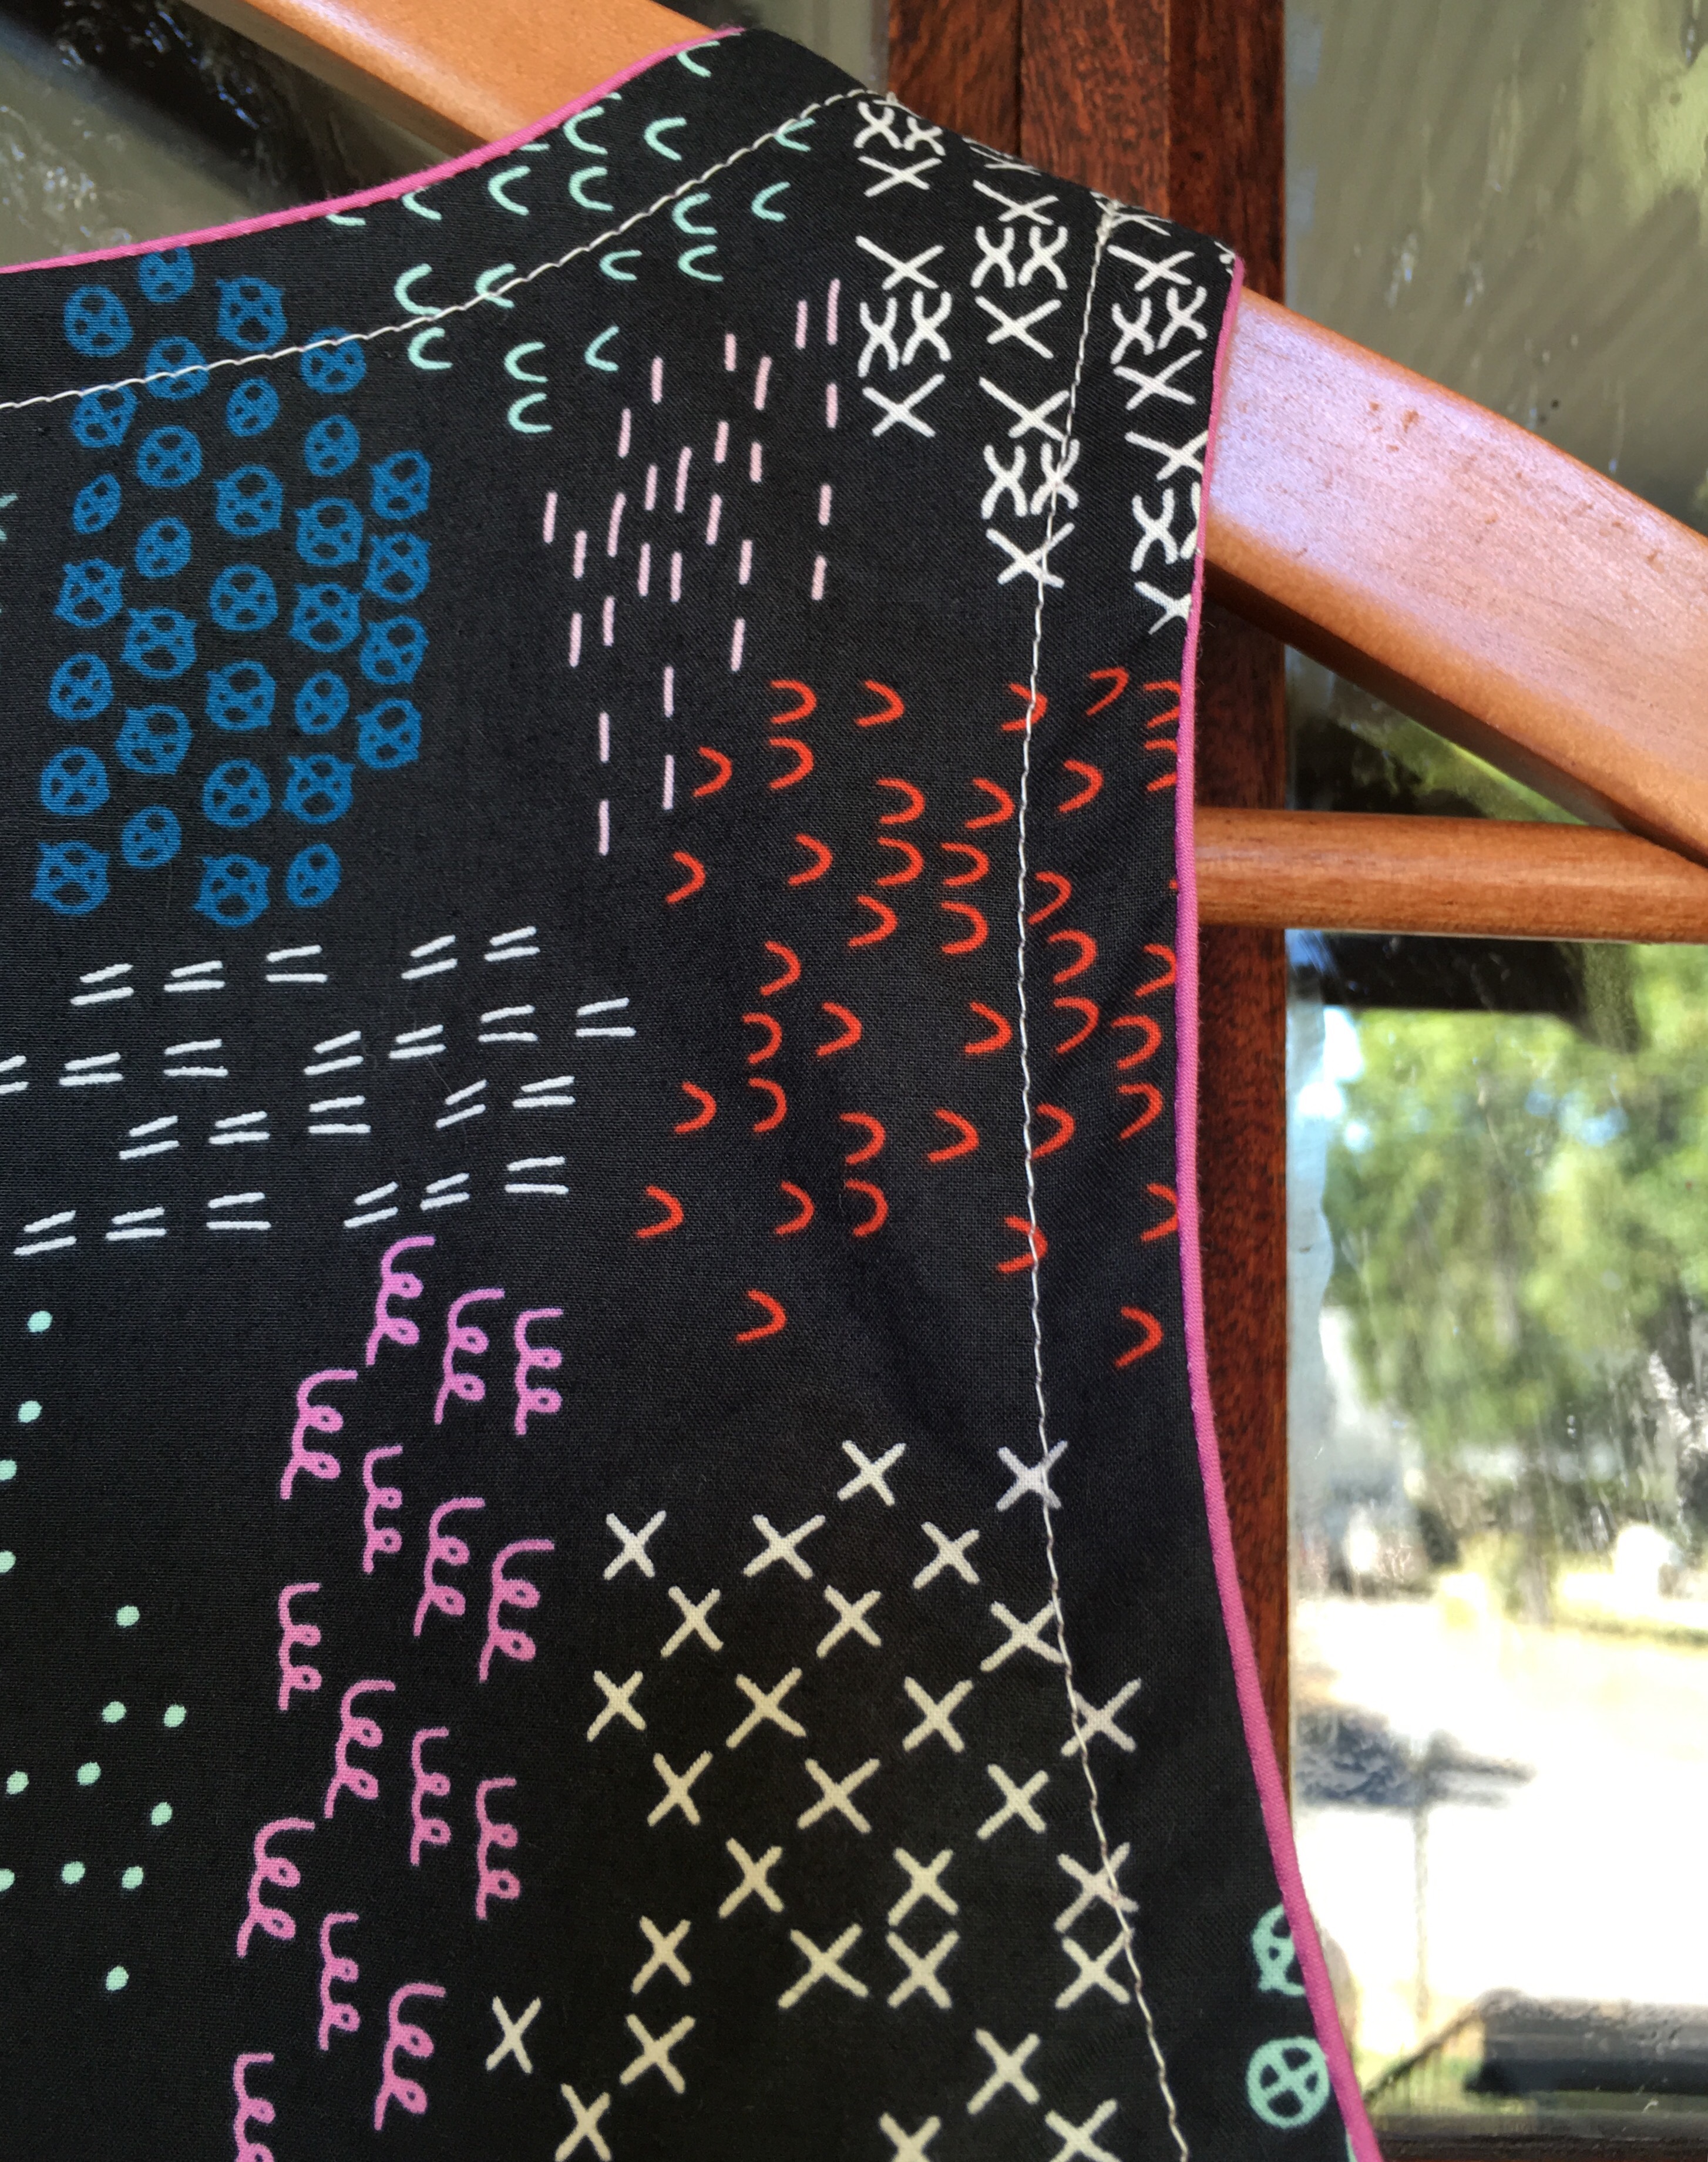
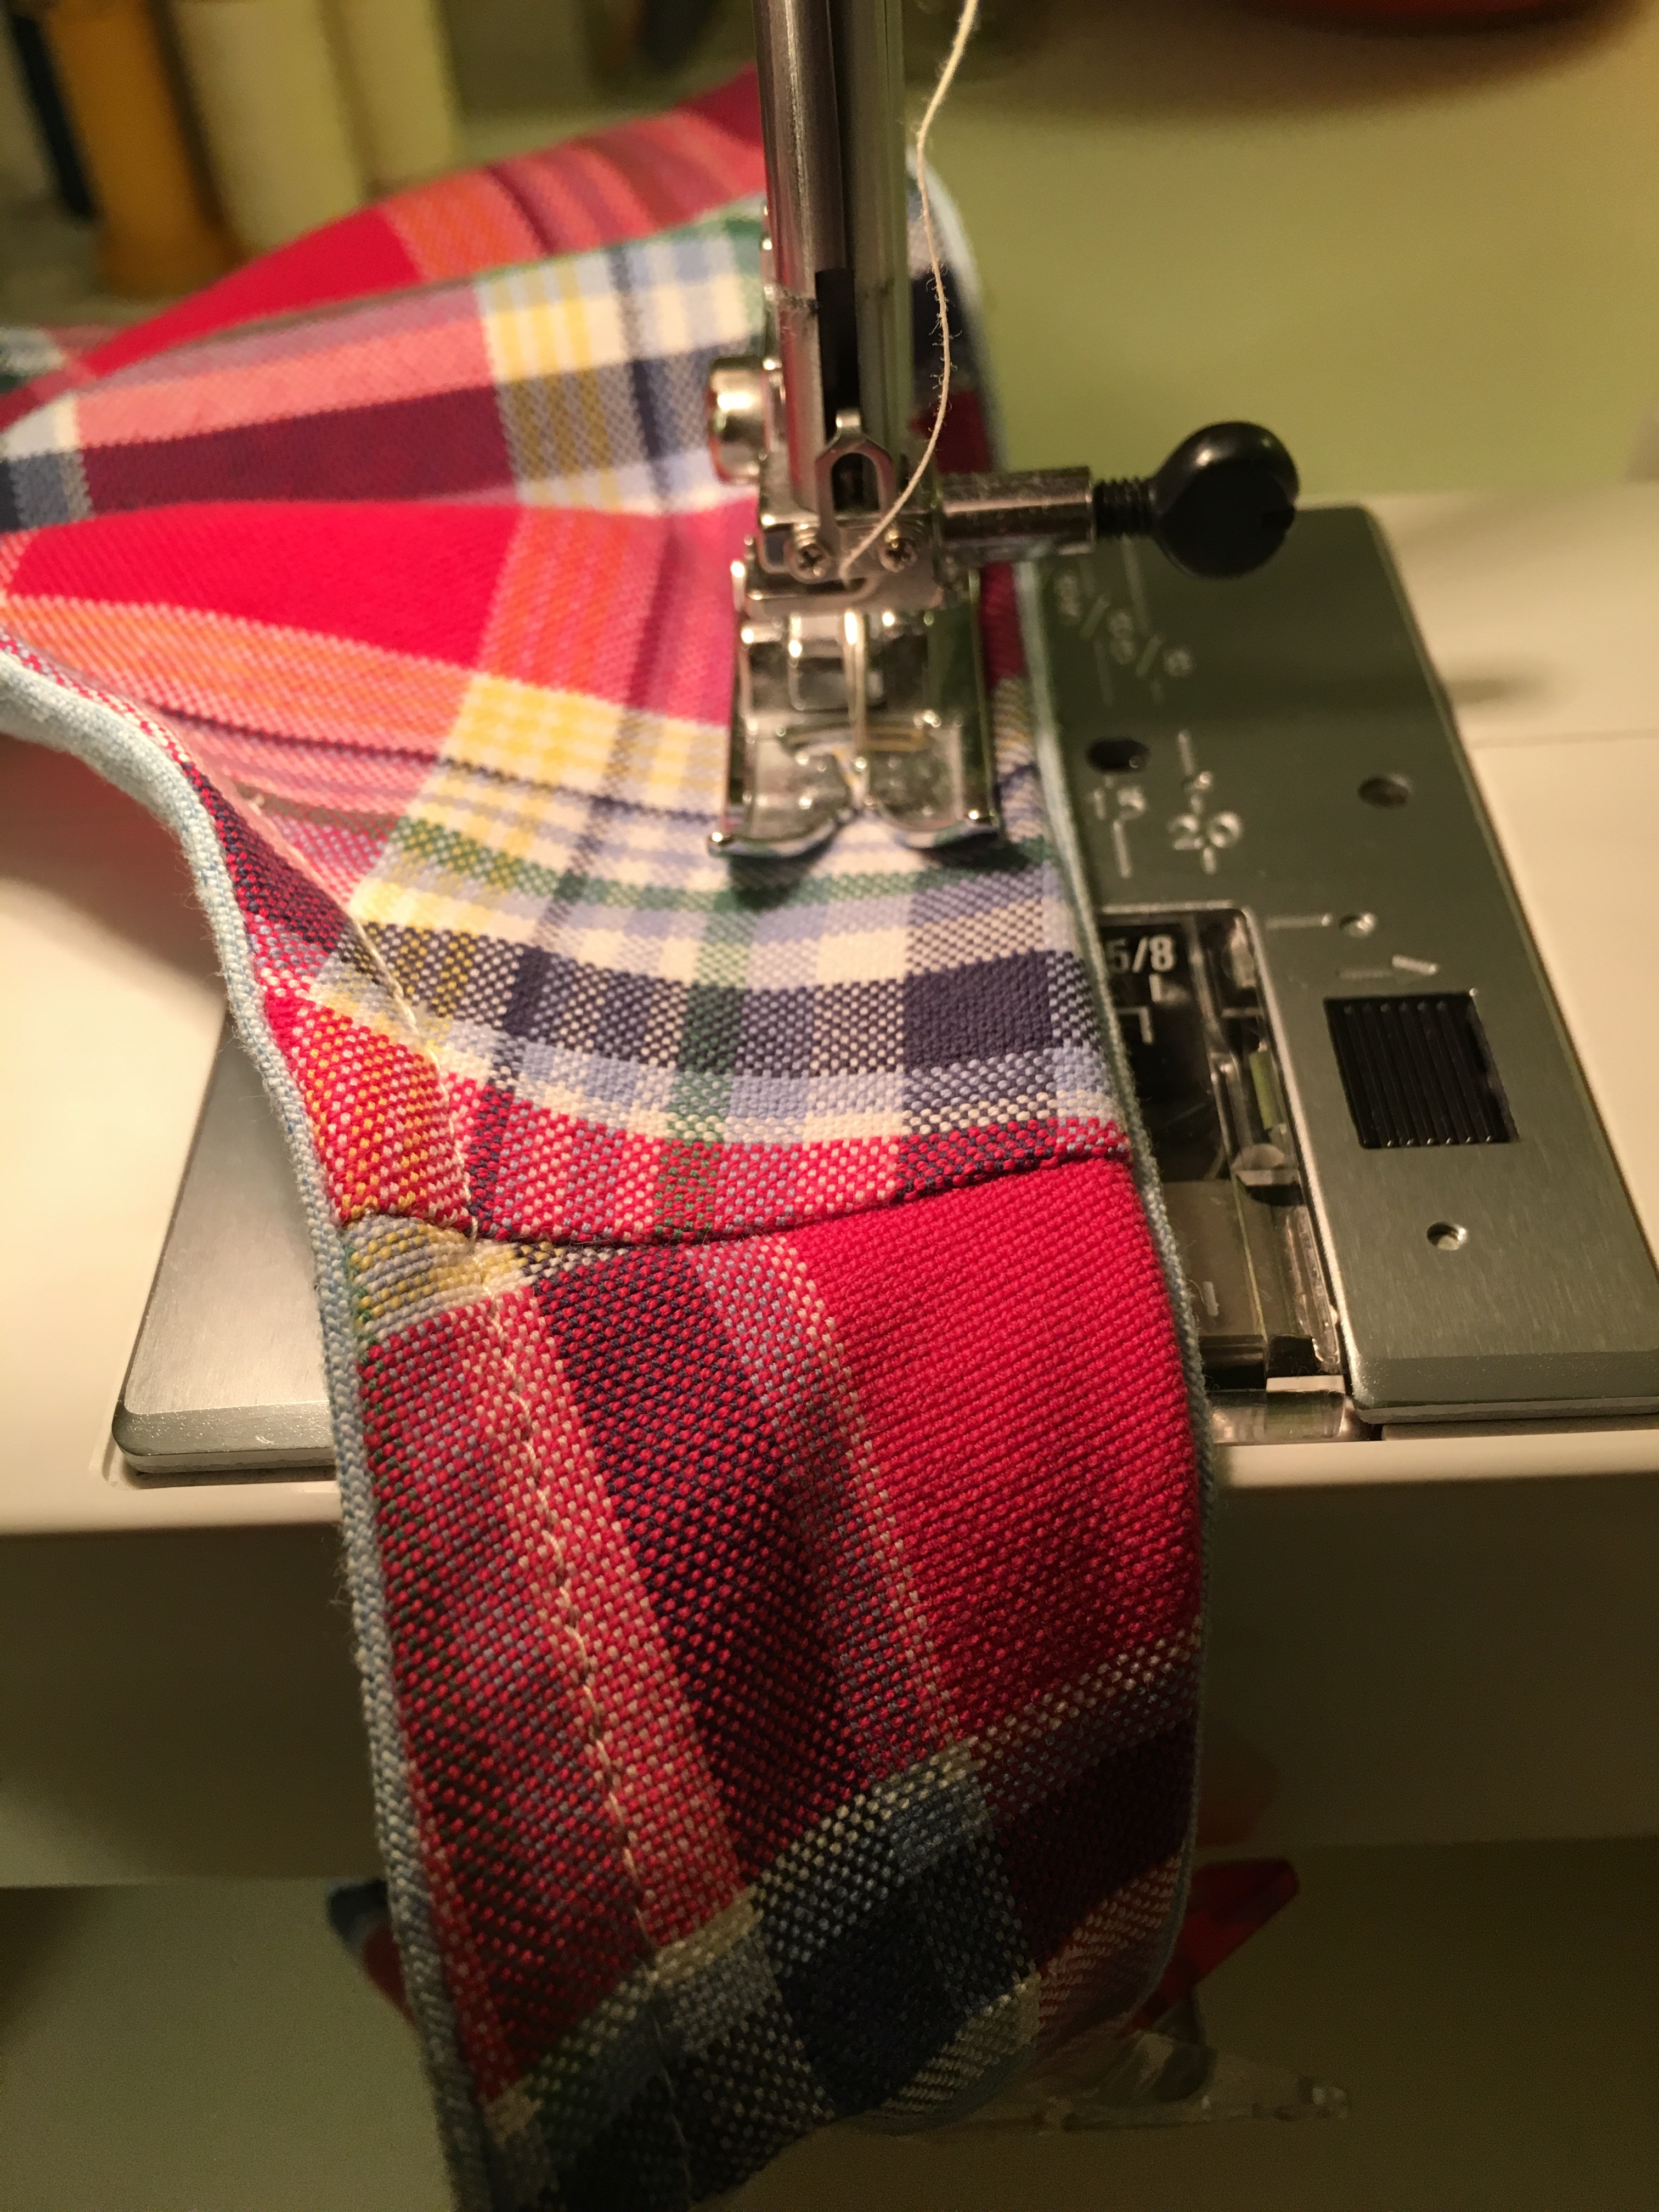
I get great results every time following Rae’s instructions. Sometimes I top stitch the neckline and sometimes I don’t. I am always nervous doing it because I don’t want to ruin the nice clean finish. Luckily I found perfectly matching thread (Gutermann CA02776 btw). Since I am always worried about double gauze fraying, I decided to stitch it so that the seam would be stronger. I was really happy with how it turned out.
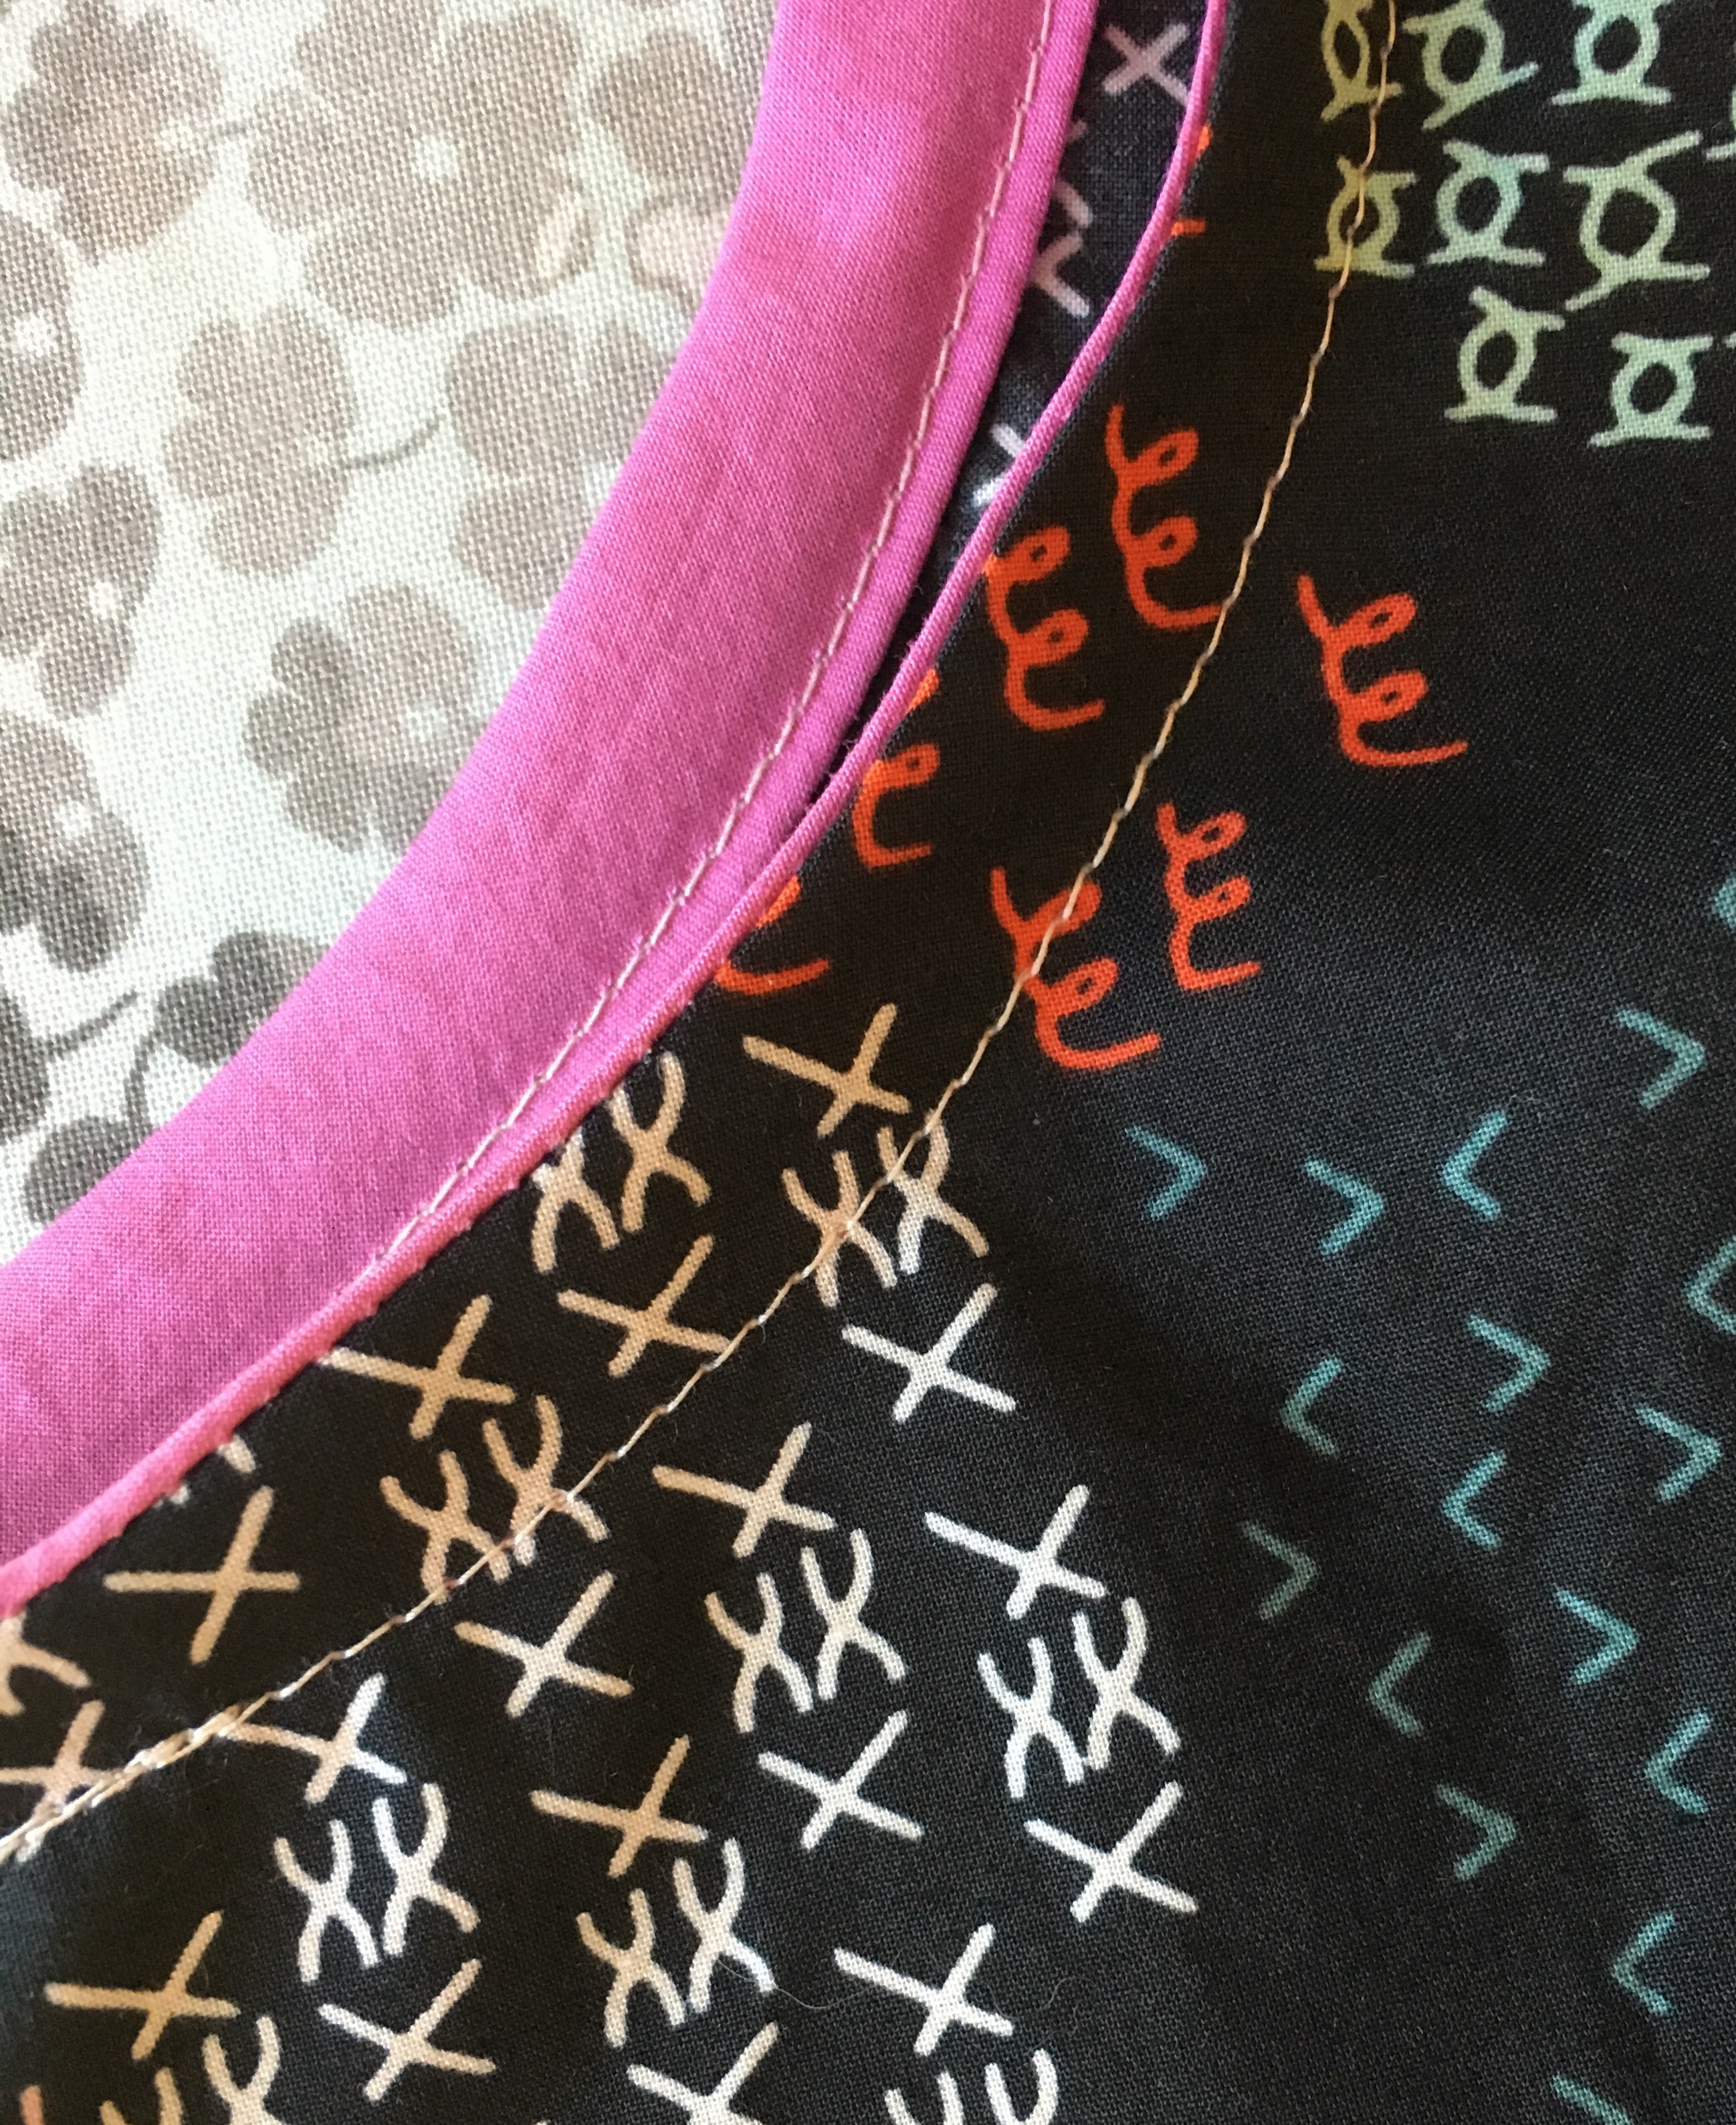
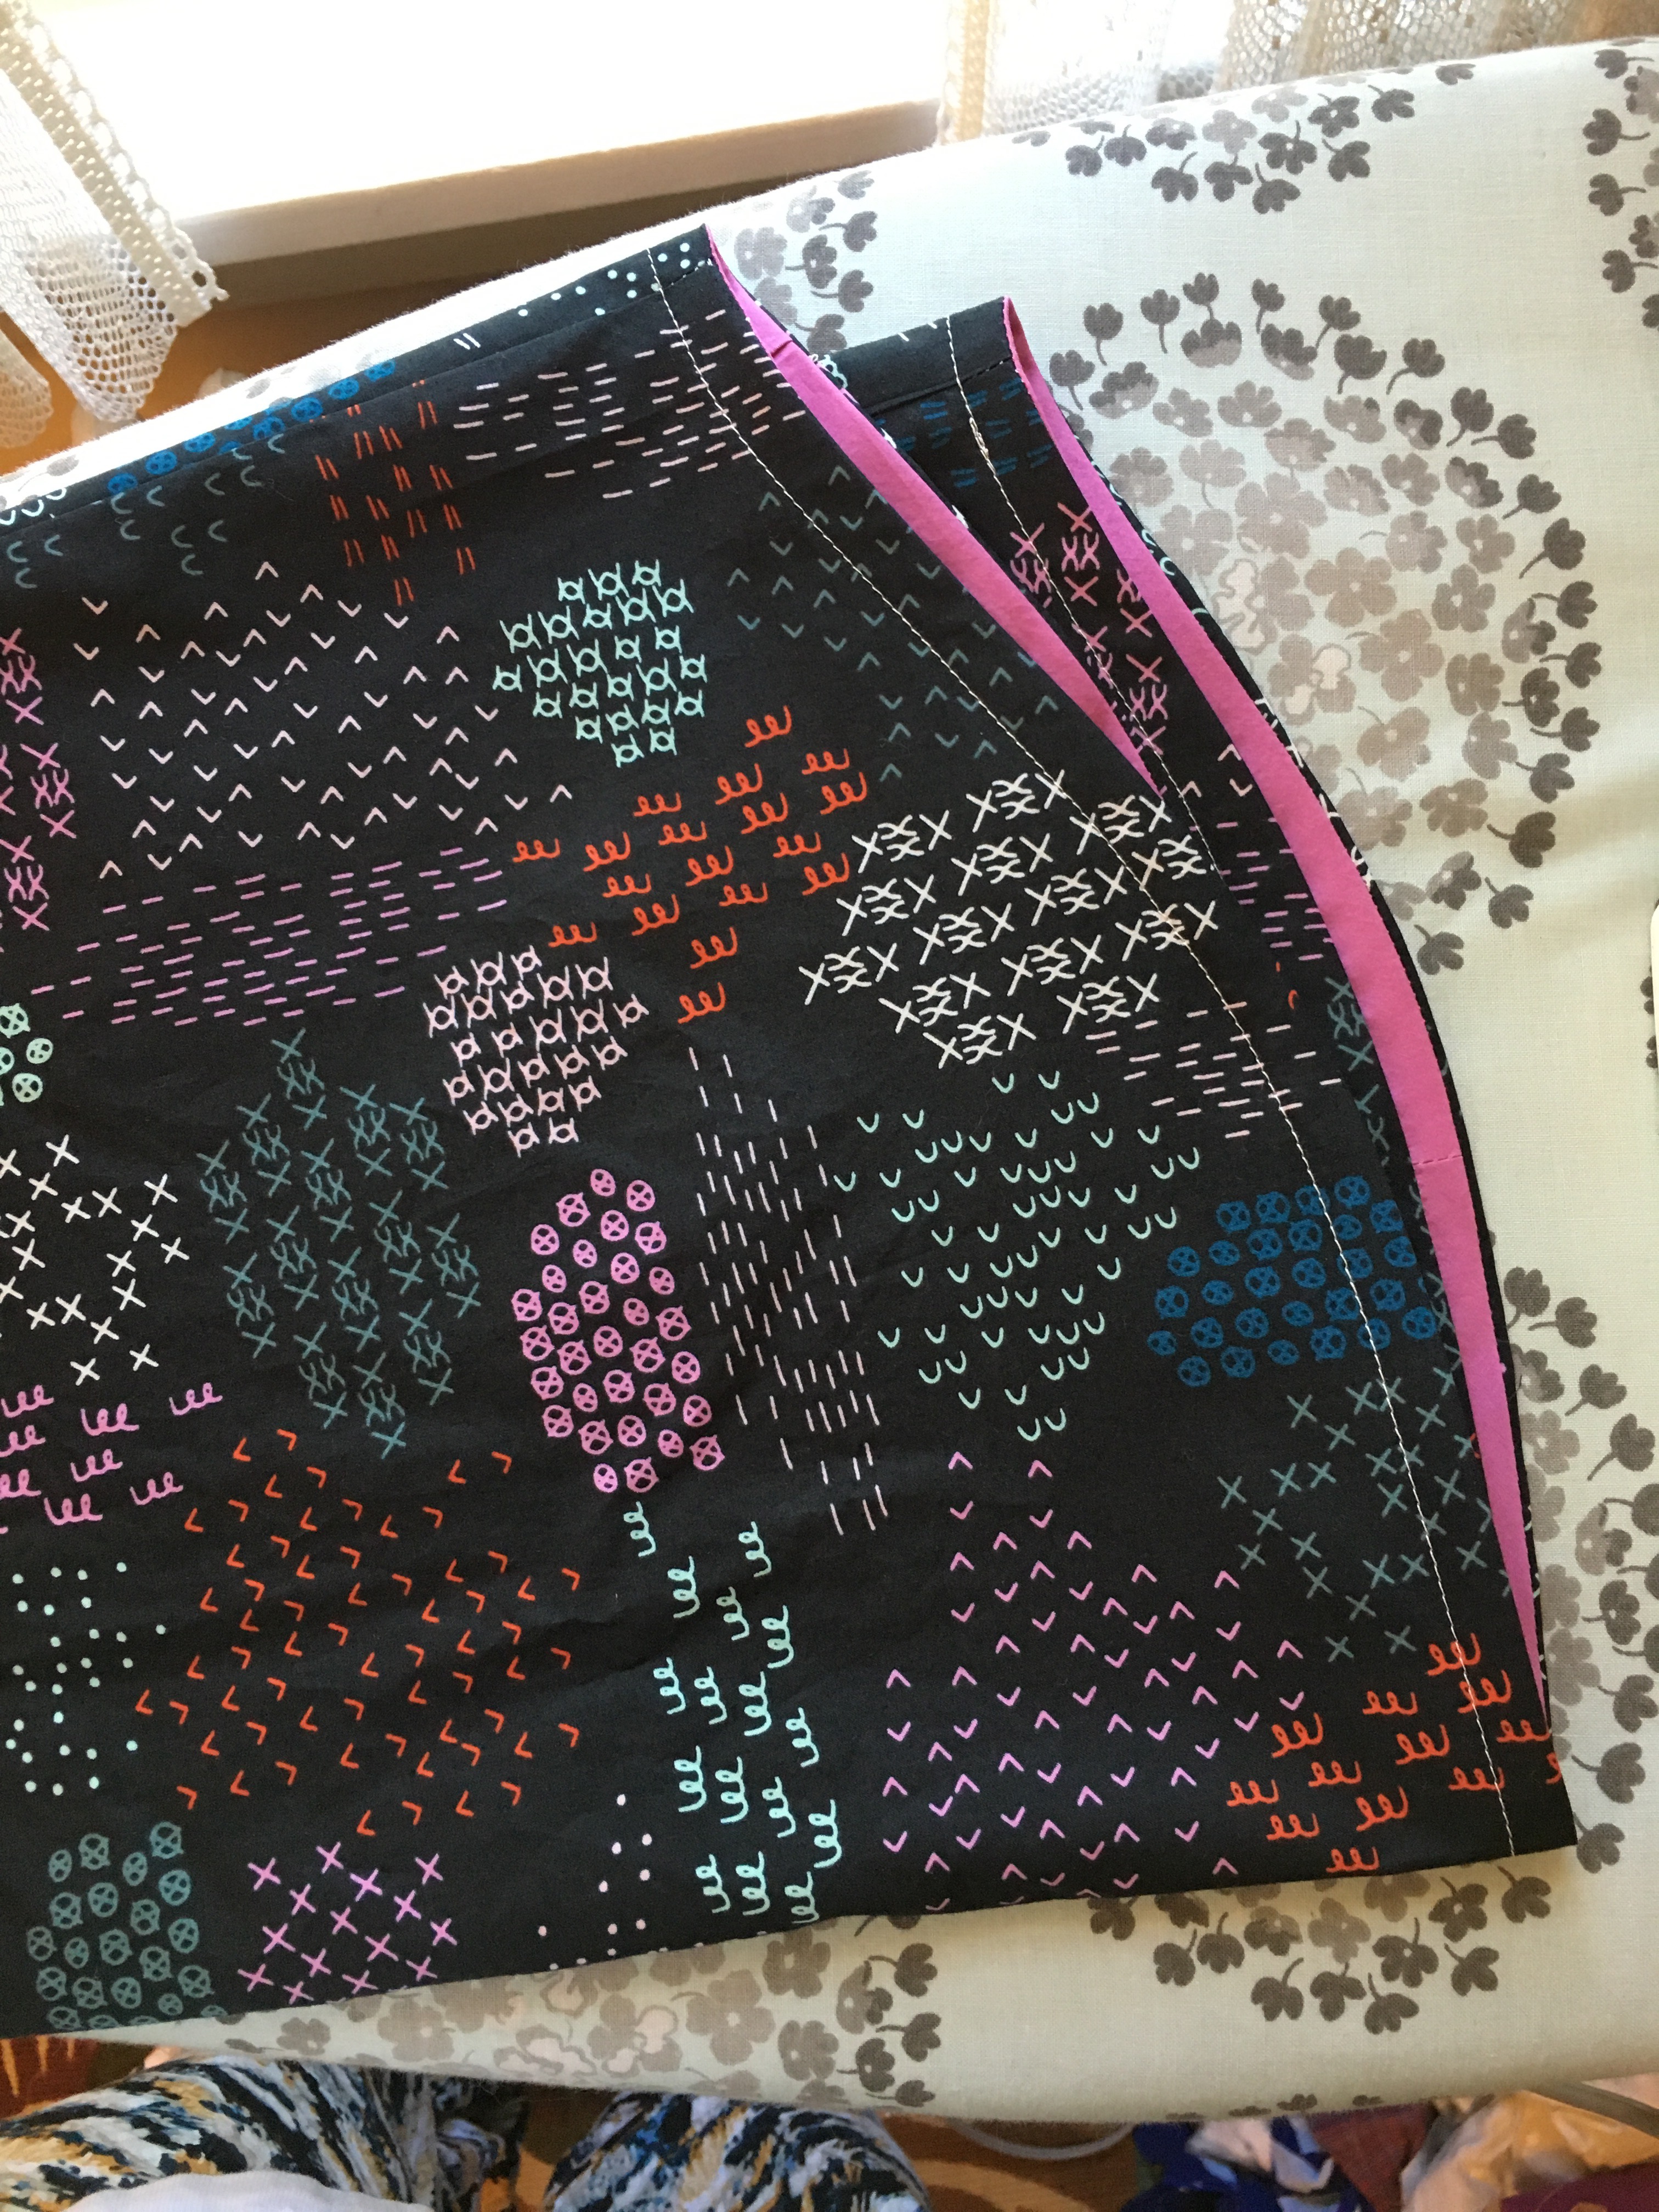
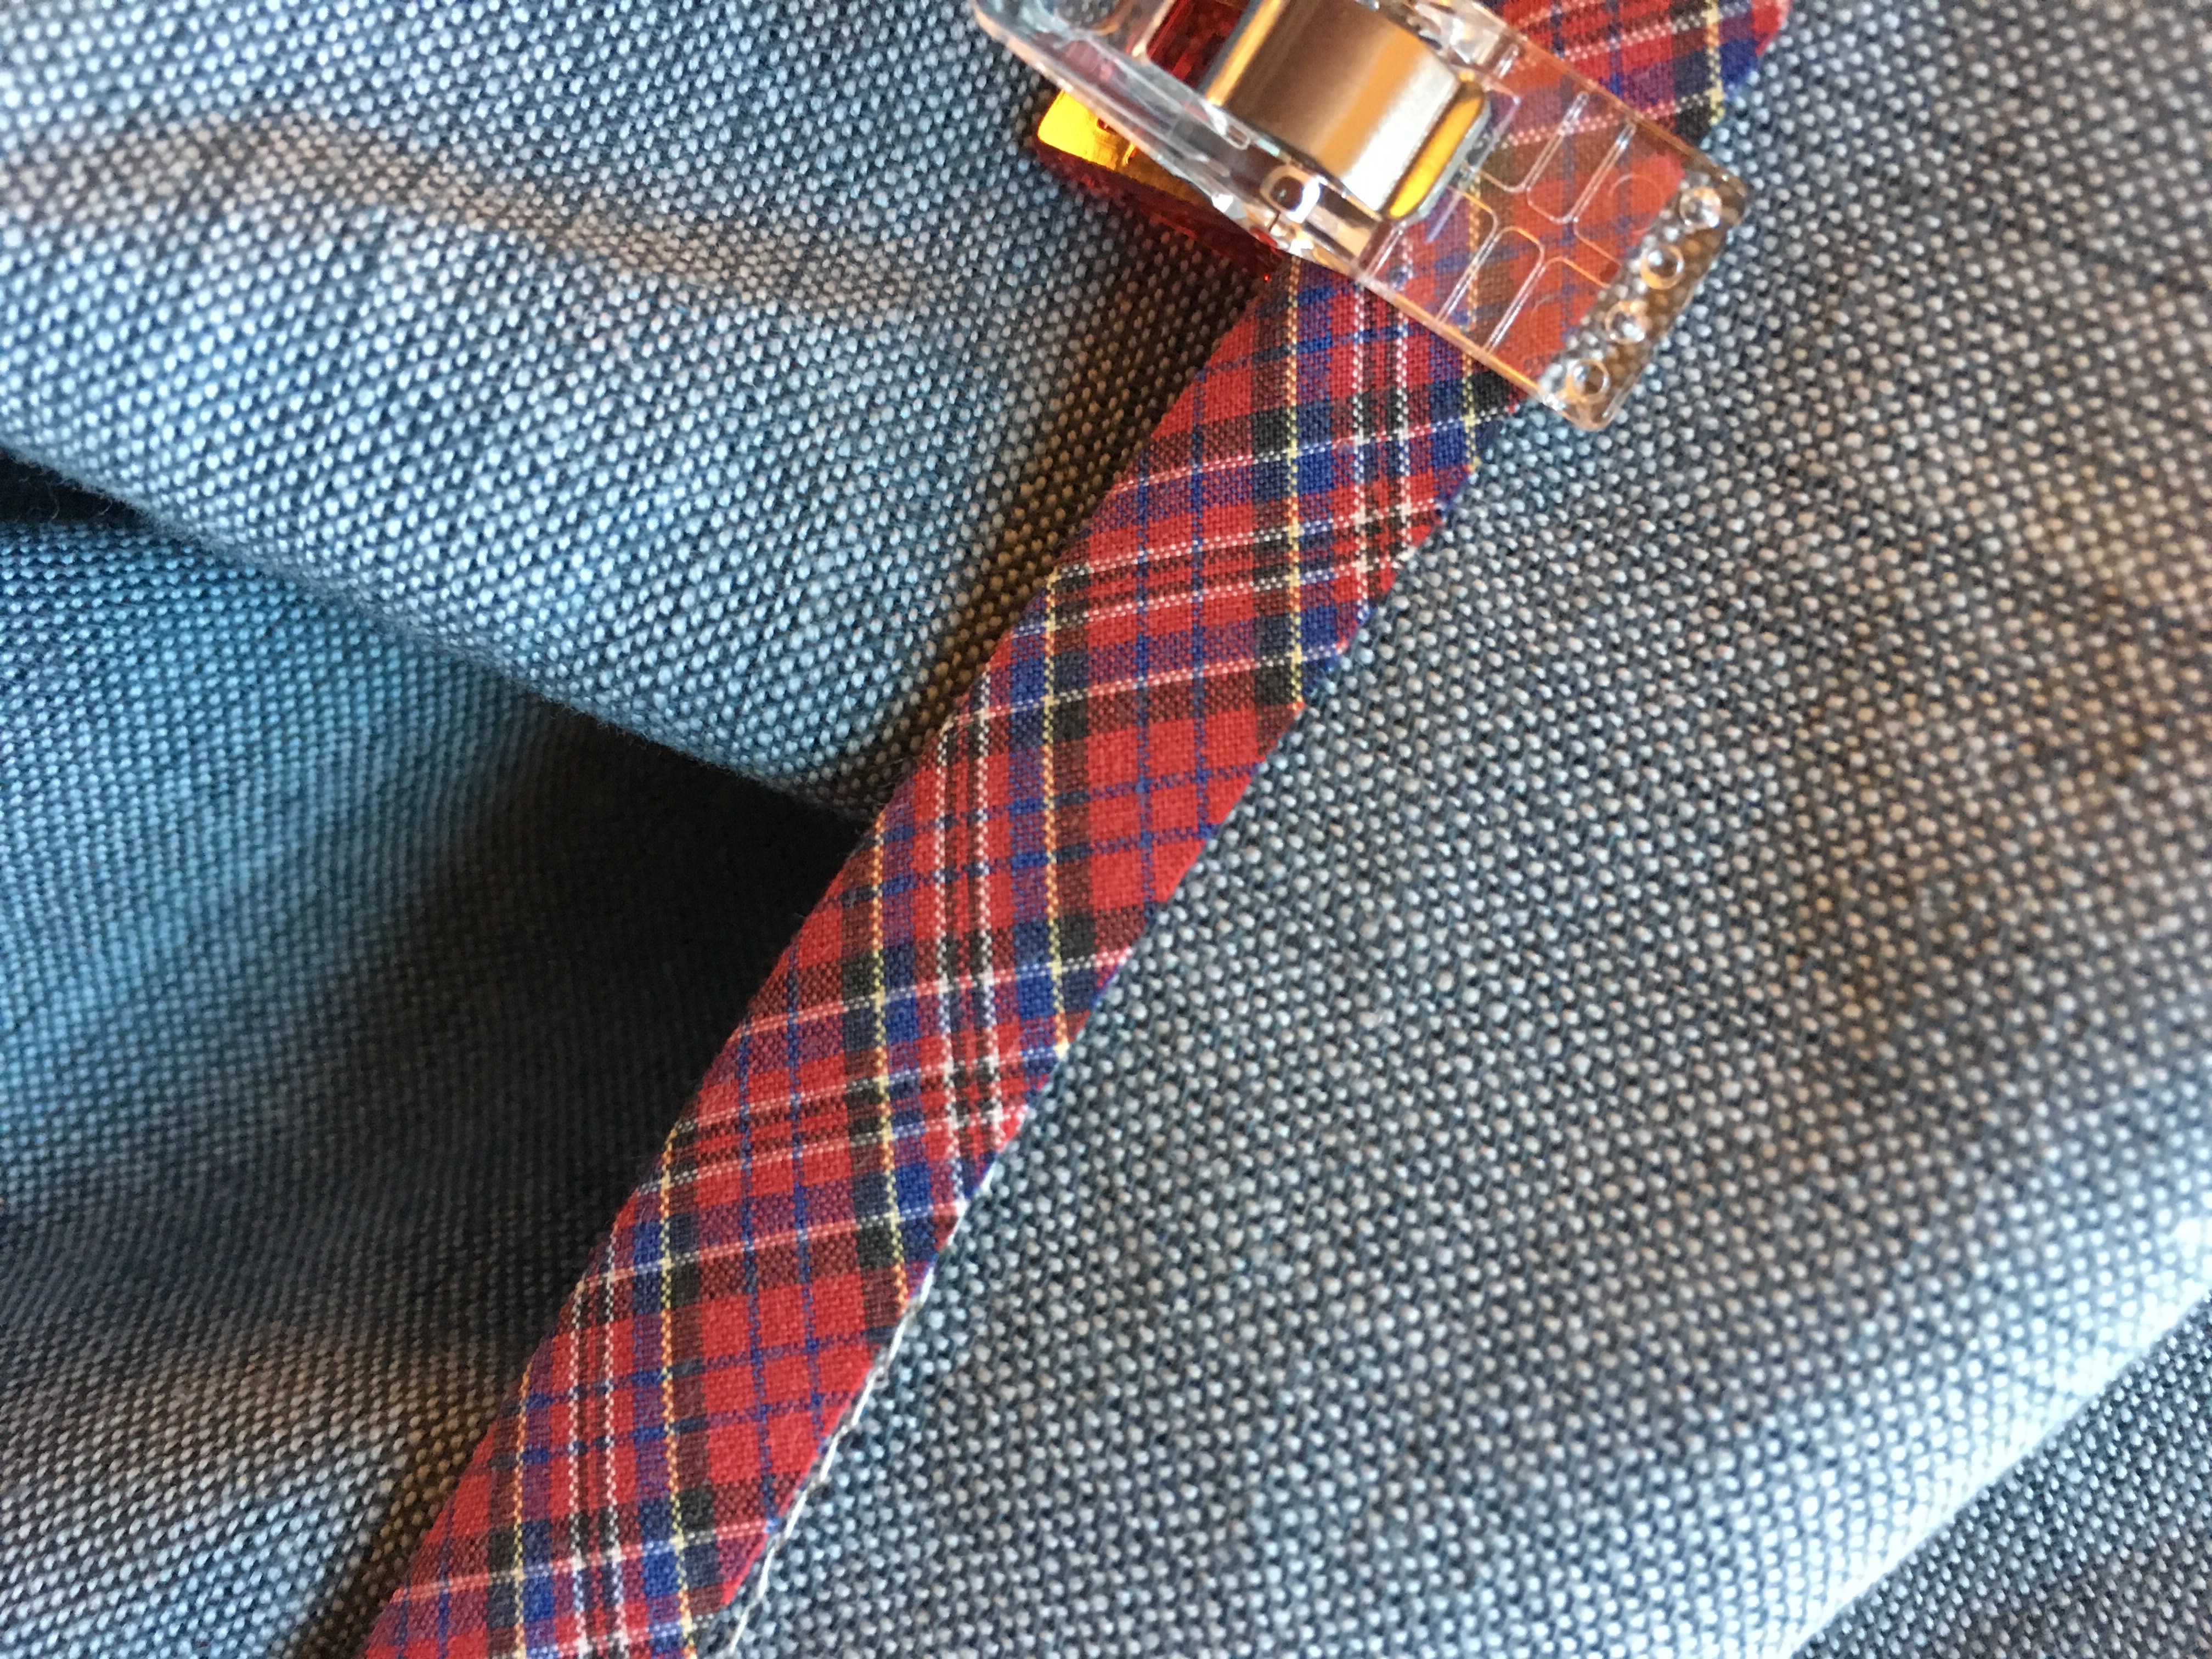
I sewed french seams for the side seams. Your iron is your friend when you are sewing french seams with double gauze. Also a rotary cutter to trim the fringe after sewing the first seam. I use pins to mark the right side of the fabric since it is sometimes hard to tell which is which.
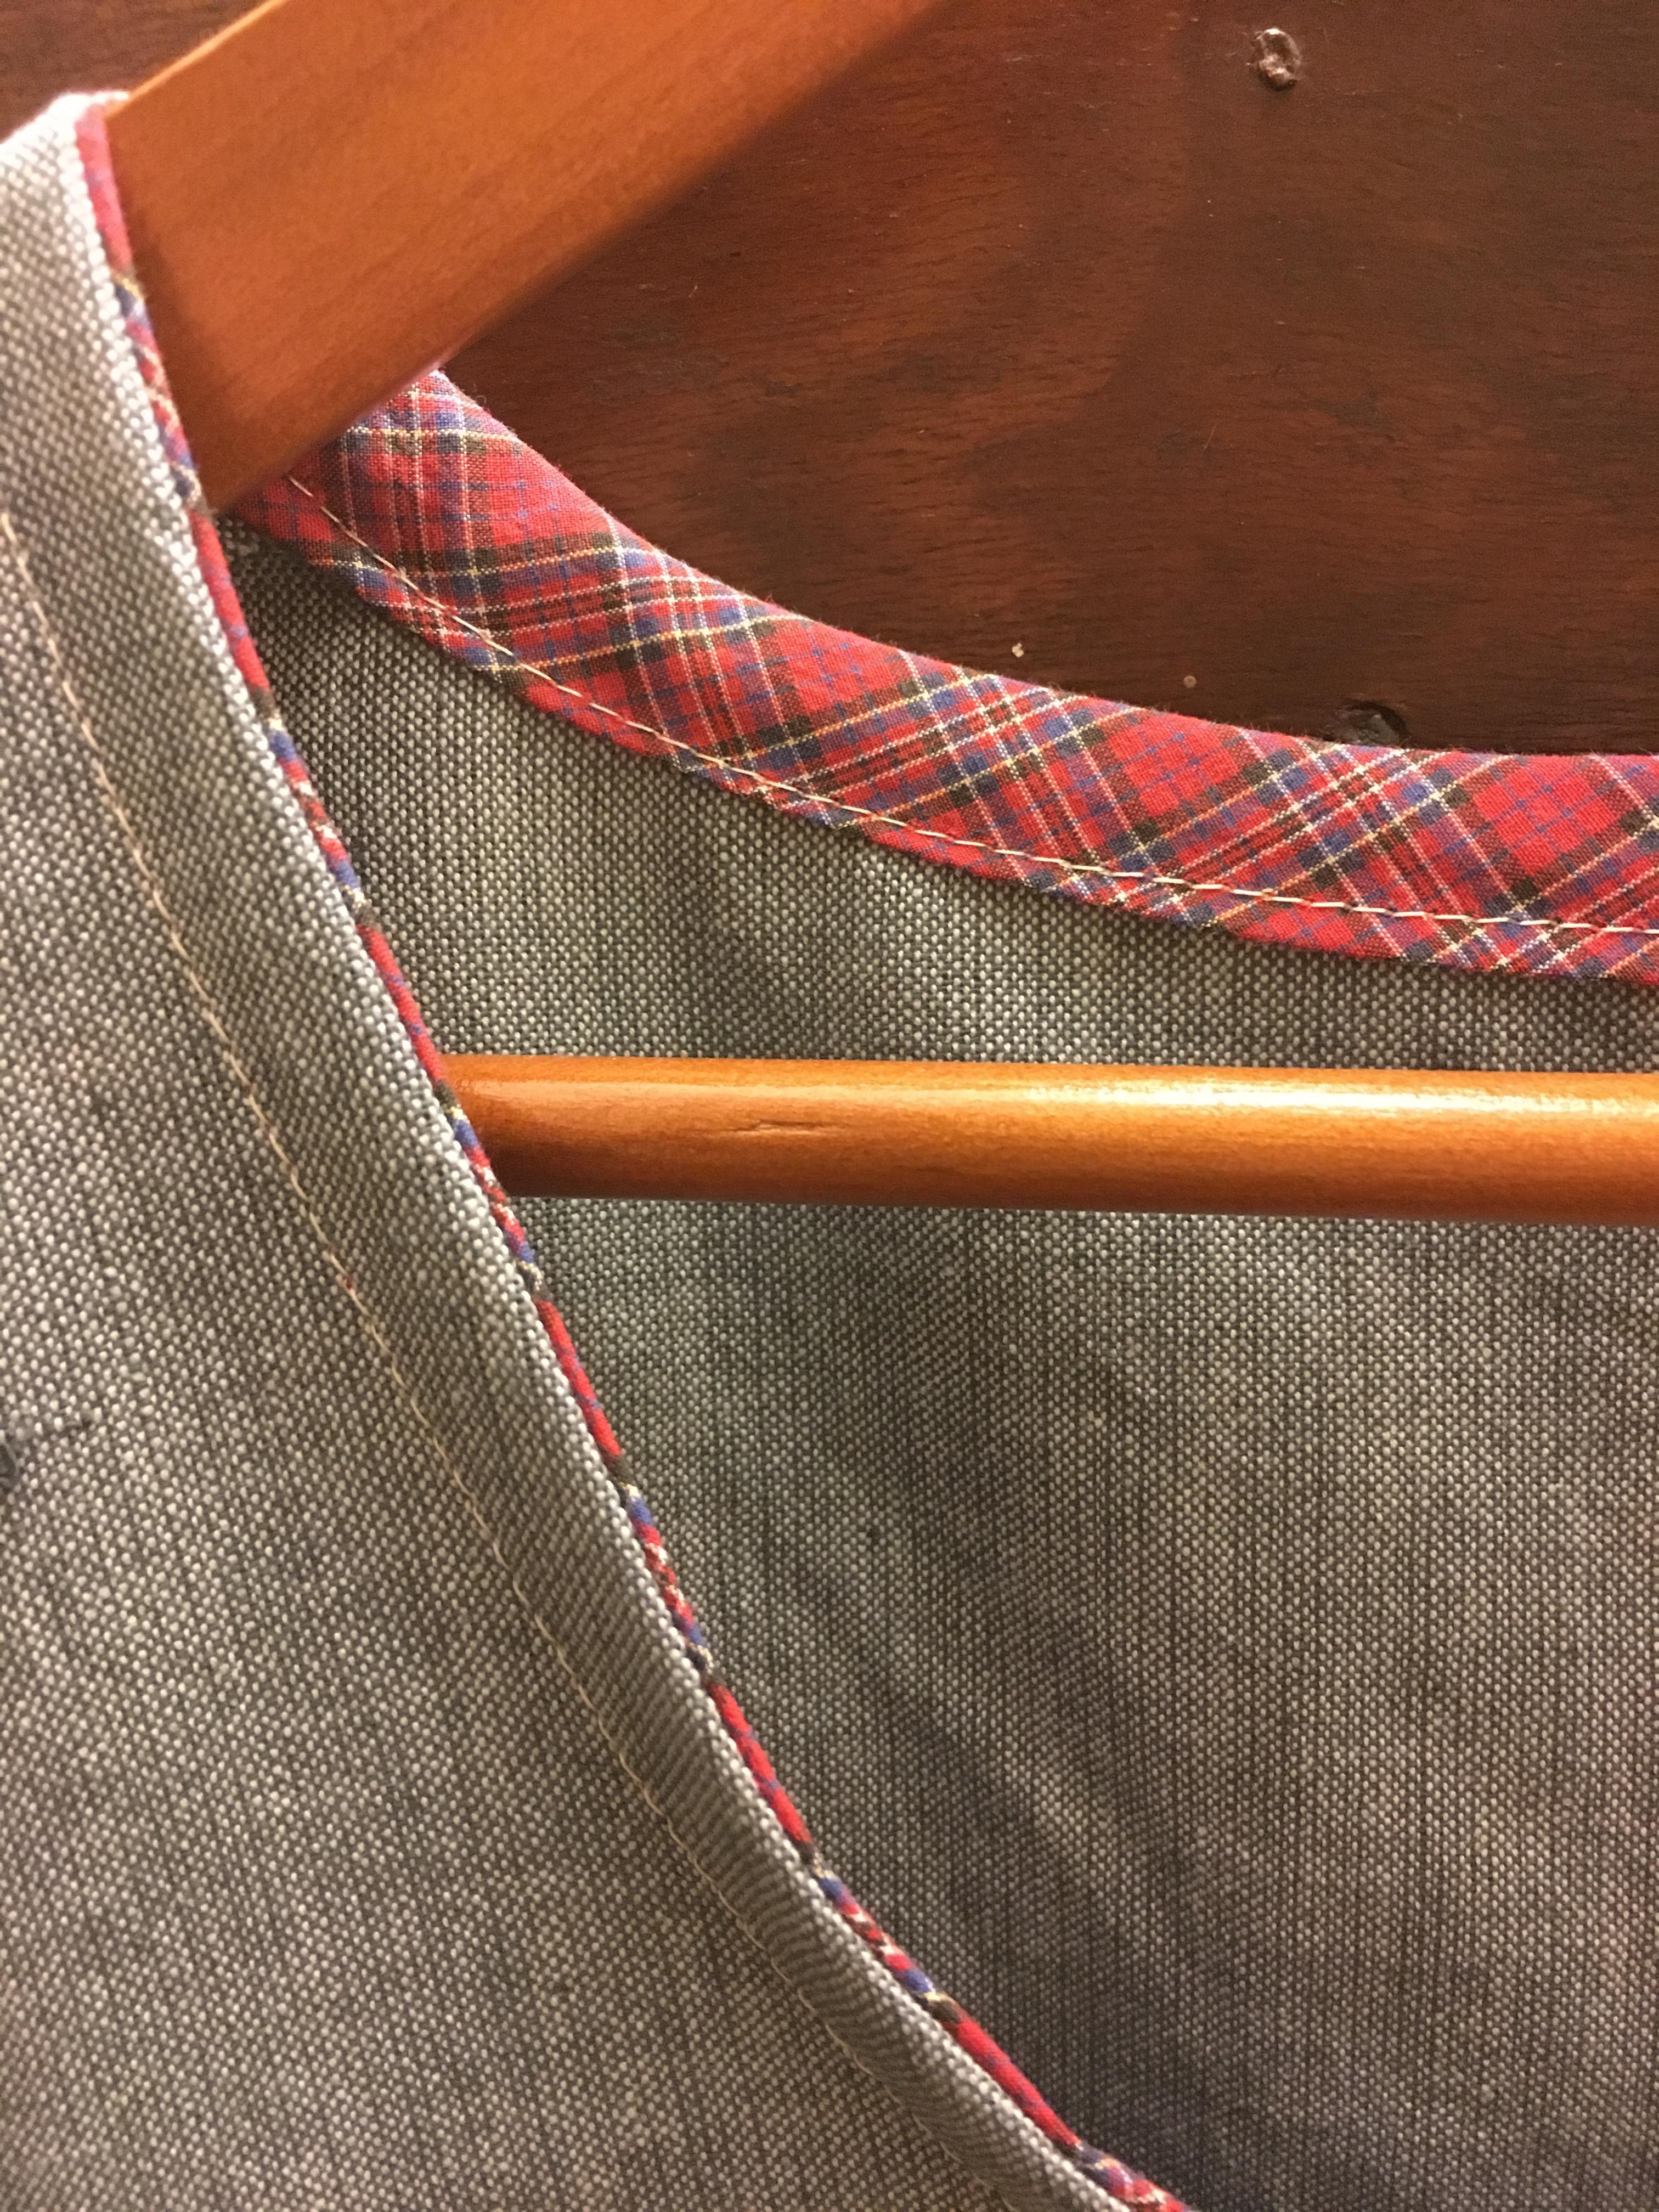
I reinforced the seam with a second row of stitches. The Ruby uses a bias binding for the bottom half of the armhole. The instructions are very clear. One of the trickier parts is sewing the gathers. I hand basted with a contrasting thread before sewing. Unfortunately after sewing them, I decided I wasn’t happy with where I had gathered the fullness. The Ruby is most flattering when the front gathers are mostly on the side. So I spent a bit of time unpicking the nicely sewn seams which was made more tricky because my thread was such a perfect match for the fabric that it was hard to see.
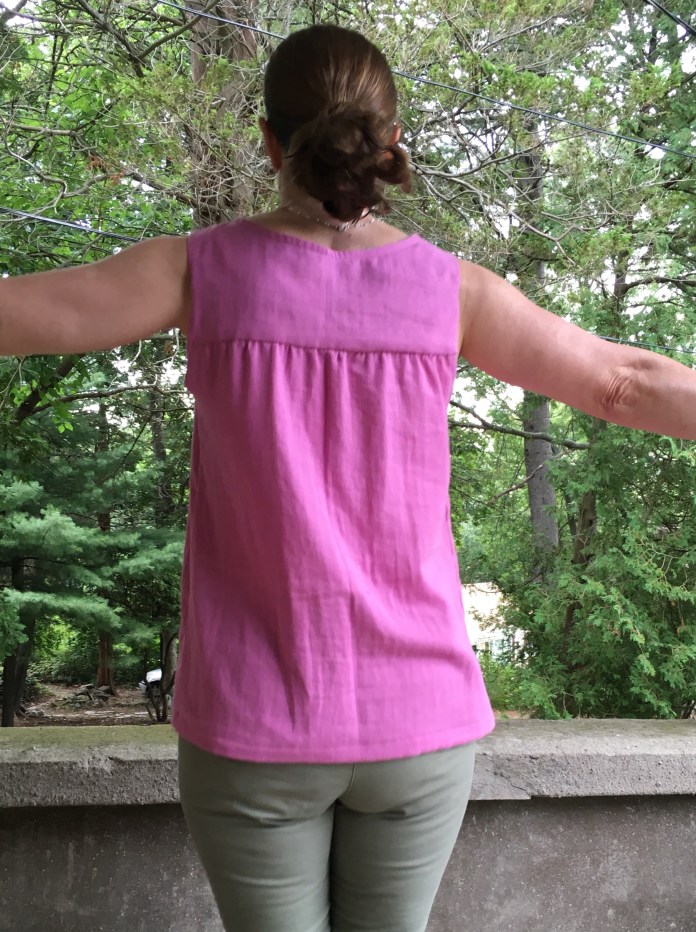
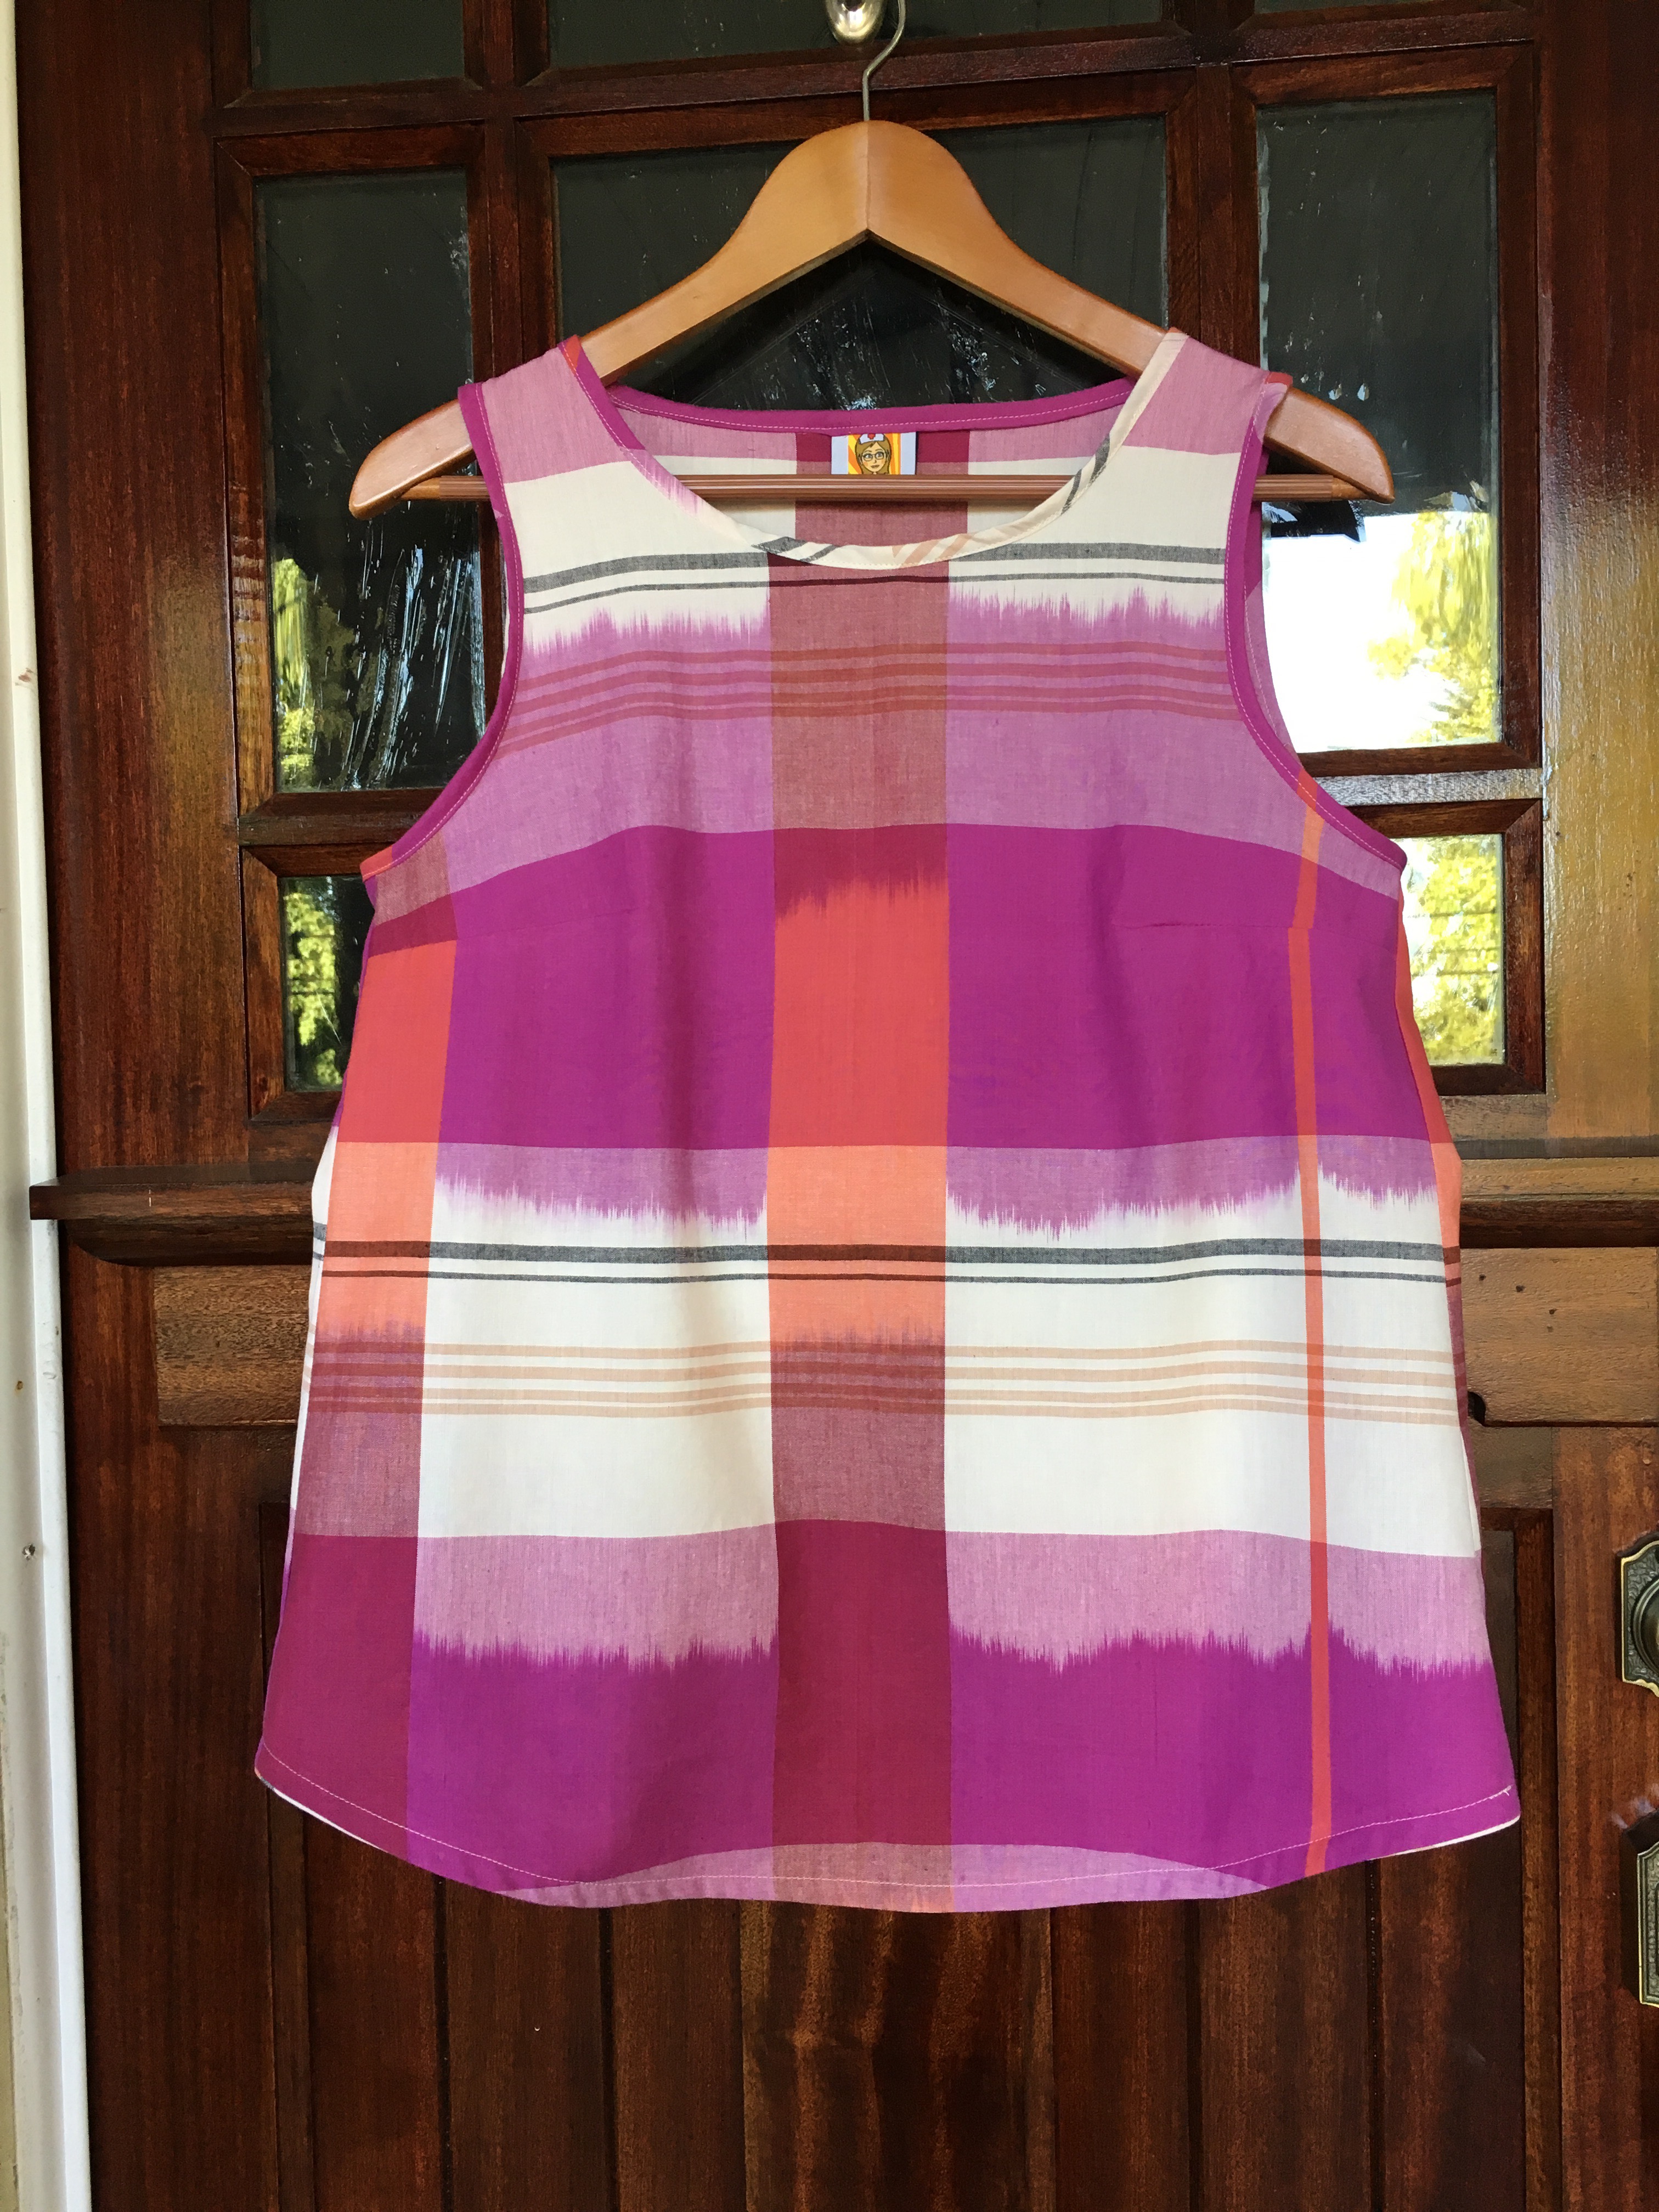
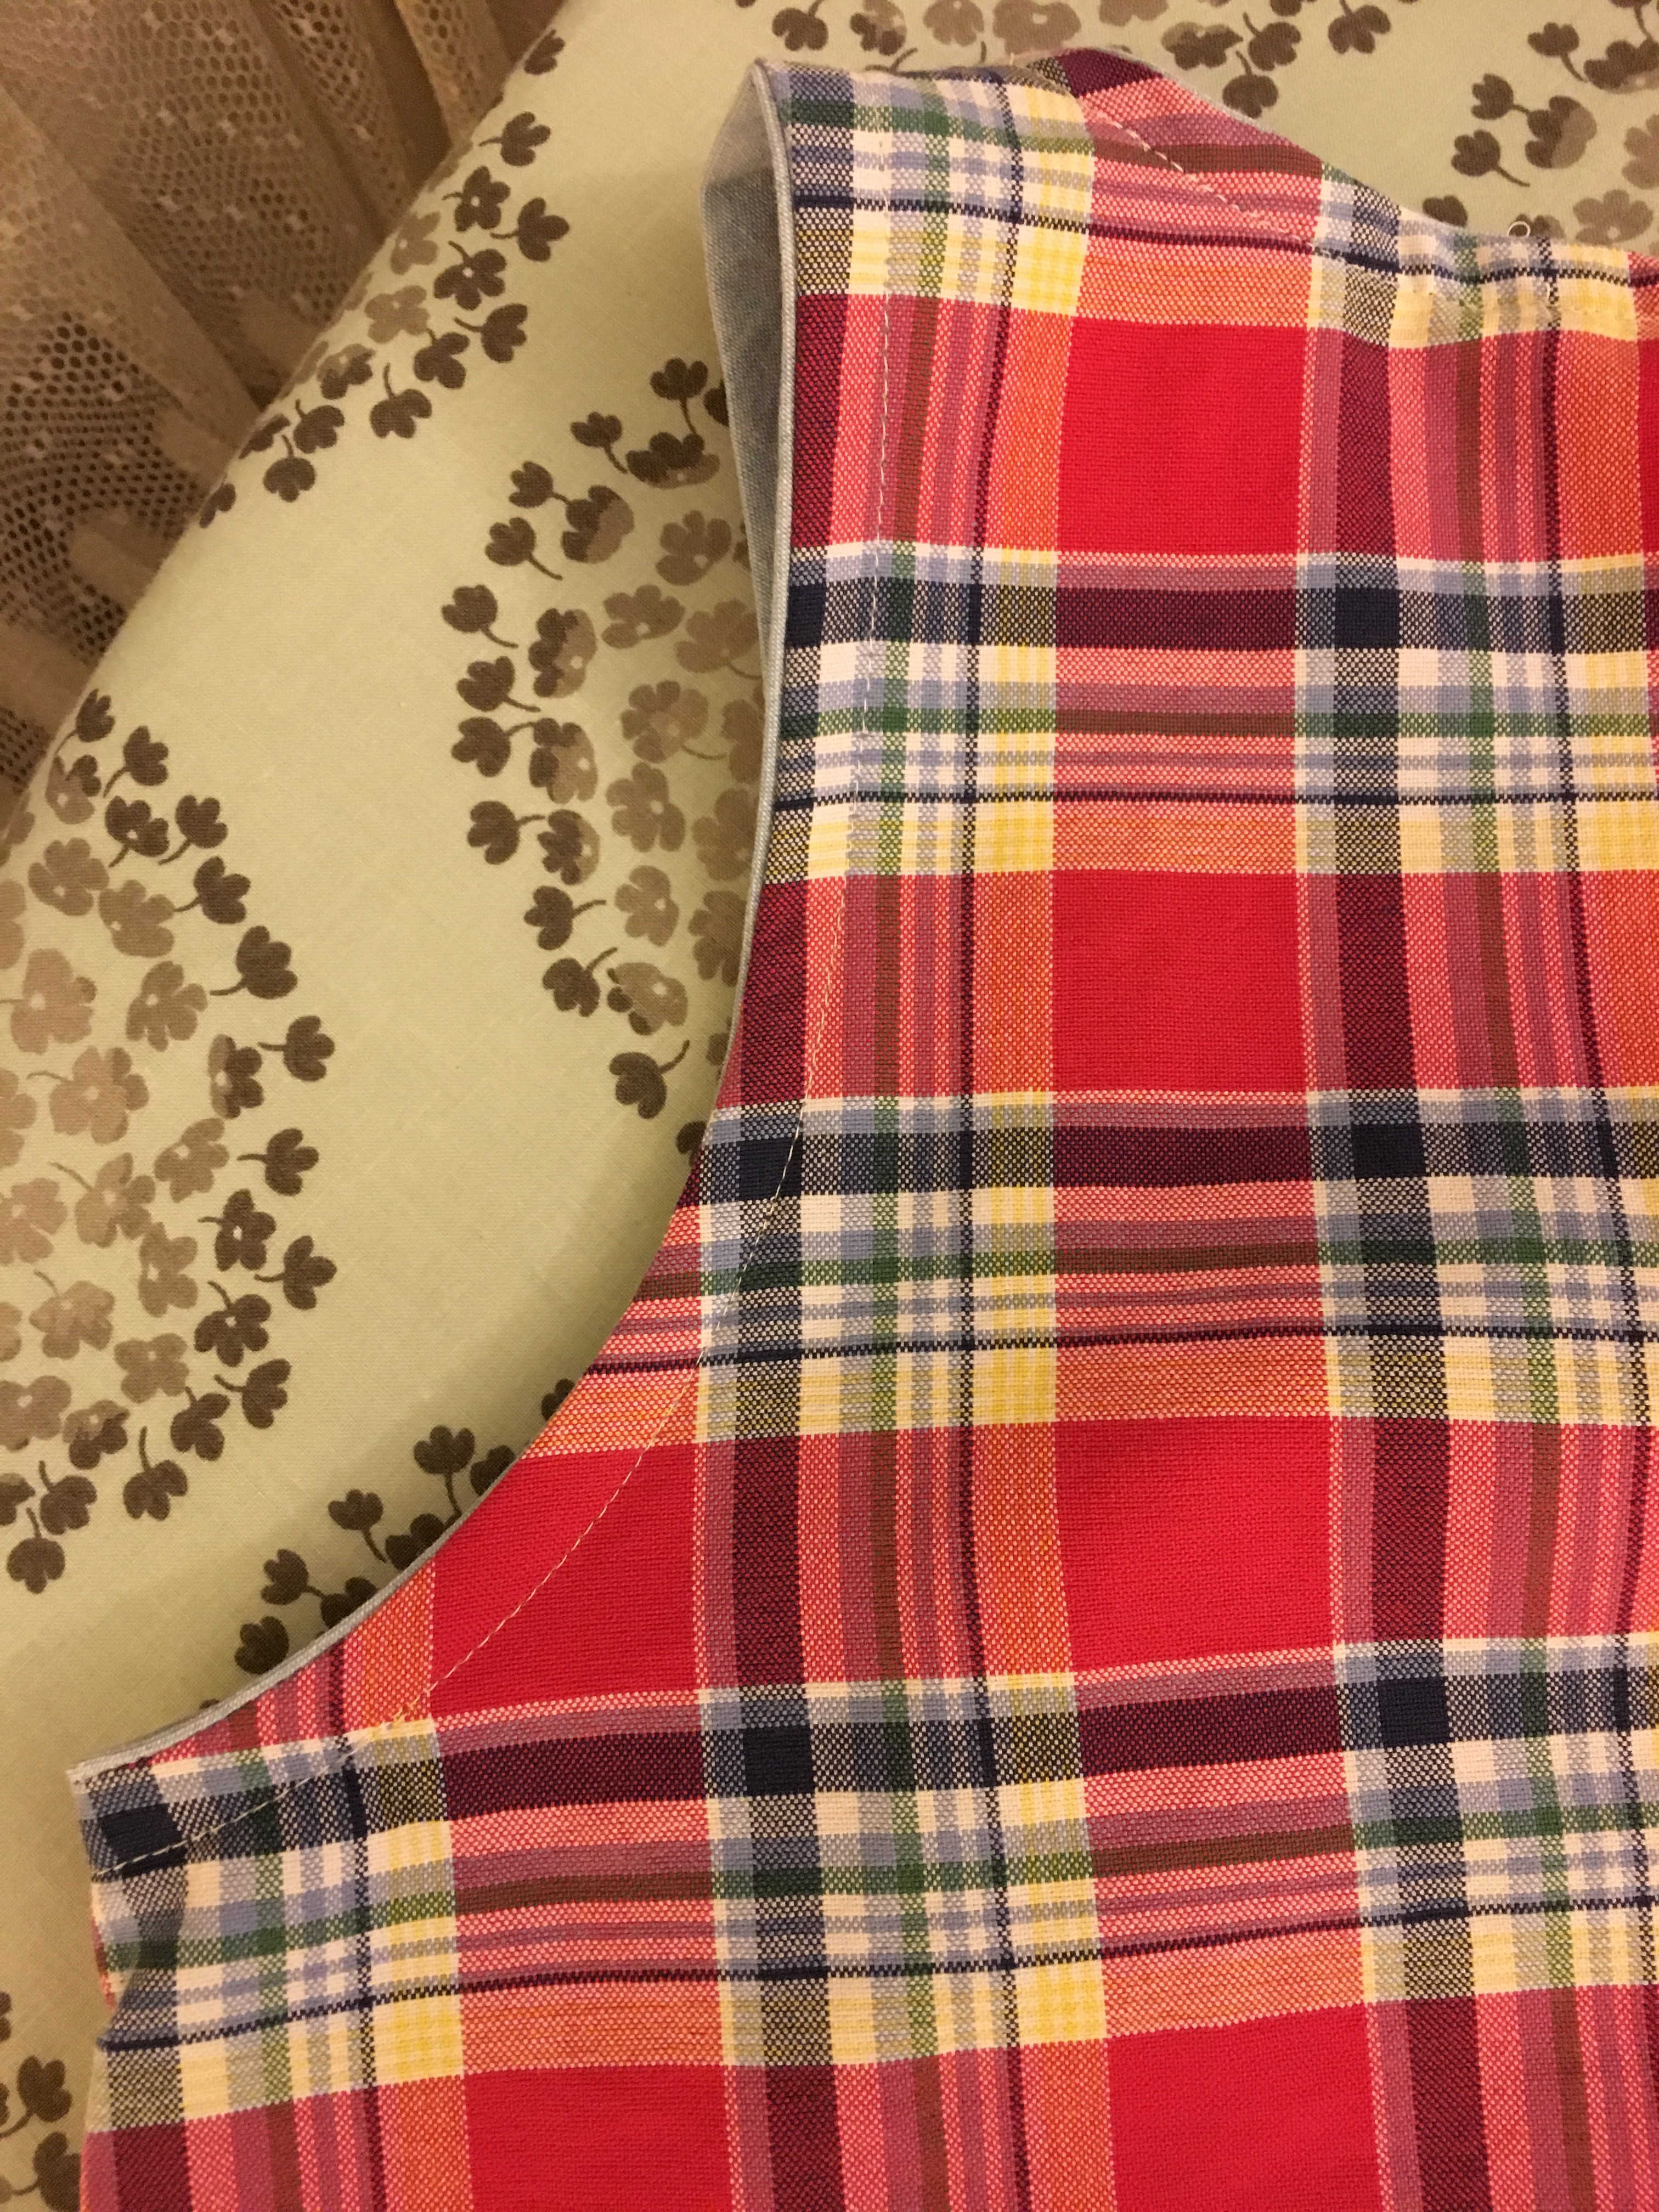
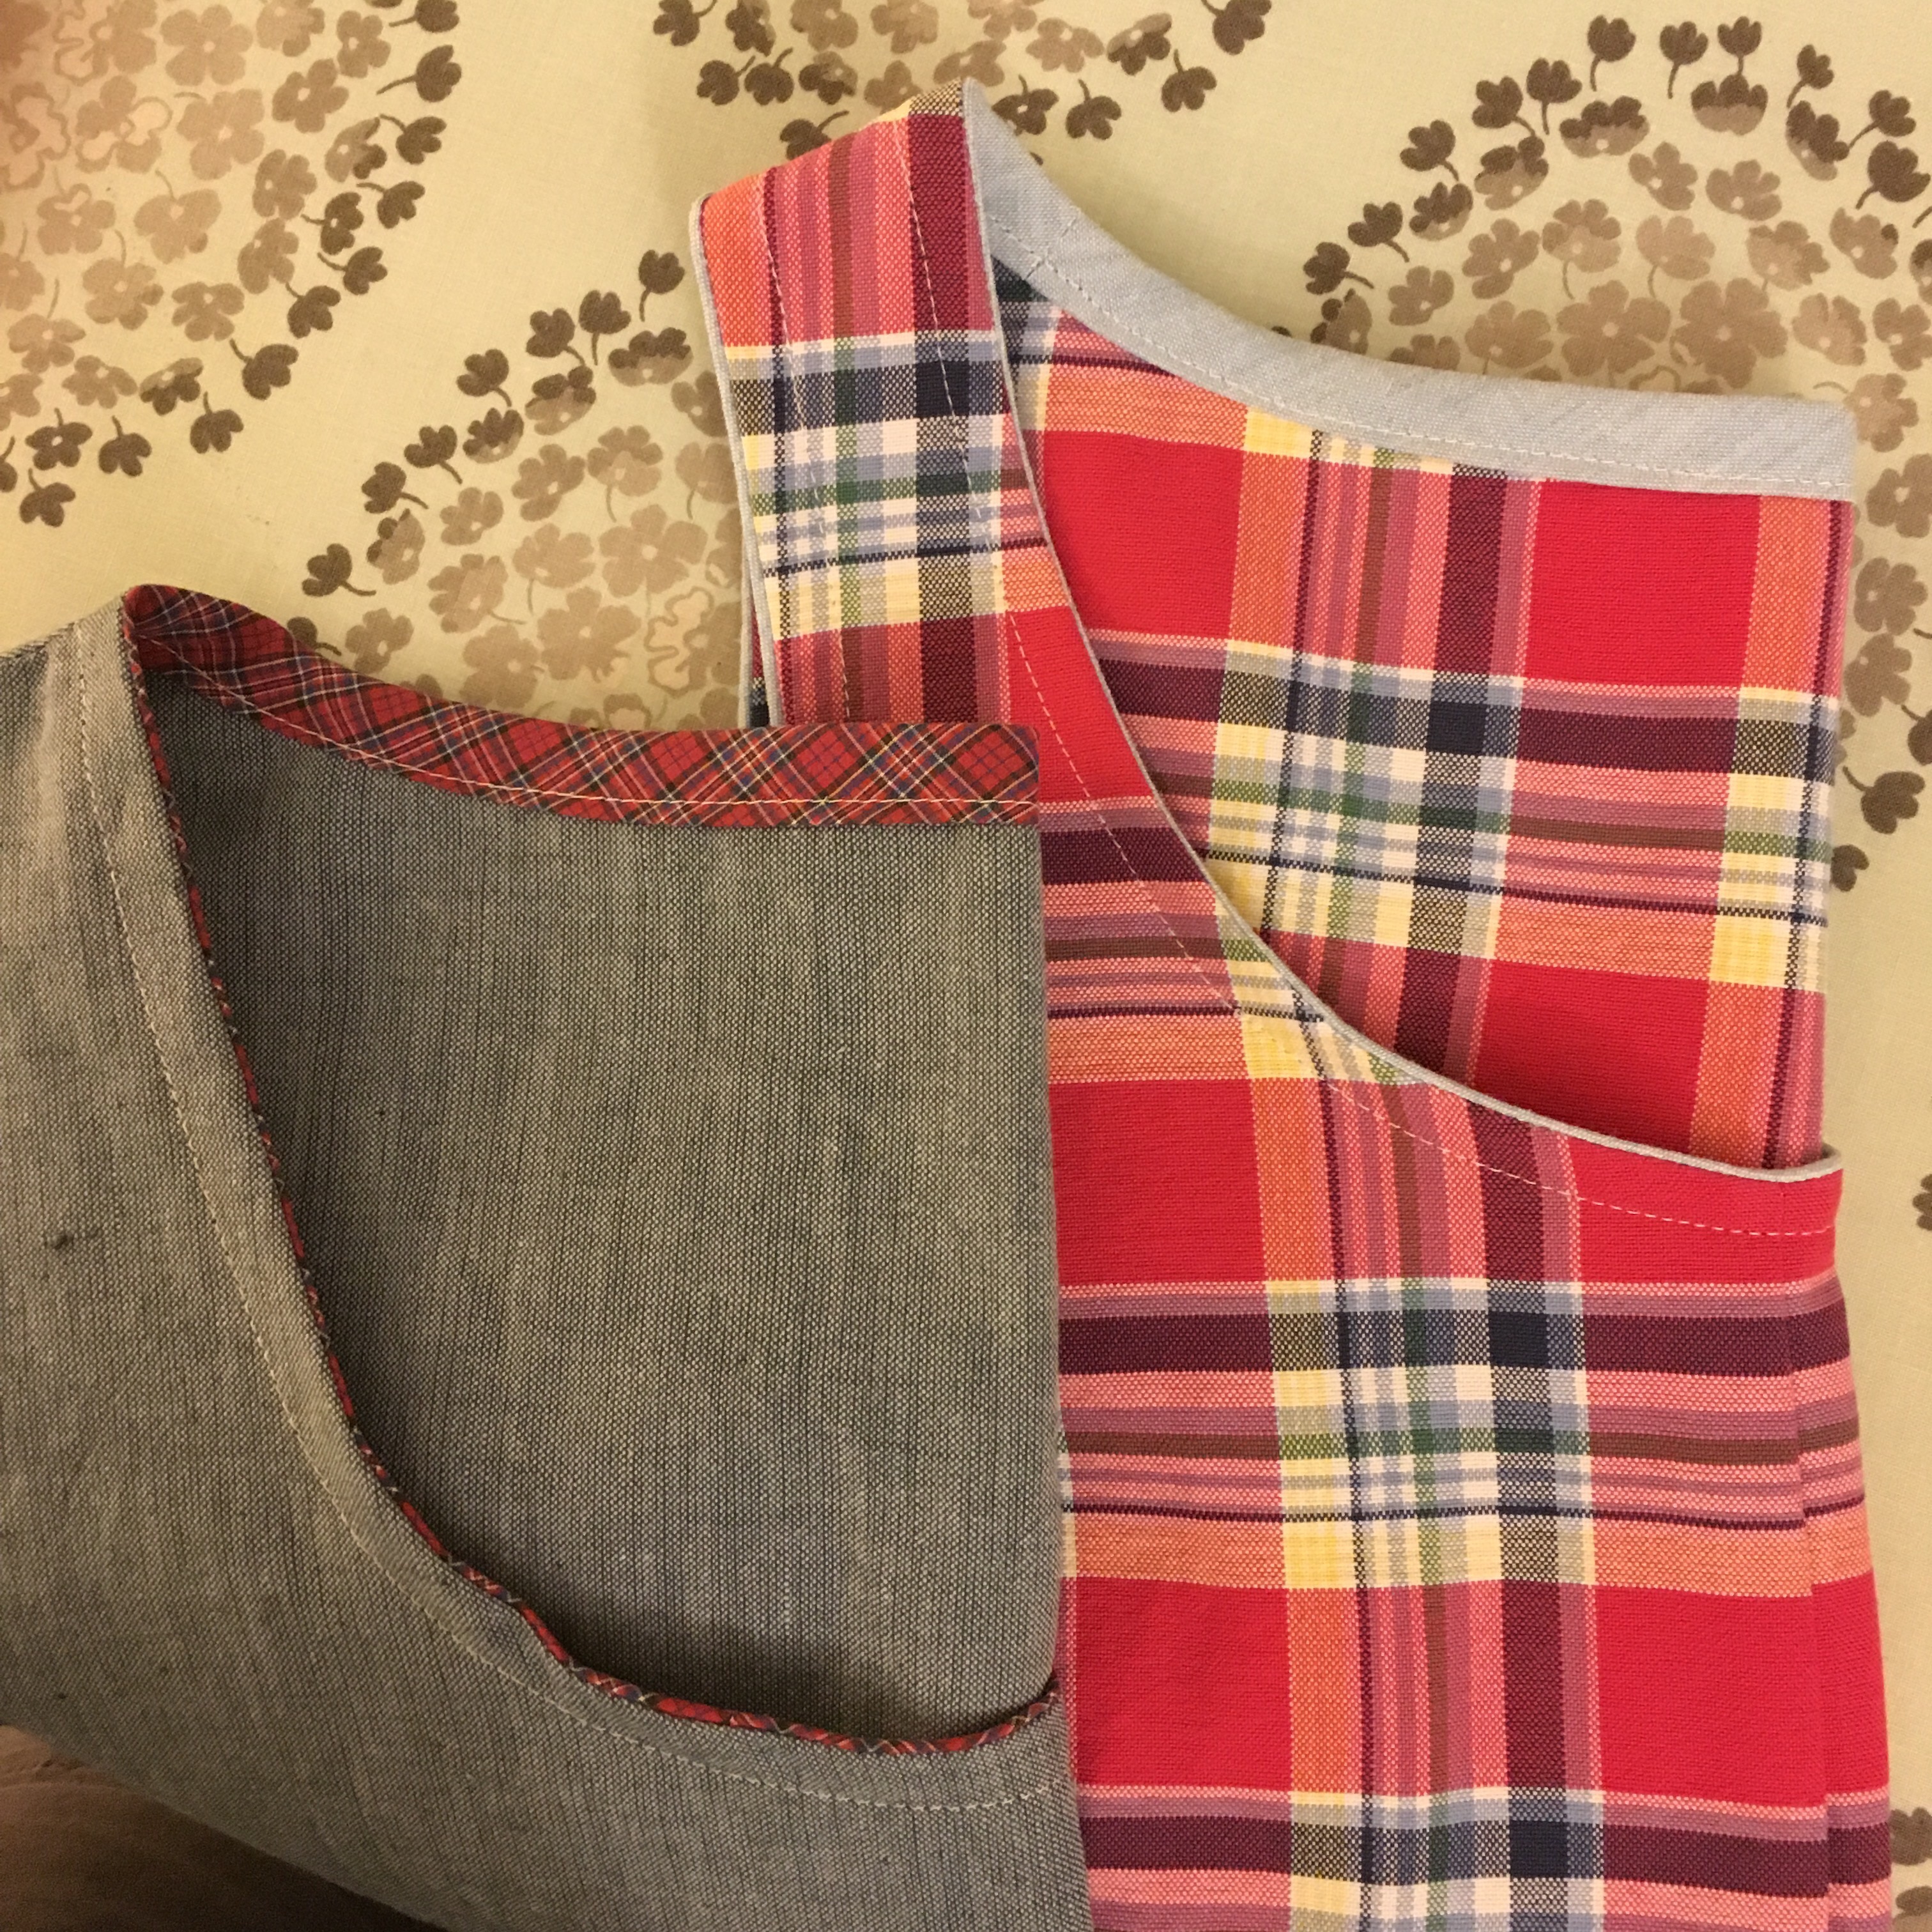
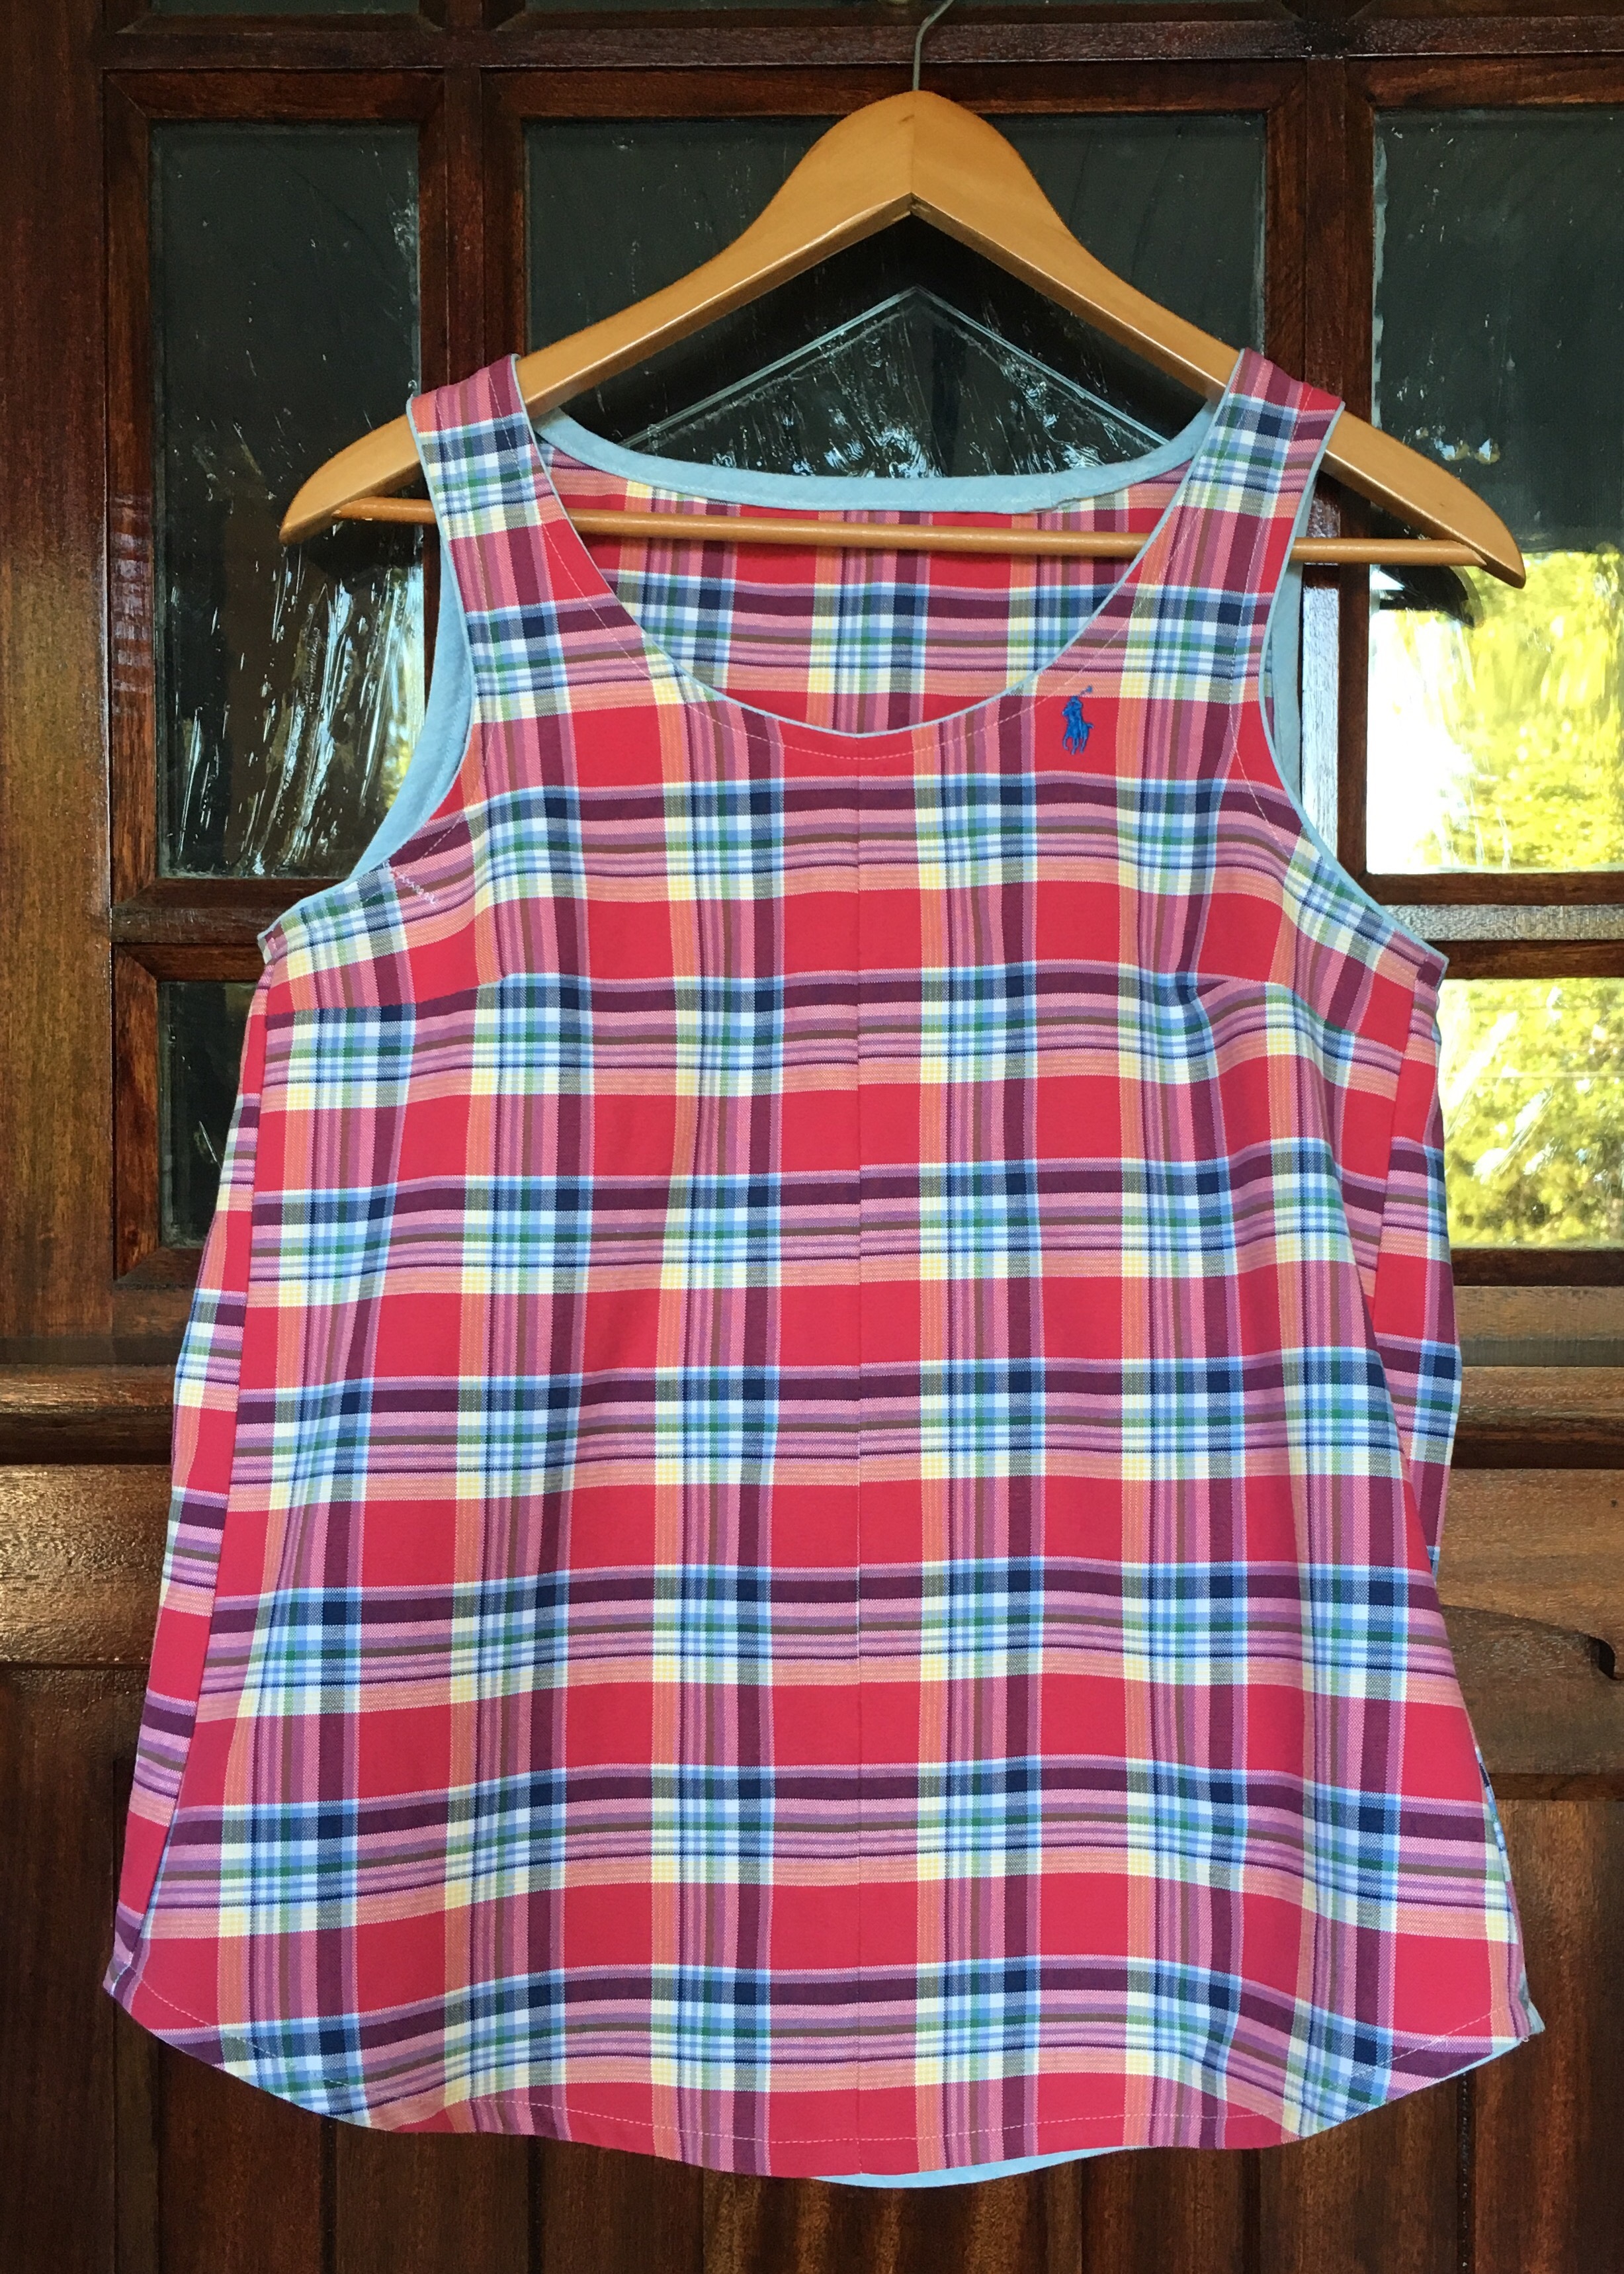
The finished blouse below. I contemplated using the floral fabric to face the hem as I usually do but I decided to save the extra fabric for other projects.
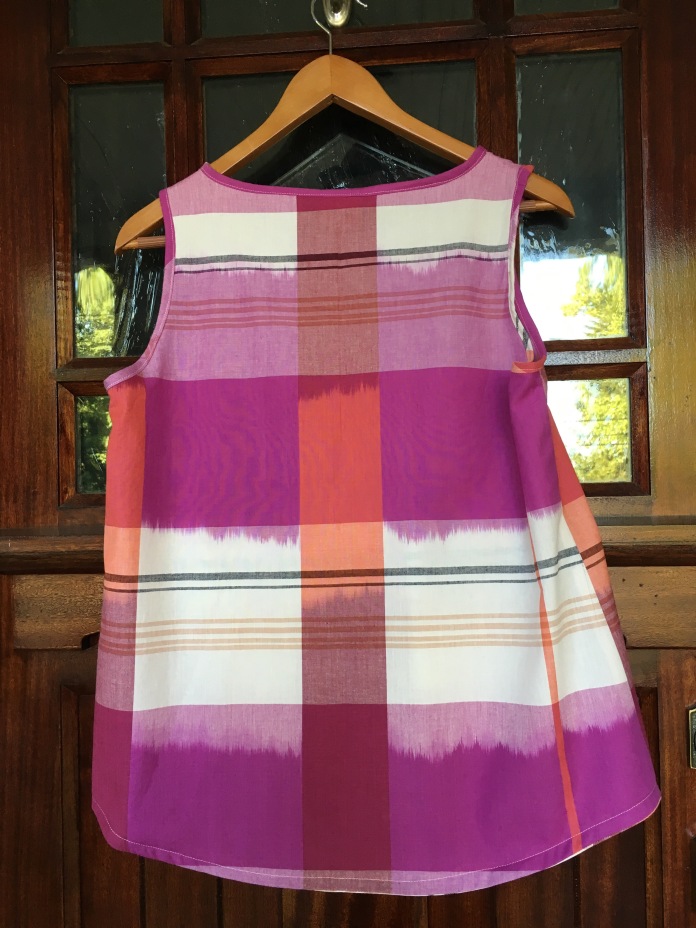
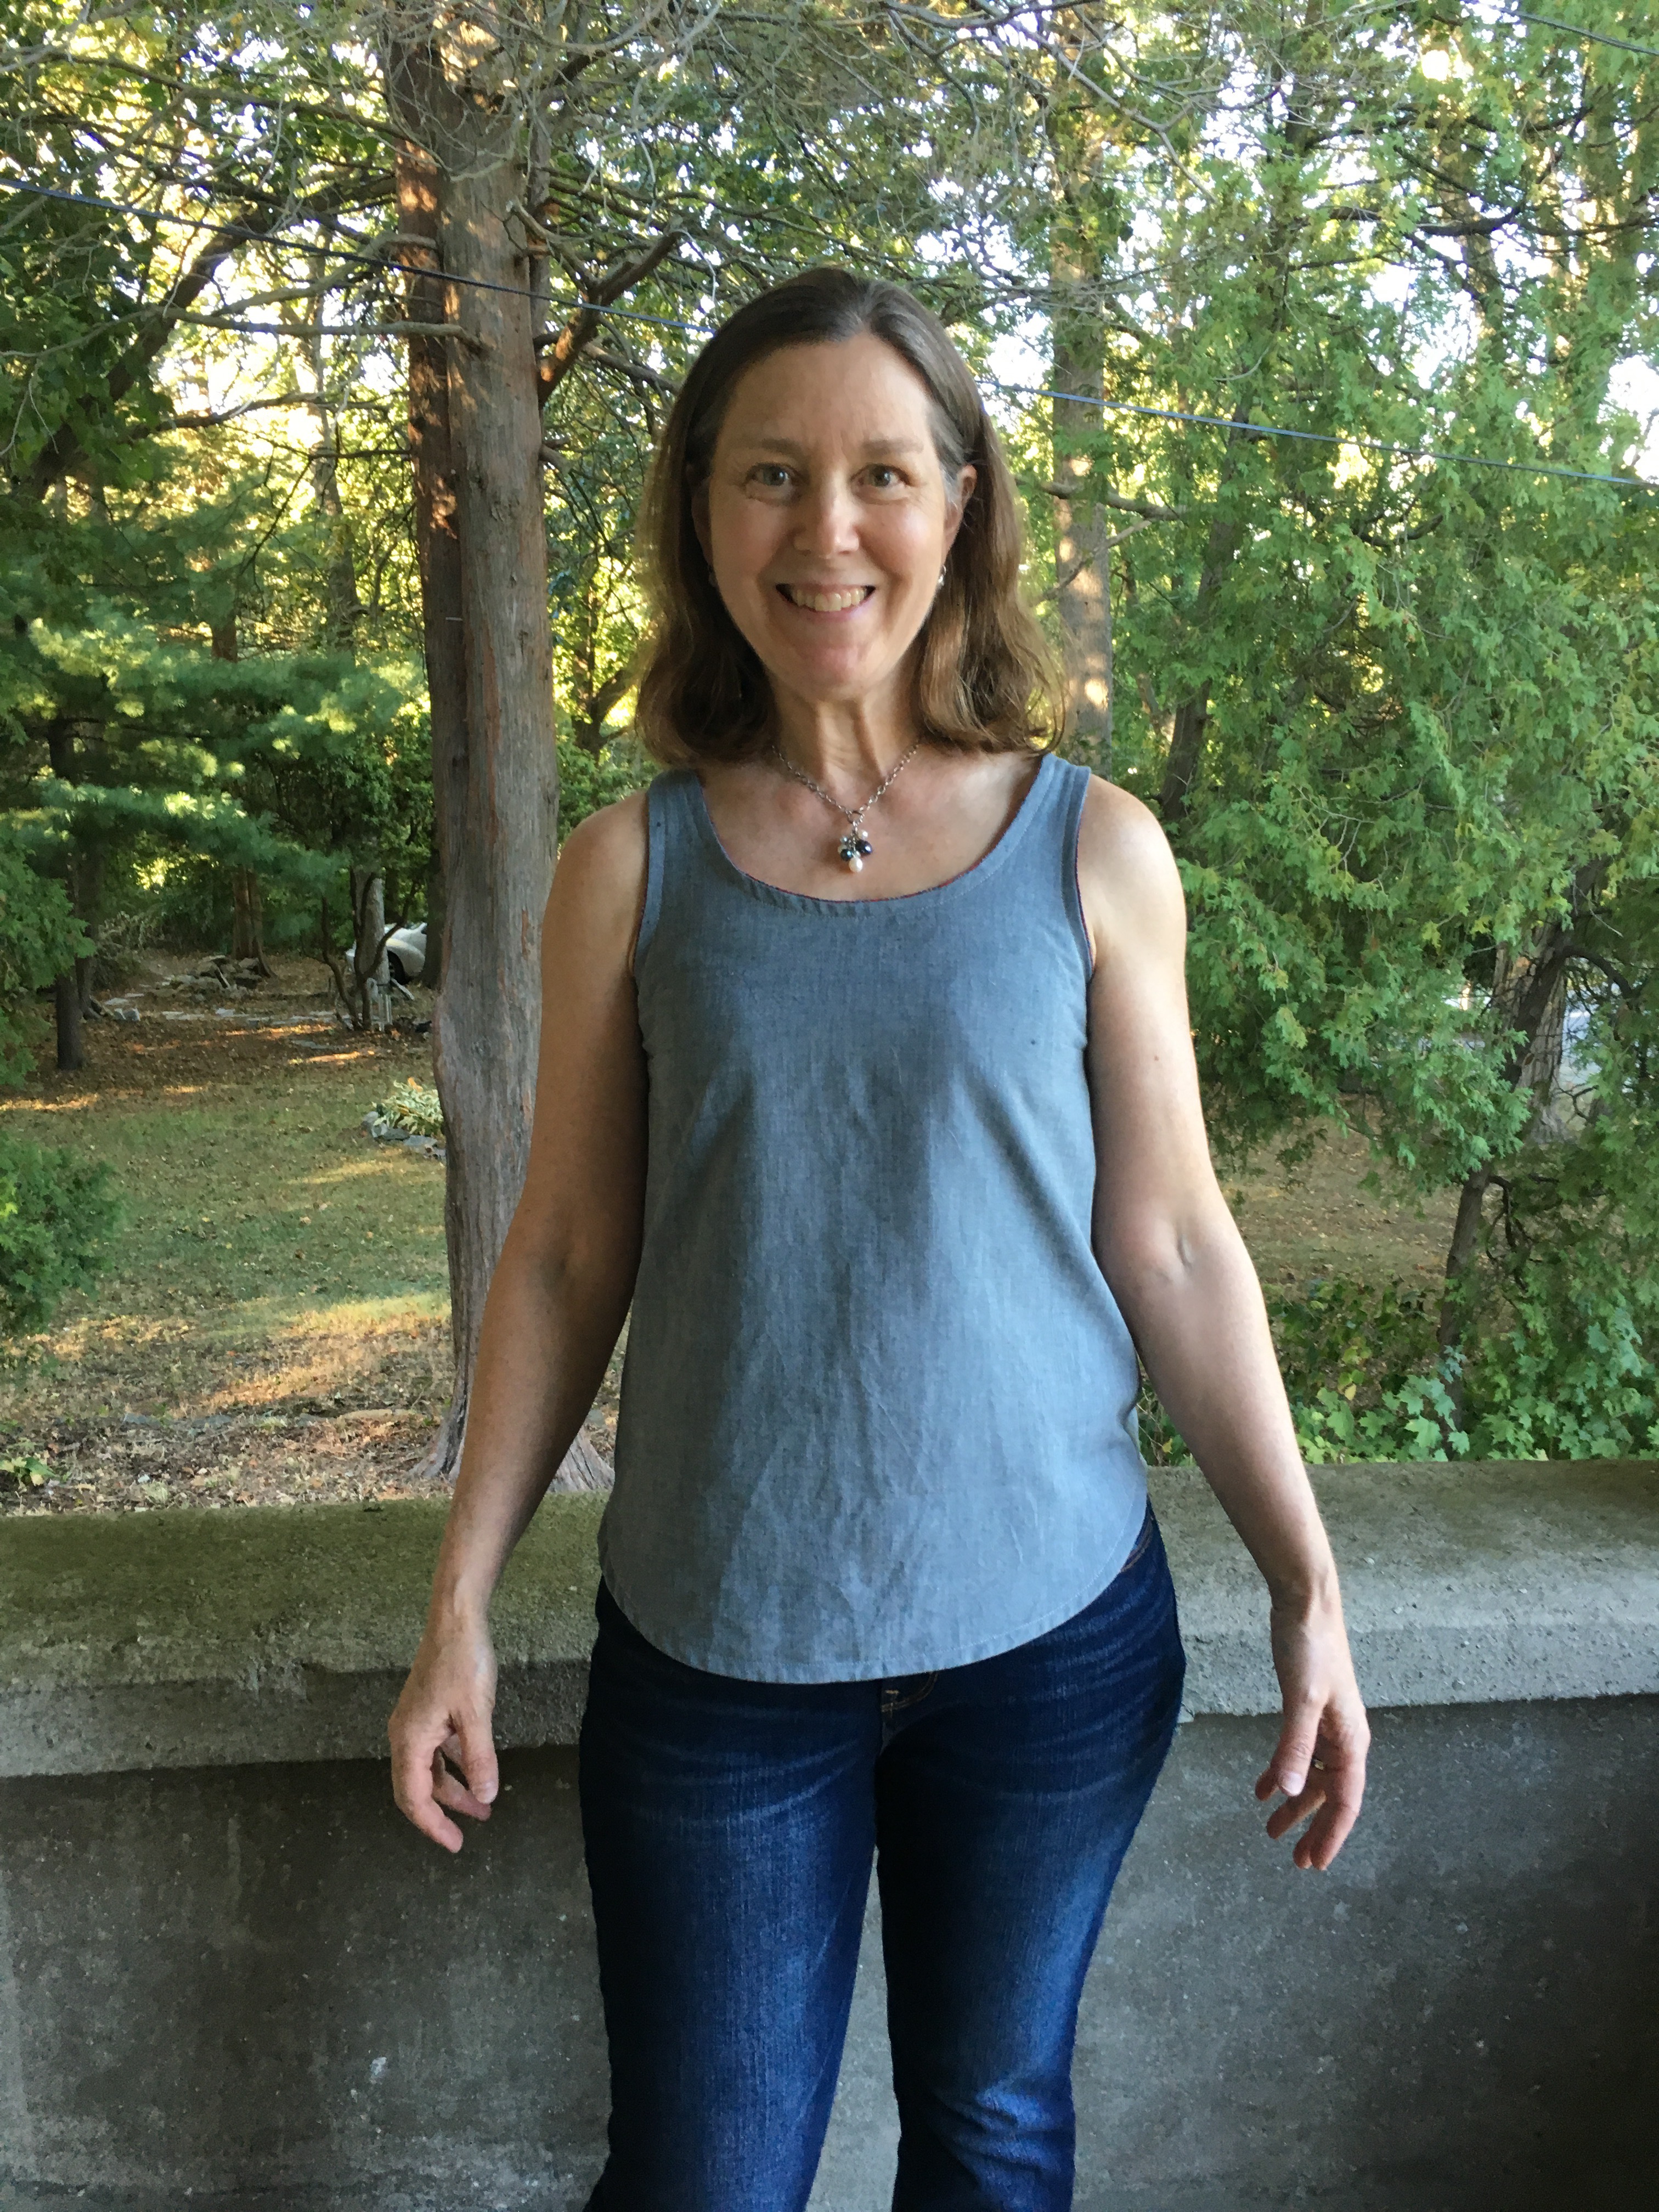
I know this blouse will get a lot of wear. It is comfortable, cute, great for warm weather and for layering under a sweater in the fall. You can dress it up or wear it with jeans. I have another planned in navy and recently bought some white double gauze to finish some Ruby bodices I made last year and never finished.  Side view below shows that the armhole is comfortable but not overly revealing.
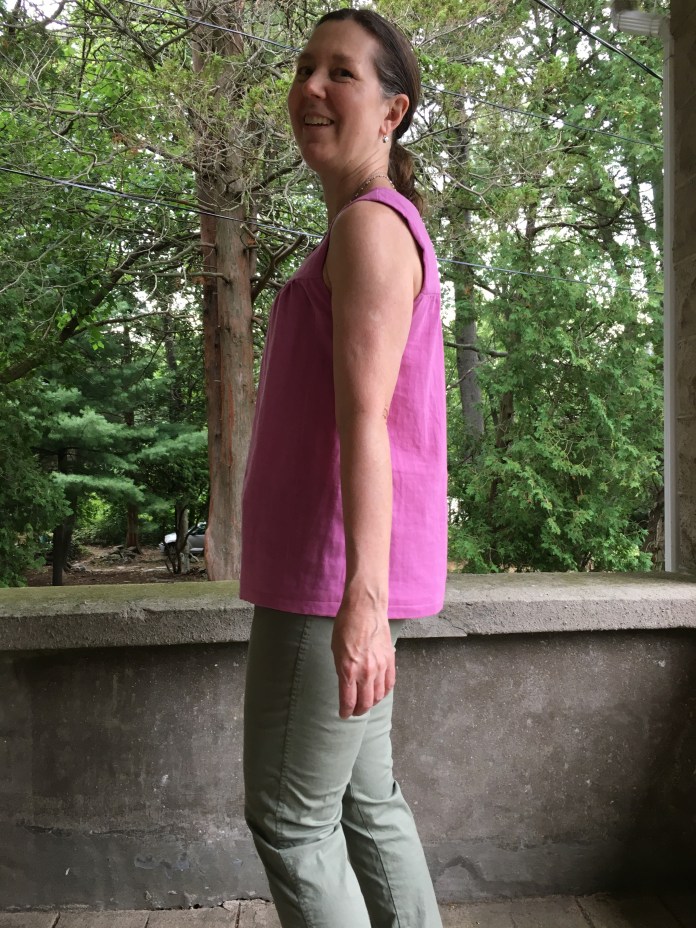 Up next, I have my floral lawn Beatrix blouse planned and a navy Ruby dress cut out and ready to go in this beautiful fabric by April Rhodes. I bought the fabric with a second pair of Luna Pants in mind but then when it came in the mail, it felt more like a Ruby Dress. Does that happen to you too where you buy fabric for one project but then use it for a different one altogether? I have some fabrics I haven’t cut into because I have a hard time committing. They would be great for so many things. I recently found this beautiful fabric in voile on sale and snatched up enough to make one nice project but I haven’t decided what it will be. I am leaning toward a Washi XP like this version by Rae. Time will tell.
I highly recommend this pattern. It is simple enough that even with taking the time on the little details, it is a project that can be finished in a week by doing a little each night. This is how I broke it down: 1) washed and ironed fabric 2) cut out pattern pieces 3) sewed yoke including the sausage and the neckline 4) gathered the front and back panels, sewed the side seams-french seams- and applied the bias binding to the arm holes 5) attached the front and back panels to the yoke 6) hand-sewed the yoke lining to the front and back panel seams 7) sewed the hem and wore it to work!


 The thing about this pattern is that the initial sewing goes very quickly and then there is the bias binding which is not terrible but somewhat of a challenge for me. So now I am finishing these projects one by one and today I had time to finish this.

 In addition to the details of the other binding method that I use explained in
  #beforethebinding picture below.
 You can link to my previous posts about the Gemma Tank
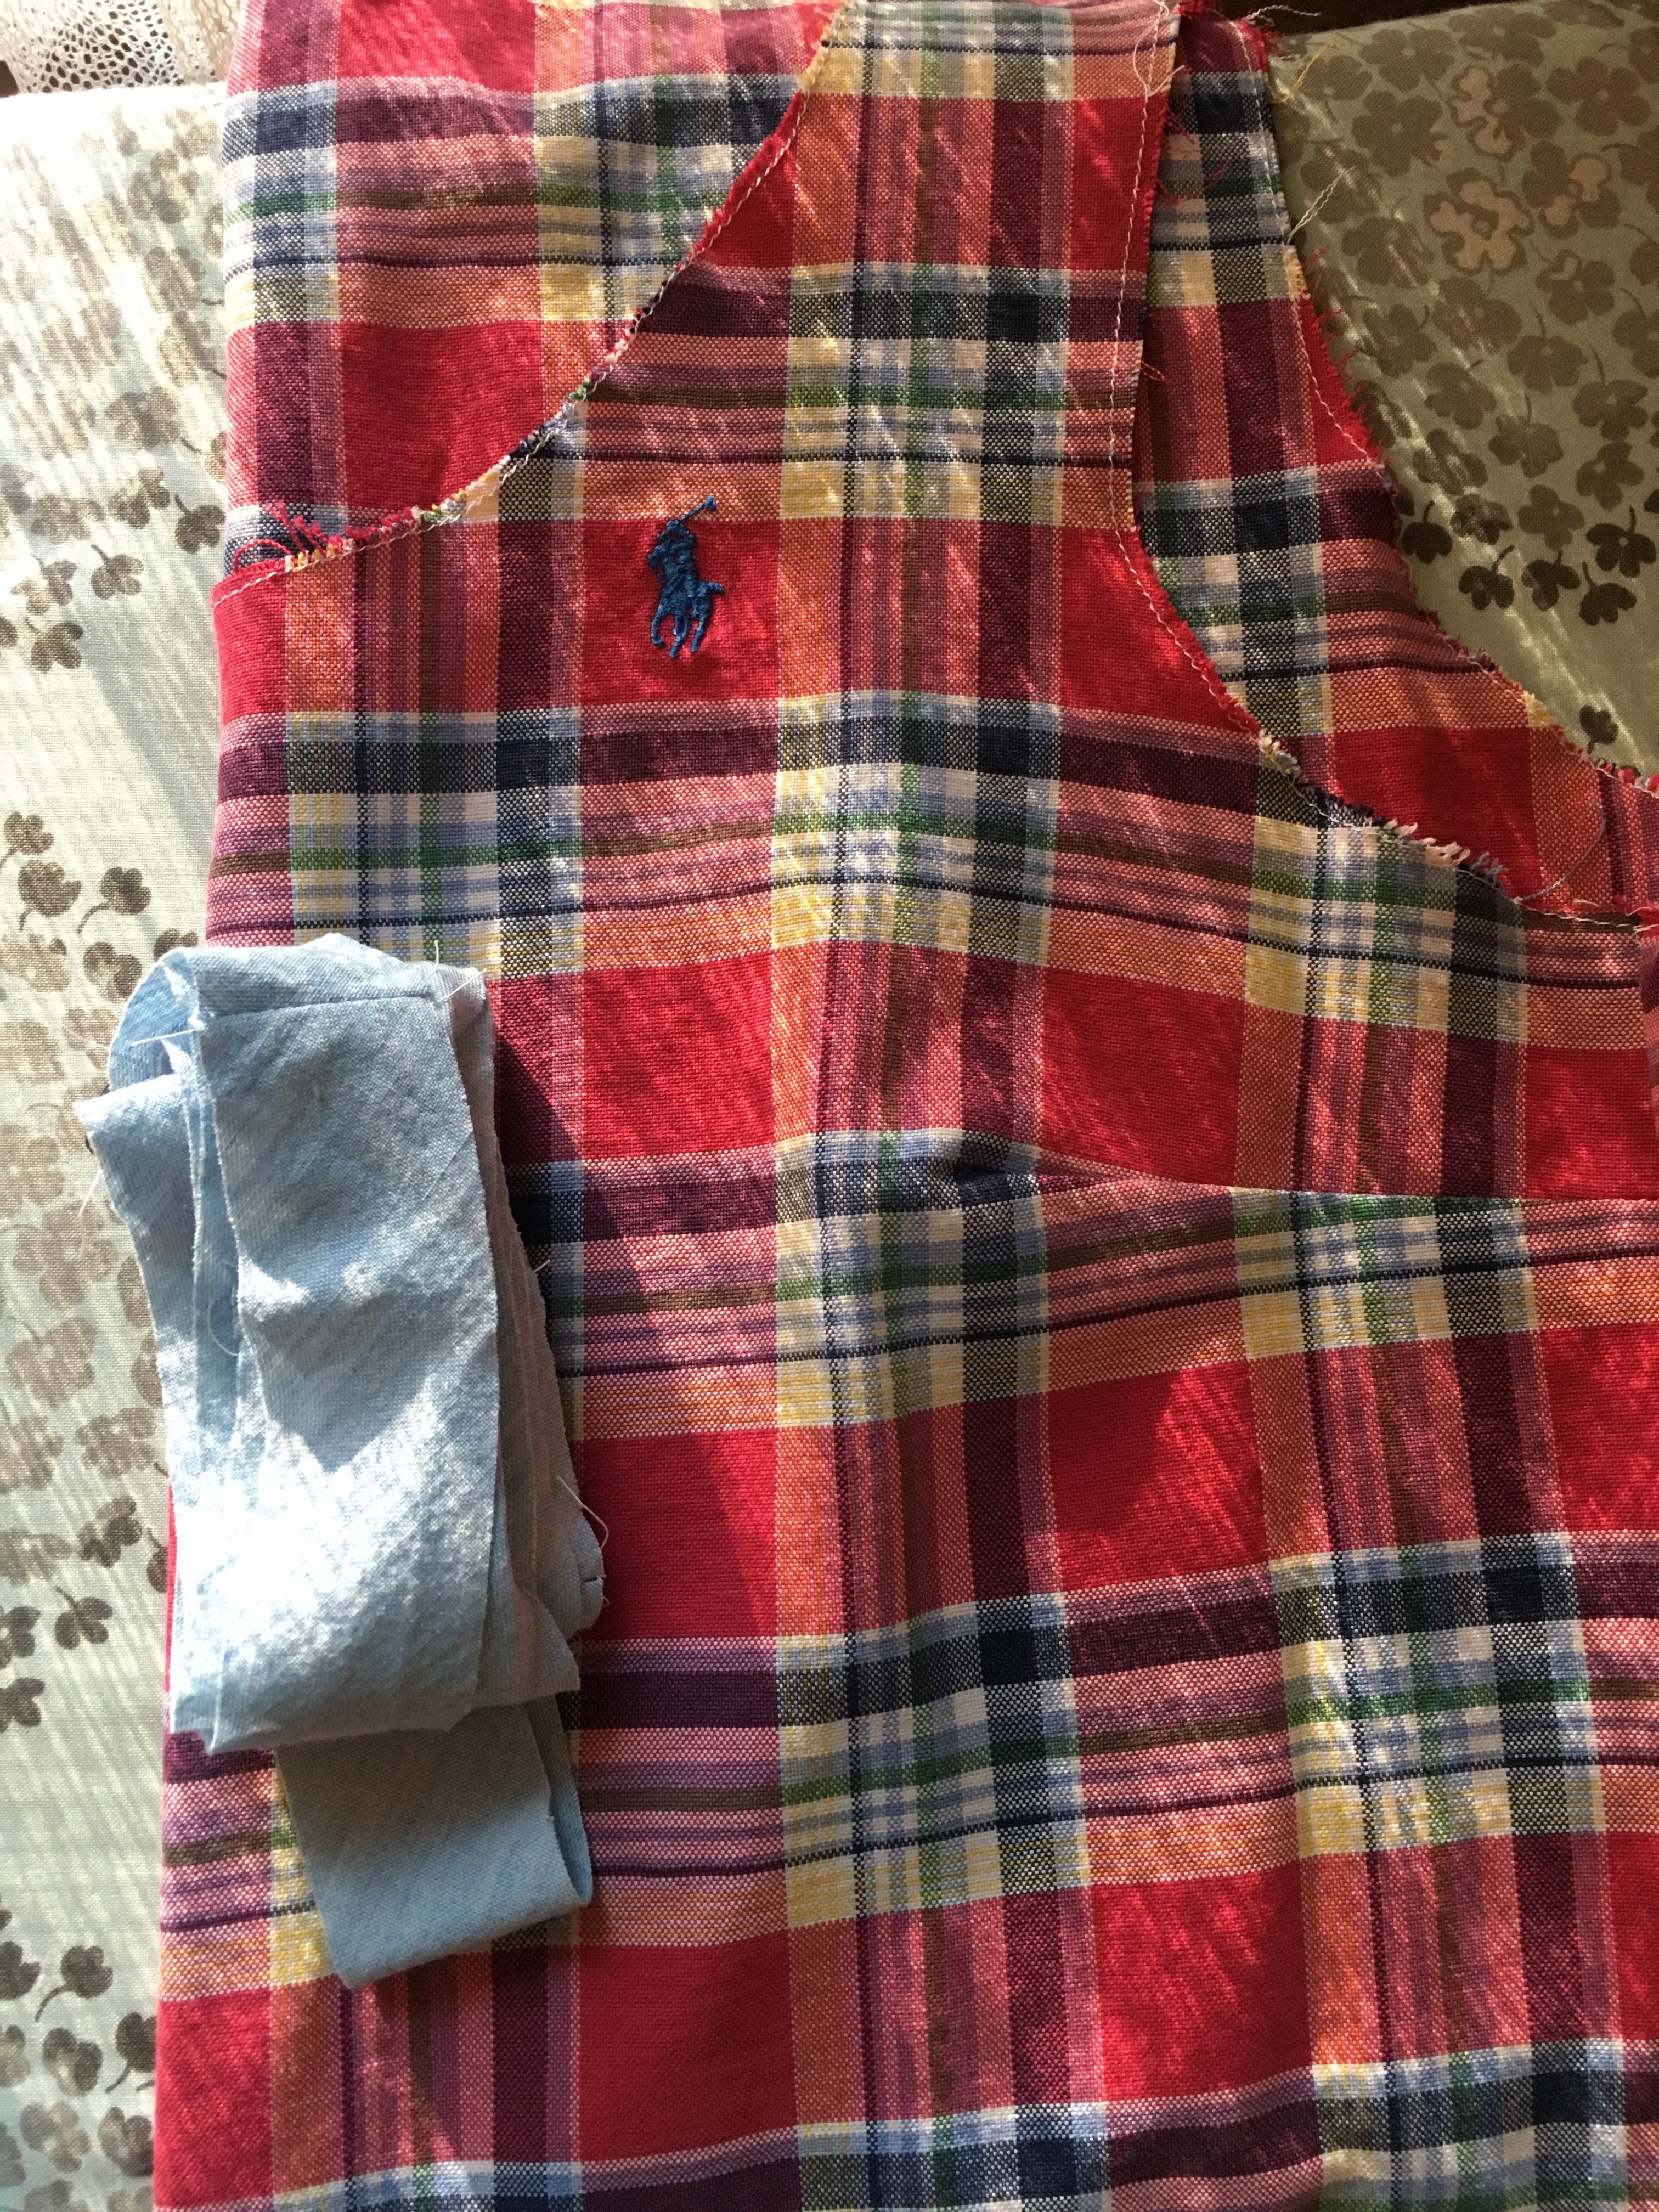


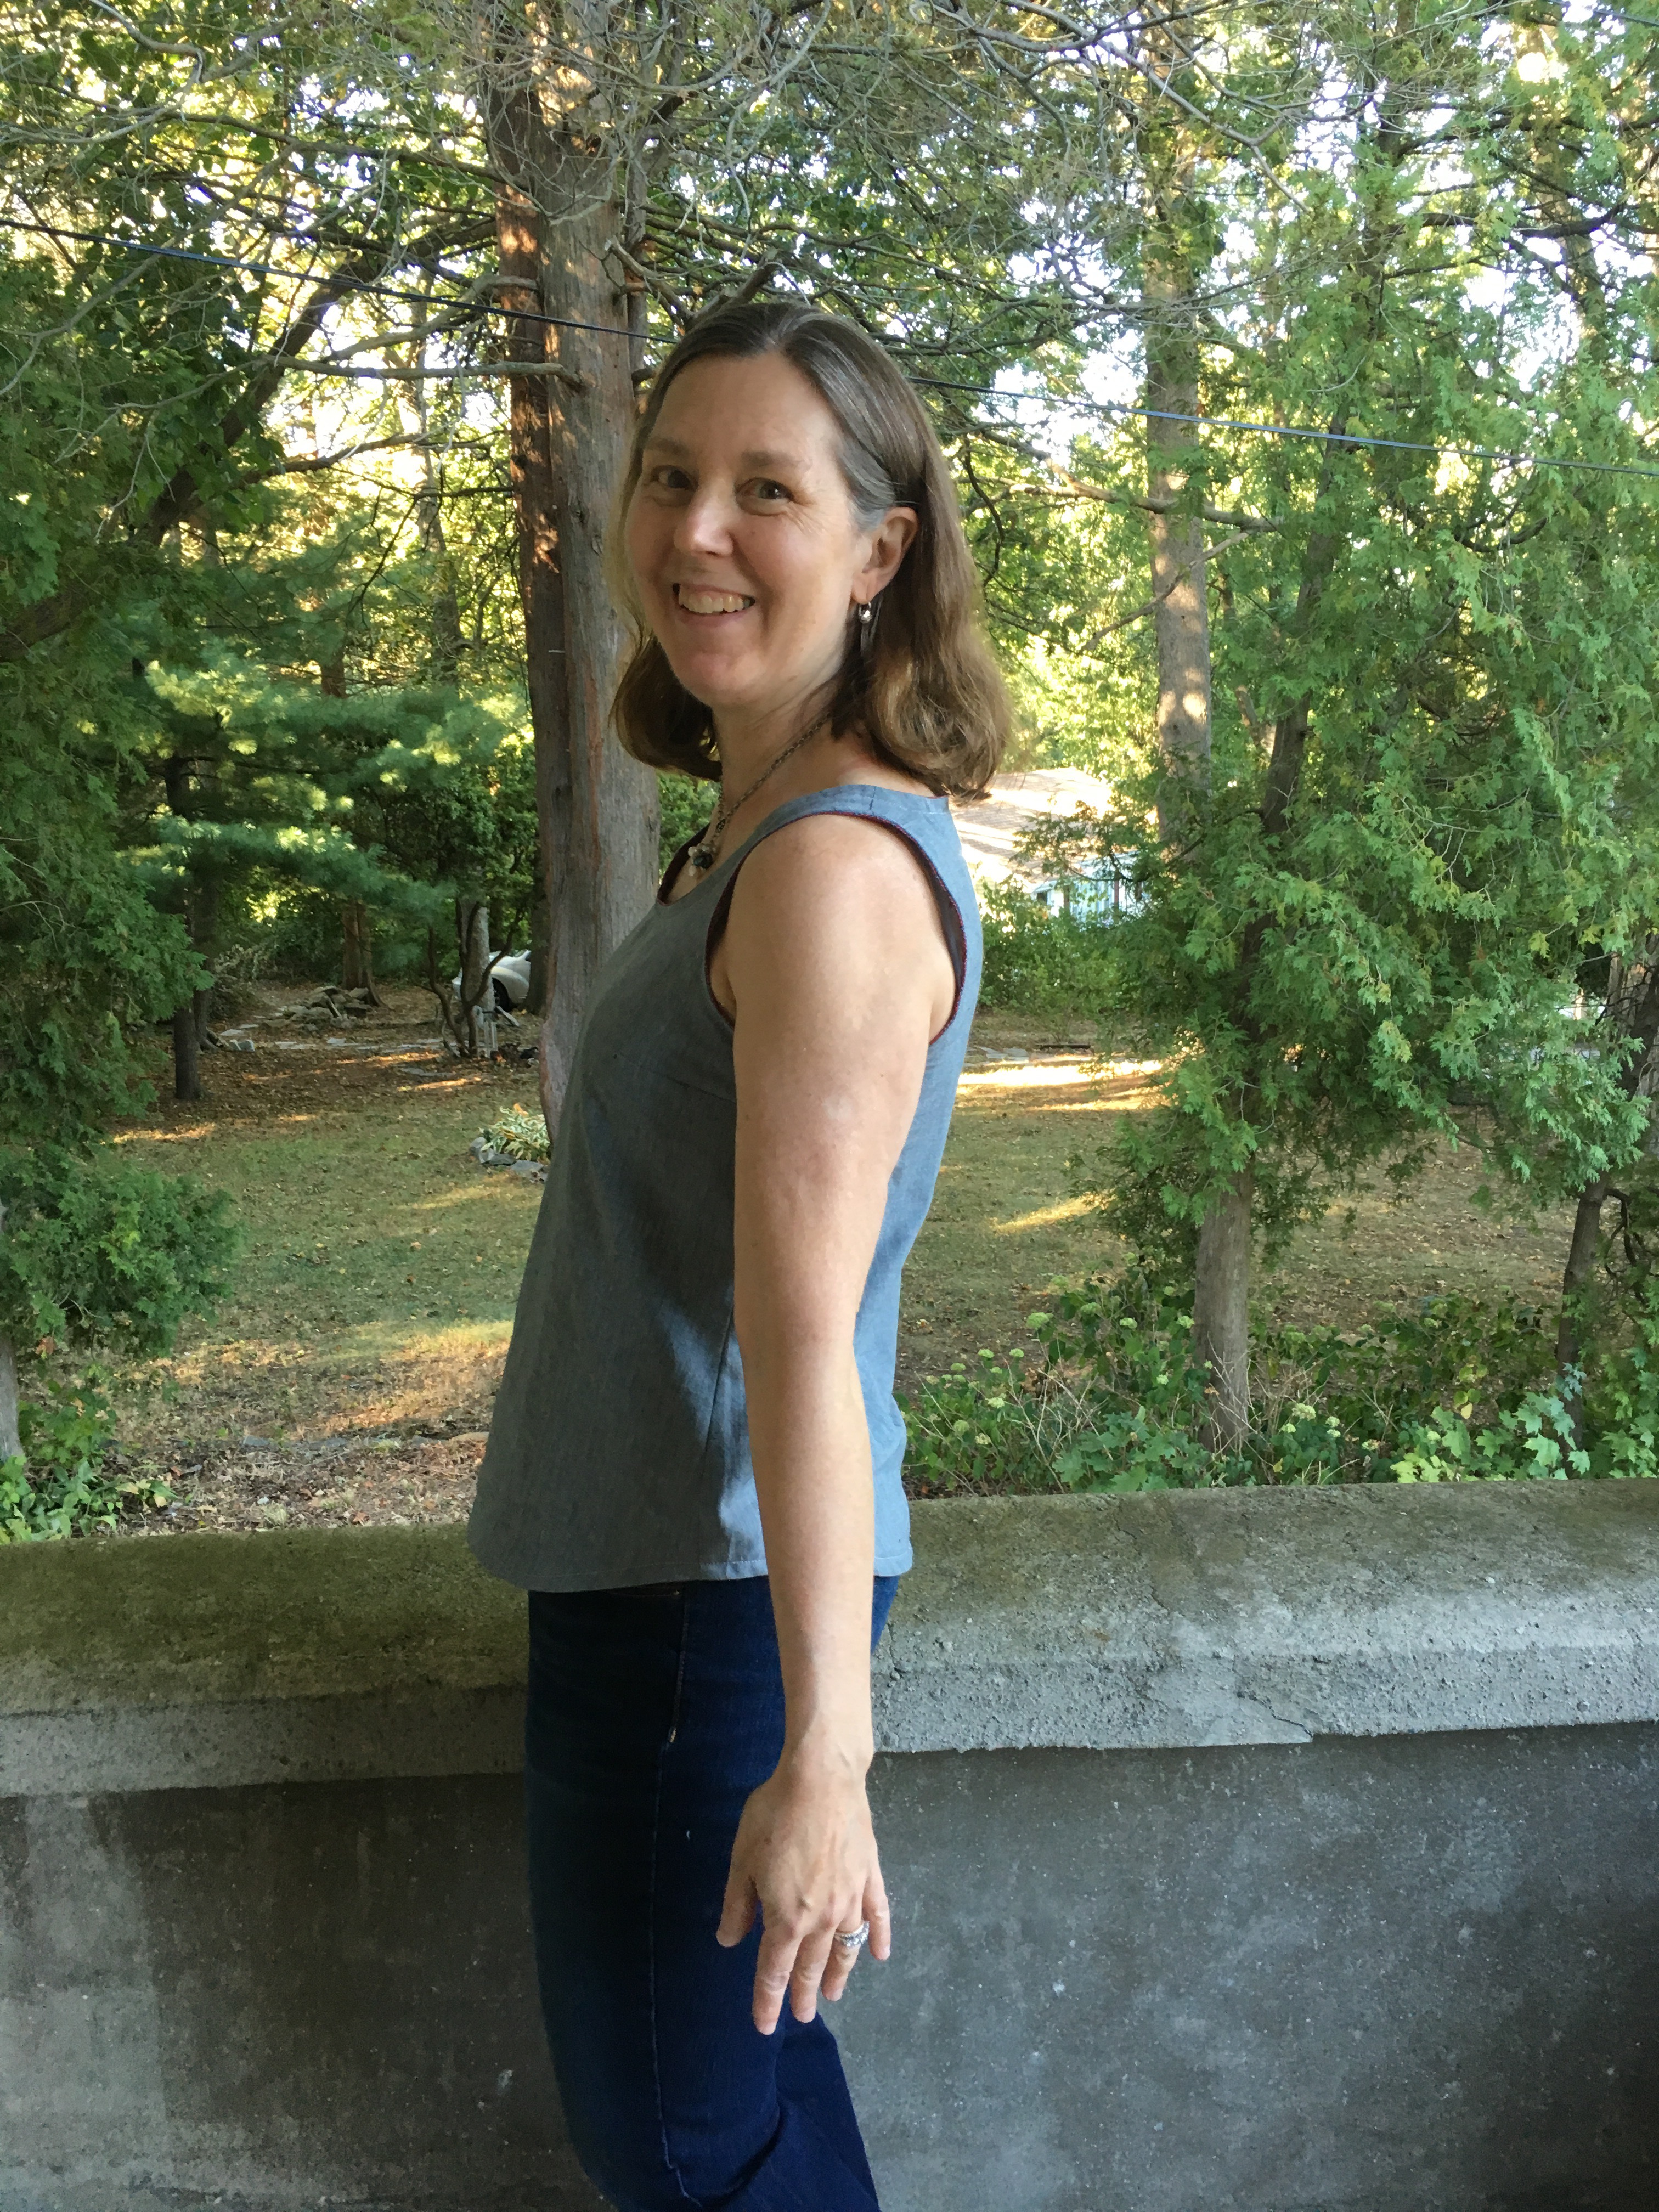
 Luckily there was no pocket to contend with but there was the polo player who ended up in just about the right spot. I really like the contrasting blue edge around the neck and arms.


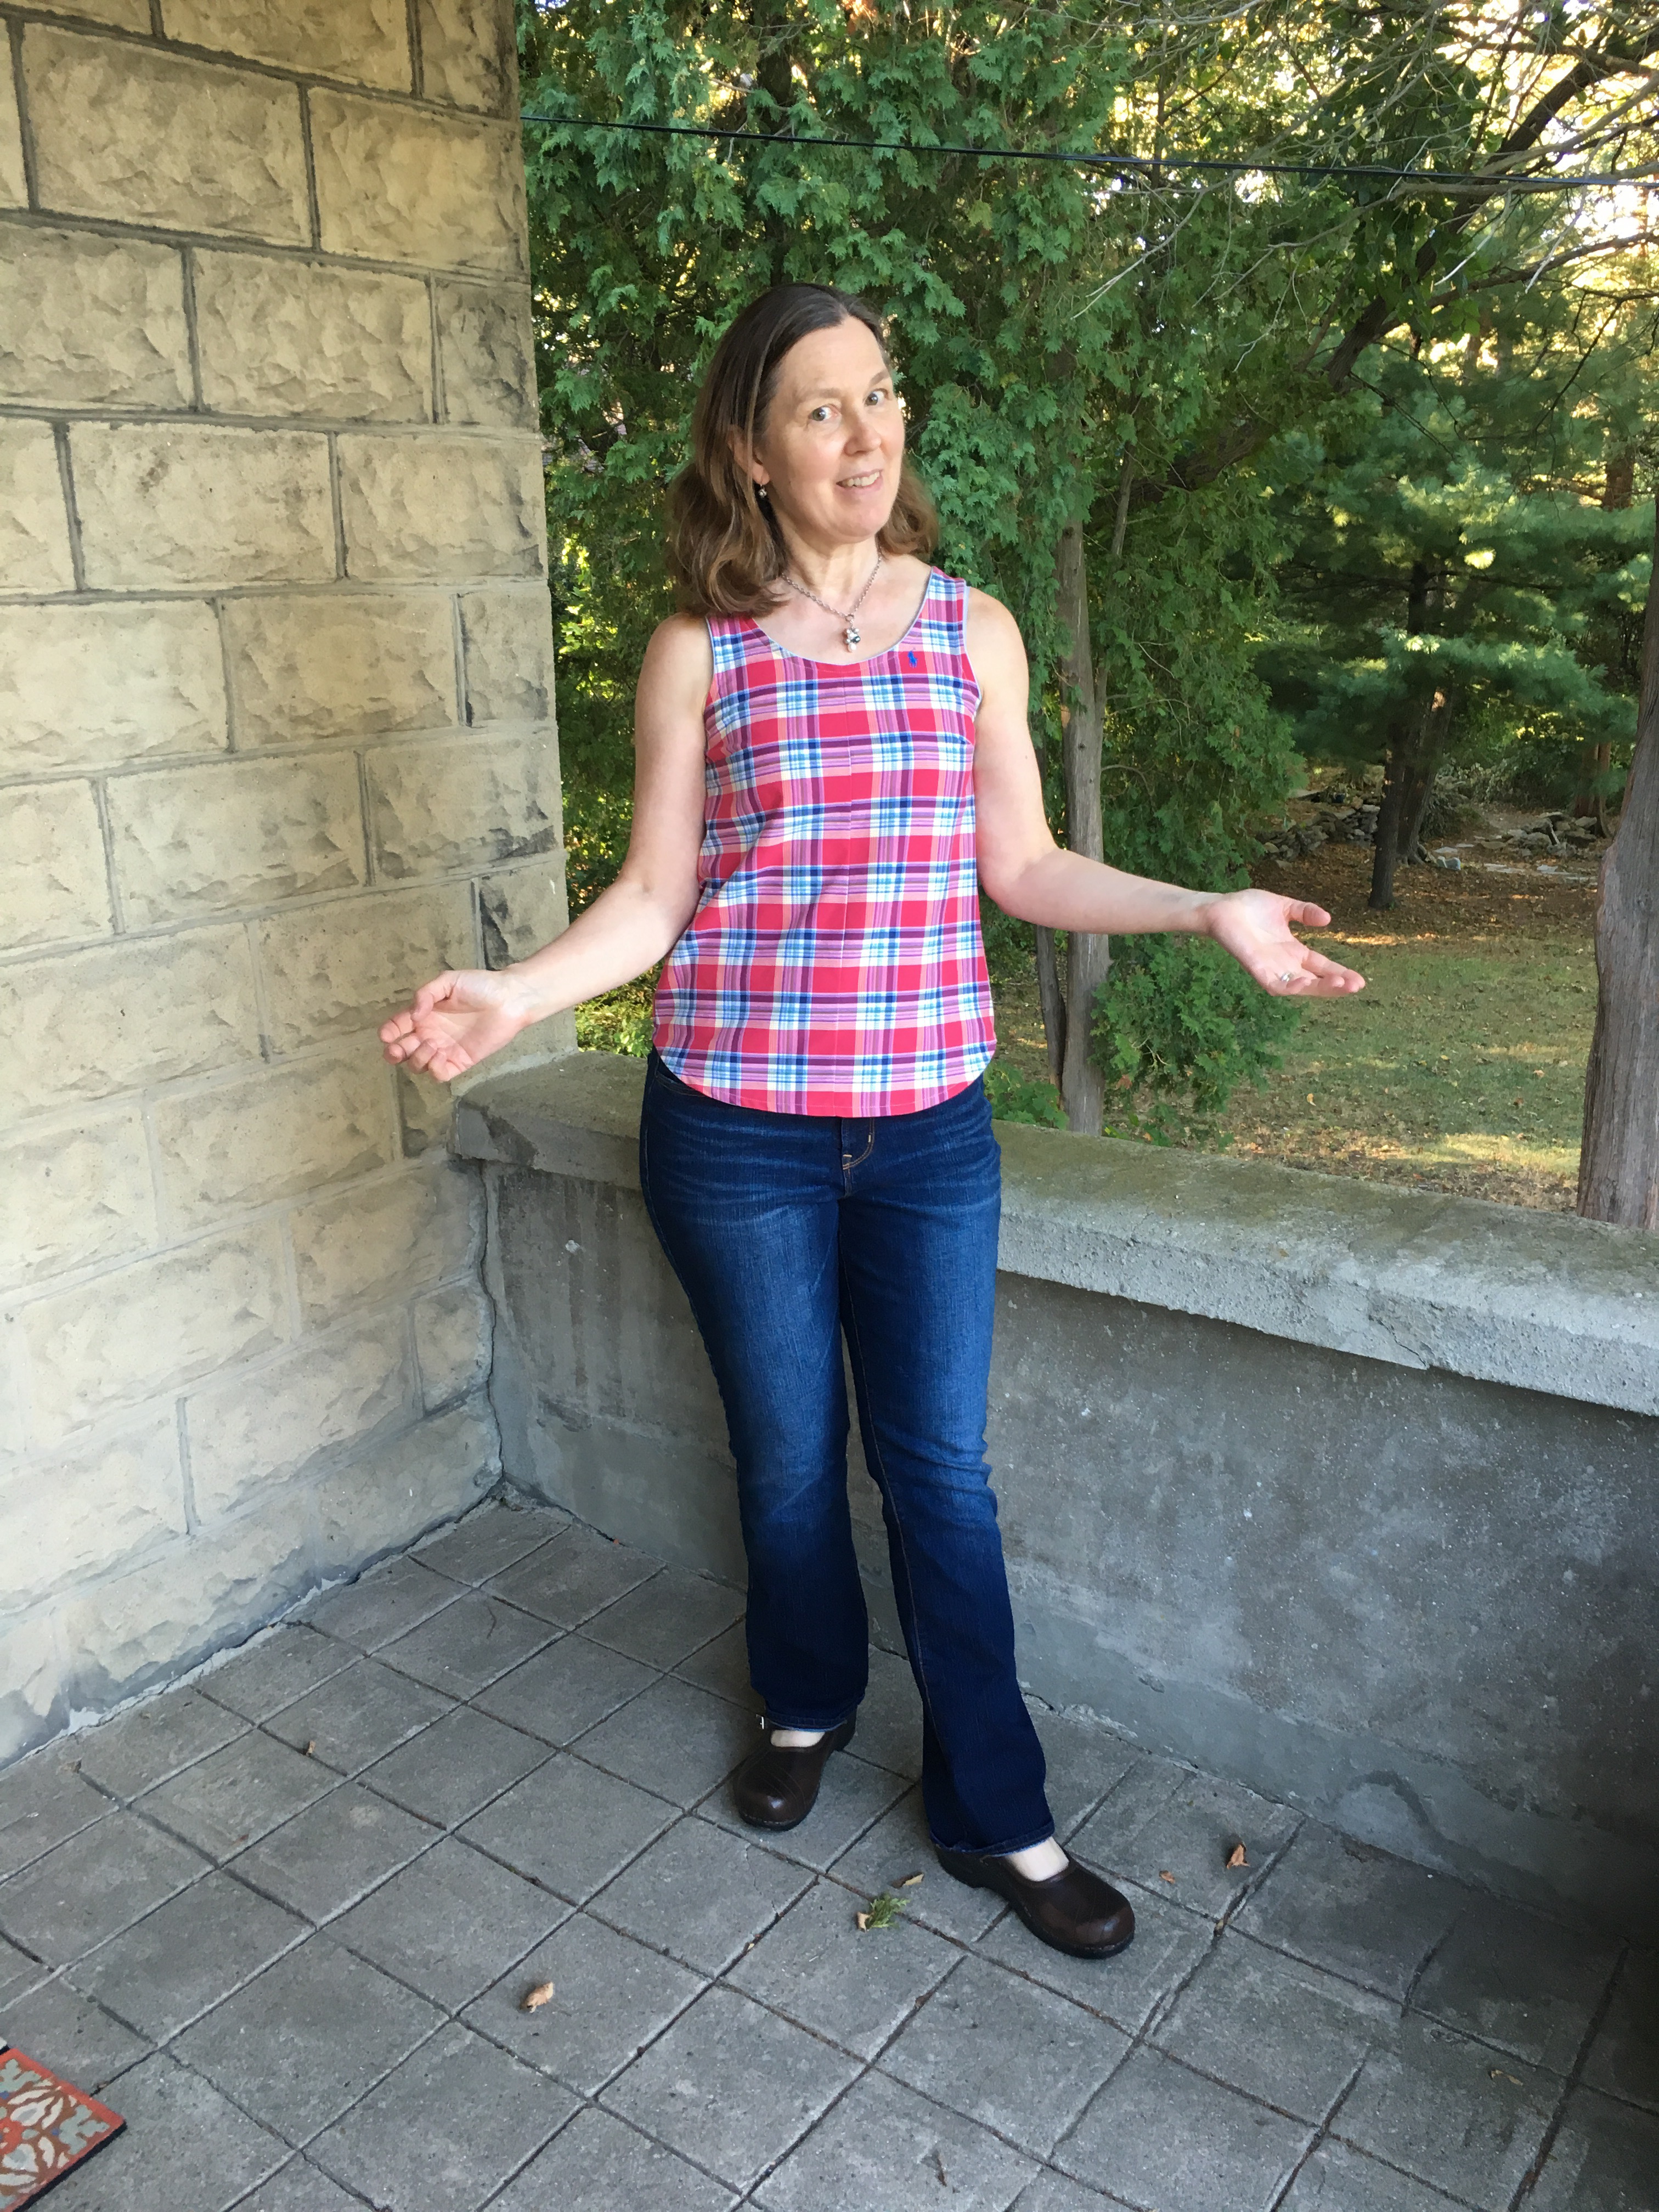
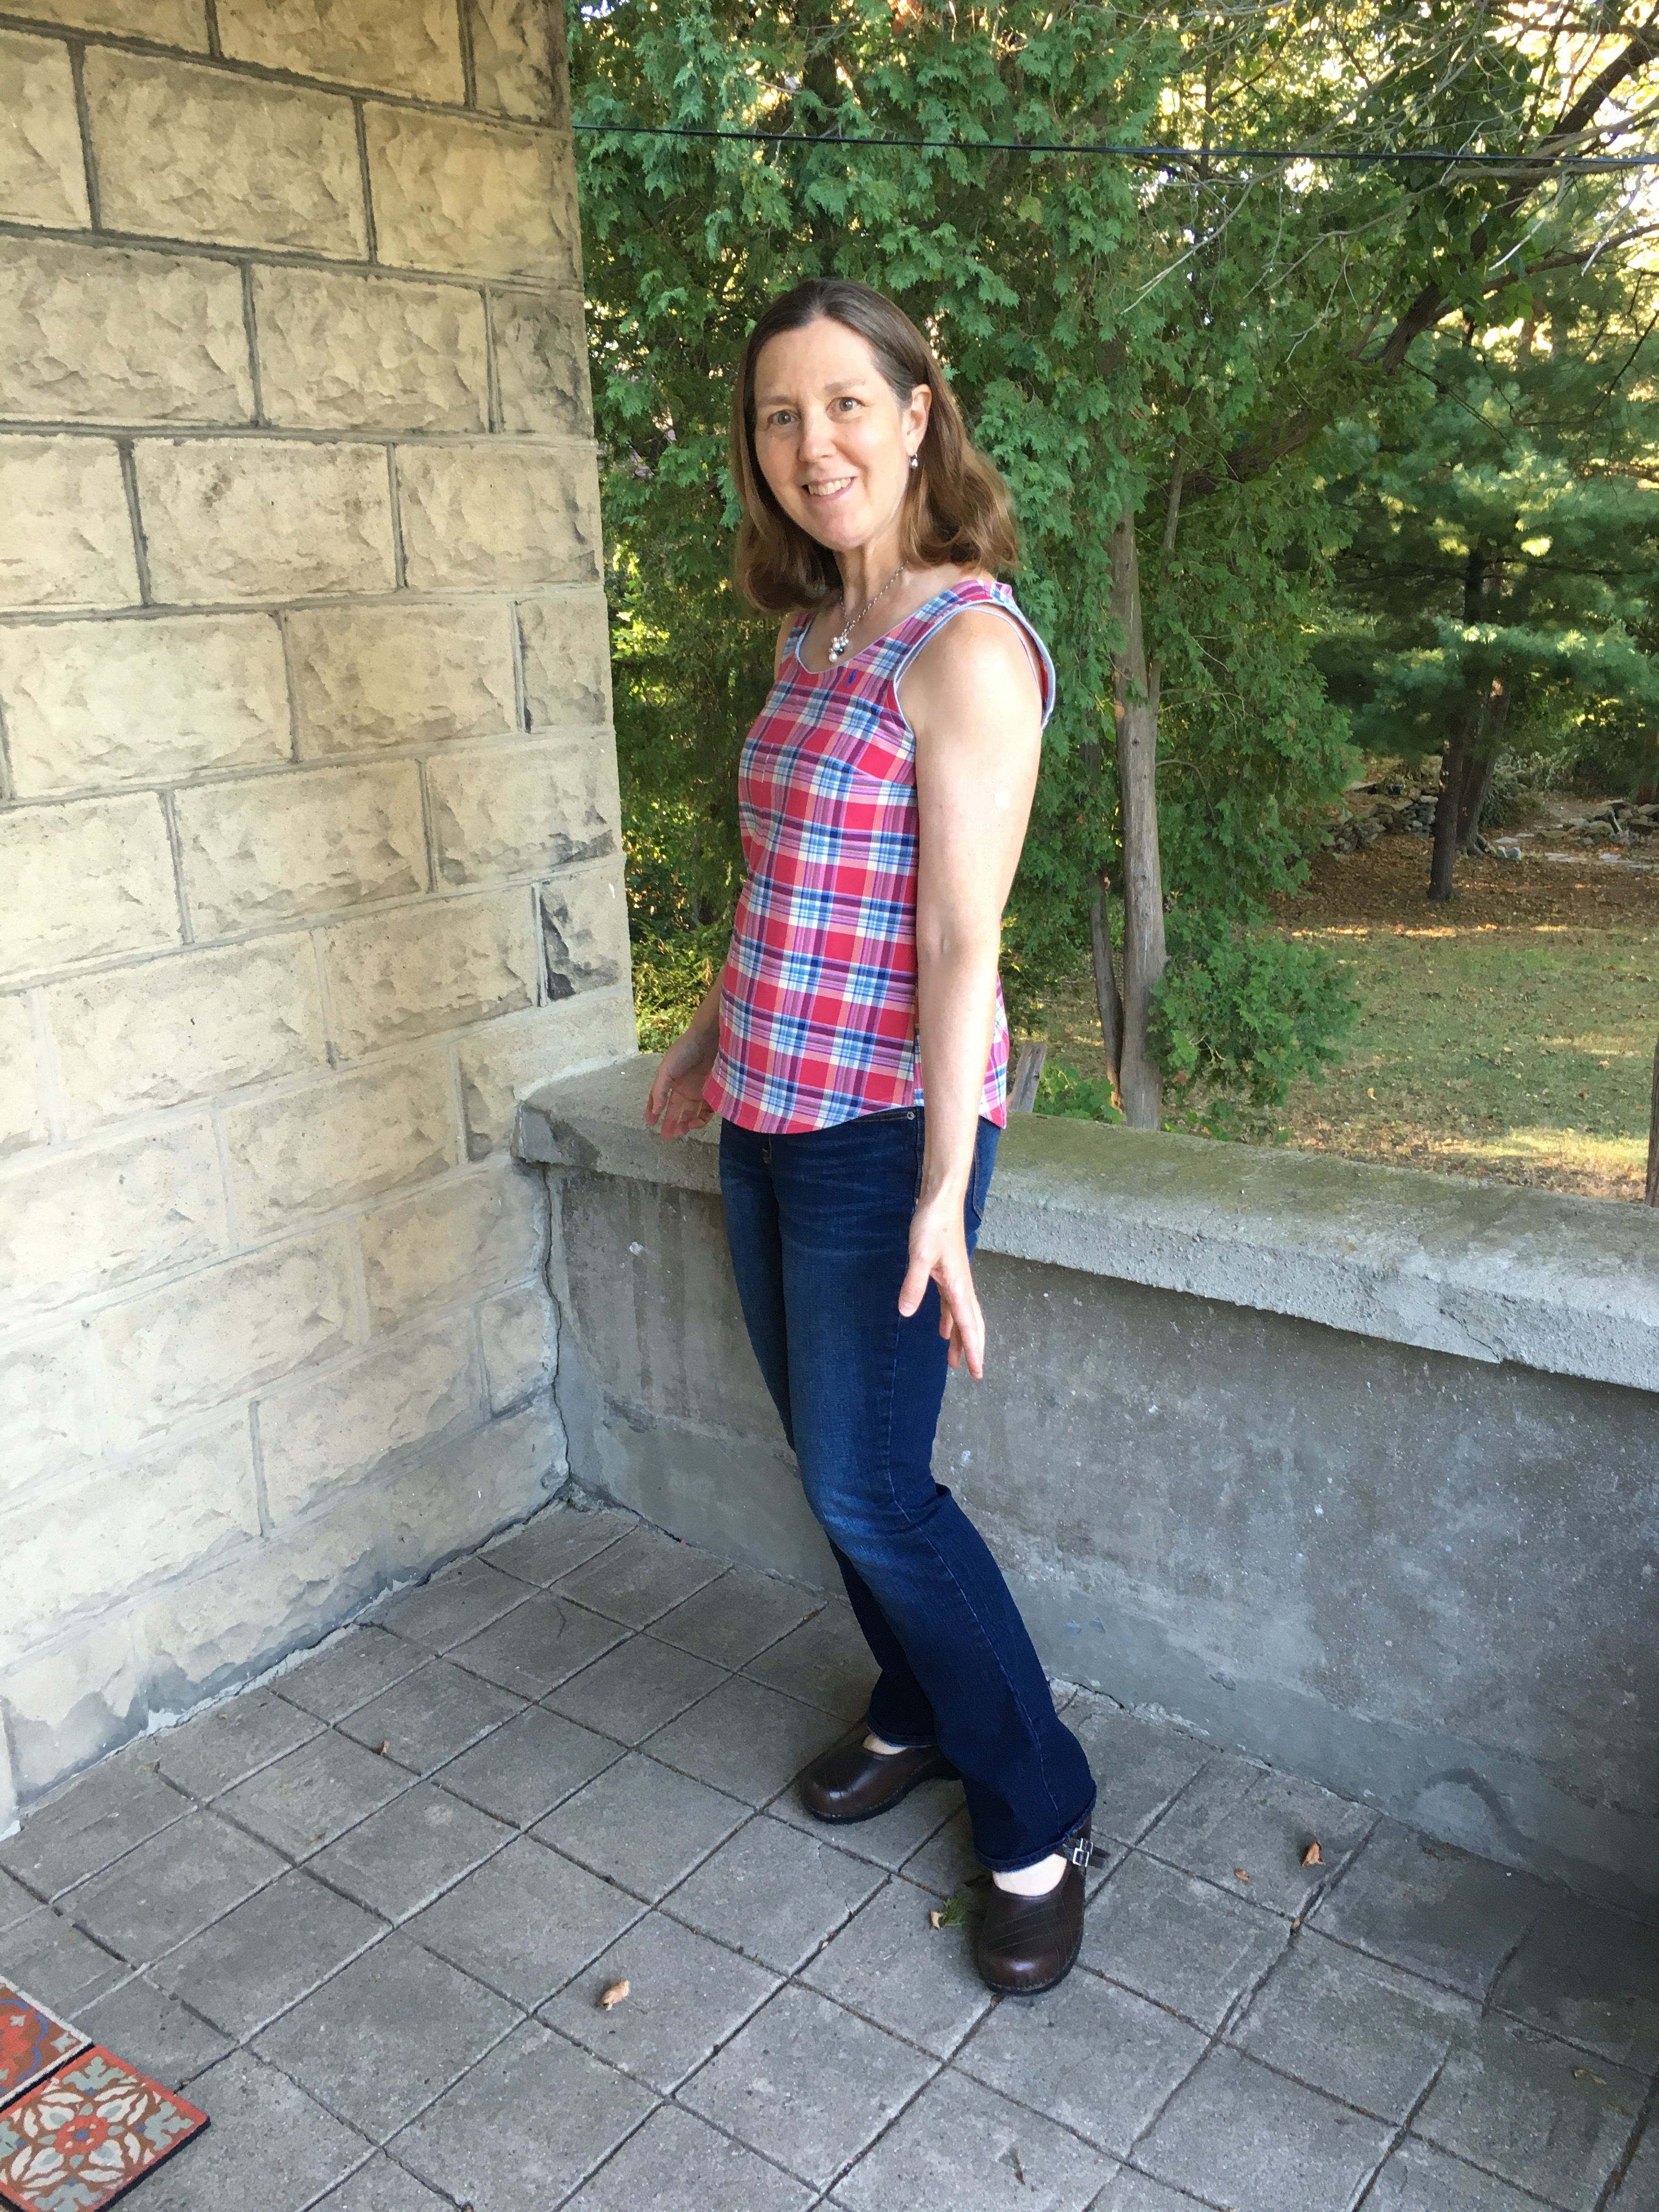


 I cut a Medium with the higher neck option, although I shaved a small bit off the front of the neck. You can see approximately how much I took off below although the picture below is a different Gemma (made the same way). I just slid the pattern down and cut a bit lower using the same curve so that the edge would be below the collarbones.
 I also lengthened it by approximately two inches.
 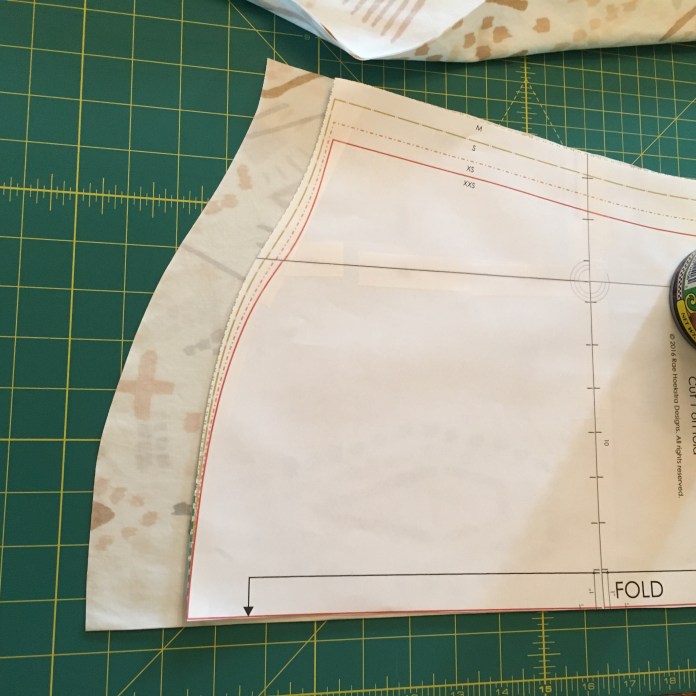 I mostly followed the directions for the bias binding using the
 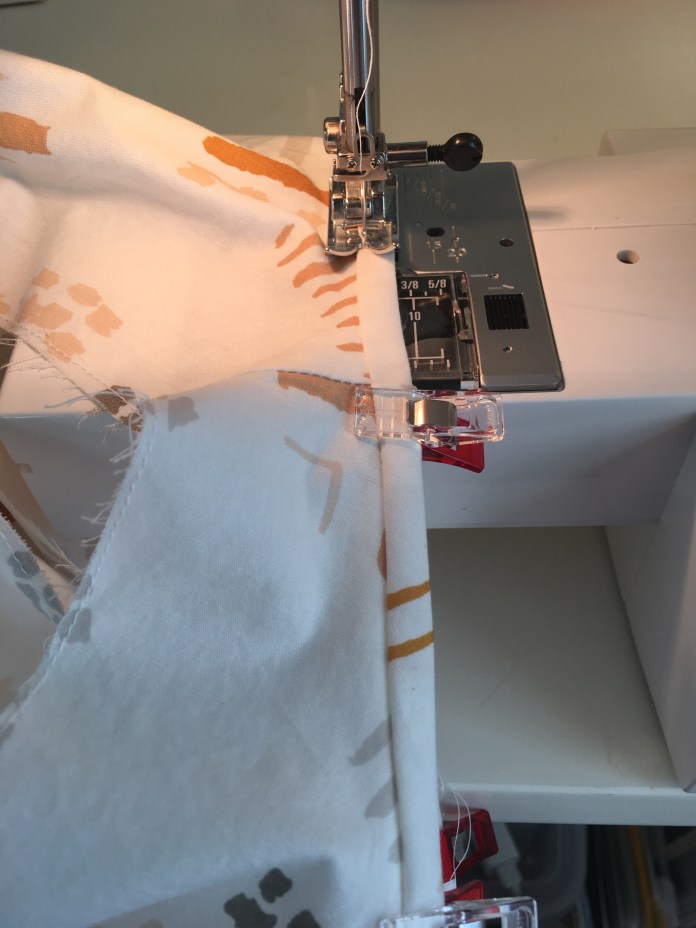 I used this beautiful cream colored Art Gallery quilting cotton by
  I was so happy with the feel of the fabric-it is soft and works beautifully for sewing garments. It is more like a lawn than quilting cotton. In fact, I bought another 3 yards of the green as a back up plan. I have done that only a few times but I was so happy with my
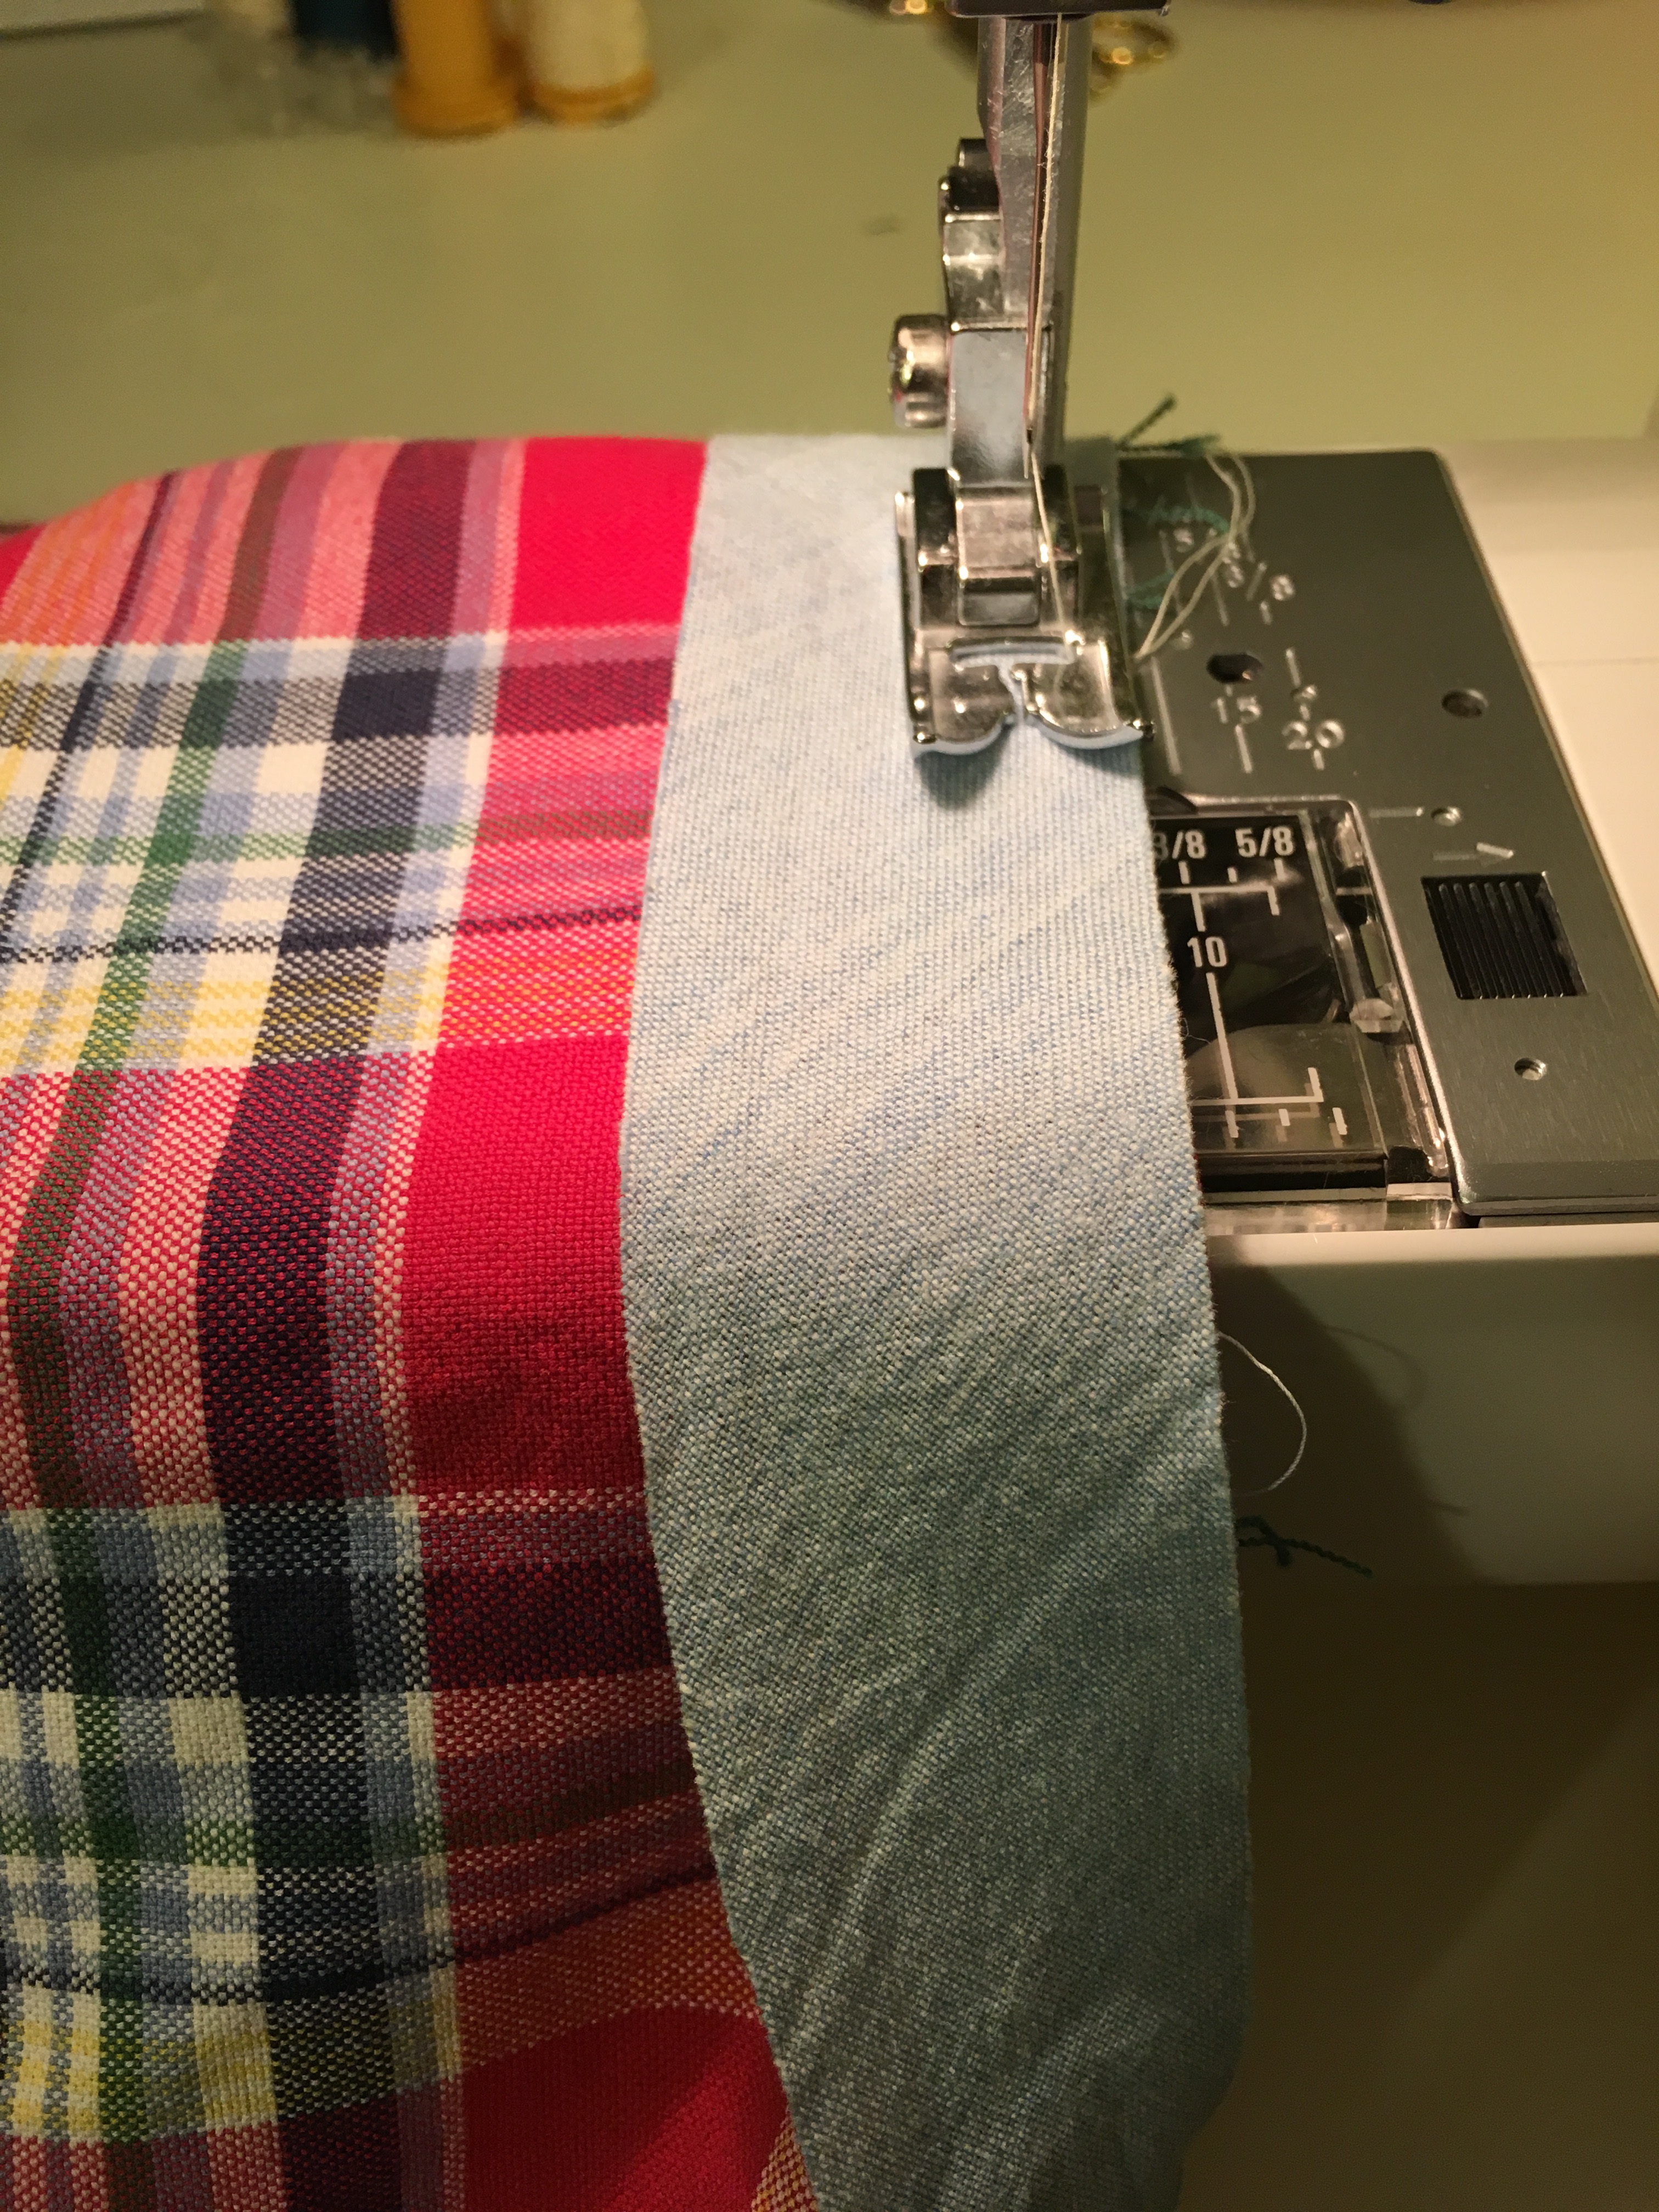
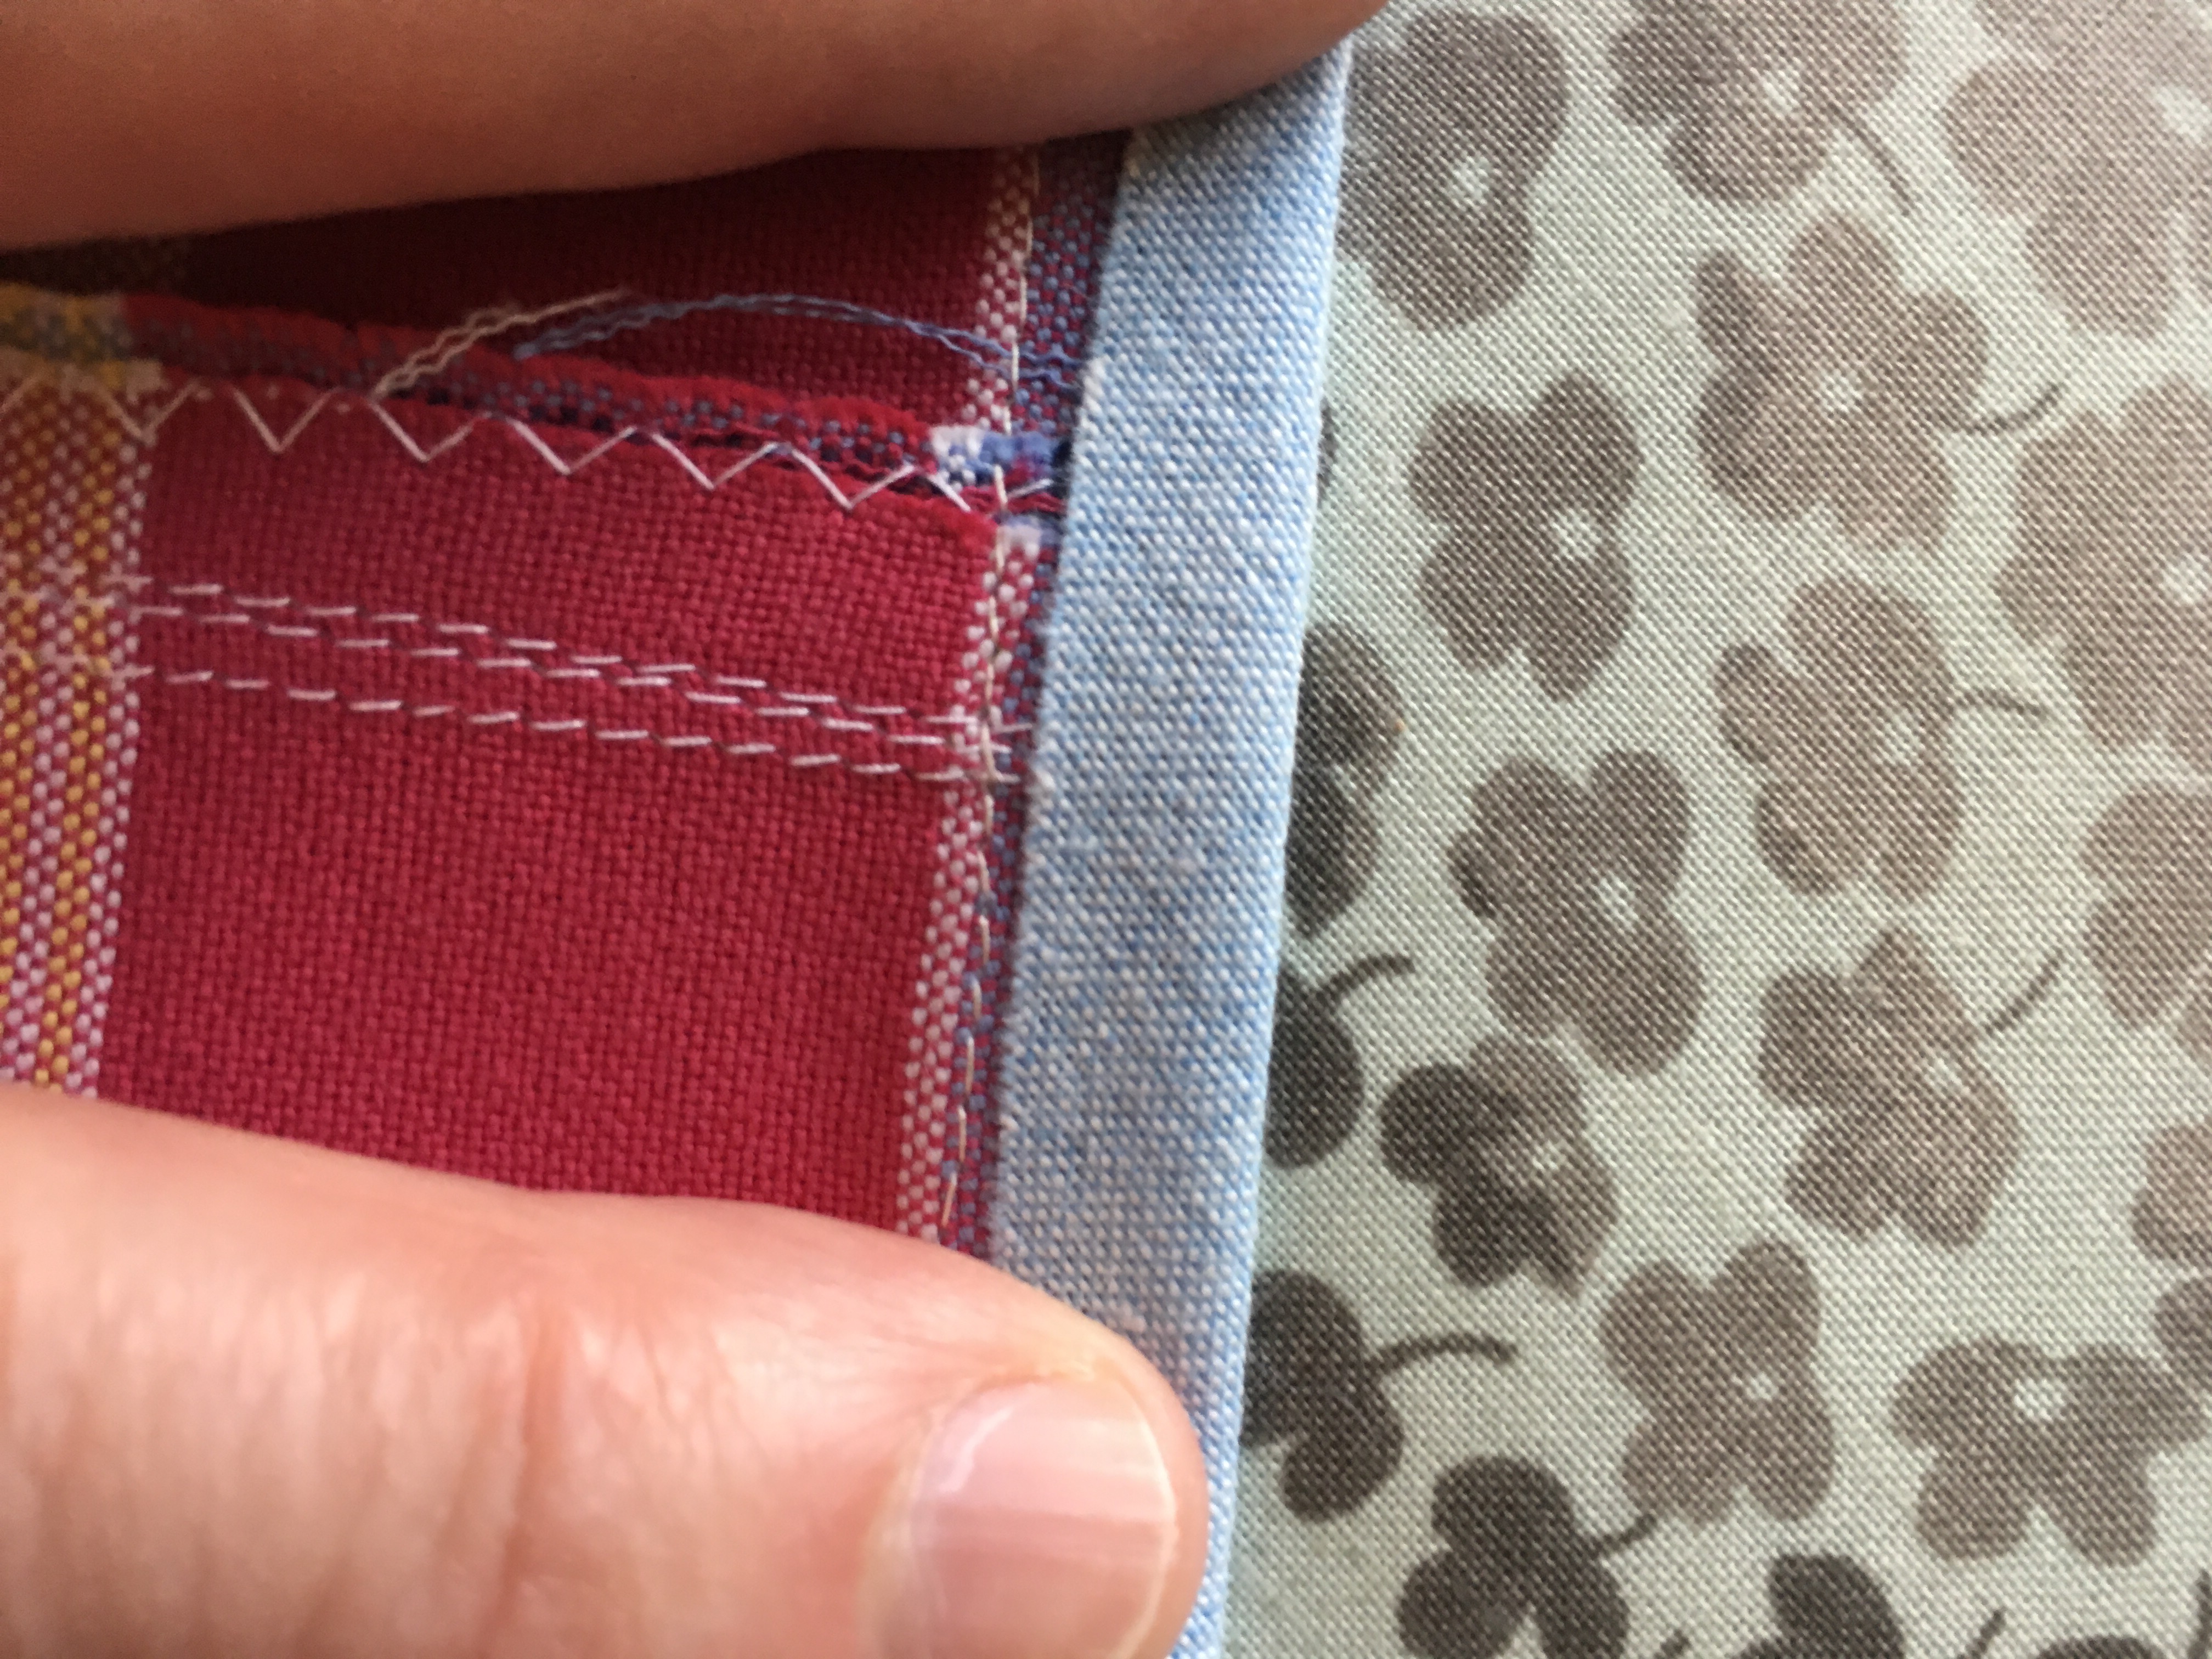
 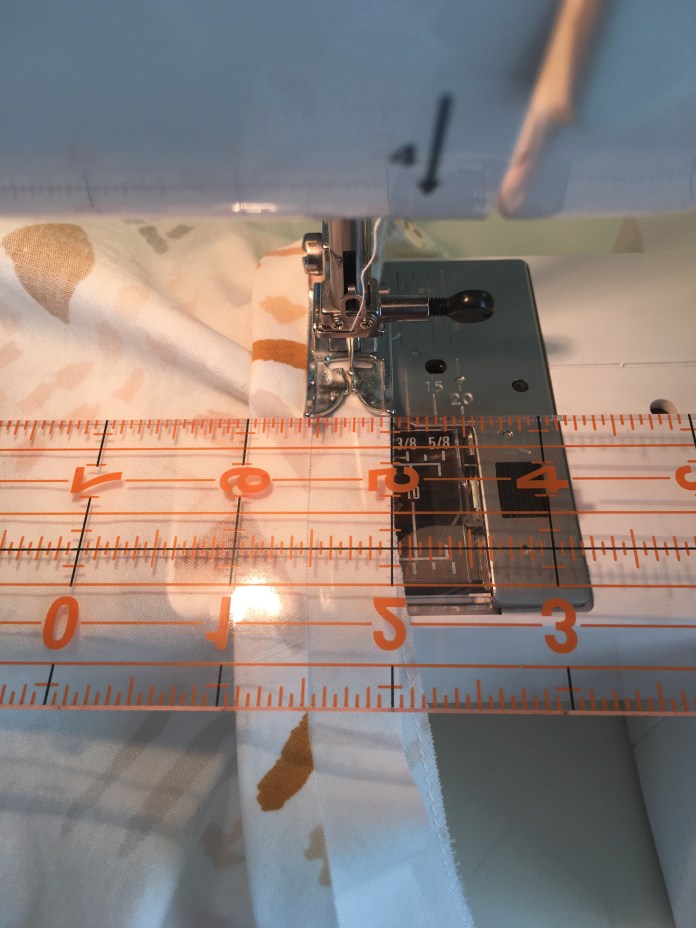 I don’t pin before I sew, I just hold the edges together and it generally works pretty well. Then I iron the stitching line and press the edge to the other side and use wonder clips to hold the bias binding in place before I sew the second seam which, as seen below in the finished version, is just to the inside of the ditch. It actually looks like it was sewn on the inside and flipped to the front using the topstitch method, the way Rae shows you here in
  I like using the wonder clips because I turn the blouse inside out and iron the binding to the wrong side and whereas I used to pin it in place on the wrong side and then flip it and have to move all the pins to the outside before sewing, the side doesn’t matter with the wonder clips and it saves a step. This is what the outside looks like before sewing the second seam.
 I also sewed a facing onto the hem of this Gemma using more of the binding tape. For some reason, I get a much neater hem doing this than just turning up the fabric. Although it might seem like more work, the seam line gives a visual place to turn up the edge, I iron like crazy and everything just turns out neater. I also like a slightly wider hem than the pattern calls for because I find it lies flatter and doesn’t curl up.
 I do a lot of ironing when I make the hems this way. I have described this in several previous blogs. I often use contrasting fabric for fun. You can see other examples
 As those of you who follow me on
 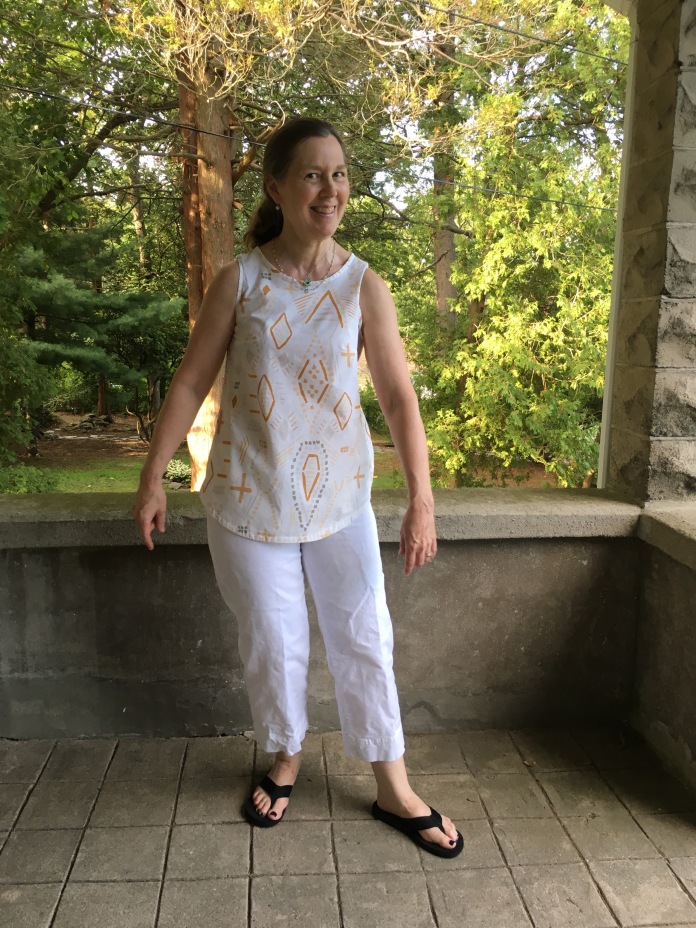 Back view:
 Version number 2: Size medium. Same adjustments as version #1 but decided after cutting out the pattern to use contrasting fabric left over from my
  Back view:
 Side view:
 Version number 3. I made a muslin in size Small for my stepdaughters to try since they have a birthday coming up and there is some
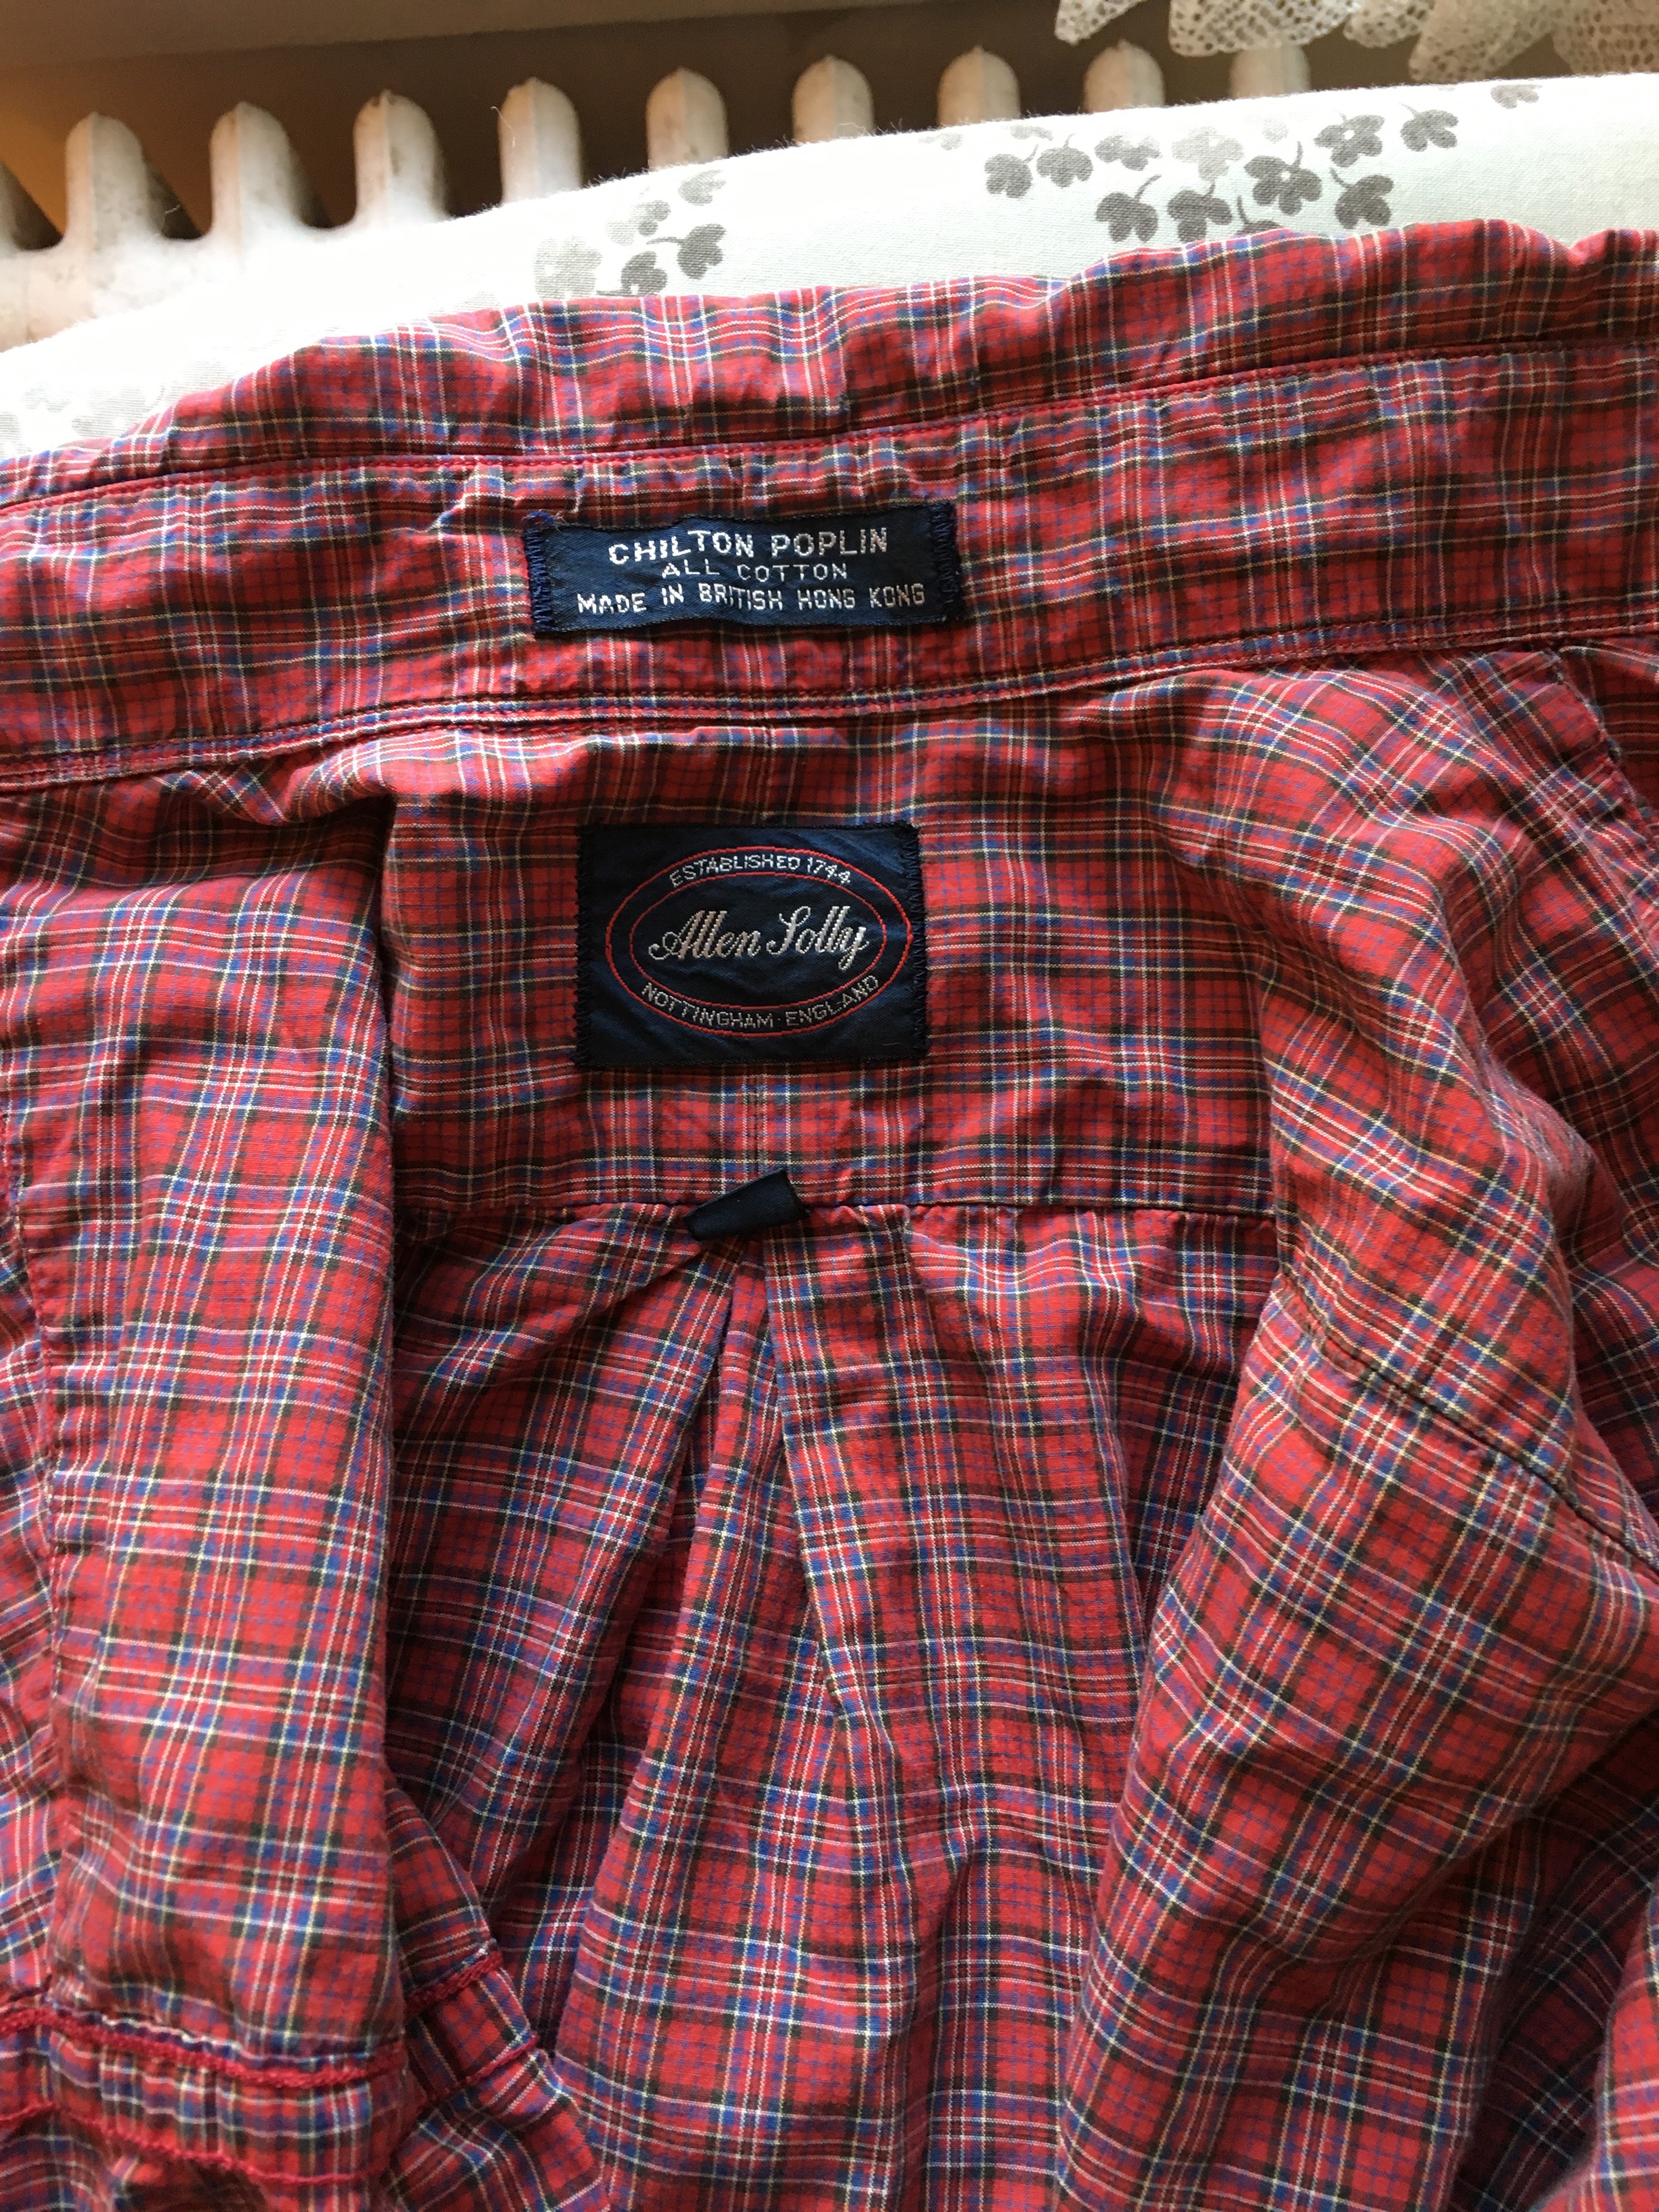
  I used chambray left over from several previous projects that I purchased over 20 years ago in Brooklyn for the bias binding which I used on the neck, armholes and as a facing for the hem.
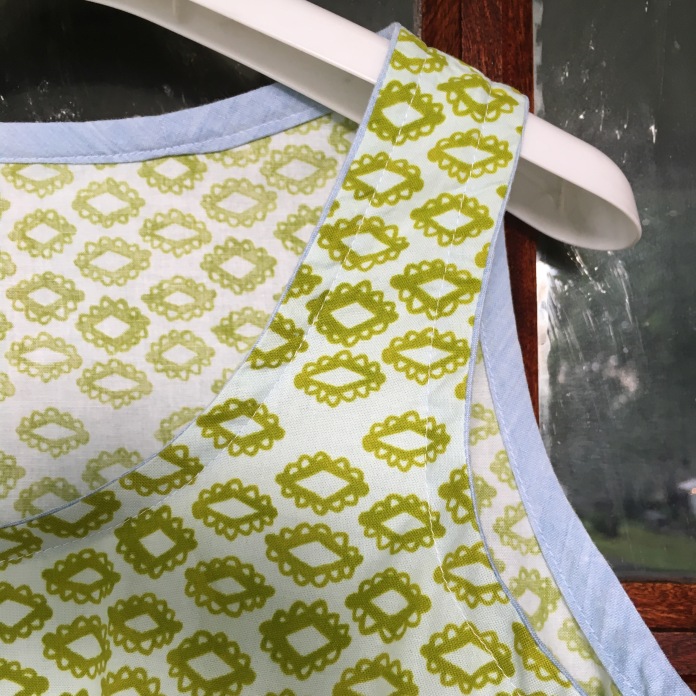 I swear that this fabric regenerates itself while I sleep. There is always a bit more for one more project. One of my children’s favorite childhood books was
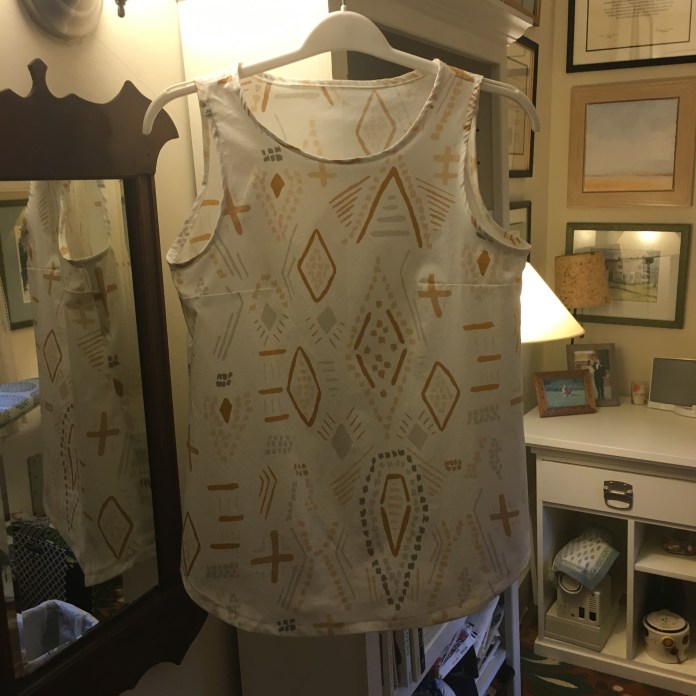
  Gemma hanging on front door. #goodlight
 Gemma hanging in a window.
 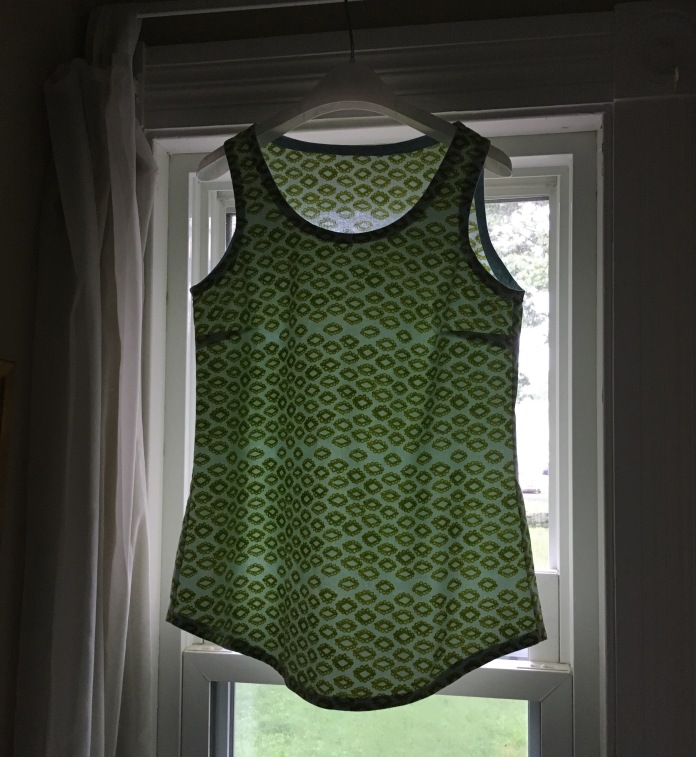 More pictures of my woodblock Gemma below. It might be my favorite. It is hard to choose.
  The Gemma tank is perfect with a cardigan:
 Side view:
 with Sadie the wonder dog who is not enjoying the Dog Days of Summer
  action shot with dog below, (note to self: add bra-strap holders) but the fit is really good as you can see.
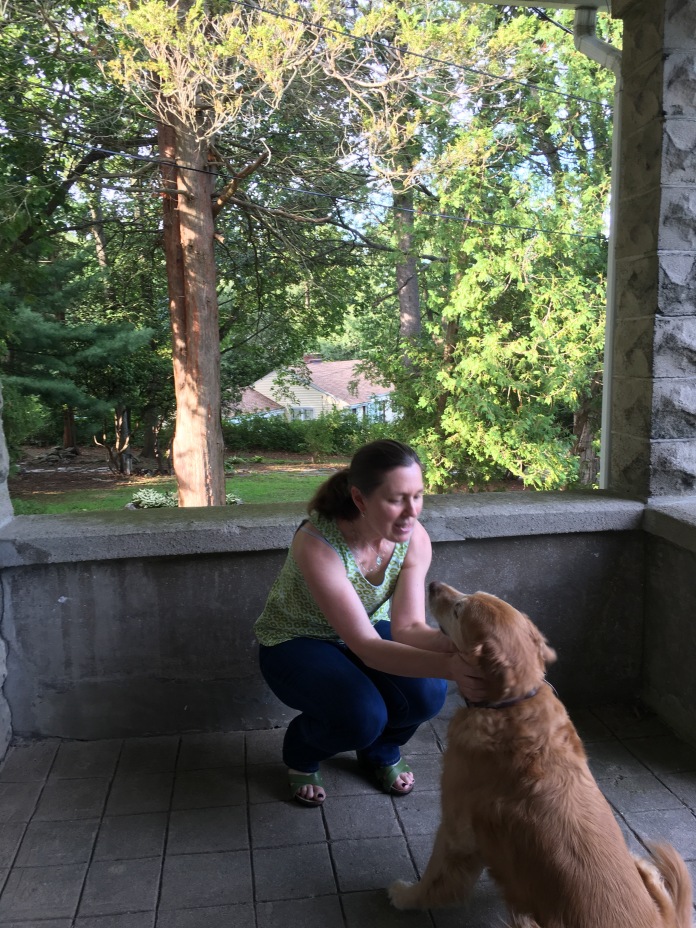 All of these tops have already been washed and worn. Even though the Dog Days of Summer are supposed to have been over August 11th-at least according to the internet- they are in full force in Connecticut. It has been unbearable. These tanks are perfect for these hot days. Sadie the wonder dog is not feeling so wonderful d/t the heat. #summerinconnecticut


 Back:
Back: So clearly I am enjoying this pattern. It is quick and easy sew and it allows you to get a little crazy with fabric because while you might not make a whole dress of a funky fabric, a tank top is a small enough commitment (and everything goes with jeans) so I am now looking at my stash in a new way and seeing so many possibilities. I will post again later this week with details and how-too info. Next up will be to try a Small-Medium version to see if that is the perfect Goldilocks fit solution and to get going on many tanks in size Small for the birthday girls. Action shot below. #jumpingforjoy because the heat is lifting:)
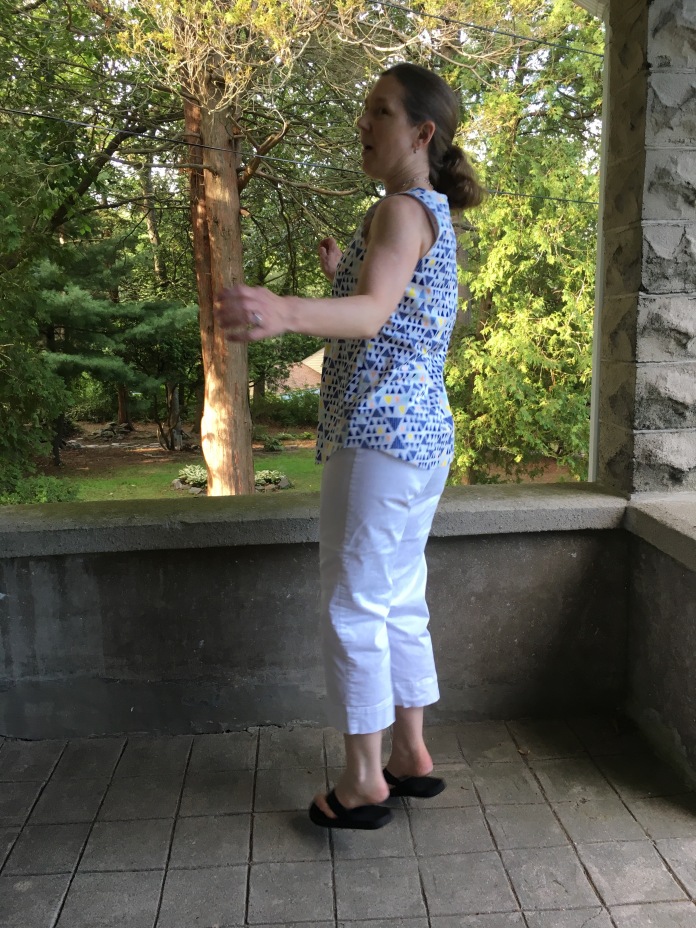
 Summer can sometimes be a challenging time for me. Social media is flooded with vacation photos of beaches and mountains and faraway places (the pictures of Norway and Sweden are amazing) but probably the hardest pictures to see are pictures of cabins in the woods on beautiful clean lakes. It makes me want to just jump into the picture. This one is from a real estate listing is exactly the kind that gives me pangs.
 But it turns out that


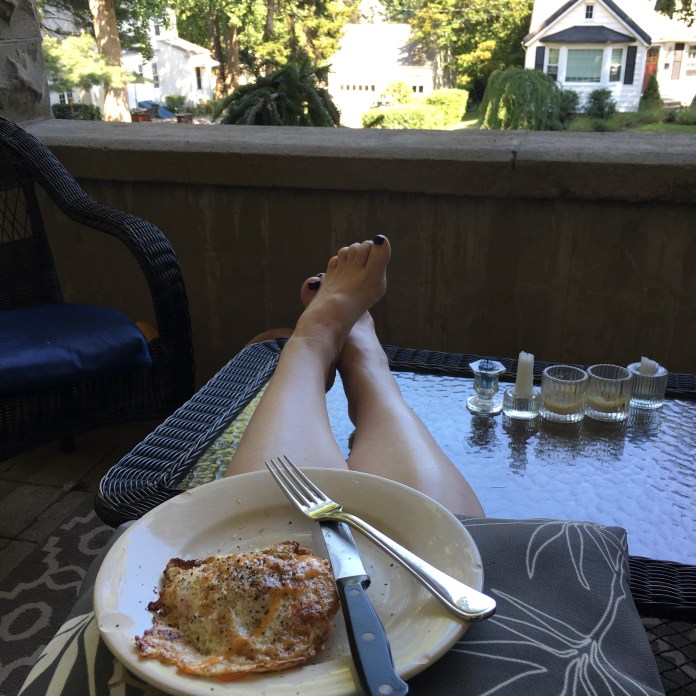 I made a nice breakfast with home made berry muffins for my family, most of whom were with us. It was great to have a big group around the table. I used the pretty china and picked wild flowers from the garden. I love big family gatherings centered around a nice meal and my kids live far away so this was a treat for me. We also had a taco night with part of the group the night before and a dinner out at a favorite restaurant with my two daughters and son in law. It is a place we had gone to many times when they were younger so that was a special evening.
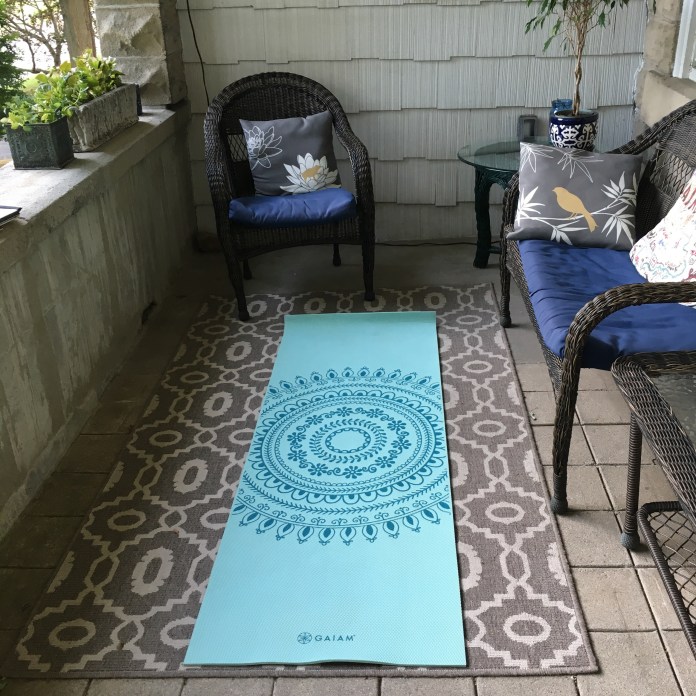
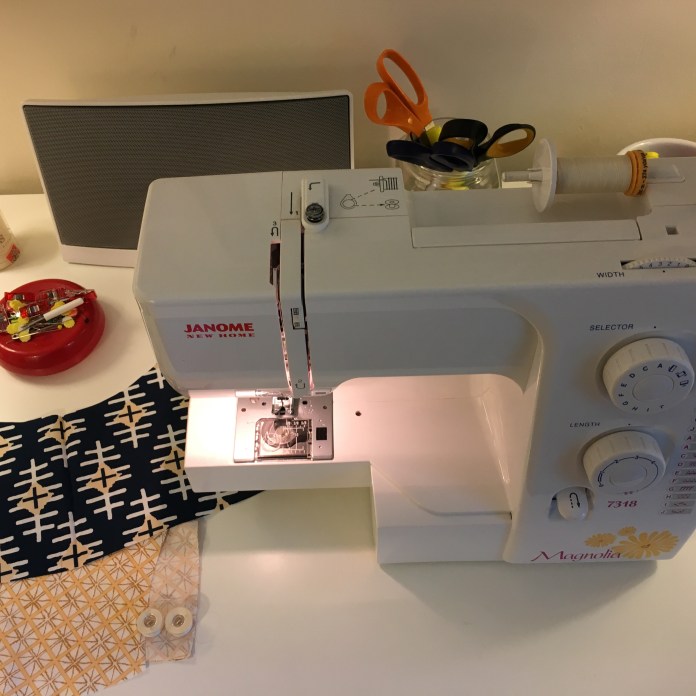 I sewed, sewed, sewed. But I didn’t treat the sewing as a chore. I did a couple of hours of sewing every day. I listened to music while I sewed. When it started to feel like a chore, I switched gears and read or did yoga. I completed three garments: a


 I had a diner breakfast with my daughter and son in law and then my daughter and I got our toenails painted in summer colors before they flew back home to the mid-west. I miss her already. New Luna pants in the wild below. And then it was back to reality.
 At least I had a new dress to wear my first day back.
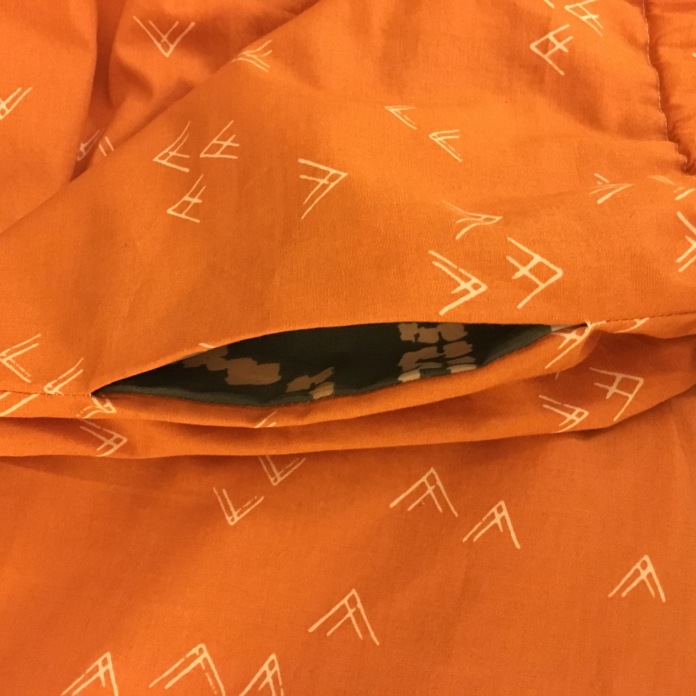
 The fabric was
  I think I will ultimately be glad I did this for the comfort factor but it was a pain and I am not showing the inside of my back waist because it is a hot mess. Here is the pocket in process so you can see the color. It is more teal than navy but I like the contrast.
 The rest of the double gauze is going to be a
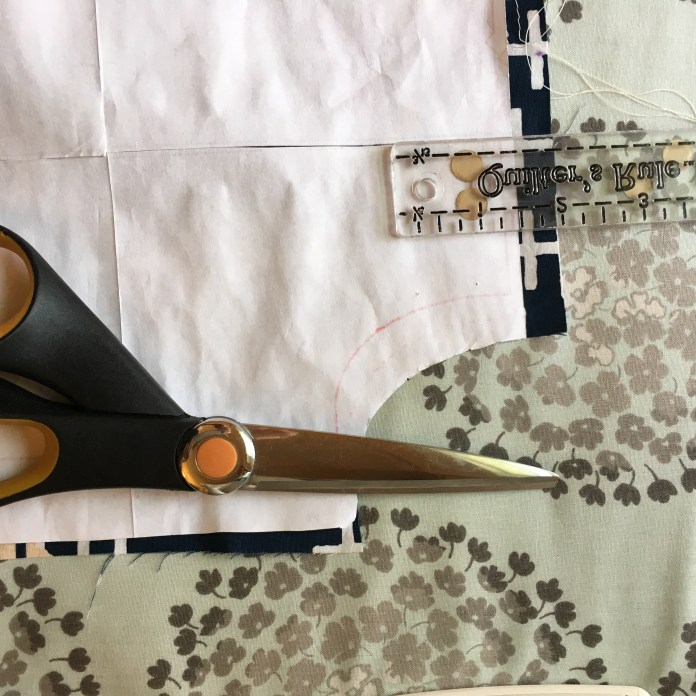
  I cut out the Ruby pieces and the Luna pieces at the same time to make sure I had enough fabric.
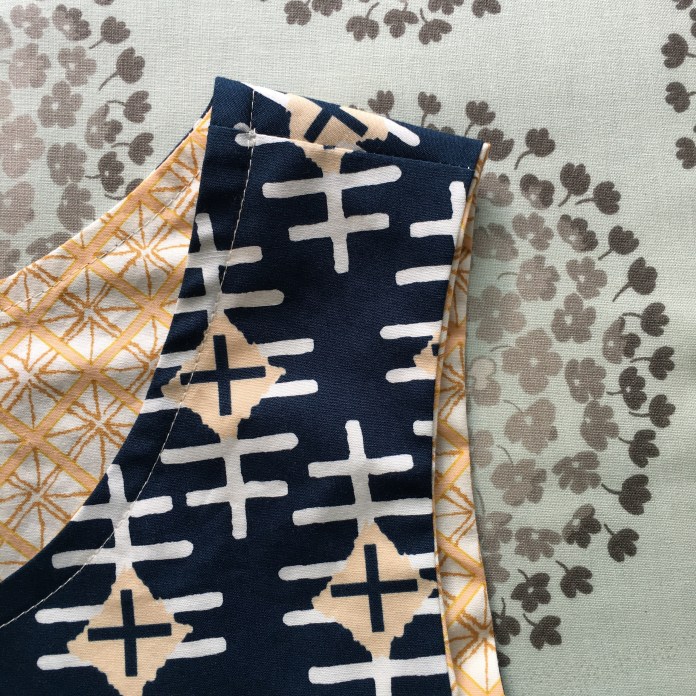
 In anticipation of all the fraying, I sewed the pockets with multiple seams.
  I do like the way the finished pocket peeks out.
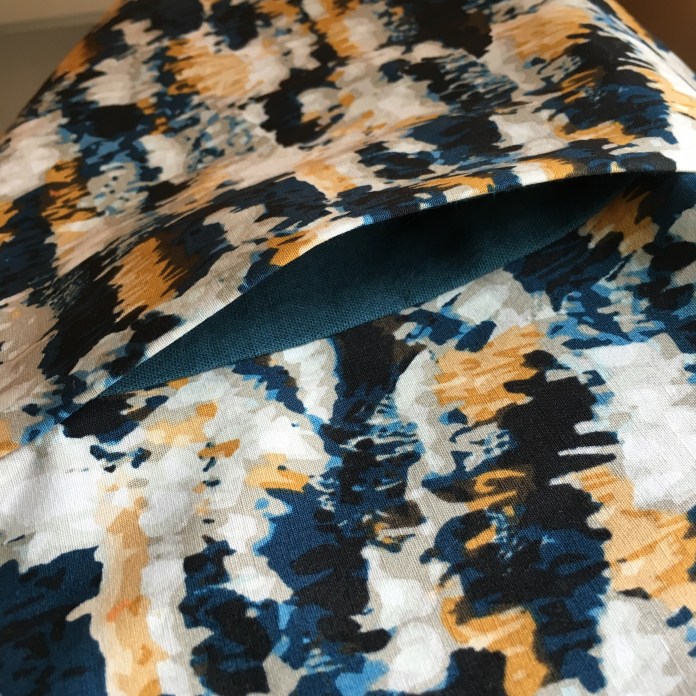 I have to say that once I put these on, they put me in a goofy mood. My daughter captured some of this as you can see below.
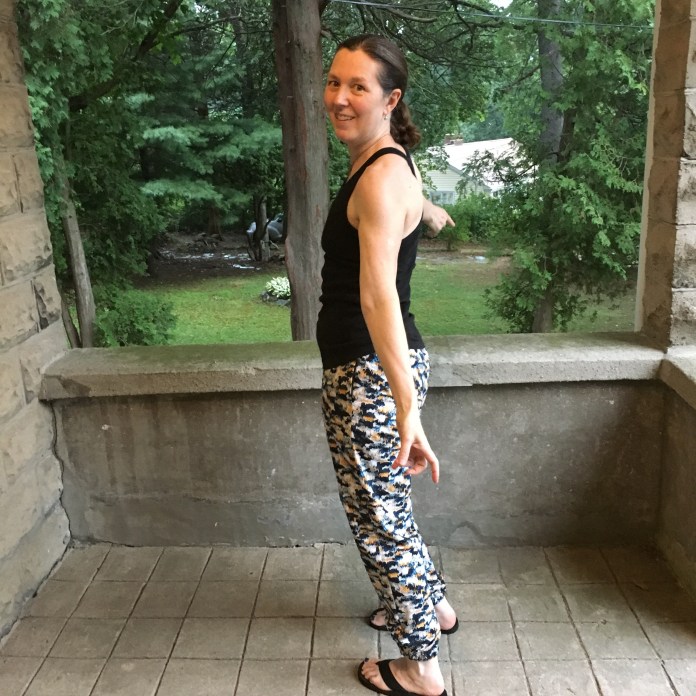 They just make you want to dance.
 Which is not a bad thing!
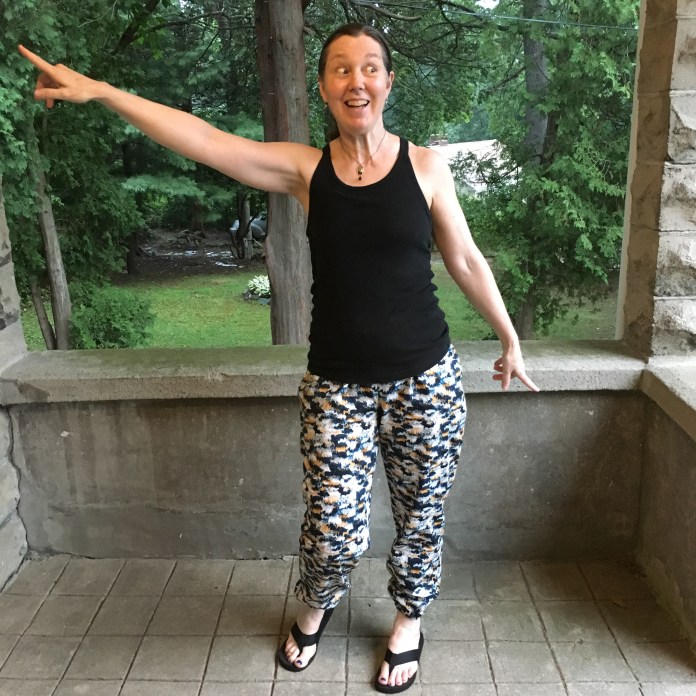 Action shot:
 Mid dance pose:
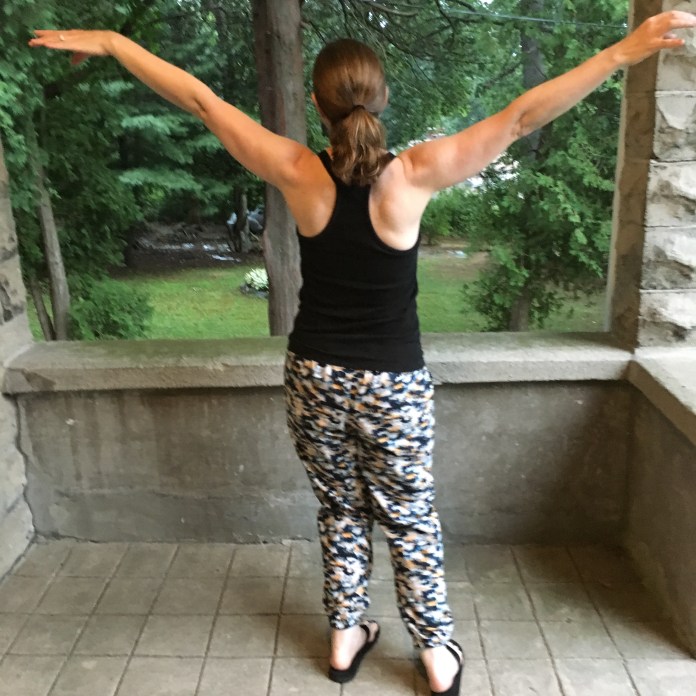 YOU need to make some Luna Pants!
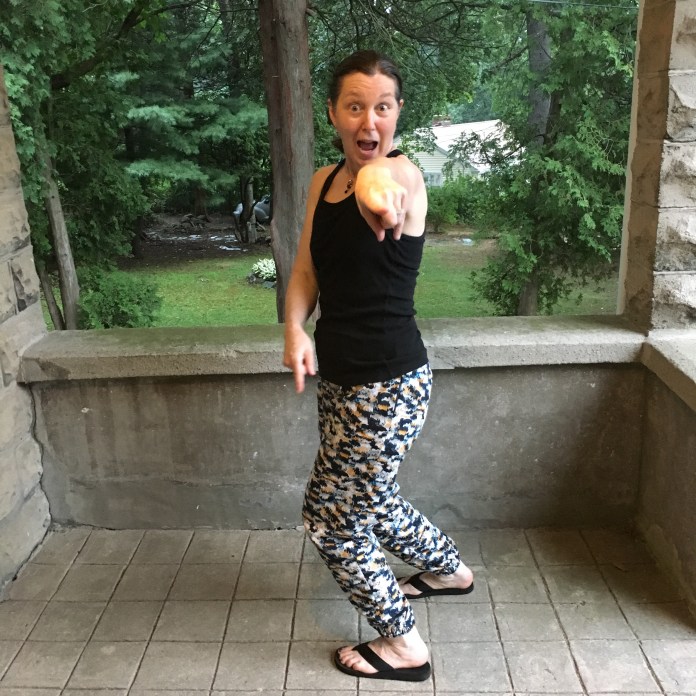 So much fun. Thanks Rae!
 Days off are a rare thing in my life and I am so thrilled to have five days off in a row when I don’t have to go to work. My daughter is visiting so there will be some family meals so that’s a bonus. Otherwise, I have no plans. Bliss!

 Here are more work-in-process pictures. I top stitched around the neck and also the upper part of the armhole. I use my presser foot to determine the size of my seam allowance so that everything lines up. I also cut my bias binding strips for the bottom part of the armhole 1.5 inches instead of 1.25 as suggested by Rae. I find I need a bit more to totally catch the binding on the other side. I don’t sew in the ditch. I have more luck sewing just next to it. Yoke lining in process:
 Sewing the bias binding to the bottom half of the armhole:


 After sewing the yoke to the dress front and back and hand-sewing the lining as Rae instructs in her videos, I top stitched the top of the armhole. Since I had used my presser foot as my seam allowance guide when I sewed the bias binding, I used the same approach to top stitch the top of the armhole. I ends up looking as though you sewed all the way around.
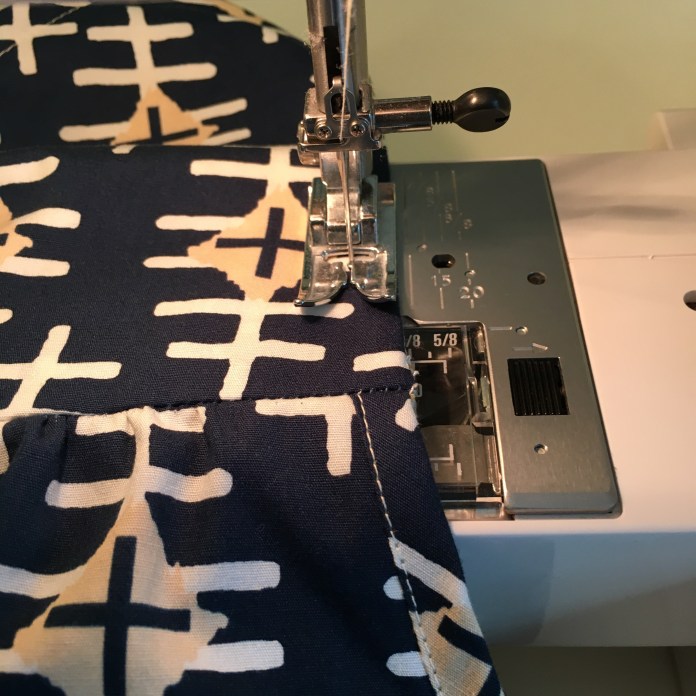 I leave the threads long and then use a needle to bring them to the inside of the dress and then knot them off.
  You end up with a really nice clean finish that is durable.
  I had some questions on instagram about the top stitching. I don’t always do it and I think it actually looks cleaner without it but I feel as though my dresses are very durable and I love that I can machine wash everything and not spend money on dry cleaning. The Ruby dresses below have been worn and washed more than ten times and they have held up great. You can see these Rubies in more detail


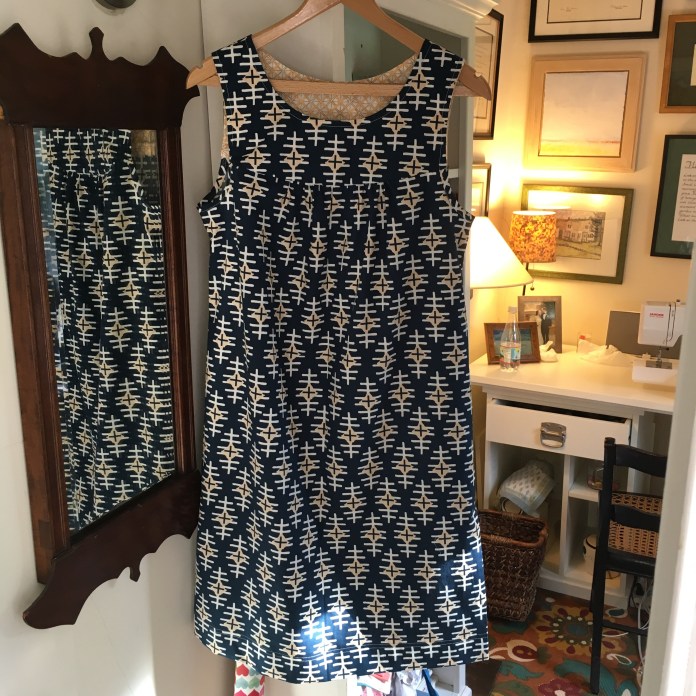


 It took me a long time to get on the
 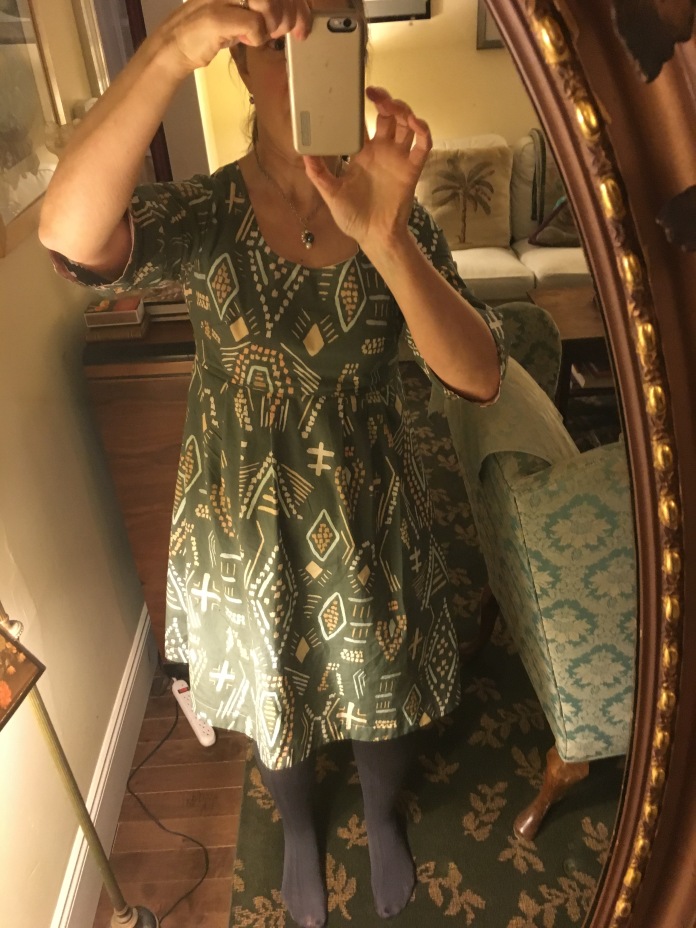 The dress is really comfortable to wear and I knew this fabric would be great for this pattern. It is not this orange in real life btw.
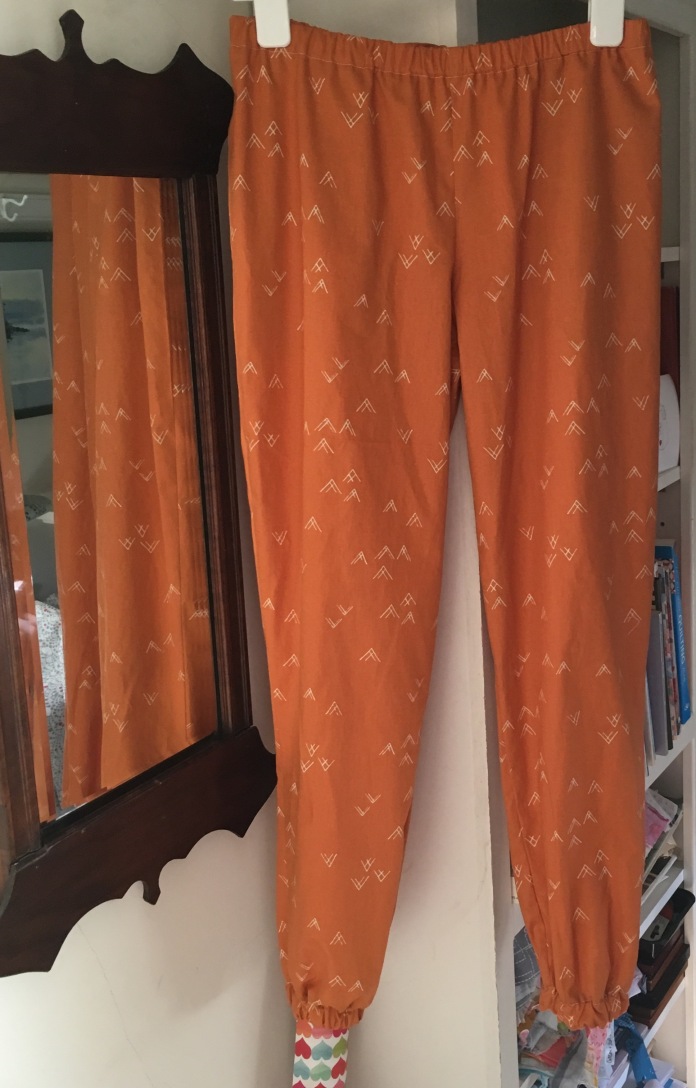 I cut between the medium and large lines (closer to the large around the hips) based on my hip size which is 41 inches. I lengthened the pattern by an inch. I used the leftover scraps from my Bound fabric Washi dress for the pockets.
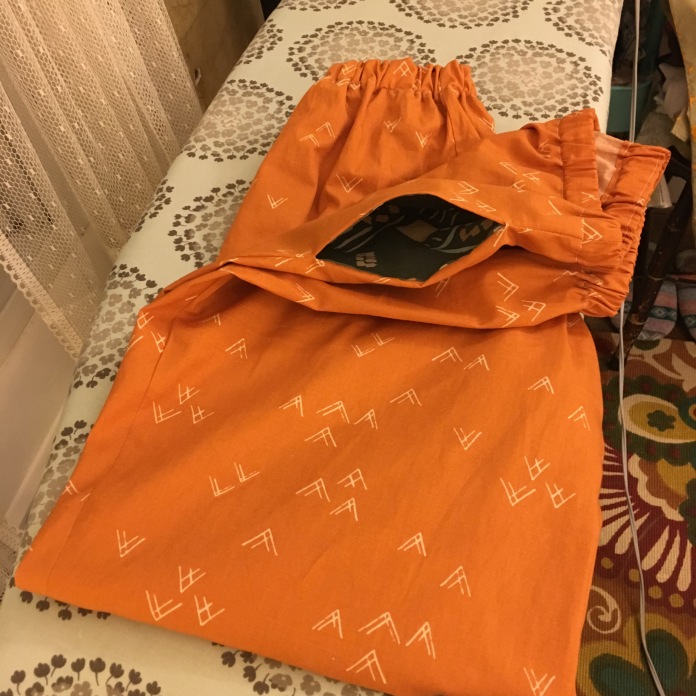 I love the way the tops of the pockets are stitched flat in the waistband seam. Now that I know how to do this, I am tempted to make a skirt just to add pockets exactly like this.
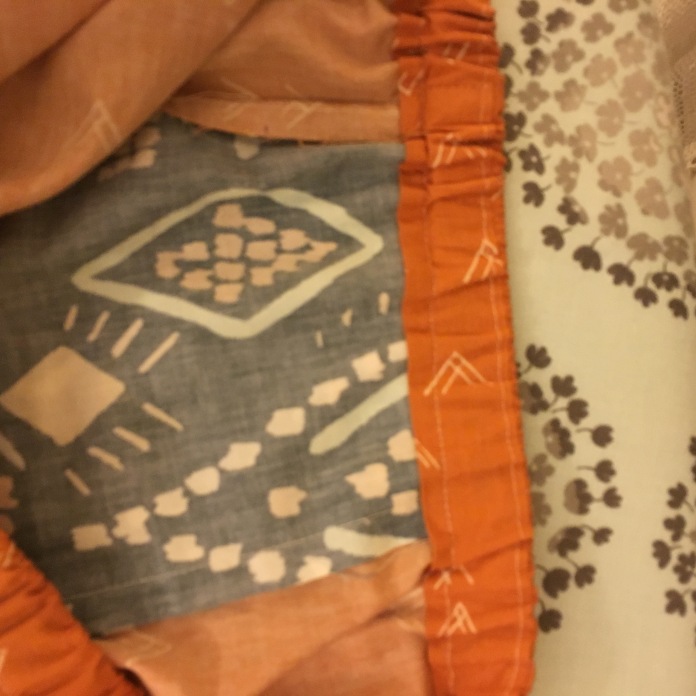 The sewing is straightforward and the directions are easy to follow. Rae also has a series of blog posts that walk you through the construction. Link to Luna Pants
 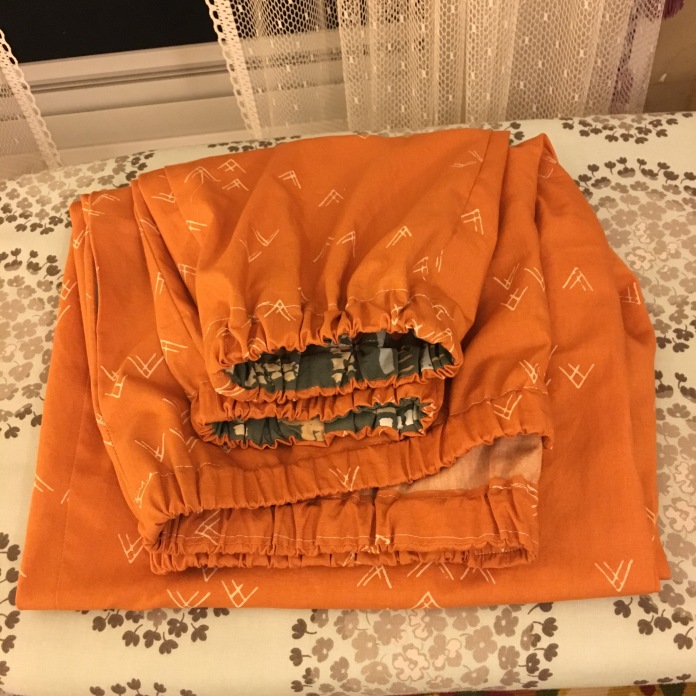 The facing makes them cuter too and it really doesn’t take a lot of time. Another picture of the inside of the pant leg with hem facing:
 If you had told me a couple of years ago that a) I would make pants and b) I would wear them in pictures online, I would have said you were crazy but I really like these. They are fun and comfortable and a quick sew. I have plans to make them again soon. I have some April Rhodes Fringe fabric that I know will be perfect. Here are more pictures of the pants as worn tonight to book club. We read
 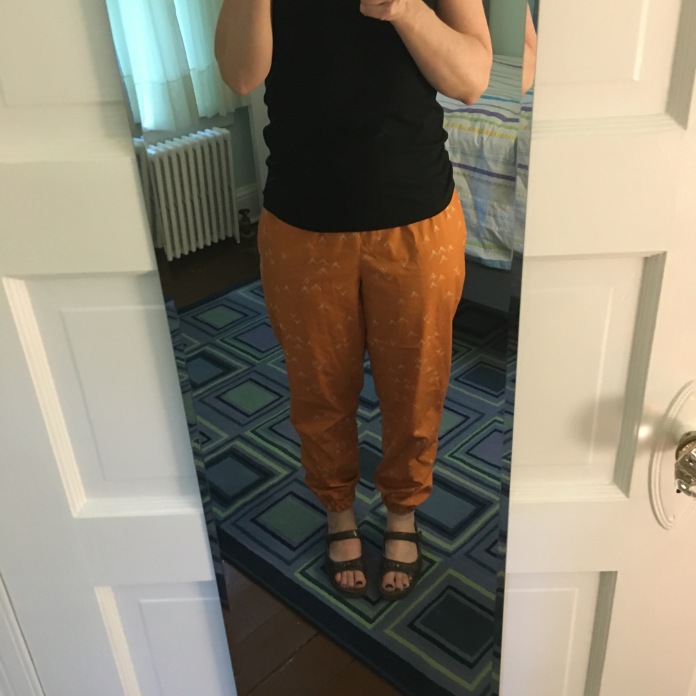 side view
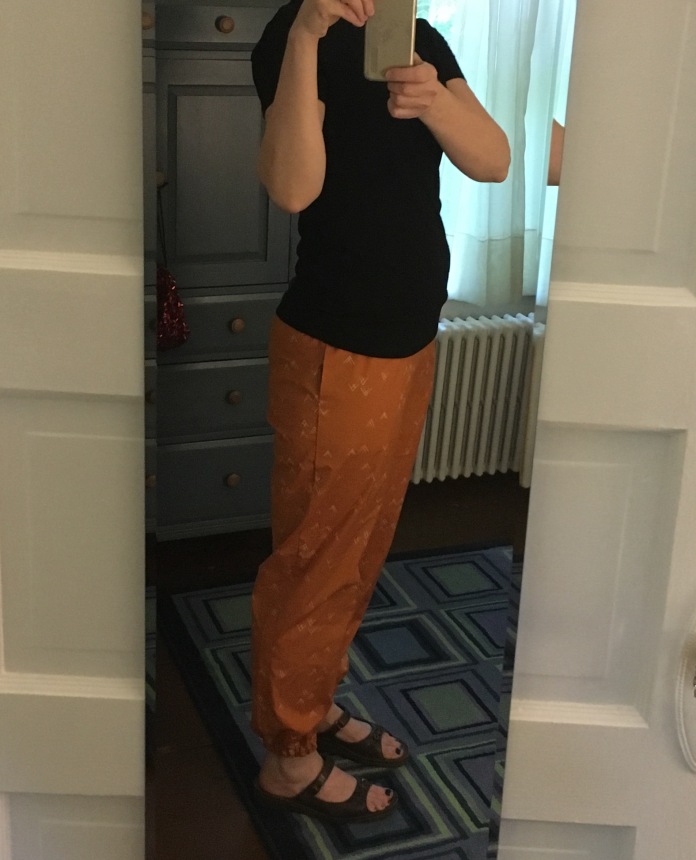 back view
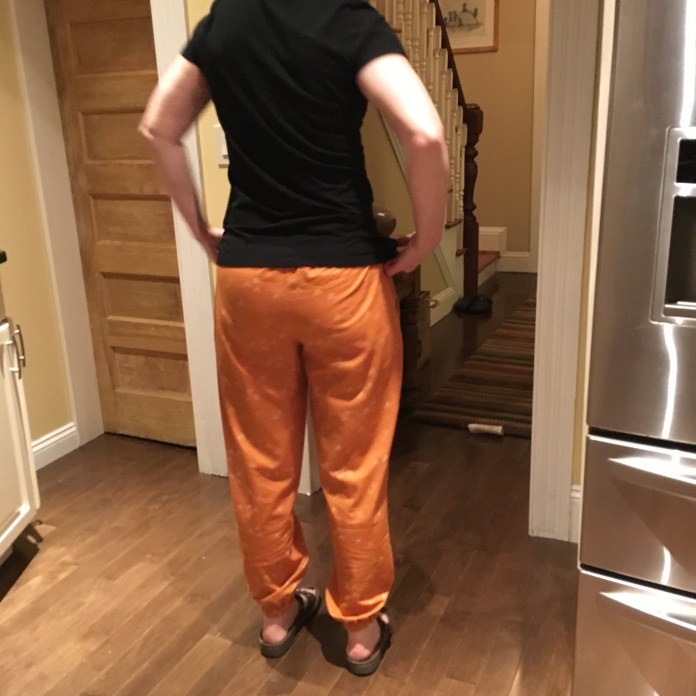 pants in motion (a bit rumpled after book group.)
  Have fun! Make pants! to be continued 🙂